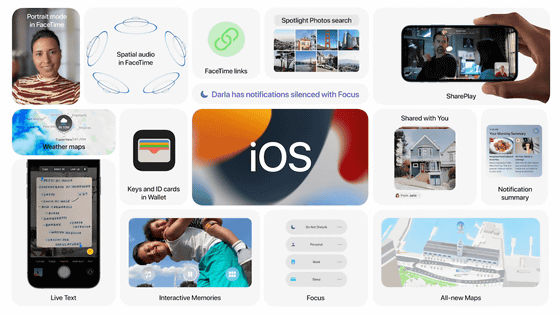
A review of actually using the new features of 'iOS 15', how to use each new feature is like this
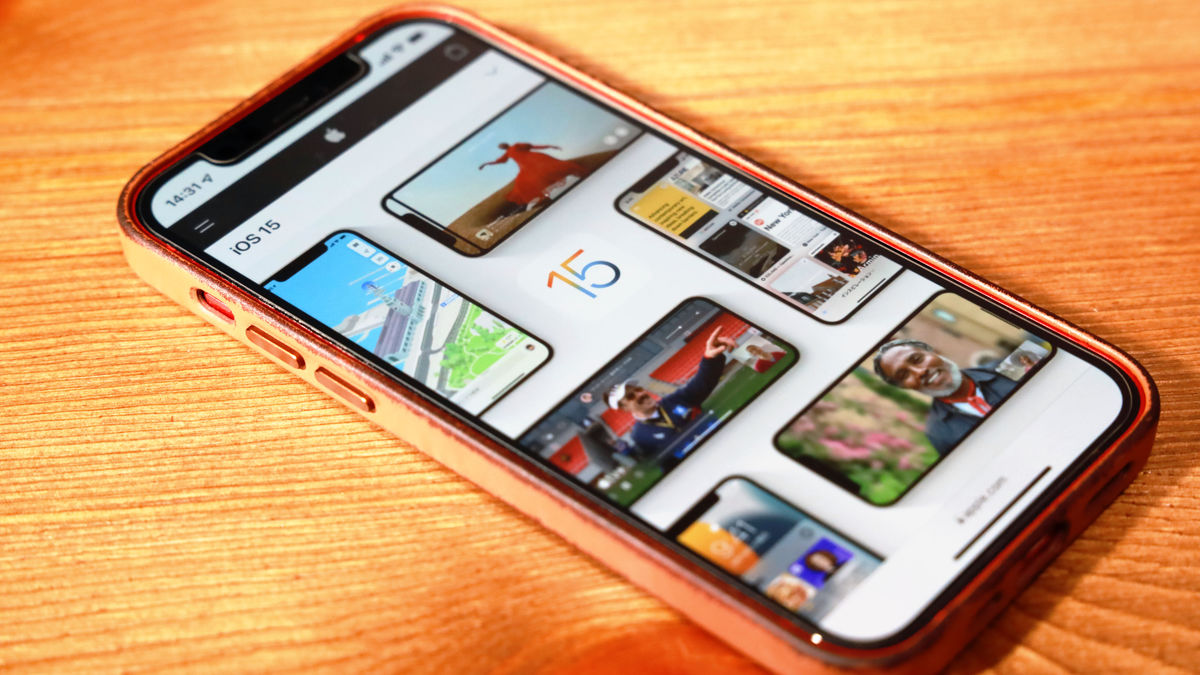
Launched on September 21, 2021,
iOS 15 --Apple (Japan)
https://www.apple.com/jp/ios/ios-15/
◆ Newly designed Safari
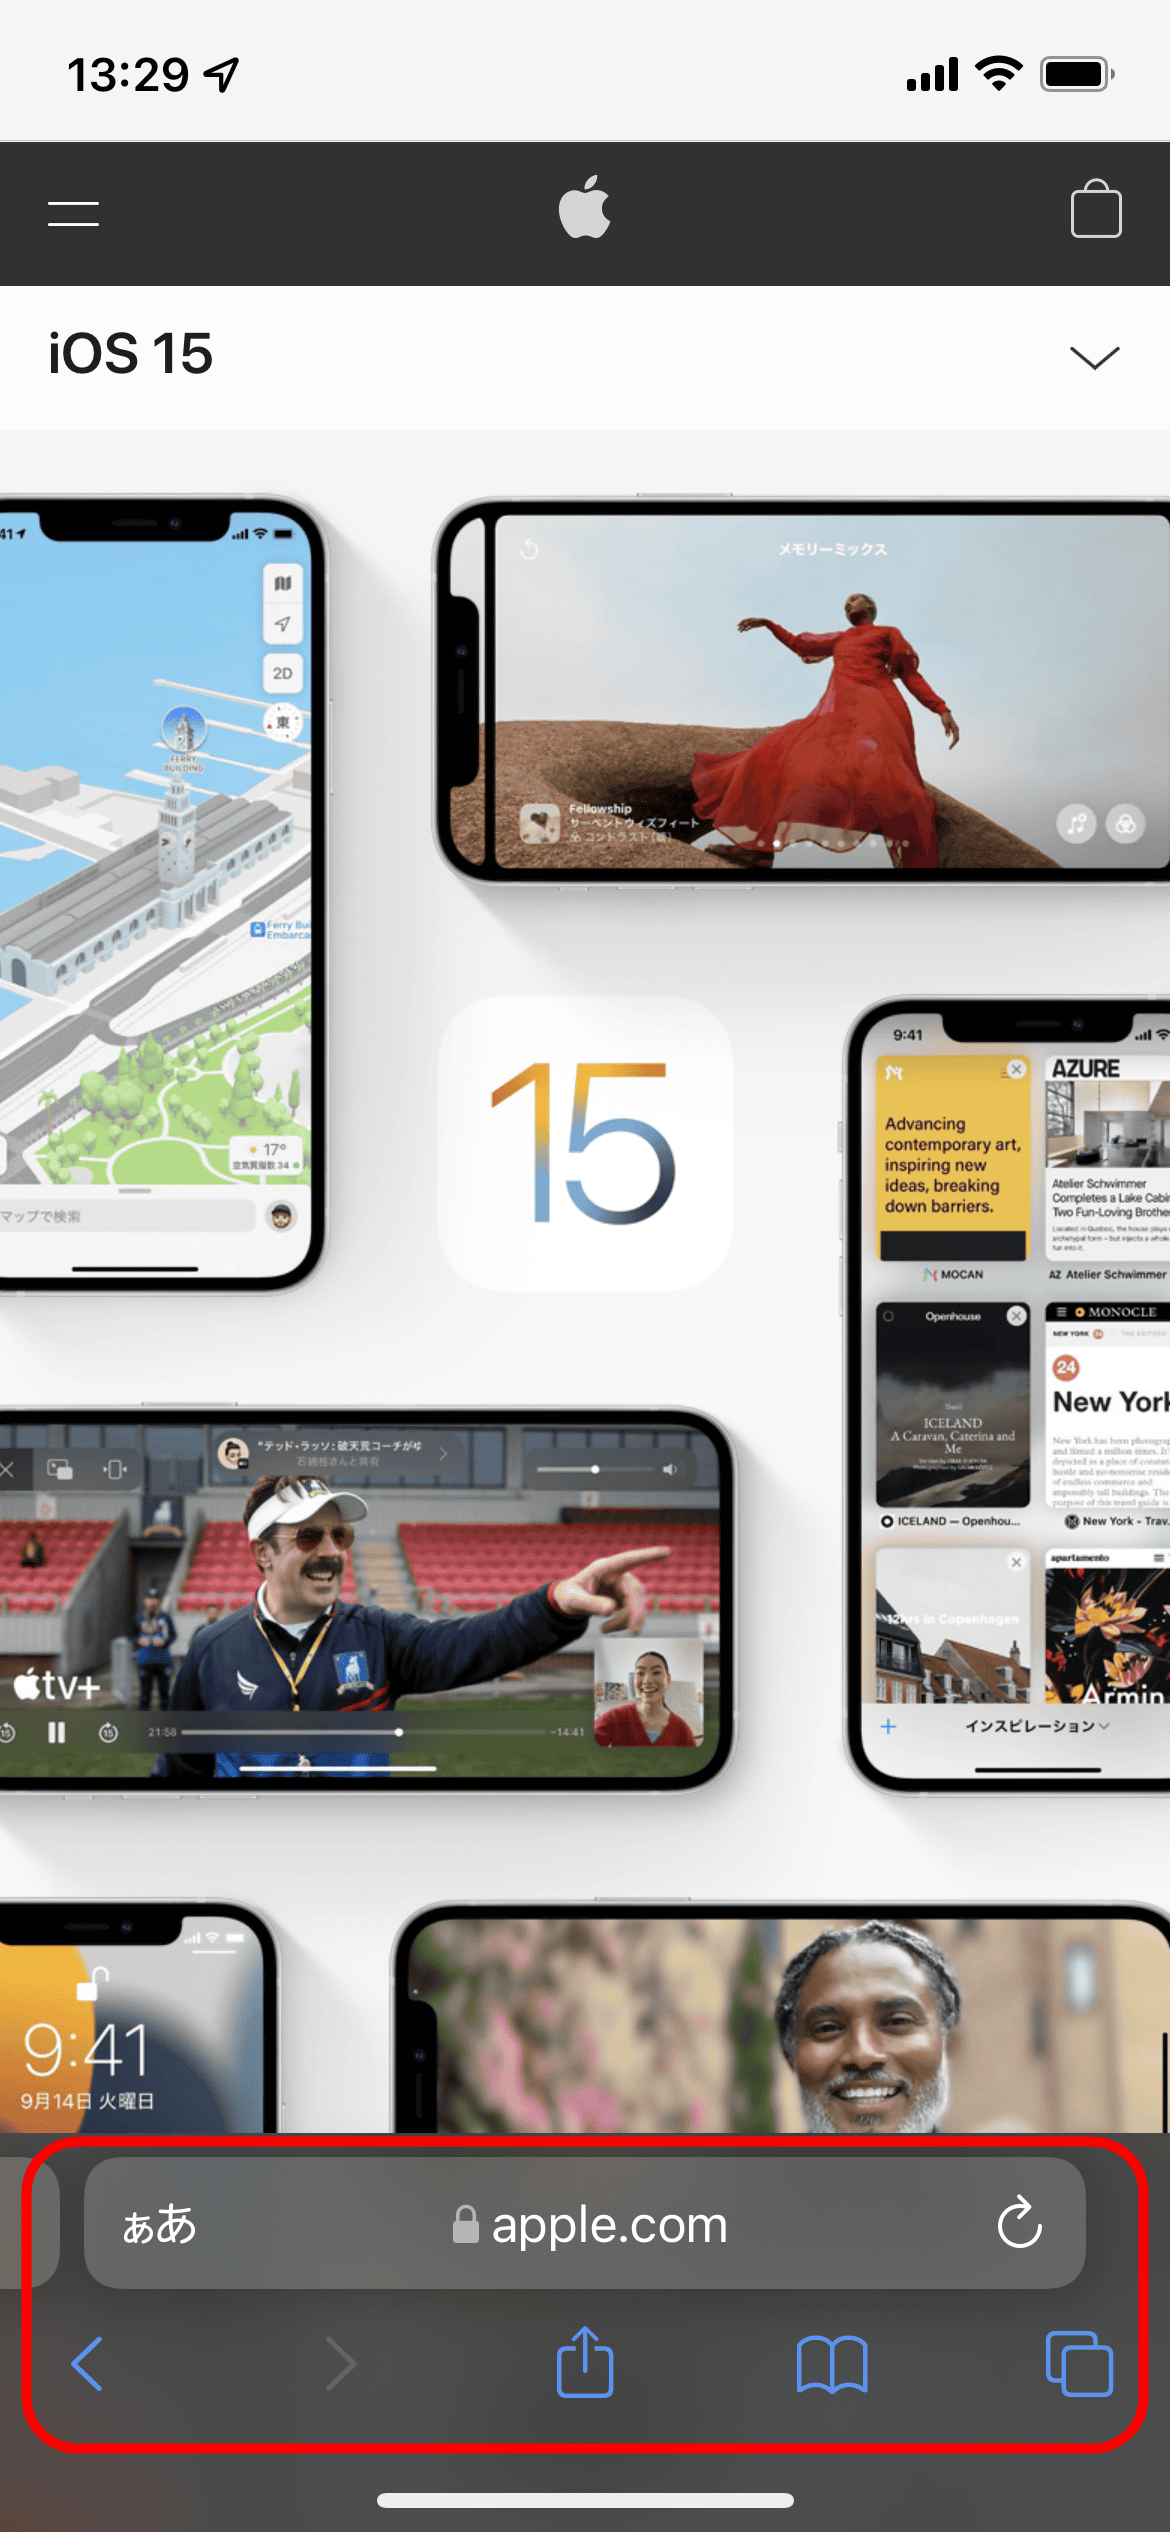
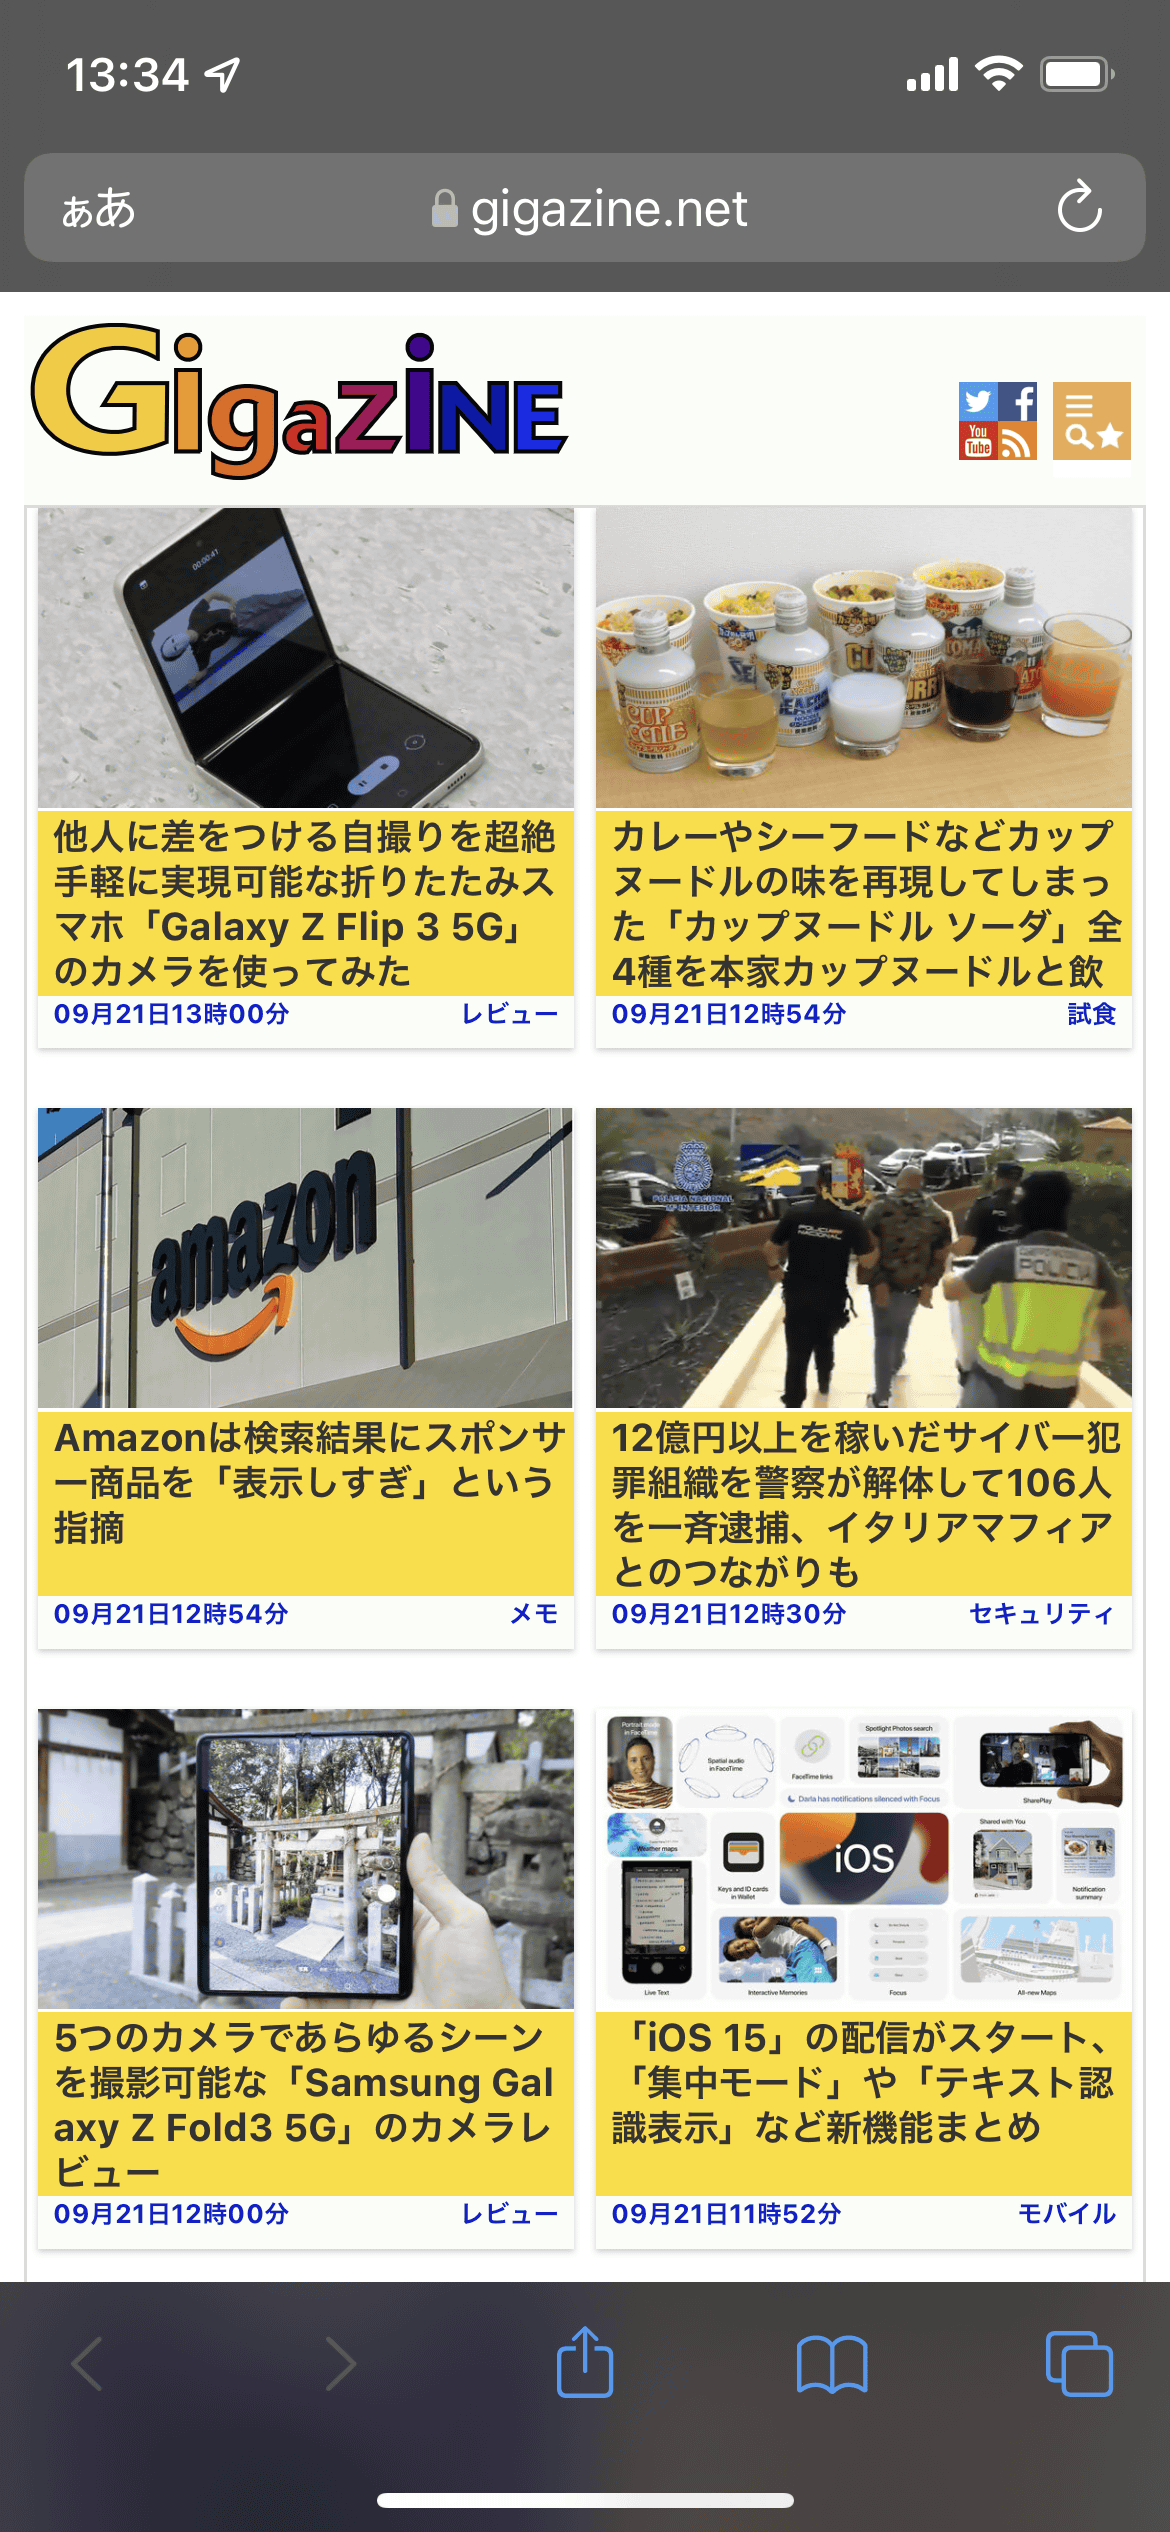
The newly designed Safari looks like this. As controversial since the beta release of iOS 15, the UI design has changed and the search box has moved to the bottom of the screen.
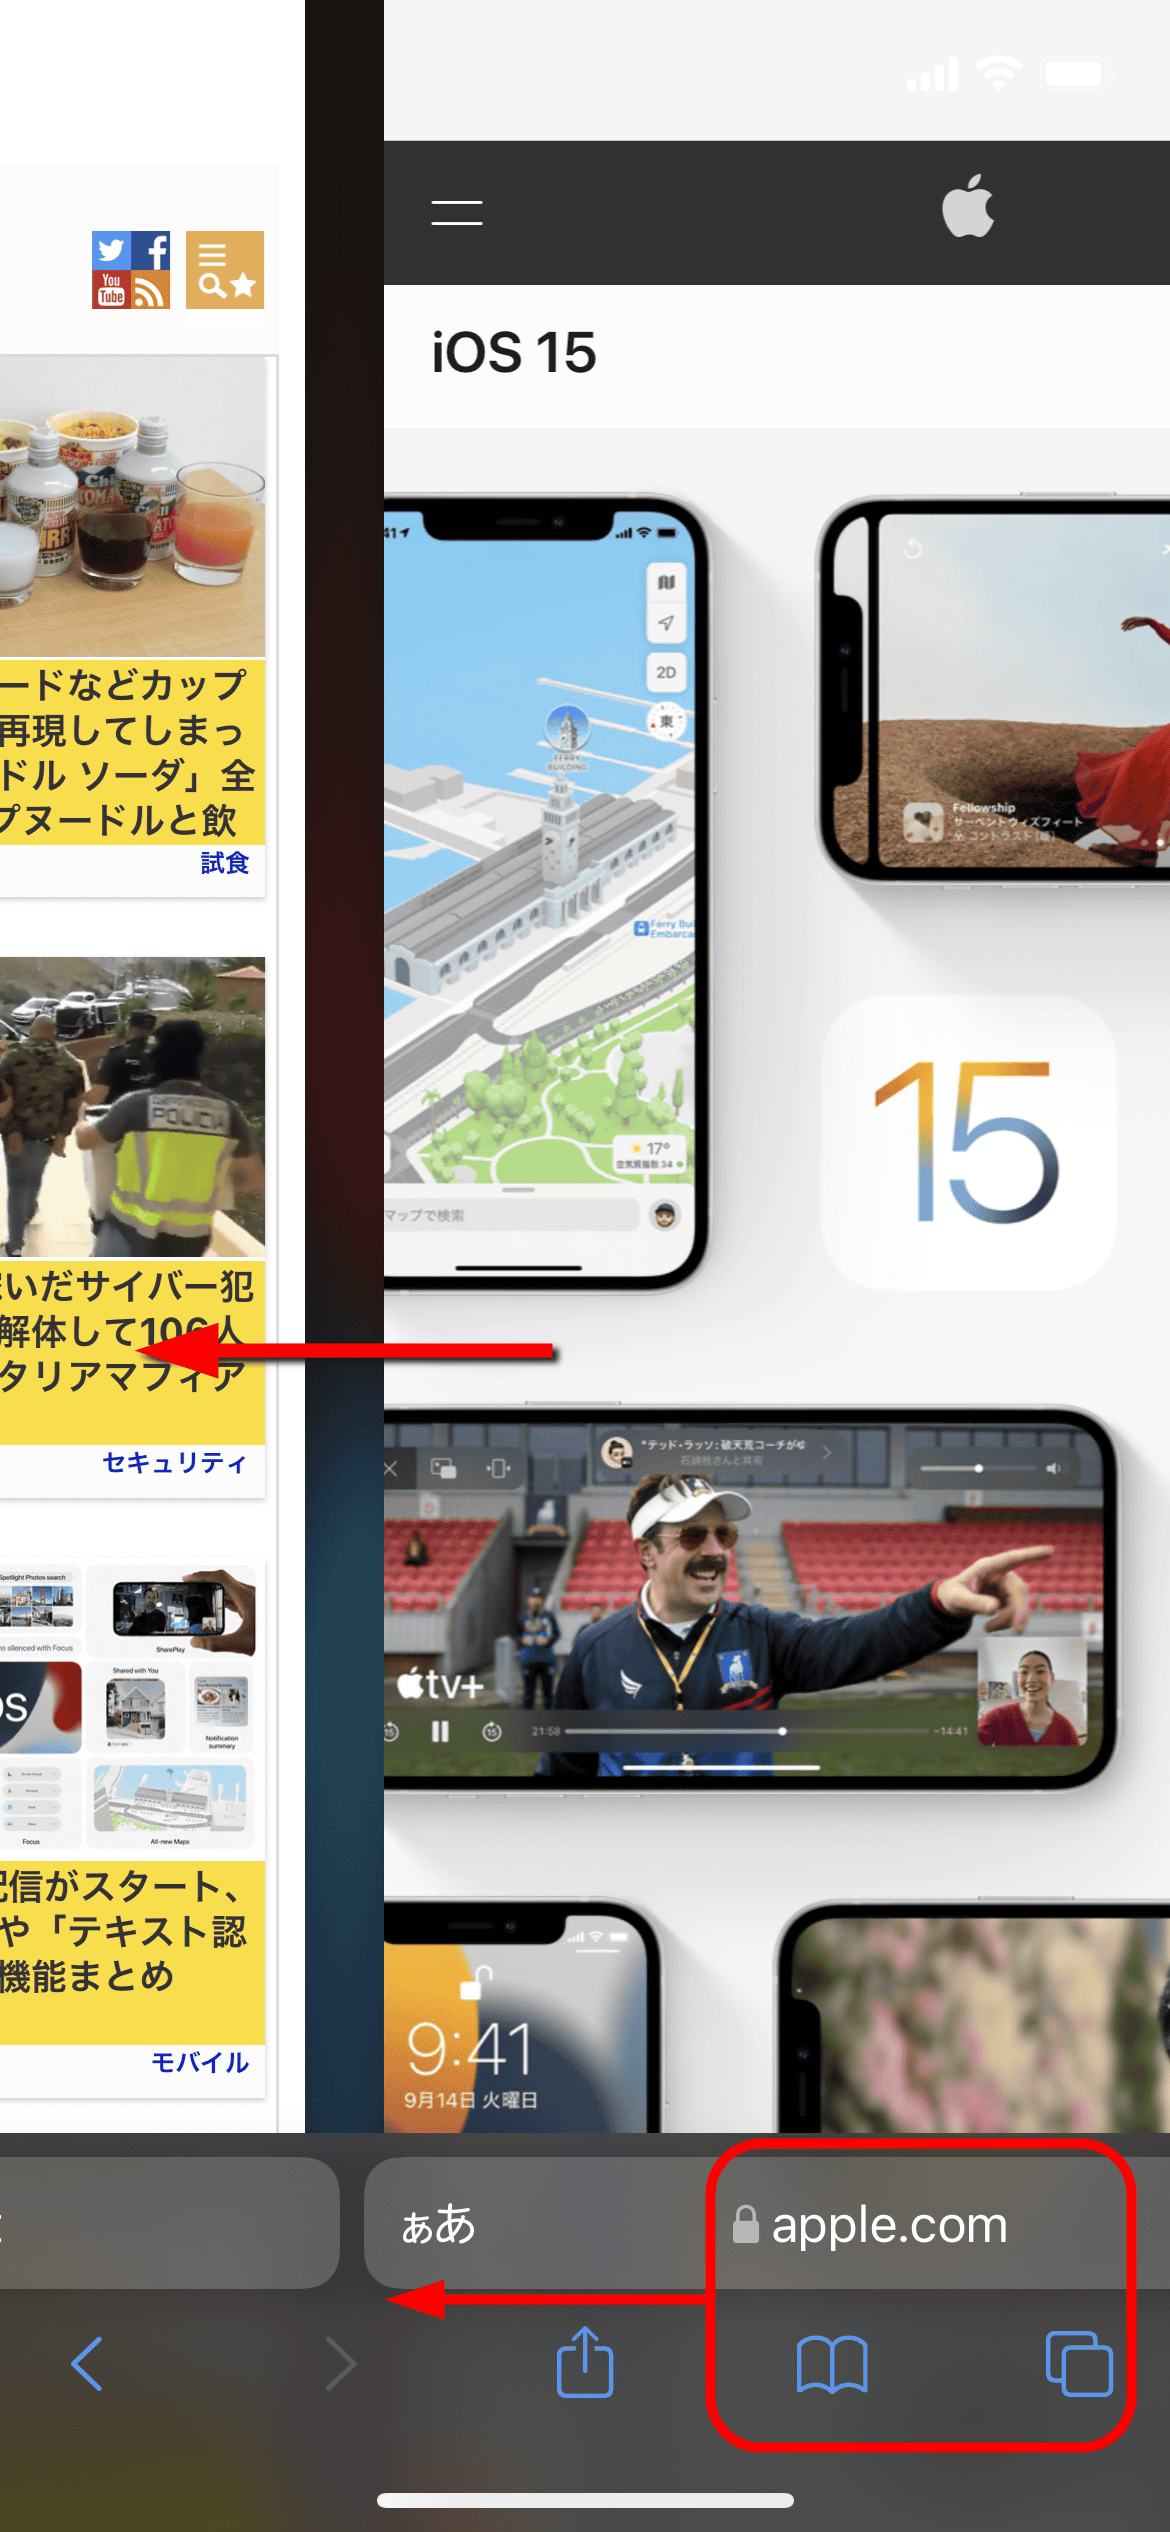
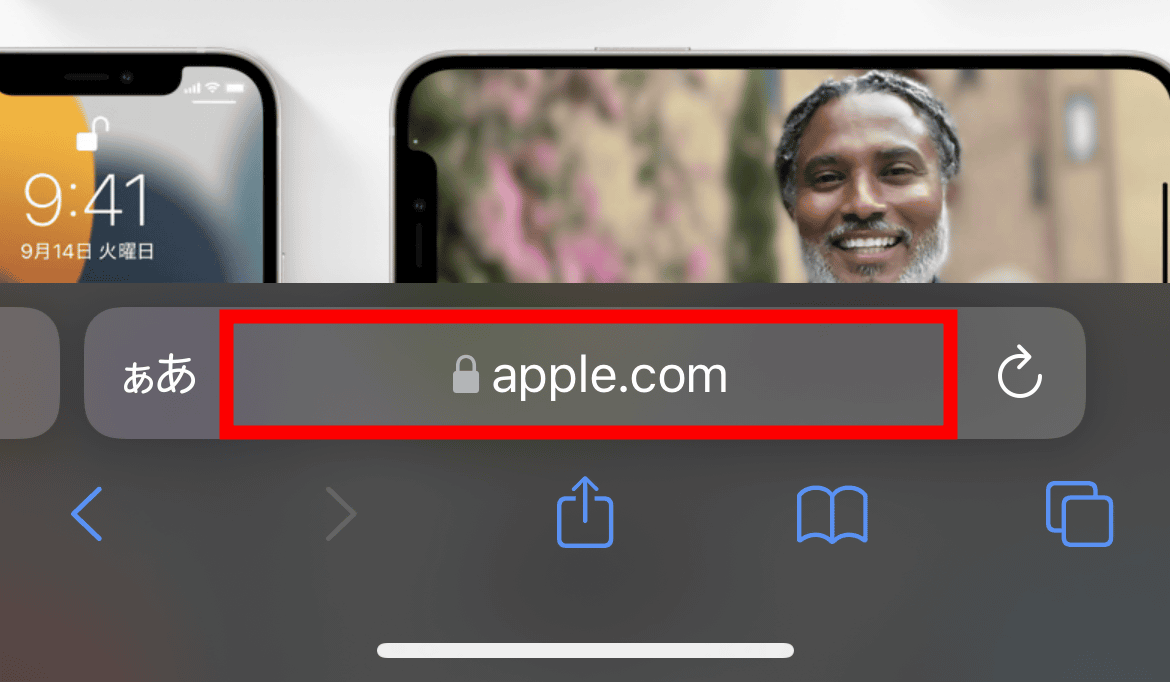
You can easily switch tabs by tapping and holding the area where the search box etc. are located at the bottom of the screen and swiping left or right.
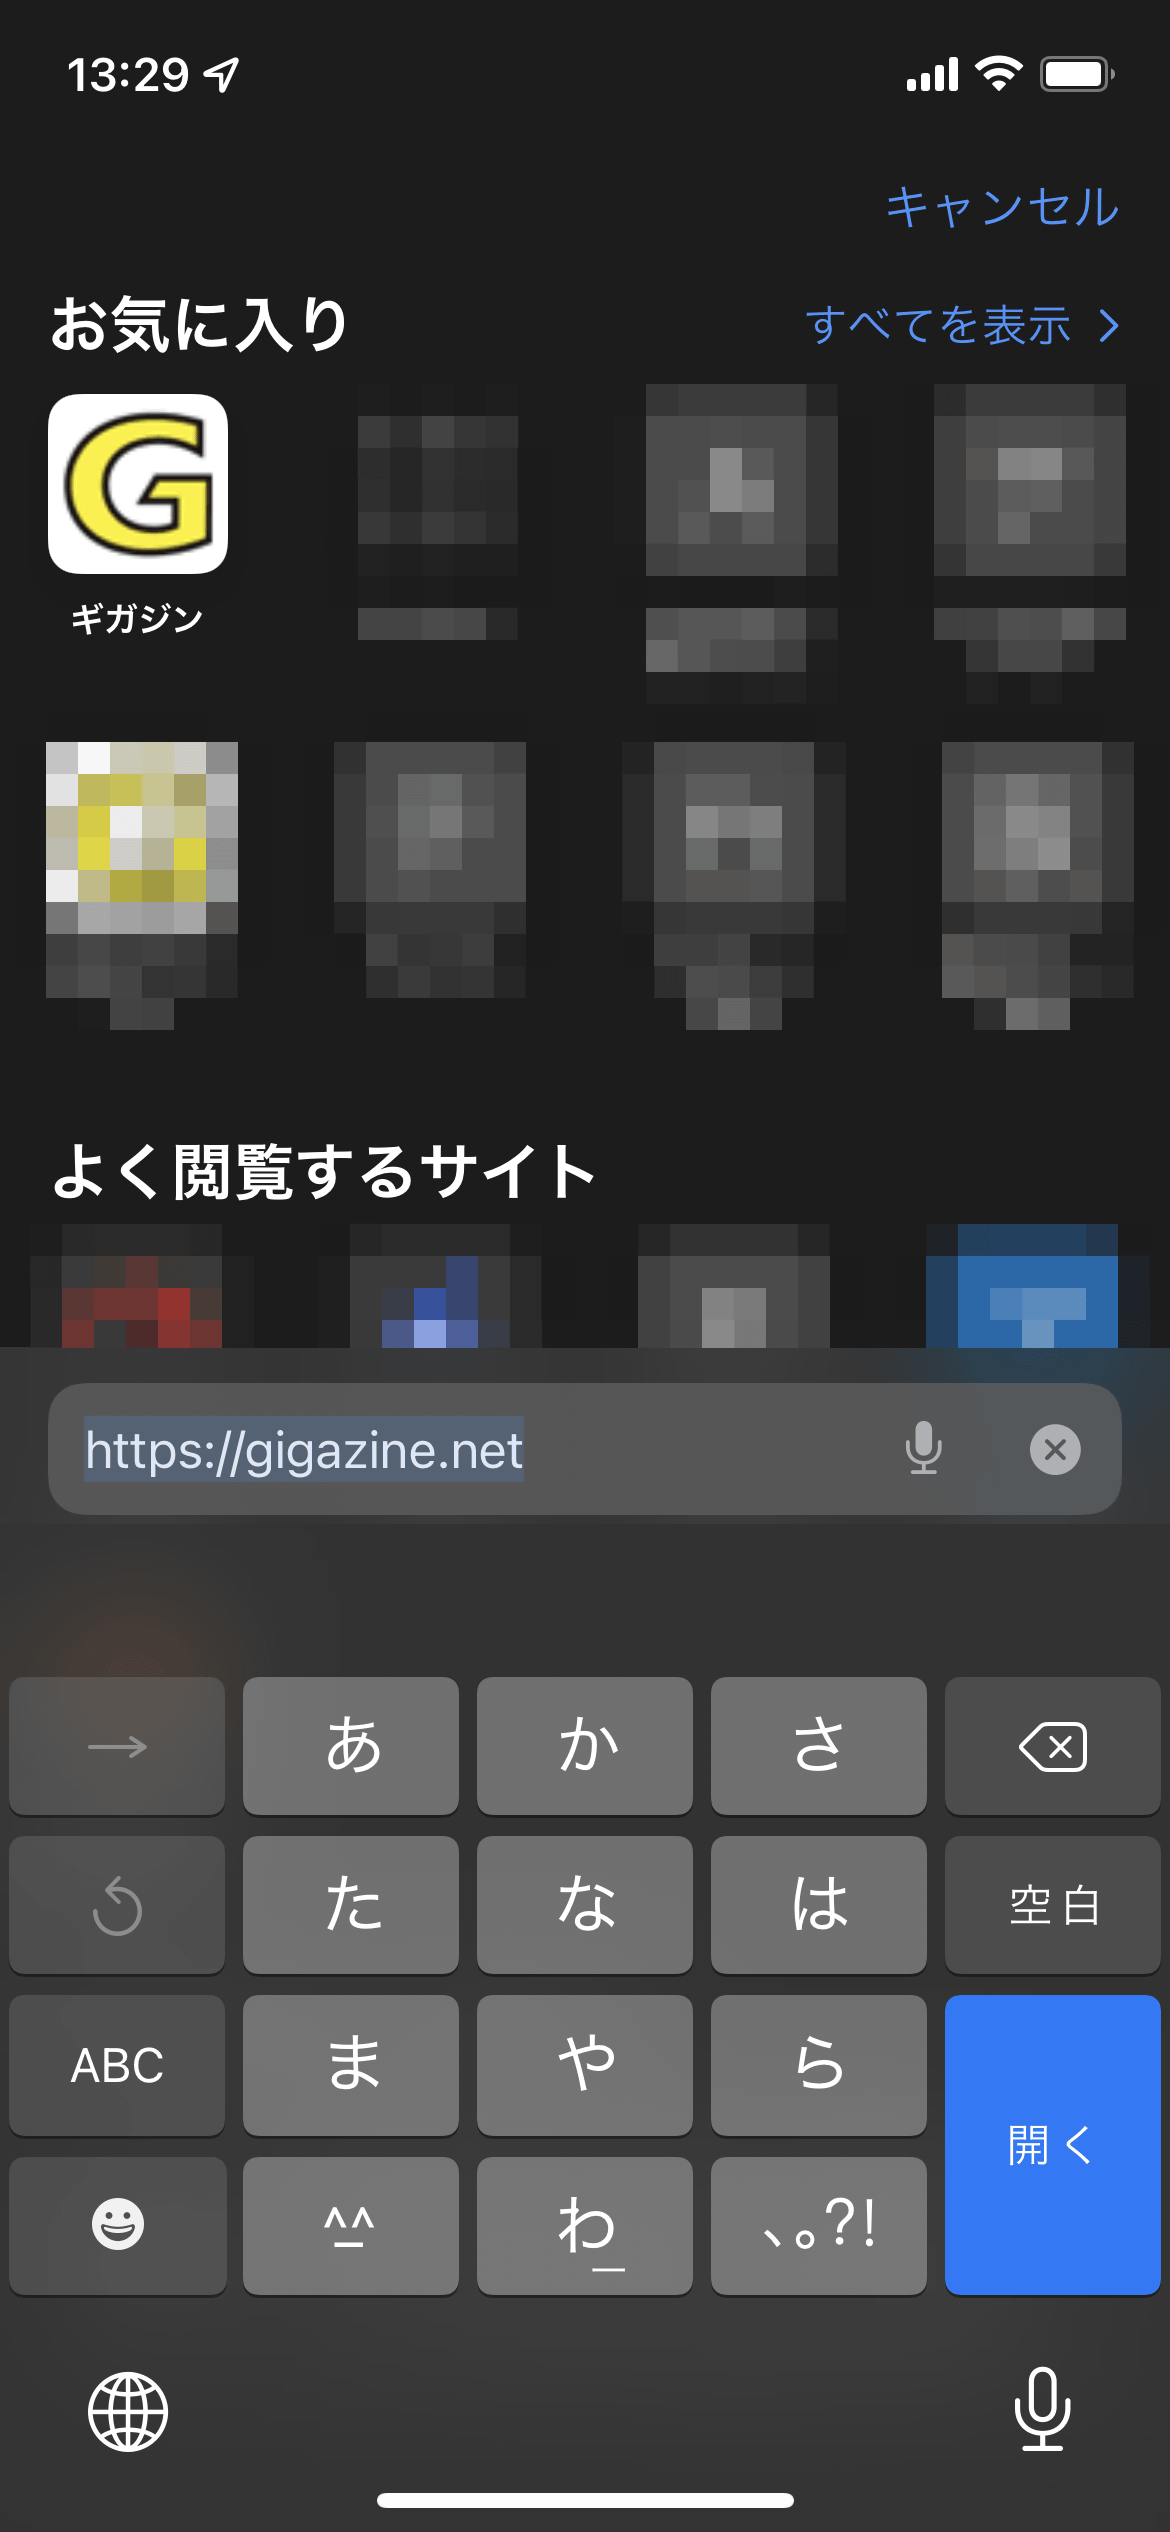
When you tap the search box ...
The bookmarked websites and frequently visited websites are displayed. This is the same as before.
When you tap the tab icon at the bottom right of the screen ...

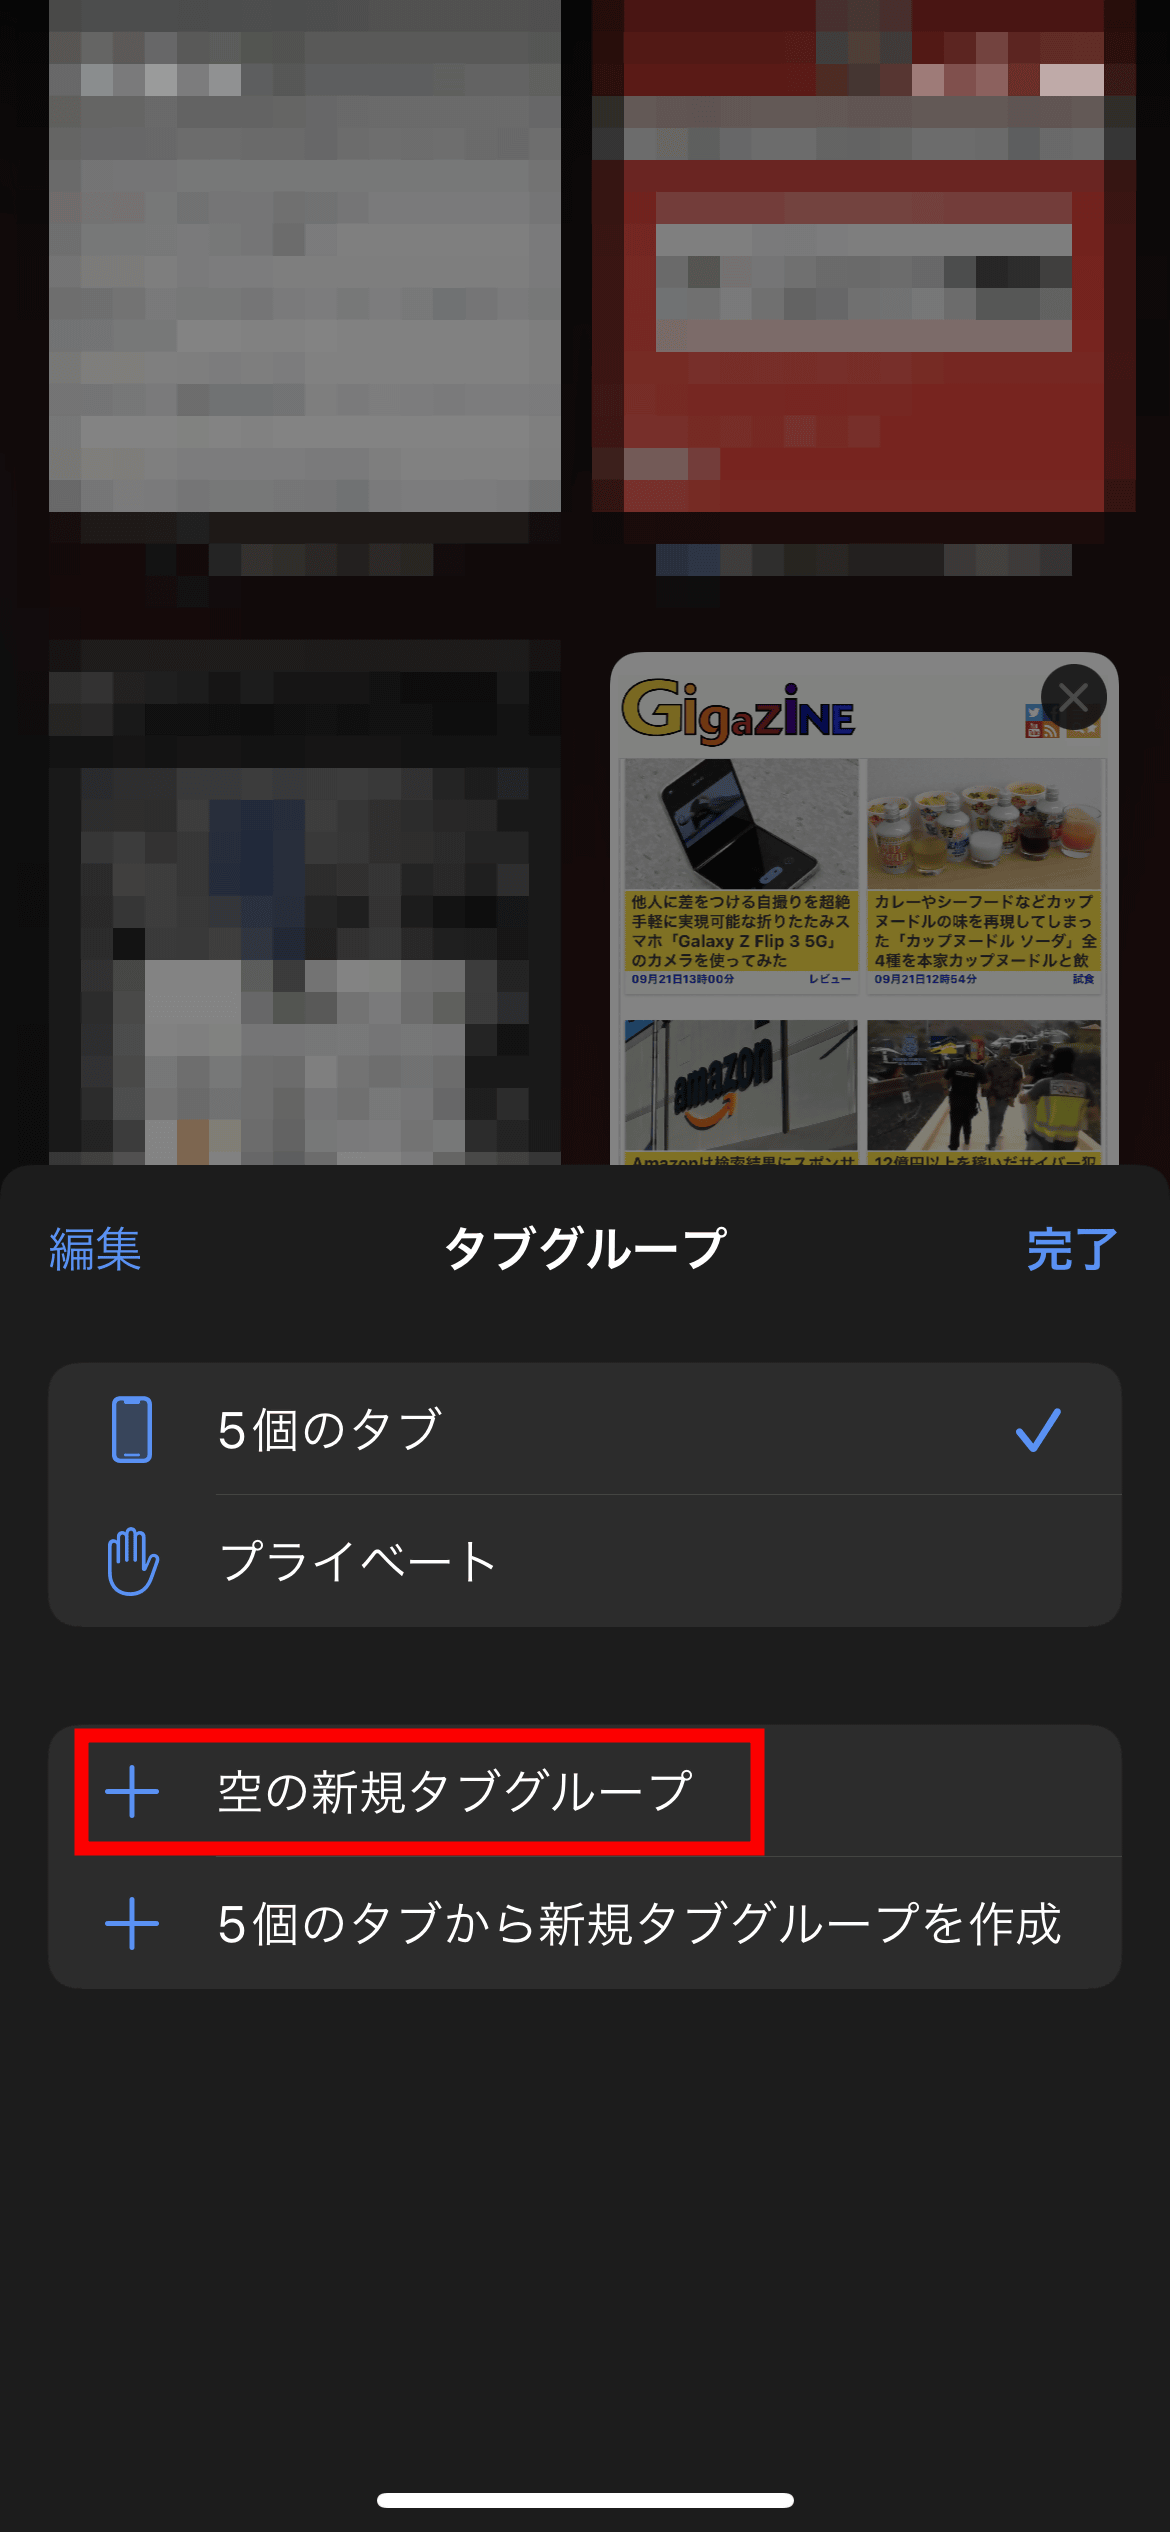
You can list the currently open tabs. Furthermore, if you tap the red frame at the bottom of the screen ...

You can now create a new tab group. You can create a new tab group by grouping open tabs, but this time tap 'Empty new tab group'.
Enter the tab group name and tap 'Save'.
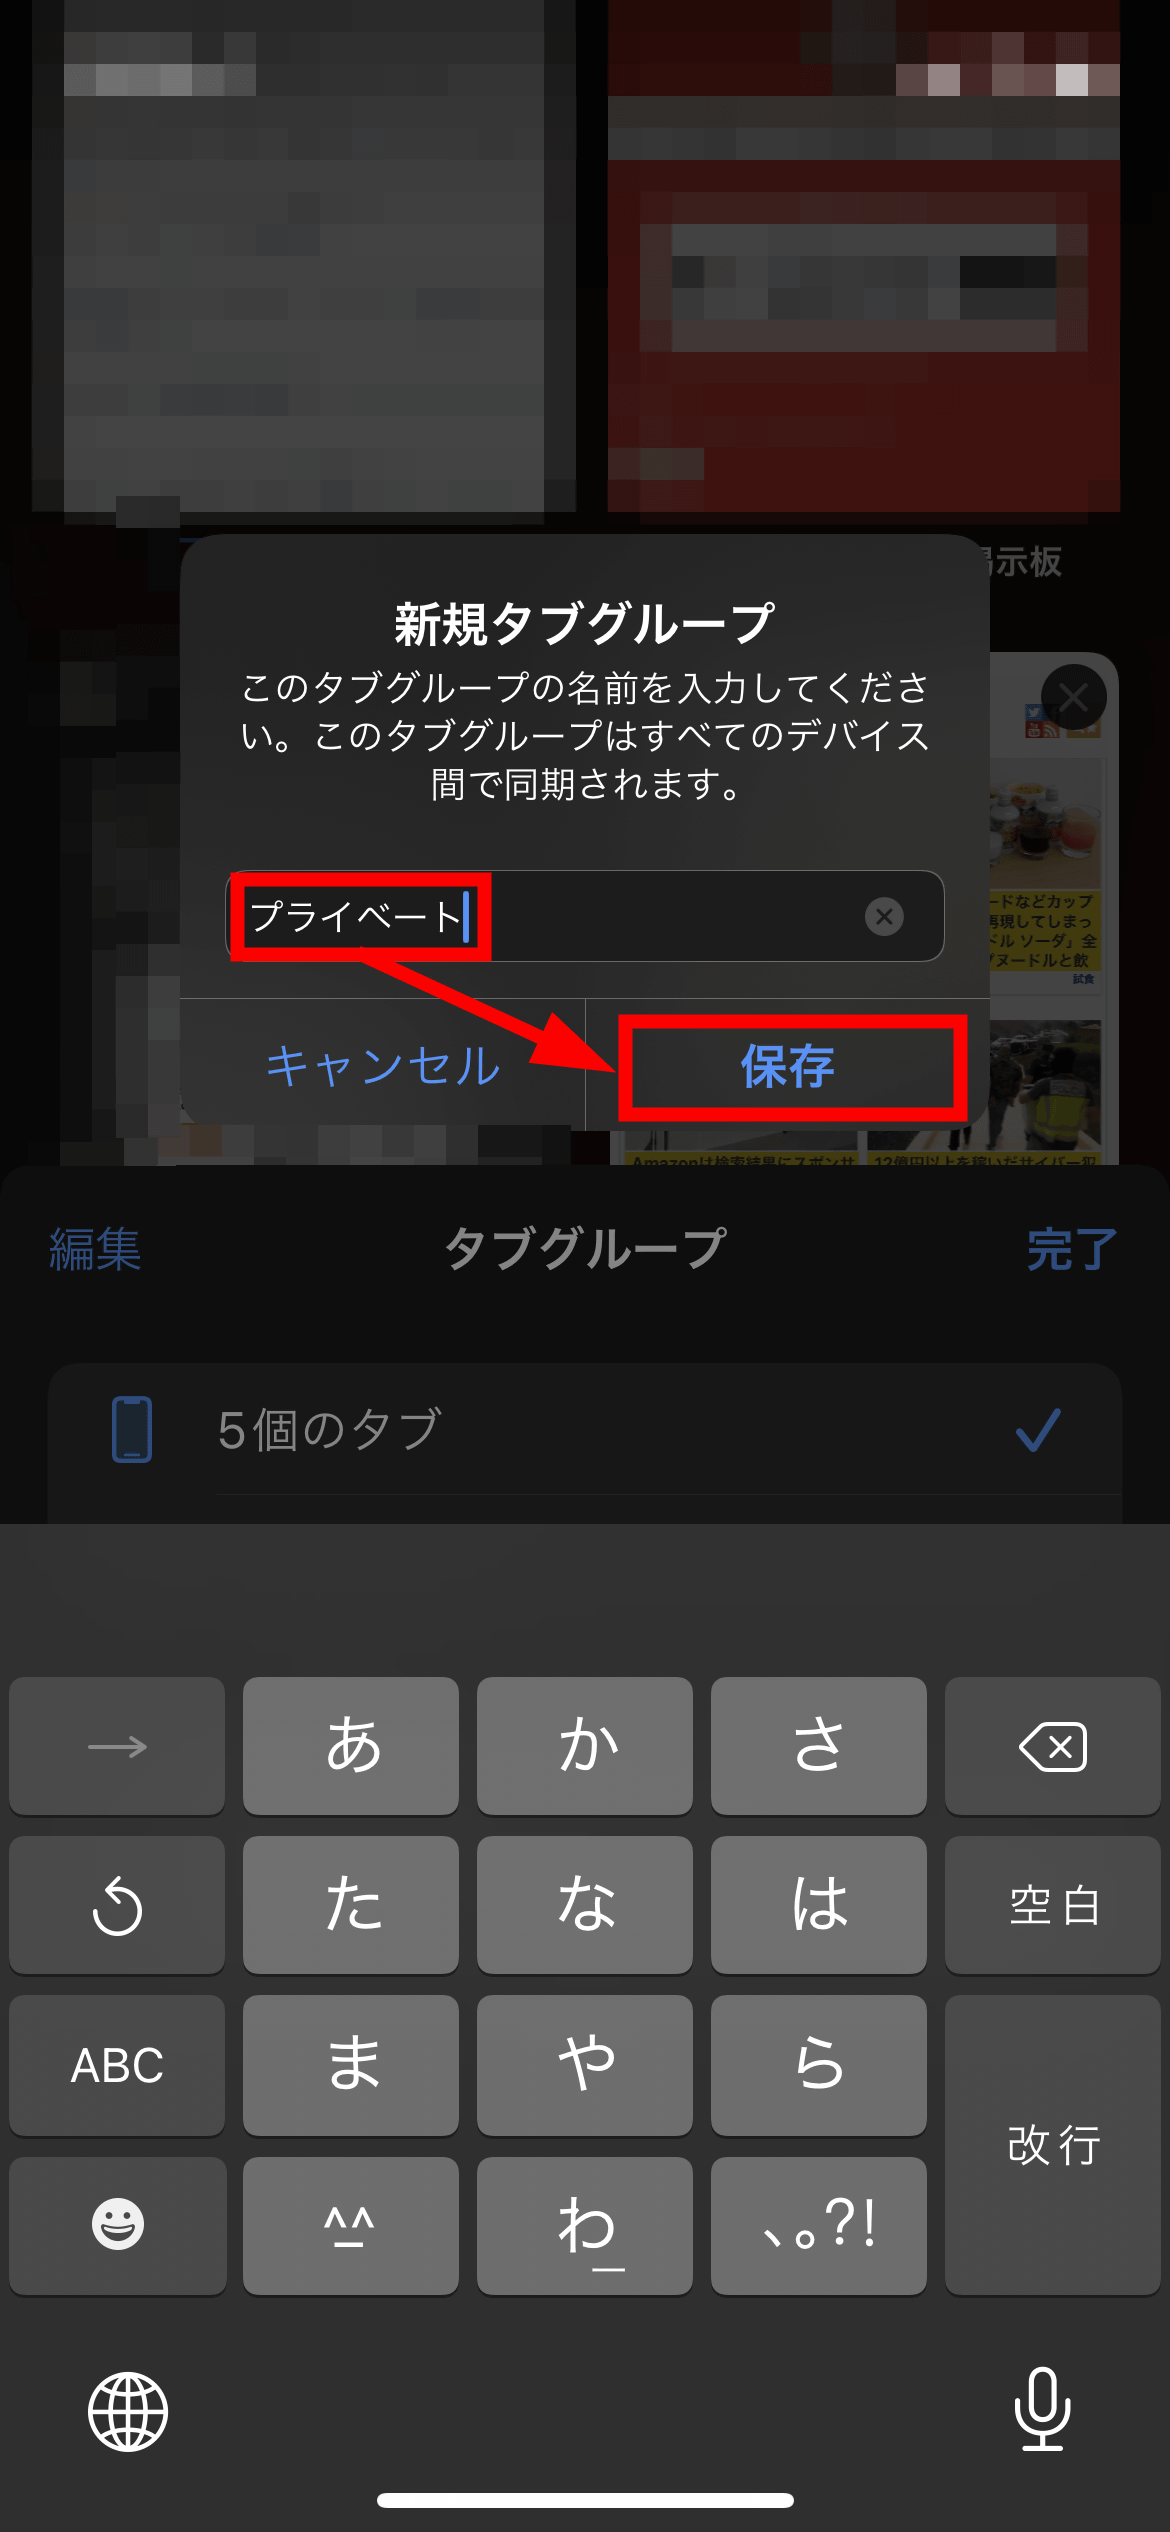
You can check the created tab group at any time like this. In addition to the newly created tab group, the currently open tabs are displayed together with the number (in the case of the image below, '5 tabs'), and the tabs opened by private browsing are grouped into 'private'. It is safe to set the tab group name to be newly created to something other than 'Private'.
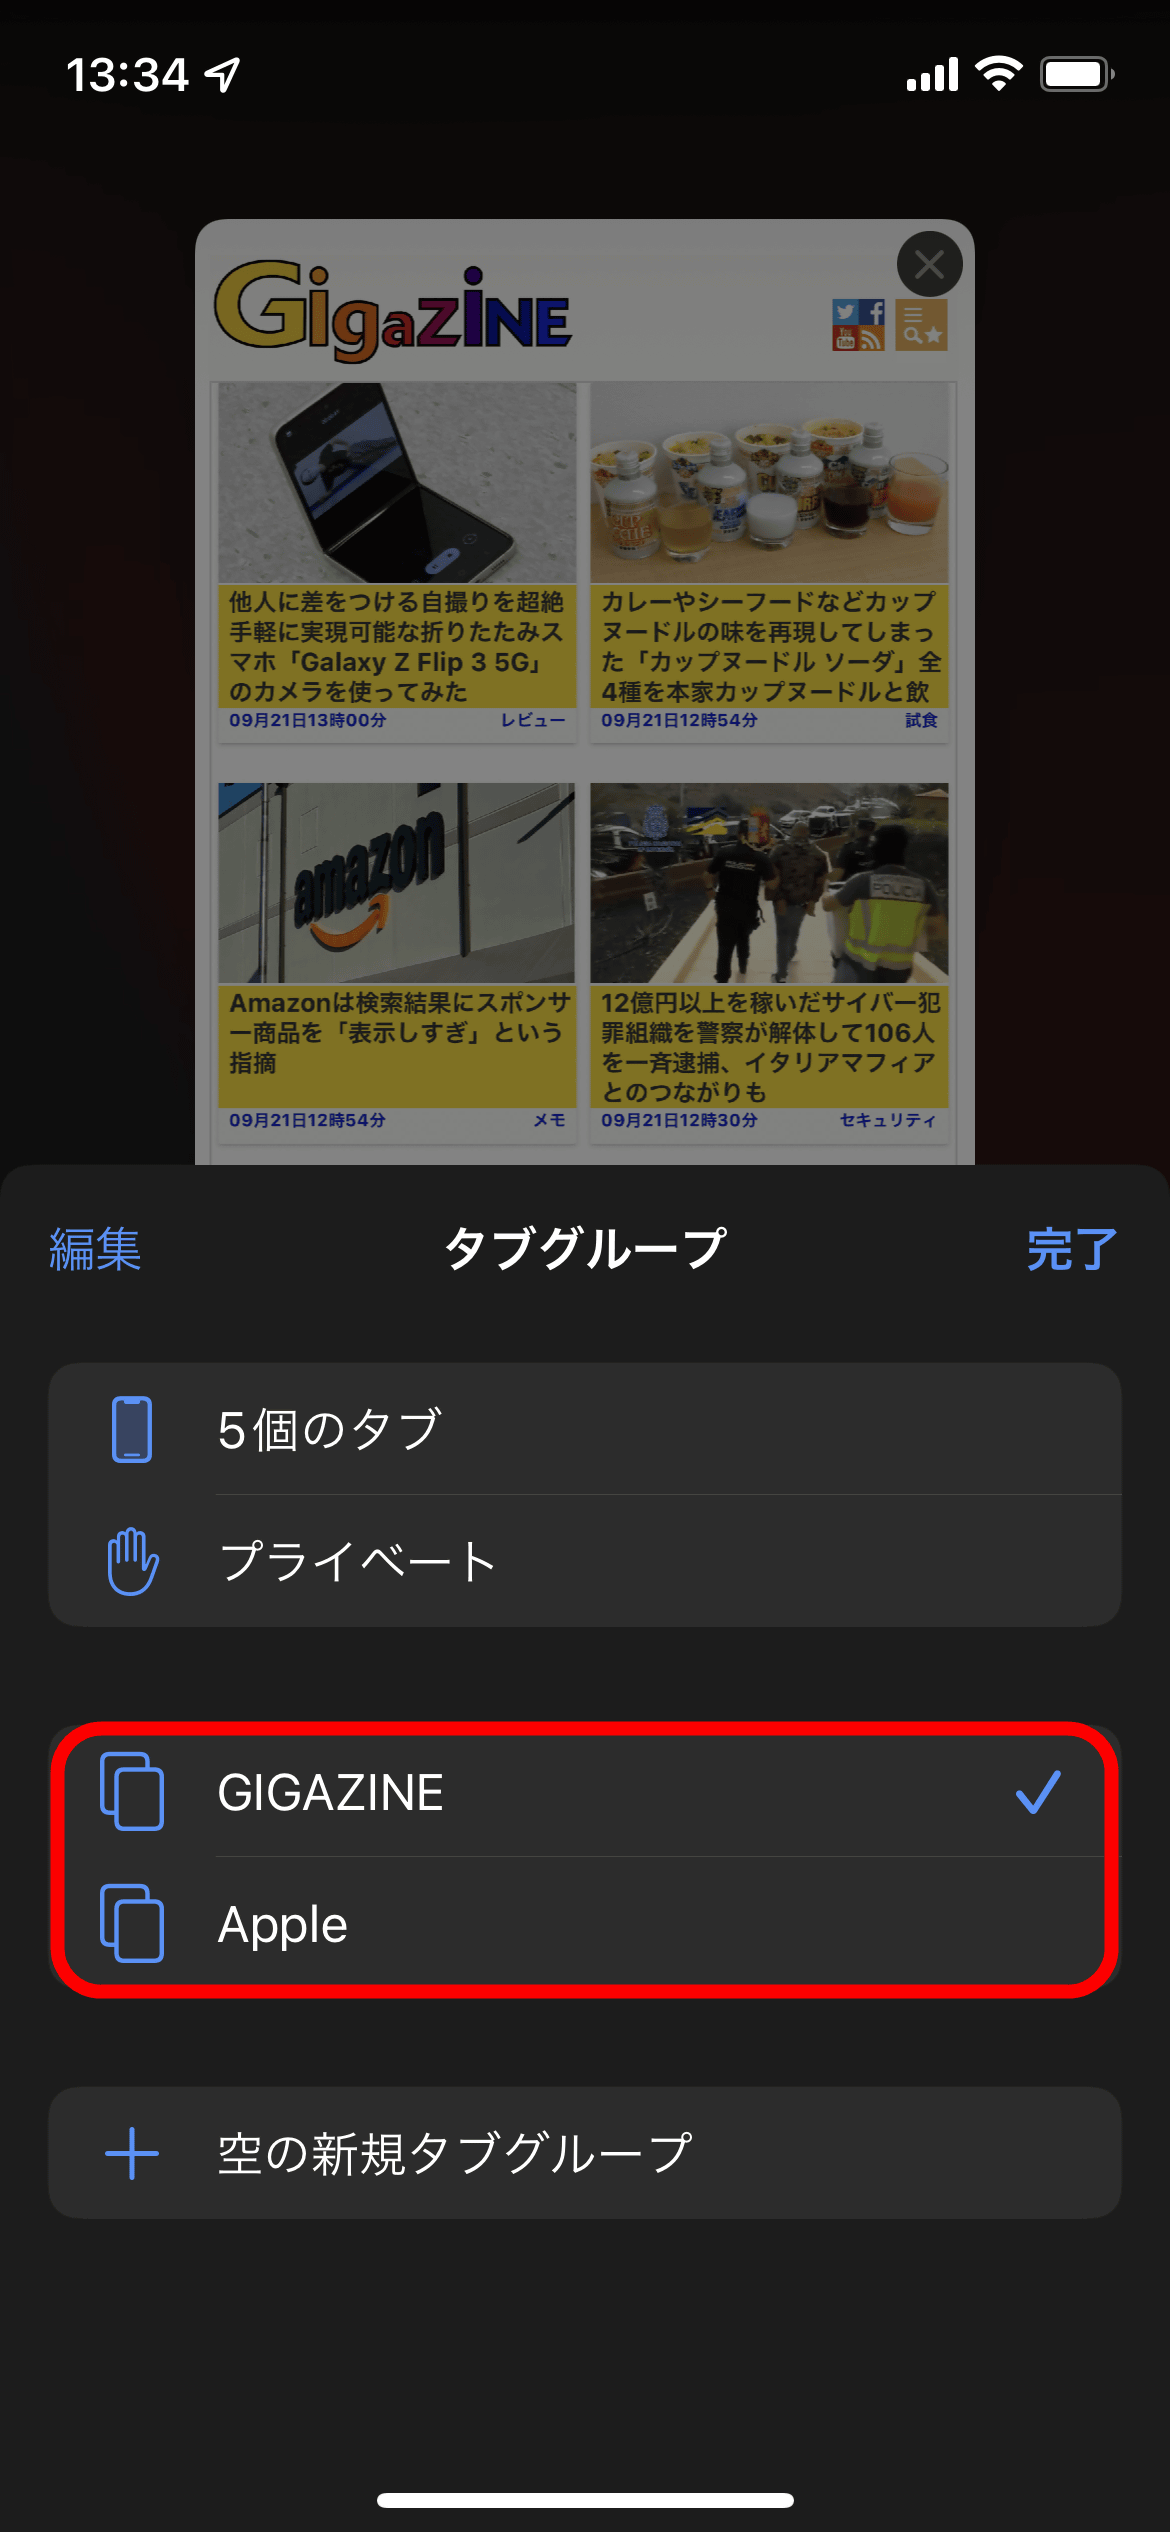
Also, now that you can create a new tab group, you can tap and hold the link destination to open it in the specified tab group.

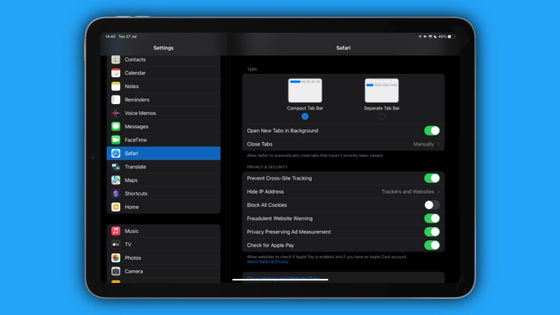
If you don't like Safari's new UI design, tap 'Safari' in the settings app.
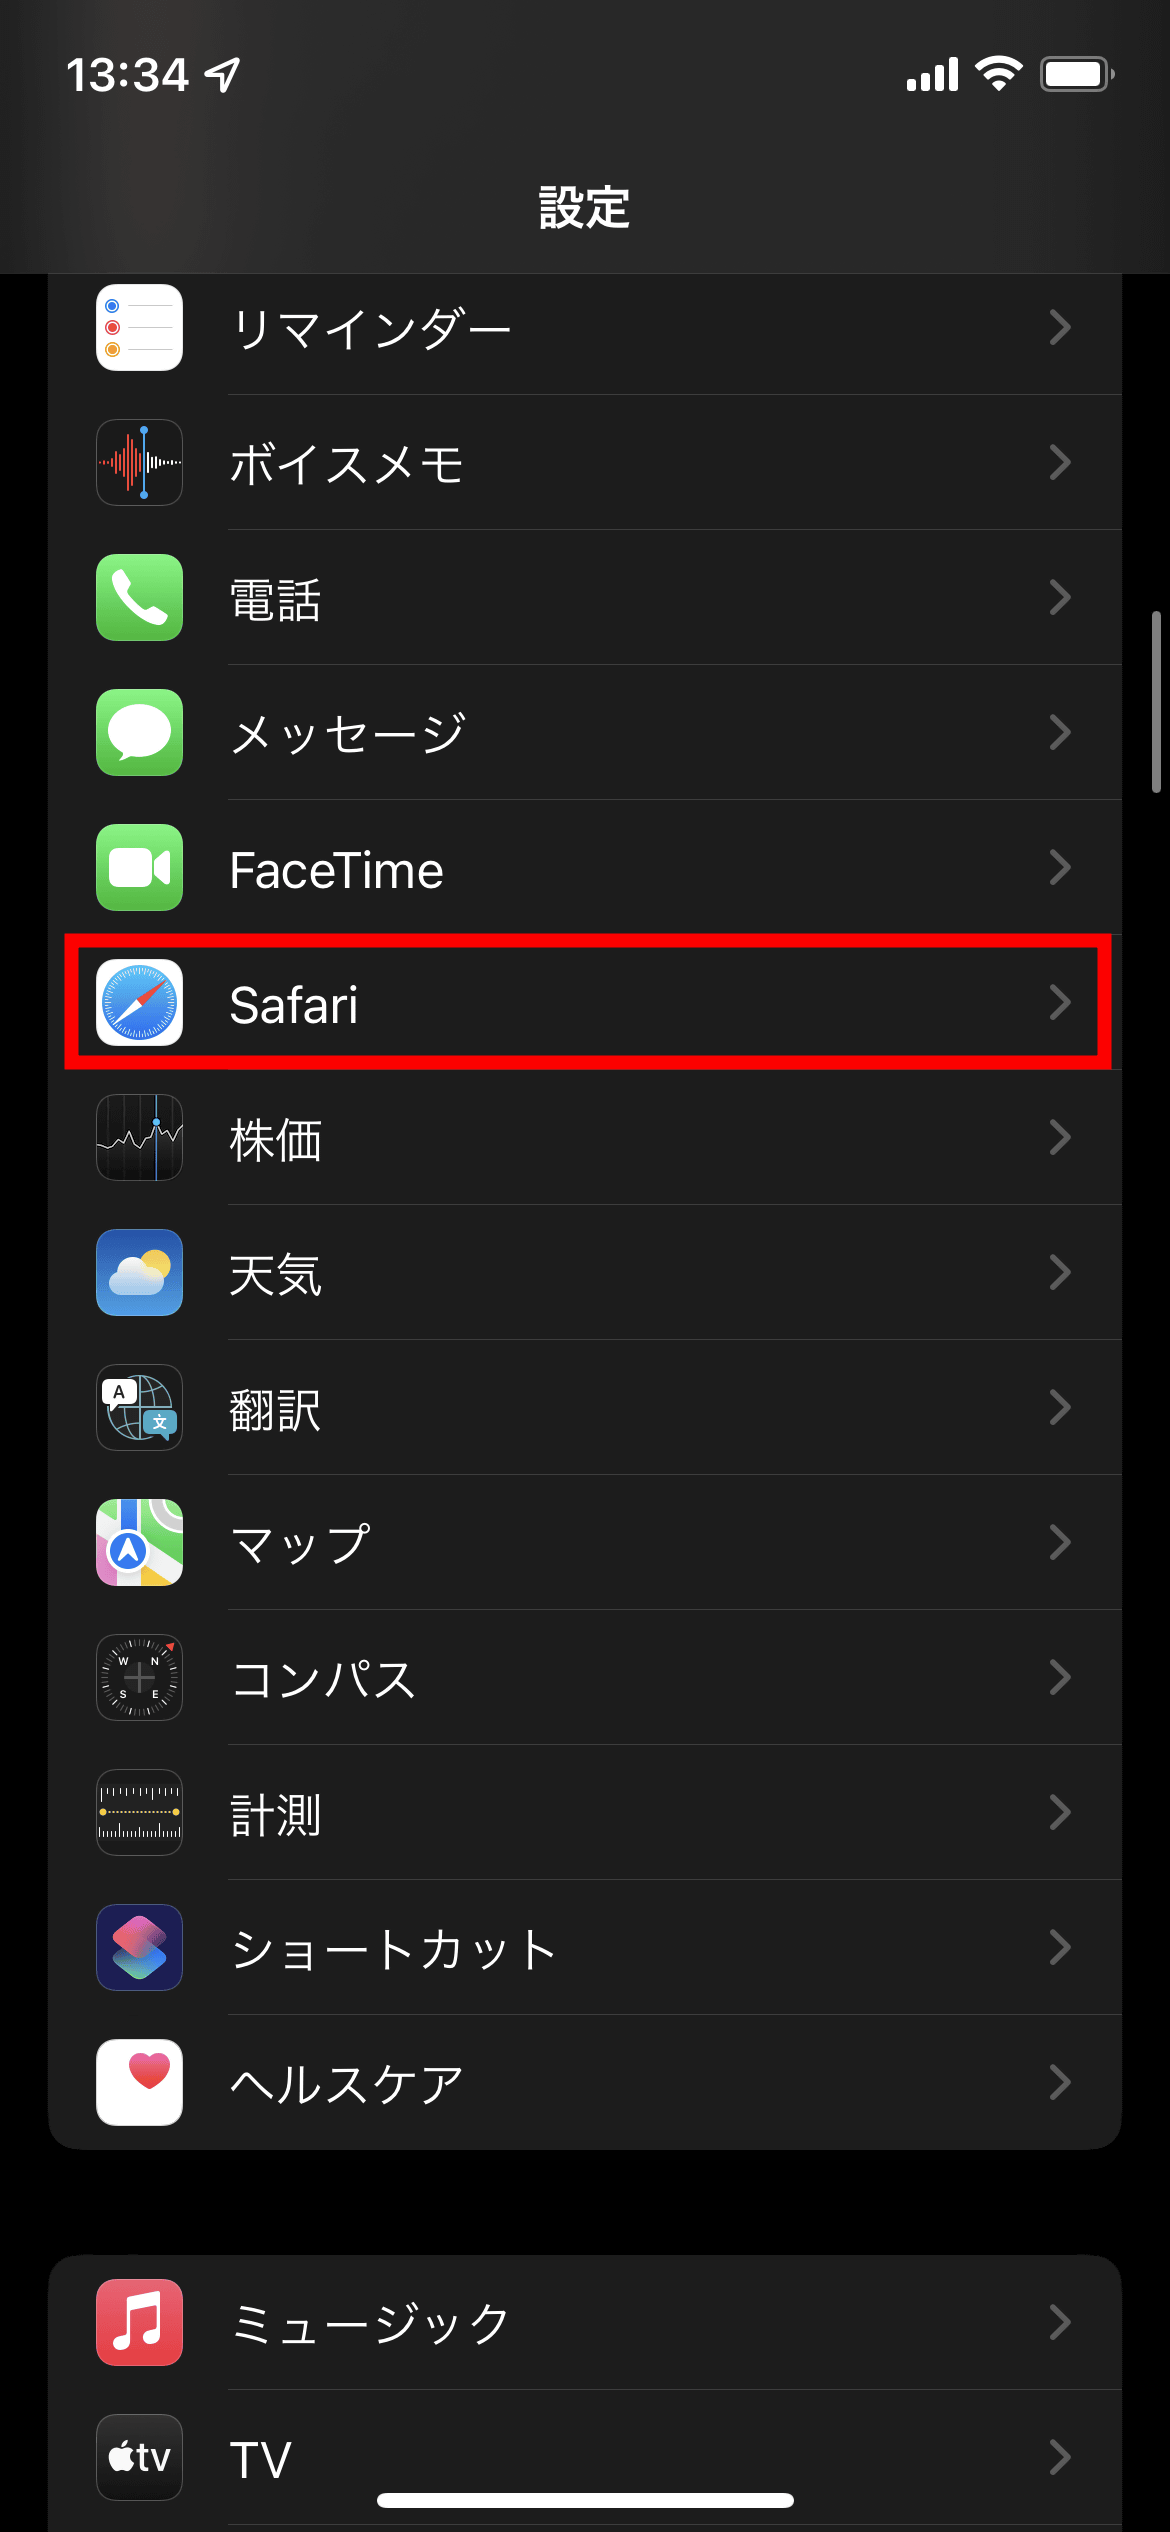
By tapping 'single tab' ...
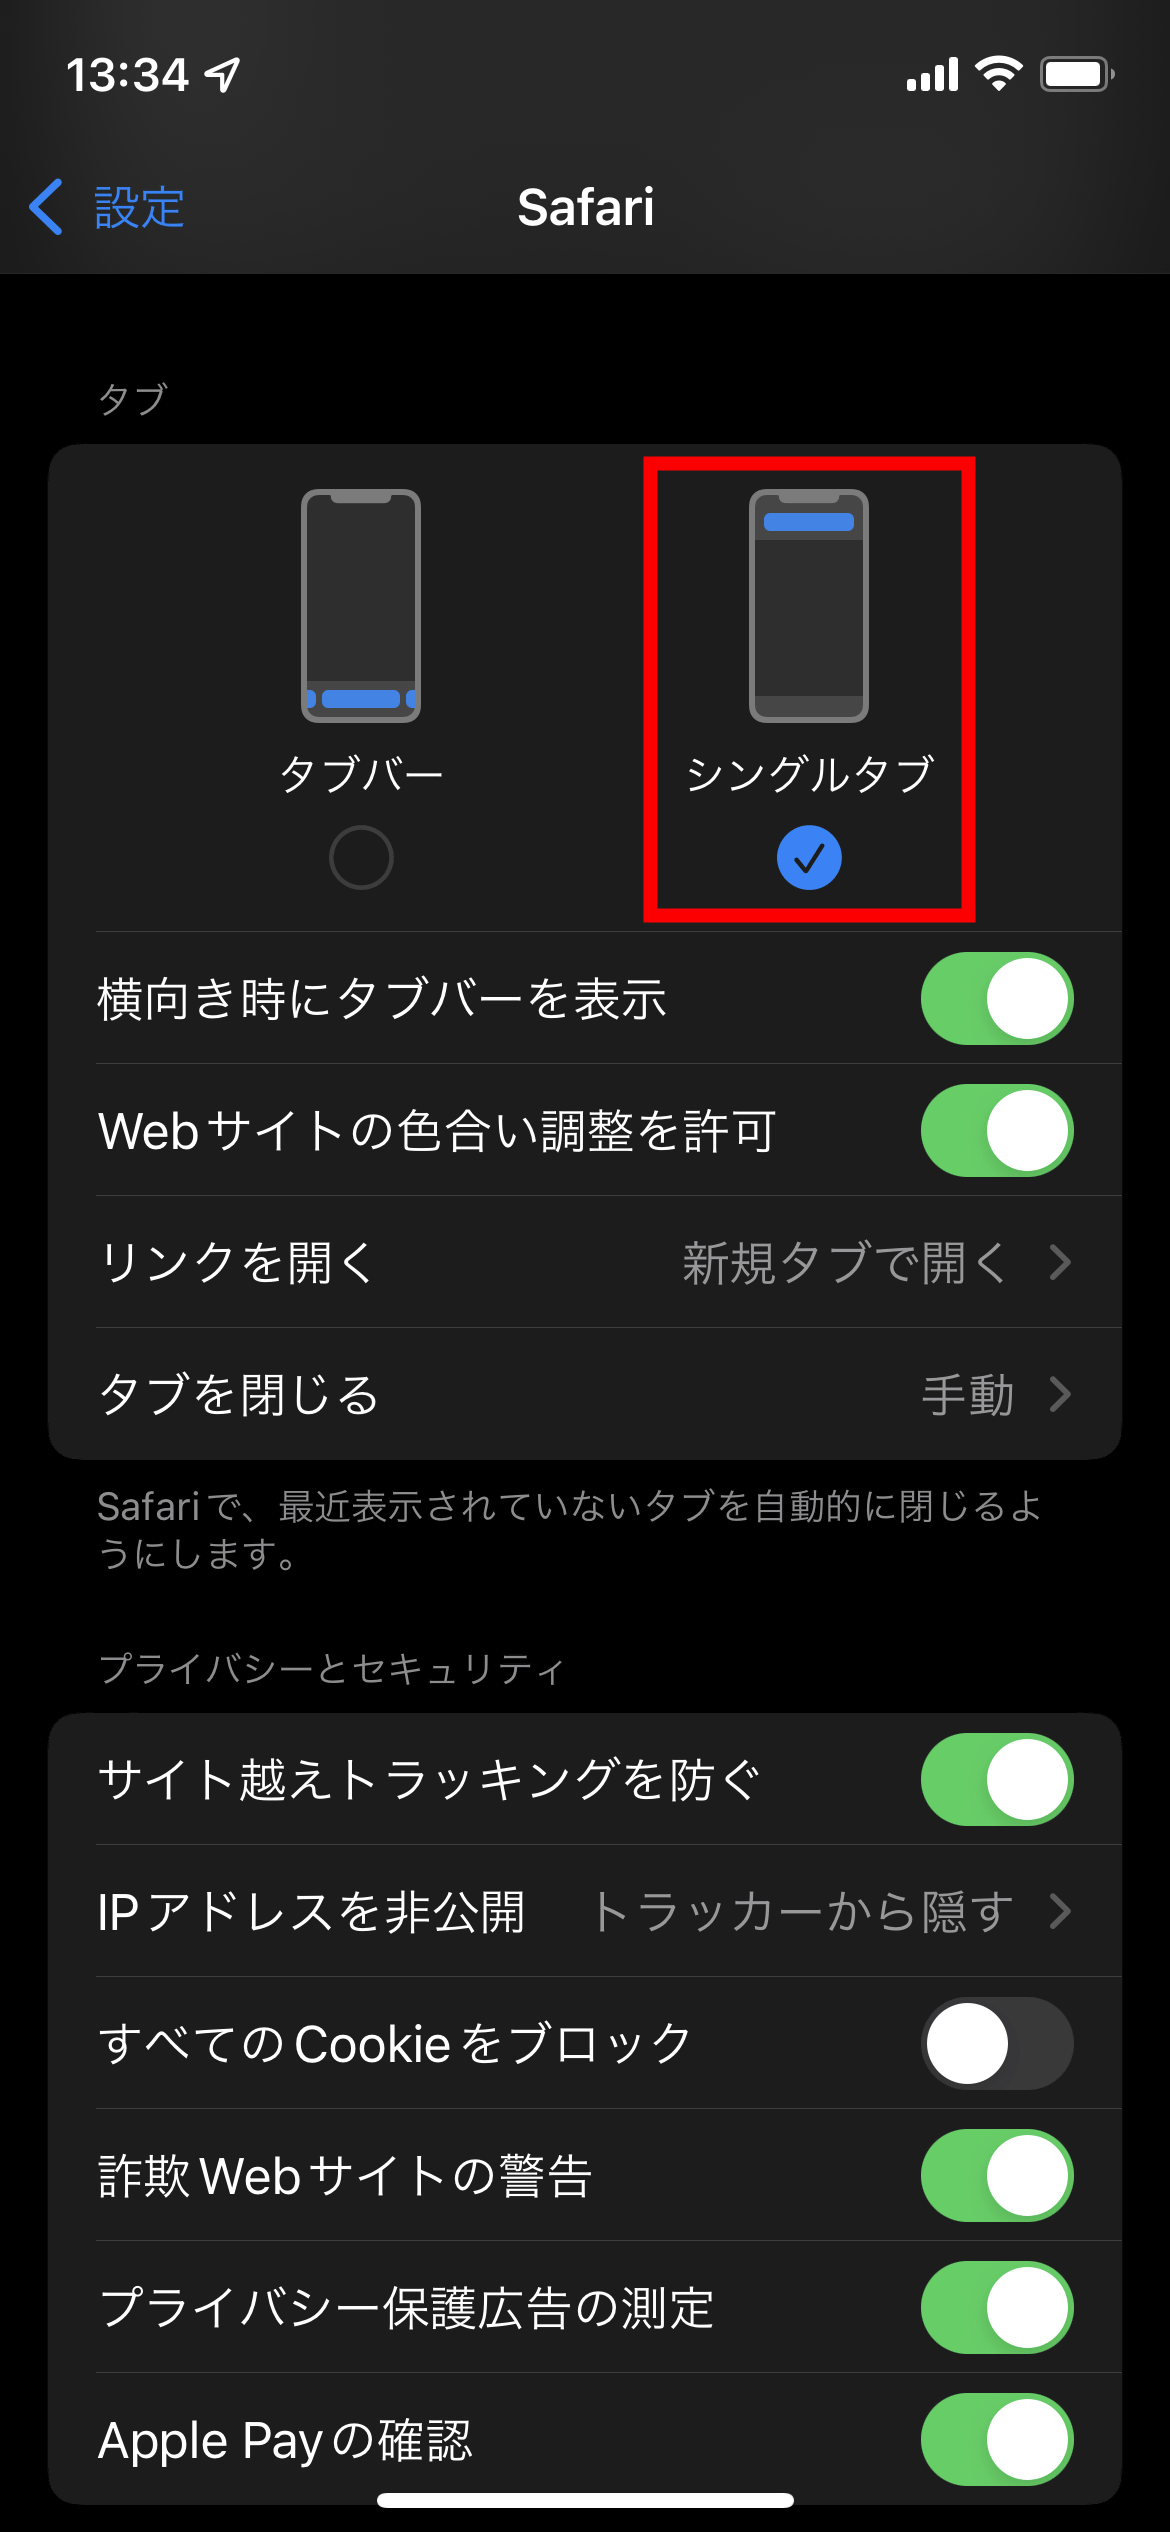
It is possible to return to the conventional UI design.
When you actually use it, the new UI design 'Tab Bar' makes it easy to switch tabs, and the search bar has moved to the bottom of the screen so that you can easily perform text search with one hand. The tab bar was unpopular in the beta version, but it seems to be a new feature that we recommend for those who want to use the iPhone, which is gradually increasing in size, with one hand.
◆ 'Intensive mode' that allows you to switch notifications and home screens for each time zone
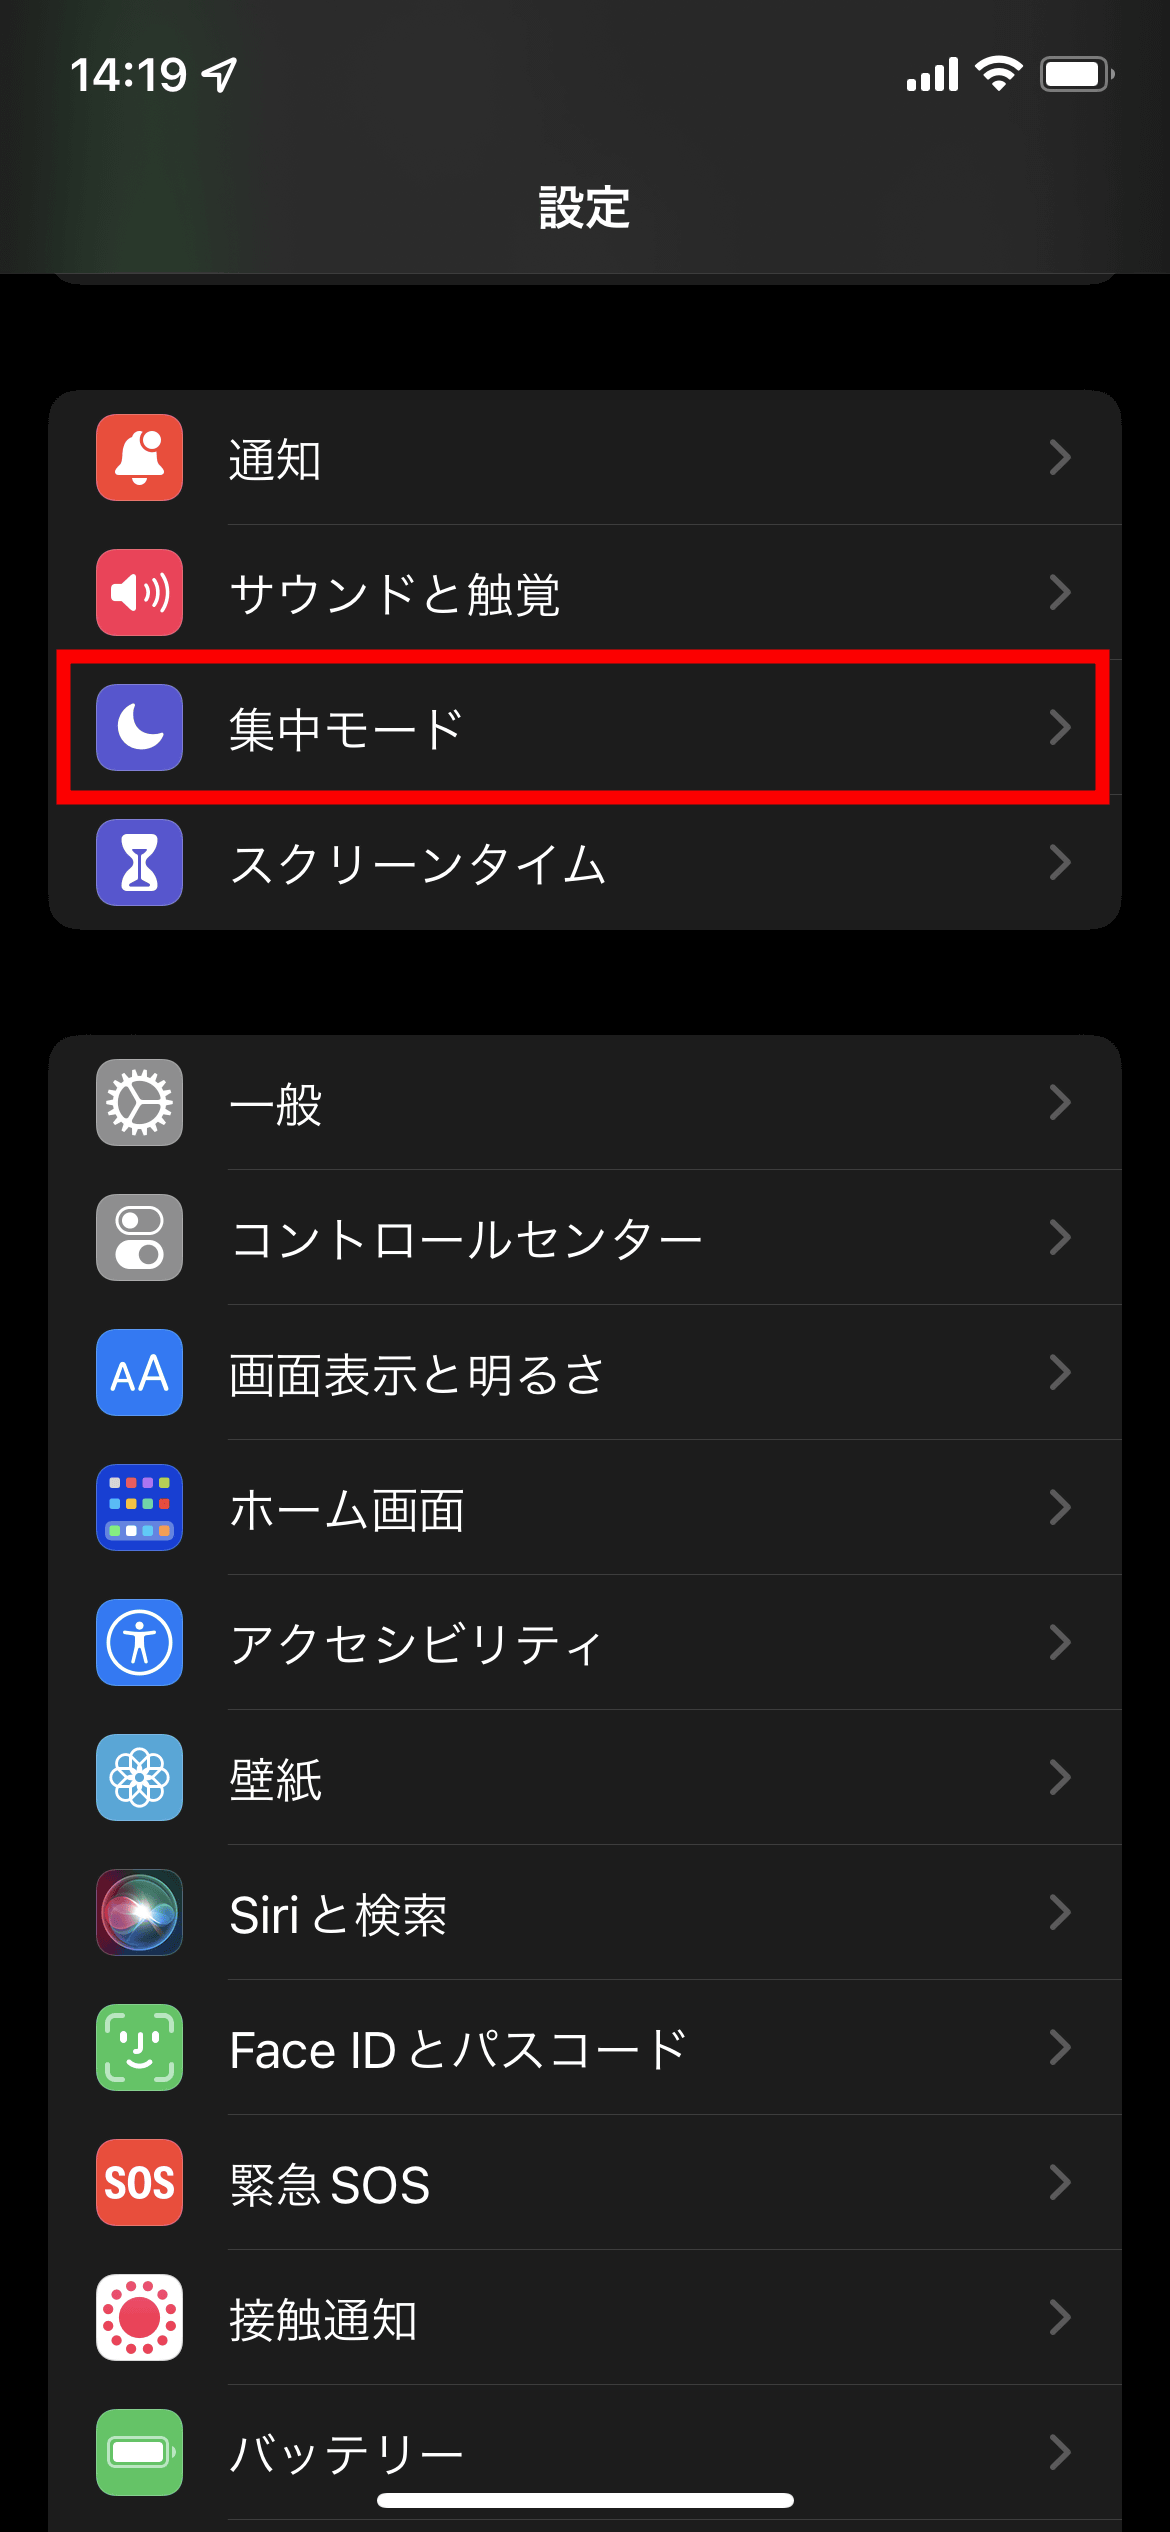
'Intensive mode' can be used from 'Intensive mode' in the settings app.
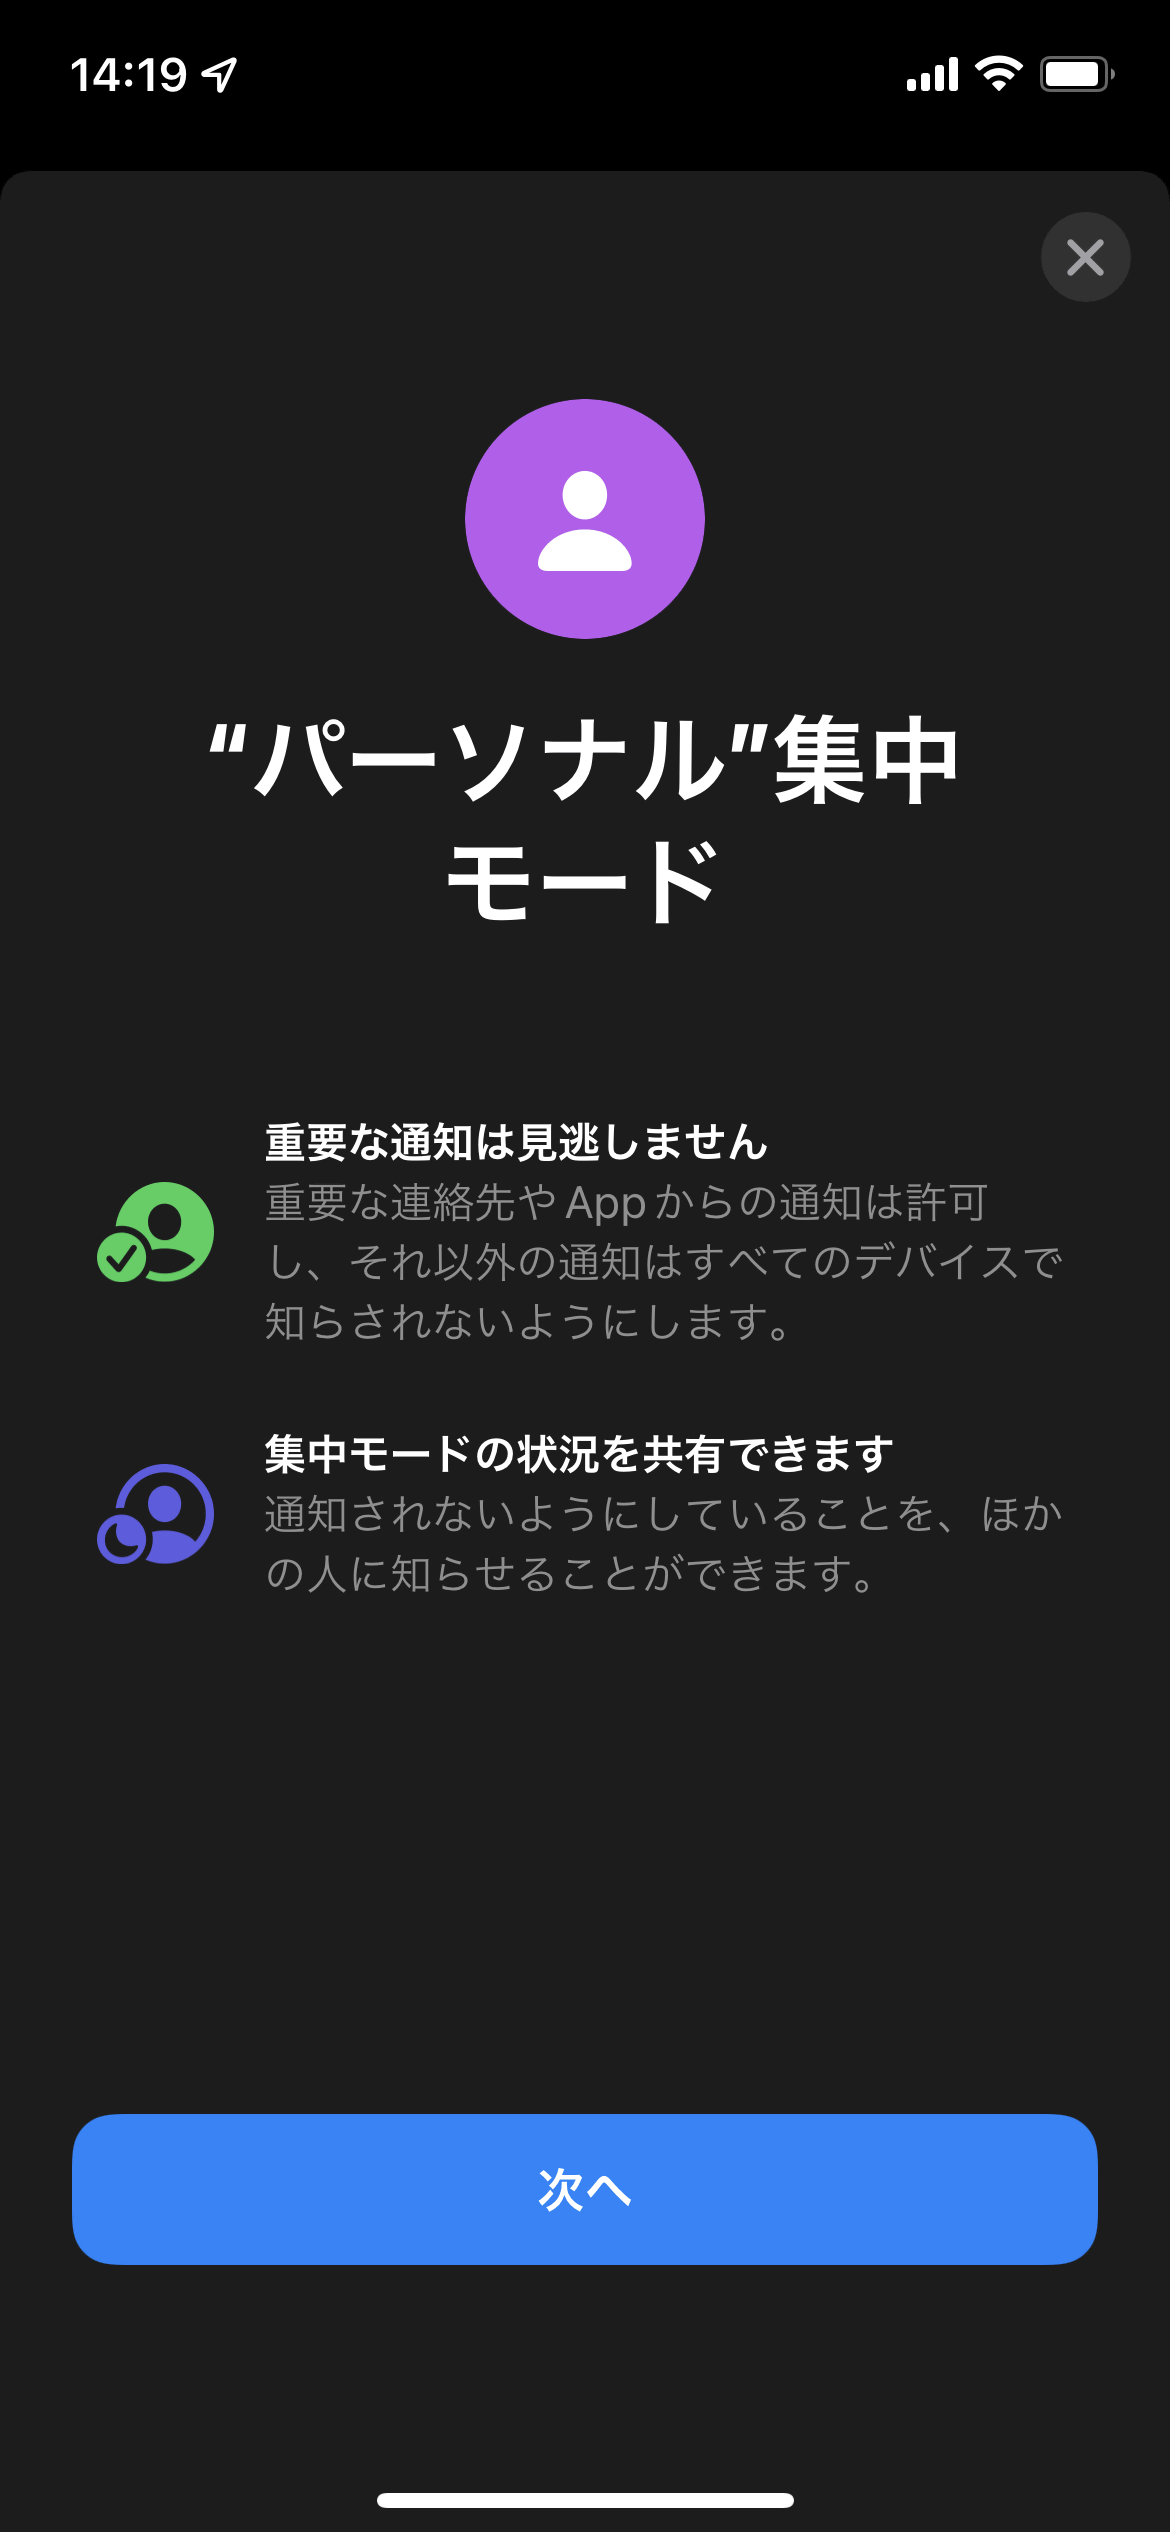
There are three presets, 'Good night mode', 'Work', and 'Sleep'. In 'Personal', you can select notifications that you want to allow more freely.
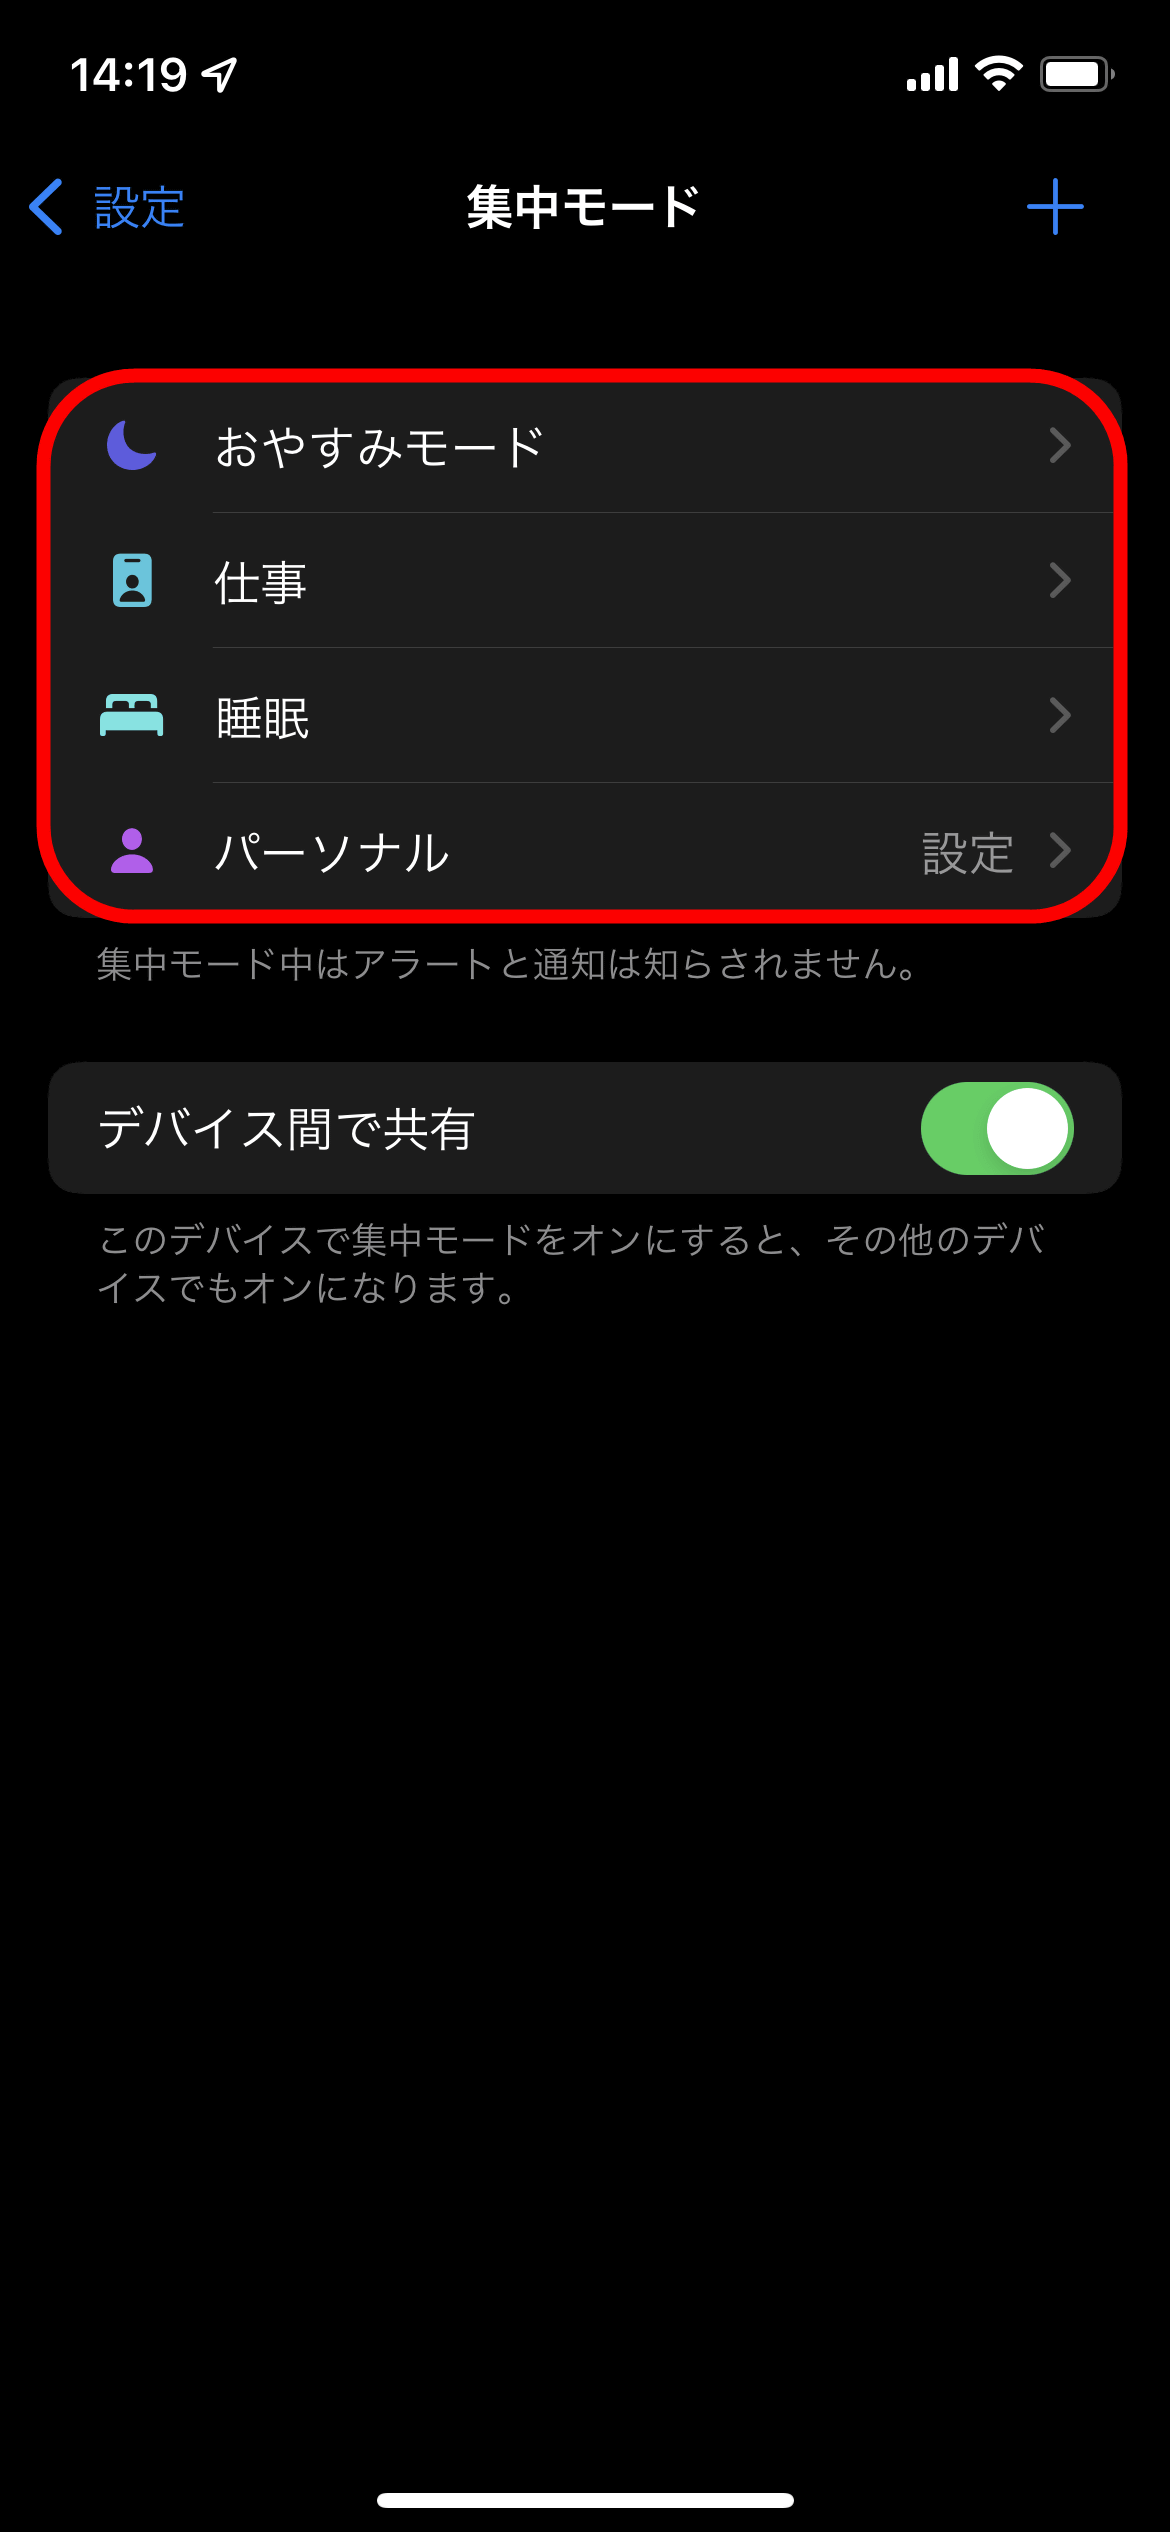
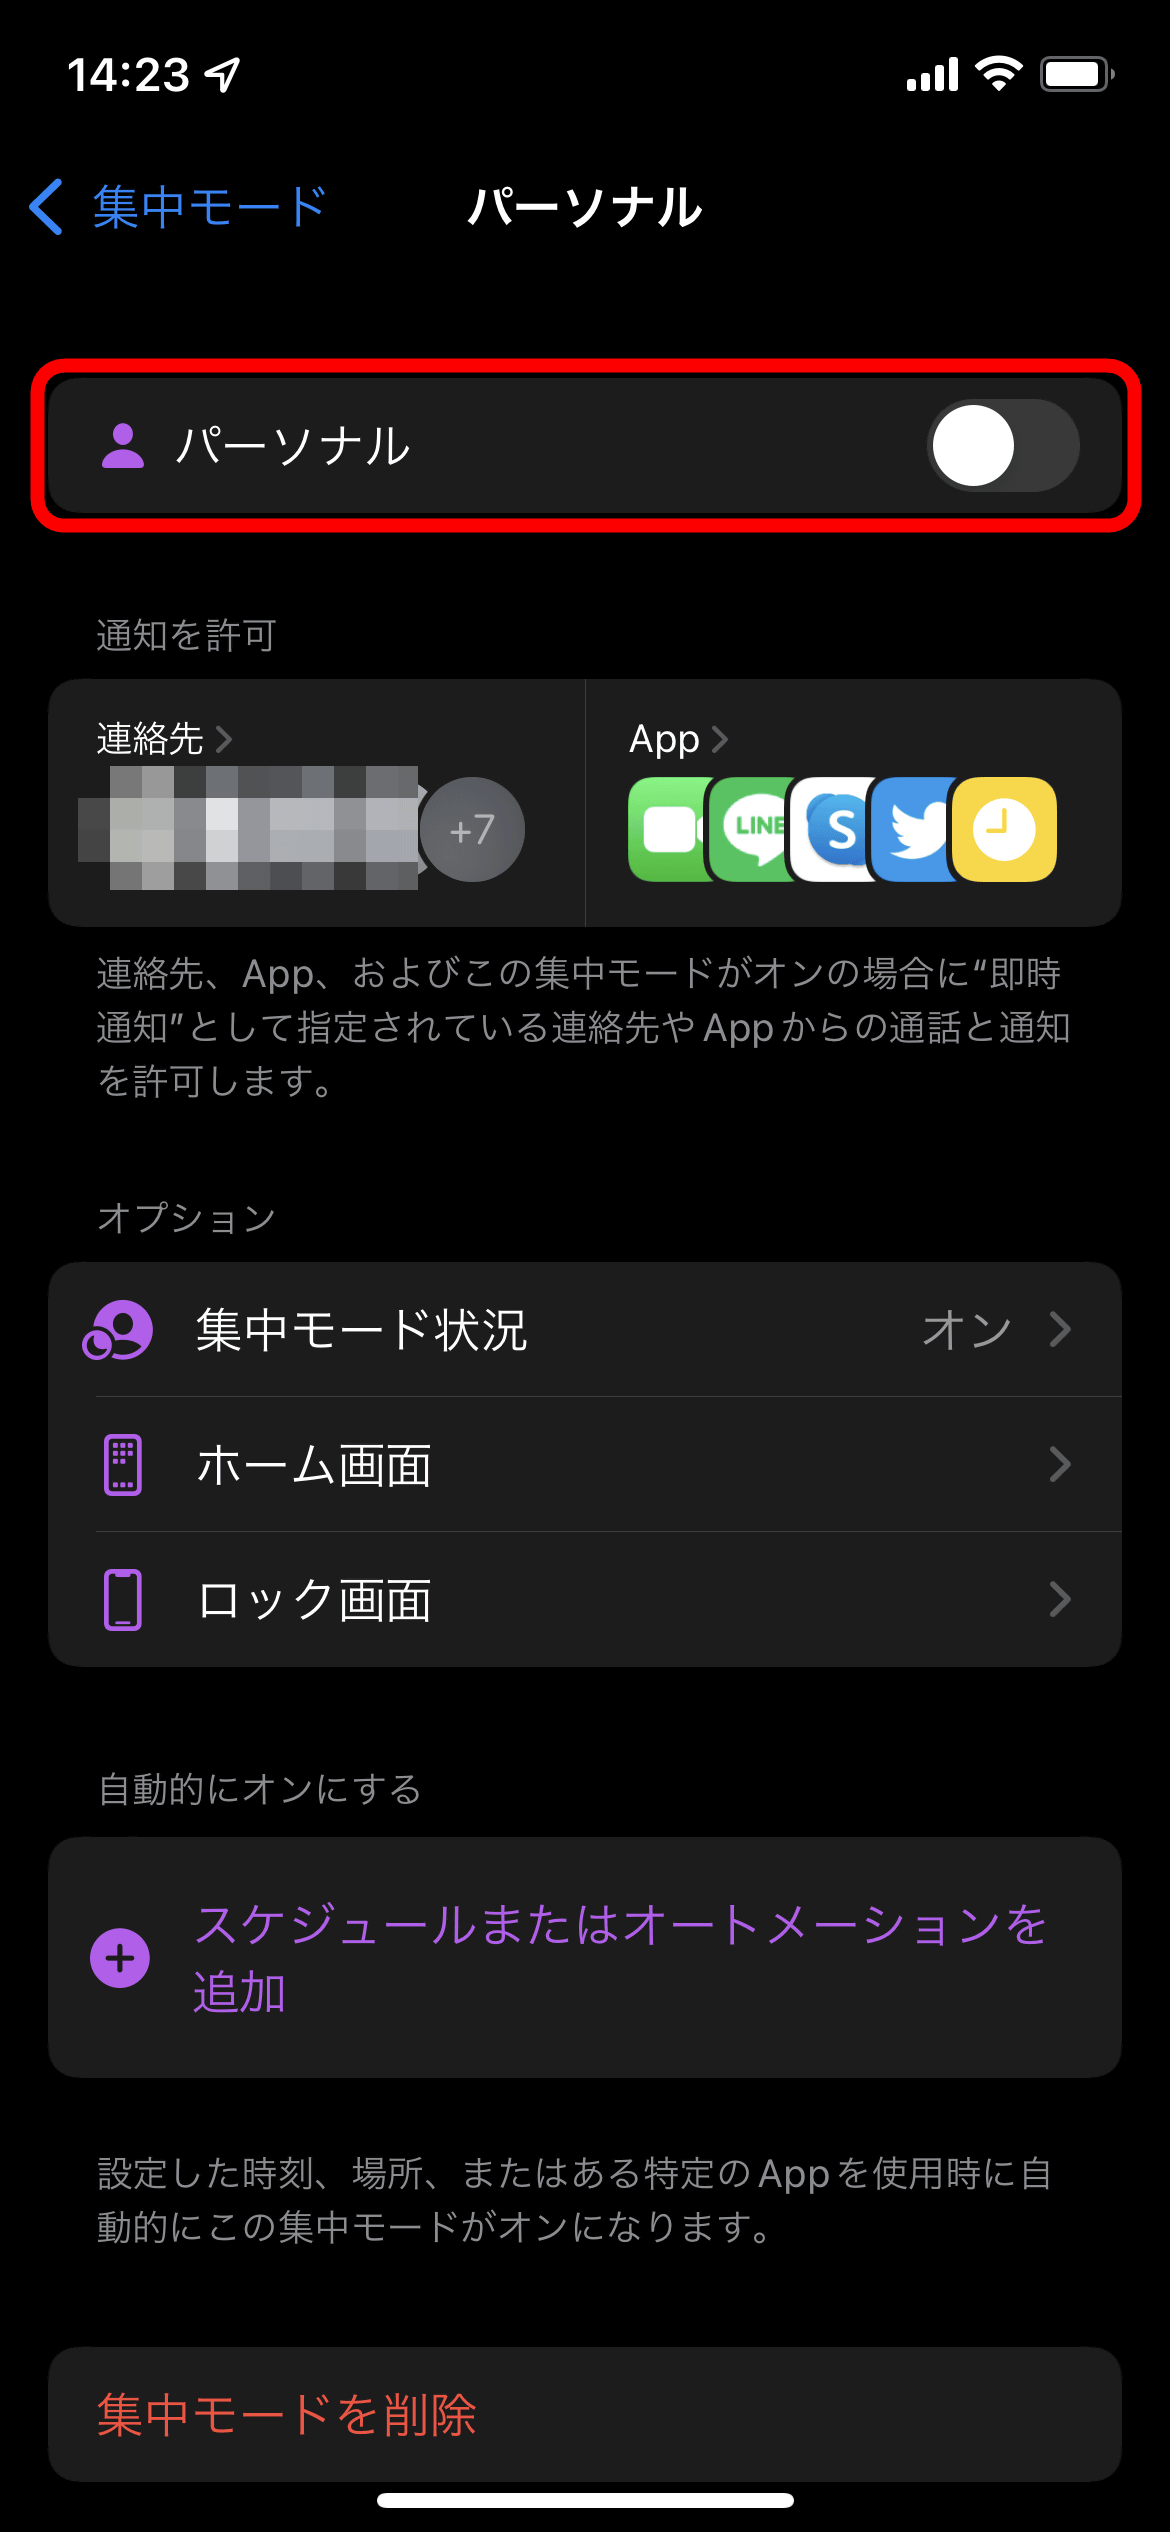
This time I will use 'Personal' mode.
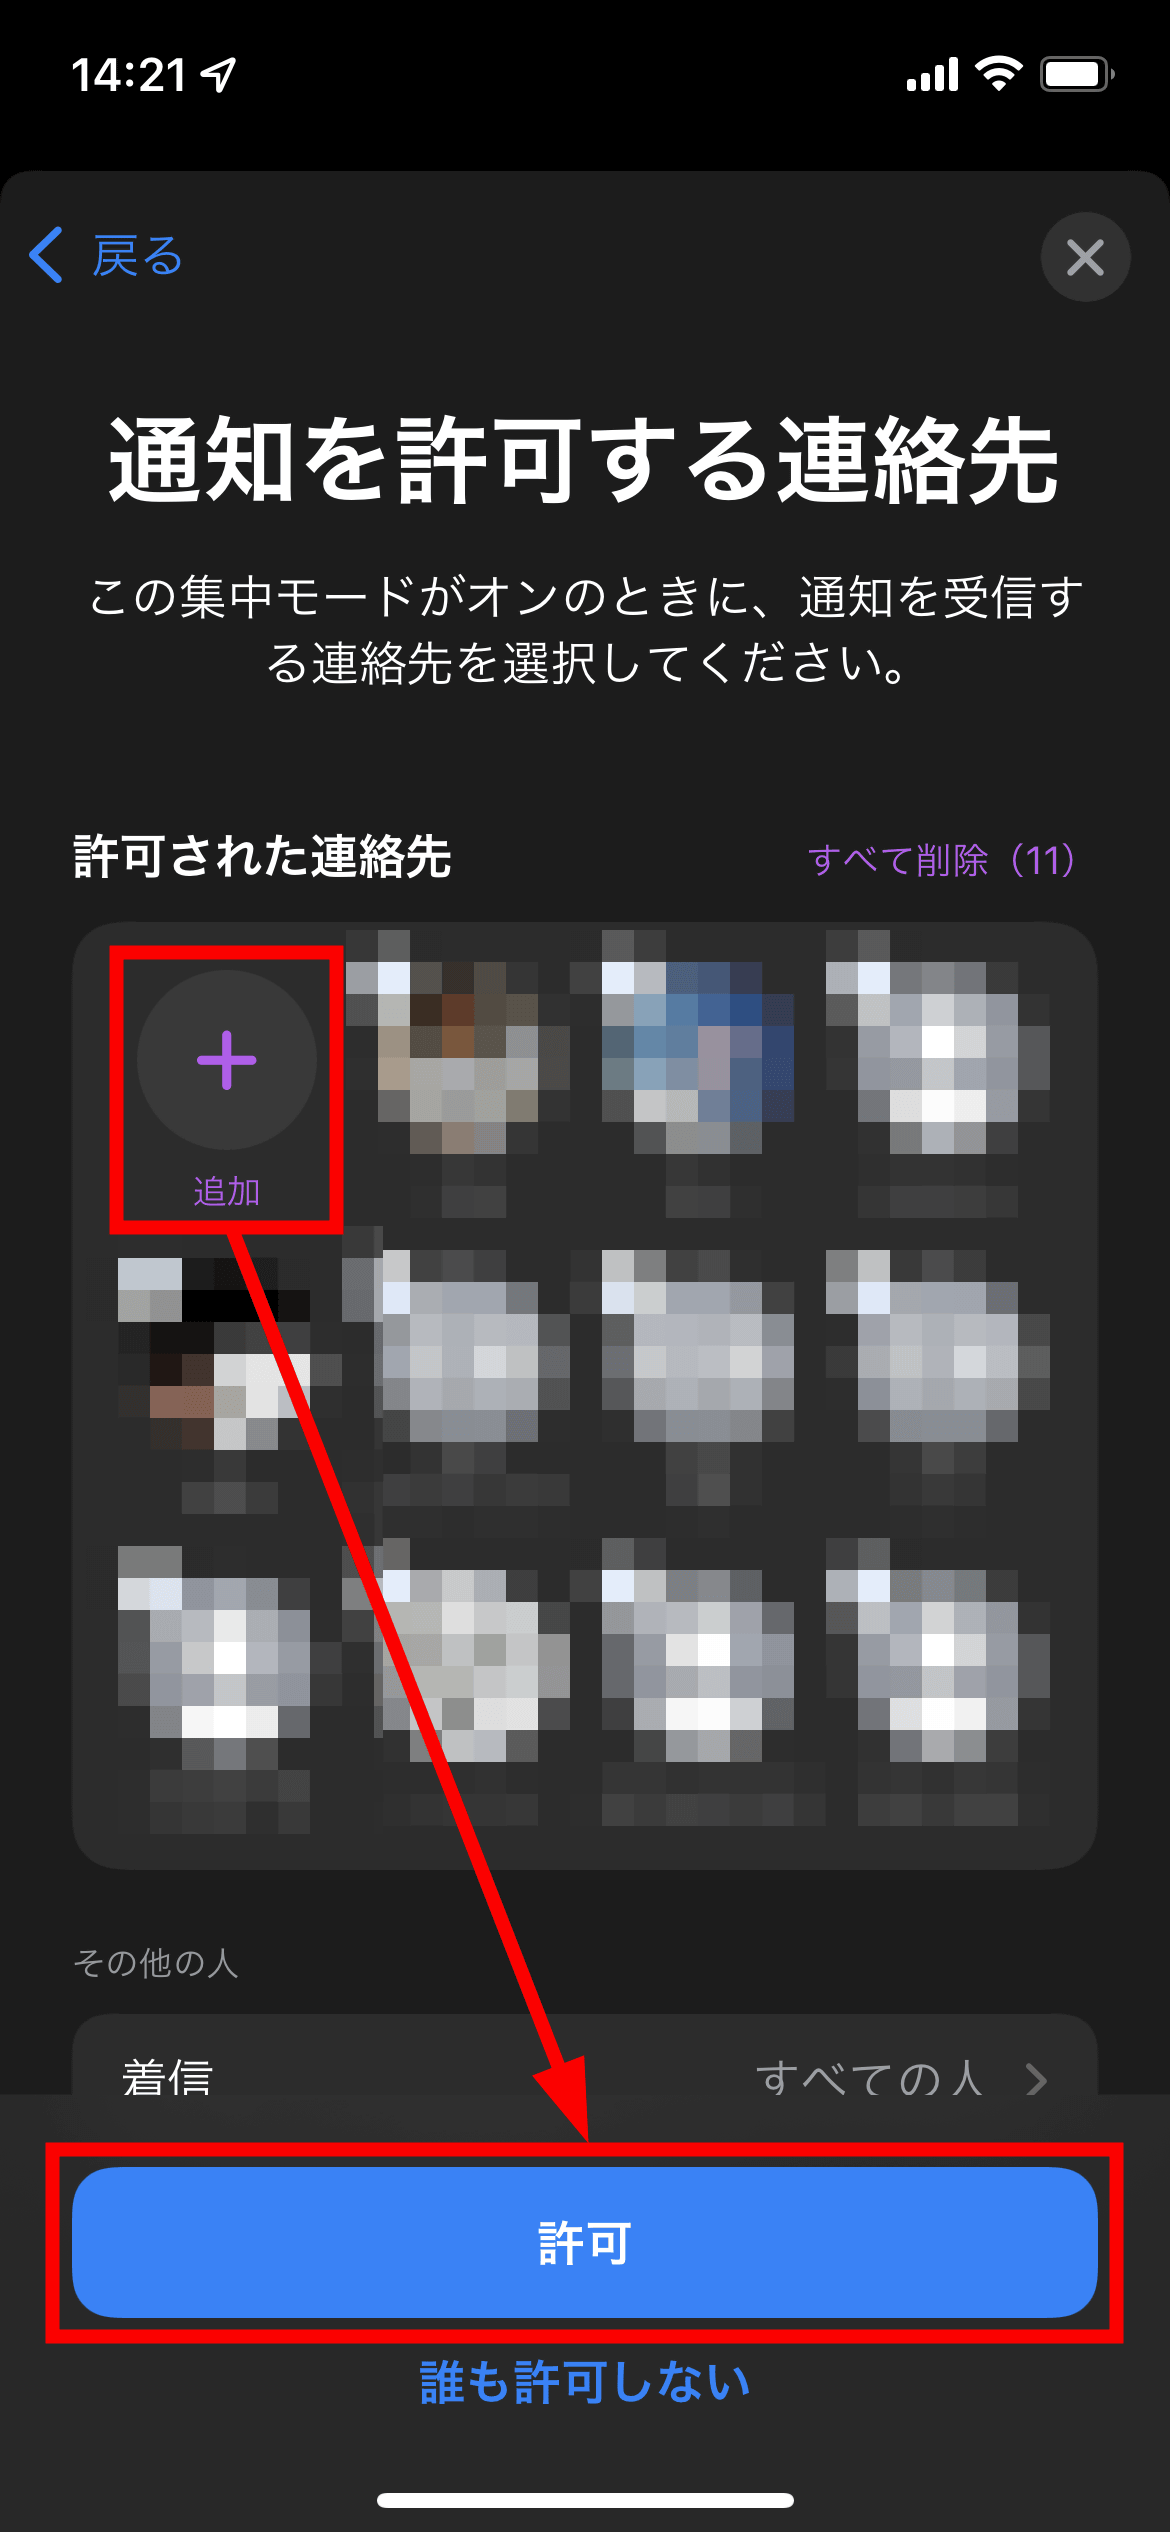
First, add the contacts you want to allow notifications and tap 'Allow'. Notifications such as emails and phone notifications can be set separately, and by default, incoming calls from everyone are allowed even when using centralized mode.
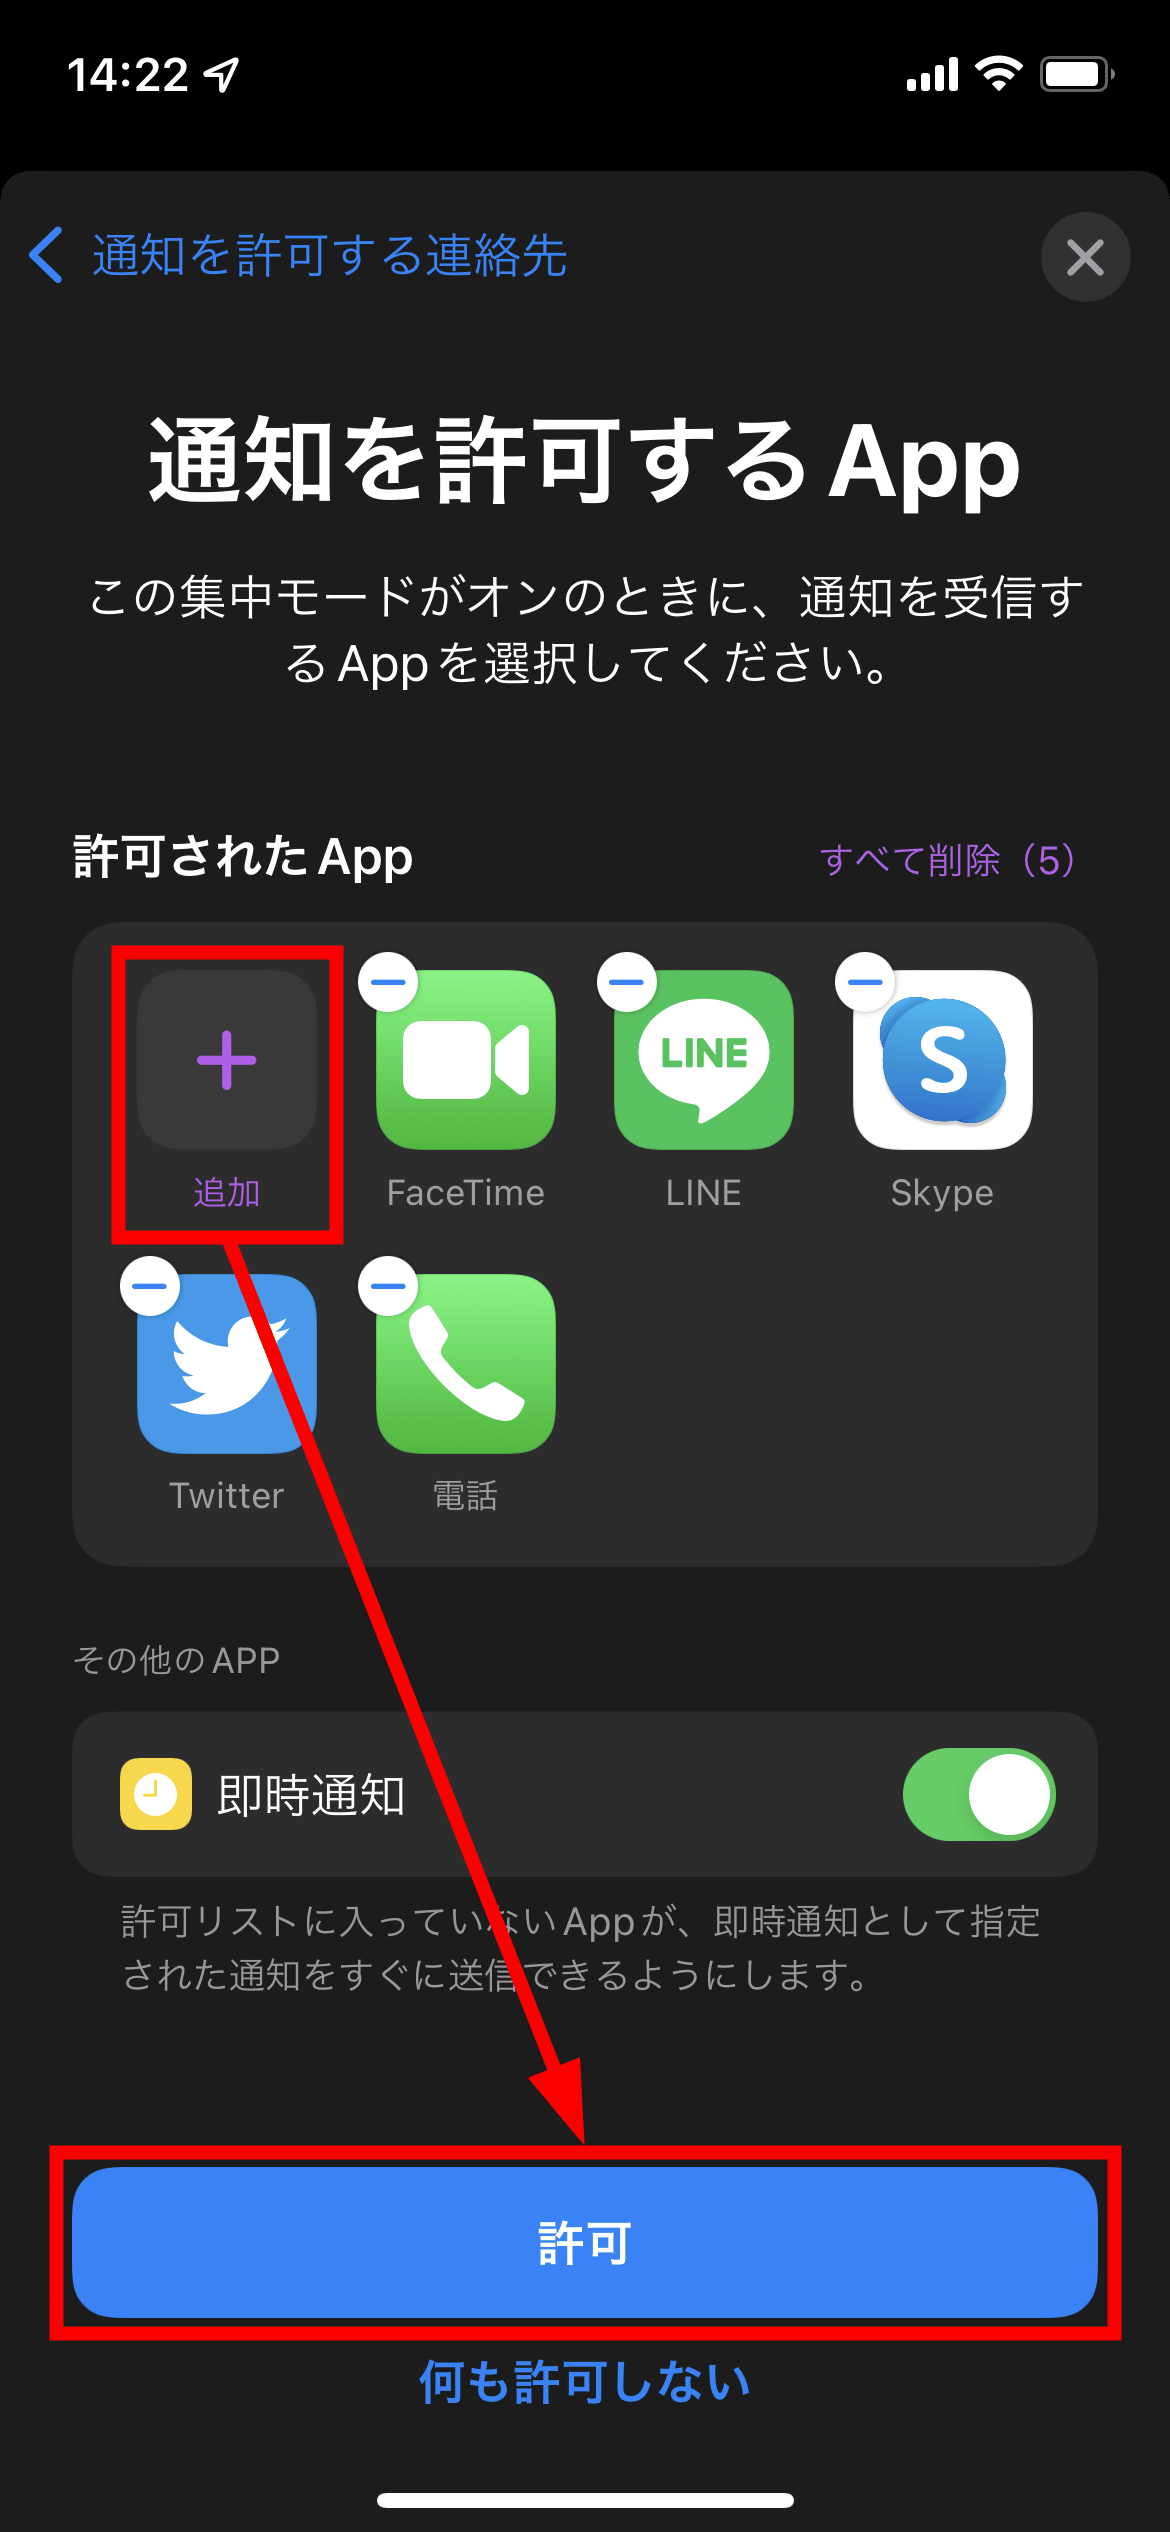
Then add an app that allows notifications and tap 'Allow'.
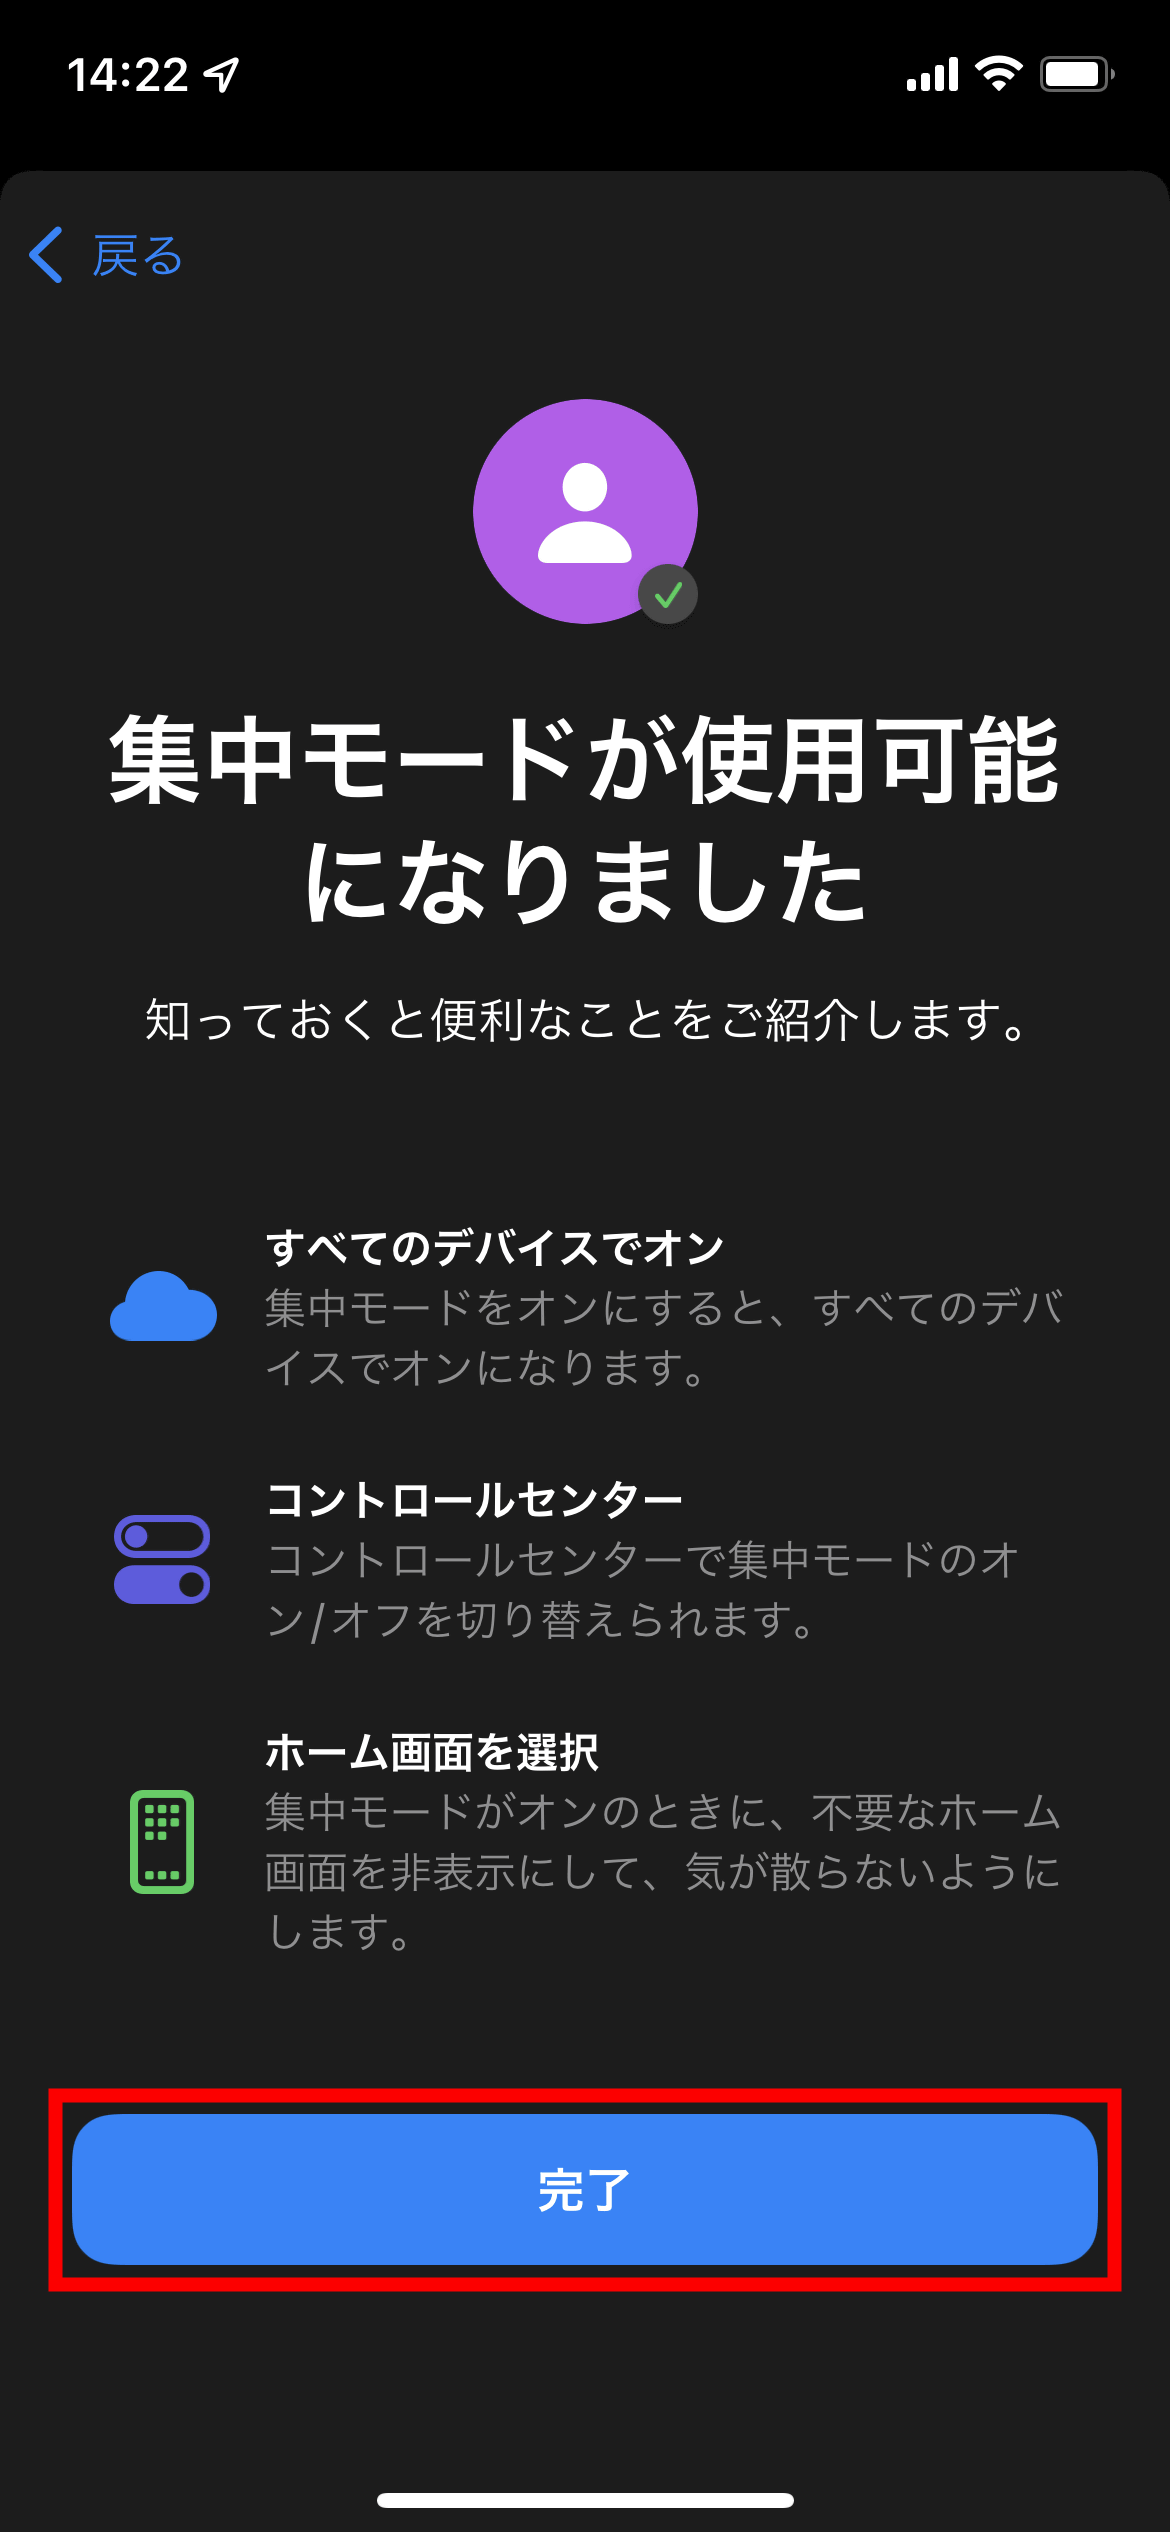
Tap 'Done'.
By turning on the toggle button in the part marked Personal at the top of the screen, it is possible to turn on the set personal concentration mode.
When you tap 'Intensive mode status' ...
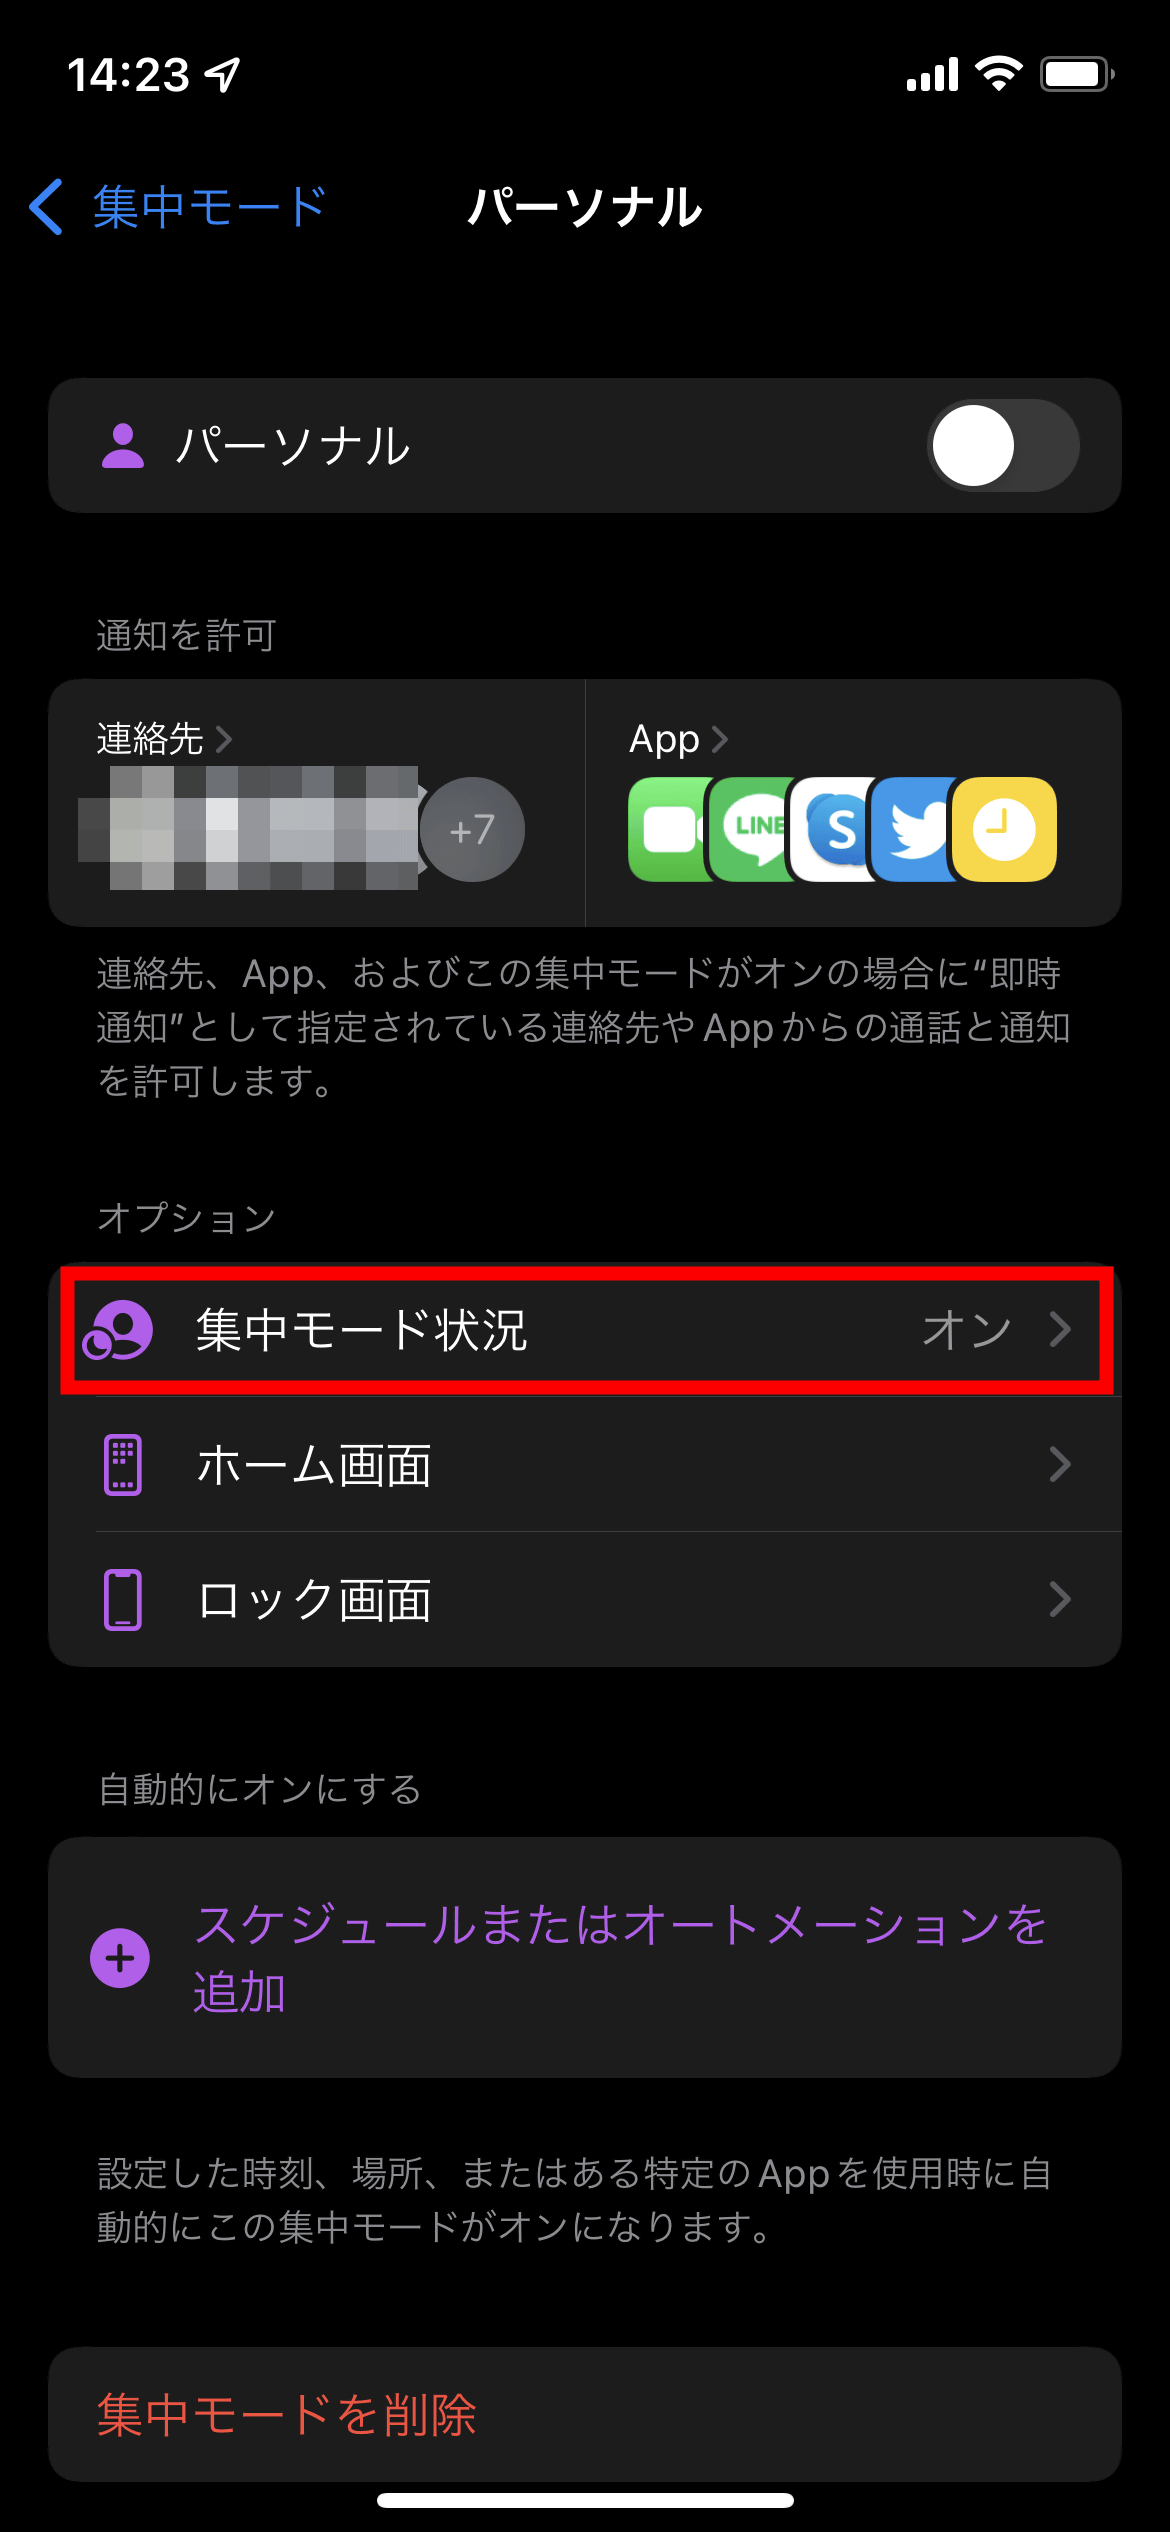
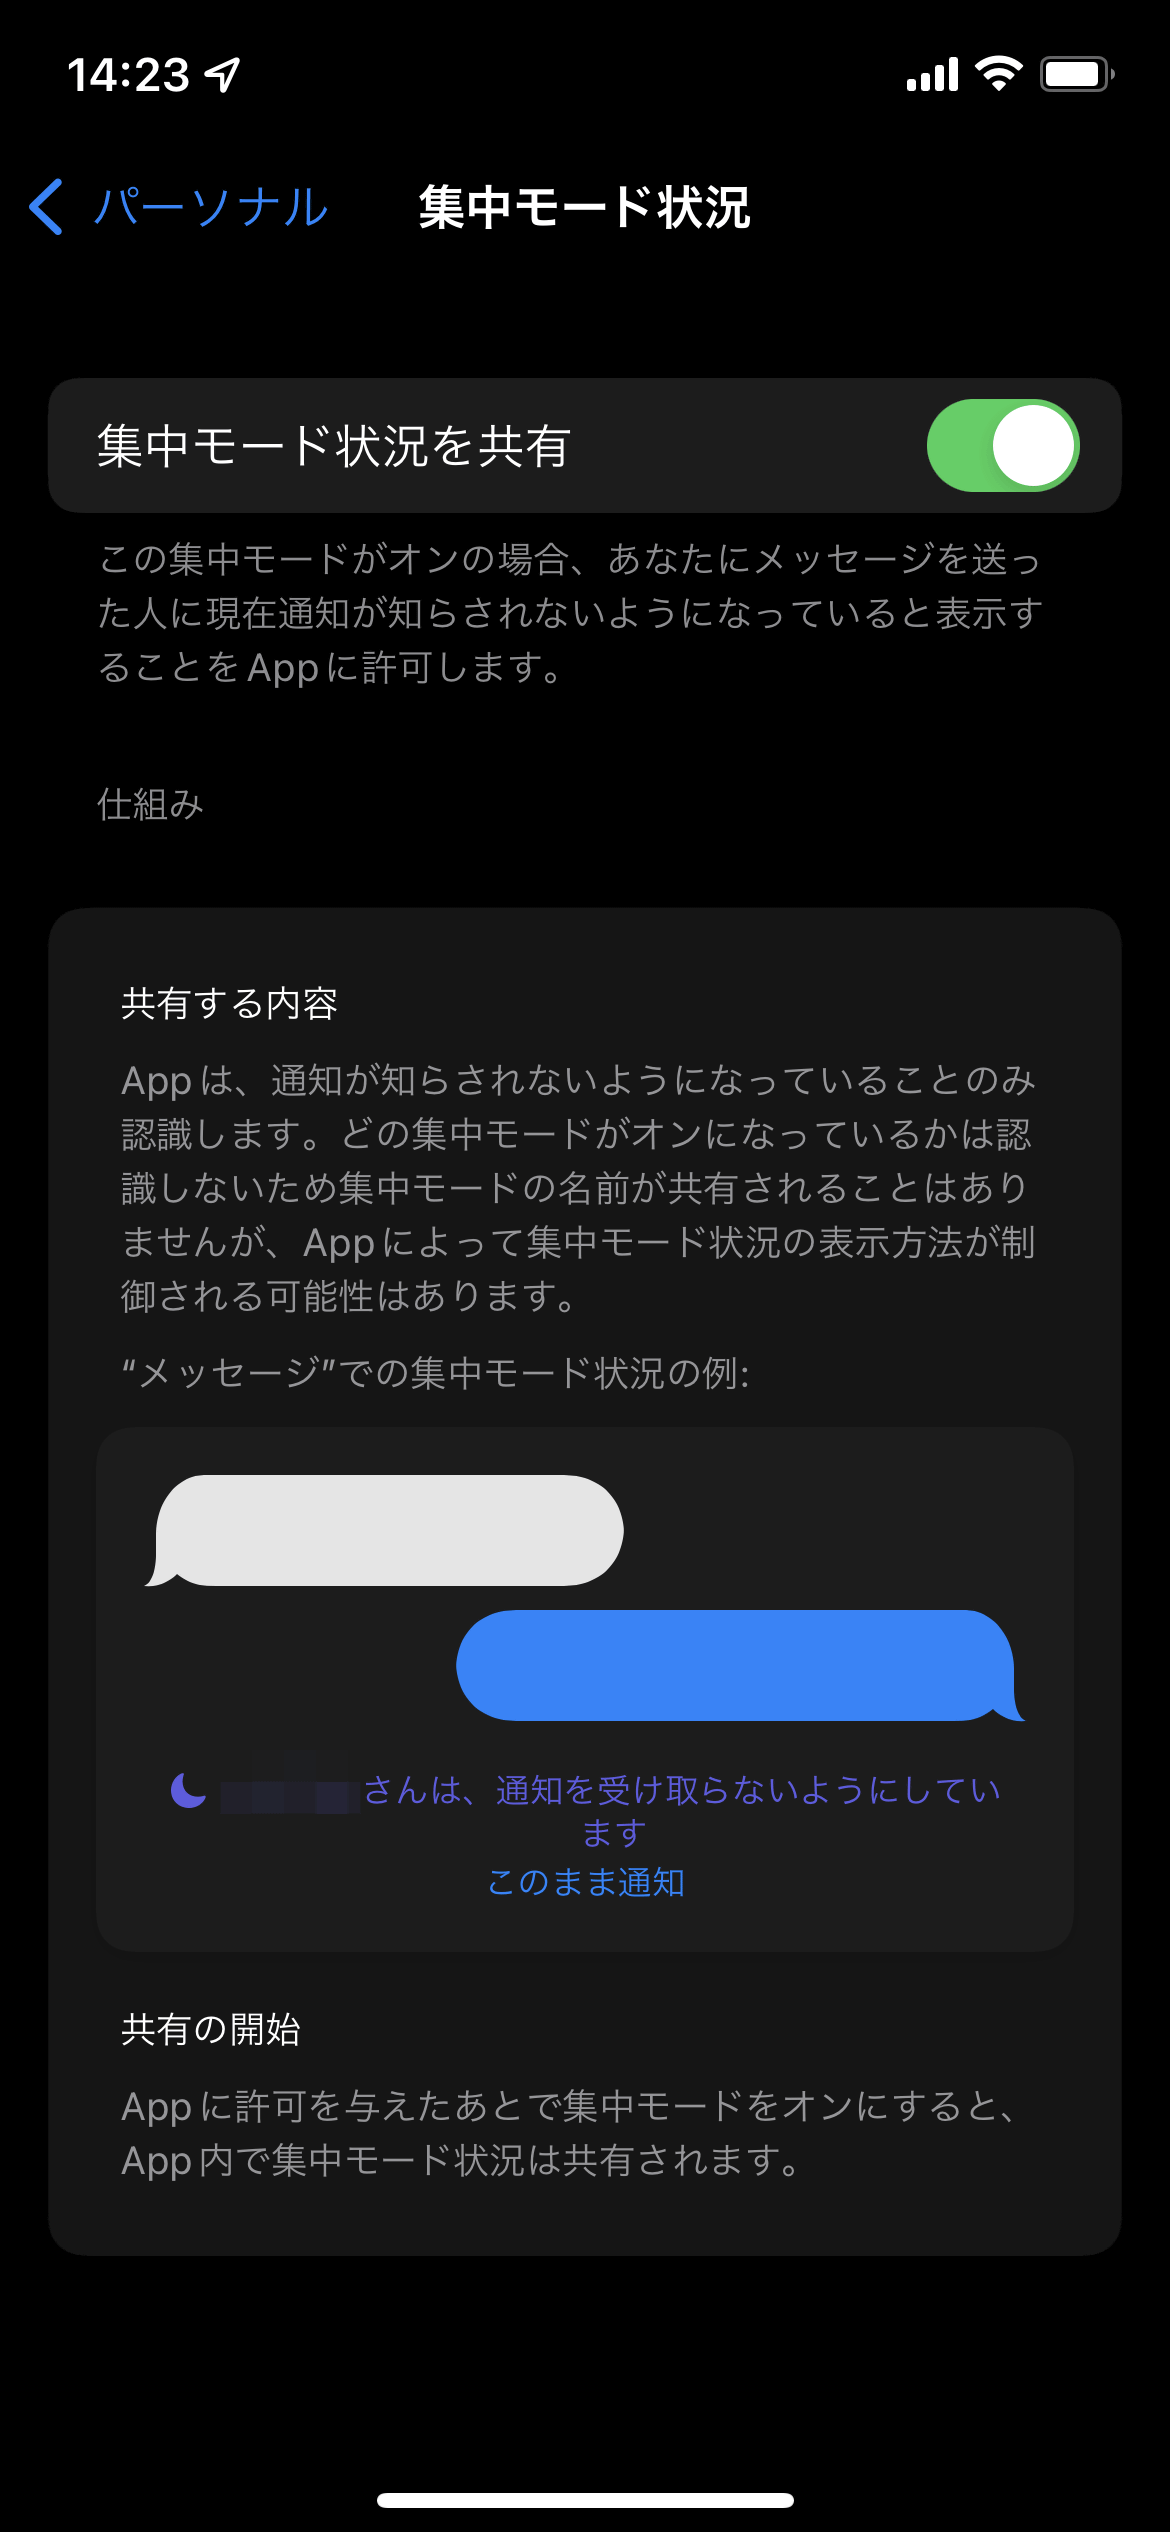
If you have centralized mode turned on, you will be able to notify other users about it. The specific notifications that will be displayed to the other party are as shown at the bottom of the screenshot below.
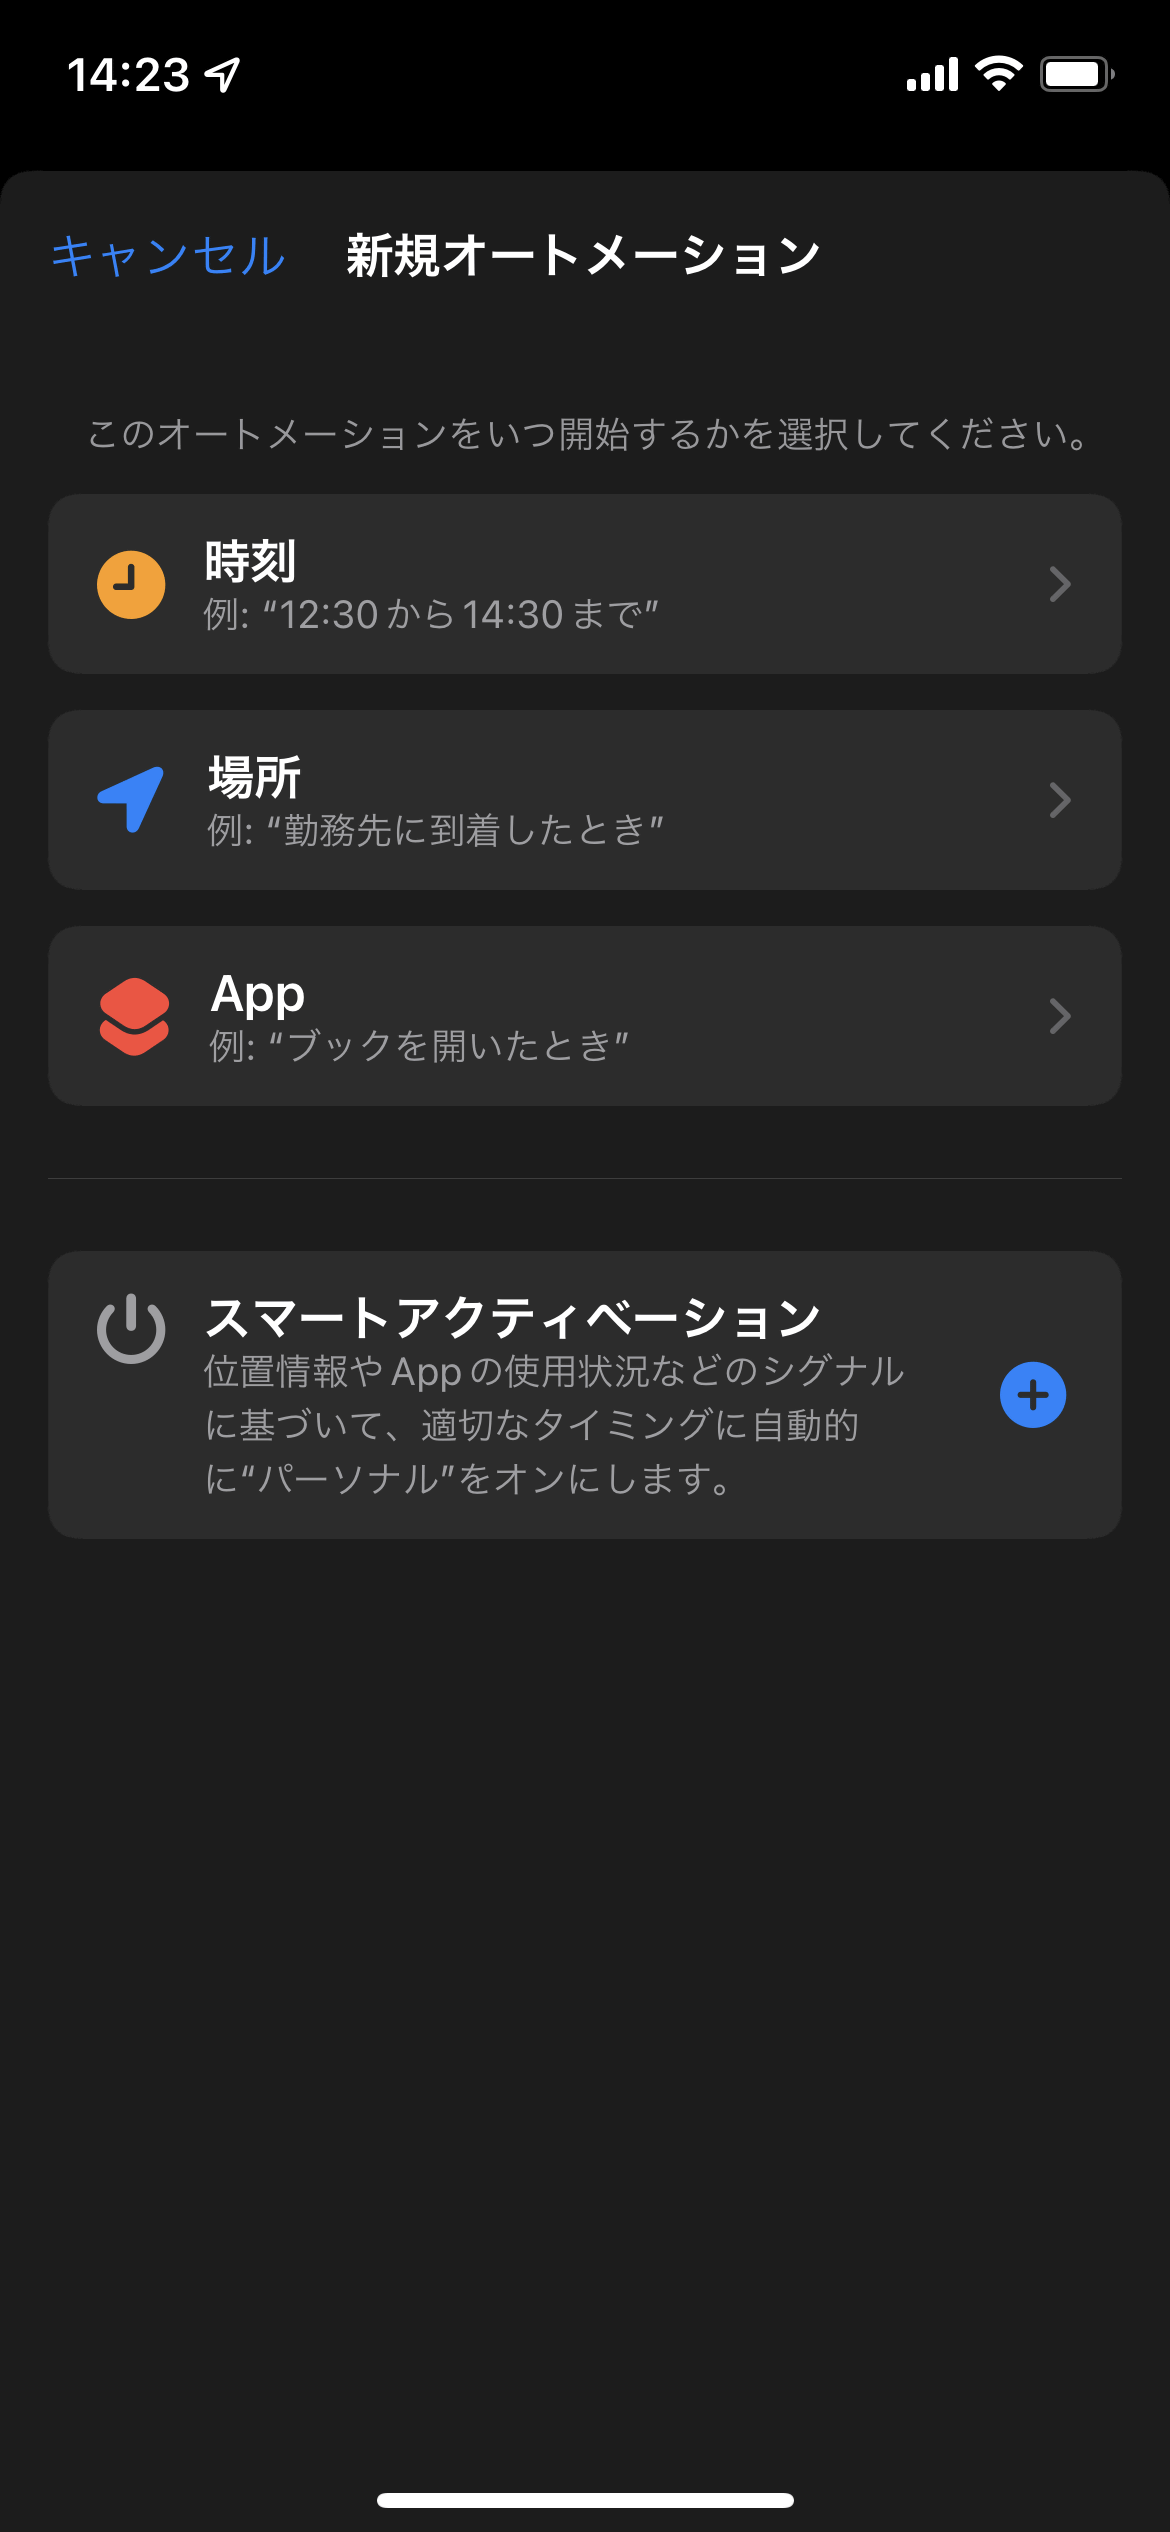
Centralized mode can be turned on and off manually, but many people would like to limit their working hours to notifications from apps used at work. In that case, tap 'Add schedule or automation'.
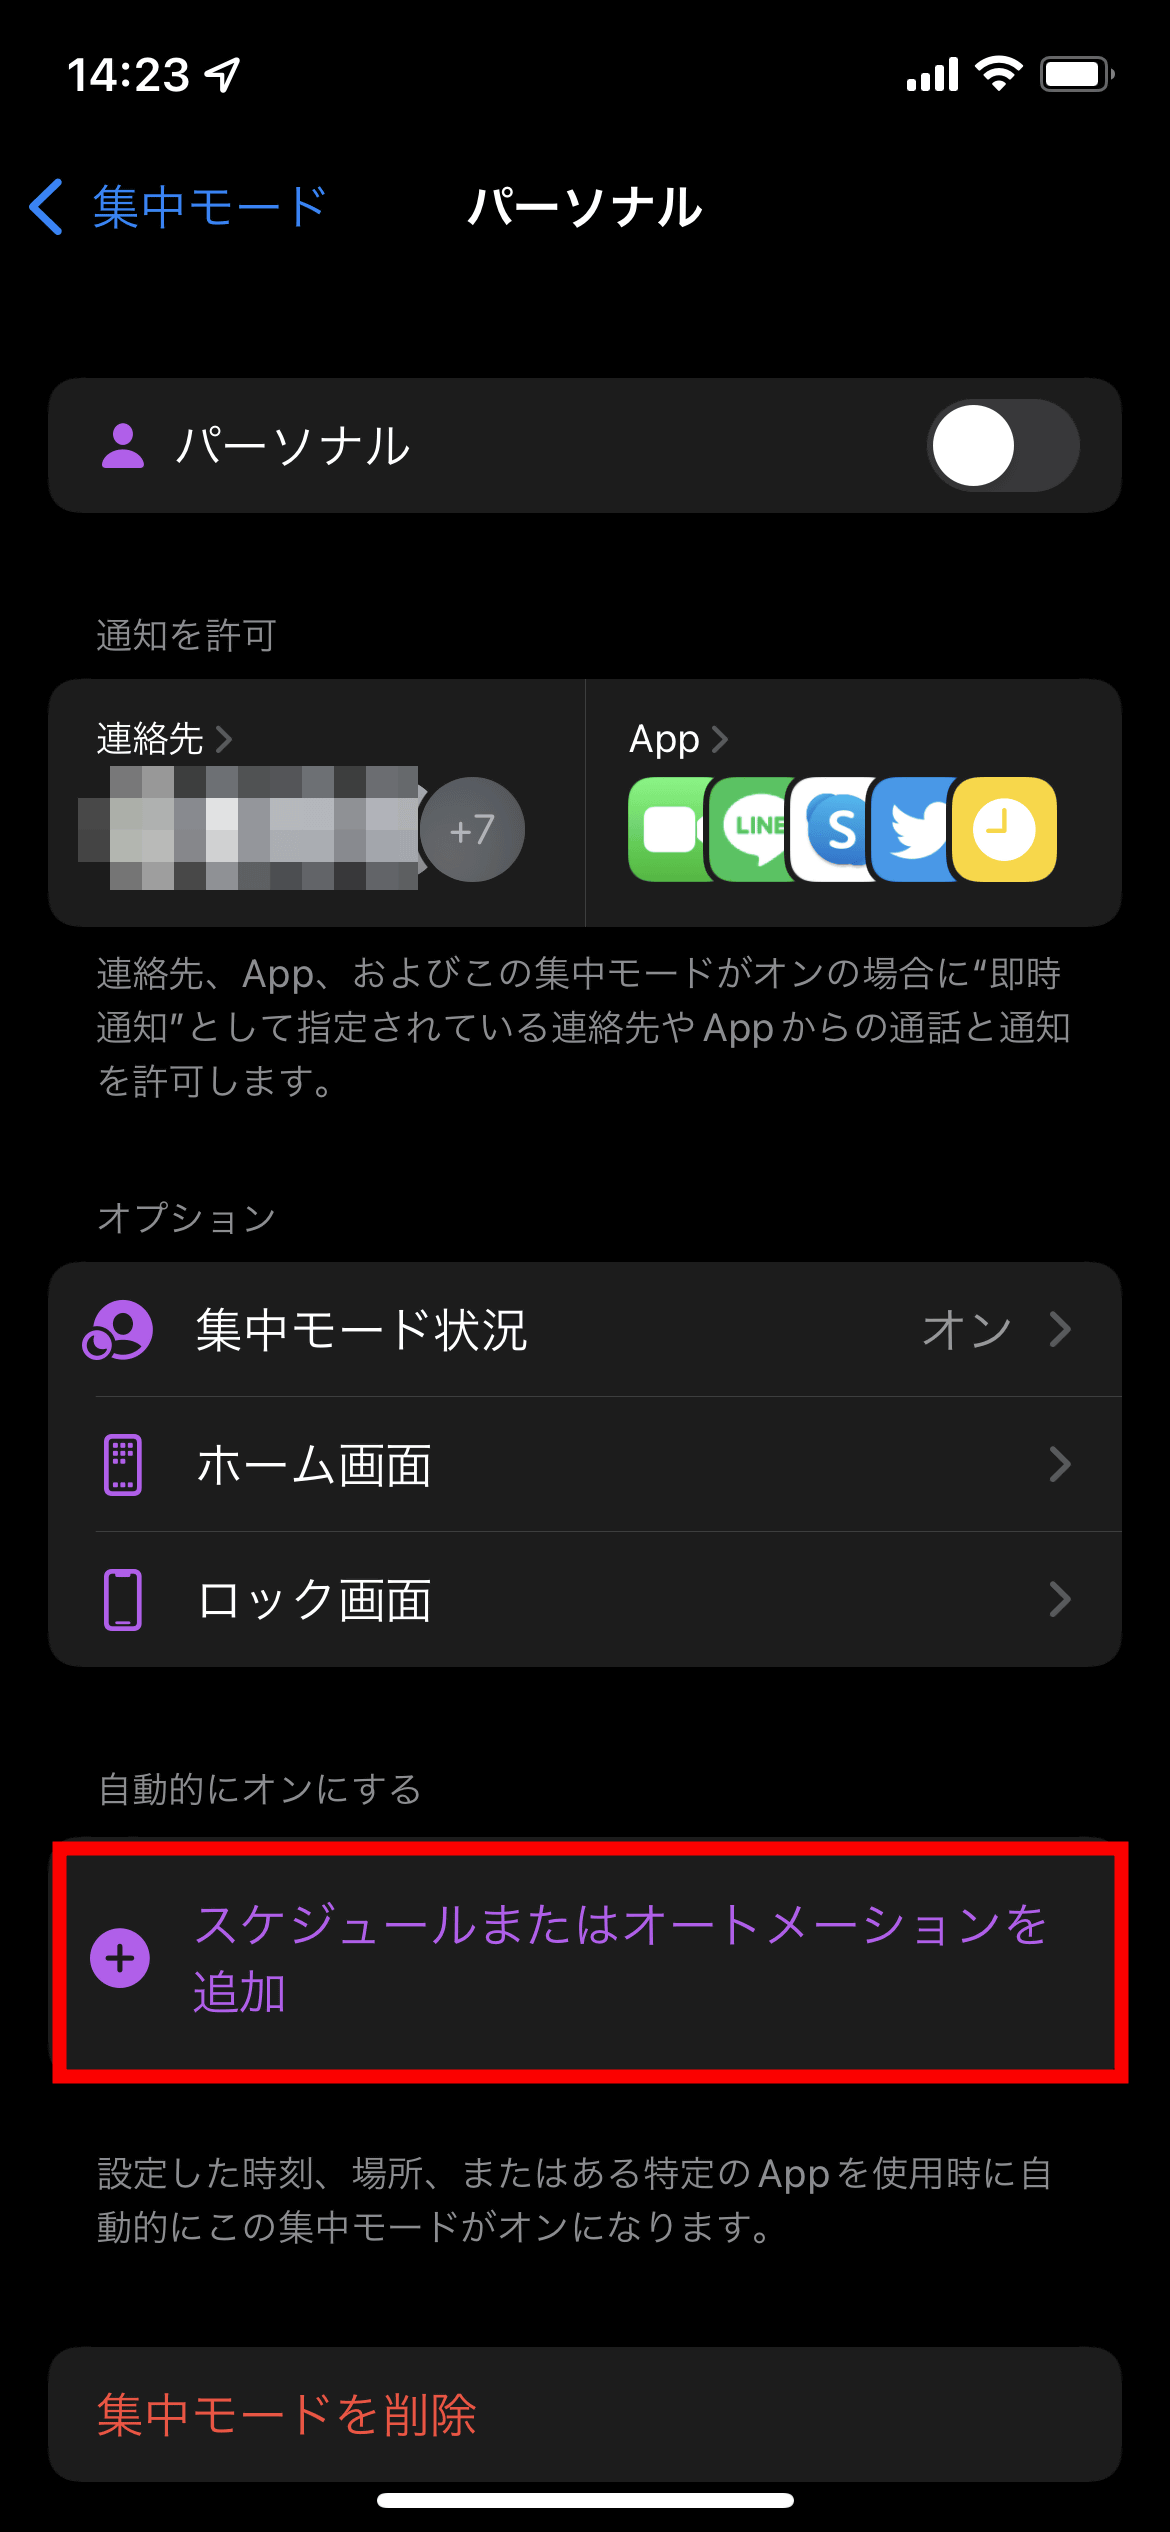
Automation turns on centralized mode at a specified time zone 'time', centralized mode turns on only when you come near a specified location, 'location', centralized mode turns on only when you open a specific app You can select from 3 'Apps'. Furthermore, if you select 'Smart Activation', you can automatically turn on / off the centralized mode at the appropriate time based on the location information and the usage status of the application.
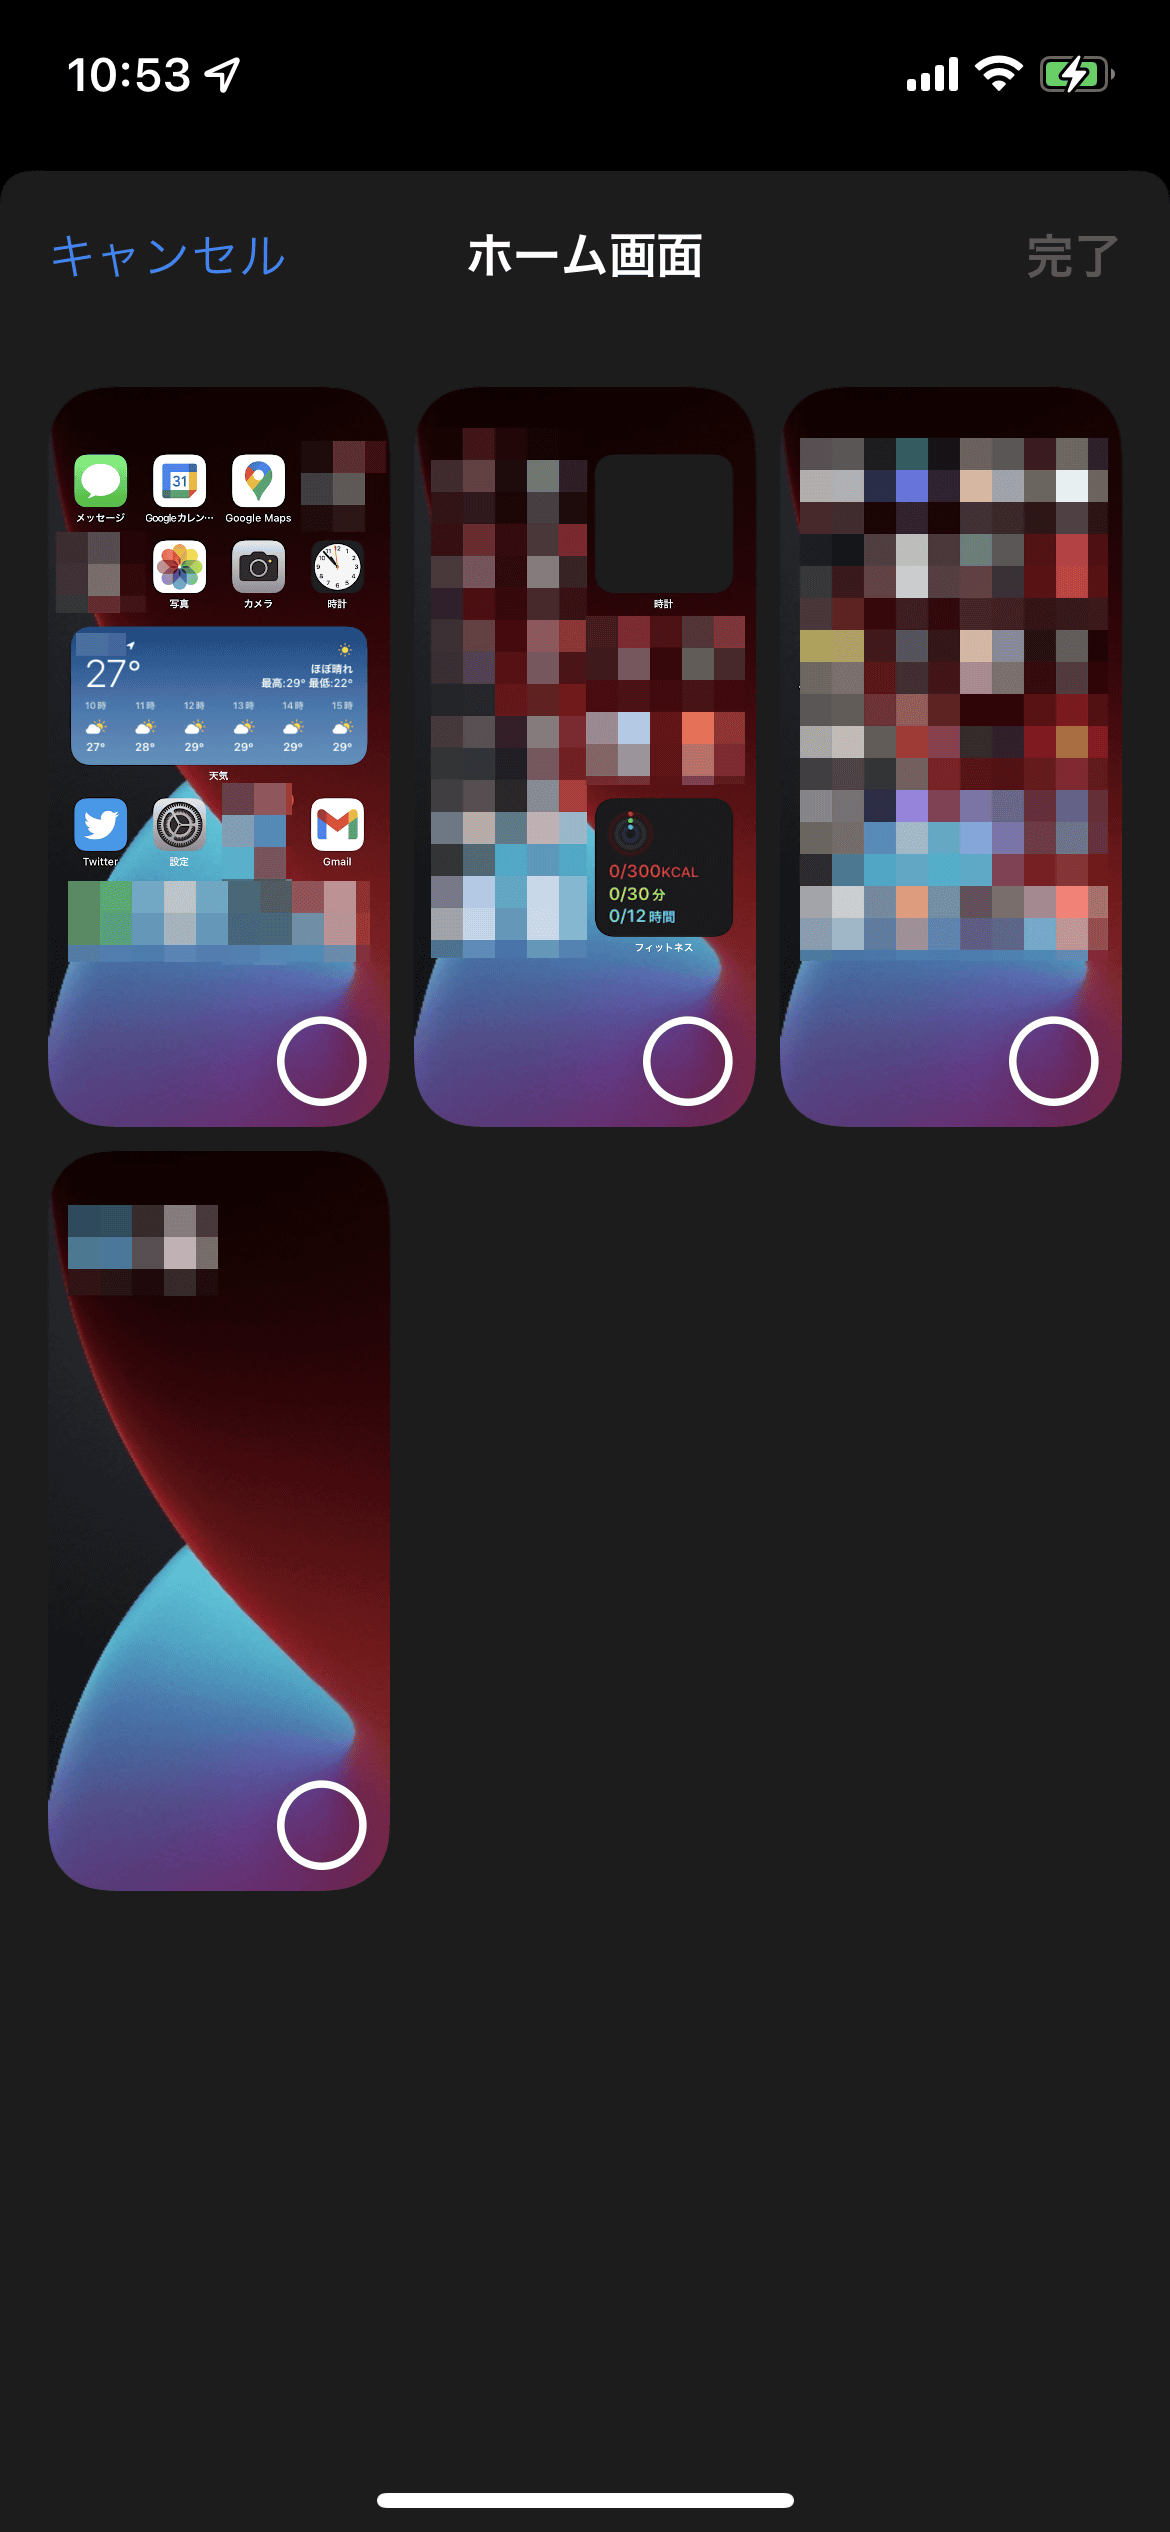
Furthermore, when you tap 'Lock screen' ...

You can select the home screen to be displayed when the centralized mode is turned on. However, since you can only select 'Which home screen to display', you cannot customize the home screen when using centralized mode.
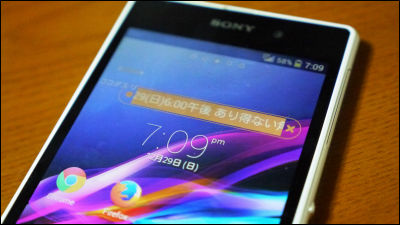
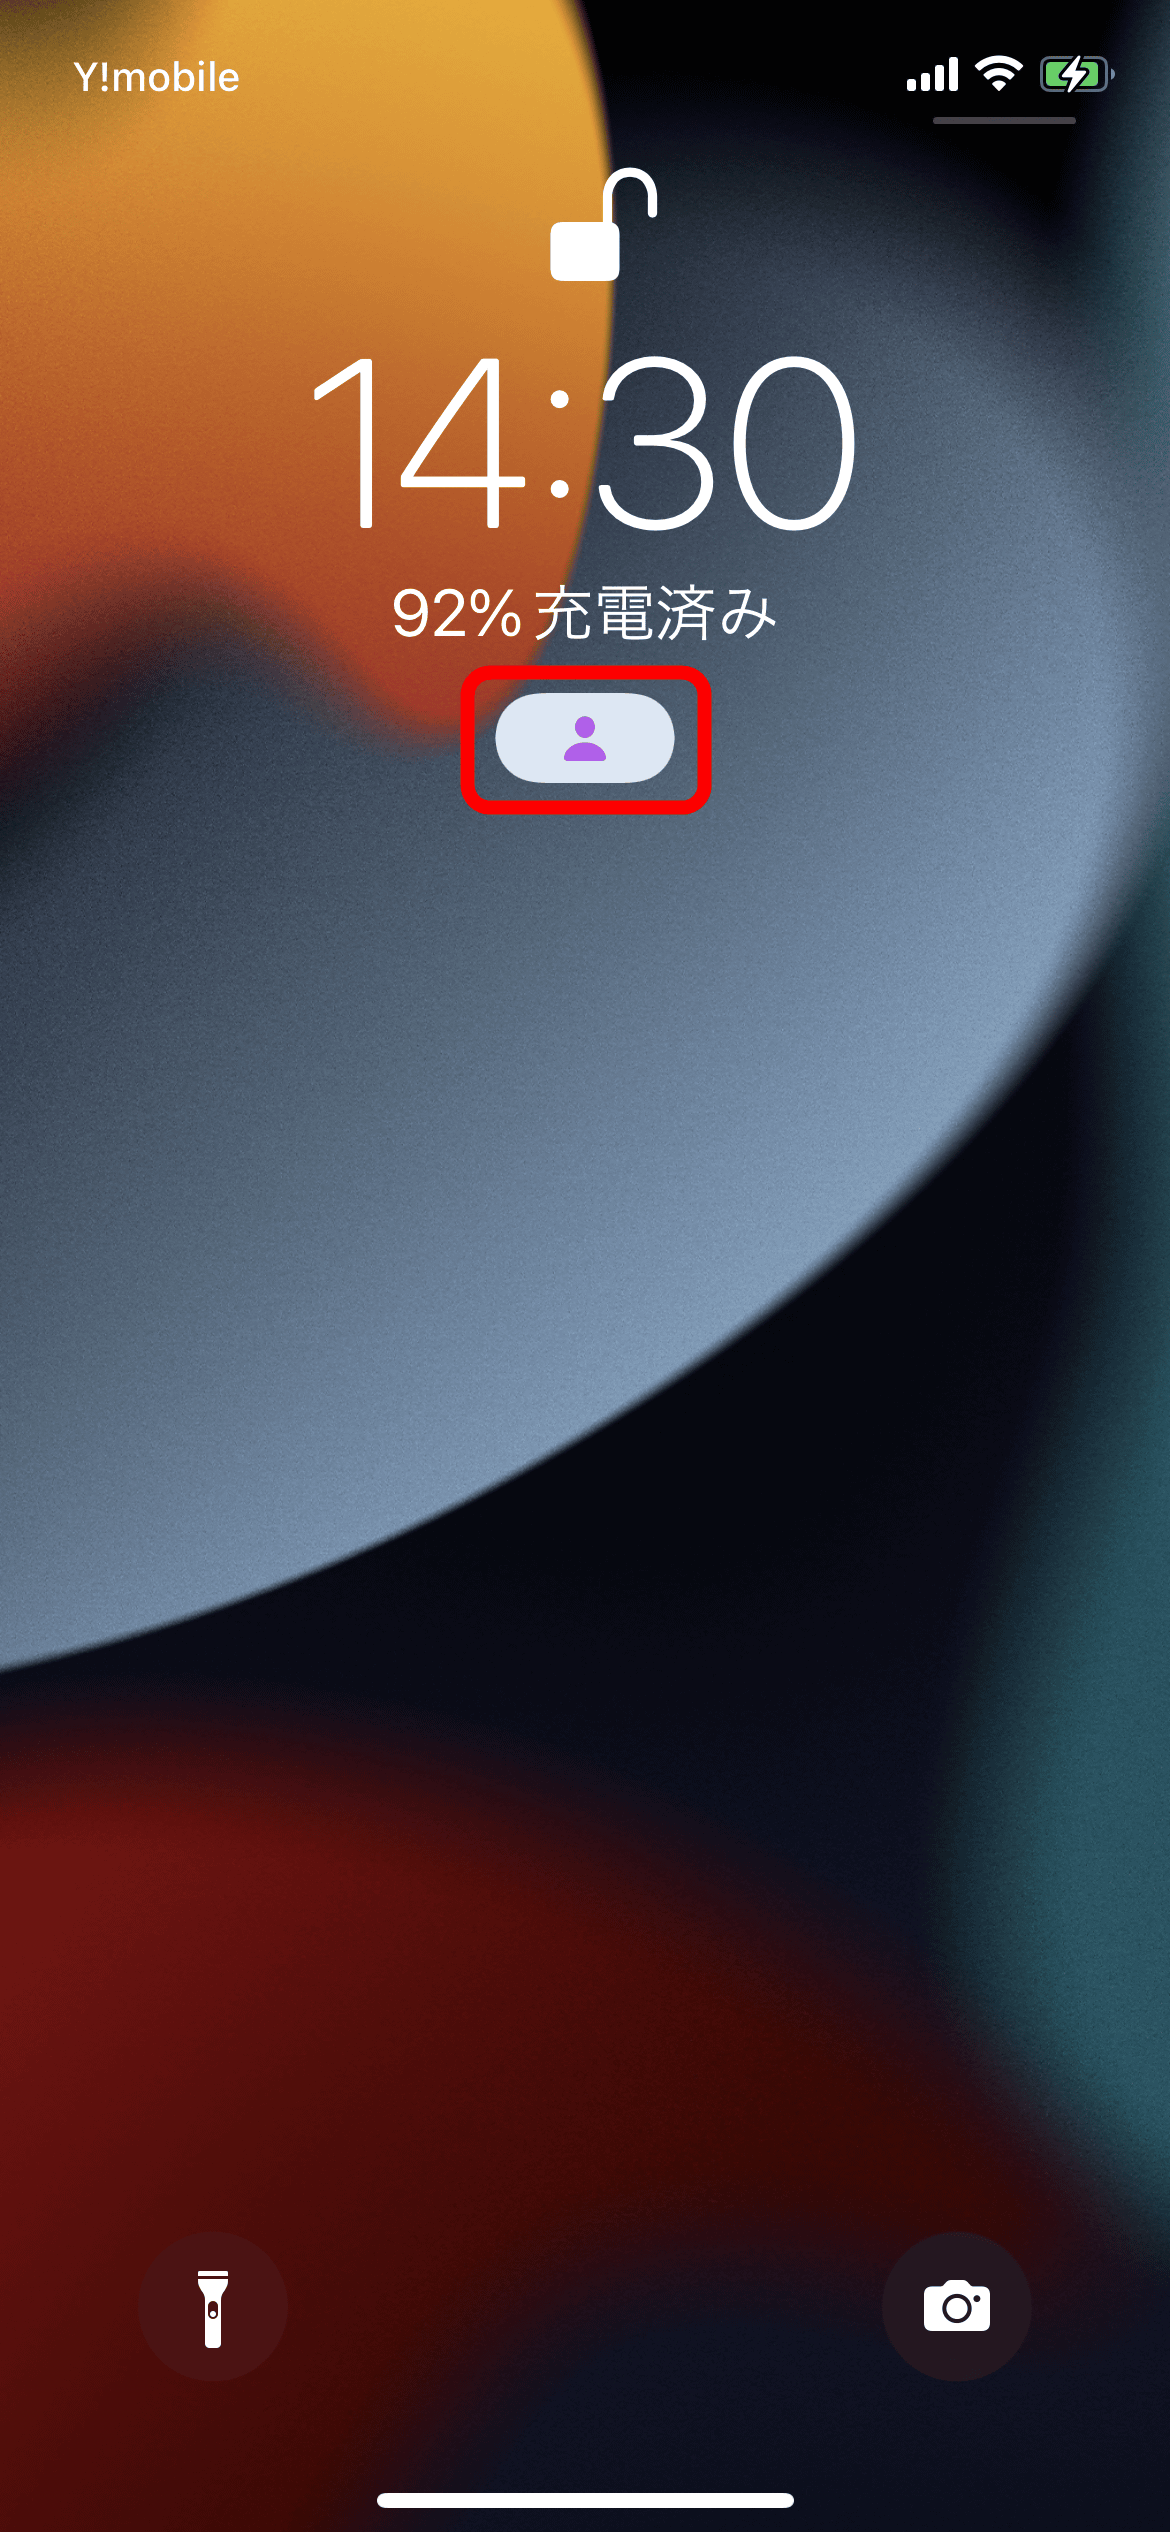
If the centralized mode is turned on, the icon will be displayed as shown in the red frame.
When you actually use the centralized mode, you can turn on and off a specific centralized mode by specifying the time zone and place, so 'only work-related notifications are allowed during working hours' and 'private related apps at home' It is possible to use it properly, such as 'allowing only notifications of.' When the centralized mode is turned on, you can display only a specific home screen, but if you want to make the most of this, 'The first home screen is a genuine Apple app' ' It is necessary to organize the application layout on the home screen in advance, such as 'work-related apps on the second home screen' and 'entertainment-related apps on the third home screen', so before you start using it It feels like a function that is a little complicated to prepare.
◆ 'Notification summary' that displays various notifications together
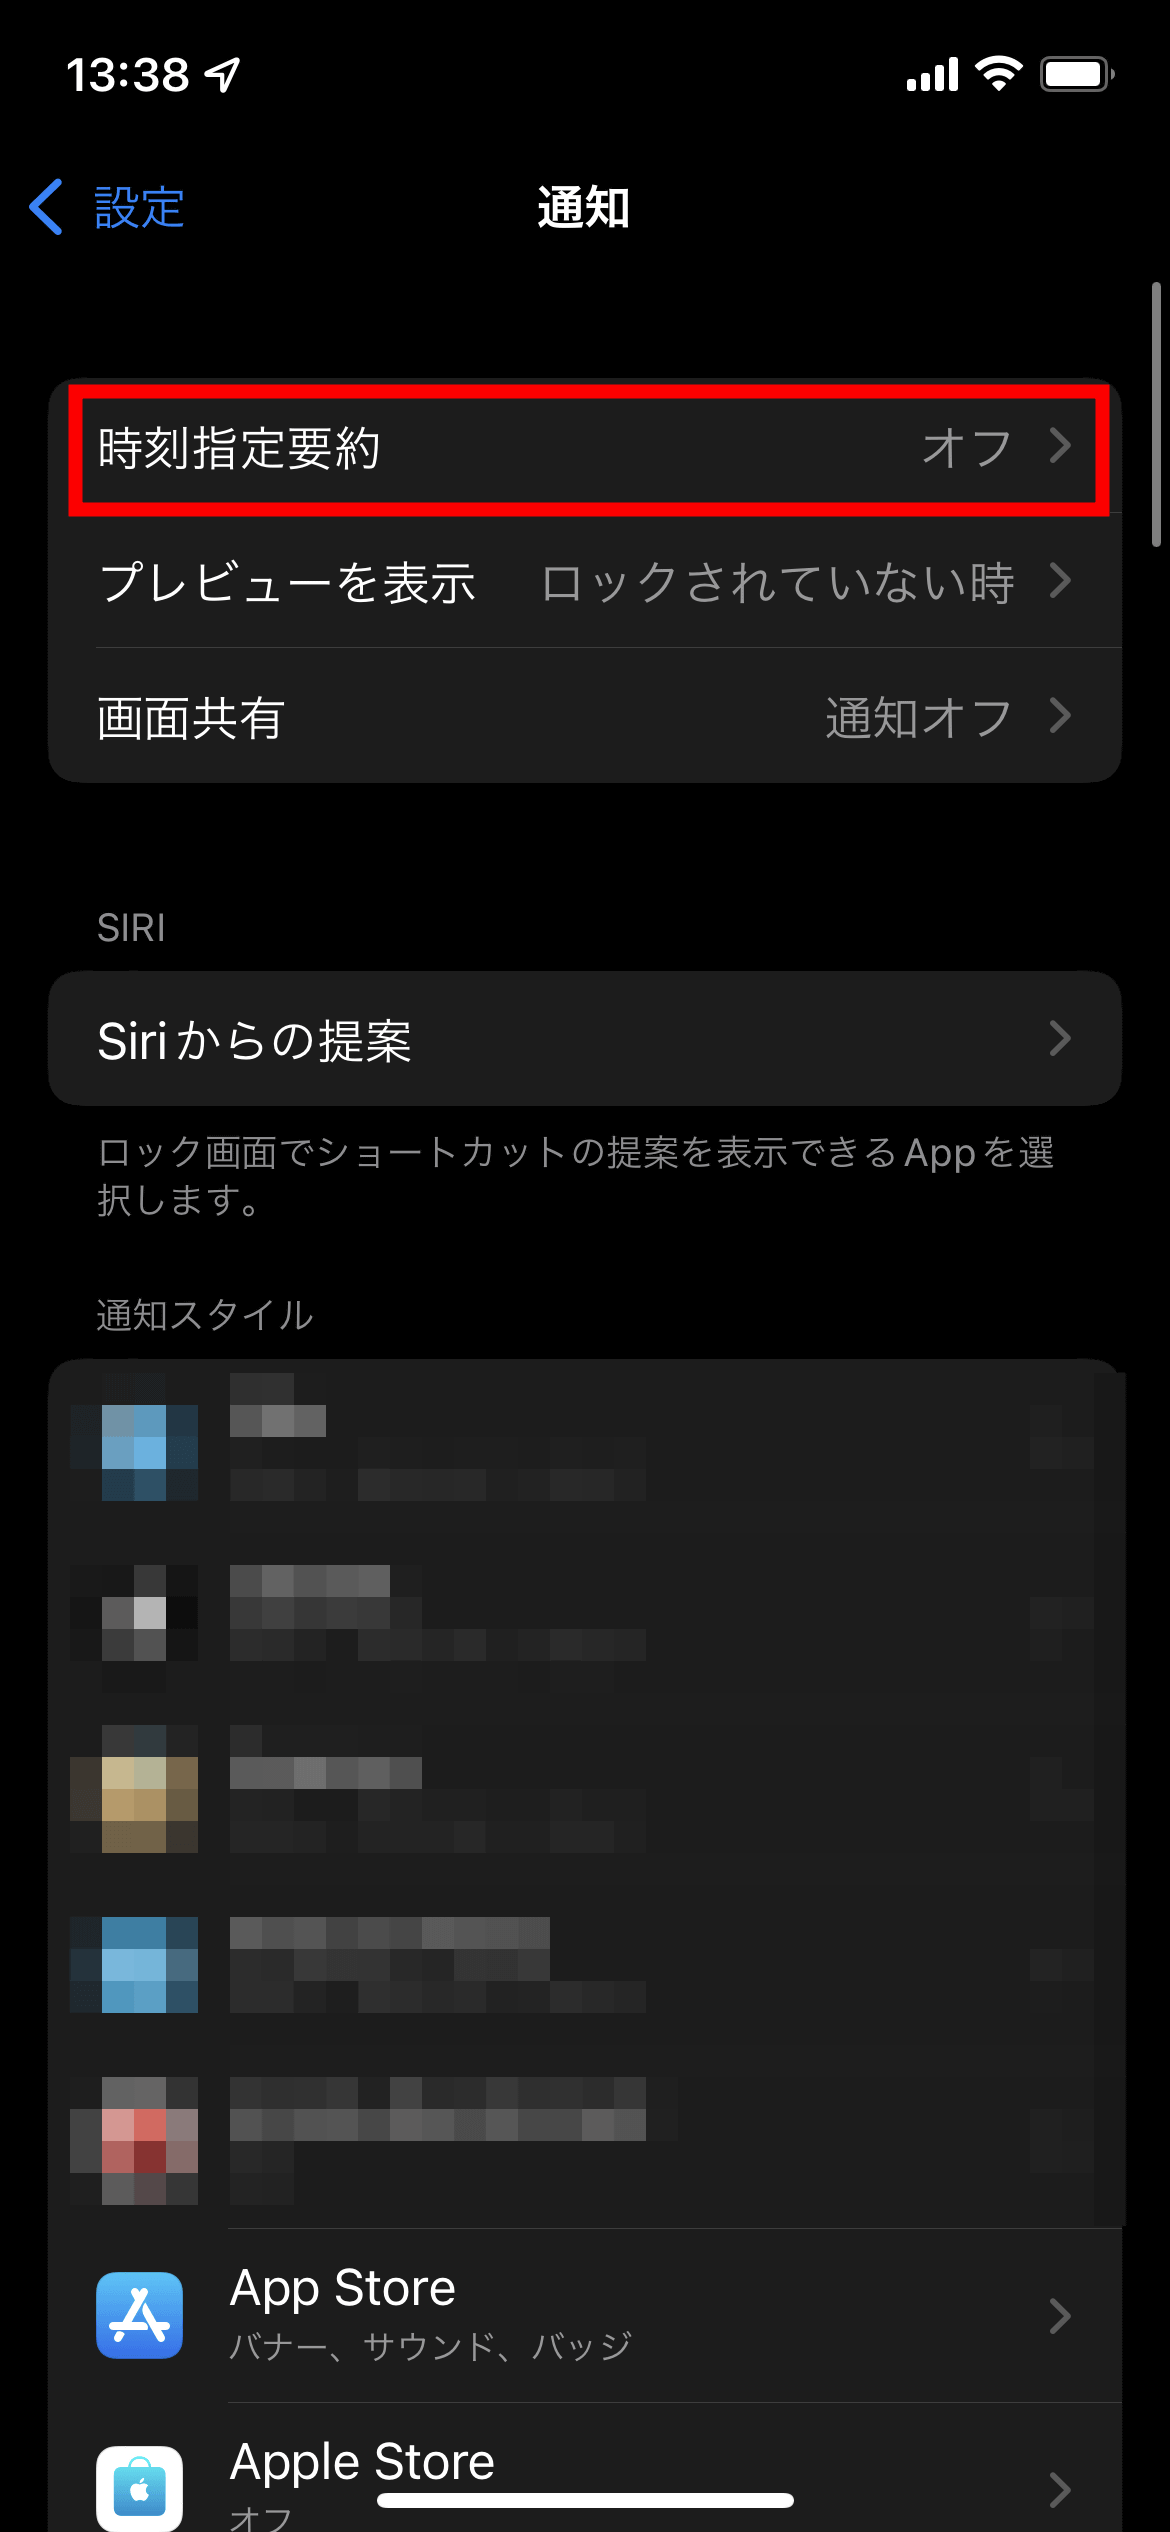
The 'Notification Summary' function is available from 'Notifications' in the Settings app.
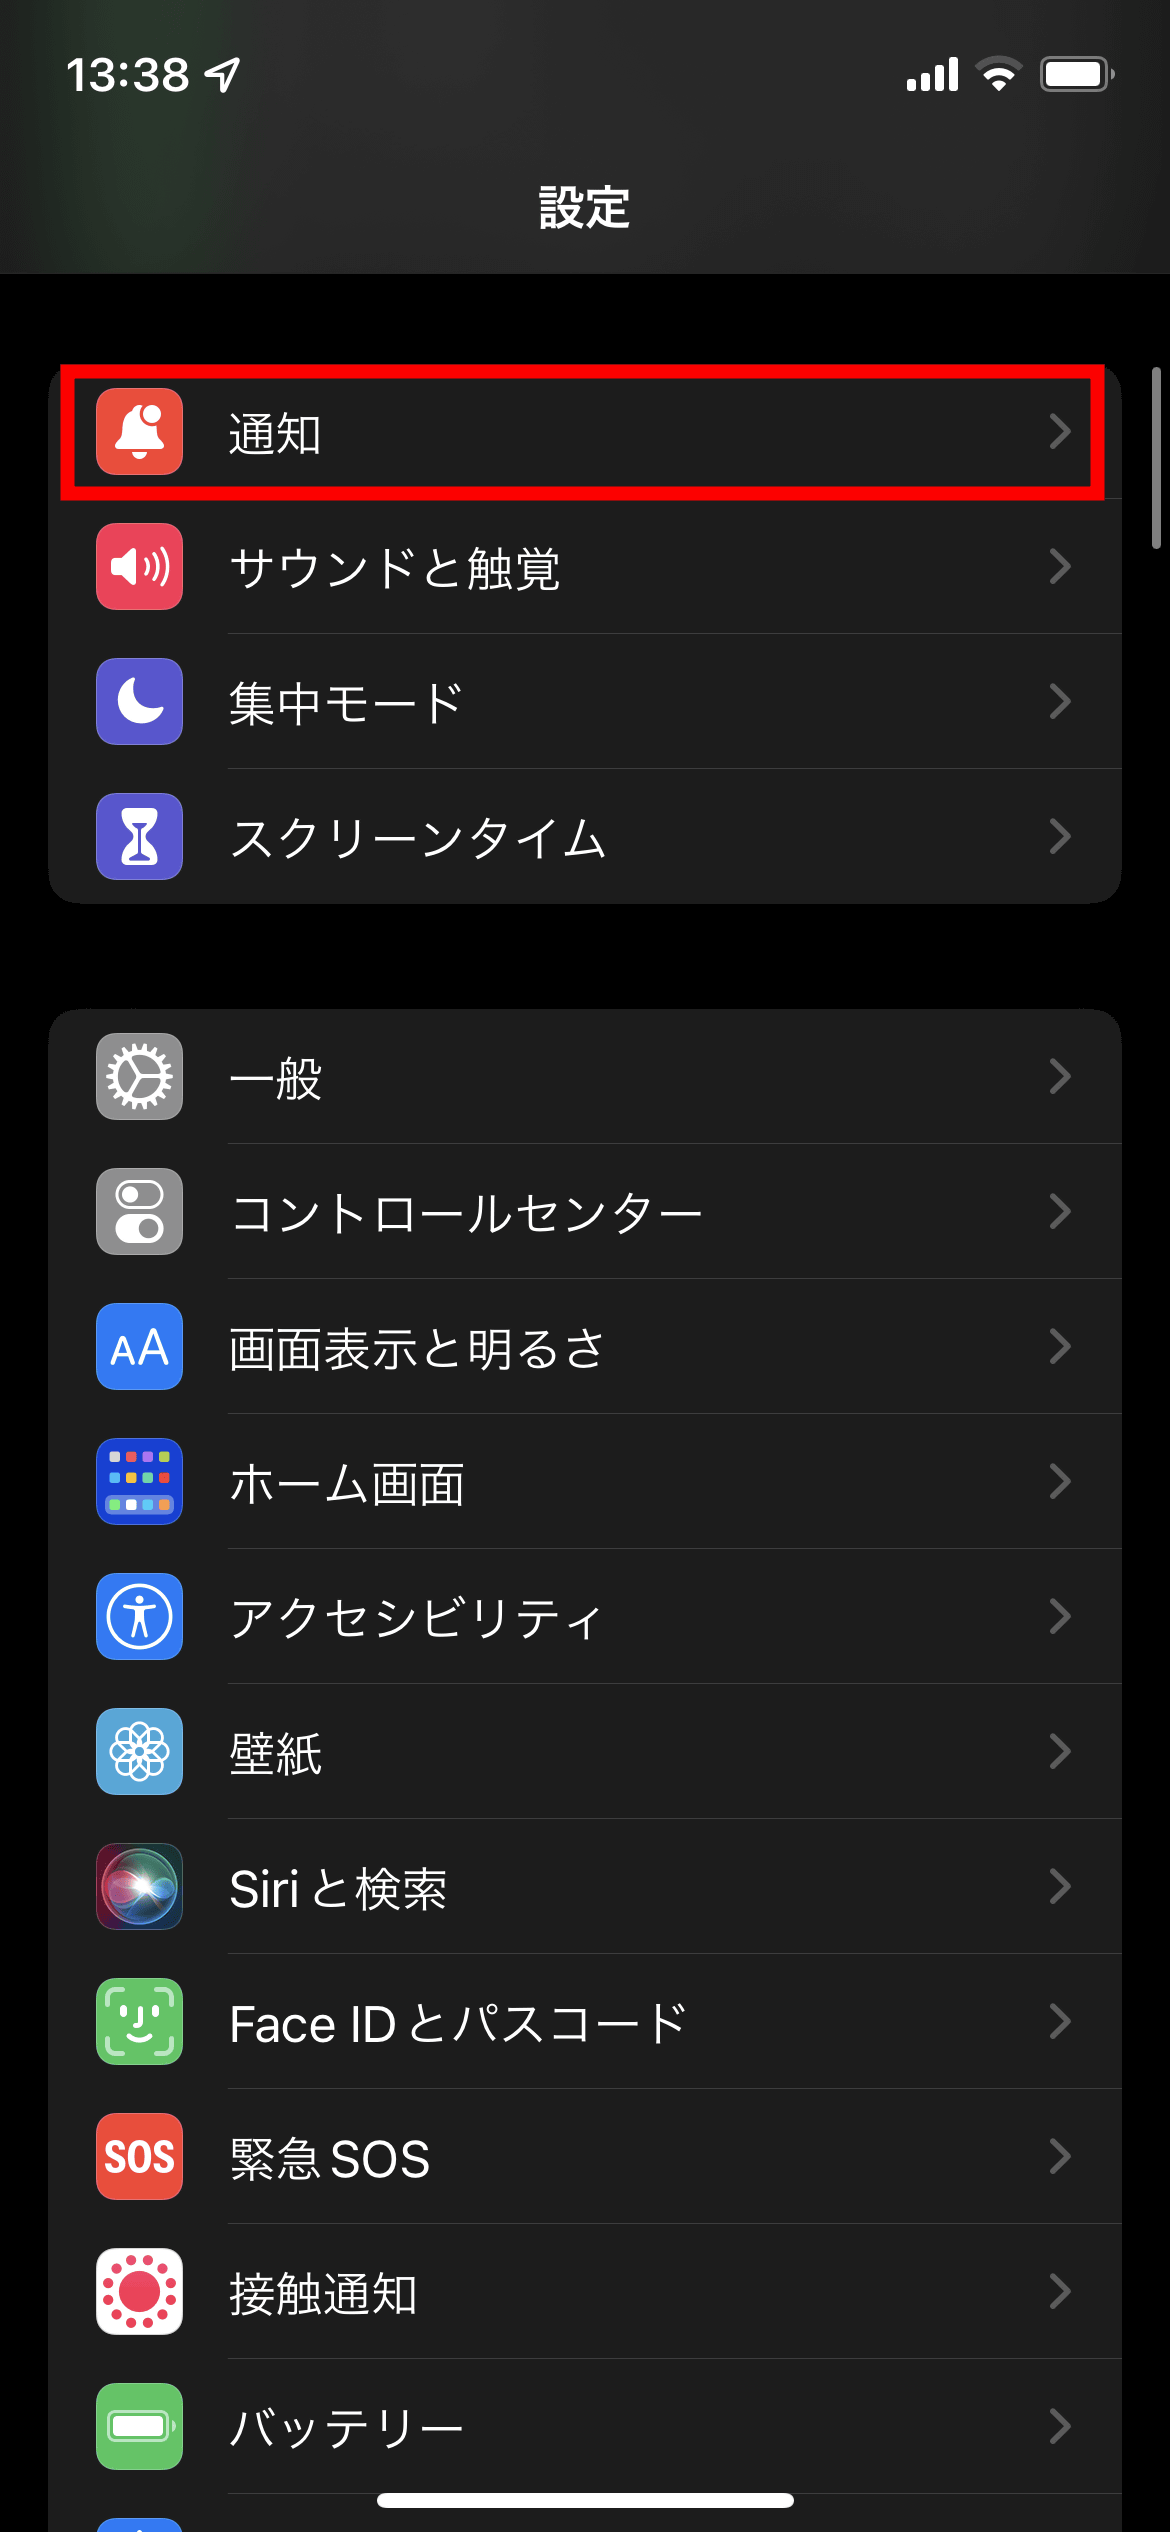
Tap 'Timed Summary' at the top of the notification screen.
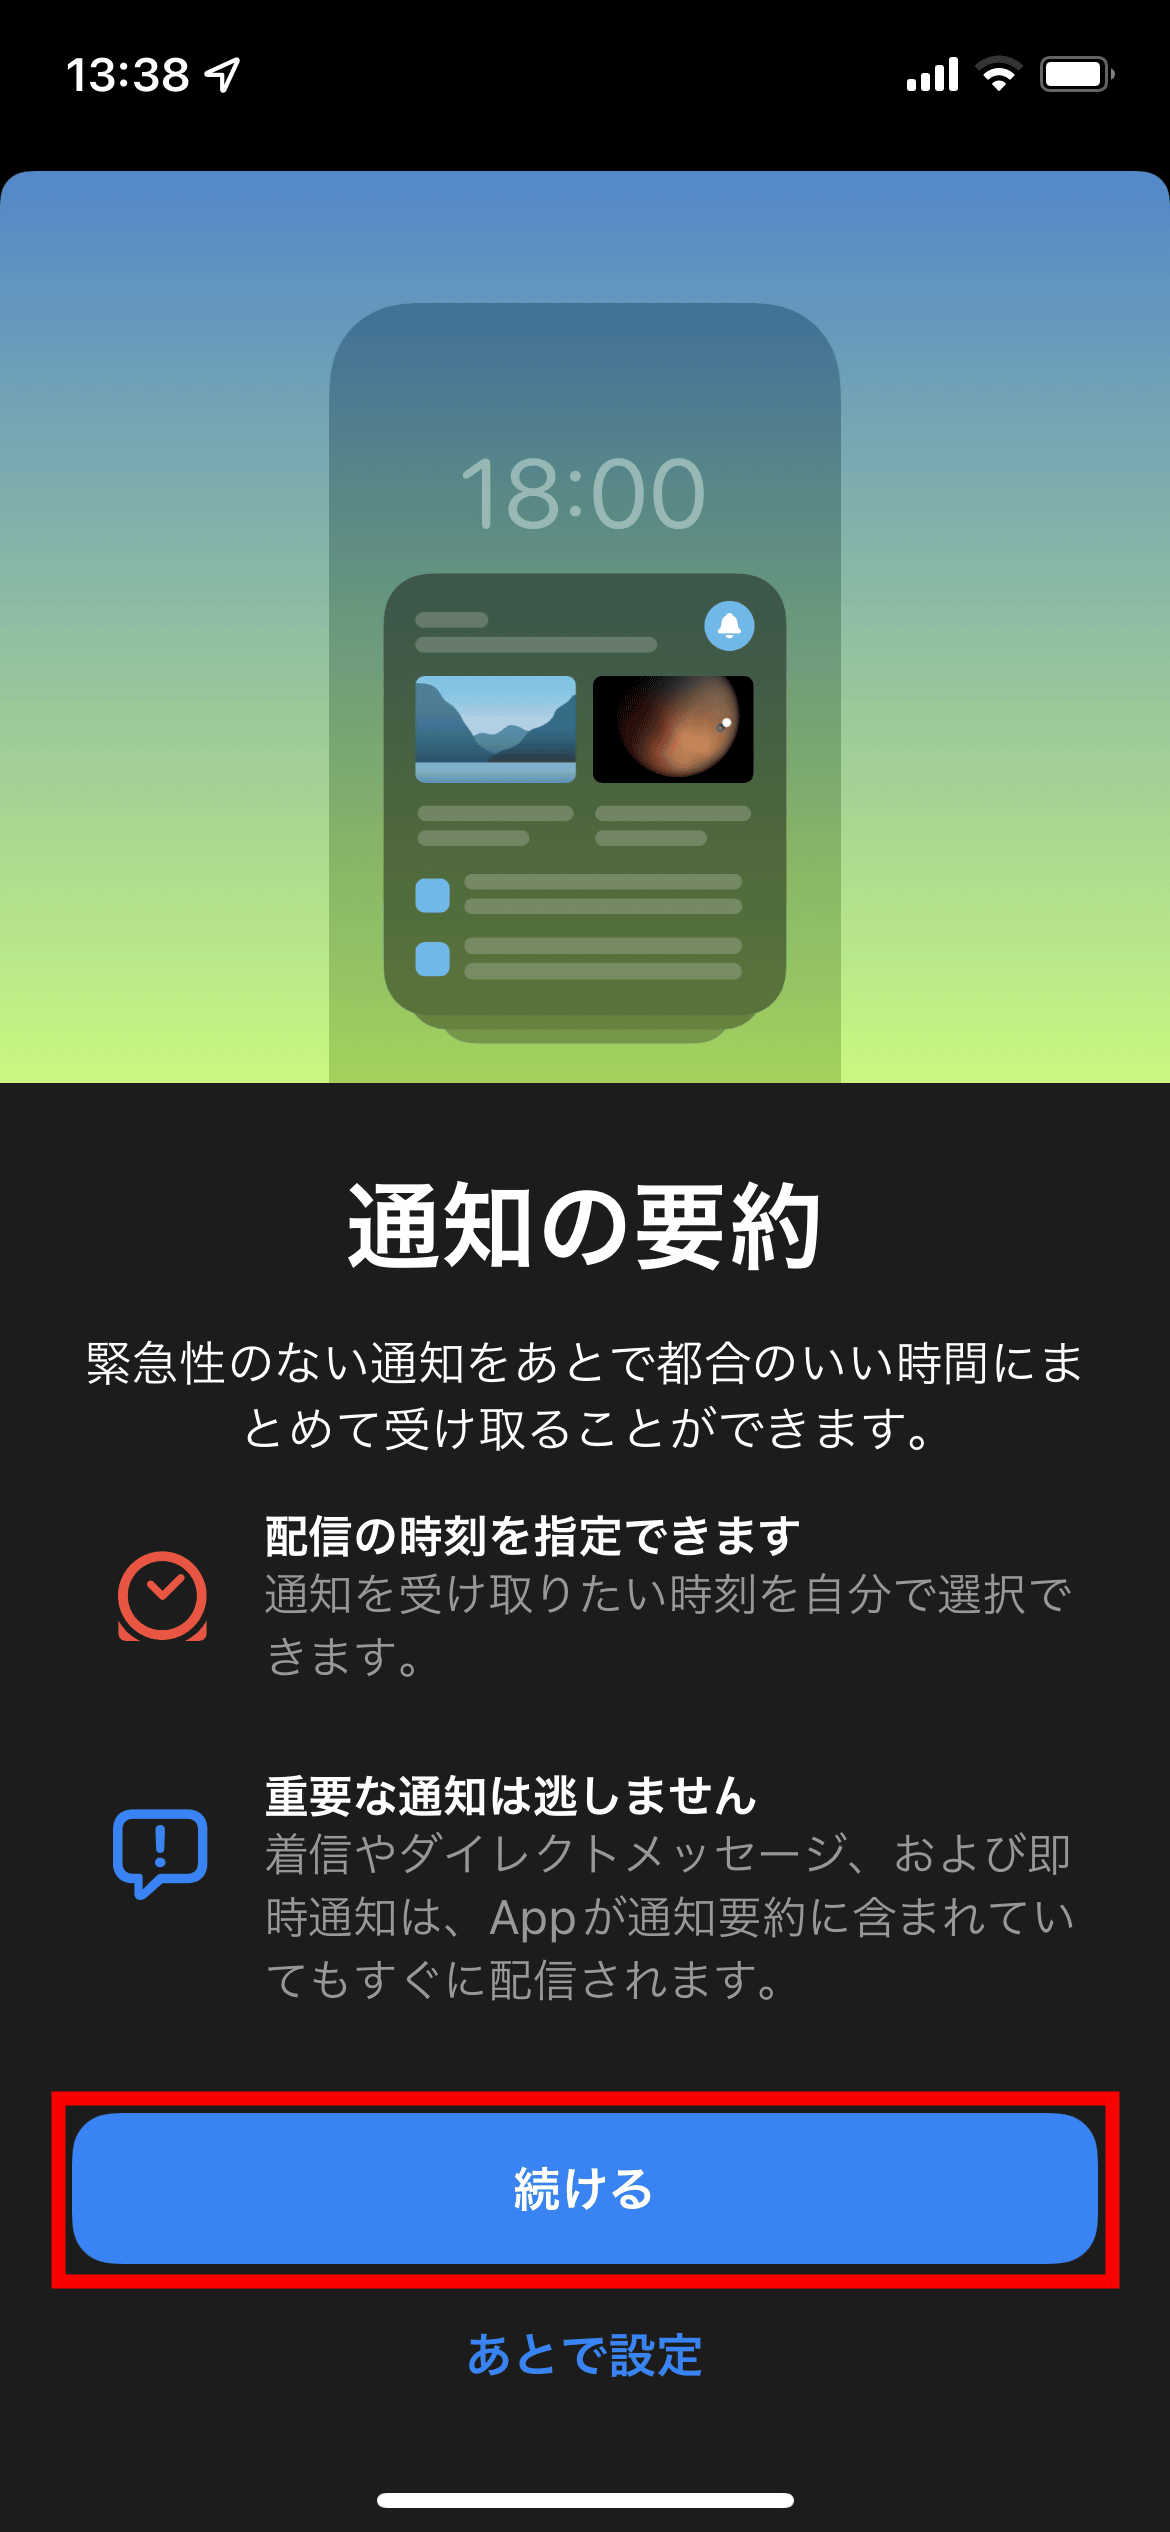
Tap 'Continue'.
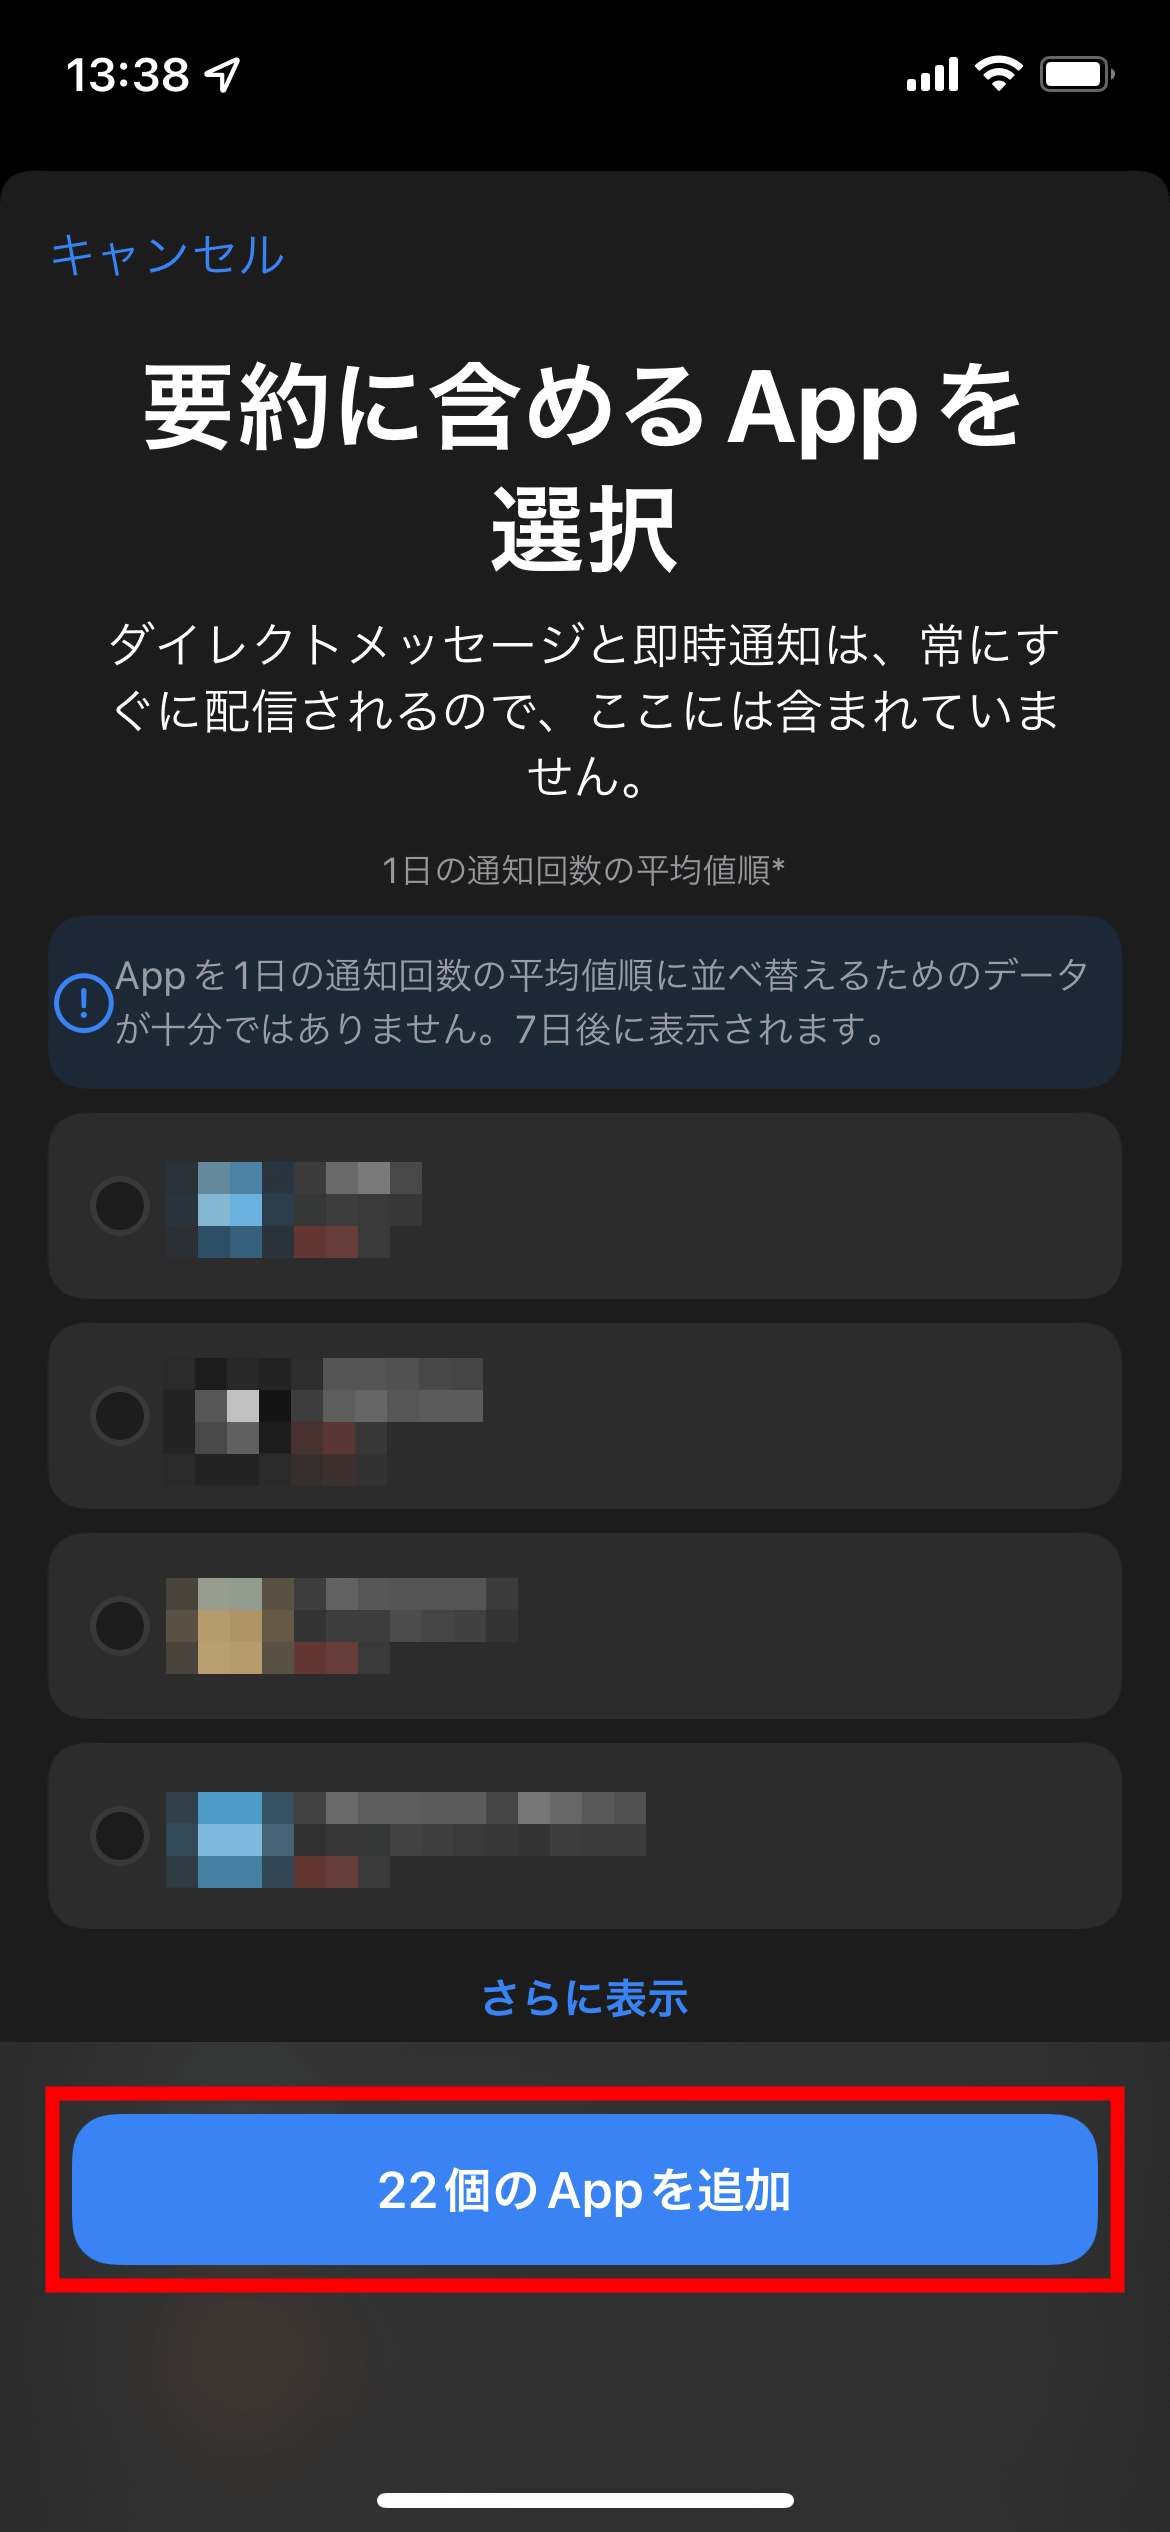
Select the apps you want to include in the summary and tap 'Add ○ apps'.
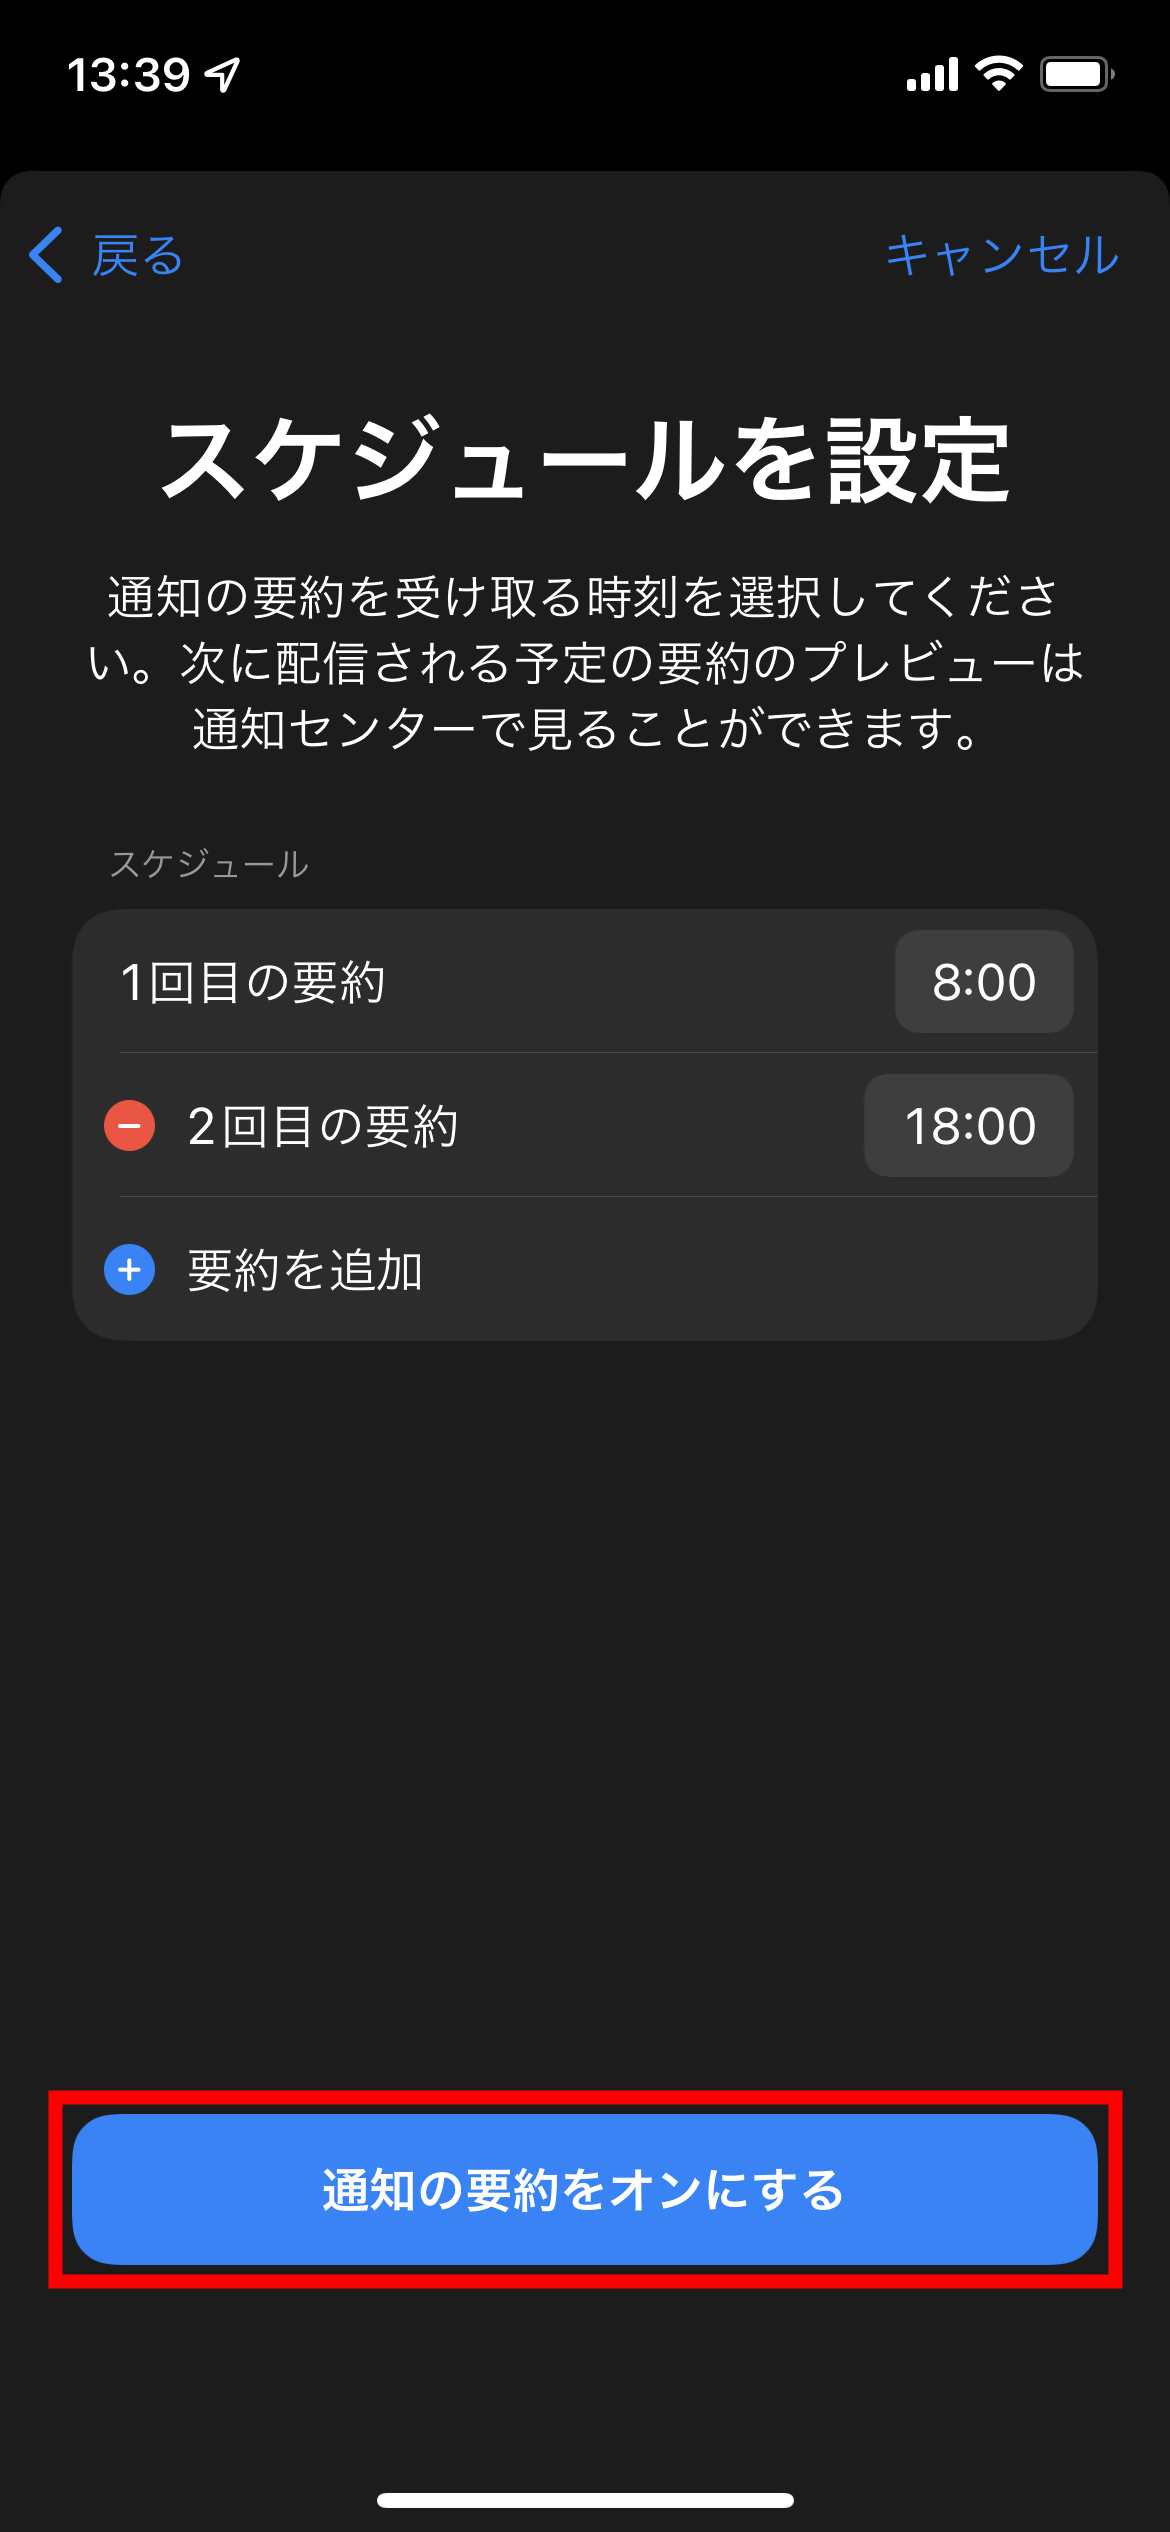
Set the time to display the notification summary and tap 'Turn on notification summary'.
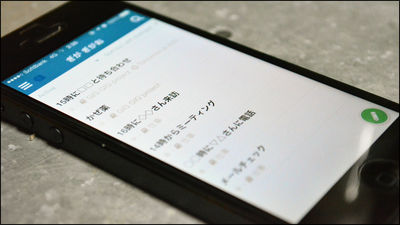
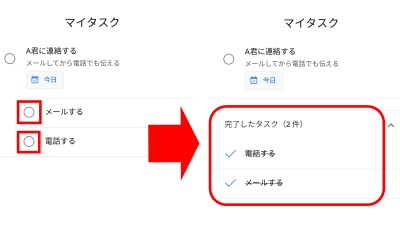
If you actually use the notification summary, some notifications will be displayed together at the specified time as shown below.
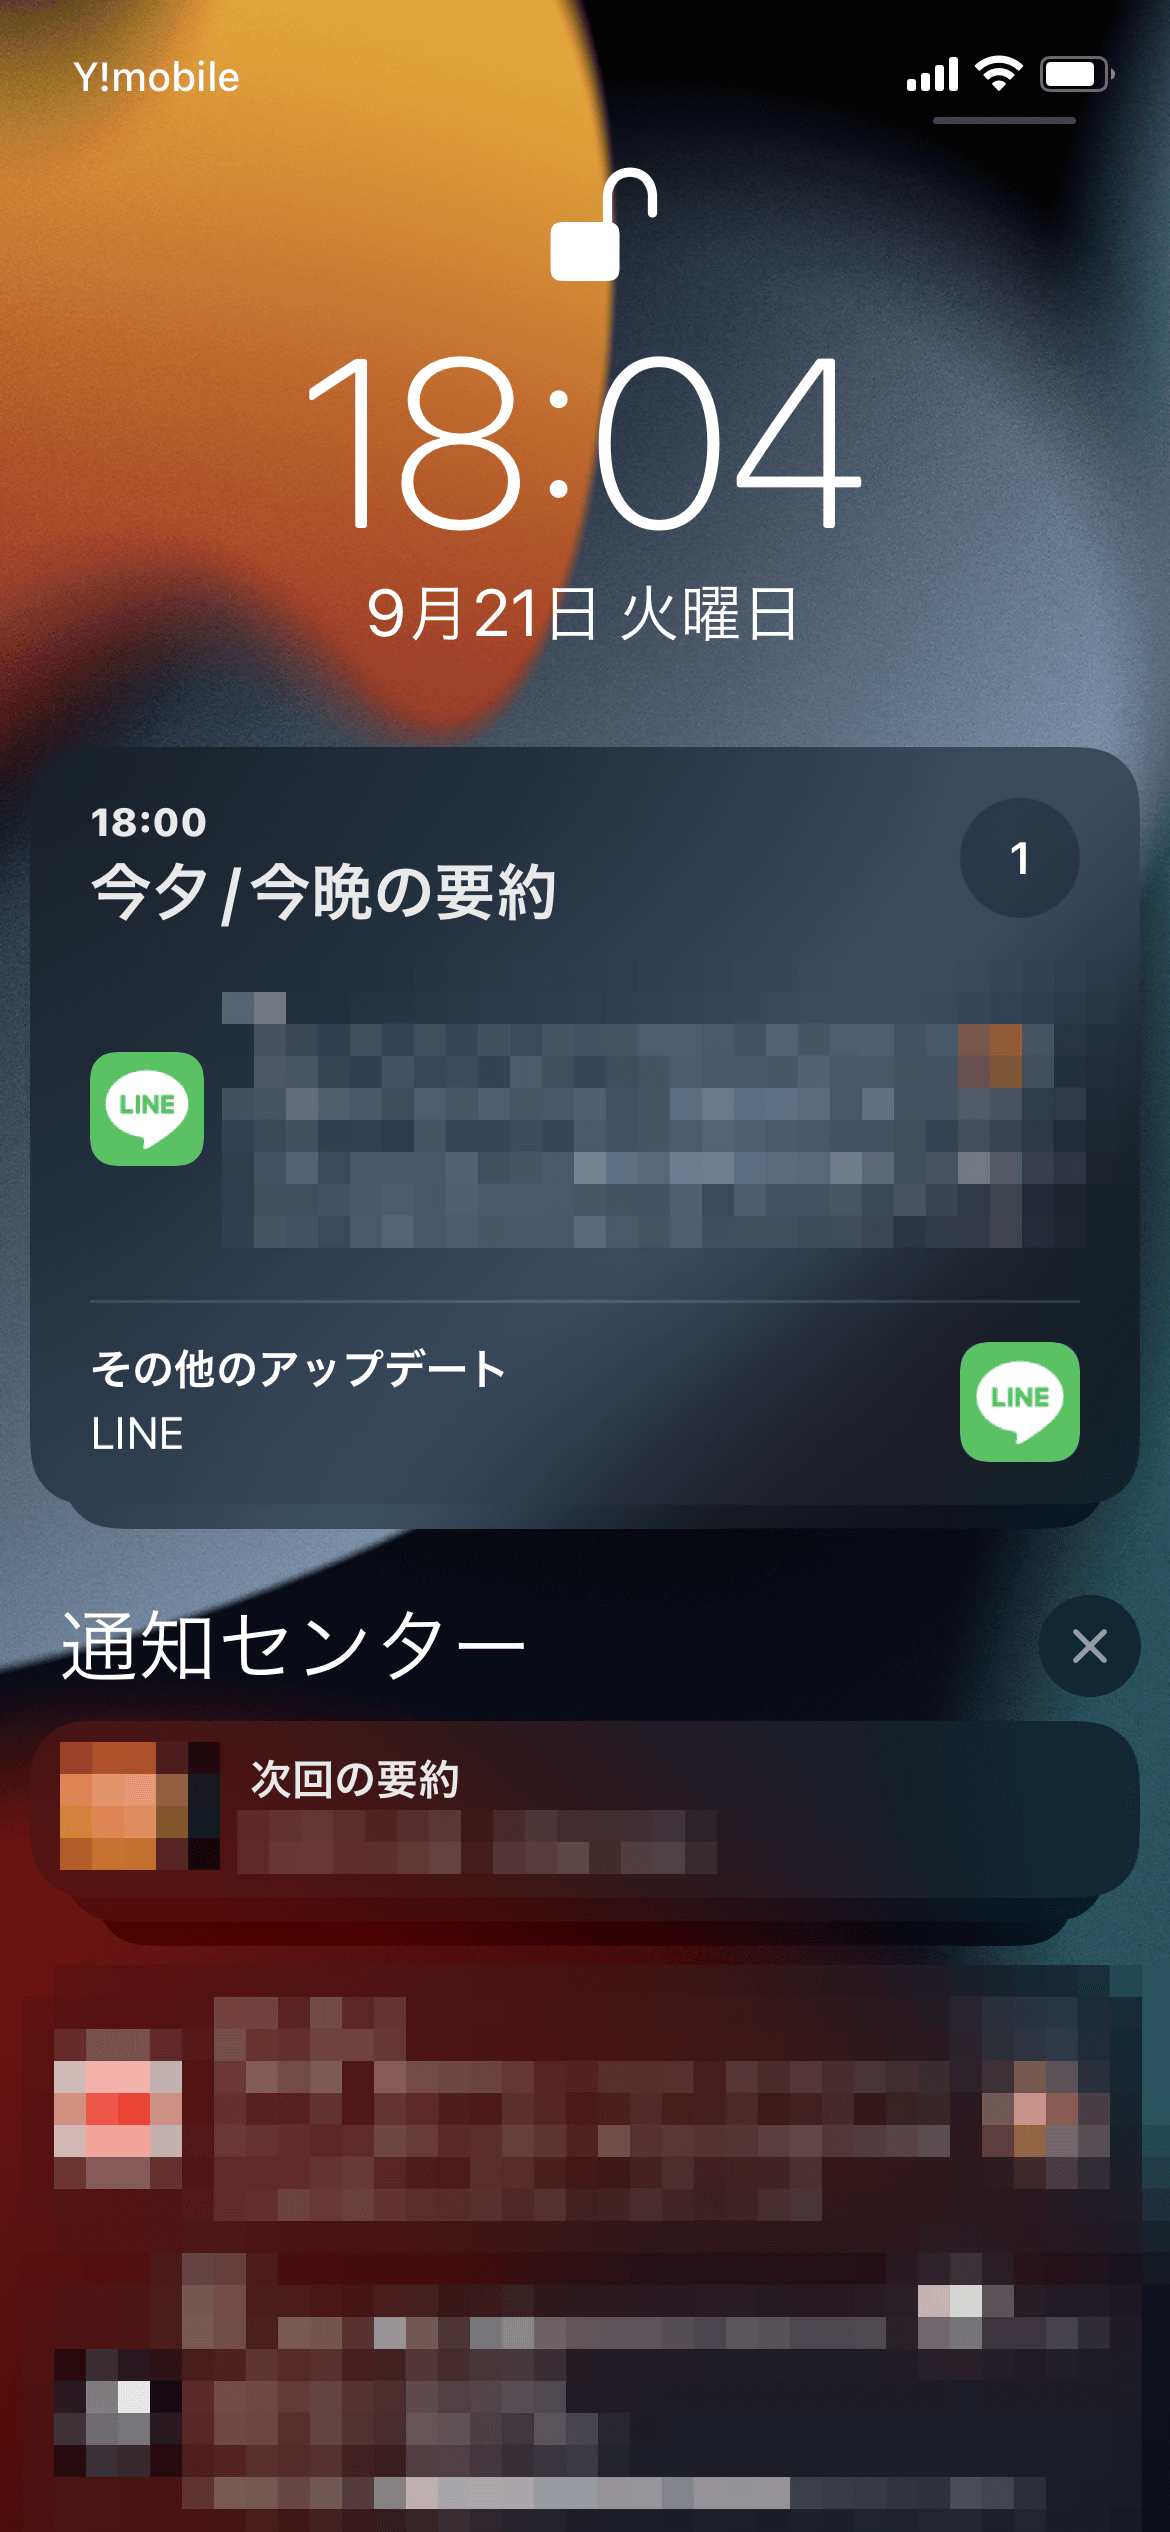
Note that even if you turn on notification summarization, the app icon will badge the new notification, so you won't miss it altogether.
◆ Apple's official abandoned email address creation function 'private email'
'Private email', which can be used only by users who have subscribed to the paid subscription service
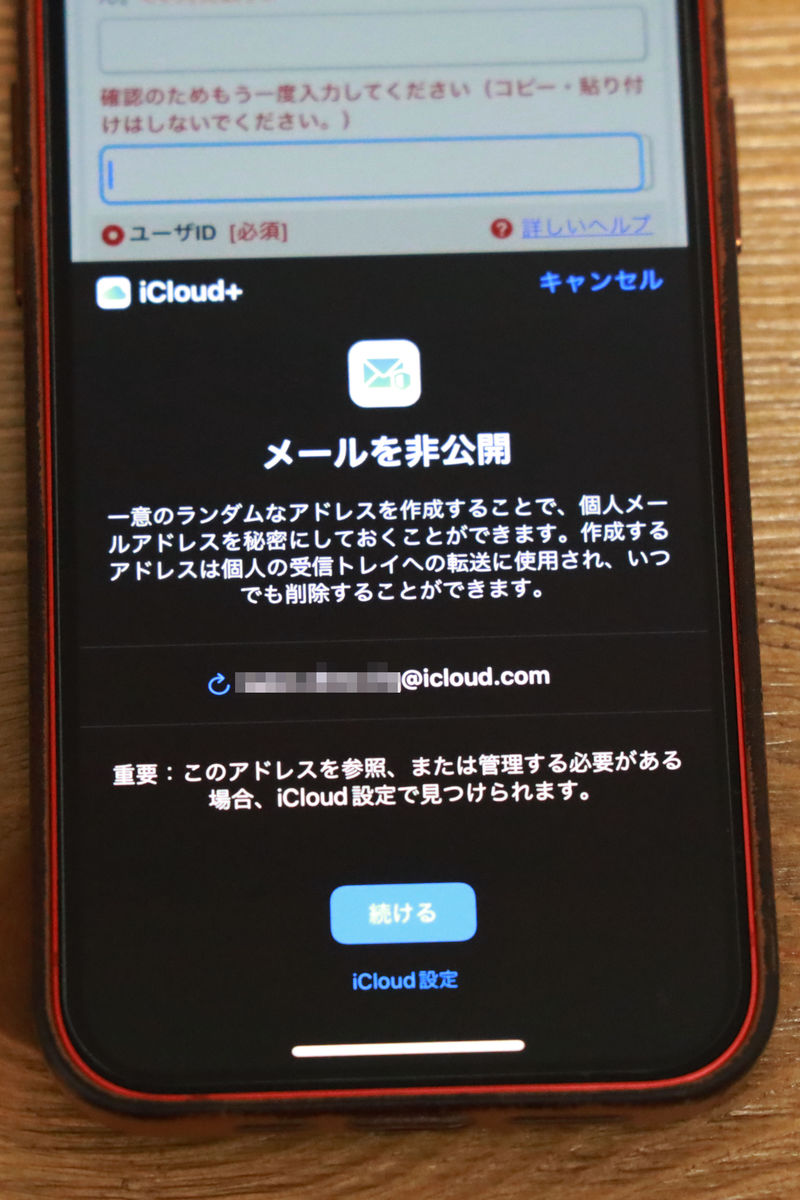
When entering an email address when creating an account, tap 'Automatically enter contact information' and tap 'Private email'.

Then, you will be able to create an account using the discarded email address as shown below.
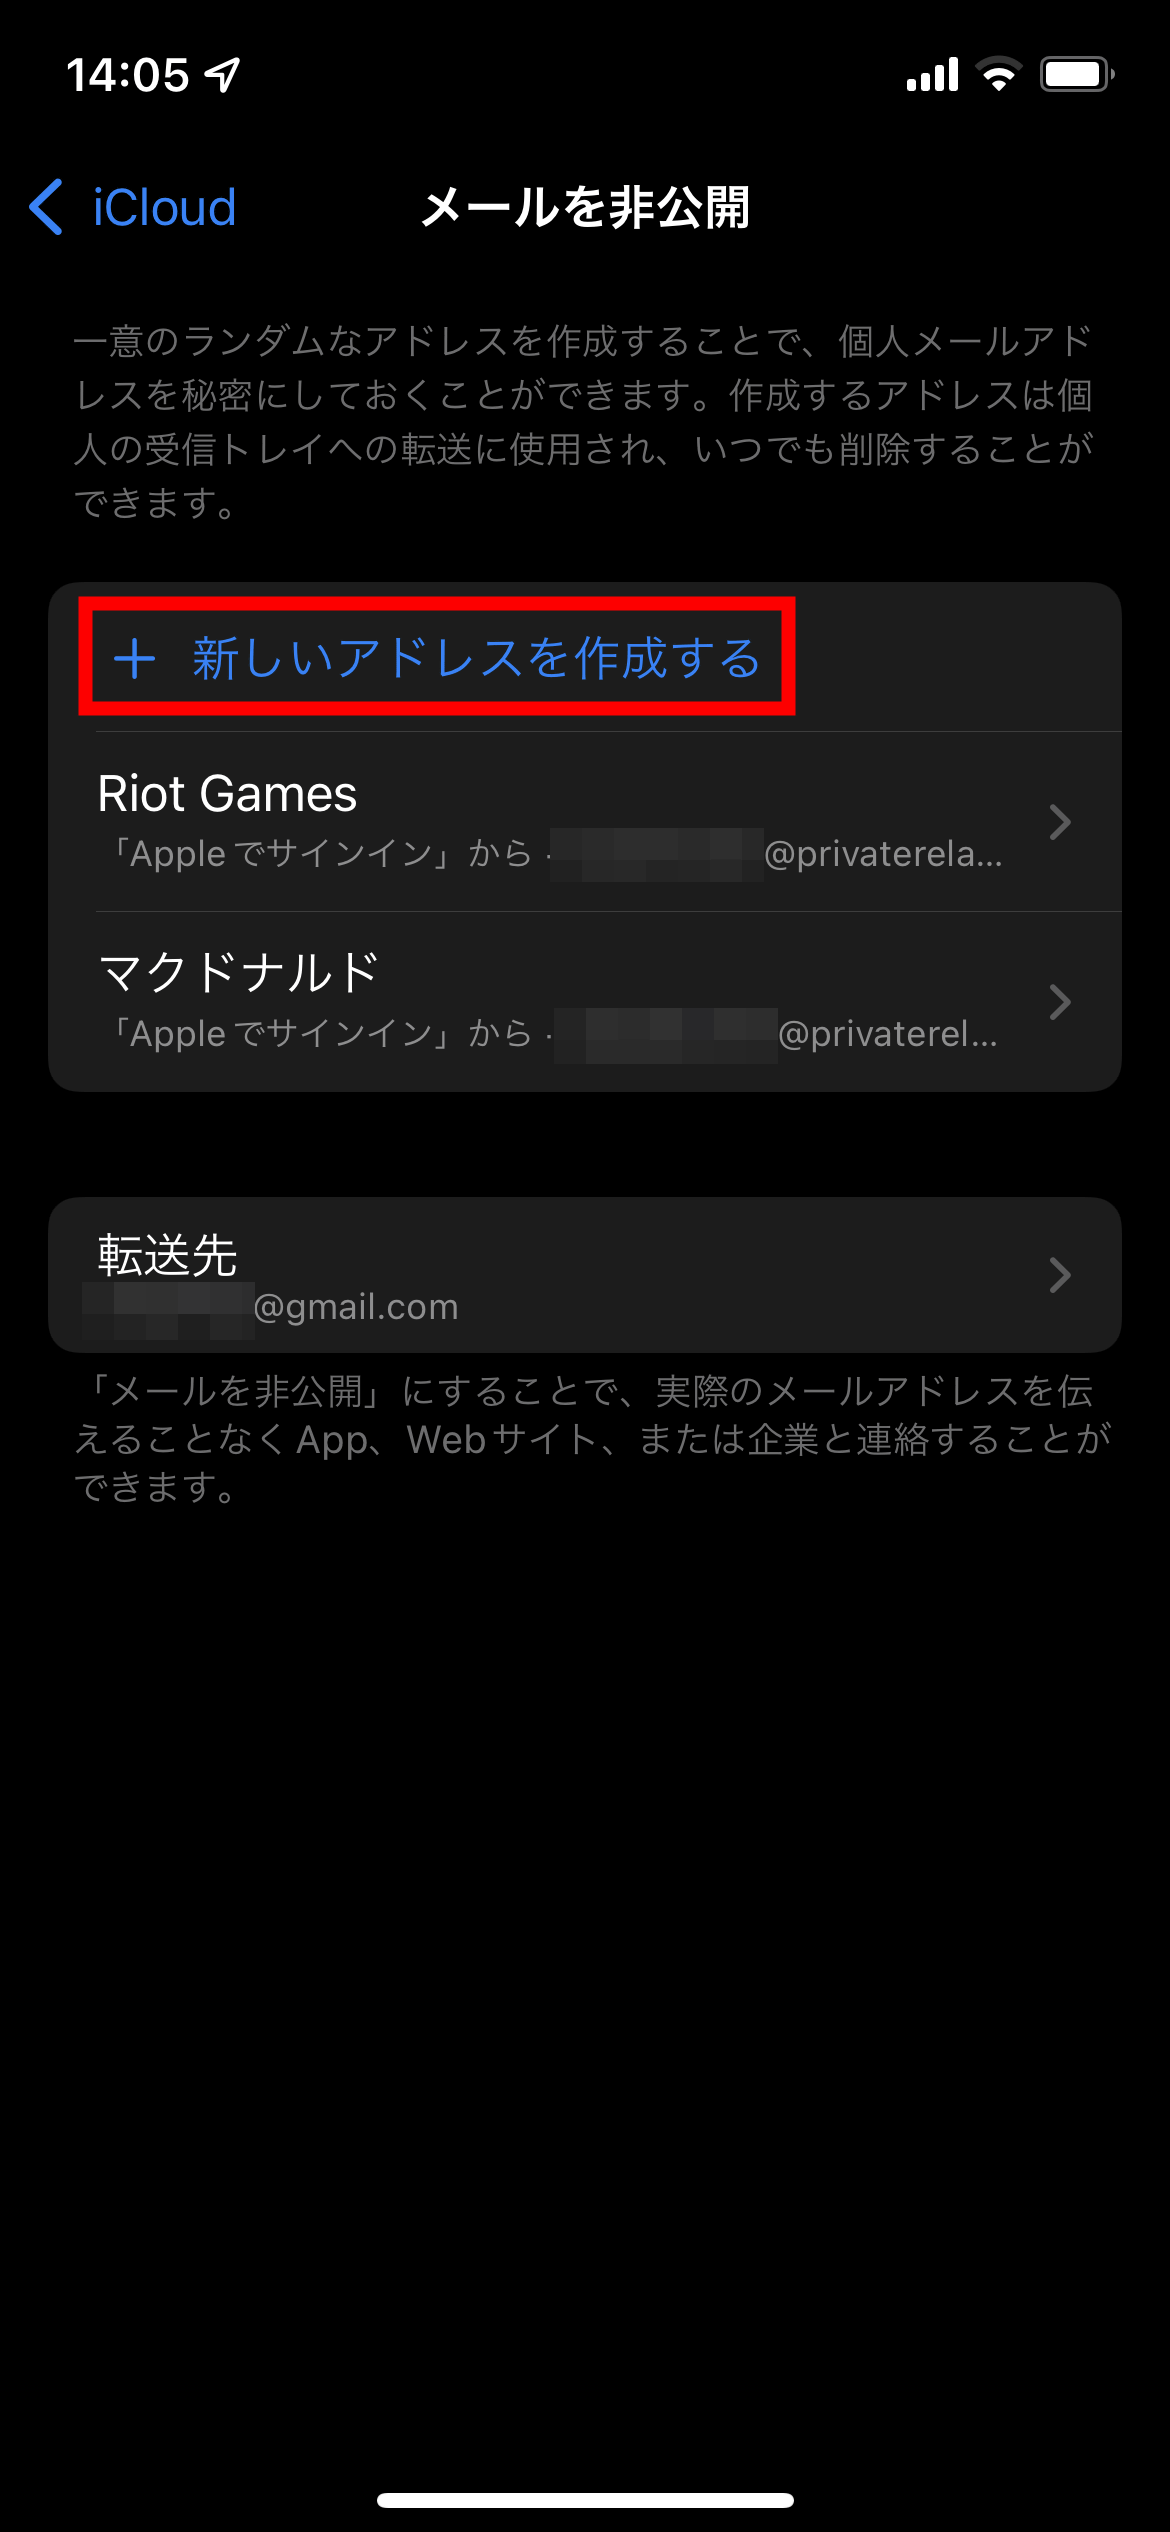
In addition, you can manage the discarded email addresses created so far at any time by tapping 'User name' → 'iCloud' → 'Private email' in the settings app. This screen also allows you to manage the abandoned email address created when you
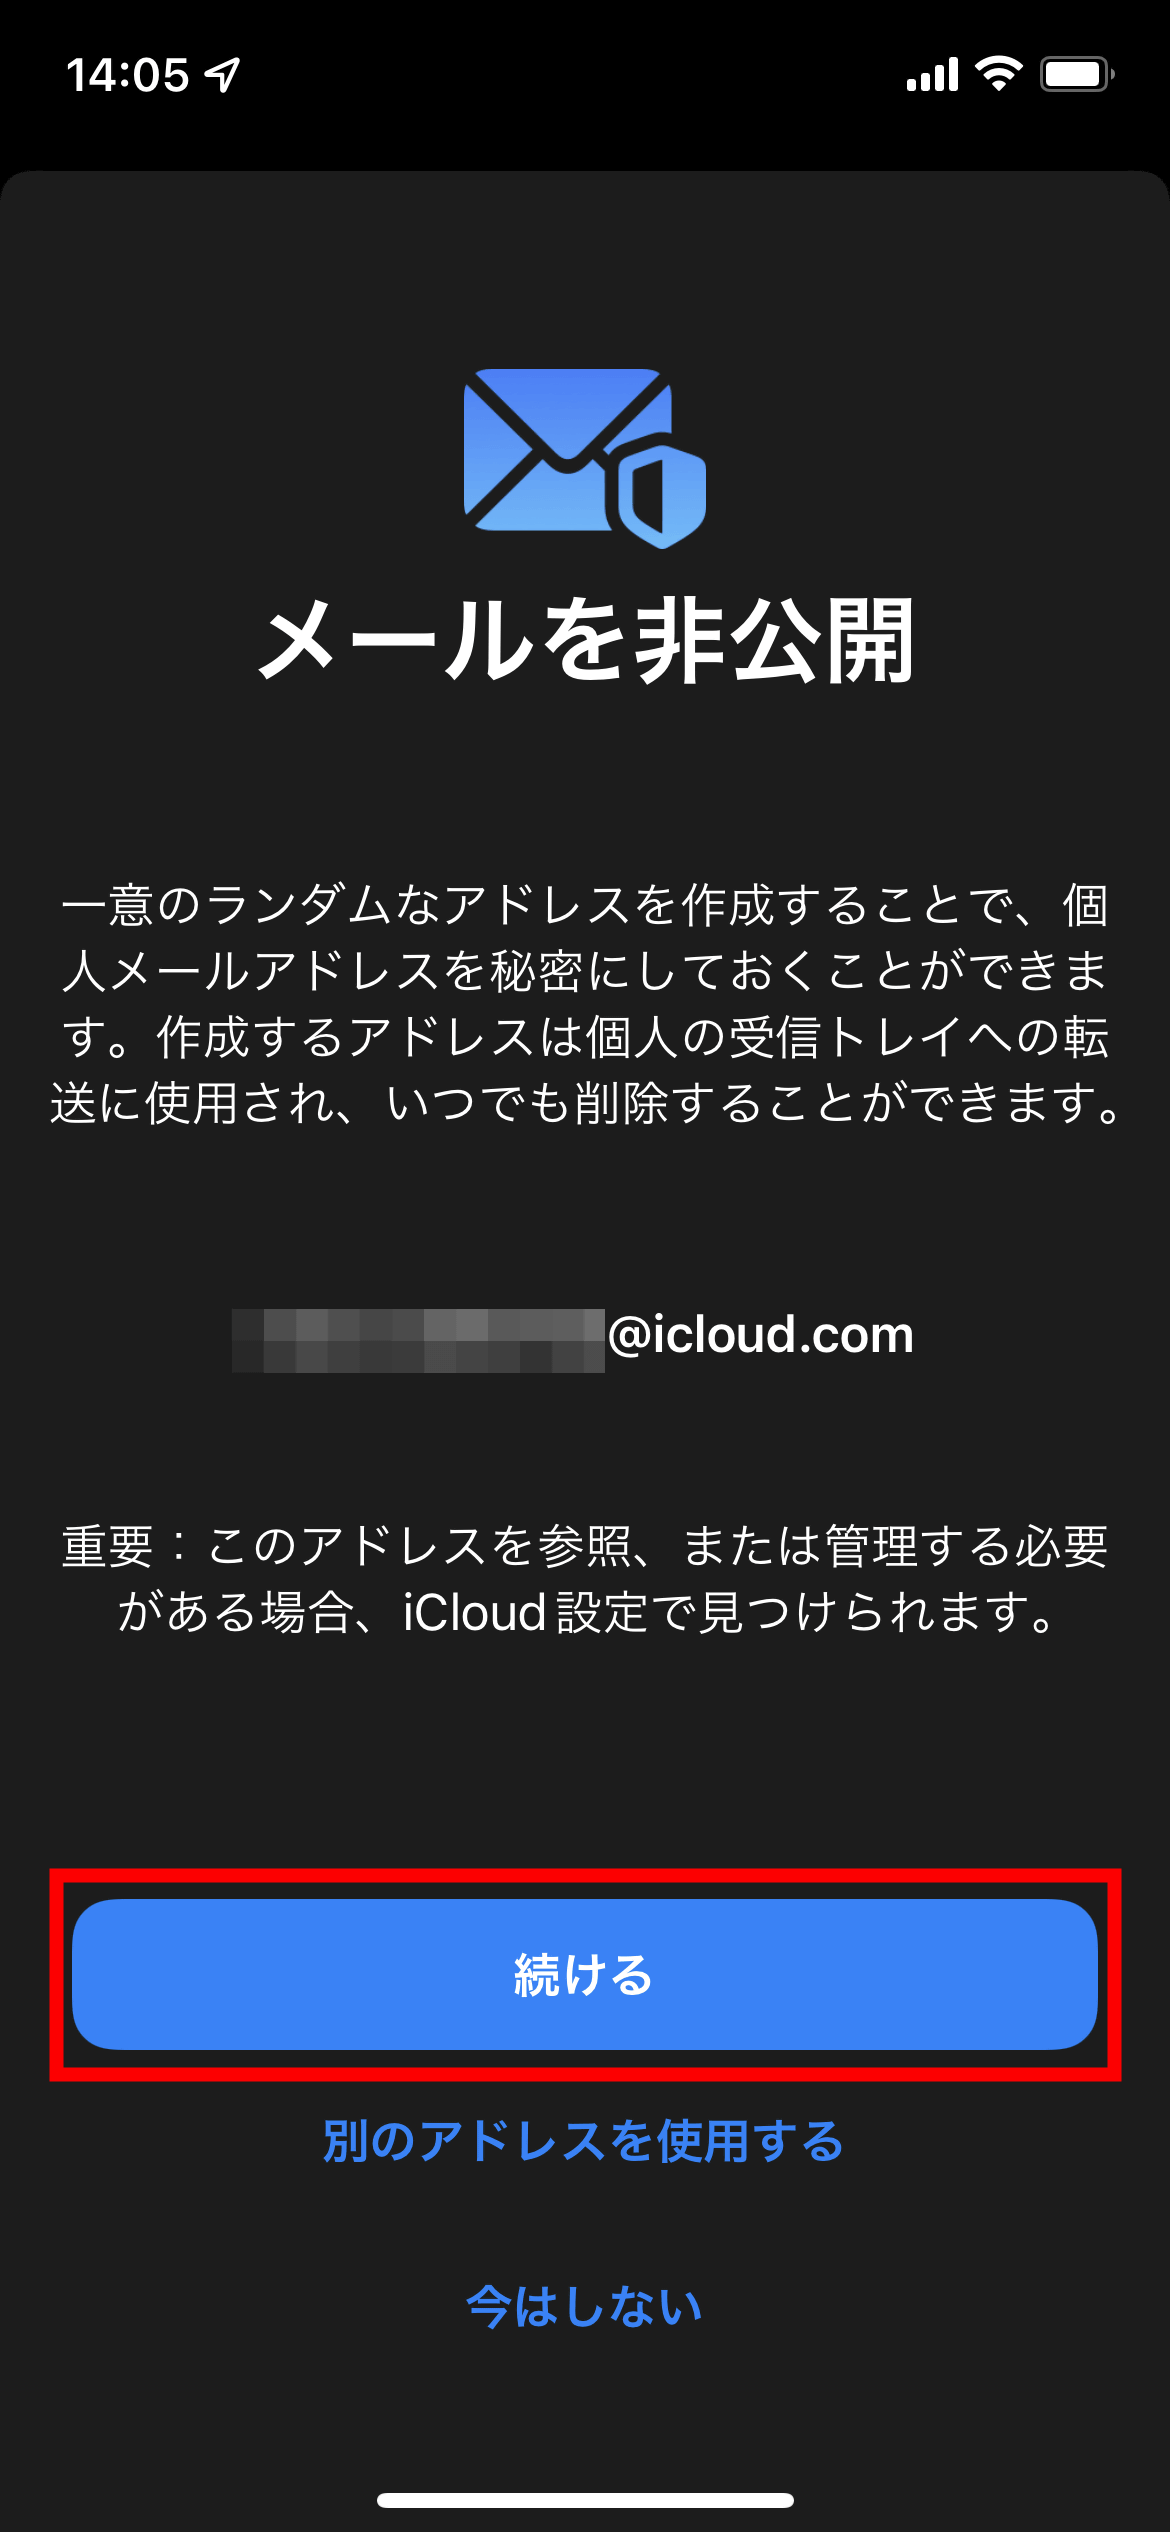
Tap 'Continue'.
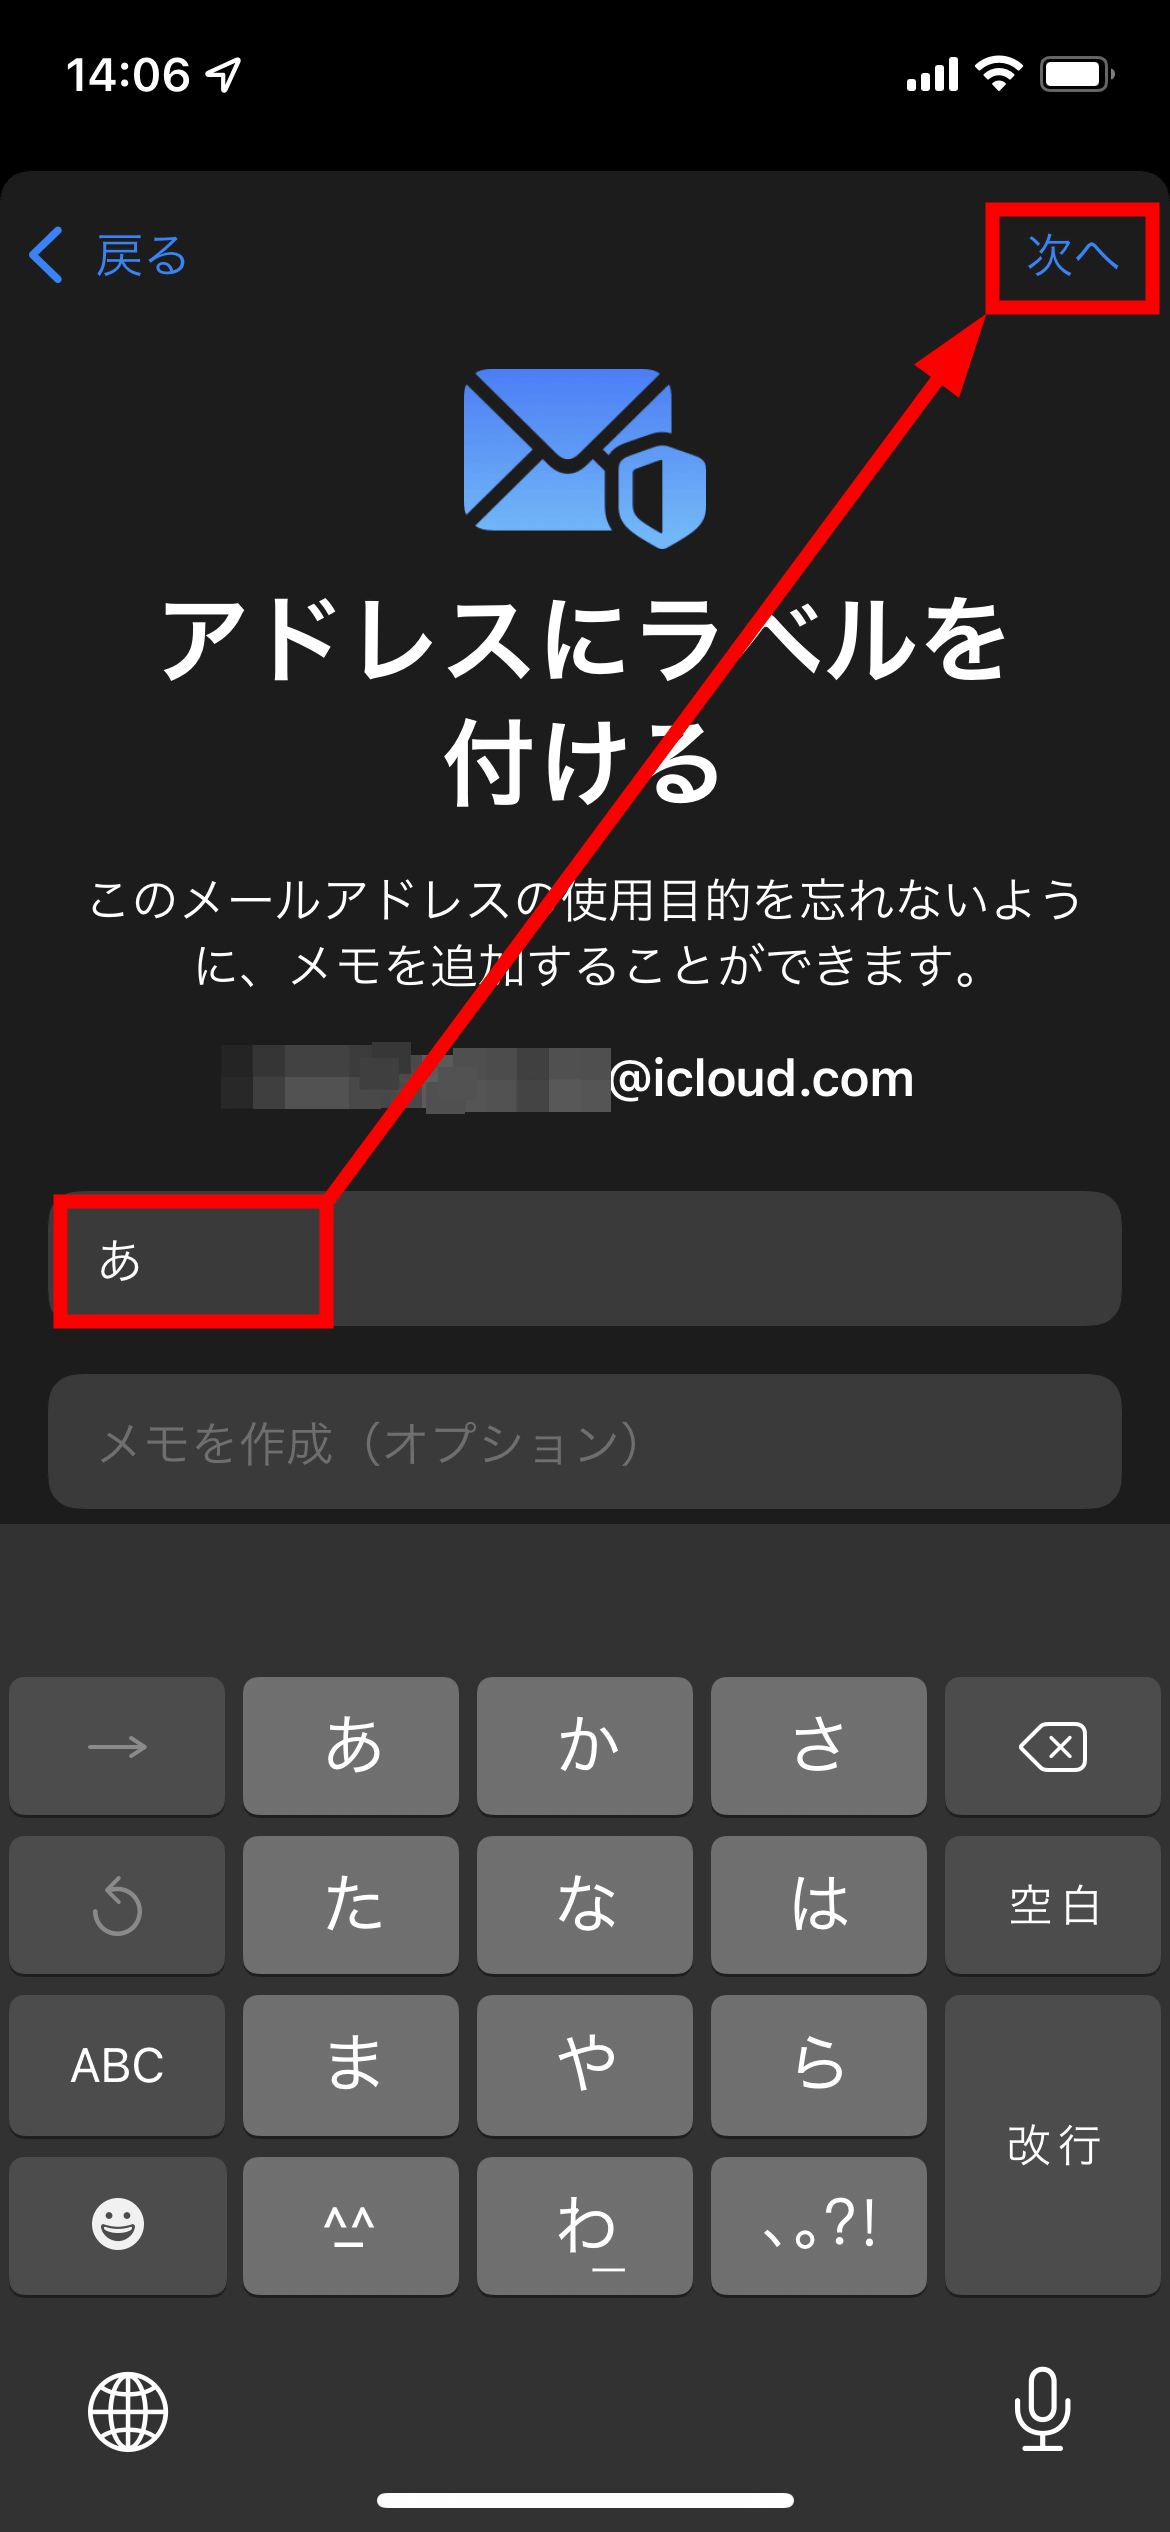
Add a label and tap 'Next'.
Tap 'Done'.
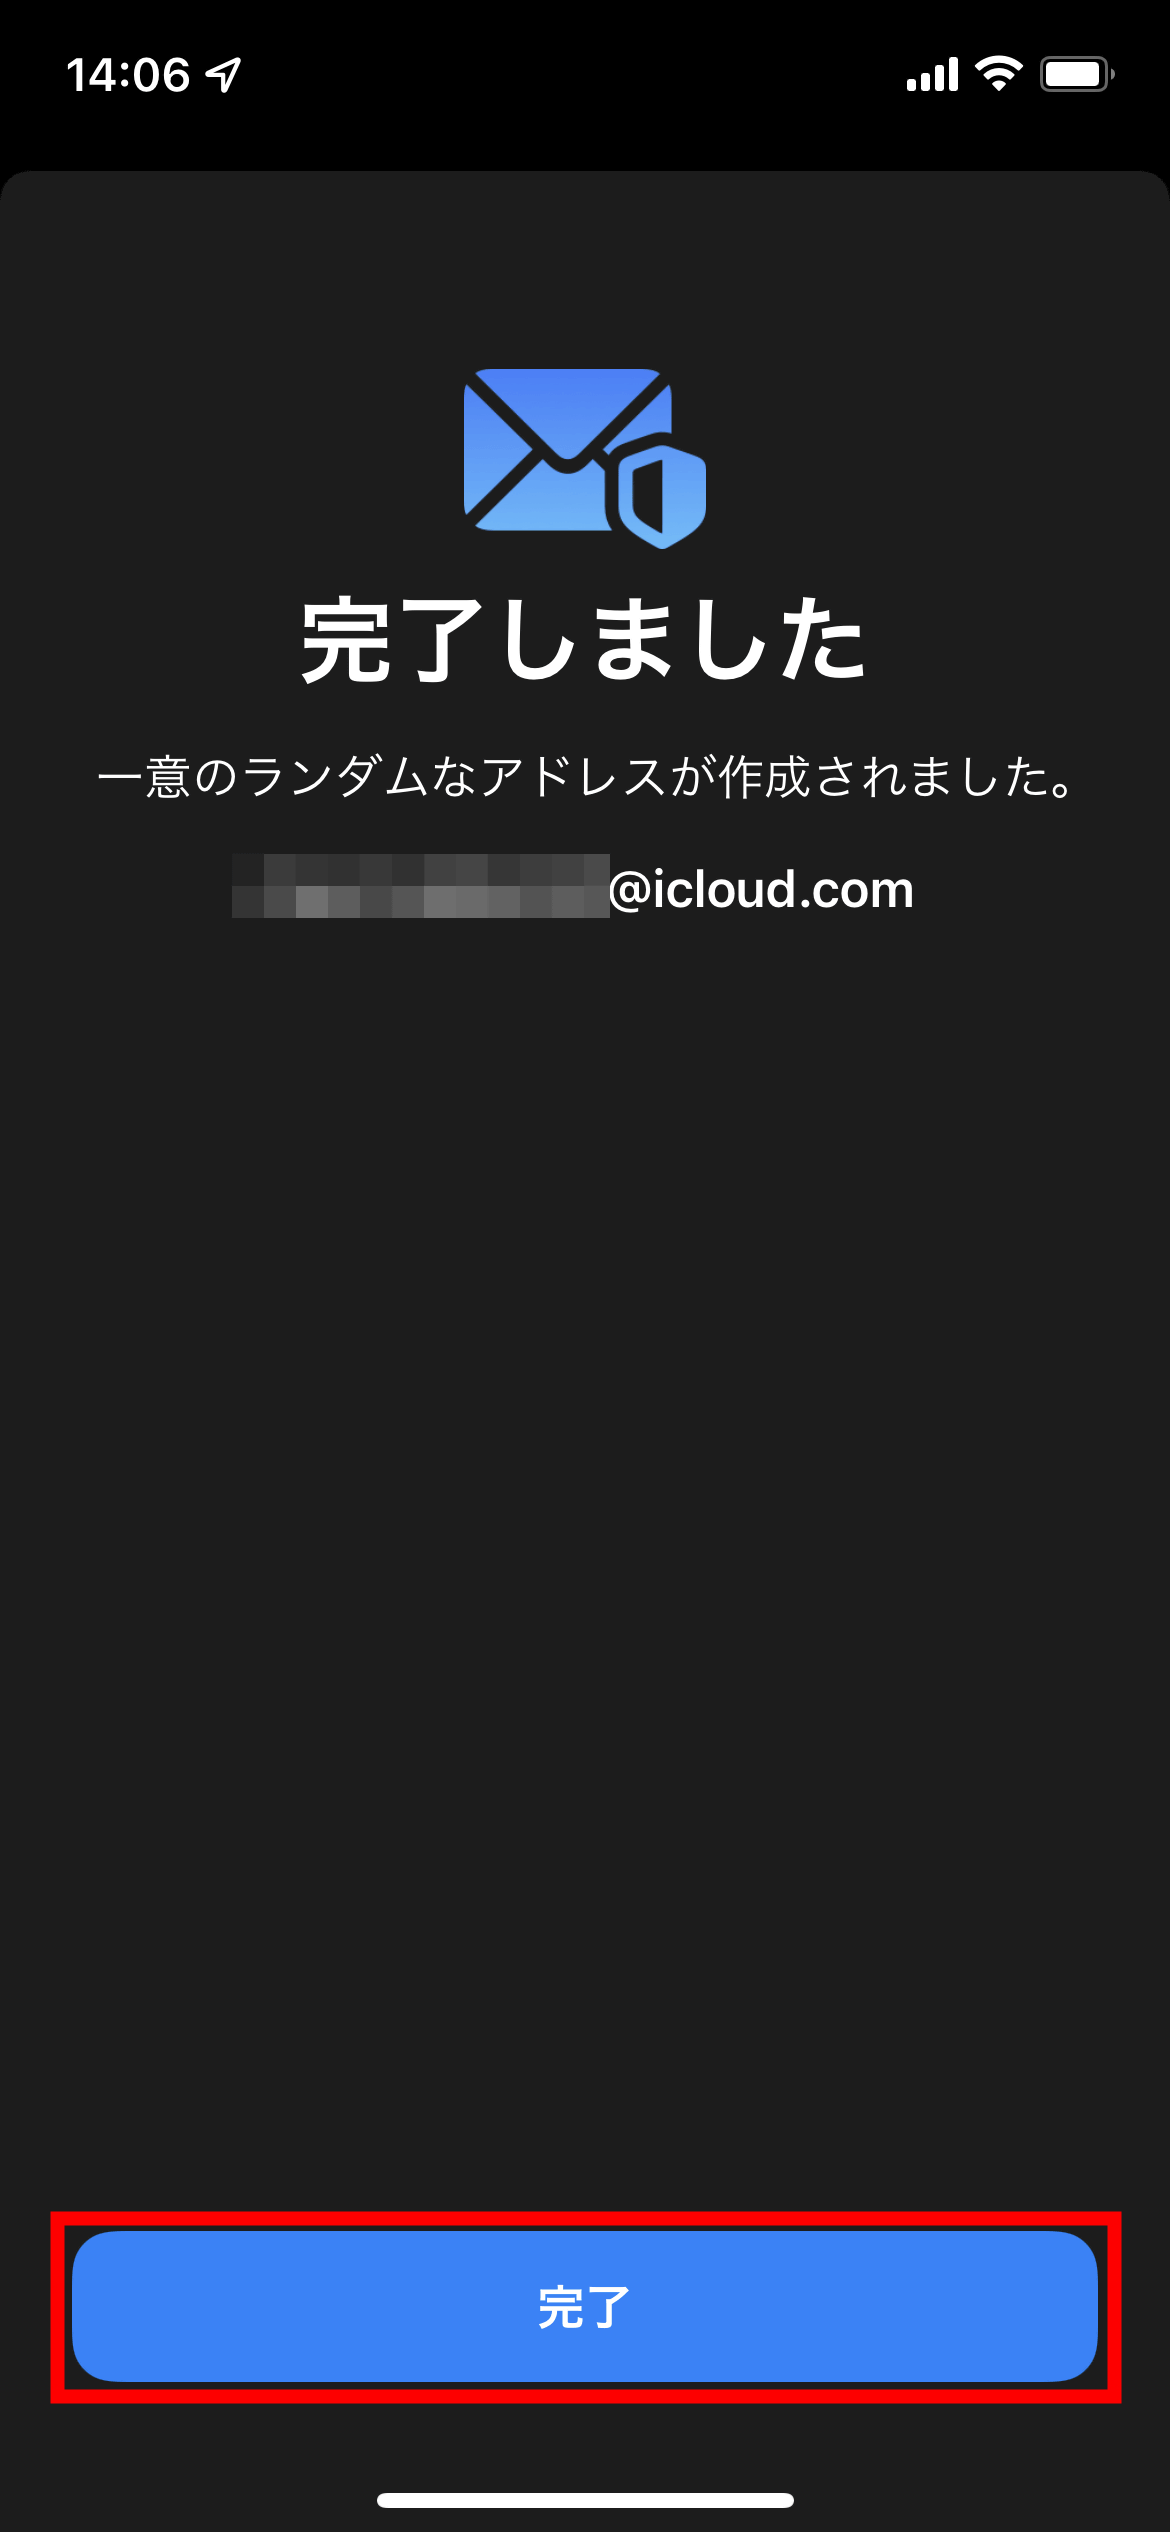
This completes the creation of the discarded email address. Emails sent to the created abandoned email address will be forwarded to the email address associated with your Apple ID.

The 'private email' function allows you to create an account without using your own email address even on websites and services that do not support sign-in with Apple, so it seems to be useful for those who value privacy. It is a function.
◆ 'FaceTime' can be used from other than Apple devices
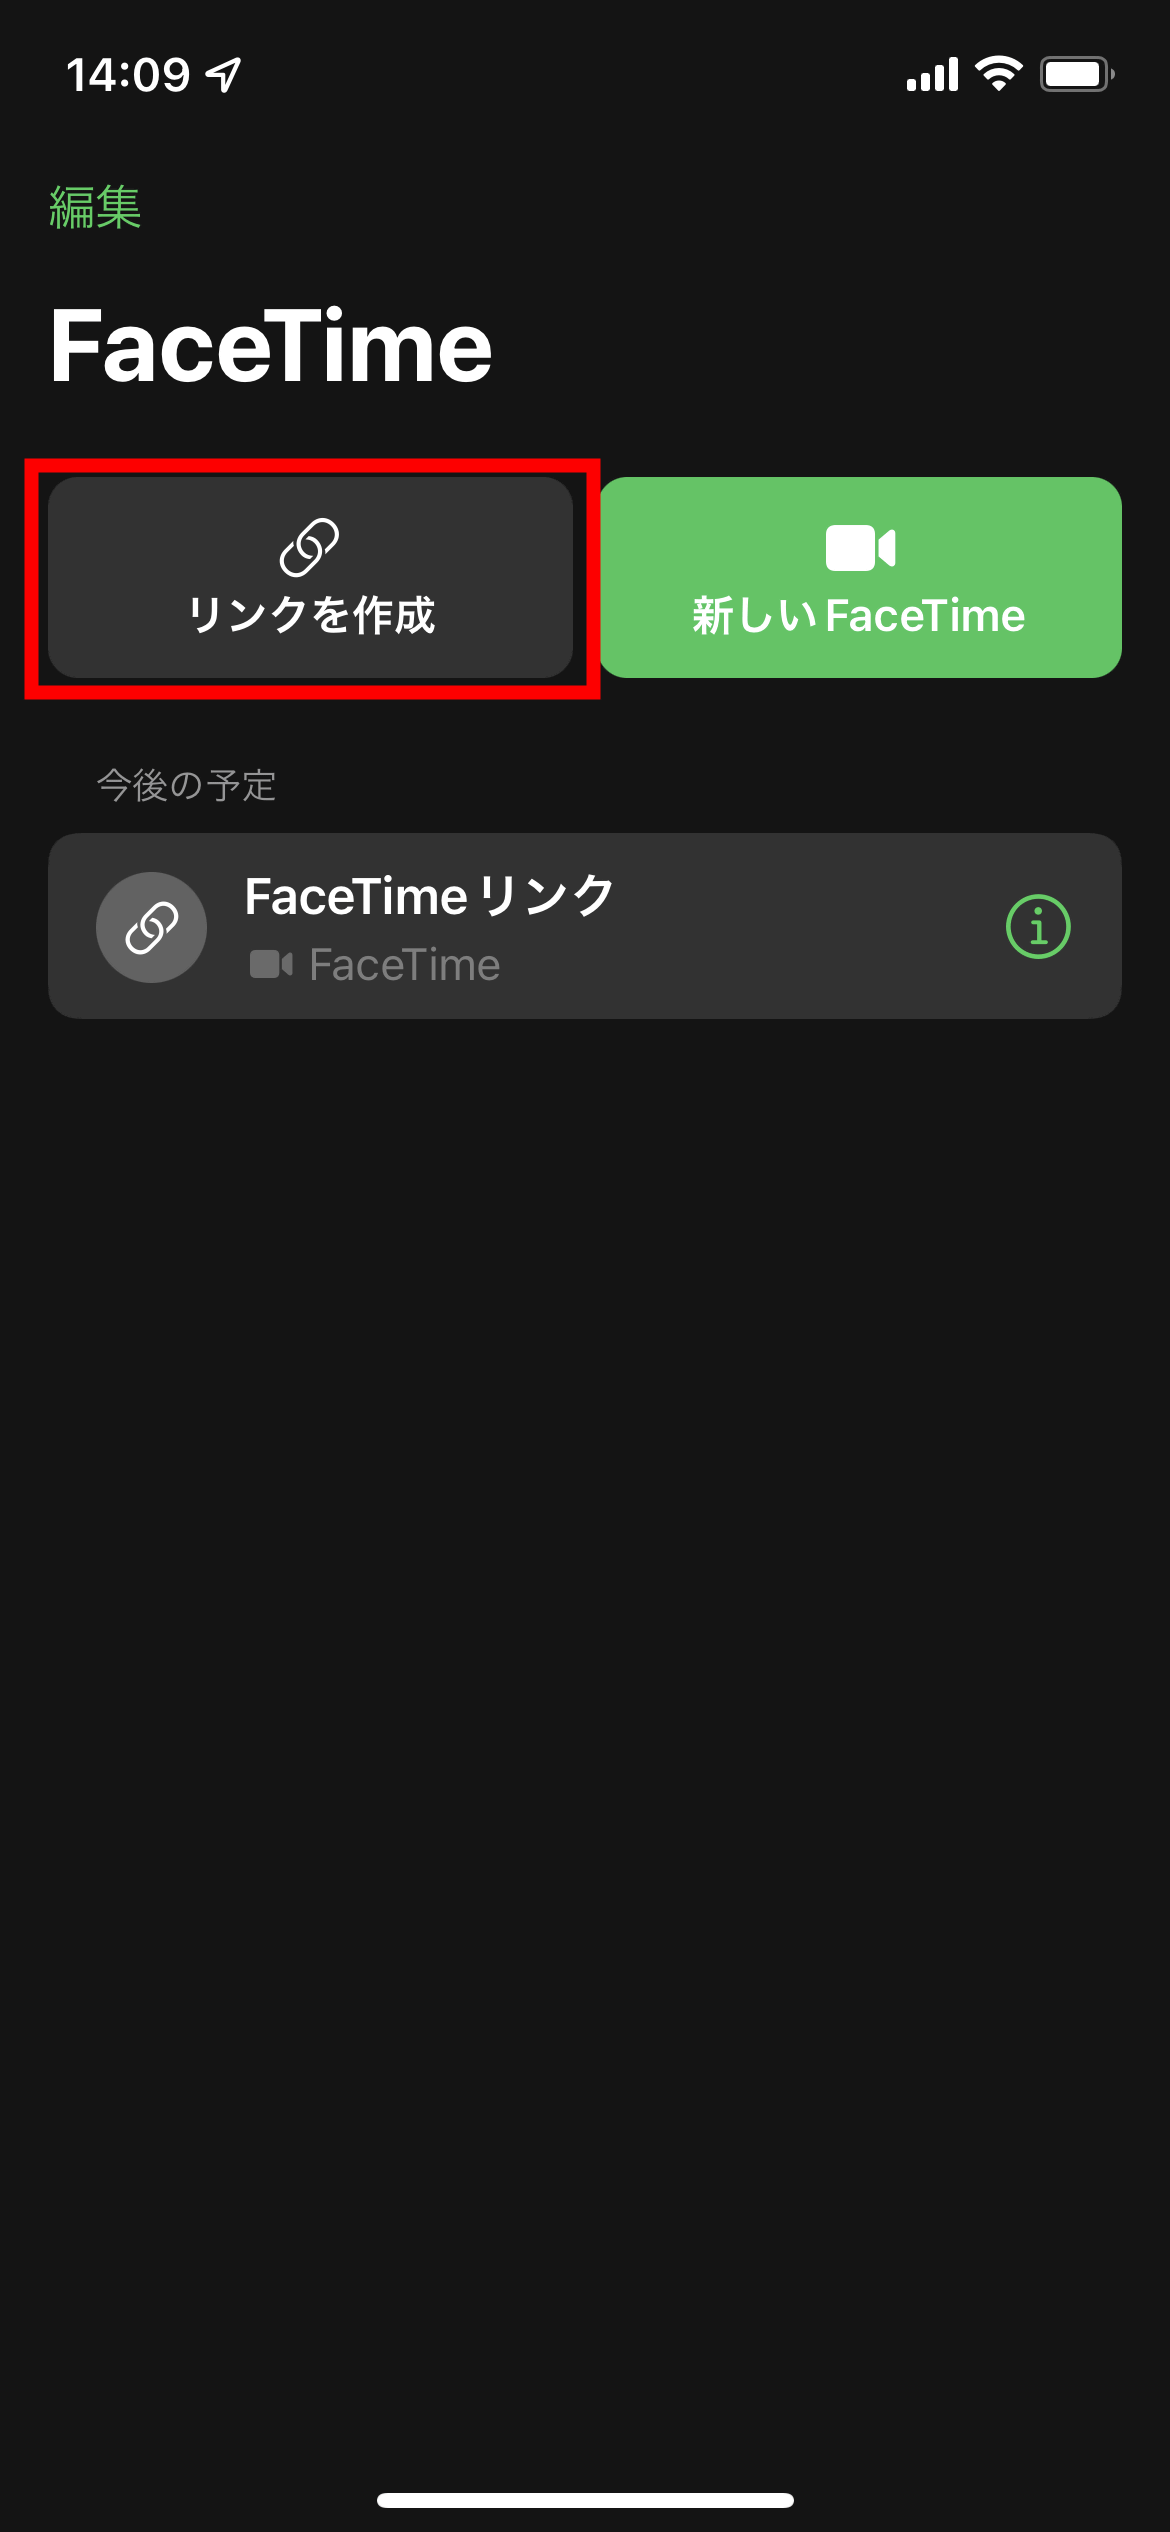
In addition, FaceTime, a video and voice call app, allows you to make calls with non-Apple devices.
Tap 'Create Link' to talk to other than Apple devices.
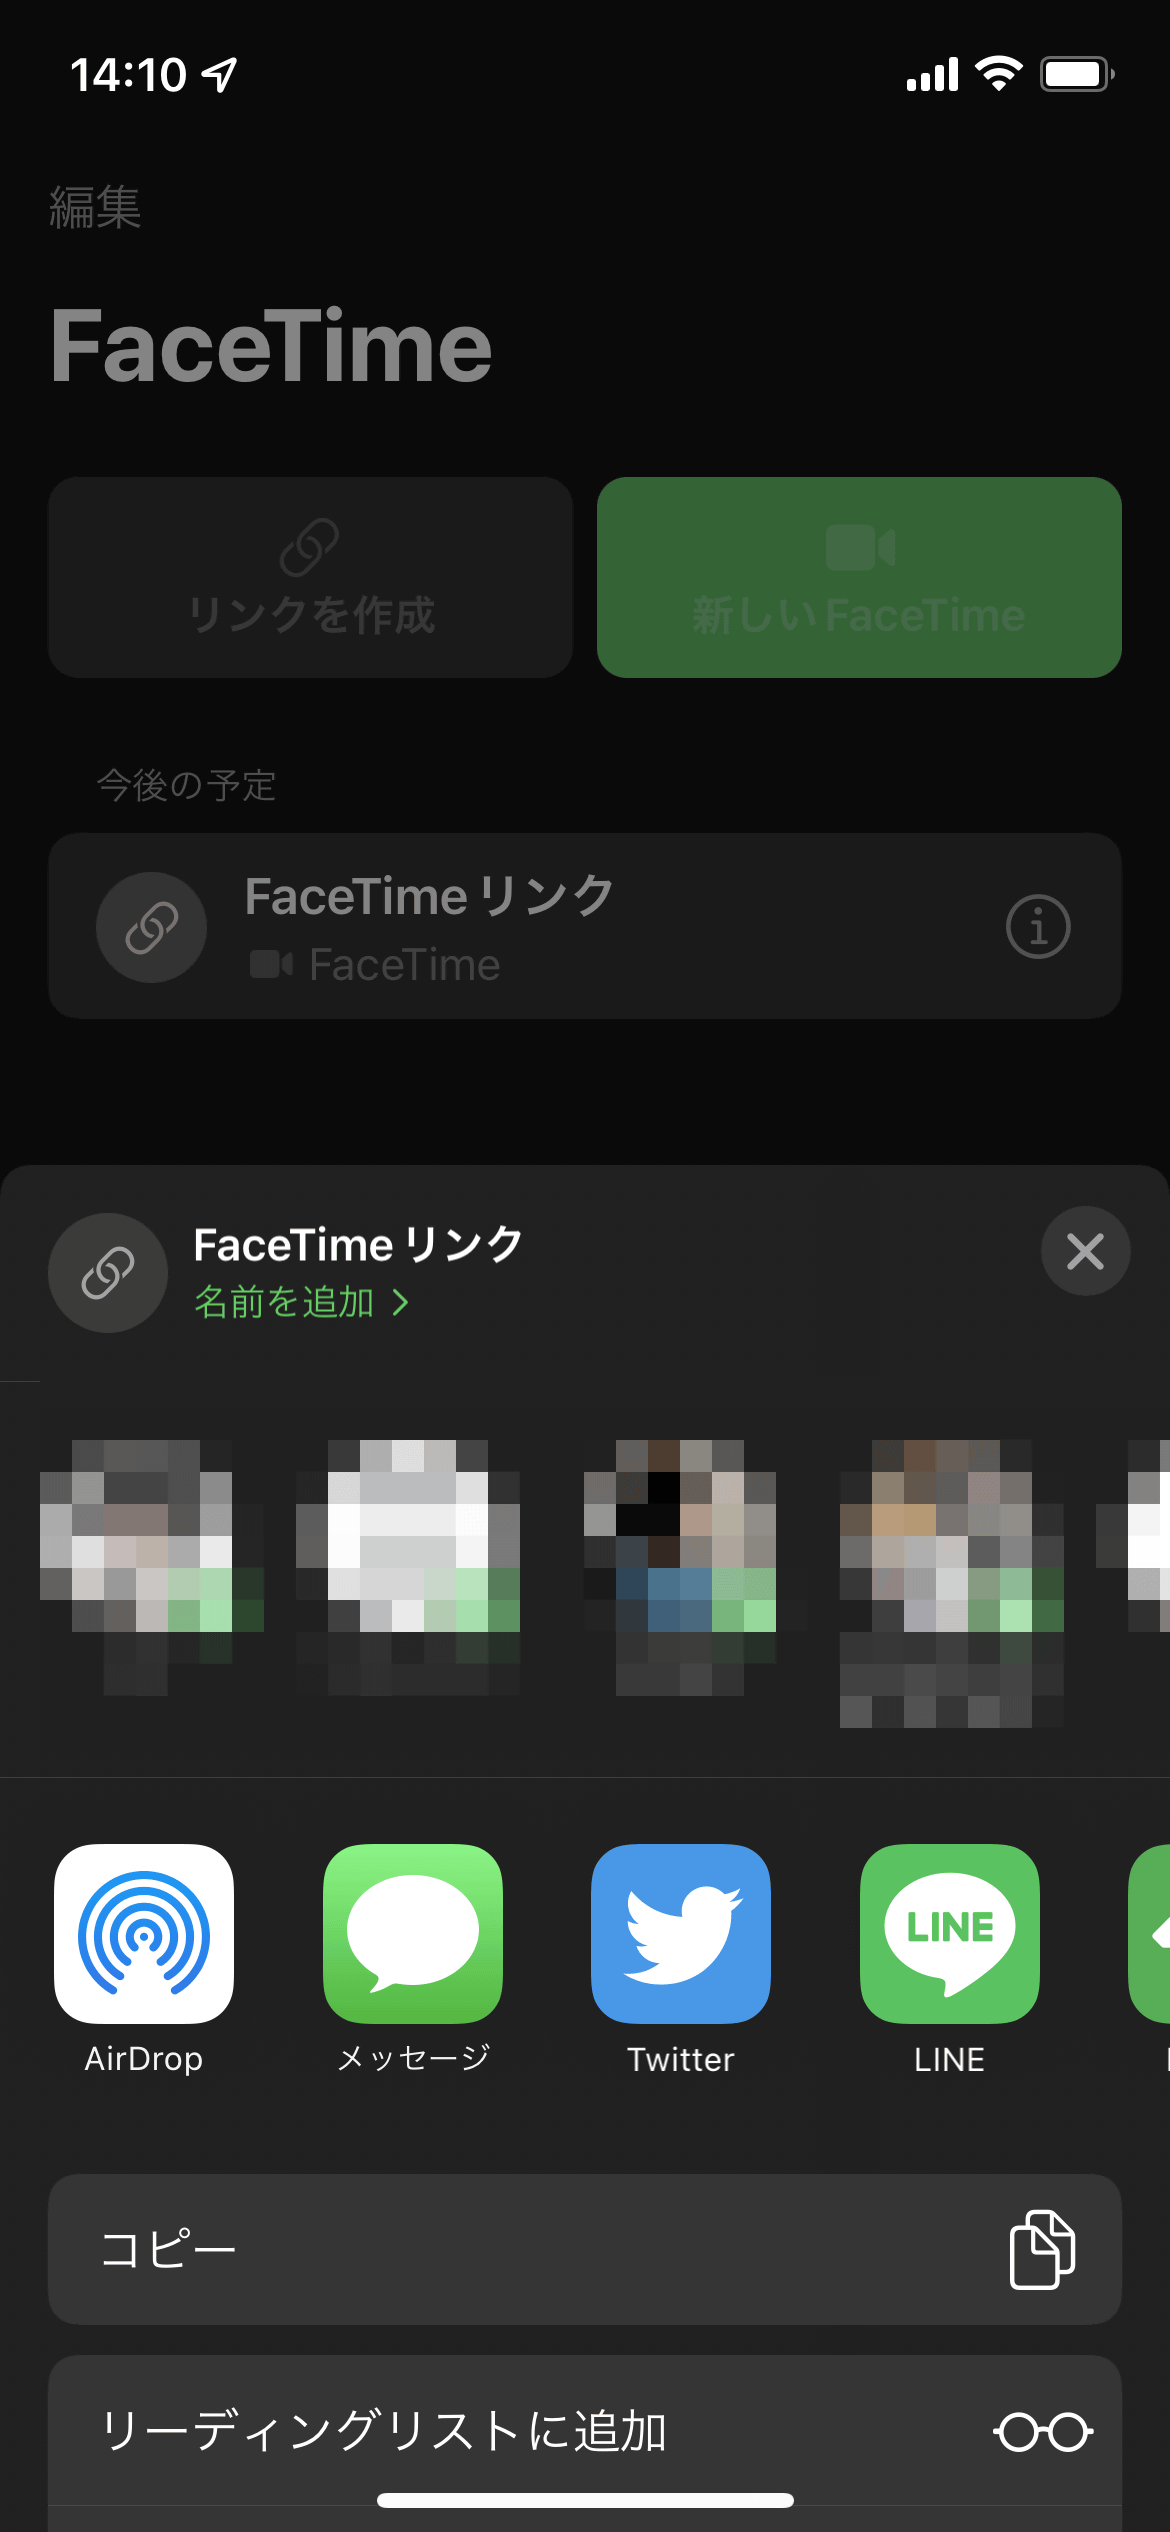
You can copy the link, so share the link with the person you want to call.
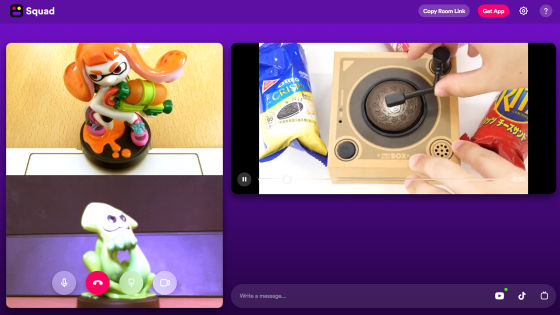
When you open the link from a web browser, a text box for entering the name will be displayed as shown below, so enter the name and click 'Continue'.
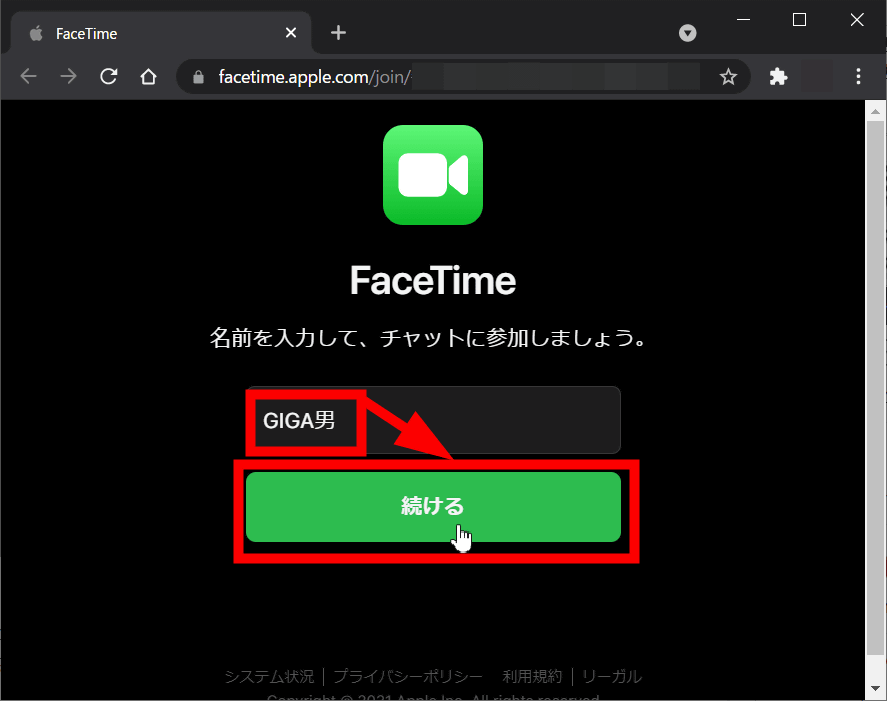
Then you can join the FaceTime call from your web browser.

In addition, 'SharePlay', which allows you to enjoy video content and music together while using FaceTime, is said to be 'available from this autumn' and is not available at the time of article creation. In addition, the text recognition display is only supported in 7 languages (English, Chinese, French, Italian, German, Portuguese, Spanish) at the time of article creation, and Japanese is not supported.
Related Posts: