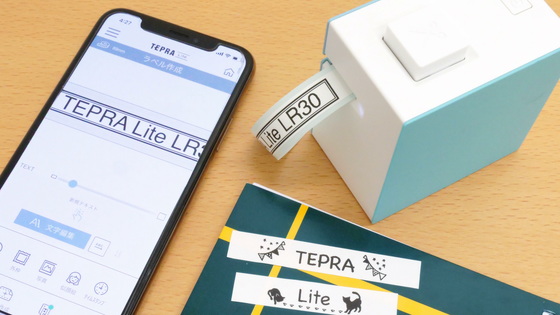
Review of 'Tepra' PRO SR-R980, the ultimate form of Tepra, which is equipped with the functions necessary for making labels and has an excellent method for creating 'labels for cables'.
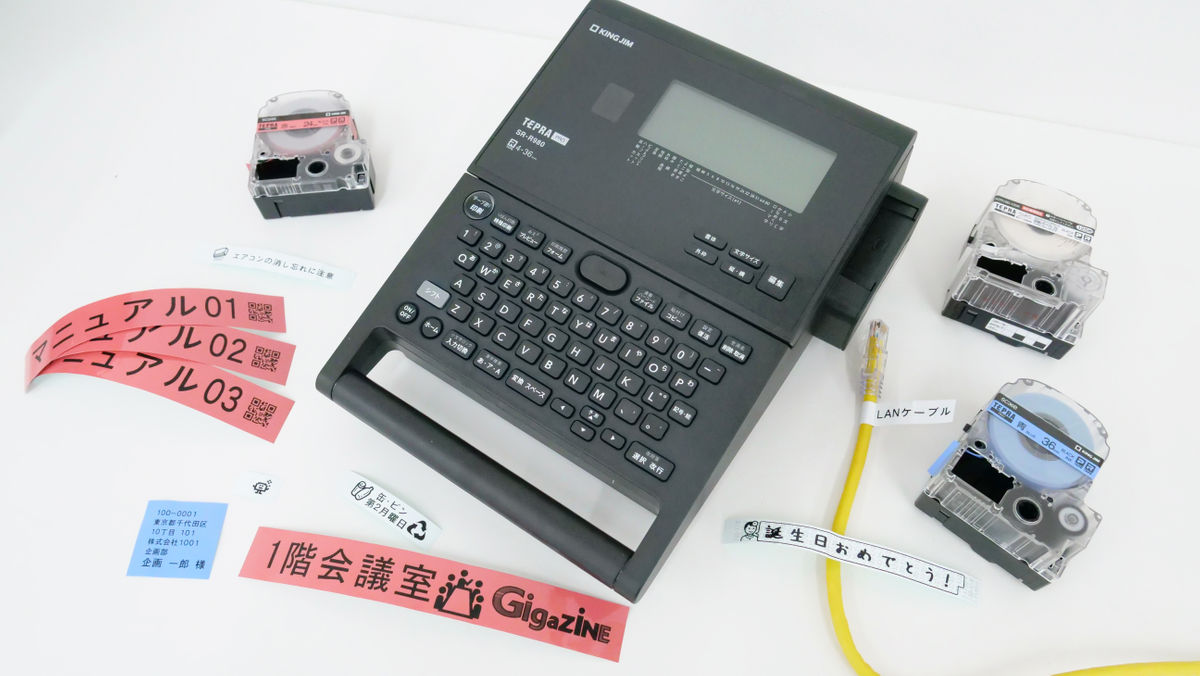
From August 27, 2021, the new model 'Tepura' PRO SR-R980, which is equipped with many functions such as 'Cable Form', which is excellent for creating labels for cables, will be released on the label printer 'Tepura' sold by King Jim. Will appear. It is said that it has many convenient functions such as 'half cut' that allows you to easily peel off the label and 'auto trimmer' that finishes the corners round, so I actually tried using it.
◆ Table of contents
2: Preparation
3: I actually used it
・ Basic usage
・ Round the corners
・ 'Line break' and 'paragraph break'
・ 'Font', 'Format', 'Paragraph style', etc. can be edited in detail.
・ 'Form' where you can choose a design from various templates
・ I tried to create an icon with a dot picture using the 'gaiji' function.
・ Address printing
・ A function that automatically assigns serial numbers
・ QR code
・ You can edit the layout in more detail by connecting to a PC and inserting images.
4: I also tried using the labels 'Rotating label' and 'Self-laminated label' optimized for sticking to cables.
5: What is the system trunk 'SR10BT' that can carry the main body of Tepla, AC adapter, and tape cartridge together?
6: Summary
'Tepra' PRO SR-R980 | Label Writer 'Tepra' | File and Tepra's King Jim
https://www.kingjim.co.jp/products/tepra/sr-r980.html
Cut Label Panduit | File and Tepra's King Jim
https://www.kingjim.co.jp/products/tepra/panduit.html
System Trunk SR10BT | System Trunk | File and Tepra King Jim
https://www.kingjim.co.jp/products/detail/SR10BT.html
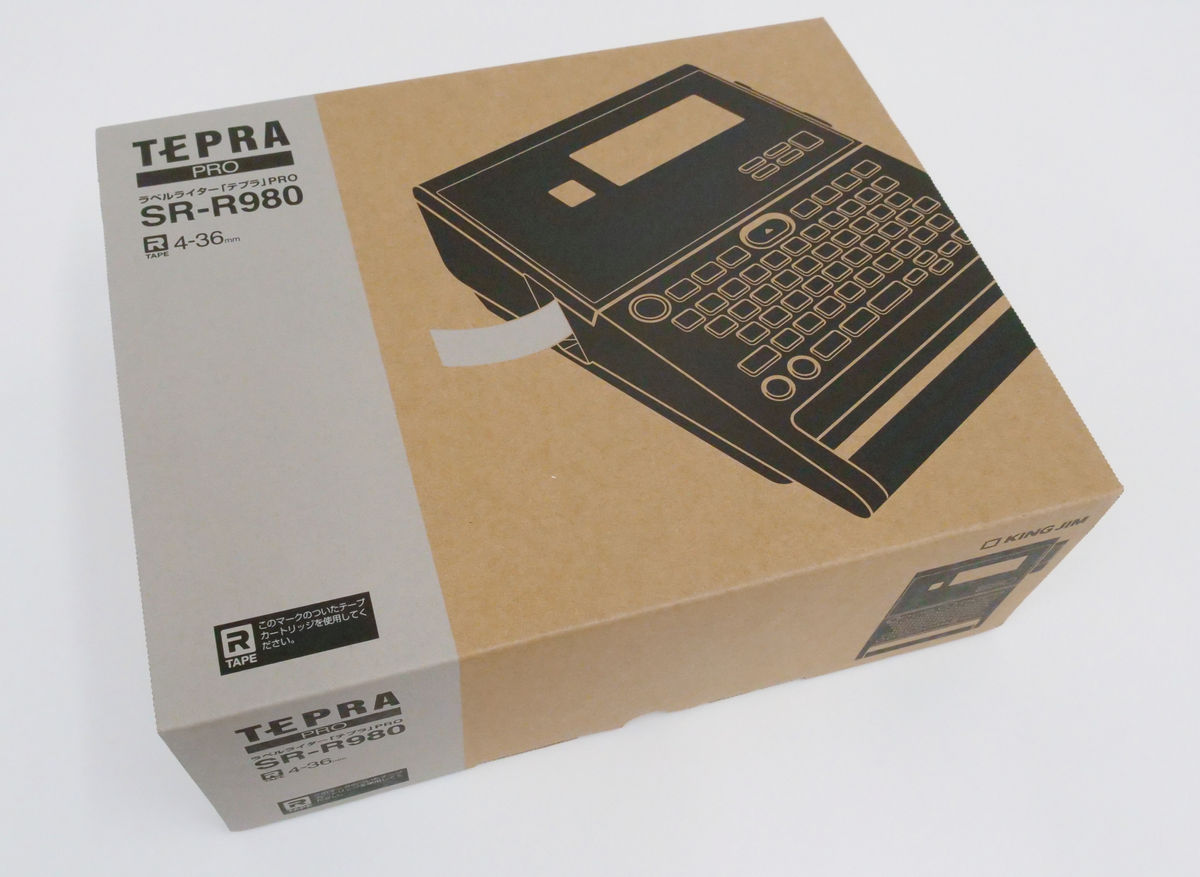
◆ 1: Opening / appearance check
''Tepura' PRO SR-R980' has arrived. This time I was able to borrow a sample product before it was released.
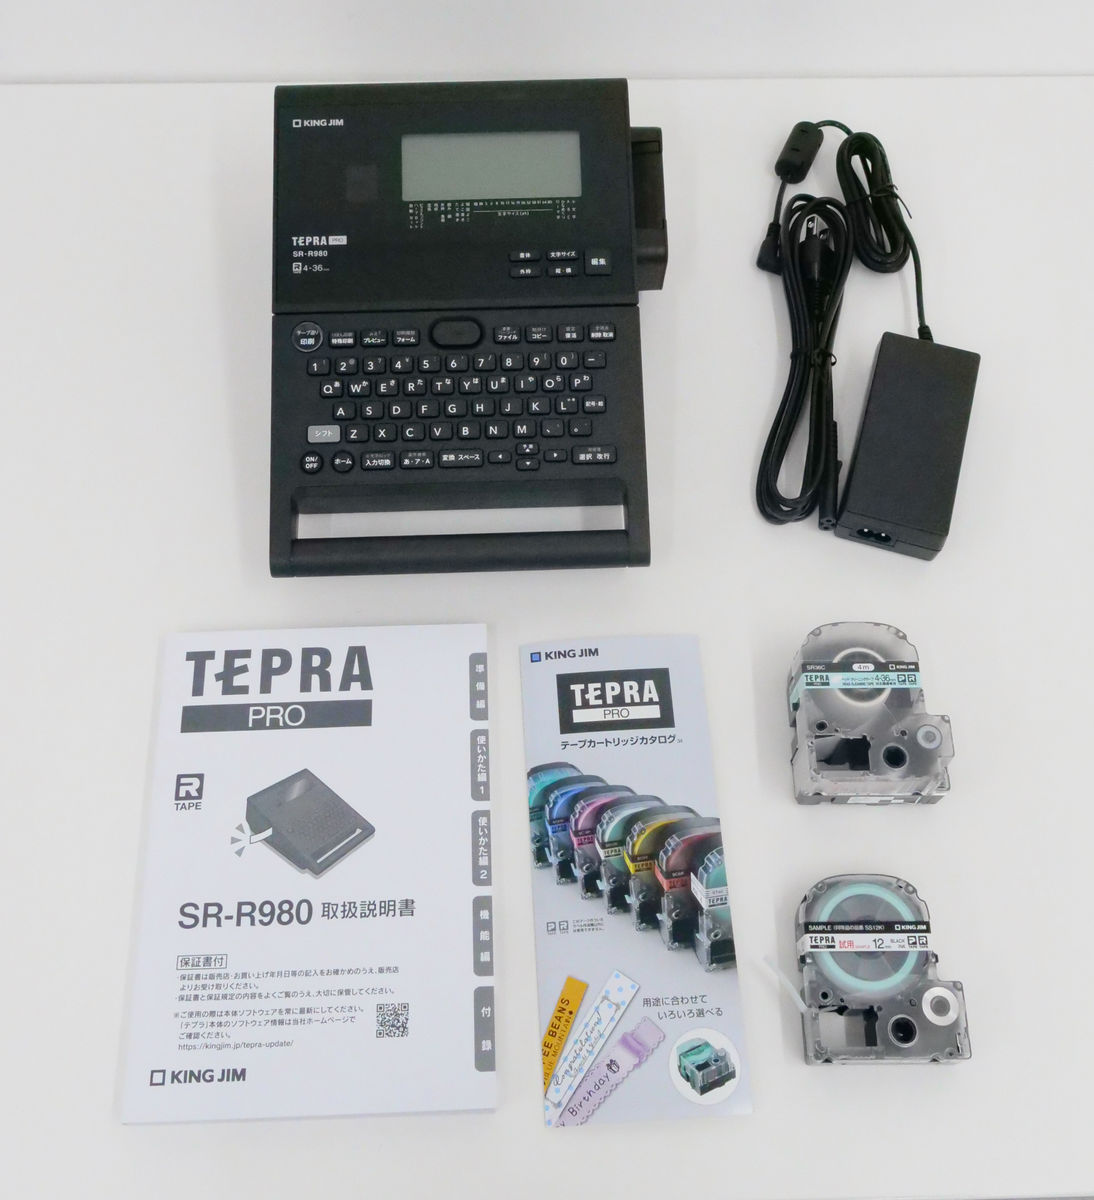
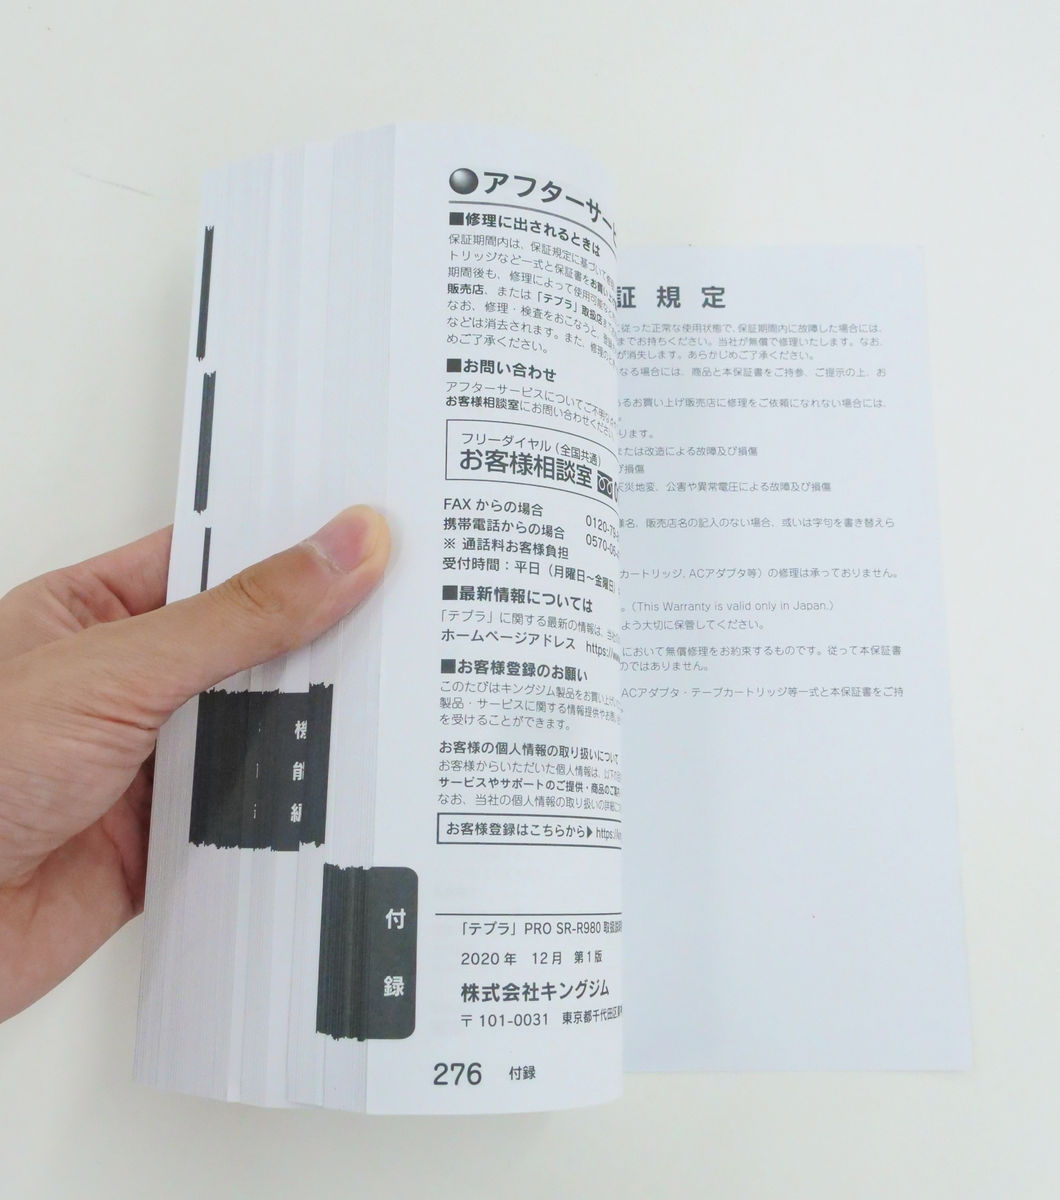
The contents are the main body and AC adapter from the upper left, the instruction manual that also serves as a warranty card from the lower left, the trial PRO tape cartridge, and the head cleaning tape.
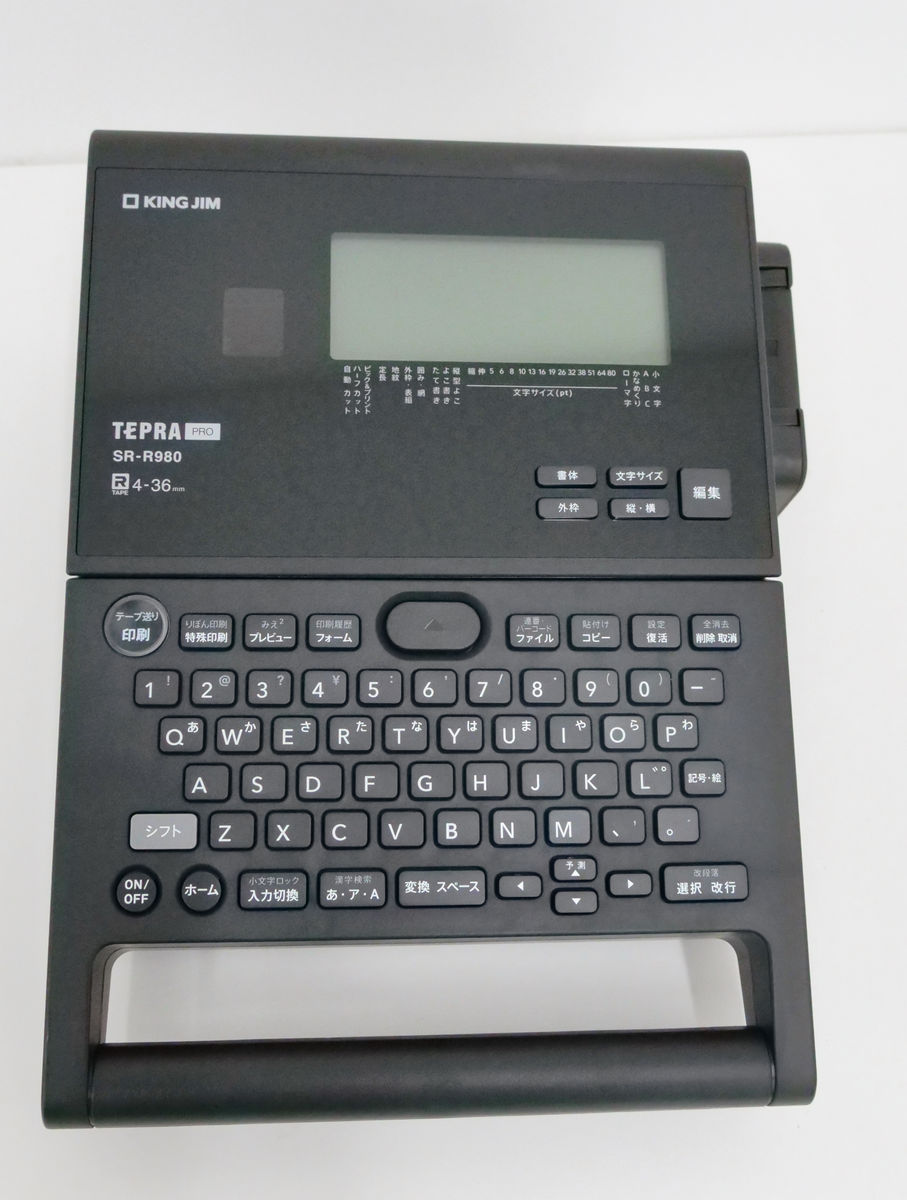
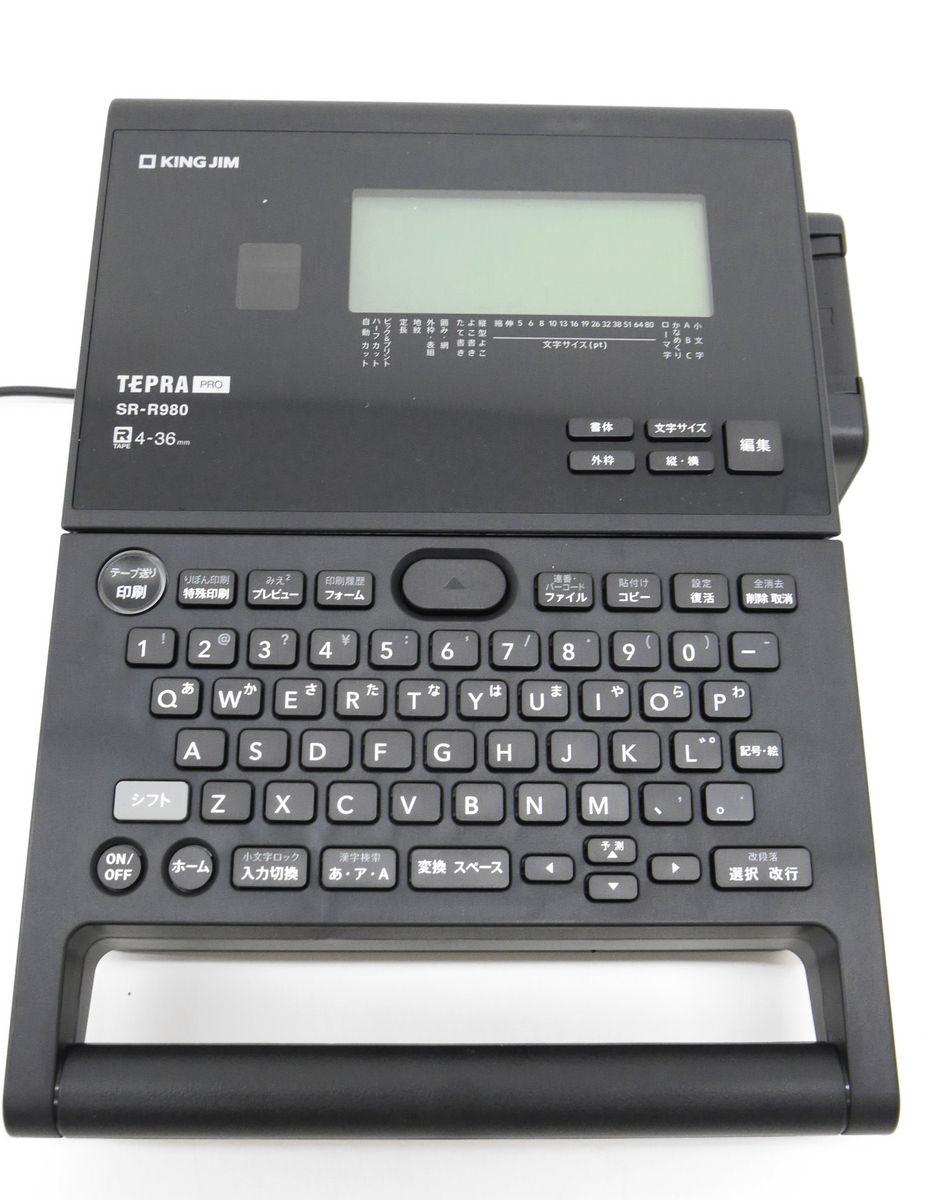
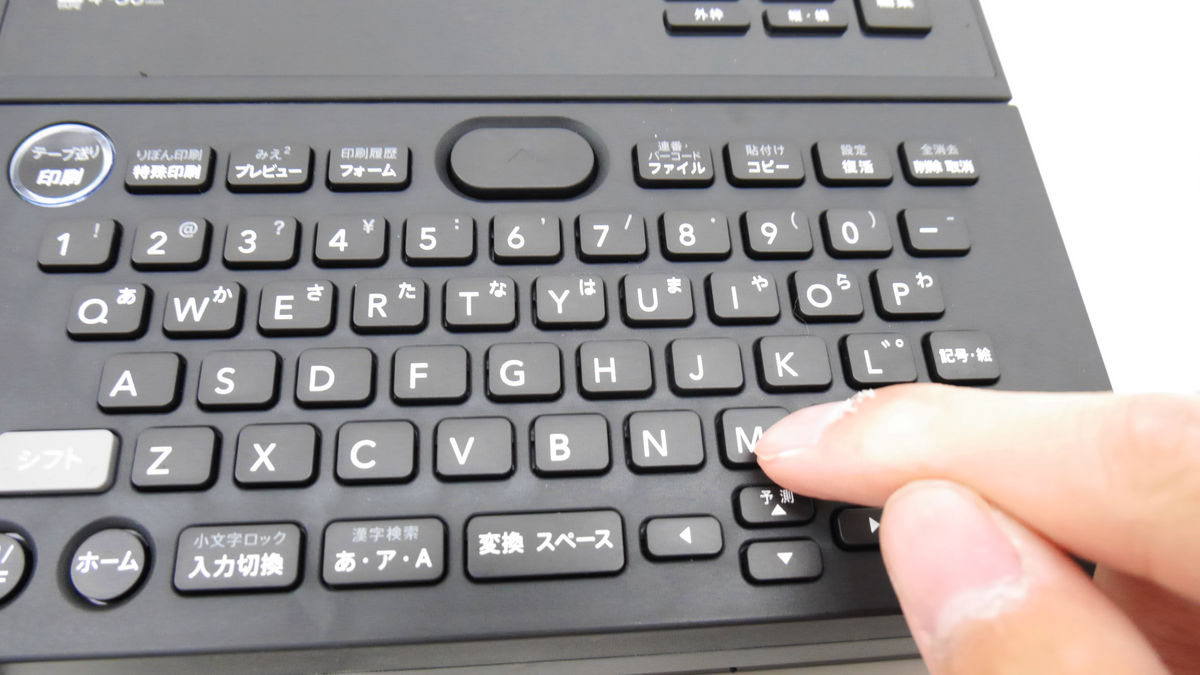
The main body looks like this. It measures 25.2 cm in length, 19.5 cm in width, 10.1 cm in height, and weighs about 1260 g. The display is located at the top and the operation panel is located at the bottom. The keyboard on the operation panel is in JIS layout.
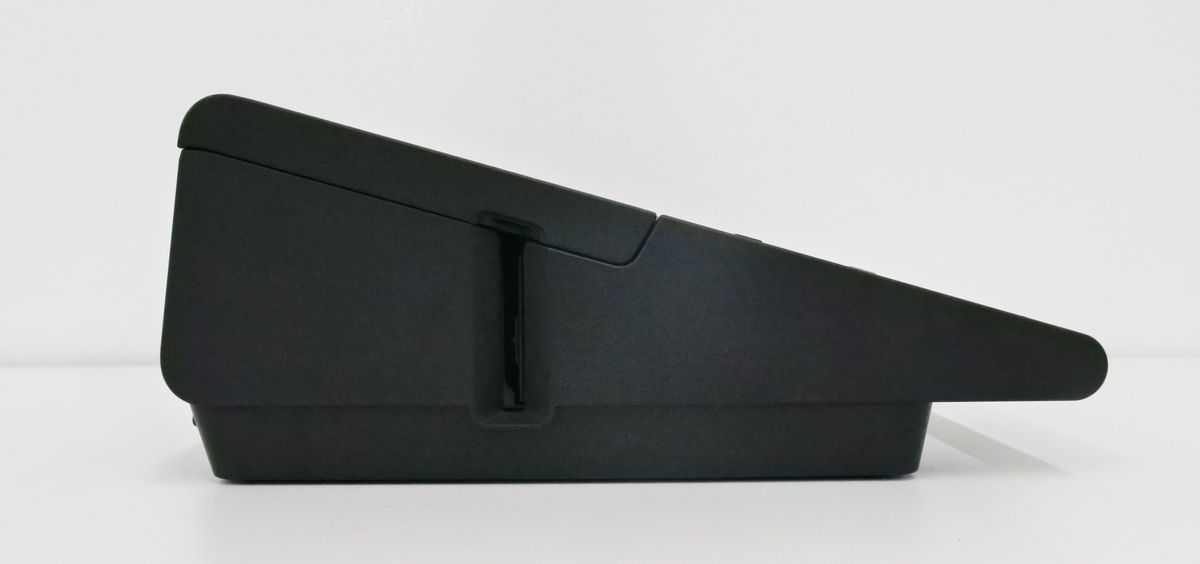
left. The vertically open slit in the center is the tape outlet.
On the right side.
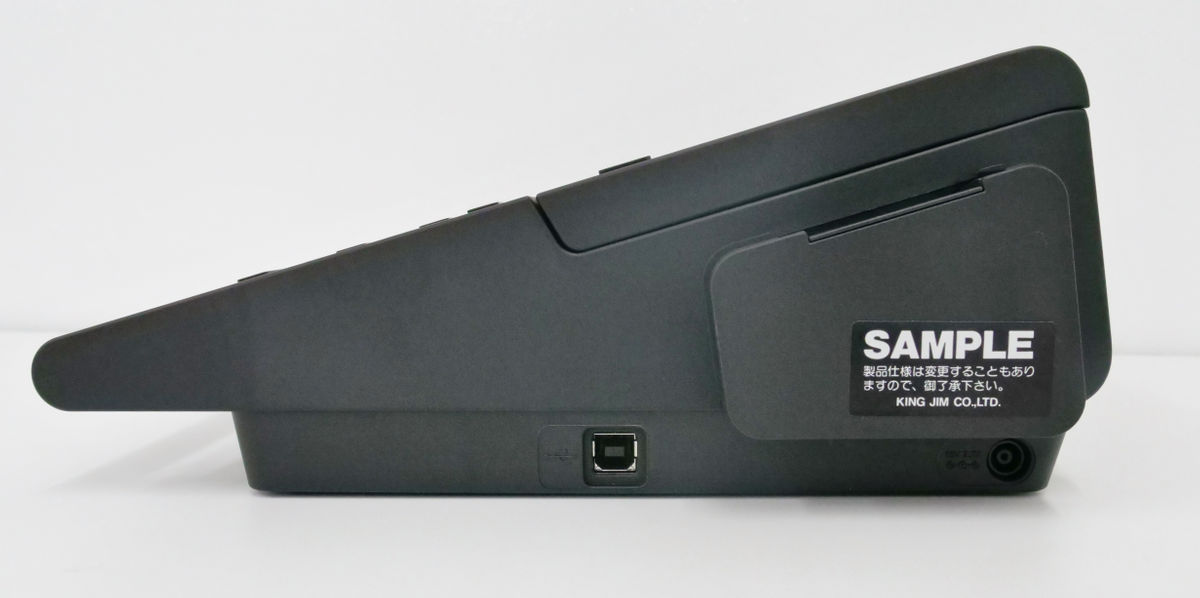
There is a trimmer outlet on the right side, and ...
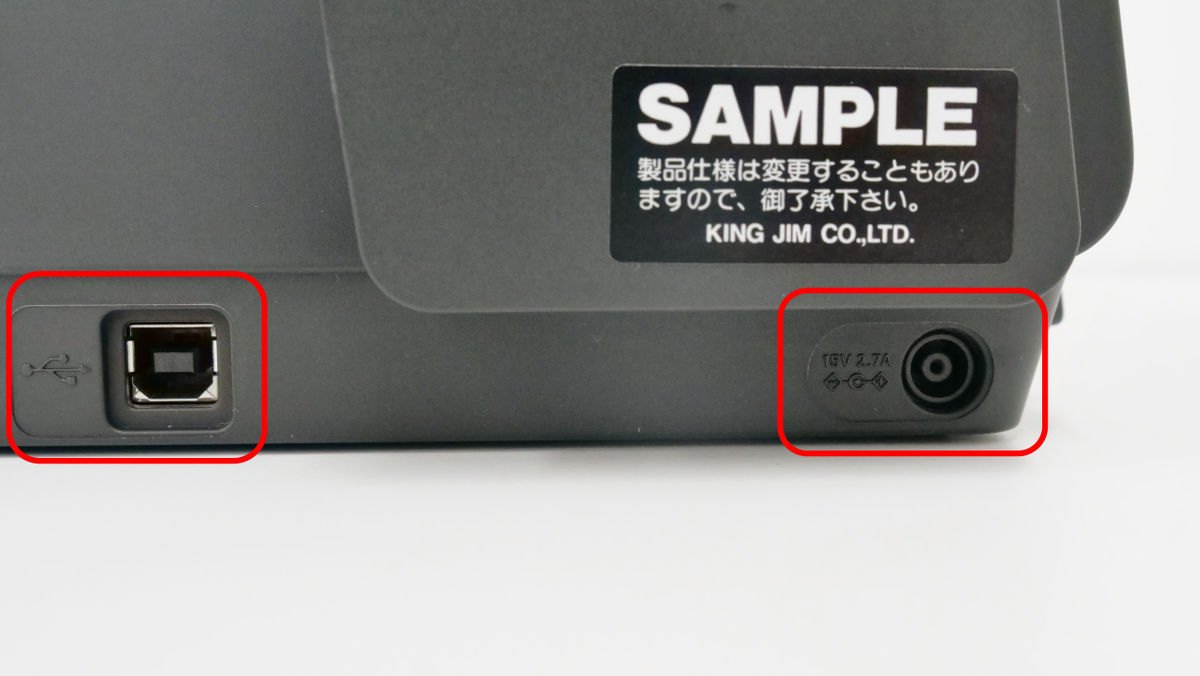
There is a USB connector for connecting to a PC in the center of the bottom, and an AC adapter outlet on the right side of the bottom.
The back side looks like this. It is also possible to put it upright.
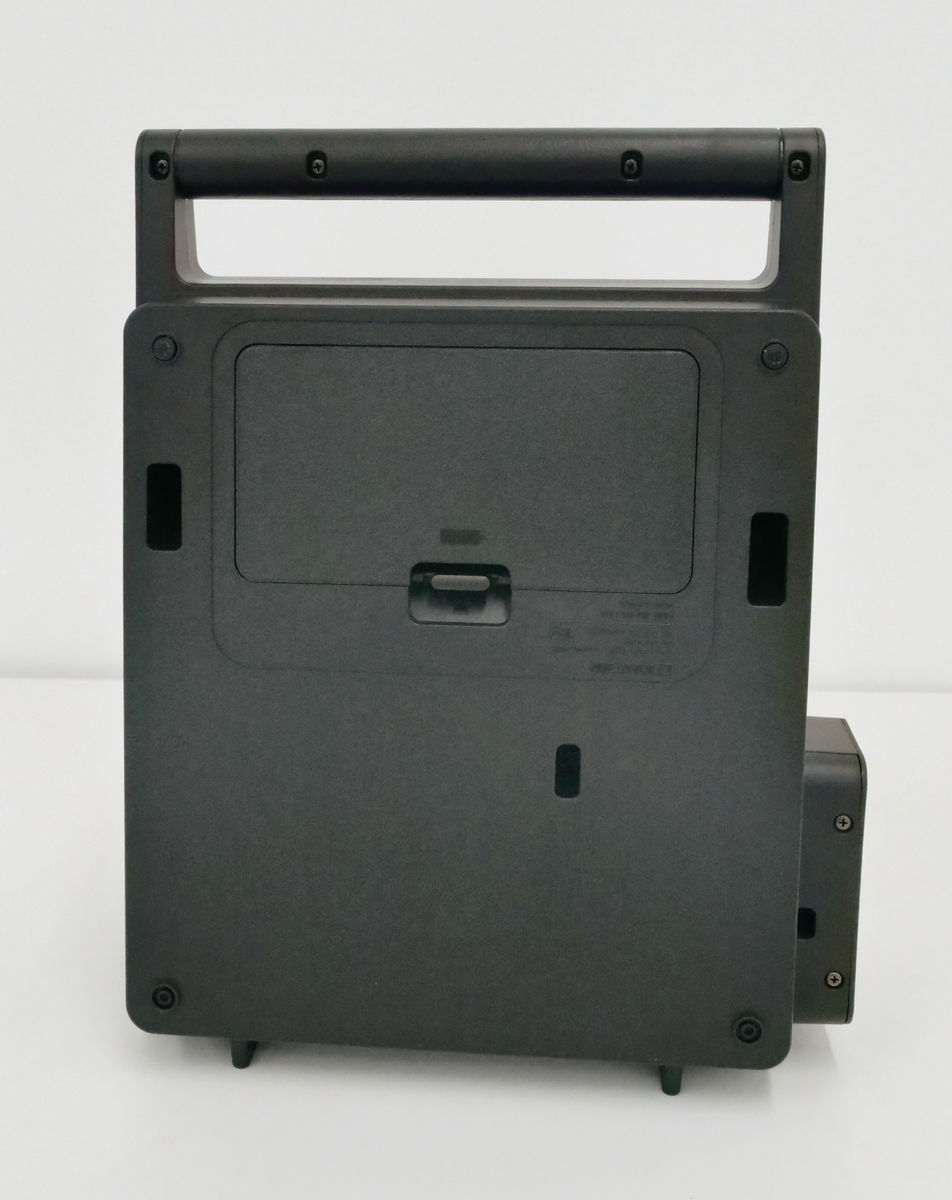
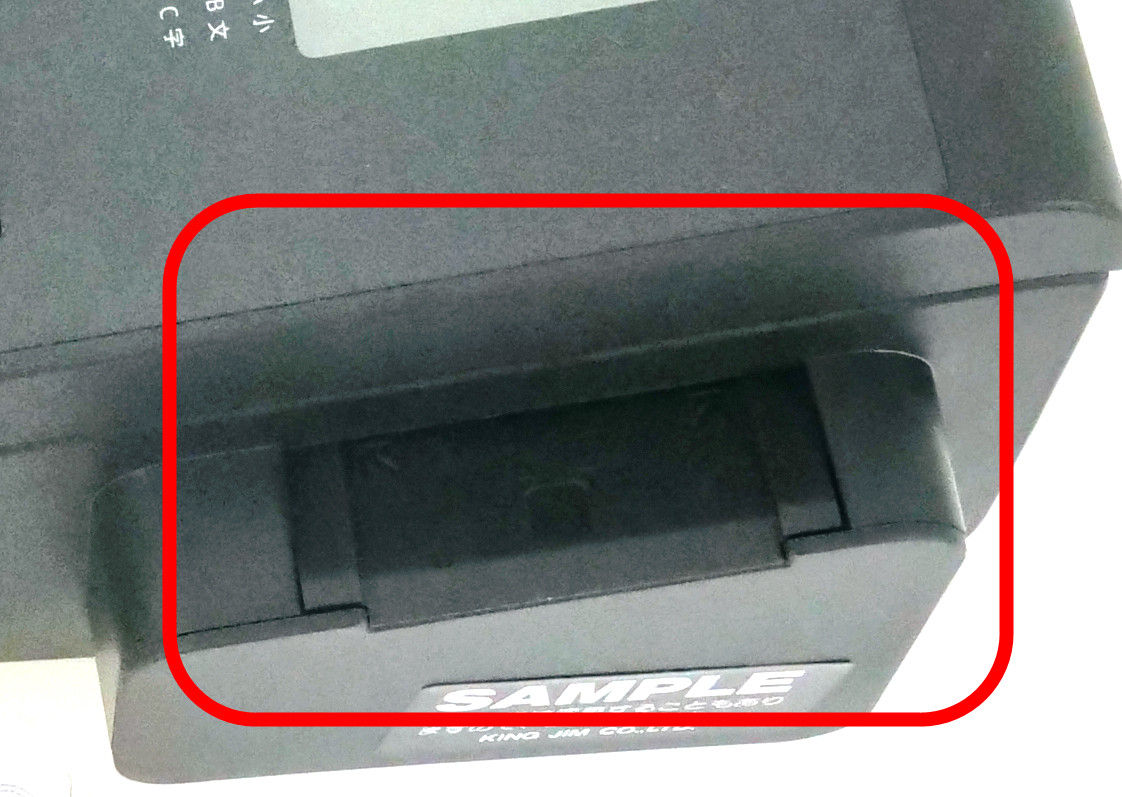
There is a battery cover near the steering wheel ...
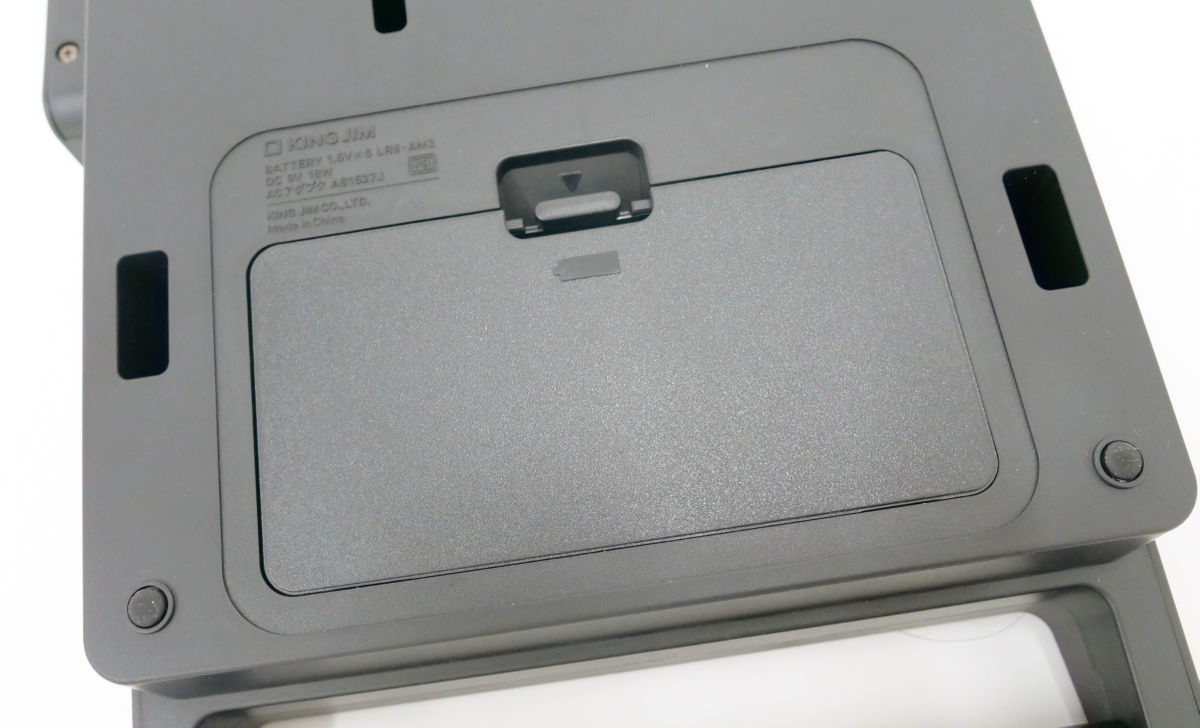
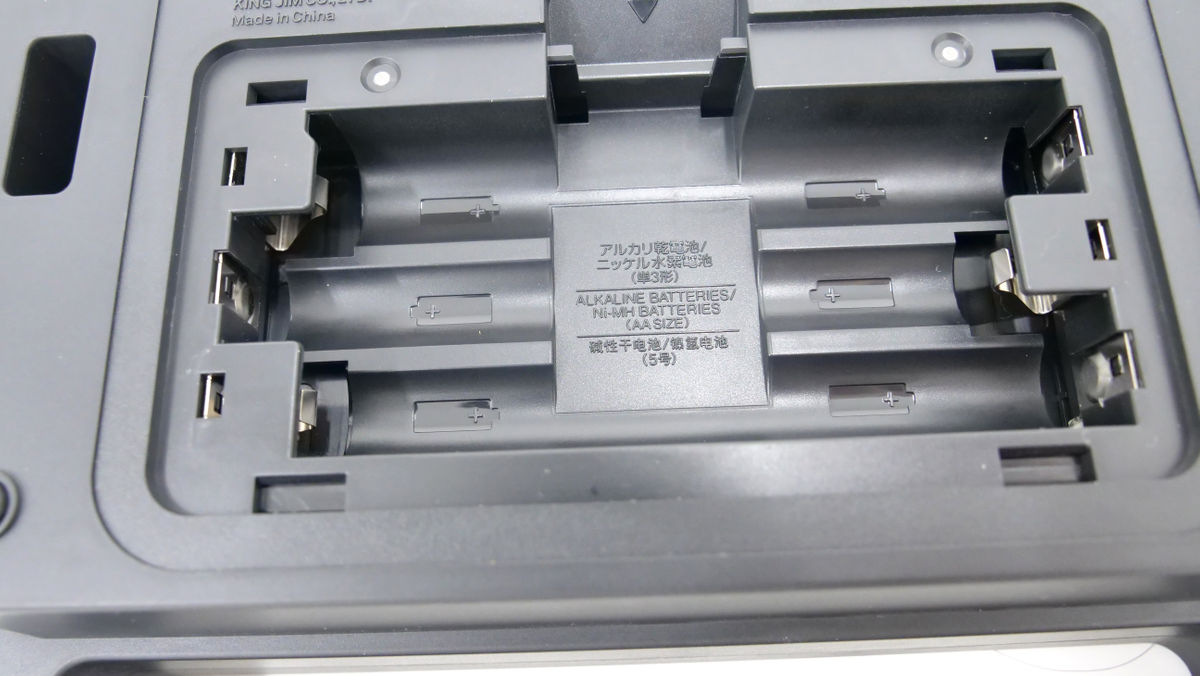
When you remove the cover, the battery case will appear. To use 'Tepura' PRO SR-R980, you need to connect an AC adapter or use 6 AA batteries.
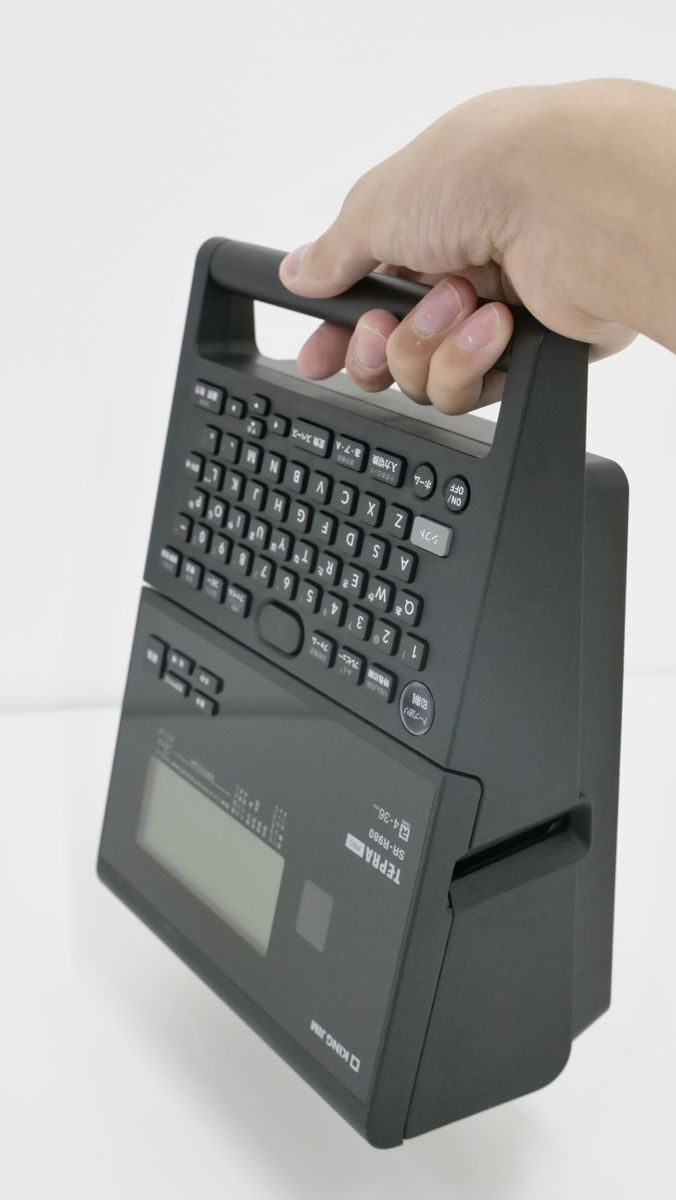
When I grab the handle at the bottom of the main unit and lift it up, it looks like this.
The attached tape cartridge looks like this. A white tape with a width of 12 mm. I borrowed a sample product this time, but the official product version also comes with the same 'trial' tape cartridge.

The instruction manual is a large volume with a total of 280 pages.
◆ 2: Preparation
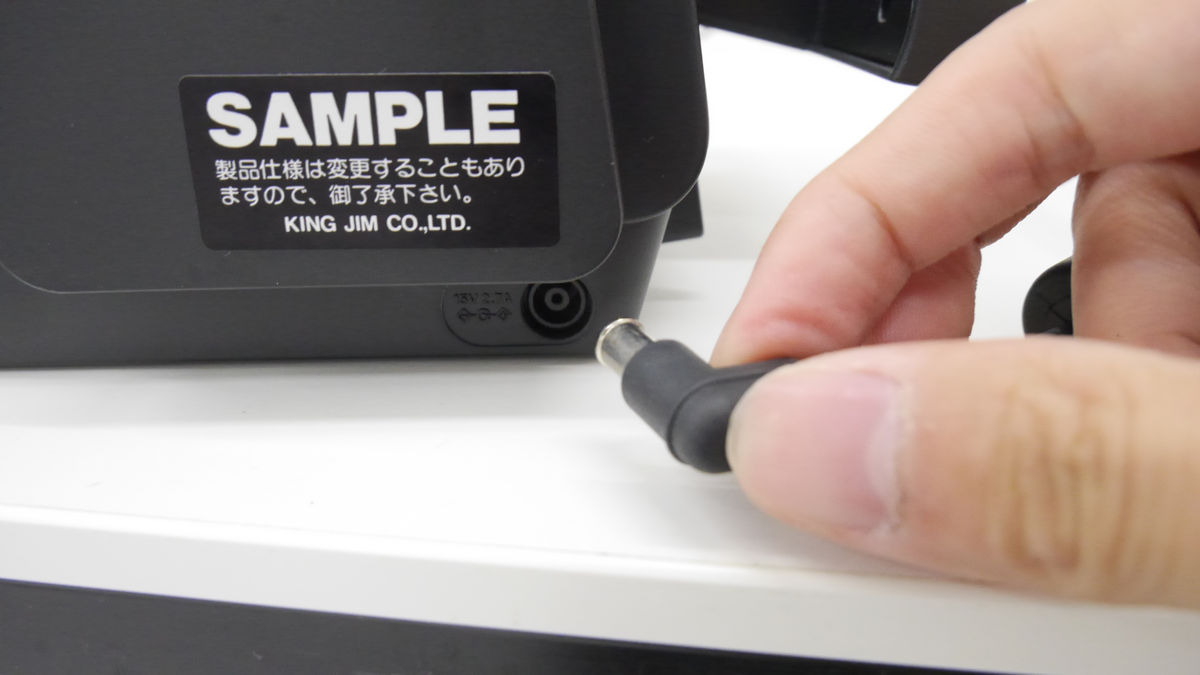
We will prepare for actual use. First, connect the AC adapter to the outlet plug and the main unit.
Next, press the button in the center of the main unit ...
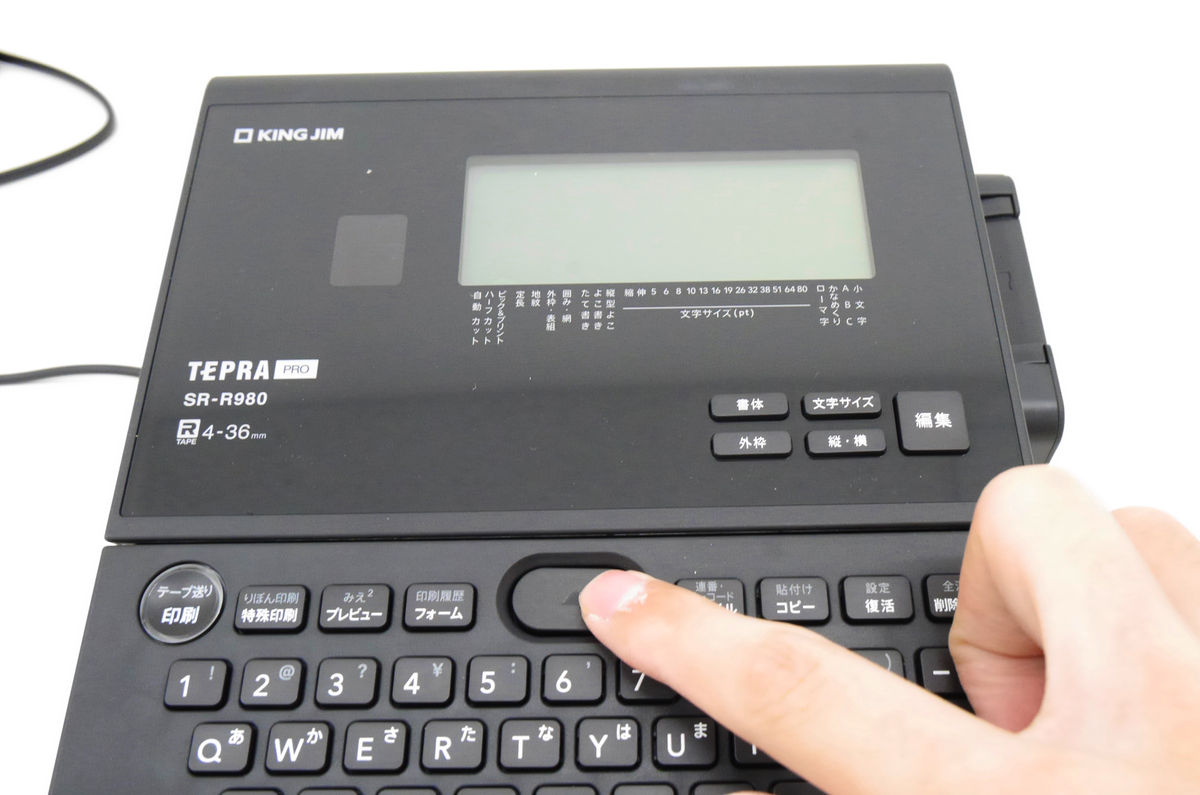
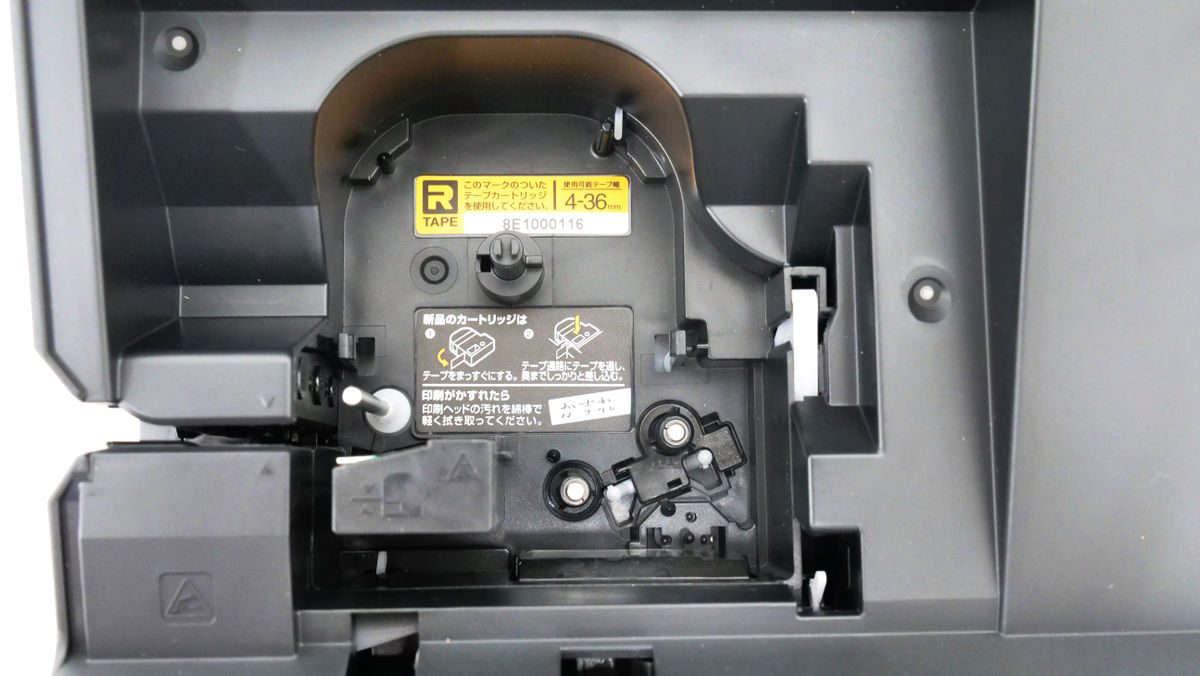
Open the top cover to reveal the tape cartridge set.
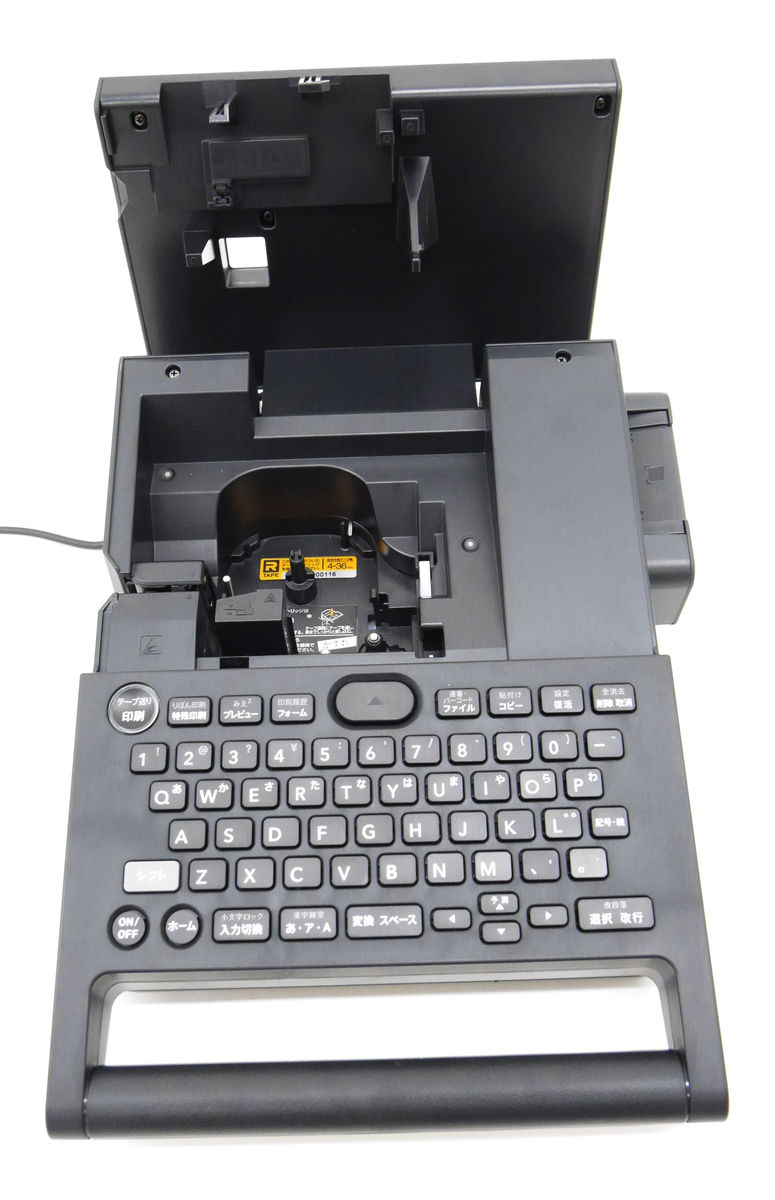
Looking at the tape cartridge set from above, it looks like this.
Check the orientation of the tape cartridge and insert the tip of the tape through the slit on the left side.
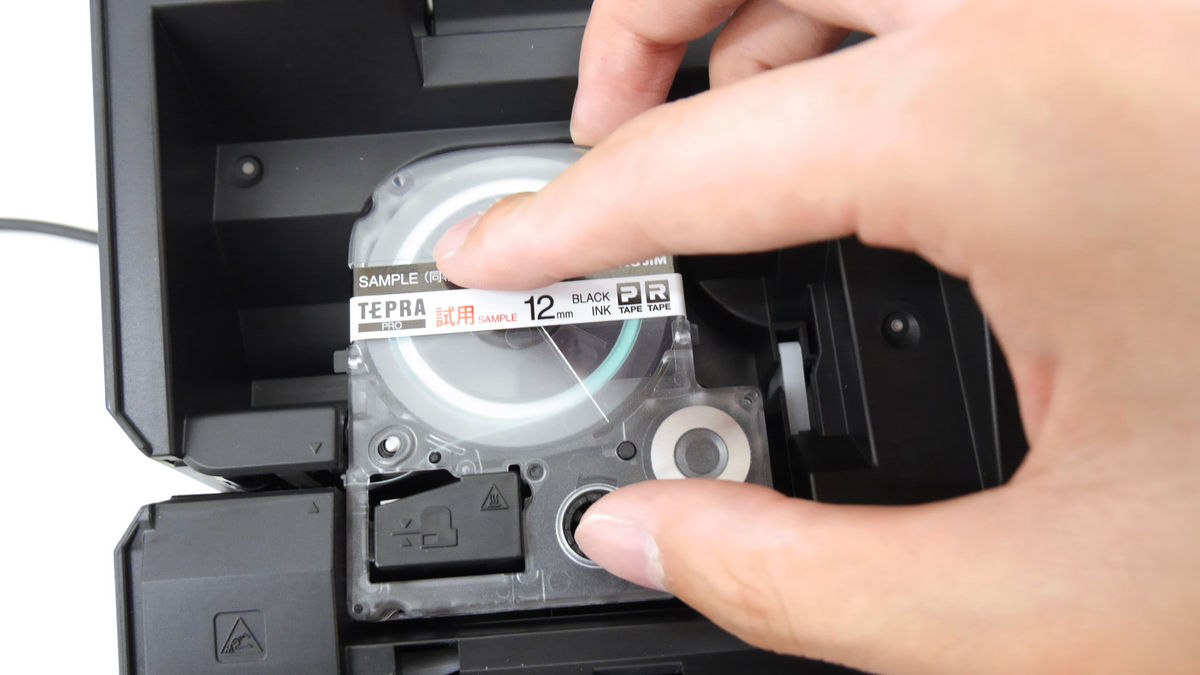
Push it all the way to the bottom.

Then close the top cover.
When you press the ON / OFF button at the bottom left of the operation panel ...
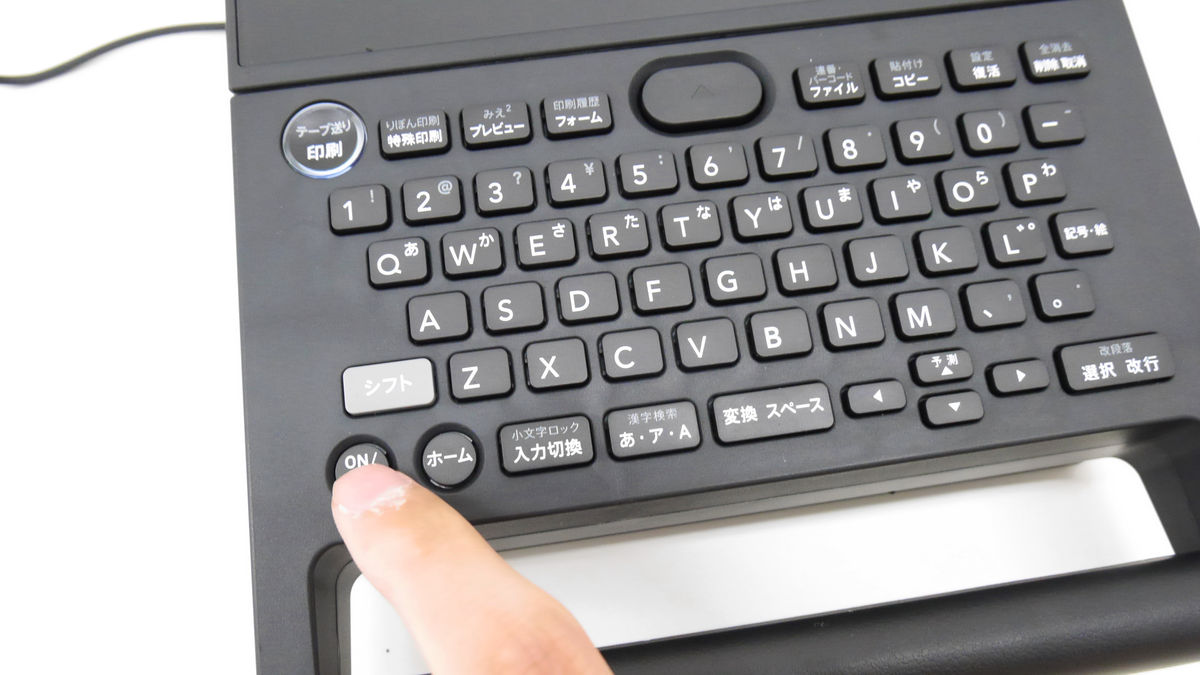
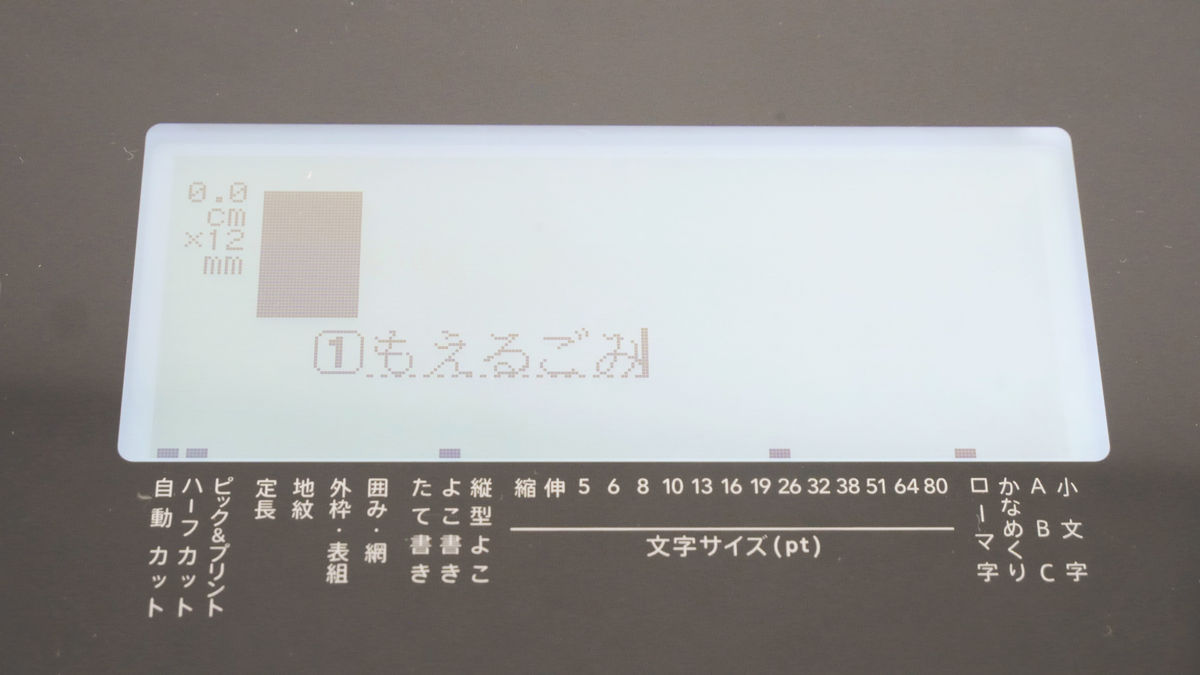
After the title screen etc. is displayed on the display, the following screen is displayed.
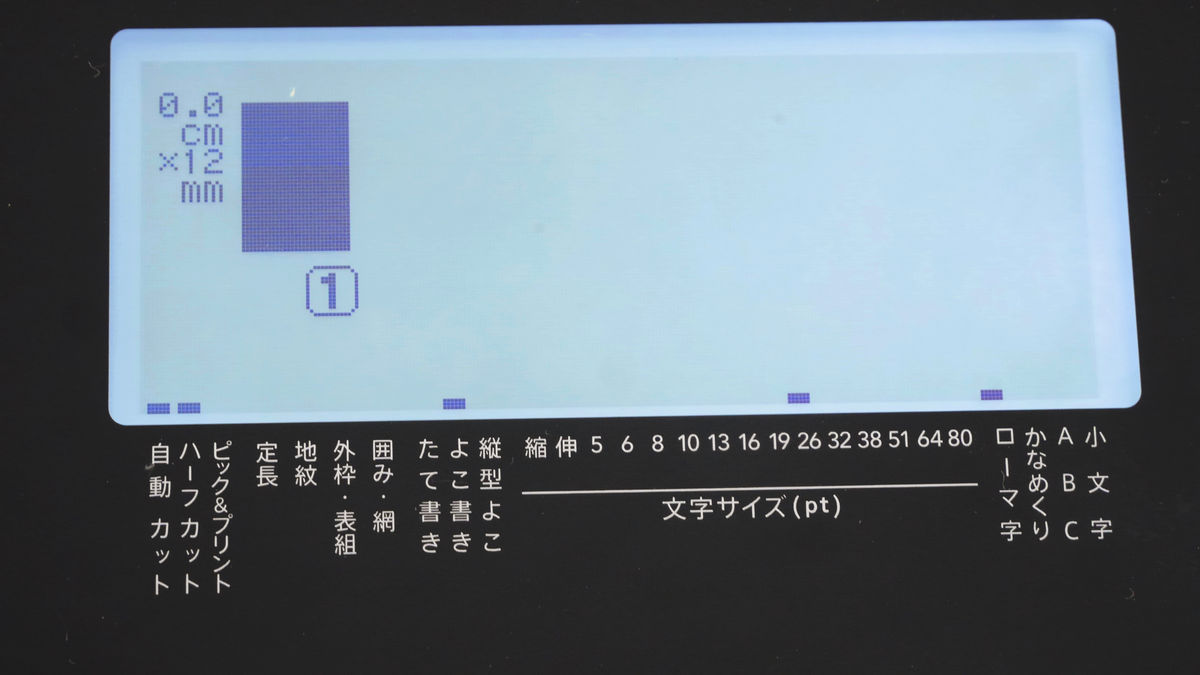
As you can see from the upper left of the display, the width '12mm' of the set tape cartridge is automatically read. The '1' in the square box displayed in the center is the beginning of the line. The black outline indicates that the character has not been entered or confirmed, and the white outline indicates that the character has been confirmed. In addition, rectangular dots are displayed above 'automatic cut', 'half cut', 'horizontal writing', etc. printed in white at the bottom of the screen, but settings such as 'automatic cut' are applied to these. It is a mark.

Immediately after setting the tape cartridge, the slack of the tape is removed, so 'tape feed' that feeds the tape blank or 'feed cut' that feeds the tape blank and cuts is required. First, press 'Shift' and 'Tape feed' at the same time.

Then, 'Tape feed' and 'Feed cut' and 'Feed length specification' that allows you to specify the length of the feed cut are displayed on the display.
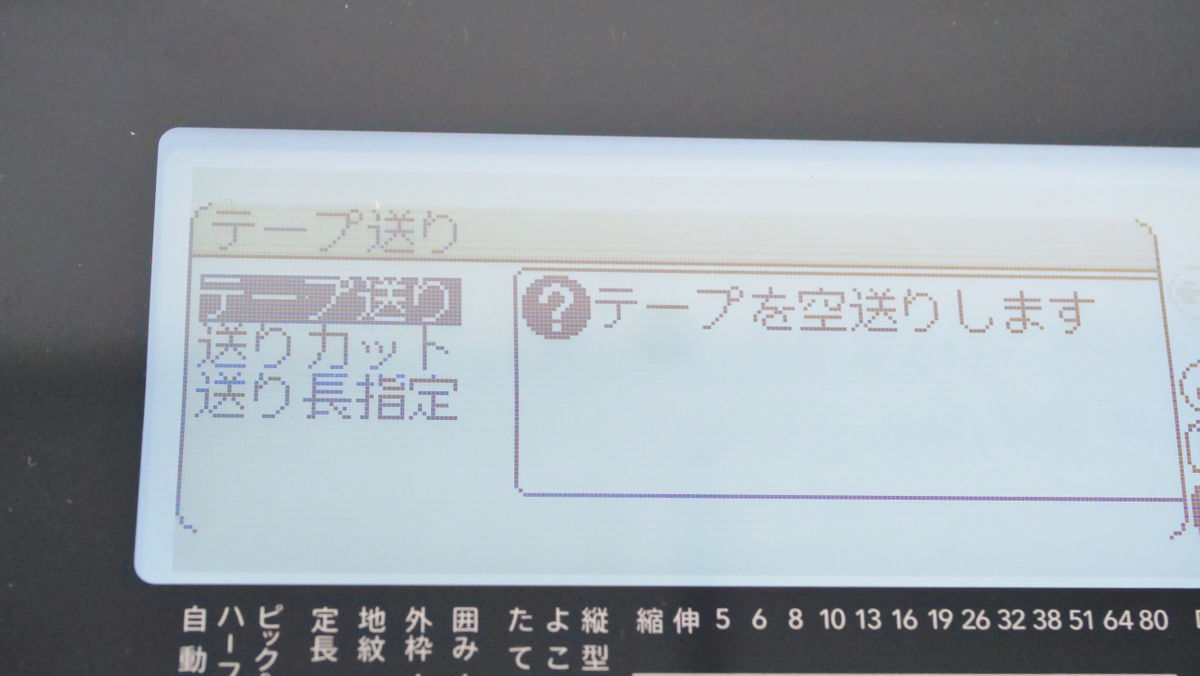
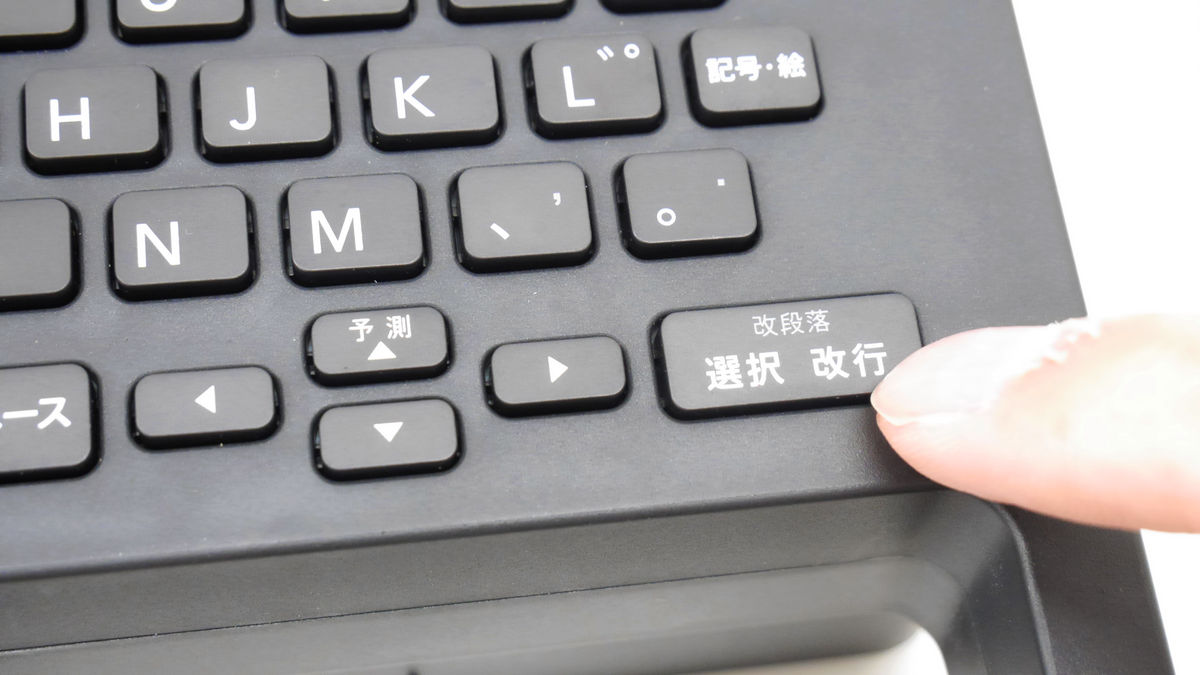
Press the 'Cursor Button' on the control panel to select 'Tape Feed' or 'Feed Cut', and press the 'Select Line Break' button to execute.
◆ 3: I actually used it
・ Basic usage
First, try entering characters. 'Romaji', 'Kanamekuri input', and 'ABC input' are available as input methods, and the default is Romaji input. This time, just enter the characters on the keyboard.
Then, the tentatively confirmed hiragana will be displayed on the display.
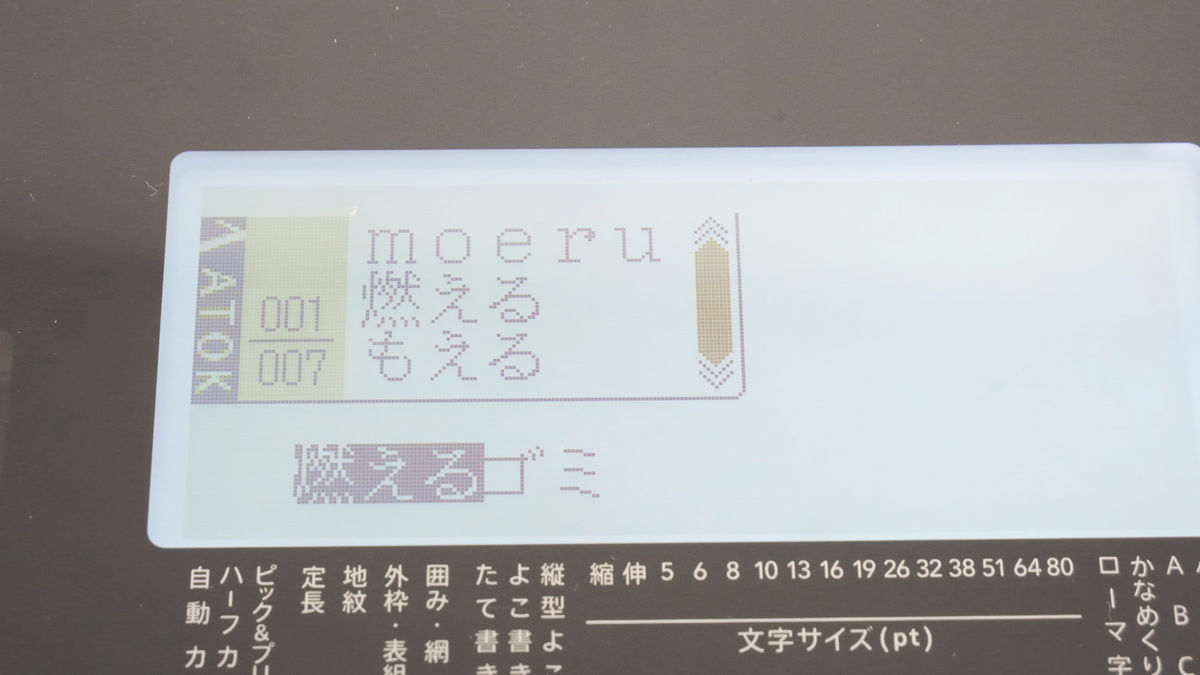
If you press the 'Conversion Space' button as it is ...
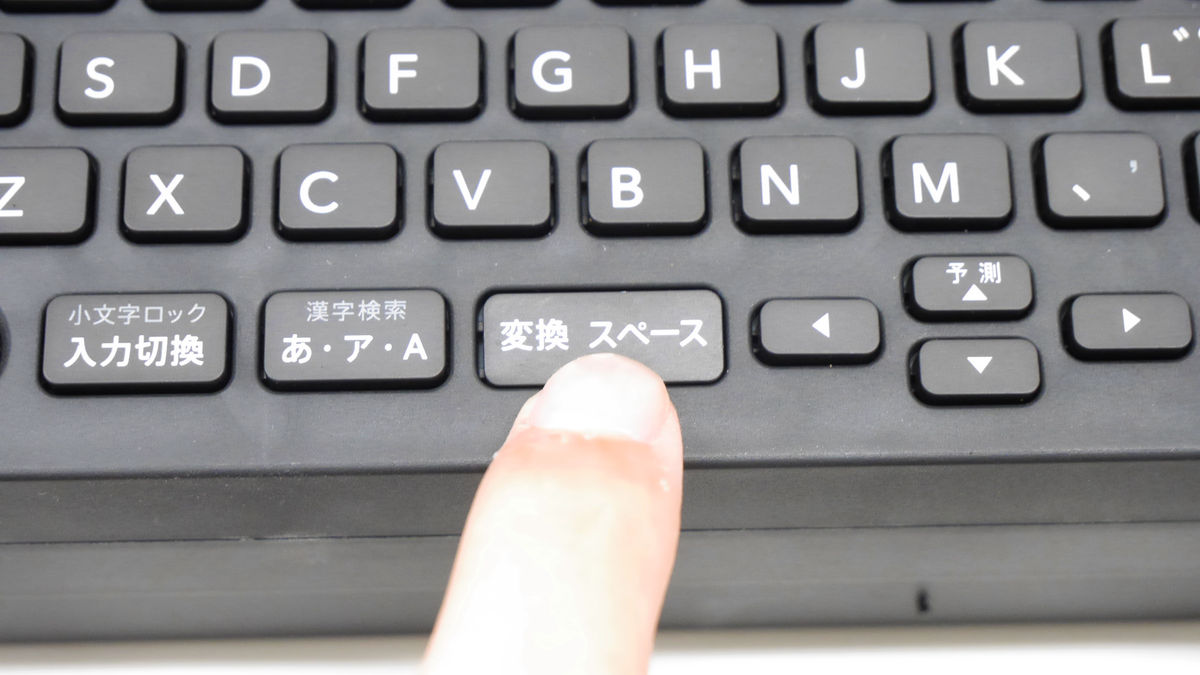
You can convert characters.
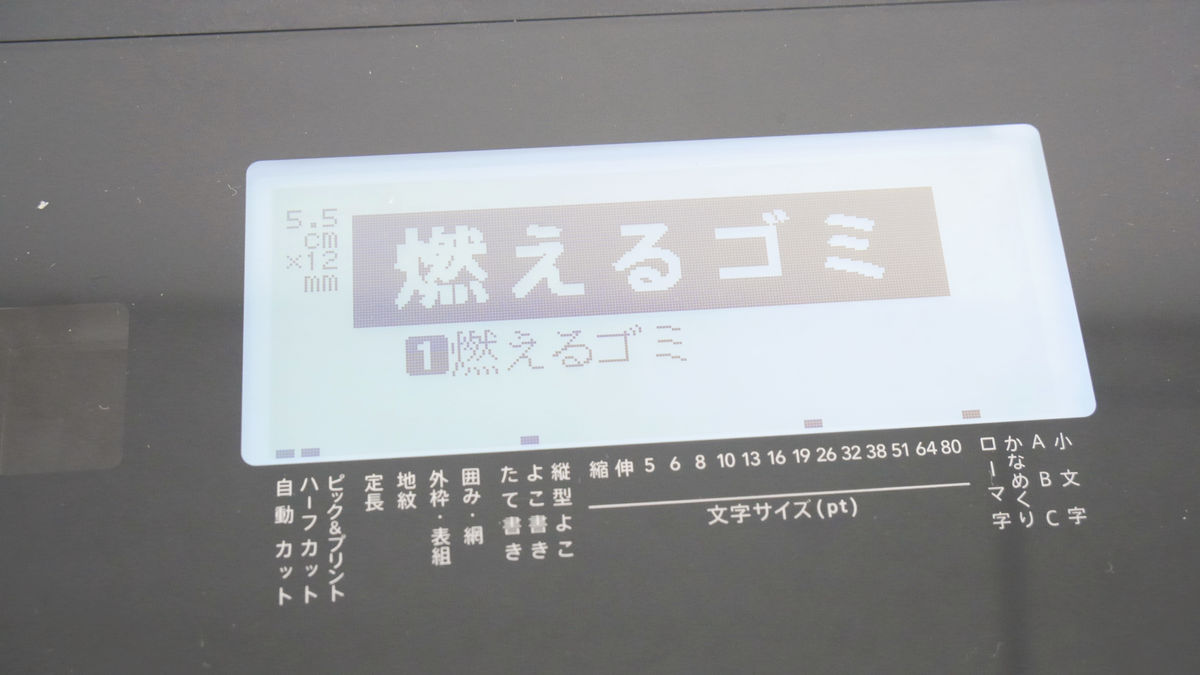
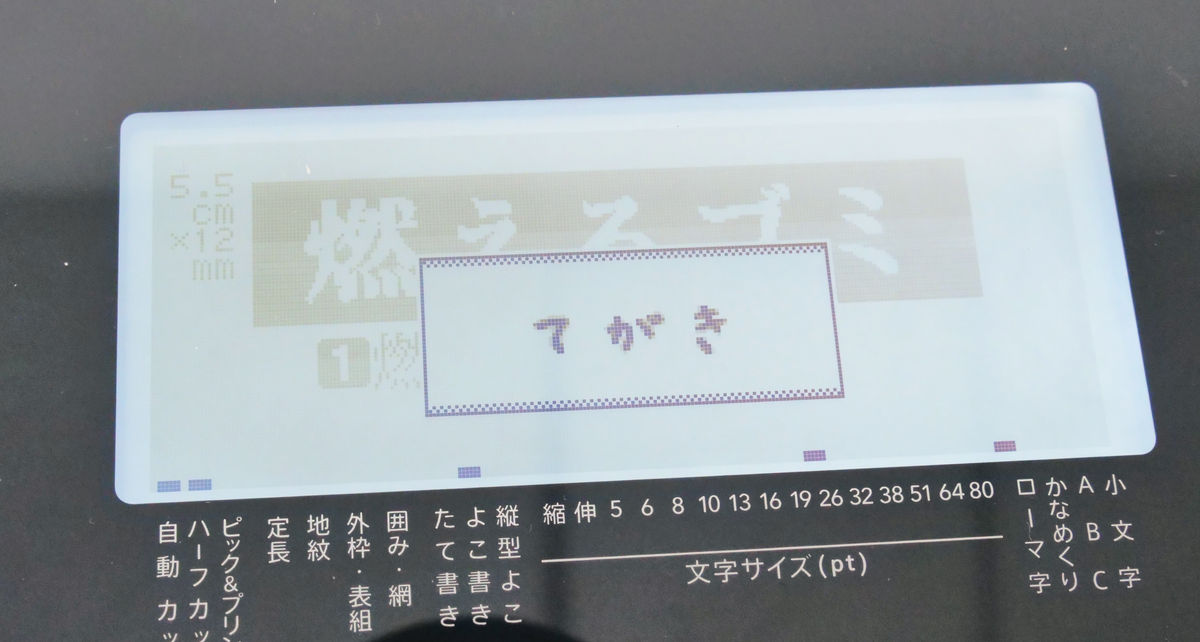
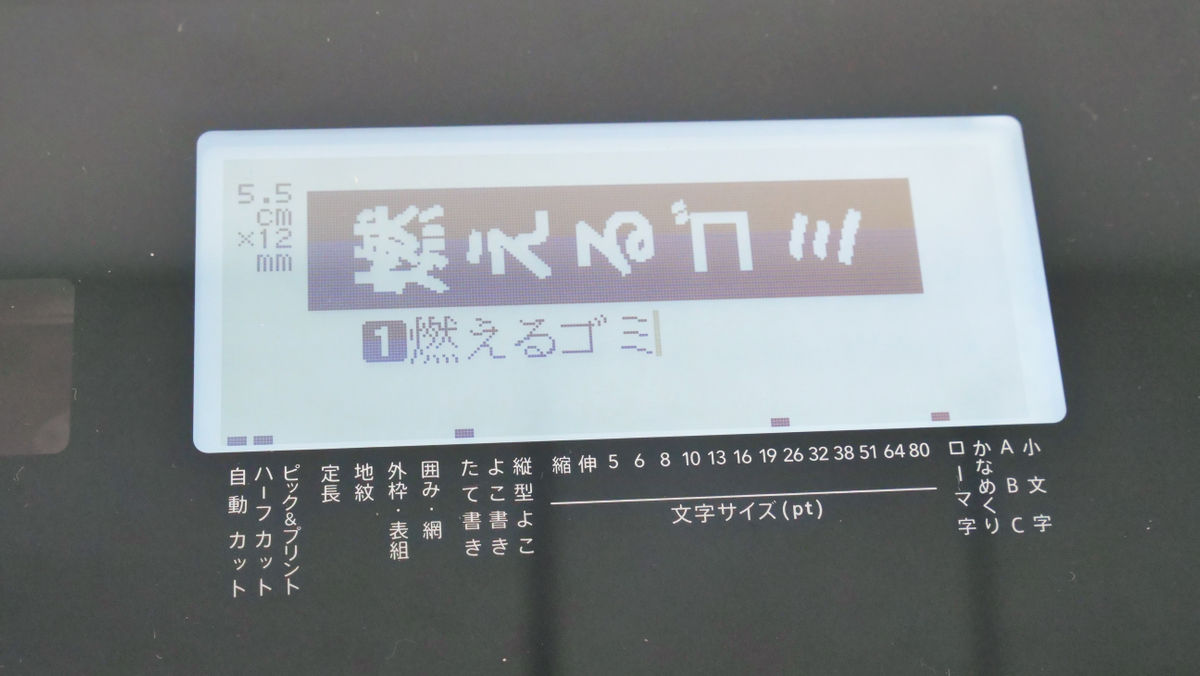
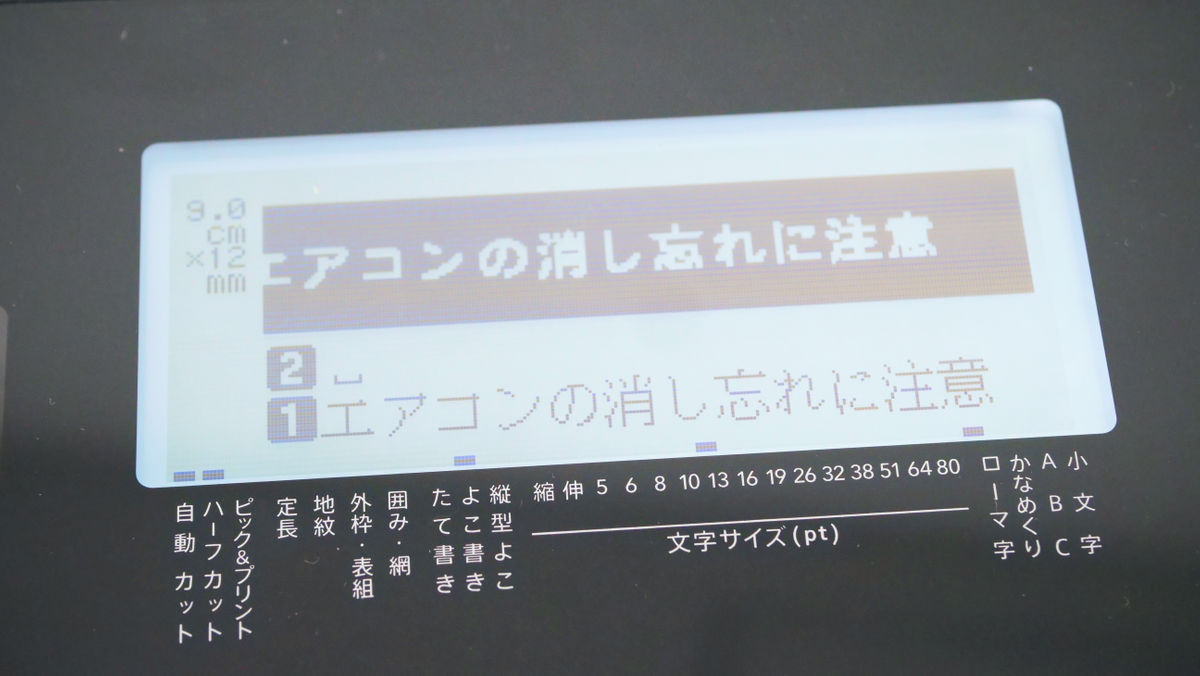
Characters in the tentatively confirmed state can be confirmed by clicking the 'Select line feed' button. After confirmation, the upper part of the display shows the approximate result of printing, and the left side shows the size of the finished tape, which is '5.5 cm x 12 mm', which is convenient. Also, since the input is confirmed, the line beginning mark has changed to white.

To print the confirmed content, press the 'Print' button.
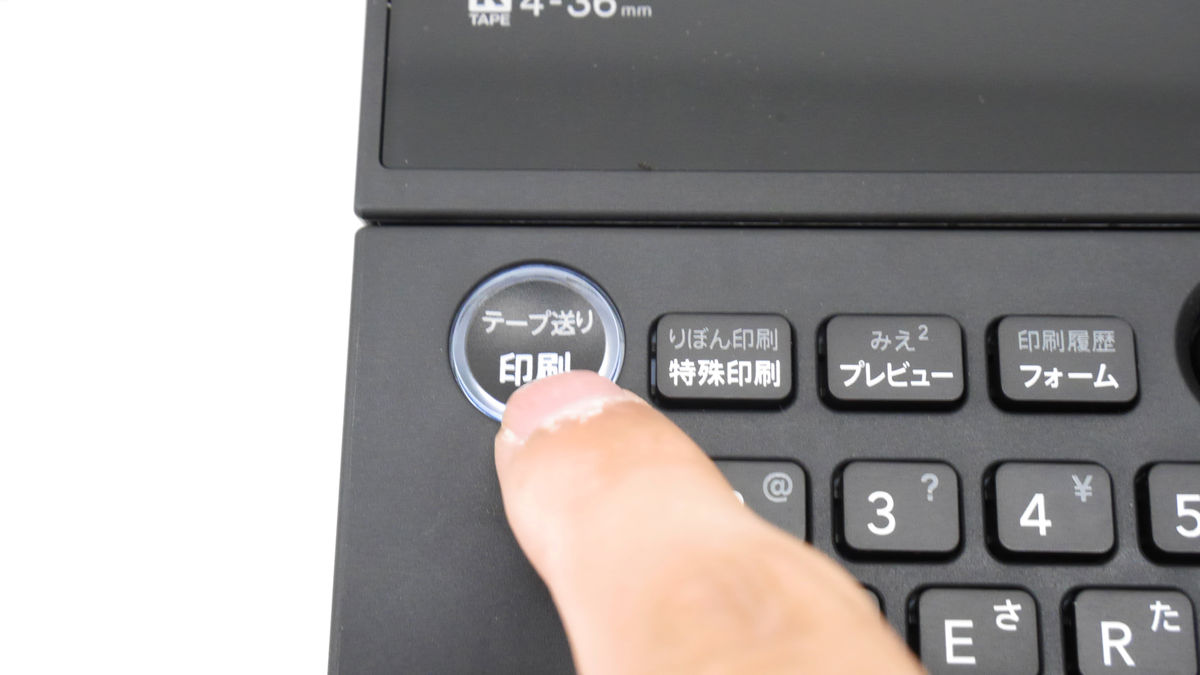
Then, a tape printed with Nyoki Nyoki came out from the tape outlet ...
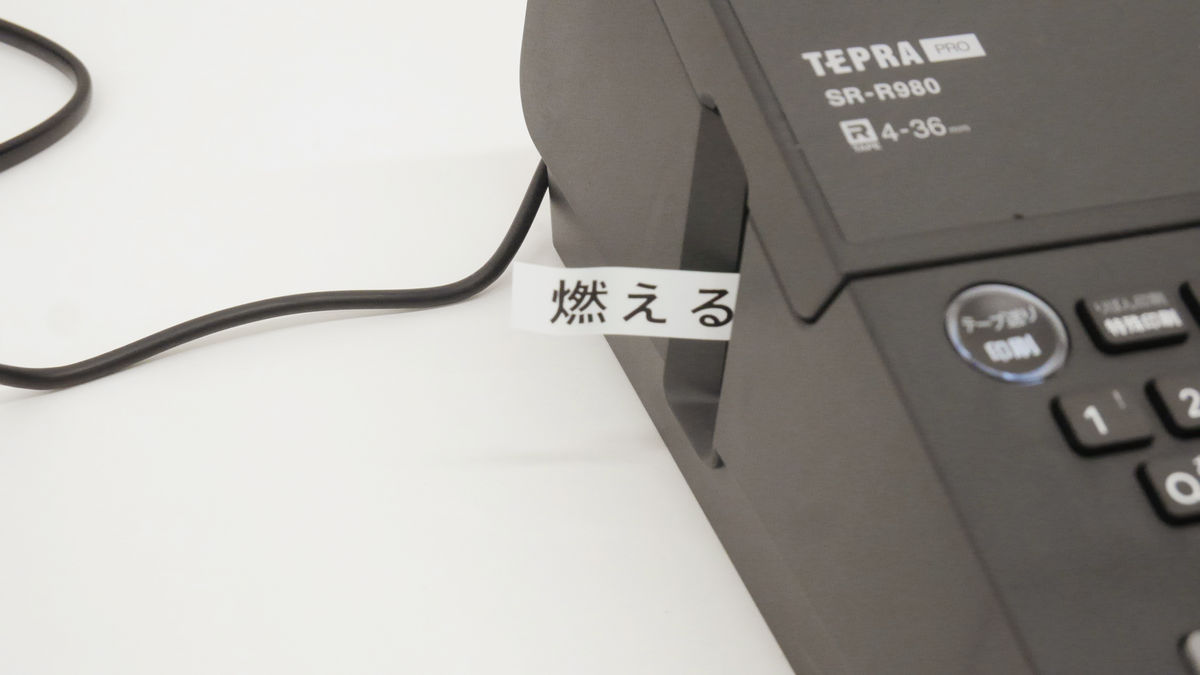
It was cut automatically. The basic usage is like this.
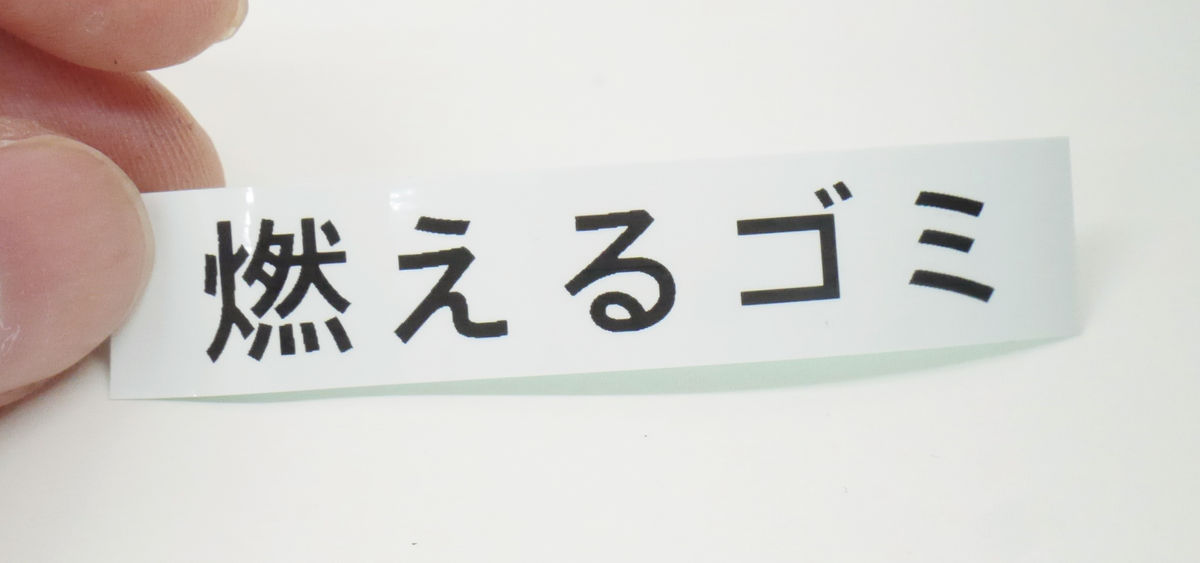
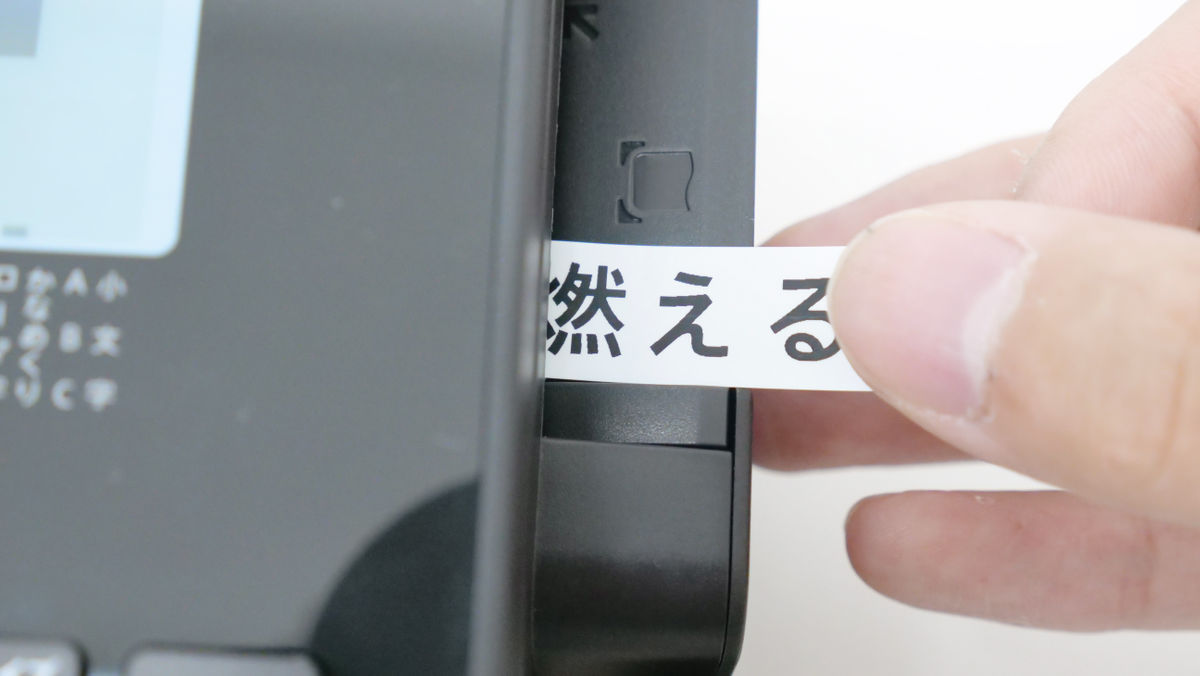
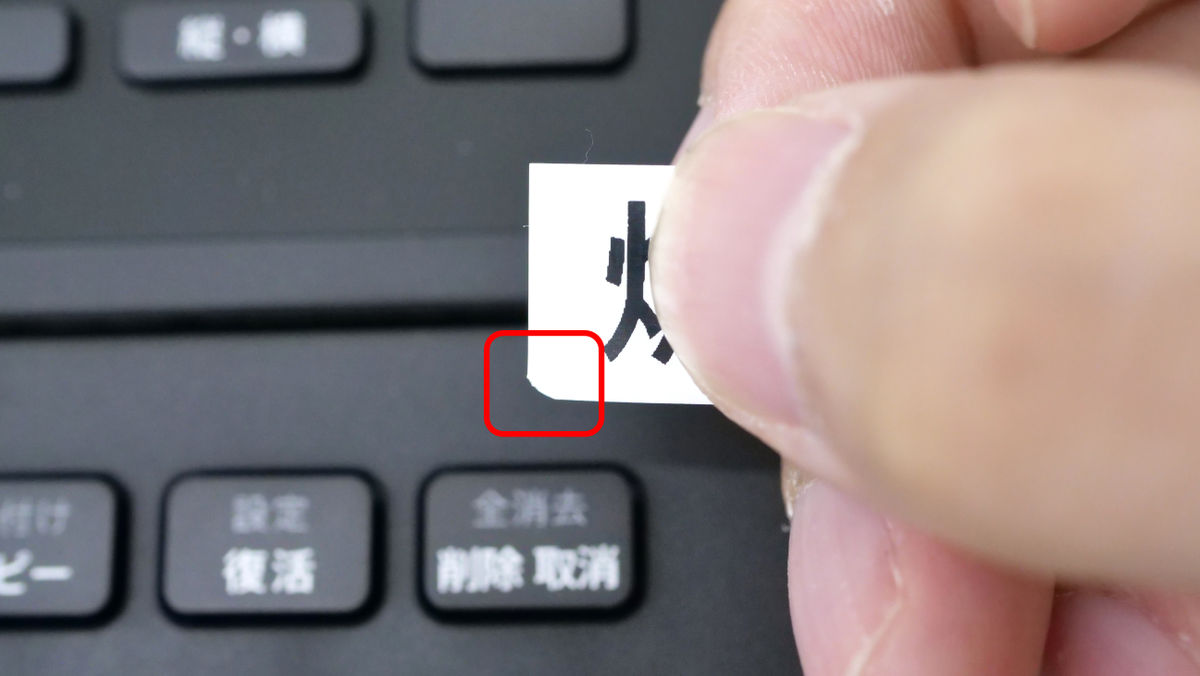
By default, the label has a slit to make it easier to peel off, so you can easily peel it off without having to flip the edge of the tape with your fingernail.
・ Round the corners
It is also possible to round the corners of the tape. If you push the output tape along either the top or bottom of the trimmer slot ...
It is cut round with a rattling sound.
The top is a tape with all four corners cut round, and the bottom is an uncut tape.
・ 'Line break' and 'paragraph break'
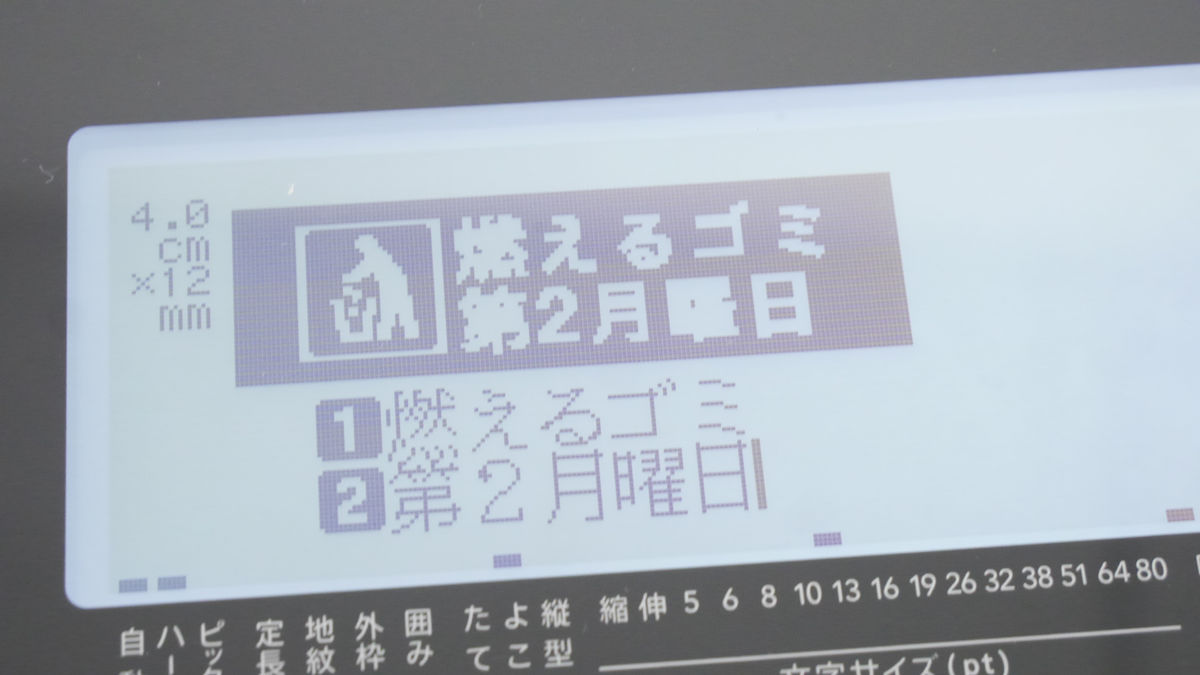
Let's make various edits to the character 'burning garbage' that we entered earlier. First, when you press the 'Select line feed' button when the character input is confirmed ...
A line break was made and a black '2' was displayed.
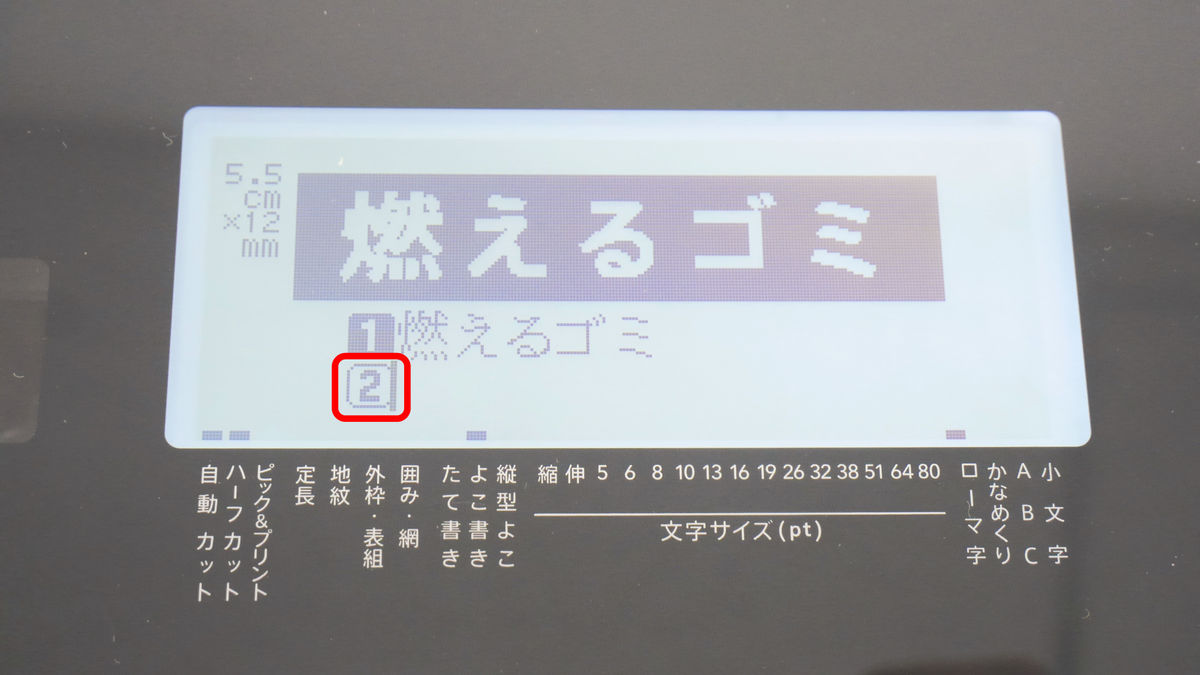
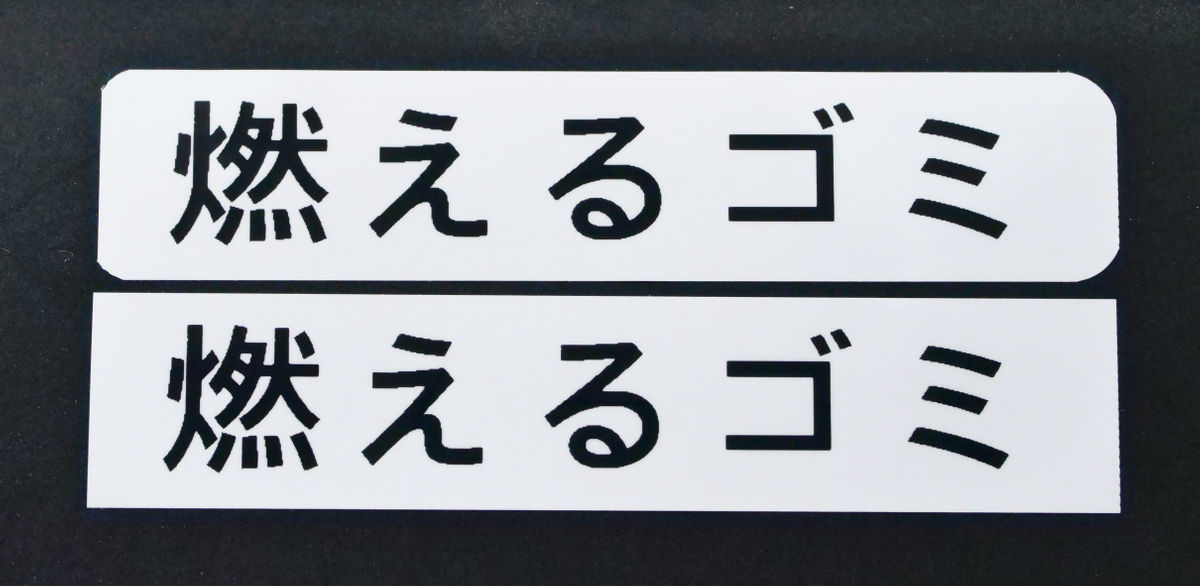
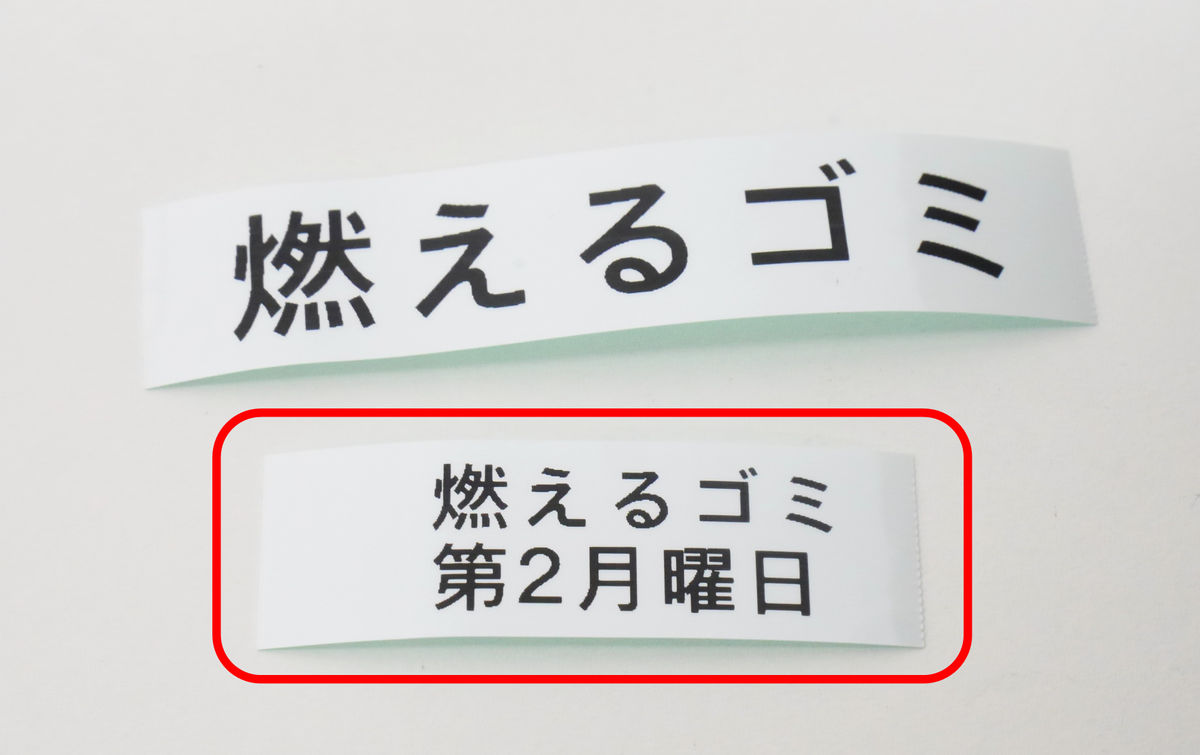
If you enter characters as they are, you can print the characters in two lines. The number of lines that can be broken depends on the width of the tape cartridge, and up to 5 lines for 12 mm.
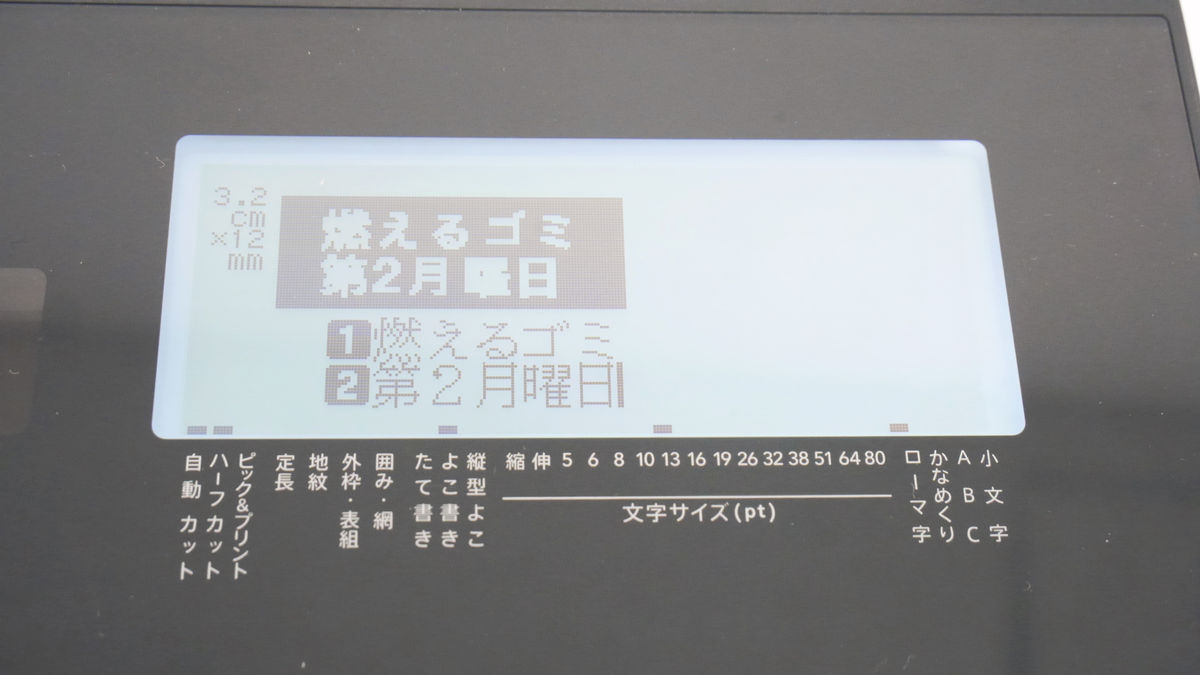
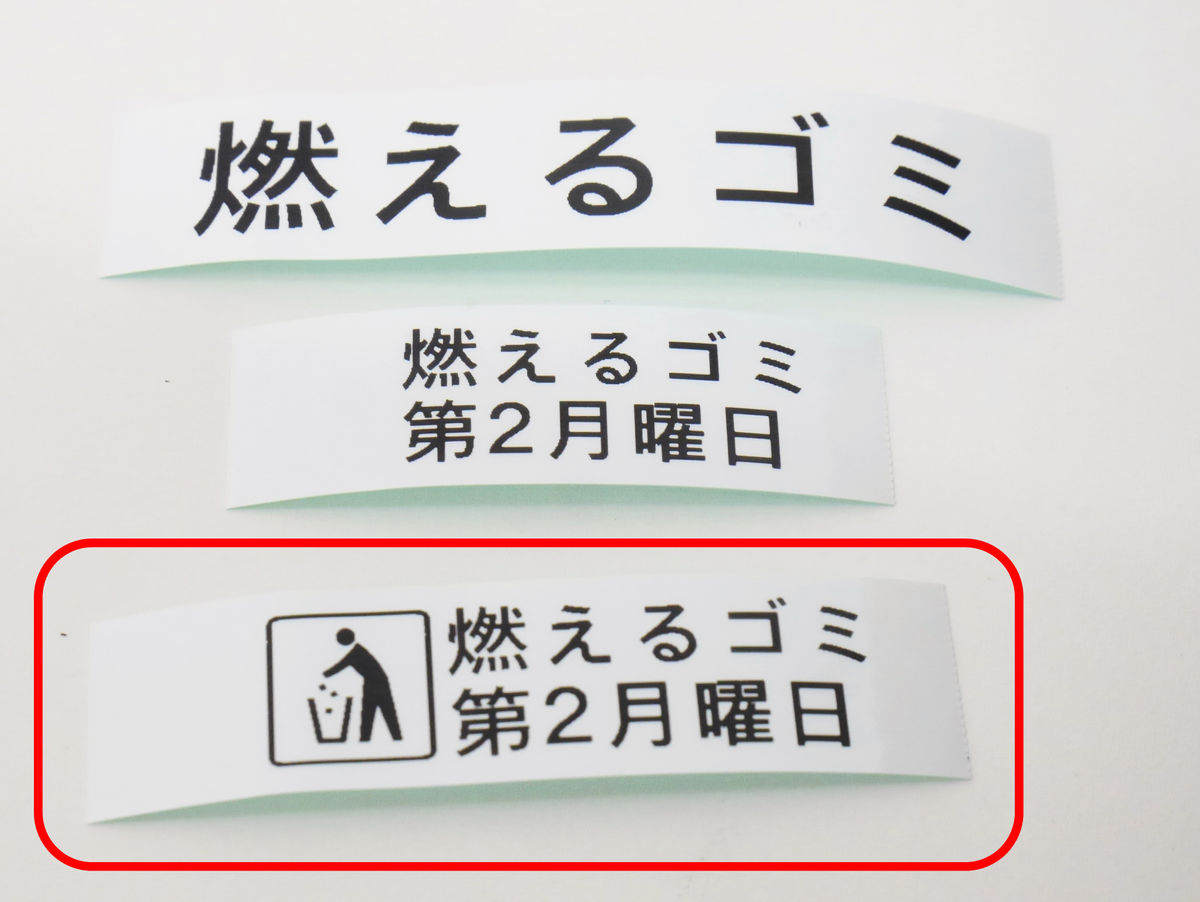
The tape below is printed.
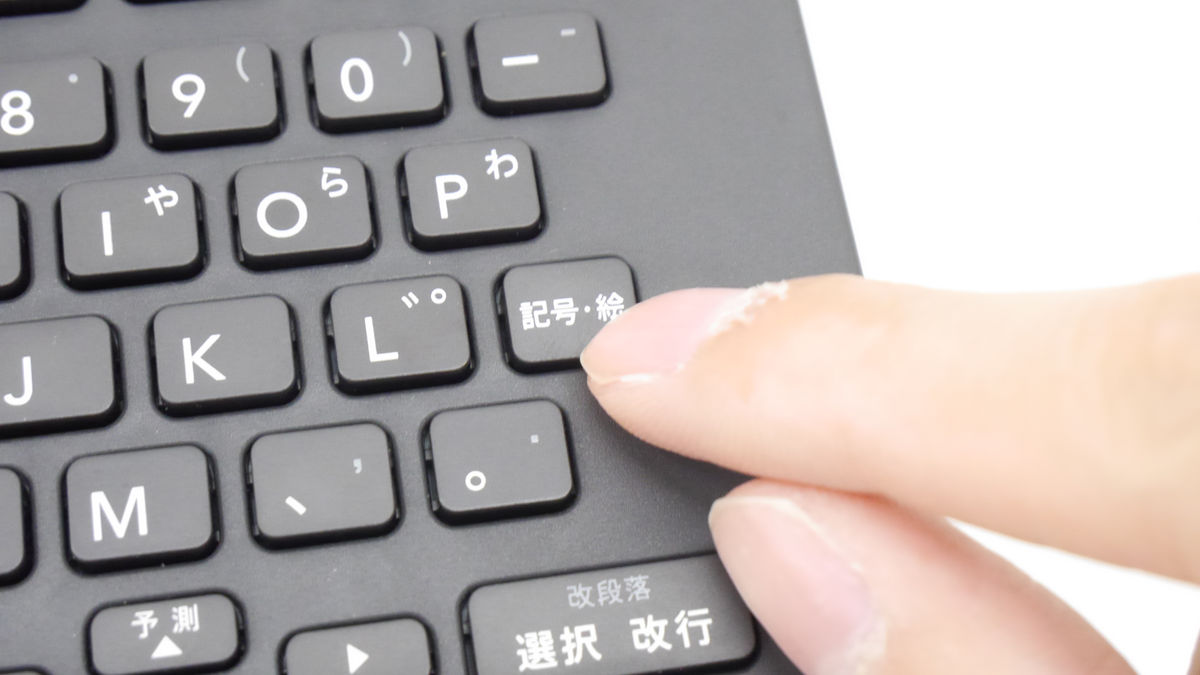
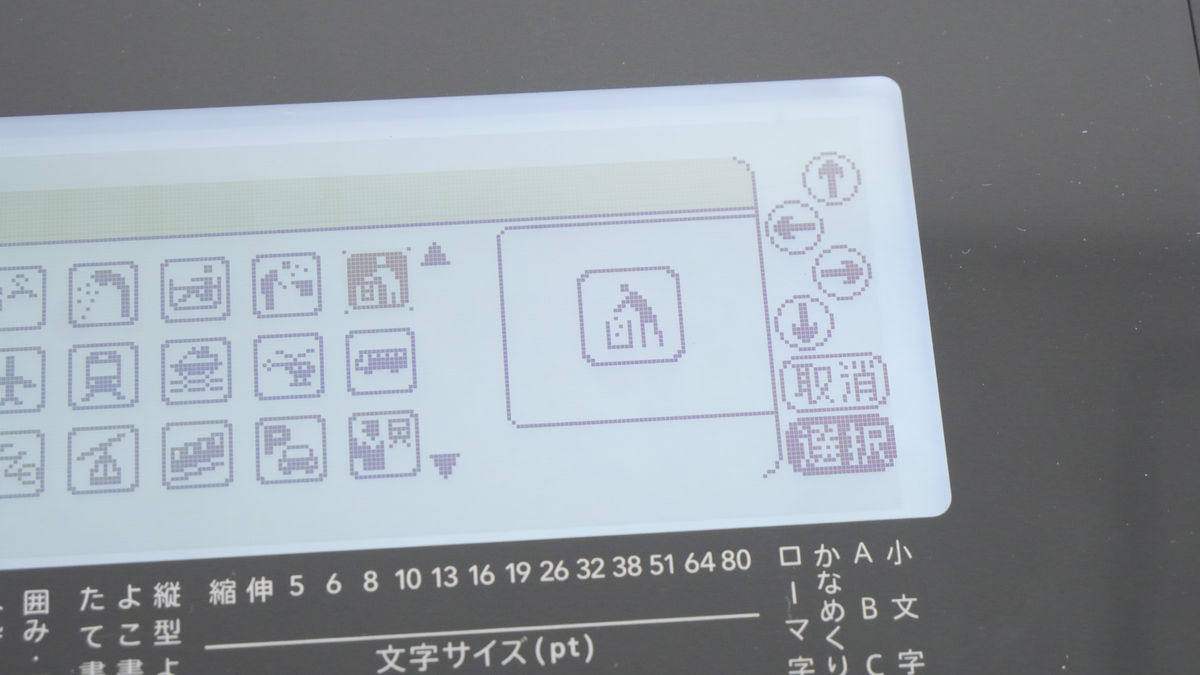
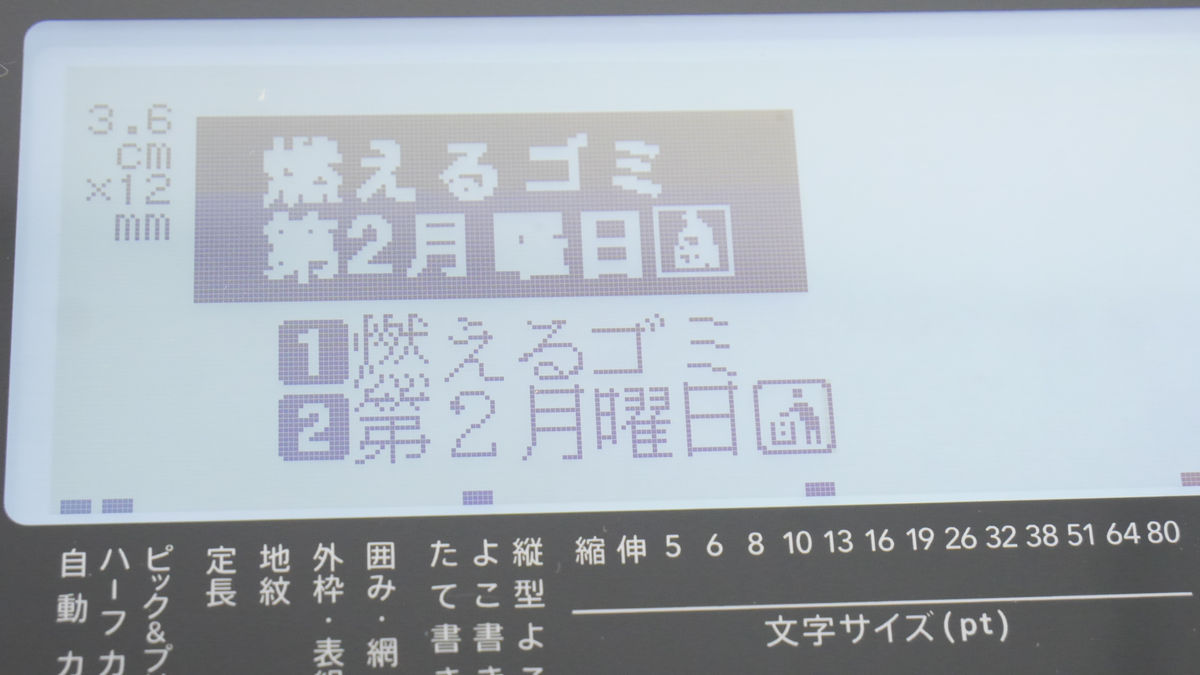
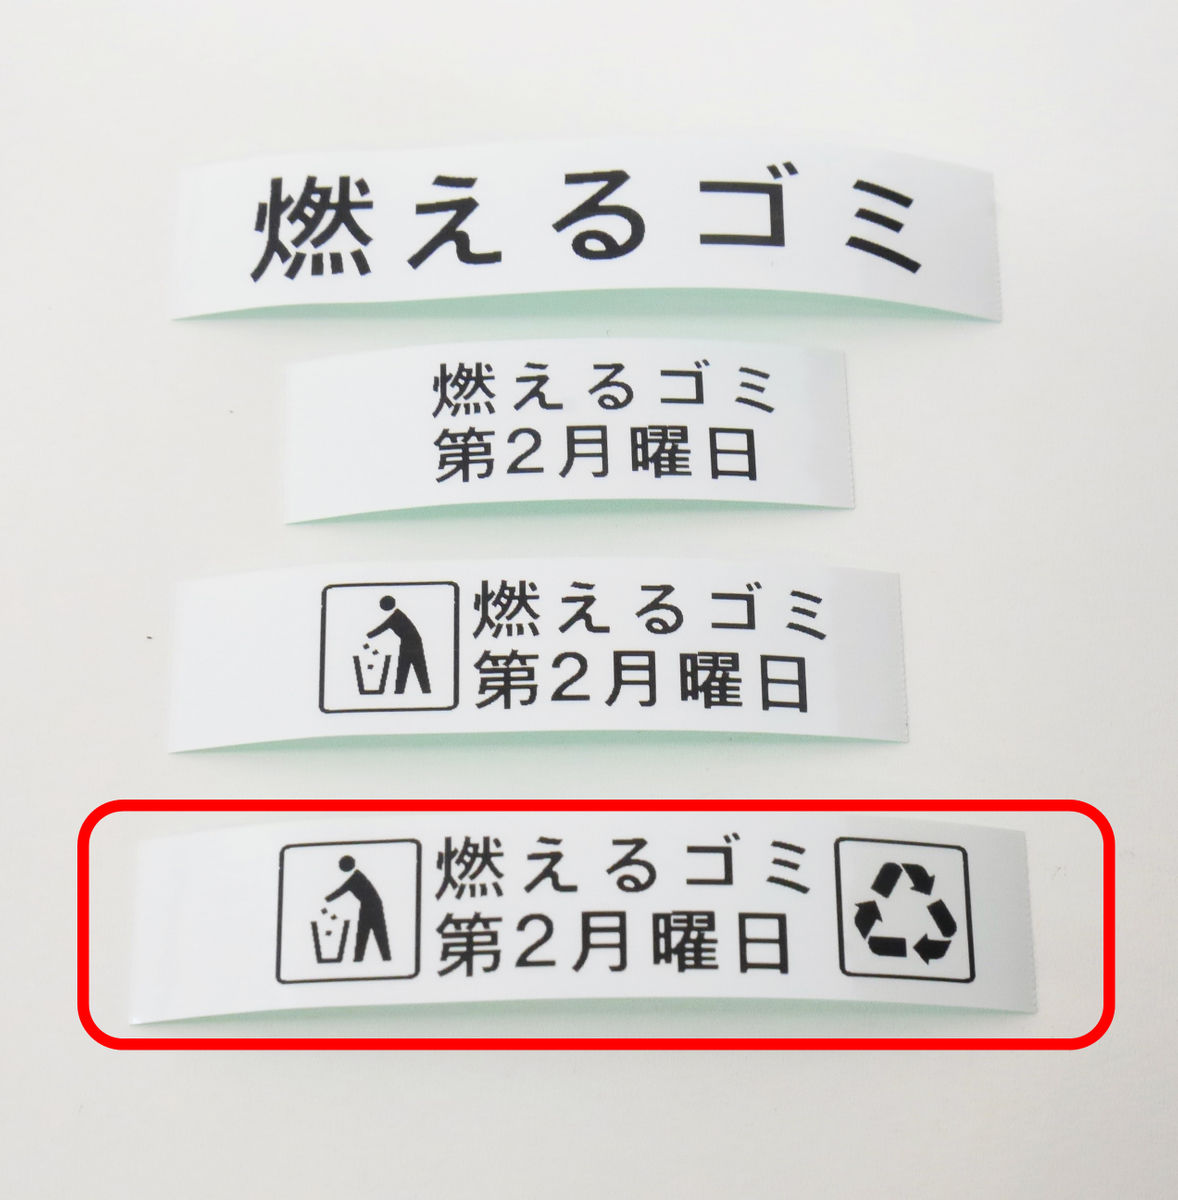
Next, try pressing the 'Symbol / Picture' button.
Since various icons such as signs, vehicles, and people are displayed, I selected the symbol that throws away the garbage.
The icon was displayed next to '2nd Monday' in the second row, but the small size makes it difficult to understand at first glance. This time I want to print the icon larger ...
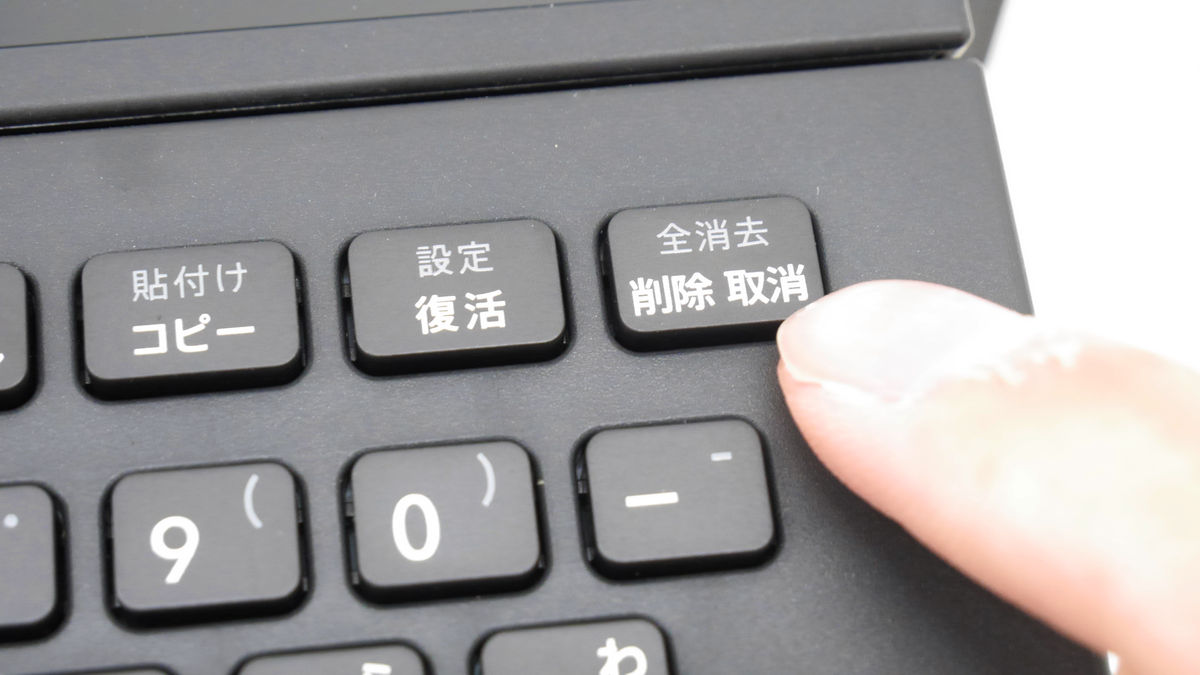
Press the 'Cancel Delete' button once to delete the entered picture.
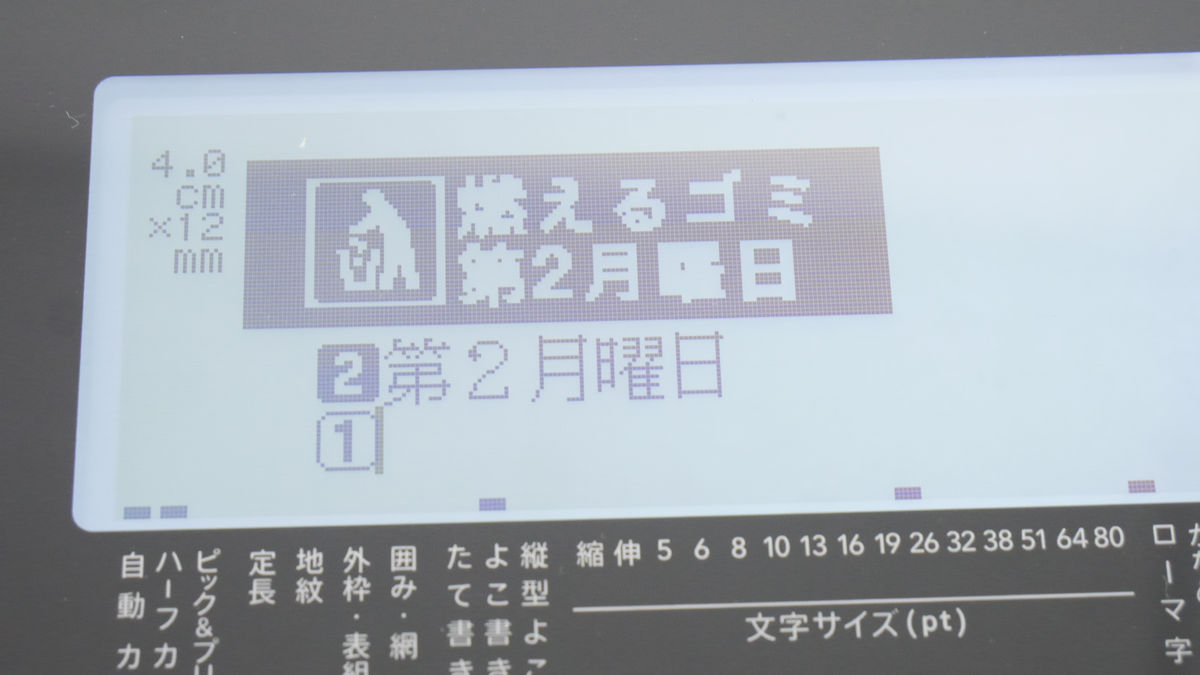
Next, use the 'cursor button' to move the cursor to the beginning of the sentence and to the left of the word 'burn'.
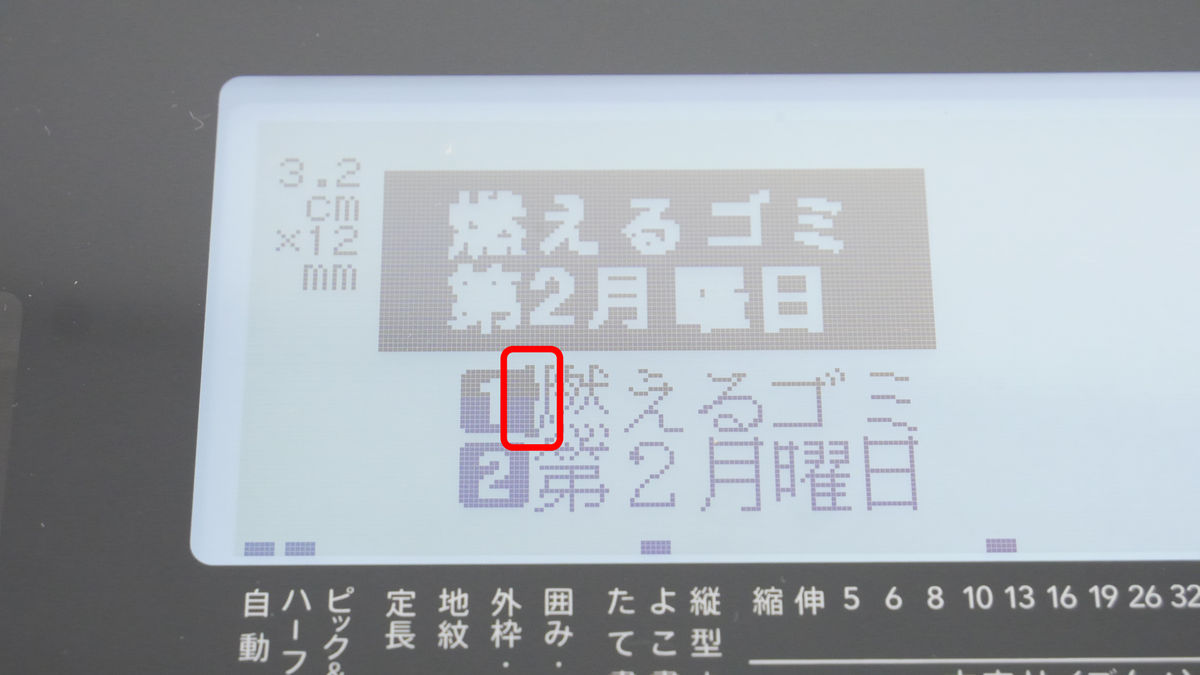
And if you press the 'Shift' button and the 'Select line feed' button at the same time ...

A paragraph break has been made.
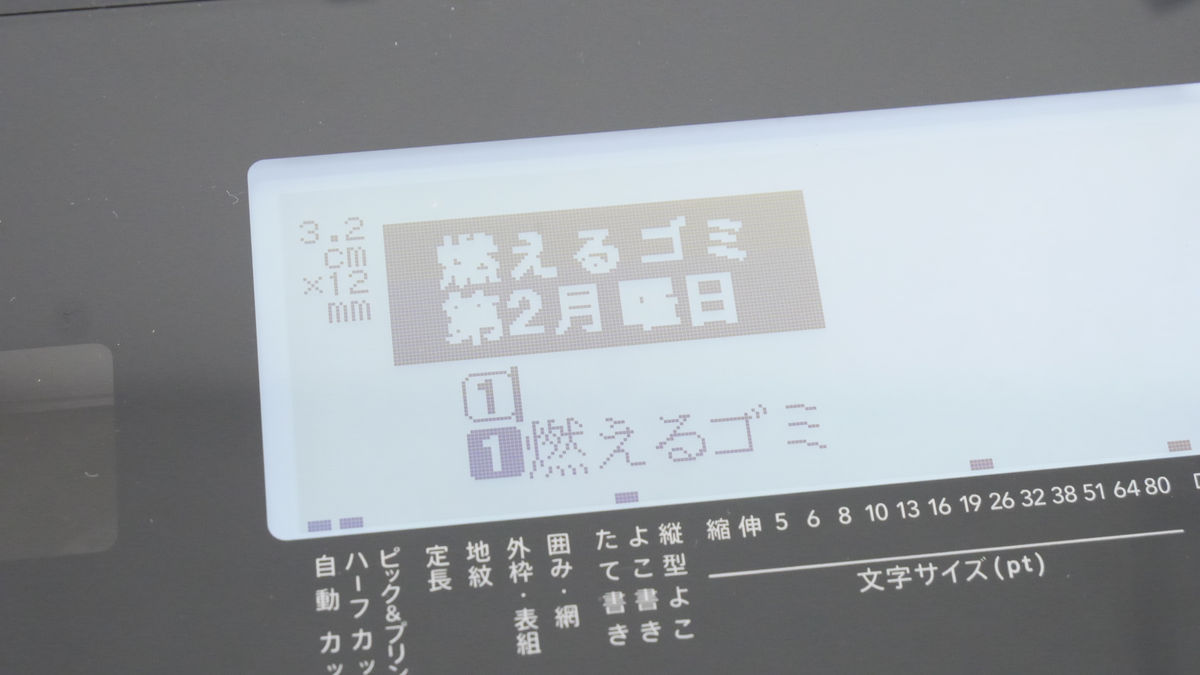
If you enter the symbol as it is, it looks like this. The structure is such that the symbol is entered in the 'first line of the first paragraph', the 'burning garbage' is entered in the 'first line of the second paragraph', and the 'second Monday' is entered in the 'second line of the second paragraph'.

The bottom tape is printed as it is.
Then, if you move the cursor to the end of the sentence and break the paragraph again ...
Paragraph 3 was born.
Enter the symbol as it is ...
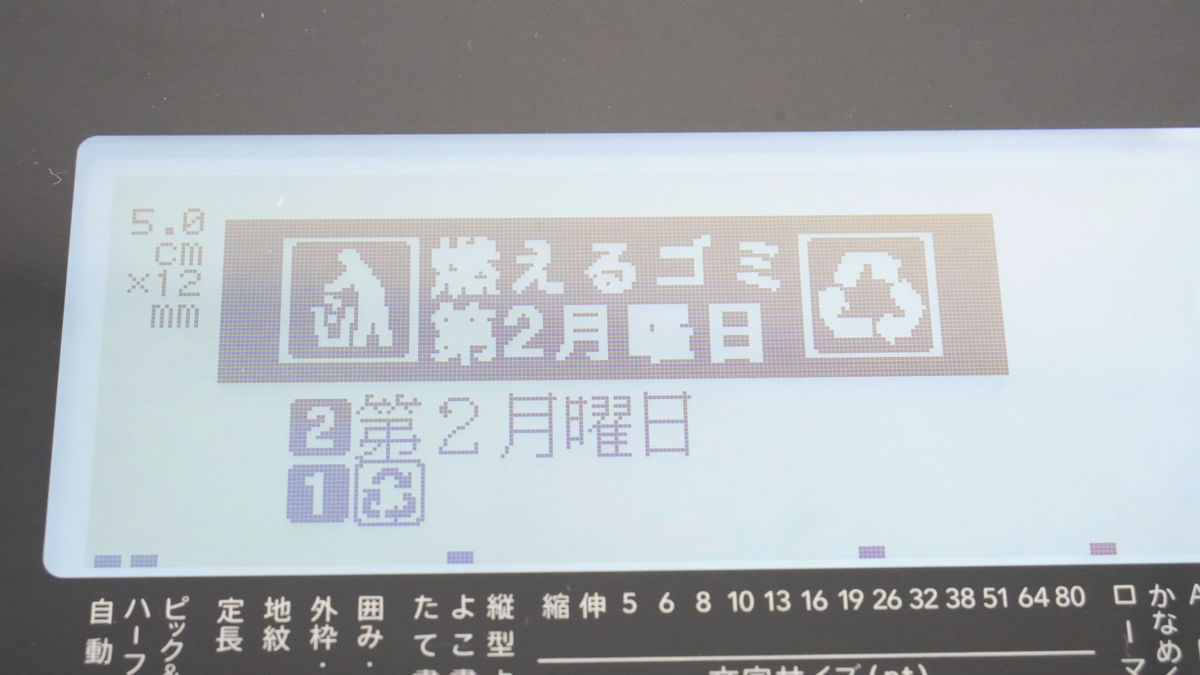
The bottom tape is printed. In this way, it is possible to input various lines in combination by separating paragraphs. You can create up to 32 paragraphs per label, regardless of tape width.
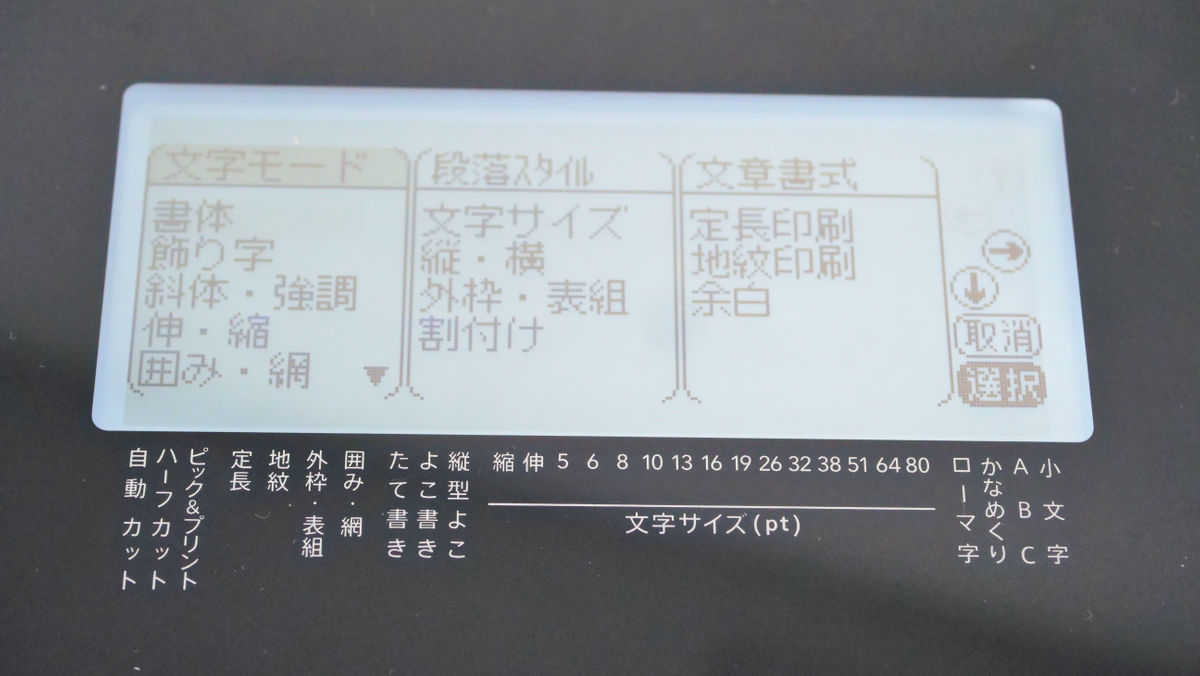
・ 'Font', 'Format', 'Paragraph style', etc. can be edited in detail.
In ''Tepura' PRO SR-R980', four 'direct keys' of 'typeface', 'character size', 'outer frame', 'vertical / horizontal' at the bottom of the display, and fonts and formats with the 'edit' button, etc. You can make detailed edits to.
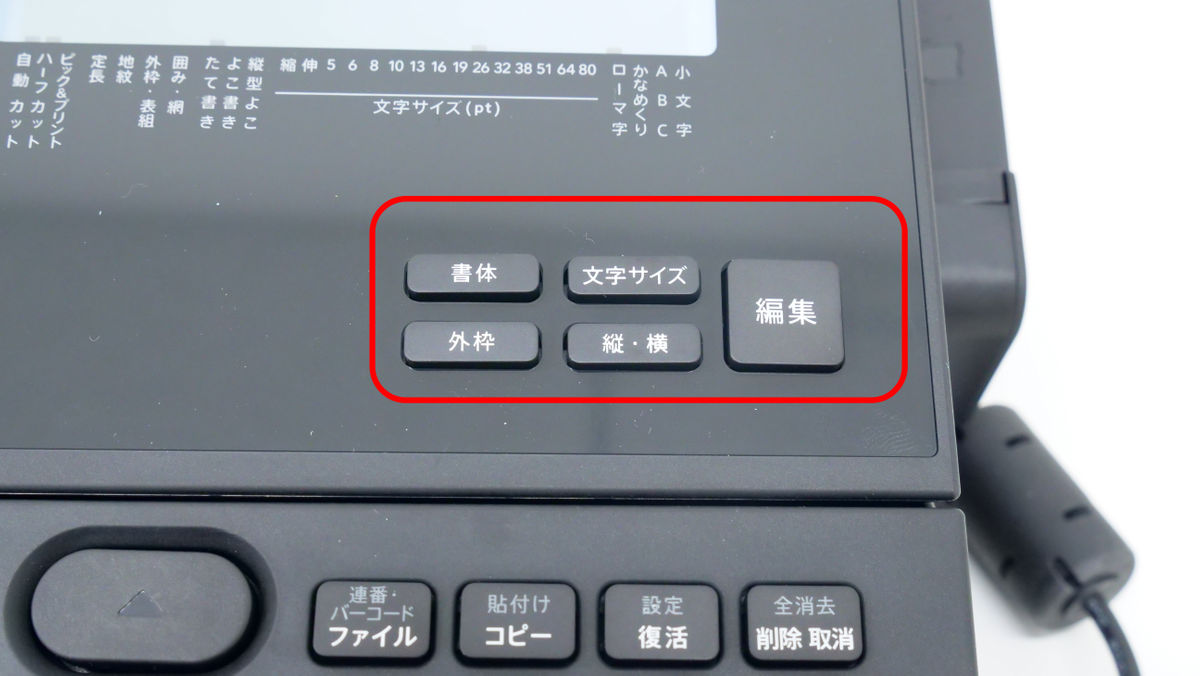
When you press 'Typeface', the typeface becomes 'Gothic', 'Round Gothic', 'Mincho', 'Handwriting', 'Semi-cursive', 'Semi-cursive', 'Wave Gothic', 'Thick Gothic', 'Thick Round Gothic', 'Taimaru Gothic'. It switches to 'Thick Mincho typeface' and 'Thick line typeface'.
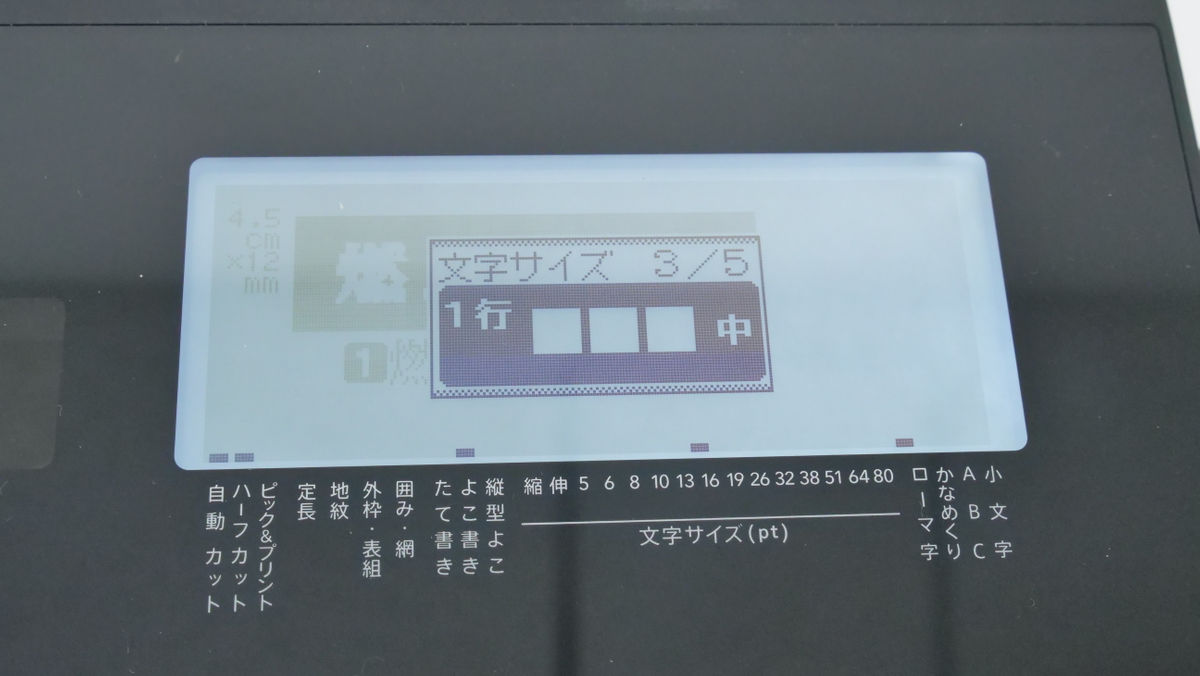
If you press 'Character size', you can change the font size according to the number of lines and the width of the tape.
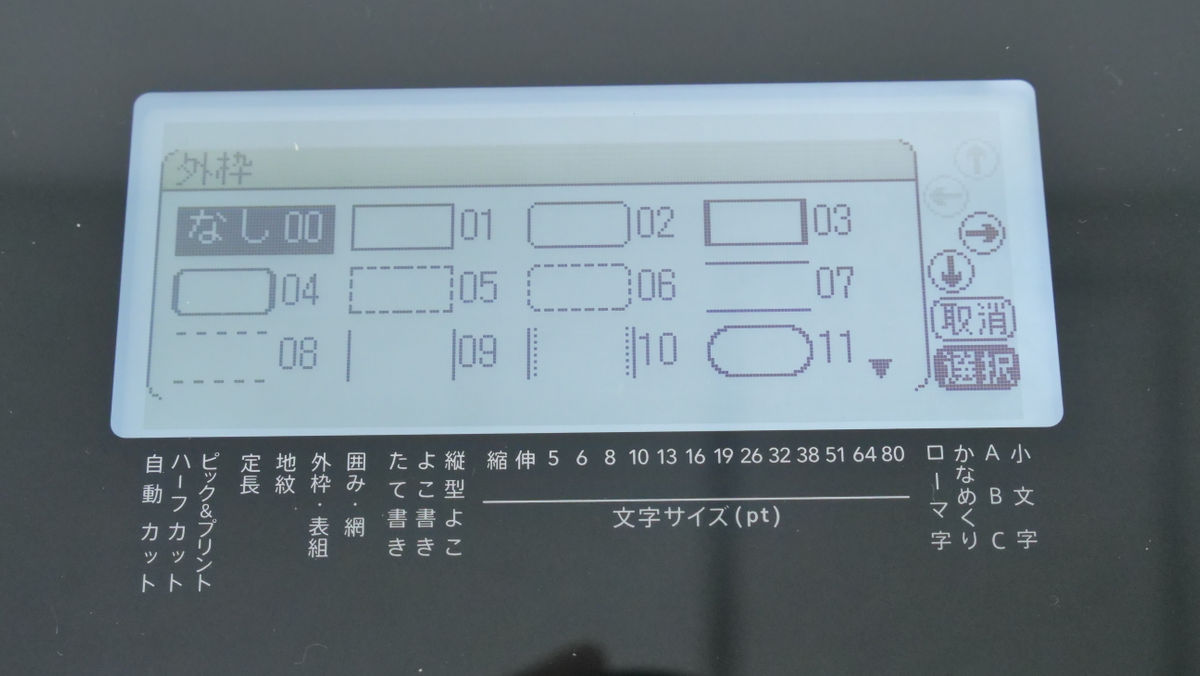
By pressing 'Outer frame', you can select the outer frame design from multiple options.
With the 'Vertical / Horizontal' button, you can switch the orientation of the entire sentence between vertical writing and horizontal writing.
From the 'Edit' button, you could make more detailed settings.
For example, add a shadow to the characters ...

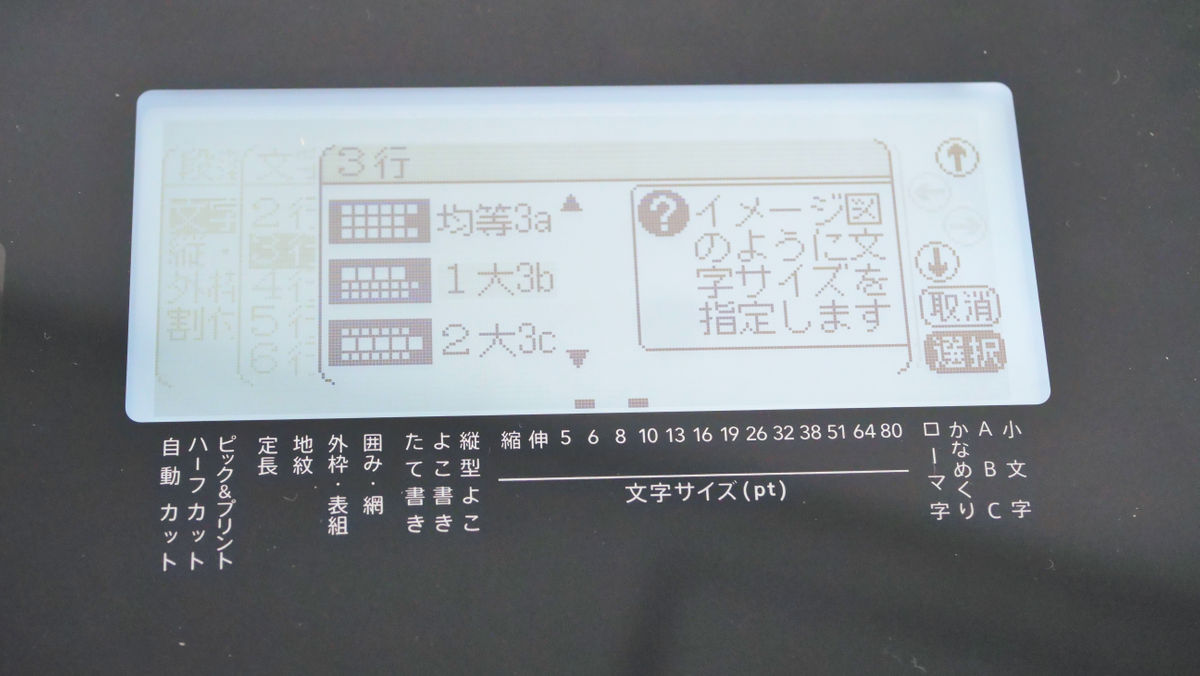
It is also possible to change the layout by changing the font size for each paragraph.
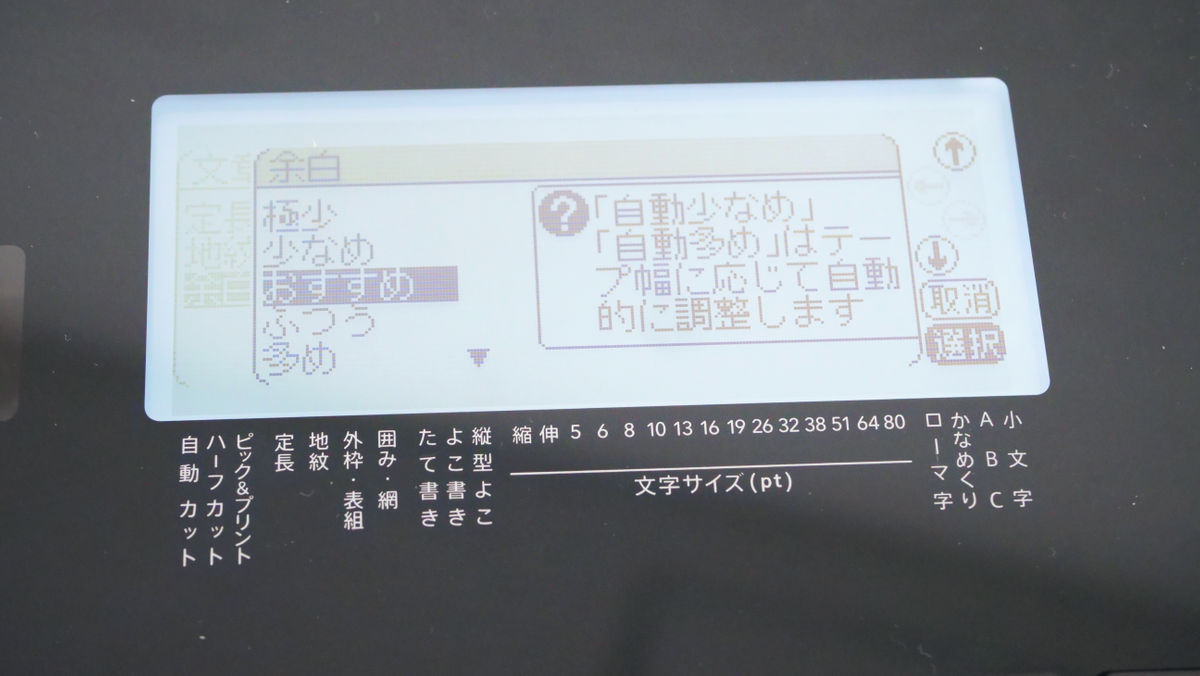
The amount of margins is 'extremely small (1 mm)' 'small (3 mm)' 'normal (10 mm)' 'large (18 mm)' 'automatically small (1/3 of tape width)' 'automatically large (same as tape width)' ) ”, You can choose from 6 patterns in total.
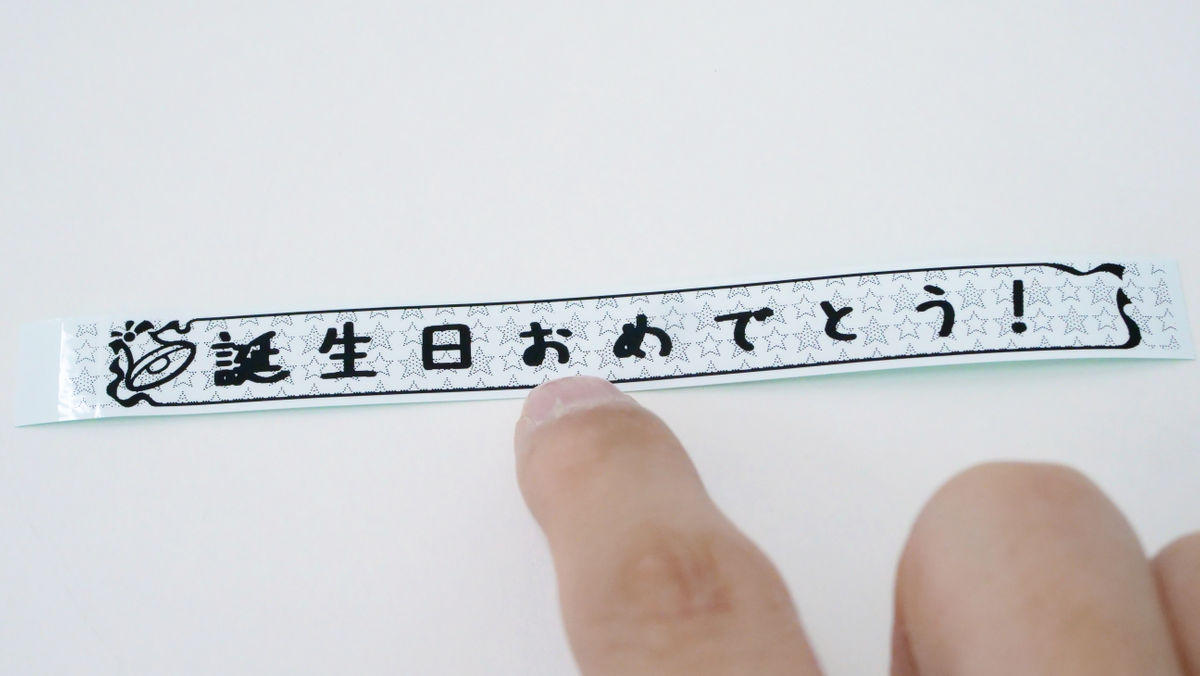
I edited some and printed it.
・ 'Form' where you can choose a design from various templates
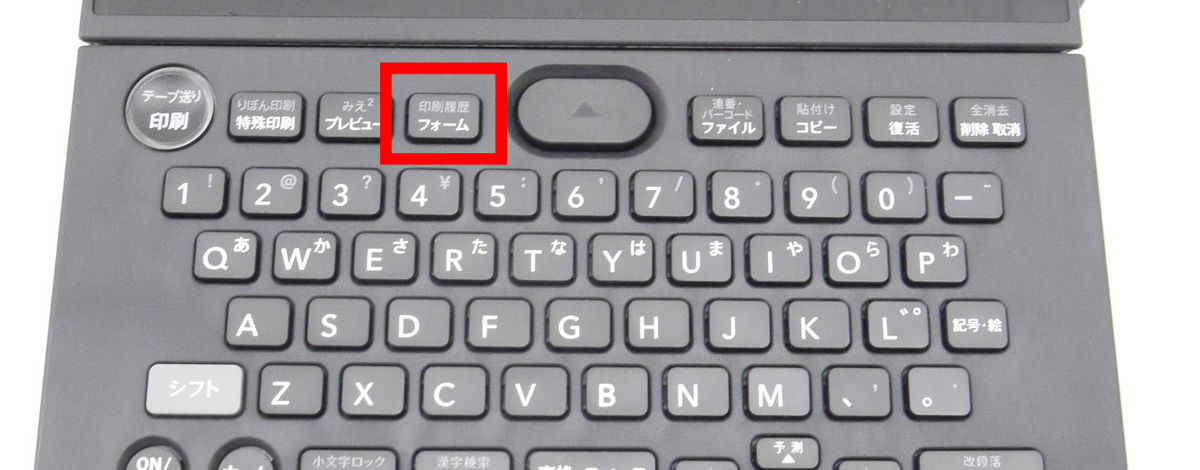
If you don't want to edit the design from scratch, you can use the prepared form. First, press the 'Form' button to call up the form selection screen.
For example, if you select 'Office' from 'Design Form' ...
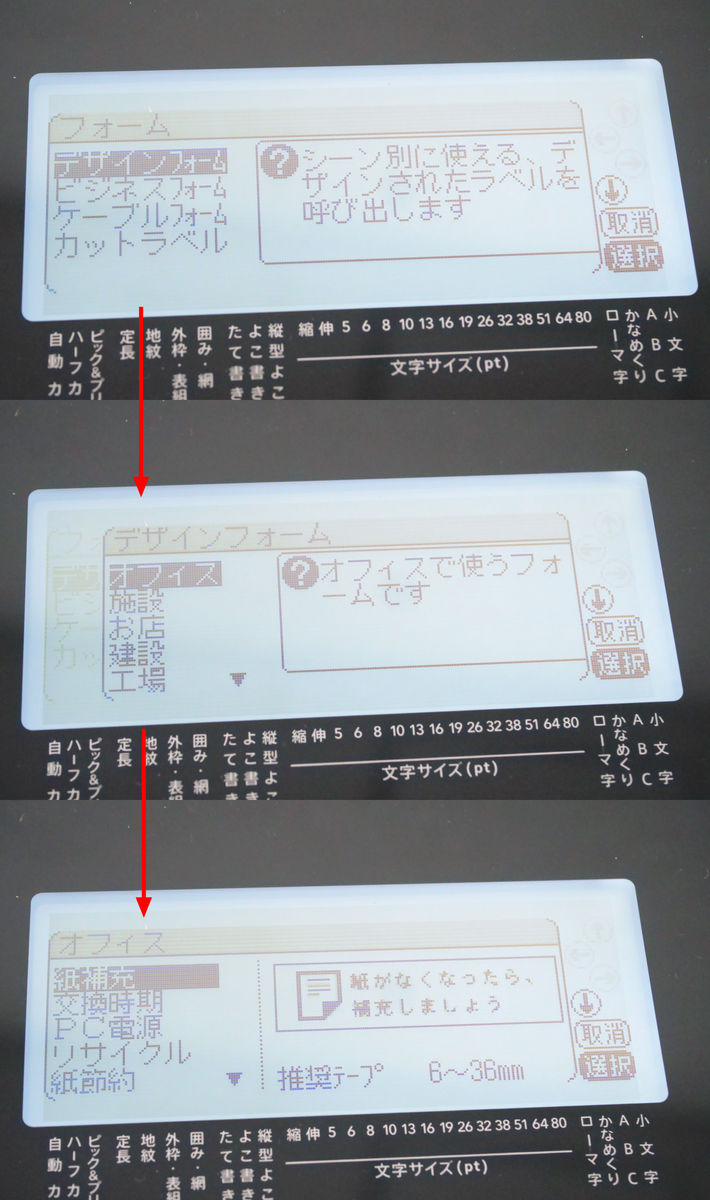
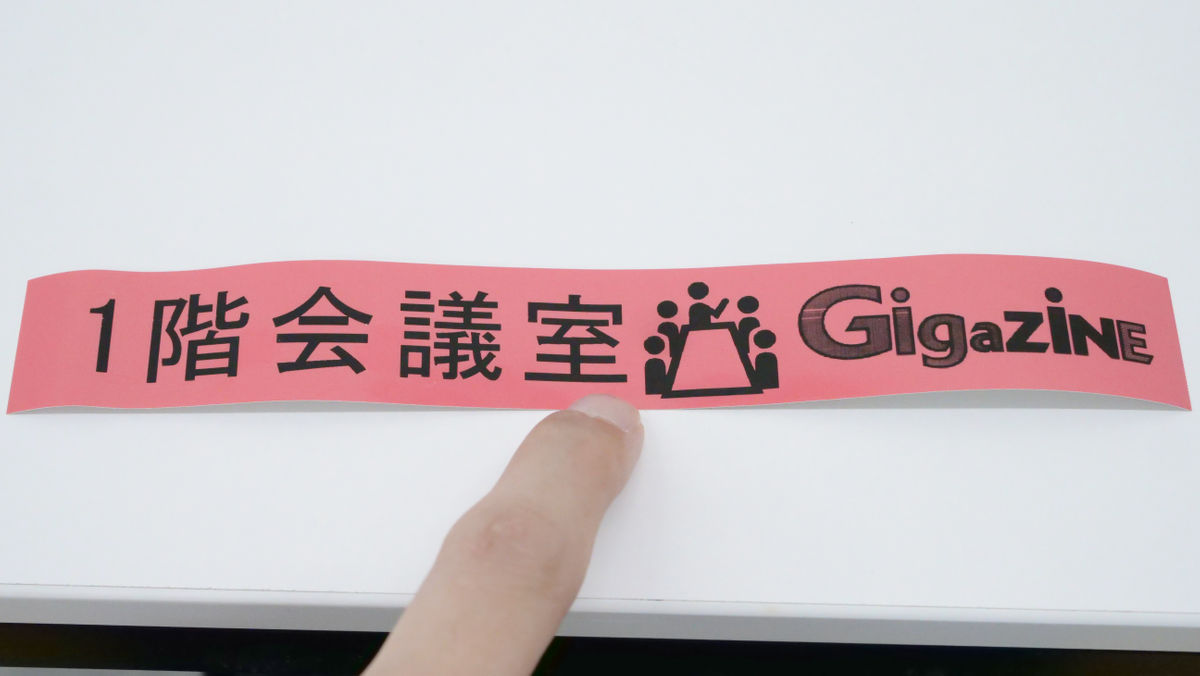
I was able to call a form like this.
I actually printed it.
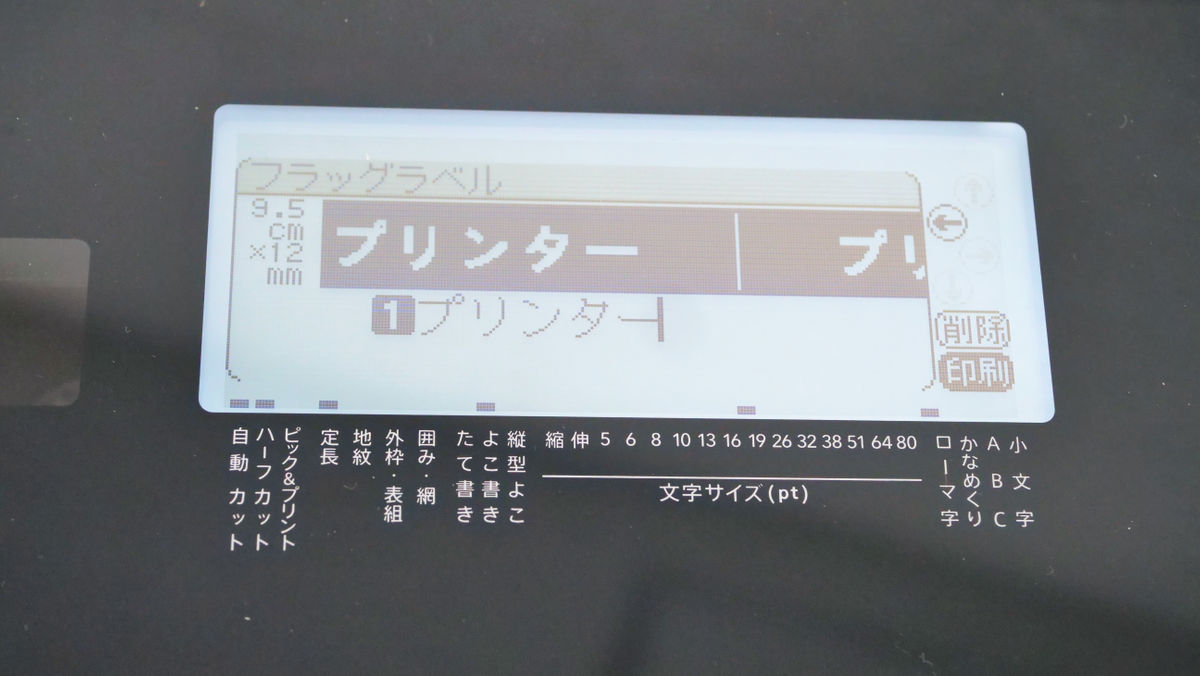
By using 'Cable Form', it is possible to create the best label for sticking around the cable. This time I will use 'flag label'.

Set the 'diameter' or 'circumference' of the cable you want to paste.

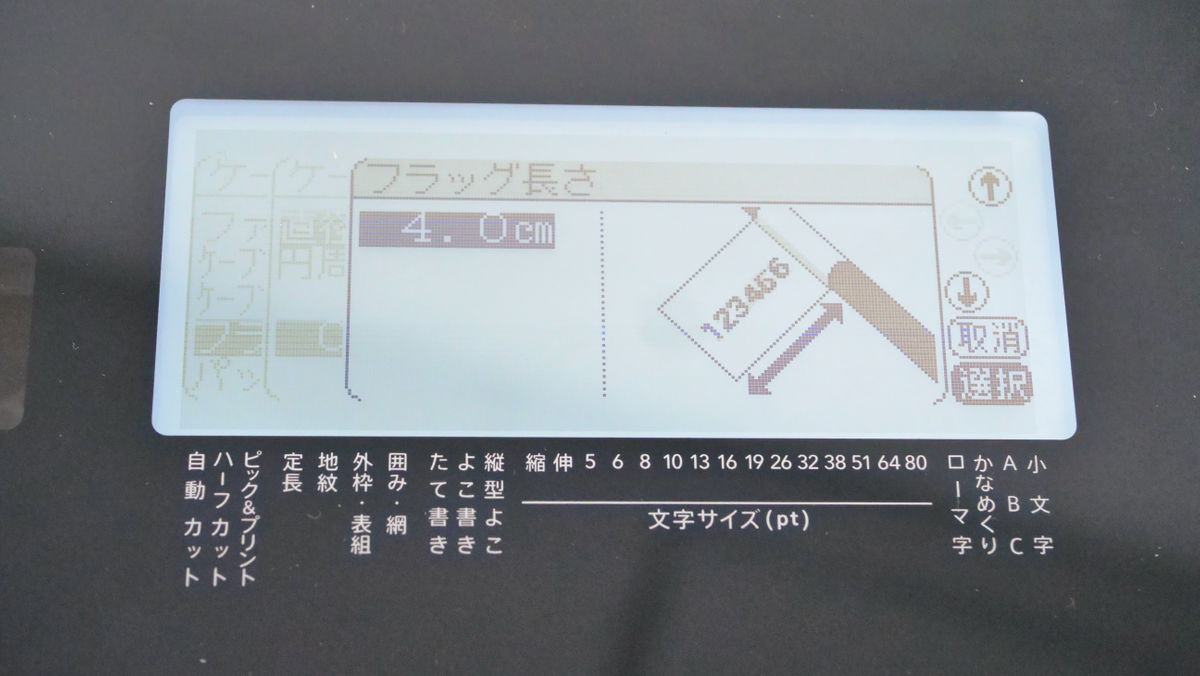
Set the length of the printed surface.
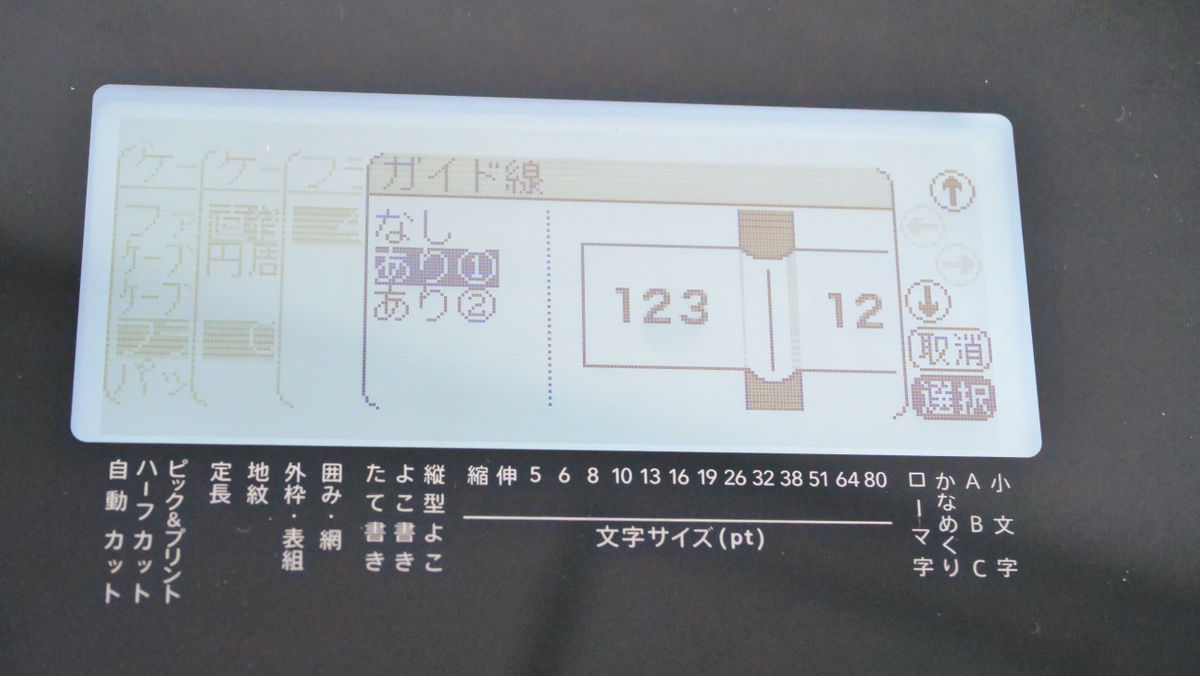
Select either 'No guide line', 'Print guide line in the center', or 'Print guide line at the position where it hits both ends of the cable'.
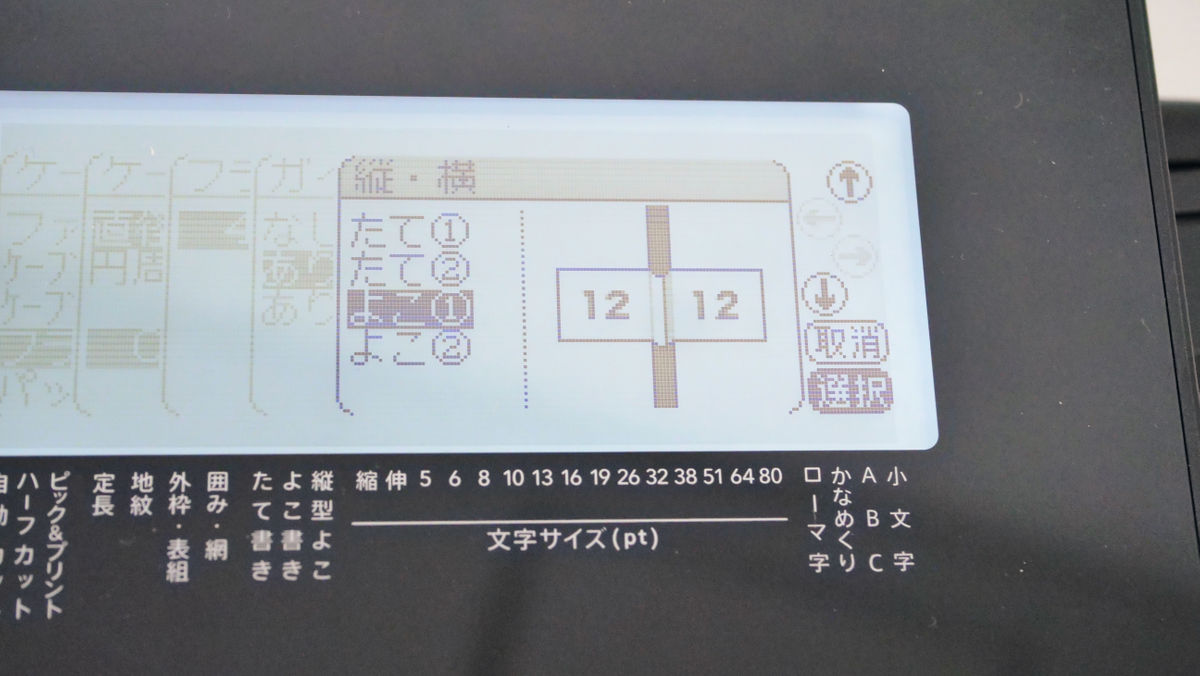
Select the print orientation.
Confirm the input contents and print.
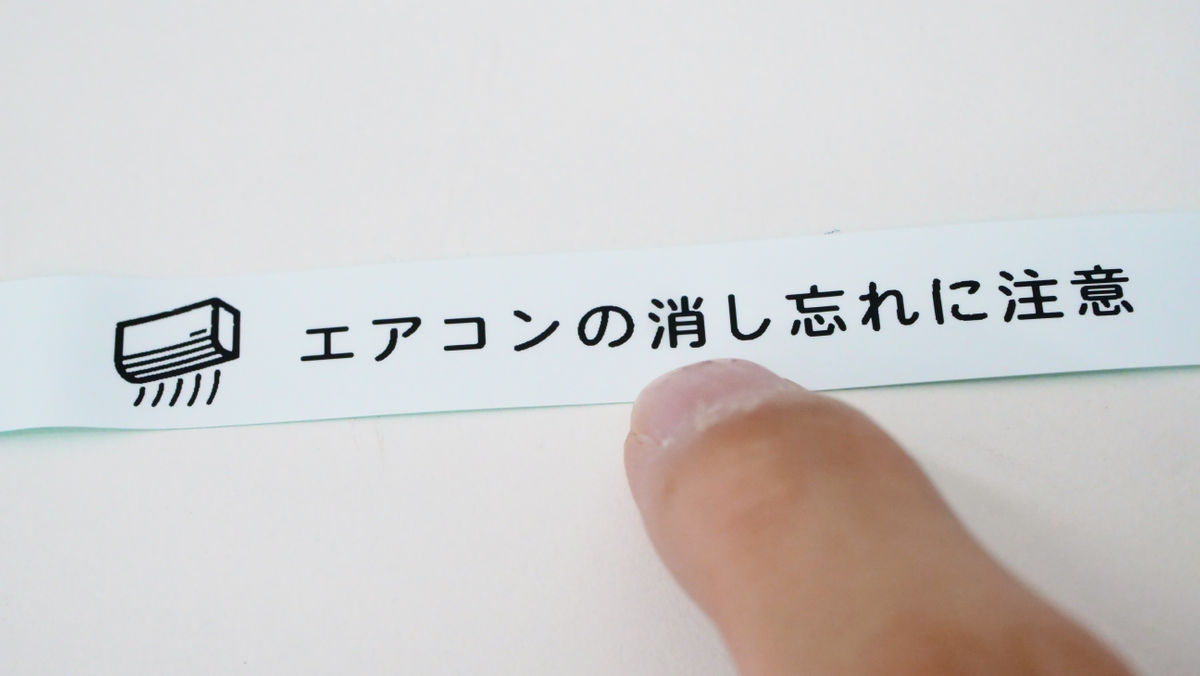
The printed label looks like this.

If you attach it to the cable along with the guide line ...
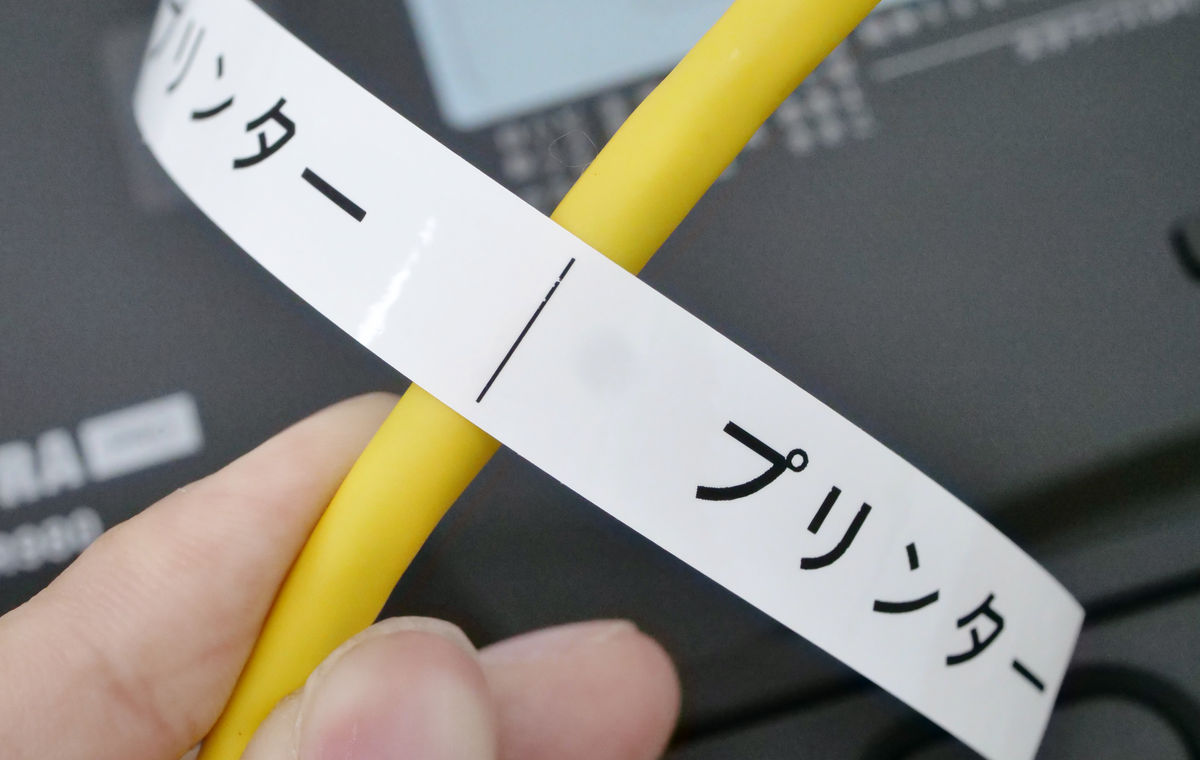
It becomes like a flag.

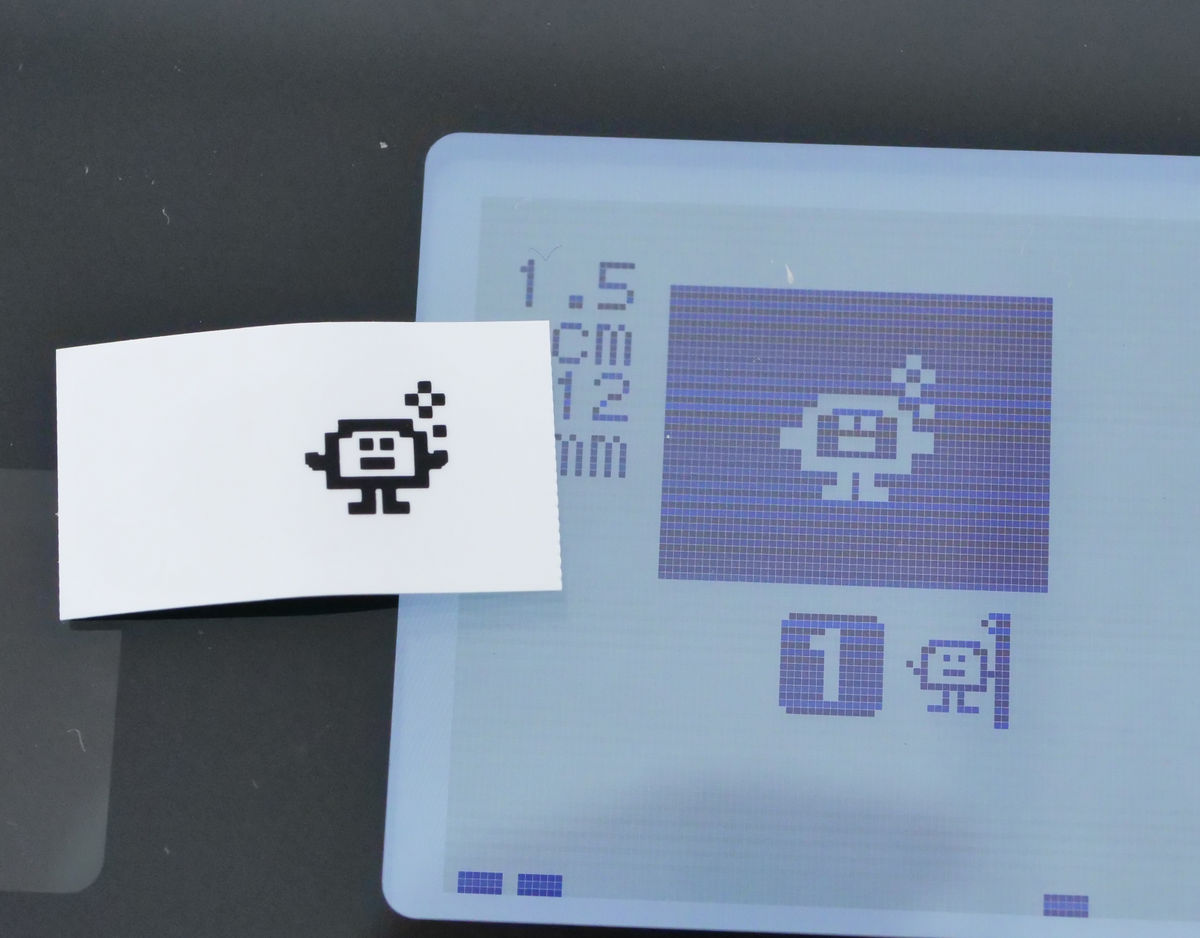
・ I tried to create an icon with a dot picture using the 'gaiji' function.
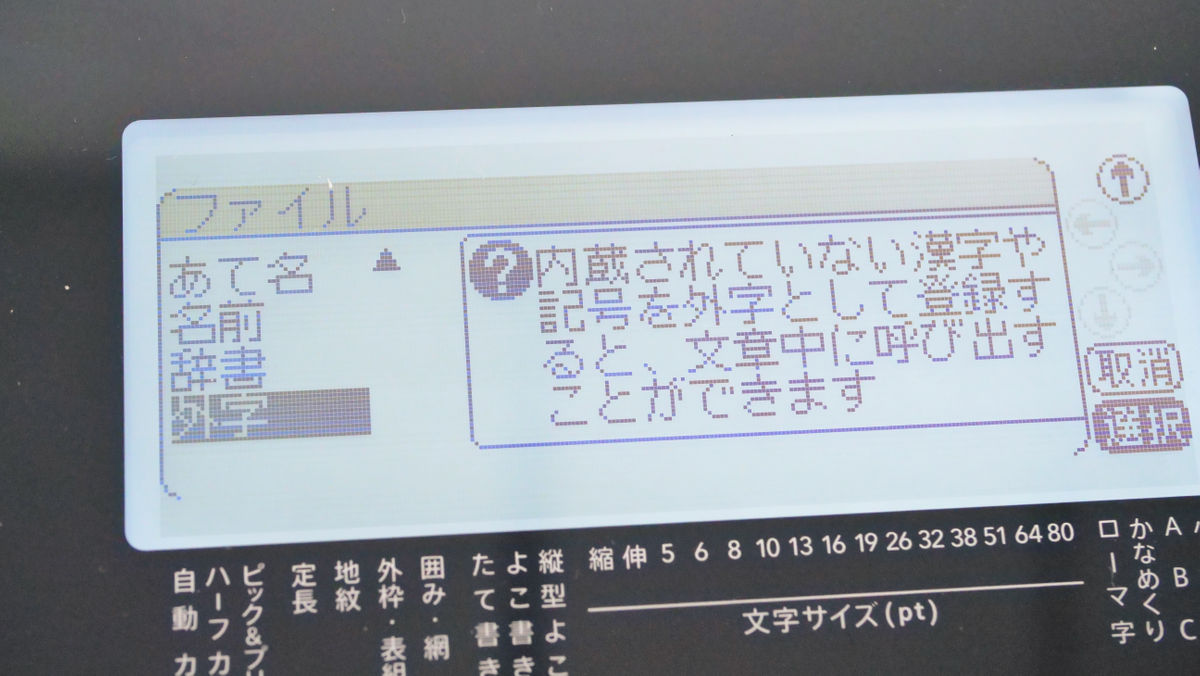
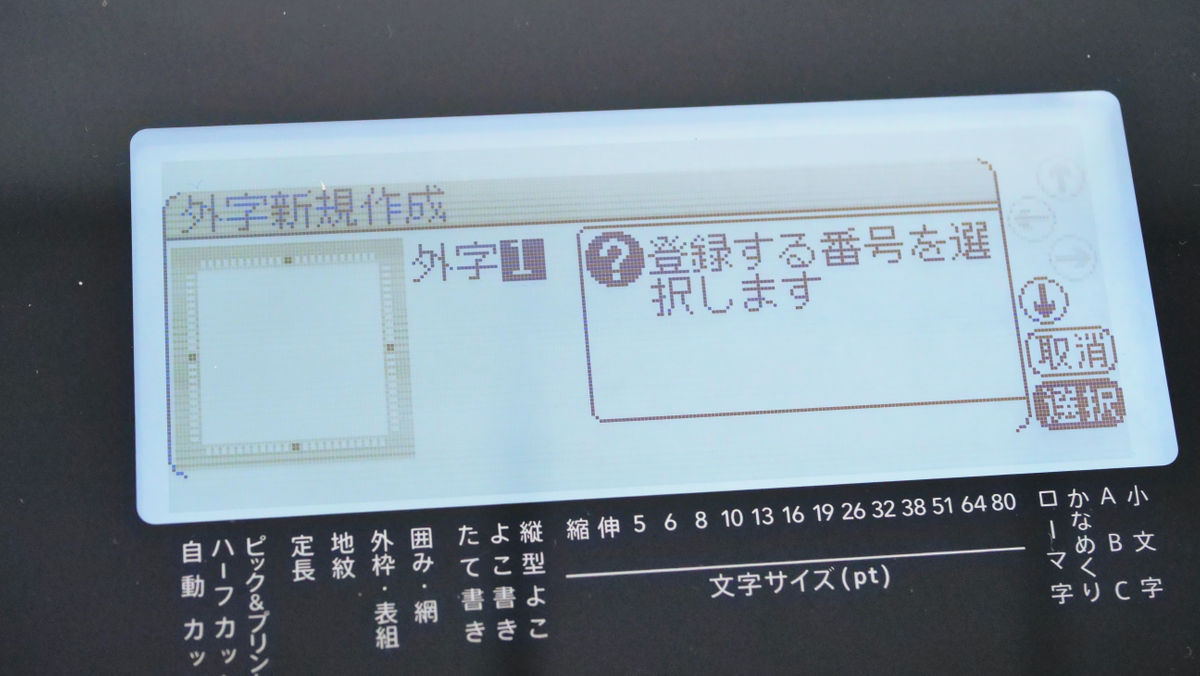
The 'gaiji' function allows you to create and register unregistered kanji and symbols. First, press the 'File' button and select 'External Character'.
Select the number to register ...
Select the drawing method.
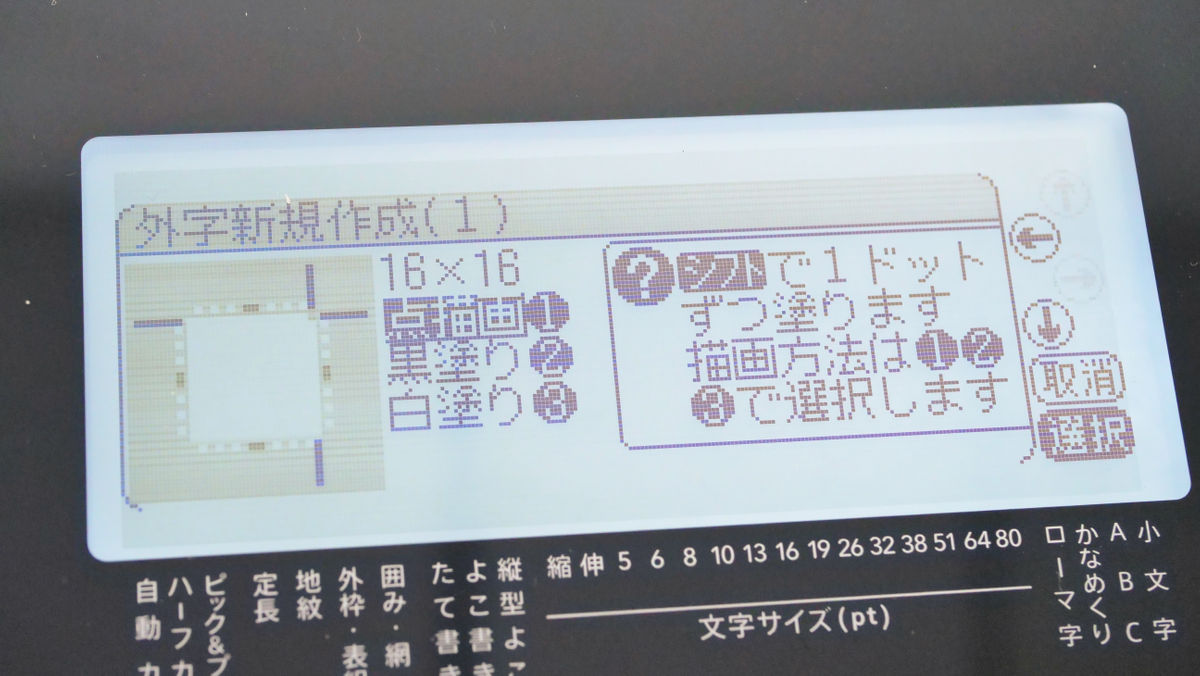
First, move the cursor to the area of 16 x 16 dots with the 'cursor button', and type in / cancel the dots with the 'shift' button to draw.
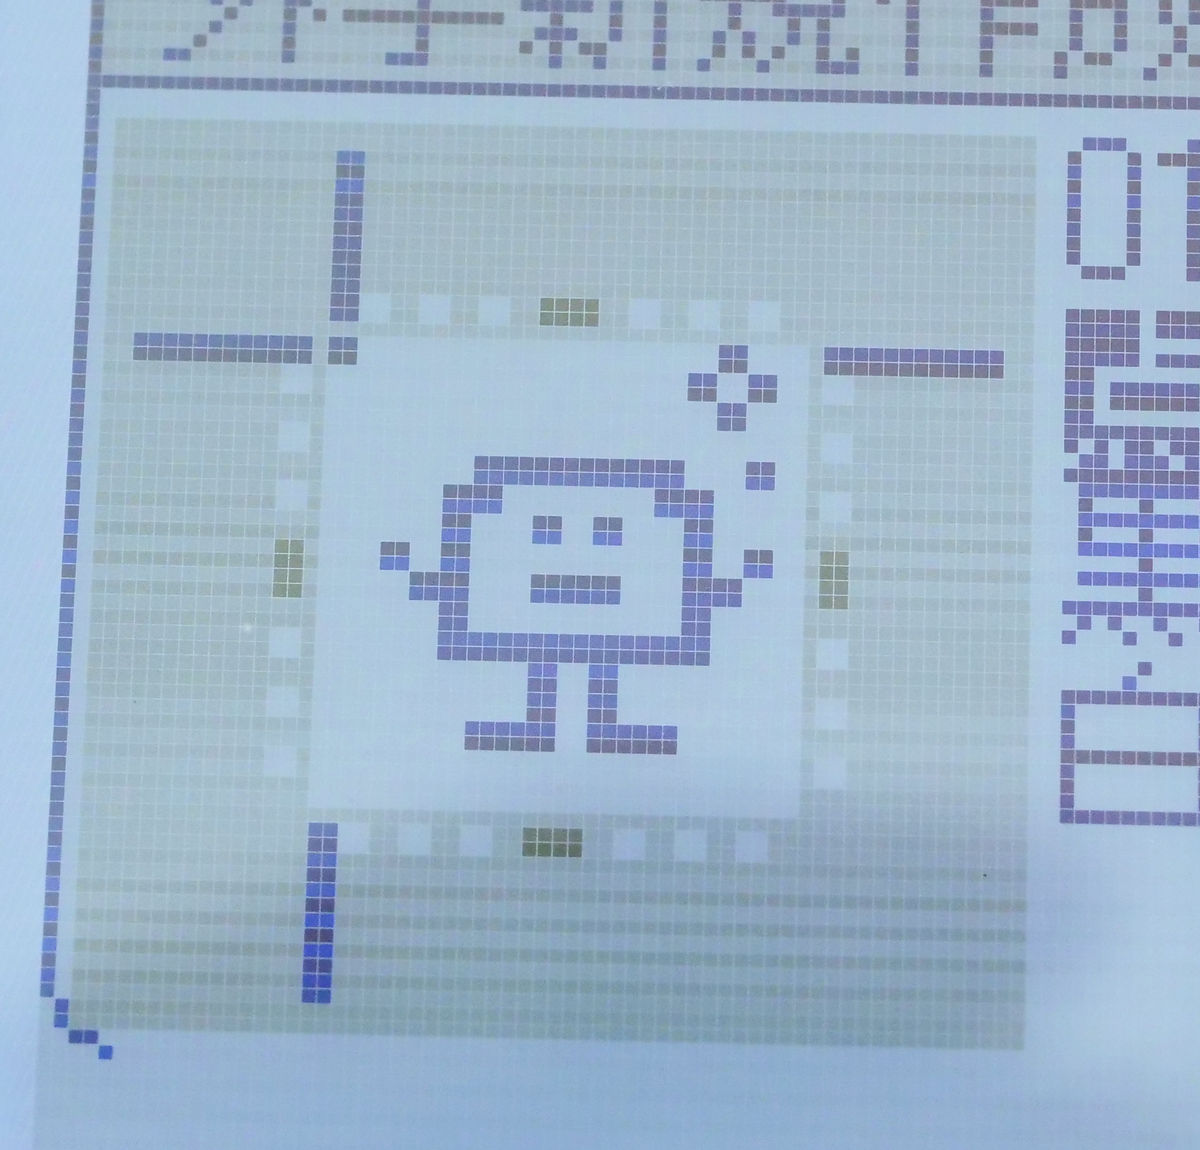
After inputting, each time you press the 'Select line feed' button, 24 x 24 dots, 32 x 32 dots, 40 x 40 dots, 48 x 48 dots will be displayed in more detail, so dots will be displayed again in each size. Edit and modify it to make it look better.
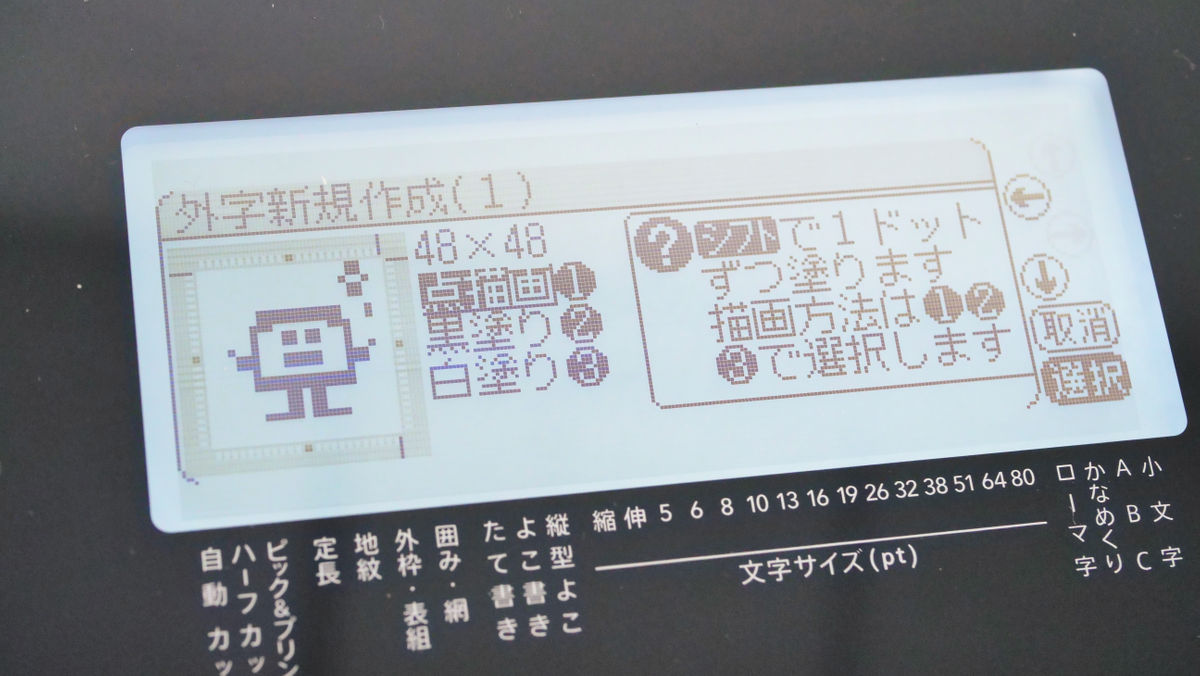
Enter the reading at the end to complete the registration.

You can print your own design, such as your company logo.
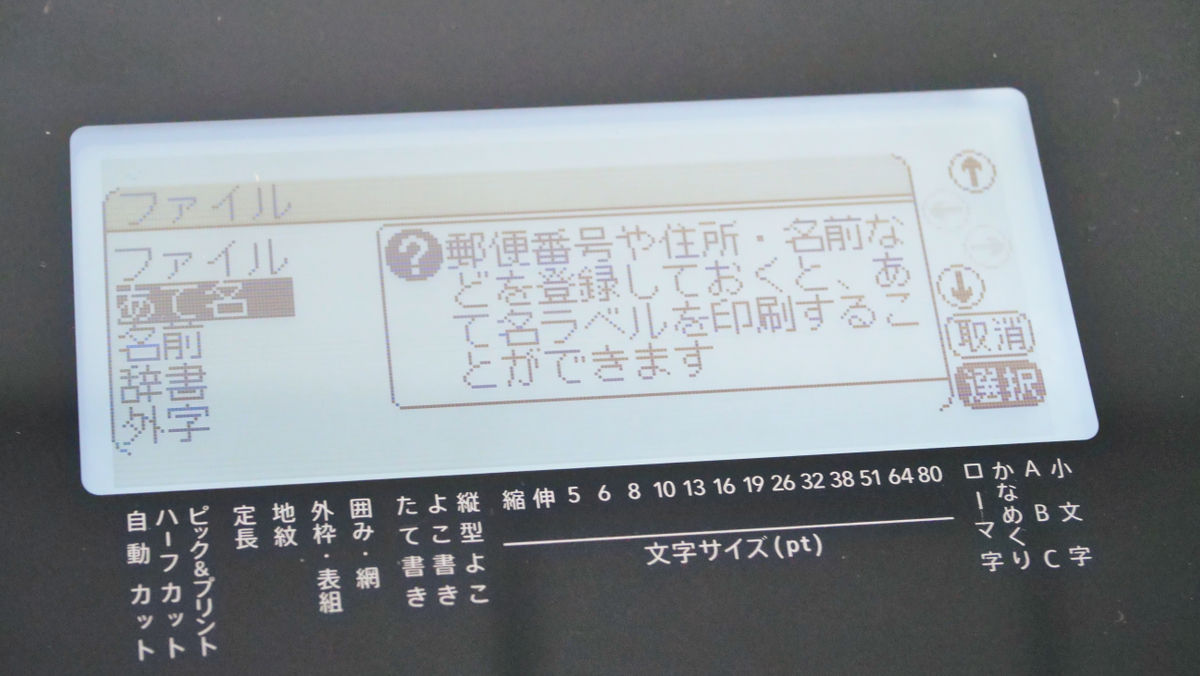
・ Address printing
I will try address printing, but this time I will use a thick label with a width of 24 mm to make it easier to see.

Press the 'File' button and select 'Address'.
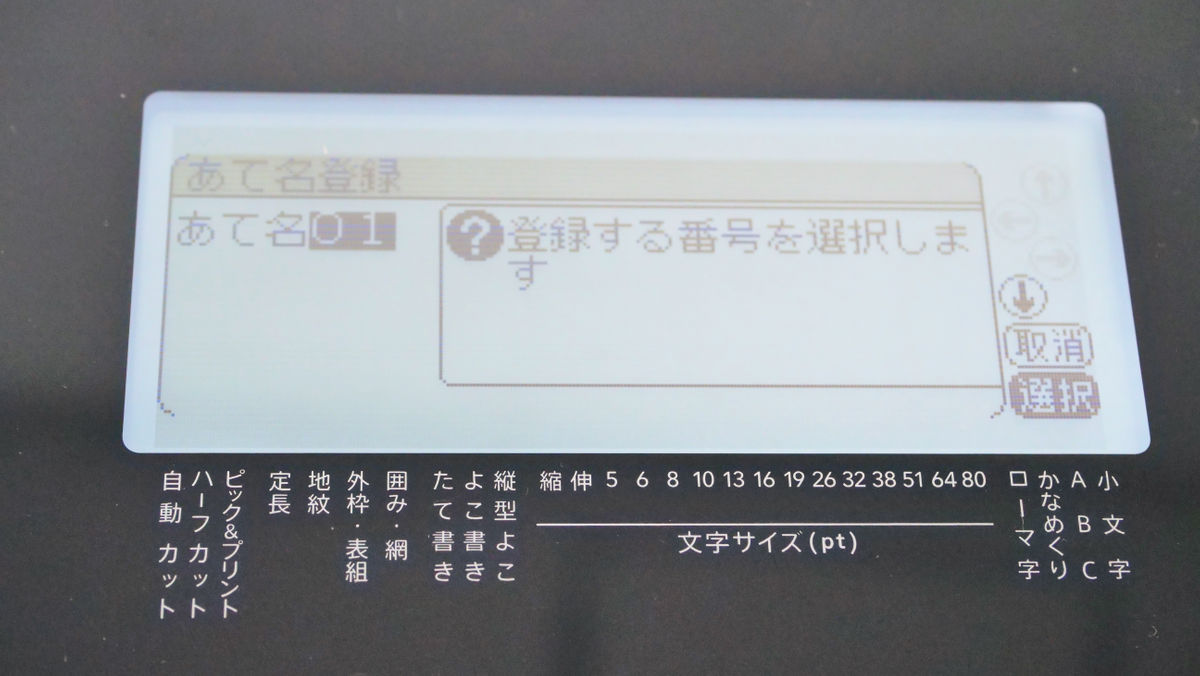
Then select 'Register' ...

Select the number to register.
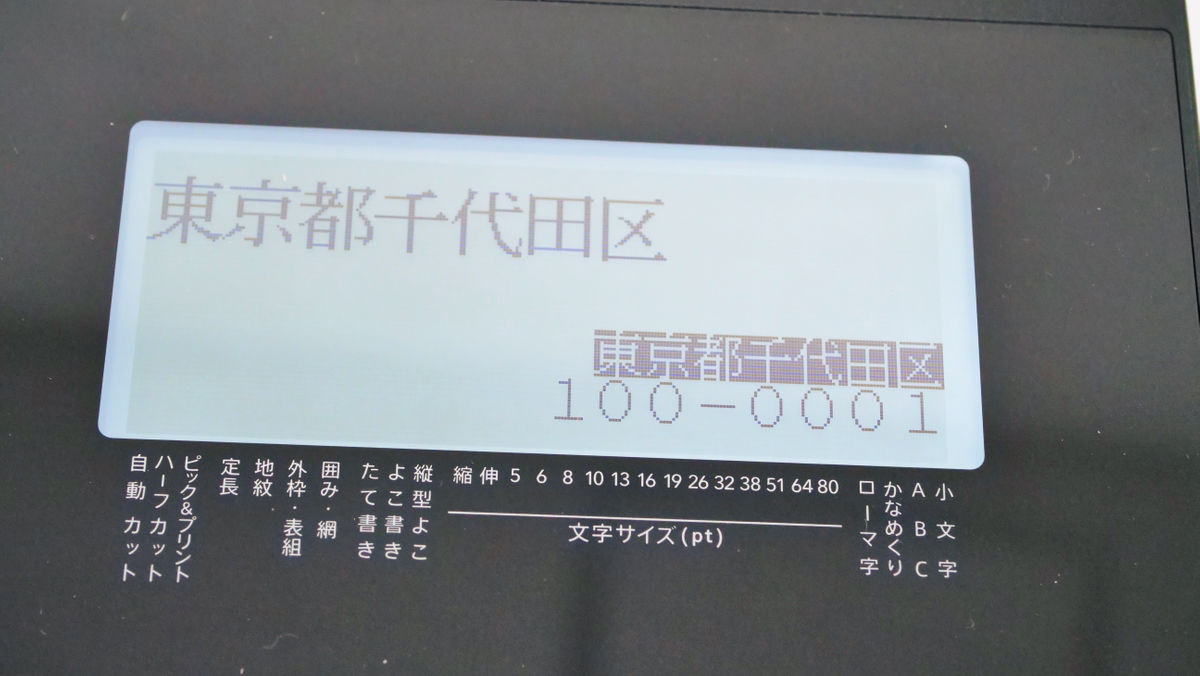
The address input form will be called, so enter it from the zip code.
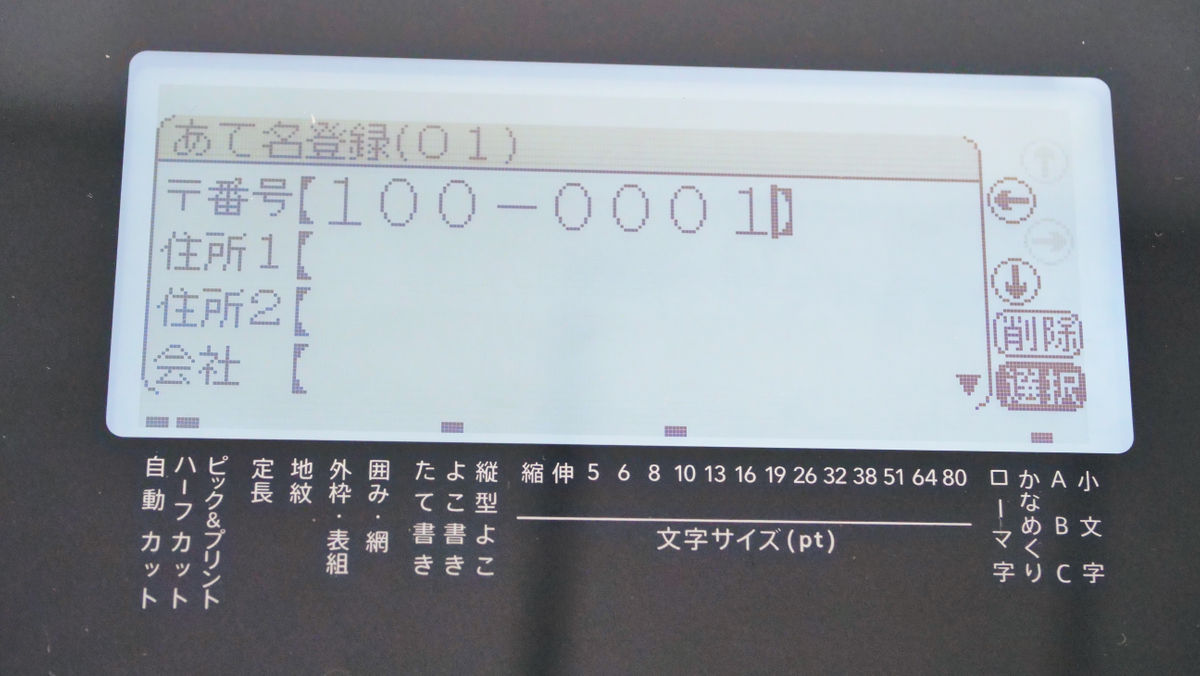
By entering the zip code, the corresponding address was automatically entered.
Enter the company name, department name, name, etc ...
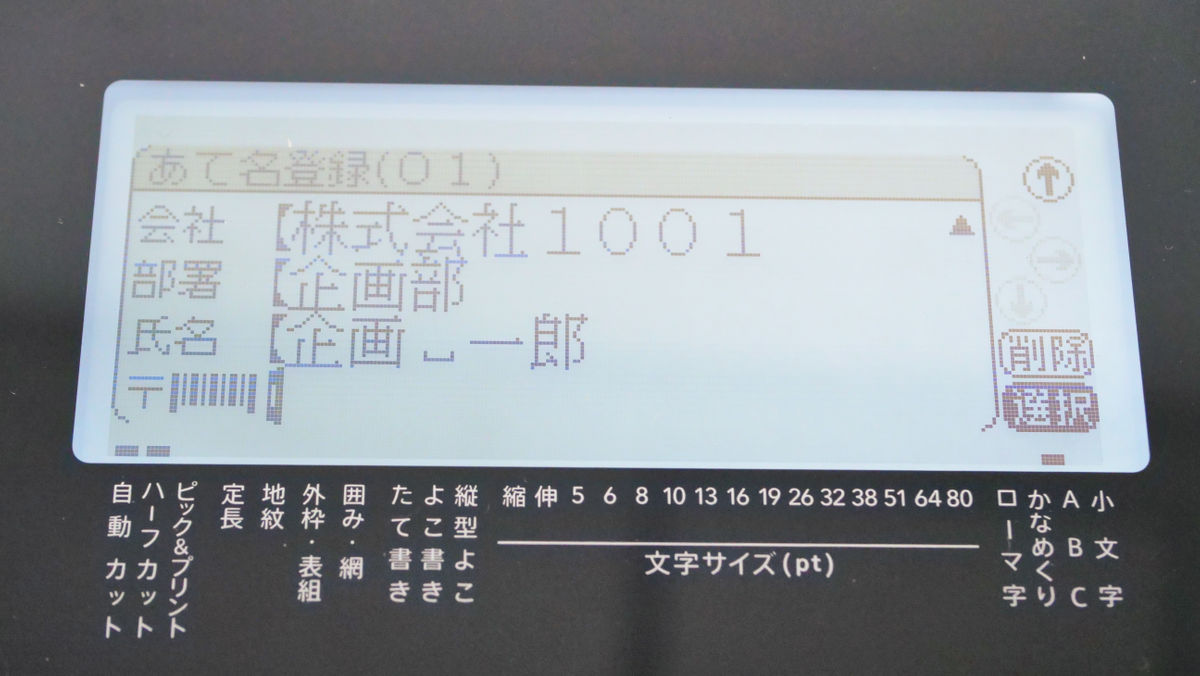
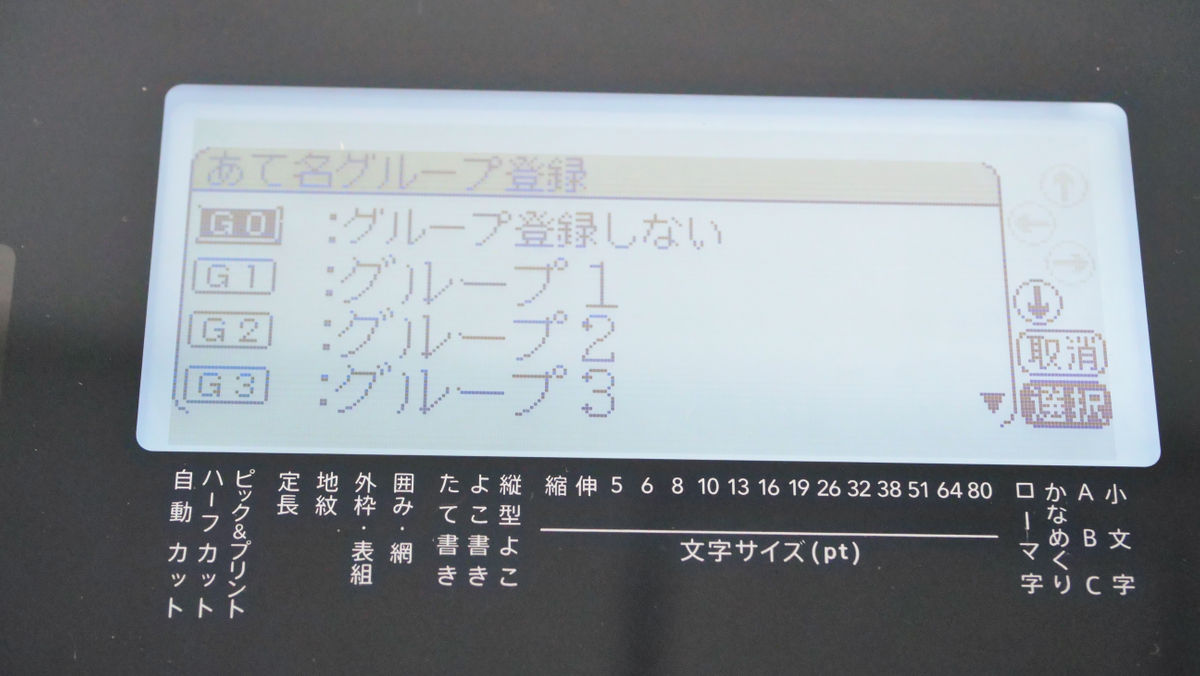
Finally, register the address group.
If you print as it is, it looks like this. The company name and name can be omitted, but if you enter them, 'sama' or 'middle' will be printed automatically.

・ A function that automatically assigns serial numbers
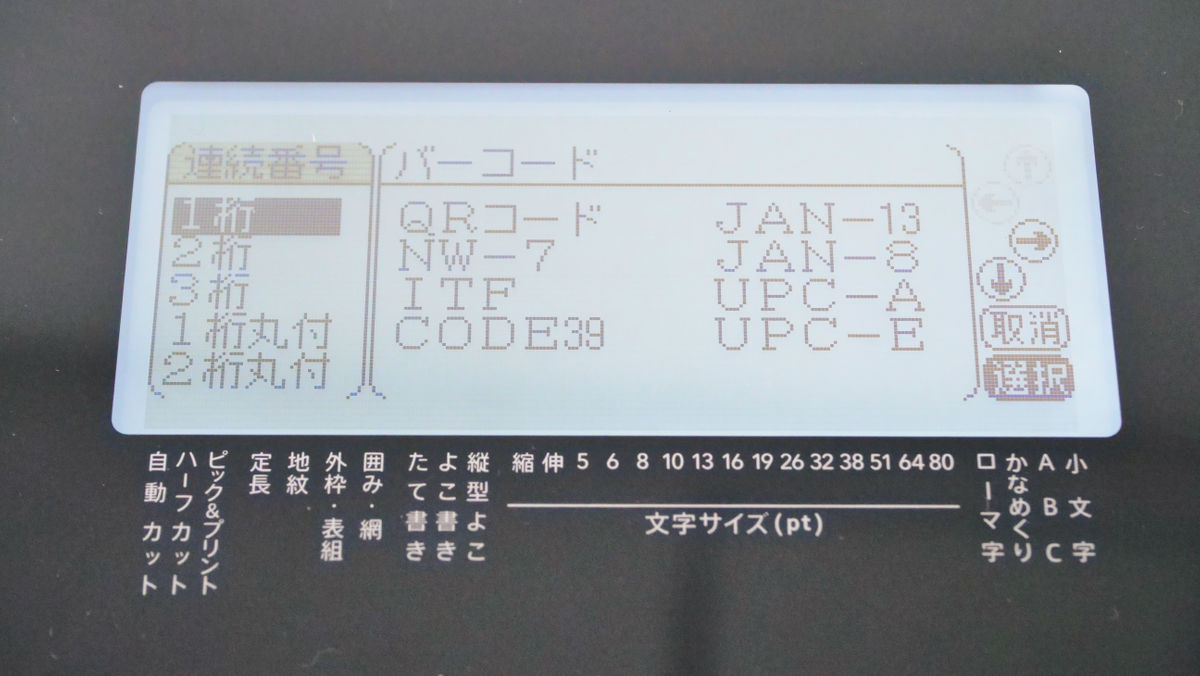
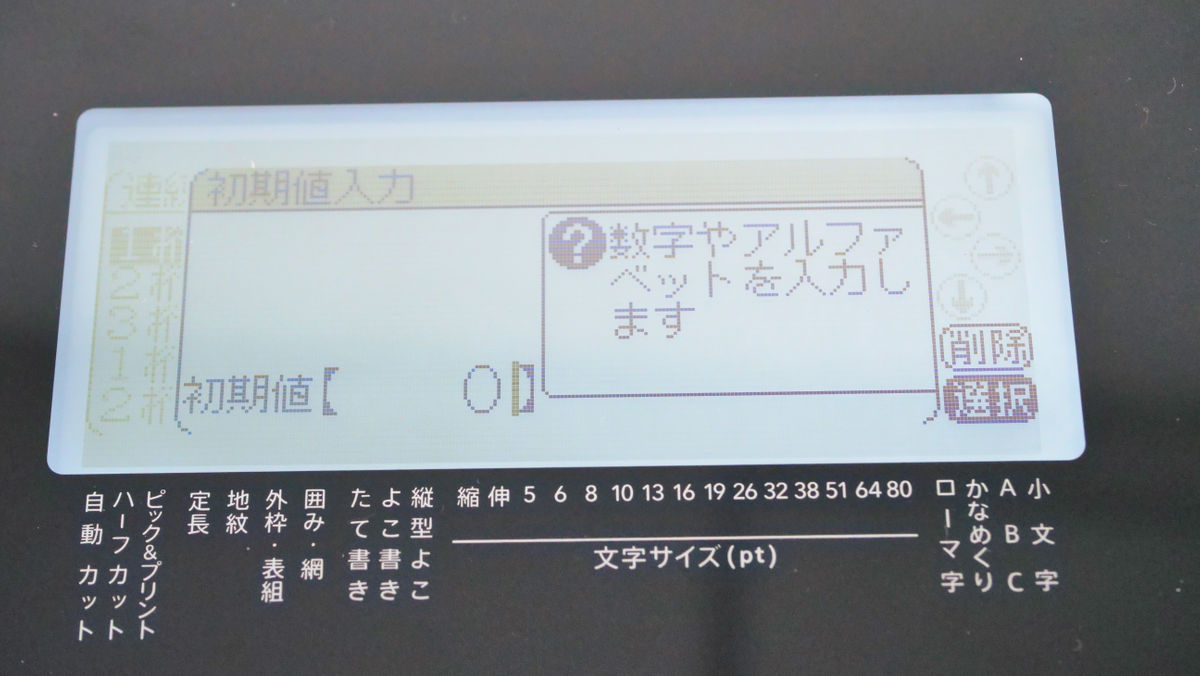
Try entering the serial number. First, press the 'Shift' button and 'File' button at the same time to call up the serial number / barcode selection screen. First select the number of digits etc ...
Enter the initial value.
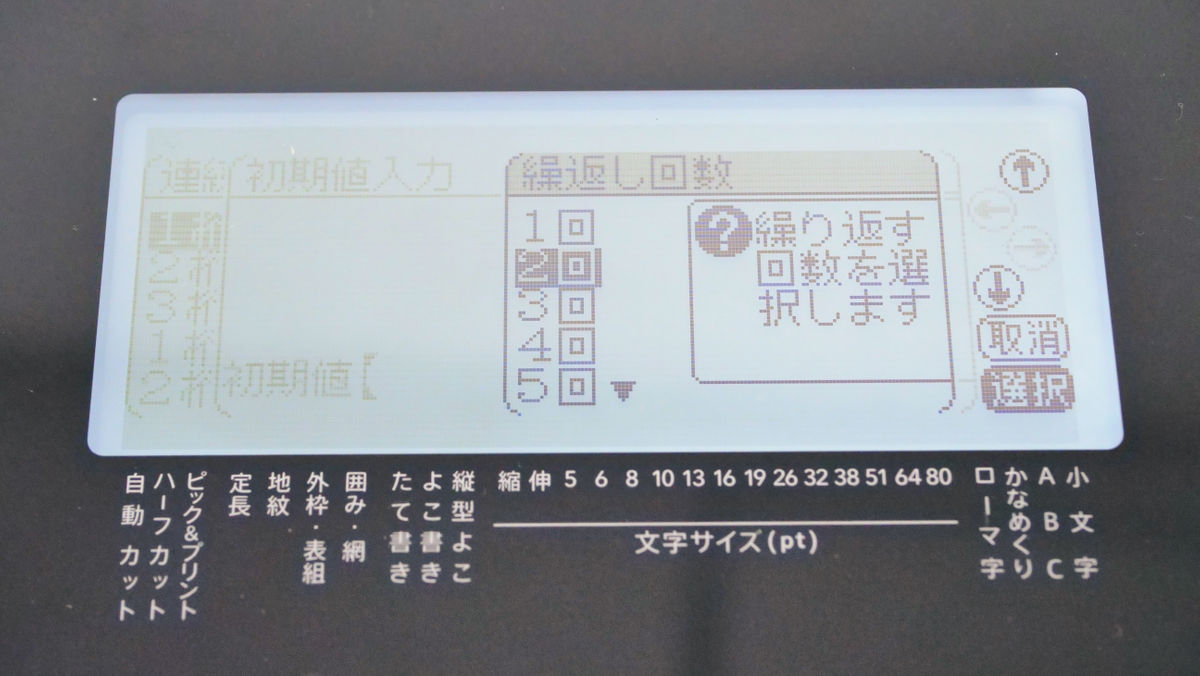
Select 'Repeat count' to determine 'How many times to print before moving to the next number'. Select twice this time.
The input was confirmed like this.
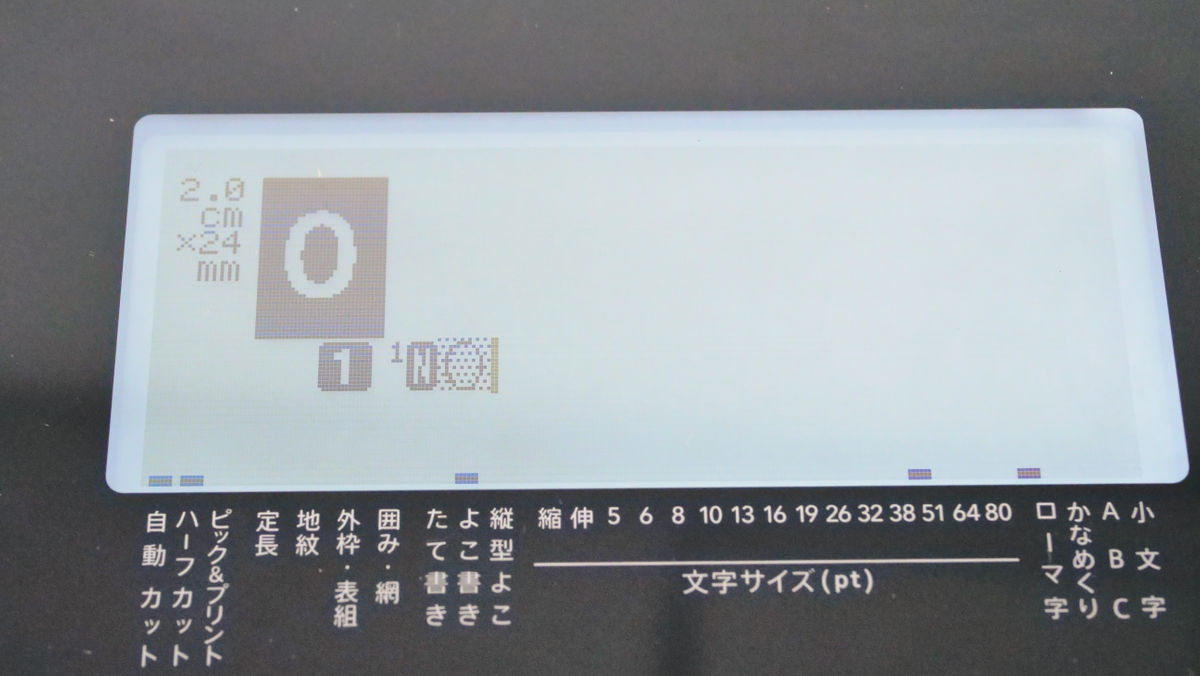
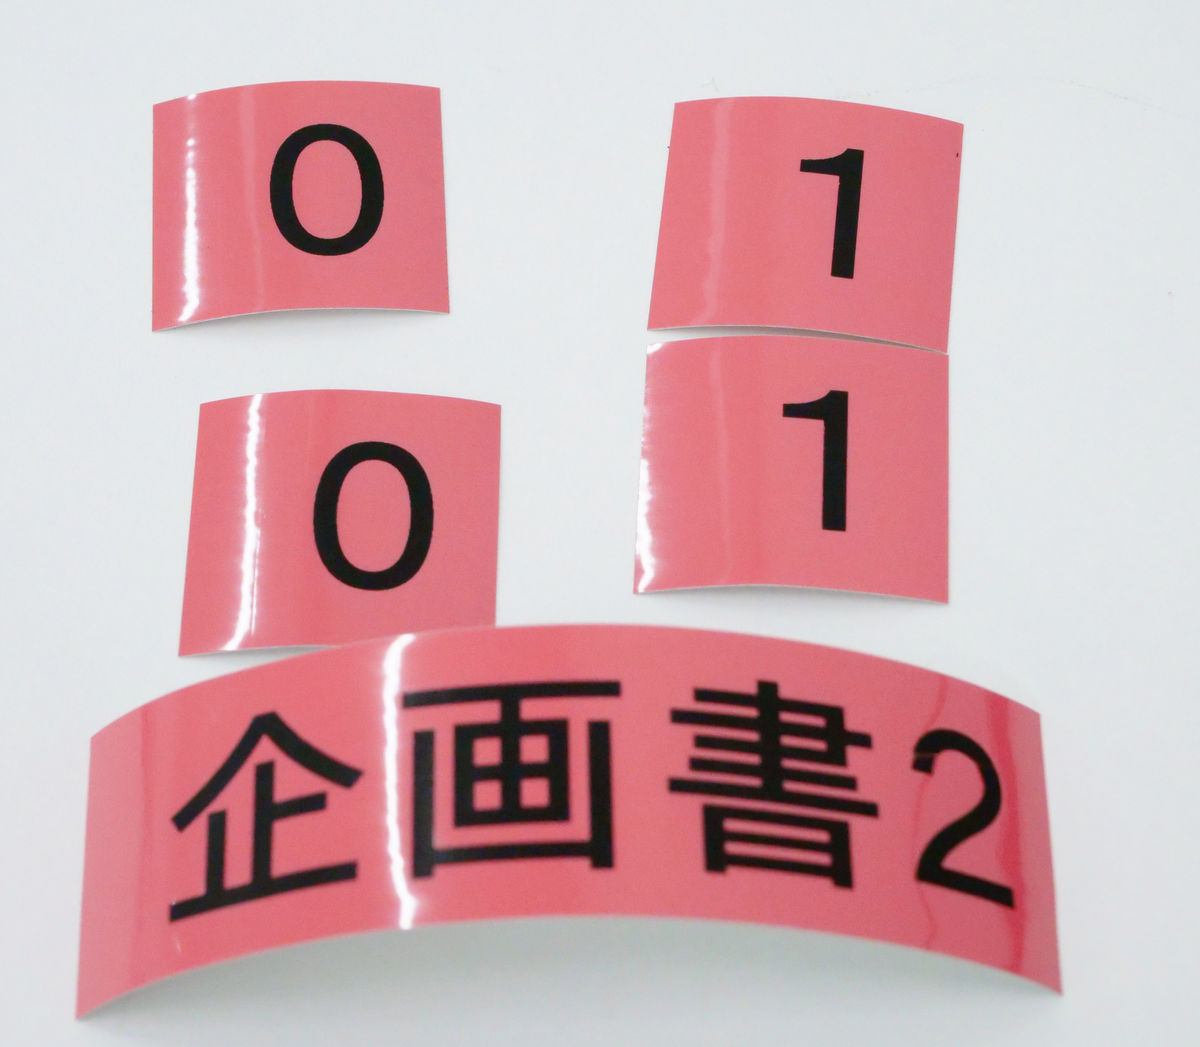
If you press the 'Print' button as it is, the entered initial value '0' will be printed, and if you press the 'Print' button again, '0' will be printed again because the number of repetitions was set to 2.
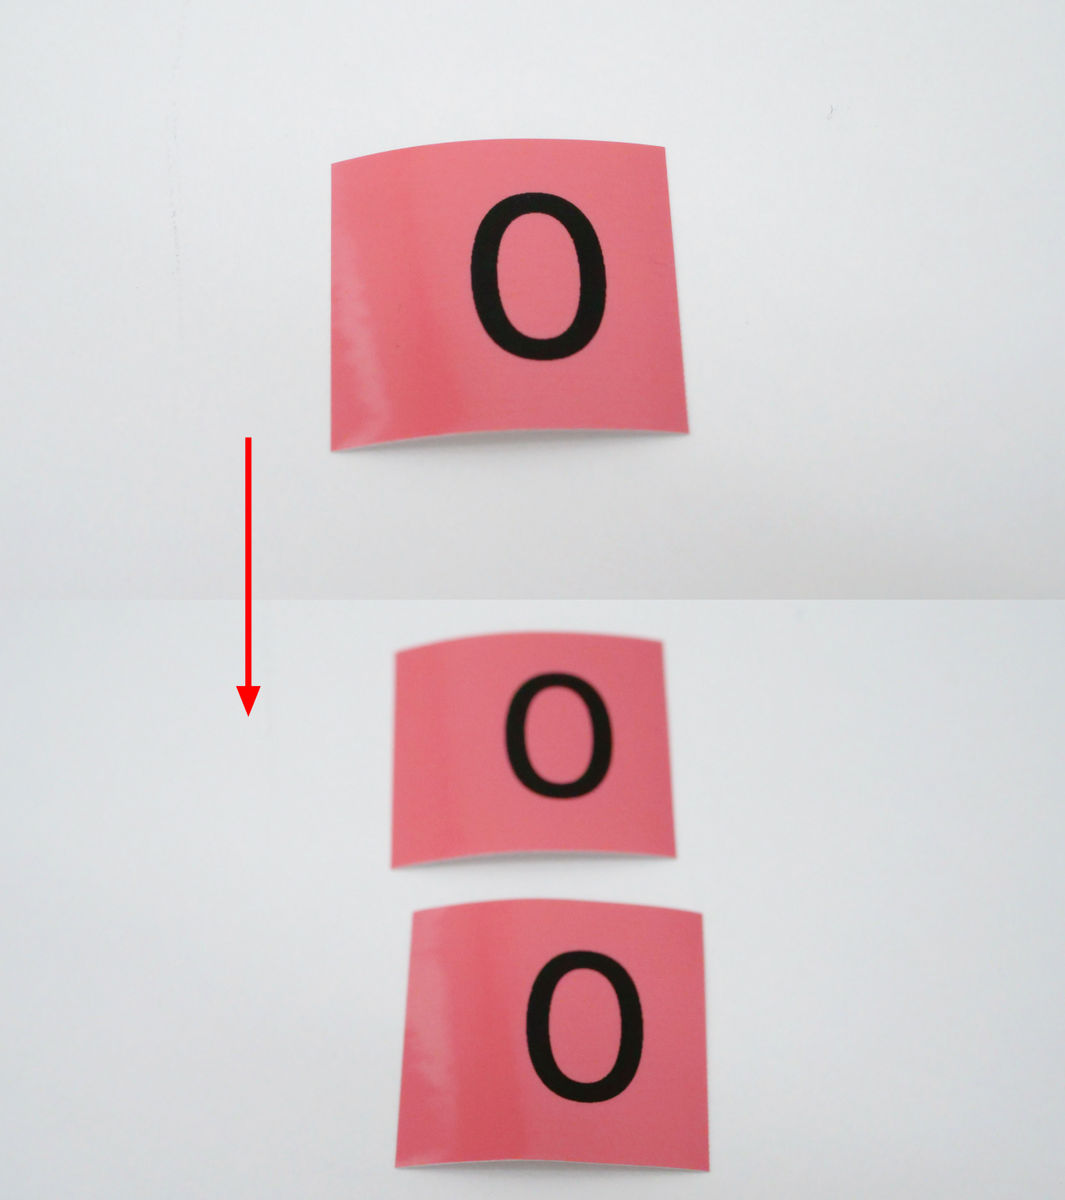
Next, when you press the print button, '1' with the initial value + 1 will be printed. The mechanism of serial numbering is like this. The alphabet can also be specified as the initial value of the serial number.

Of course, you can also print in combination with characters. This time, I pressed the 'Print' button each time, but if you set the 'Pick & Print' function that prints the next label when you pull out the label, the next label will be printed every time you pull out the label.
・ QR code
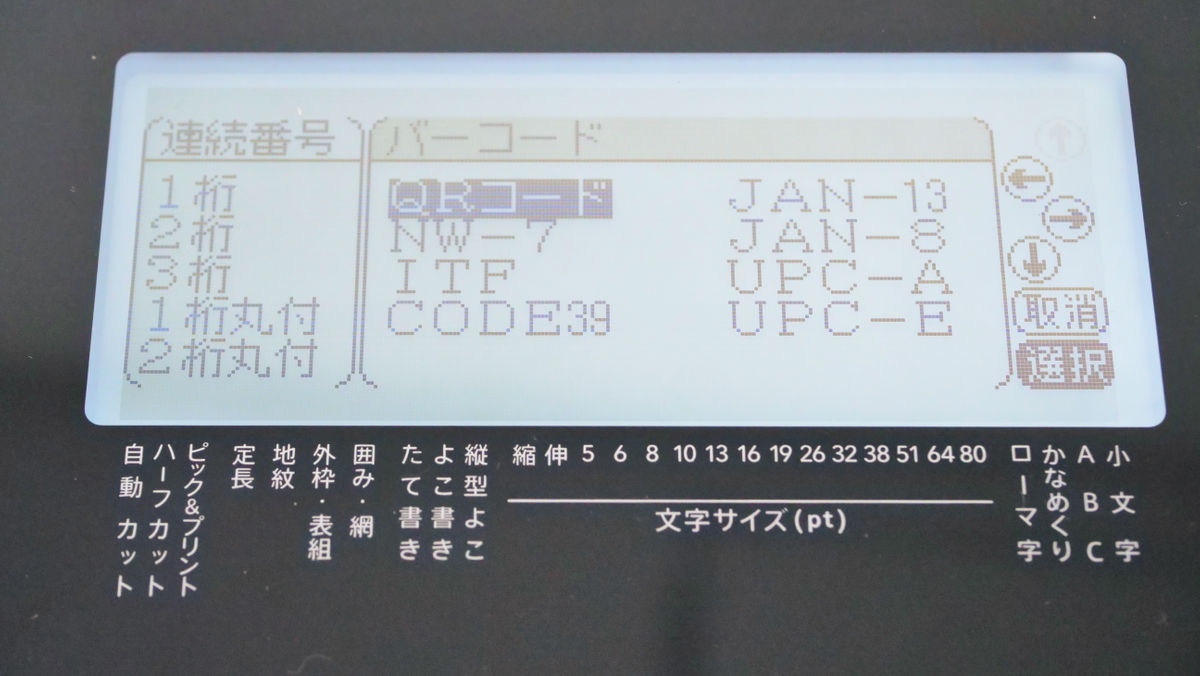
You can create and print a QR code with 'Tepura' PRO SR-R980. First, press the 'Shift' button and the 'File' button at the same time and select 'QR Code'.
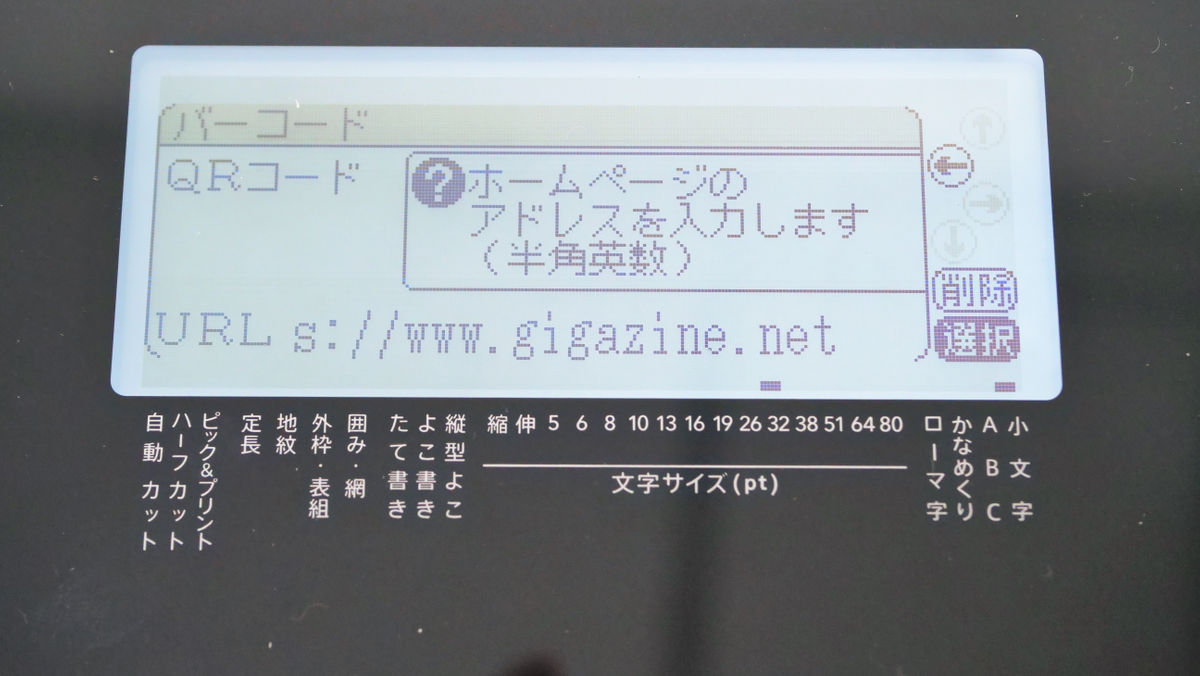
You can select 'General' to QR code the characters and 'URL' to QR code the URL, but this time select 'URL'.
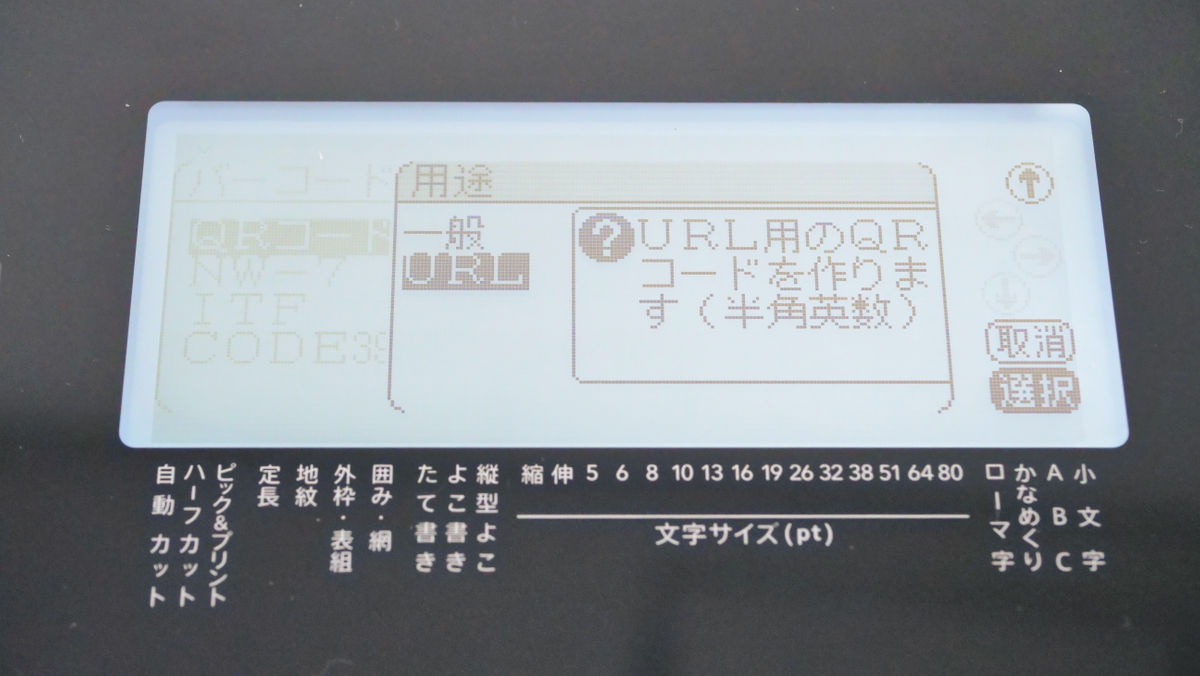
Then select an
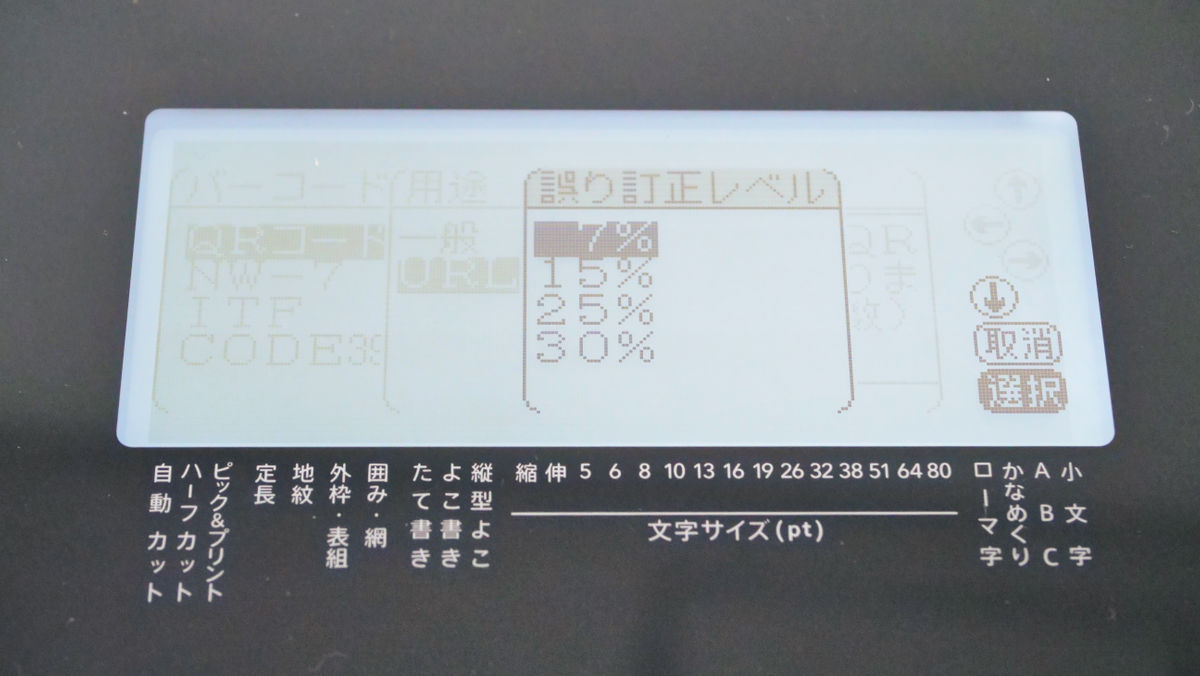
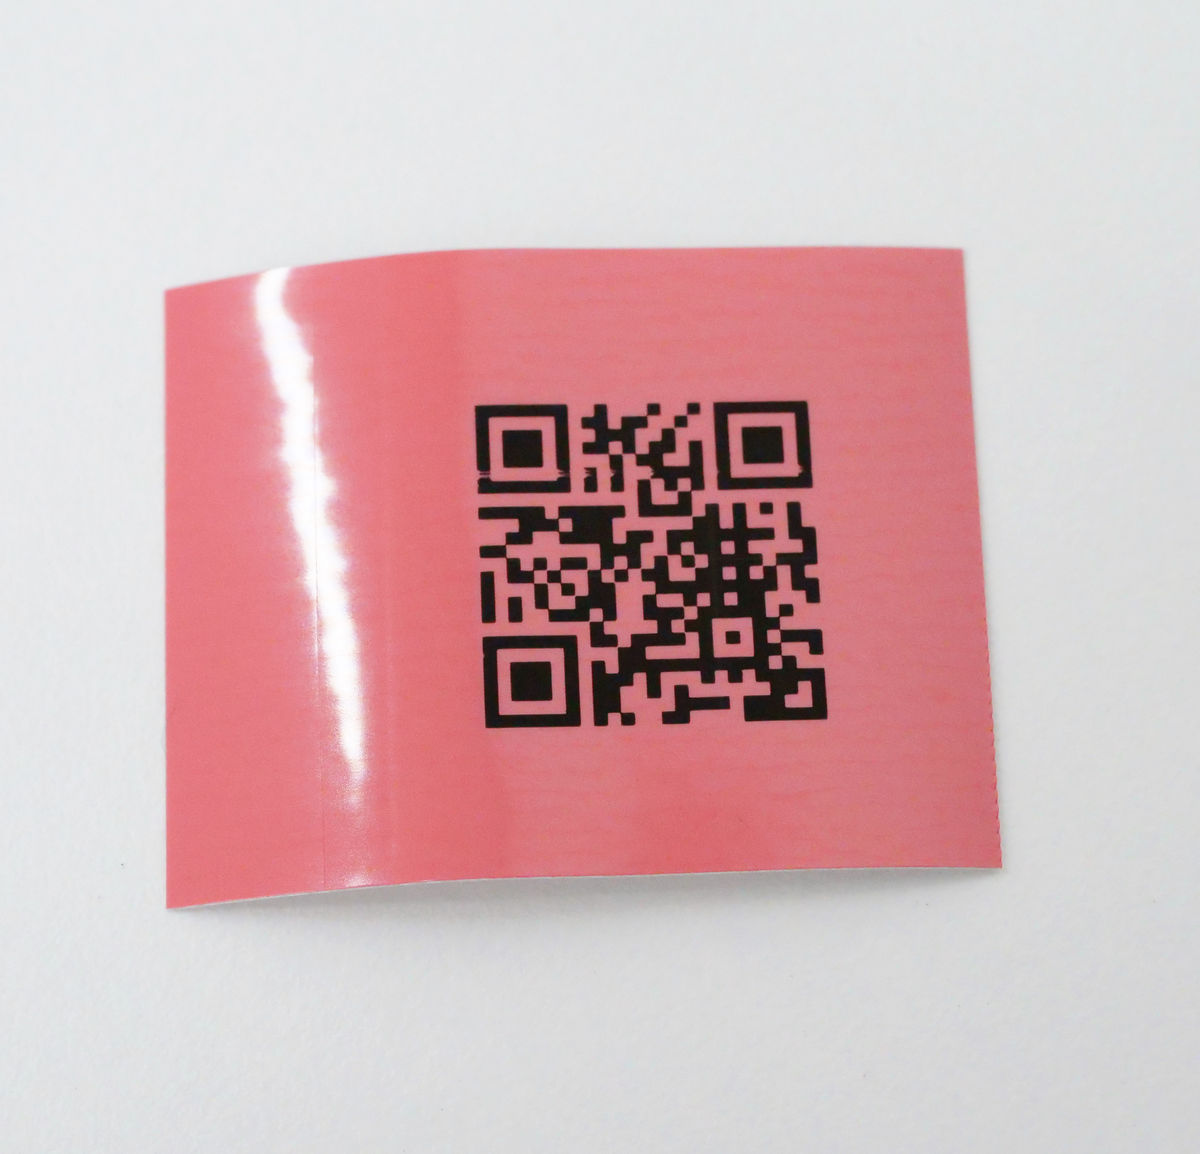
Enter 'gigazine.net' as the URL and print it ...
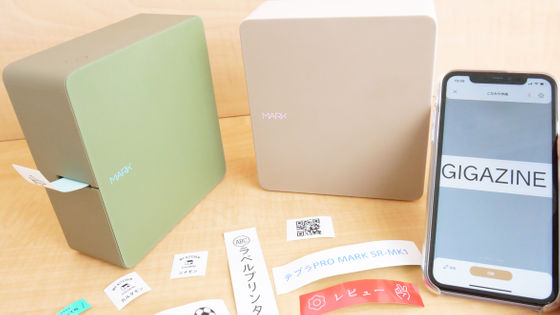
The QR code indicating the URL of GIGAZINE was output with the following feeling.
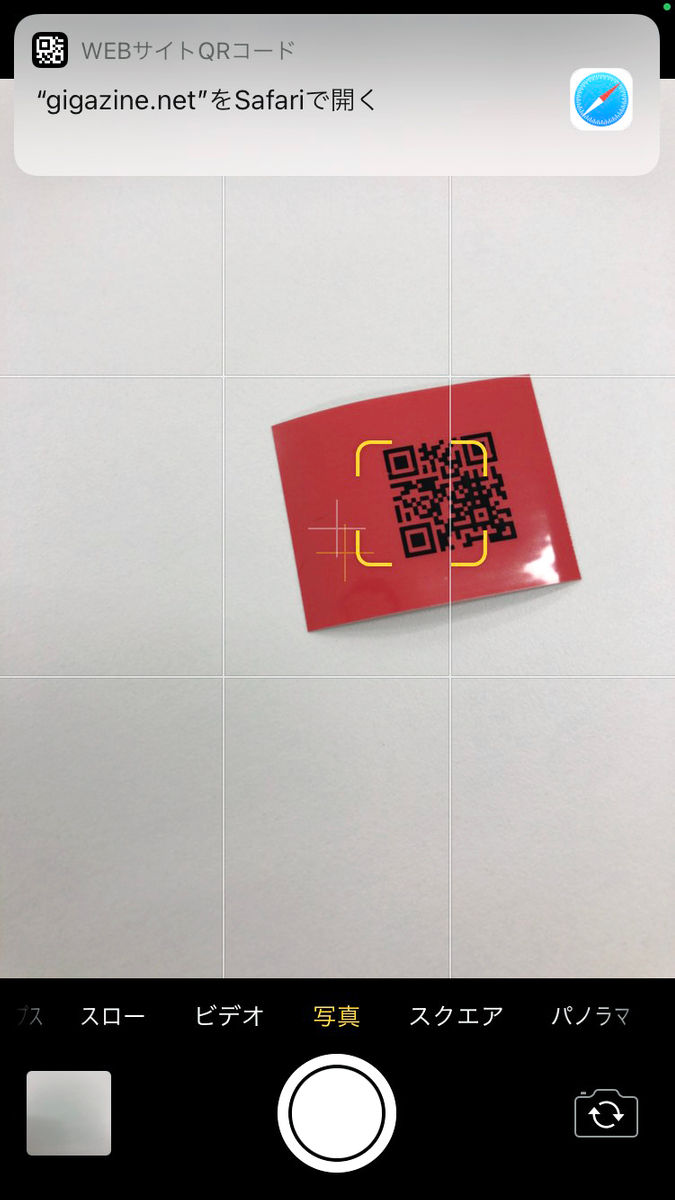
I was able to actually read the QR code with the smartphone app.
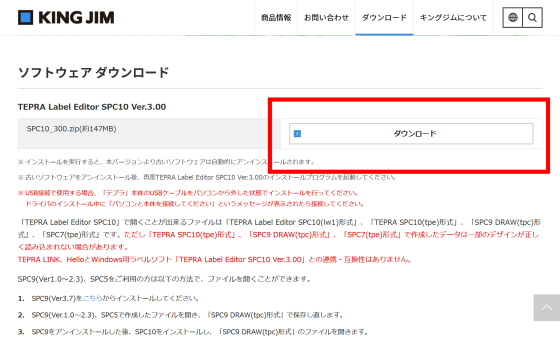
・ You can edit the layout in more detail by connecting to a PC and inserting images.
With 'Tepura' PRO SR-R980, you can edit the label layout in more detail using the dedicated PC software. Download the software from the
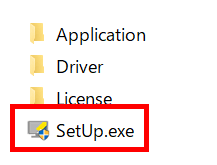
Extract the installed file and execute 'SetUp.exe'.
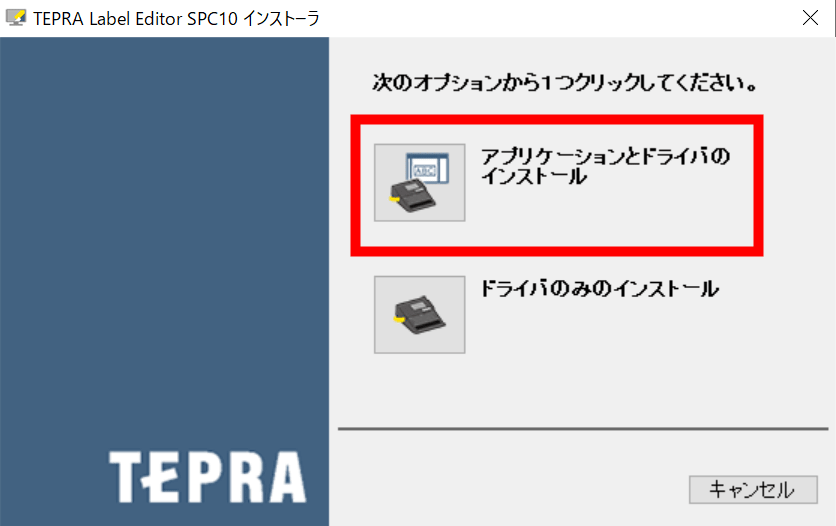
The application installer will be launched. Click 'Install applications and drivers'.
Read the software license agreement and click 'Agree'.

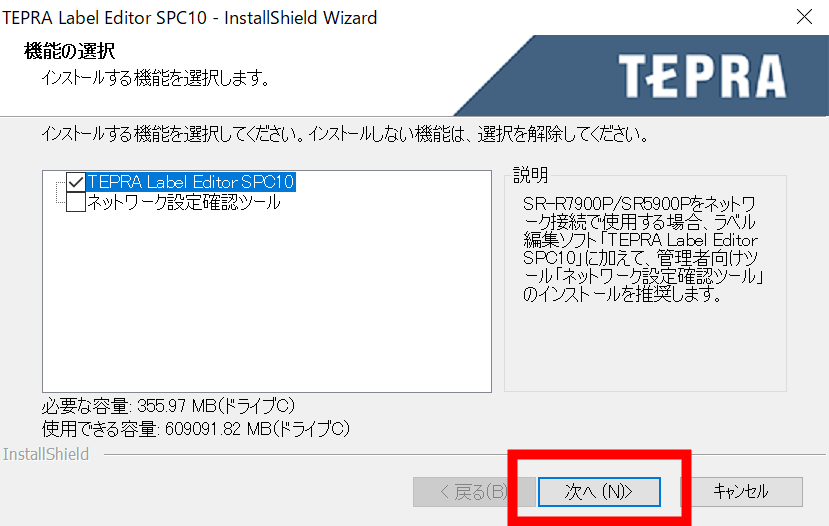
Select the features you want to install. This time, only 'TEPRA Label Editor SPC10' selected by default will be installed, so just click 'Next'.
Select the installation folder and click 'Next' to start the installation.

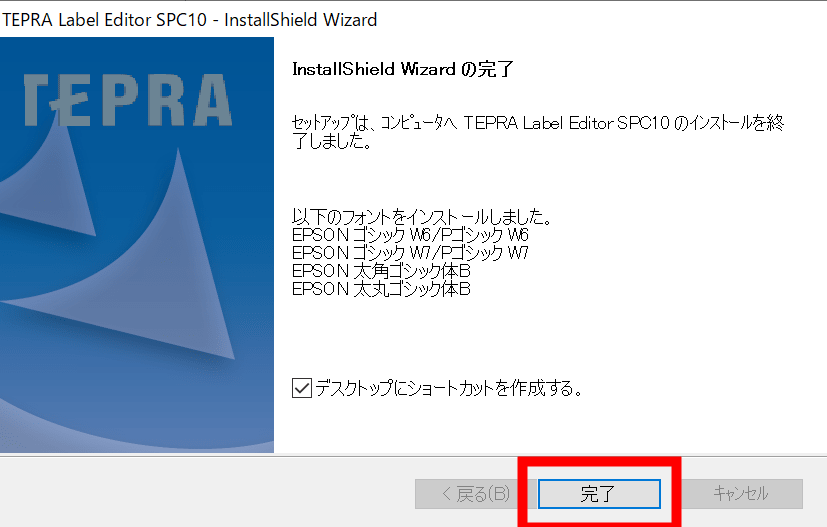
Click Finish when the installation is complete.
Then the driver installer will be launched.

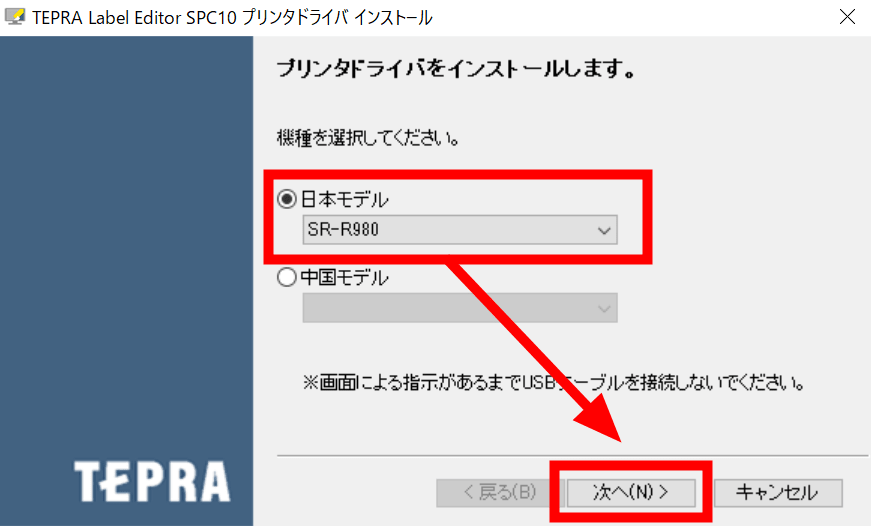
Select 'SR-R980' from 'Japanese model' and click 'Next'.
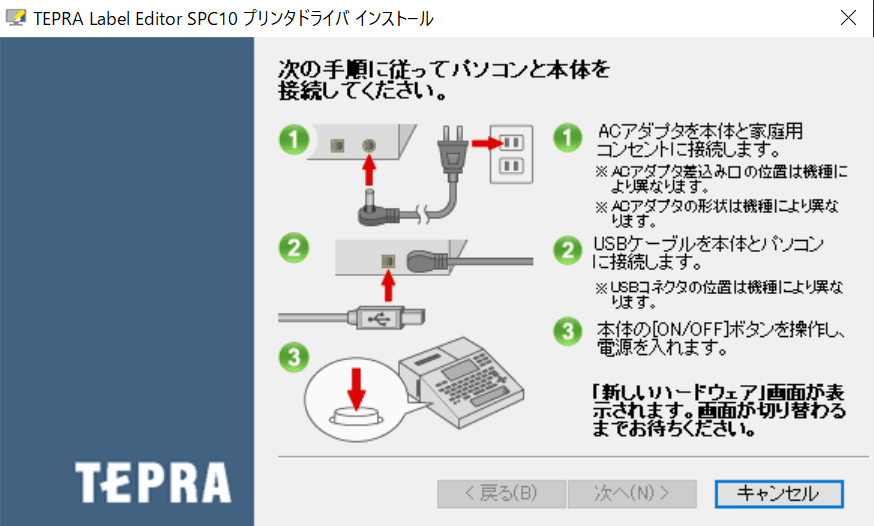
You will be prompted to connect to the main unit with a cable.
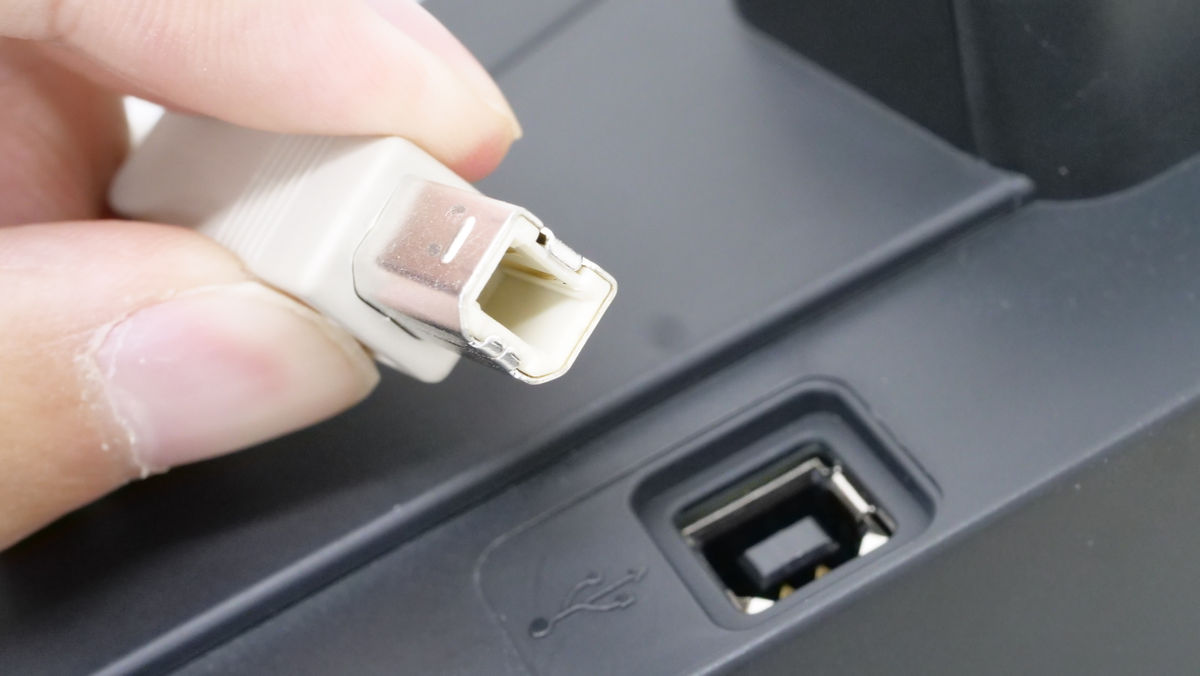
Turn off the power of the main unit, connect the main unit and the PC with the separately prepared USB Type-B cable, and turn on the power of the main unit.
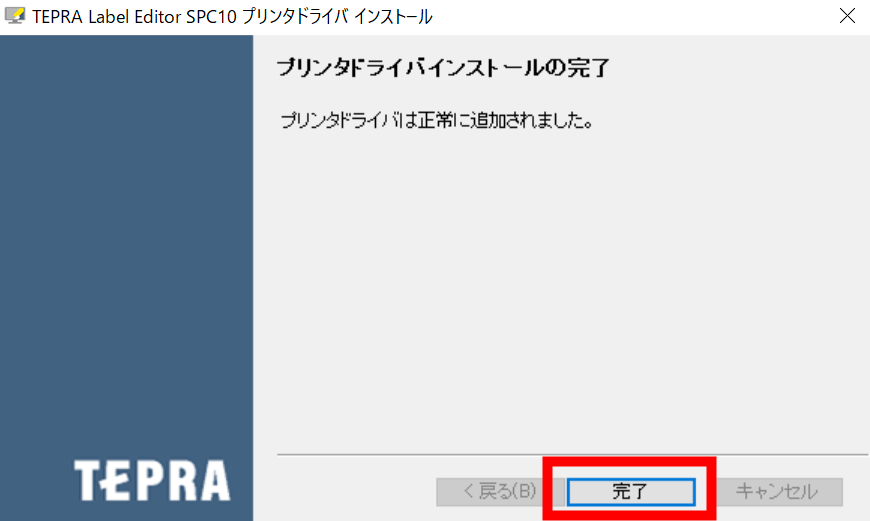
Now that the driver installation is complete, click Finish to exit the installer.
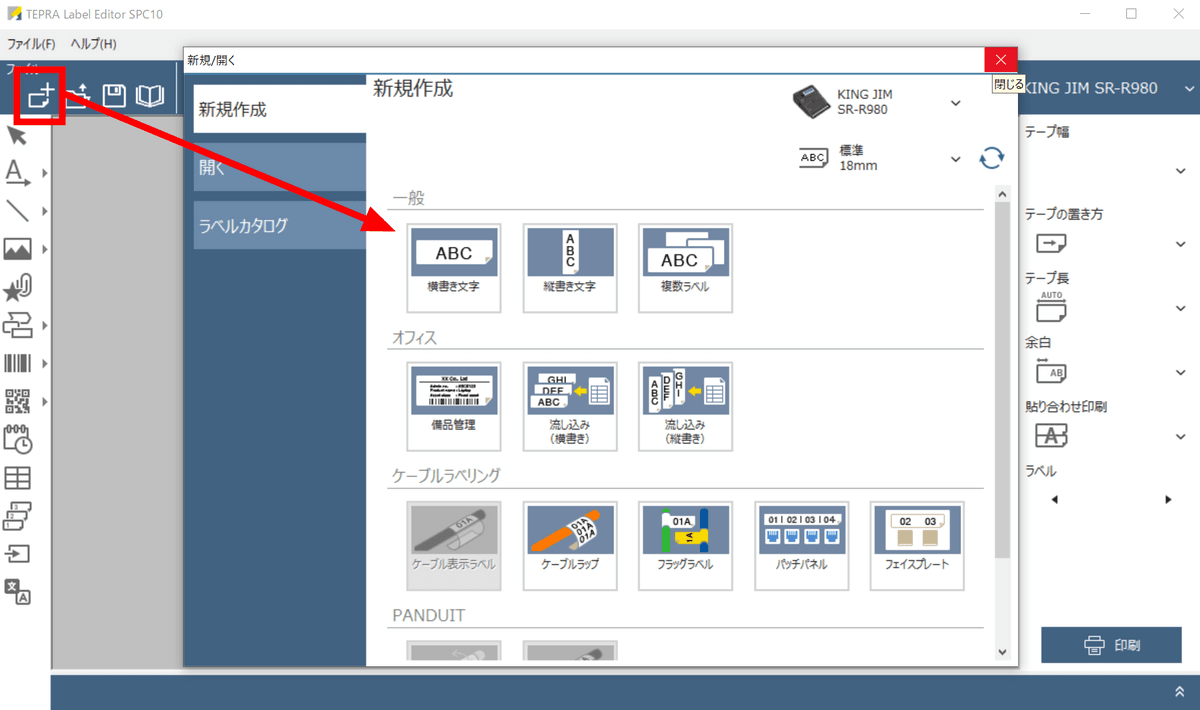
The home screen of the dedicated software 'TEPRA Label Editor SPC10' looks like this.

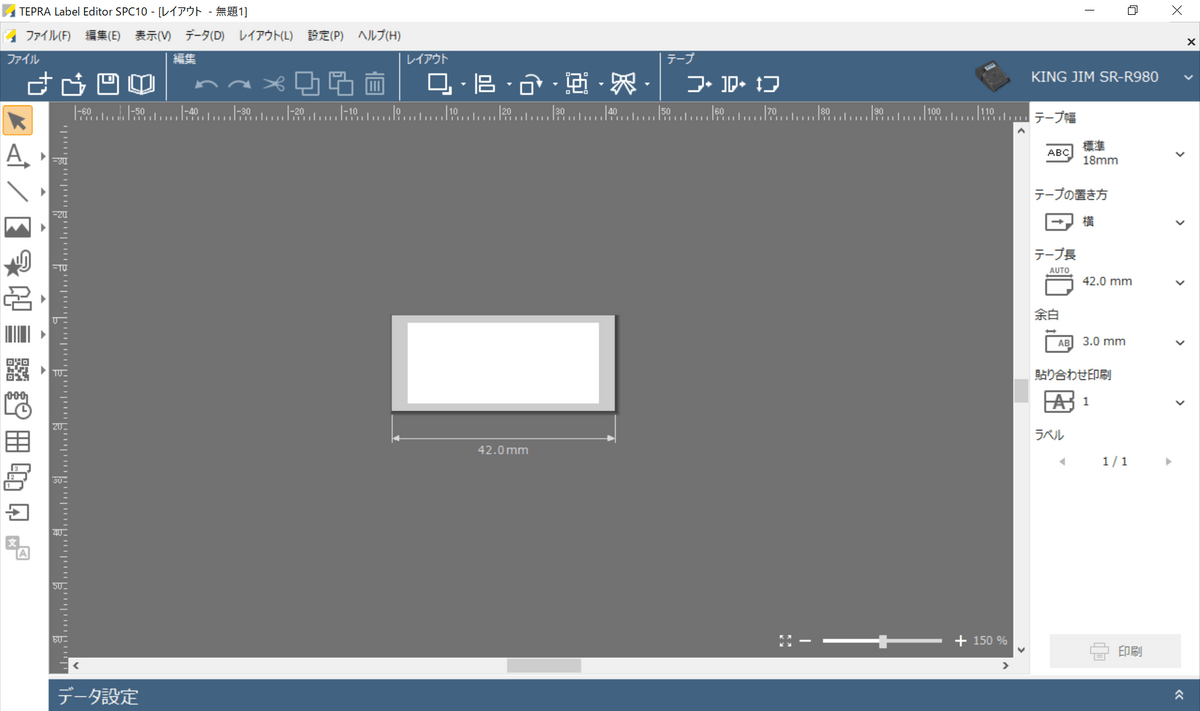
Select the label style from 'New' ...
Edit with a tool.
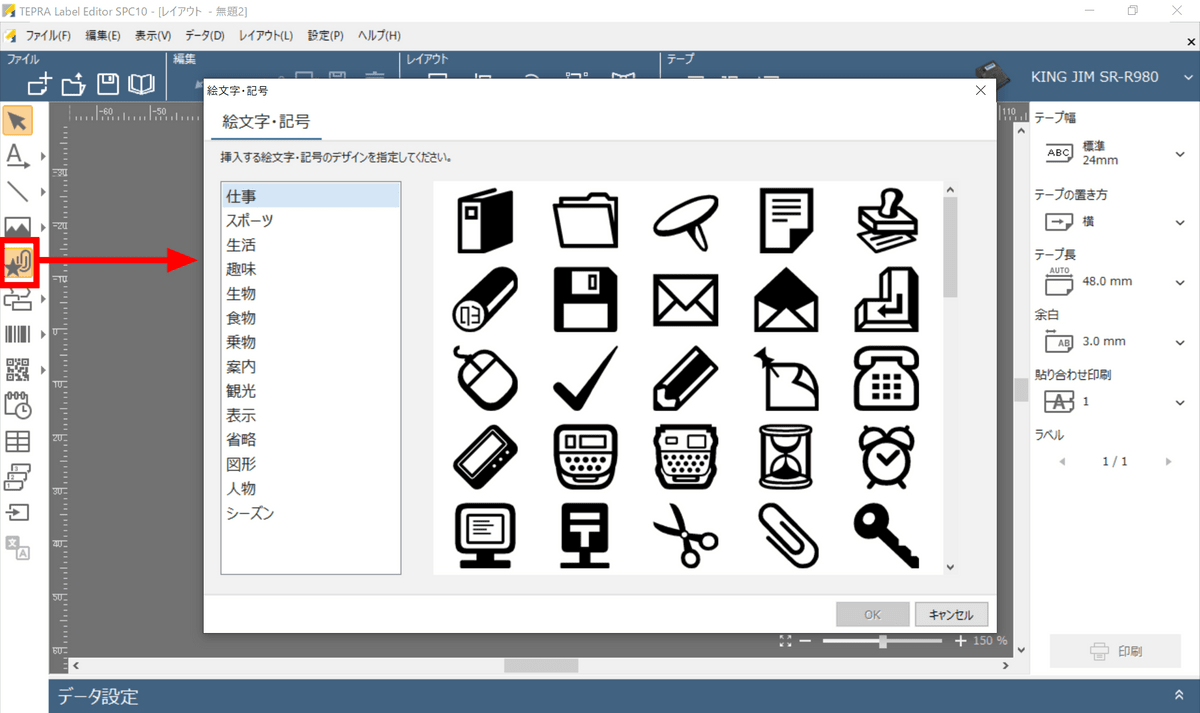
As with the functions of the main unit, pictograms and symbols can be placed ...
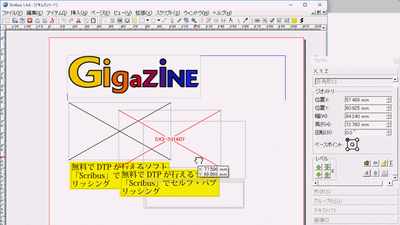
It is possible to edit with functions that the main unit does not have, such as placing image files in 'BMP', 'WMF', 'EMF', 'JPG', 'TIF', and 'PNG' formats.
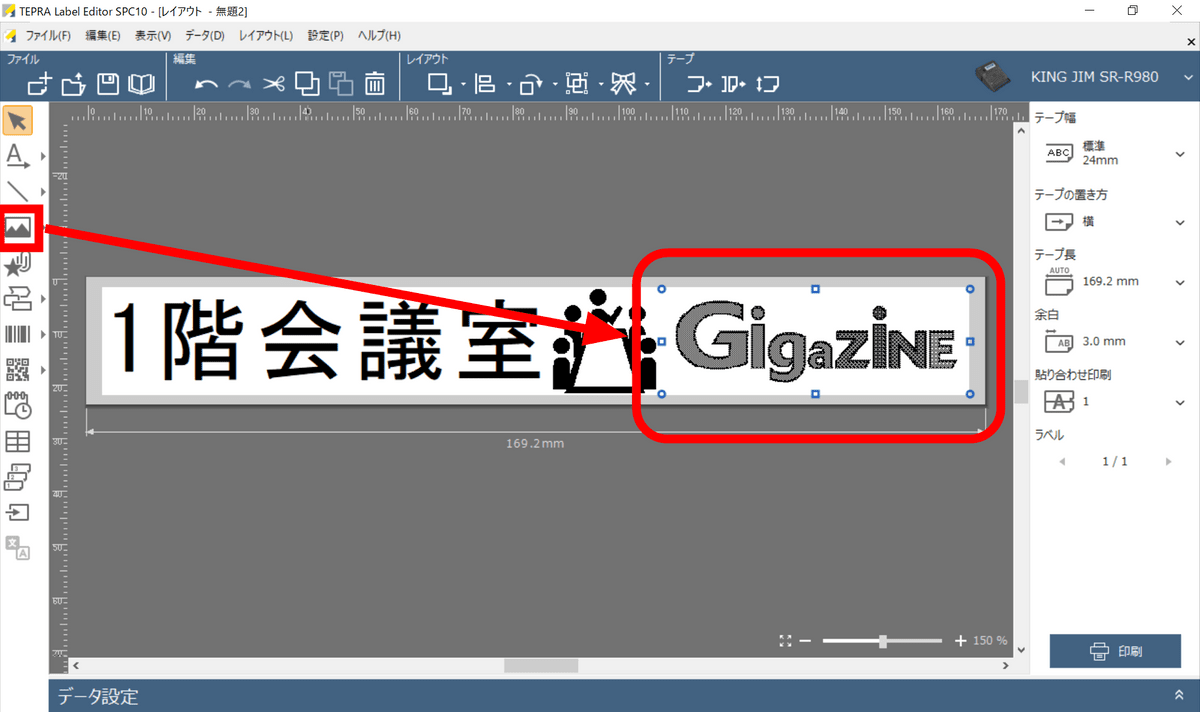
By using software, the range of editing can be expanded.
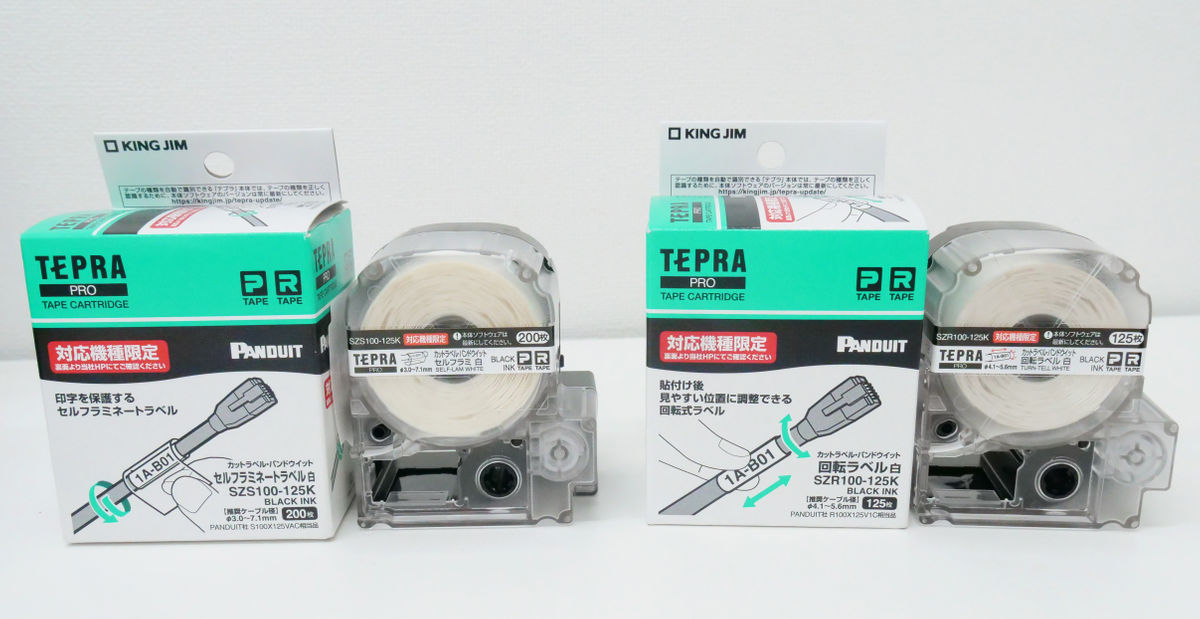
◆ 4: I also tried using the labels 'Rotating label' and 'Self-laminating label' that are optimized for attaching to cables.
It is said that the best label for attaching to cables will be sold in collaboration with
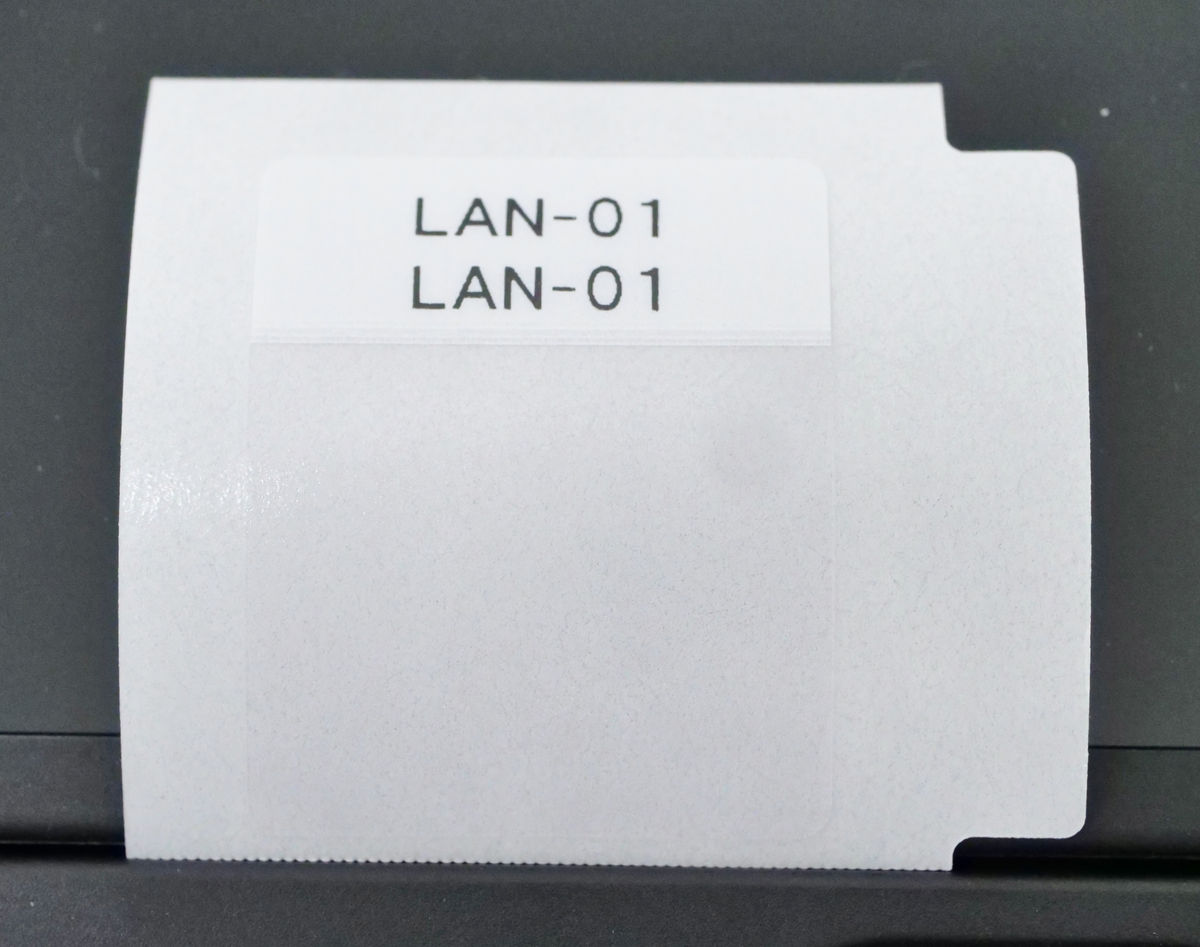
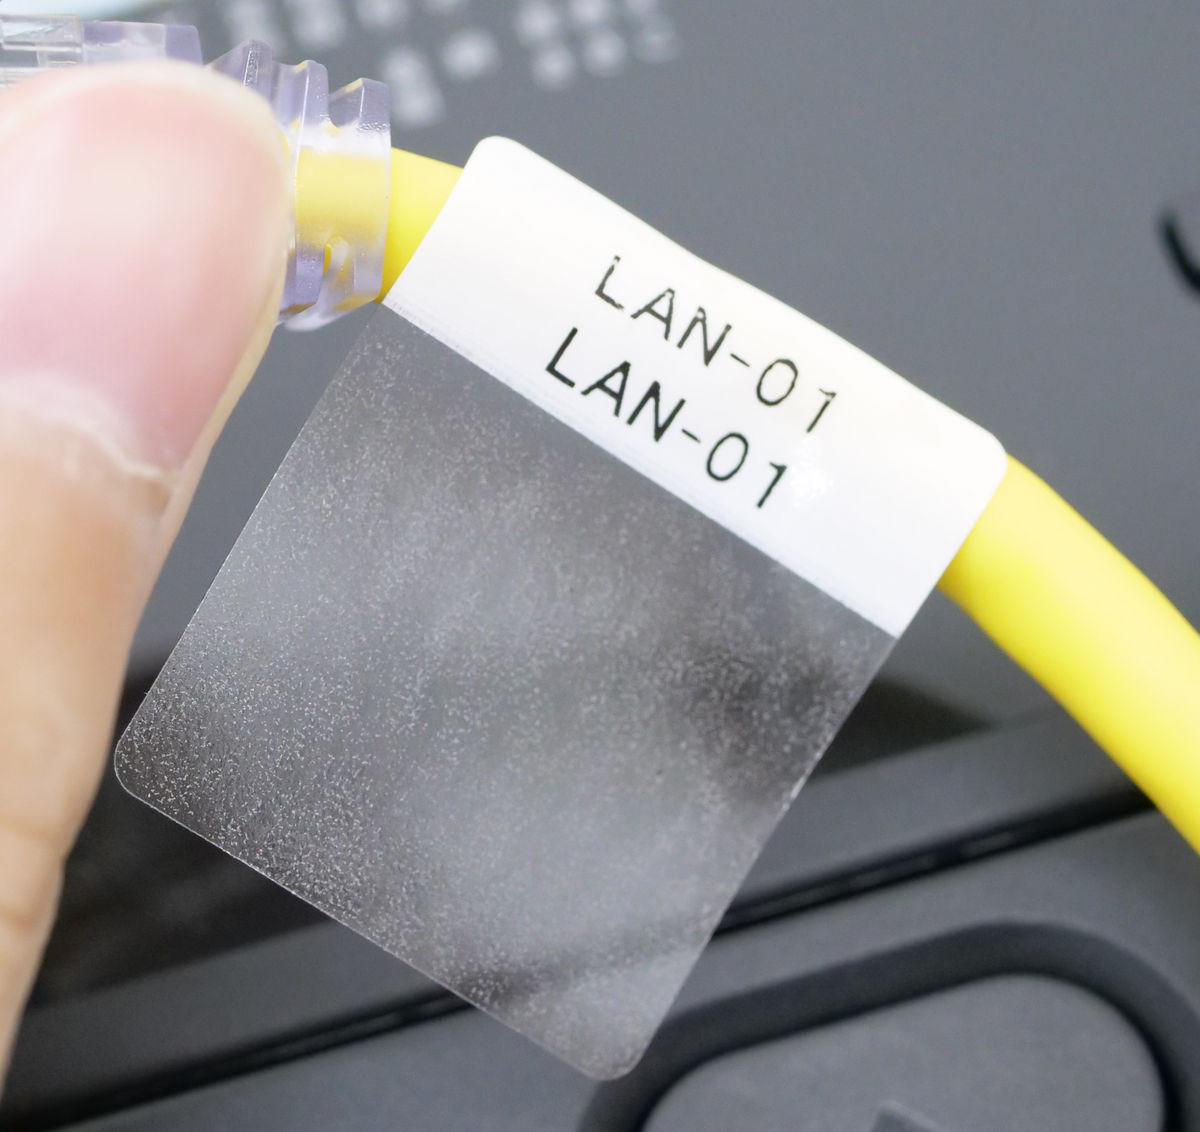
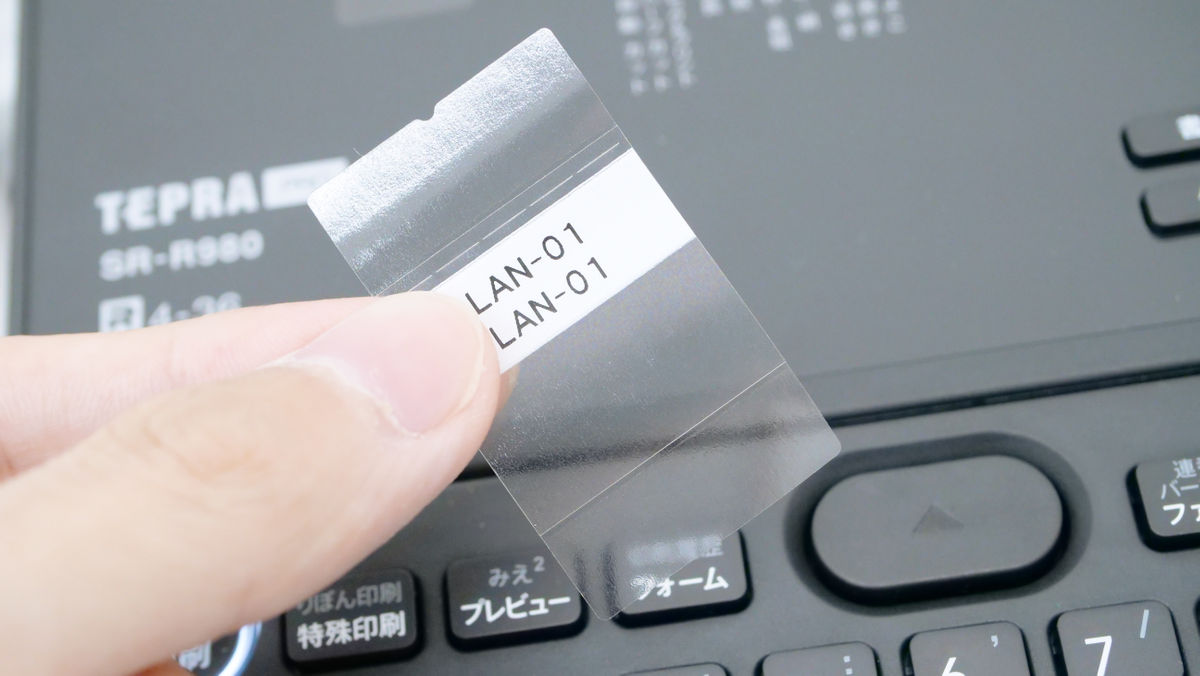
The input method for each label is basically the same as for normal labels, but some functions such as specifying the label length and printing the QR code cannot be used. The label actually printed on the 'self-laminated label' looks like this.
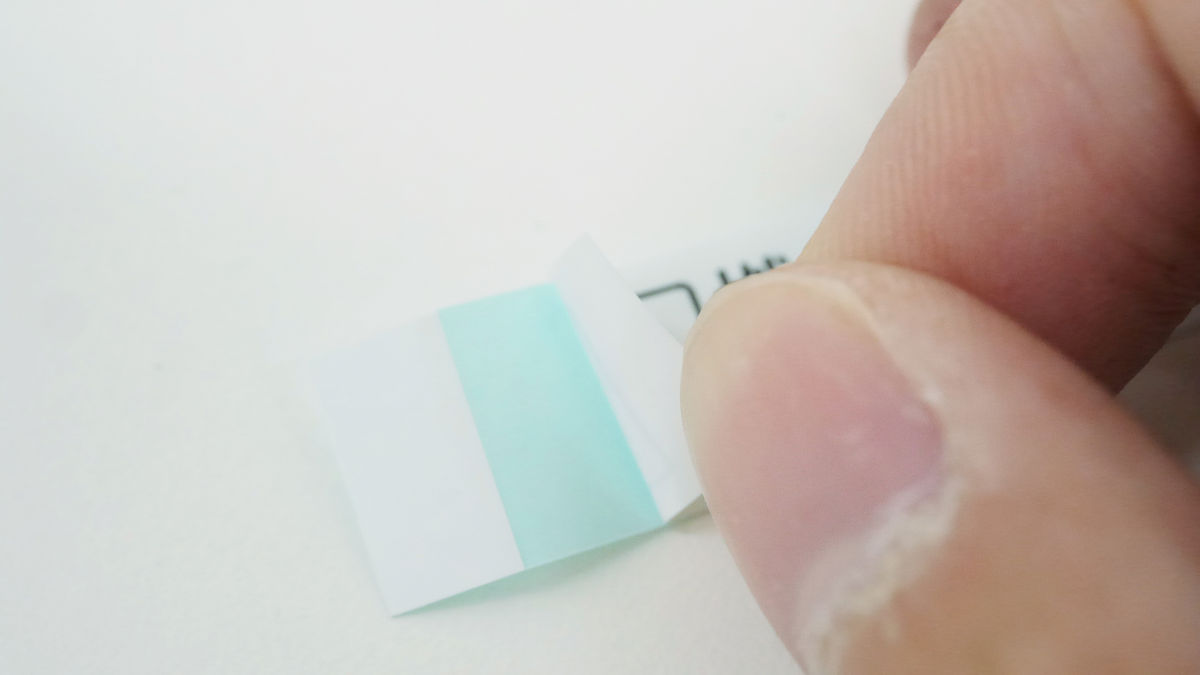
When I peeled off the label from the mount, the lower part was transparent.
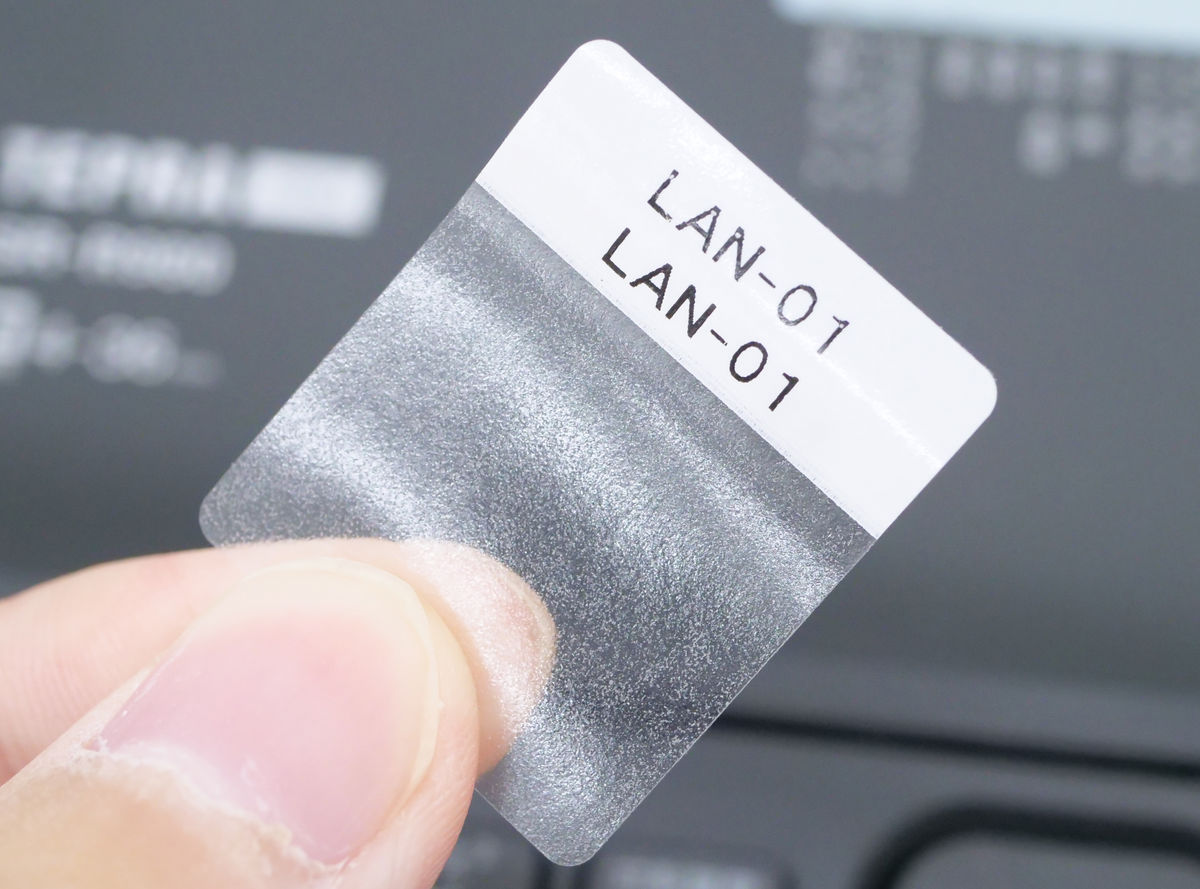
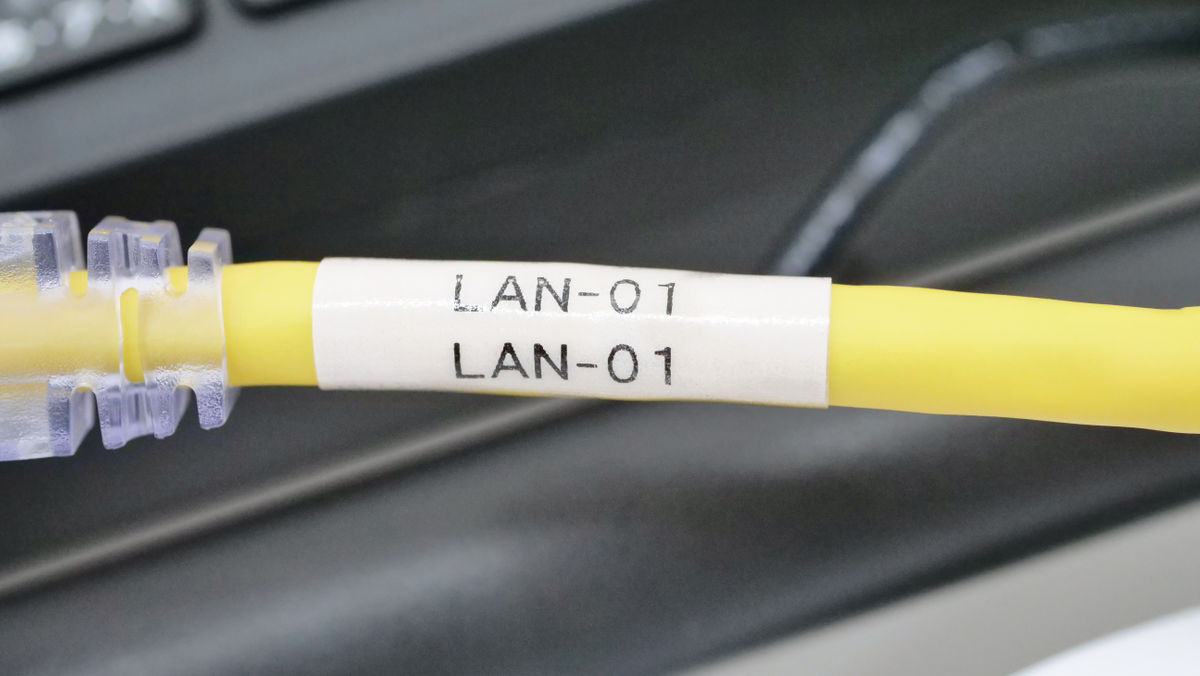
When wrapped around the cable ...
Since the lower part is transparent, the characters will not disappear even if you roll and paste it. Unlike flag-type labels, the label does not stick out, it looks neat, and the transparent sticker protects the printed surface from dirt and friction. It does not happen that the printed characters disappear over time and the label is no longer used.
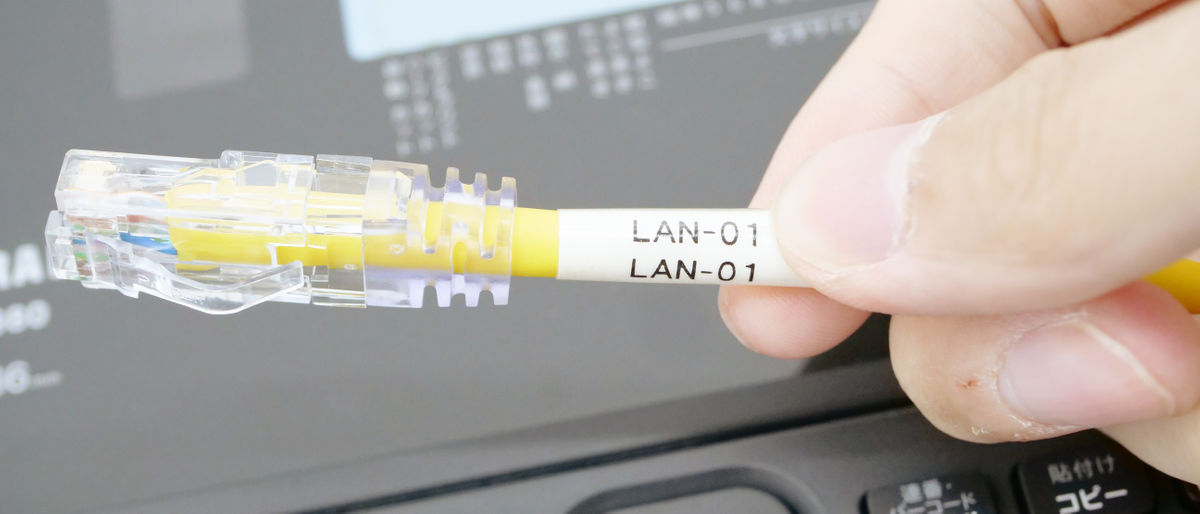
The printed 'rotating label' looks like this.
If you wrap it around a cable and twist it, the adhesive side and the printed side will peel off, and the label will rotate around.
◆ 5: What is the system trunk 'SR10BT' that can carry the main body of Tepla, AC adapter, and tape cartridge together?
The 'SR10BT' is a system trunk that can carry the main body of Tepla, AC adapters, tape cartridges, etc. all at once. The length is 18.8 cm, the width is 30.5 cm, the height is 37.8 cm, and the actual mass is 1738 g.
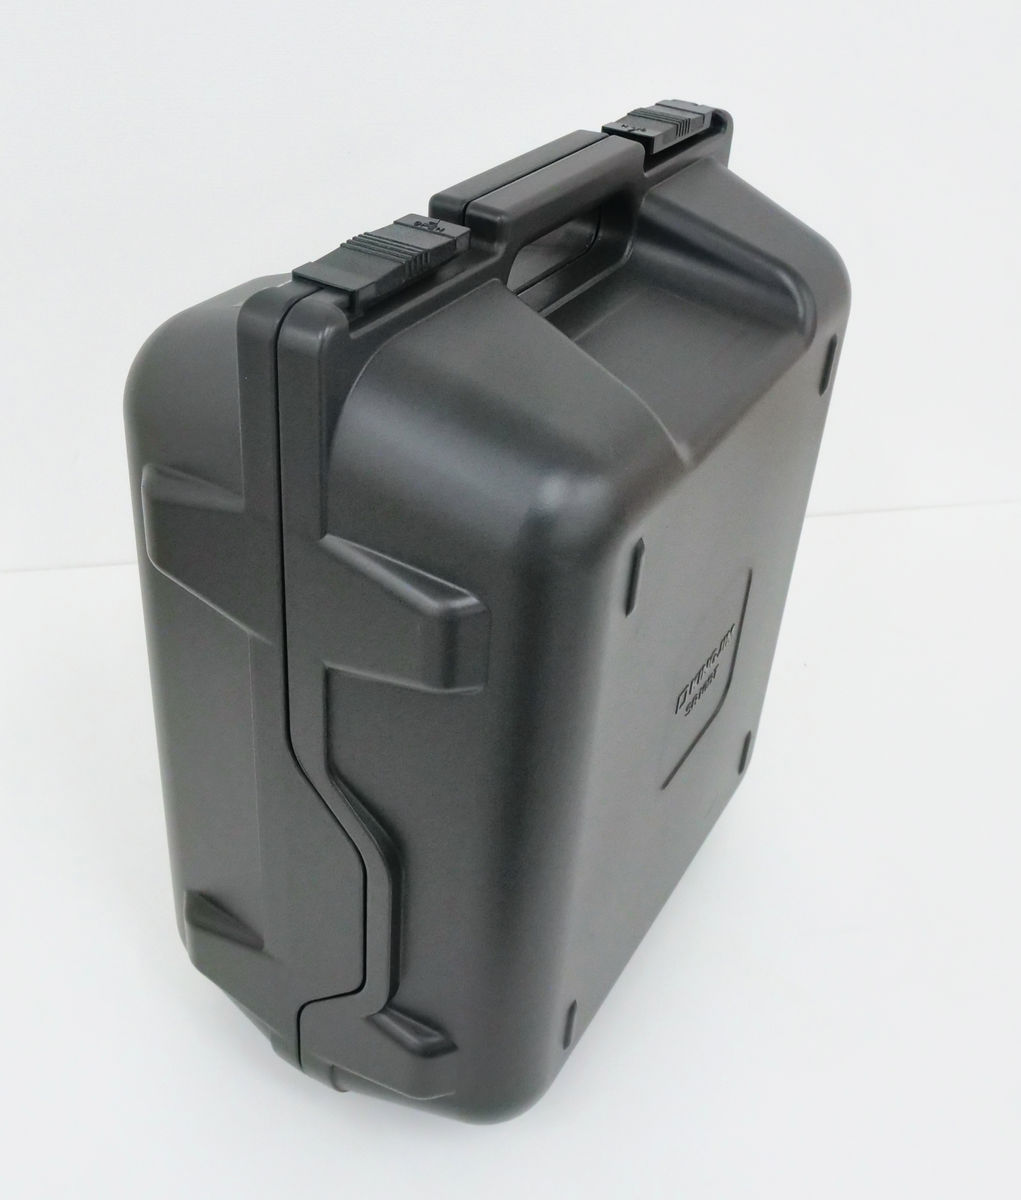
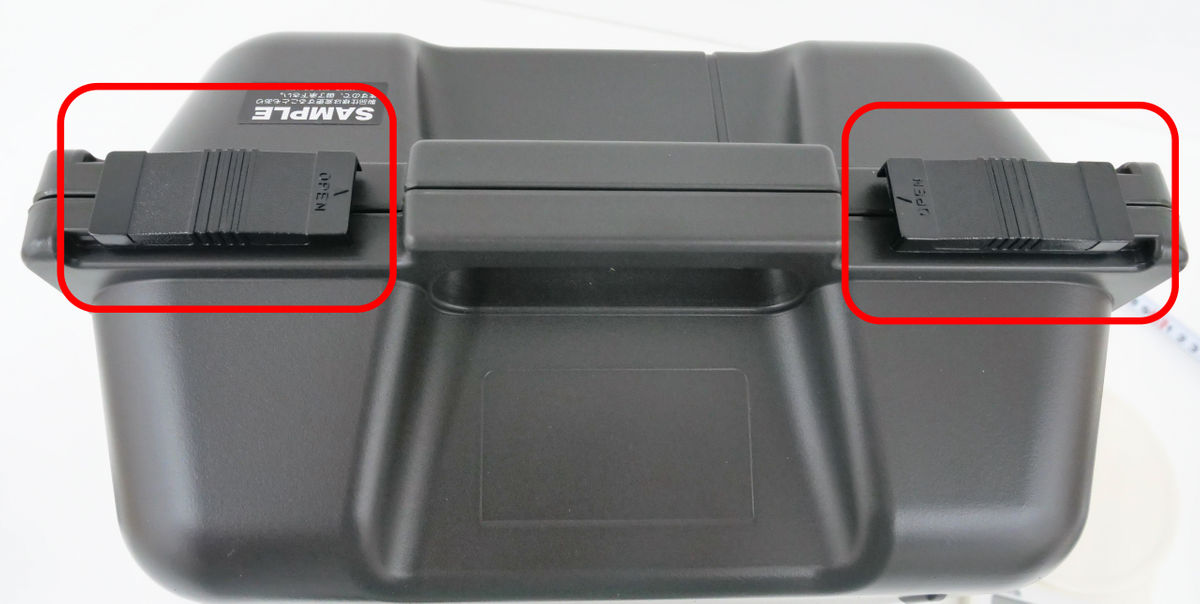
Unlock the slide latch type at the top ...
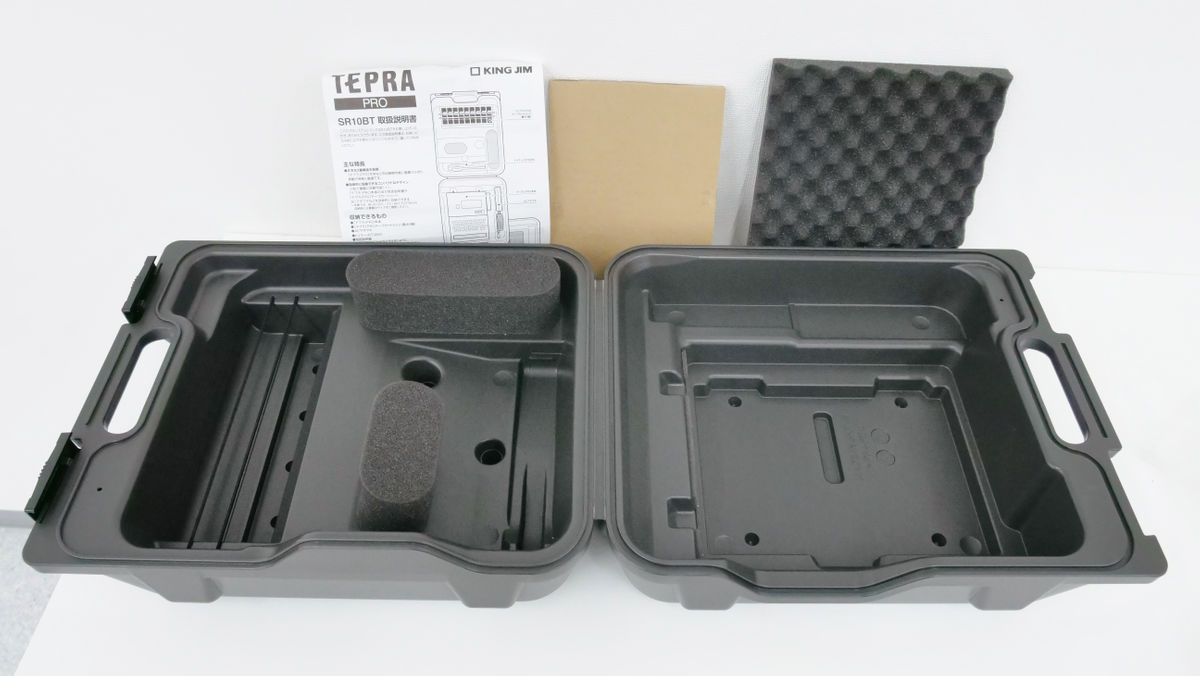
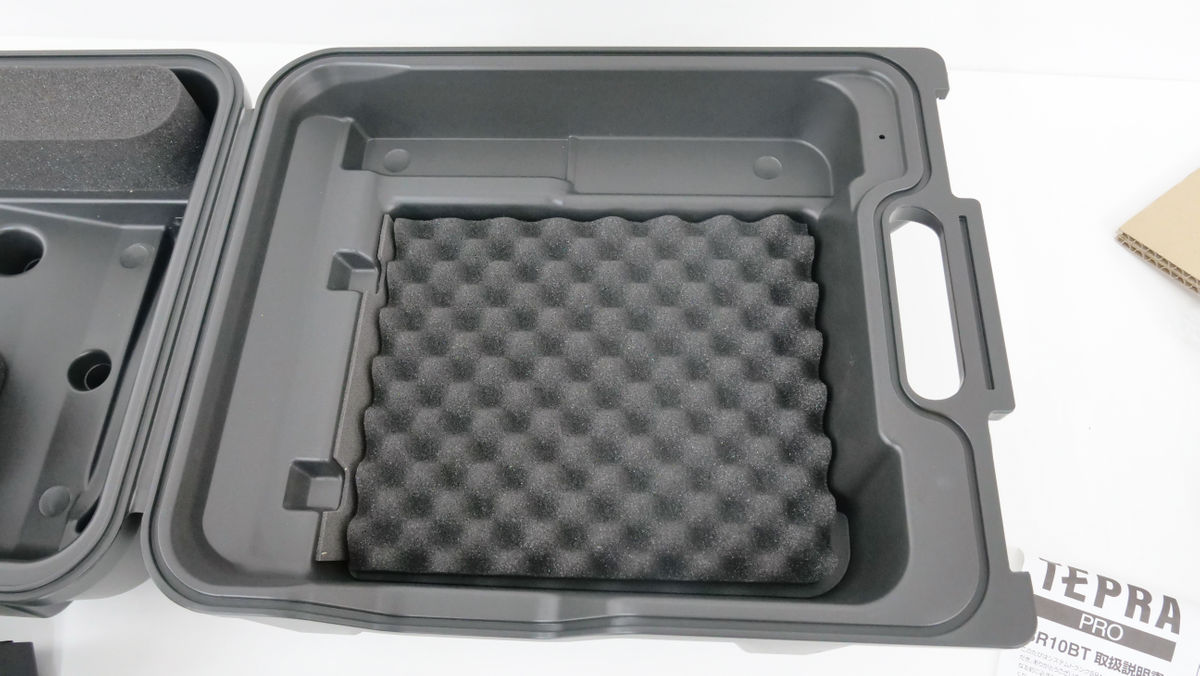
When I open it, it looks like this. Included items include an instruction manual, cardboard spacer, and sponge.
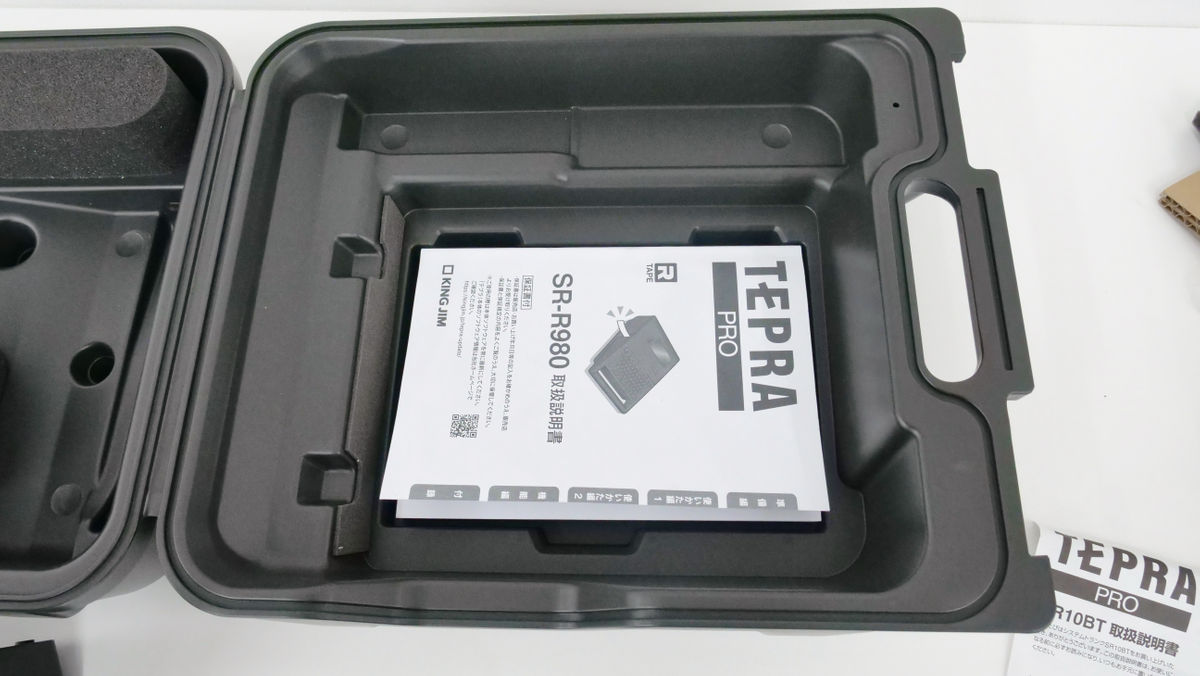
I will actually store it. First, put the instruction manual for 'Tepura' PRO SR-R980 ...
Place a sponge on it.
Then place the main body on the sponge.
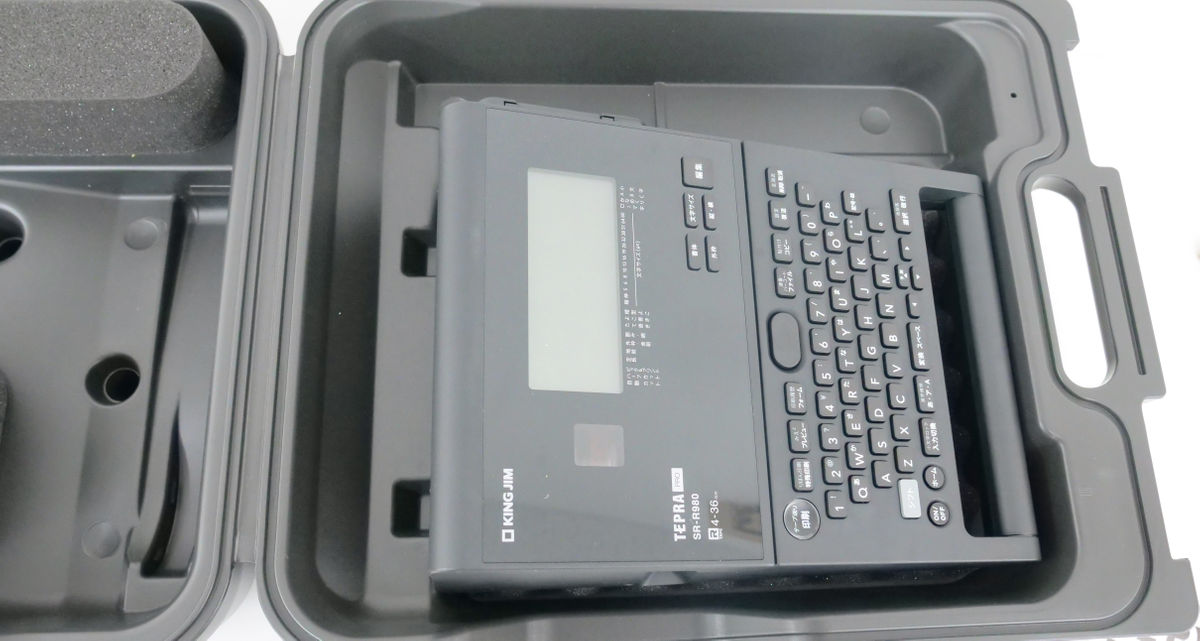
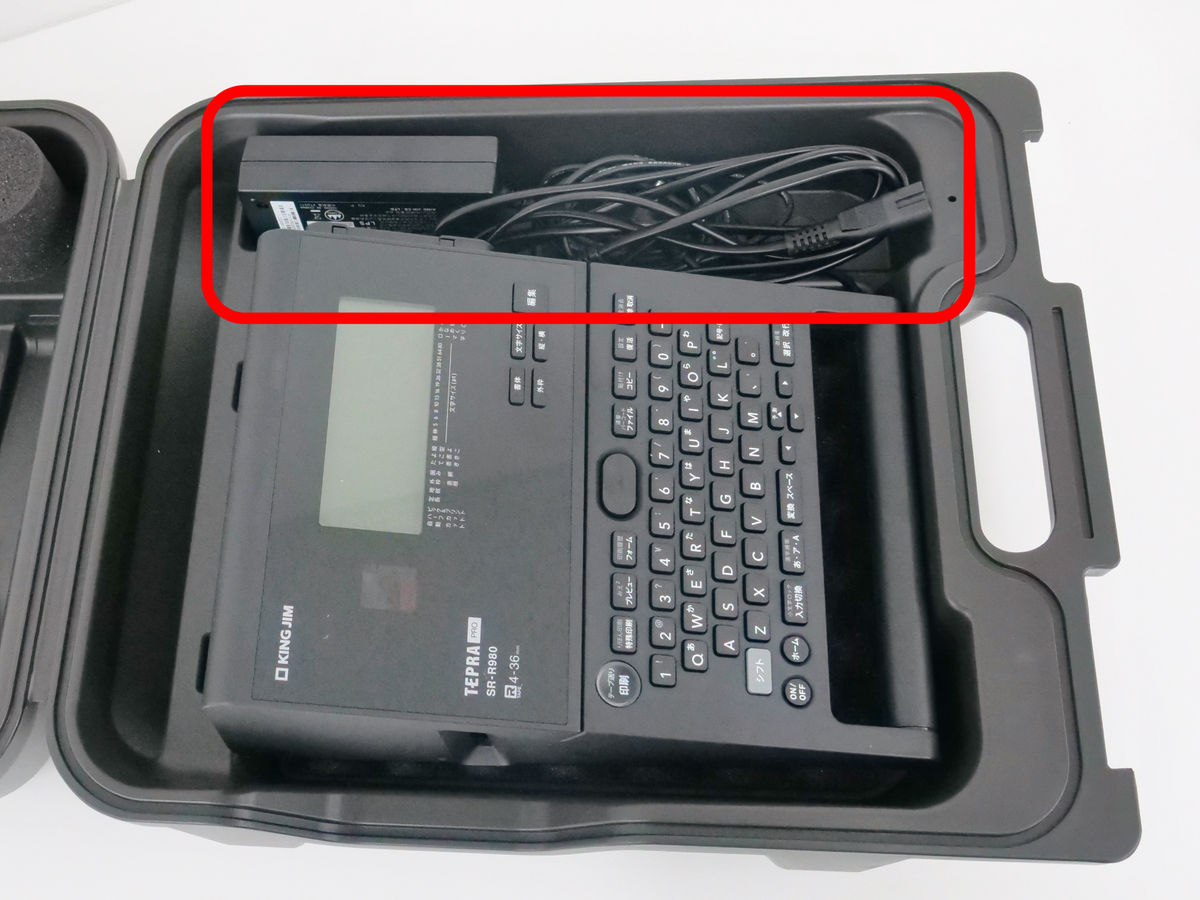
Place the AC adapter next to the main unit.
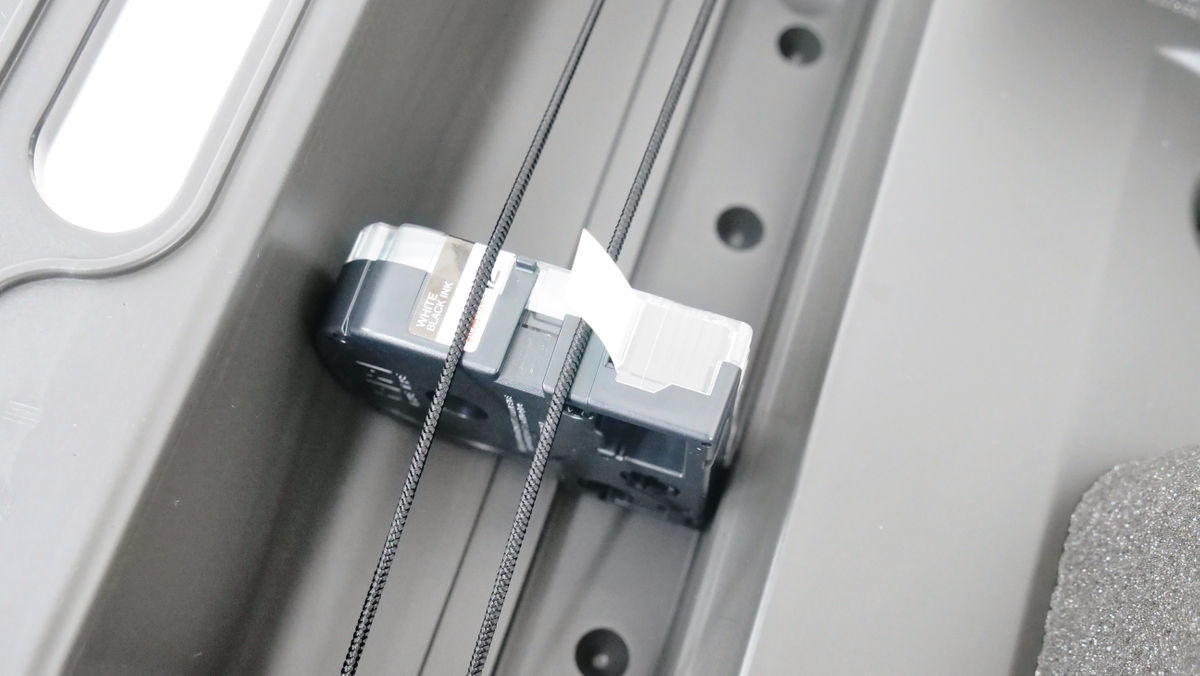
Under the rubber band on the other side ...
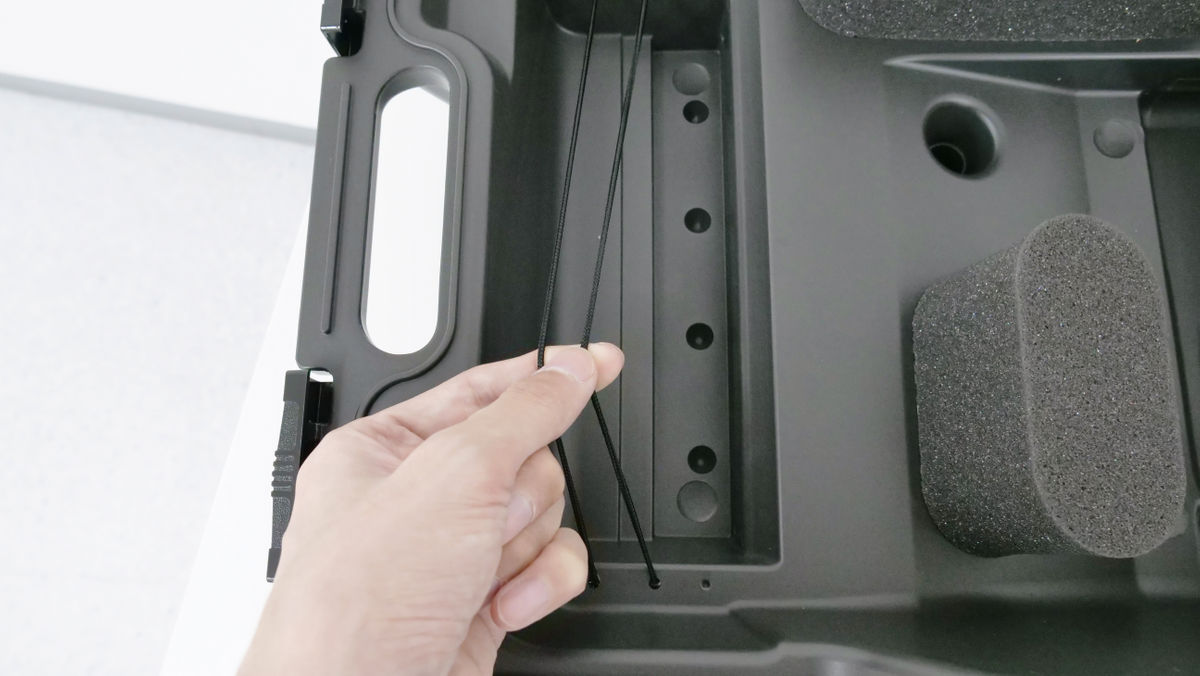
Up to 9 tape cartridges can be inserted.
I tried to put the contents of the set. In addition, an optional
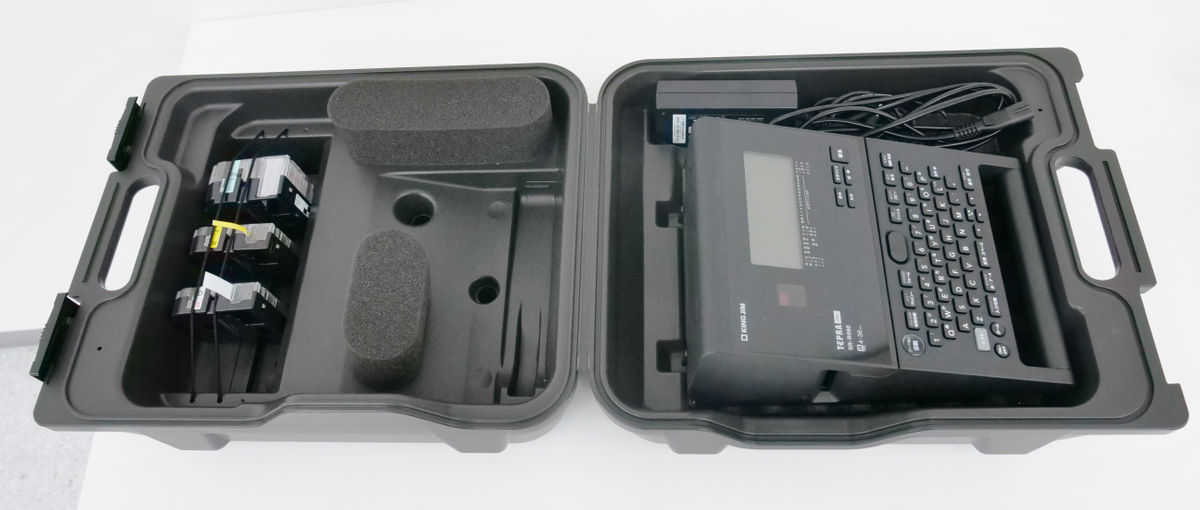
I closed the lid and took it. Although it weighs more than 3 kg and weighs a reasonable amount, the main body can be carried stably.

◆ 6: Summary
''Tepura' PRO SR-R980' has a lot of useful functions for both private and public use. In particular, creating a flag label using a cable form is quite easy because you can easily create a label suitable for a cable without making full use of character input and adjusting it. If you make full use of the QR code etc., you can use it such as 'explain what the item is in simple letters and check the details at the point where you read the QR code', and it seems that the range of management will expand.
Also, since ATOK is installed, character conversion is also excellent. With so many symbols and design forms available, one of the benefits is that you can quickly create labels for different purposes. The fact that labels can be printed and pasted efficiently by using the 'half-cut' function and 'pick and print' function seems to be useful in situations where a large number of labels are required.
The price of 'Tepura' PRO SR-R980 is 42,000 yen excluding tax, and the price of 'System Trunk SR10BT' is 9,500 yen, which is scheduled to be released on August 27, 2021. In addition, 'Cut Label / Panduit Rotating Label / Self-Laminating Label' will be released on the same day.
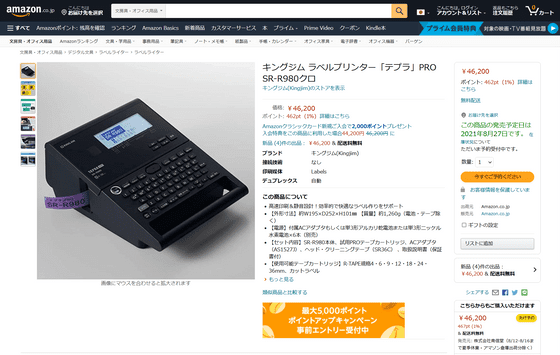
''Tepura' PRO SR-R980' can also be purchased at Amazon.co.jp , and the price is 46,200 yen.
Amazon | King Jim Label Printer 'Tepura' PRO SR-R980 Black | Label Writer | Stationery / Office Supplies
Related Posts: