I tried using the web application 'Expressive Animator' that can create animation using the timeline for free

A public preview version of Expressive Animator, a free animation creation tool that runs on a web browser, was released on July 9, 2021. It is a tool that enables intuitive animation creation using the timeline on the browser, so I actually used it and checked the function.
Expressive Animator
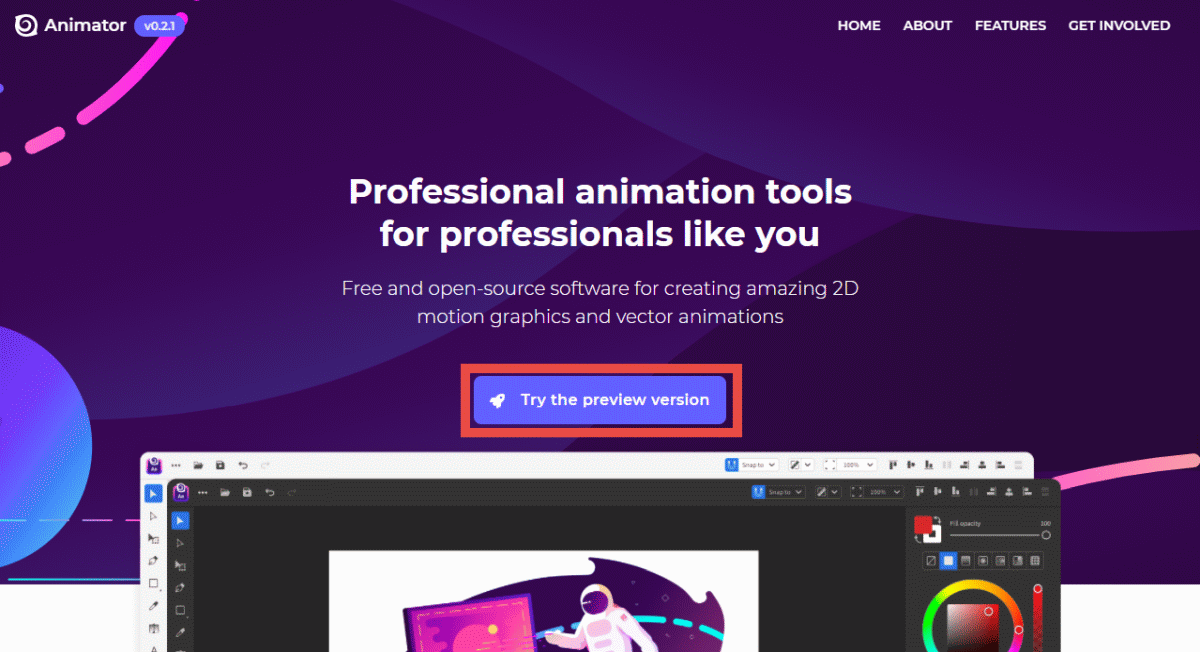
To use 'Expressive Animator', go to the official website with Google Chrome or Microsoft Edge and click 'Try the preview version'.
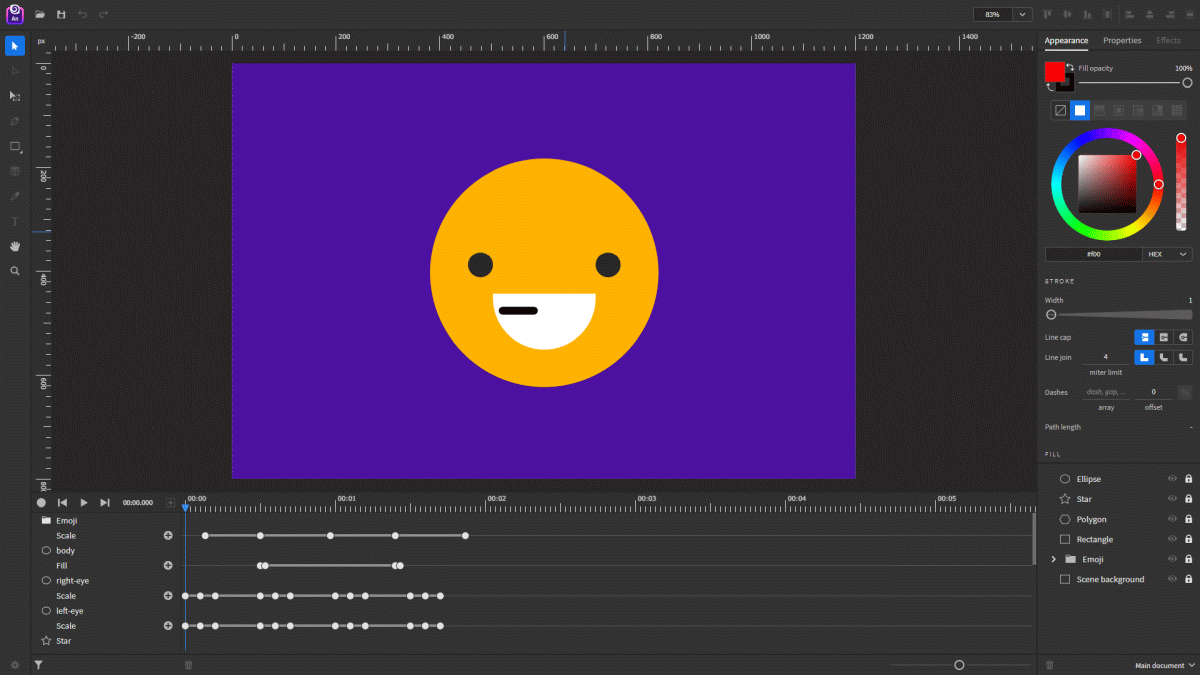
After waiting for a while, the animation editing screen of 'Expressive Animator' will be displayed on the browser. On the animation editing screen, various tools such as 'Move' and 'Enlarge' are lined up on the left side of the screen, the animation preview area is in the center, and the 'color', 'size', 'angle' of each animation material are adjusted on the right side. The timeline is displayed at the bottom of the area to be displayed. Since 'Expressive Animator' is a tool in the early stages of development, many of the tools on the left side of the screen are disabled at the time of article creation.
Click the play mark at the bottom left of the screen to play the animation you are creating.
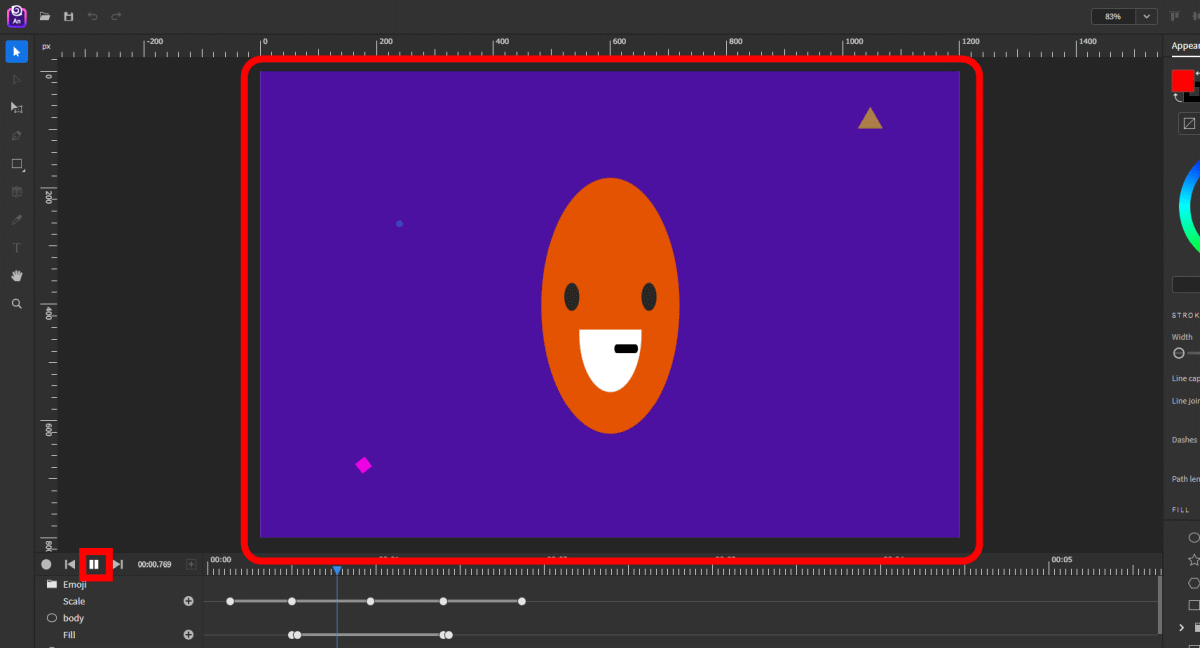
In the following movie, you can see how the sample animation that is actually displayed in the initial state is played.
In the sample movie, the pictogram in the center was rotating around while switching colors, so let's check what kind of setting this movement is realized. First, when you click 'body' from the material list at the bottom right of the screen, the corresponding part on the timeline (bottom left of the screen) is highlighted, and the setting items for that part are displayed at the top right of the screen. Five dots are struck on the timeline, and you can see that the range from the first dot to the second dot is set to 'orange'.
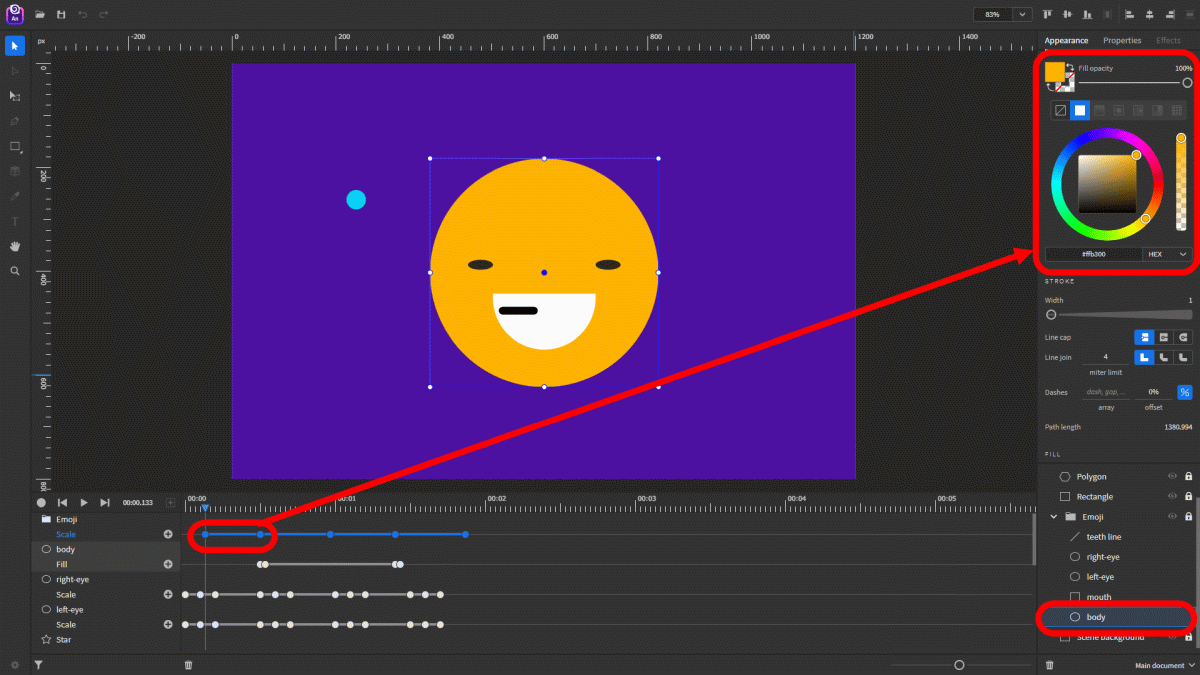
Then, the range from the 2nd dot to the 4th dot is set to 'red', and the range from the 4th dot to the 5th dot is set to be 'orange' again. .. With this, the operation of switching the color from orange → red → orange is realized.
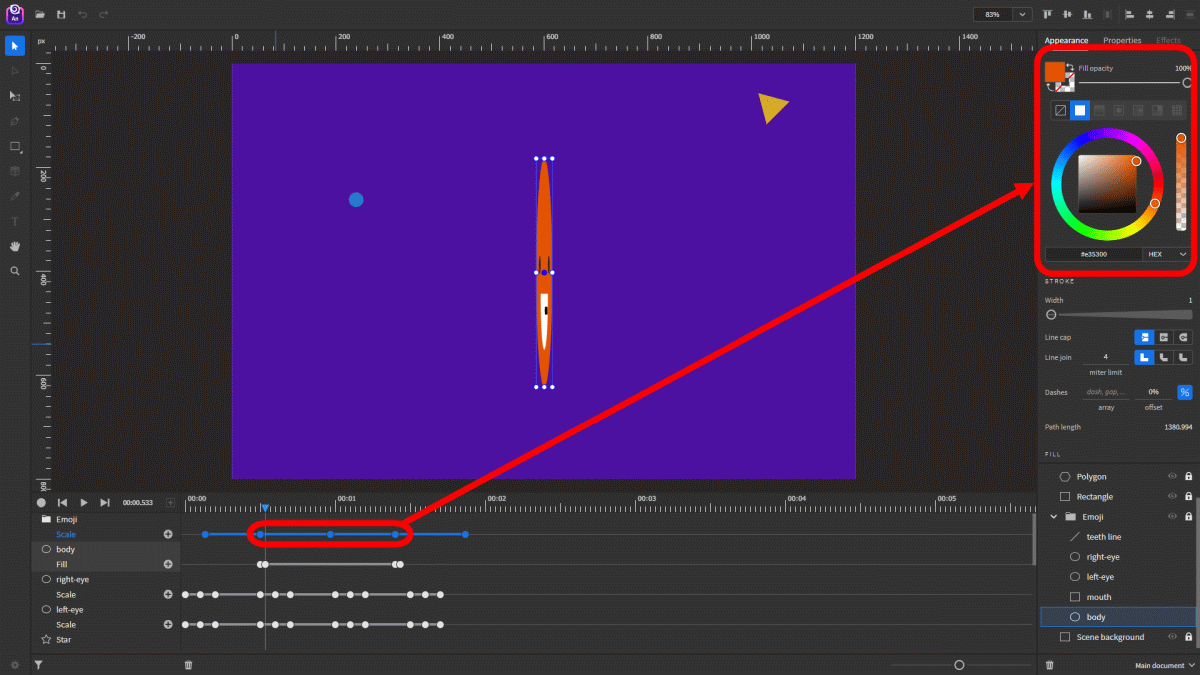
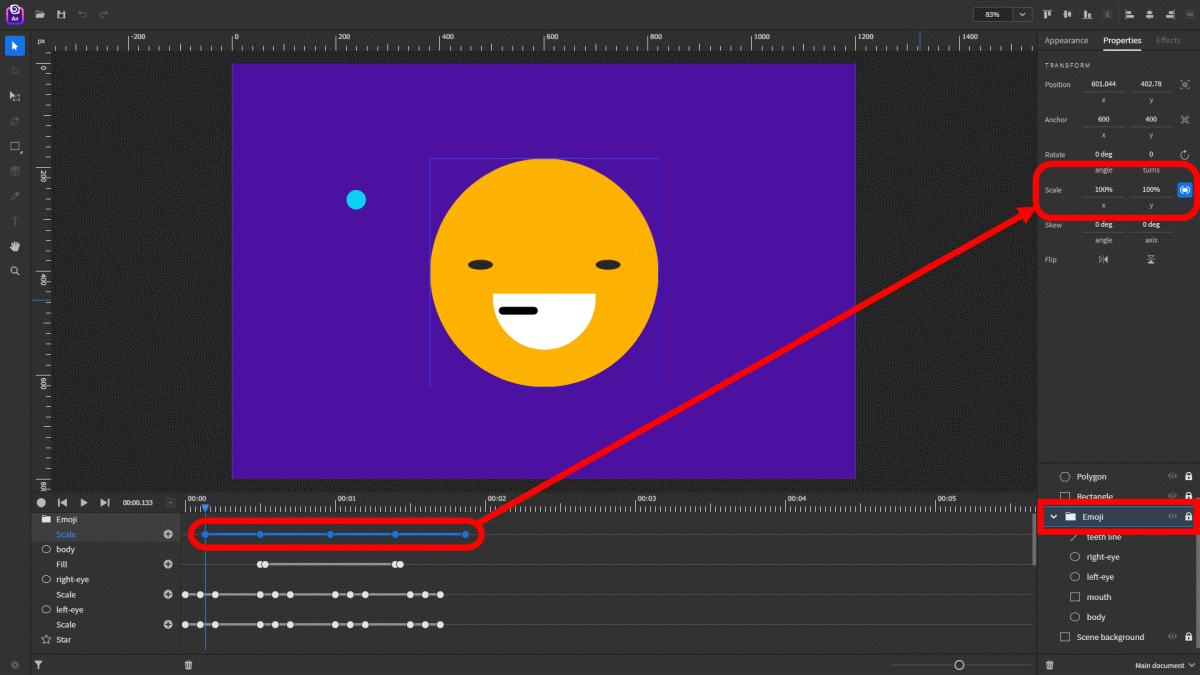
Furthermore, in the 'Emoji' group that summarizes the eyes, mouth, and face that make up the pictogram, the horizontal enlargement ratio for each dot on the timeline is 100% → 0% → minus 100% → 0% → 100%. It is set as, and realizes an animation as if the emoji was rotated once in the horizontal direction.
◆ Try editing the animation
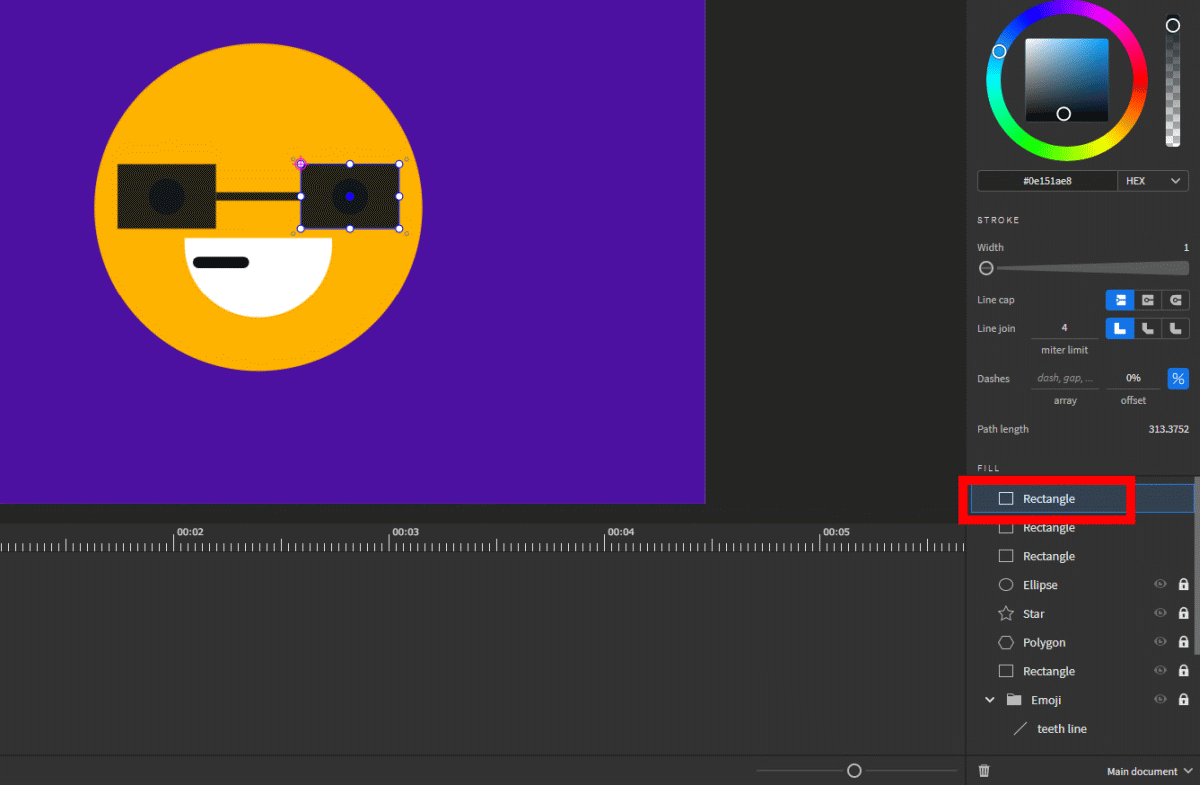
Now that you understand how animation creation works, let's actually edit the sample animation. First, click the icon in the red frame on the left side of the screen, and drag and drop the mouse anywhere to add a new material.
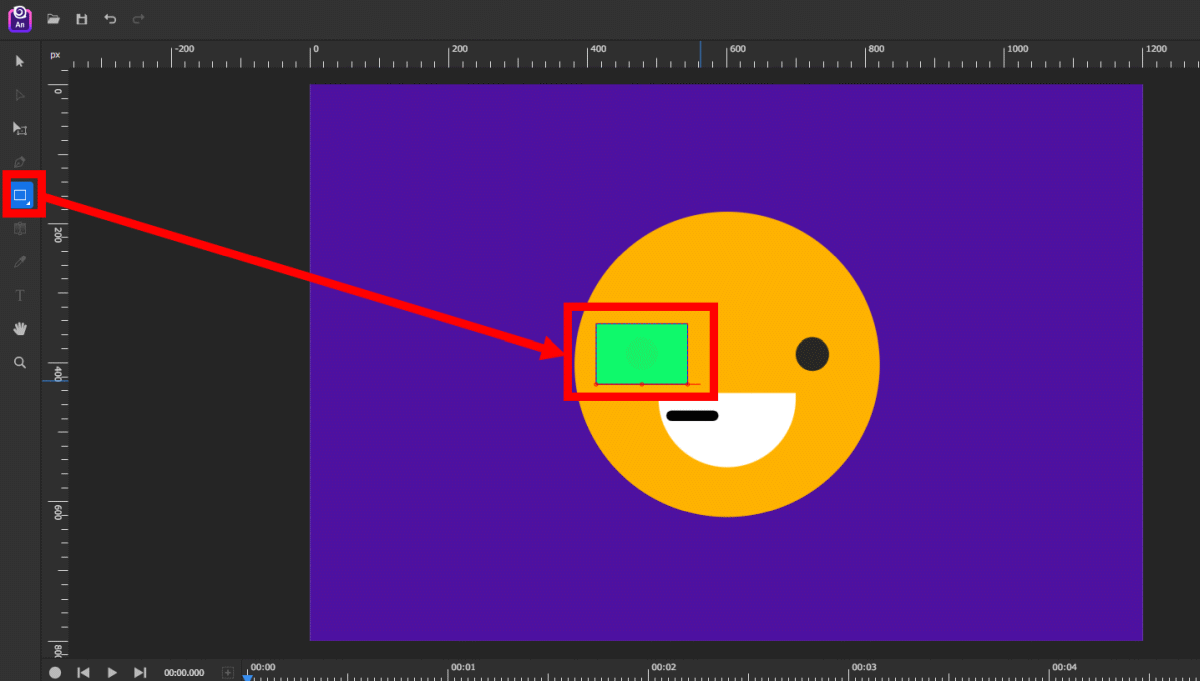
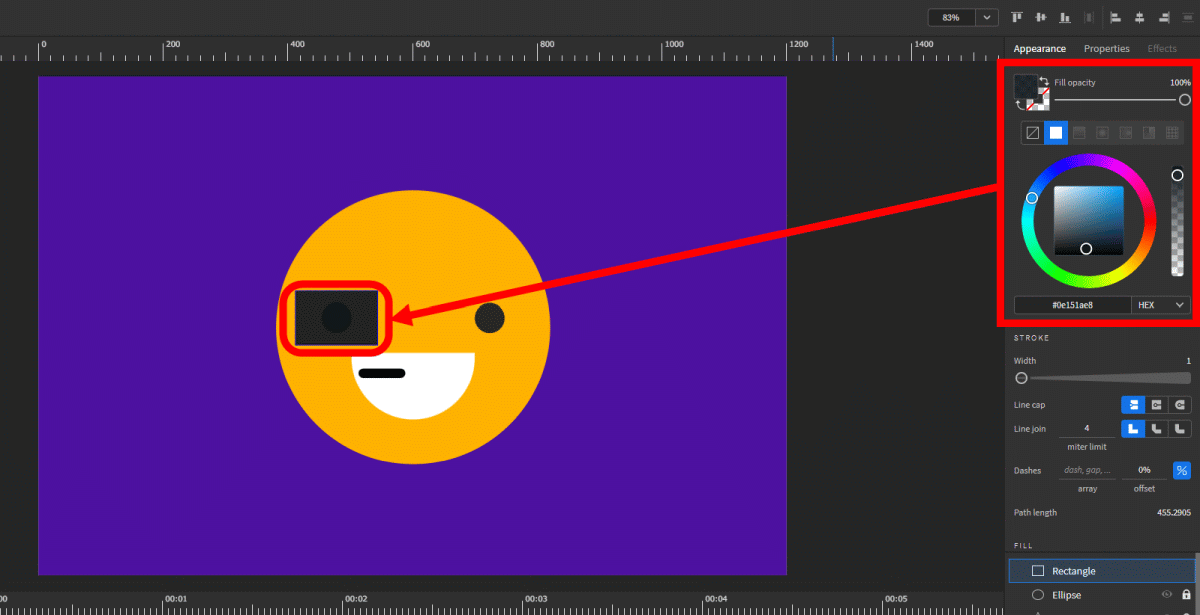
Then use the color editing tools on the right side of the screen to adjust the color of the added material.
This time, I added three square materials to make it look like sunglasses. Rename each material to make it easier to identify the material you added. First, double-click the material you want to rename.
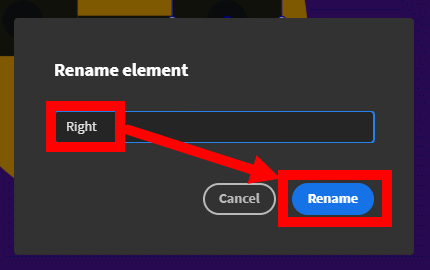
When the Rename dialog appears, enter a name of your choice and click Rename.
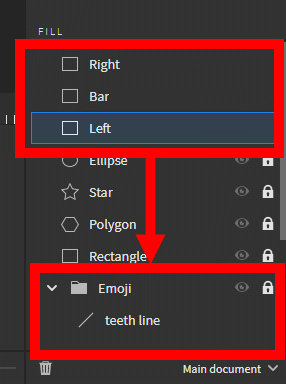
Once the name change is complete, the next step is to add three materials to the 'Emoji' group to synchronize the scaling of the sunglasses with the emoji. Drag and drop each of the three materials onto 'Emoji' ...
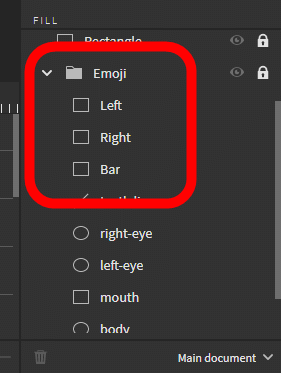
As shown below, it is OK if the newly created material moves into the 'Emoji' group.
In the movie below, you can see that the scaling of the added sunglasses is in sync with the scaling of the emoji.
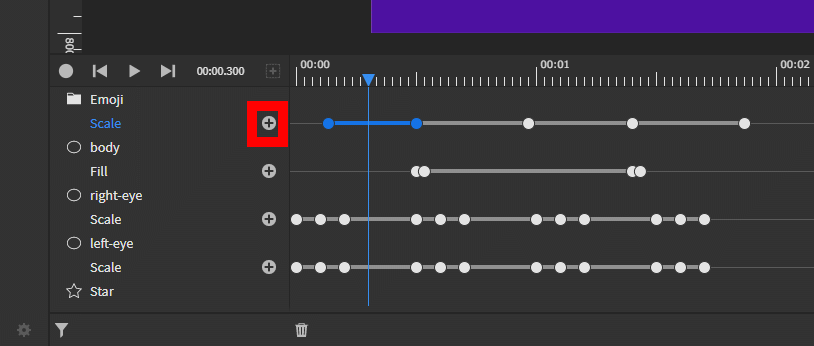
Next, let's edit the enlargement / reduction timing of the emoji. First, click the icon in the red frame to add an edit point on the timeline.
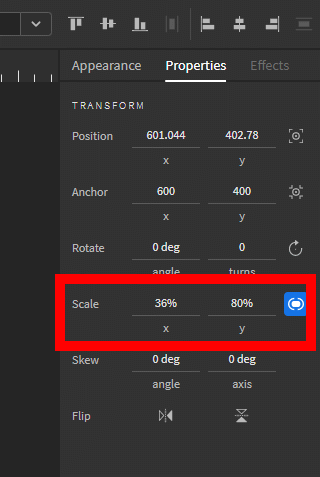
Next, set the magnification of the horizontal axis (x) and vertical axis (y) at each added edit point. This time, I tried to zoom in and out not only in the horizontal direction but also in the vertical direction.
In the following movie, you can see the animation that actually changed the enlargement / reduction ratio and timing.
Since 'Expressive Animator' is a tool in the early stages of development, the animation output function is not prepared at the time of article creation. However, the development team is the 'implementation plan to the video output and GIF animation output function' it says so, is likely to be expected in future updates.
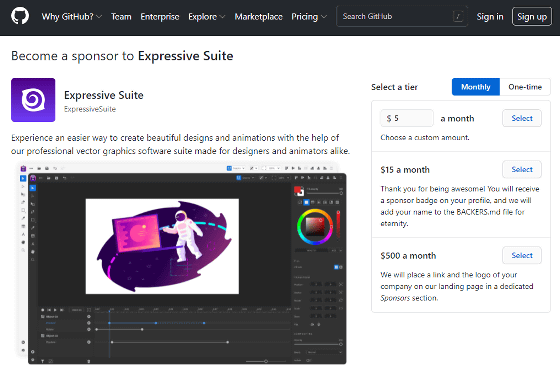
The 'Expressive Animator' development team is soliciting donations on GitHub.
Sponsor @ExpressiveSuite on GitHub Sponsors · GitHub
https://github.com/sponsors/ExpressiveSuite
Related Posts:
in Review, Web Application, Video, Posted by log1o_hf