'PassMark Burn In Test' review that conducts a load test to confirm the reliability of PC hardware
' PassMark BurnInTest ' is software that applies a load to check whether there is a problem with the reliability of the hardware. It is a paid software with a regular price of 95 dollars (about 10,200 yen), but you can try it for free for 30 days, so I tried using what kind of measurement you can actually do.
PassMark BurnInTest software --PC Reliability and Load Testing
https://www.passmark.com/products/burnintest/
◆ Download & Install
First, click 'Download' on the official website.

Then click on Windows and click on the link below it that says 'Download BurnInTest Windows edition'.

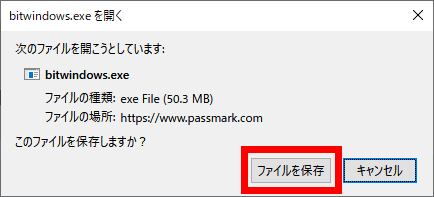
The file save dialog opens. Click 'Save File' and save it to any location.
The downloaded file will be displayed with a flame icon like this. Double-click to start it.

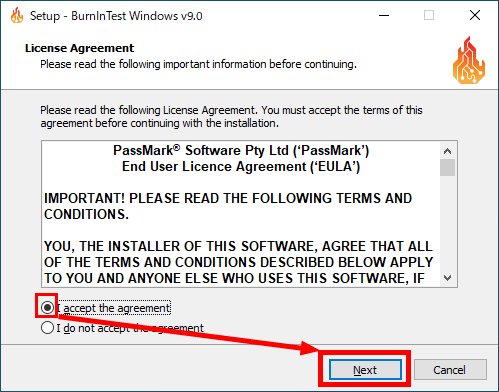
Check 'I accept the agreement' above and click 'Next'.
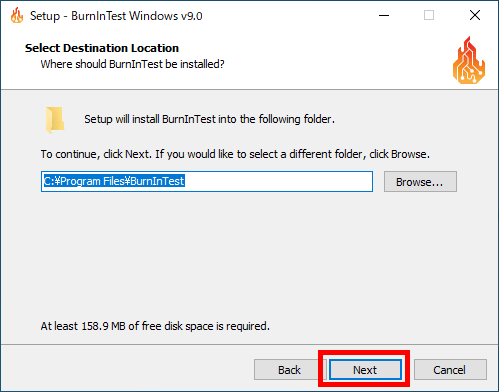
There is no problem even if you do not change the installation location, so click 'Next'.
Click 'Next'.

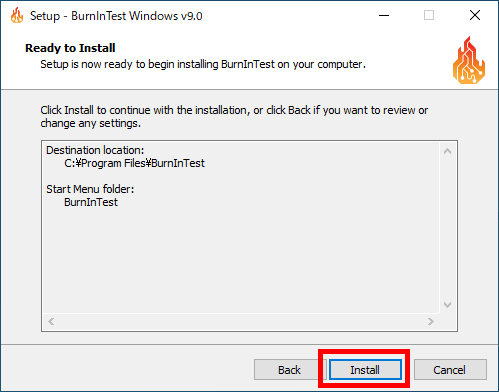
Click 'Install'.
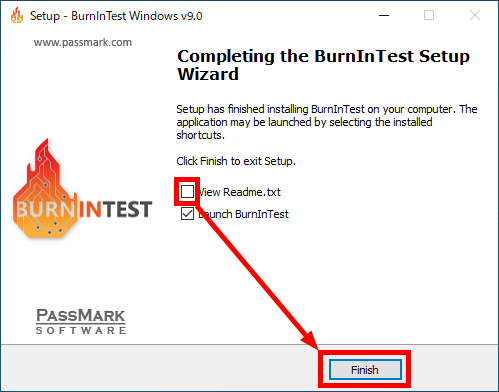
Uncheck 'View Readme.txt' and click 'Finish' to start BurnInTest.
◆ How to use BurnInTest
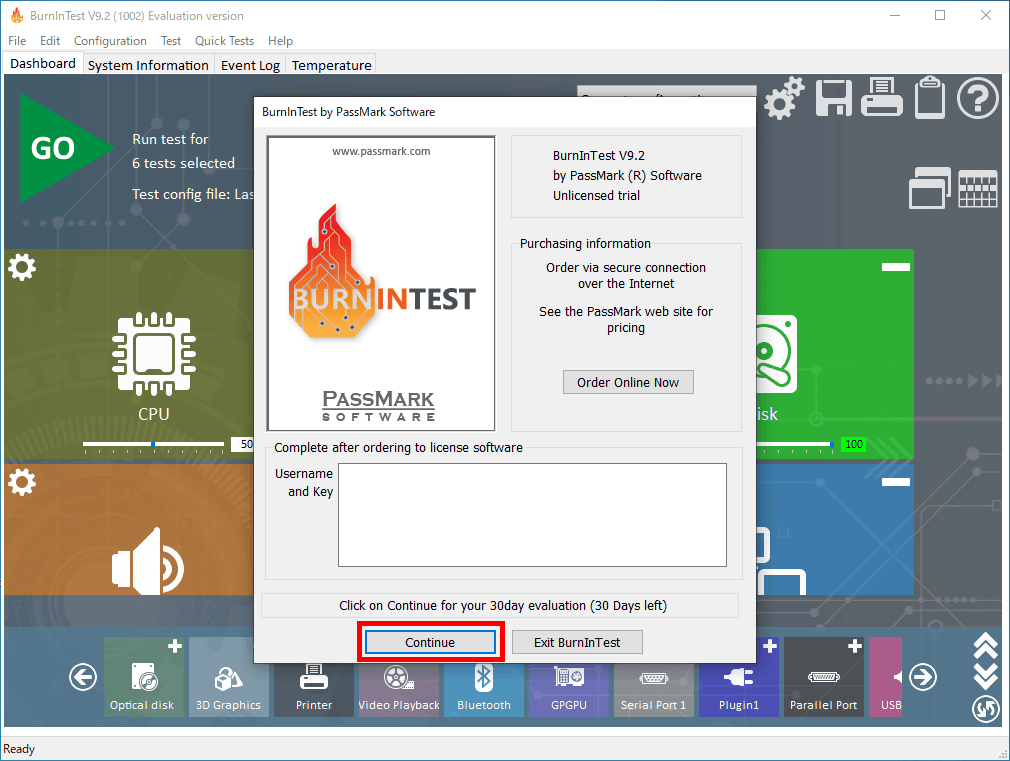
BurnInTest is a paid software, so the registration screen will be displayed at startup, but you can try it for free for 30 days after installation. Click 'Continue' at the bottom left.
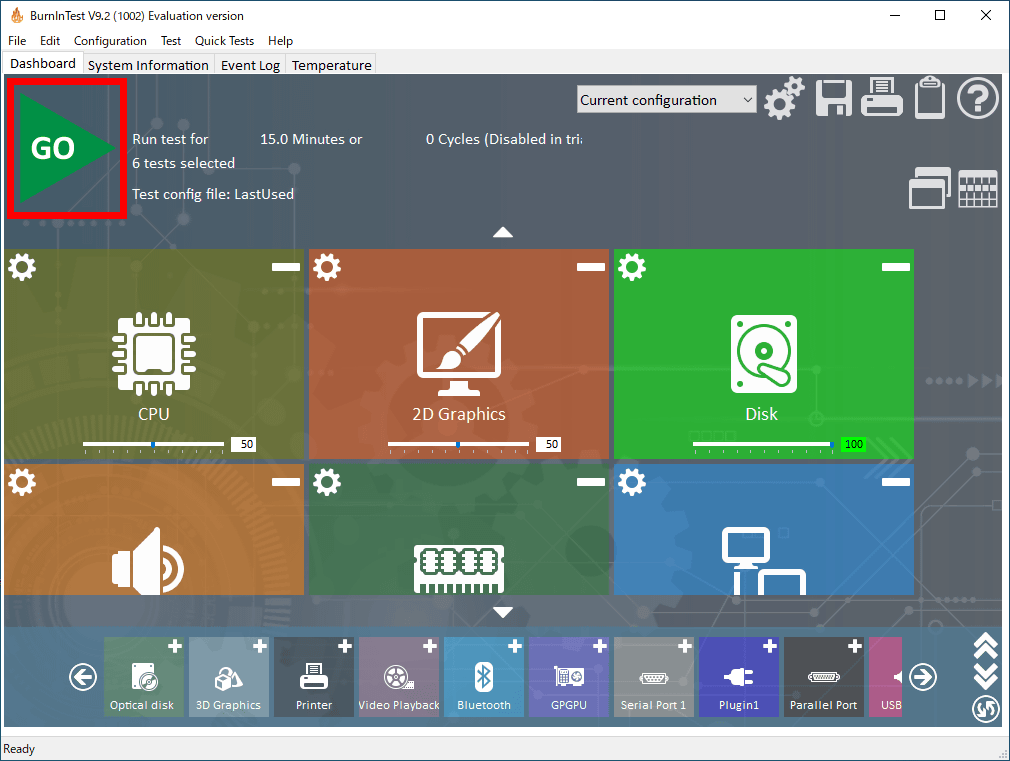
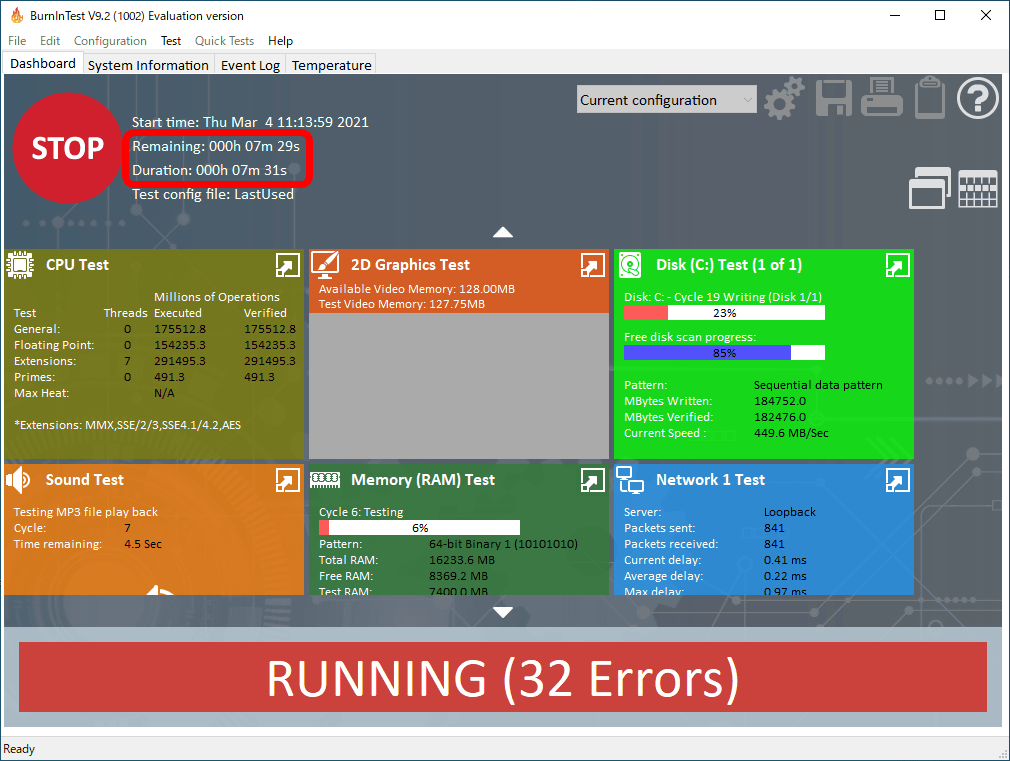
This is the dashboard of the main screen. Click 'GO' in the upper left to start the load test with the default settings. It takes 15 minutes.
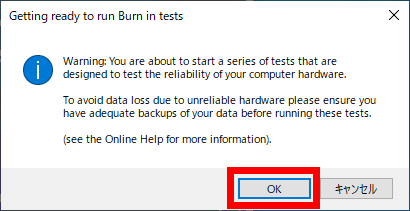
The warning 'Because we are going to test the reliability of your PC's hardware, make sure you have enough backups in case of data loss due to unreliable hardware' is displayed. Click 'OK'.
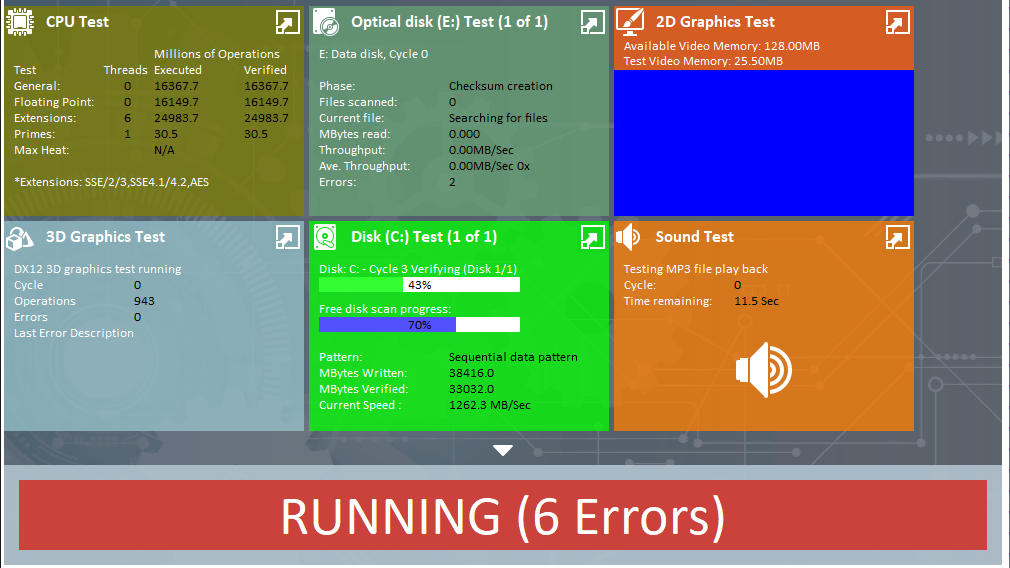
The load test has started. By default, six tests are performed over 15 minutes: 'CPU', '2D graphics', 'disk', 'sound', 'memory (RAM)', and 'network'. This is just past the turning point of 7 minutes and 30 seconds, but 32 errors have already been reported.
After 15 minutes, the load test was completed. After all, there were a total of 73 errors.

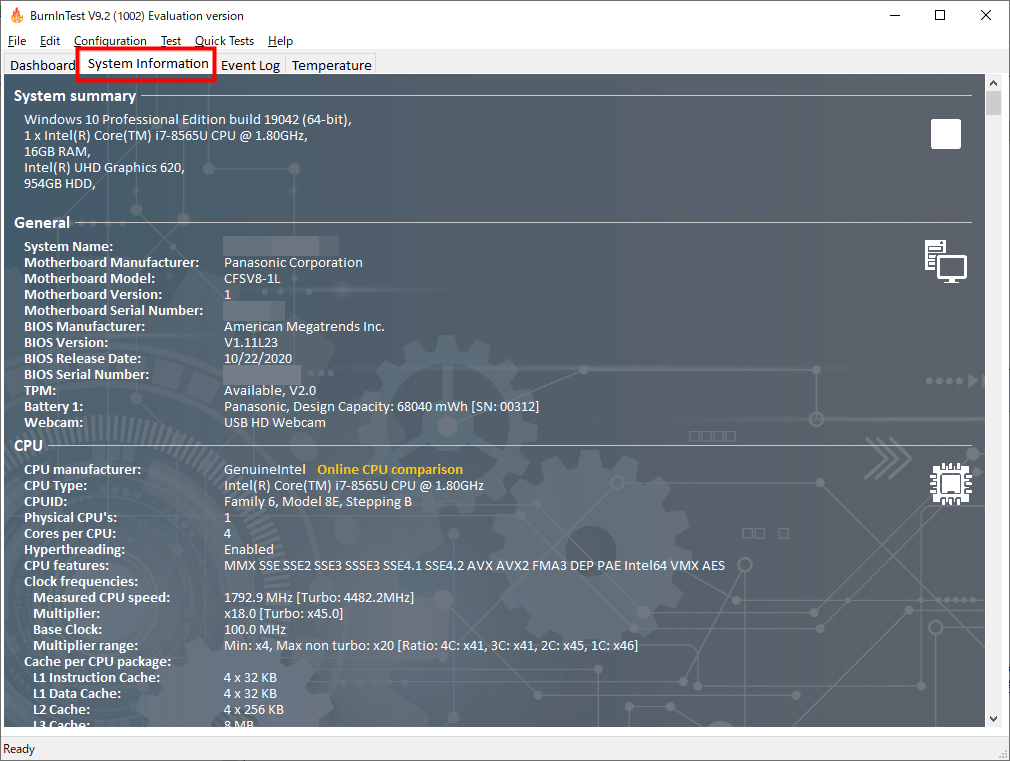
On the System Information tab, you can see detailed system information for the device you tested. In this case, the terminal is Panasonic's
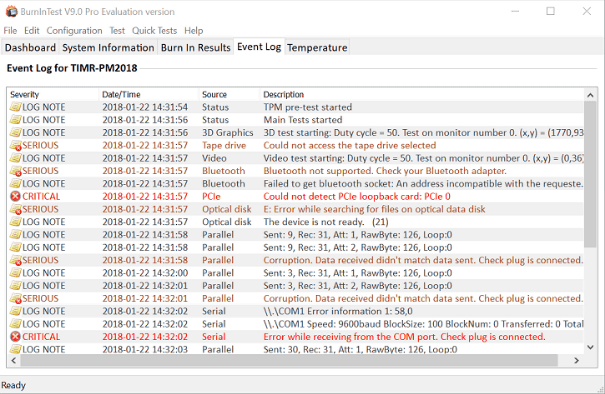
The 'Event Log' tab records the errors that occurred. All the errors that occurred in this load test were that the CPU exceeded the specified temperature (90 ° C).
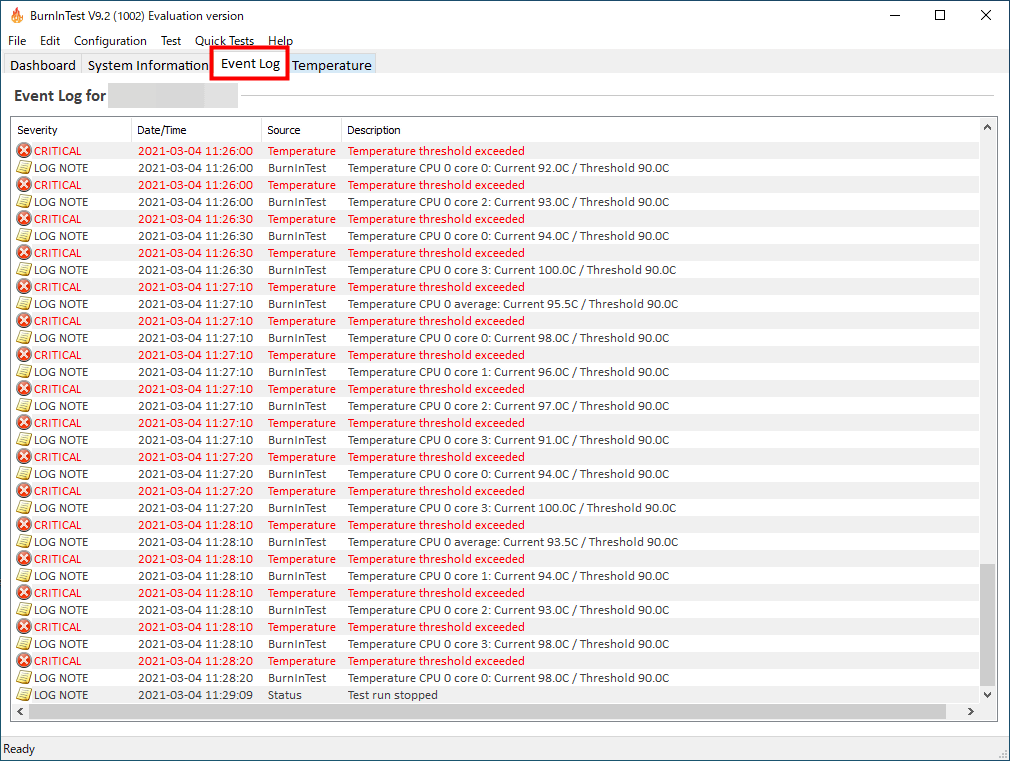
The manual also included other error examples, such as 'Drive not detected'.
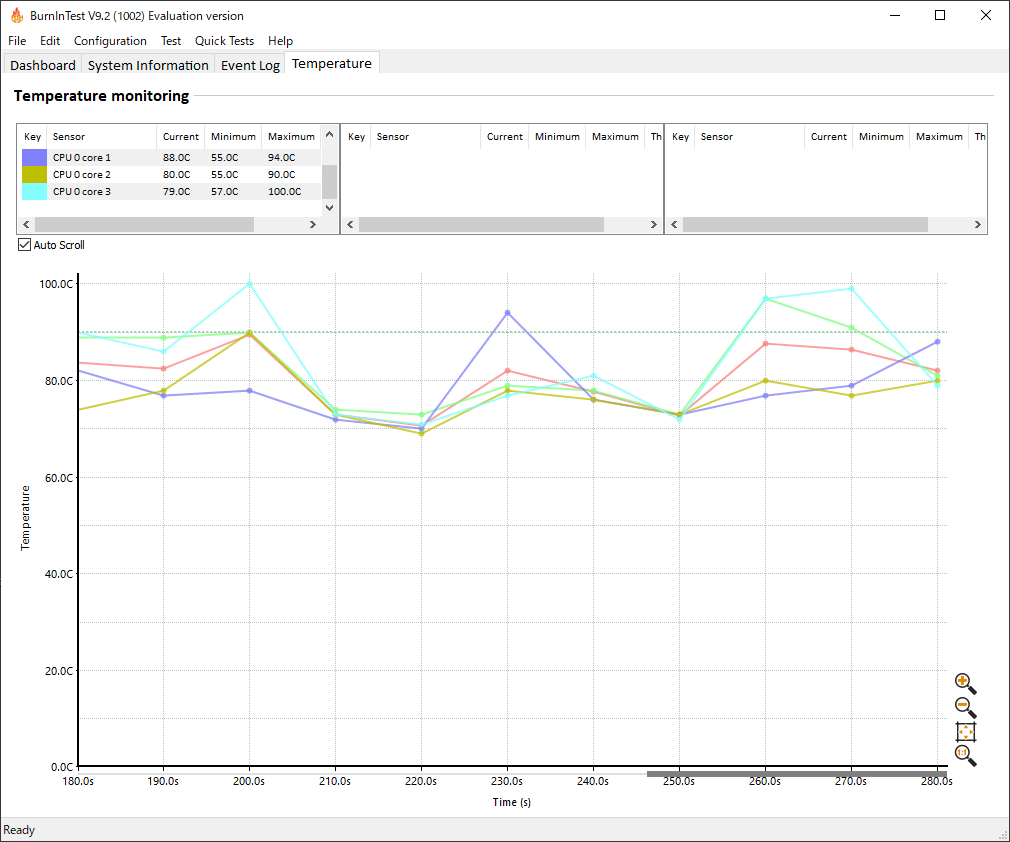
You can check the temperature transition on the 'Temperature' tab.
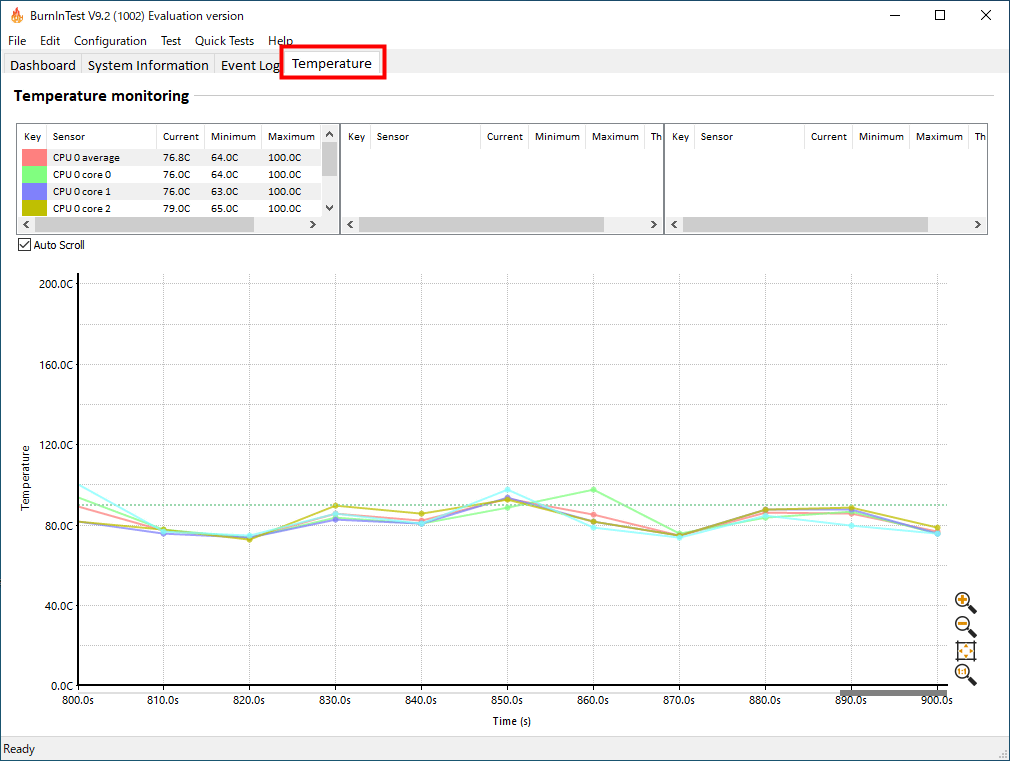
The temperature transition during the test of the machine was like this.
In the above, the load test was performed with the default 6 items, but if you click the '+' icon at the bottom of the dashboard screen, you can see all 22 test items such as optical drive, 3D graphics, serial port and tape drive. You can add it. With the arrow at the right end, click upward to add all items, and downward to exclude all items. The icon below it returns to the initial state (6 items).
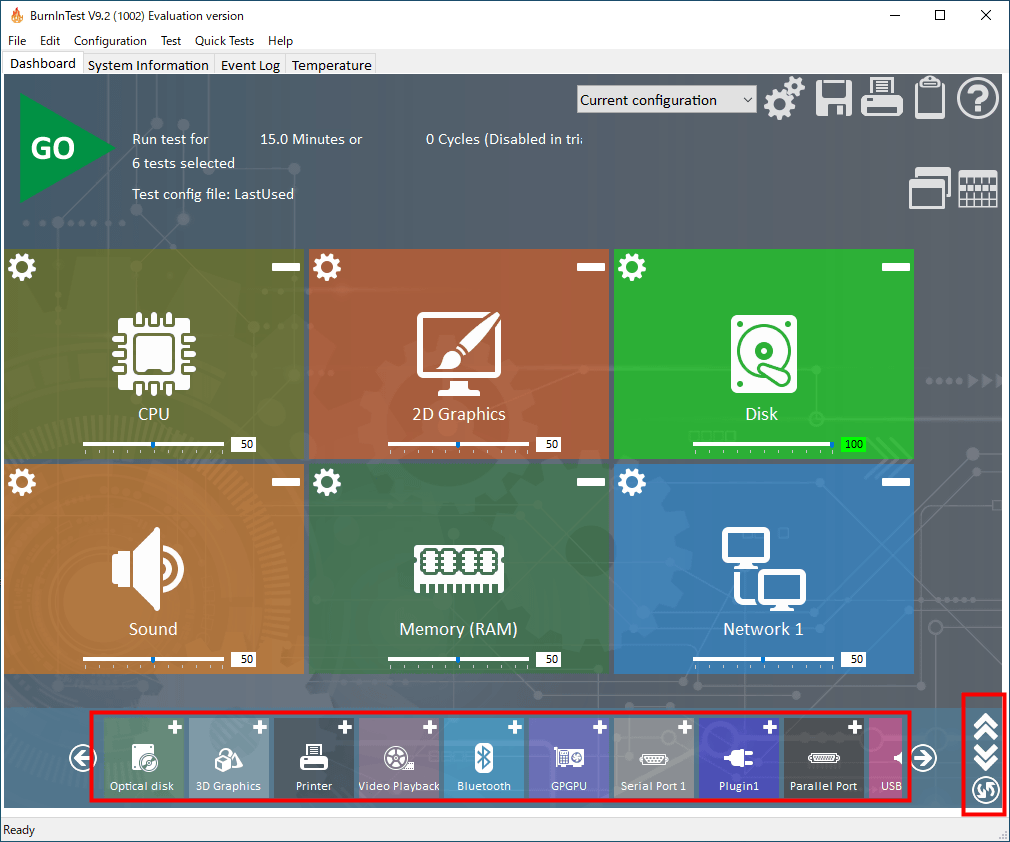
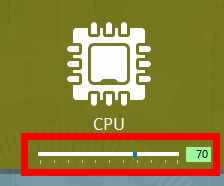
In addition, each item has a slider that allows you to change the load strength. The trial version defaults to 50.
In the initial state of the trial version, the test time is 15 minutes, but as a load test, 15 minutes is short. This can be set unlimitedly with the purchase of the software. The price is $ 95 for a regular purchase and $ 59.40 for an upgrade.
Also, as to how much time is appropriate, the FAQ says, 'It is likely that you will find a problem in the first hour, and then it will decrease every hour. A 12-hour test will be done for 6 hours. The benefits aren't that great compared to that, but it's desirable to spend enough time testing the entire storage. A small, fast SSD may take an hour, but it's slow. It may take 24 hours for a large capacity HDD. '
Related Posts: