'PassMark Performance Test' Ver.10 review that thoroughly benchmarks 5 items of CPU, 2D, 3D, memory, and disk
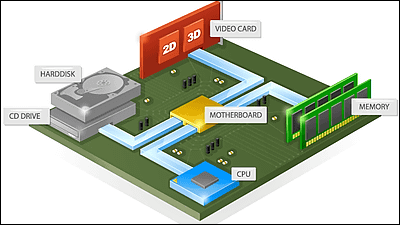
'PassMark PerformanceTest ' is a benchmark software that performs multiple benchmarks for each of the five items of 'CPU', '2D graphics', '3F graphics', 'memory', and 'disk speed' to perform detailed quantification.
PassMark PerformanceTest --PC benchmark software
https://www.passmark.com/products/performancetest/index.php
◆ Download & Install
First, go to the download page of the official website and download the file according to your environment.
If you are using a standard Windows PC, check 'Windows' and click 'Download PerformanceTest 10 x86' under it.
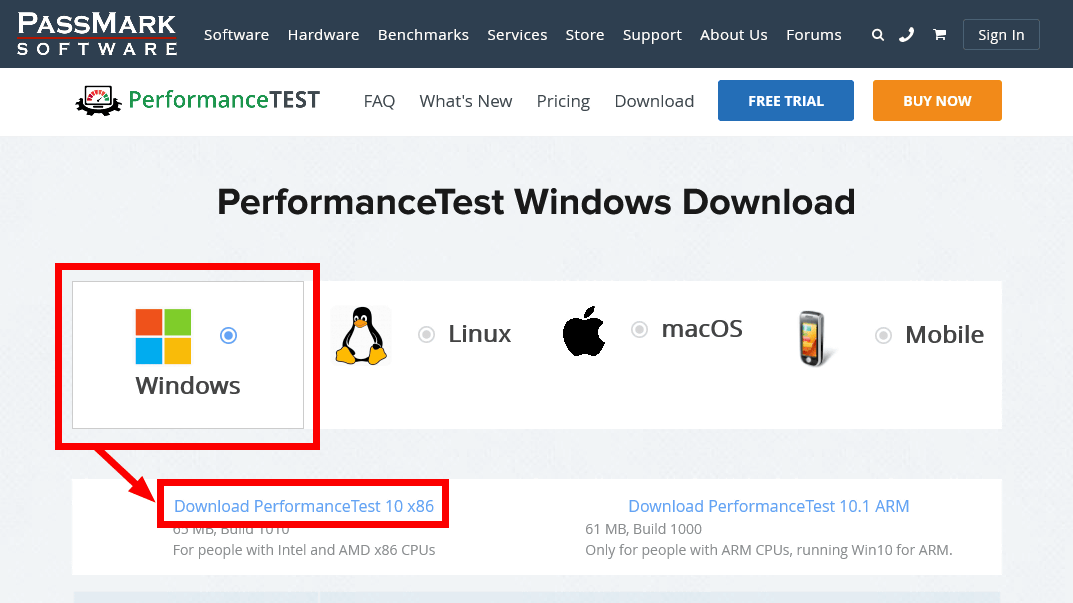
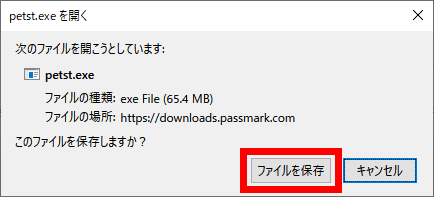
The download of 'petst.exe' will start, so click 'Save File' and save it in any location. The file size is 65.4MB.
Start by double-clicking the downloaded 'petst.exe'.

You should be able to proceed with the installation in Japanese without changing the settings, so click 'OK'.

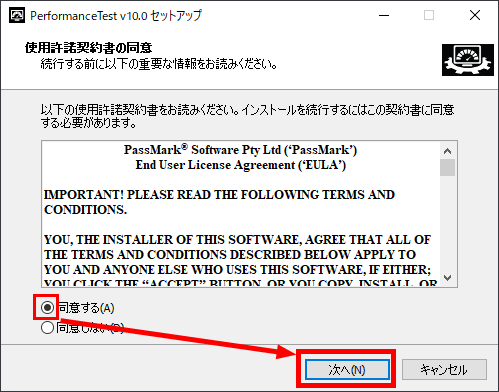
Check 'Agree' and click 'Next'.
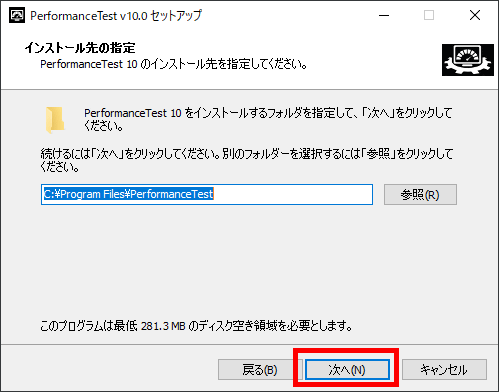
There is no problem even if you do not change the installation location, so click 'Next'.
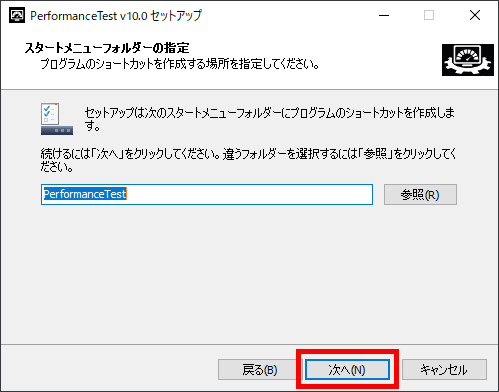
Click 'Next'.
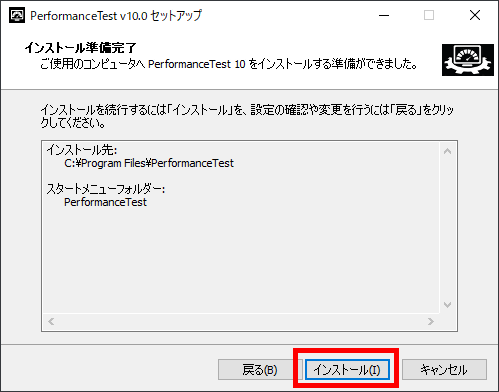
Click 'Install'.
Click 'Finish' when the installation is complete. PassMark Performance Test starts.
◆ Benchmark
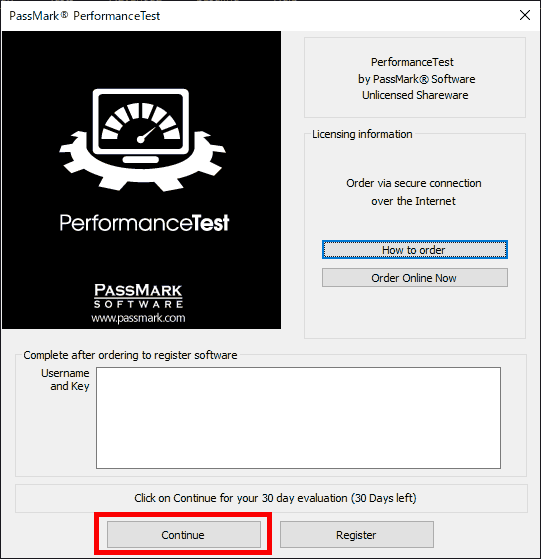
PassMark Performance Test is a paid software, but you can try it for 30 days. Click 'Continue'.
The basic screen looks like this. Since PC information is acquired for a few seconds after startup, menu selection cannot be performed.
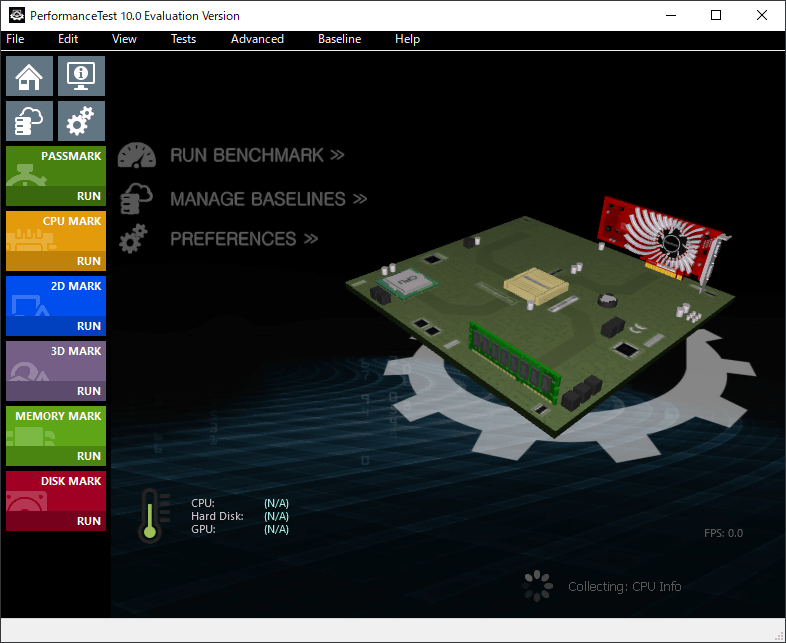
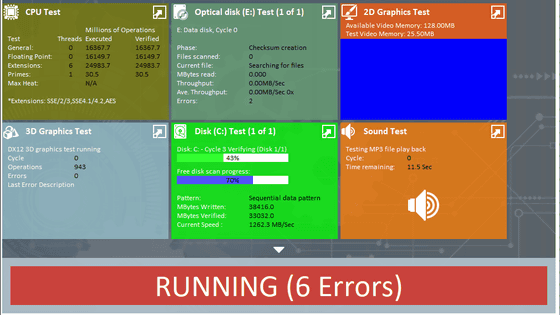
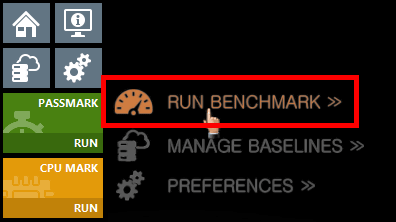
Click 'RUN BENCHMARK' when you can operate it.
A caution dialog will be displayed as the benchmark will take some time. Click 'Yes'.

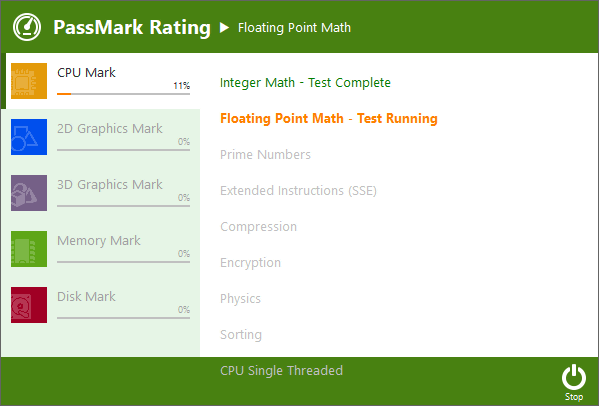
All you have to do is wait until the end. It will take about 10 minutes at the shortest.
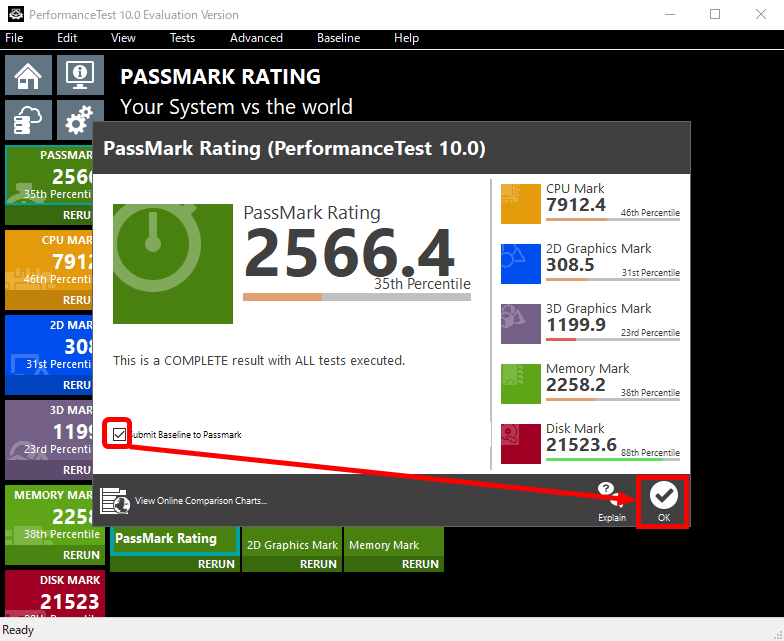
The score is displayed. Click 'OK' at the bottom right to close this dialog and see detailed information. At that time, if you leave 'submit Baseline to Passmark' at the bottom left checked, the benchmark results will be sent to Passmark.
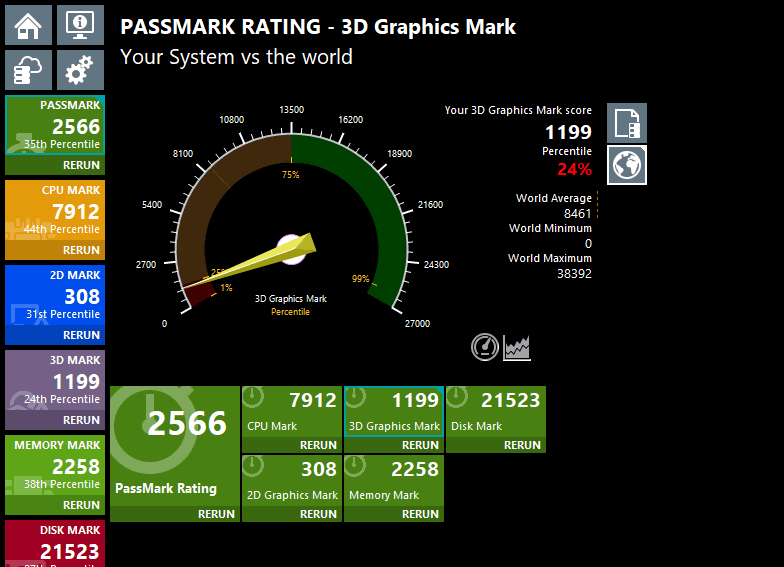
Detailed information is like this, you can switch between 6 of 'PASS MARK (overall)' 'CPU MARK' '2D MARK' '3D MARK' 'MEMORY MARK' 'DISK MARK' in the menu lined up on the left side, each The score is displayed at the bottom. You can also click on each score to see a percentile that shows where you are from the smallest of the 100 divisions. In the case of the PC benchmarked this time, the benchmark score of 3D graphics is 1199, which shows that it belongs to the bottom 24% of the score.
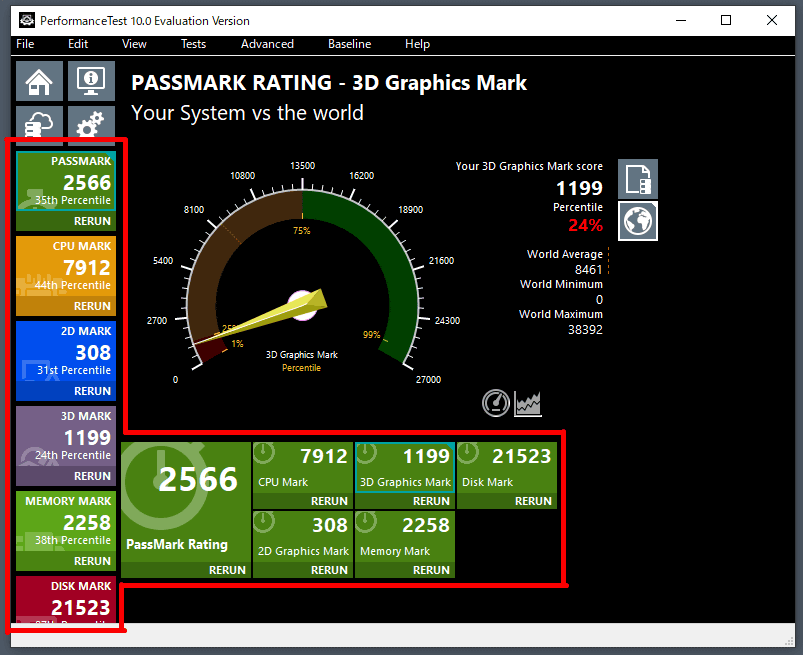
The CPU is about mediocre.

The score of 2D graphics is a little low.

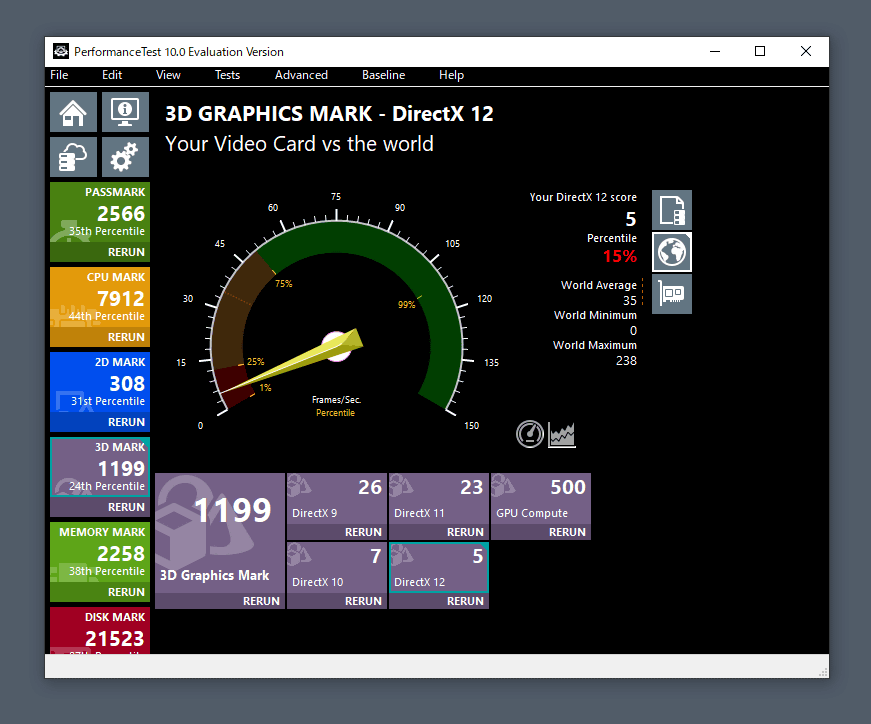
3D graphics are low as mentioned above. In particular, the DirectX 12 score is '5', which is in the bottom 15%.
On the other hand, the disc was pretty fast.

In addition, the default display is to compare the score with the whole world like a speedometer, but if you click the top of the icon lined up on the right side, you can see various PCs that are set as the baseline (reference value) from the beginning. You can compare the scores of.
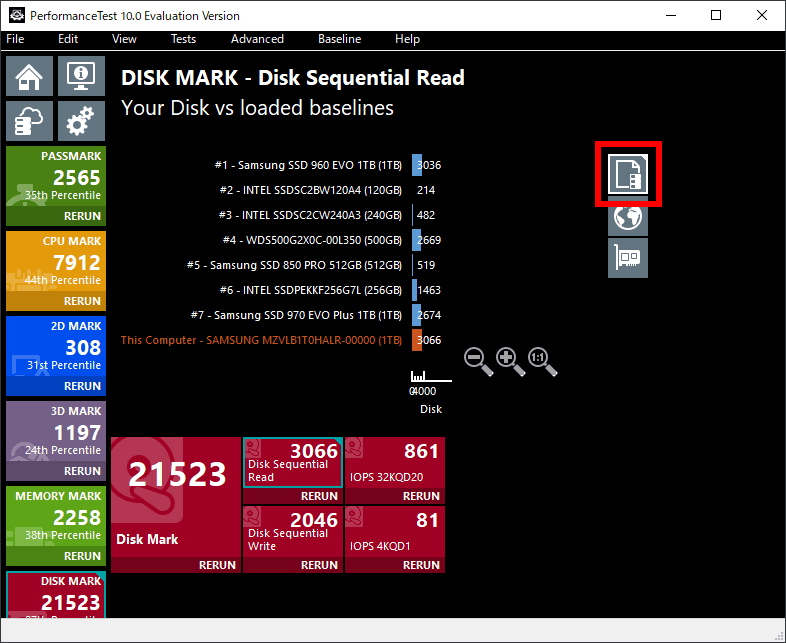
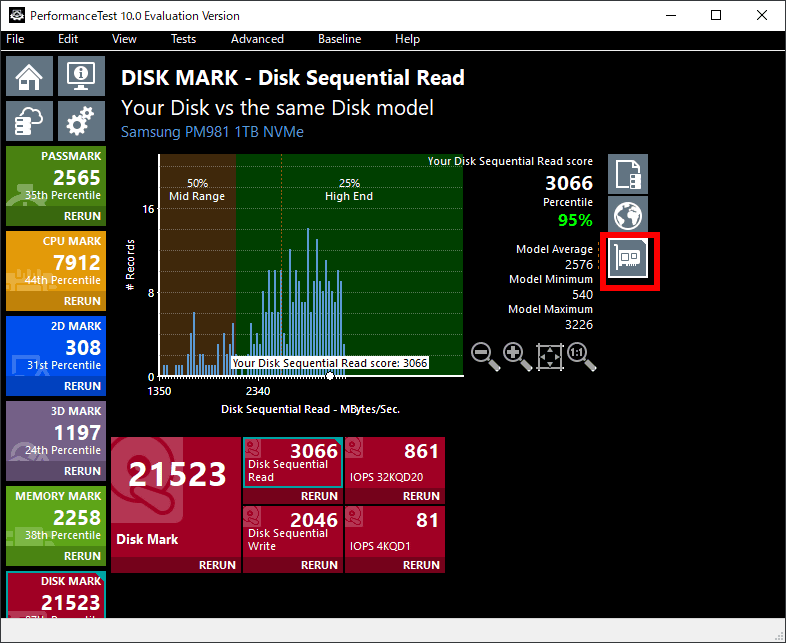
The icon in the center looks like the default speedometer, and the icon at the bottom is a comparison with devices with the same hardware.
◆ Comparison with benchmark results obtained on other PCs
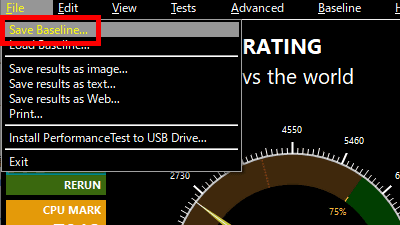
The feature of PassMark Performance is that you can output the benchmark results you have done at hand and compare them immediately. Click 'Save Baseline' from 'File' in the menu.
Decide the file name and click 'Save'. If you save as 'Default Folder' ...
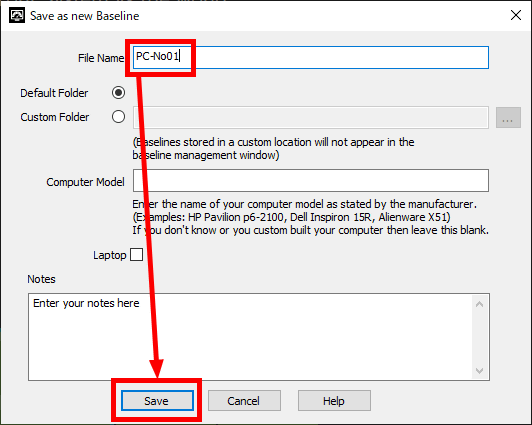
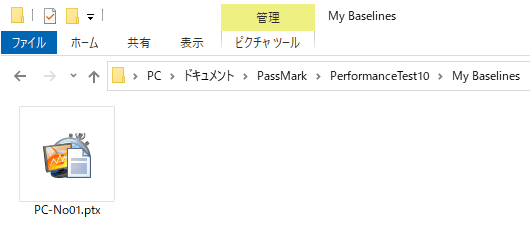
The file is saved in 'C: \ Users \ [user name] \ Documents \ PassMark \ PerformanceTest10 \ My Baselines'.
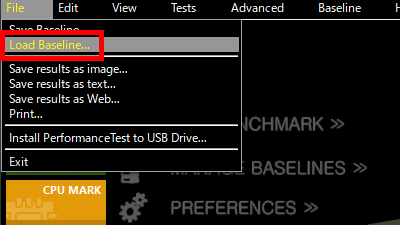
If you load this file by clicking 'Load Baseline' from 'File' in PassMark Performance Test on another PC ...
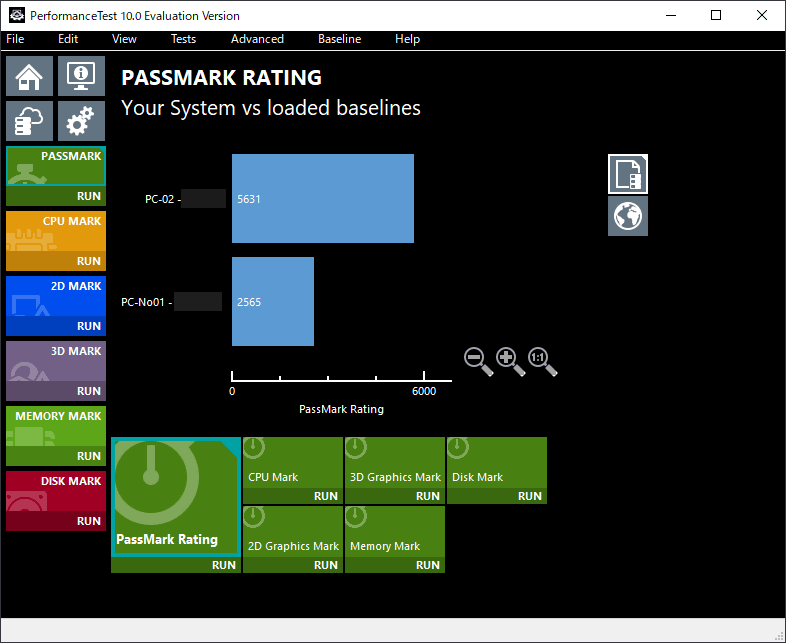
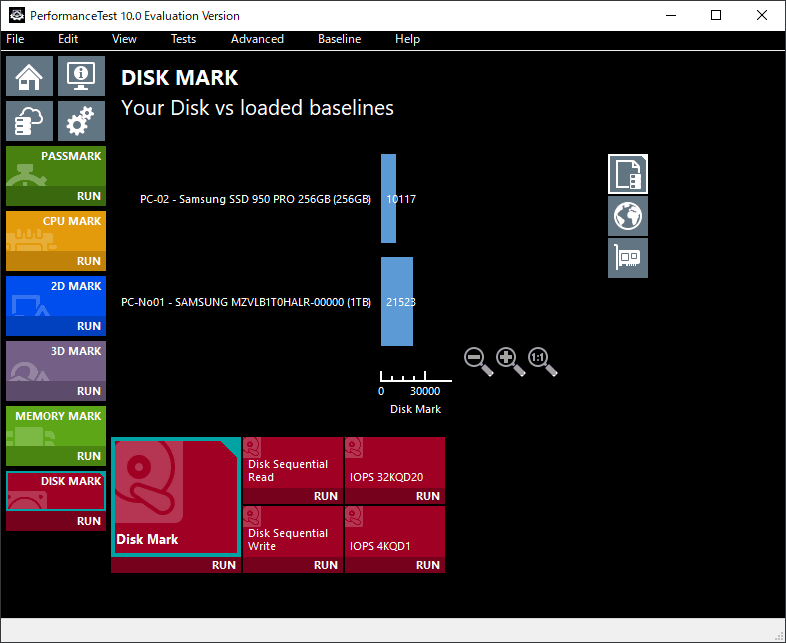
You can compare like this. The upper PC-02 is the newly benchmarked desktop PC, and the lower PC-No01 is the notebook PC that was benchmarked earlier. As expected, the difference is clear.
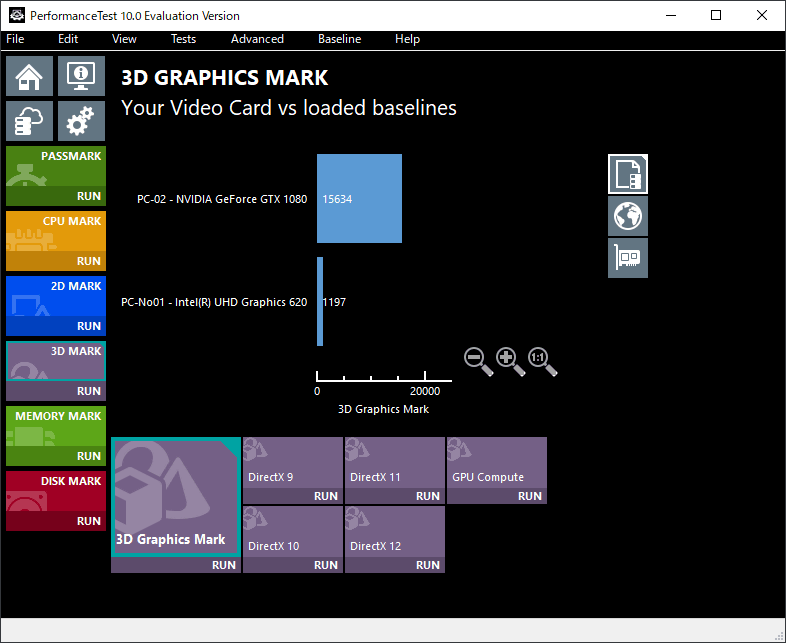
Especially the difference in 3D graphics is remarkable.
Surprisingly, however, the disk benchmarks resulted in laptops winning.
◆ Various settings
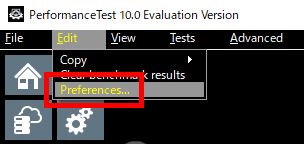
Click 'Preferences' from 'Edit' in the menu to open the setting screen.
The setting screen looks like this.
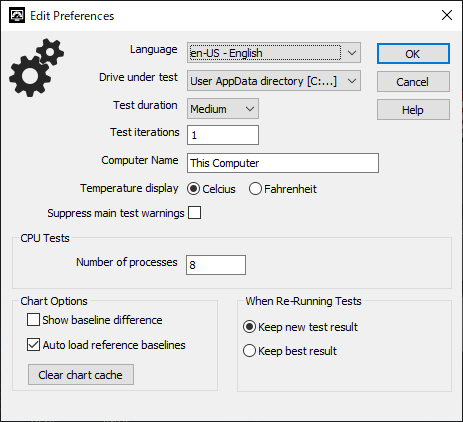
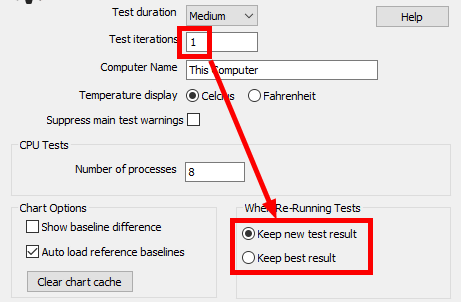
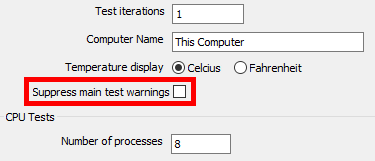
'Test iterations' allows you to determine the number of tests. The default is 1, but you can use it multiple times to ensure certainty. At that time, if you set 'When Re-Running Tests' at the bottom to 'Keep new test result', the latest score will be output, and if you set it to 'Keep best result', the highest score will be output.
Checking 'Suppress main test warnings' will suppress warnings when minor errors occur and will not interrupt the benchmark.
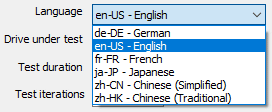
There is 'ja-JP' in the language setting, but even if I restarted after setting, each item was still in English at the time of article creation.
◆ Baseline management
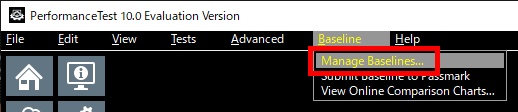
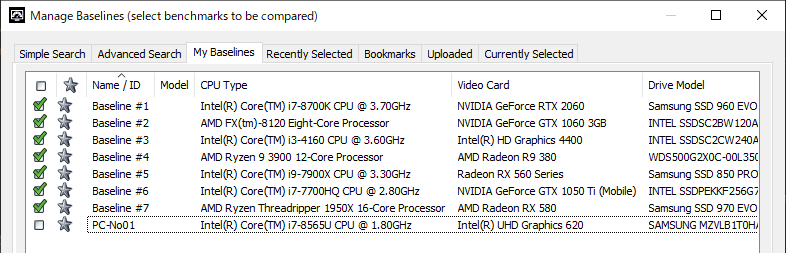
You can manage the baselines used for comparison by clicking 'Manage Baselines' from 'Baseline' in the menu.
In 'Simple Search' and 'Advanced Search', you can specify the hardware such as CPU and video card, specify the model name, and get the baseline to be used from the published benchmark results.
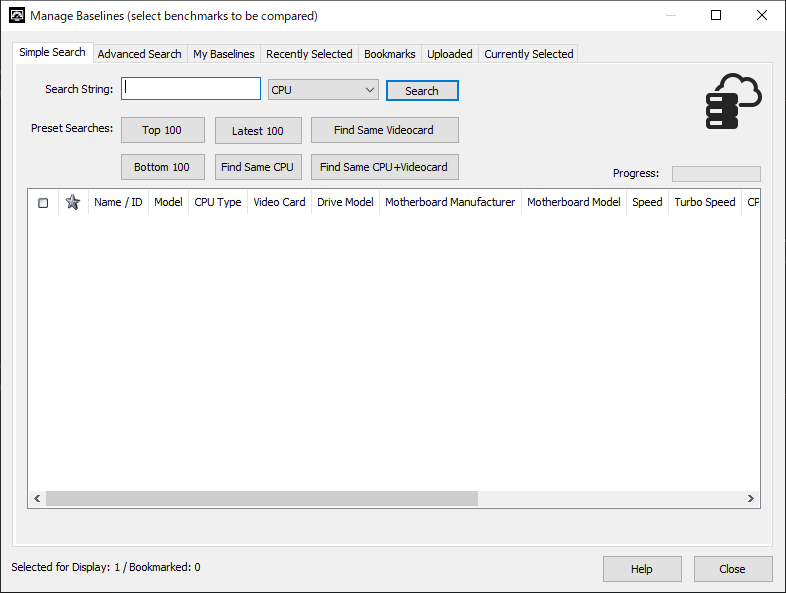
In 'My Baselines', in addition to the seven default settings, the ones you have introduced are displayed. You can switch between showing and hiding by checking here.
◆ Supplement
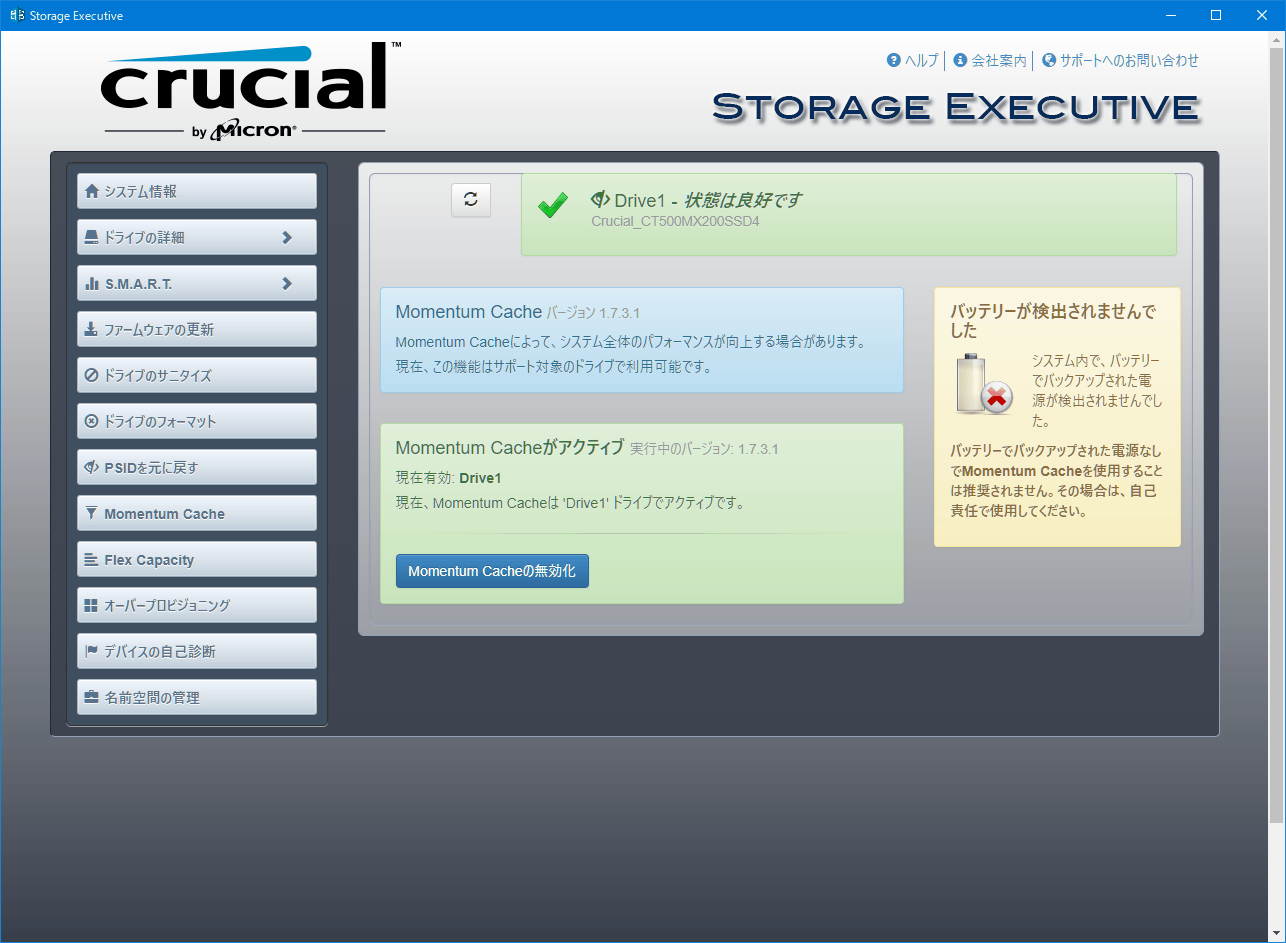
When uploading a score, an error may occur if the score is suspicious. During the test at hand, the error message 'Crucial / Micron SSD has detected software to turn on the cache, please turn it off' appears as shown below.
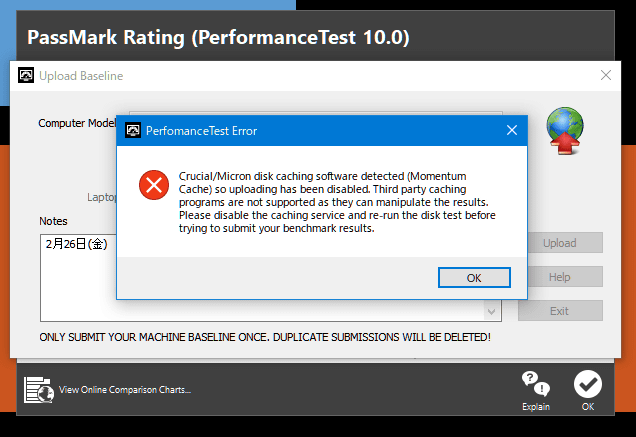
When I looked it up, the software was certainly installed, but the cache was turned off. Apparently, it doesn't work when the software is installed.
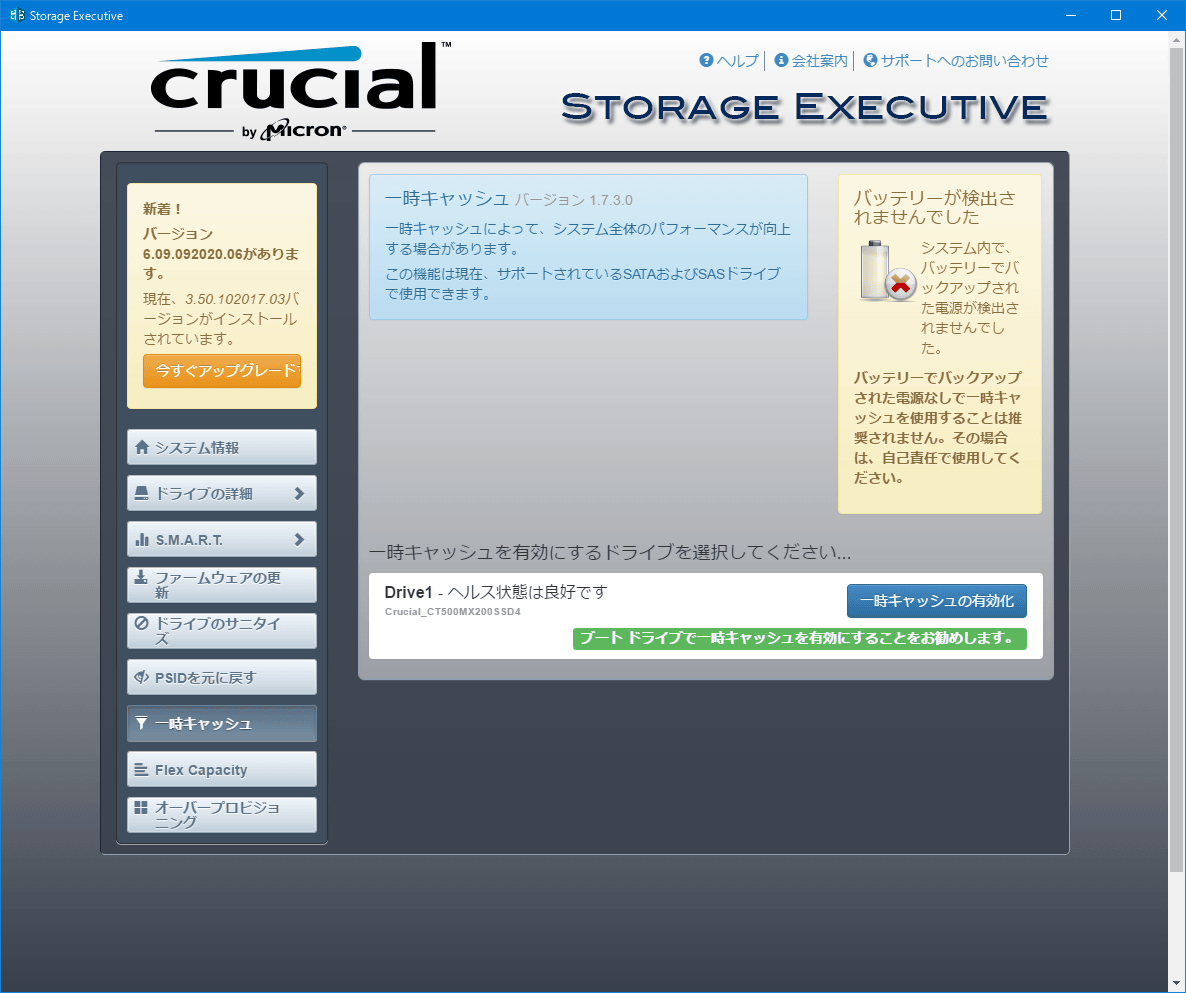
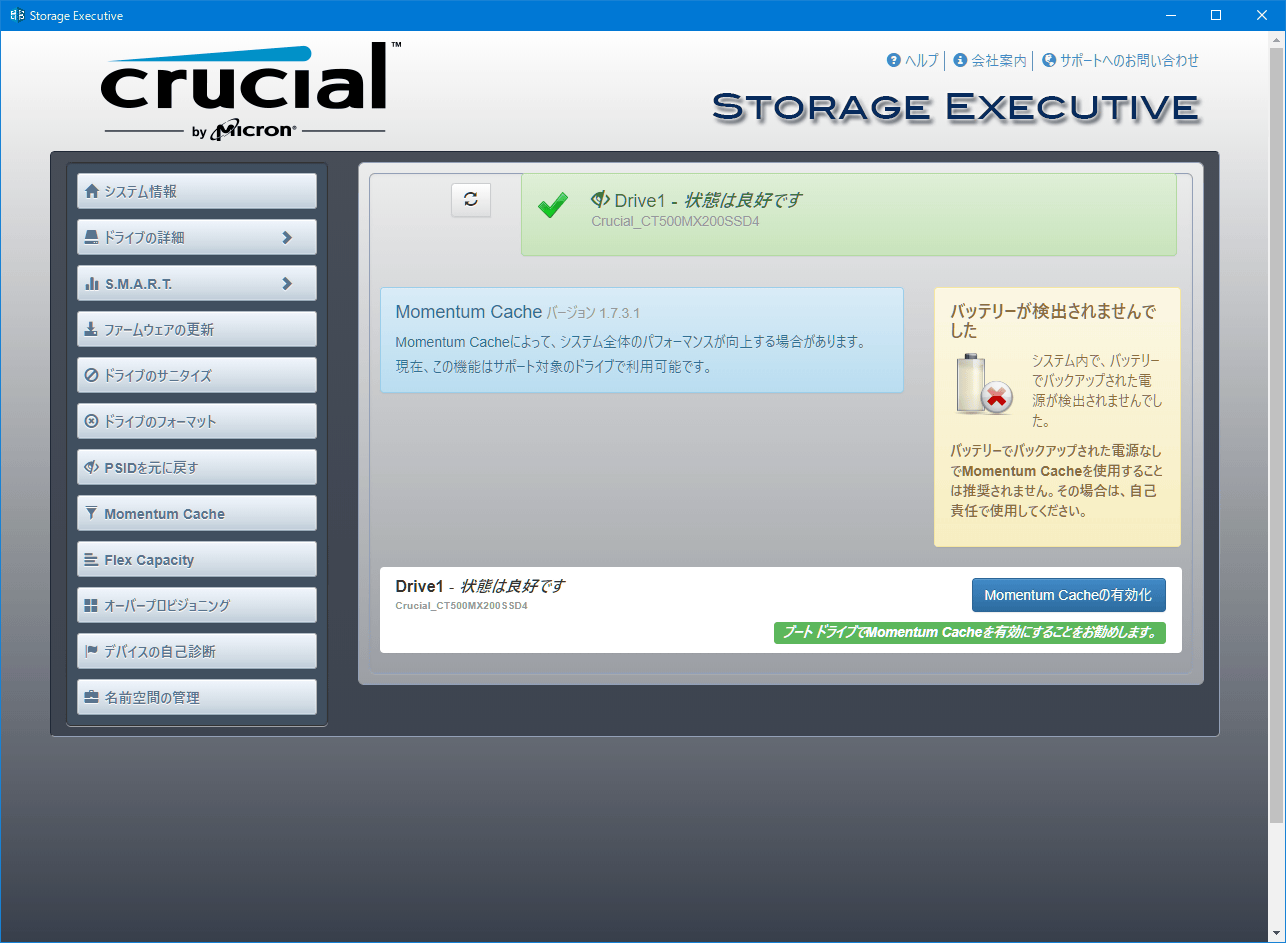
I updated the software and firmware and turned on the cache, probably because the test result depends on the error.
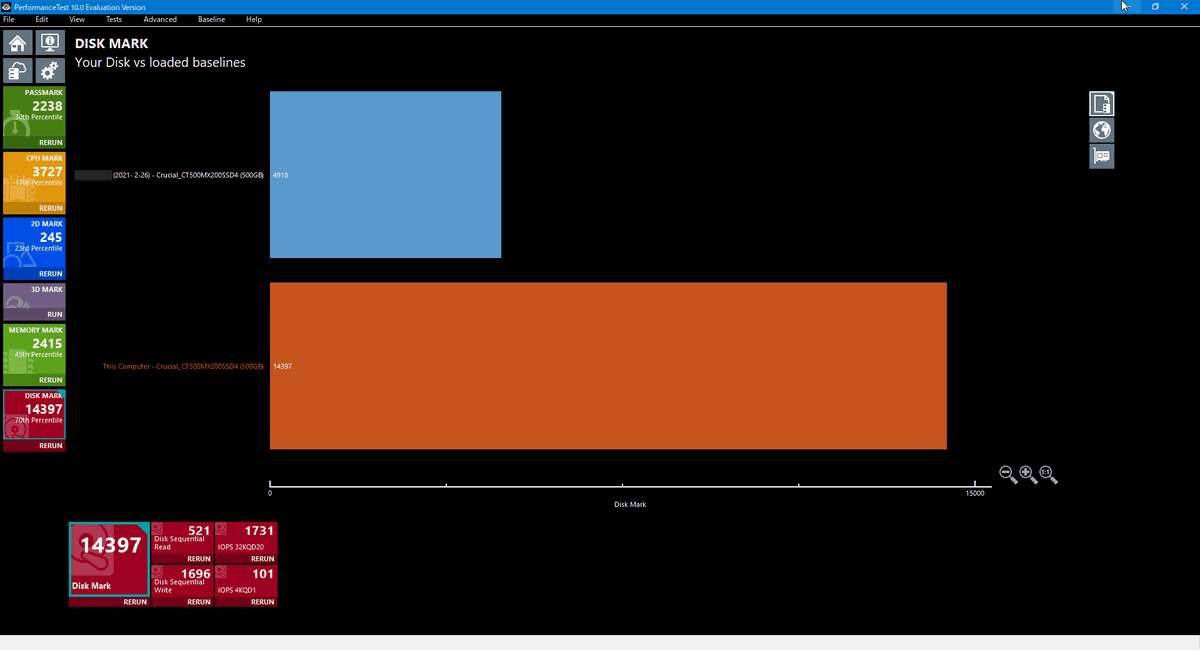
Of the images below, the upper graph is cache off and the lower graph is cache on. The score has really improved dramatically.
Related Posts: