I was curious about the contents of the helium-filled HDD, so I actually disassembled it into pieces.
Hard disk drives (HDDs) play an important role in 'storing data' in the modern society where a large amount of data is exchanged due to the spread of the Internet. HDDs are still
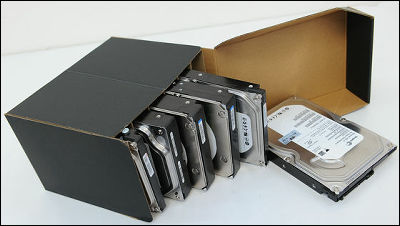
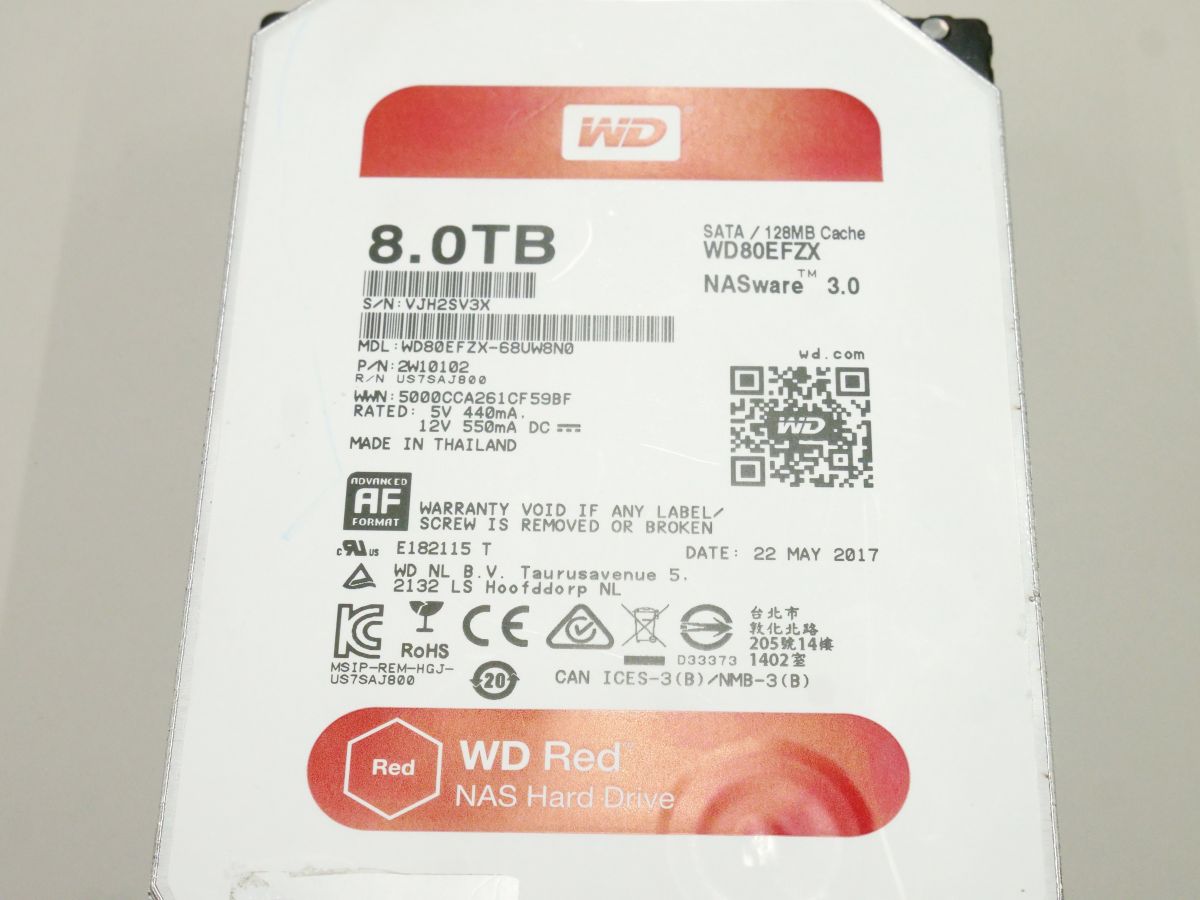
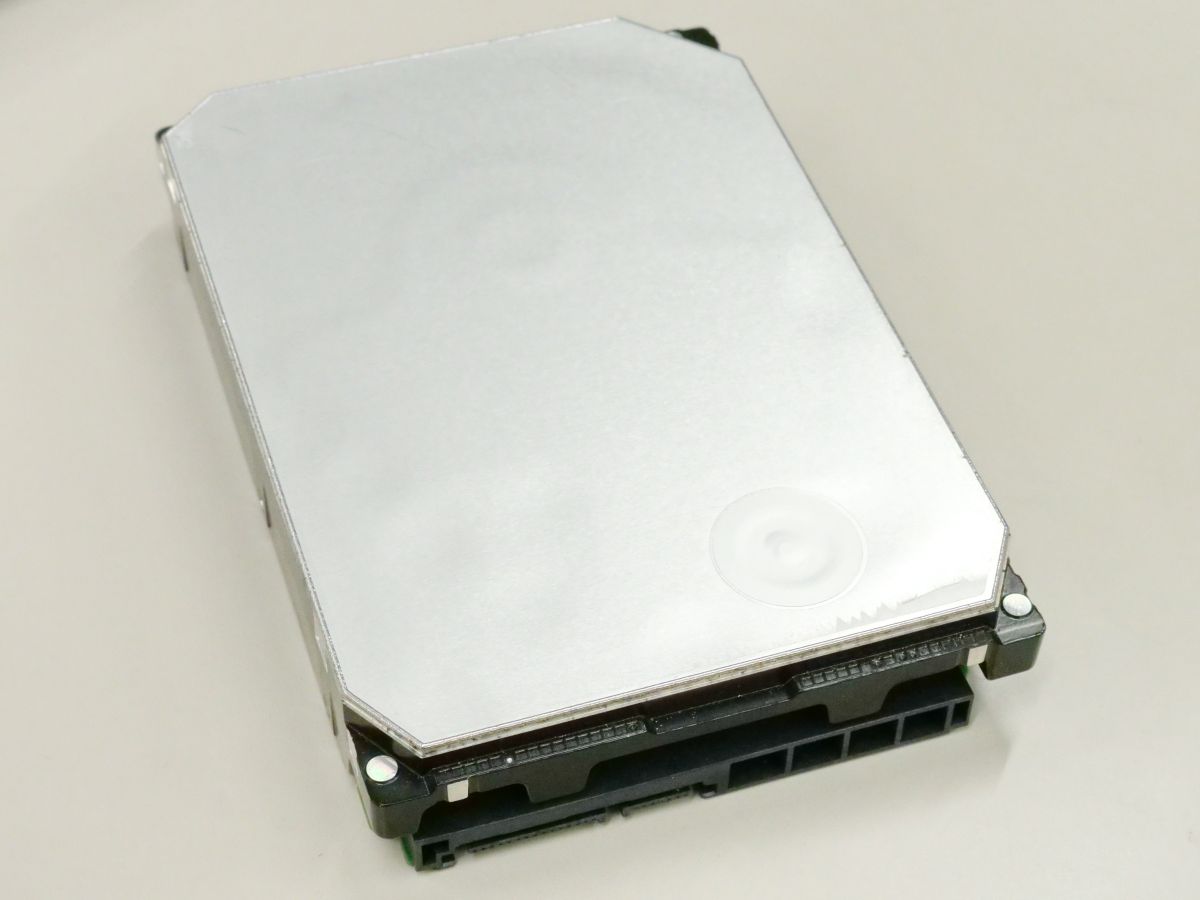
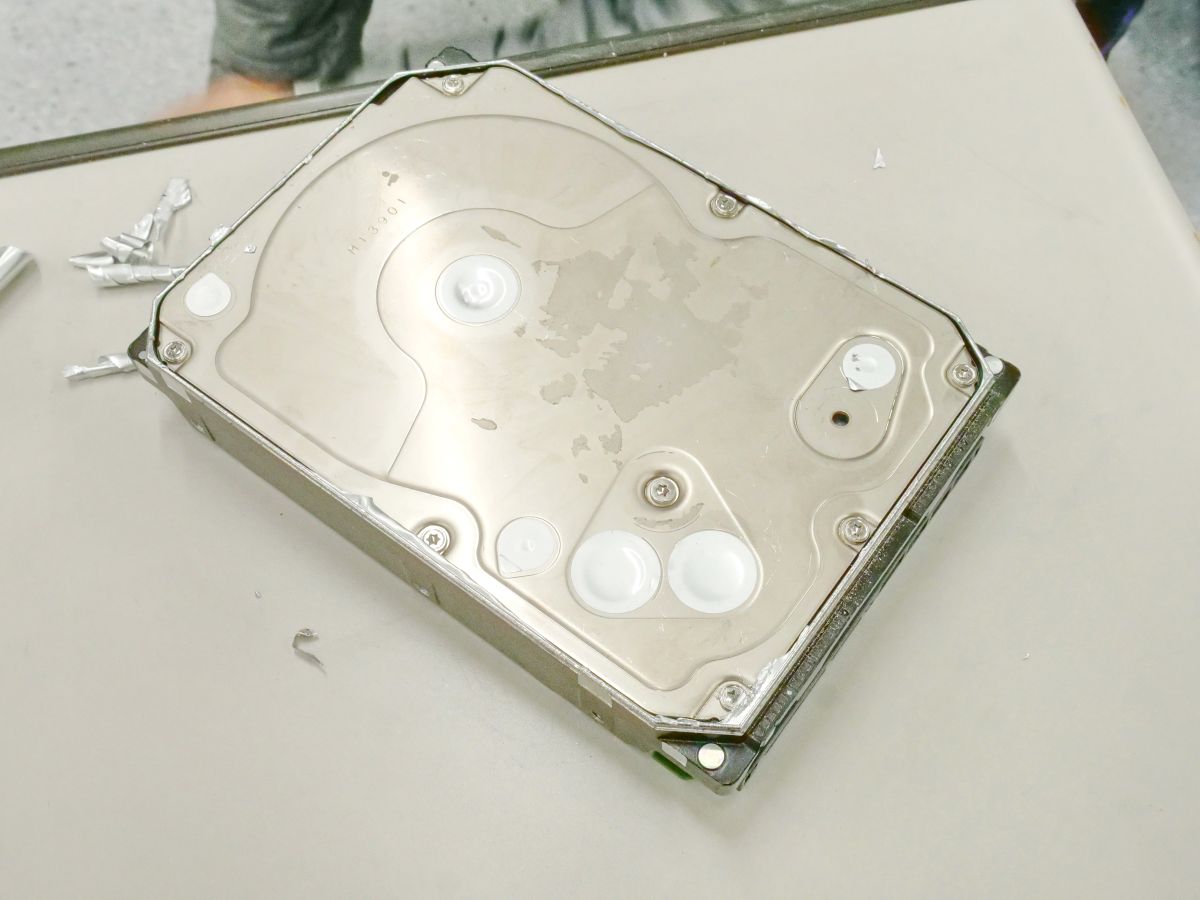
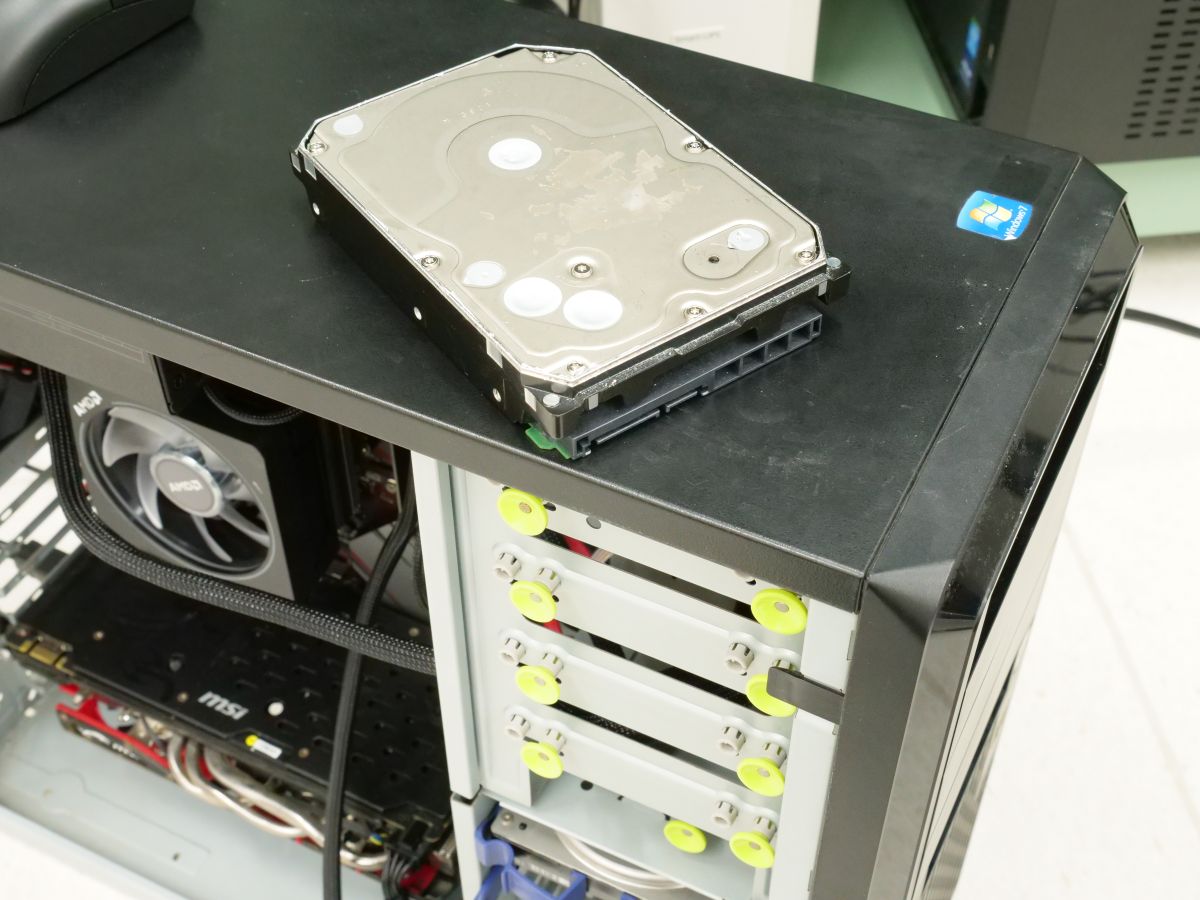
This is the HDD that will be disassembled into pieces this time. It is WD's helium-filled model ' WD80EFZX ' that I bought as a used operating product for 15,000 yen.

The old model of the '
The back side looks like this. There are not many screws on the back because there are many screws under the metal plate on the front.

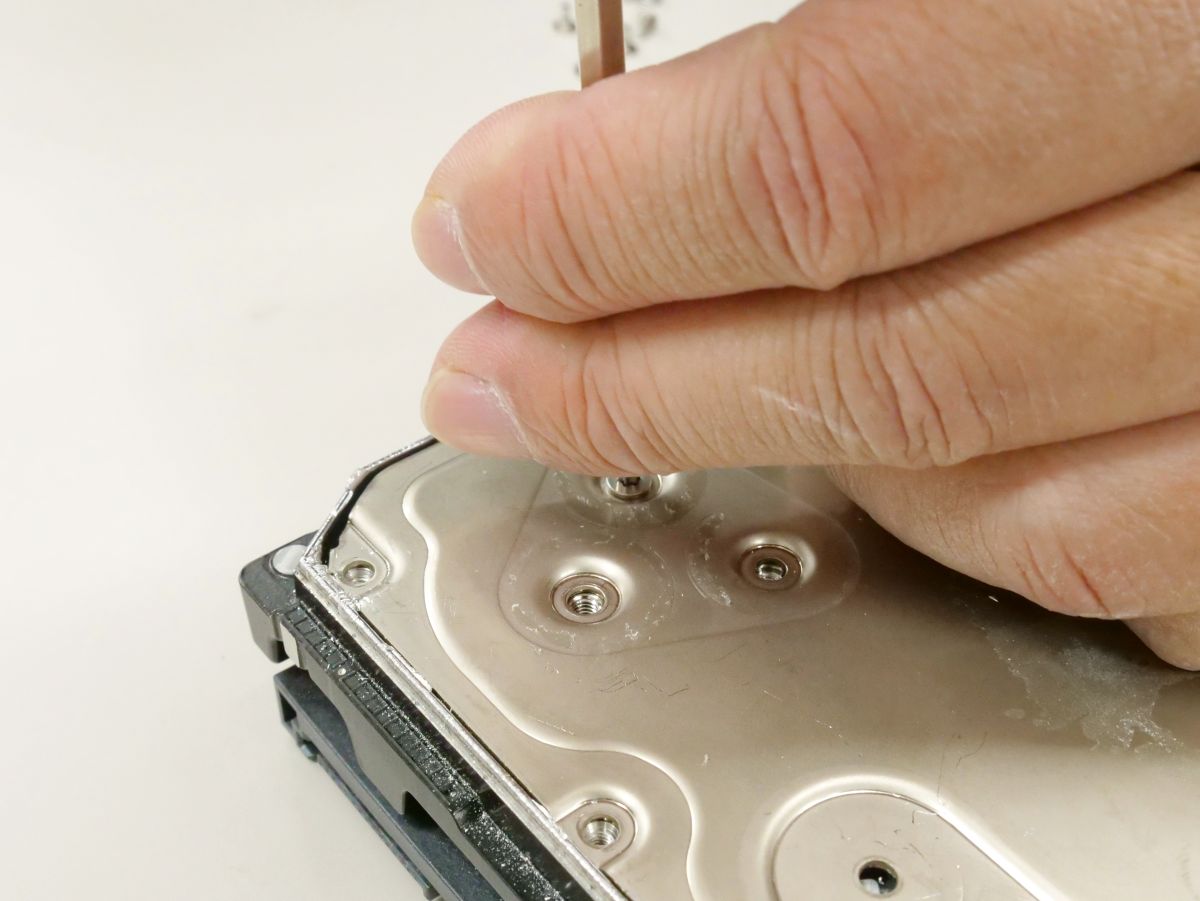
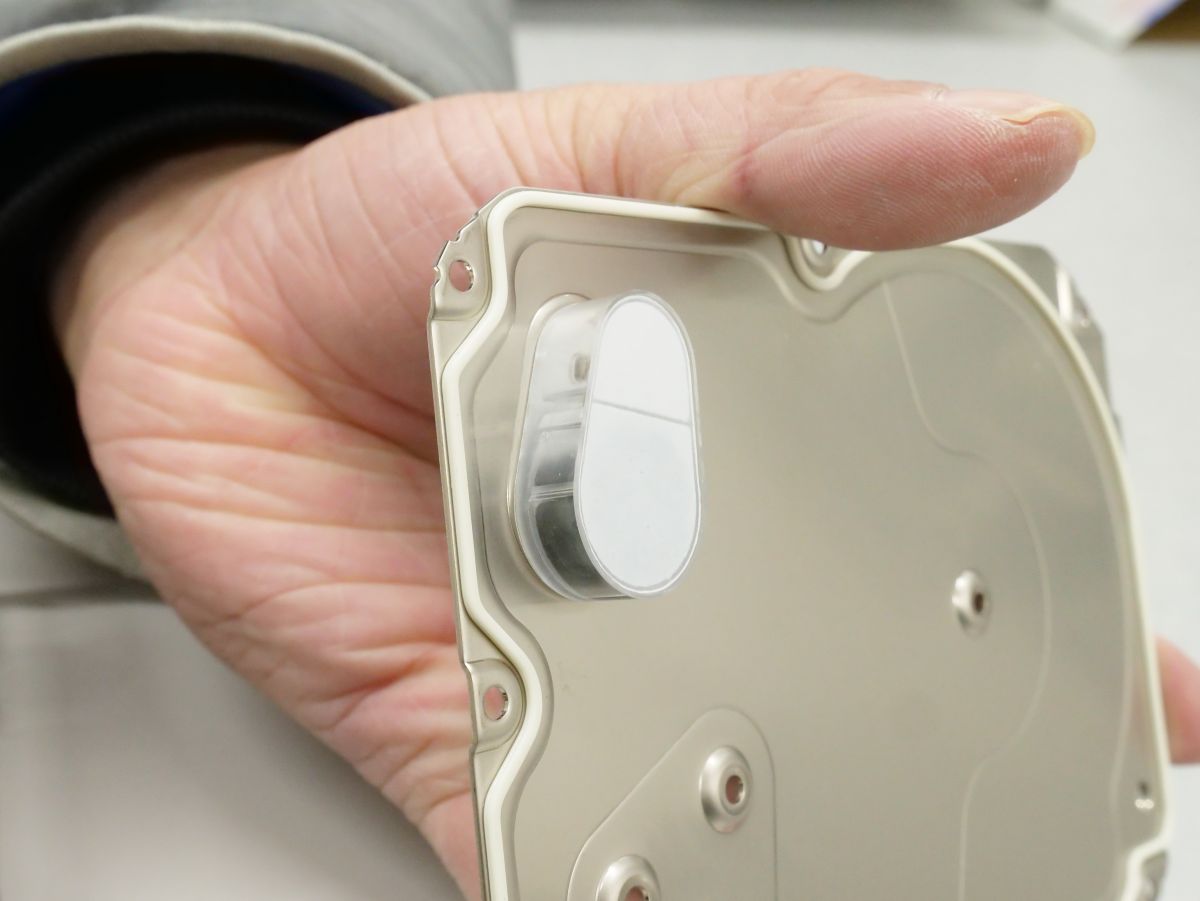
First, remove the sticker on the surface. If it is new, the warranty will be void at this point.
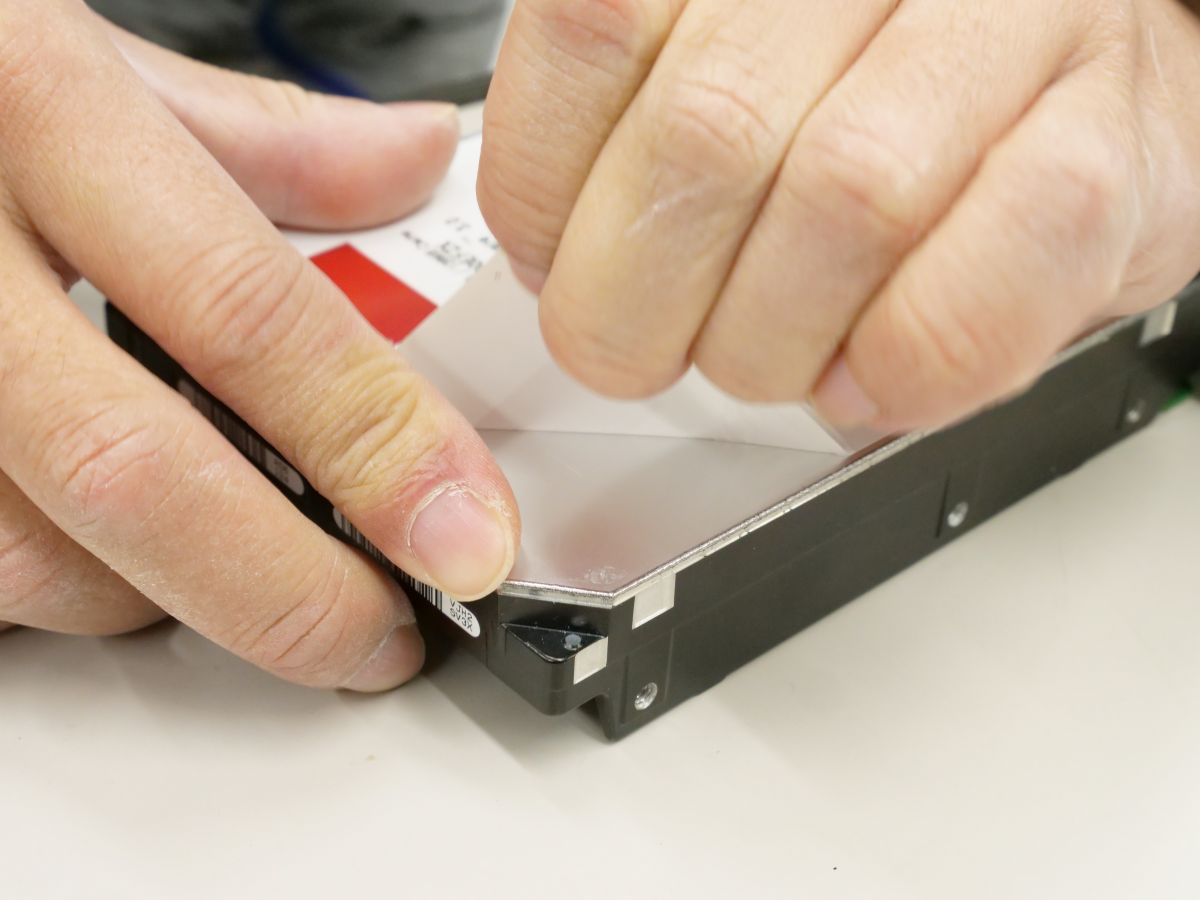
A metal plate has appeared.
If you remove the white sticker on the surface ...

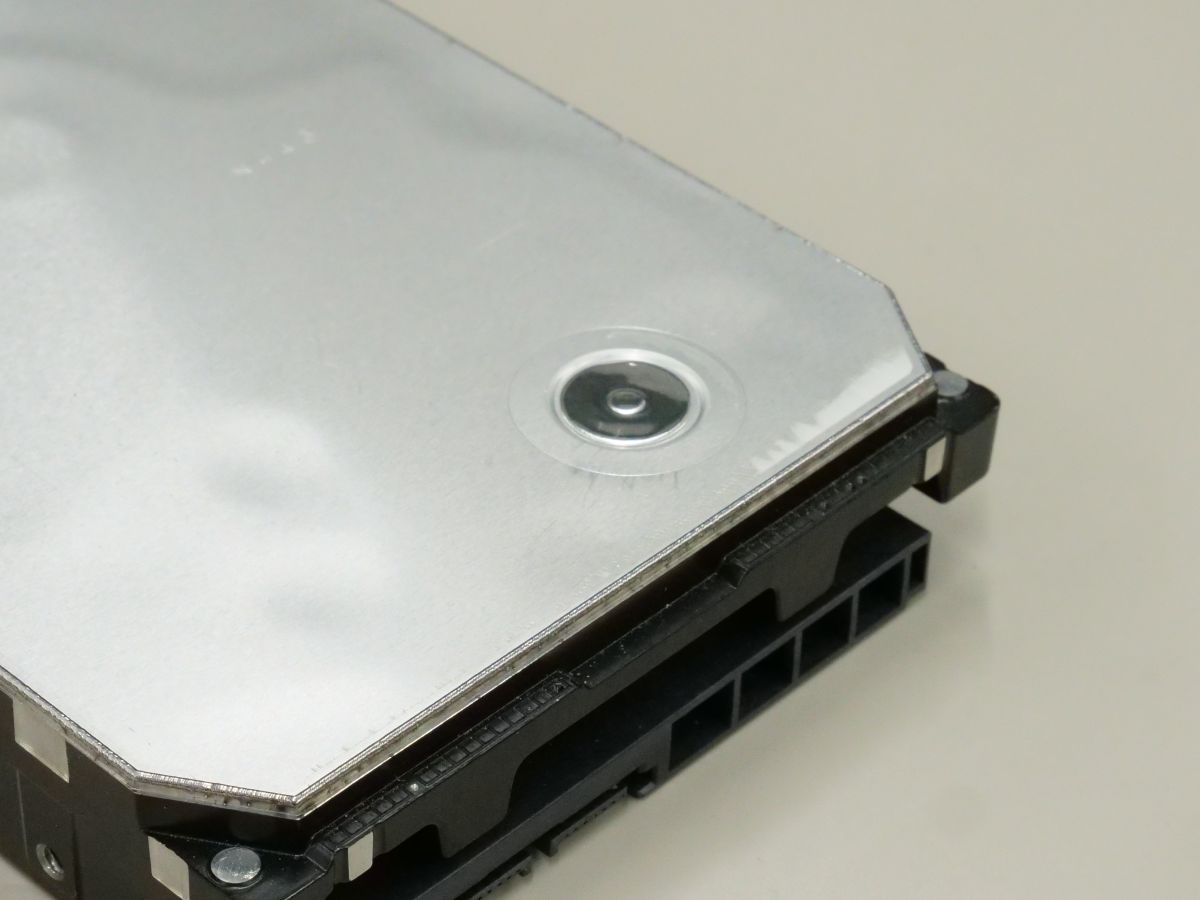
The pin has appeared. The structure is such that the helium inside can be removed by pulling out this pin.
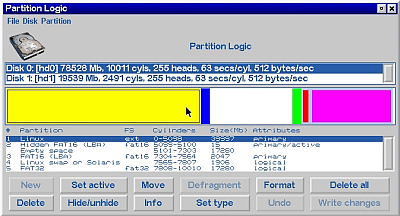
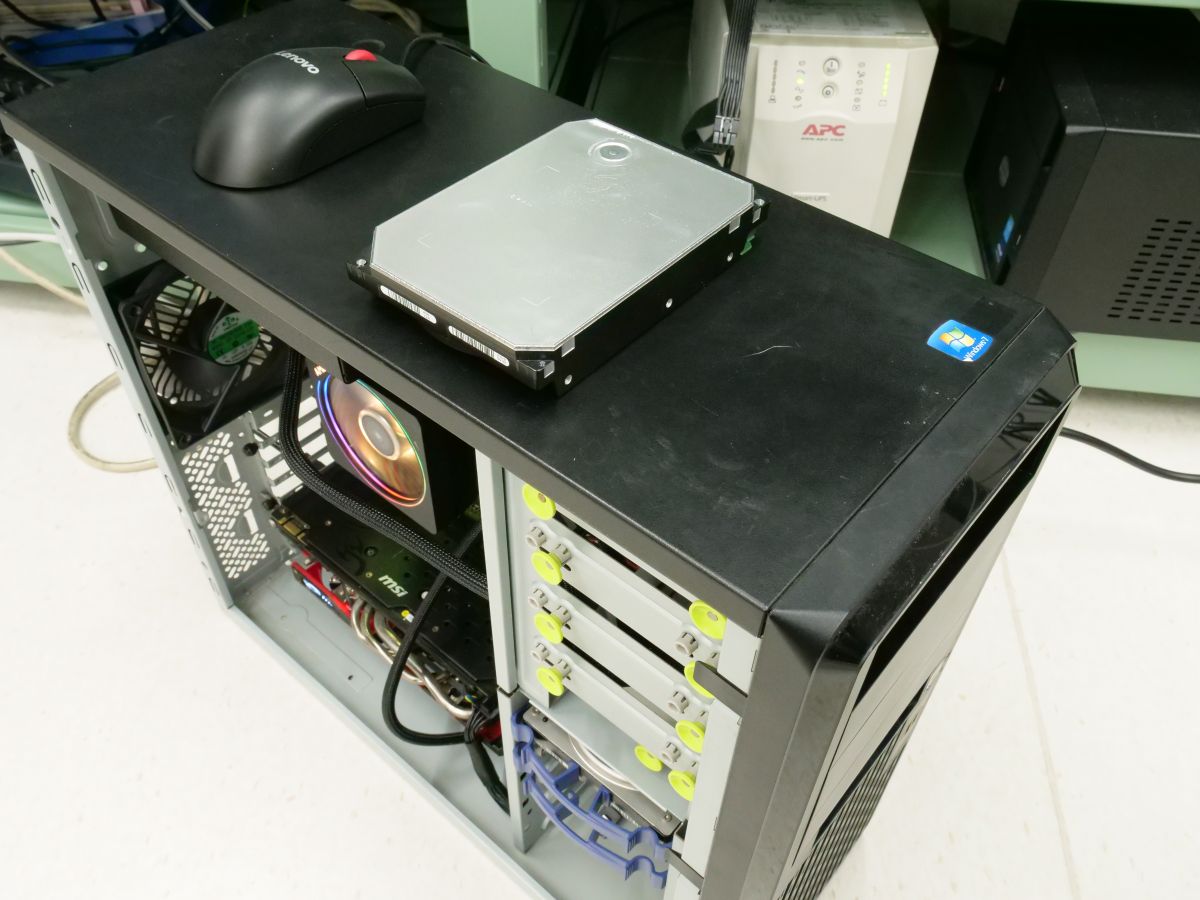
Let's check the operation once in this state.
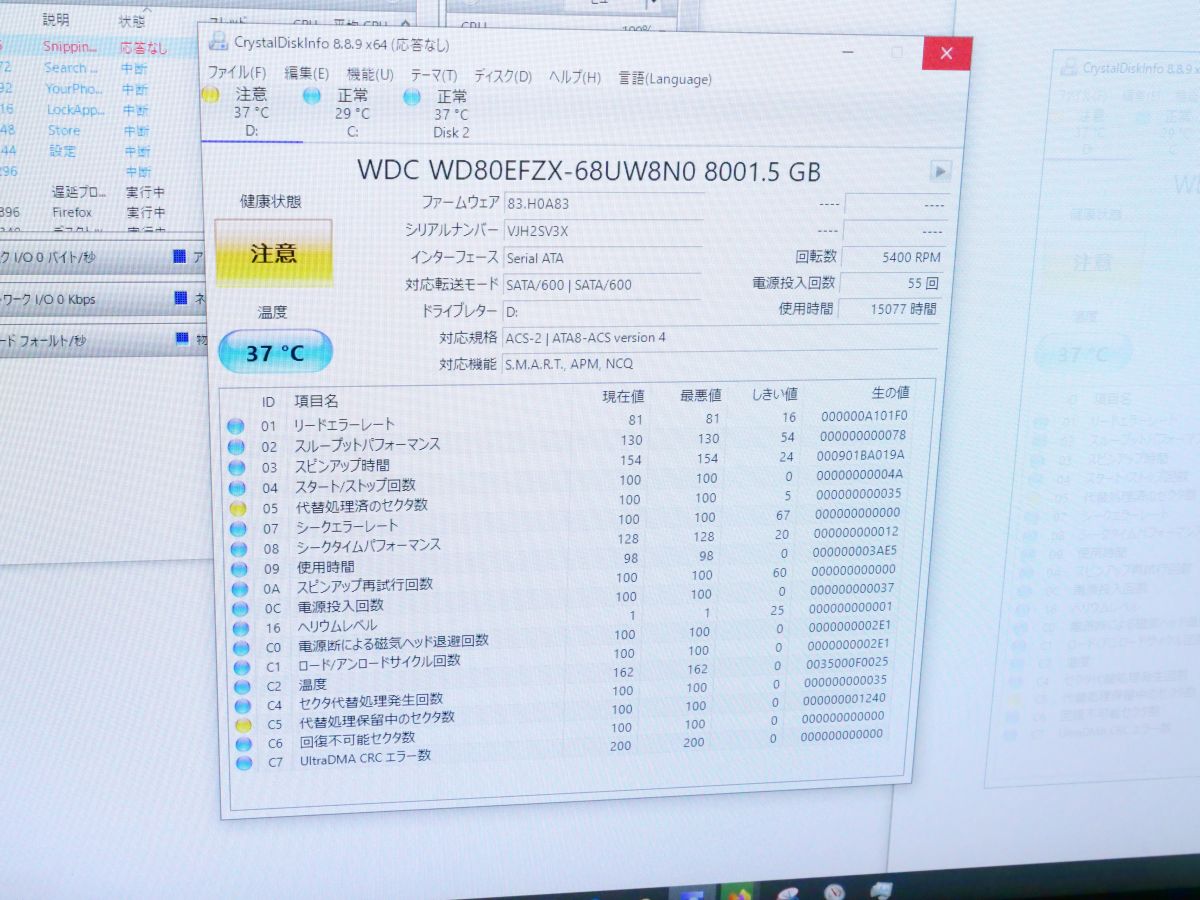
Below is a screenshot of

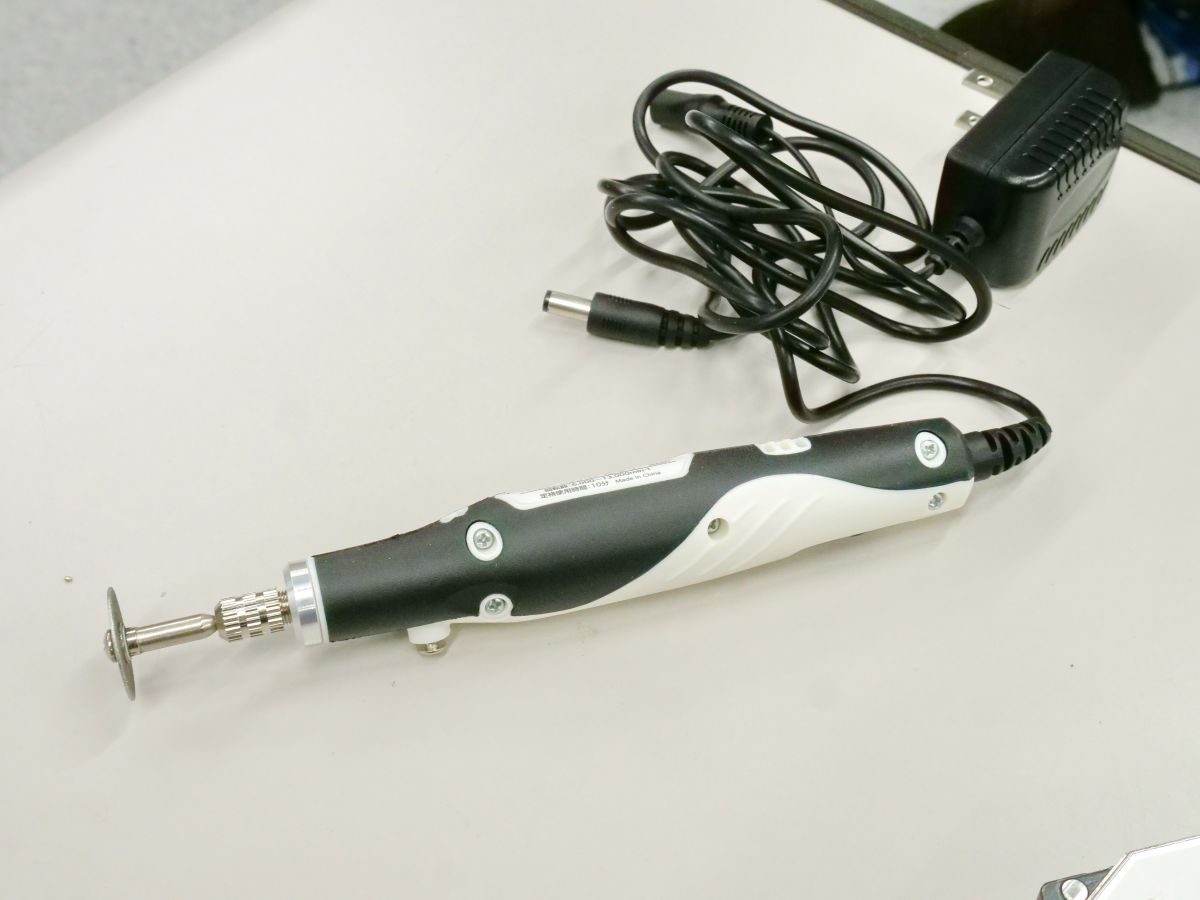
A mini router equipped with a cutting disc is prepared to remove the metal plate.
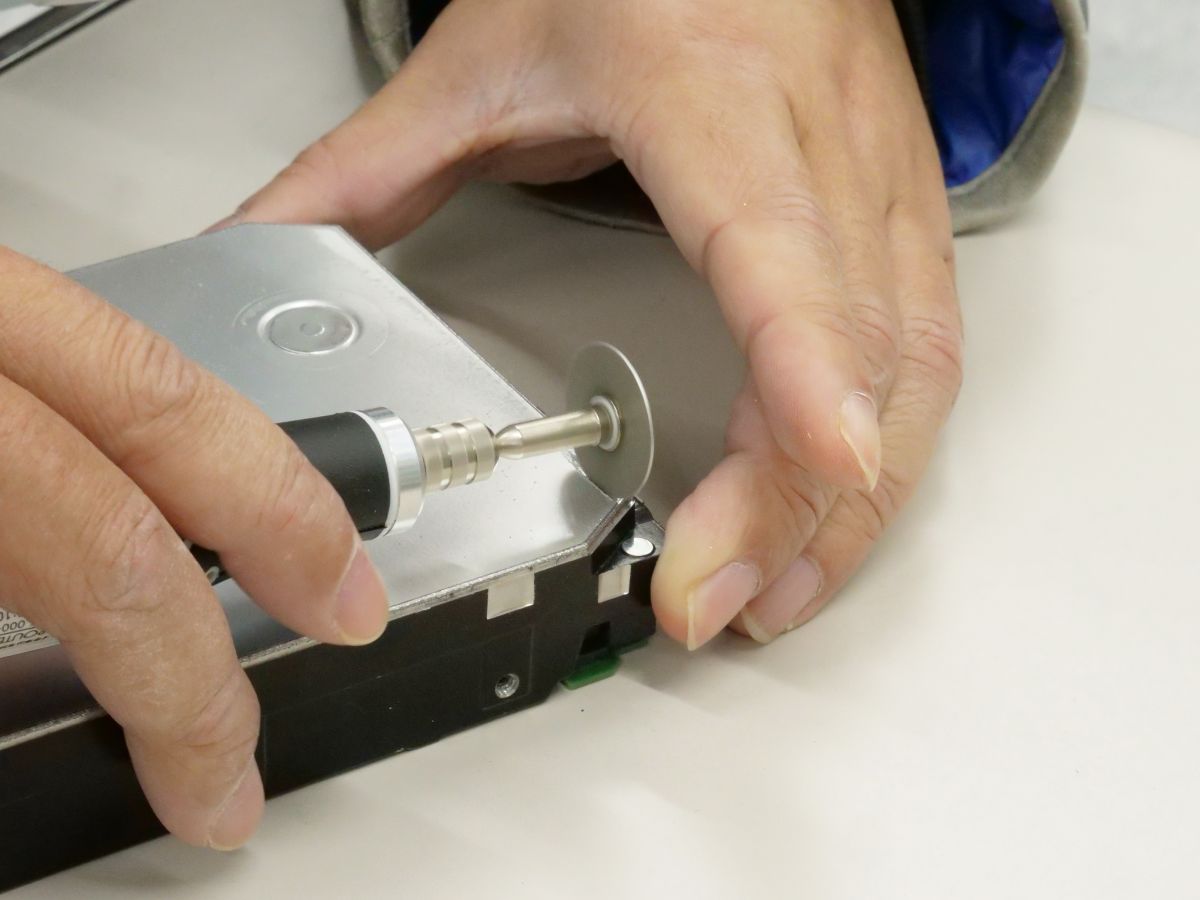
Avoid the area where the parts are directly underneath, and scrape the plate.
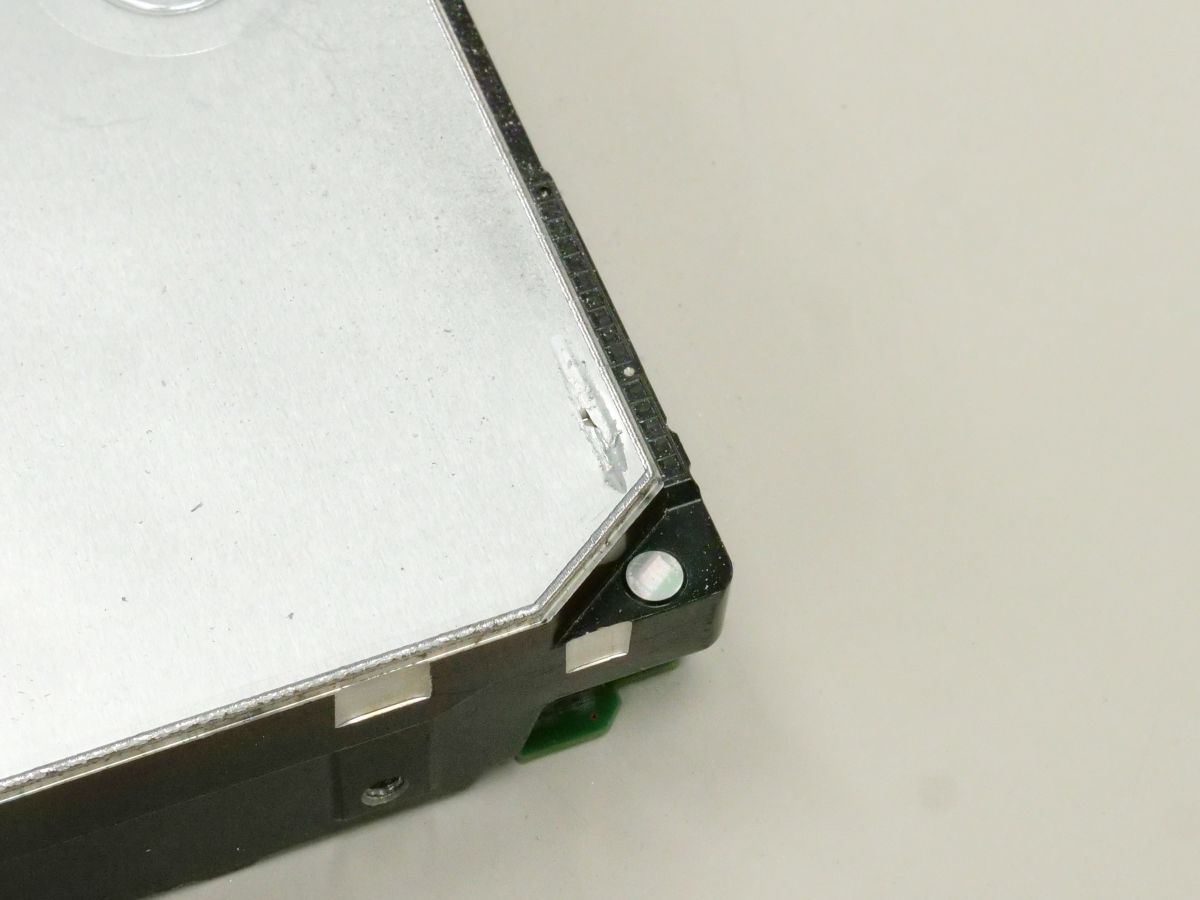
If it is scraped to some extent ...
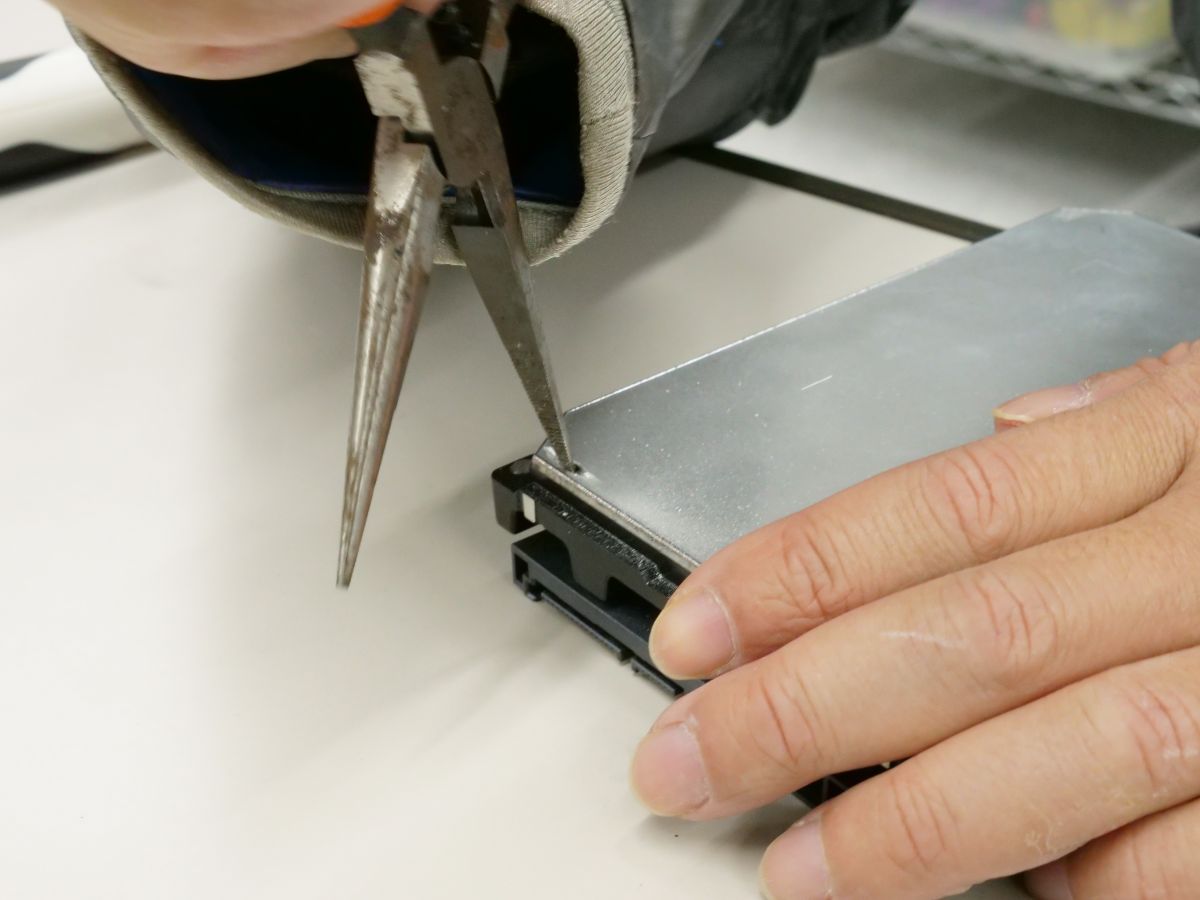
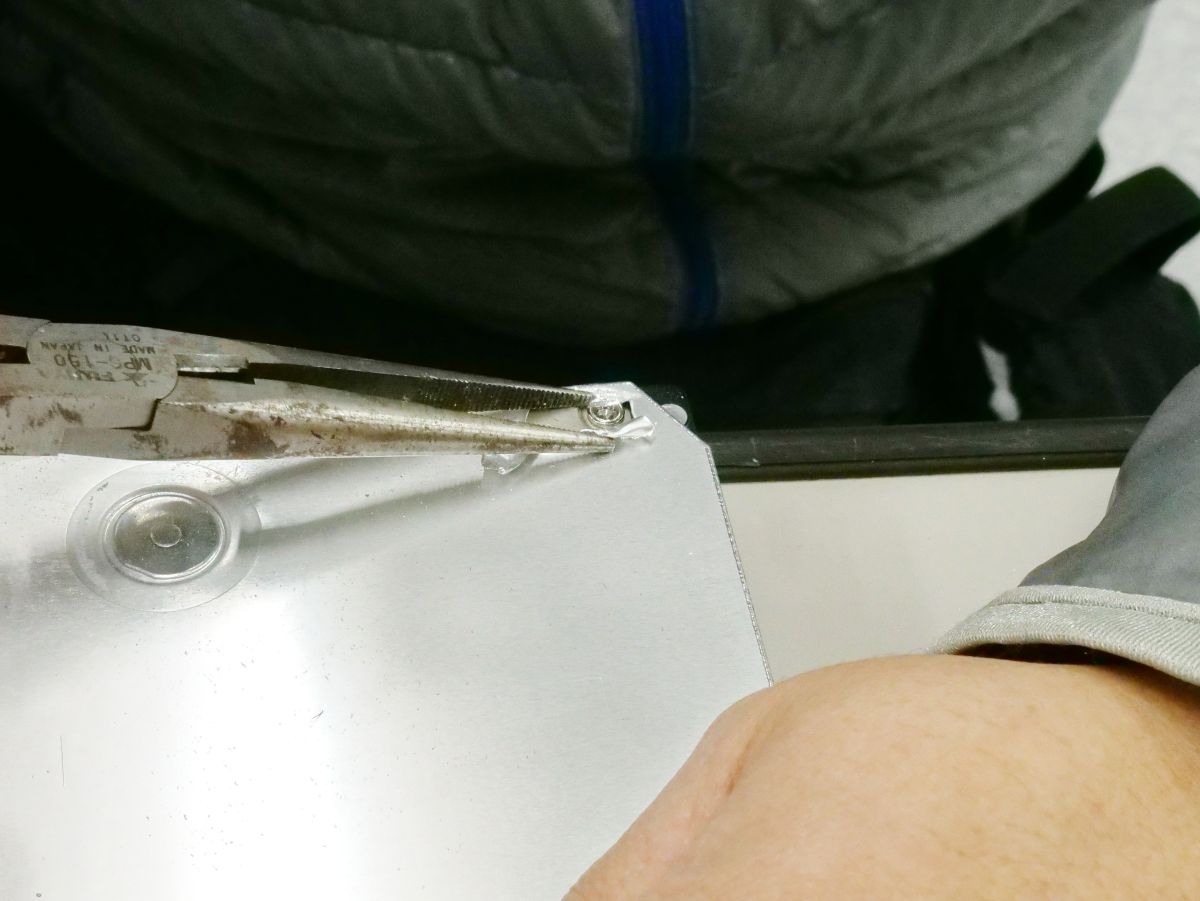
Spread the part scraped with needle-nose pliers.
Expand the hole further with a screwdriver.

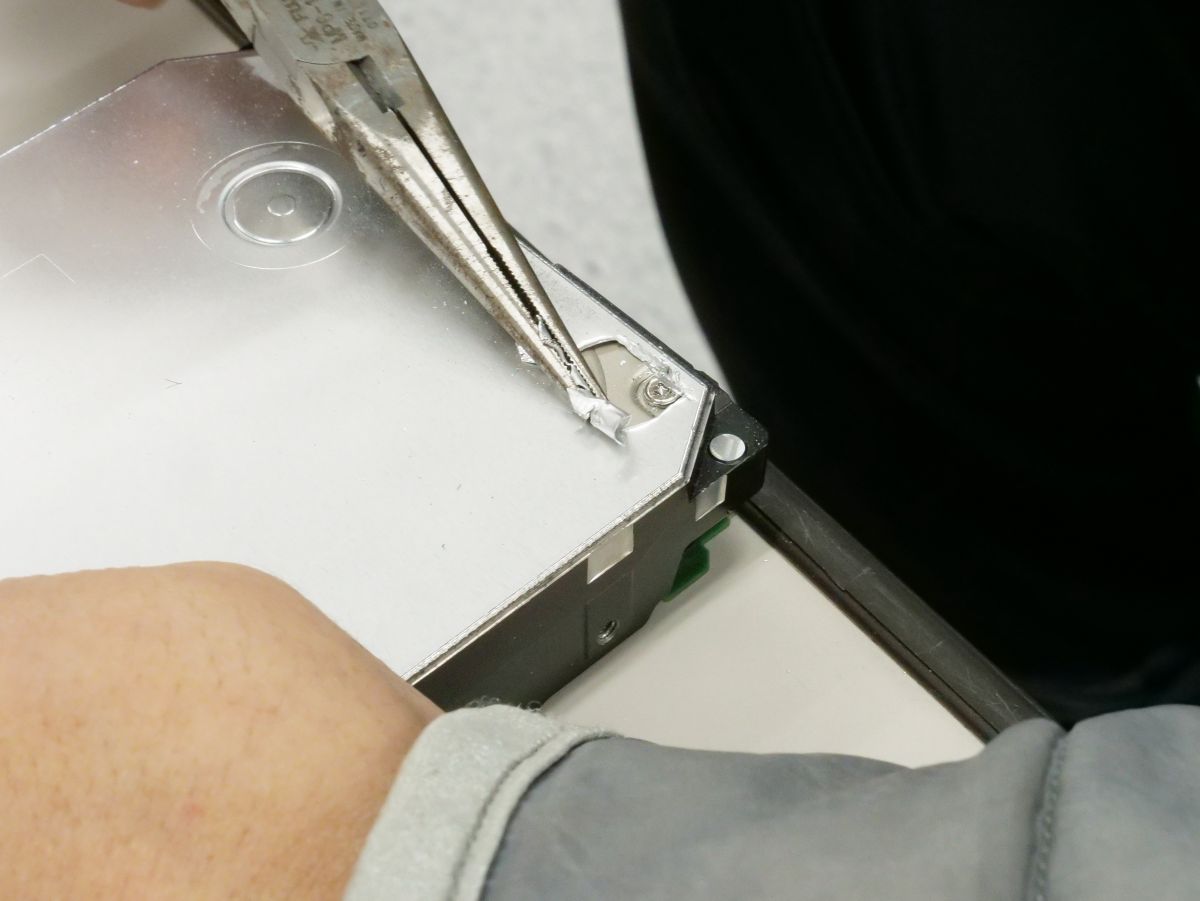
A hole of about 5 mm was opened.

Grab the plate with needle-nose pliers from the hole you made and peel it off.
Just
Some screws have appeared. It seems that an
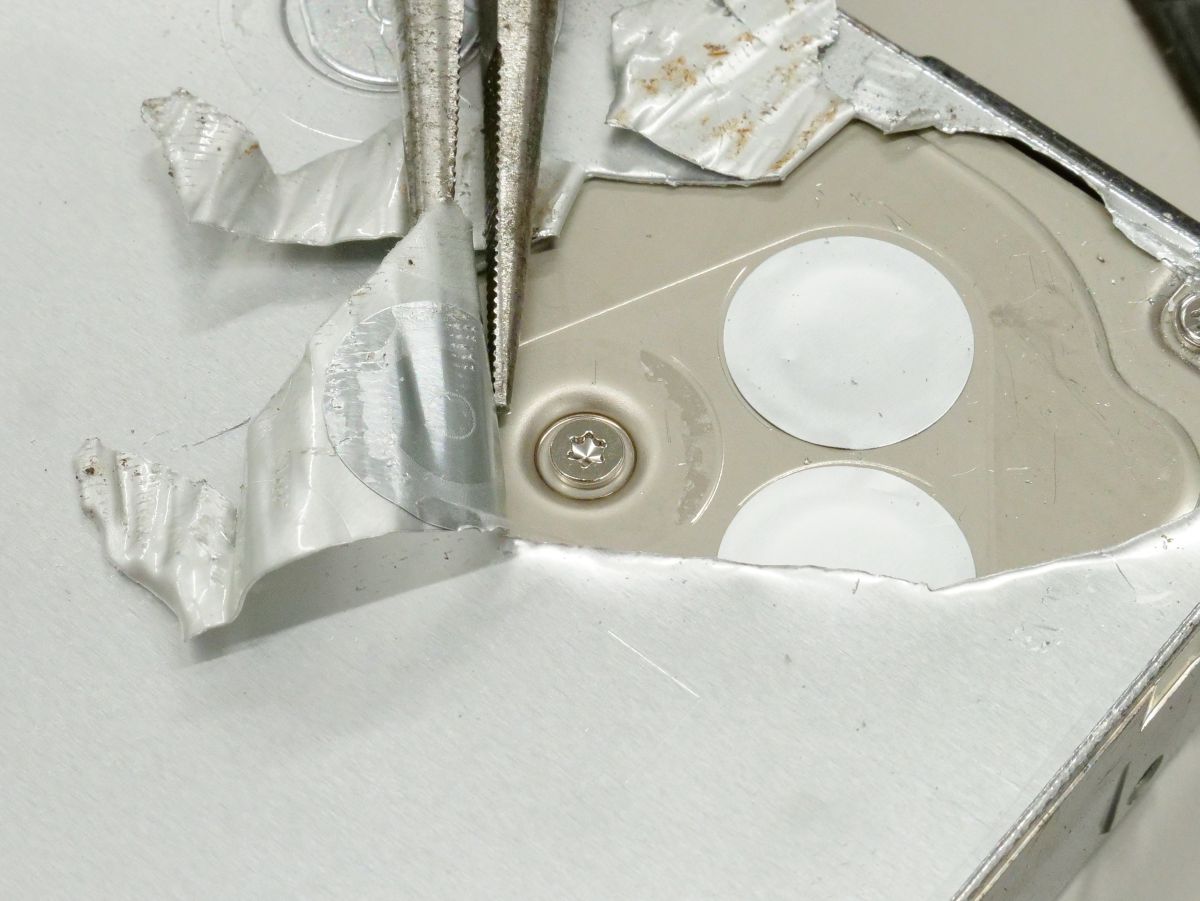
The adhesive is strong and harder to peel off than I expected.
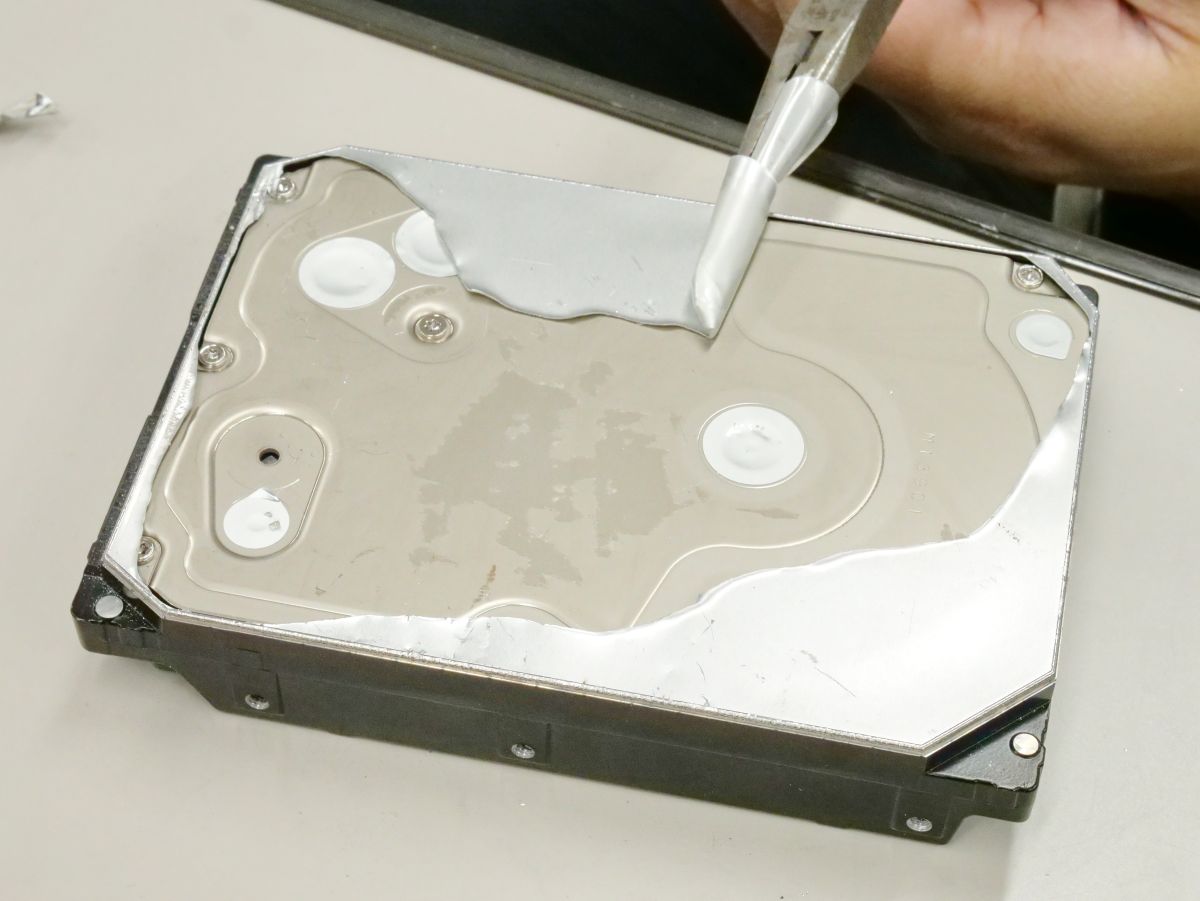
It took about 15 minutes to work alone to remove the plate cleanly.
At this point, let's check the operation of the HDD.
The helium level is '1' at the time of activation, and the helium is missing. Immediately after booting, I was able to read and write data while increasing the number of bad sectors, but after about 30 minutes, the OS became unstable.
Since it can no longer be used normally, I will disassemble the HDD without worrying about it.
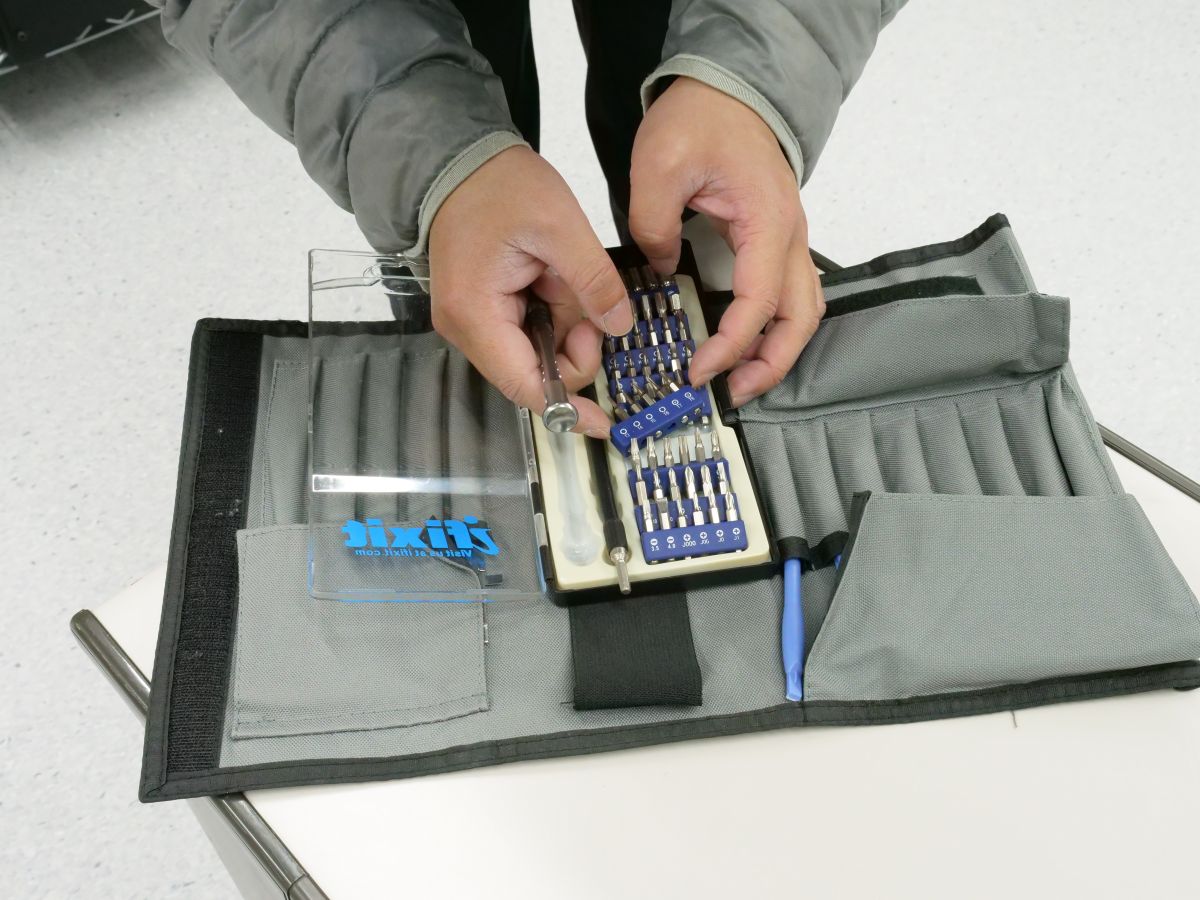
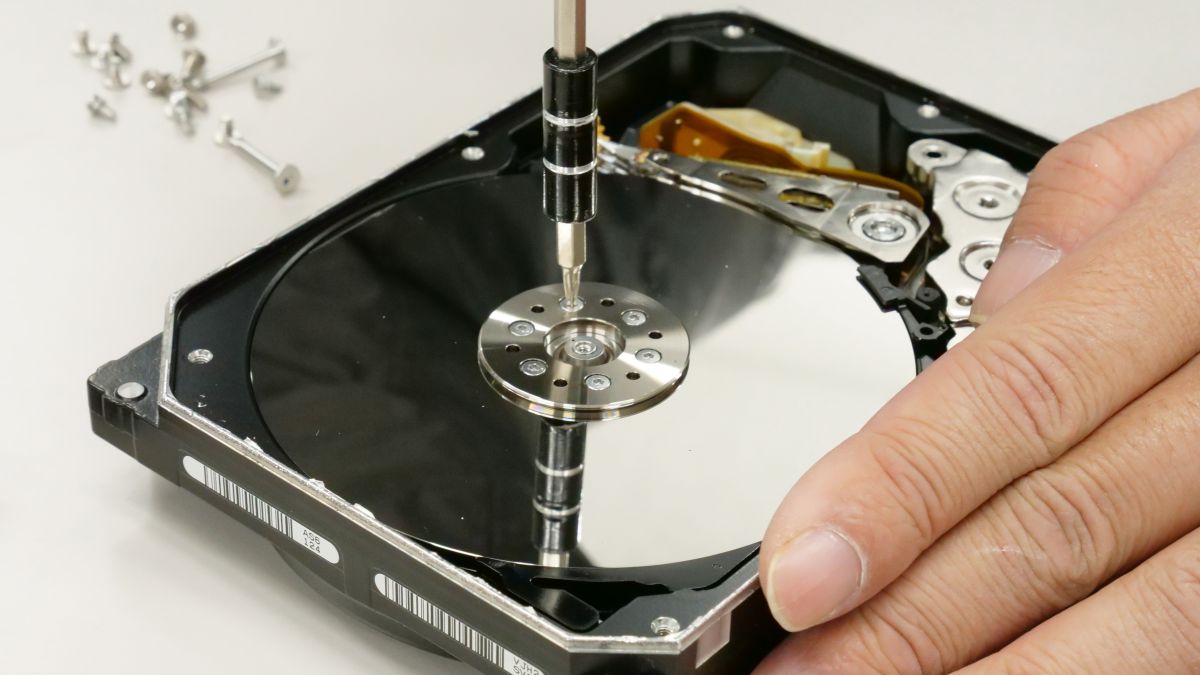
Use a Torx screwdriver to remove all the screws on the HDD surface.
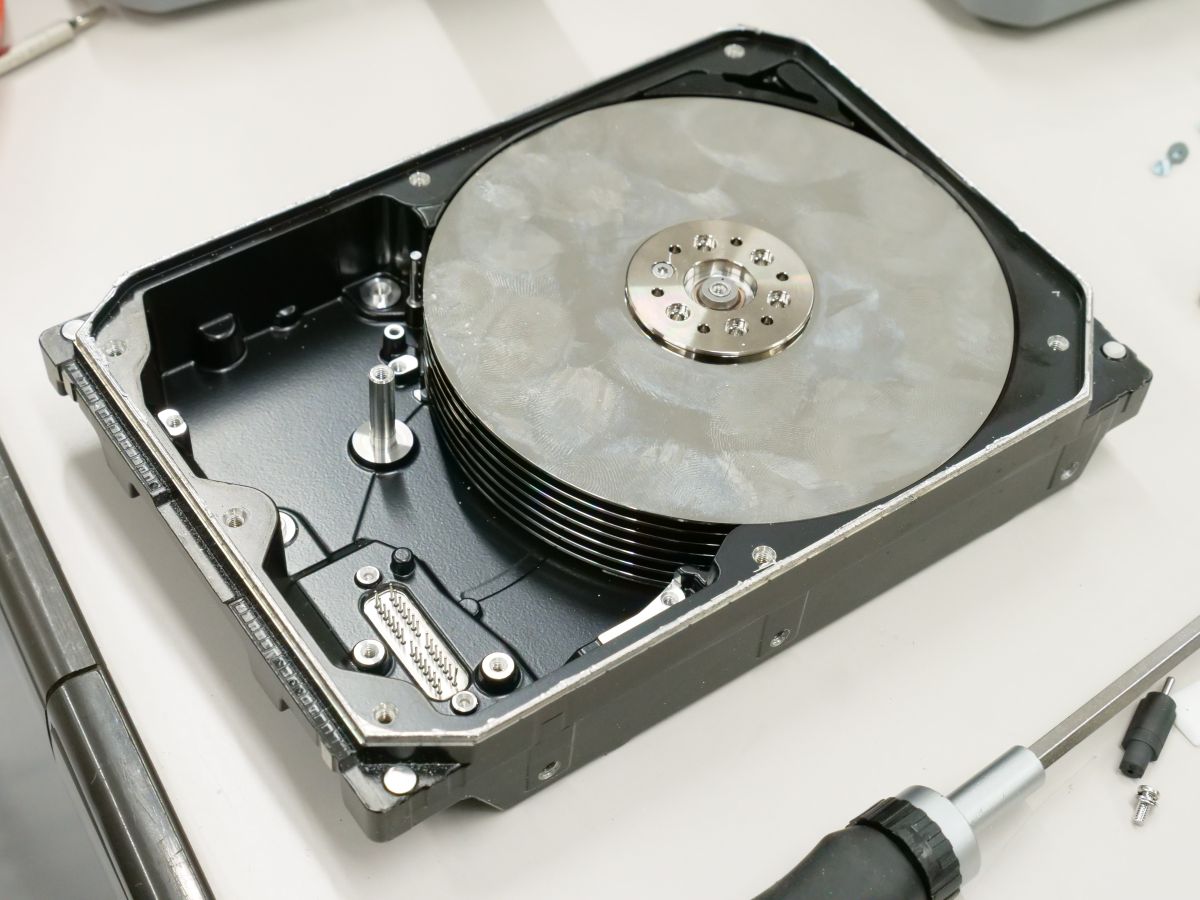
When you open the lid ...
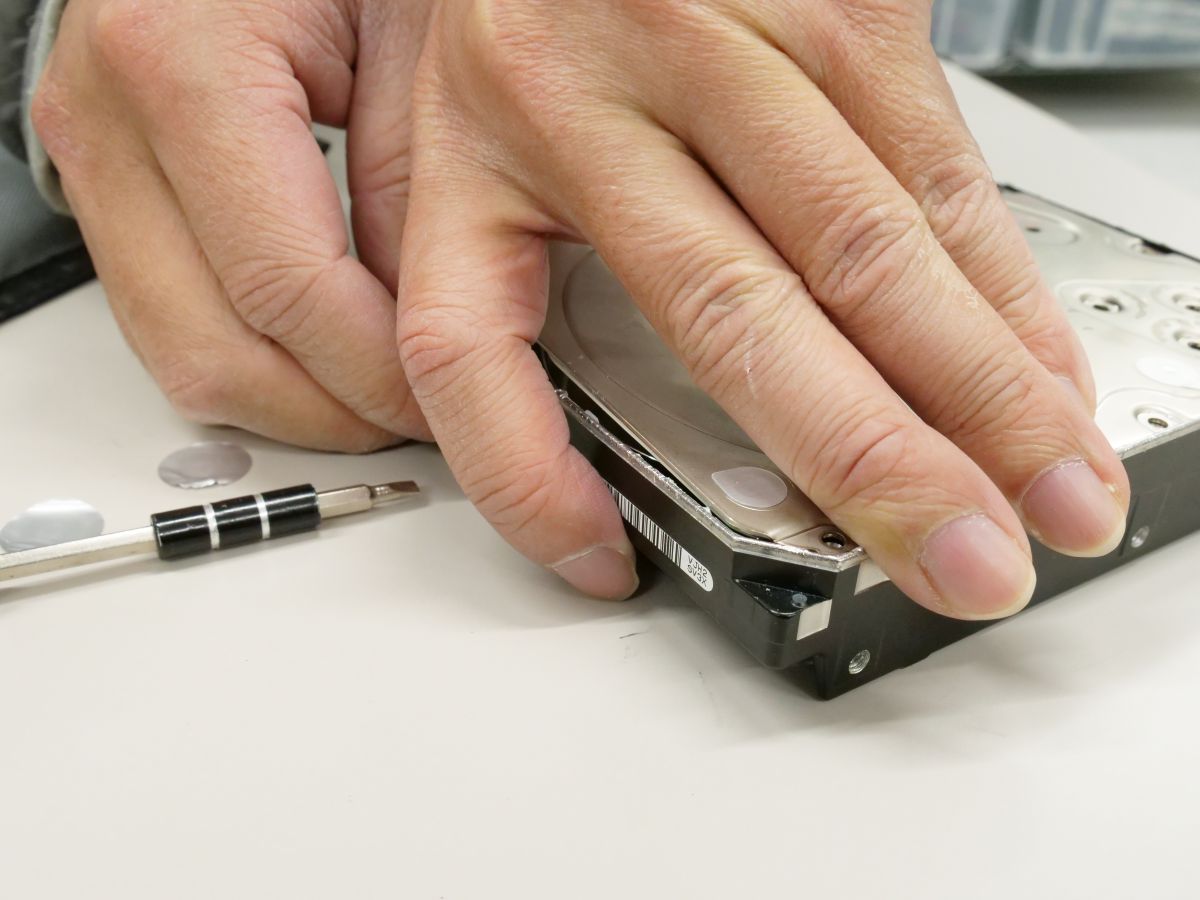
Succeeded in accessing the inside of the HDD.
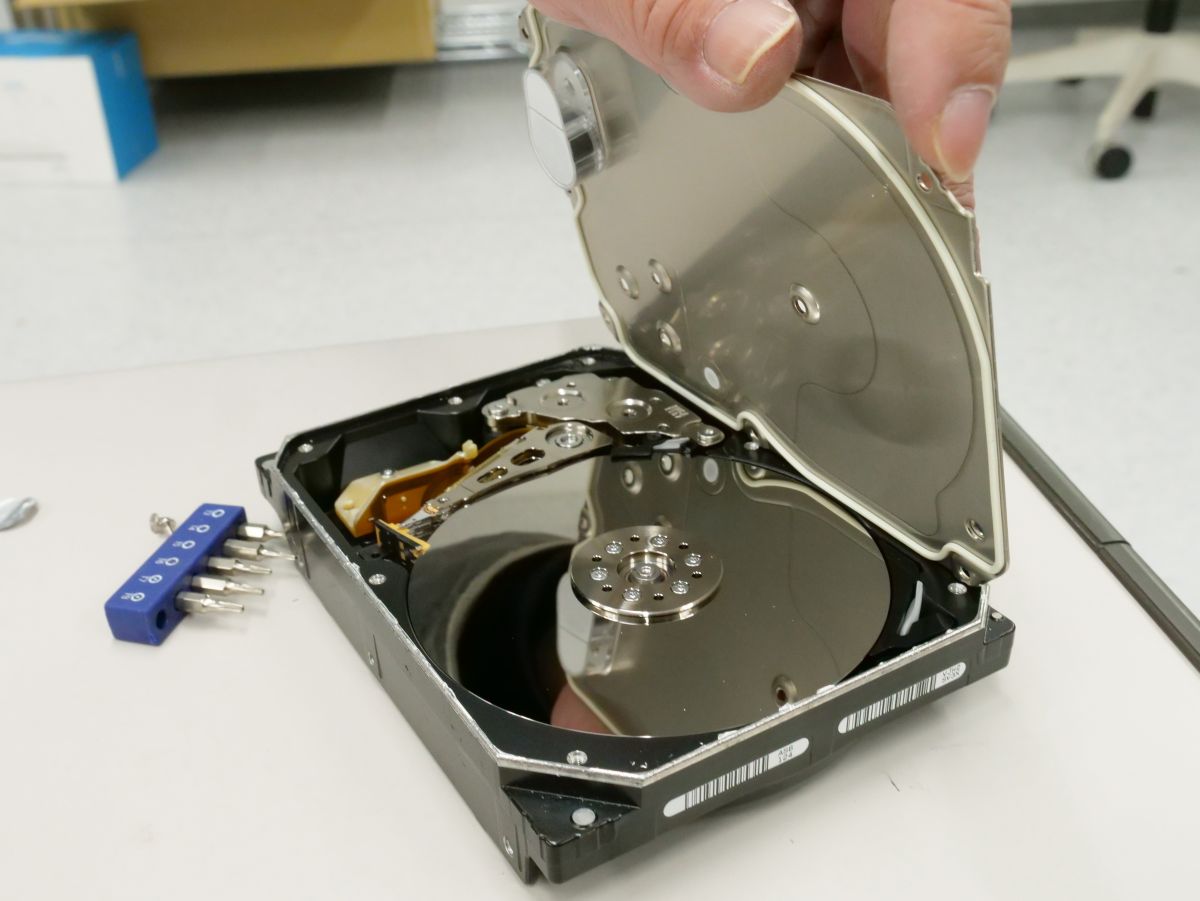
The circumference of the lid is sealed with rubber, and it is devised to seal it so that helium does not leak.
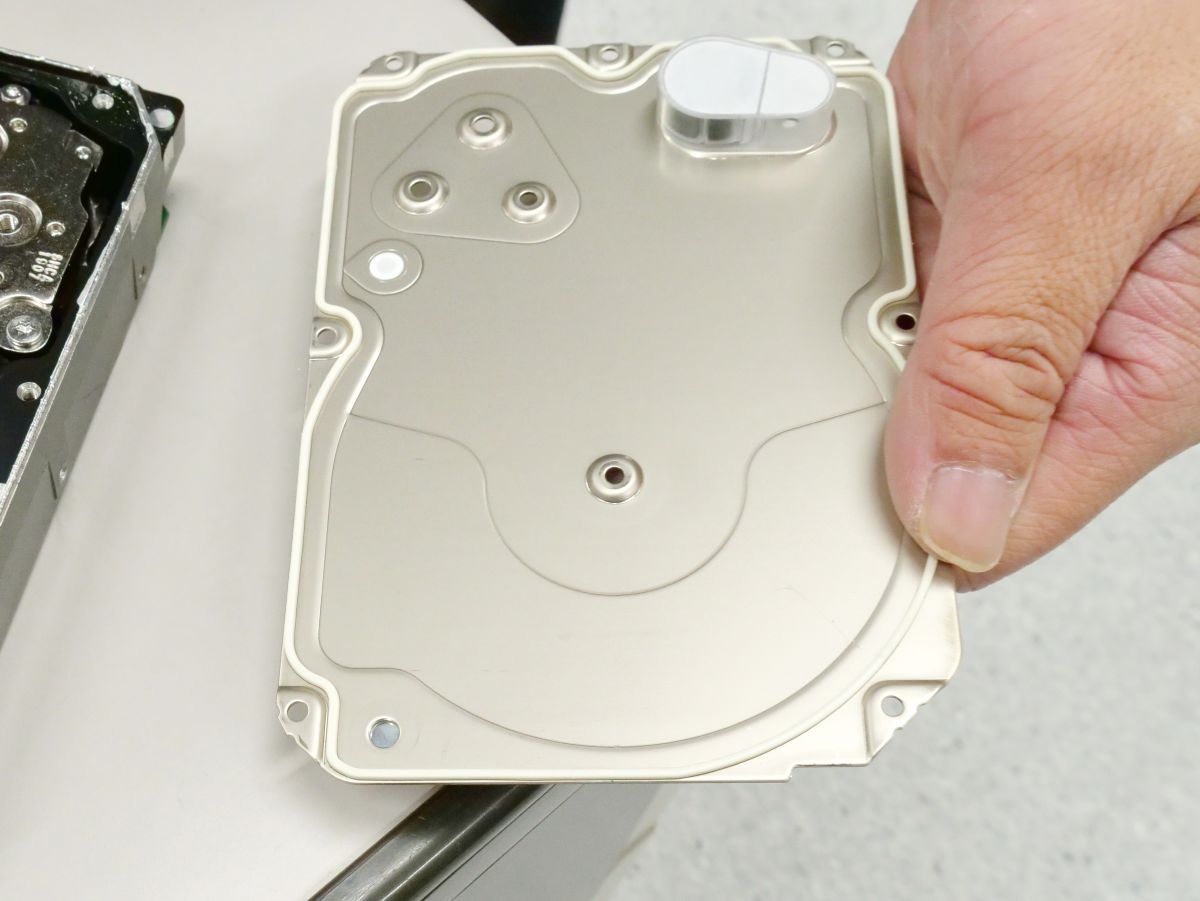
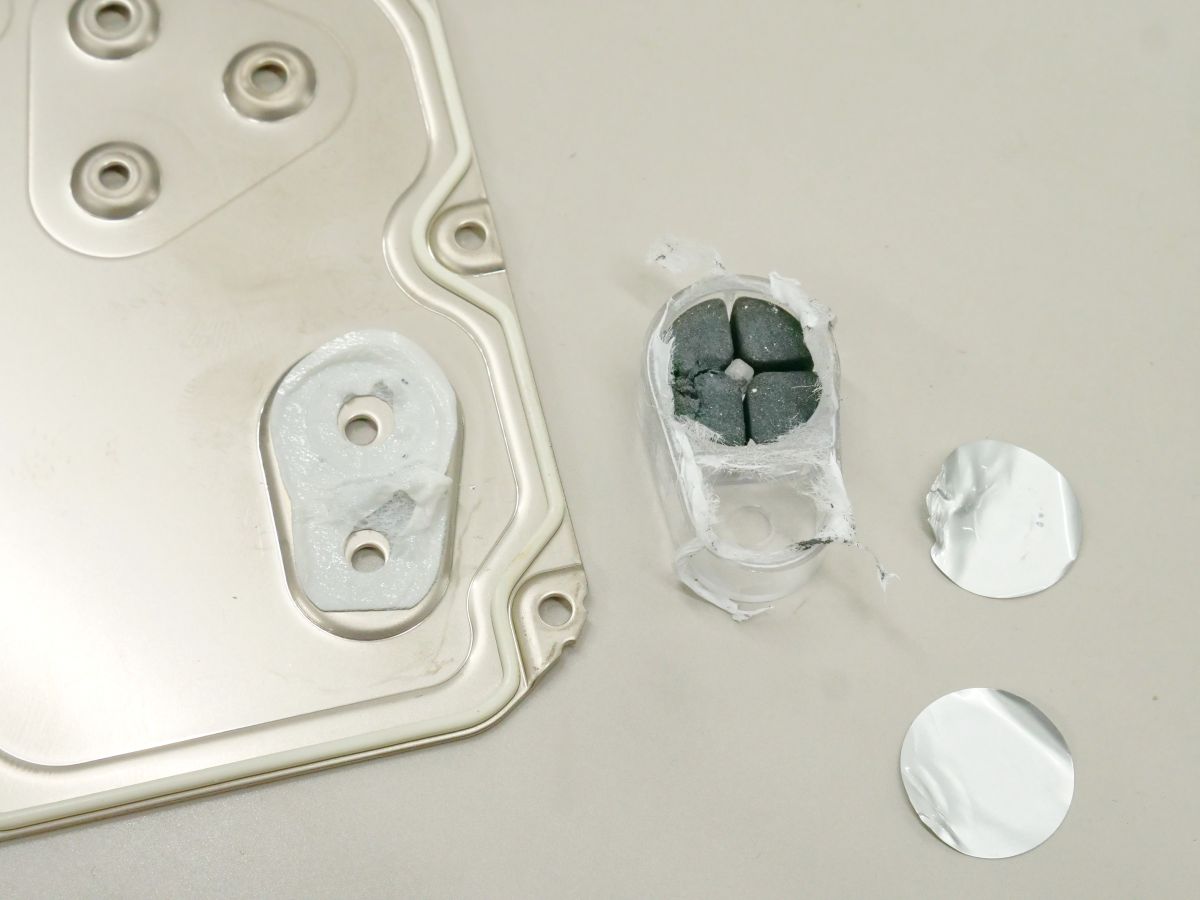
What is worrisome is the mysterious filter-like part on the lid.
When I pry it open with pliers ...
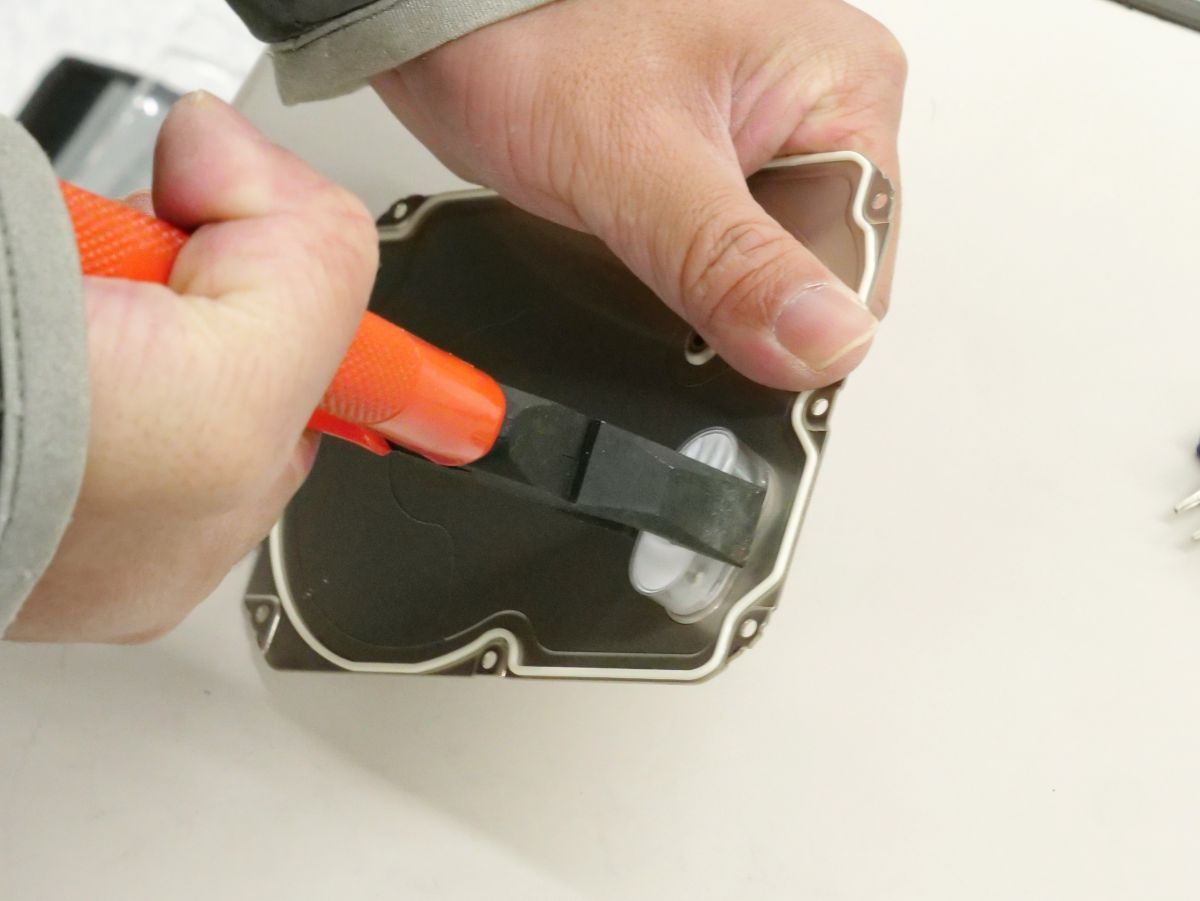
Something like
In order to disassemble the HDD body, I tried to remove the parts fixing the platter with a Torx screwdriver ...
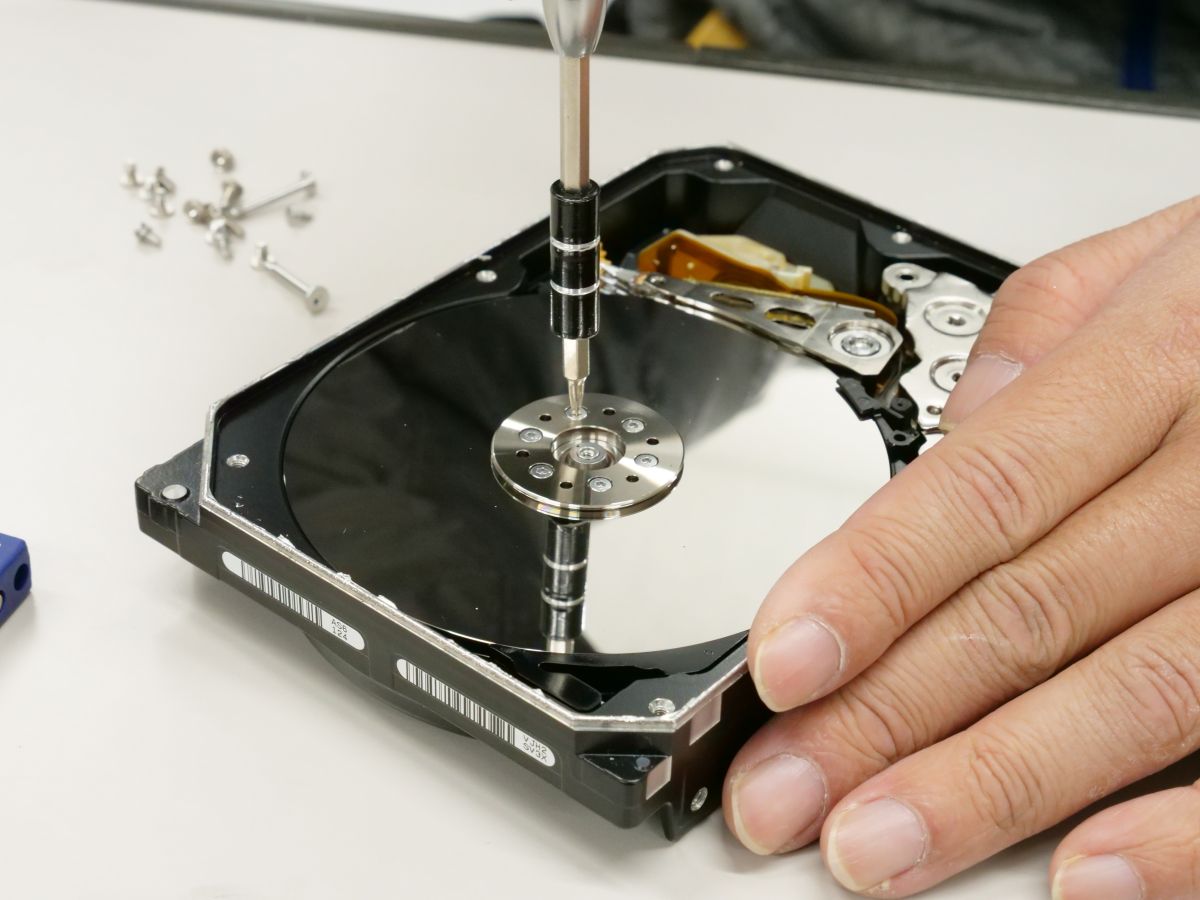
It's very tight and it's quite difficult to remove. Especially for the last screw, there is no sign of coming off.
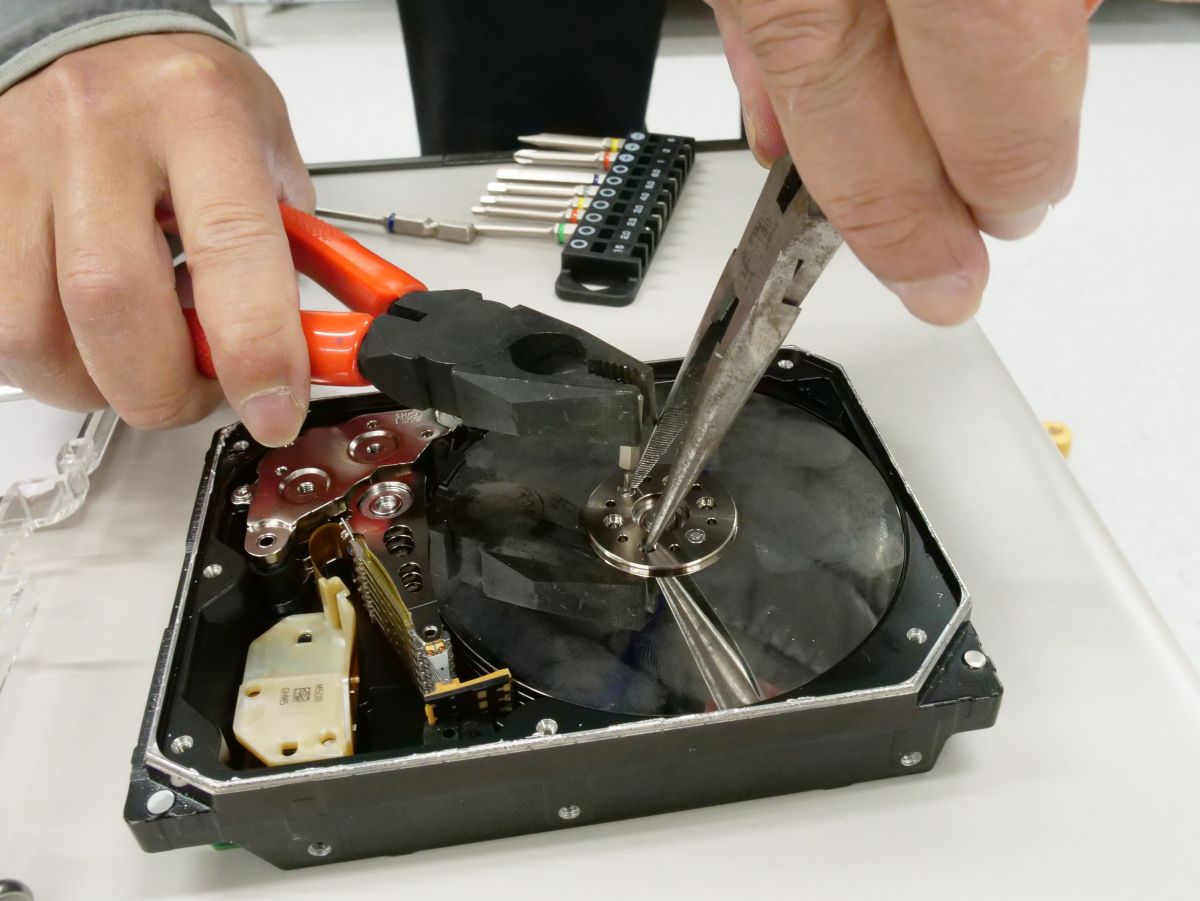
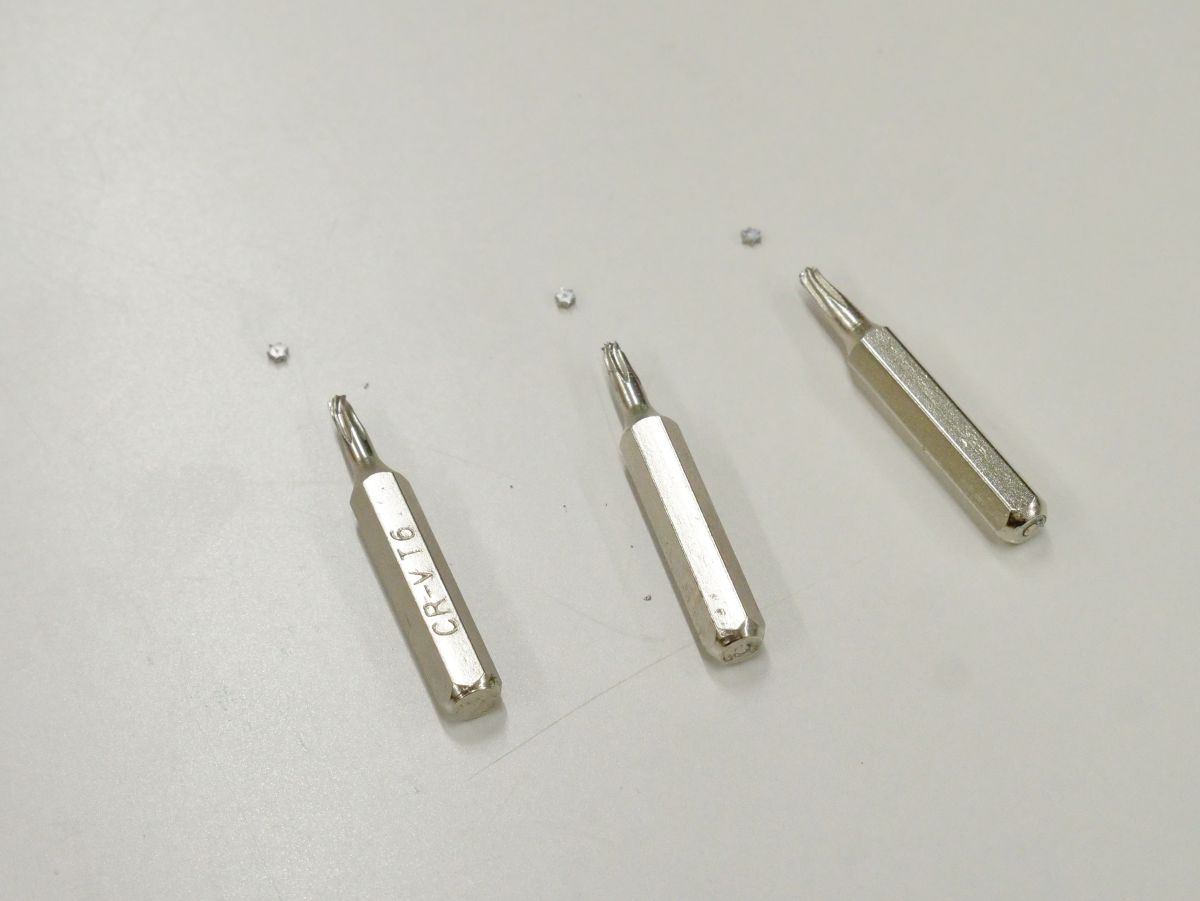
All three Torx screwdrivers I have have been screwed. I will give up removing the platter and remove other parts.
Remove the screw at the connection between the HDD board and the arm ...
Also remove the screws that secure the board on the back side.
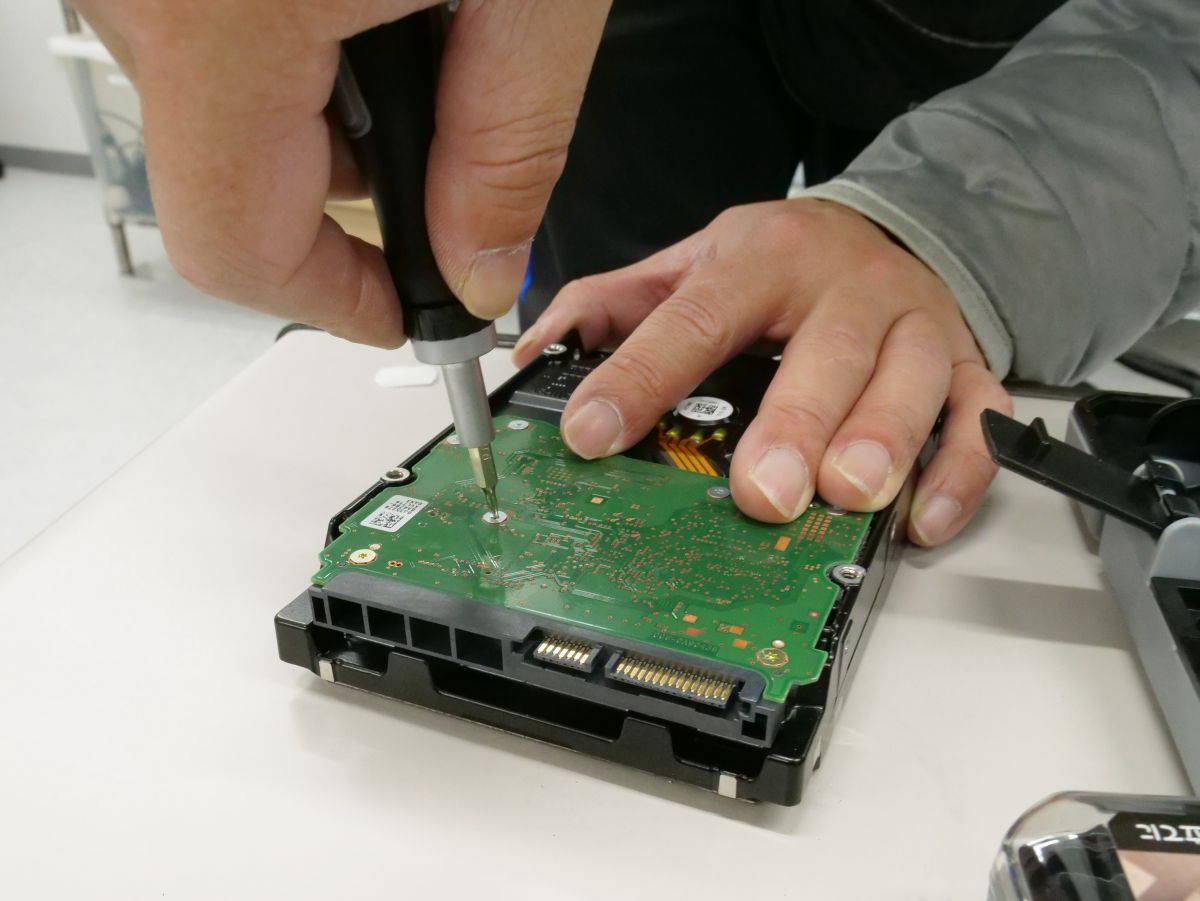
The board has come off.
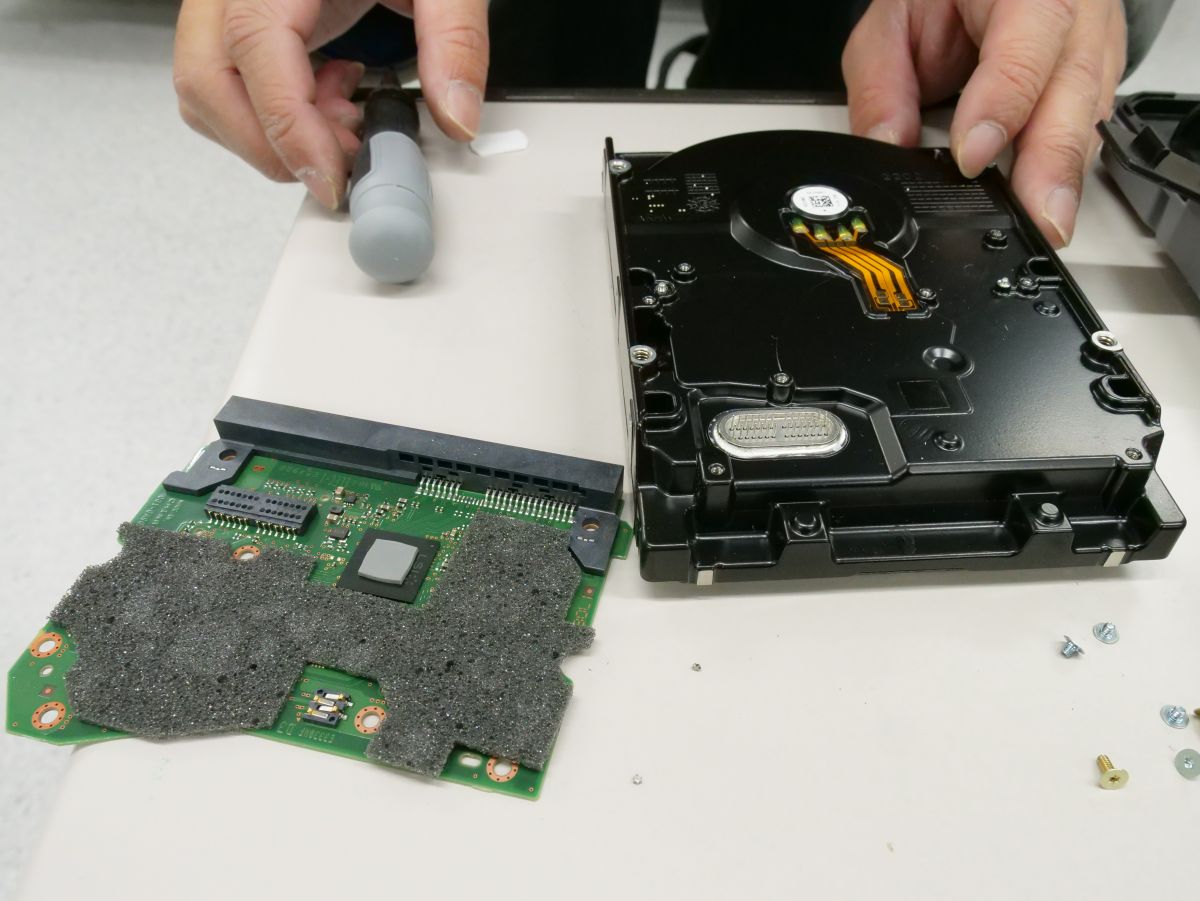
When the urethane on the surface is peeled off, it looks like this.
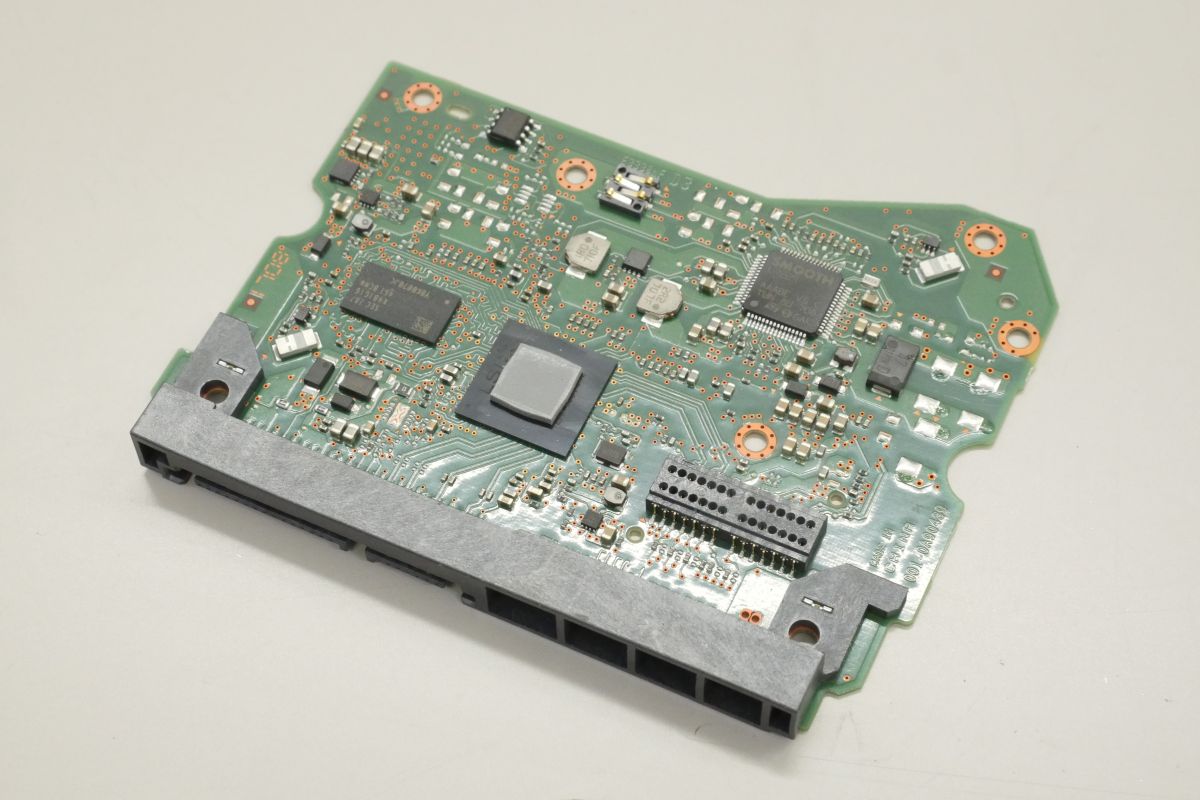
When the heat dissipation sheet attached to the chip in the center of the board was peeled off, the silicon was exposed.

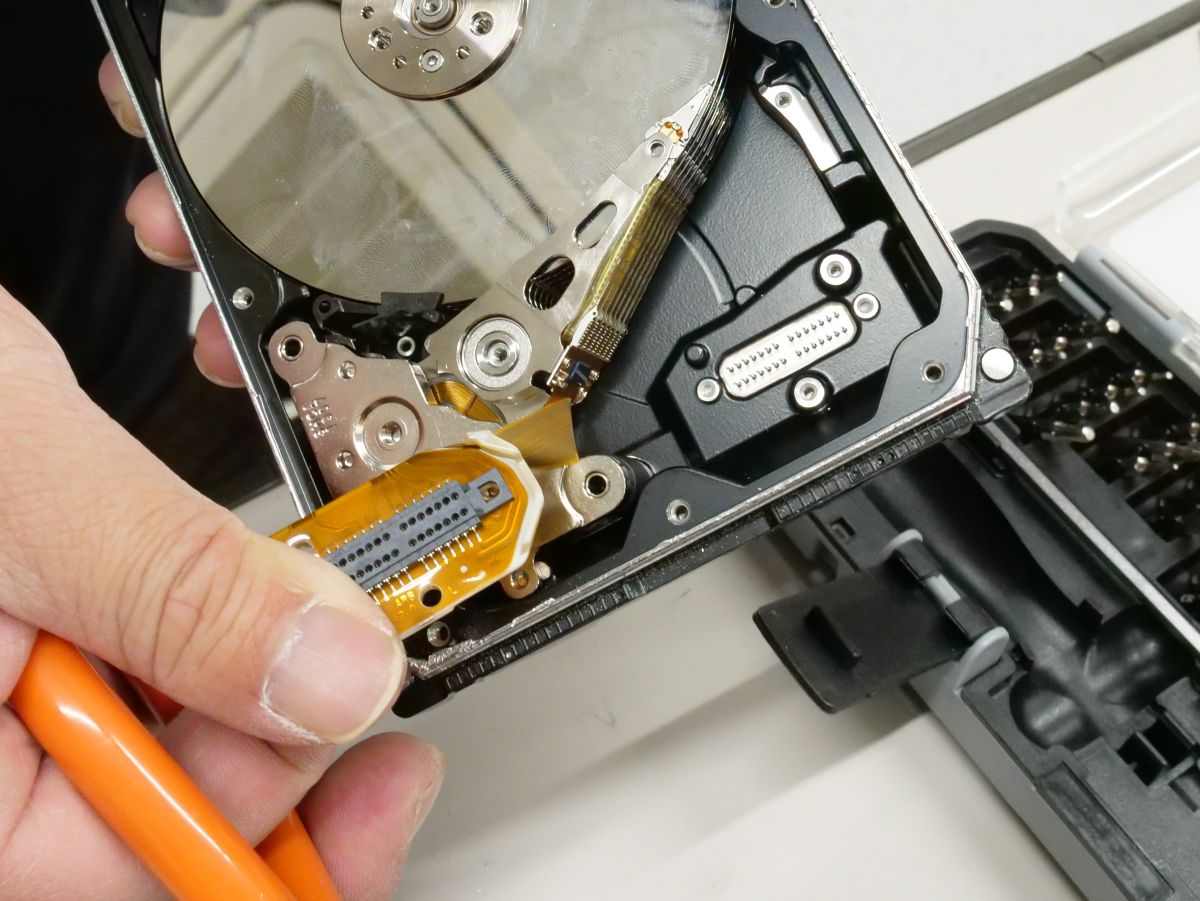
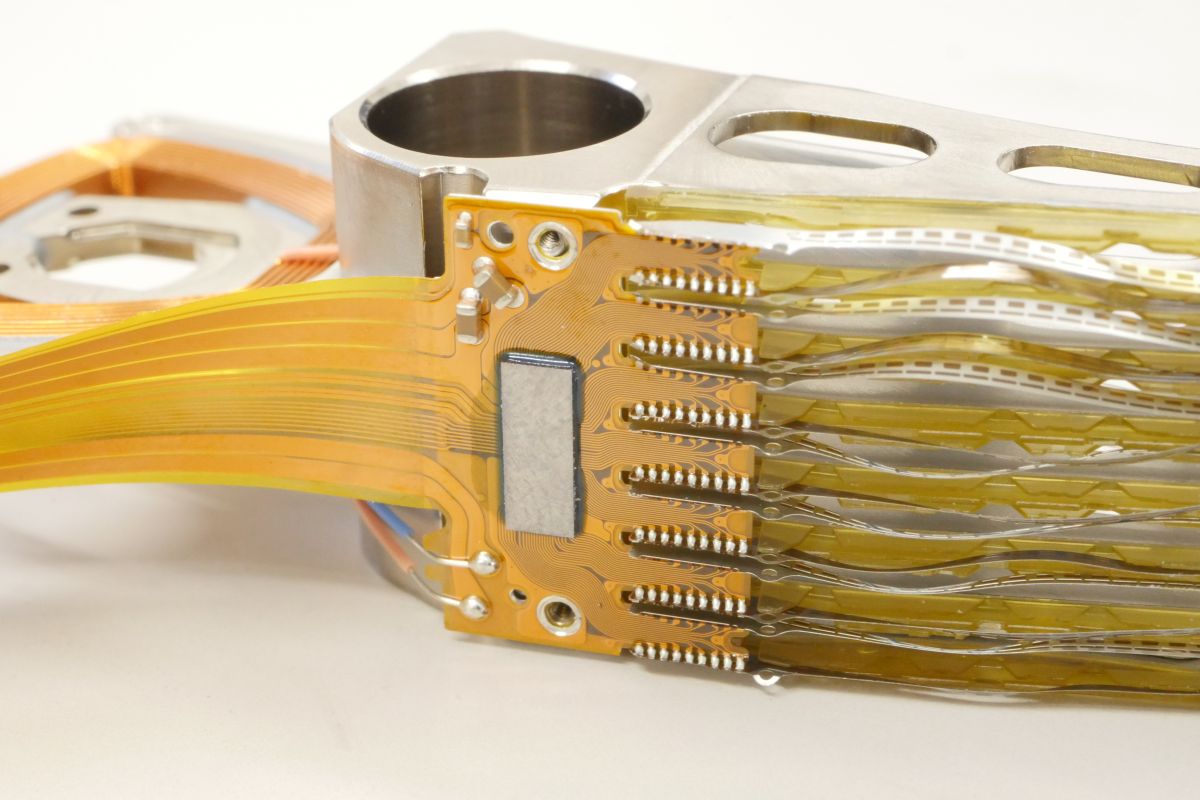
The connection between the board and the arm has this shape. The connector of the board and the arm is connected to the socket like a sword mountain on the front and back of the main body.
In the process of disassembly, the filter for removing dust and dirt inside fell off. The WD80EFZX disassembled this time was equipped with two filters.

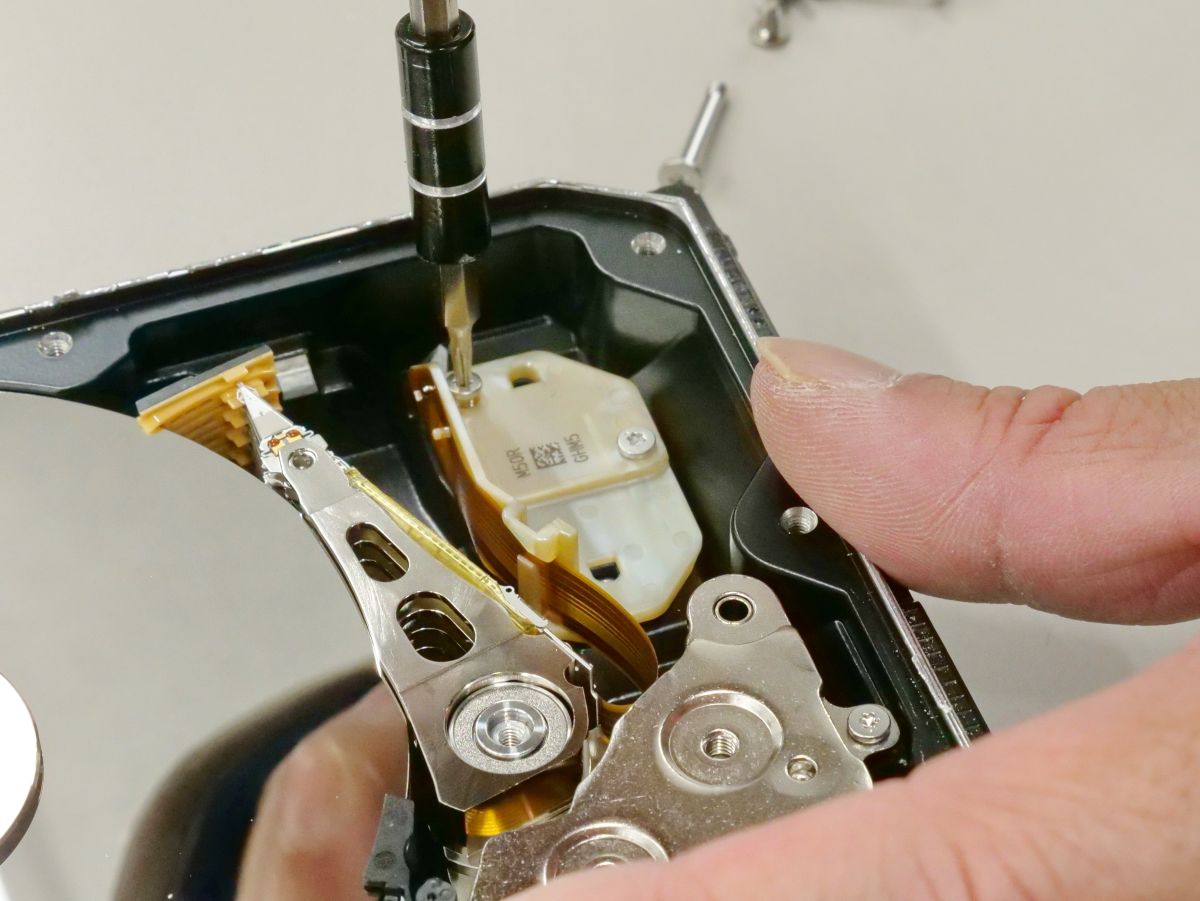
Then remove the screw on the head positioning device.
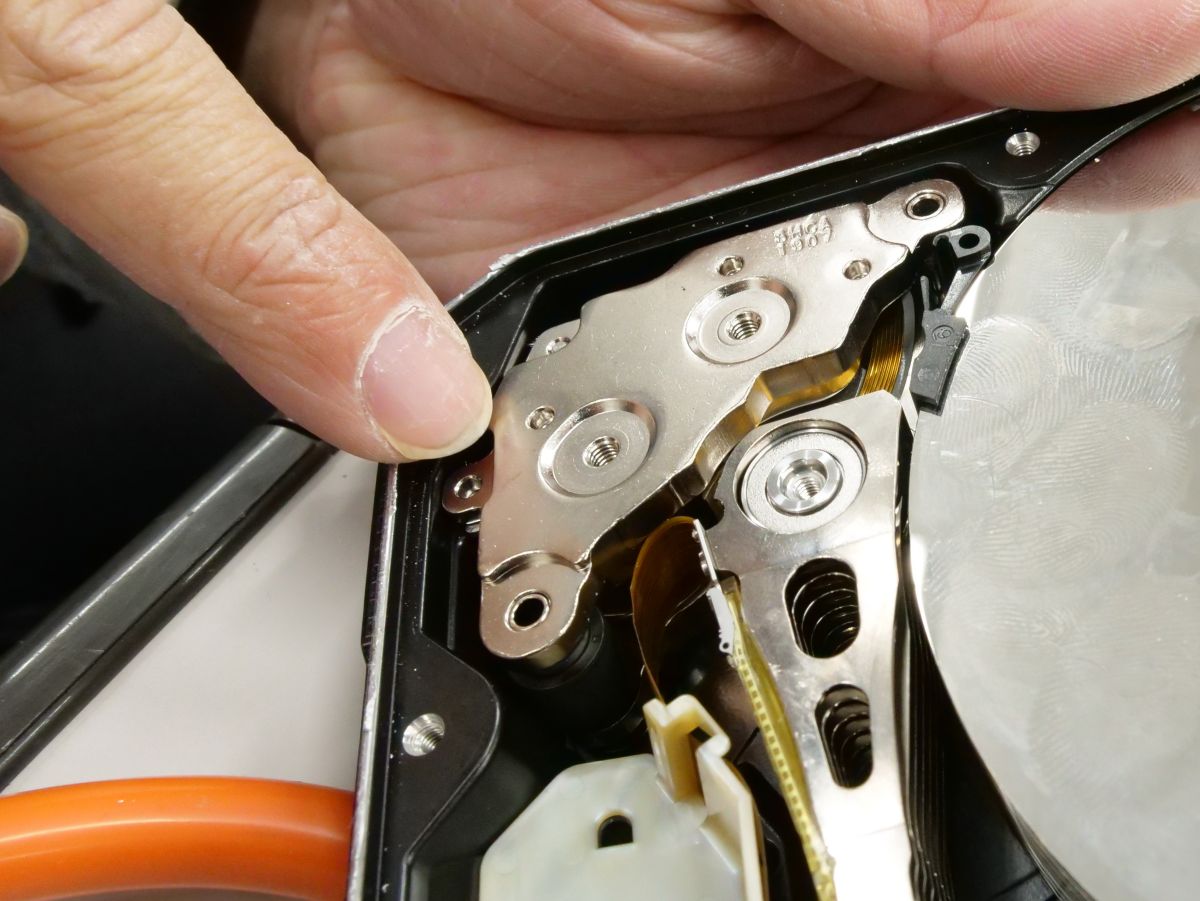
This part is a very strong magnet, and even if the screw comes off, it is difficult to remove the part itself.
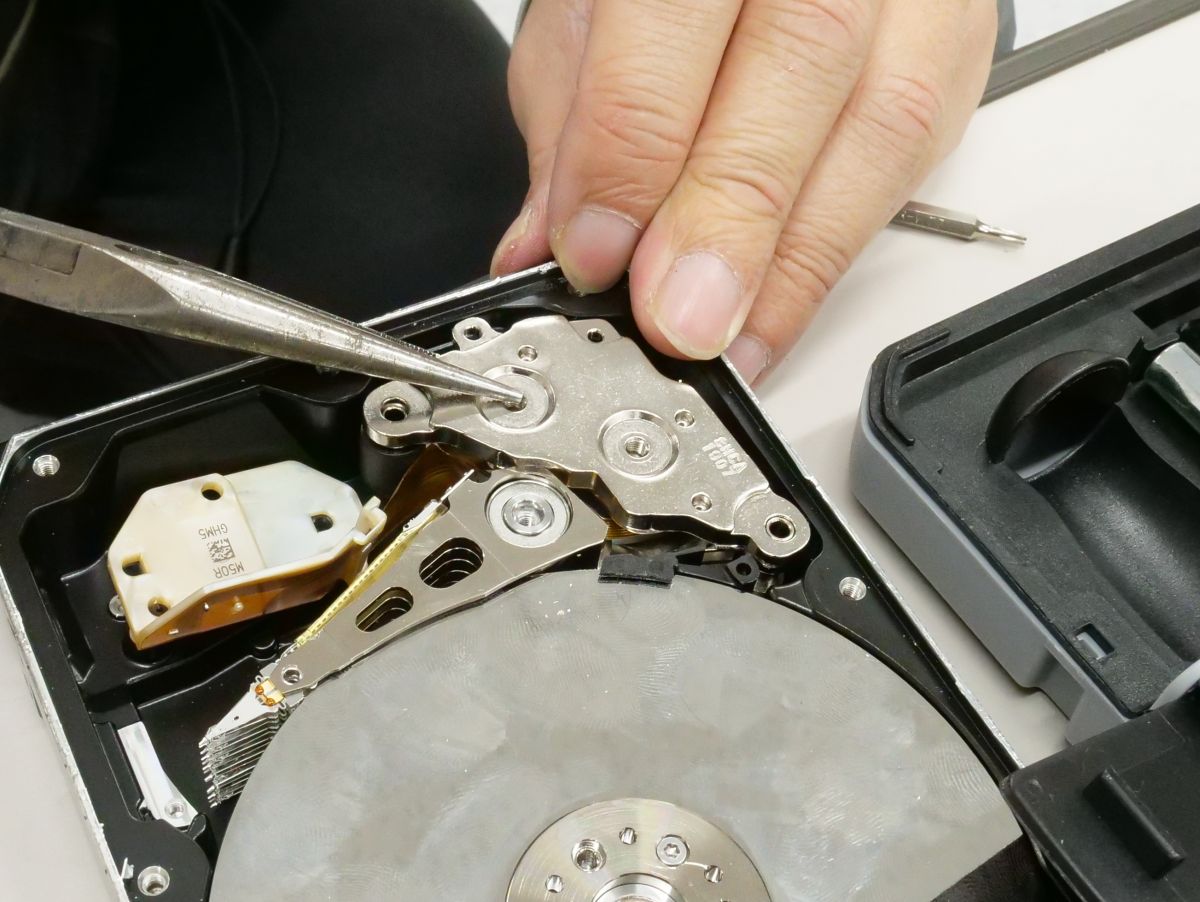
Be careful not to bring it close to other metals after removal. You may accidentally pinch your fingers and get injured.
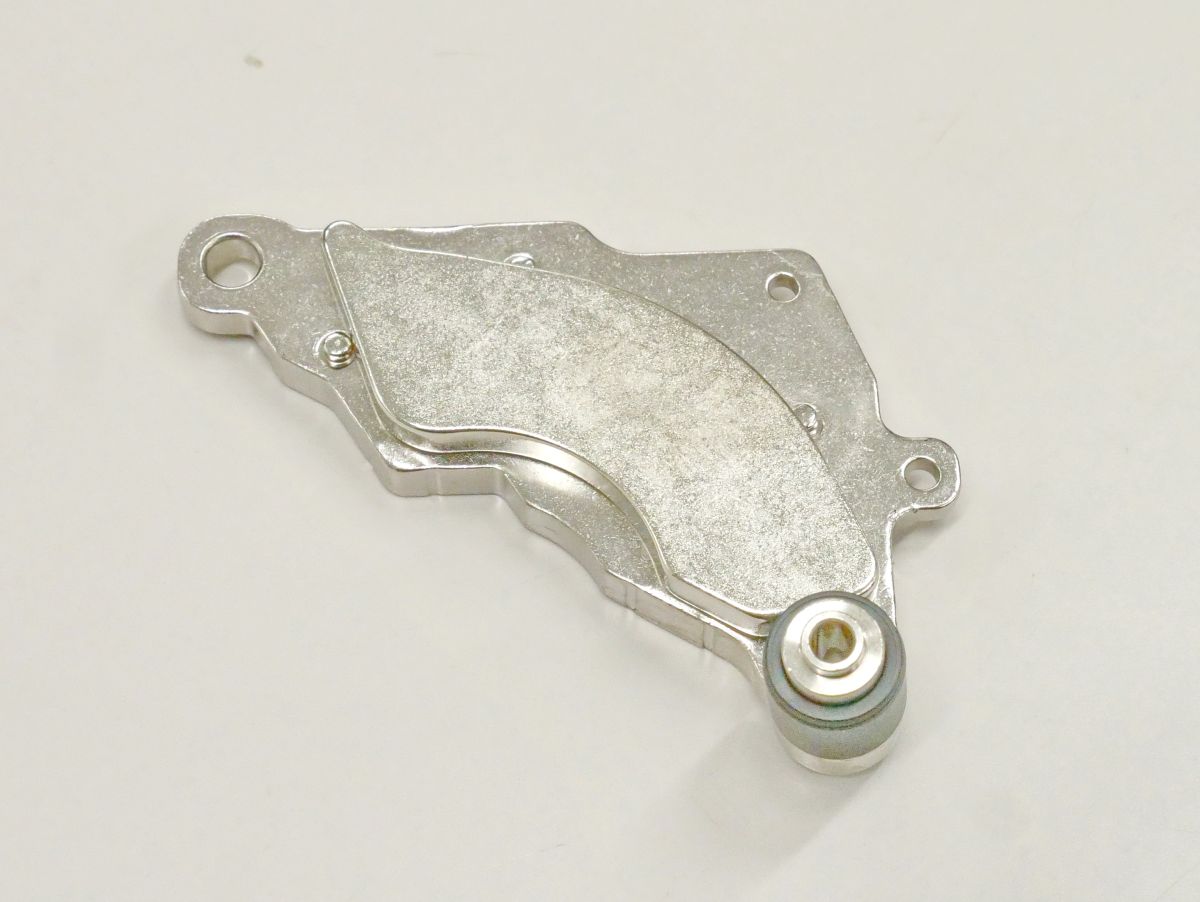
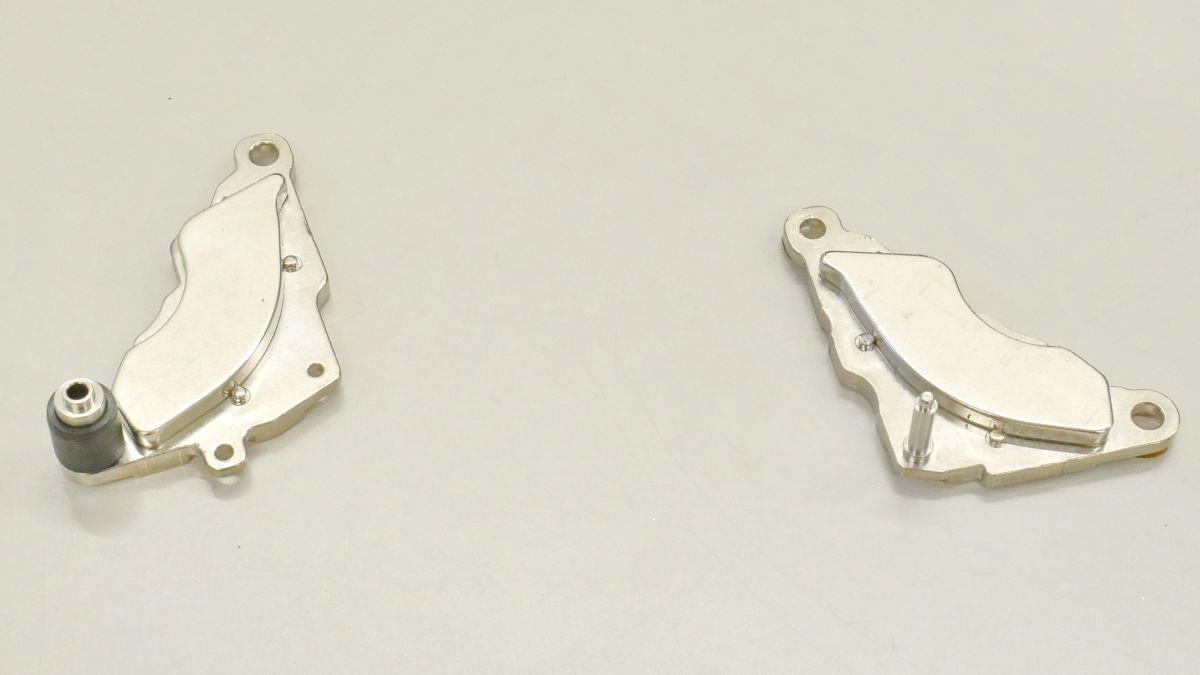
There are two of these parts, one above the other, and the structure is such that the parts that make up the head and arm are sandwiched between them.
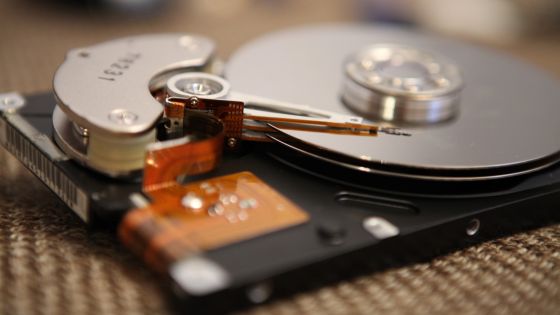
The head and arm parts look like this.
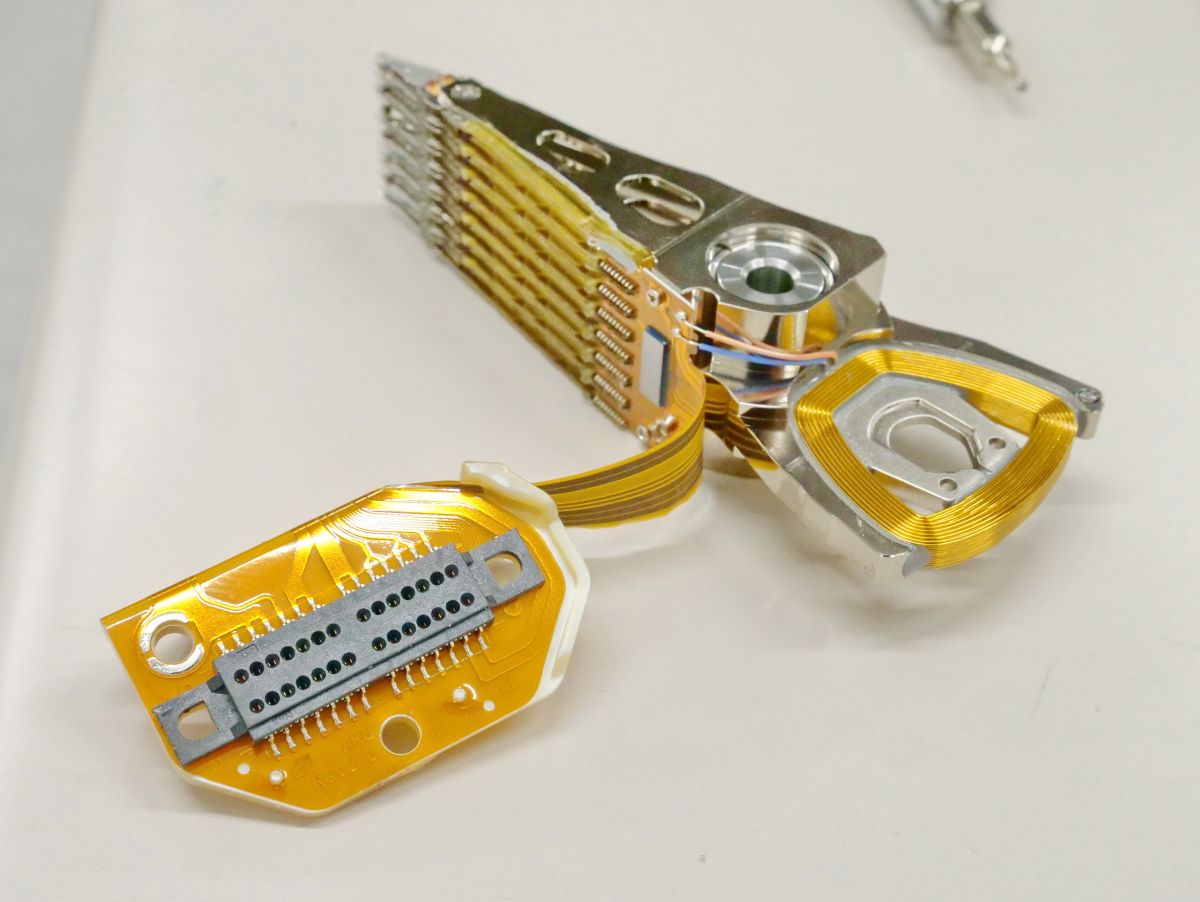
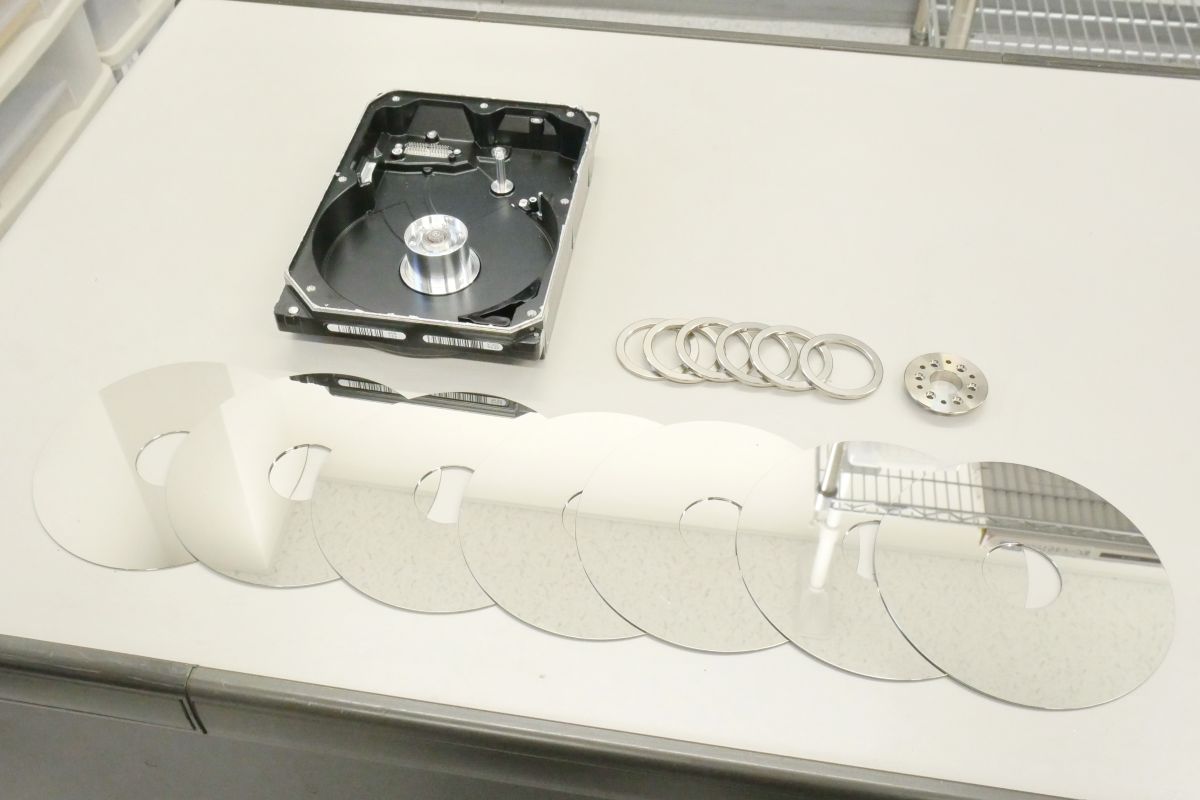
This is the head for reading and writing data on the platter. The HDD disassembled this time has 7 platters capable of double-sided recording, so there are a total of 14 heads.

A
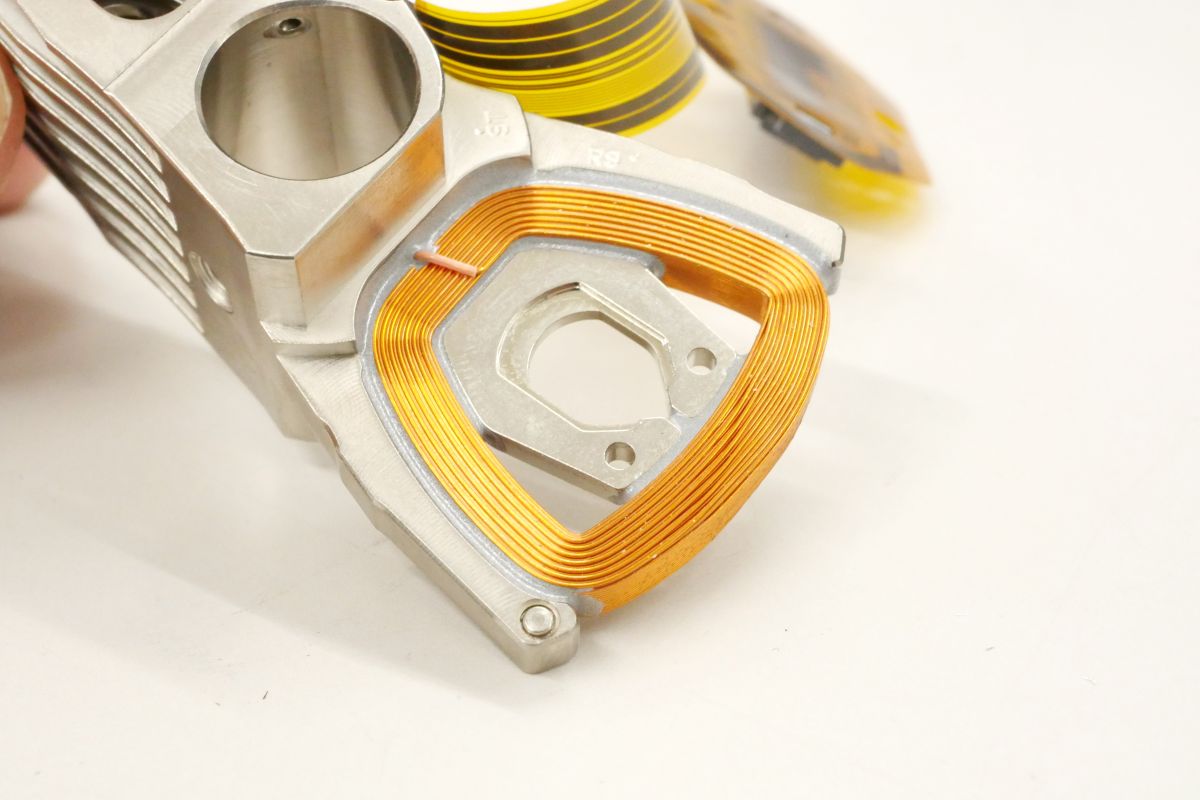
The signal from the magnetic head is very delicate, so the preamplifier amplifies the signal.
The only parts left for the HDD body are the platter and
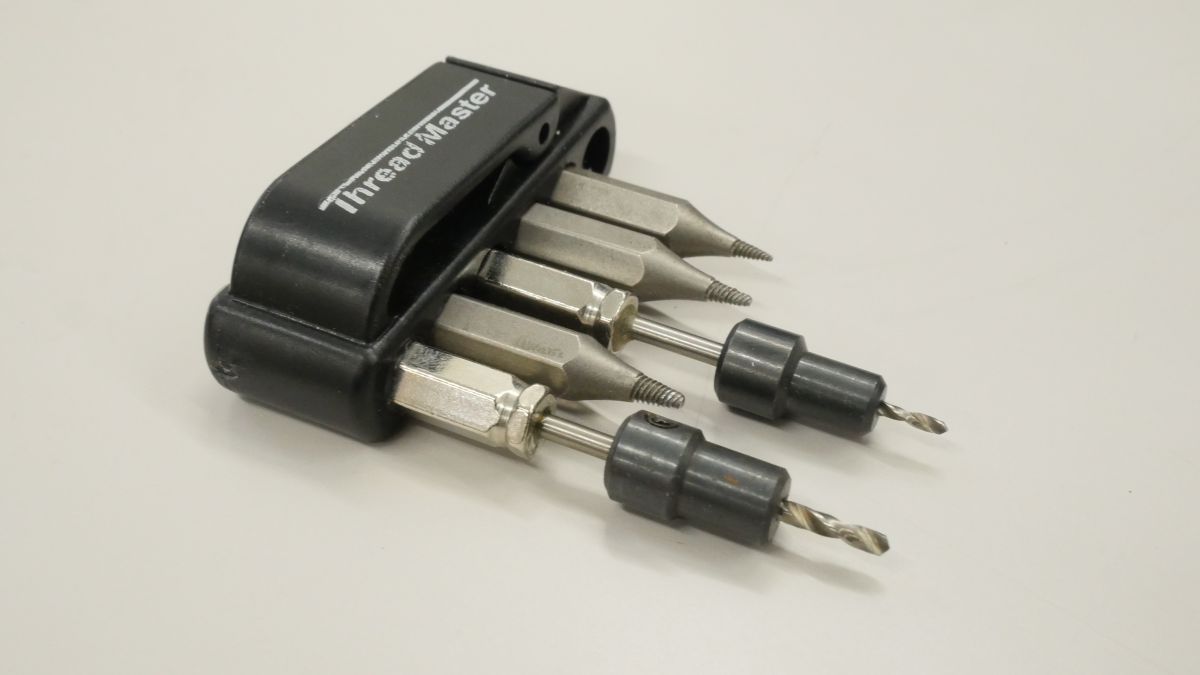
The last screw that couldn't be removed with a Torx screwdriver was destroyed with a drill and succeeded in forcibly removing it.
First, remove the parts on the top of the spindle motor.
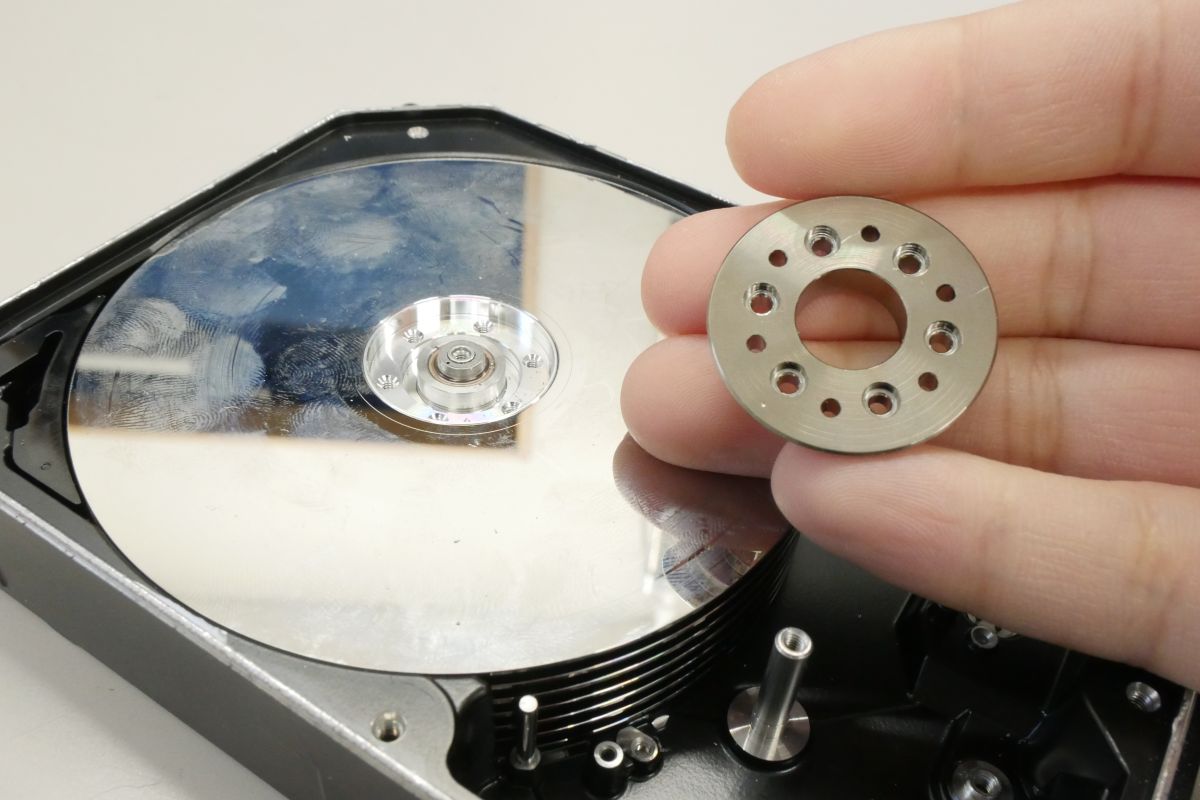
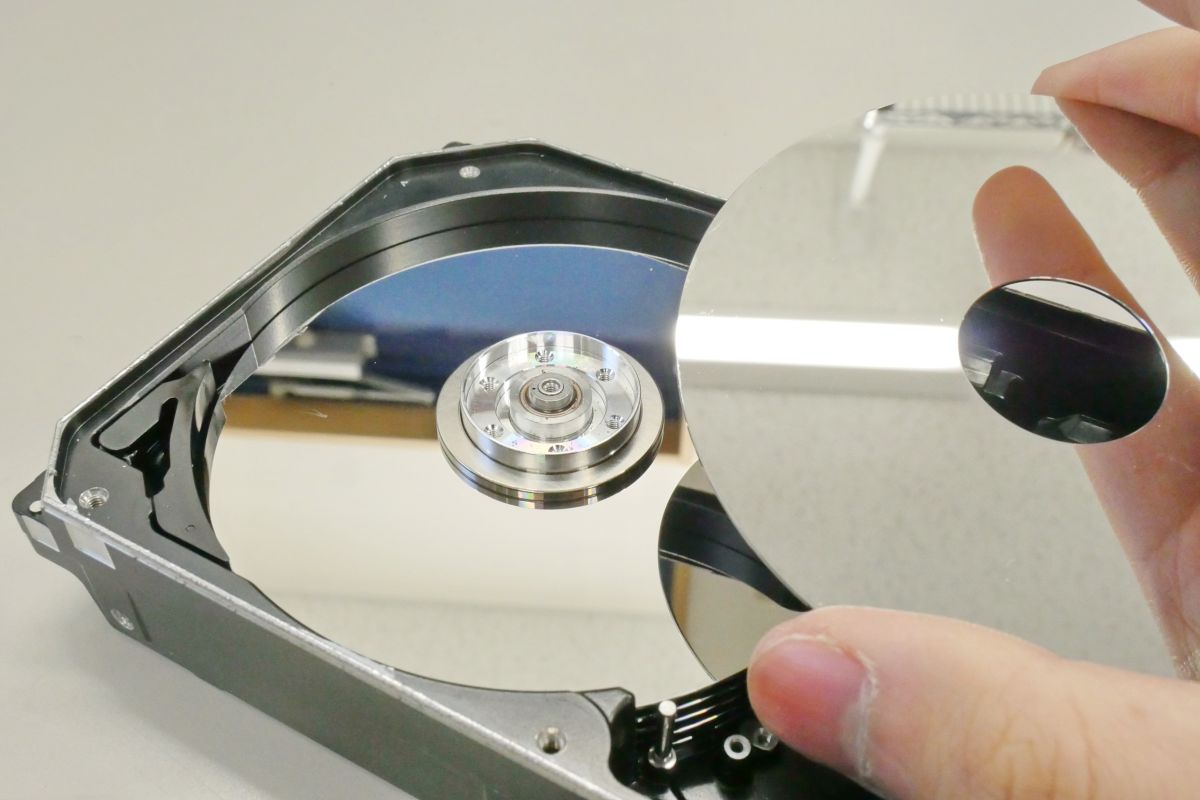
Remove the platter.
There are washer-shaped parts between the platters.

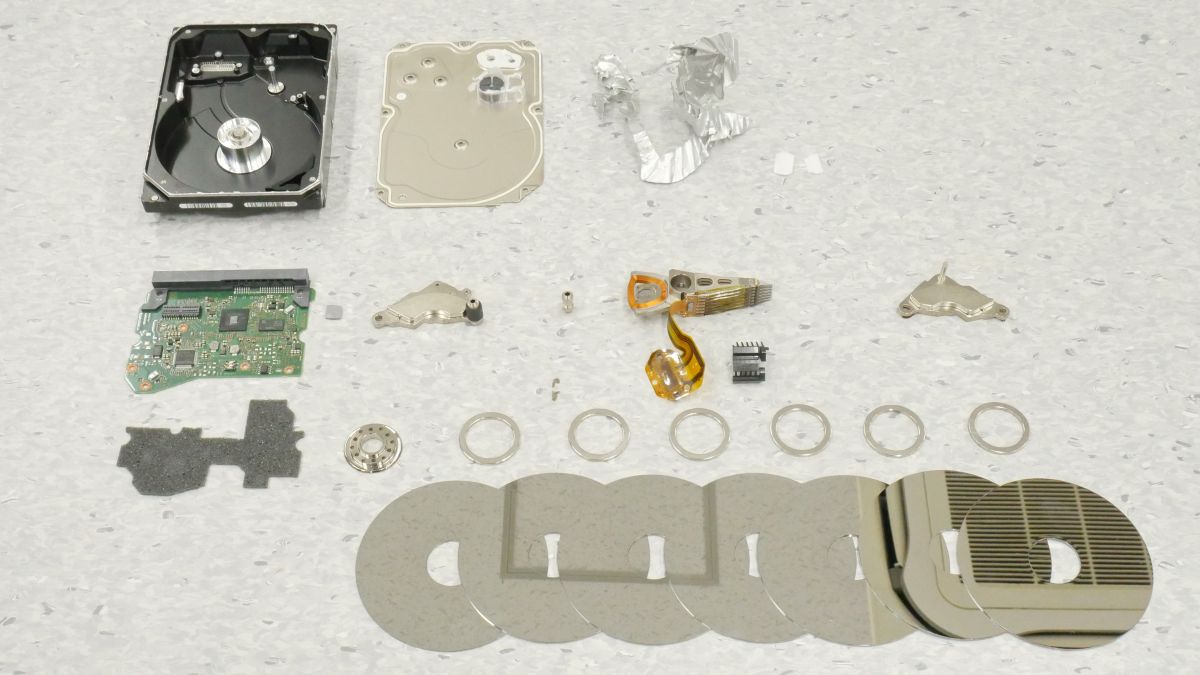
I removed all the platters. These parts are machined with extremely high precision cutting technology.
The spindle part looks like this.

That's why I succeeded in disassembling the parts other than the spindle part without any special tools. We were able to discover the characteristics of the helium-filling model, such as activated carbon-like substances and anaerobic adhesives.
Related Posts: