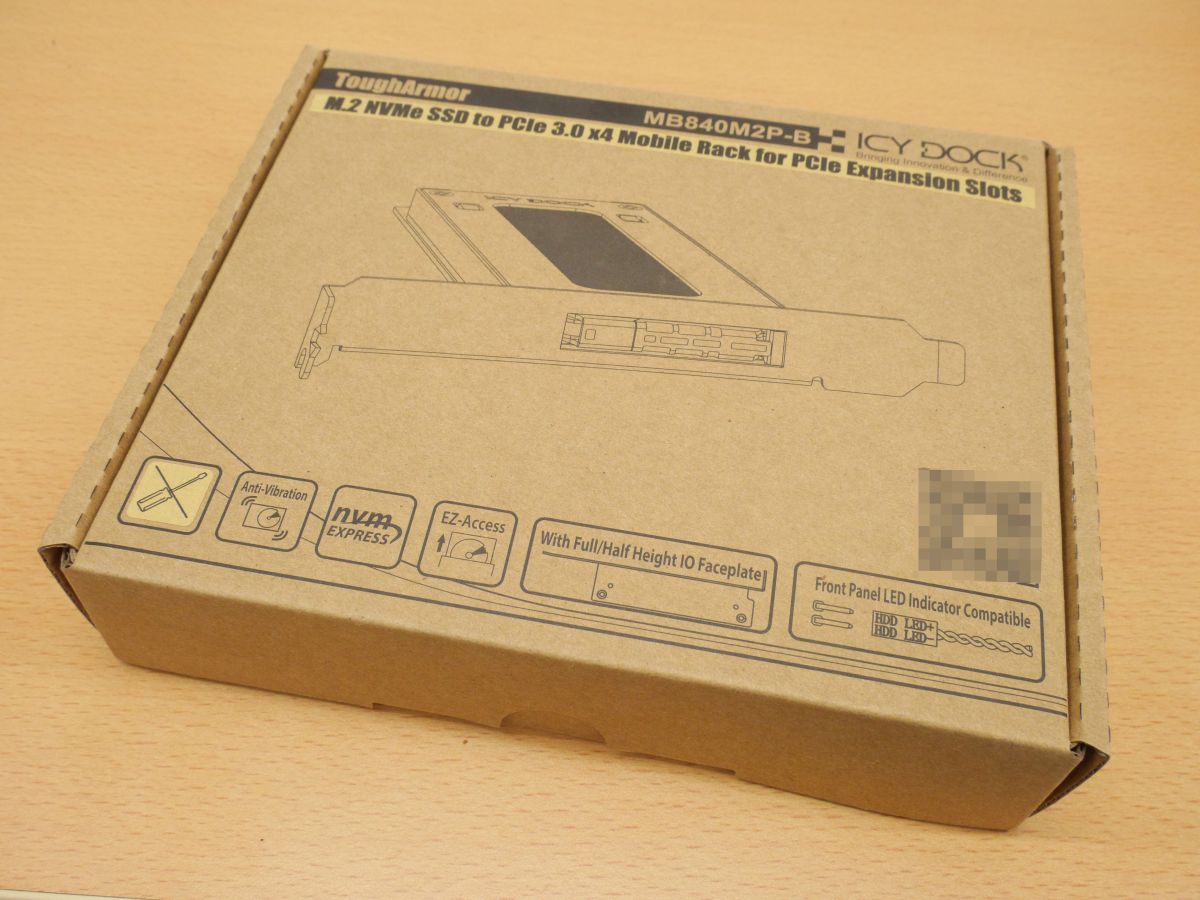
Removable case 'ICY DOCK ToughArmor MB840M2P-B' review that makes M.2 SSD replaceable from PCIe slot
MB840M2P-B_ToughArmor Series_U.2/M.2 (SATA/PCIE NVME) ENCLOSURES OR KITS_ICY DOCK manufacturer Removable enclosure, Screwless hard drive enclosure, SAS SATA Mobile Rack, DVR Surveillance Recording, Video Audio Editing, SATA portable hard drive enclosure
https://www.icydock.com/japan/goods.php?id=304
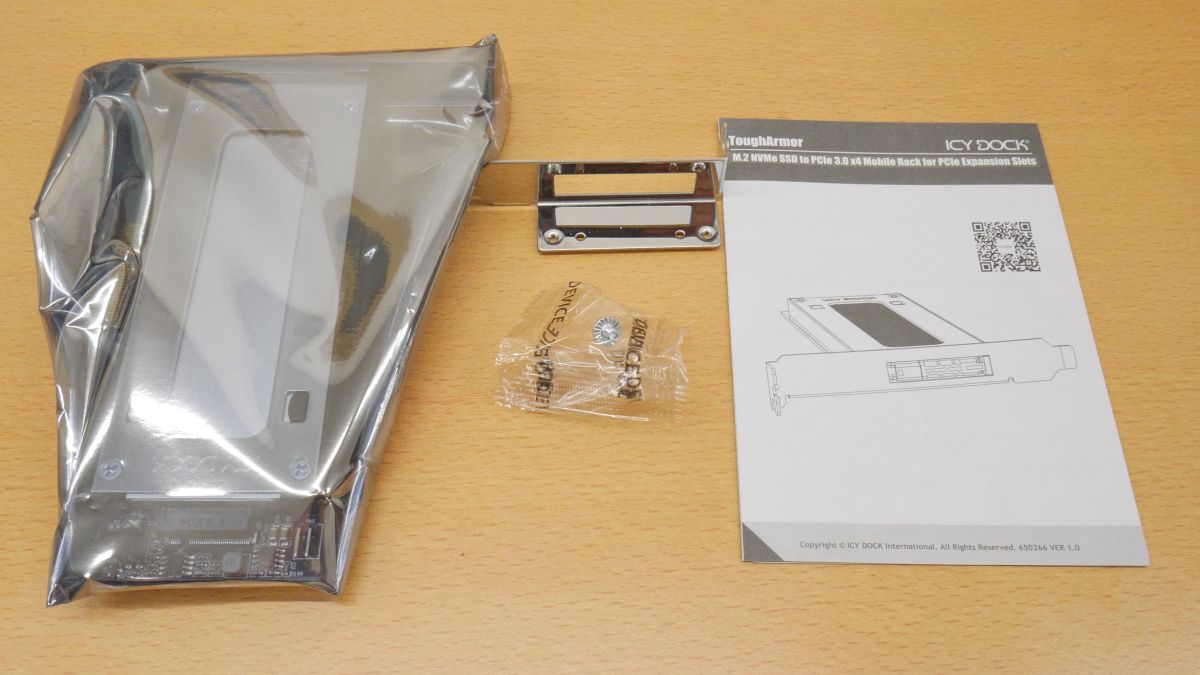
This time I bought MB840M2P-B with Oriospec. It was 8800 yen including tax.
The contents look like this. Contains the MB840M2P-B main unit, low profile placket, case fixing screws, and instruction manual.
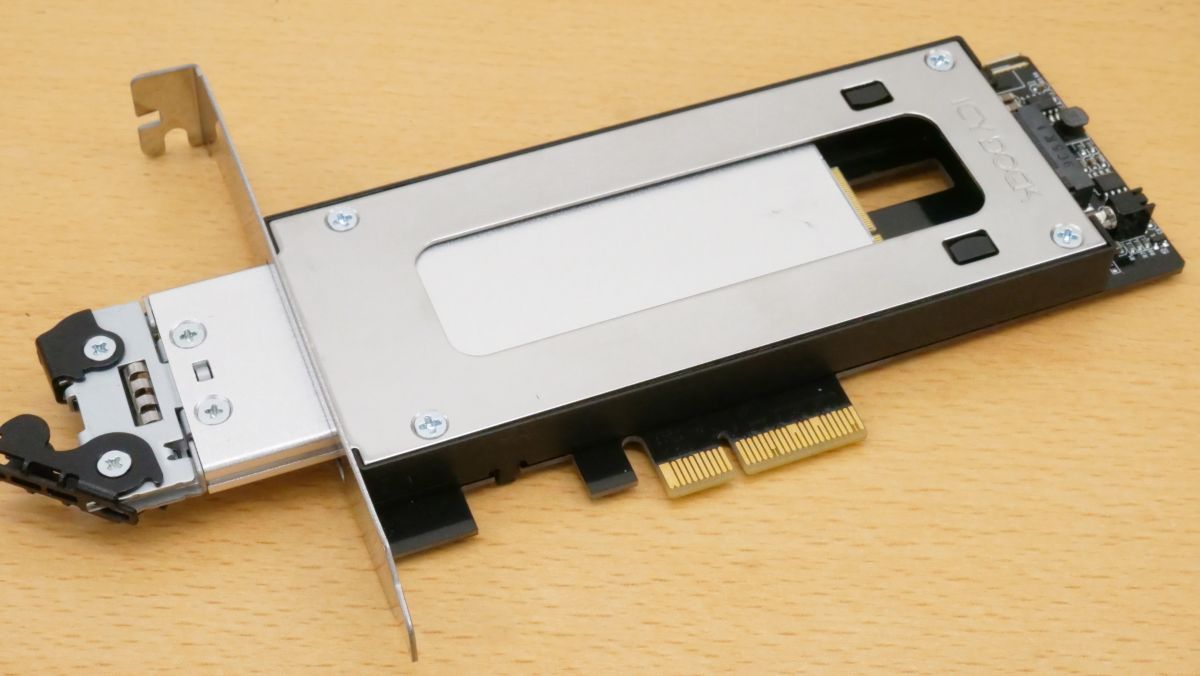
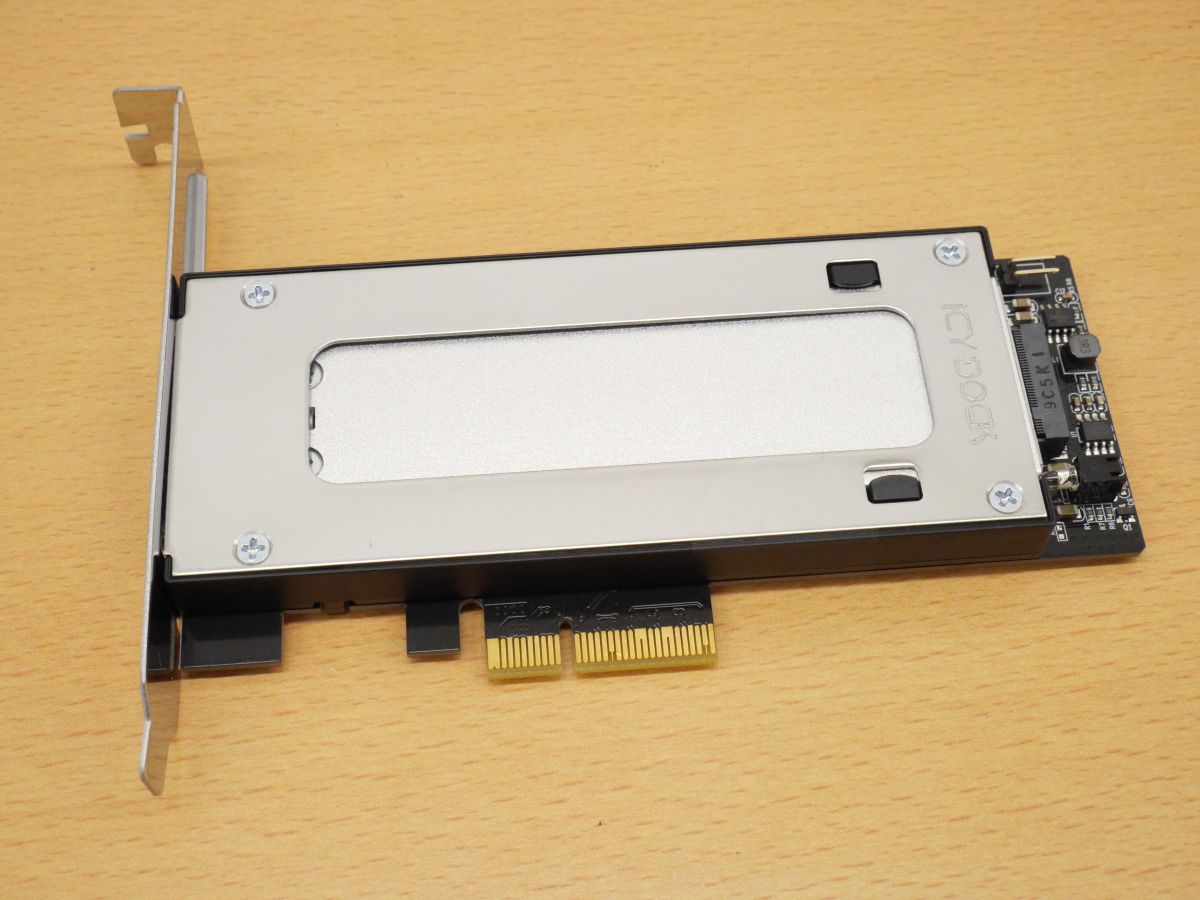
The main body is mirror-finished, and the design is based on silver.
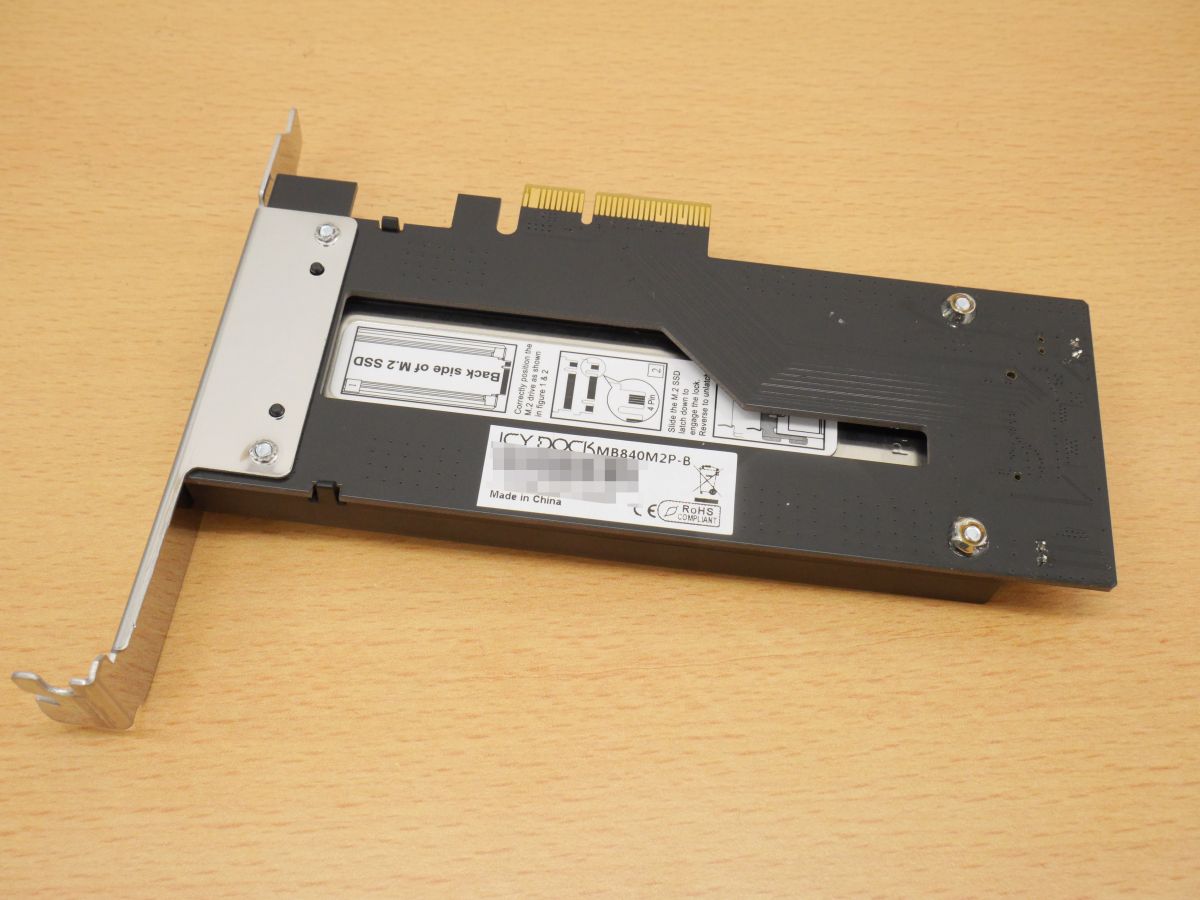
The back side looks like this, and the back side of the printed circuit board is exposed.
Comparing the size of MB840M2P-B with Pixel 3 with a long side of 145.6 mm, it is almost the same size.

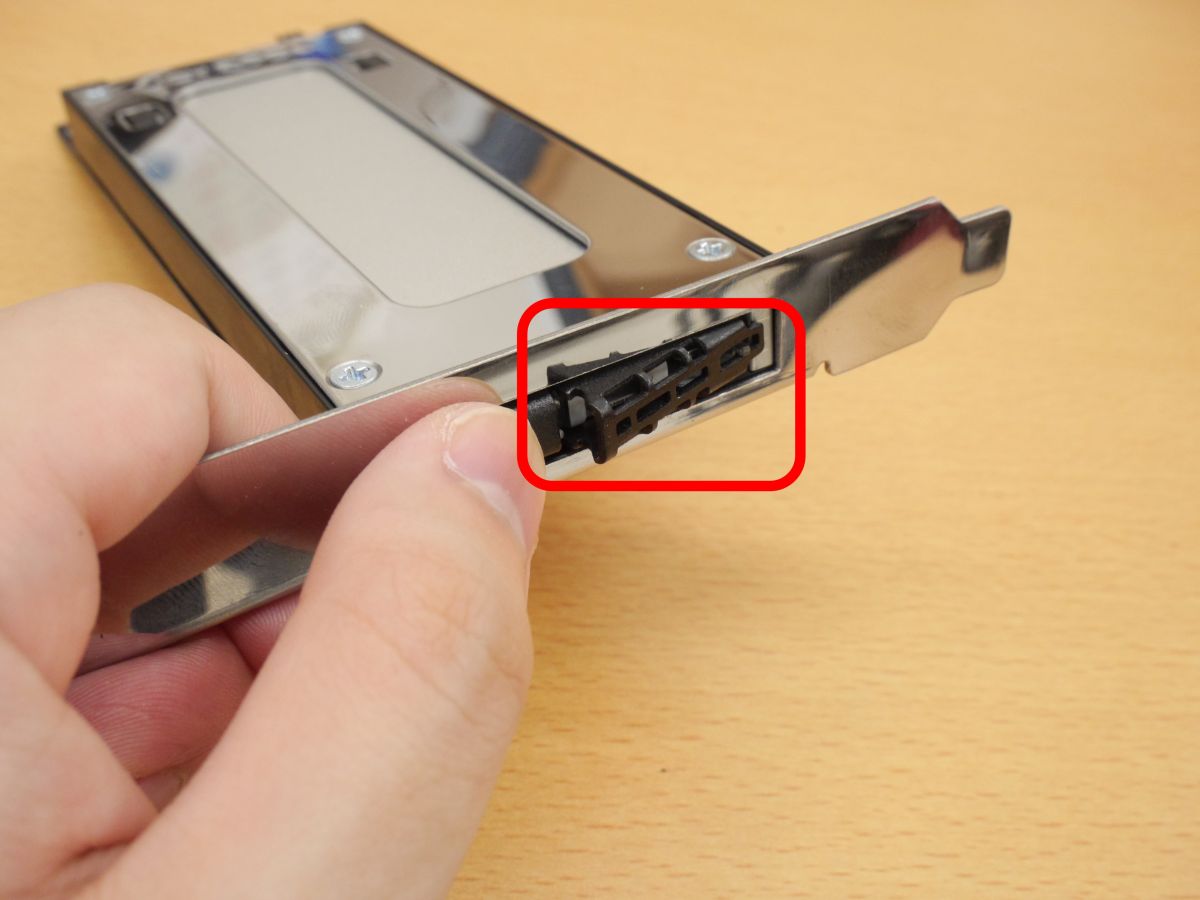
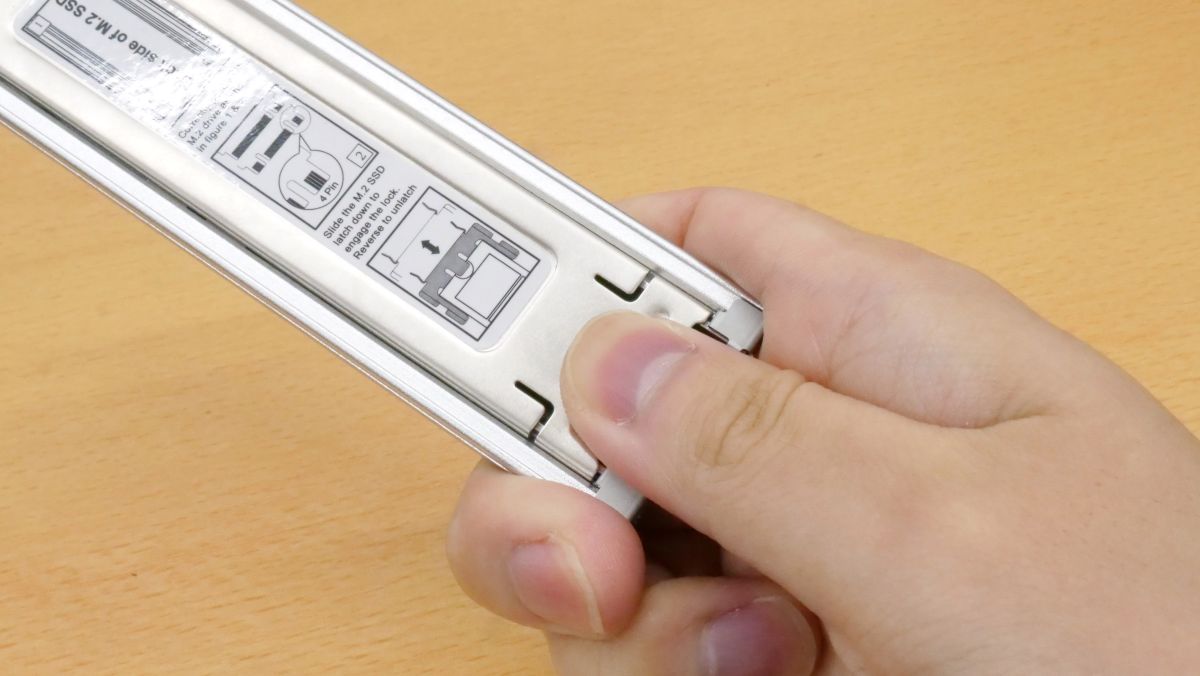
Press the black button to remove the drive tray that holds the SSD.
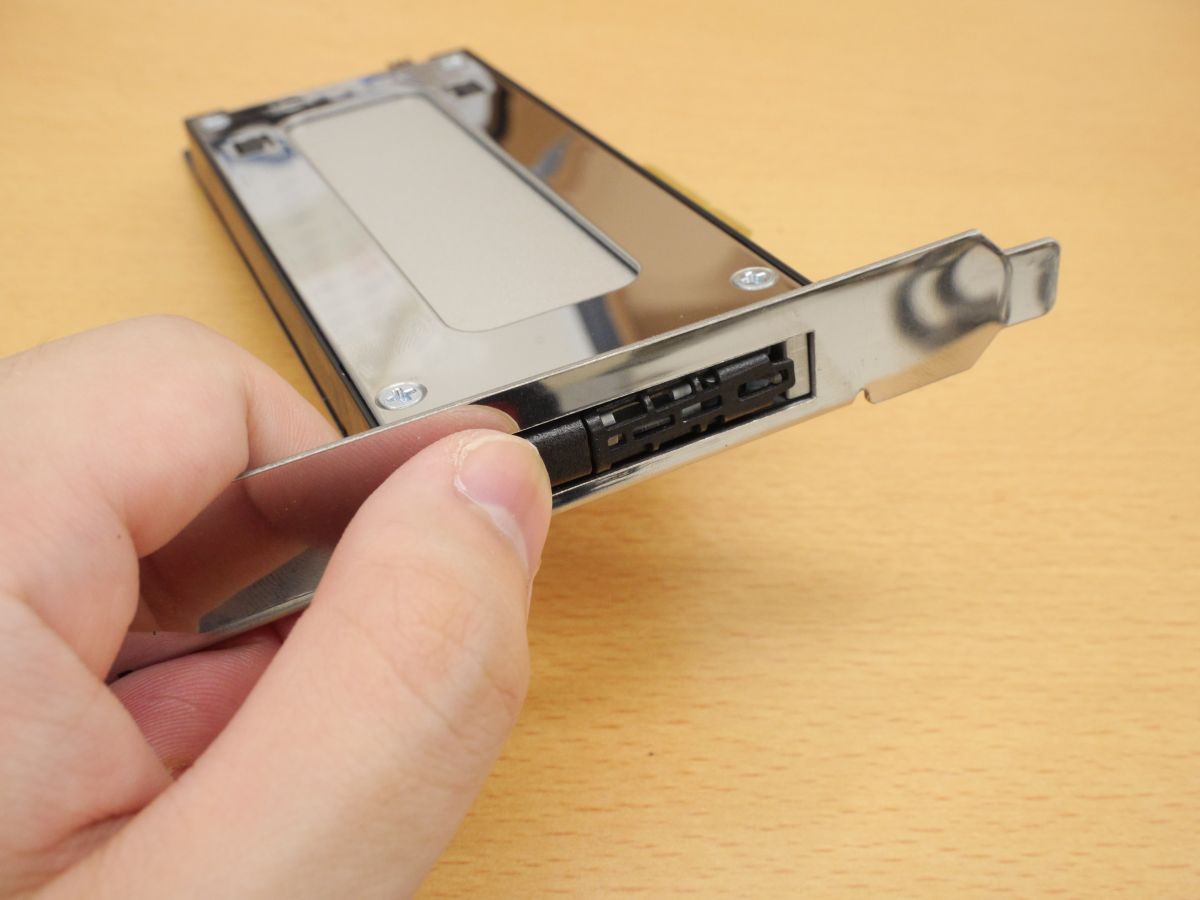
When you press the button, the lever next to it will come off.
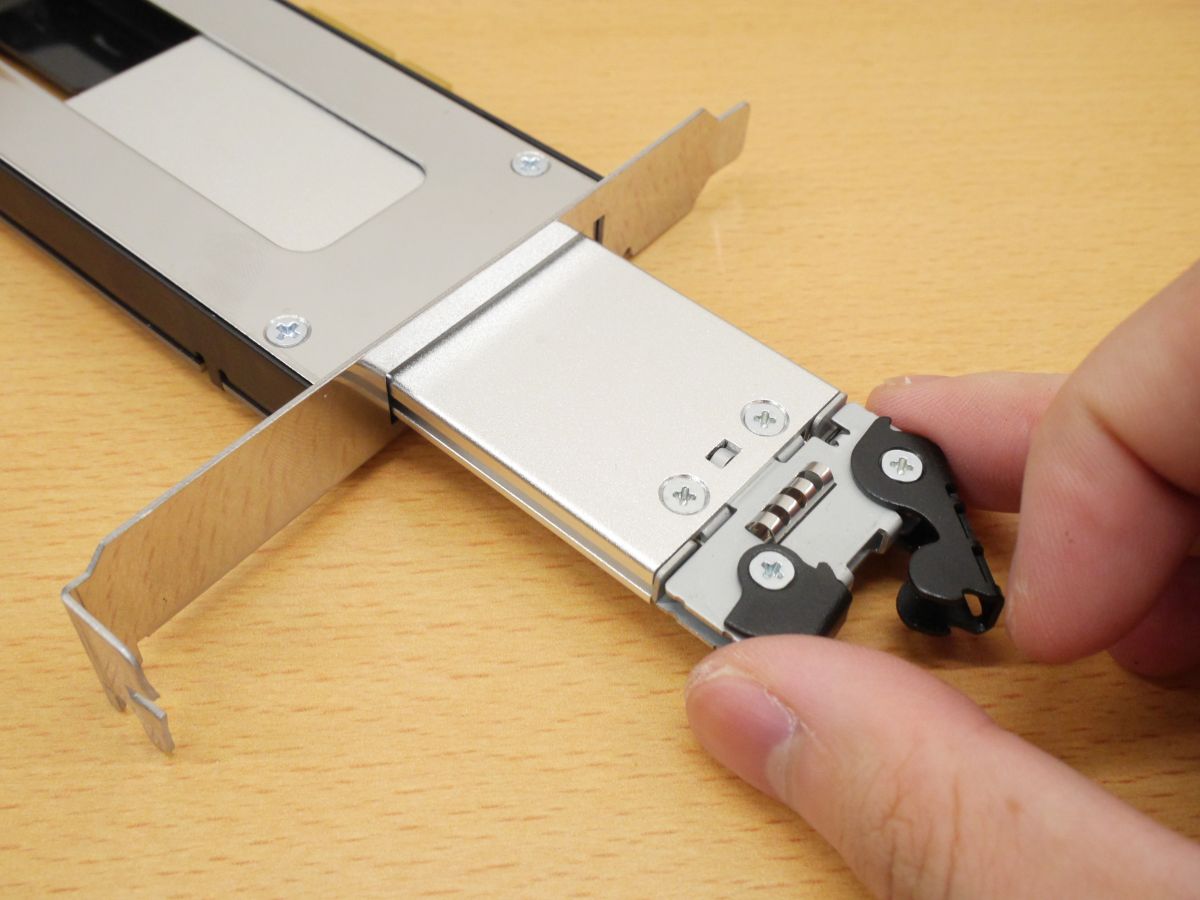
The drive tray can be removed by pulling the lever.
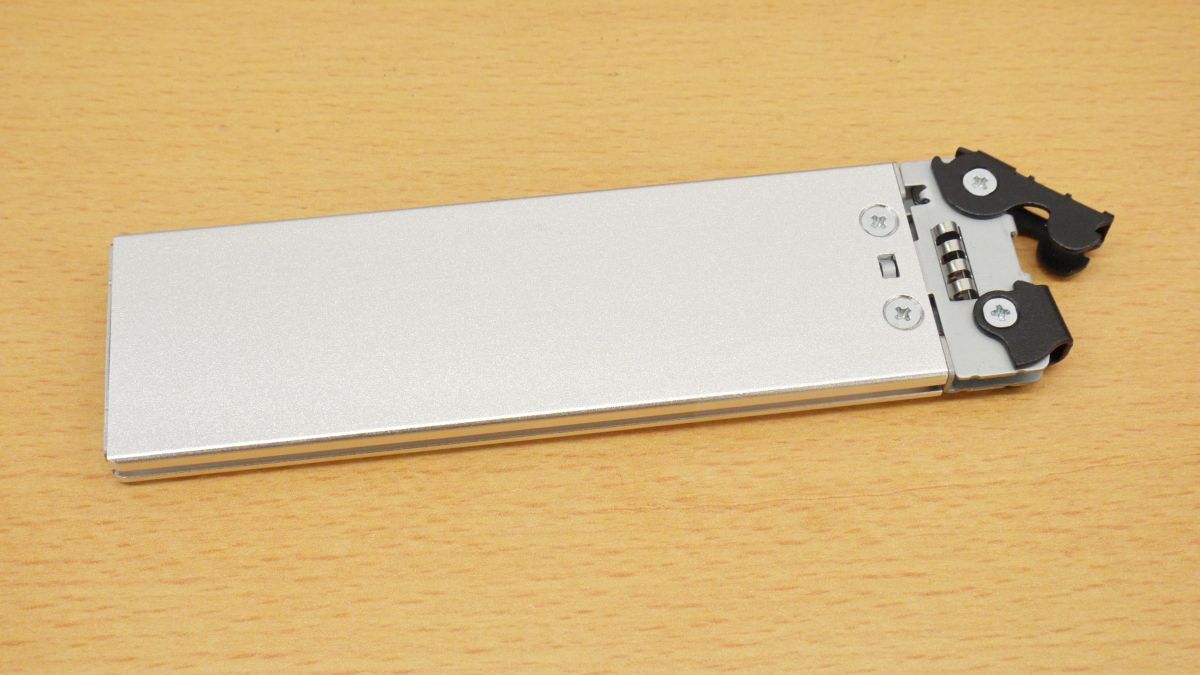
This is the drive tray where the SSD is installed. Unlike the outer case, this has a matte finish.

The back side looks like this.
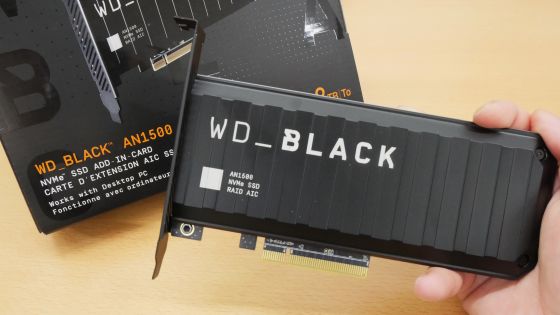
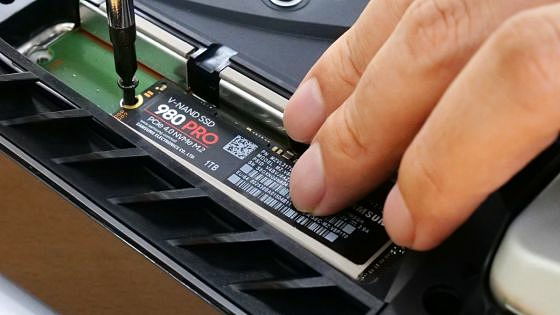
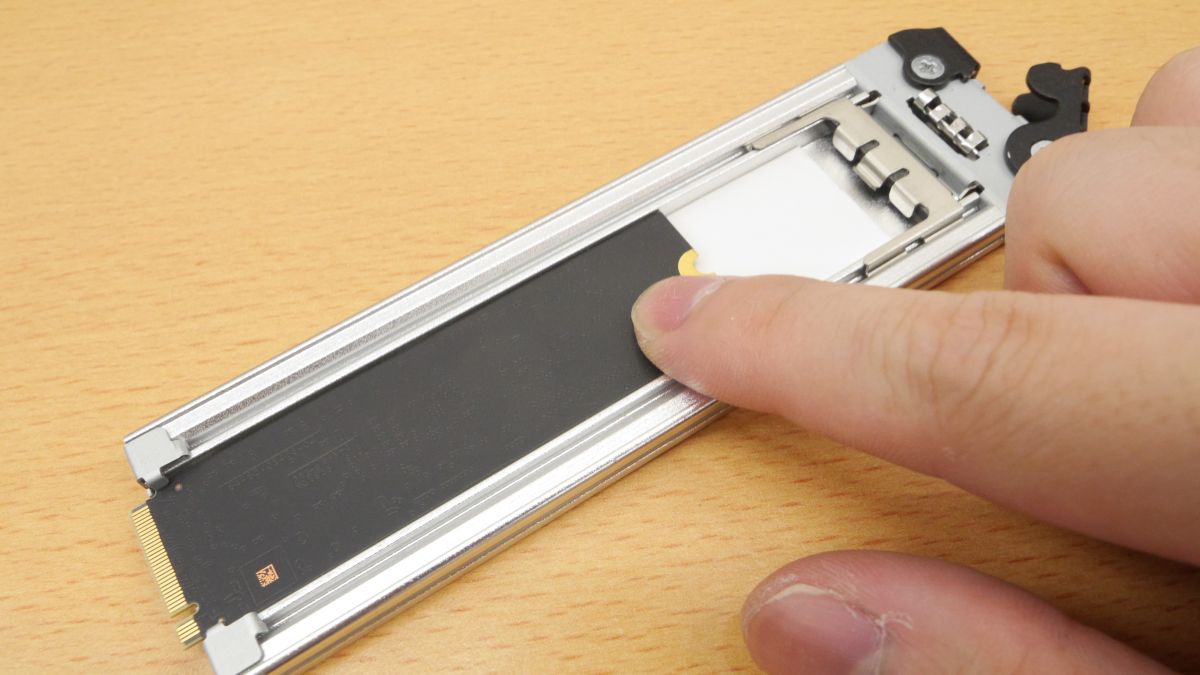
I will attach the M.2 SSD to the drive tray at once. WD Black SN750 is used for NVMe SSD to install this time.

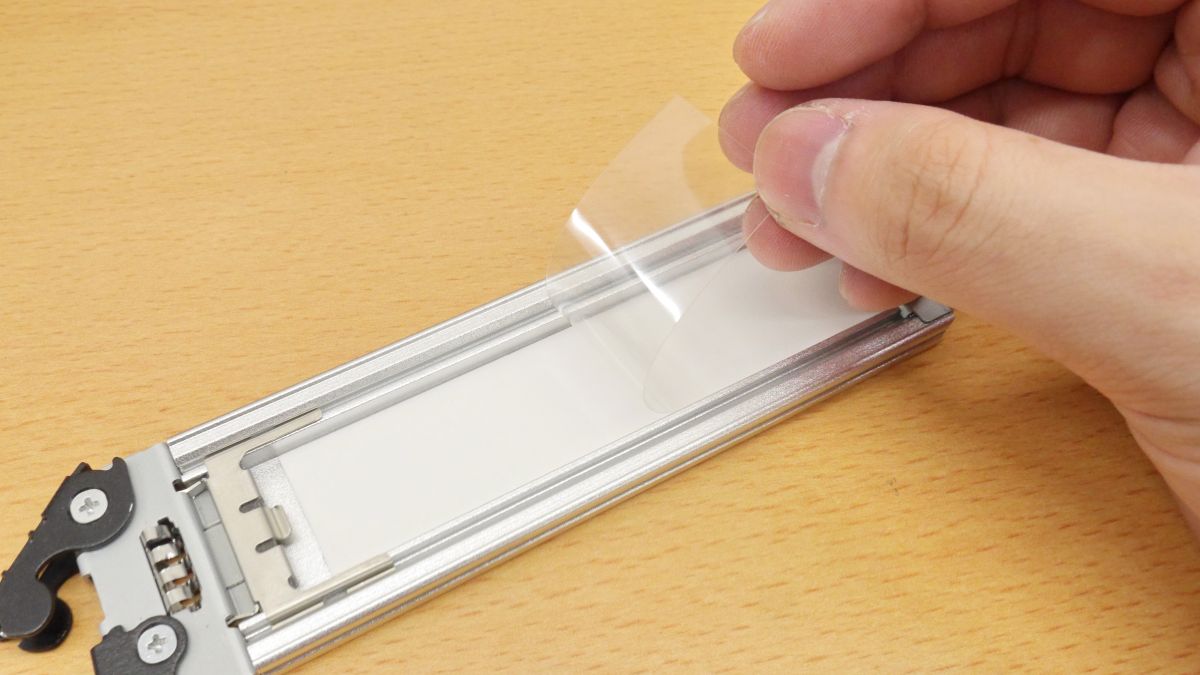
First, push the metal fitting on the surface of the drive tray to unlock the lid……
Remove the lid.

Then, remove the transparent film that protects the SSD fixing sheet.
Set in the drive tray so that the back side of the SSD can be seen.
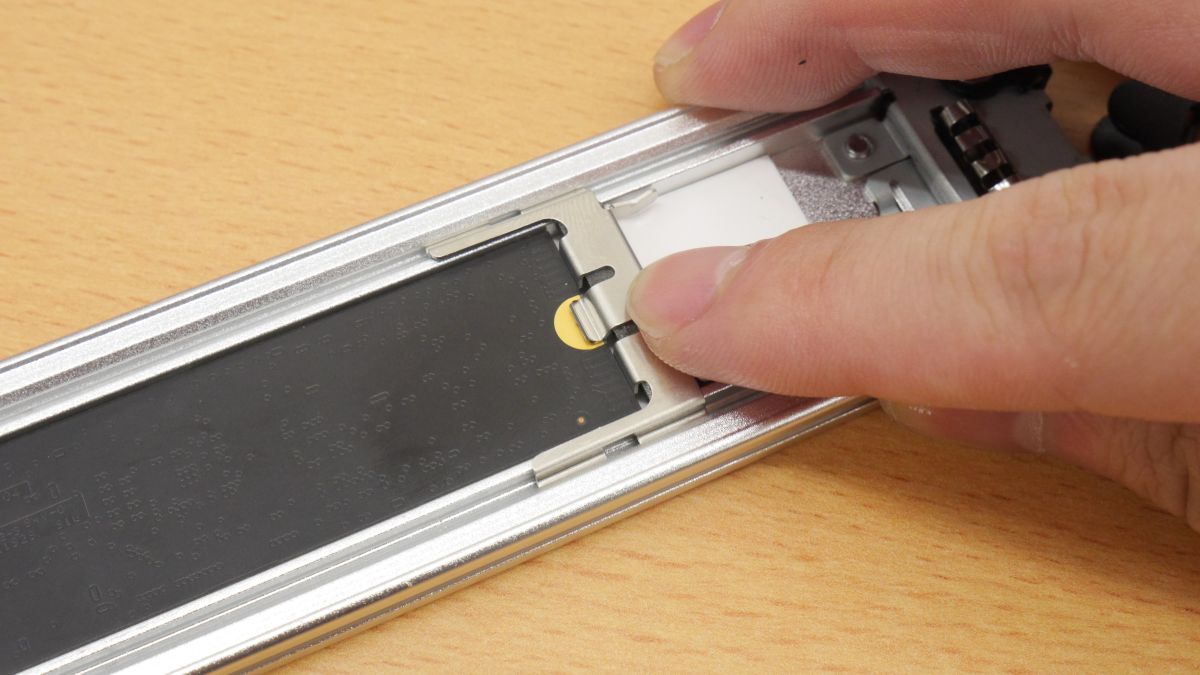
Slide the bracket to fix the SSD. The size of SSD that can be installed is up to 22110 size.
After fixing the SSD, attach the lid of the drive tray and store it in the case. Push the drive tray in until you feel it.
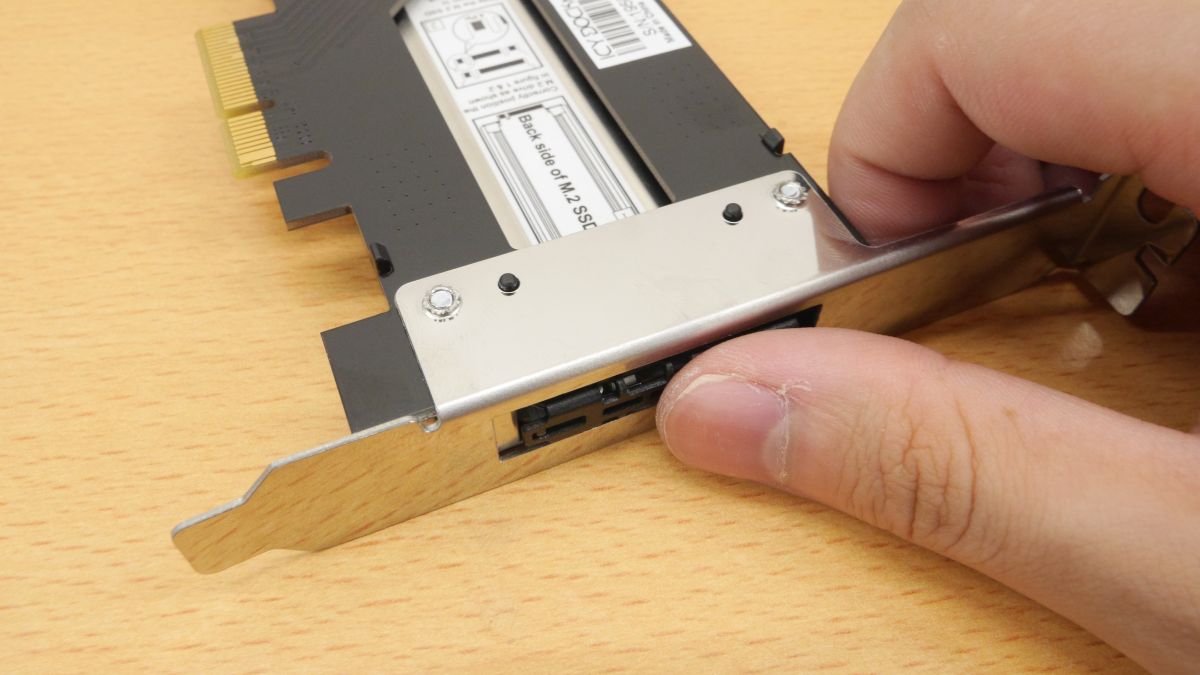
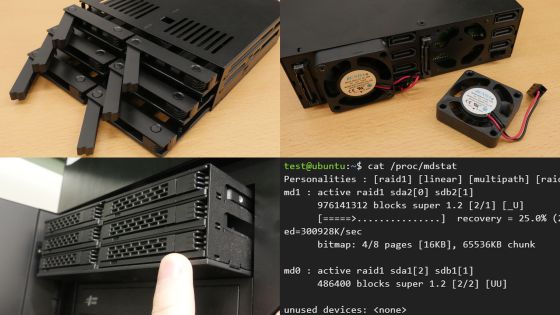
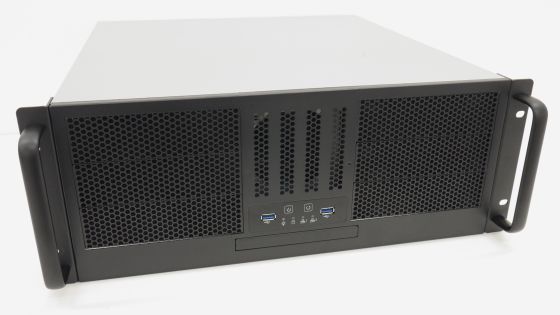
Setup is completed by inserting the case into the PCIe slot of the motherboard. This time, I bought two MB840M2P-B, decided to build RAID1 and remove M.2 SSD while running OS.

First, build RAID1 using mdadm on Ubuntu. We are building two RAID arrays.
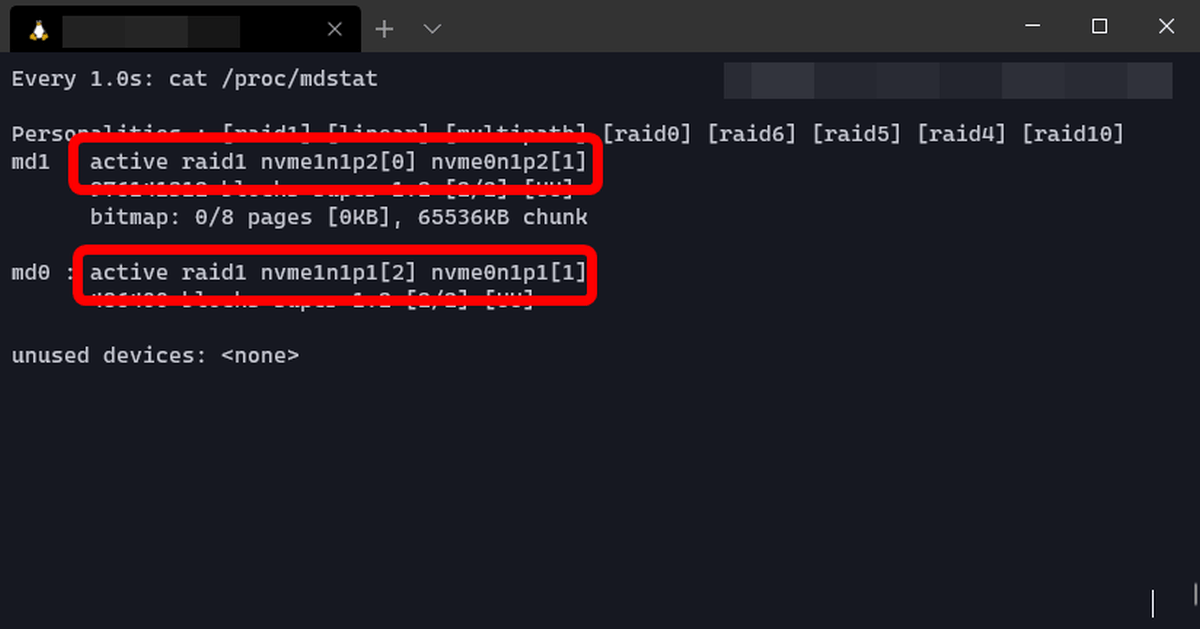
Execute the following command to remove one disk of each RAID array.
[code]sudo mdadm --fail /dev/md0 /dev/nvme0n1p1
sudo mdadm --remove /dev/md0 /dev/nvme0n1p1
sudo mdadm --fail /dev/md1 /dev/nvme0n1p2
sudo mdadm --remove /dev/md1 /dev/nvme0n1p2[/code]
One disk has disappeared from the RAID array.
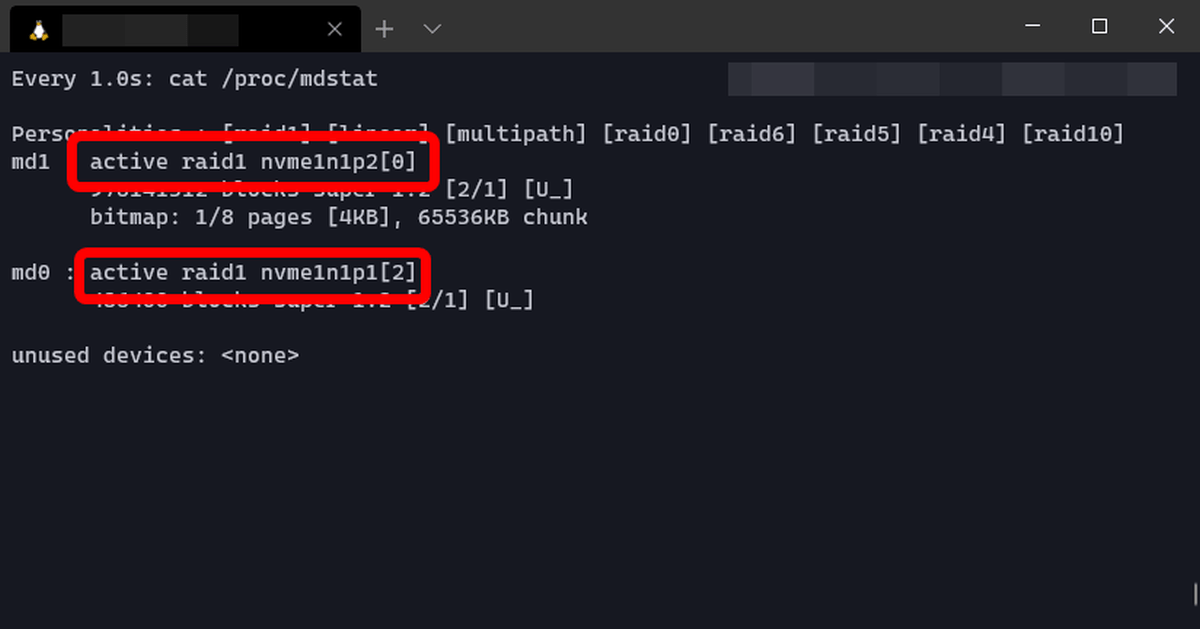
Even if you remove the removed SSD, the OS can run without problems. The M.2 SSD is often attached directly to the motherboard and it takes time to replace it, but you can easily replace the M.2 SSD with the MB840M2P-B.
The ToughArmor MB840M2P-B is sold at Amazon.co.jp for 8800 yen including tax.
Amazon | ICYDOCK MB840M2P-B ToughArmor M.2 NVMe SSD Removable Case for PCIe 3.0 x4 slot | Icy Dock | Built-in SSD mail order

Related Posts: