``Trail Router'' that can automatically generate a running route for free and cultivate a comfortable course surrounded by greenery
If you run habitually for your hobbies and health, the running course is fixed and it tends to become rut. However, even if you dare to develop a new running course, you will be disappointed that the course tends to be crowded and it is difficult to run, or there is no green and it is a dead landscape. ' Trail Router ', which can be used free of charge from a browser or smartphone application, automatically generates a running course simply by specifying the start point, and chooses a road surrounded by greenery or a road that is easy to run with few undulations It is possible to set it like this, so I actually tried using it.
Trail Router
Trail Router-App on Google Play
https://play.google.com/store/apps/details?id=com.trailrouter
Trail Router on the App Store
https://apps.apple.com/app/id1500479574
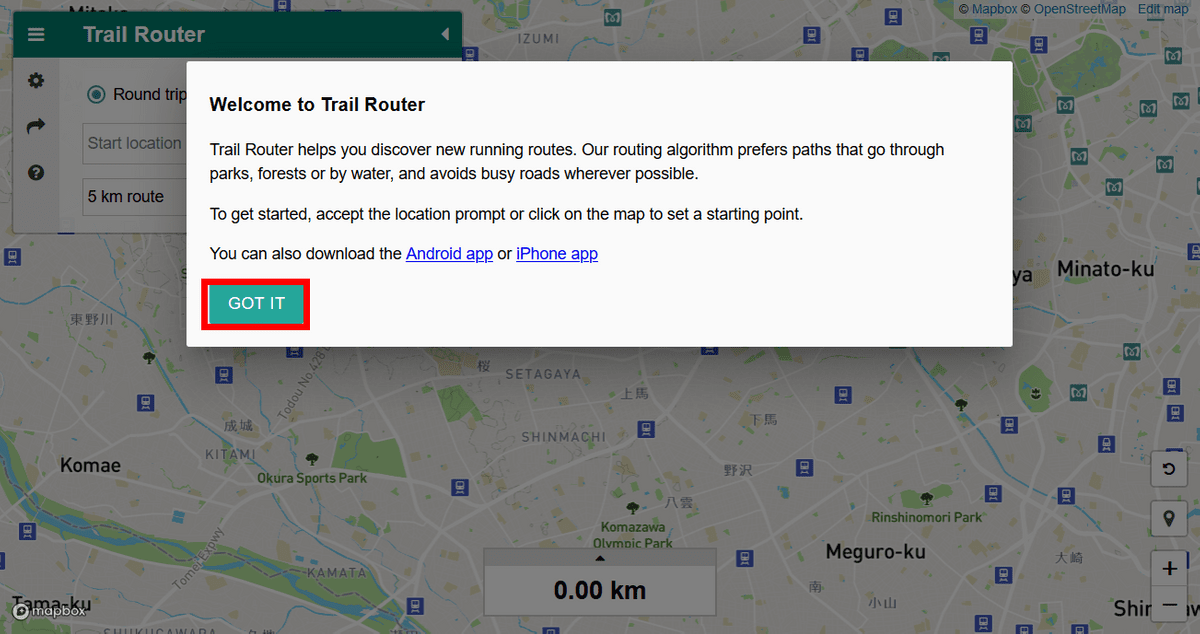
There are Android version and iOS version of Trail Router, but this time we will use the browser version. When you access the Trail Router site, the following screen will be displayed. Click 'GOT IT'.
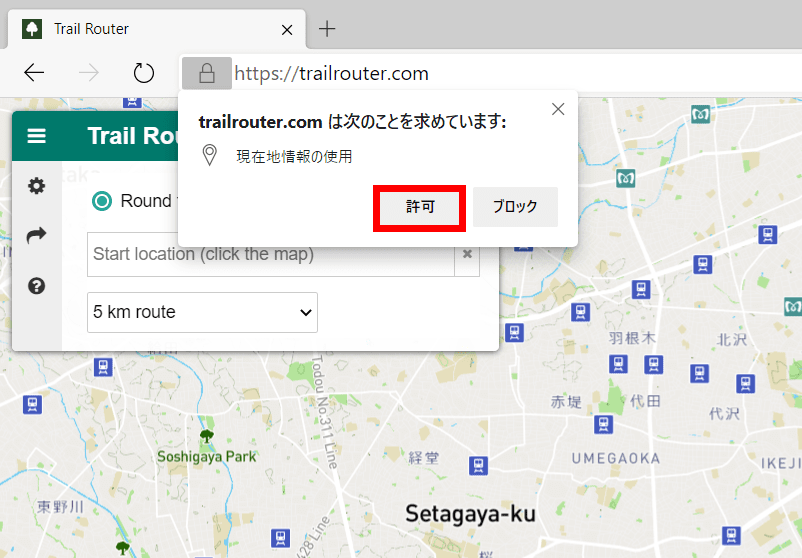
You will be asked for permission to use your location information, so click 'Permit'...
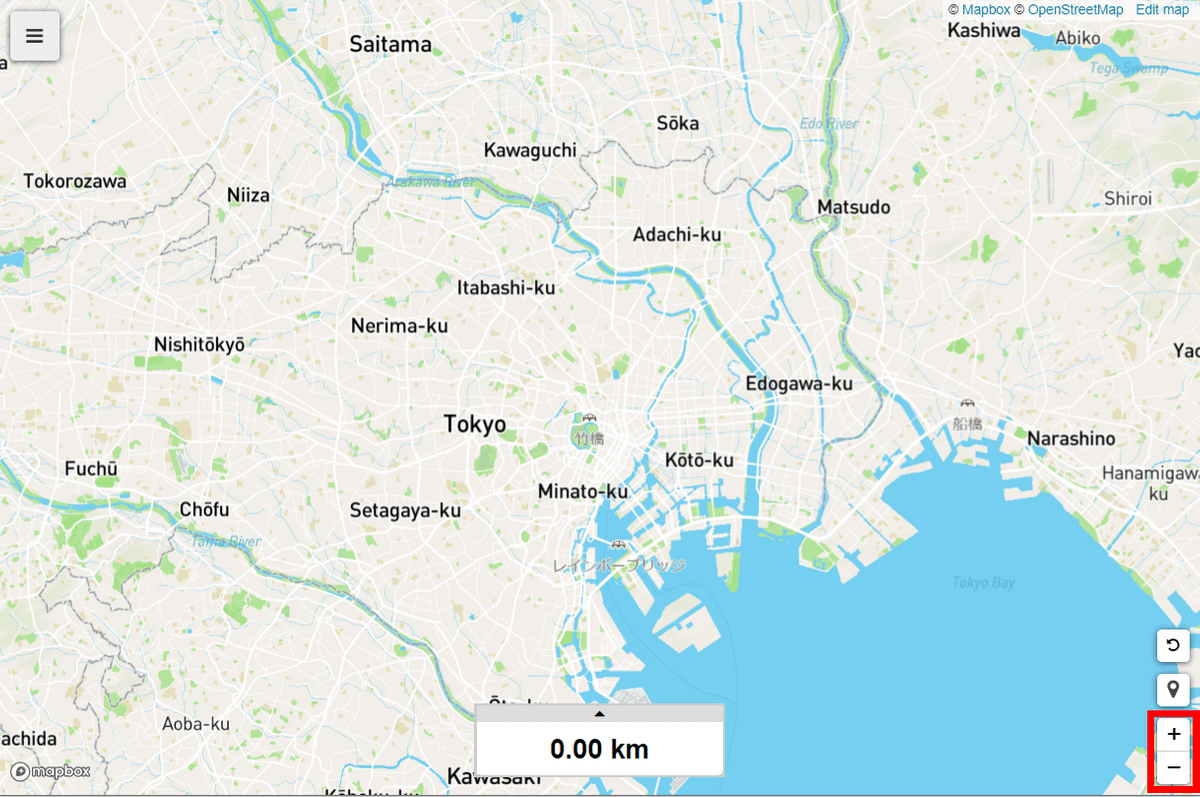
Your location is automatically displayed. You can also display the current location in the same way by clicking the button at the bottom right surrounded by the red frame.

If you do not want to send the location information, use the '+' and '-' in the lower right to enlarge/reduce the map, or drag the map to move it, and manually display the place you want to make the running course. It is also possible. You can also use the mouse wheel to zoom in and out.
There are two main ways to set the course. The first 'Round trip' is after clicking the start point...
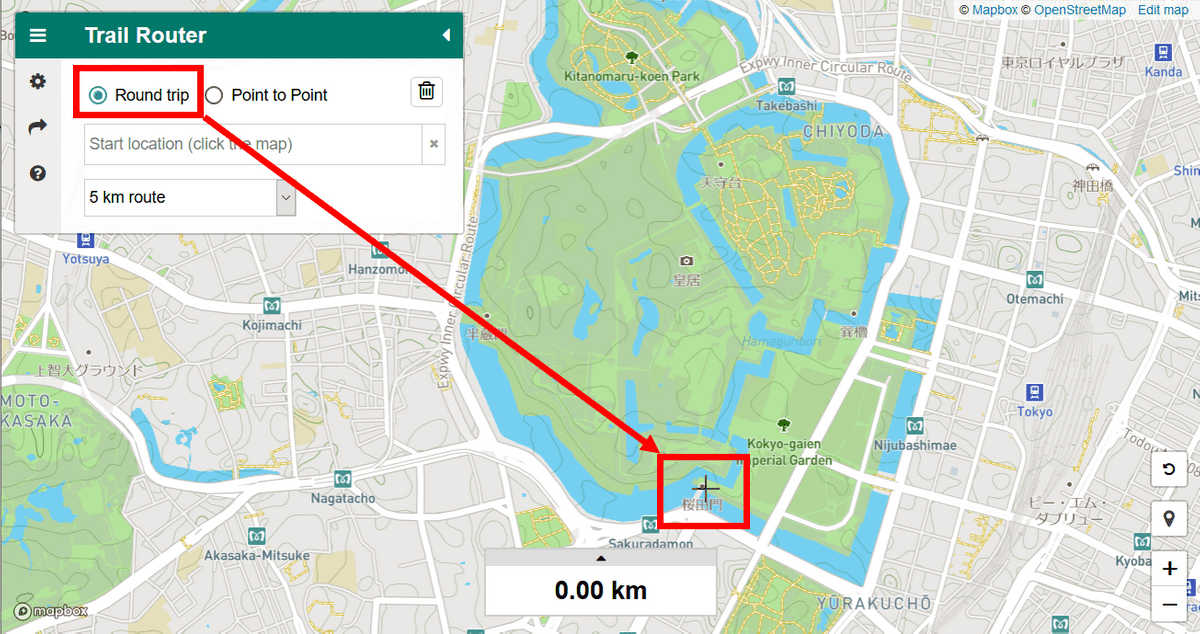
By specifying a distance, a course will be generated that starts from that point, runs the specified distance, and then returns to the start point.
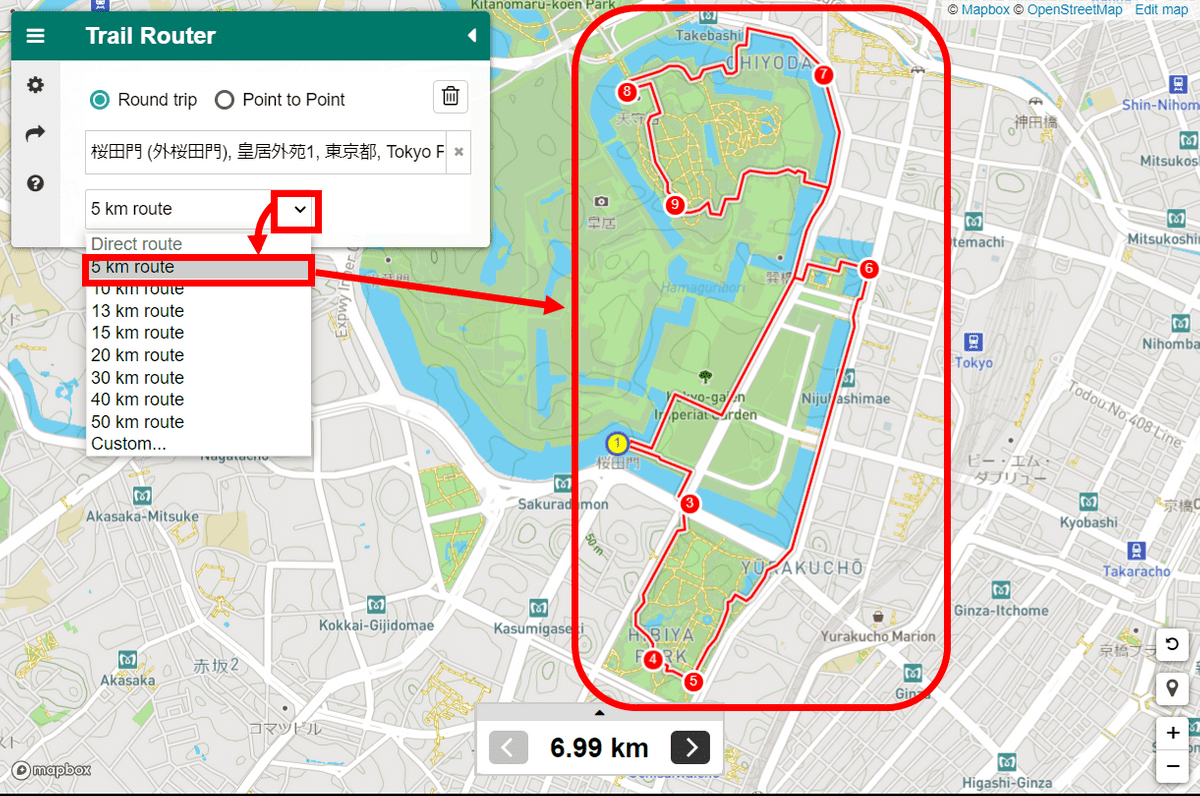
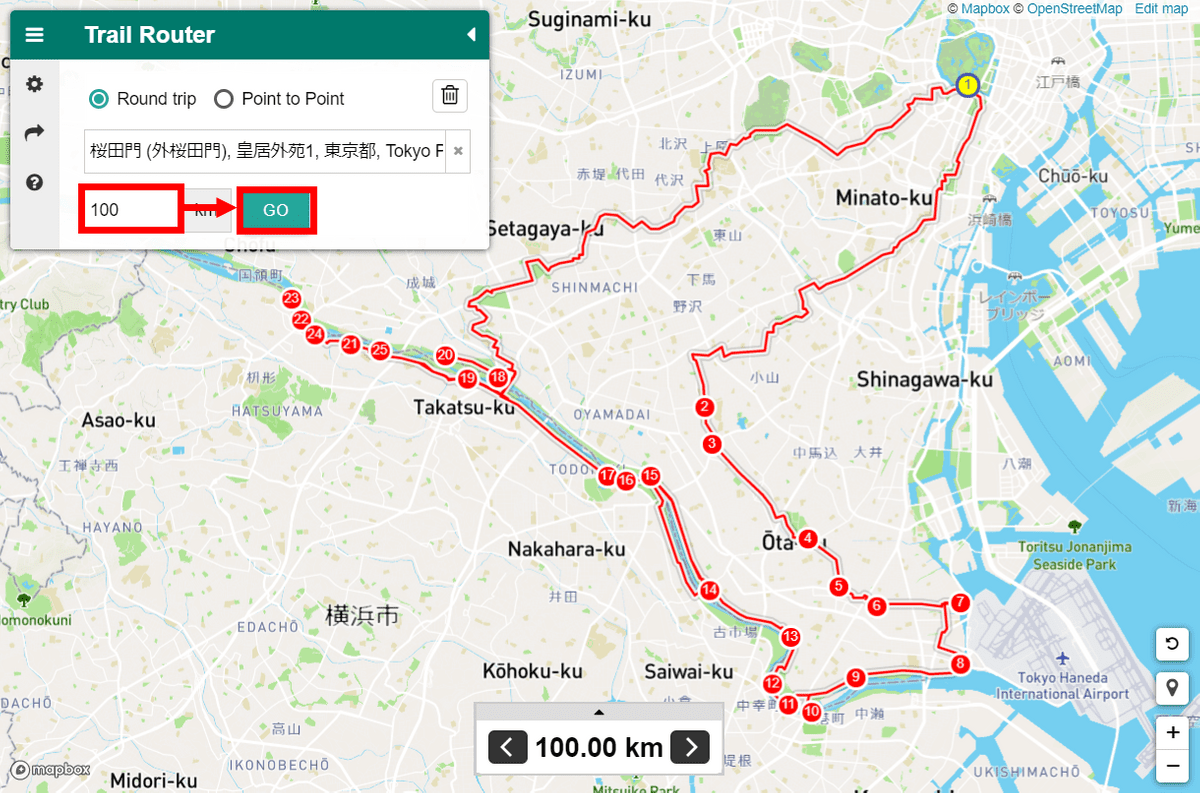
You can select a running distance of 5 to 50 km, and by clicking 'Custom'……
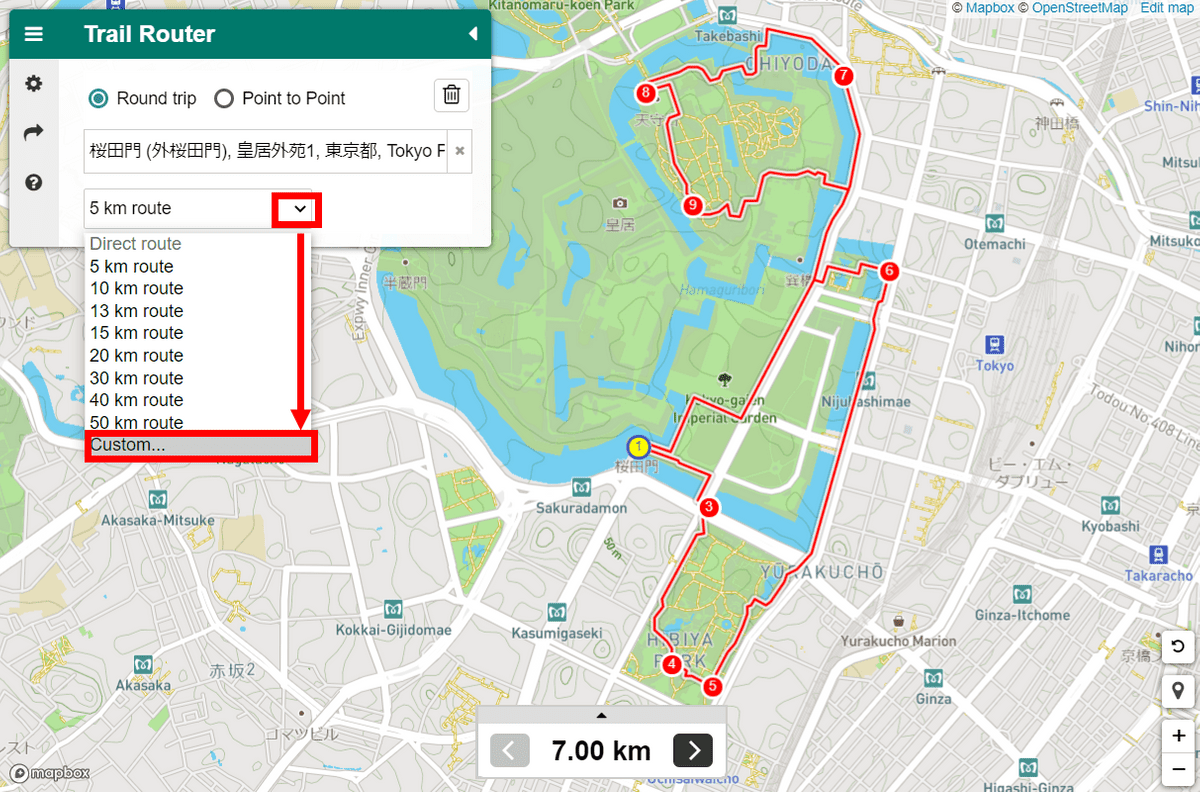
You can set any distance. Quite extreme, we were also able to generate a course 100 kilometers long.
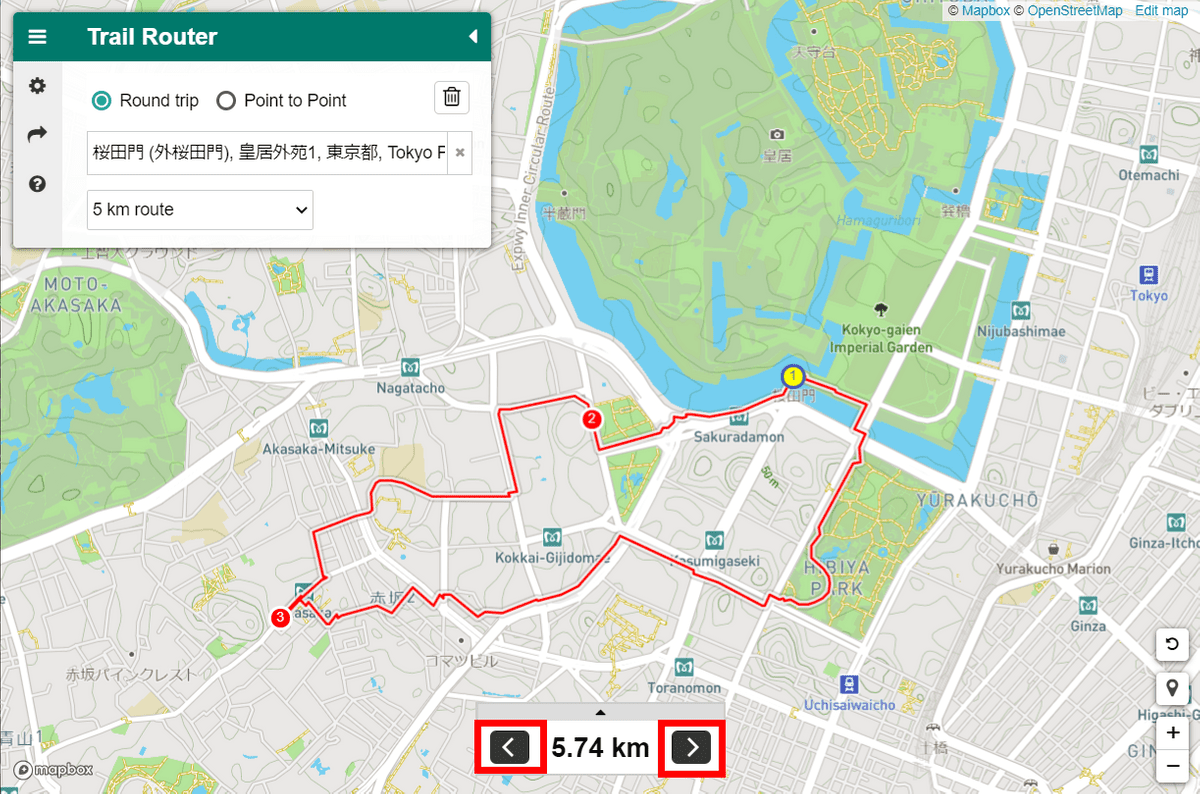
You cannot search for a place name, but if you enter an address etc. in the red frame, several candidate points will be displayed, so you can select an appropriate point and specify it as the start point.

If you click on the red frame, you can see another route generated with the same settings.
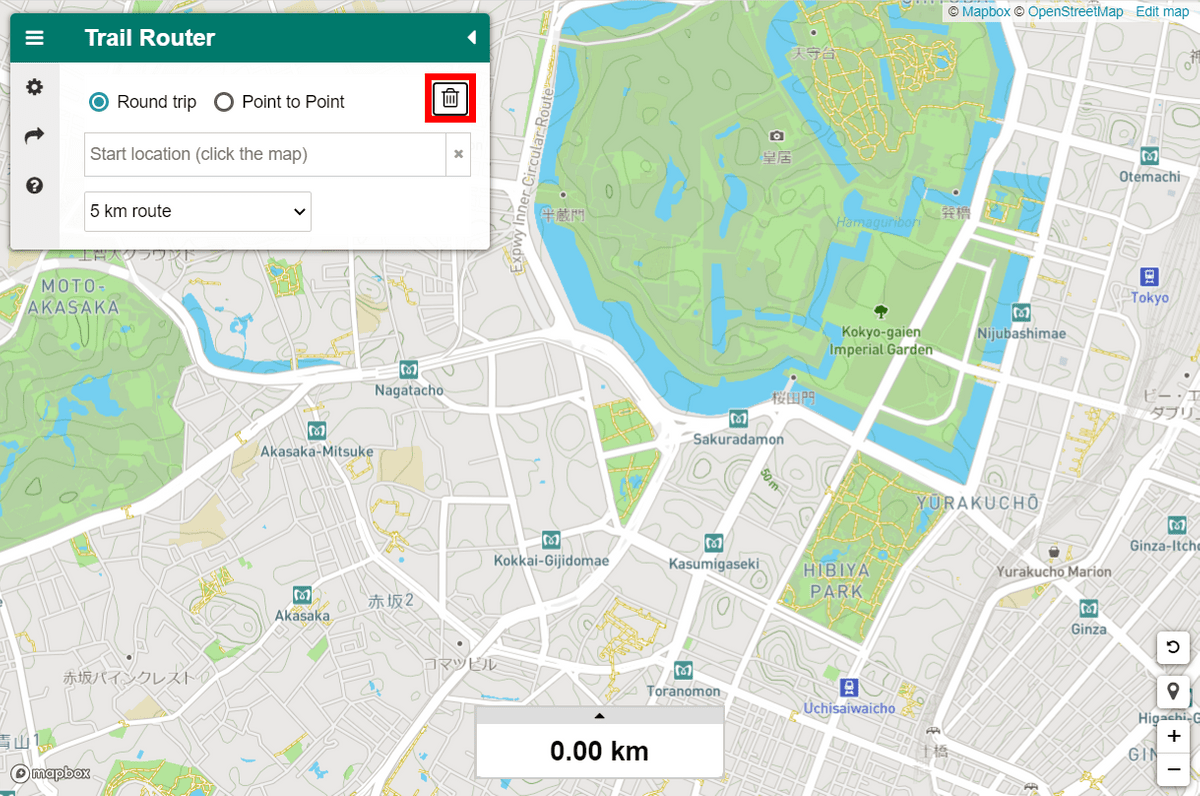
Click the trash can button in the upper left to delete the route.
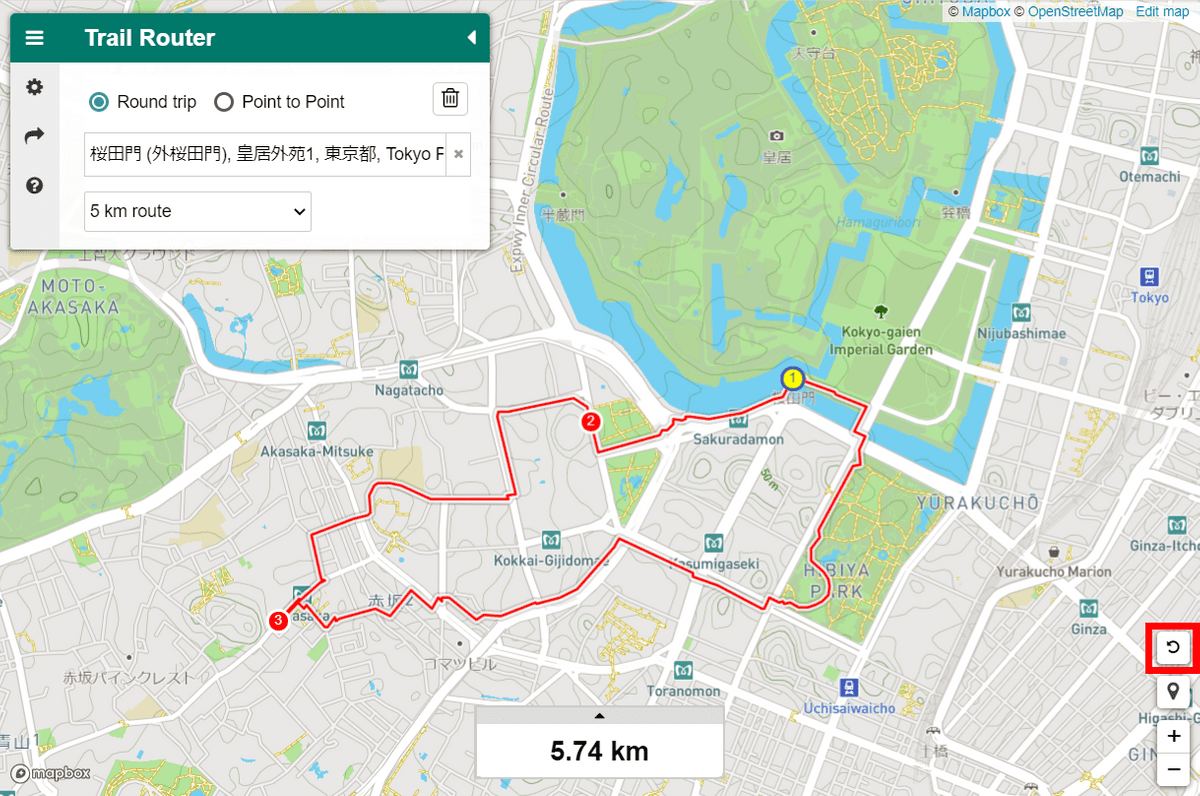
If you accidentally erase it, just click the 'Undo' button at the bottom right. You can use the 'Undo' button to cancel the operation, so you can use it even if you make a mistake at the designated point.
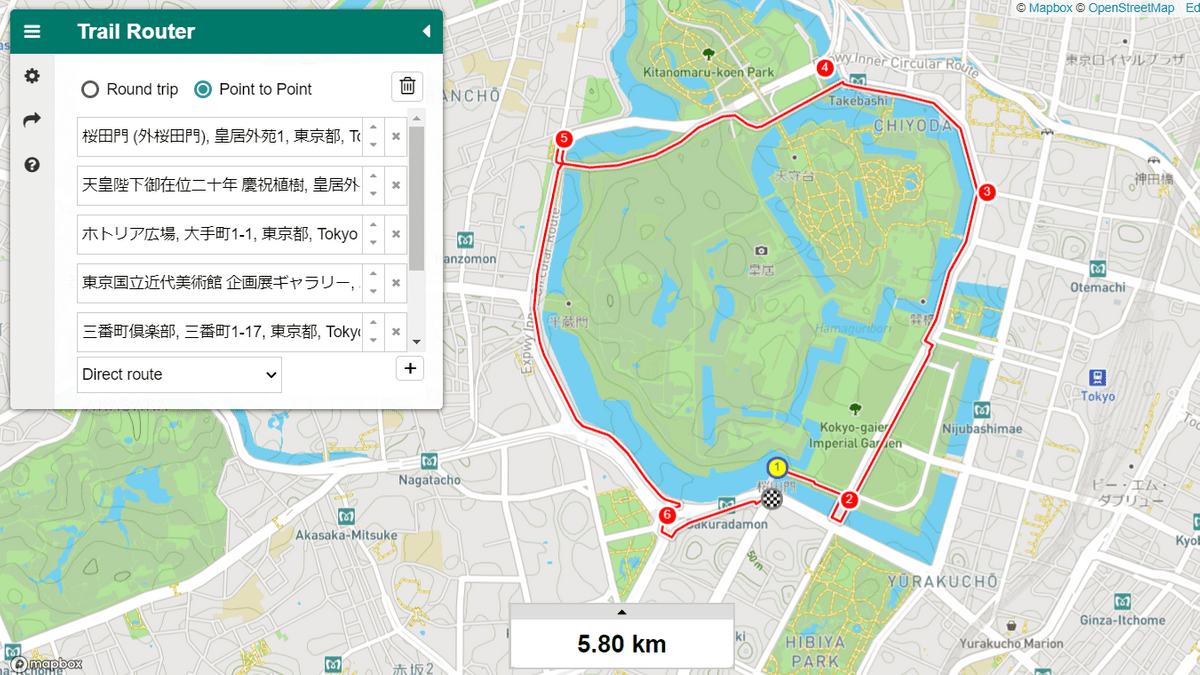
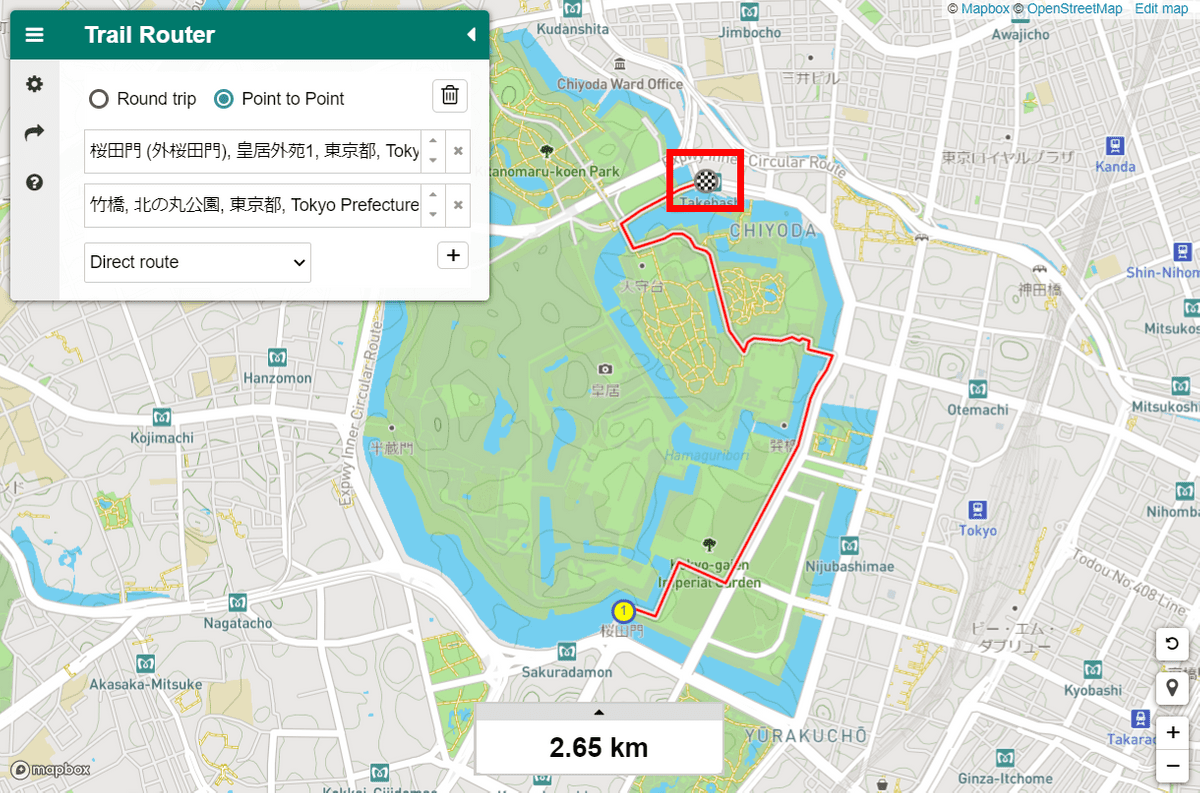
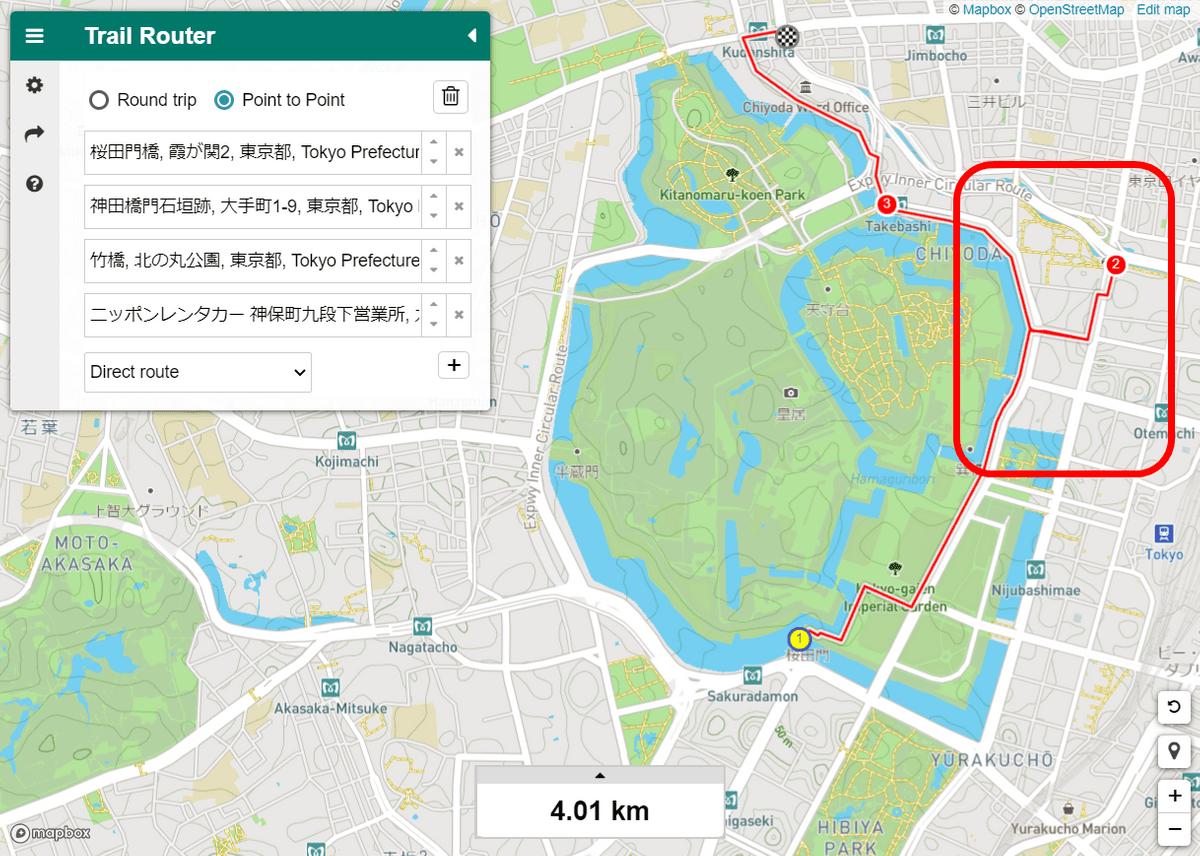
In 'Point to Point,' which is the second course setting method, first specify the starting point, and then...
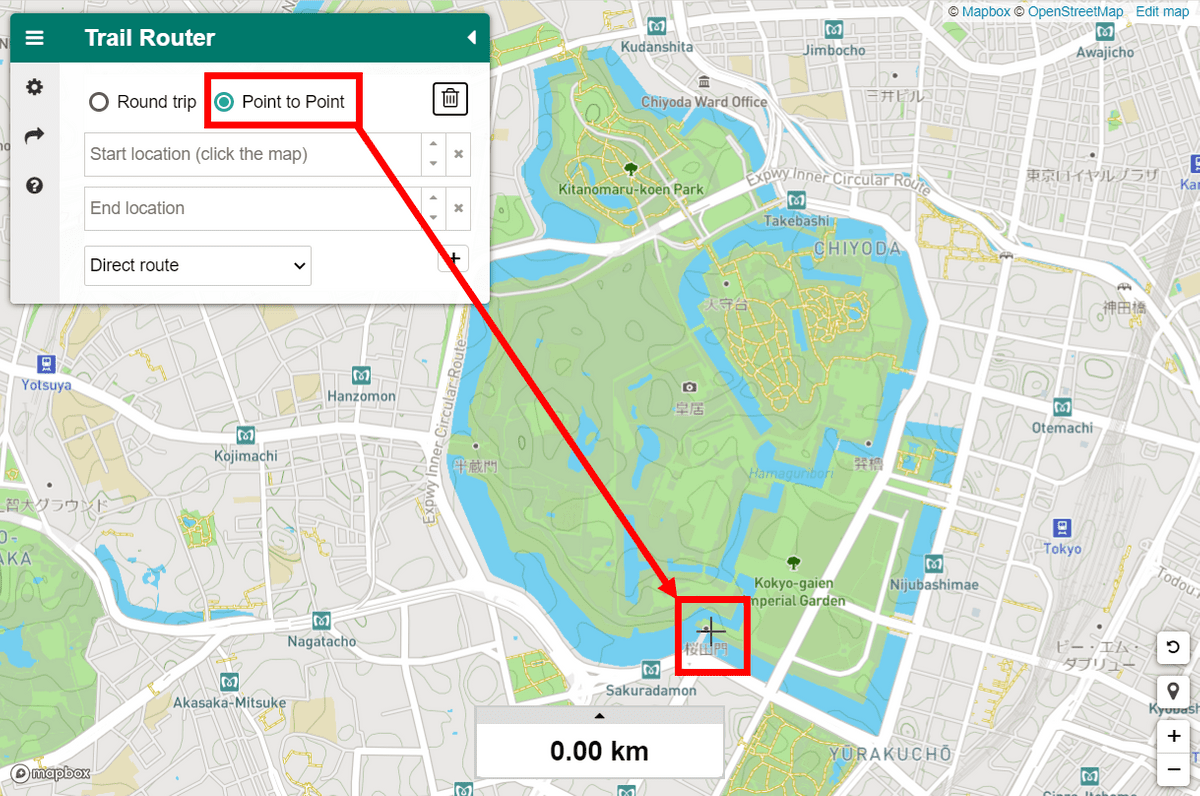
If you specify the arrival point, it will generate a course with those two points as the start and the goal.
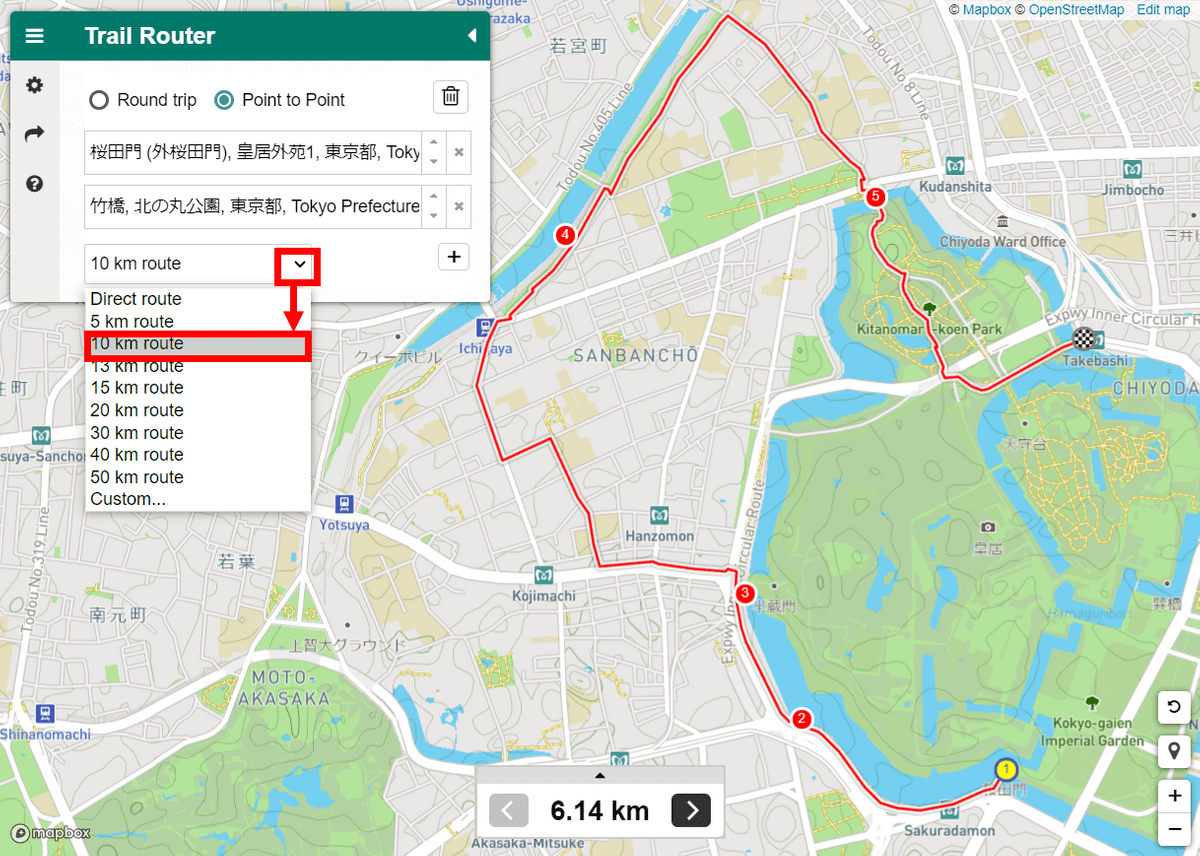
The default is 'Direct Route', which runs the shortest distance, but you can make a detour and gain distance by specifying the distance traveled.
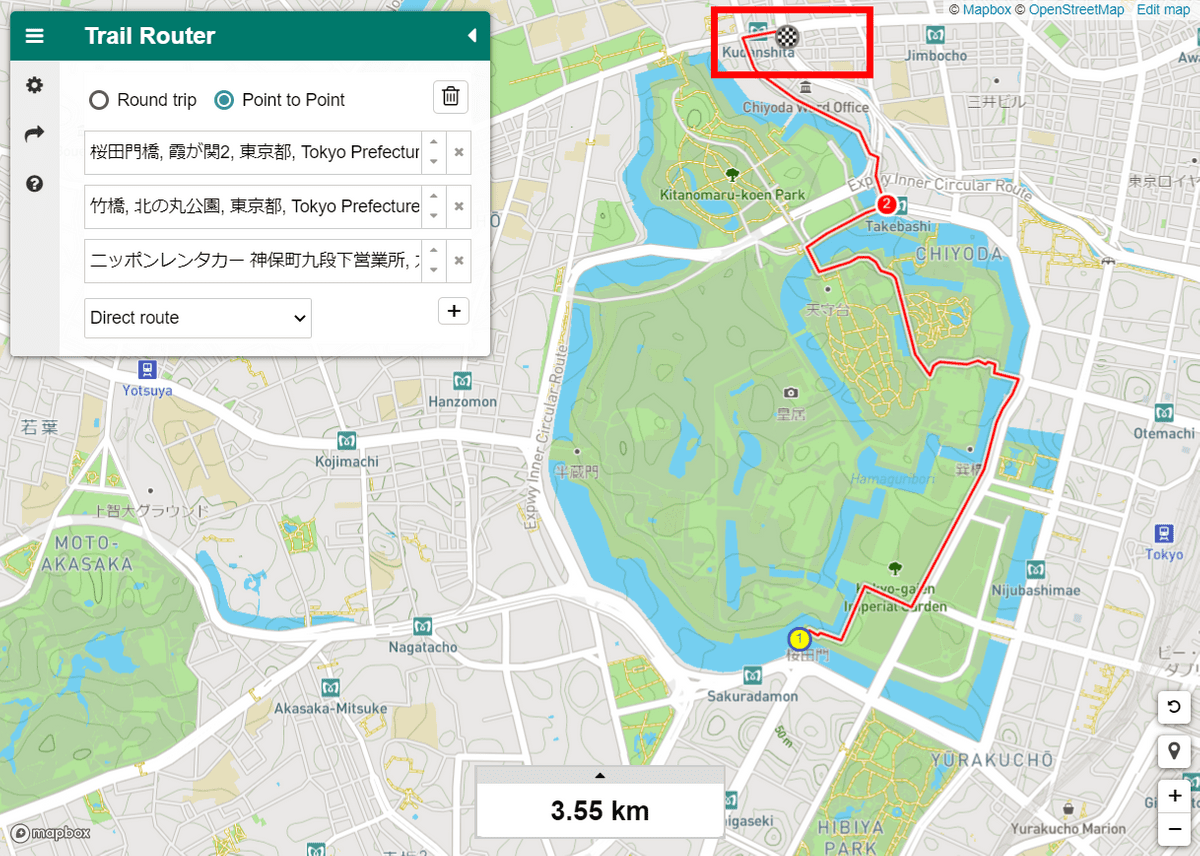
If you specify the third point with the second point specified, you can also set a route with the third point as the goal via the second point. If you specify the waypoints too finely, the meaning of automatic generation will be diminished, but it is useful when you want to stop at any place during running.
Also, by dragging and dropping the course...
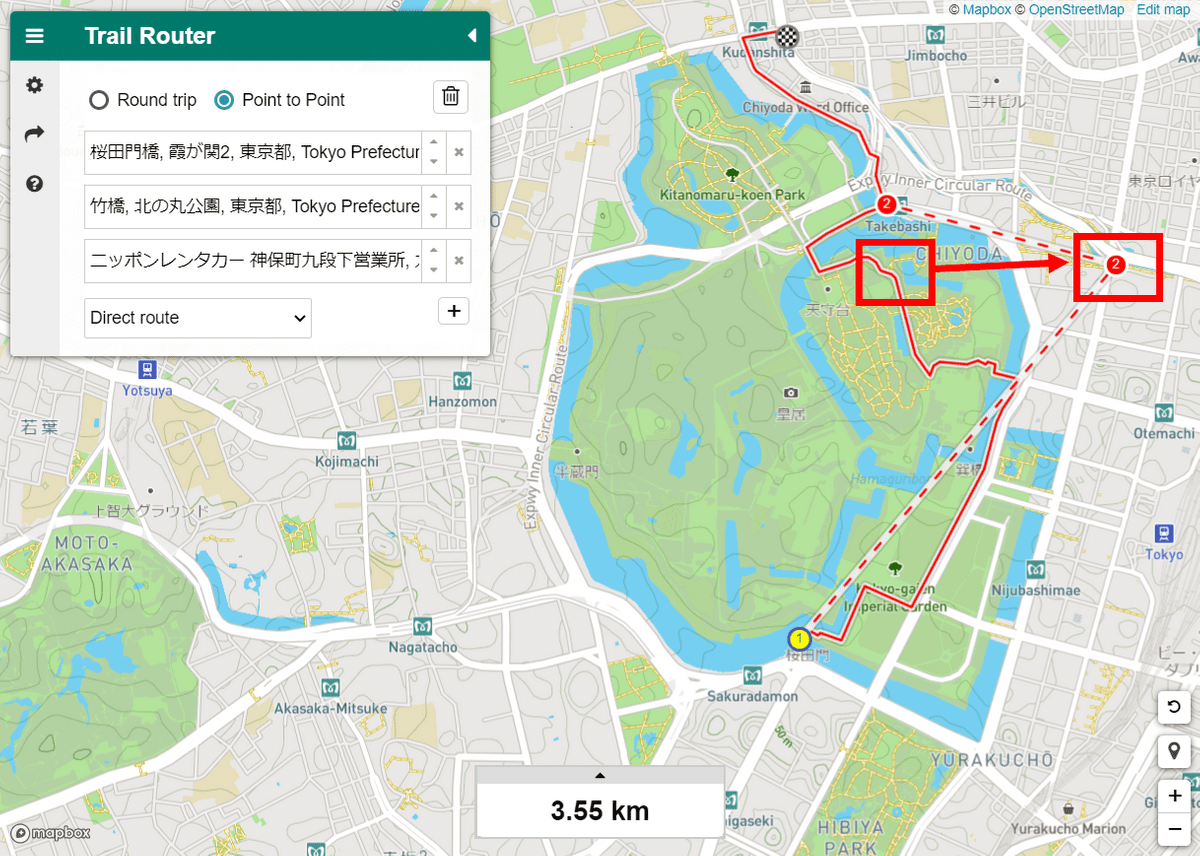
You can also edit the course.
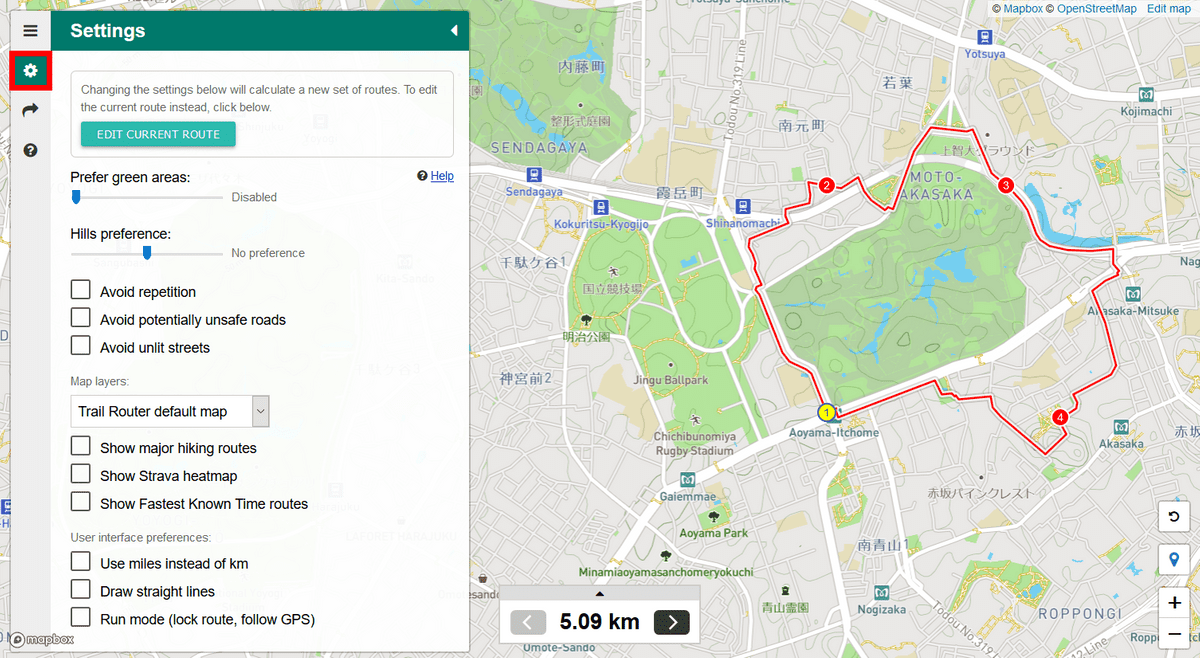
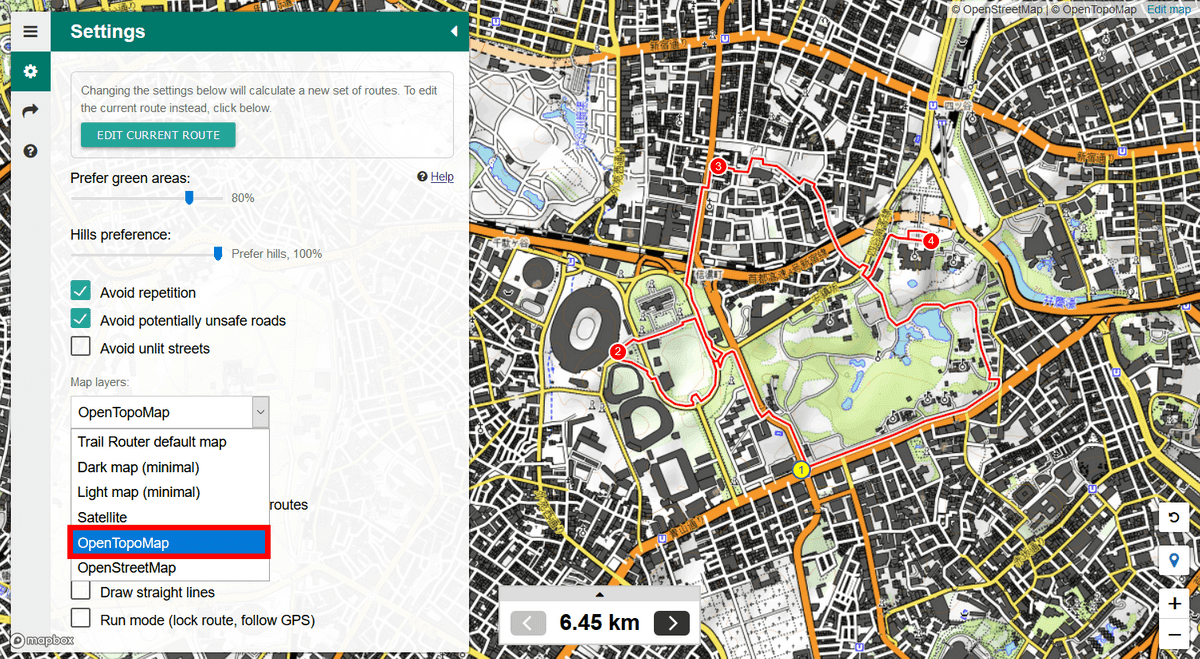
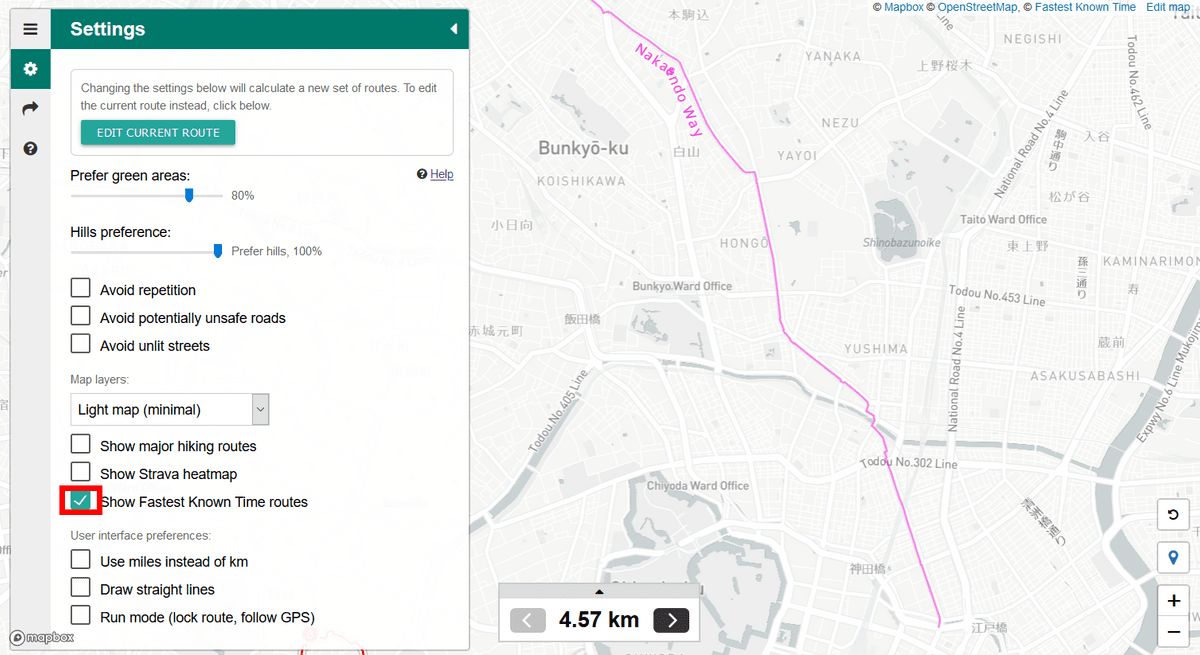
You can adjust your route while changing various settings by clicking the gear button to open the settings menu.
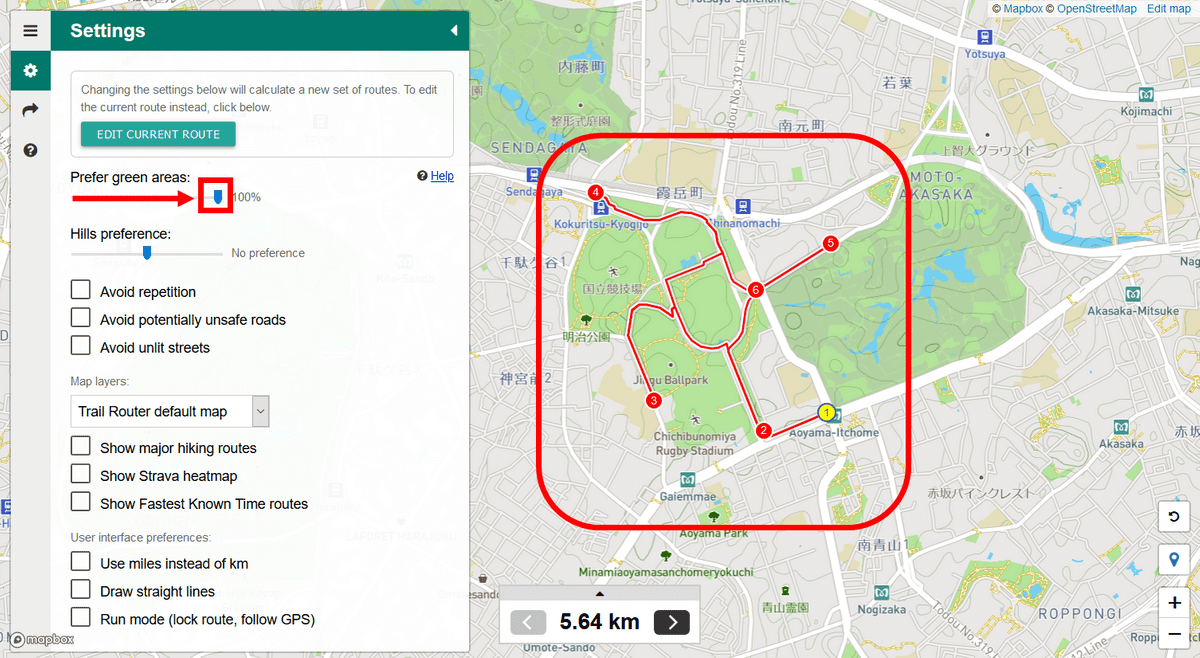
I moved the slider of 'Prefer green areas' to the right and set it to 100%, and it became a route to run in the green areas as much as possible.
Move the slider in 'Hills preference' all the way to the left to make a round trip on a flat road.
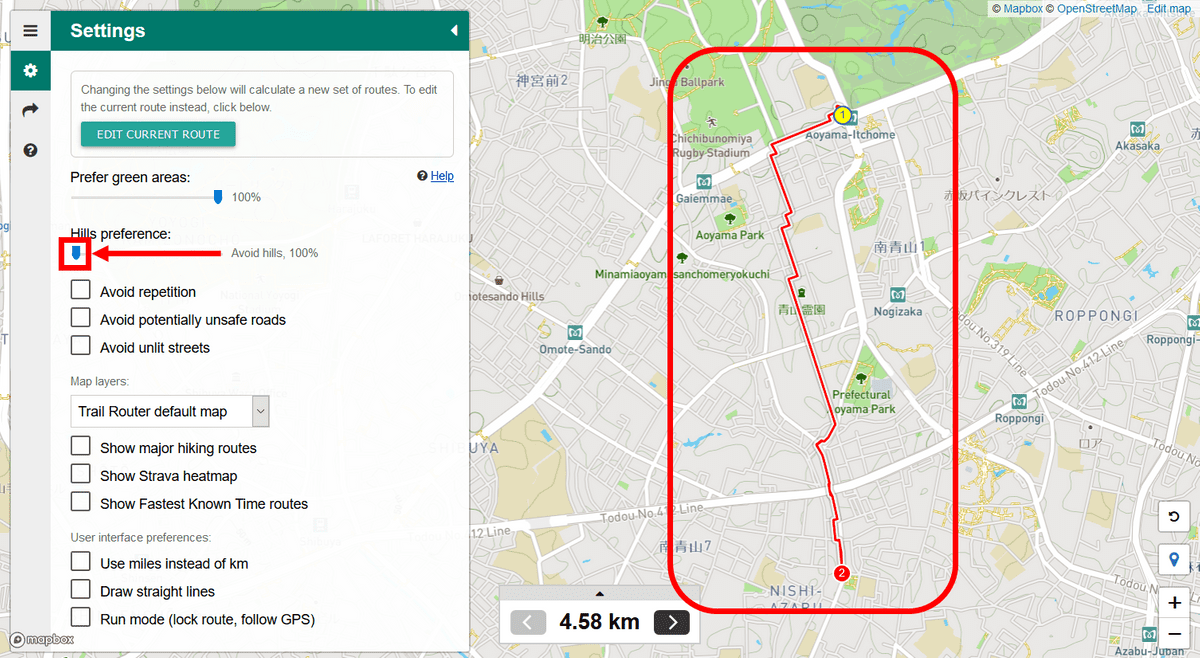
Conversely, if you move it all the way to the right, you will select an uneven route.

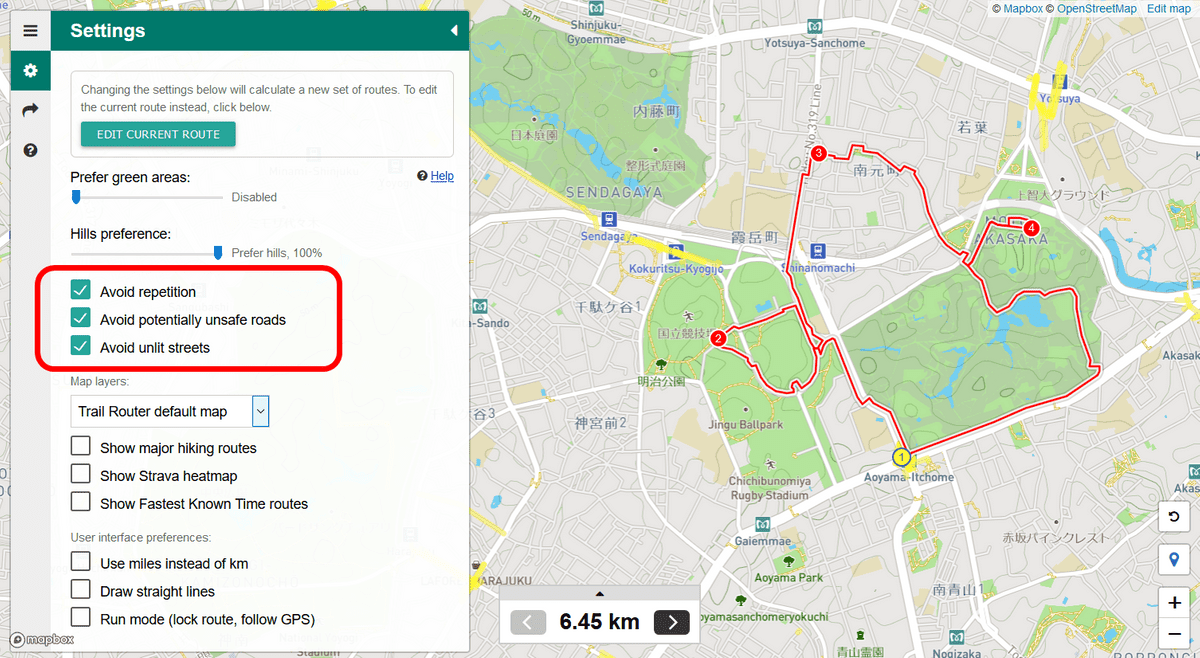
If you check the checkboxes of 'Avoid repetition', 'Avoid potentially unsafe roads', and 'Avoid unlit streets', you will see 'potentially dangerous roads such as those with no sidewalks' and 'roads without lights', respectively. The route will be set to avoid '.'
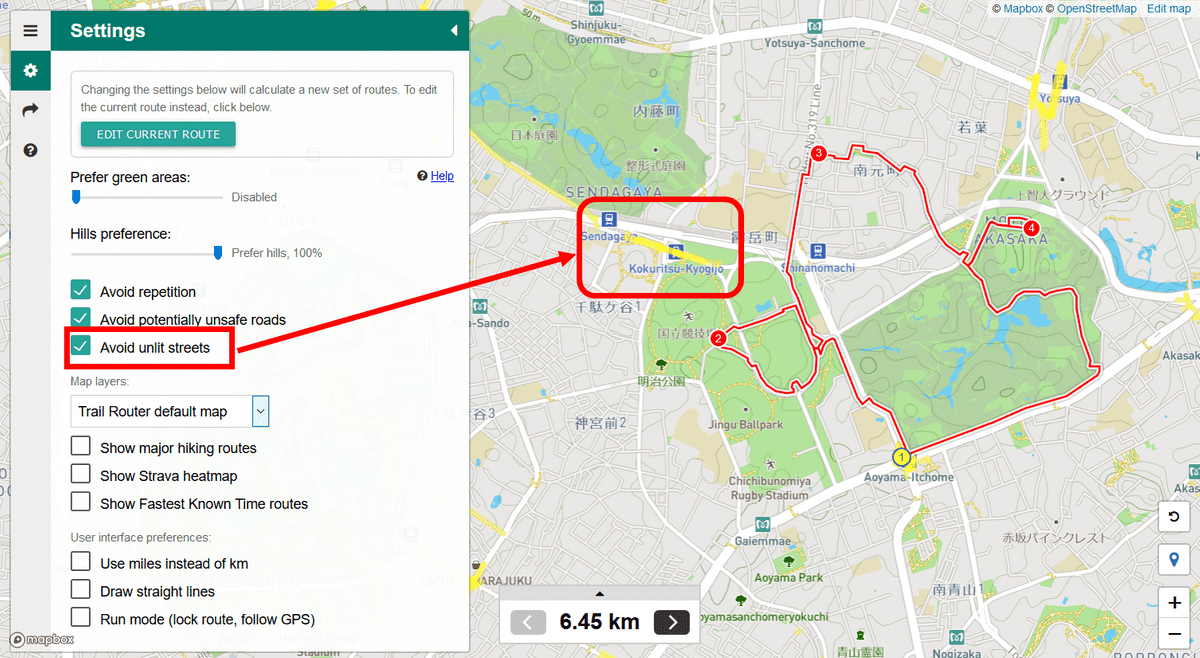
Especially, if you check 'Avoid unlit streets', the roads with lights will be displayed in yellow, which is convenient for people who run after evening.
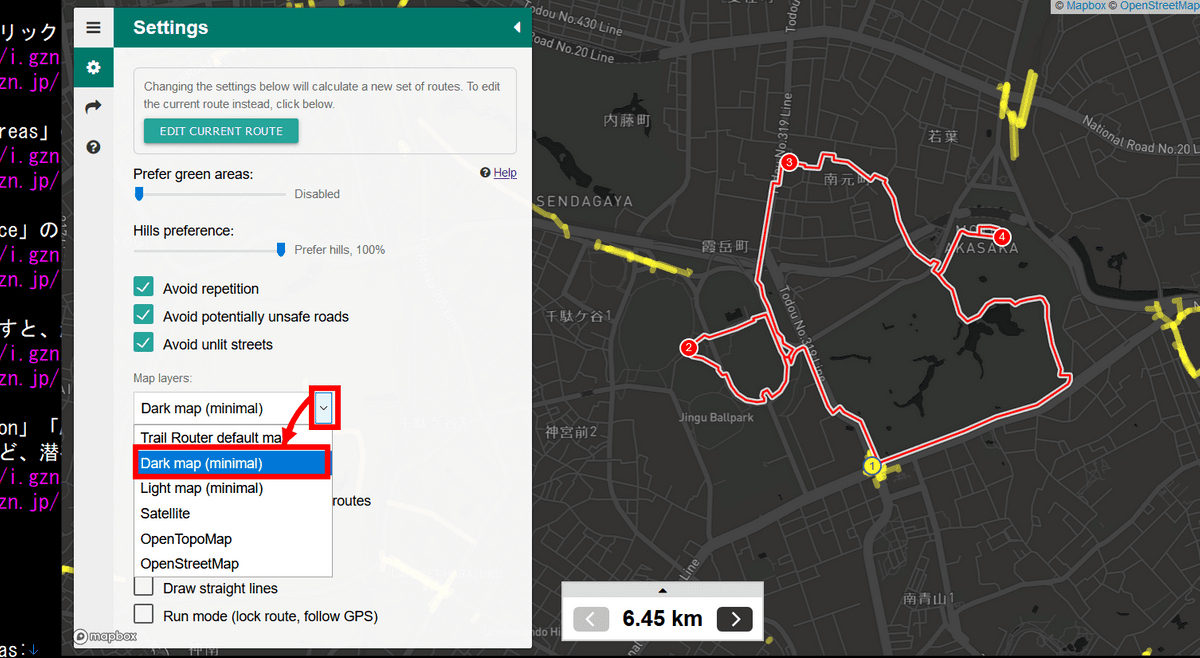
You can switch the map to be displayed by selecting the map in 'Map layers'. This is a 'Dark map' that displays a minimal amount of information on a dark map.
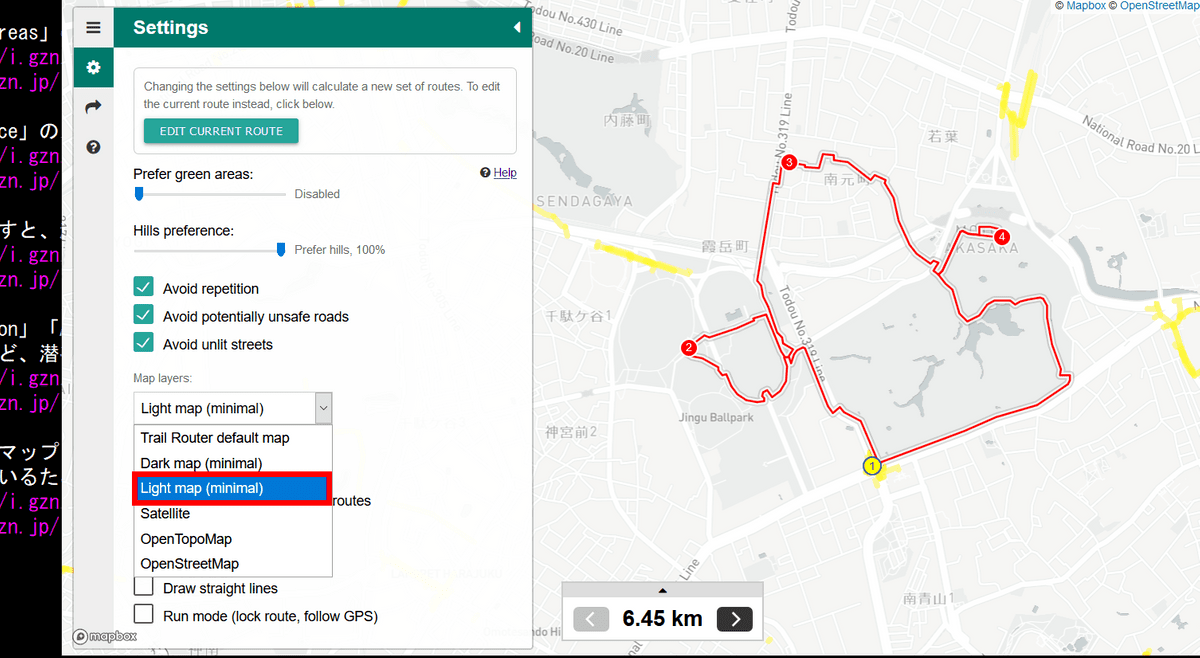
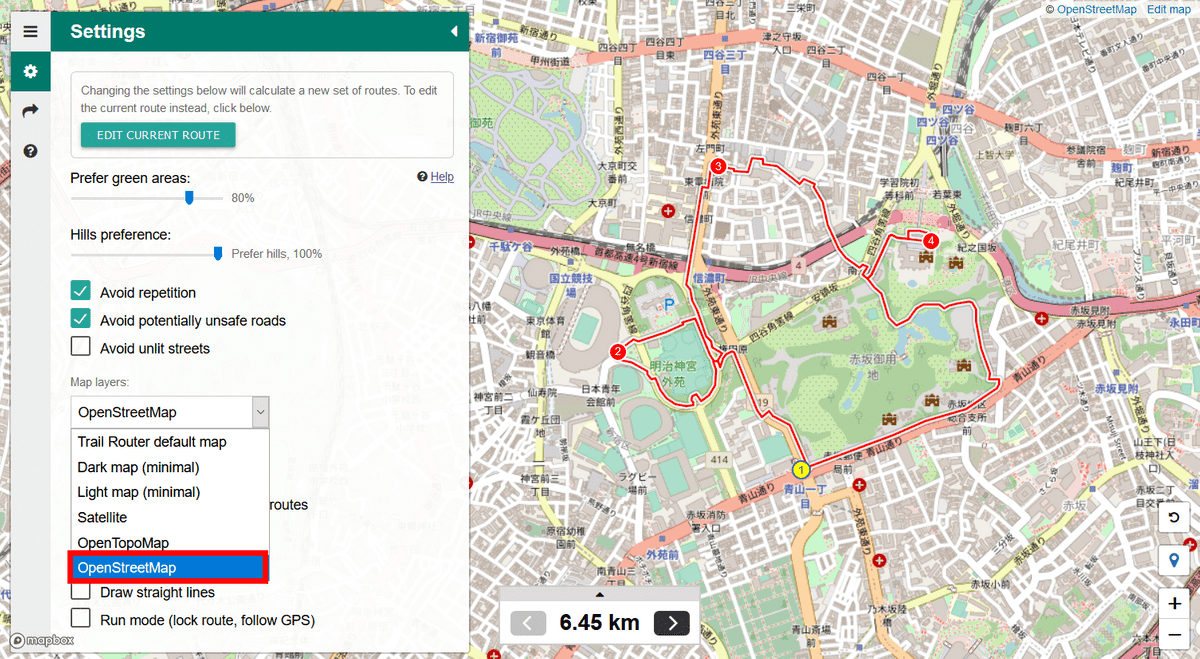
In addition, 'Light map' which is a whitish map as well...
'Satellite' using satellite images

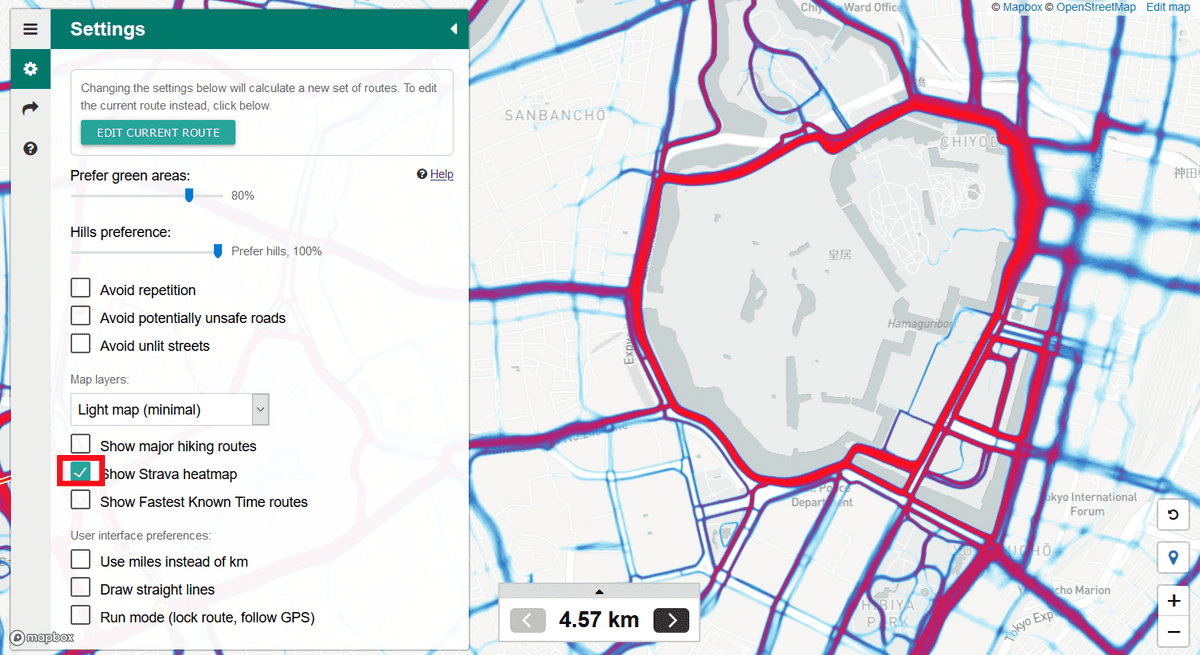
'
There is also a free map project such as '
In addition, 'Show major hiking routes' that displays famous courses such as Nakasendo
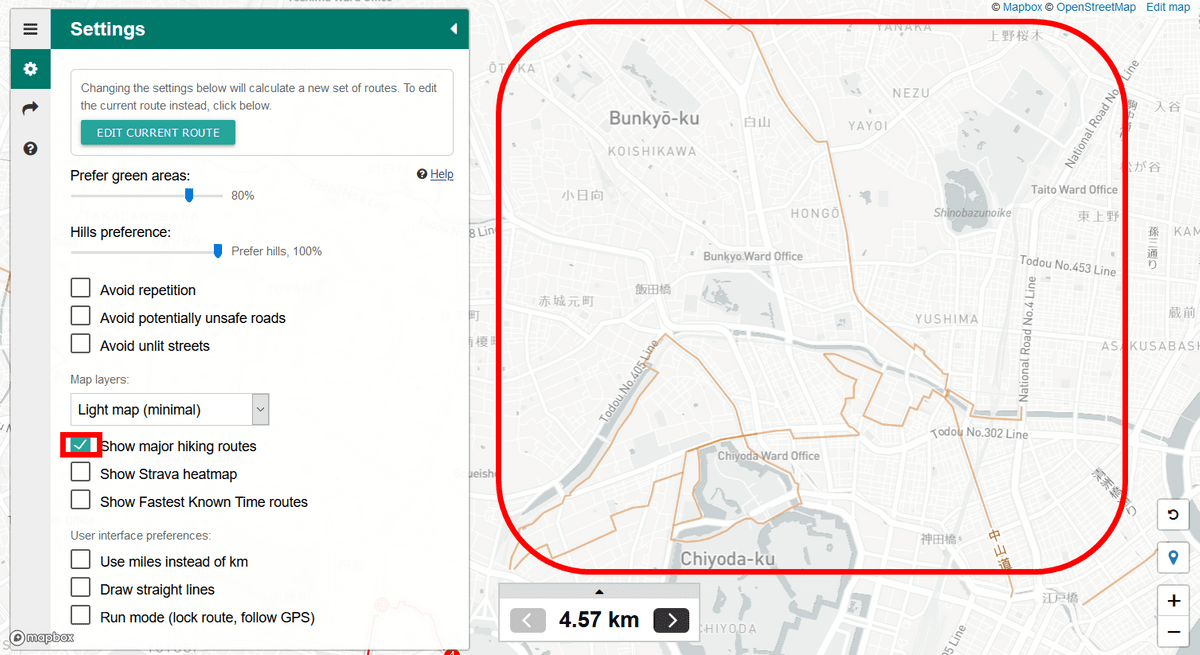
'
It is also possible to display 'Show Fastest Known time routes', which indicates that there is a time attack record posted at
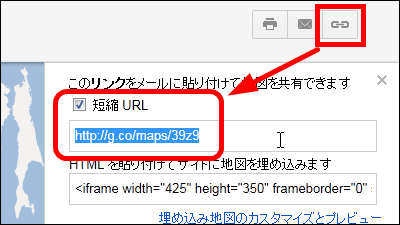
By clicking the button like the arrow, you can save the created route in your Google or Apple account, output it in

Related Posts:

in Review, Web Service, Web Application, Posted by log1l_ks