I tried using the booking form creation service `` Book Like A Boss '' which can finely set the interval and the number of people that can be reserved for each reservation frame and can also cooperate with the calendar
' Book Like A Boss ', a booking form creation service, allows you to finely set the available time for each day of the week or time zone, and the person making the reservation does not need to register as a member and can make a reservation simply by entering their email address and name. is.
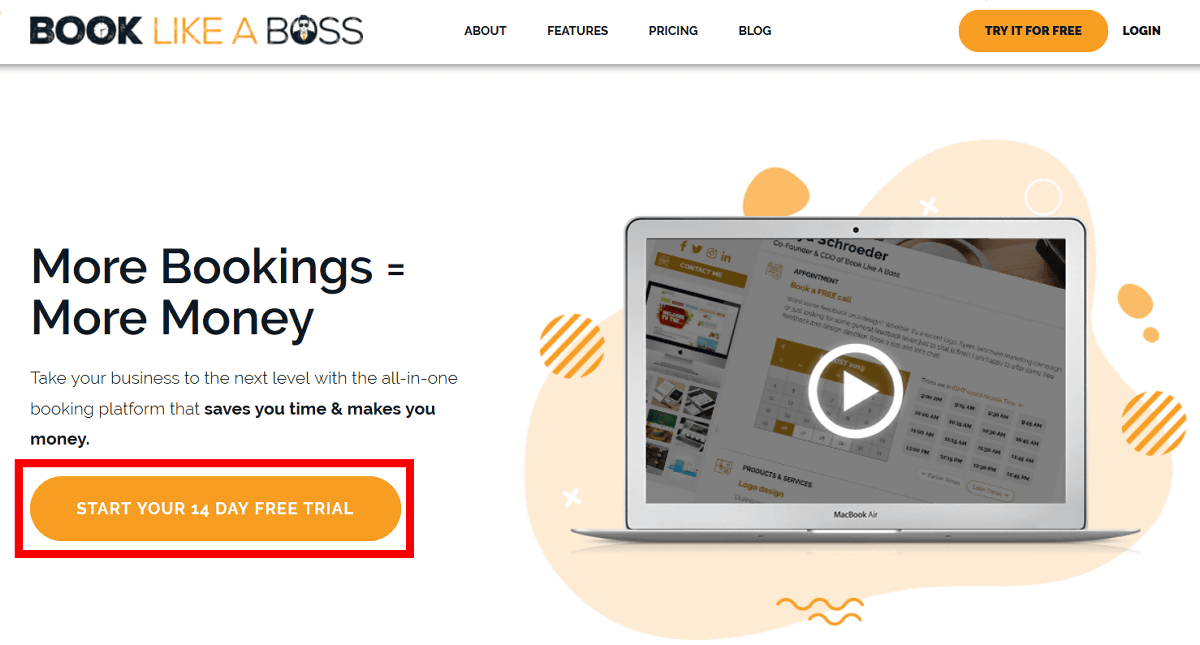
Free Online Appointment Scheduling Software | Meeting Scheduling Tool | Book Like A Boss
To start using, first click 'START YOUR 14DAY FREE TRIAL'.
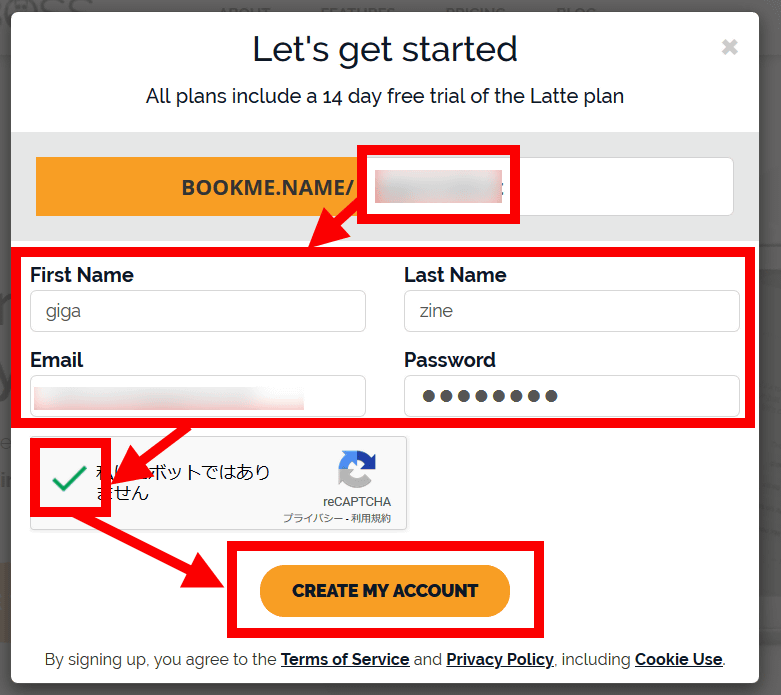
First, check the characters you want to make into the URL of the reservation form, the user name and email address, the password, 'I am not a robot' and click 'CREATE MY ACCOUNT'.
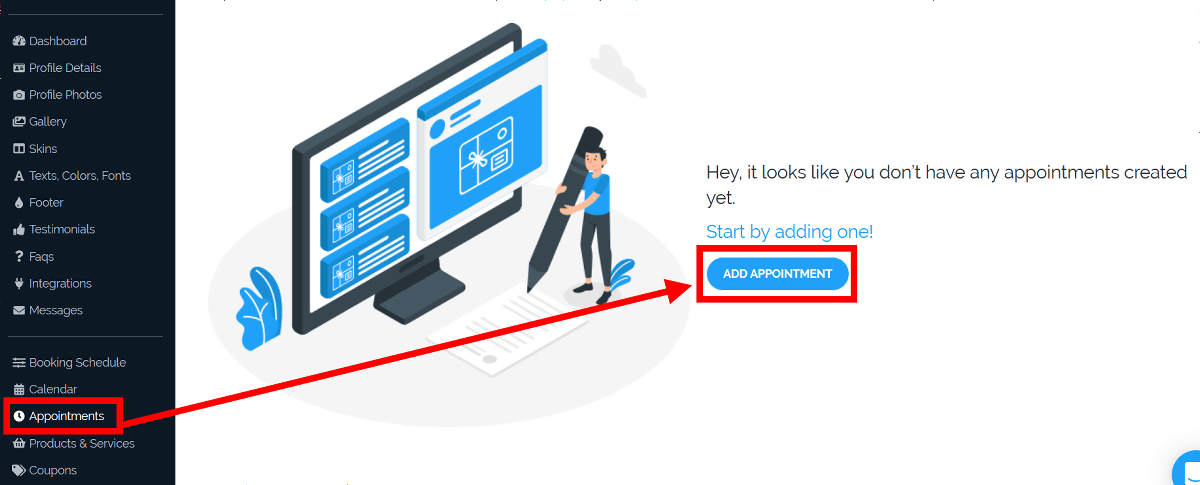
The Book Like A Boss page is created as soon as you create your account.

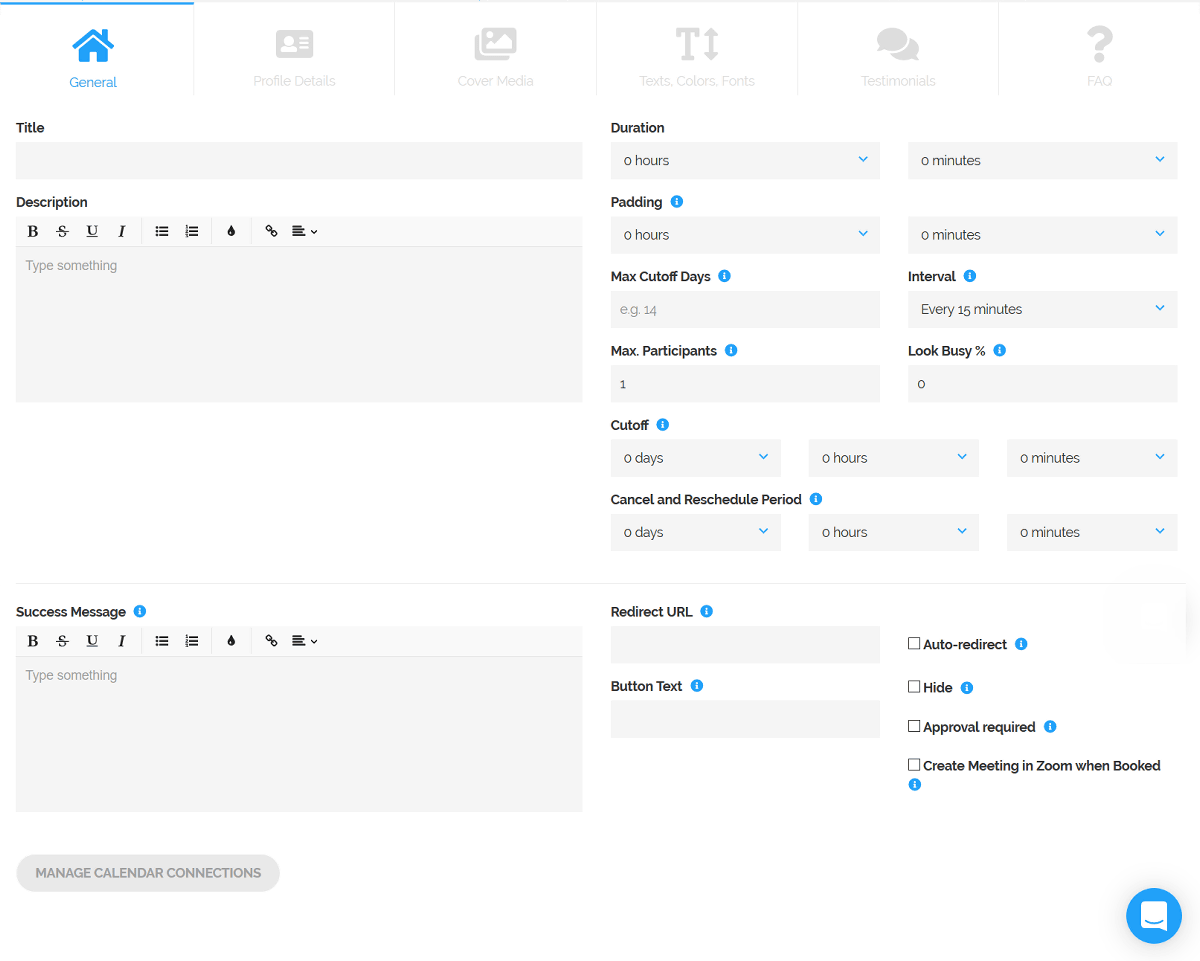
To create a booking form, click 'Appointments' from the menu on the left and select 'ADD APPOINTMENT'.
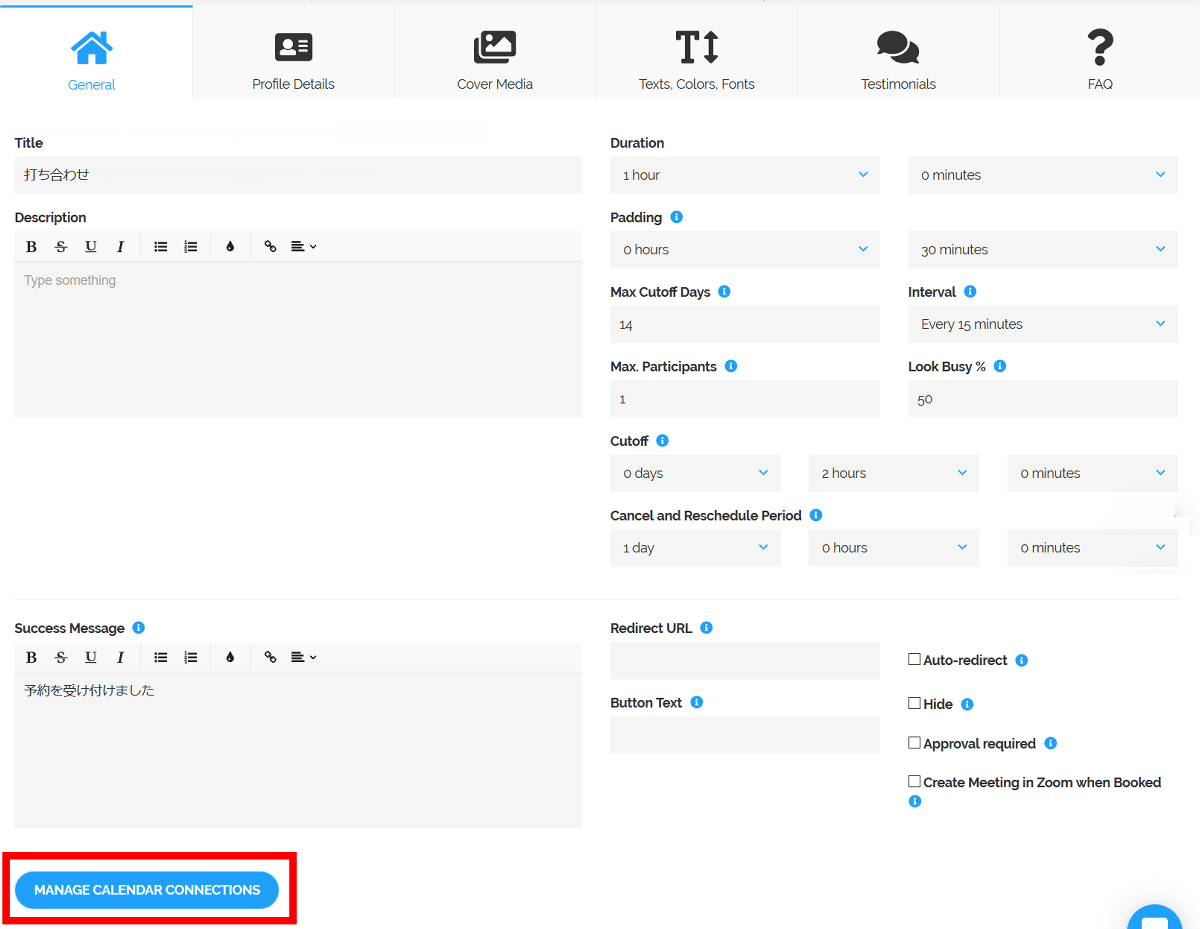
The reservation form can be created by finely setting the time slots that can be reserved.
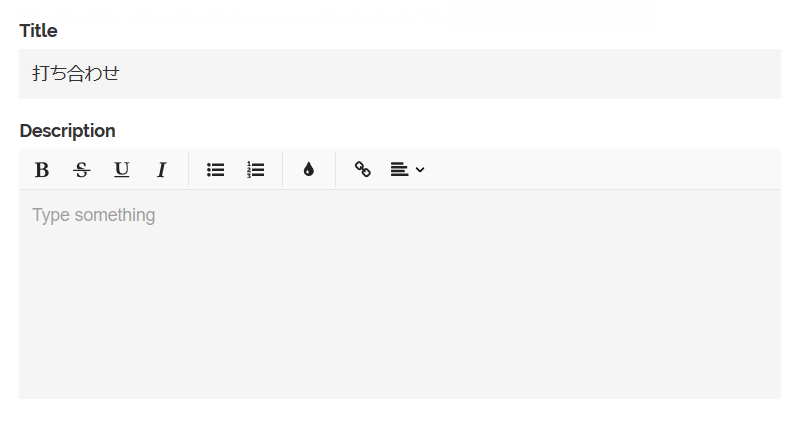
'Title' is a name that represents what the reservation is, and 'Description' is a description of the reservation. Although the item names are not translated into Japanese, each input form can be entered in Japanese.
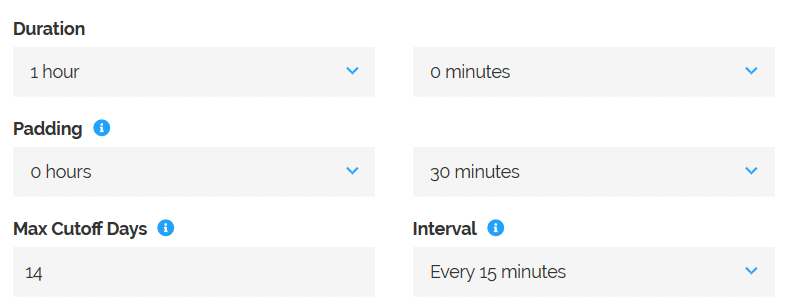
'Duration' is the time secured for one reservation. For 'Padding', you can set a vacant time before and after the reserved time so that reservations will not be entered consecutively, for example, from 3 pm to 4 pm, from 4 pm to 5 pm. 'Max Cutoff Days' can set the validity period of the reservation form, and 'Interval' can set the interval for each reservation frame before reservation.
'Max Participants' is the maximum number of people that can be reserved for each reservation frame. 'Look Busy' is, for example, when '50%' is set, if one reservation is made on the day when there are five reservations, the remaining reservations will be reduced by 50% and the remaining reservations will be automatically reduced by two. Will be.

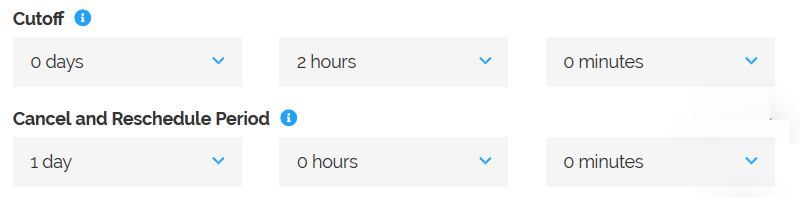
'Cutoff' can set how many hours after the current time the reservation can be made. For example, if you set it to '2 hours', the reservation will be created 2 hours after the current time. In the 'Cancel and Reschedule Period', you can set how many hours before the reservation time the reservation side can cancel.
'Success Message' can edit the message of the dialog displayed to the reservation side after the reservation is confirmed. In addition to messages, you can also link with 'Redirect URL'. If you check the 'Auto-redirect' check box, you can send the person directly to the designated link after booking.
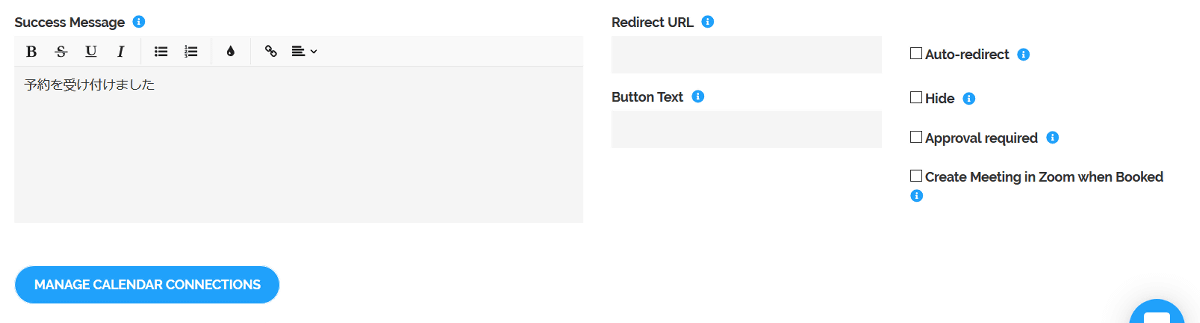
After entering the required information, click 'MANAGE CALENDAR CONNECTIONS' to complete the reservation form.
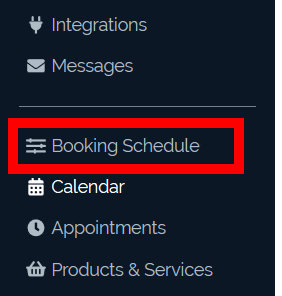
Next, set the time slot that can be reserved. Select 'Booking Schedule' from the menu.
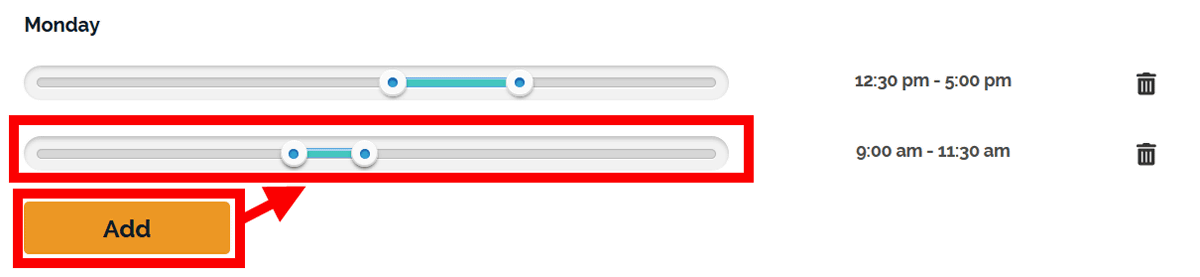
Reservable time can be set for each day of the week, and clicking 'Add' will display a slider. The blue part is the available time.

If you click 'Add', another slider will be added. For example, if you want to set a reservation time that avoids 1 hour from 11:30 am, you can set it as follows from 9 am to 11:30 am and 12:30 pm to 5 pm.
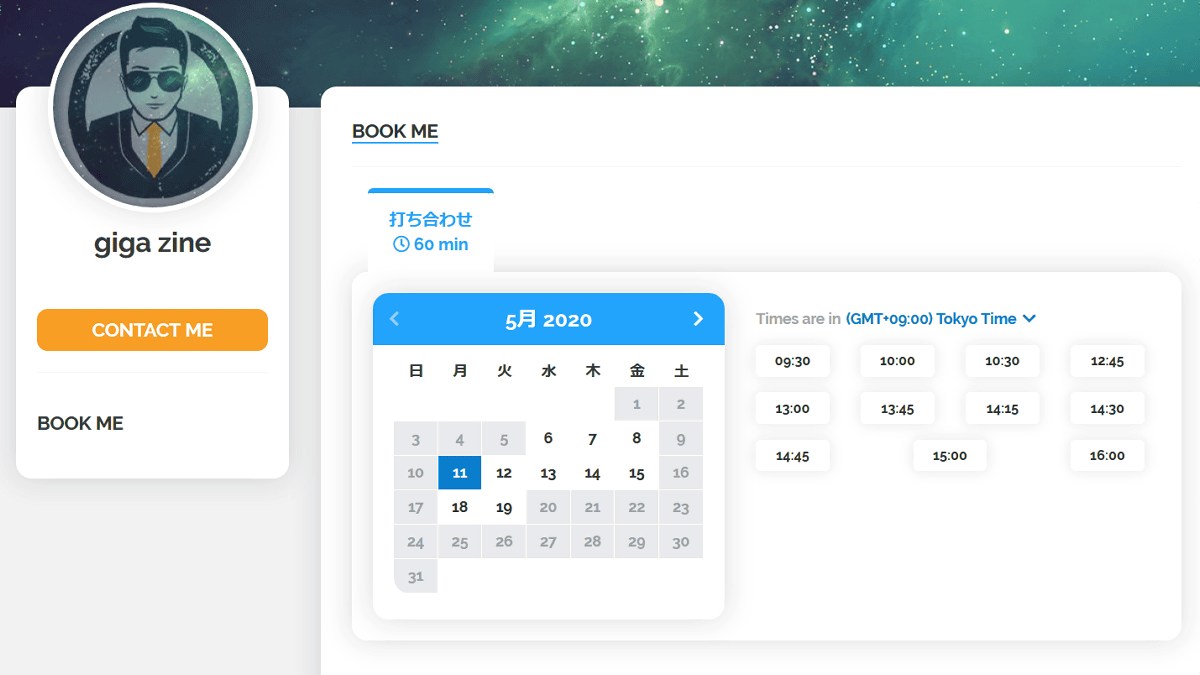
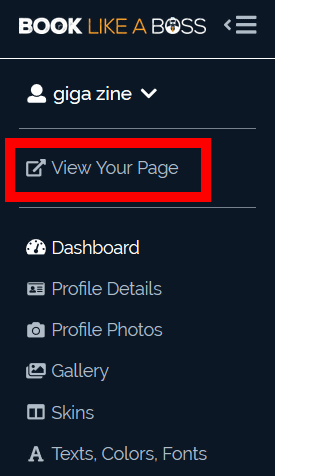
To see the completed booking form, click 'View Your Page' from the menu.
The URL page you entered when creating the account is displayed, and the reservation form is created as shown below.

◆ Reservation method
Reservation side, click the date you want to make a reservation and the time zone you want to make a reservation.

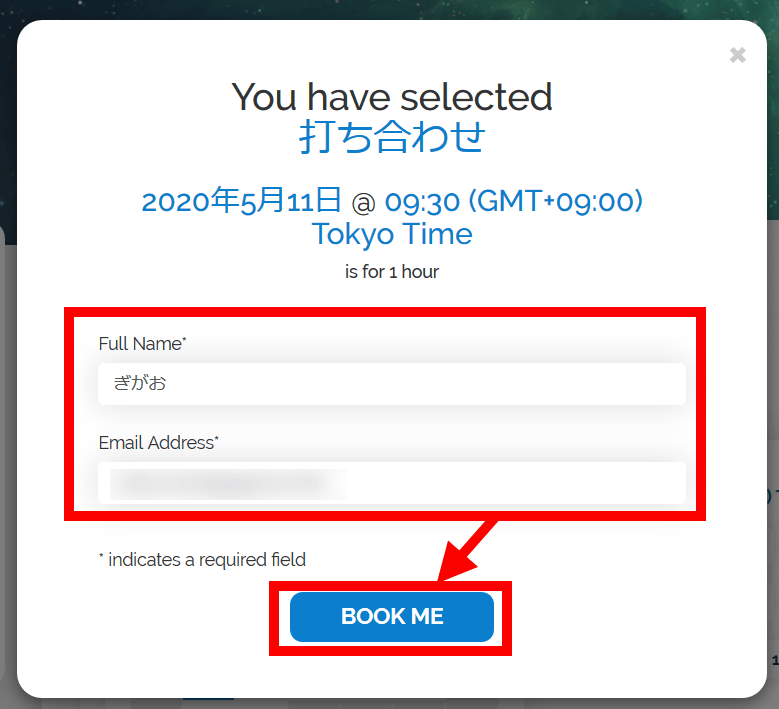
The person making the reservation must enter a name and email address. Click 'BOOK ME' to complete the reservation.
After completing the reservation, the person making the reservation can enter the reserved date in the calendar by clicking the icon of Google / Apple / Outlook and logging in.

◆ Confirmation of reservation
When you make a reservation from the form, you will receive a notification at the email address you registered when you created your account.

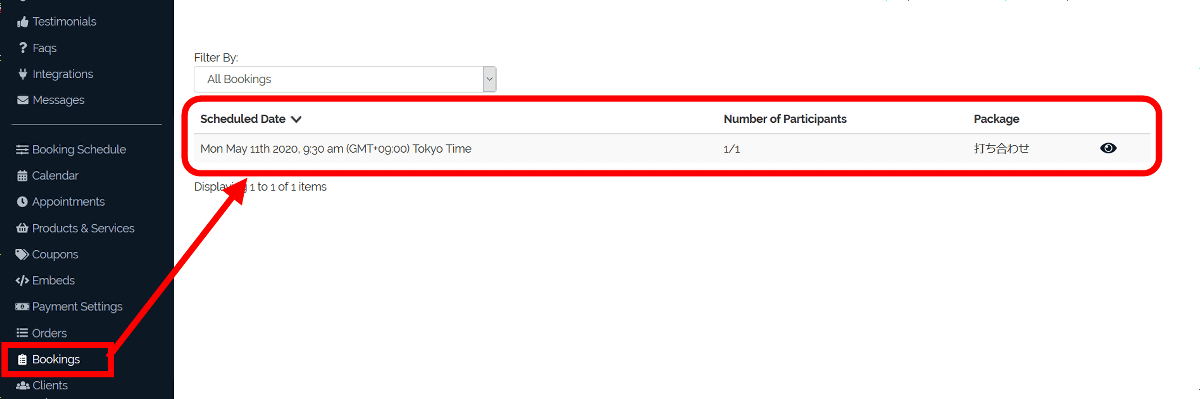
You can also check the reservation list from 'Bookings' in the menu.
The reserved content is automatically entered on the 'Calendar' page.

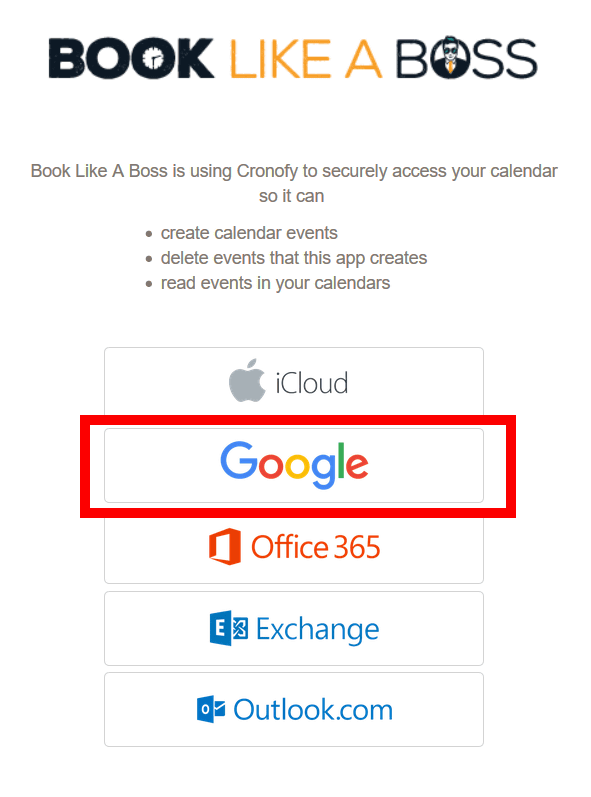
The Book Like A Boss calendar can be linked with iCloud, Google, Office365, Exchange, and Outlook. Click 'ADD CALENDAR' at the bottom of the Calendar page.

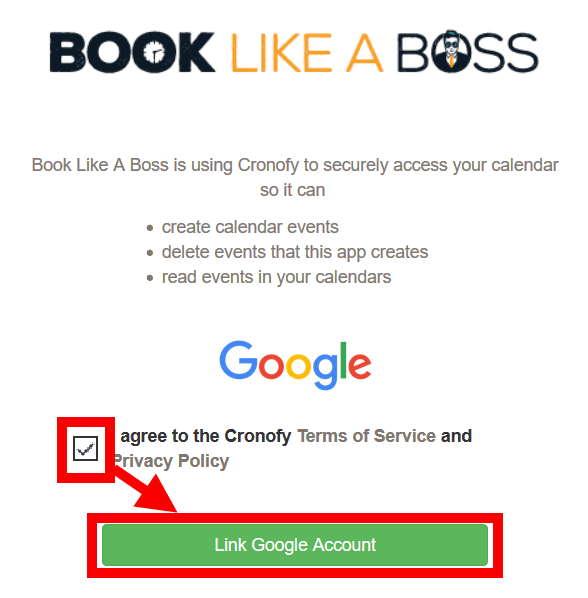
For example, click 'Google' to link with Google's calendar.
Check the check box and click 'Link Google Account'.
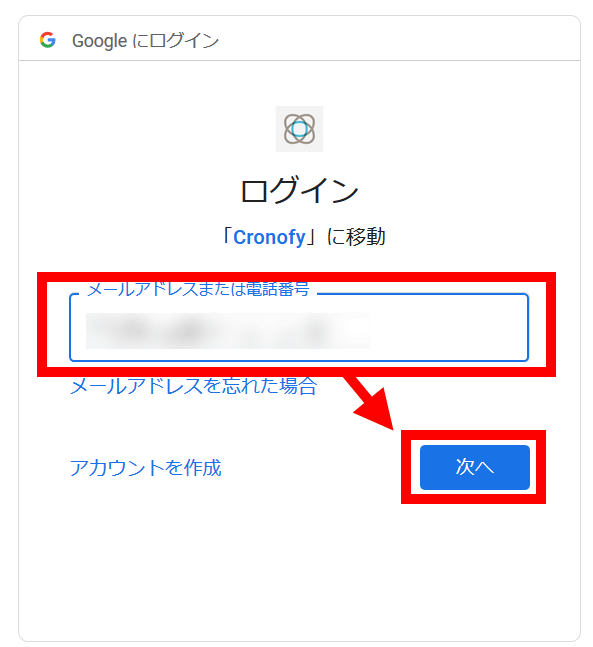
Enter your email address and enter 'Next'.
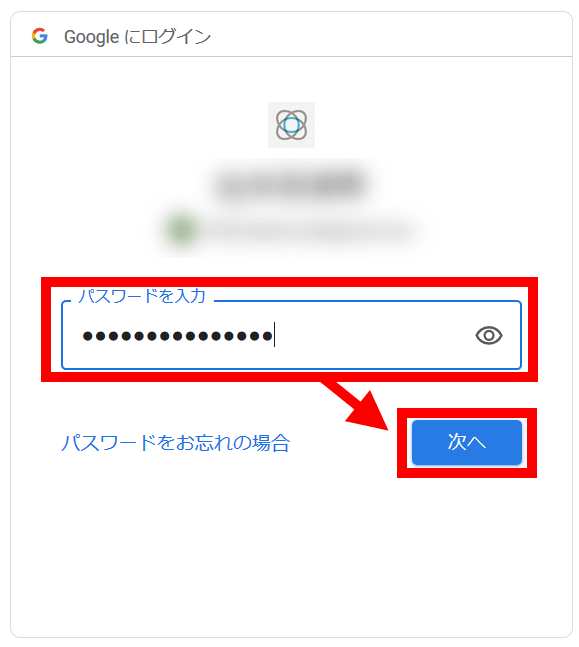
Enter the password and enter 'Next'.
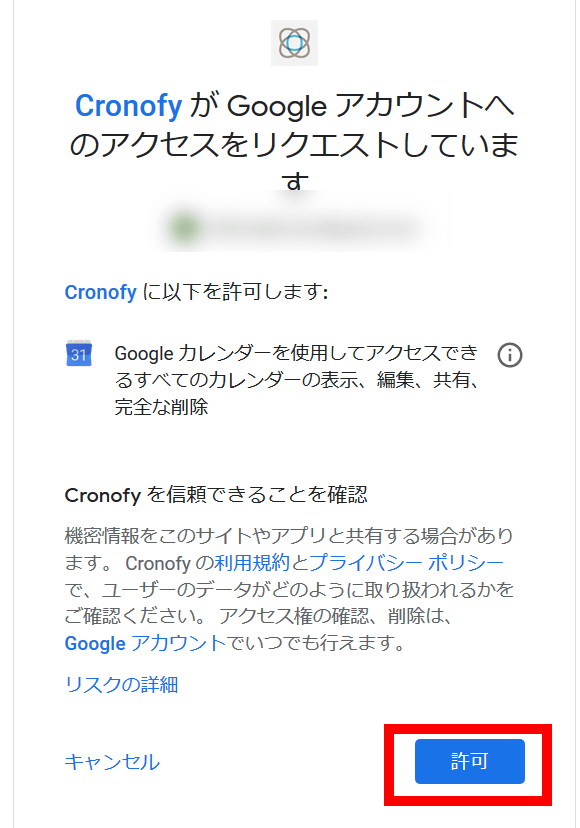
Click 'Allow'.
When the following screen is displayed, linkage with the calendar is complete.

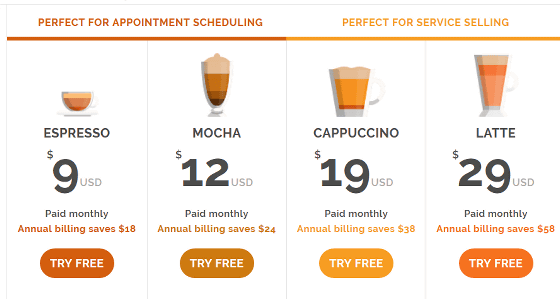
Since Book Like A Boss is a paid service, it is free for 14 days from account registration, and after that it is available from 9 dollars (about 960 yen) per month.
Pricing and Plans | Book Like A Boss
Related Posts:


in Review, Web Service, Posted by darkhorse_log