Video conferencing system 'OpenVidu' that works only with free and open source browser, can be used on PC & smartphone, easy to build on AWS
As the demand for remote work at home increases, Microsoft releases '
OpenVidu
https://openvidu.io/
◆ Setup (AWS)
Since OpenVidu can be built by
First, access the following URL from your browser.
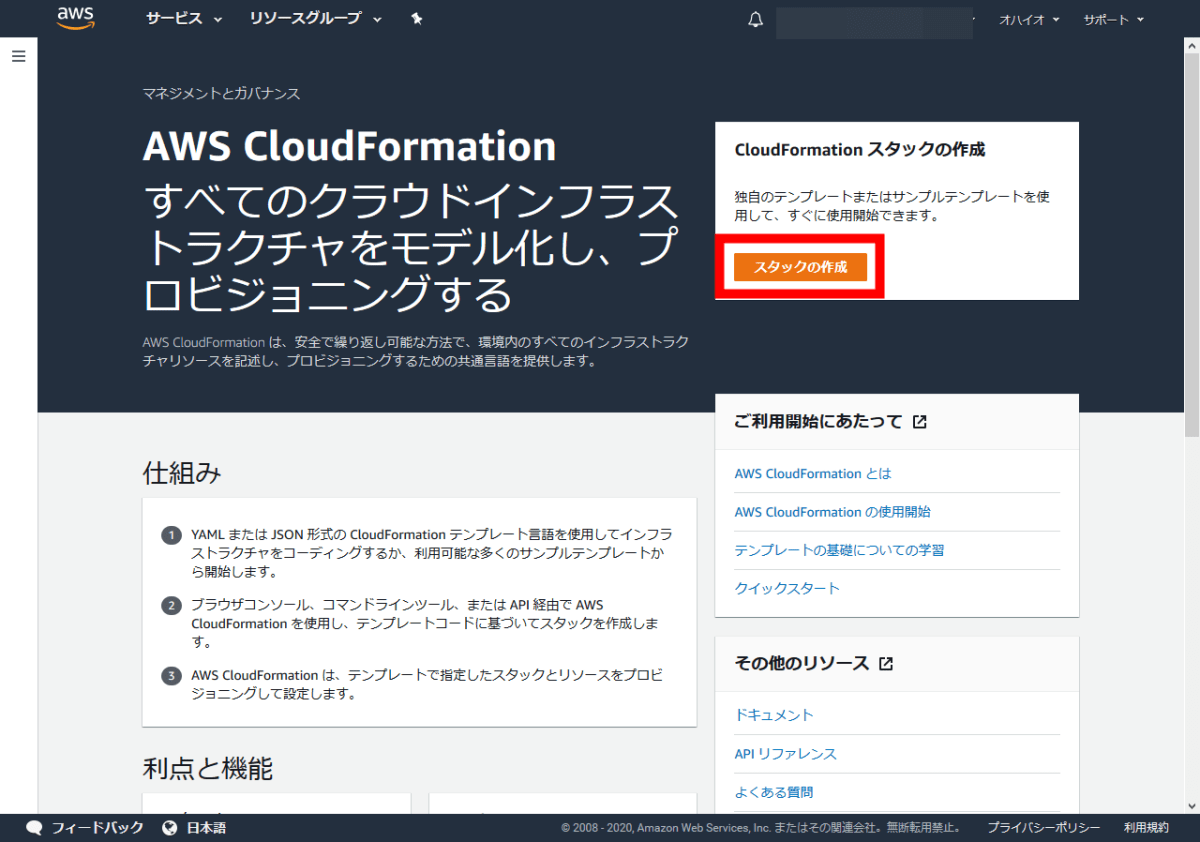
CloudFormation
https://us-east-2.console.aws.amazon.com/cloudformation/home?region=us-east-2#/
After accessing the URL, click 'Create Stack'.
After selecting 'Amazon S3 URL' as the template, enter 'https://s3-eu-west-1.amazonaws.com/aws.openvidu.io/CF-OpenVidu-latest.yaml' and click 'Next'. Click.

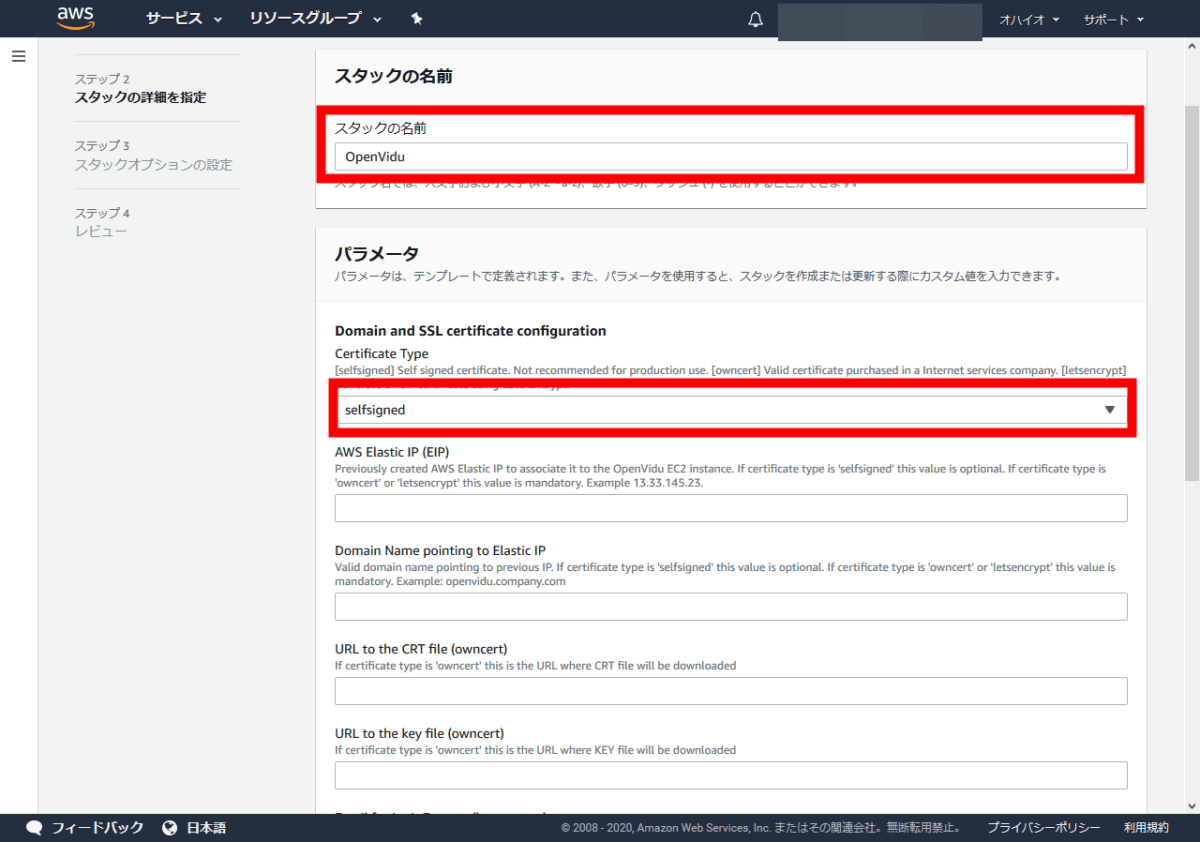
Enter the name of 'Stack name' freely. For the domain and SSL certificates, I chose 'selfsigned' this time. If you want to use it in earnest, such as incorporating OpenVidu into a product, you can also use your own certificate.
Scroll down the page and you will see items to set 'Open vidu Secret' 'Instance type' 'SSH Key'.
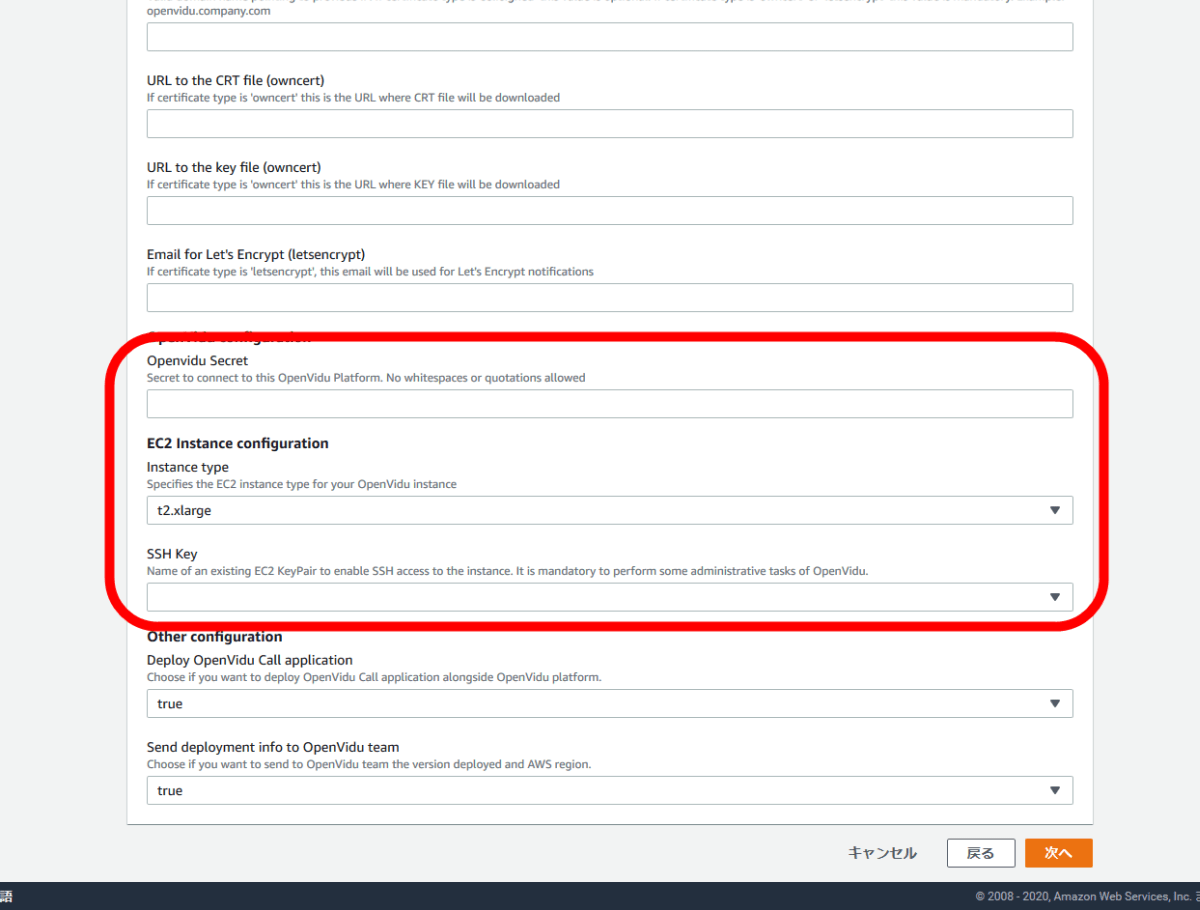
'Open vidu Secret' is an item to set the password used to keep the connection with OpenVidu secret.

'Instance type' is an item that selects the AWS instance to use. I chose t2.xlarge this time.

'SSH Key' is an item to set the SSH key of the AWS instance. If you have created a key pair in advance, candidates for the SSH key to use for pull-down will be displayed, but if you have not created it, you need to create it from the

Click 'Next' after setting.
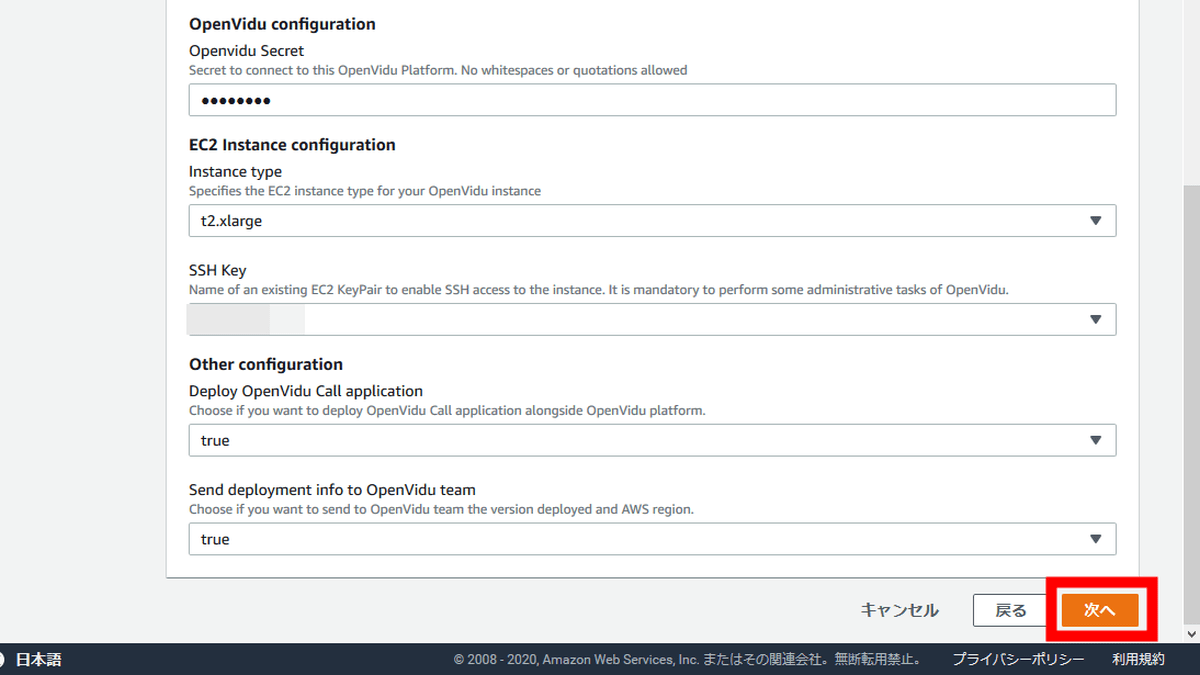
On the next page that appears, do not configure anything and click Next.

At the end, a confirmation screen is displayed, so check whether the settings are correct.
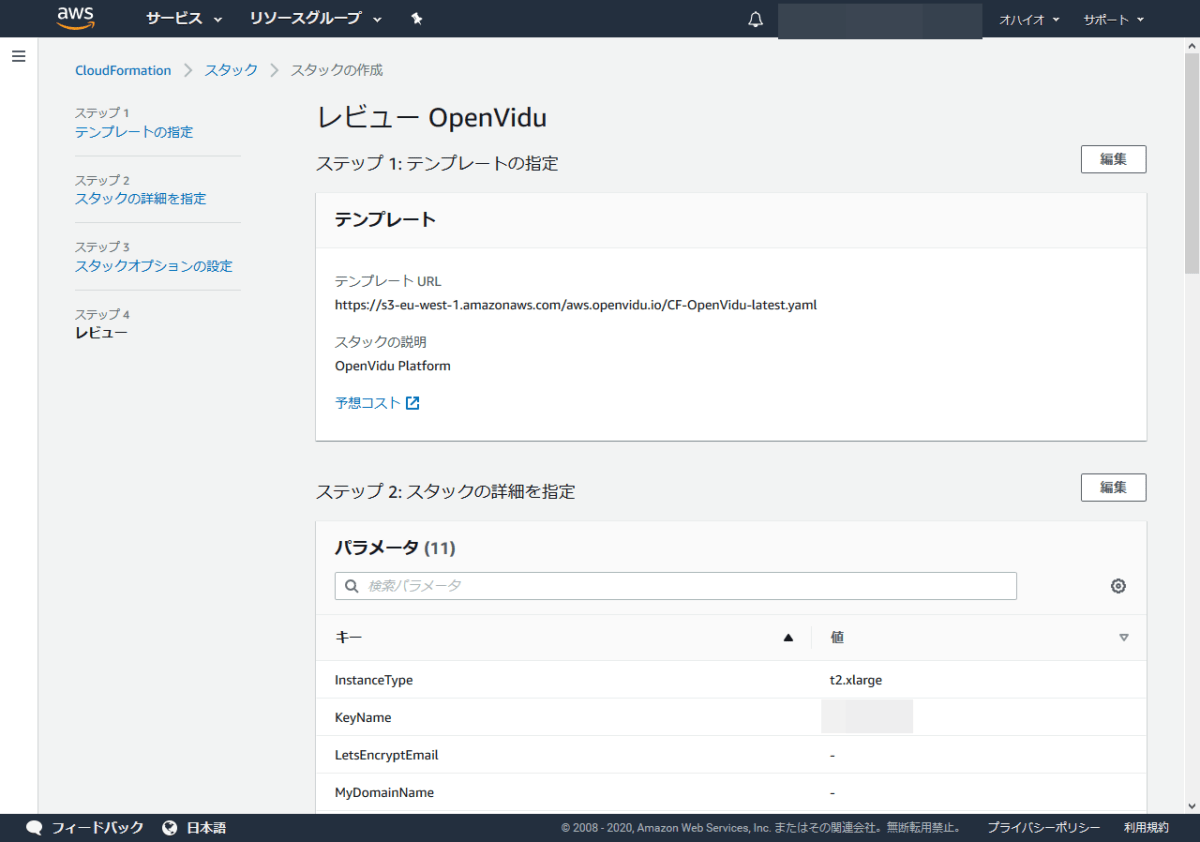
Scroll down to see the settings and click Create Stack.
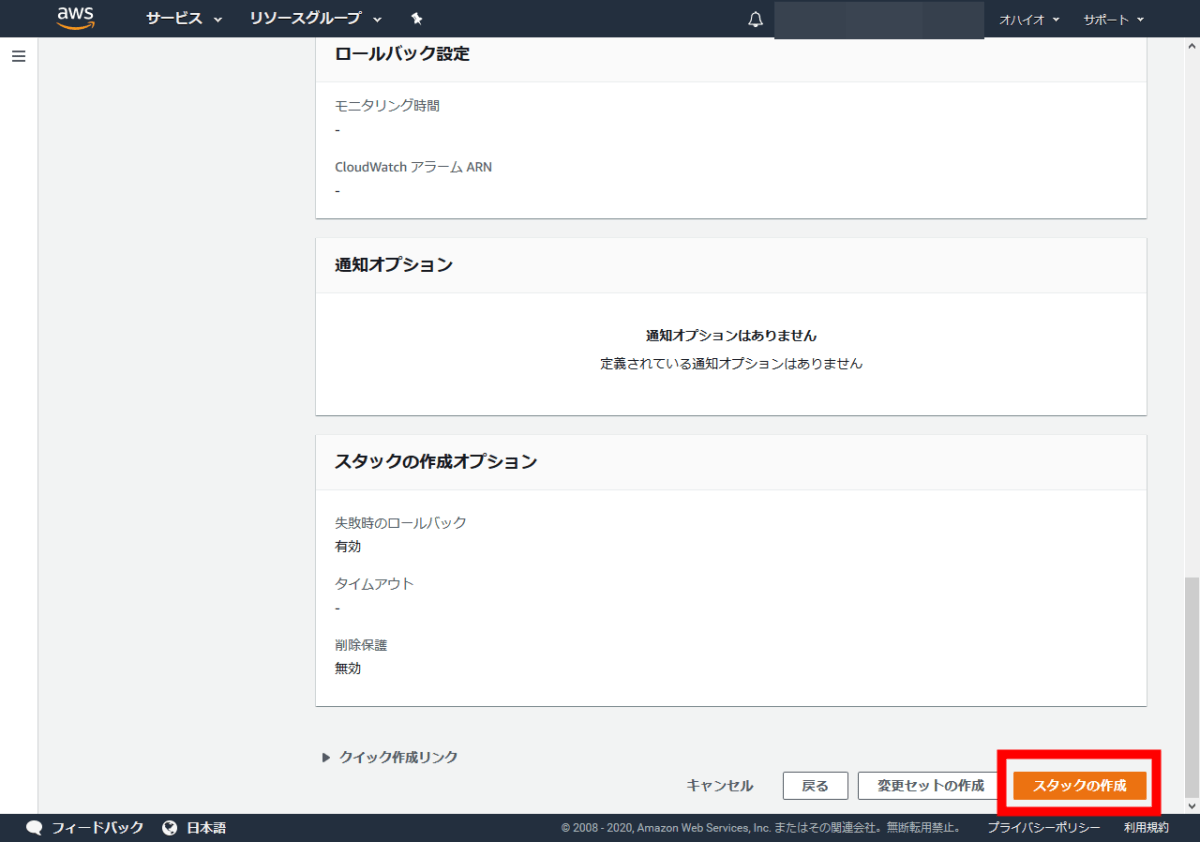
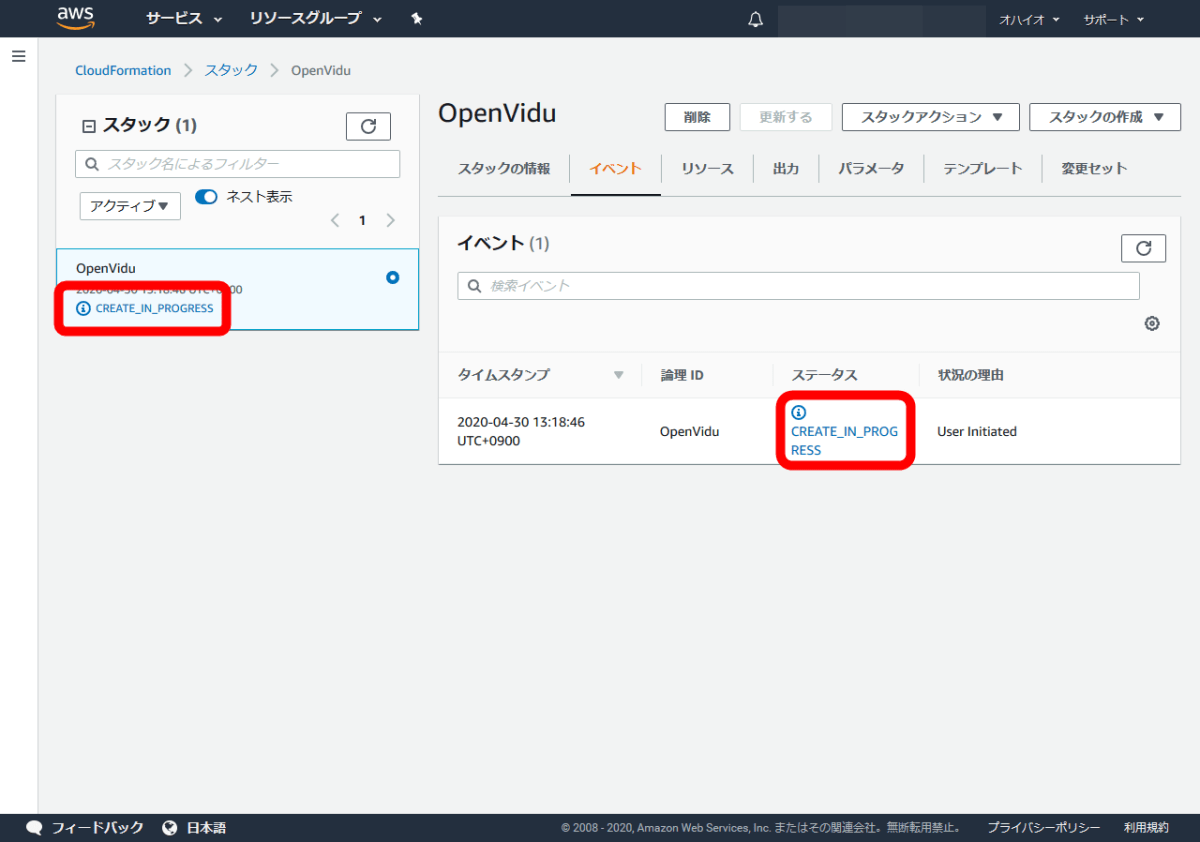
Construction of OpenVidu has started on AWS. While 'CREATE_IN_PROGRESS' is displayed, it is under construction, so wait a few minutes.
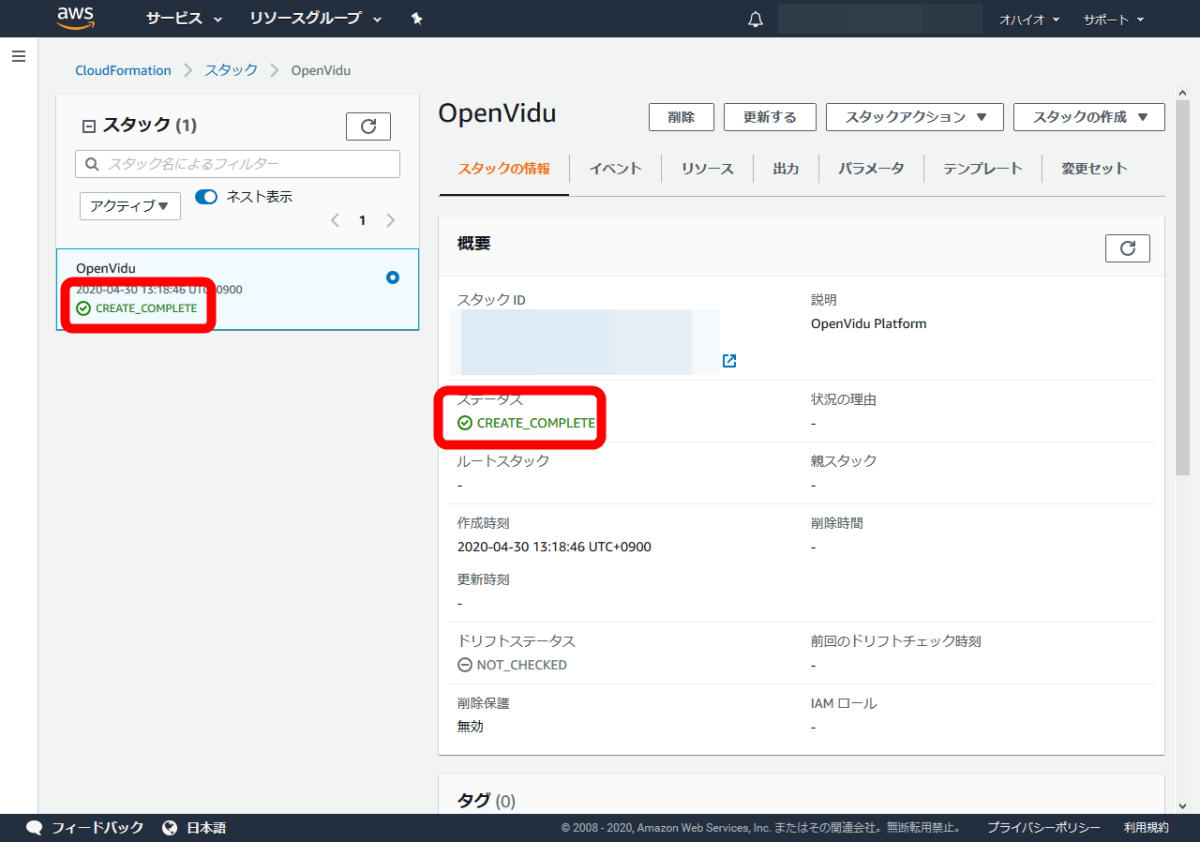
After a few minutes, the display changed to 'CREATE_COMPLETE'. This completes building OpenVidu.
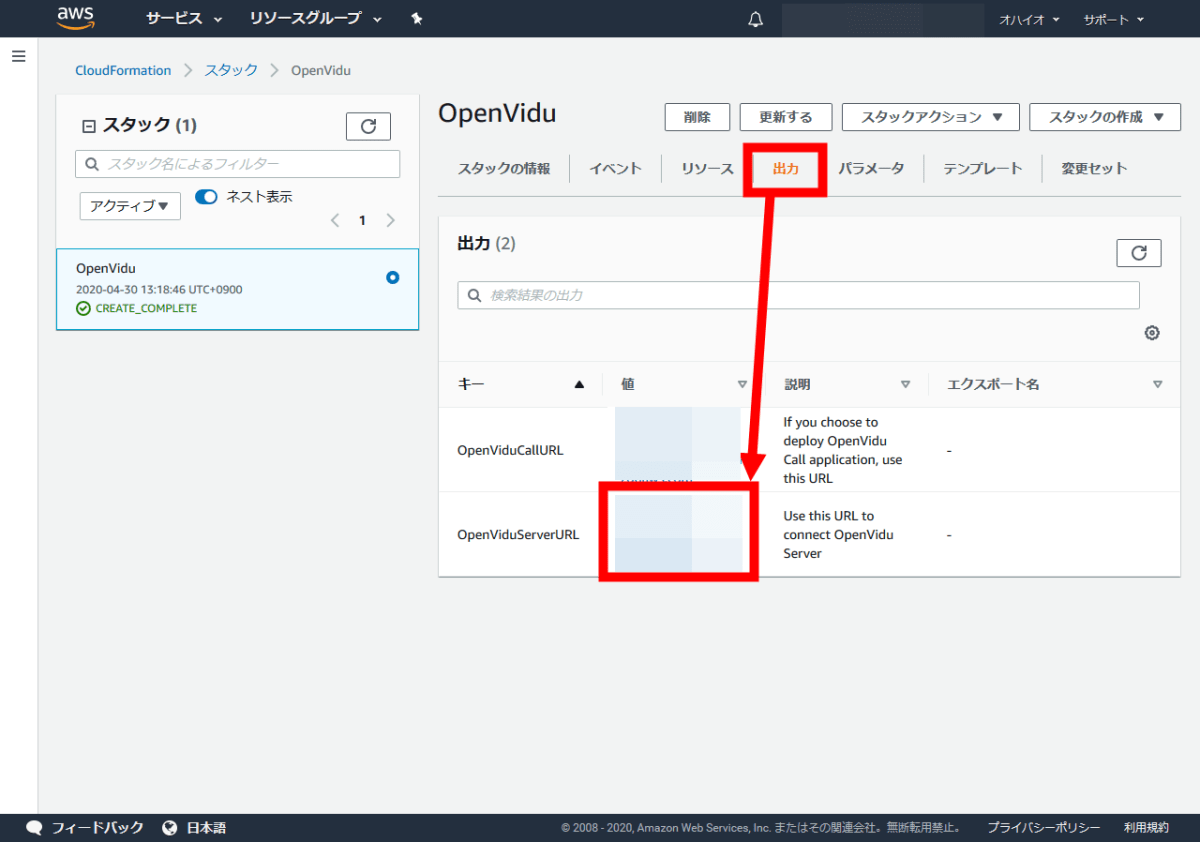
When I moved to the 'Output' tab, the URL was displayed. The URL for using OpenVidu is 'OpenViduServerURL'.
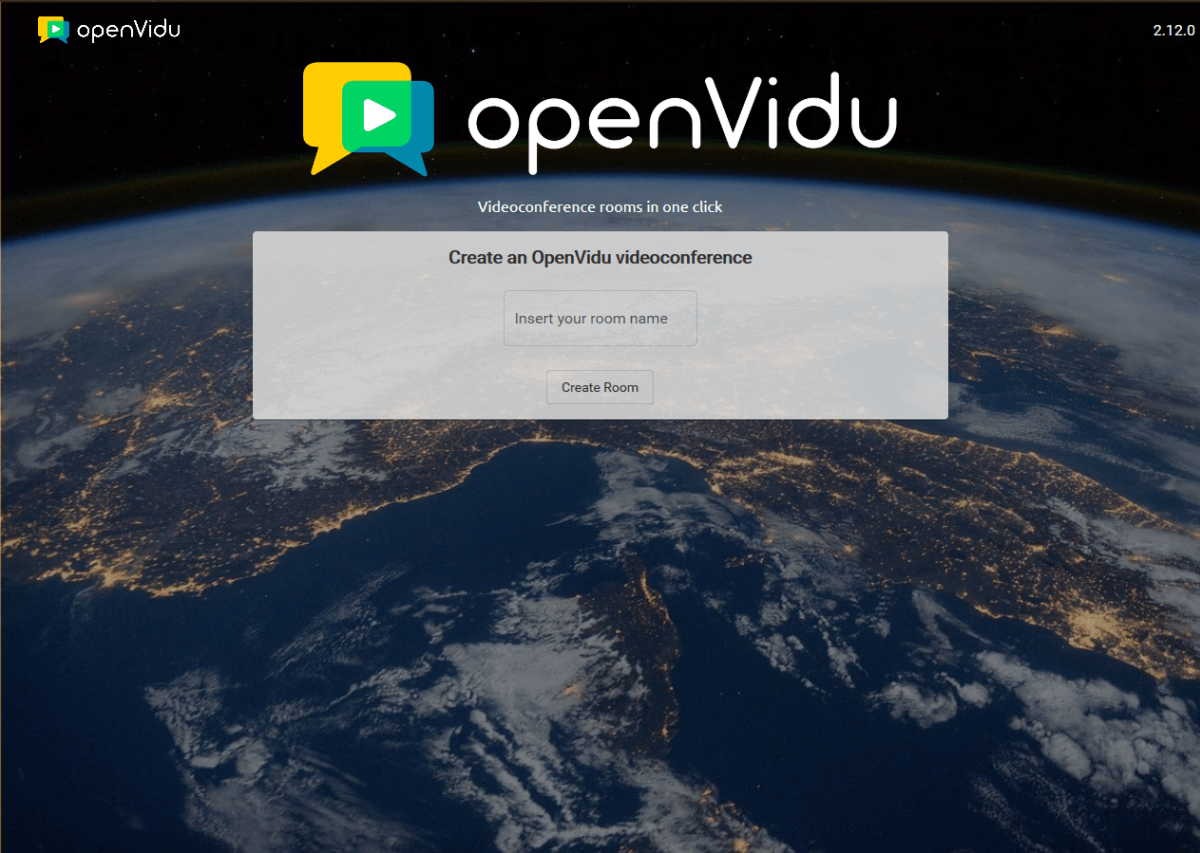
When I accessed the URL, the OpenVidu screen was displayed safely.
◆ Setup (own server)
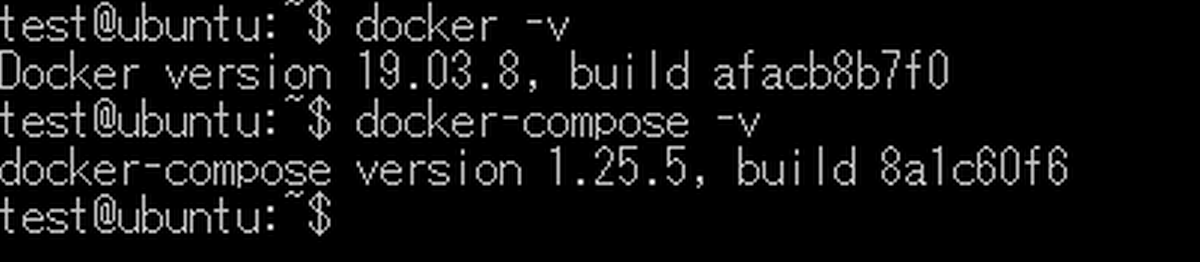
OpenVidu can be built

[code] wget -O get-docker.sh https://get.docker.com & sudo sh ./get-docker.sh[/code]
Next, install Docker Compose.
[code] sudo wget -O / usr / local / bin / docker-compose 'https://github.com/docker/compose/releases/download/1.25.5/docker-compose-$(uname -s)-$ (uname -m) '
sudo chmod + x / usr / local / bin / docker-compose [/ code]
Also, if you have closed the ports with a firewall, you need to open the following ports used by OpenVidu.
-TCP port 22
-TCP port 80
-TCP port 443
-TCP and UDP port 3478
• TCP and UDP ports 40000-65535
This completes the construction of the prerequisite environment for OpenVidu.
Next, install OpenVidu. Since the installation destination is the '/ opt' directory, move to the '/ opt' directory first.
[code] cd / opt [/ code]
Execute the following command to install OpenVidu.
[code] sudo wget https://s3-eu-west-1.amazonaws.com/aws.openvidu.io/install_openvidu_latest.sh
sudo chmod + x install_openvidu_latest.sh
sudo ./install_openvidu_latest.sh[/code]
Execute the following command to set OpenVidu.
[code] cd openvidu
sudo nano .env [/ code]
Items that must be set are 'OPENVIDU_DOMAIN_OR_PUBLIC_IP' and 'OPENVIDU_SECRET'. Set the domain name or public IP address in 'OPENVIDU_DOMAIN_OR_PUBLIC_IP', and set the password to conceal the OpenVidu connection in 'OPENVIDU_SECRET'.

After saving the setting file, execute the following command to start OpenVidu.
[code] ./ openvidu start [/ code]
Docker Compose will automatically download the Docker image and start the container.
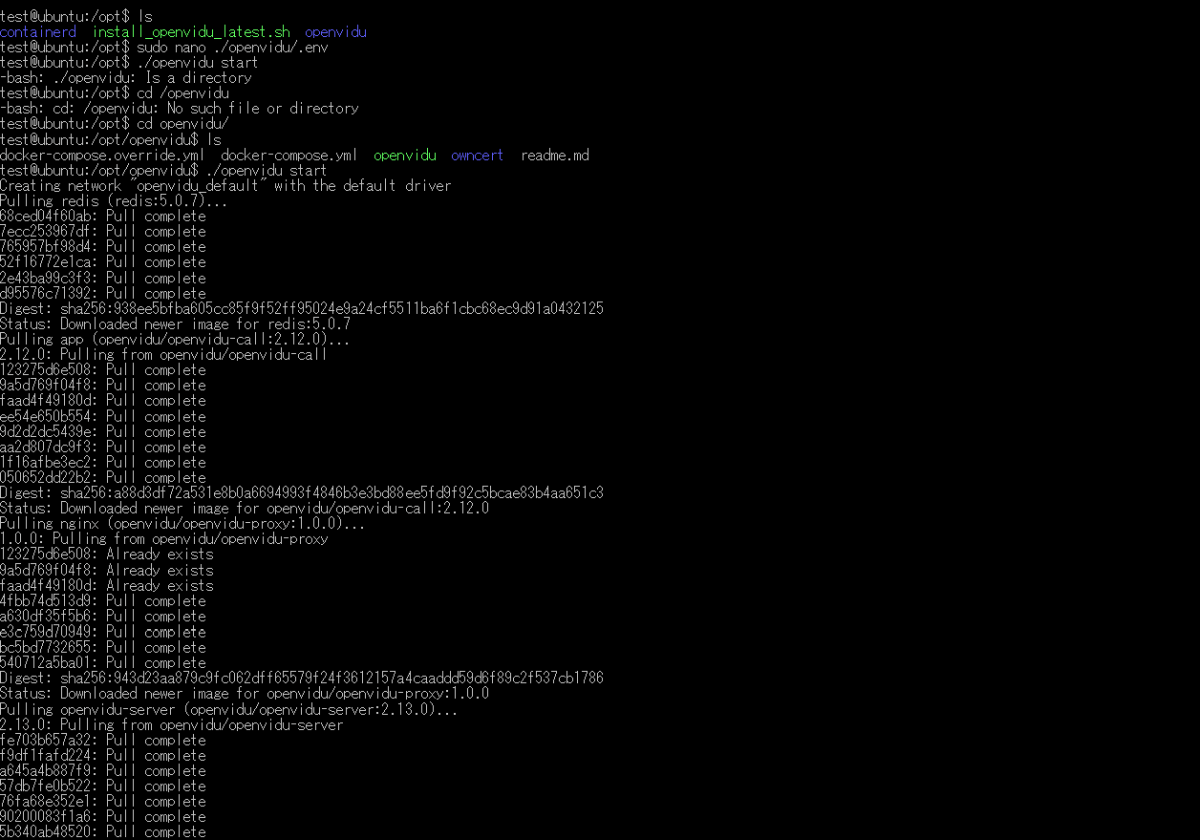
When OpenVidu has started up, the following screen will be displayed.

When I accessed the domain name or IP address I specified earlier, the OpenVidu screen was displayed safely.
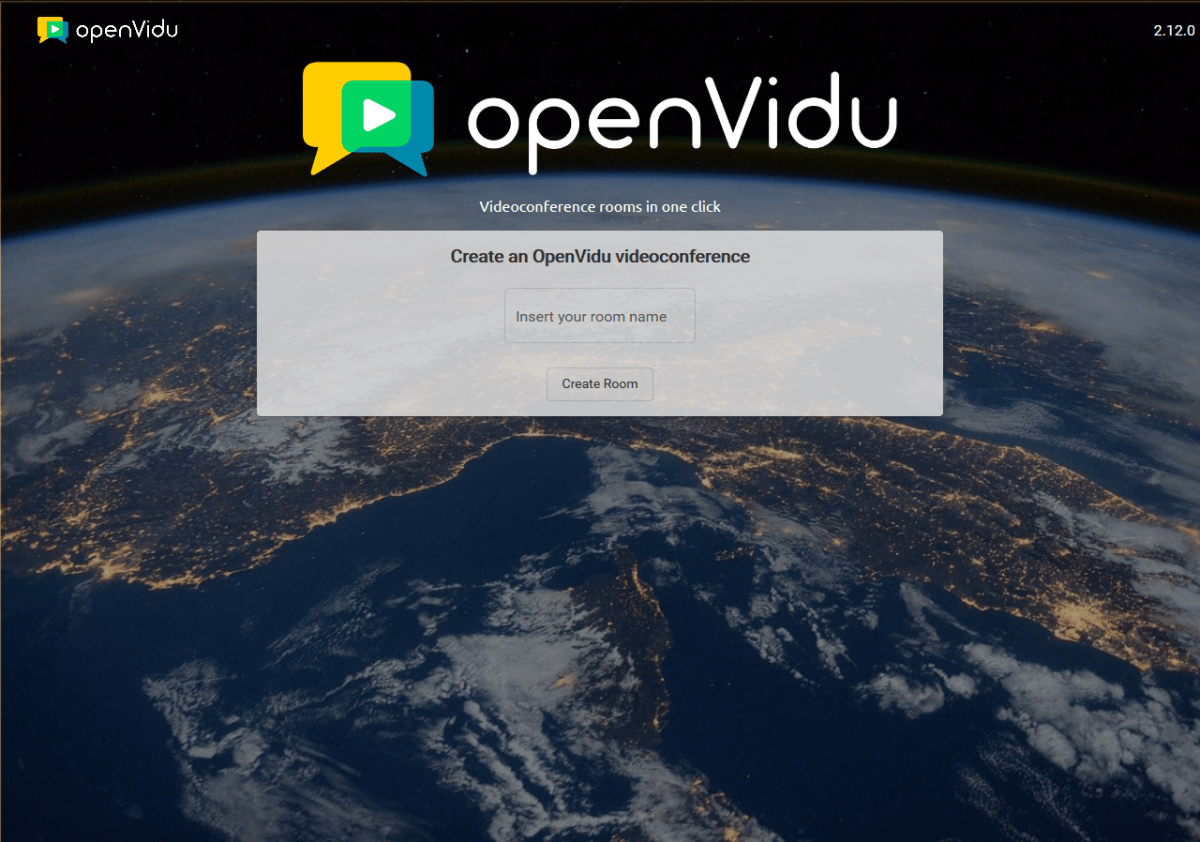
◆ I tried using OpenVidu
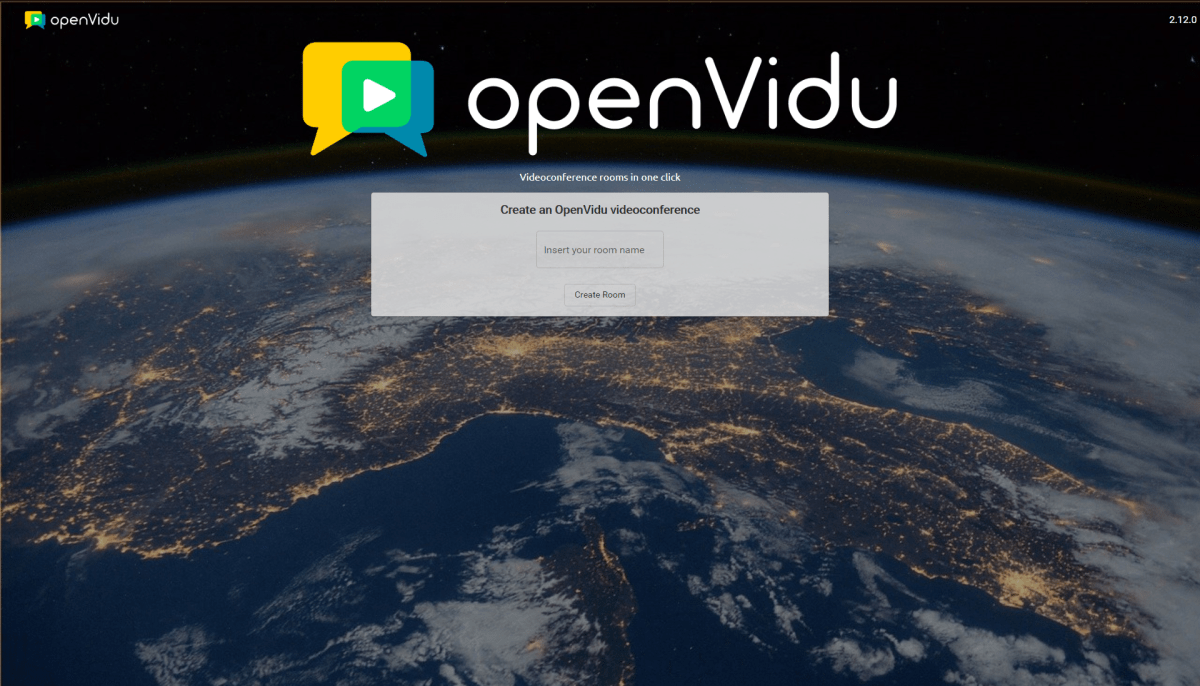
From here, I will actually use OpenVidu. Enter the room name of the video conference in 'Insert your room name' in alphabets and click 'Create Room'.

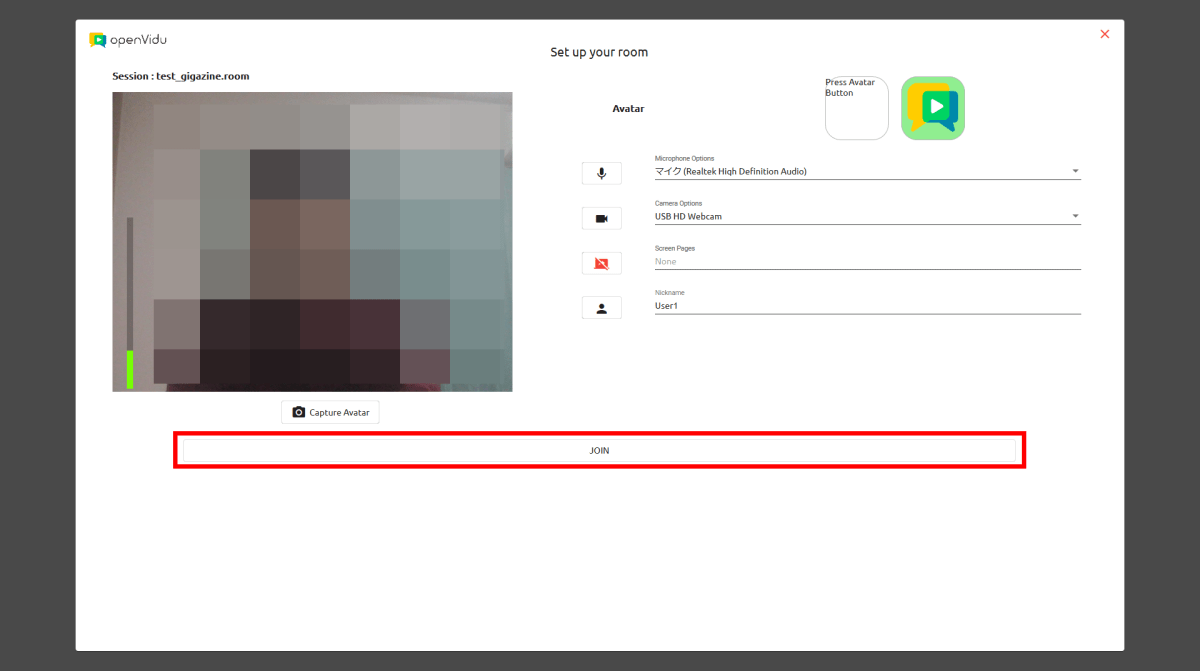
Available microphones and cameras are automatically detected, so click 'JOIN'.
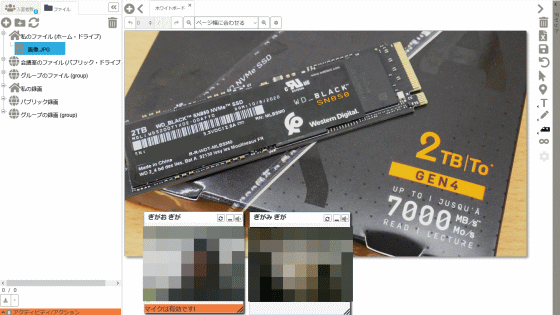
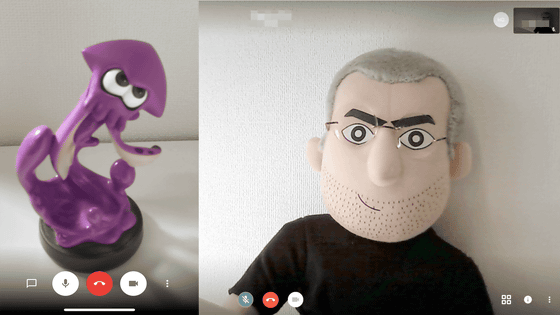
I was able to hold a video conference.
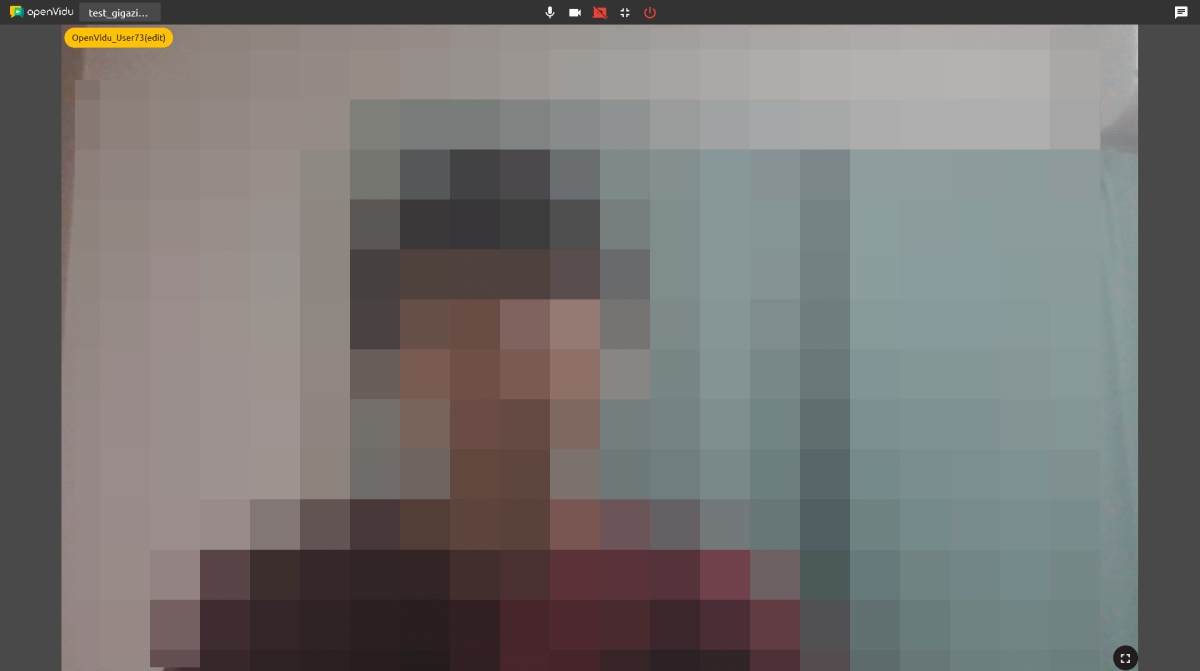
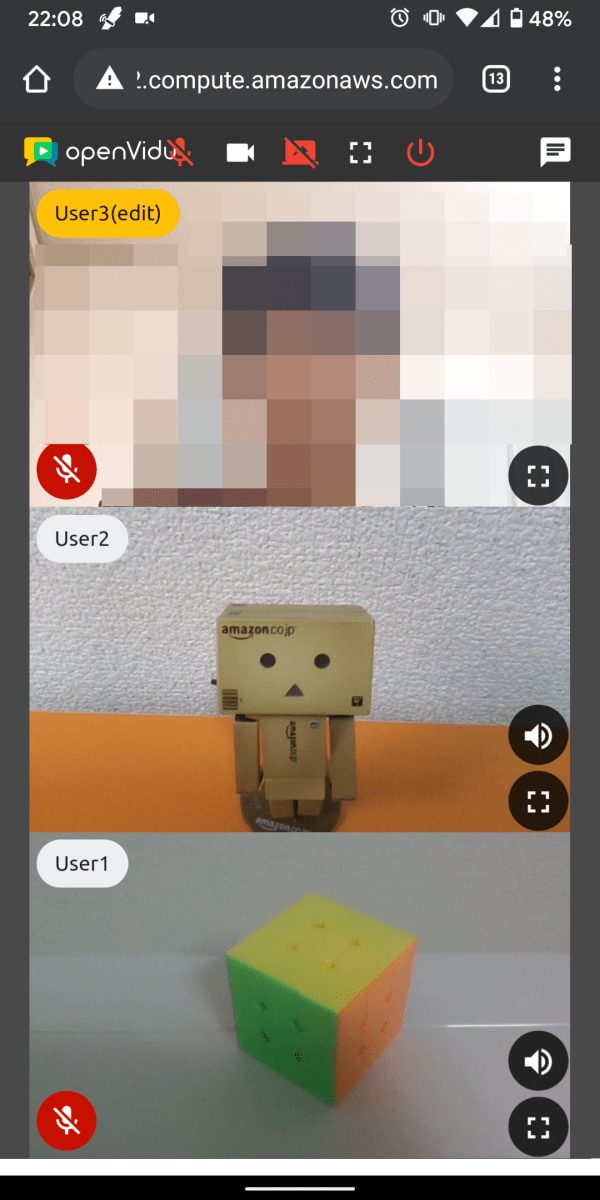
All you need to do to participate in the video conference is to share the URL with the participant and access it from your browser.

You can also participate from your smartphone browser.
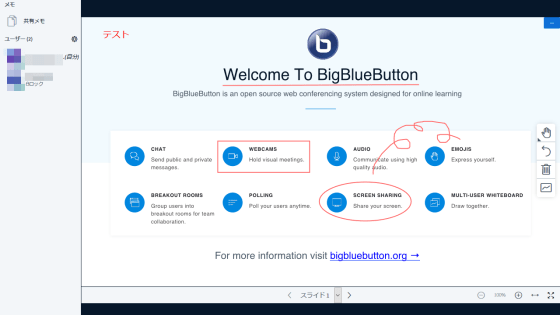
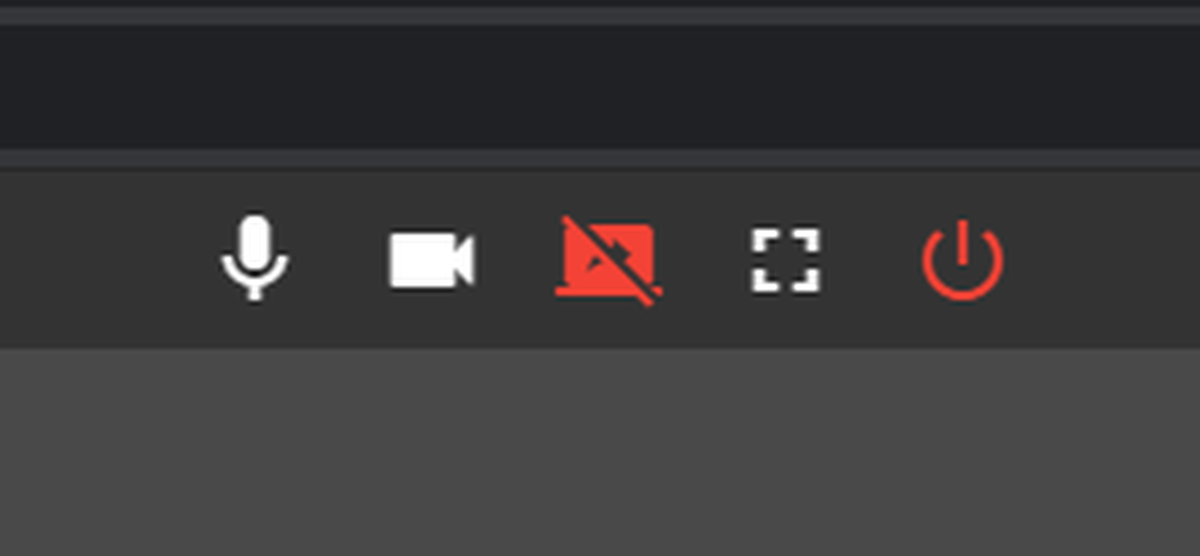
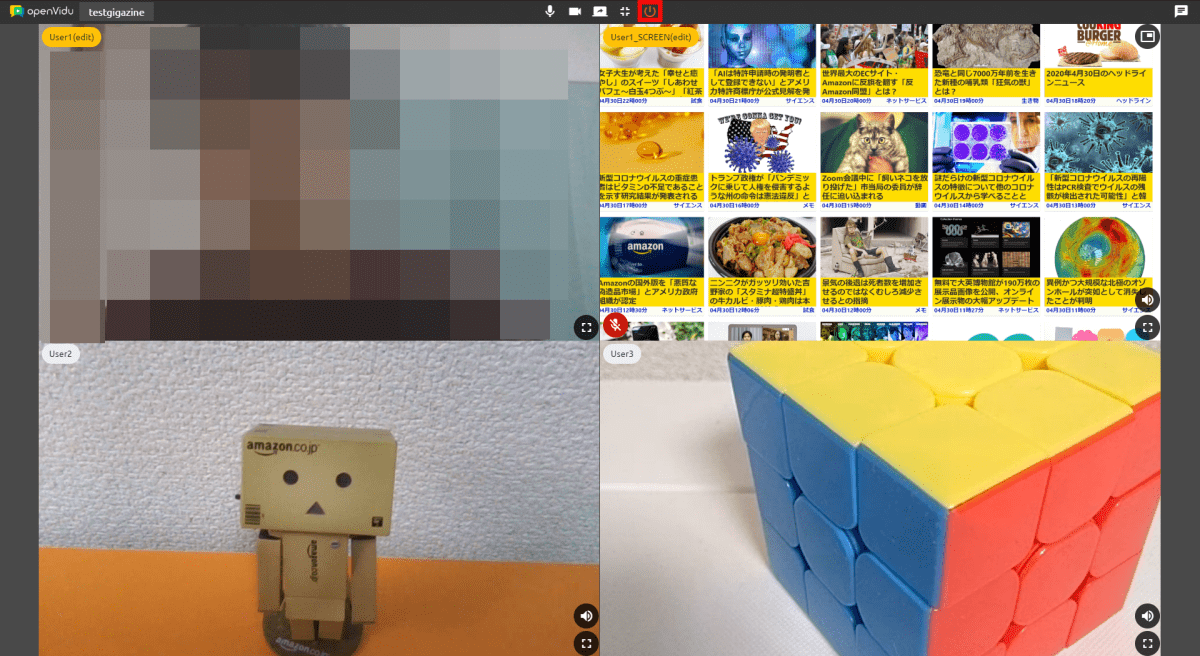
Use the buttons on the top to make settings such as muting the microphone and camera.

From the left, it is a microphone on / off, camera on / off, screen sharing on / off, full screen display, and exit button.
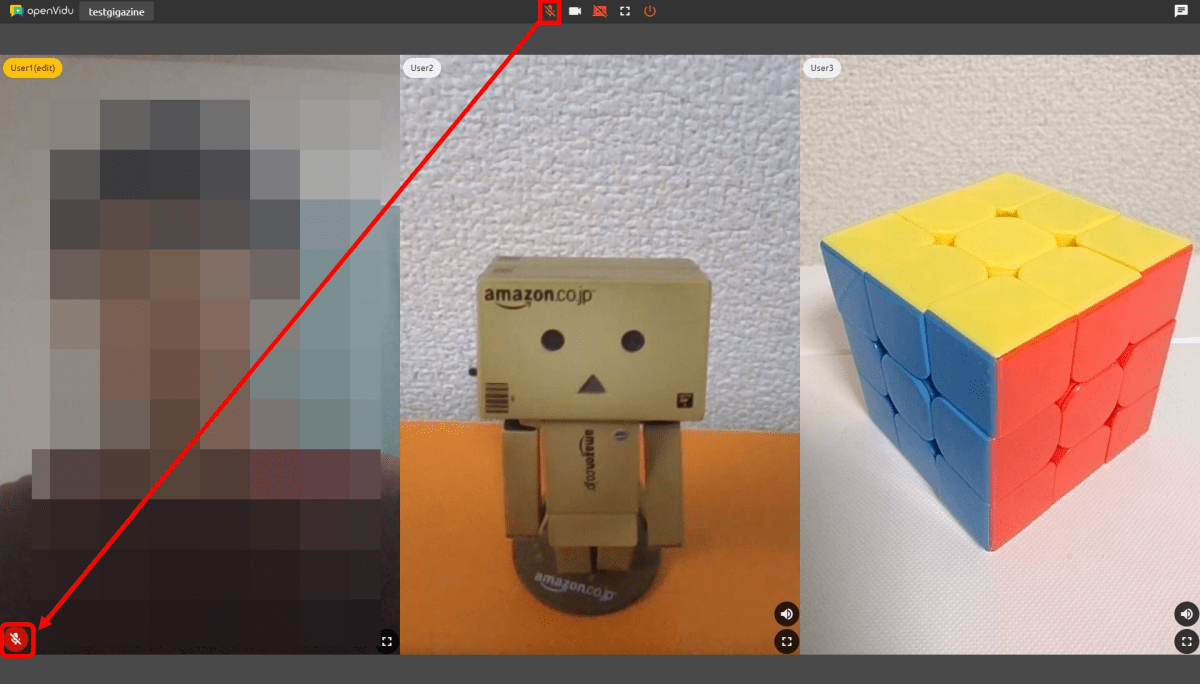
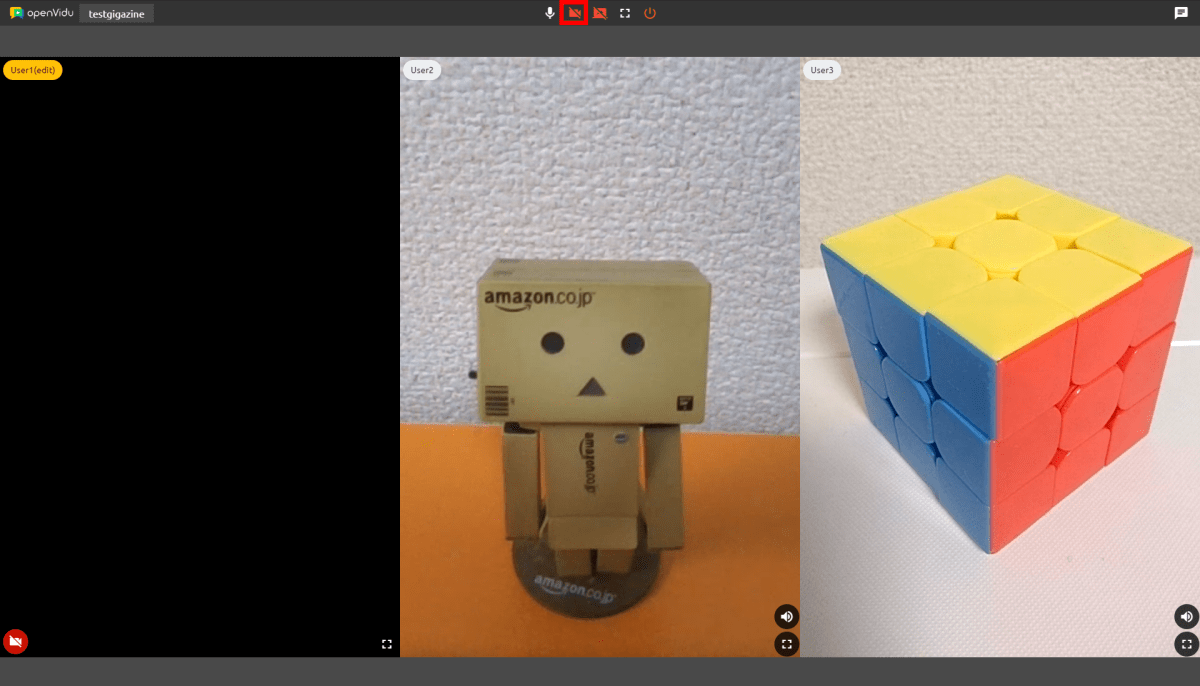
If you click the microphone button to mute the microphone, a red mark will appear at the bottom left of the participant screen.
Click the mute button on the camera and the participants' screens go black.
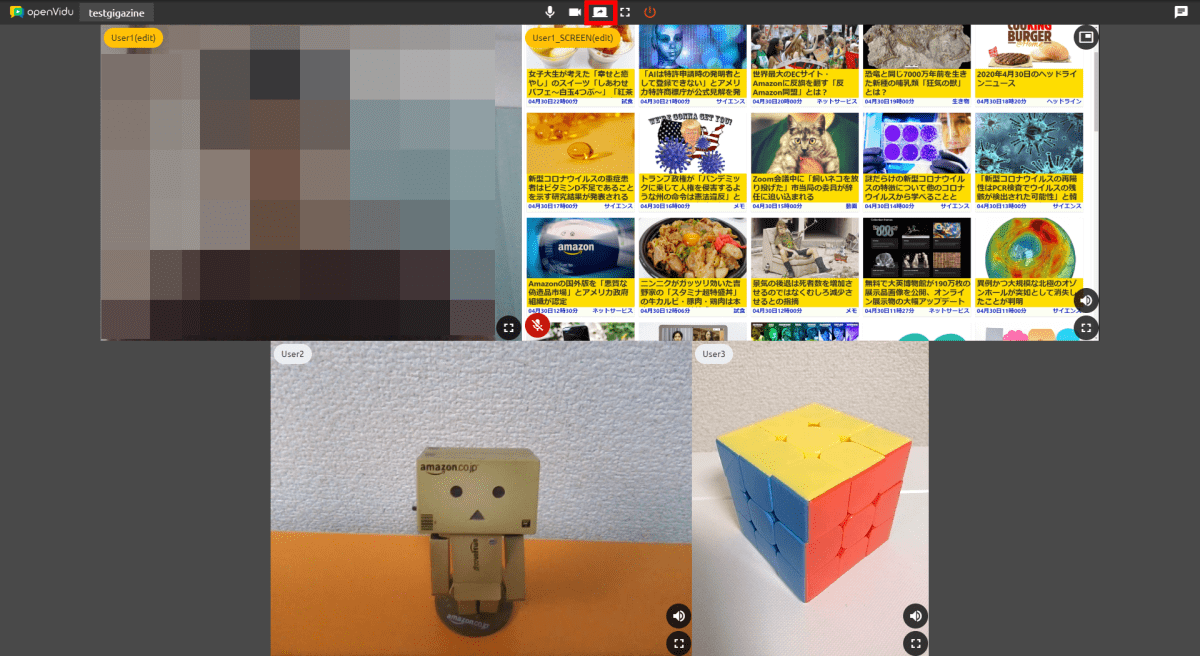
You can share the screen displayed on your PC by clicking the screen sharing button.
Click the red framed button at the bottom right of each participant's screen ...

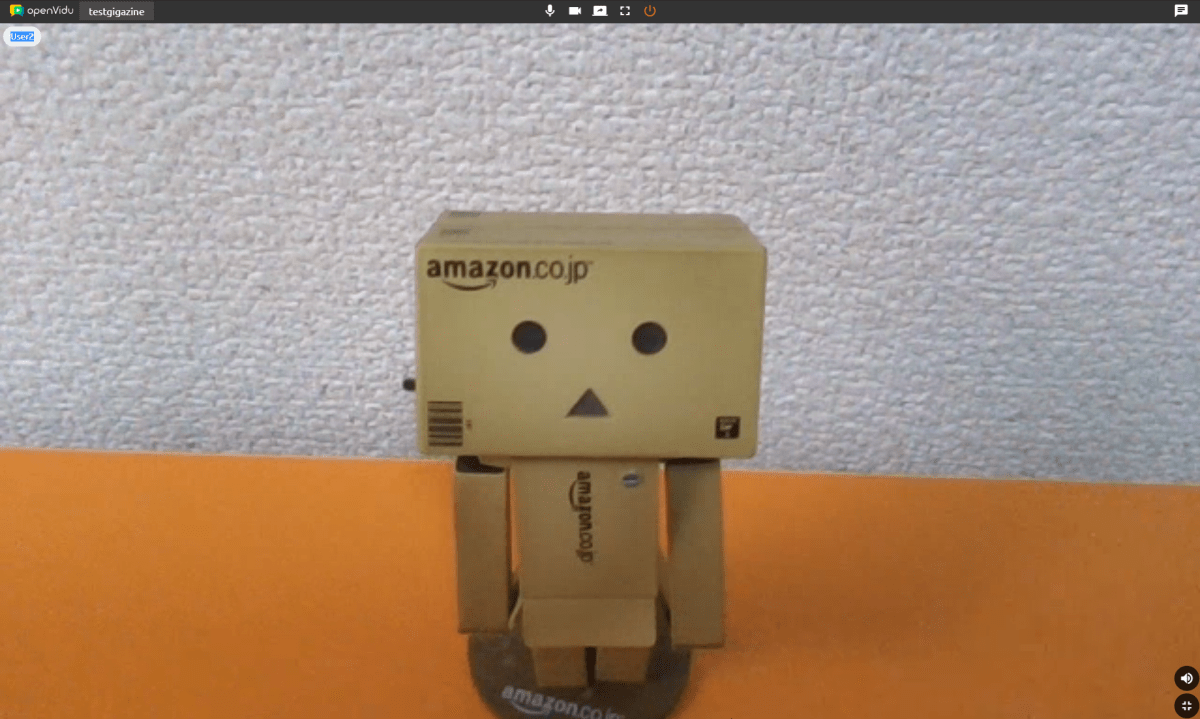
Participants who click the button can display the full screen.
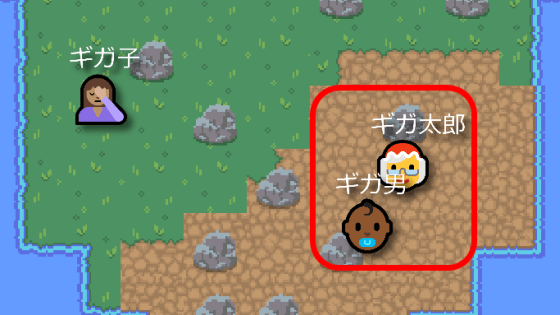
You can also freely change the layout of the participant screens. For example, if you want to display the participants in the lower right in a larger size, double-click the participant screen in the lower right.

Then, the participants in the lower right were displayed large.

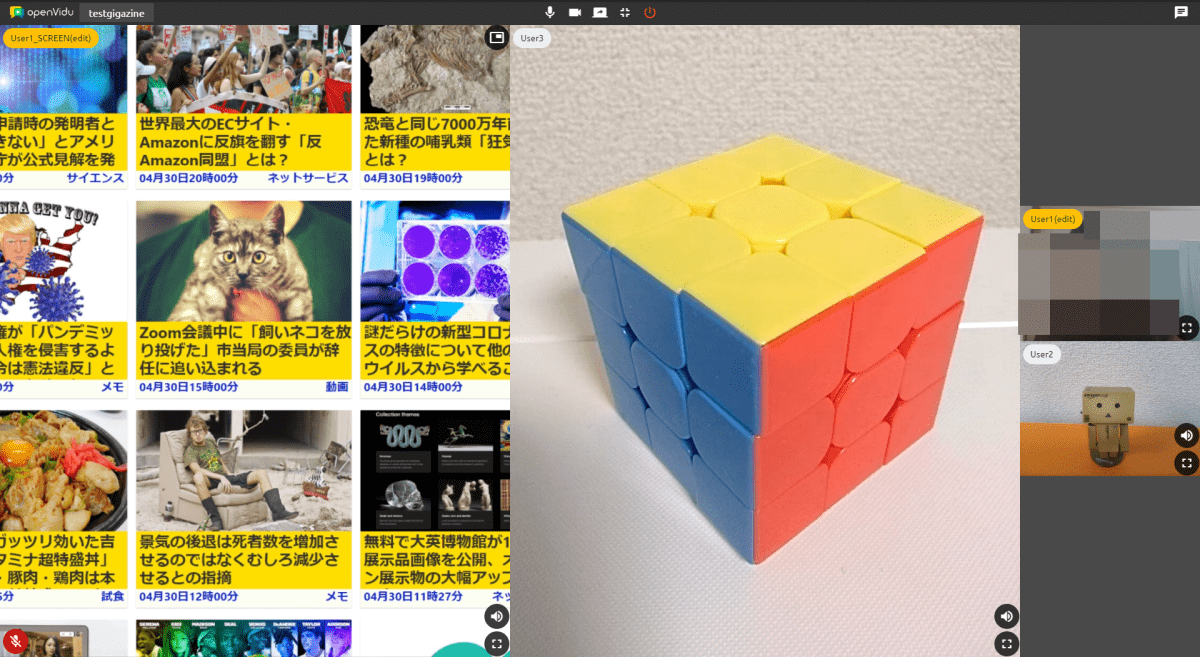
By double-clicking on each participant's screen that you want to display larger, you can change the layout as you like.
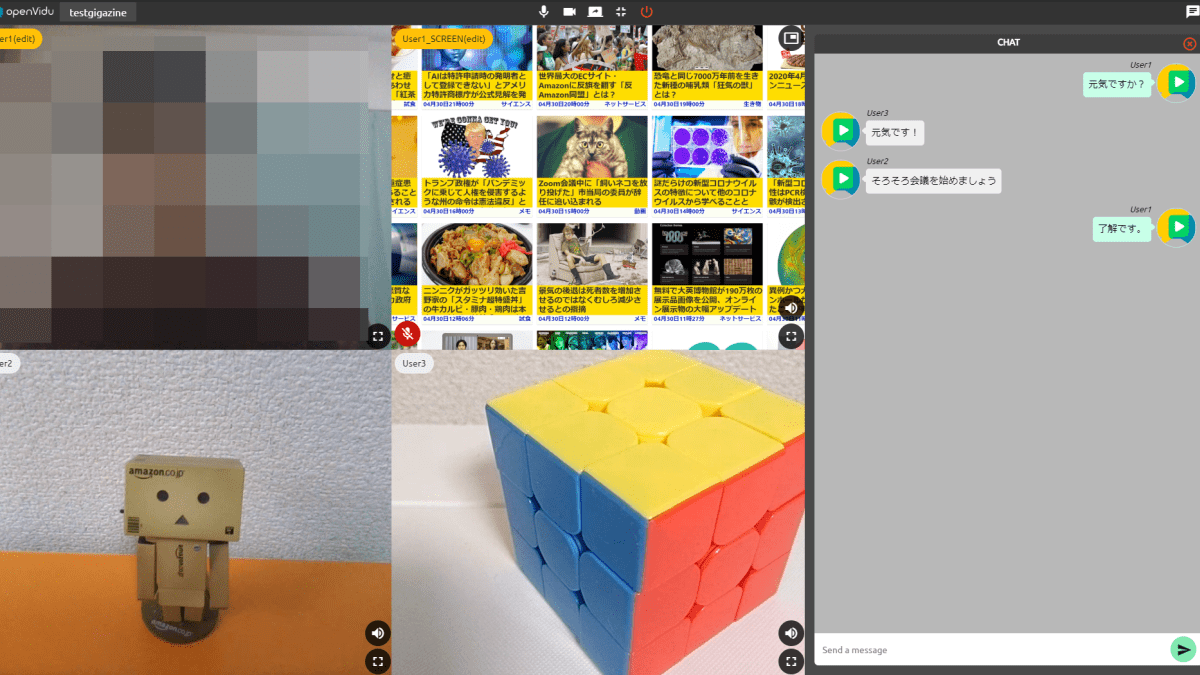
OpenVidu also has a chat function. Click the button in the upper right corner and the chat screen will appear.

You can chat with participants like this.

If you want to leave the meeting, click the leave button.
I was able to leave the meeting.
OpenVidu is open source software, and you can check the source code on GitHub.
GitHub-OpenVidu / openvidu: OpenVidu Platform main repository
https://github.com/OpenVidu/openvidu
Related Posts: