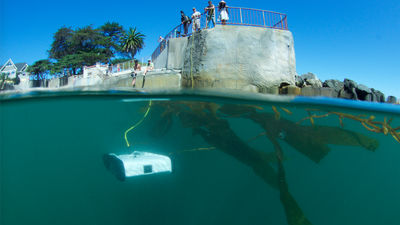
I actually used the diving drone 'OpenROV Trident' which can go up to 100m and put it into the sea and used it
Trident | OpenROV
https://www.openrov.com/products/trident/
◆ Appearance review
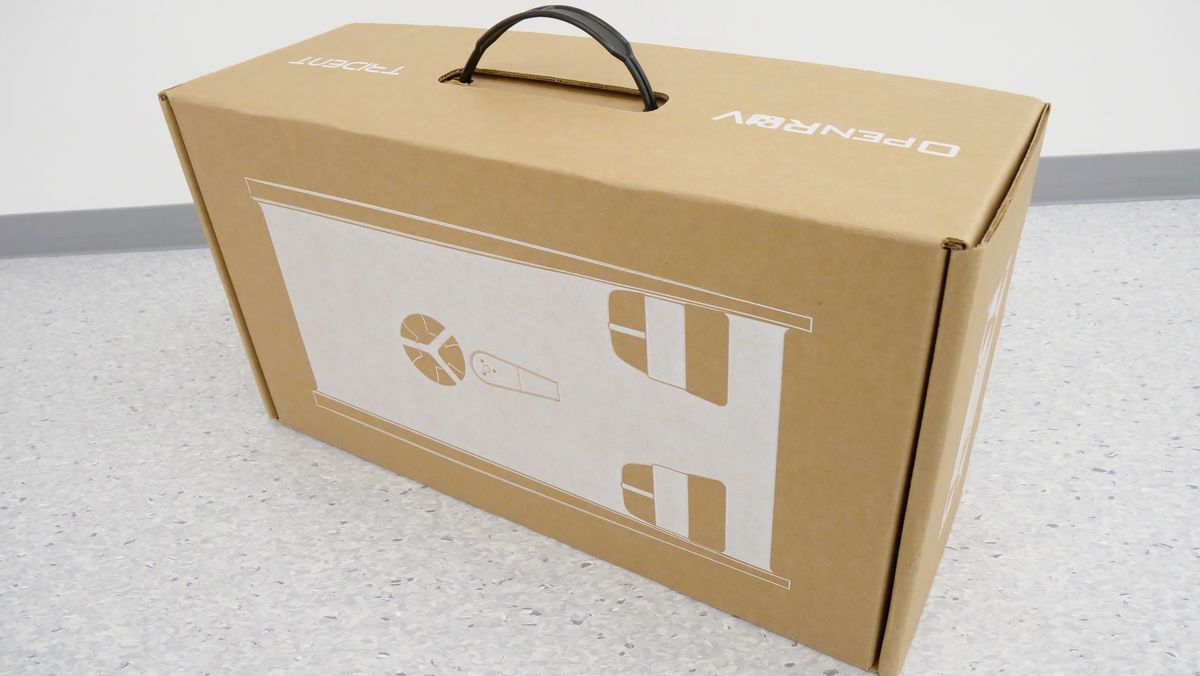
The outer box of 'Trident' looks like this.
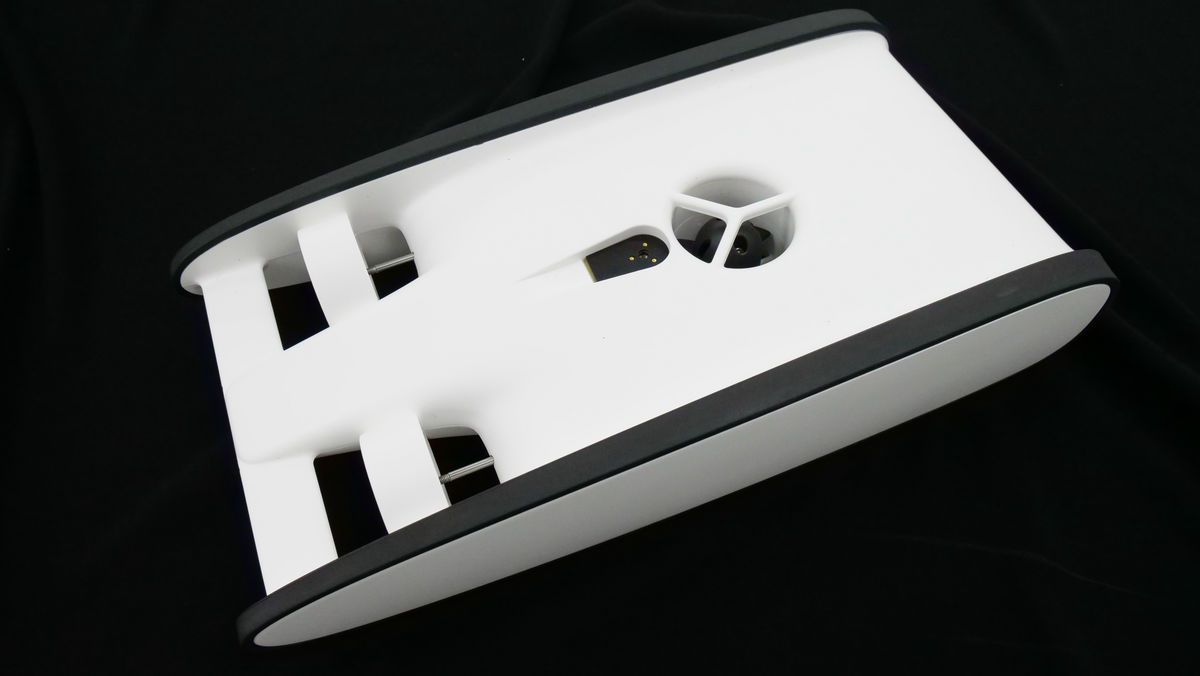
This is the 'Trident' body.
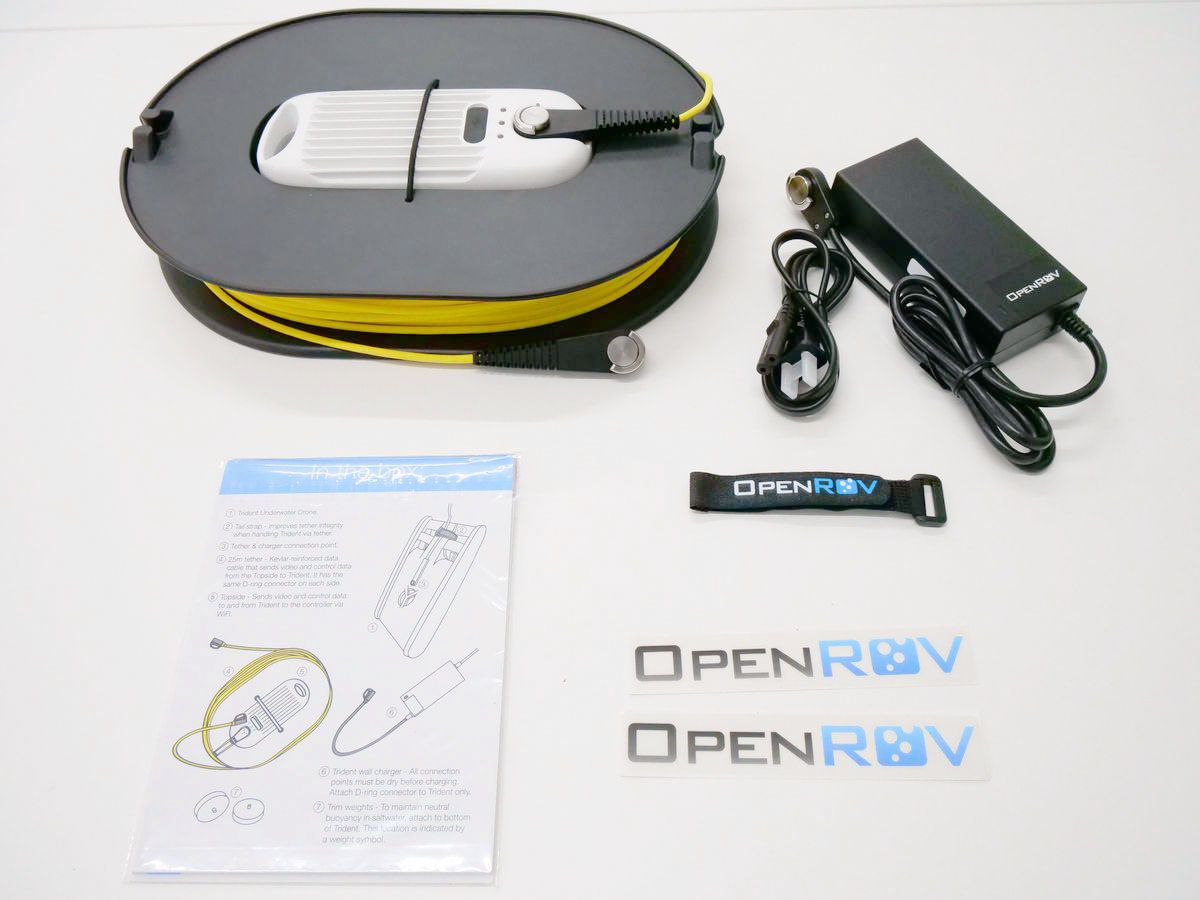
Other contents are the top side, instruction manual, power supply adapter, cord, band, body for fixing the cable and cable with the communication unit and cable, and the sticker with logo of 'OPENROV'.
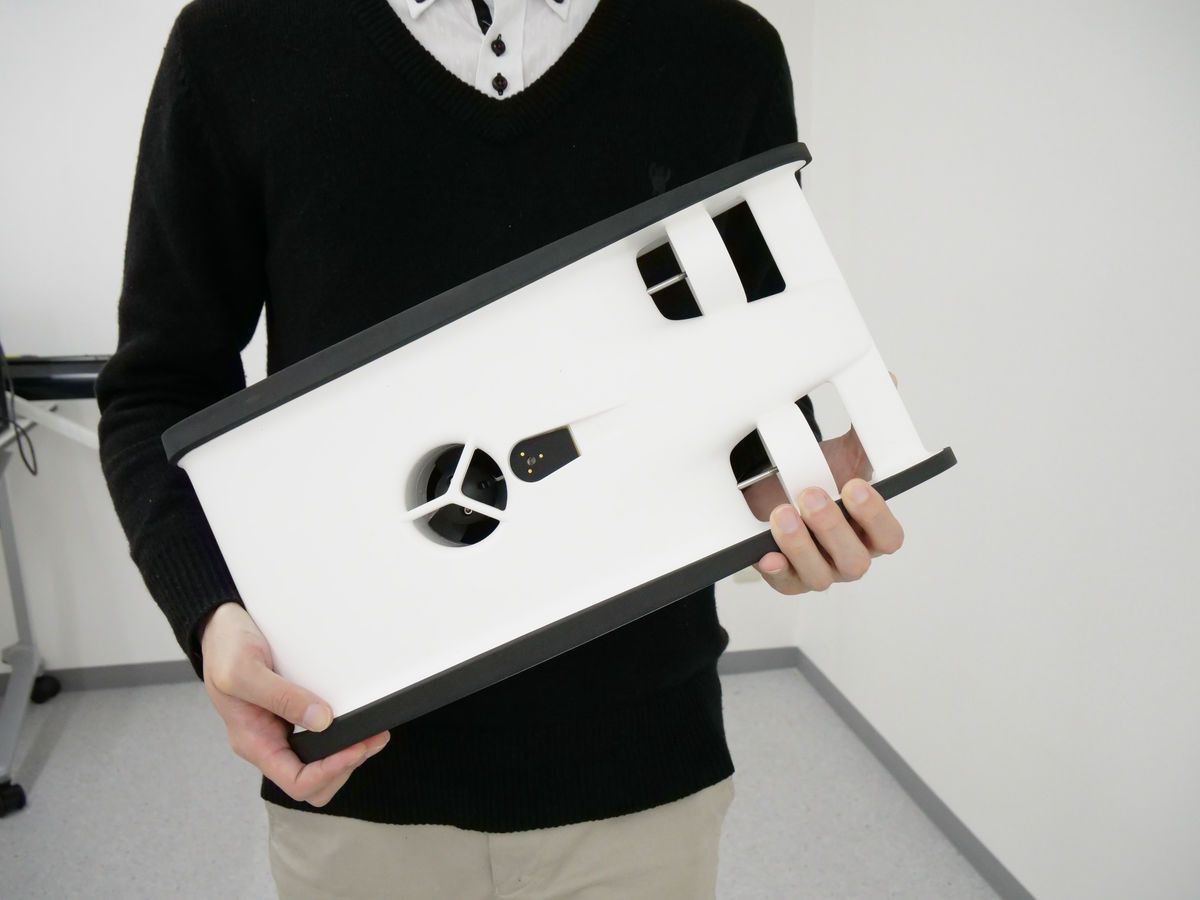
The size of the Trident body is 410mm x 205mm and weighs about 3.5kg. I feel heavy weight when I hold it in my hand.
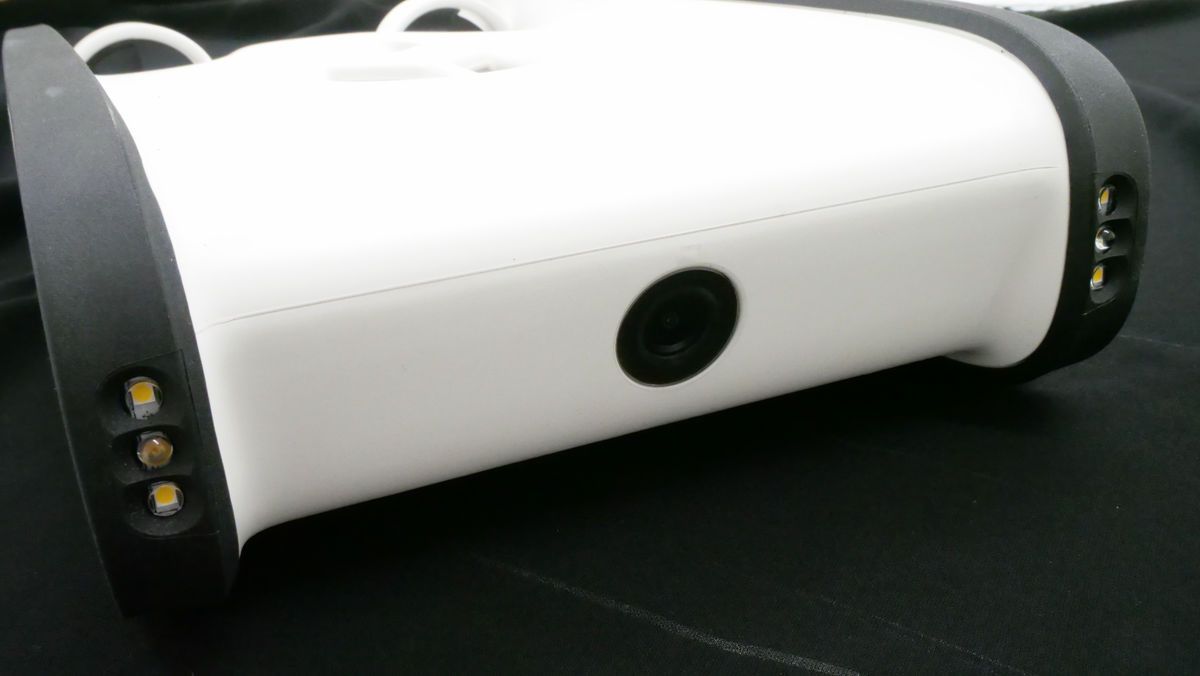
The height of the body is 86 mm. The camera is mounted in the center of the front of the main unit, and lights are arranged on the left and right.
The back side looks like this.
Looking at the rear from the rear, the two propulsion screws are located on the left and right, like a stern of a submarine.
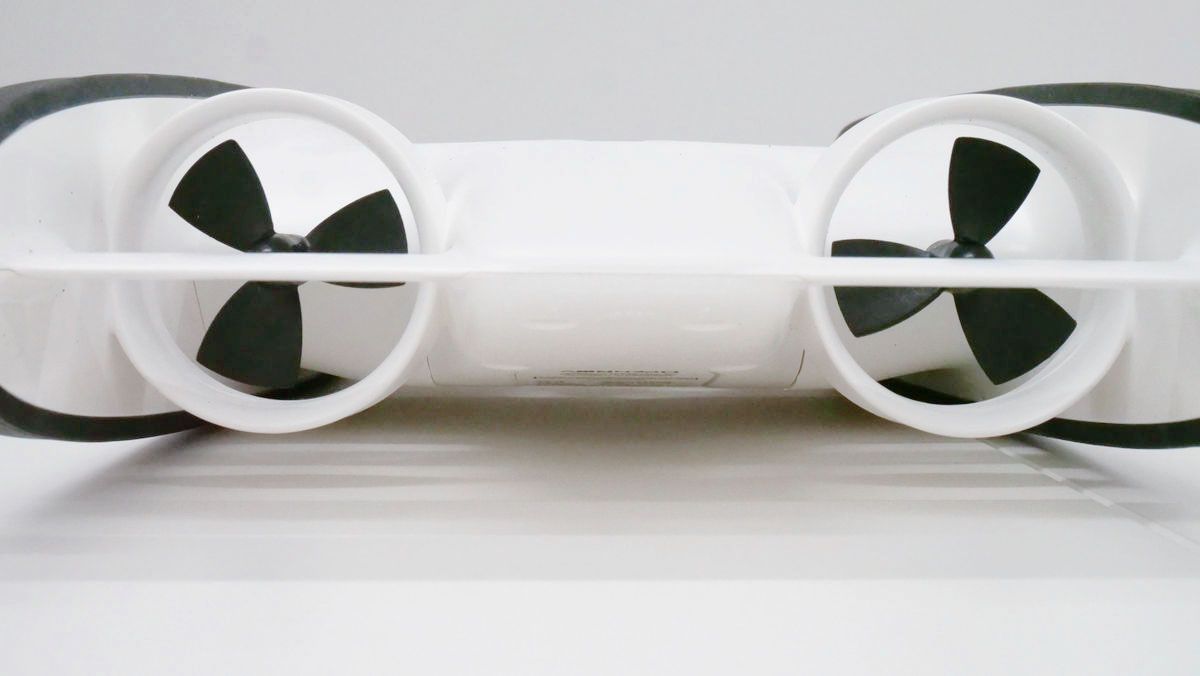
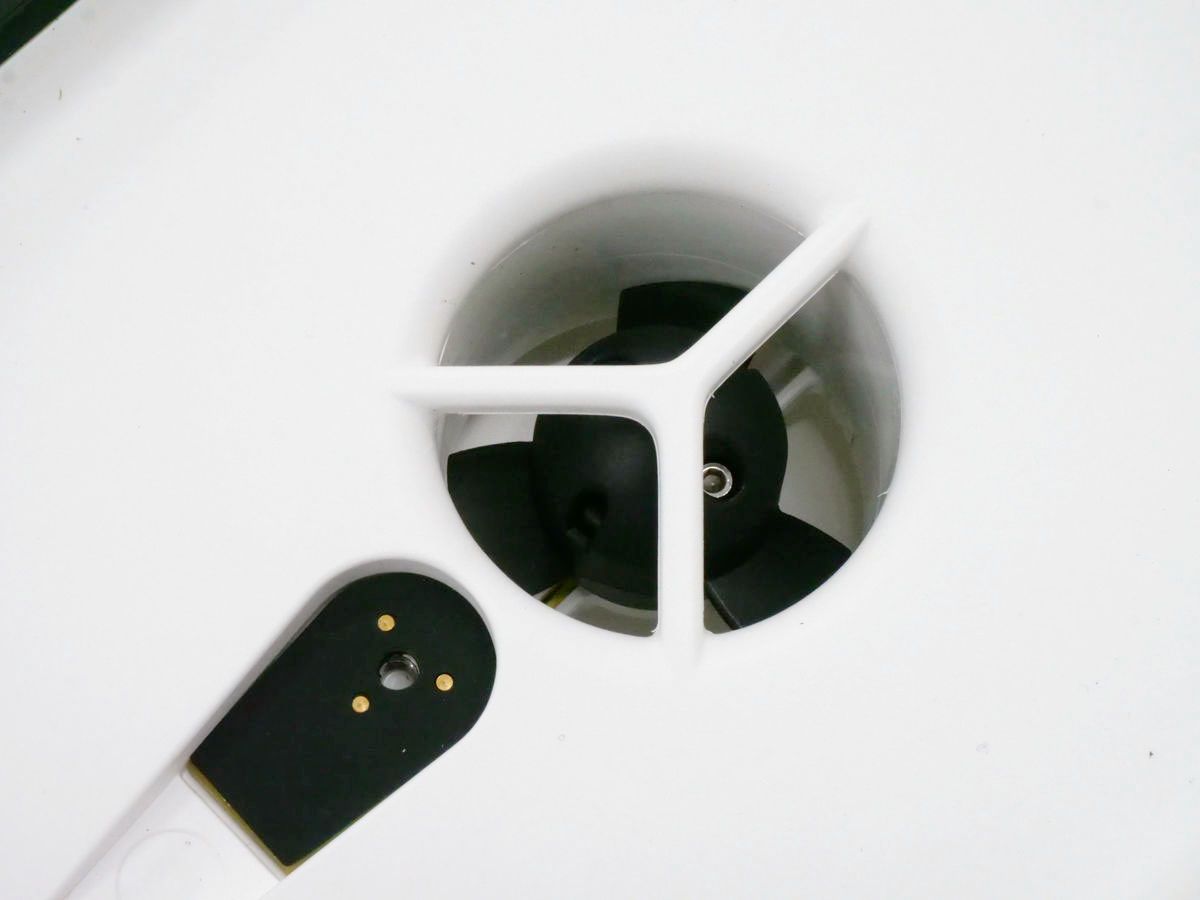
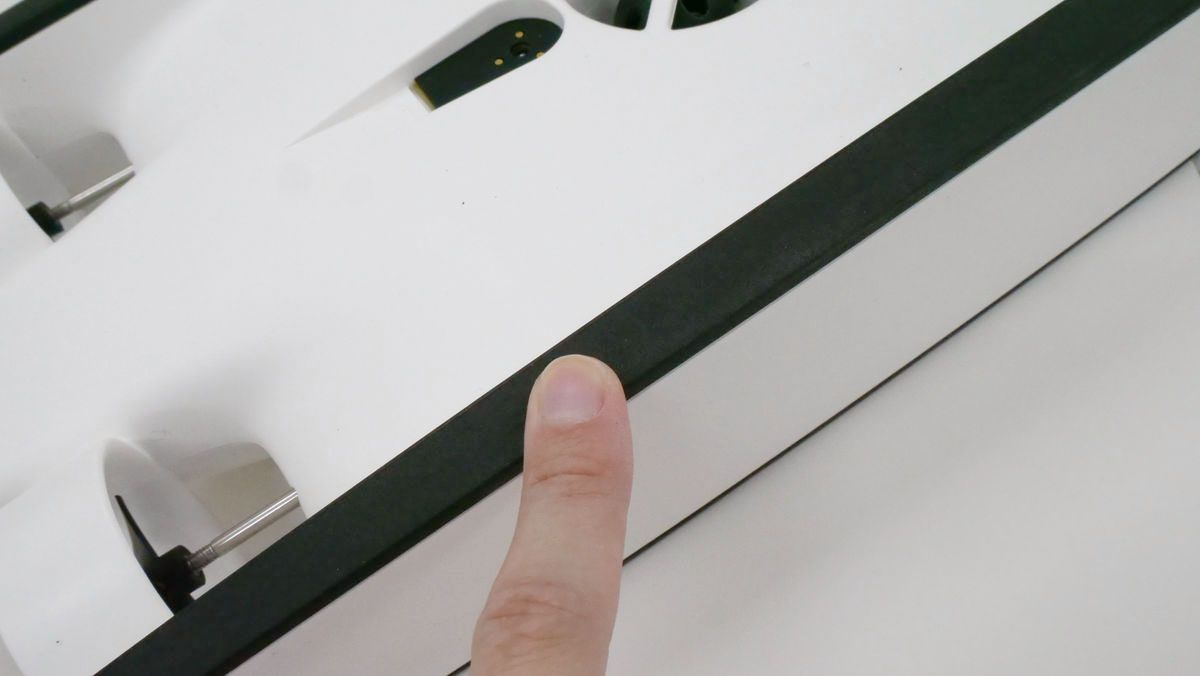
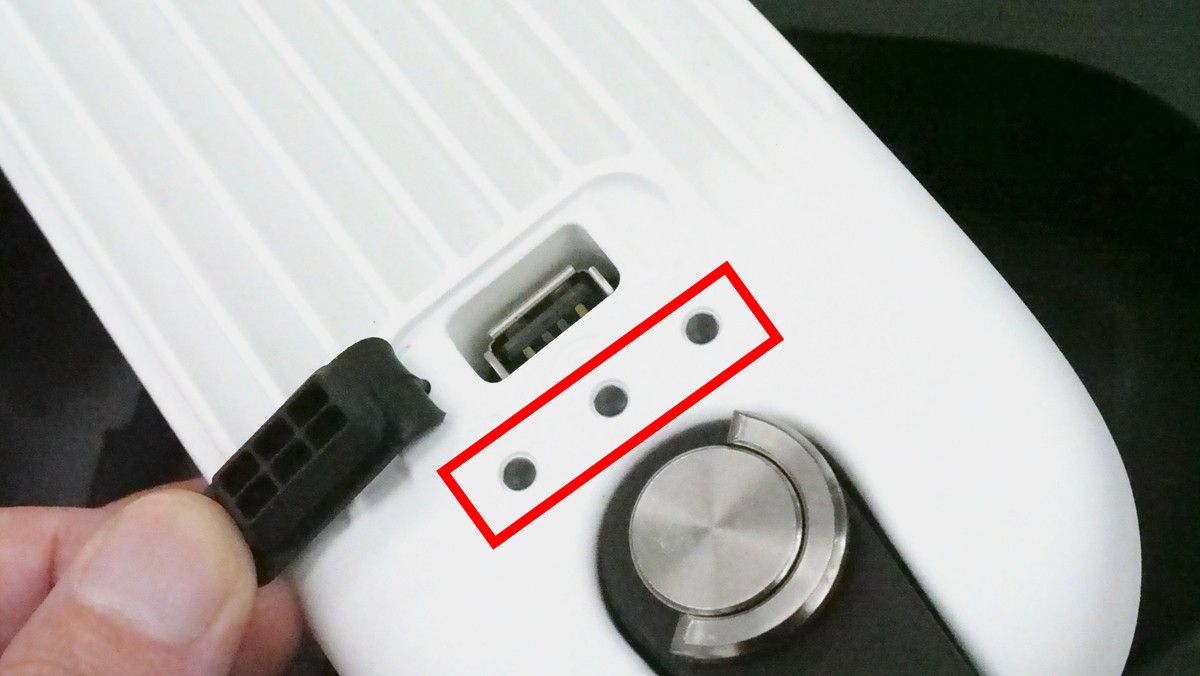
There is also a screw at the center of the body for vertical ascent and descent. Beside the screw is a socket for connecting the cable connecting the body and the top side.
The outer edge of the main body is overhanging, and rubber is attached to the edge, so it absorbs shocks even if you hit it in water.
This is the top side.
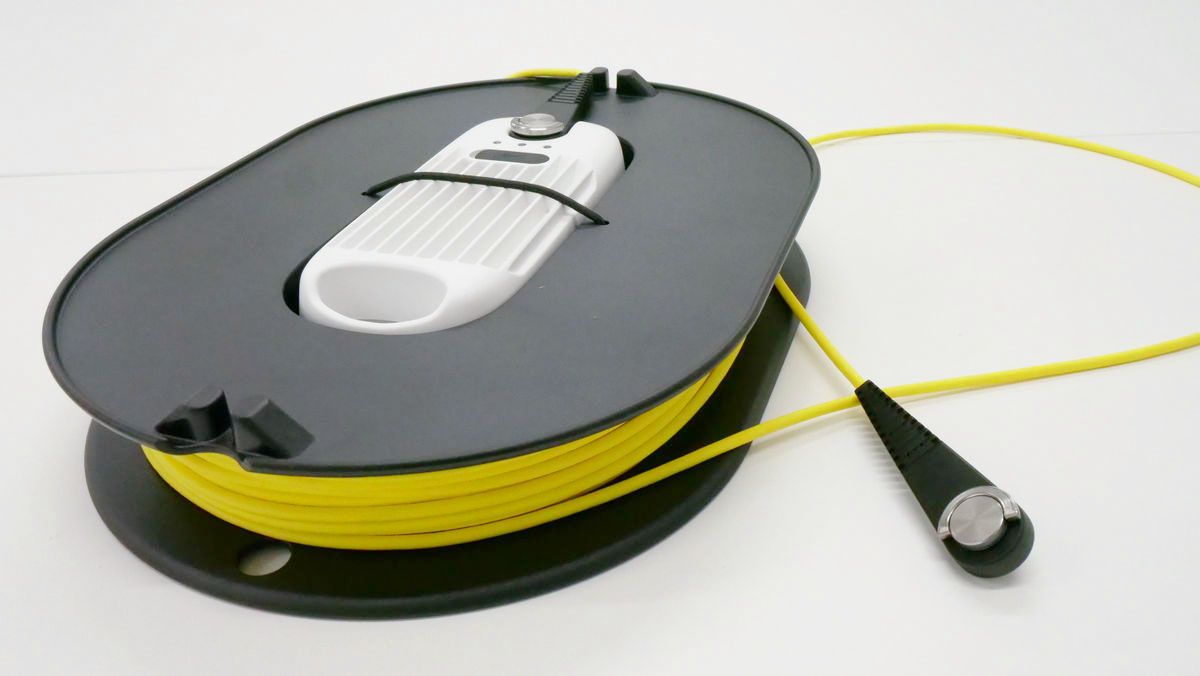
The top side is divided into a communication unit and a reel for winding communication cables.
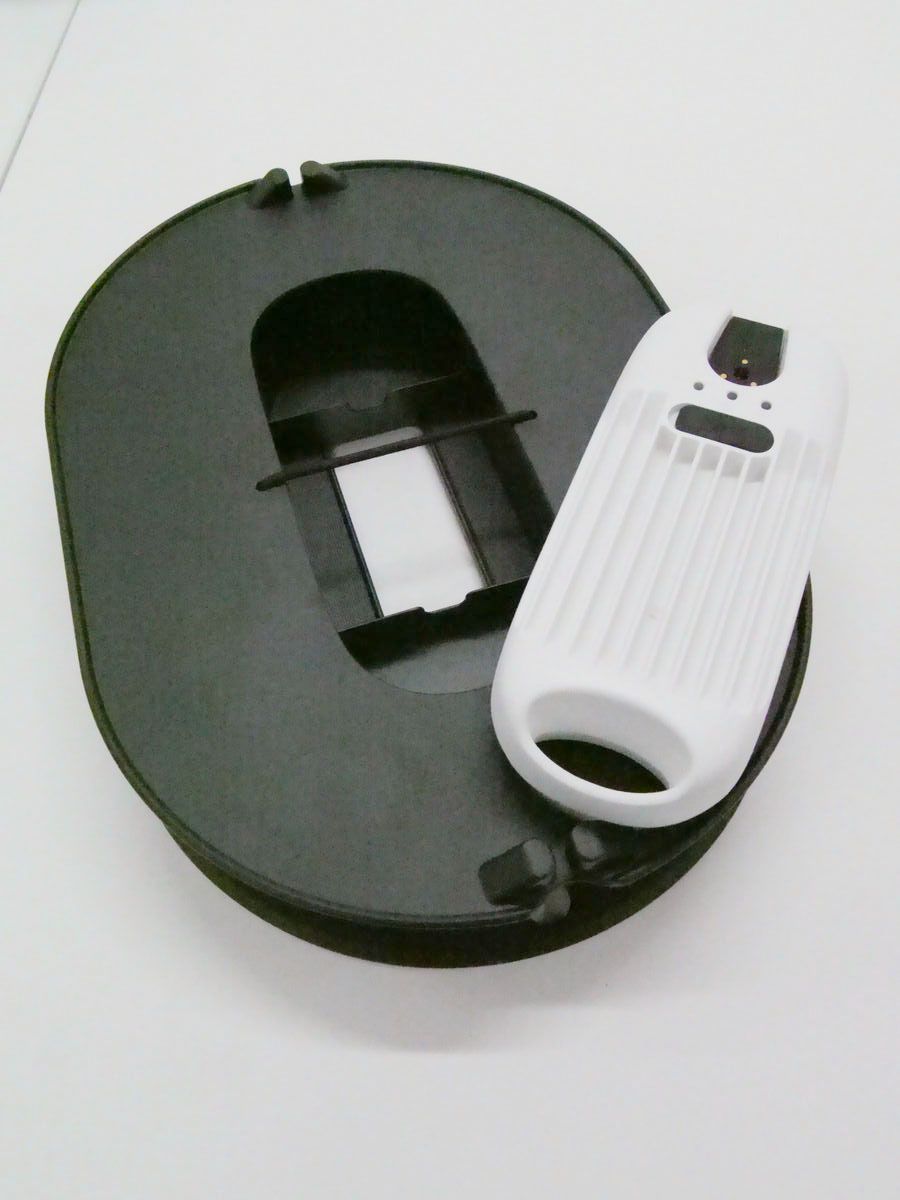
I feel like connecting the top side and the body. The Trident unit and the communication unit are connected by wire. Although Trident is remotely controlled by an operating device such as a smartphone or a dedicated controller, since radio waves do not reach underwater, it exchanges operating data and video data through the topside placed at hand.
The communication unit has 3 USB ports and 3 LED lamps. The USB port is for wired connection between the communication unit and the operation device if Wi-Fi connection fails or communication is unstable. The LED lamp is a lamp that indicates the preparation of power supply / Wi-Fi connection start / Wi-Fi connection ready from the left.
◆ Preparation for use
Charge before use. Power adapter screw connector ...
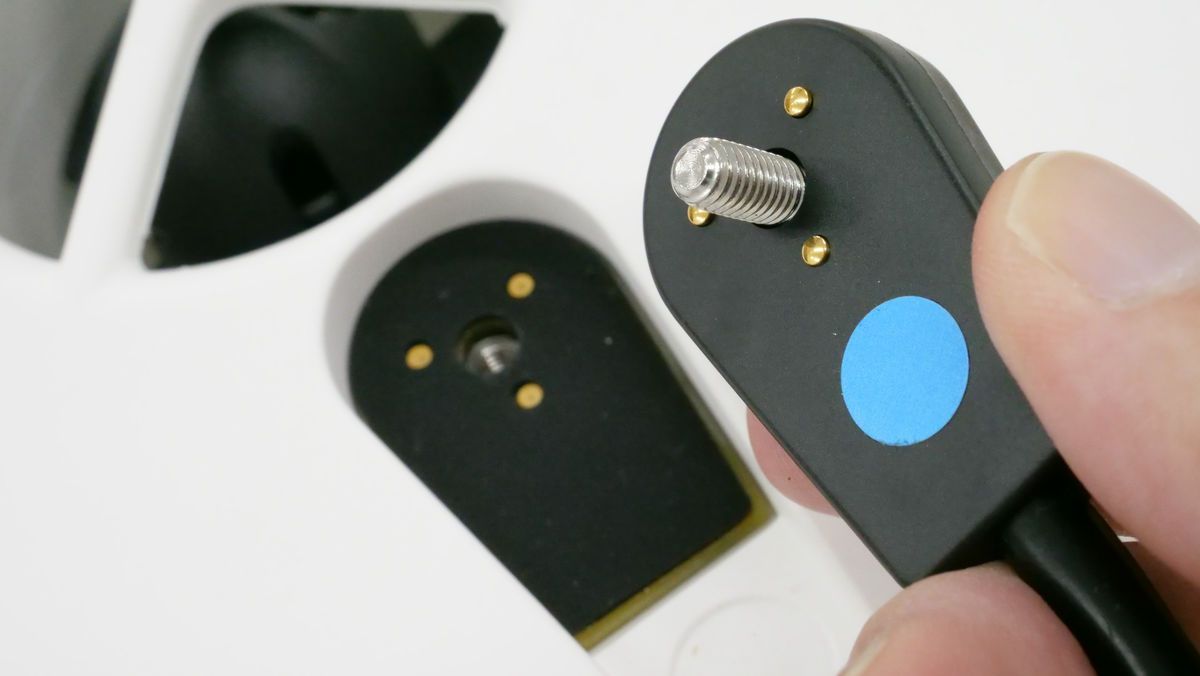
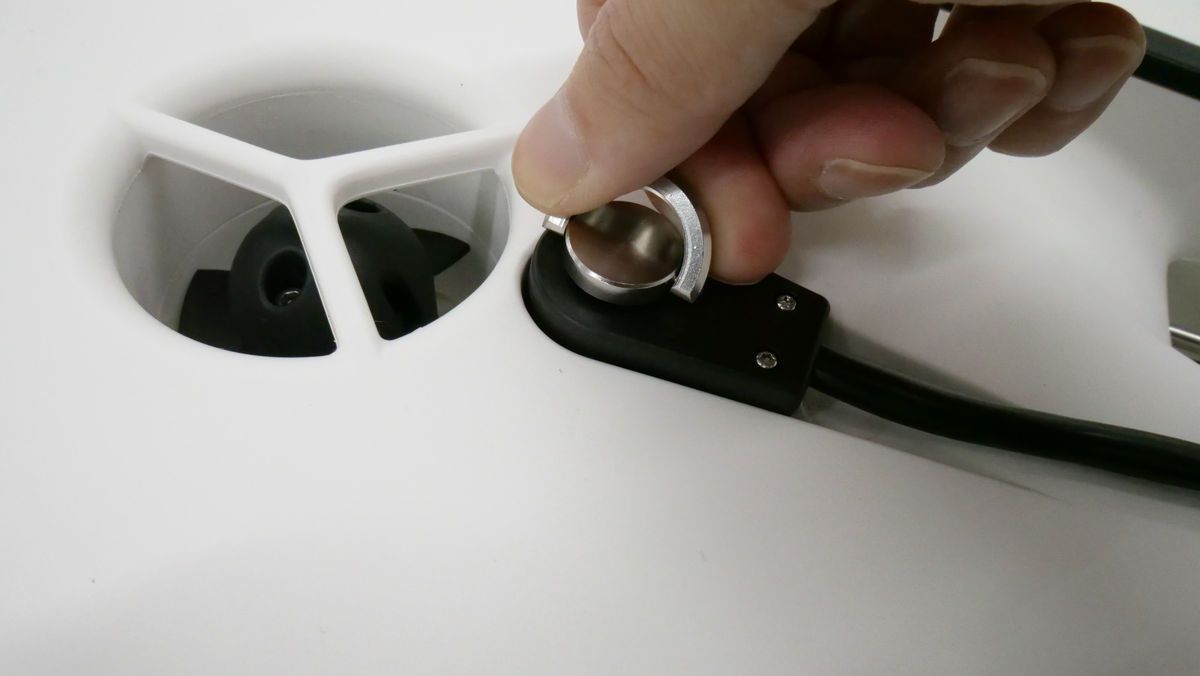
Insert it into the socket of the main unit and turn the knob clockwise to lock it. When locked, the unit started automatically. There is no power switch on the main unit, and it starts up automatically when the power adapter or the topside cable is connected to the main unit.
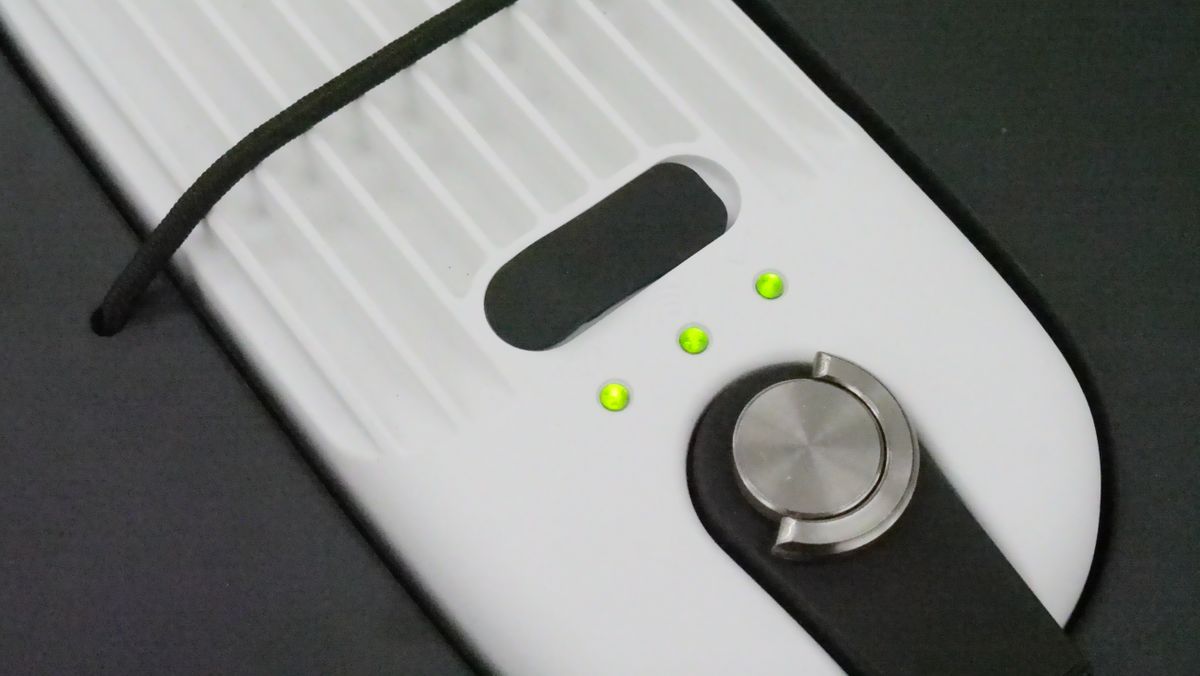
When you connect the unit to the power adapter, the rear LED lights to indicate the battery level.
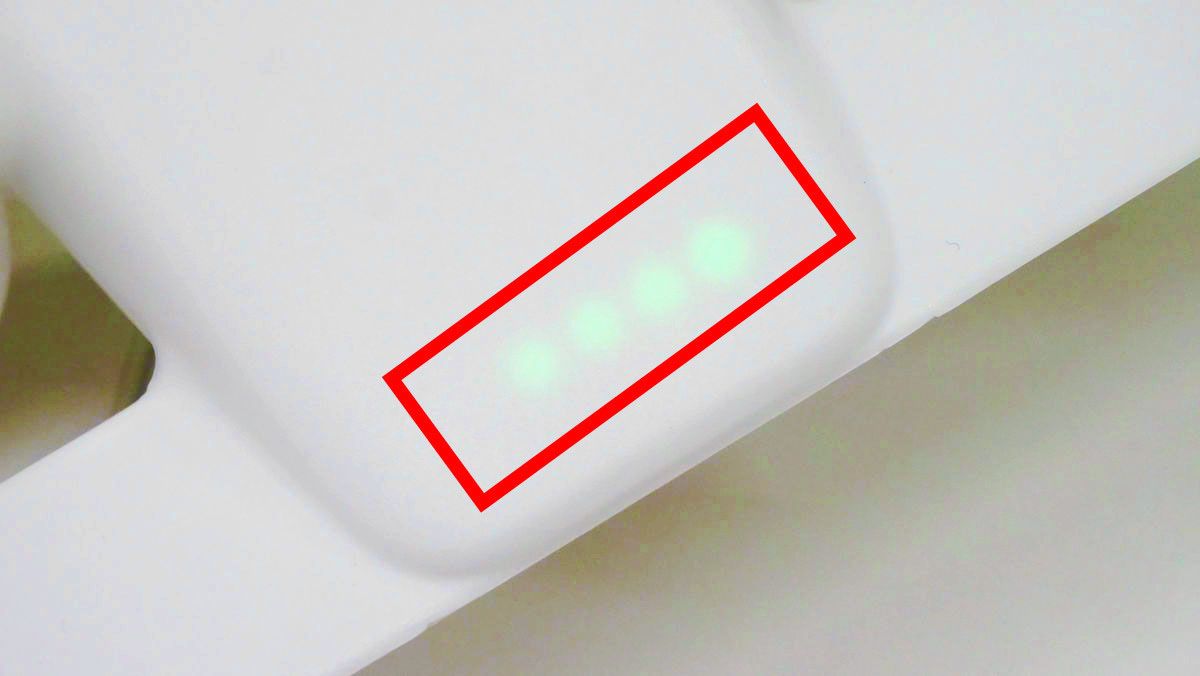
The relationship between the LED lamp and the battery level is described in the instruction manual. 'The remaining 95% or less when the rightmost LED goes off' 'less than 75% when the second goes out' 'less than 50% with one remaining' 'less than 40% when the red lamp lights up' You are As shown in the image above, four LEDs are lit and the battery remaining is over 95%, so there is no need for charging.

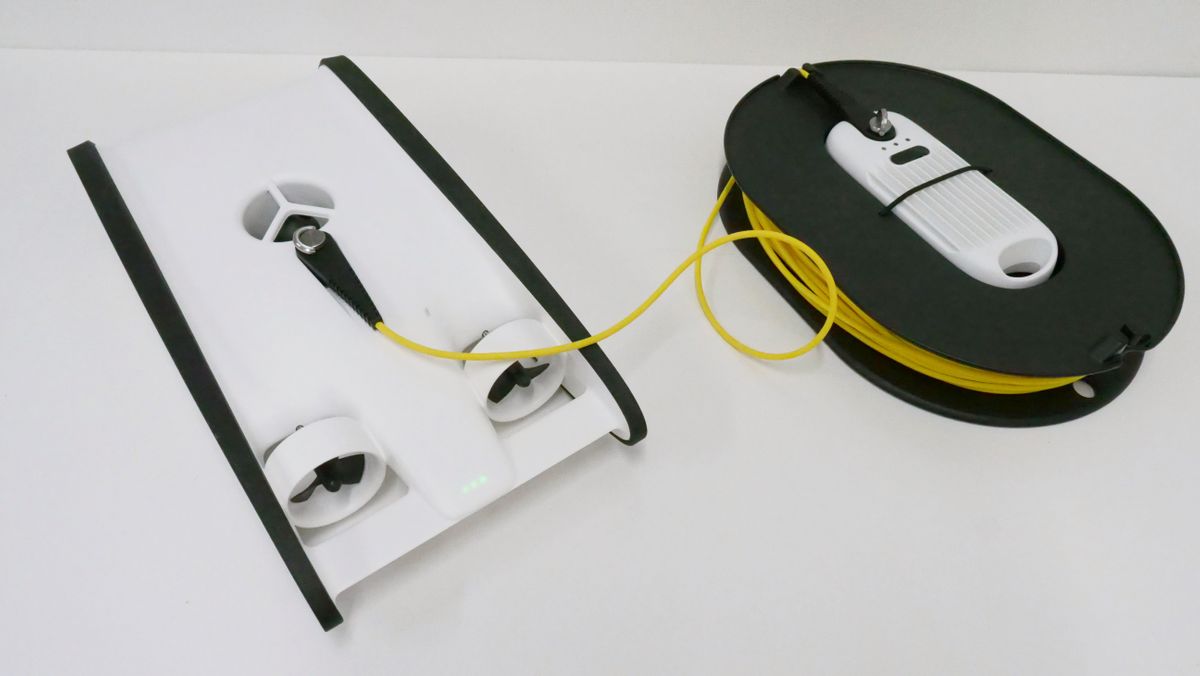
We will now prepare to move the Trident body. When connecting the connecting part that extends from the top side to the main body ...
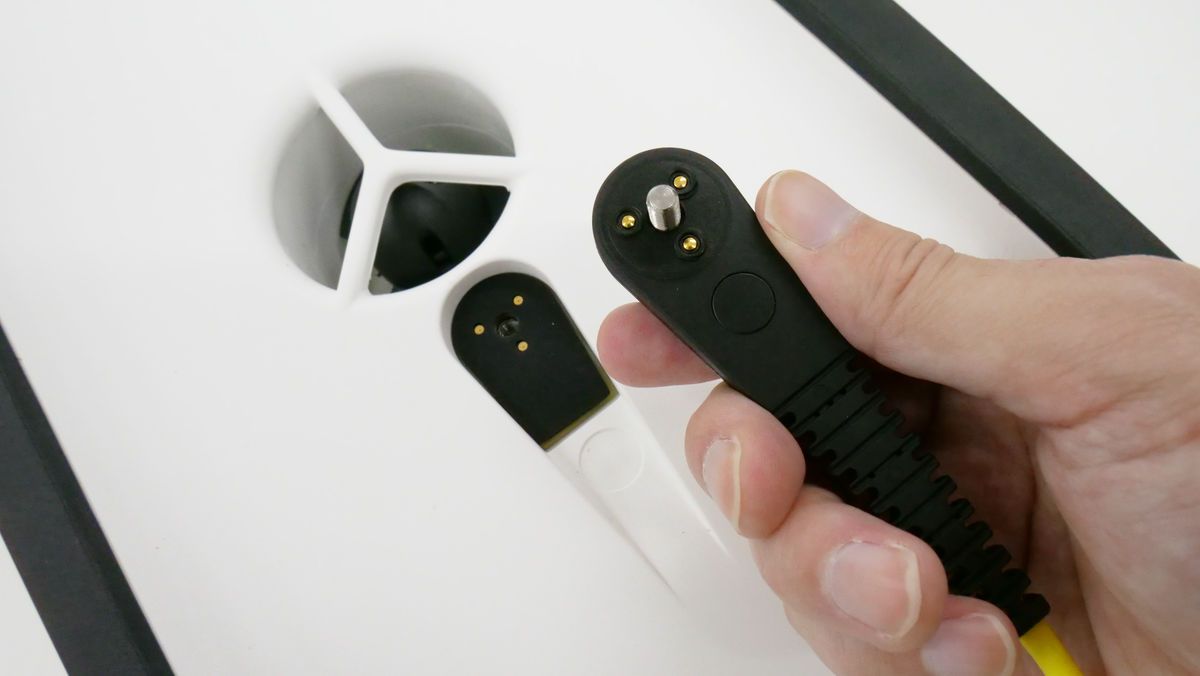
The power of the main unit and communication unit will turn on automatically. After waiting for about 3 minutes, the LED lights on the communication unit turned on and I was ready to connect.
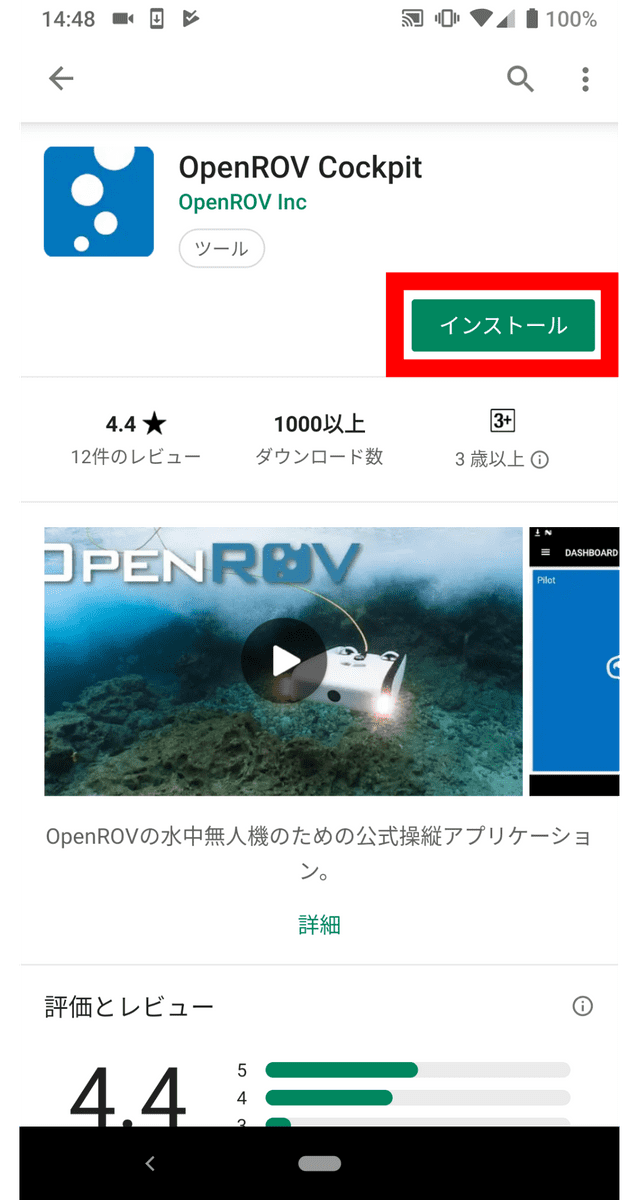
Next, install the application 'OpenROV Cockpit' for operating Trident on your smartphone. The app is for Android only at the time of article creation, so if you do not have an Android smartphone or tablet, you need to prepare an additional
OpenROV Cockpit-Apps on Google Play
https://play.google.com/store/apps/details?id=com.openrov.cockpit
Access the above URL and tap 'Install'.
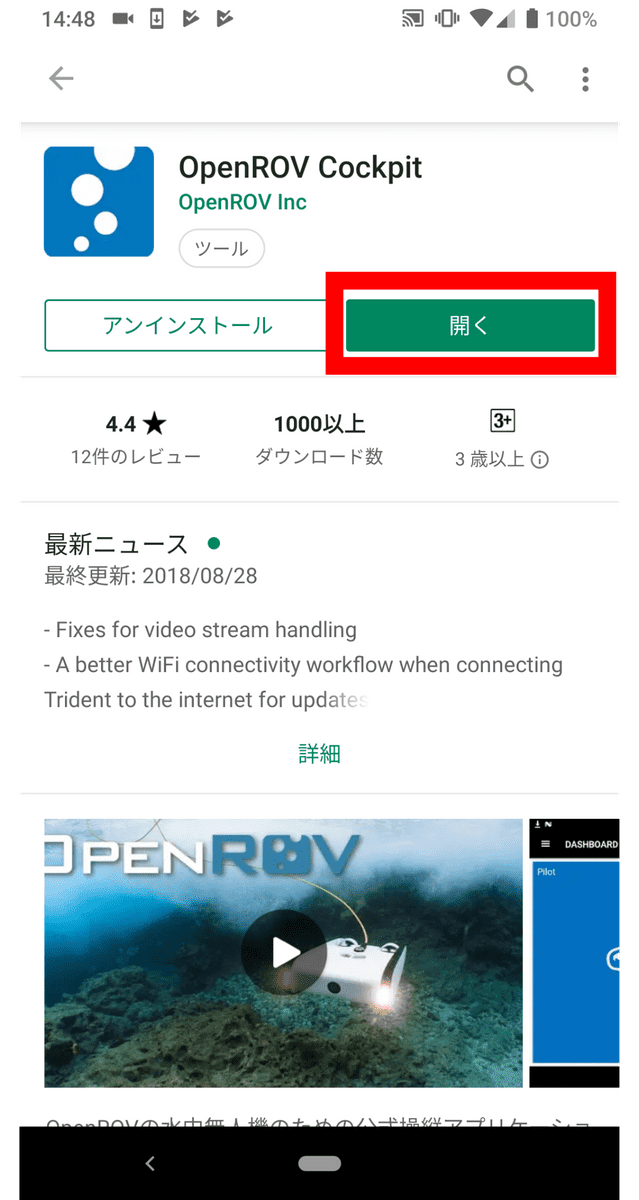
When installation is complete, tap 'Open'.
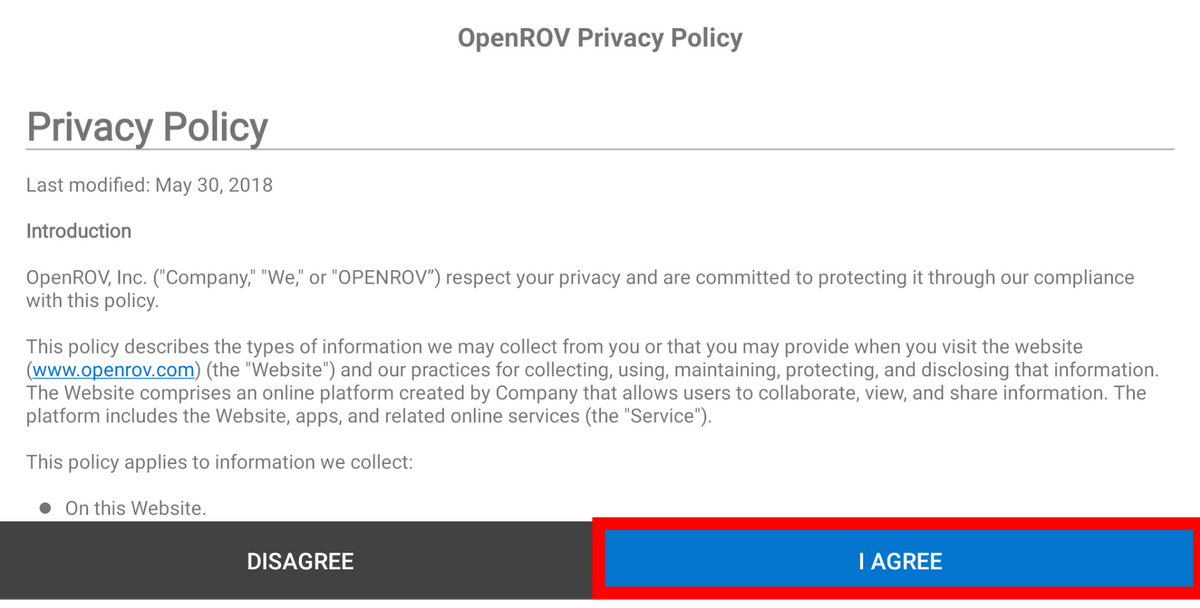
When the app starts, you will be asked to agree to the terms, so tap 'I AGREE'.
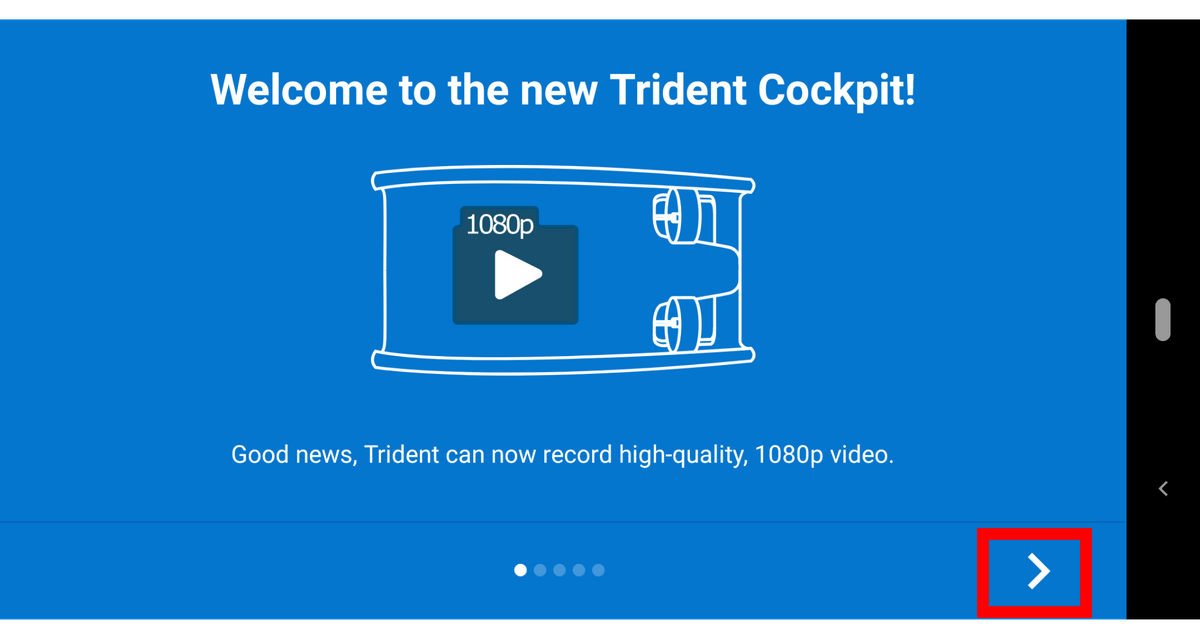
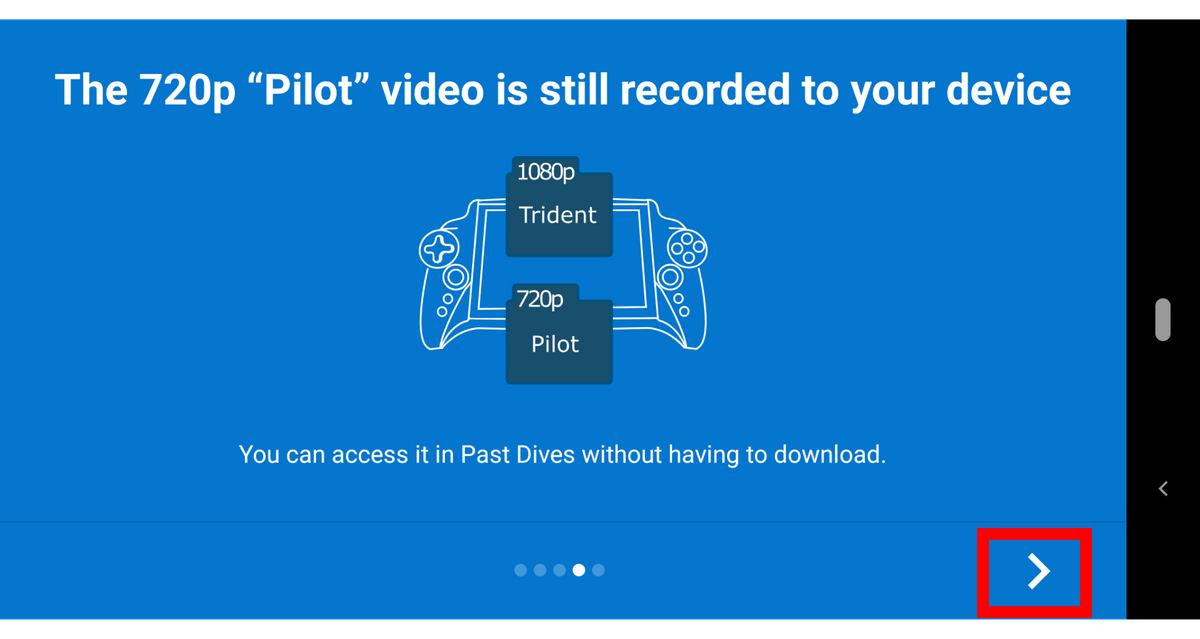
Tap the red frame to advance the explanation.
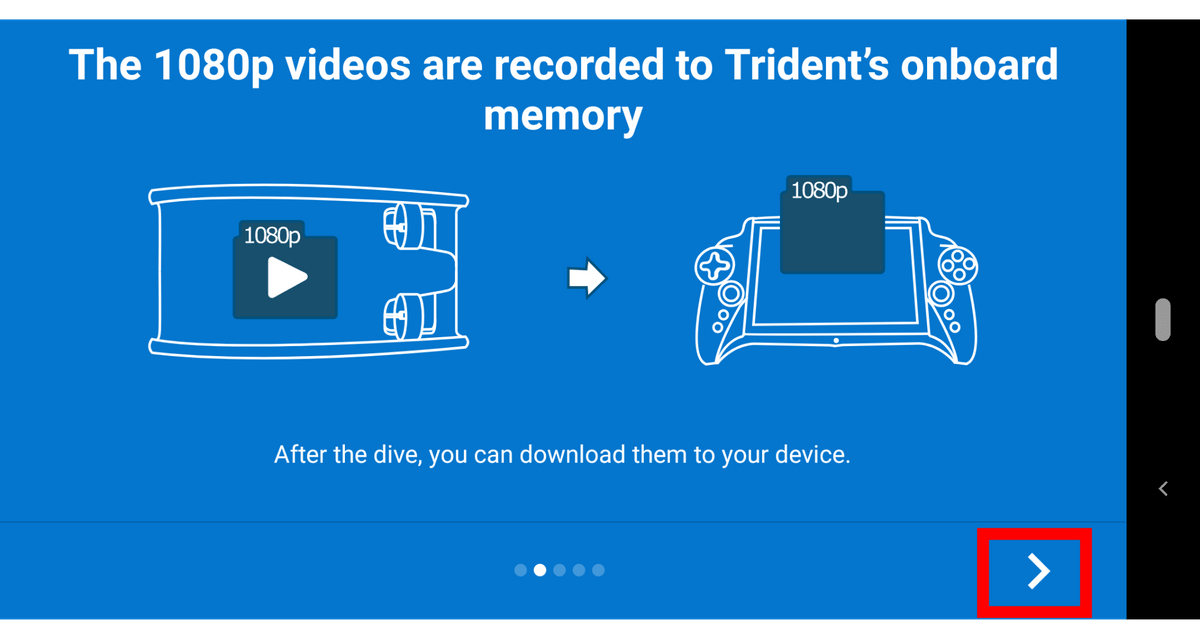
Tap the red frame part.
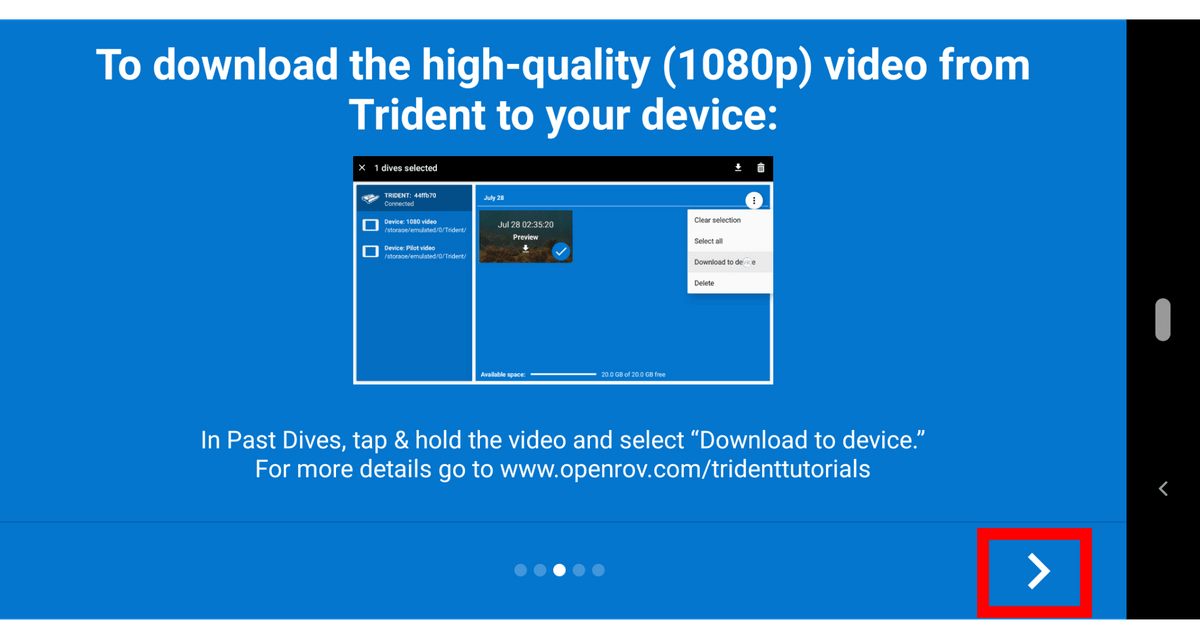
Tap the red frame part.
Tap the red frame part.
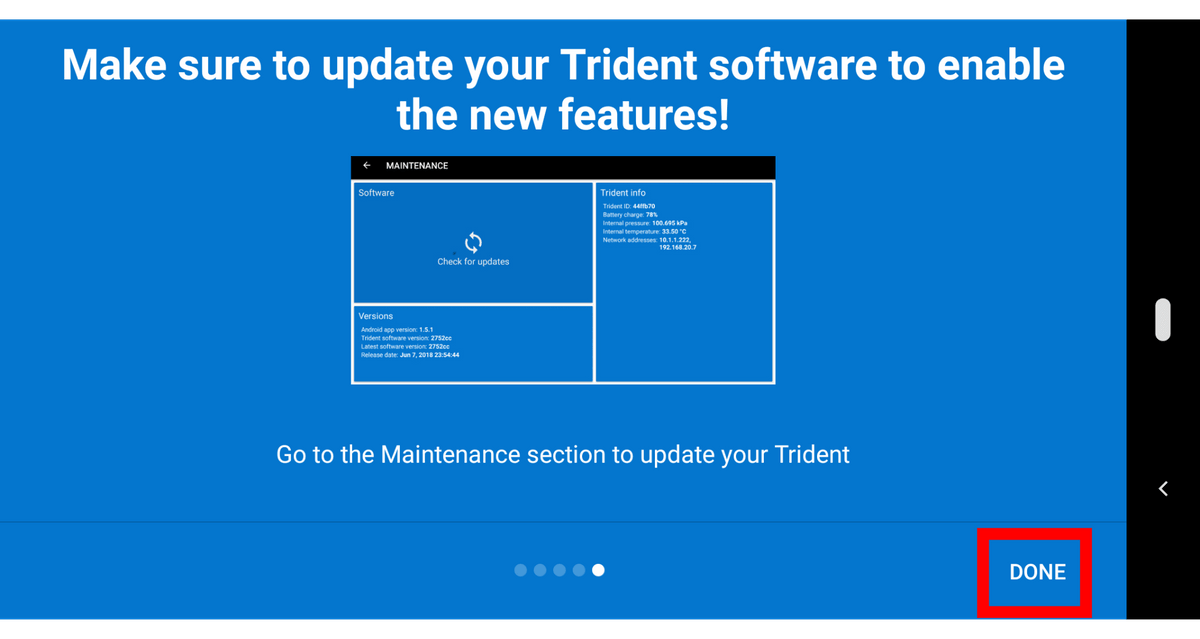
Tap 'DONE'.
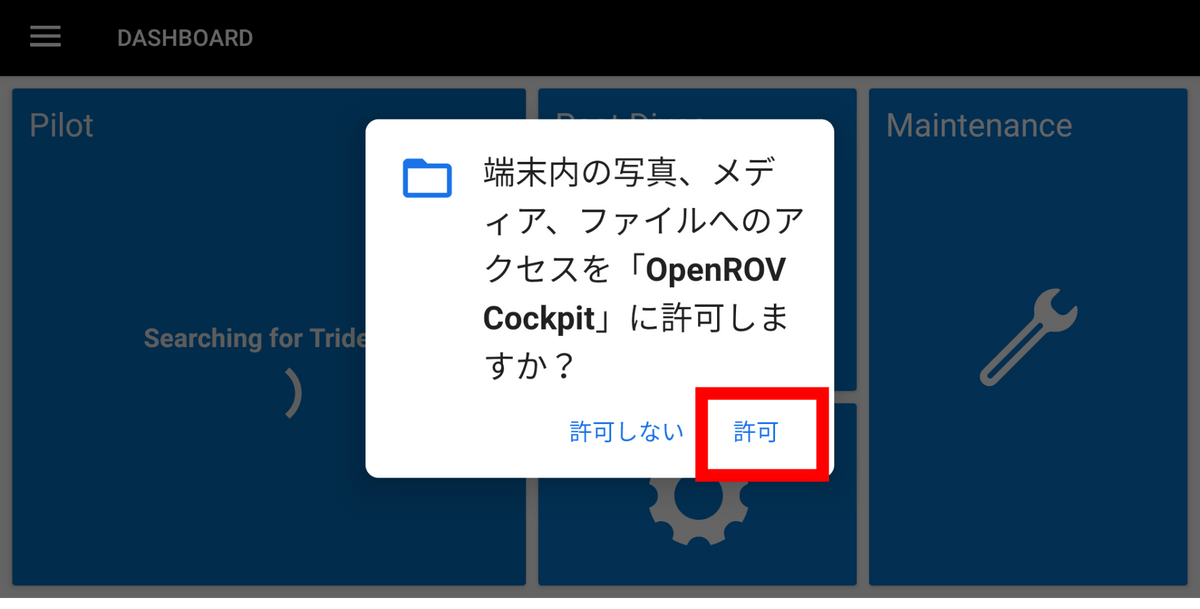
Tap 'Allow'.
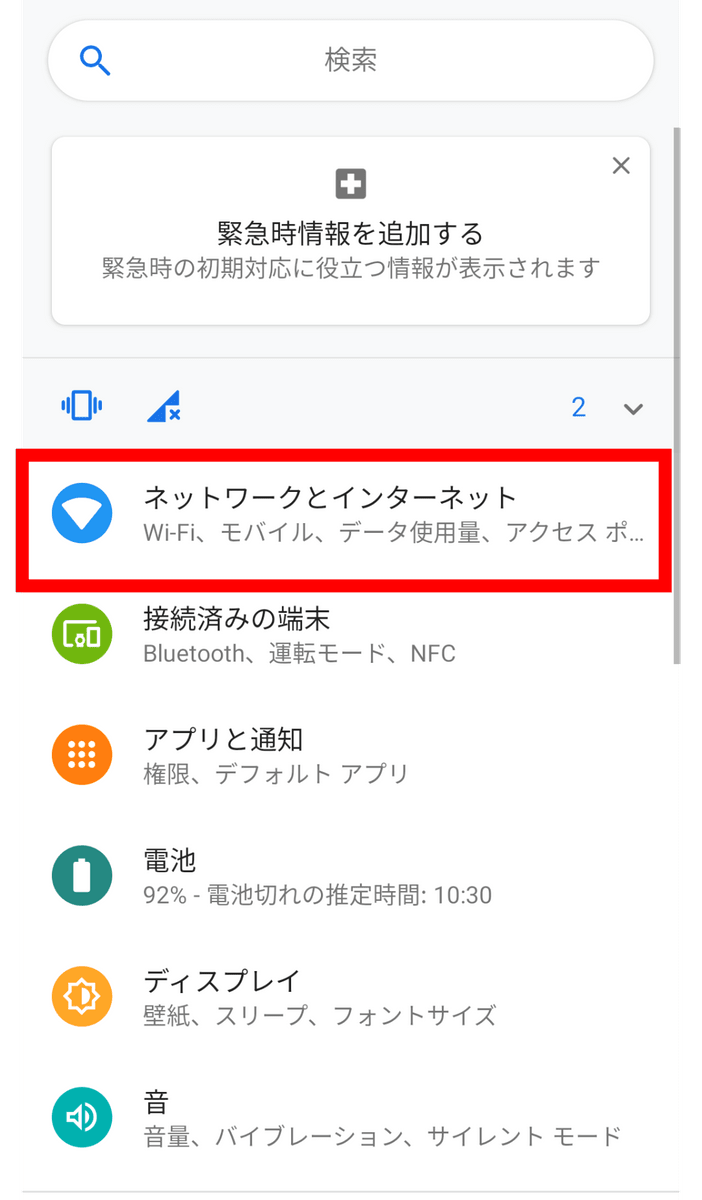
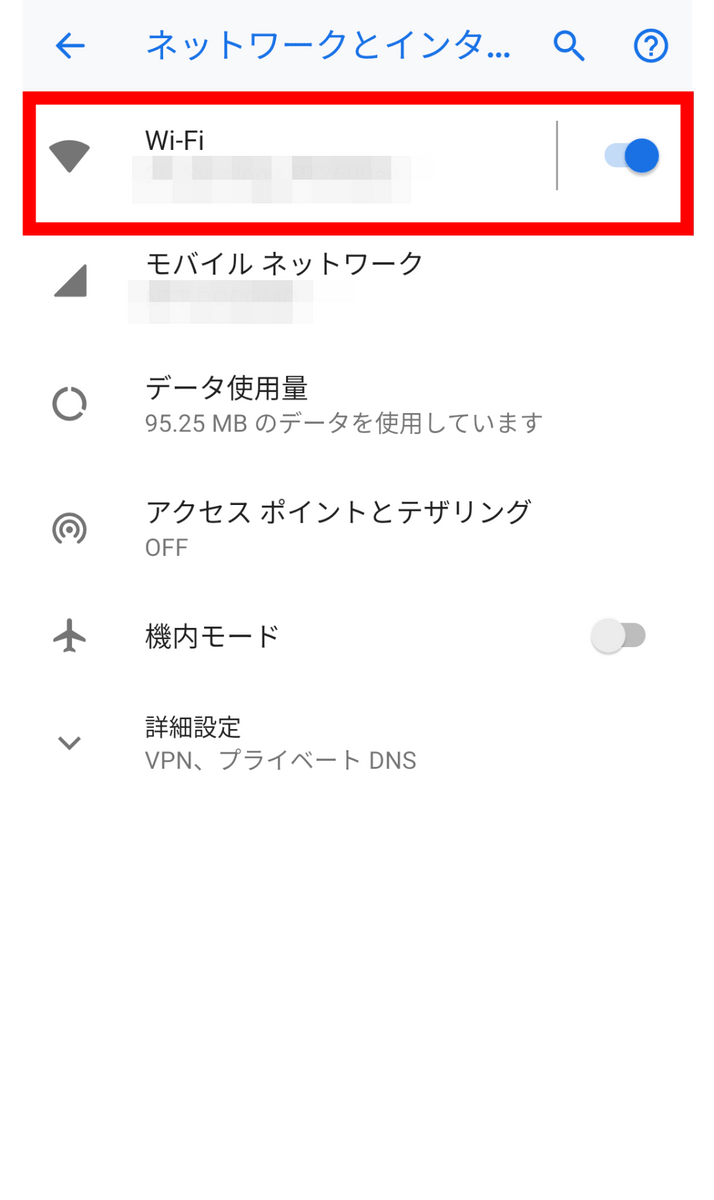
Next, connect your smartphone to the Trident body. Open Android settings and then tap 'Network and Internet'.
Tap 'Wi-Fi'.
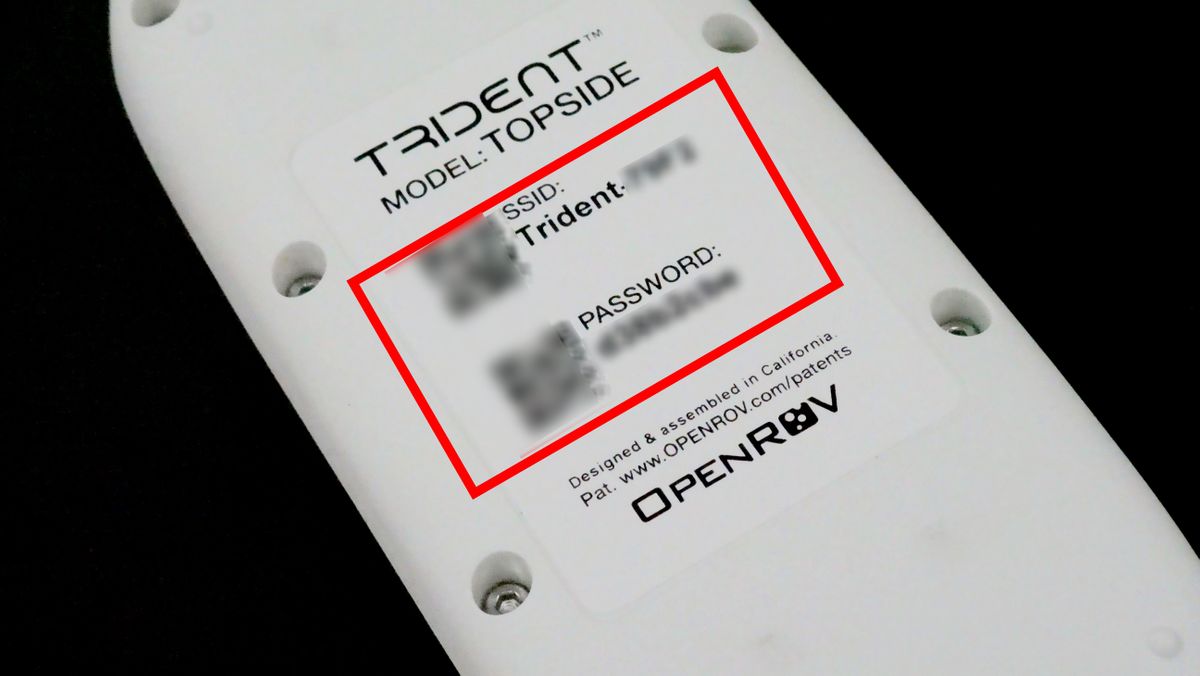
Remove the communication unit from the top side reel and check the SSID and password on the back of the unit.
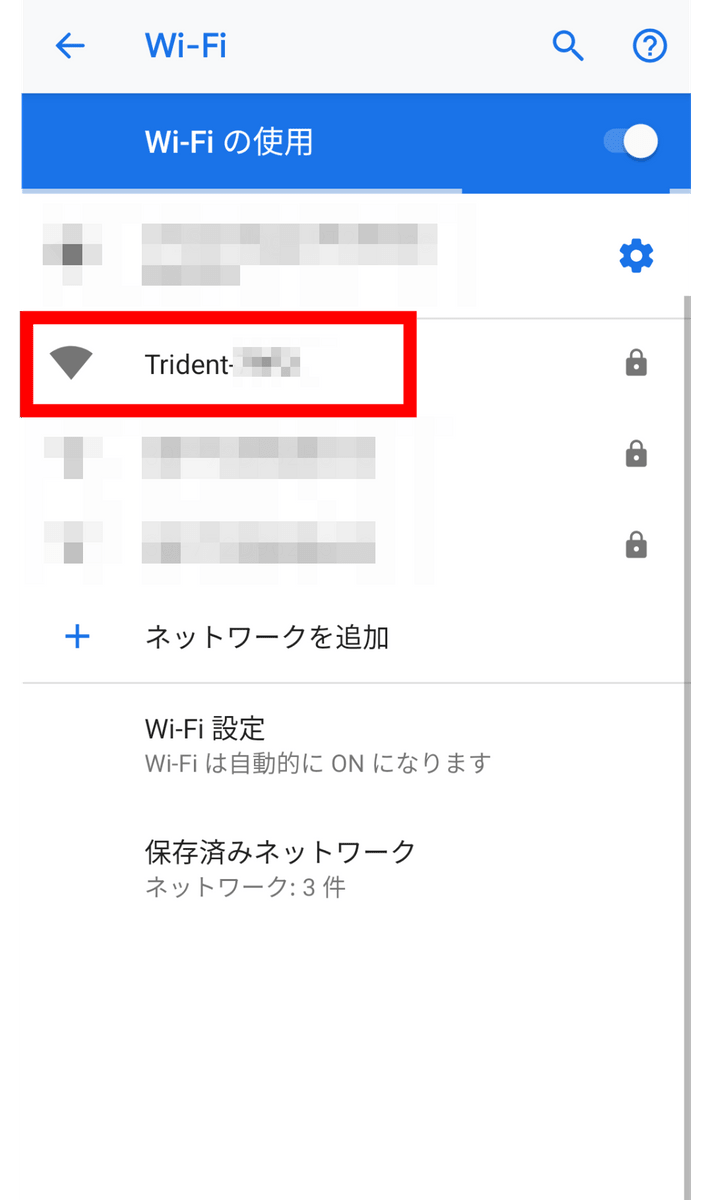
Return to the smartphone, and tap 'Trident-(4-digit alphanumeric)' written in the SSID column on the back of the communication unit.
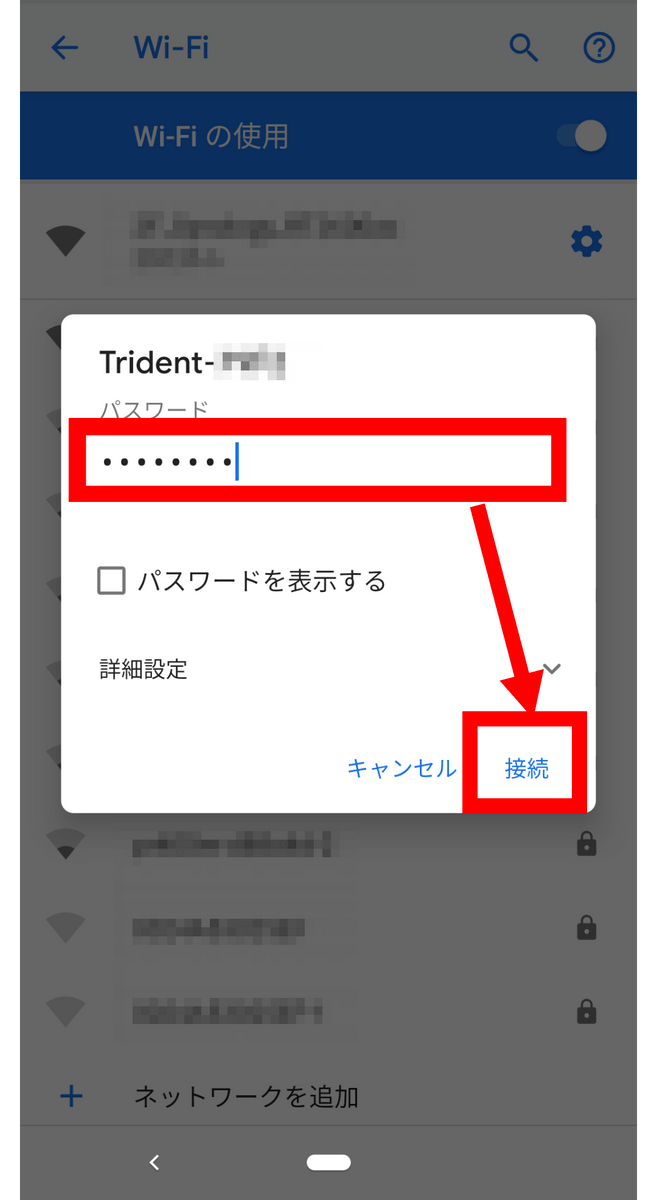
Enter the password on the back of the communication unit and tap 'Connect'.
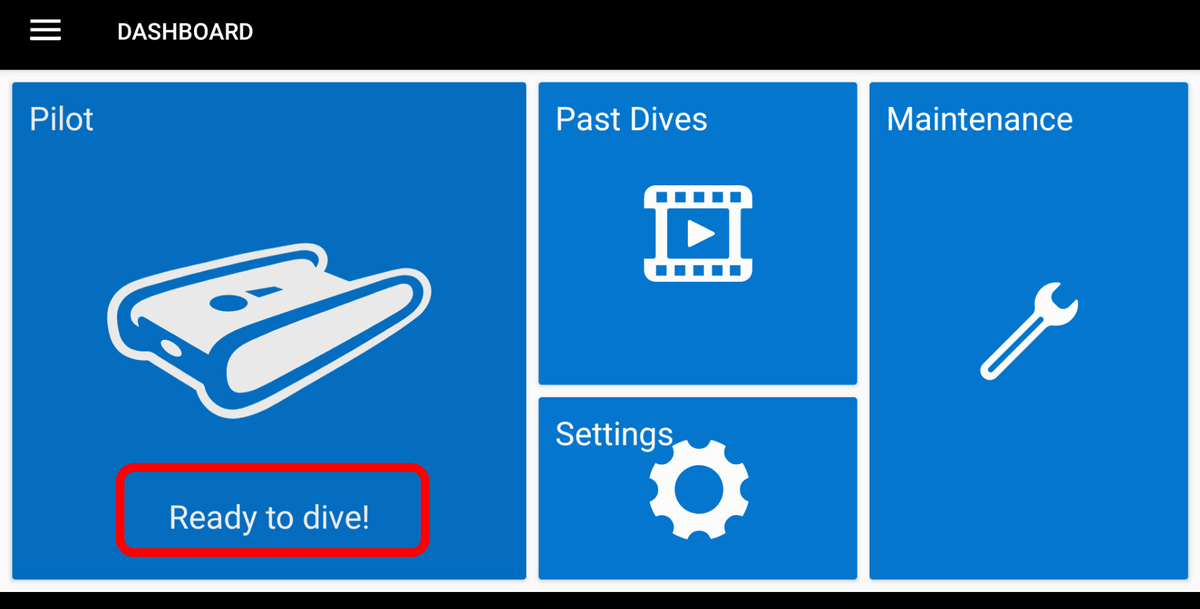
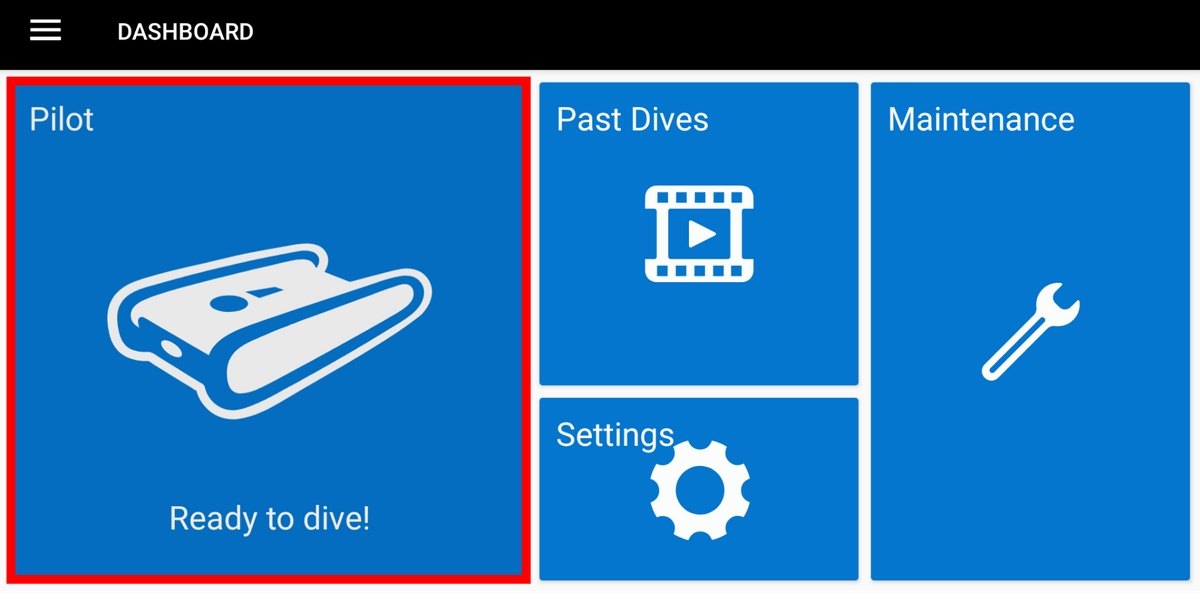
If it returns to the home screen of 'OpenROV Cockpit' and 'Ready to dive!' Is displayed, it is connection completion.
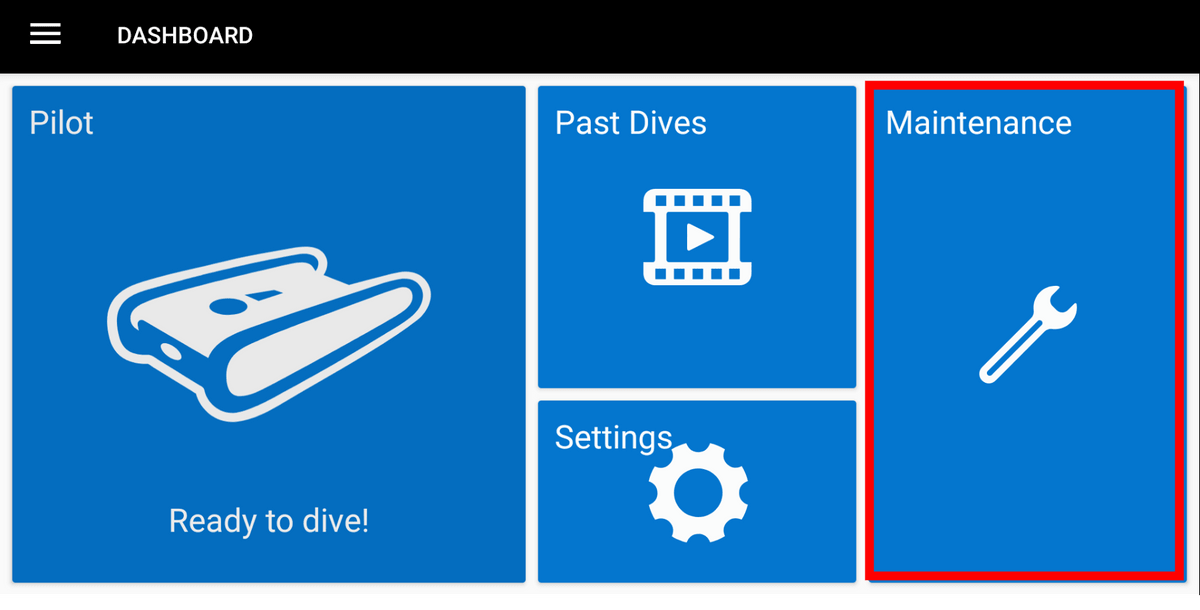
First tap 'Maintenance' to check for updates.
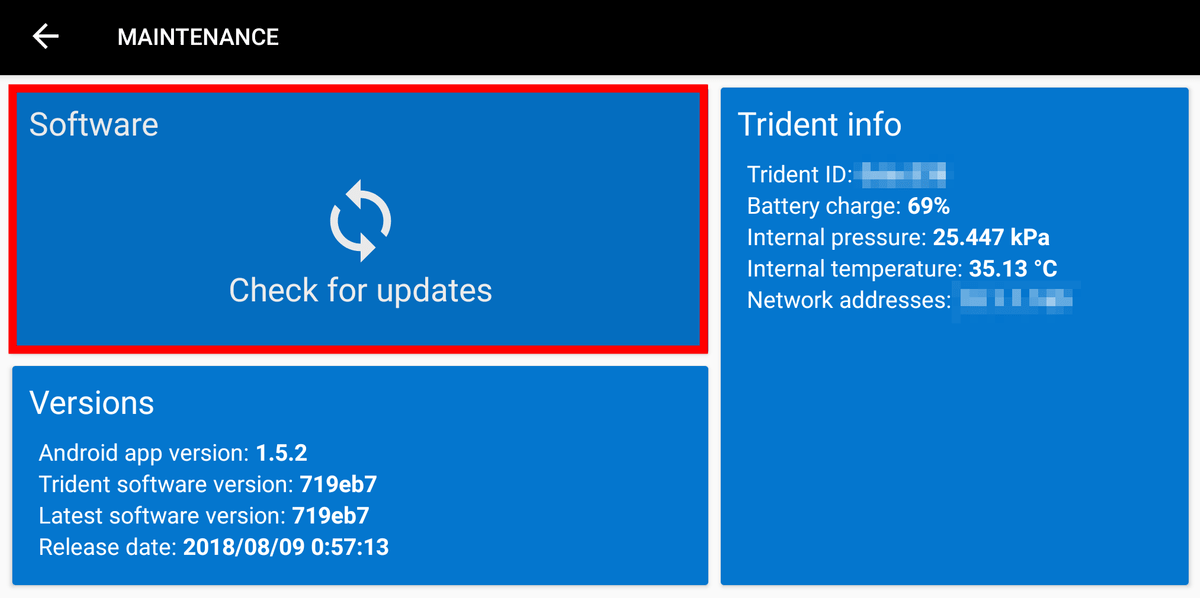
Tap 'Check for updates'.
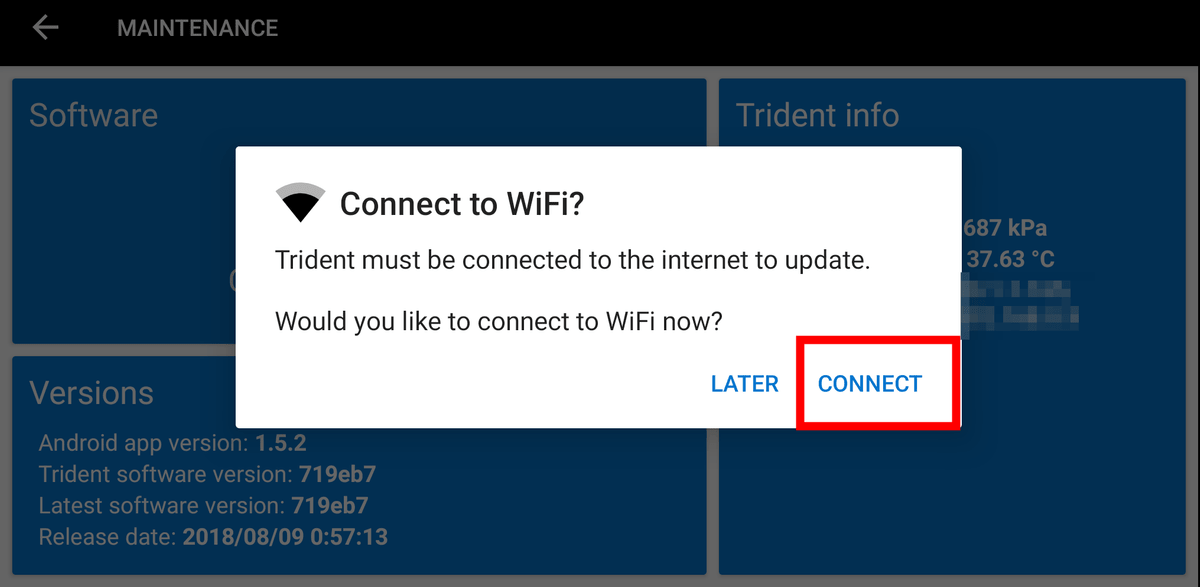
Tap 'CONNECT'.
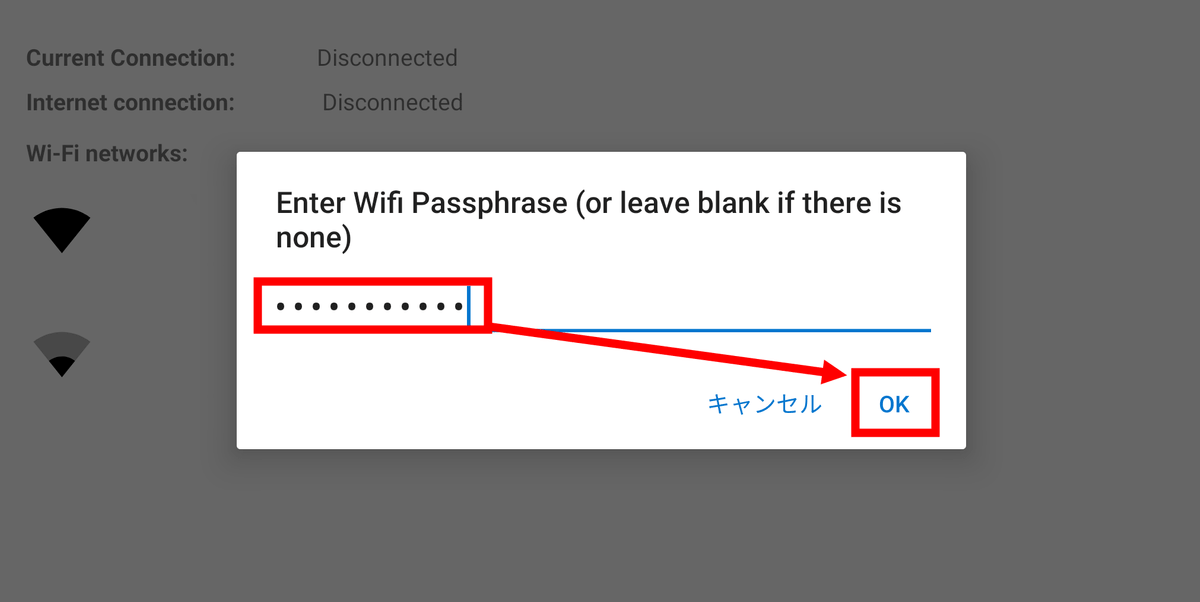
Tap the SSID of the Wi-Fi router you are using for Internet connection.

Enter your password and tap OK.
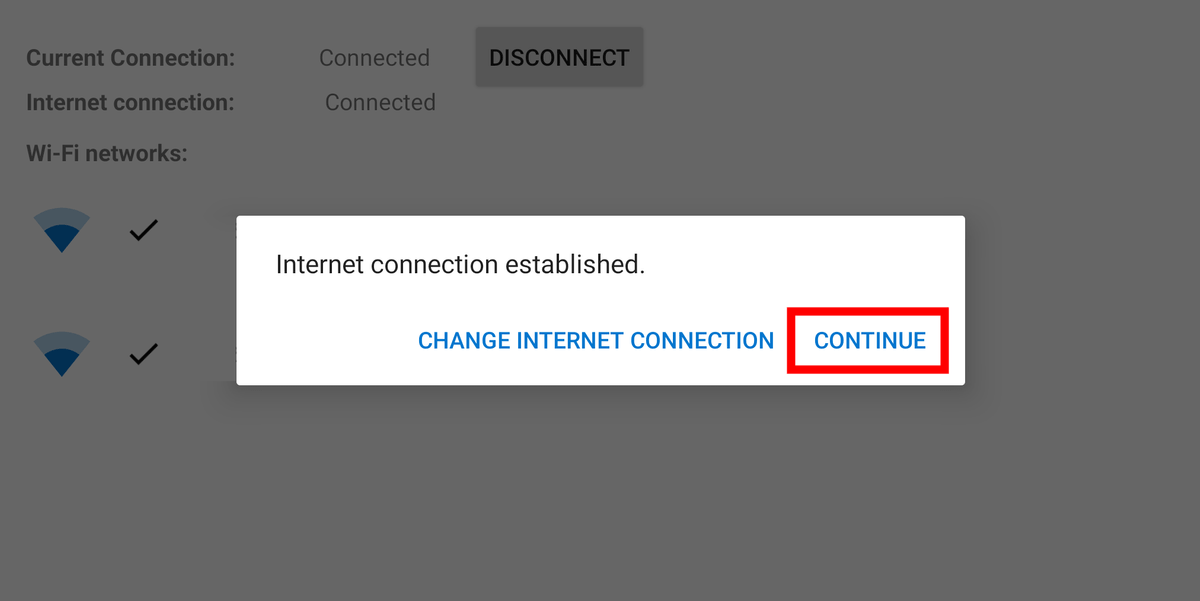
Tap 'CONTINUE'.
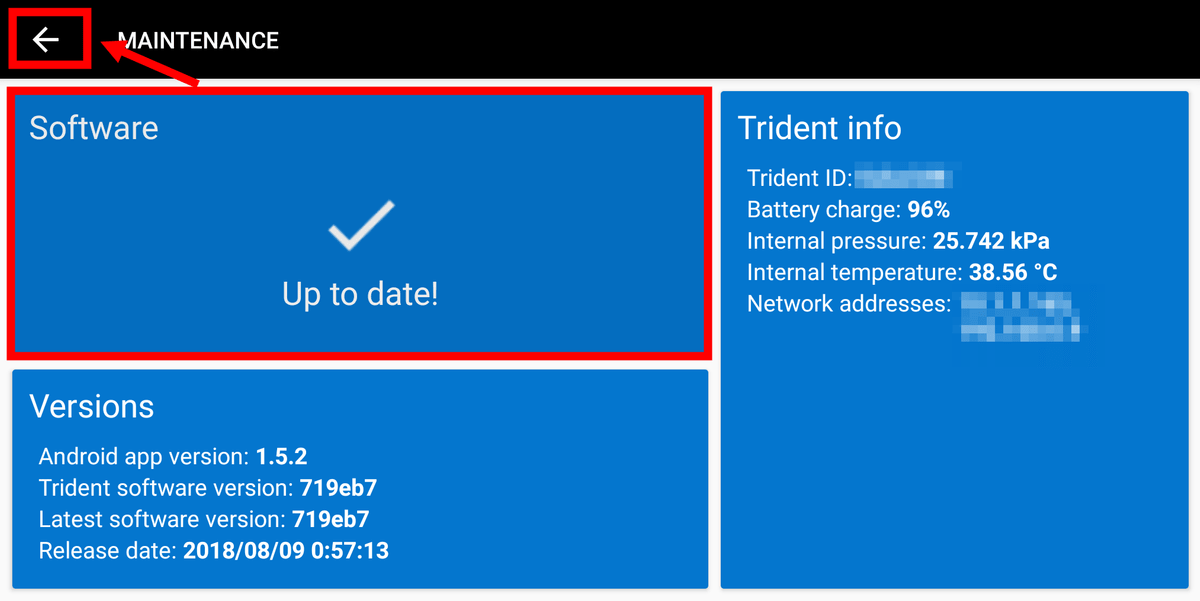
If 'Up to date!' Is displayed, the update is complete. Tap the top left arrow icon to return to the home screen.
Tap 'Pilot' on the home screen ...
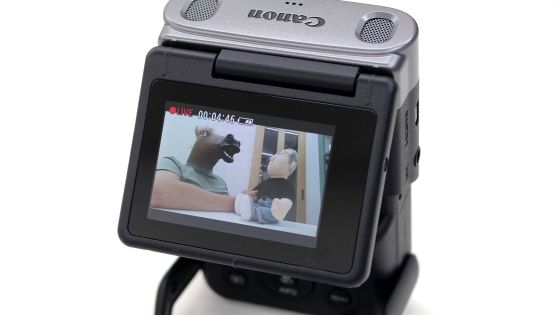
The image of the camera of the Trident body is reflected on the smartphone.
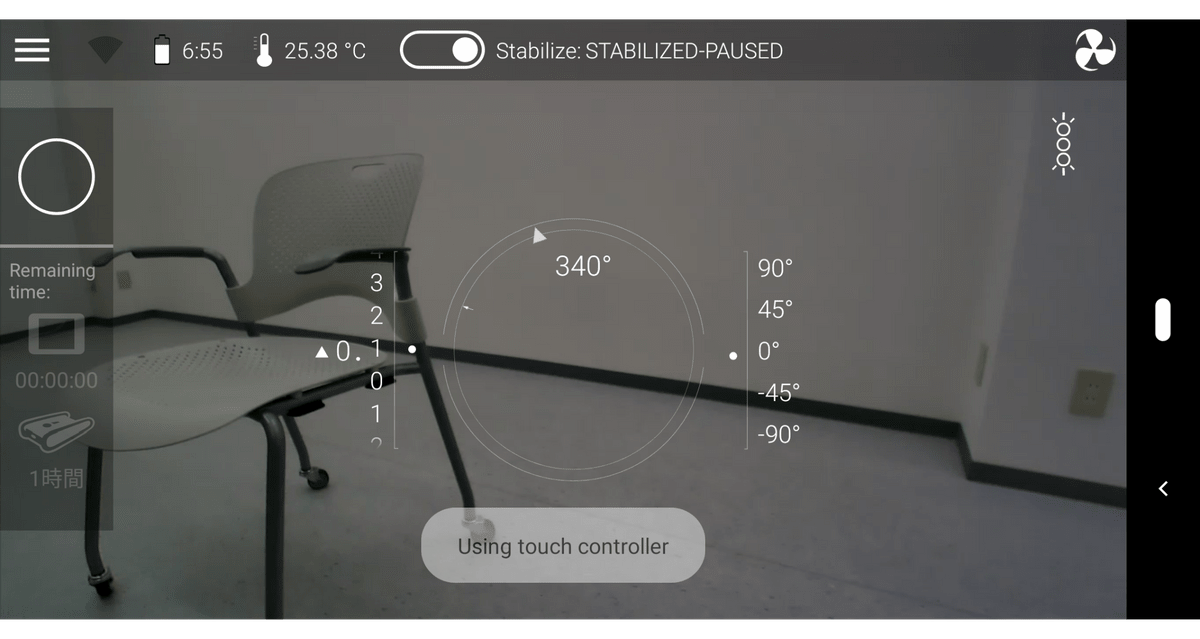
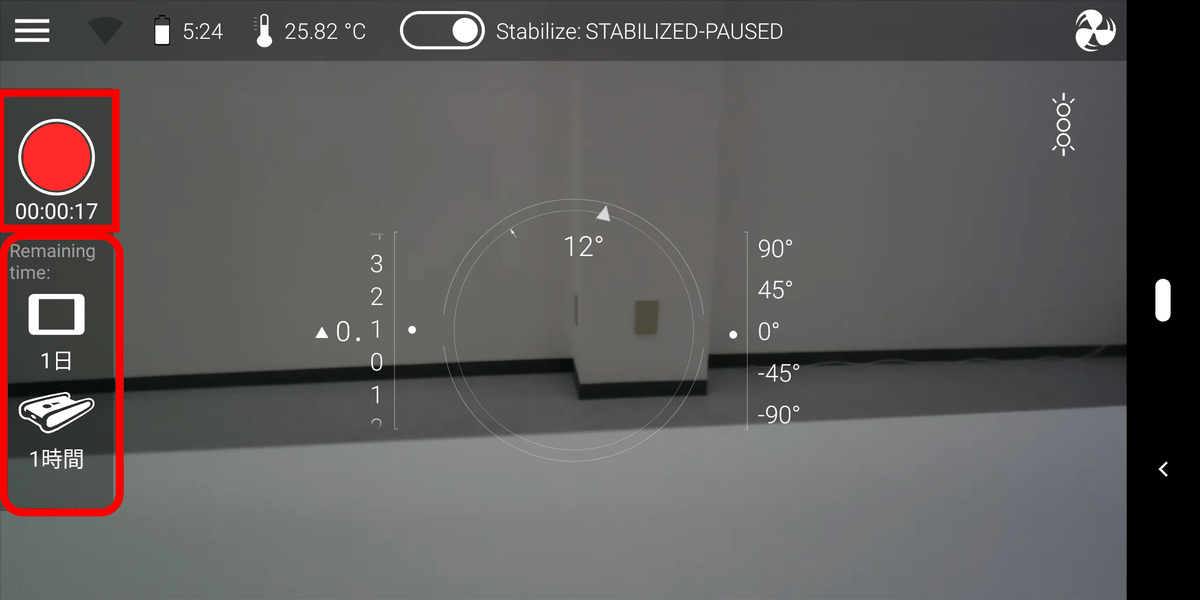
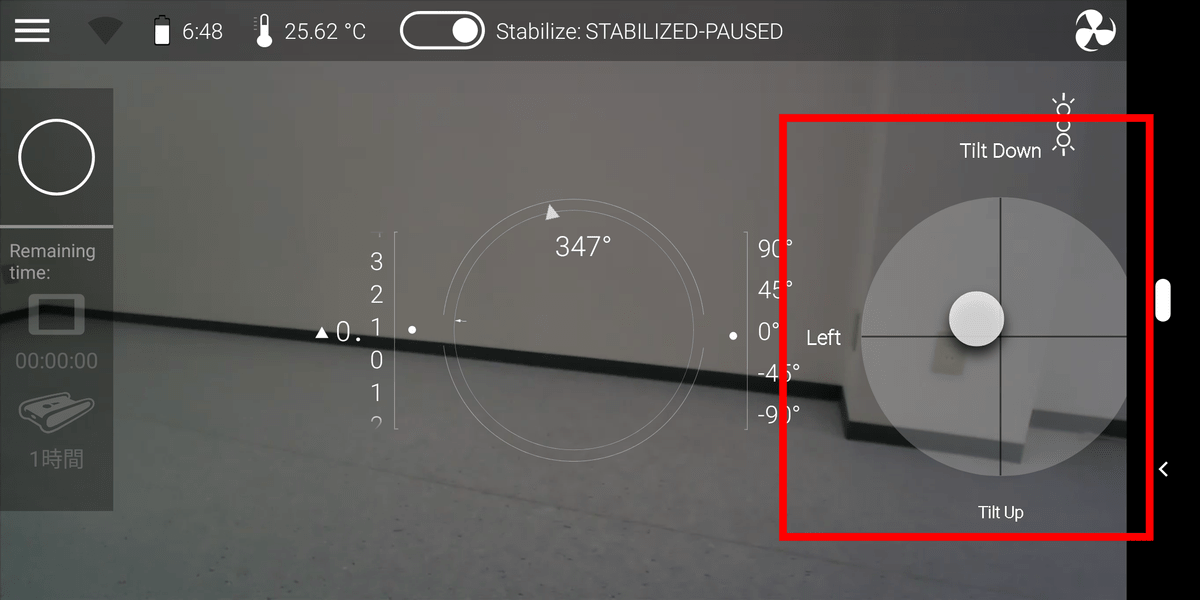
Tap the left “○” button to start recording. Below that, the rough remaining time of how long you can continue shooting is displayed for each operation device and storage of the Trident body.
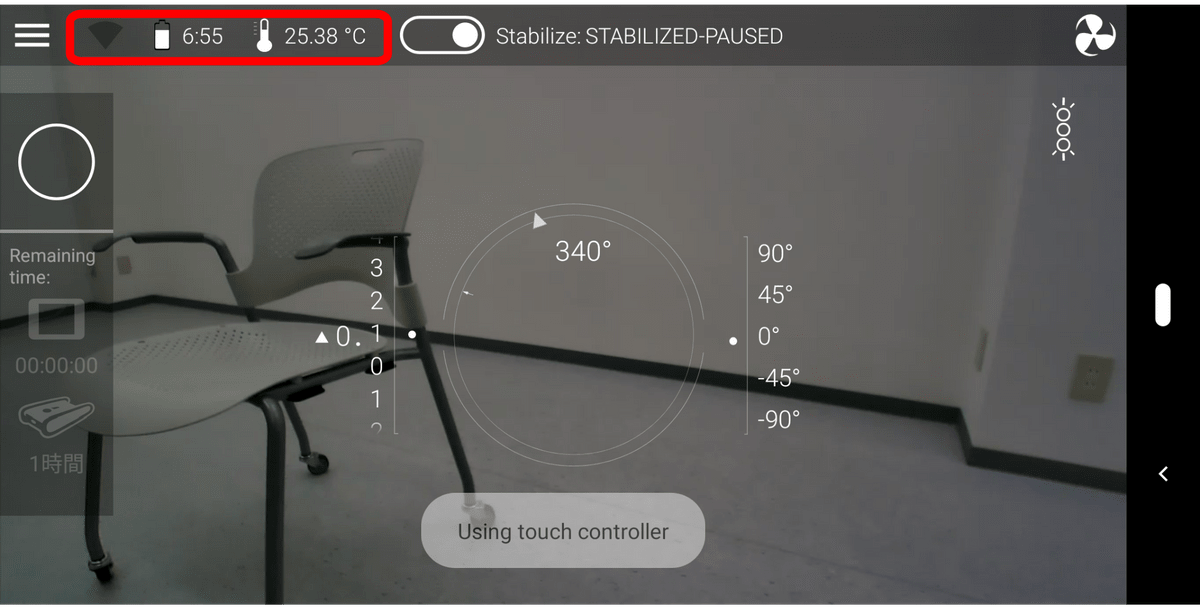
In the red frame, 'Wi-Fi connection status', 'Battery remaining' and 'Temperature' are displayed from the left. The remaining charge of the battery is 'hour: minute', and it will be 6 hours 55 minutes if the picture below is displayed. However, this display depends on the usage of the screw, and will increase and decrease considerably during operation, so it will be a standard remaining time.
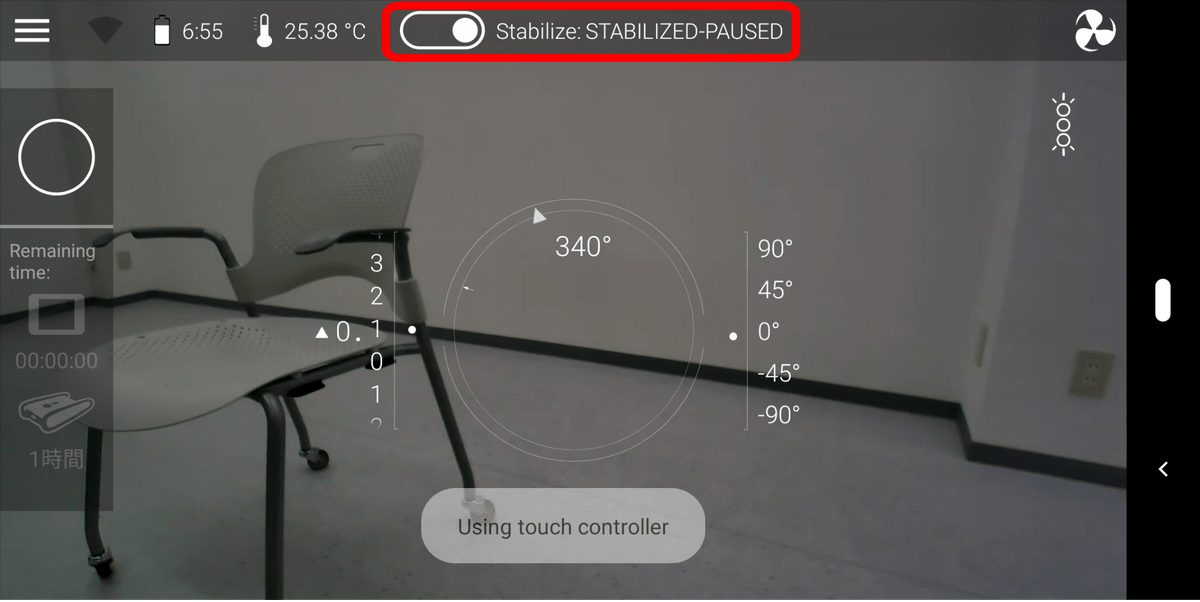
Tap the red frame to switch the automatic stabilization function on / off. When this function is enabled, the screw moves automatically to keep the main unit horizontal when not in operation.
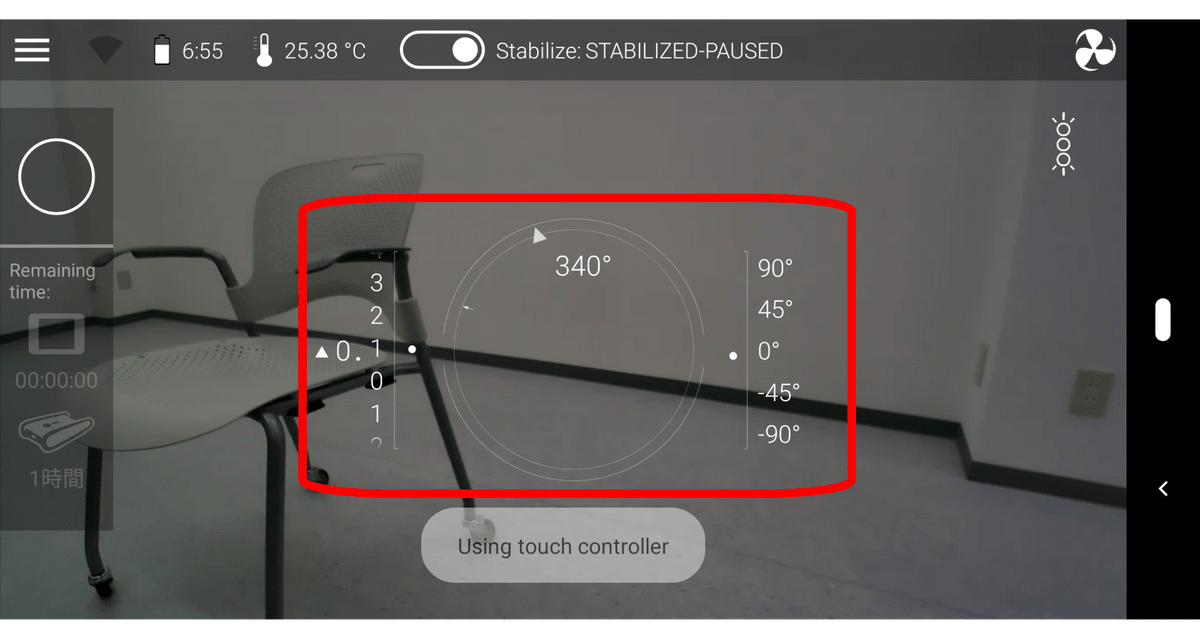
The display at the center is from the left 'water depth', 'heading direction of the main unit', 'upper and lower angles of the main unit'.
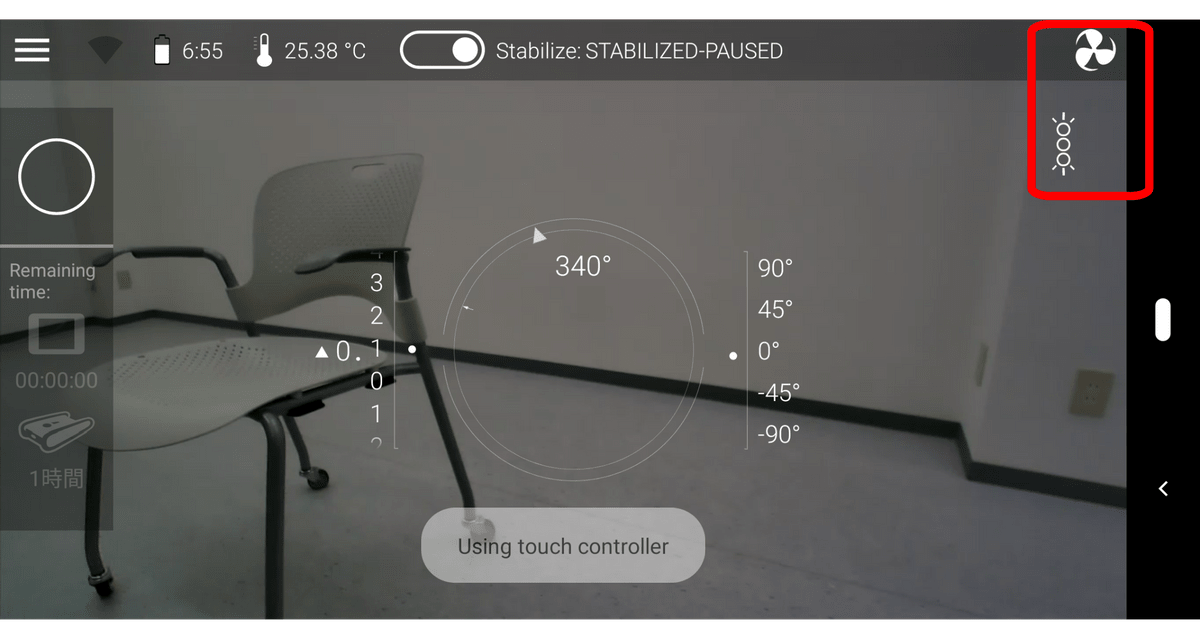
The screw icon above the red frame is the screw's rotational speed adjustment button, which switches to three speeds with each tap. The icon below is the light on / off switch.
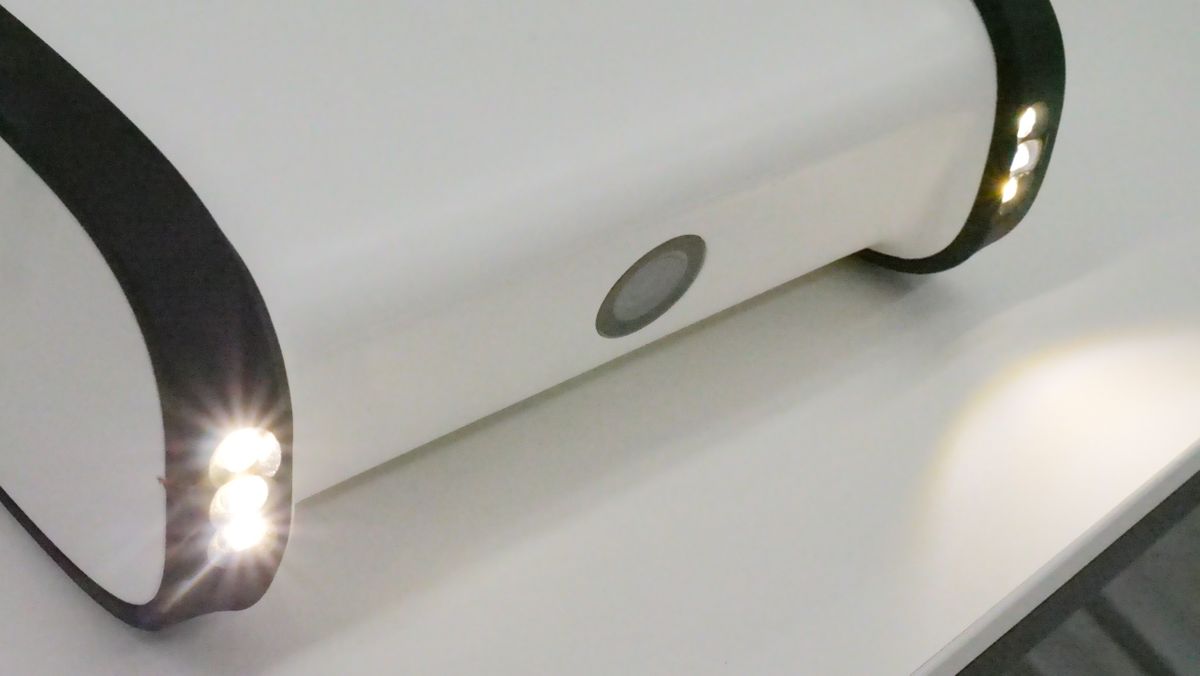
It looks like this when you turn on the light.
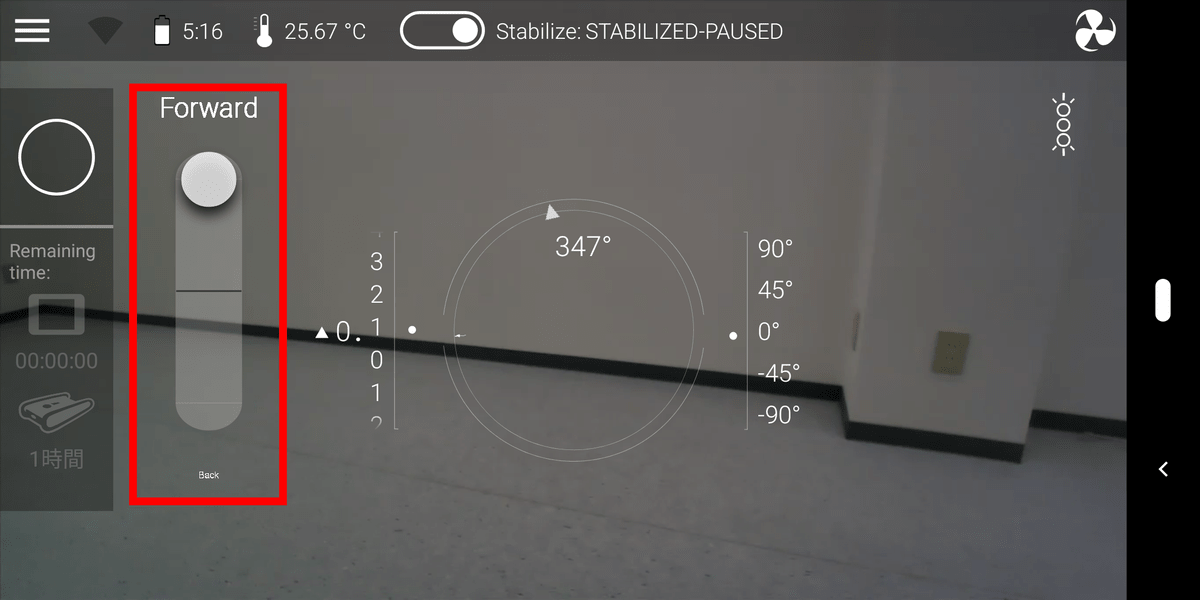
When a finger touches the left half of the screen in a place that is not a button, forward and backward controllers will be displayed there. Slide your finger on the screen and slide it up to move forward, and slide it down to move backward.
Similarly, the right half is the controller for turning, raising and lowering. Slide left and right to turn left and right on the spot, slide up and down to control floating and diving.
If you look at the following movie, you can see what it feels like with a single shot when actually operating it with a smartphone.
◆ I tried using
So I came to the sea.

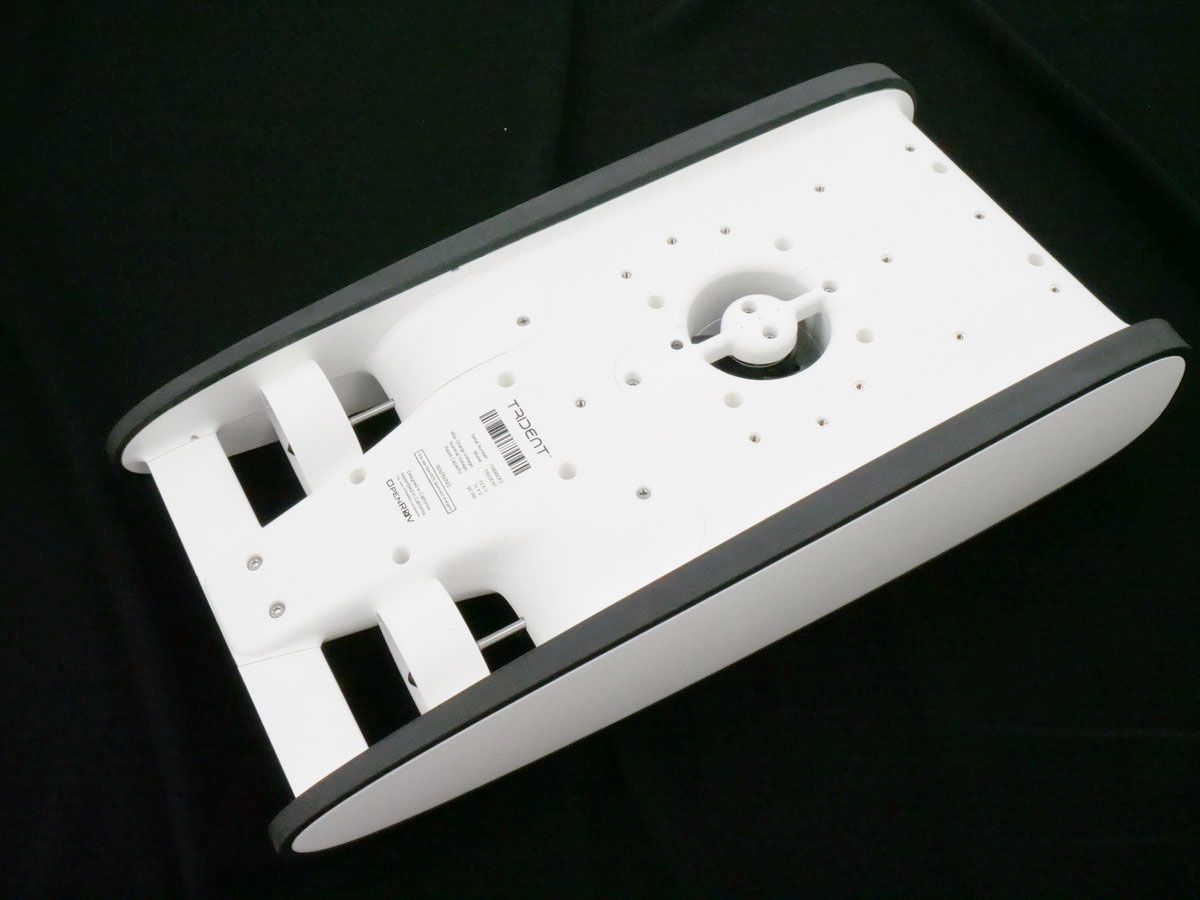
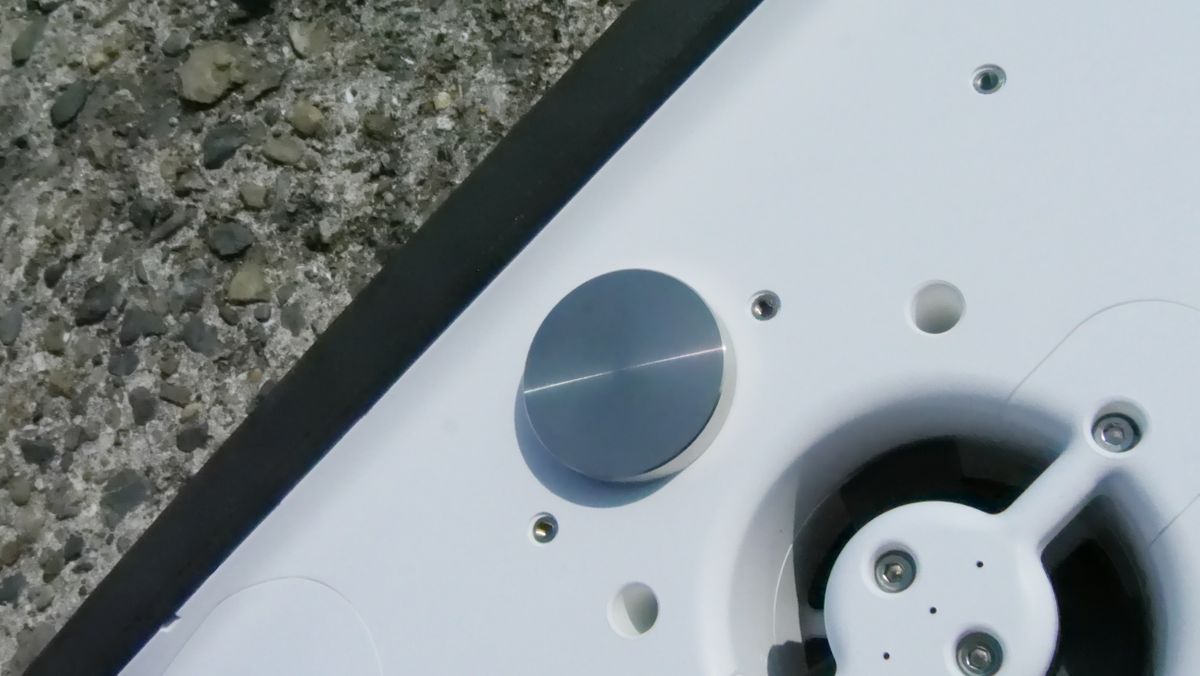
The Trident is designed to be
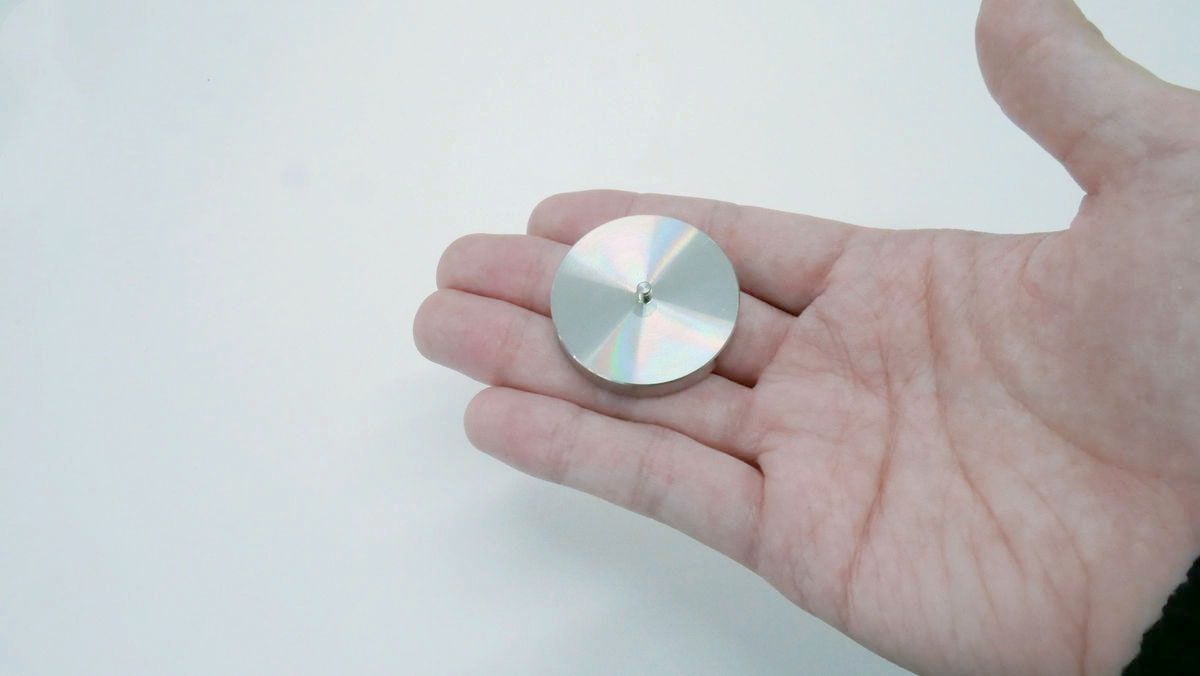
It is such a feeling when attached to the hollow on the bottom of the body.
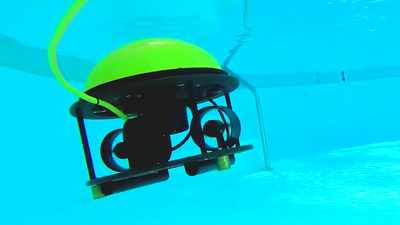
So, in the sea soon ...
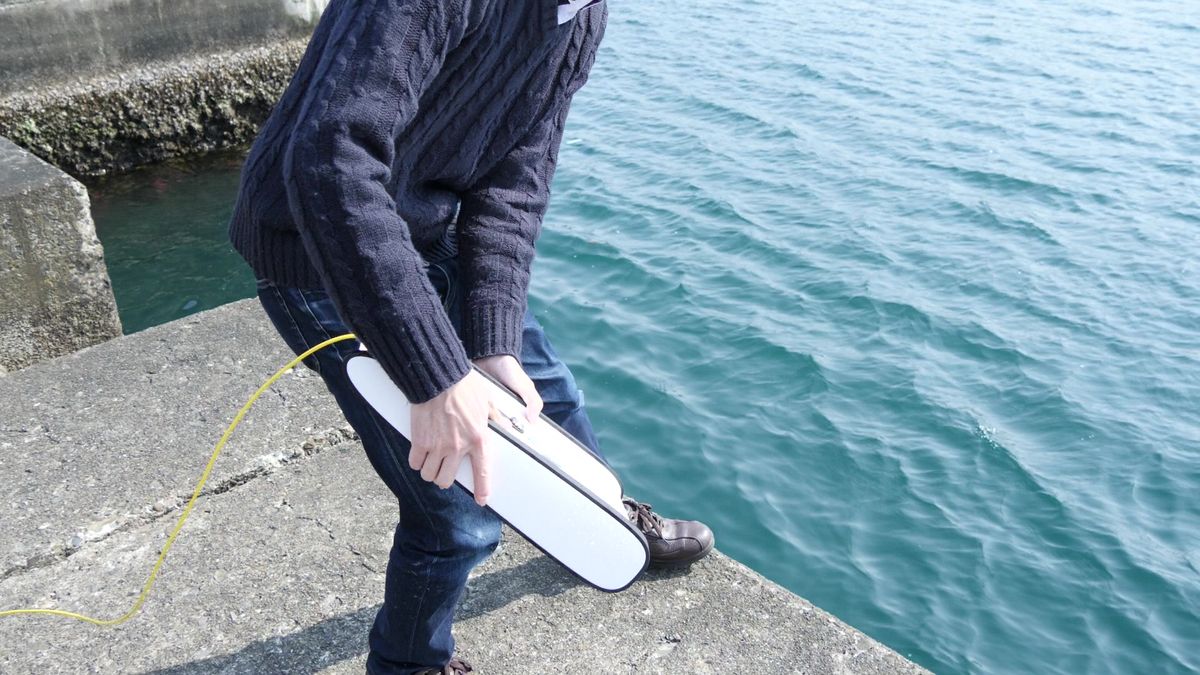
Dobon.
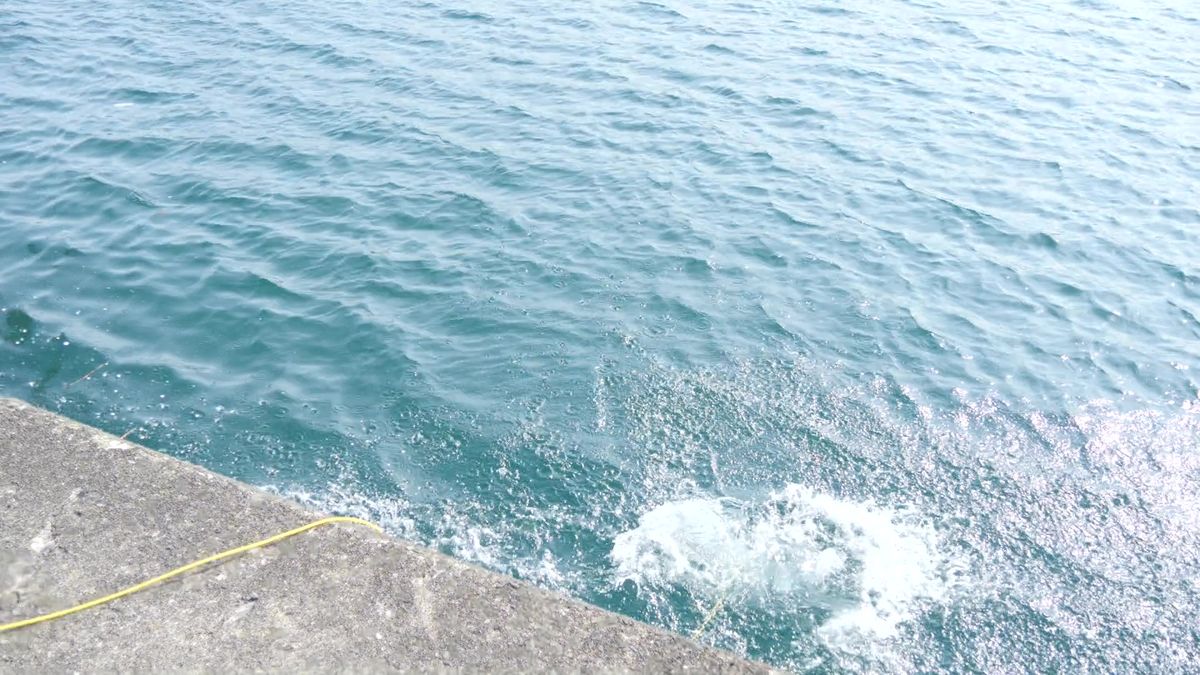
The following movie is actually shooting 'OpenROV Trident' into the sea.
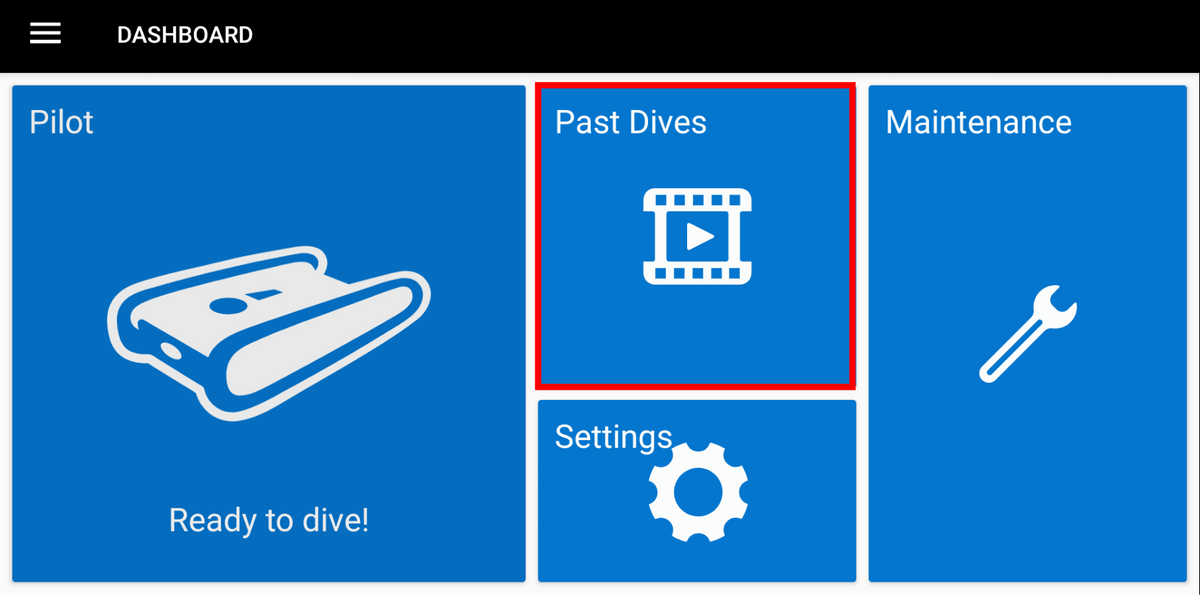
To check the movie you shot, tap 'Past Dives' from the 'OpenROV Cockpit' home screen.
The 'Trident' tab contains the movie recorded on the main unit. Tap 'Preview' ...
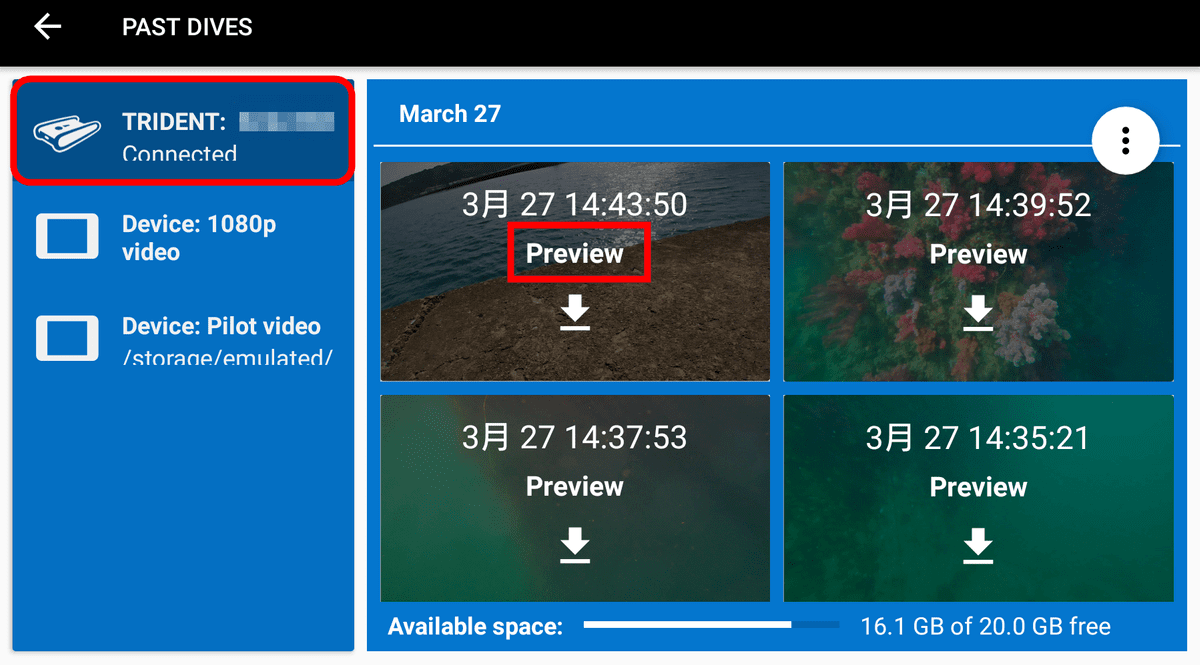
You can see the movie you shot.

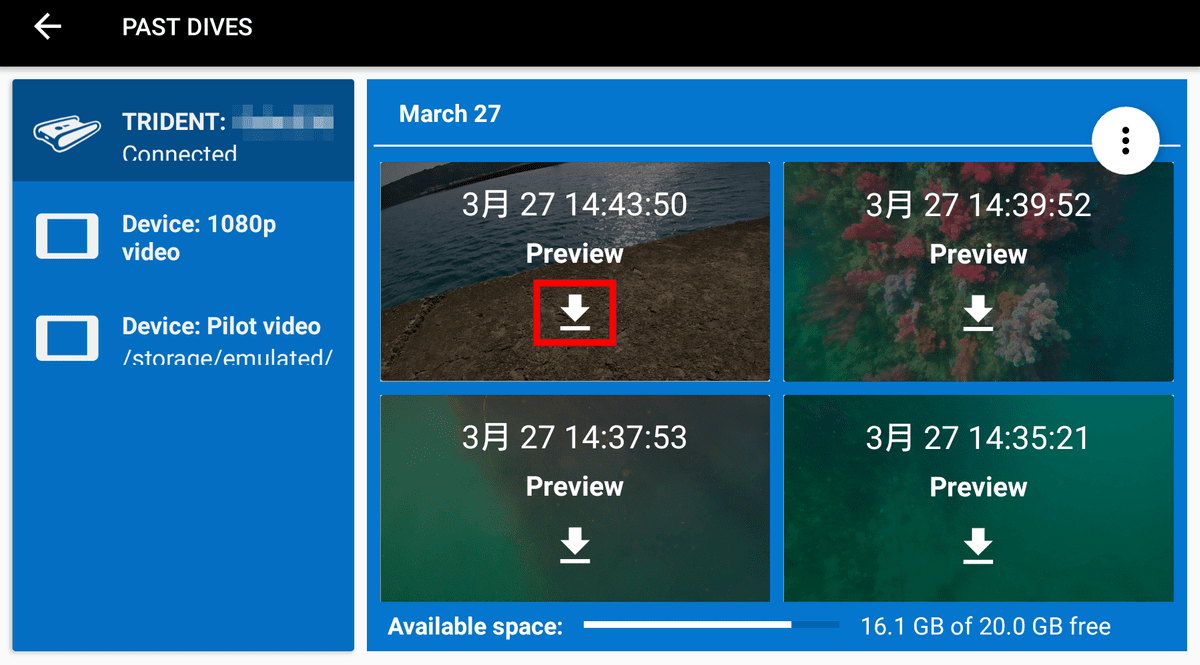
By tapping the download icon, you can download the movie recorded on the Trident body to your smartphone.
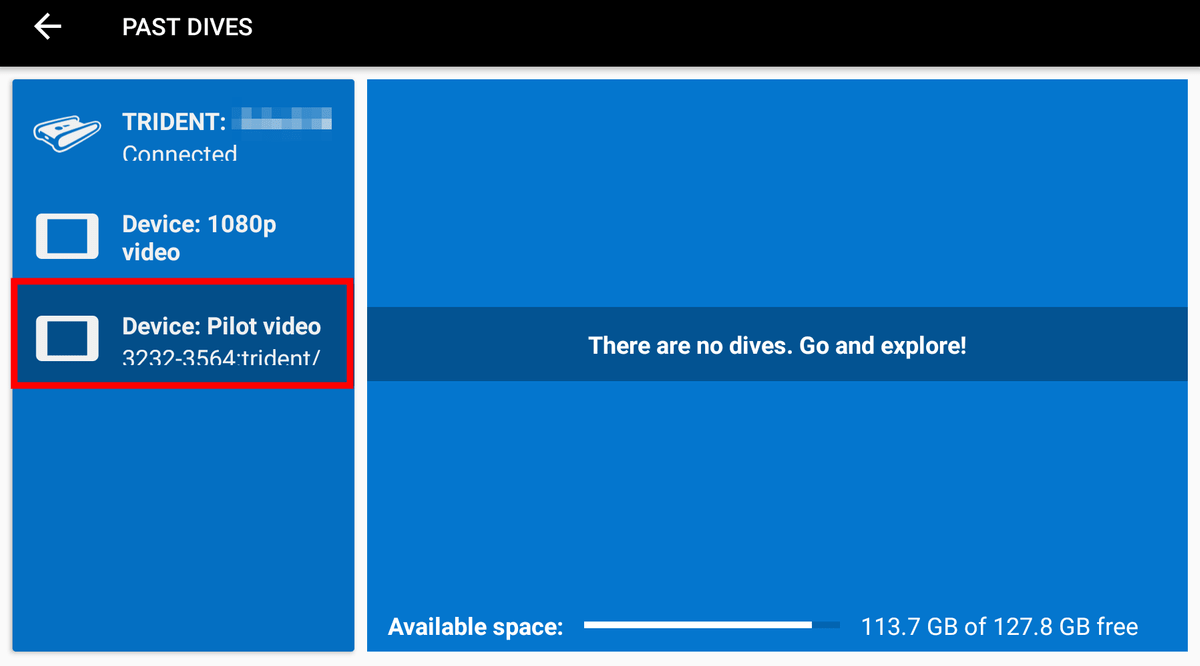
You can check the movie downloaded to your smartphone from the 'Device' tab.
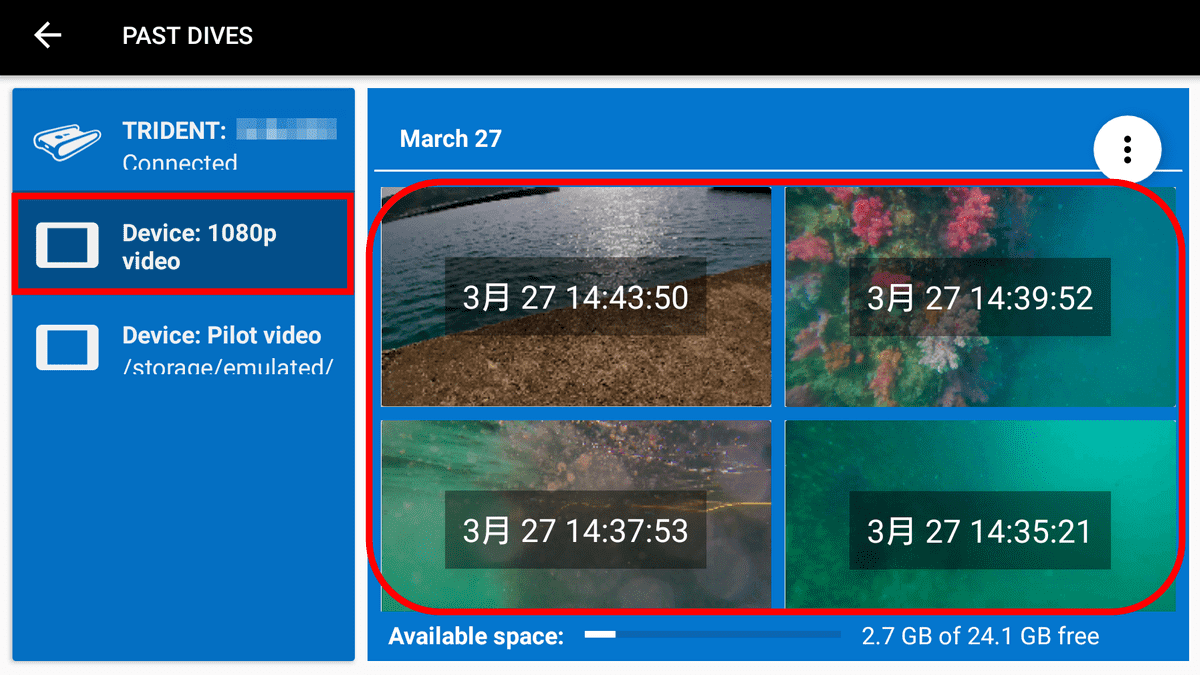
You can set the movie taken by Trident to be saved on your smartphone at the same time. However, while the movie on Trident has a resolution of 1080p, the movie saved on the smartphone has a resolution of 720p.
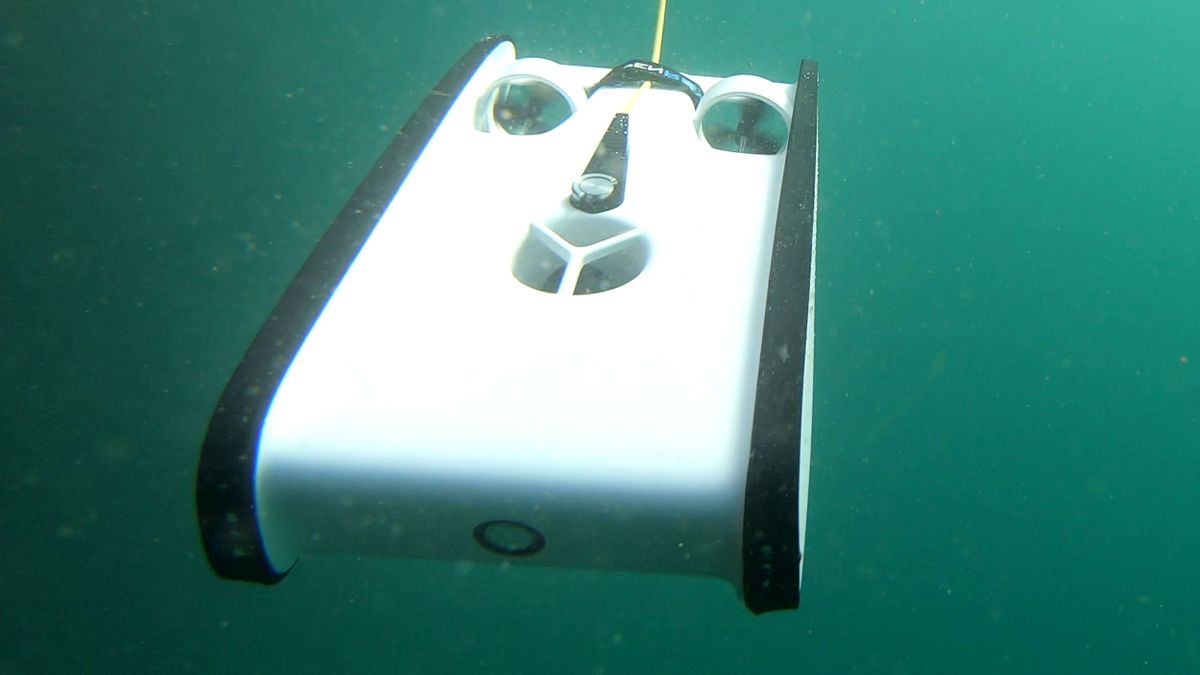
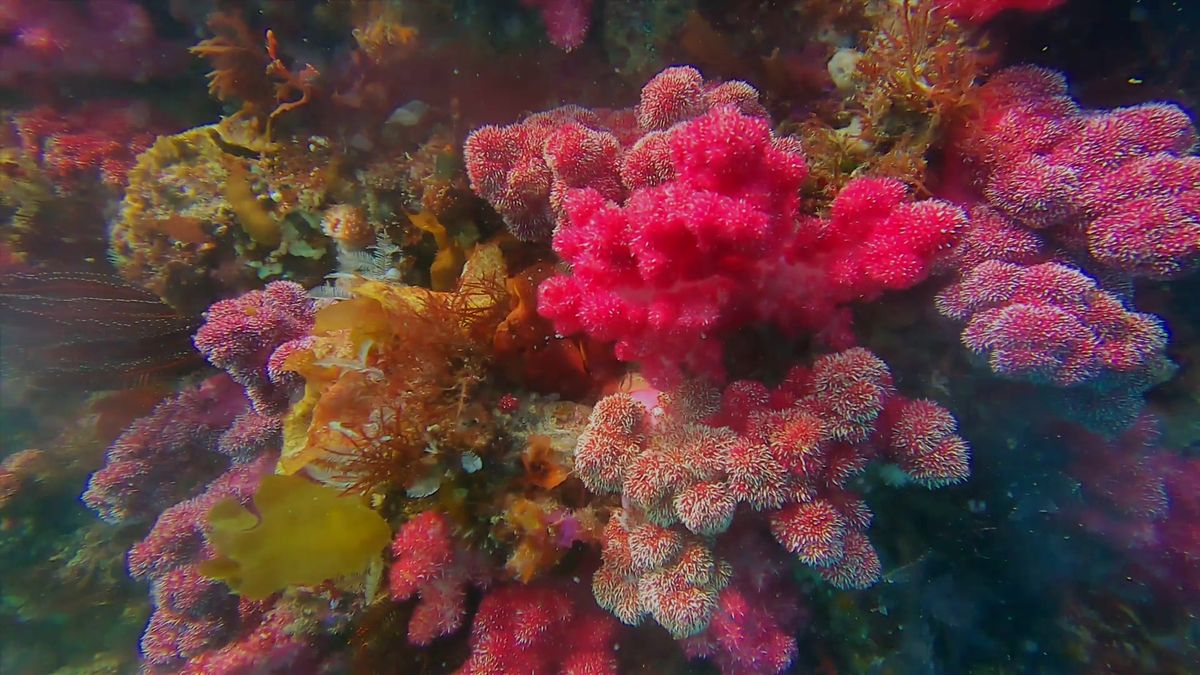
When I actually went to the sea and photographed, the colorful seaweeds that grew on the wall of the breakwater ...
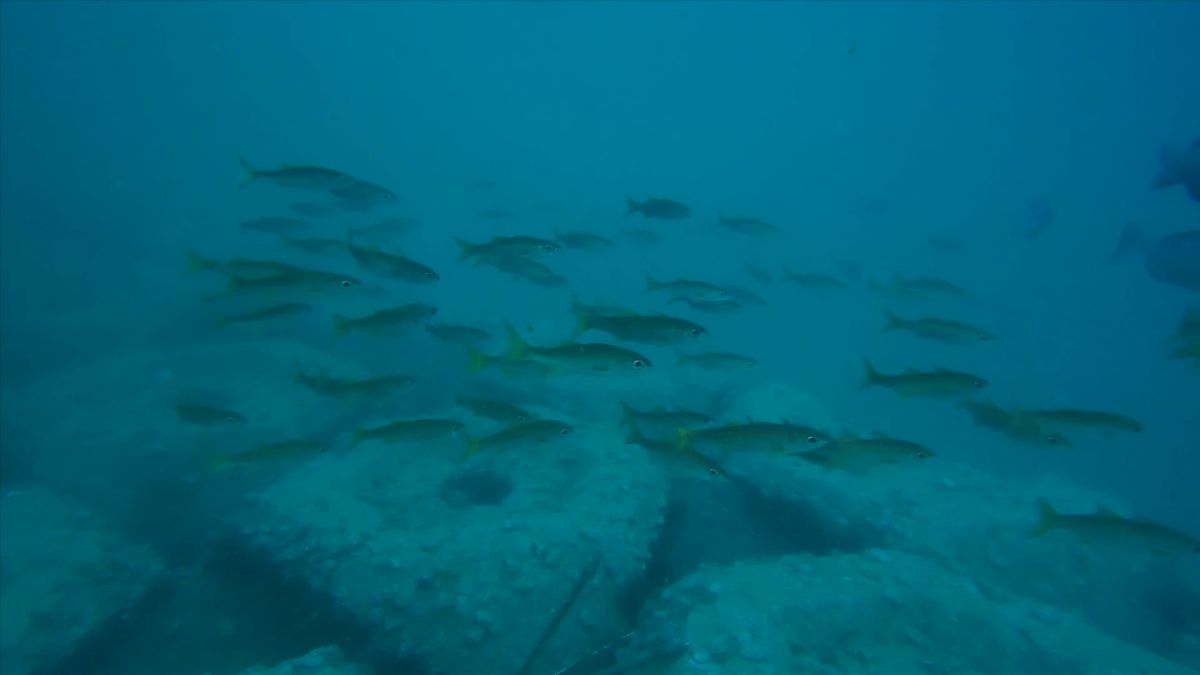
Fish in the sea.
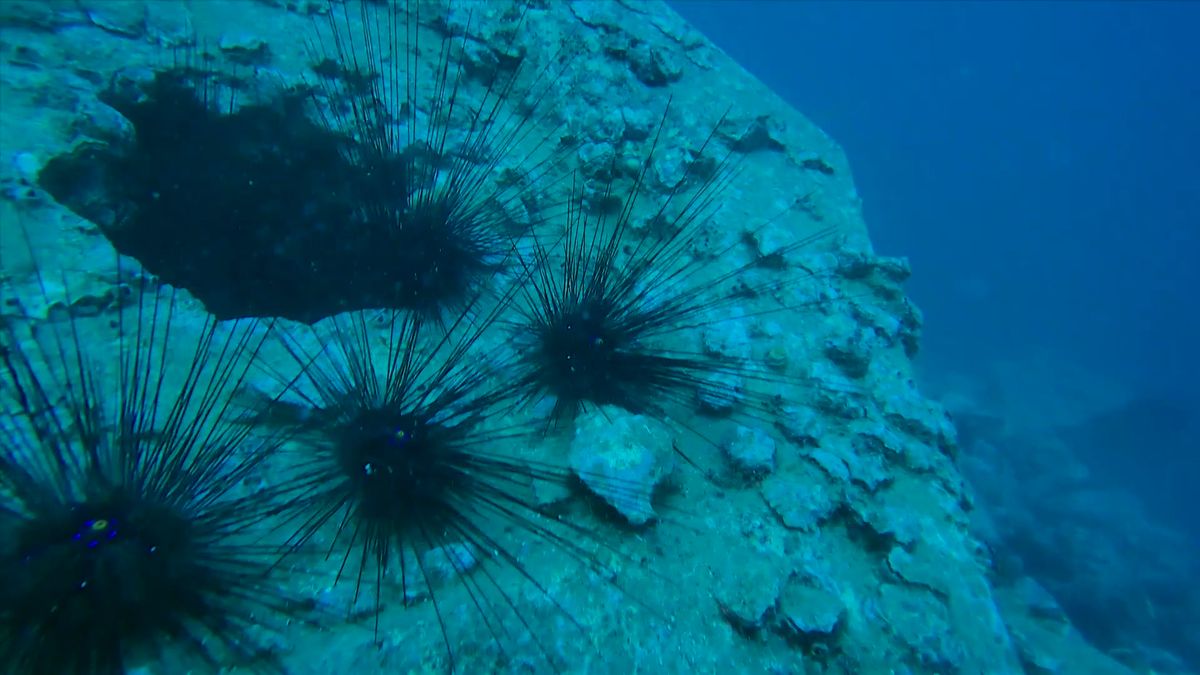
I was able to take sea urchins stuck to blocks on the seabed.
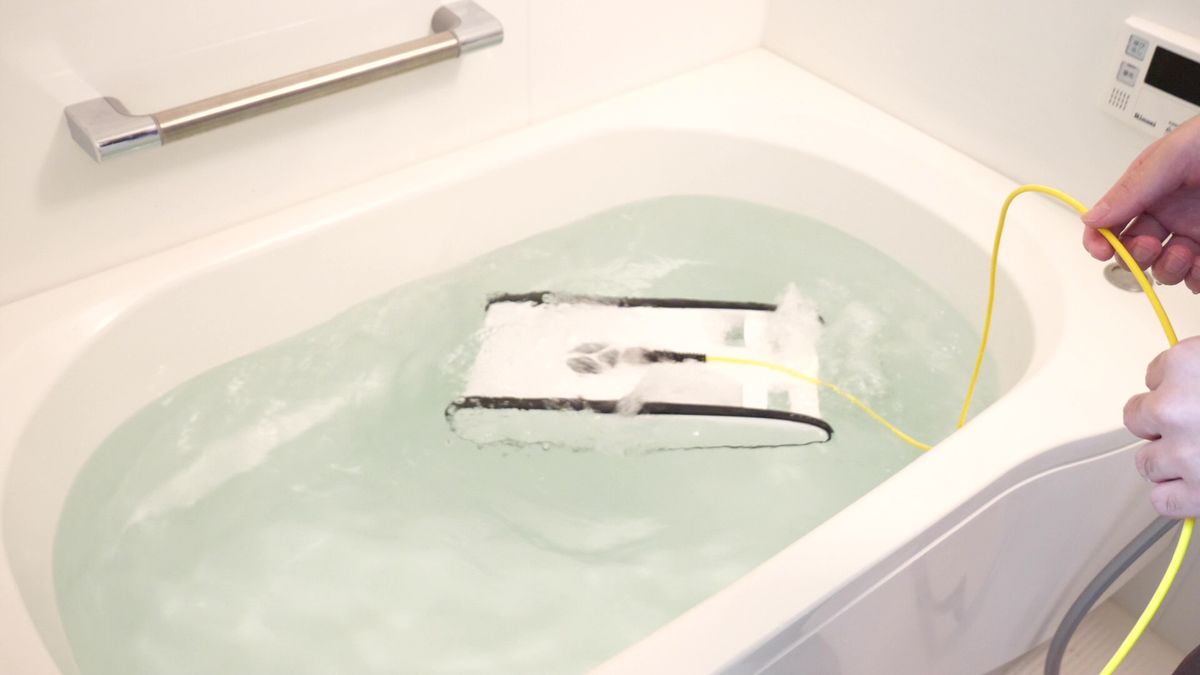
After using in seawater, it is necessary to wash well with fresh water.
◆ Summary
'OpenROV Trident' is a drone with mobility enough to be practical even in the presence of oceanic flows. It is also very easy to operate, and an editorial staff member who has operated a drone flying in the air can now move as he / she takes about 10 minutes, so it is time for them to get used to even the first drone operator It does not take. The driving time is also quite long, and more than half of the battery remains even after 2 hours of use. How much the battery actually actually varies depending on how it is used, but it seems to be possible to operate continuously for several hours with the standard usage.
The 'OpenROV Trident' reviewed this time is a product owned by Kickstarter , but now it can be purchased on the official site , and the price is $ 1,699 (approximately 188,000 yen). Shipping costs vary depending on the shipping company you selected, but the lowest price was $ 93.48 for FedEx International Economy. In addition, attached cable is 25m in length, but 100m cable and exclusive case , exclusive controller are available for purchase as an option.
Related Posts: