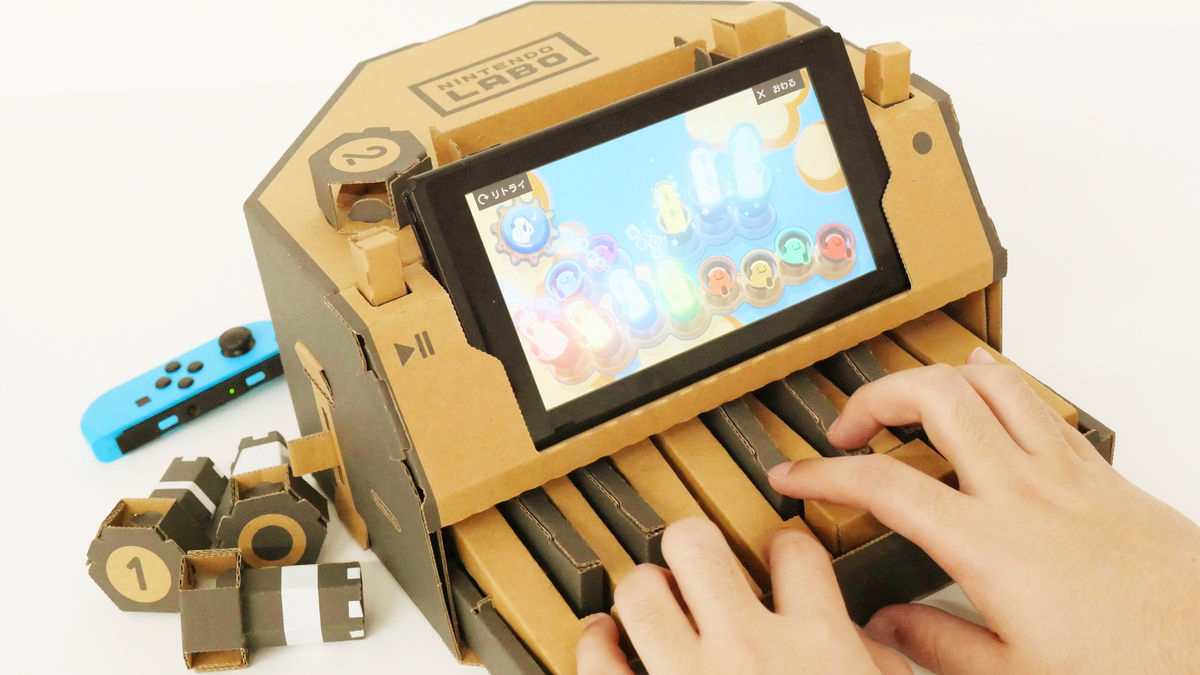
I tried to make "Piano Toy-Con" which can play 5 kinds of sounds by combining Nintendo Switch and cardboard keyboard
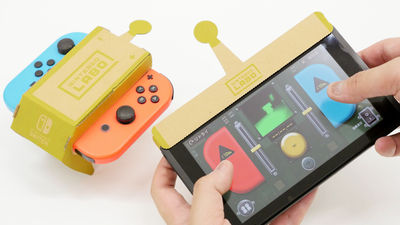
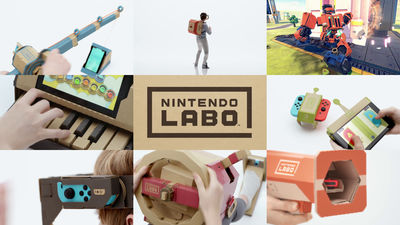
Based on the concept of "make, play and understand" on cardboardNintendo SwitchBuild your own peripherals and play "Nintendo Labo"ofVariety KitWhenRobot KitIt was released on Friday, April 20, 2018. Included in Variety Kit "Piano Toy-Con"I thought that Nintendo Switch could be remodeled into a mini piano and actually assembled it.
Playing: Piano | Nintendo Labo | Nintendo
https://www.nintendo.co.jp/labo/play/piano.html
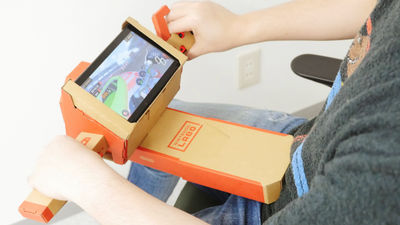
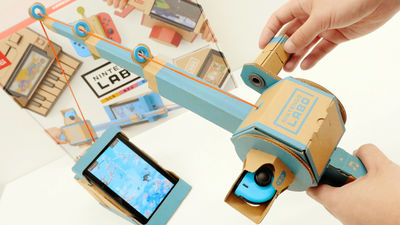
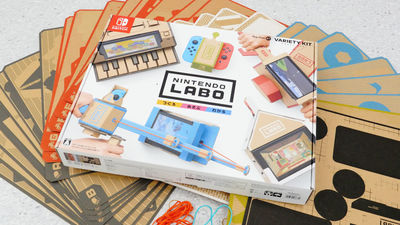
You can see what the contents of the Variety Kit is like by following article.
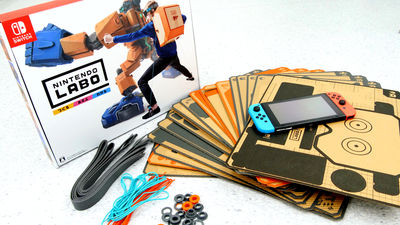
"Nintendo Labo Variety Kit" that combines Nintendo Switch and cardboard into a piano or motorcycle Ceremonial opening and haste photo review - GIGAZINE
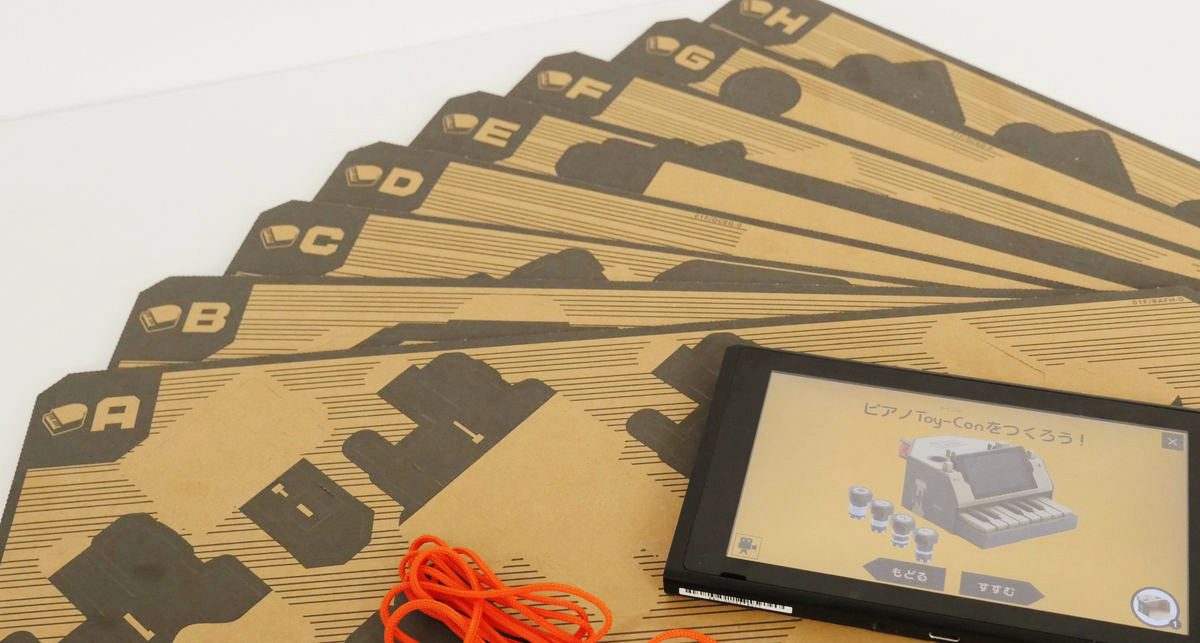
There are 8 corrugated card sheets required to make the piano Toy - Con in all. The cardboard is a black frame, and the icon of the piano is drawn next to the alphabet.
Use a non-slip sponge seal other than cardboard.
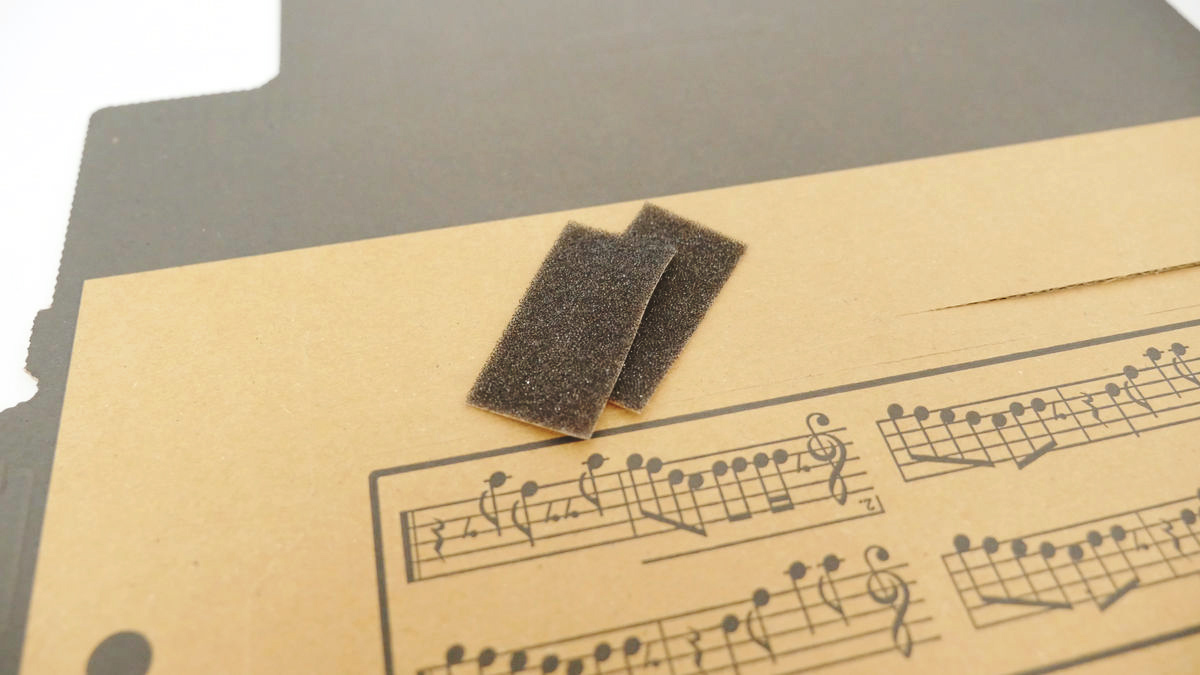
Also, to recognize the keyboard and switch with Joy - Con IR camera, use the attached retroreflective tape.

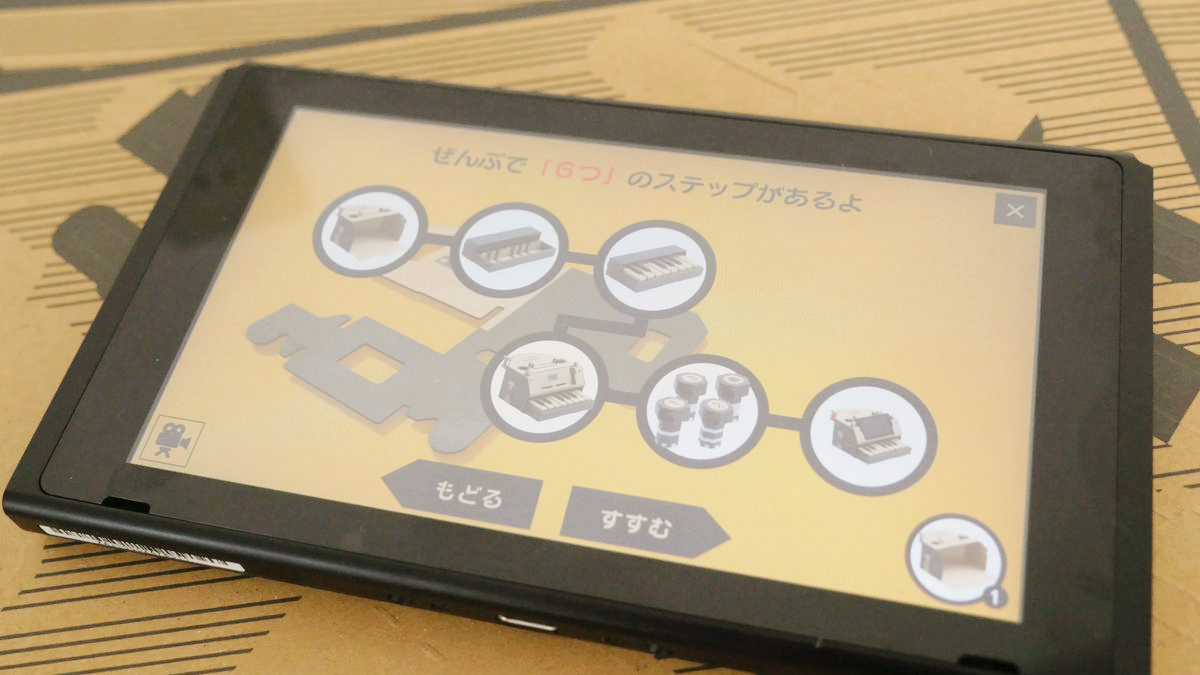
There were 6 steps in total, and the time required for assembly was set to 180 minutes to 210 minutes. In the Variety Kit, Toy-Con takes the longest time to assemble.
The first part to make is the body part of the piano.

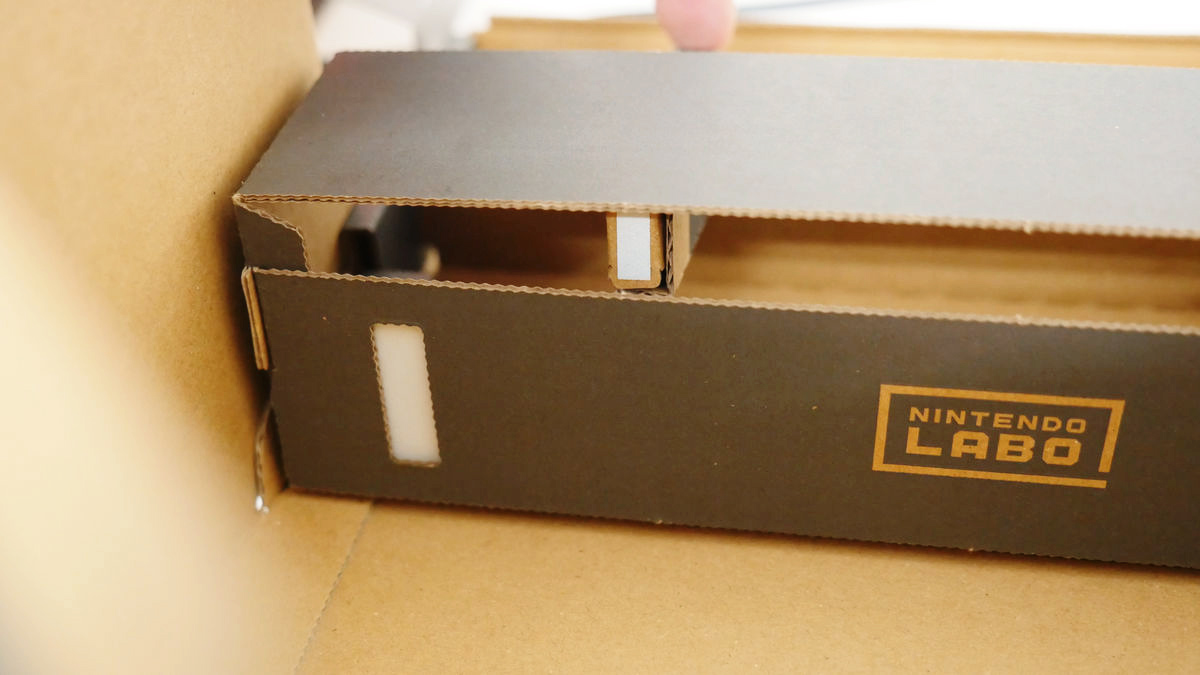
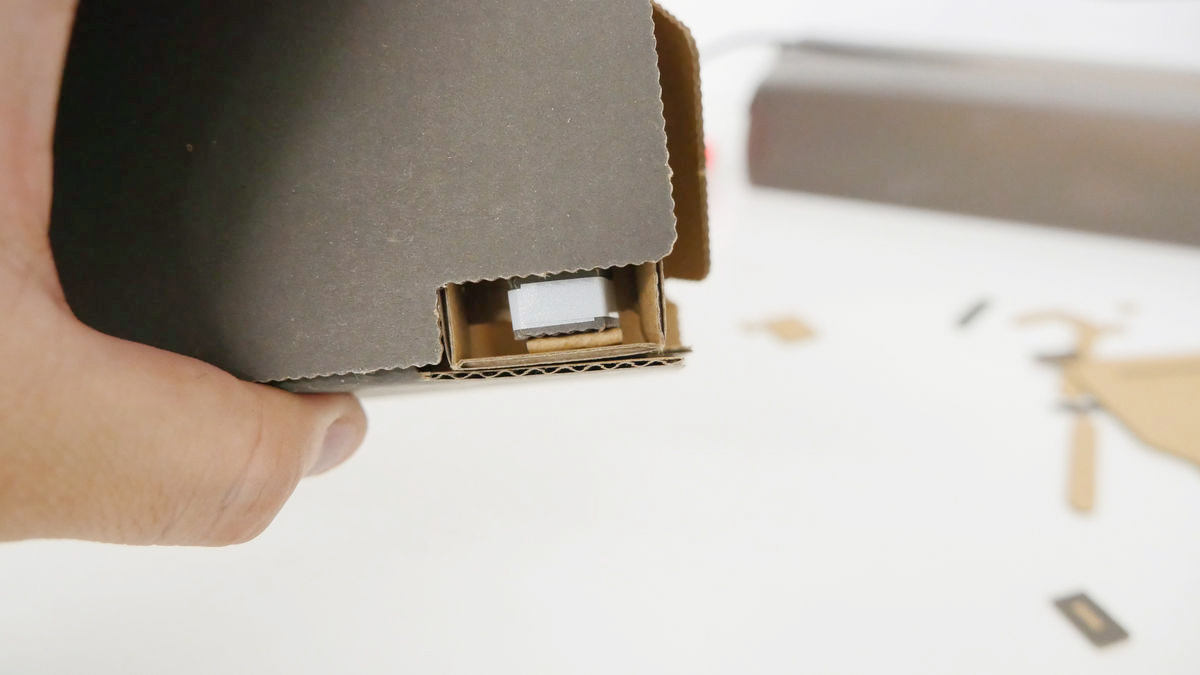
Slide switch is attached to the inner side of the left side face. In the slide switch, a tape is wound, and by moving the slide switch, the part where the tape is rolled up and down will be able to recognize it.
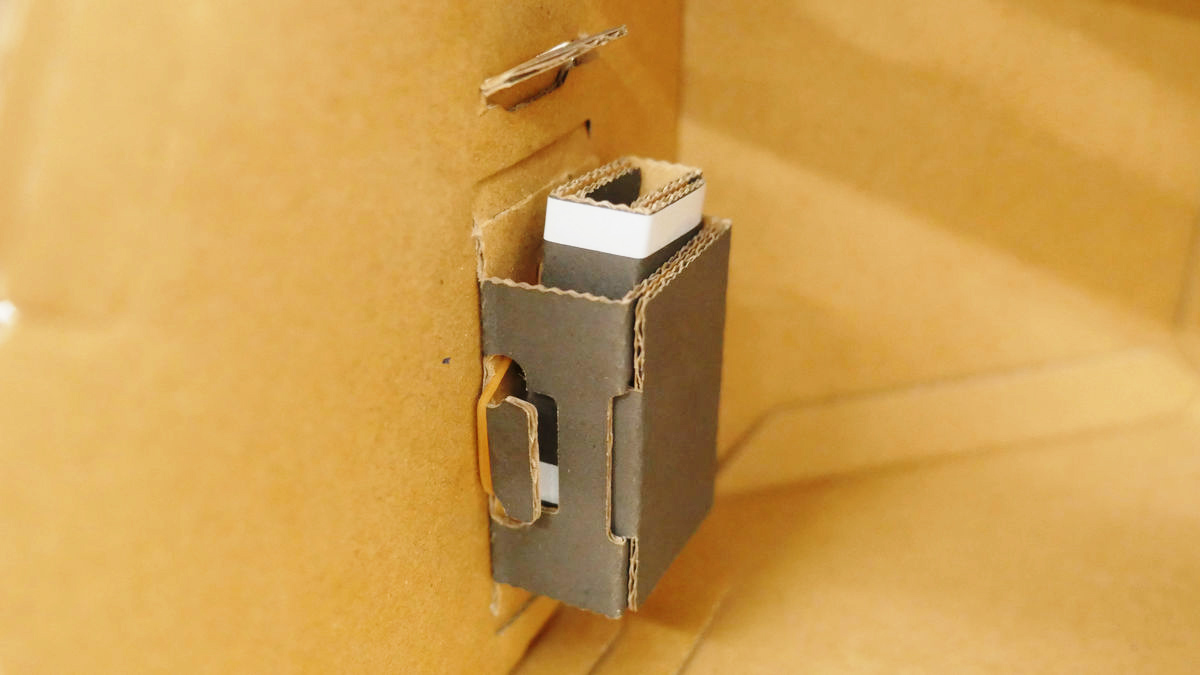
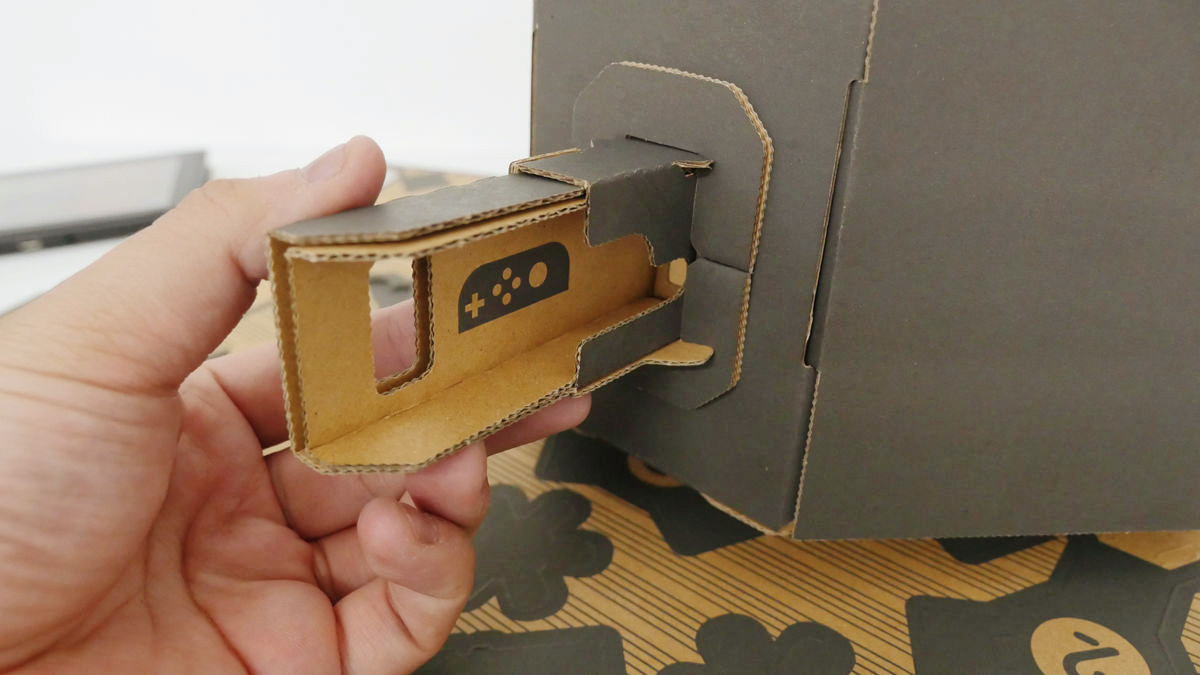
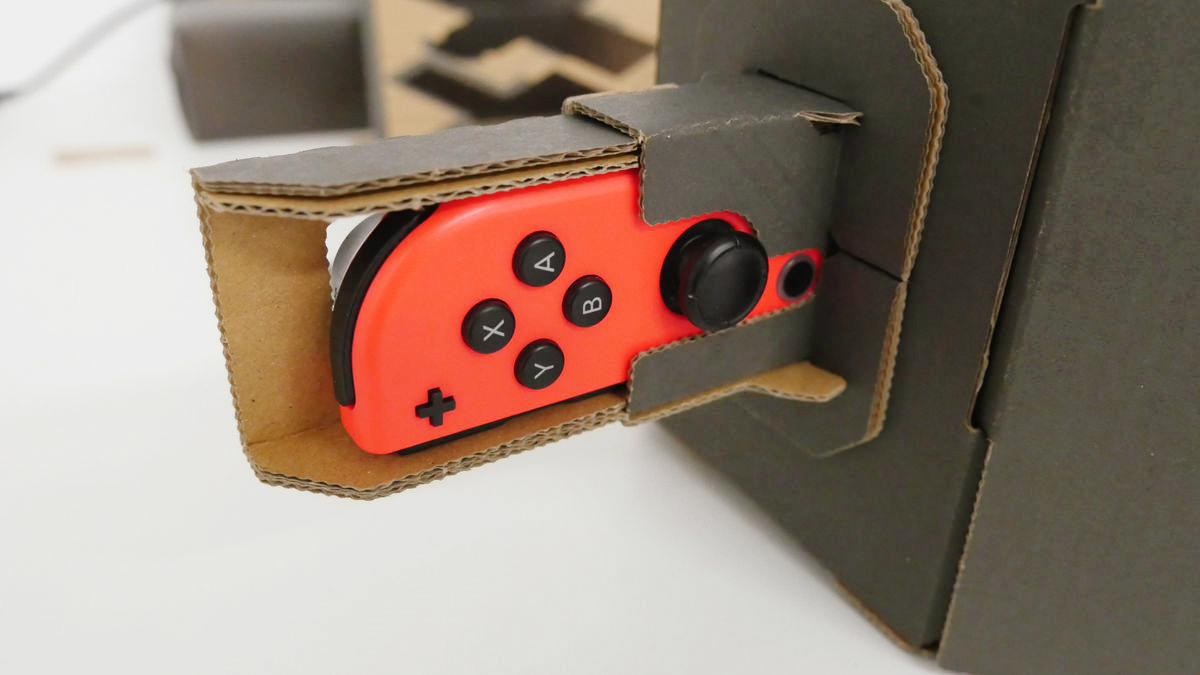
On the back of the main unit is space for inserting Joy - Con (right) carrying an IR camera.
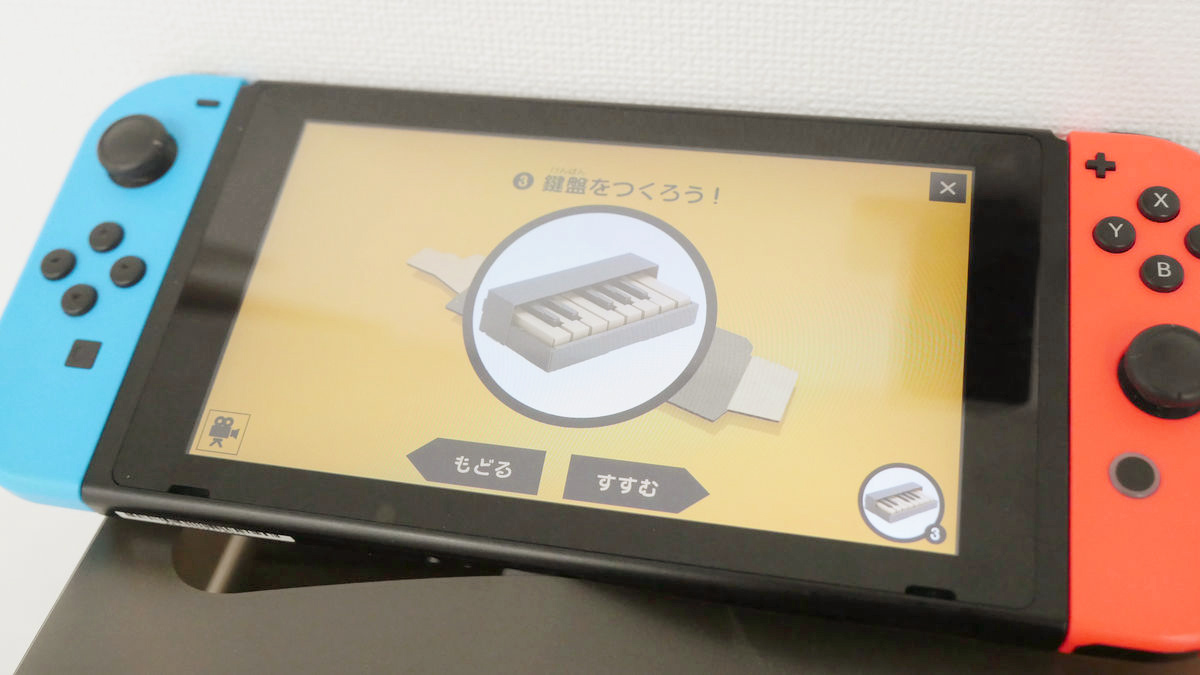
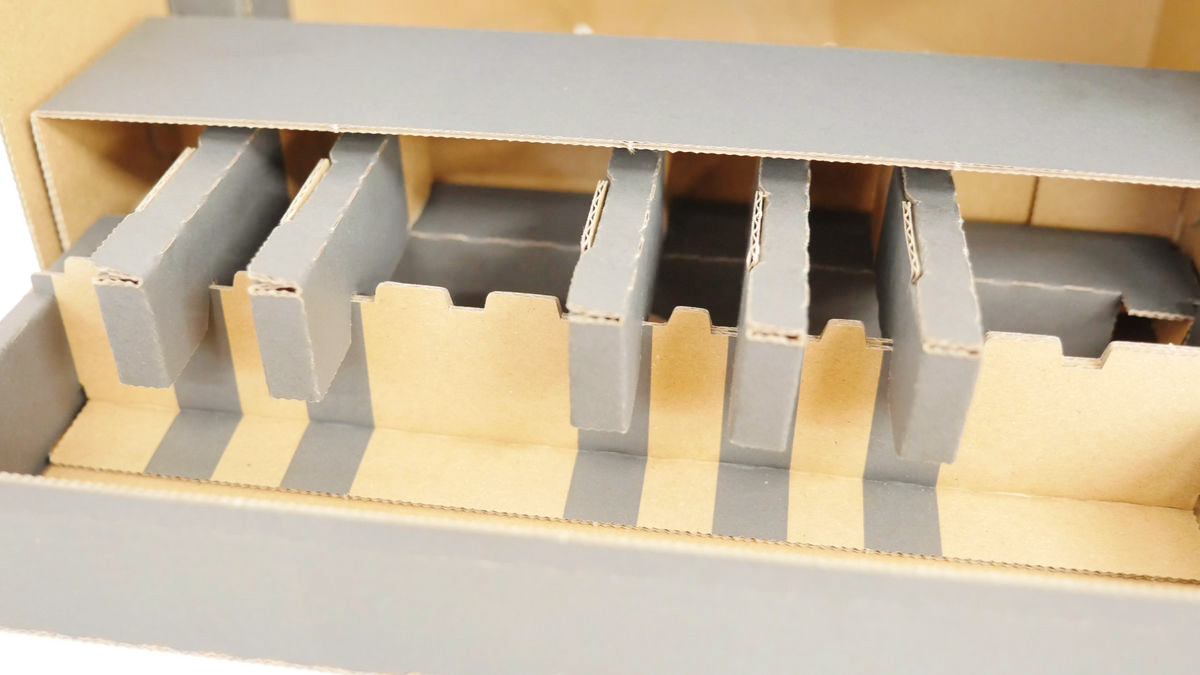
Next, connect the "keyboard box" which places the keyboard of the piano in the 2nd step to the main body ... ...

Phase to make the key finally at the third step.
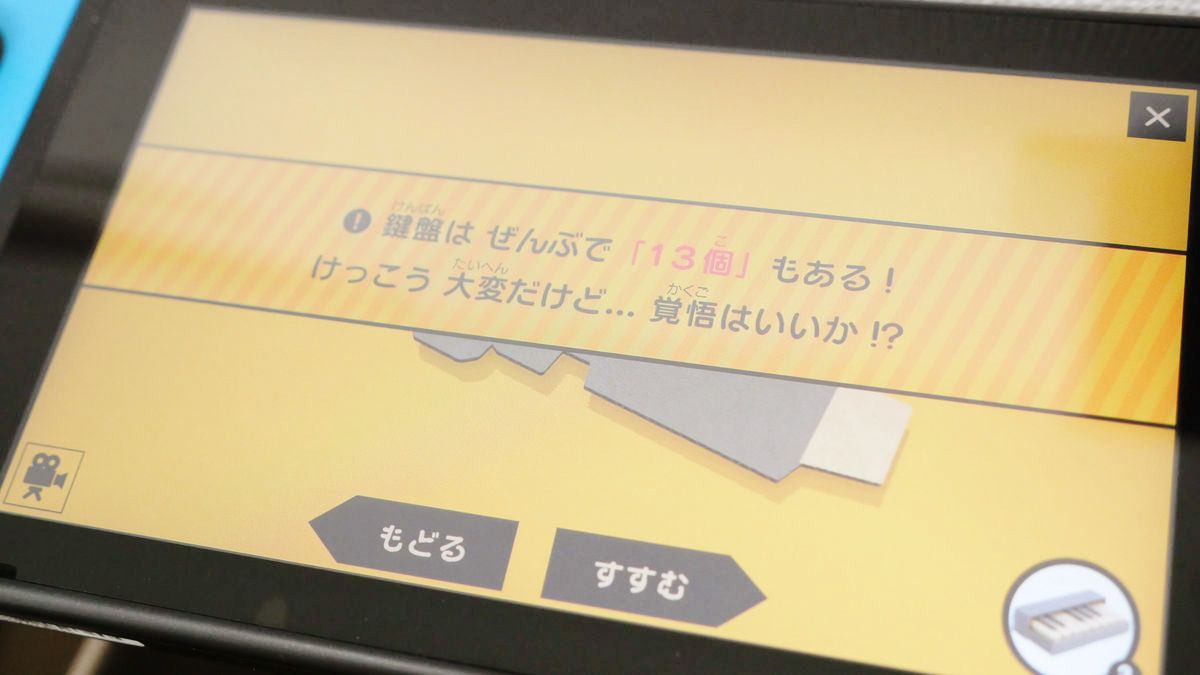
"There are also 13" on all the keys, and it's pretty tough, but ... are you prepared !? "was displayed.
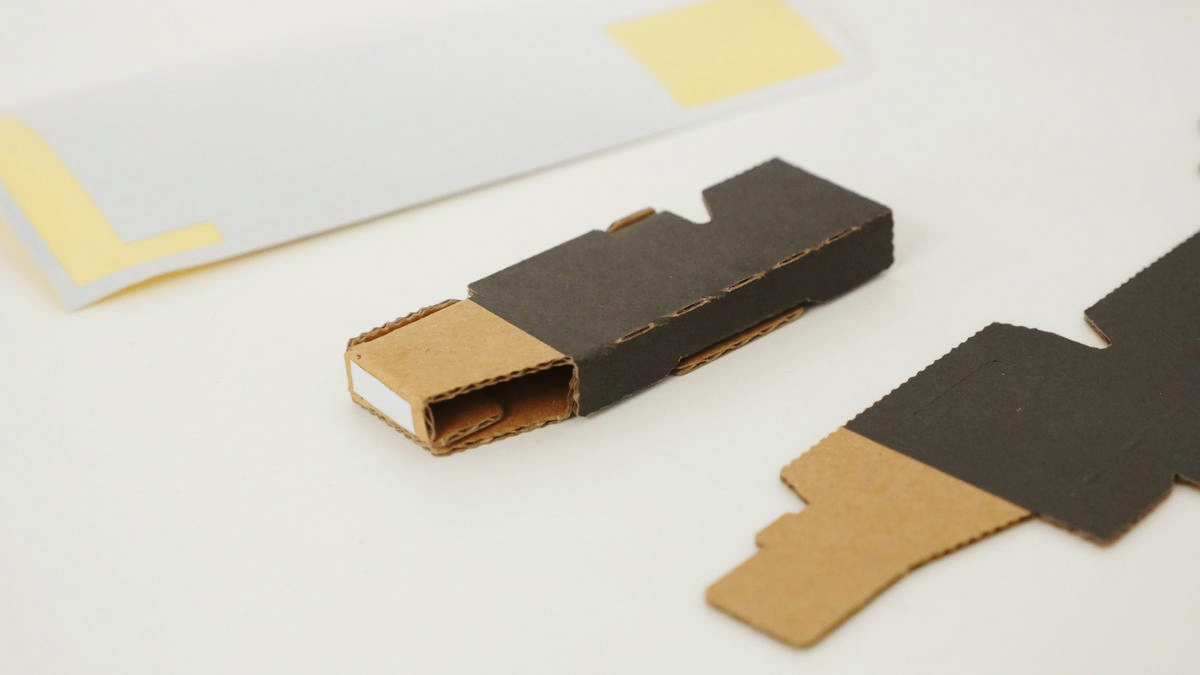
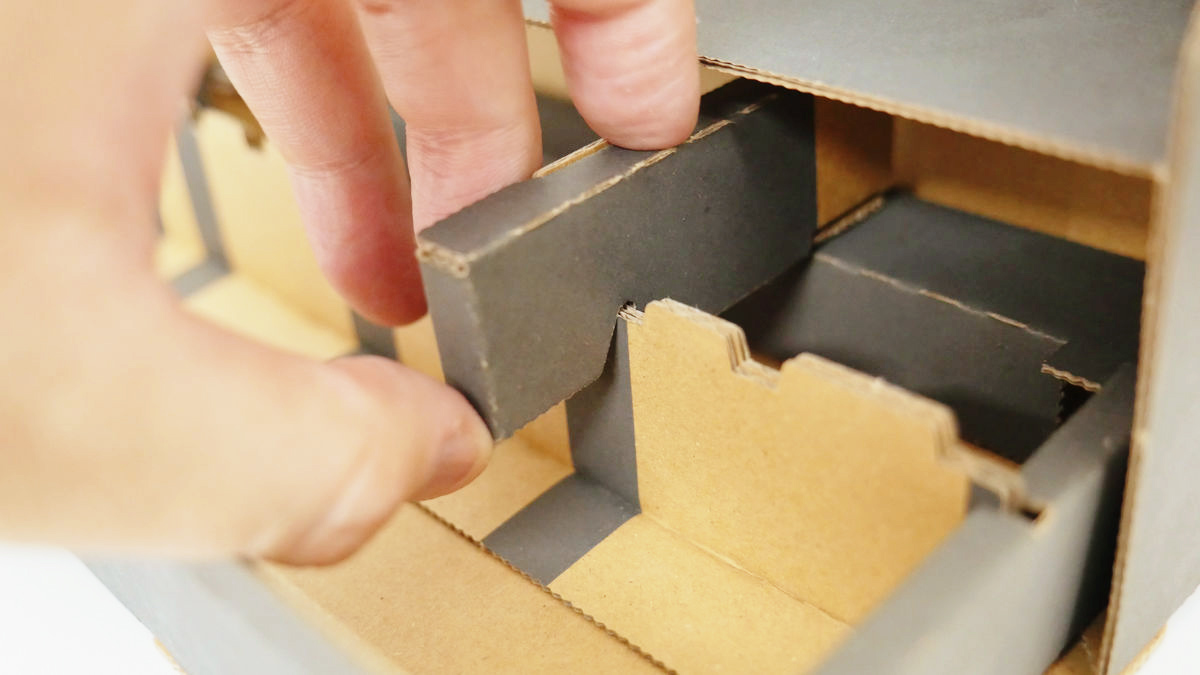
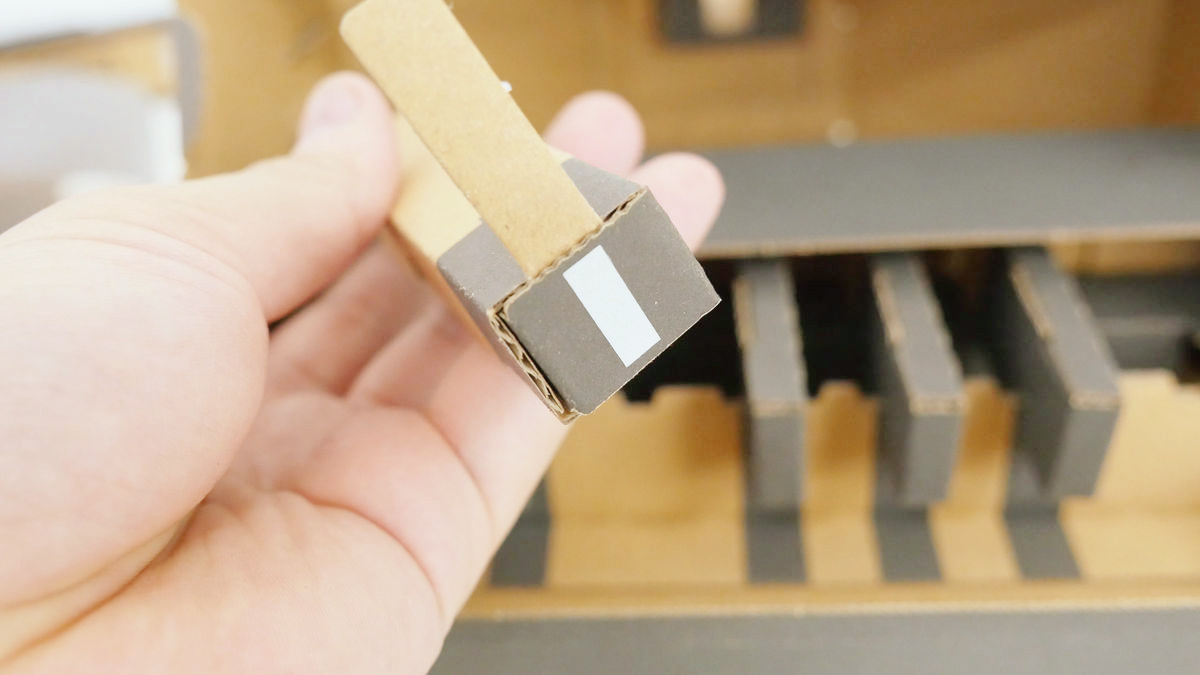
The place where the black key was assembled is like this.
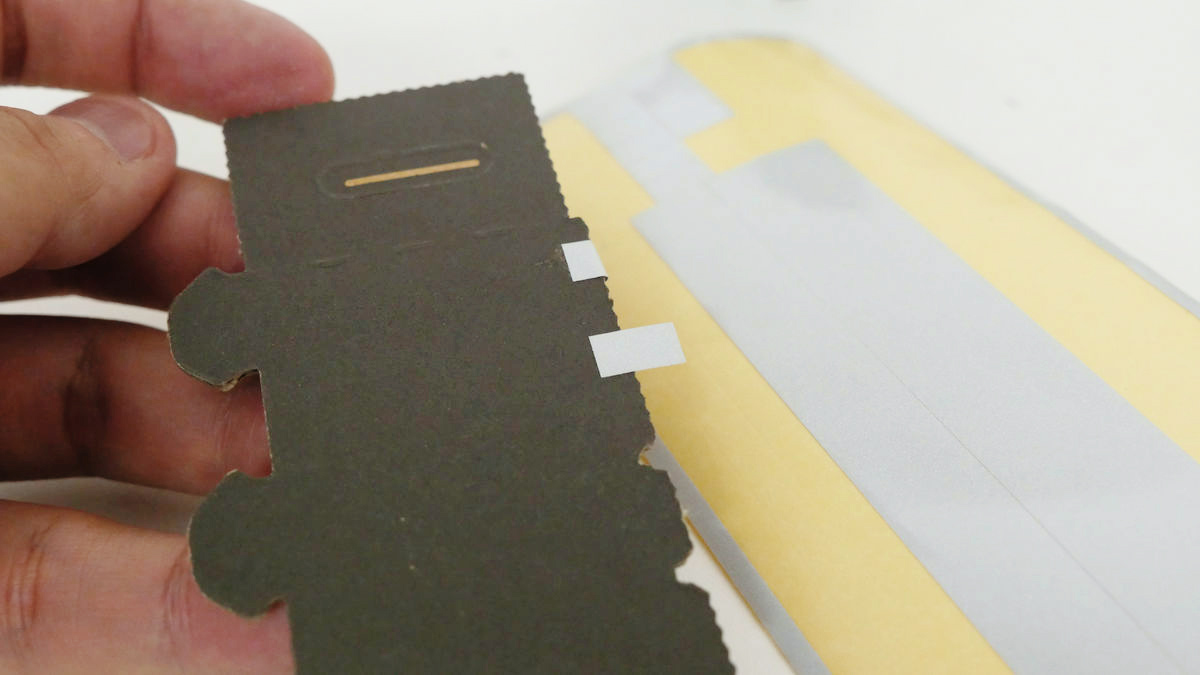
The keyboard basically only has to be assembled into a box shape, but you must stick a retroreflective material seal.
Place the recessed part of the key in the protrusion of the keyboard box and install.
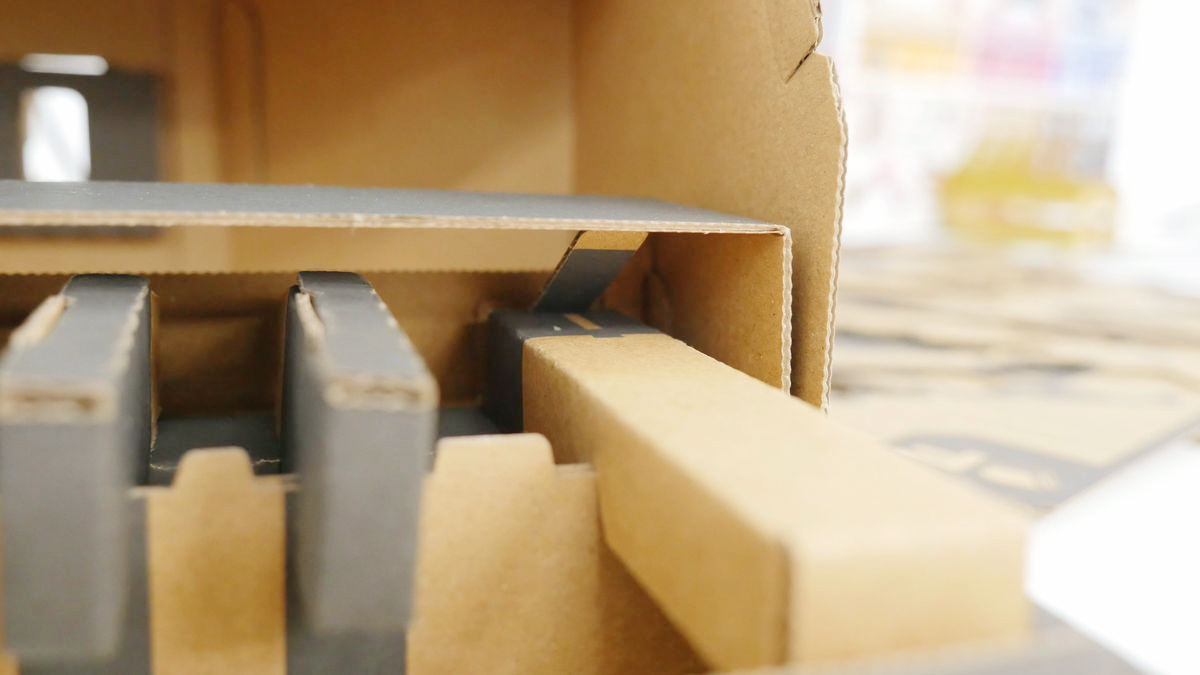
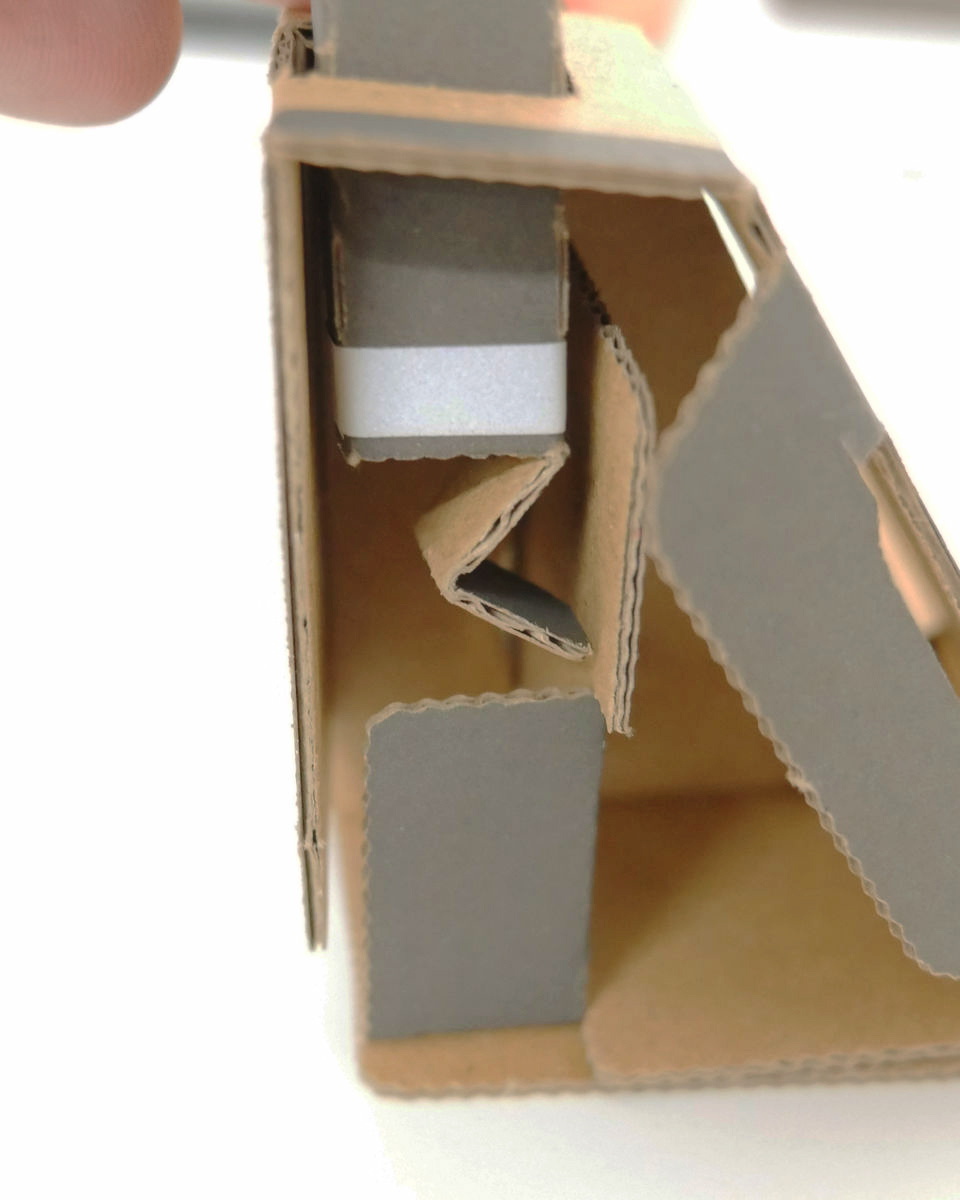
When you press the keyboard, the back part where the tape is stuck in this way is raised.
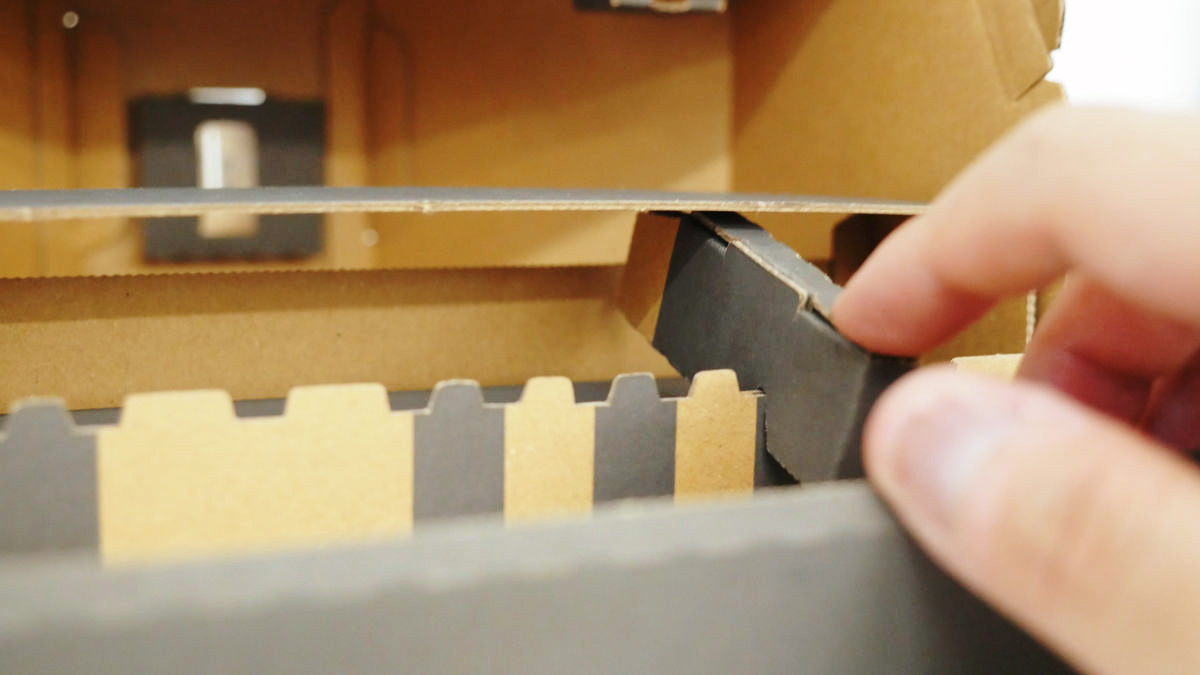
I saw the keyboard box from the back. When the back part is lifted, a retroreflective material seal appears at a glance from the gap behind the keyboard box and is recognized by the IR camera.
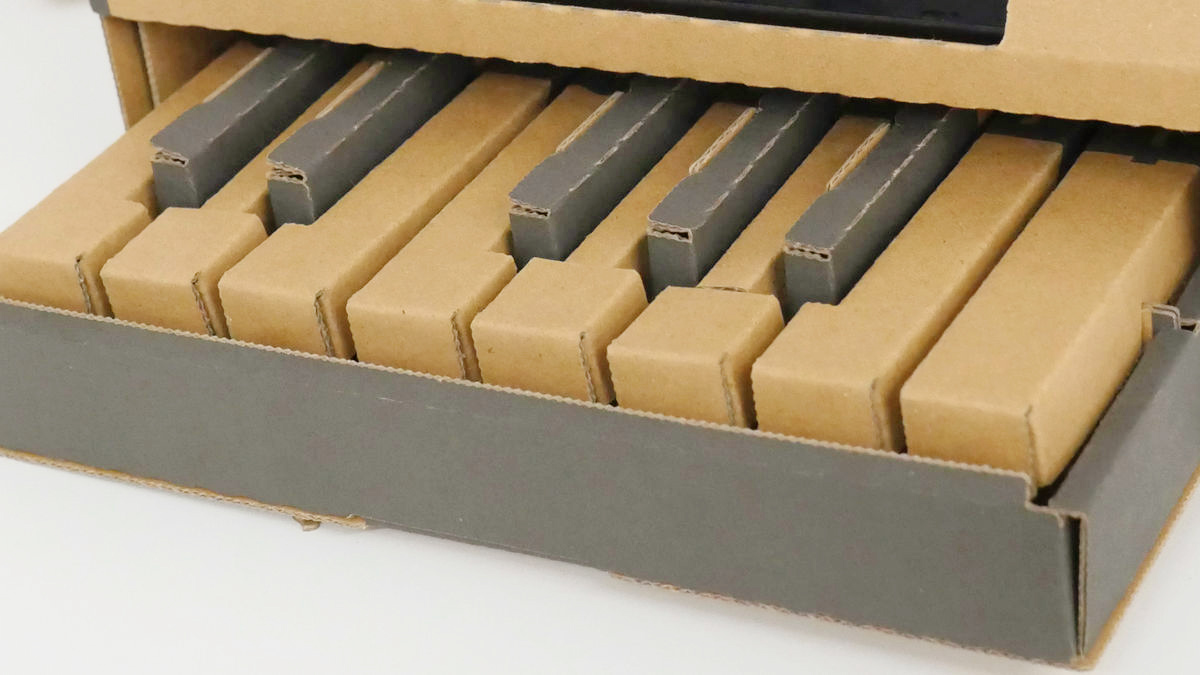
If you make 5 same thing and set it in the black part of the keyboard box, the black key is completed.
On the other hand, the white key looks like this. The shape of the white key changes slightly depending on the position, but the basic structure is the same.
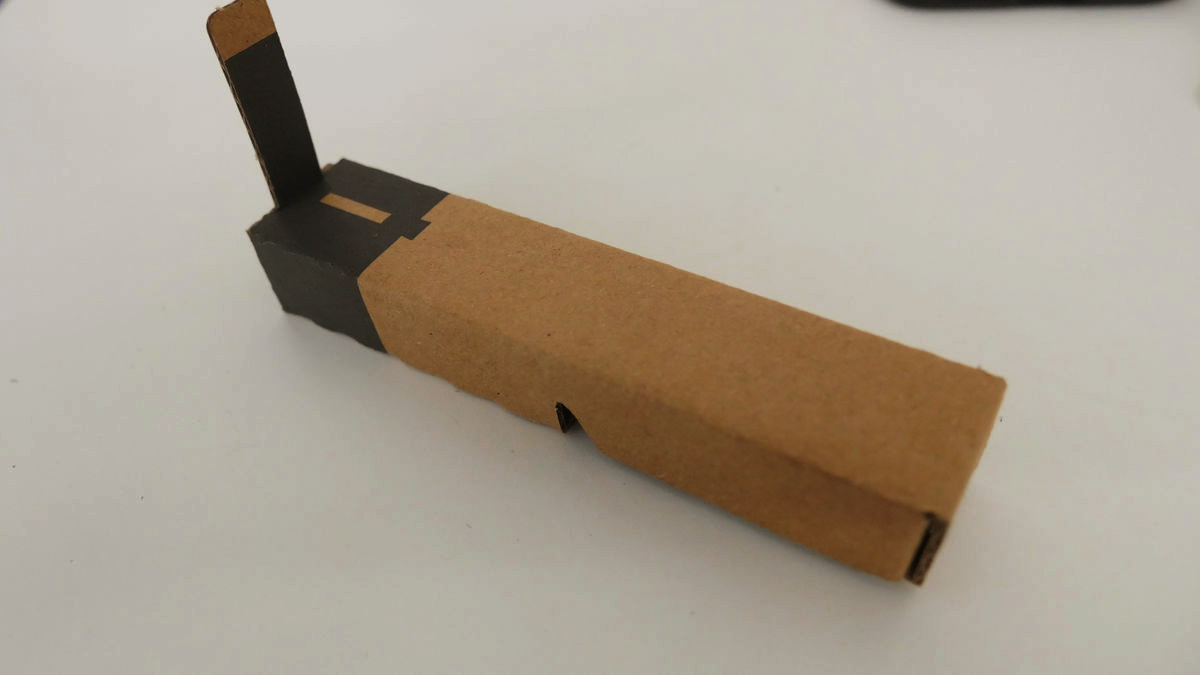
Also past the recursive reflective material seal on the back of the white key.
I set a white key. The part which jumped out plays the role of a spring, and when it pushes the white key it is a mechanism to return to the original properly.
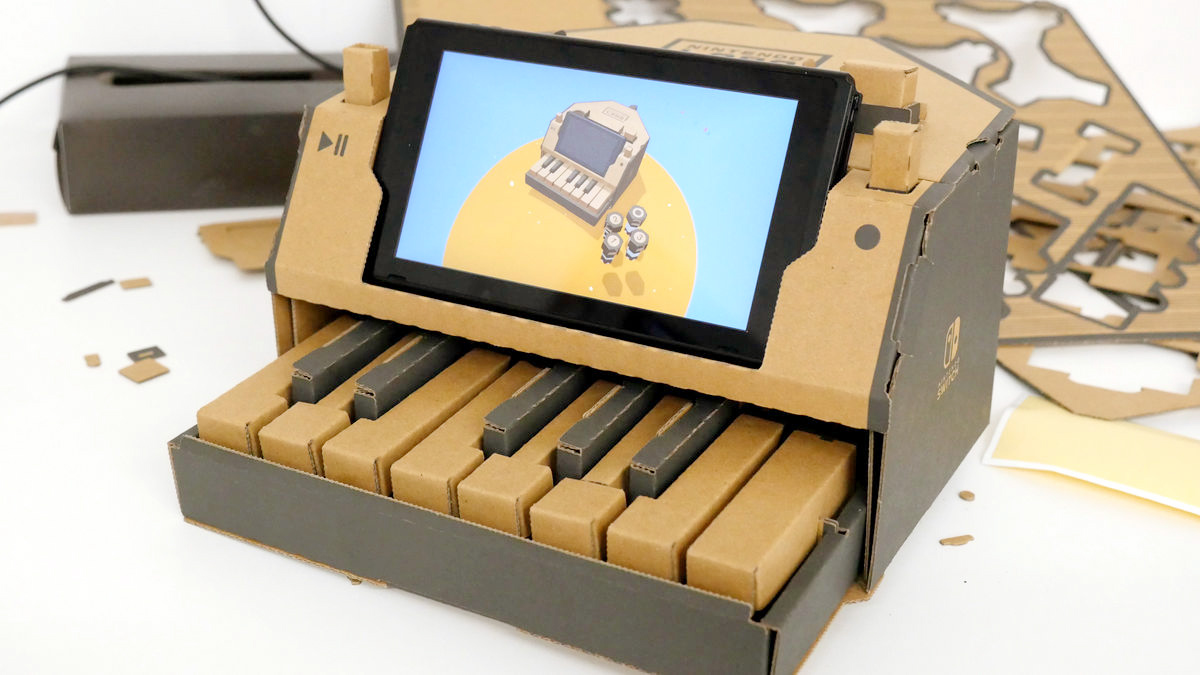
When all the keys are arranged, it looks like this. The pitch of the interval is one octave. It took about 40 minutes in the production of the keyboard part because it was necessary to stick a small seal and to make a fine crease, so it took the longest time.
The fourth step is to create a music stand. The music stand is the place to put the Switch body, and the play and recording switches are arranged on the left and right.
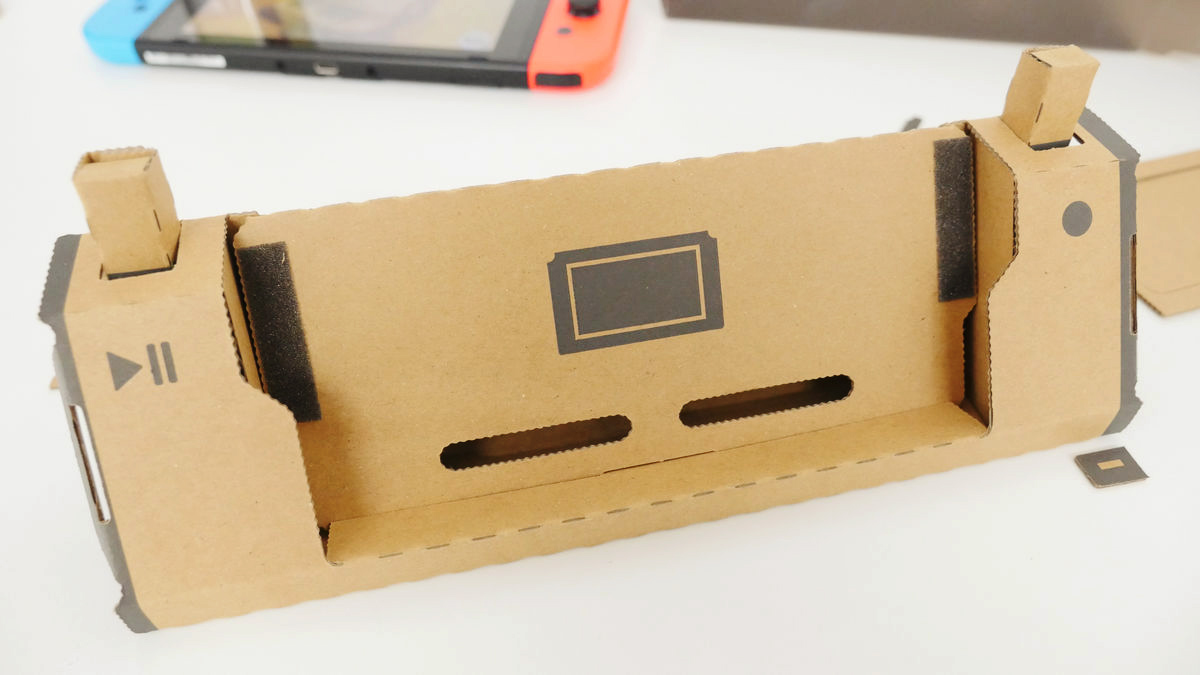
As for the switch, the part protruding like the white key is a substitute for the spring.
When you push the switch, the recursive reflector tape lets you peek at the face from the gap at the bottom of the music stand.
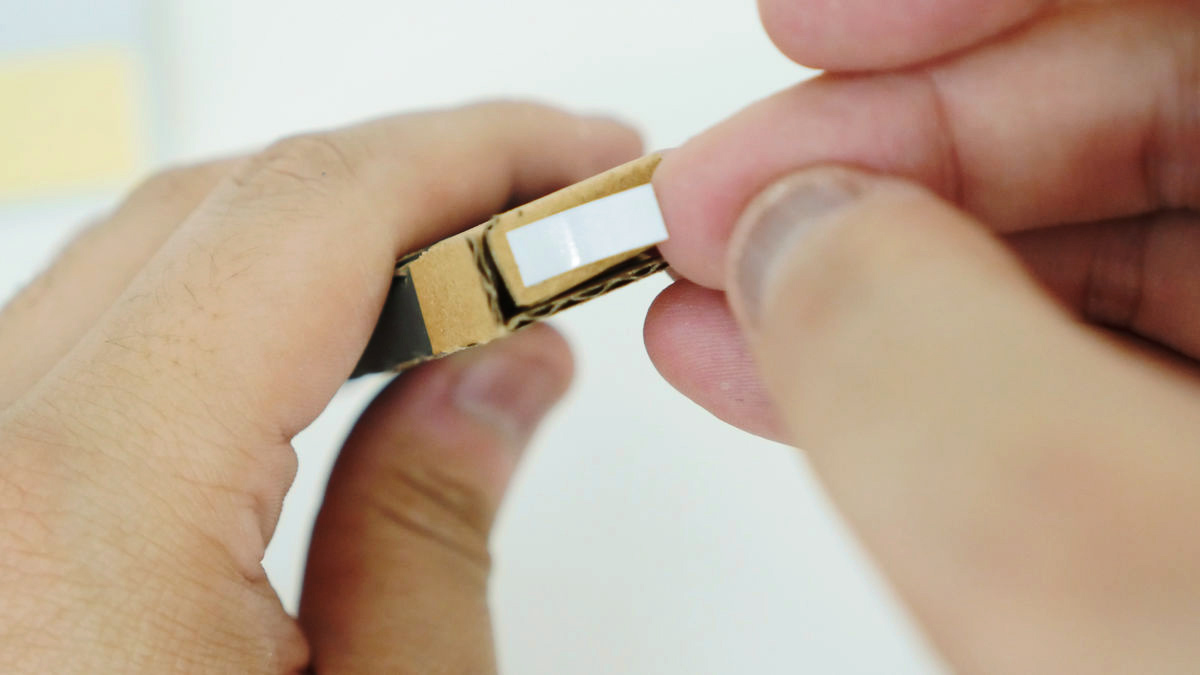
In the 5th step, we make 4 kinds of knobs.

The knob is a hexagonal prism, and you need to paste a small recursive reflector tape on each side of the bottom.
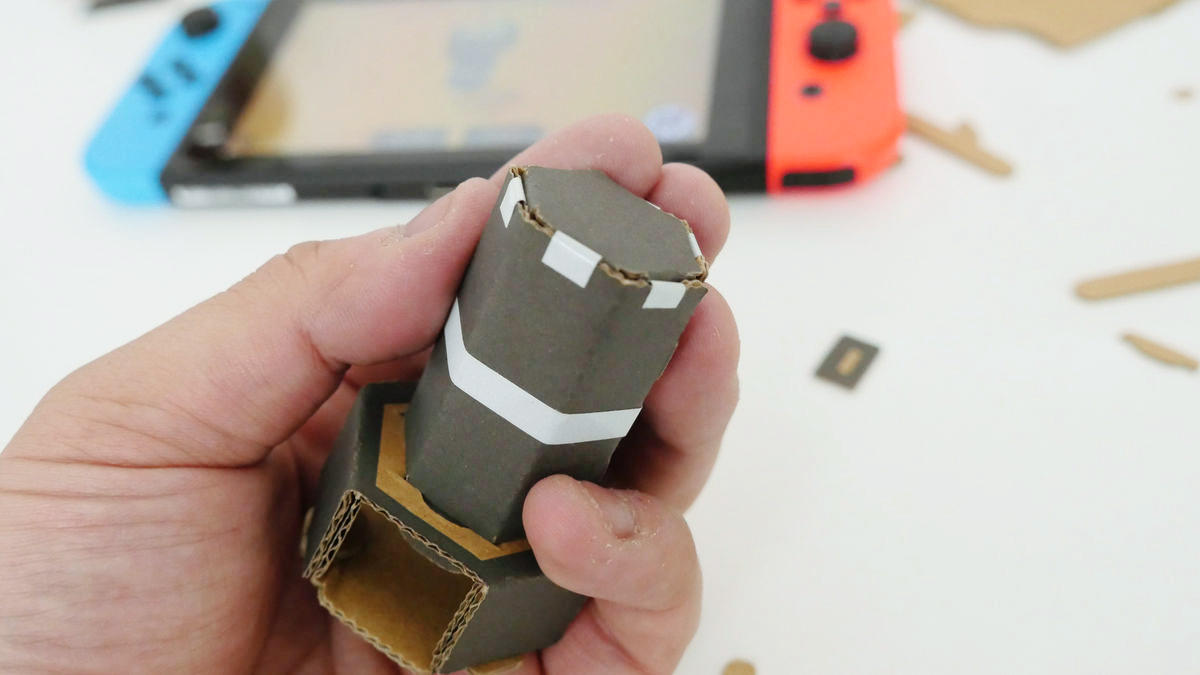
Also, tape on the side of the knob so as to wind around the round. Depending on the thickness and the number of tape, the IR camera can identify the type of knob.
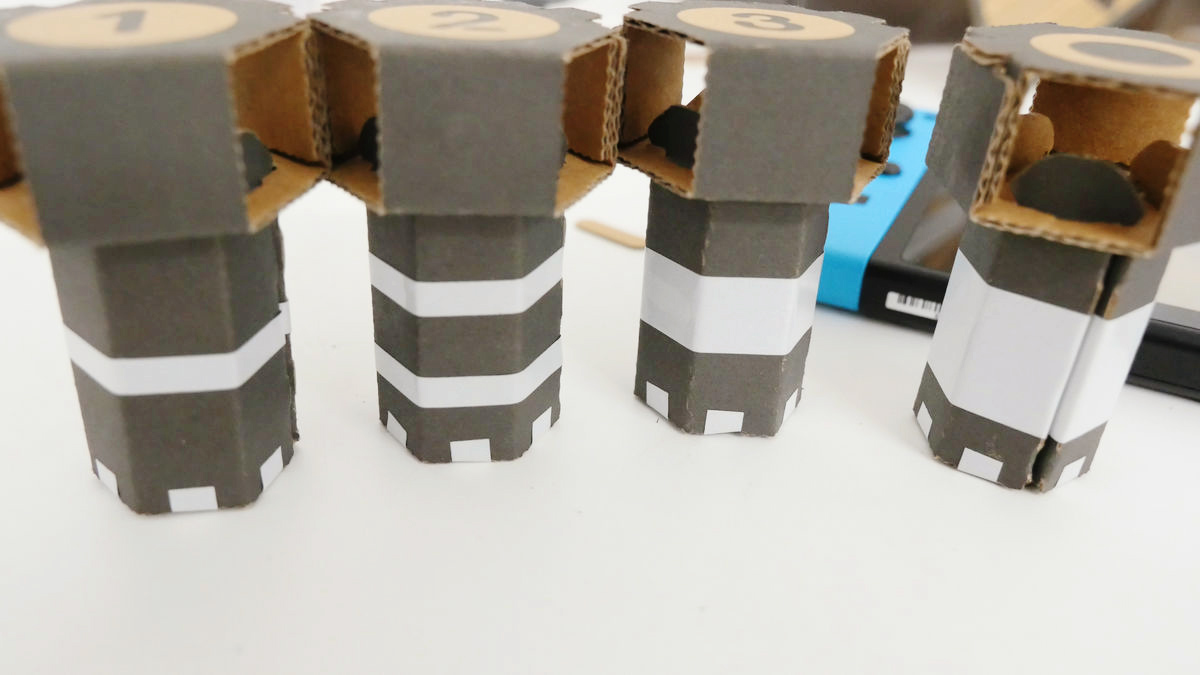
Since there are many places where the knob sticks the retroreflective material tape anyway, the fifth step also took quite a while and spent approximately 20 minutes to make four.
In the last sixth step, incorporate Nintendo Switch & Joy - Con into the piano Toy - Con. Insert Joy-Con (right) in the back of the main body ......
We will install the Switch body on the music stand.

The piano Toy - Con was completed. Despite the time consuming keyboard and knobs, I often repeat the task of assembling the same things, so the speed got better as I got used to it. Still the total time it takes to assemble is 2 hours 30 minutes, which is the same as the assumed time written in the box
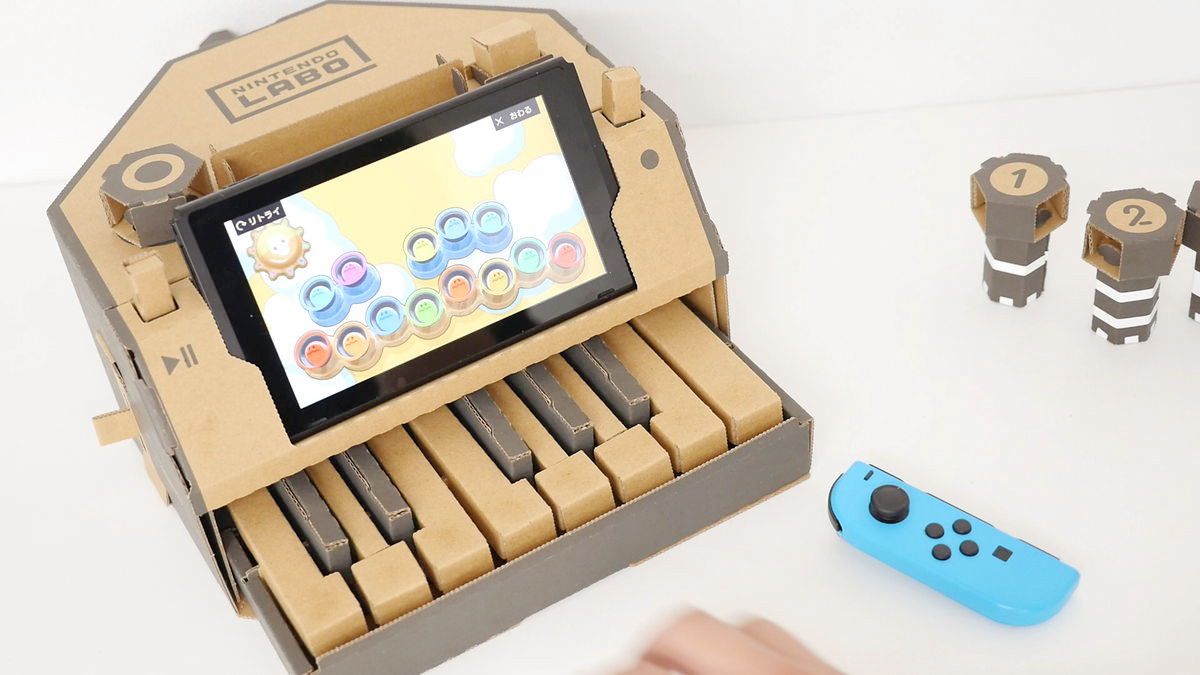
Actually playing the piano Toy-Con while swapping the knob can be confirmed in the following movie. If you simultaneously press a chord is also possible. In the state without inserting the knob, it was the sound of an ordinary piano, but if you insert a knob of 1, you can hear the cry of a cat, the knob of 2 inserts a human singing voice and the uncle's voice flows when you insert a knob of 3.
I tried Nintendo Switch as a piano with Nintendo Labo's "Piano Toy-Con" - YouTube
The special knob with a round mark was like playing a sound with the vibration of Joy-Con (left), and it was a proper pitch for the keyboard properly.
The piano Toy - Con can record and play further, and using the recording studio mode built in Variety Kit software, if you use other instrument modes together, it is also possible to make music. It takes a lot of time to create the piano Toy-Con, so to build it at once, you need some level of energy, but the sense of accomplishment is also one that much. It was an interesting point to notice various things, knowing the structure that "This is how it is like this", while making a fine ingenuity everywhere, such as how the keyboard works and how to use the tape.
Related Posts: