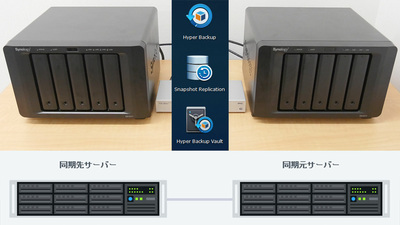
How to synchronize smartphone · PC · NAS like iCloud with Disk Station Manager (DSM) using Synology's NAS Summary
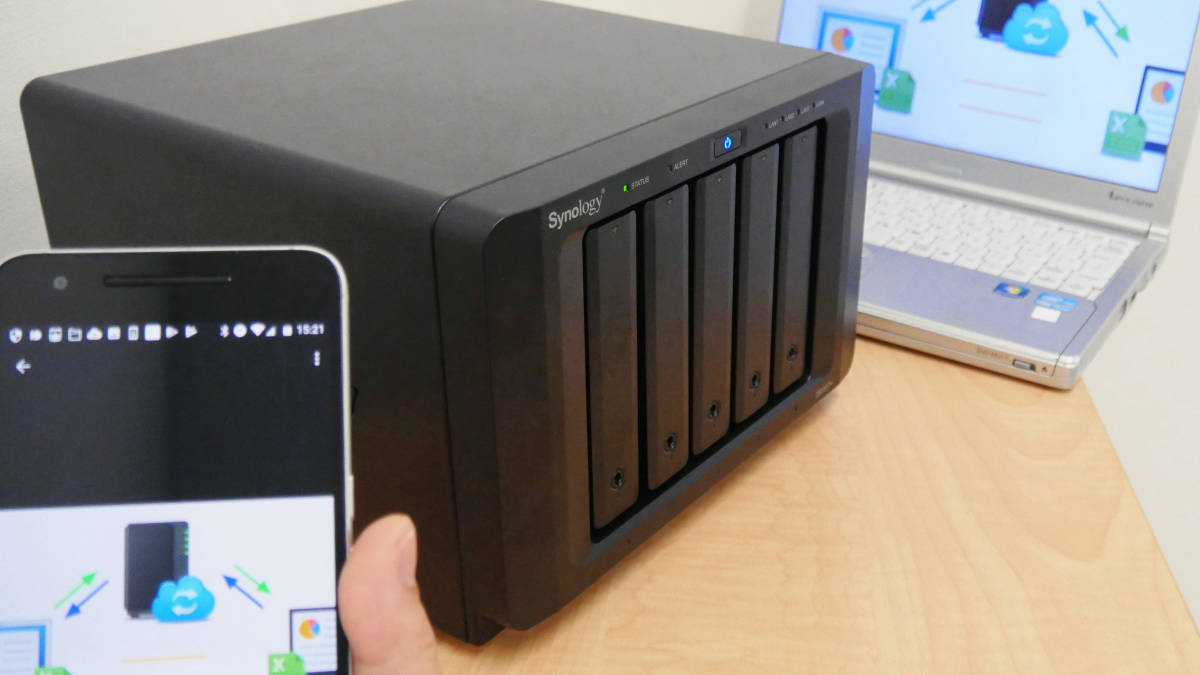
NAS that can mount five HDDs in the DiskStation series of Synology (synology) "DS1517 +Fourth series serializing the expansion. This time Apple'siCloudlikeWhich member's PC · Smartphone shared folderButThe same file environmentTo become "Sync"Setting.
Basic setting of DiskStation and dedicated OS "DSMFor details on the extensions you have made, including the installation of ", please see the following article.
Initial setting summary for introducing the strongest NAS · Synology's 5-bay upper model "DiskStation DS1517 +" - GIGAZINE
Procedure to create shared folders in Disk Station Manager (DSM) and share and save access logs within group Procedure to make e-mail notification when trouble occurs Summary - GIGAZINE
How to make NAS a media server with Disk Station Manager (DSM) and play movies and music streaming from outside with smartphone Summary - GIGAZINE
◆ Synchronize shared folder specified by group
· Install Cloud Station Server on DSM
To set up synchronization, DS1517 +DSMAdd-on package "Cloud Station Server"Installation is required.
Cloud Station Server - Add-on package | Synology Inc. (Synology official page)
https://www.synology.com/ja-jp/dsm/packages/CloudStation
For the synchronization method with the PC, I referred to the following page.
Using Cloud Station to synchronize files with Synology NAS and computer | Synology Inc. (Synology official page)
https://www.synology.com/ja-jp/knowledgebase/DSM/help/DSM/Tutorial/cloud_sync_files
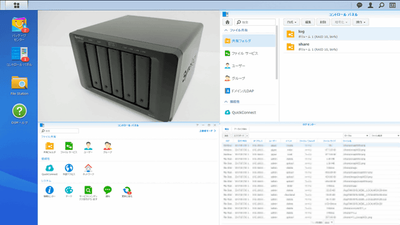
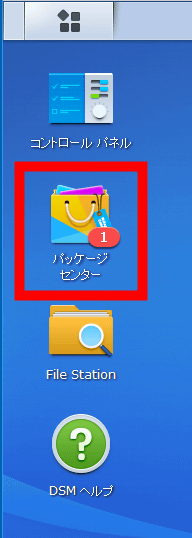
Log in as an administrator and click "Package Center" on the DSM desktop.
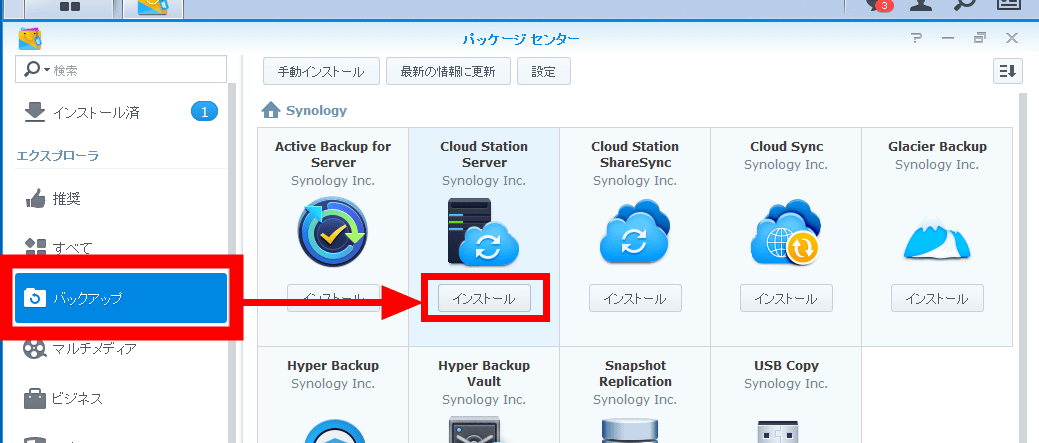
Click "Backup" item and click "Install" of "Cloud Station Server".
Installation completed when "Package Center" Cloud Station Server "was successfully installed" is displayed. Click "Open".

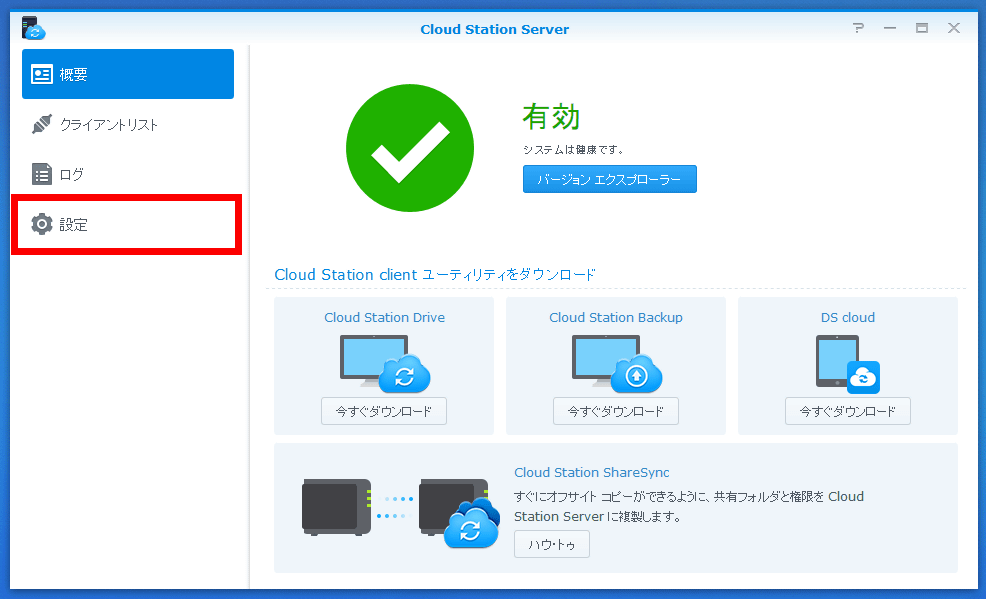
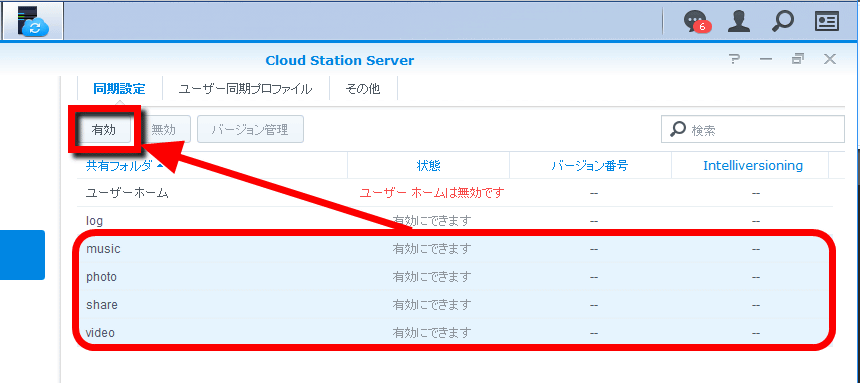
"Cloud Station Server" screen will be displayed, click "setting".
Move to "Synchronization setting" item. Click the folder name you want to synchronize between groups and select it. To select multiple folders, hold down the Ctrl key and select it.
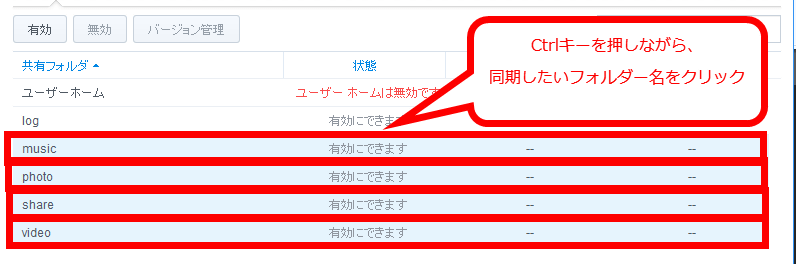
After selecting the folder, click "Enable".
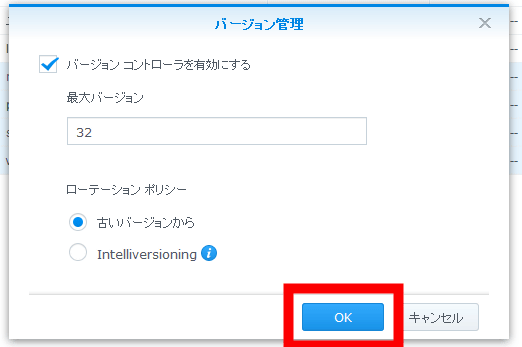
"Version Management" is displayed. The DSM will record changes to the files in the shared folder as many times as the "Maximum version" number. Then you can restore the file freely by choosing from among the recorded file changes.

For this time, leave the default setting "32" and click "OK".
A message to confirm the setting of shared folder appears. "Before you sync, make sure that the user account you use for synchronization has the appropriate authority. Users who have read-only access to the selected shared folder will need to copy their client device files from the server It is only possible to synchronize, and changes made on the client side will not be synchronized with the server. "Click" OK "to close the window.

In the column of the "status" item, if "Enable" and green letters are displayed to the right of the folder name to be synchronized, the "Synchronization setting" item is completed.

· Restrict file types and users to synchronize
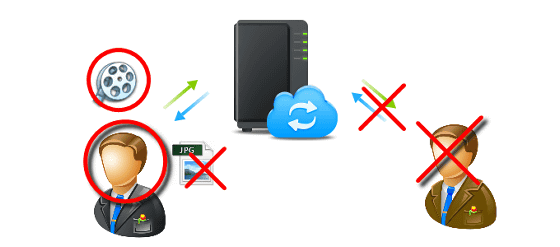
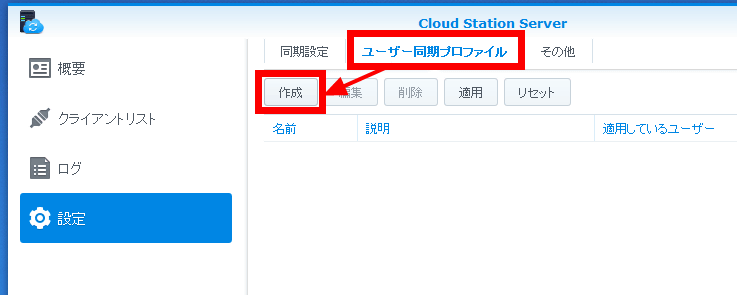
With DSM, it is possible to limit users and file formats to be synchronized. For restriction setting, first create "user synchronization profile". Click "Create" on the "User synchronization profile" tab.
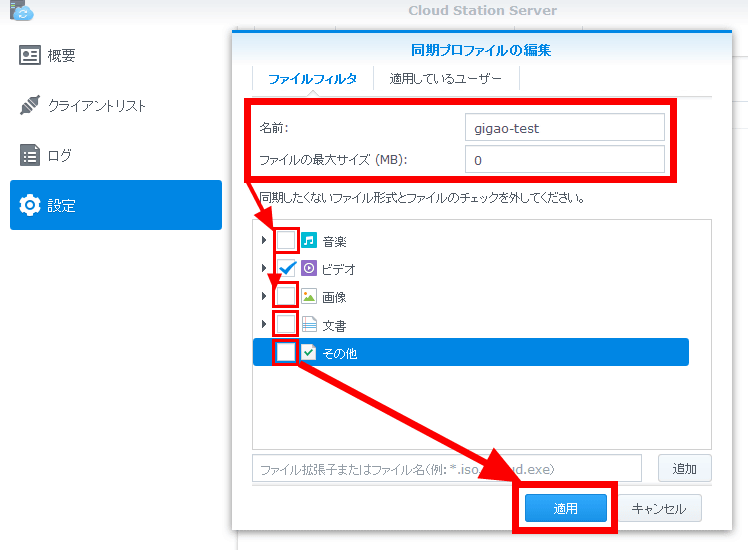
The "Edit synchronization profile" window is displayed. For this time, set only the movie file to be synchronized, so enter the desired sync profile name and the maximum size of the file to be shared on the "File Filter" tab, uncheck the file format which is not synchronized, and "apply" click. If you do not want to limit the maximum file size, you can enter "0".
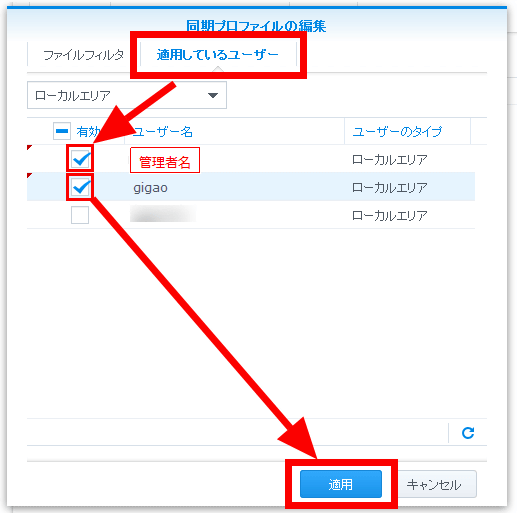
Next, limit the users to sync. Select the user name to be synchronized by putting a check mark in the "Applied users" tab. This time, with administratorSecond serial seriesPlease check the user name "gigao" of general authority created in, click "apply".
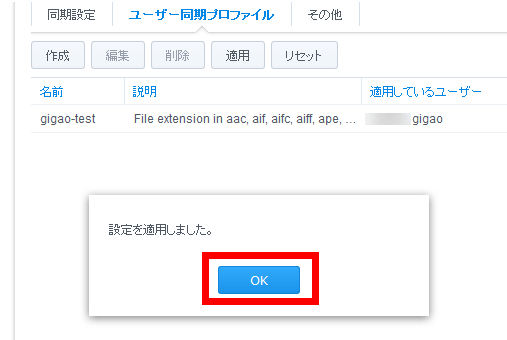
"User synchronization profile" has been completed. Confirm the user name and click Apply.
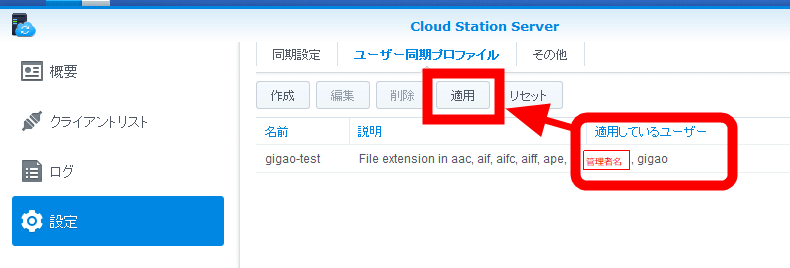
"The setting has been applied" is displayed, so click "OK". Cloud Station Server is now ready.
◆ Synchronize shared folder of PC and DS1517 +
· Install Cloud Station Drive on PC
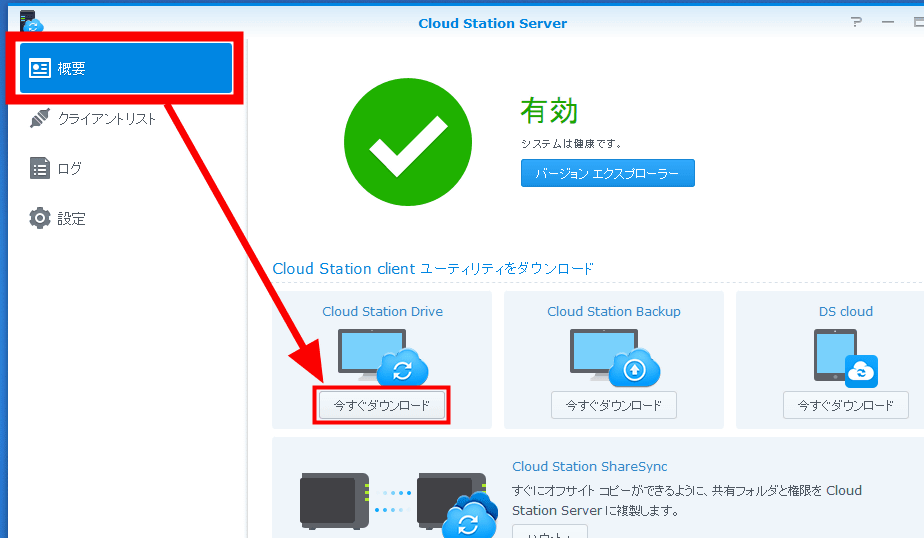
To set up synchronization with the PC and the DS1517 +, set "Cloud Station Drive"Installation is required. First, open DSM on DS1517 + and start "Cloud Station Server". On the "Overview" tab, click "Download Now" under "Cloud Station Drive" in the "Download Cloud Station client Utility" item.
The window for downloading Cloud Station Server will be displayed. Click "Download Cloud Station Server". Cloud Station Server Windows OS executable file will be downloaded.
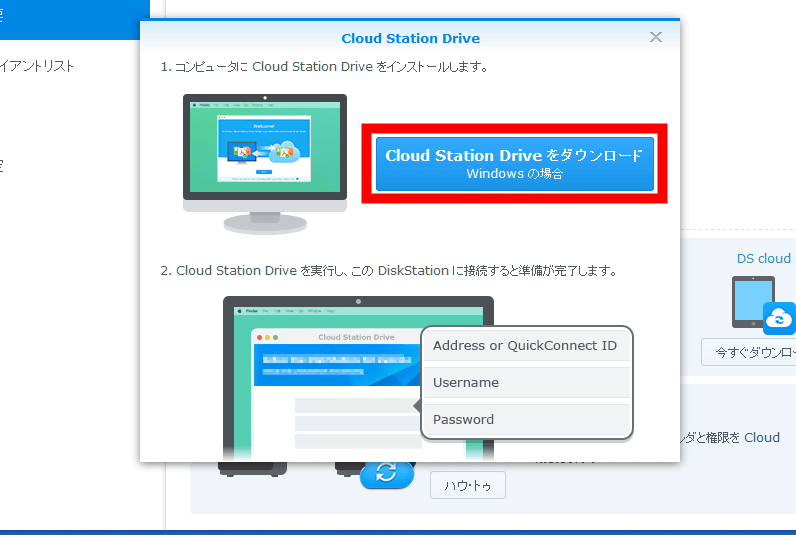
The executable file is also for Mac OS and other OS. You can download it from the item "Cloud Station Drive" on Synology's official page.
Download Center | Synology Inc. (Synology Official Page)
https://www.synology.com/ja-jp/support/download/DS1517+
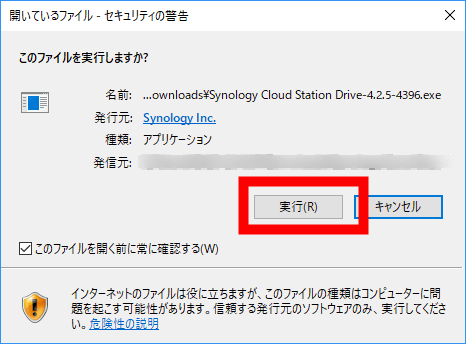
Launch the downloaded executable file.
A security warning will be displayed, but click "Execute".
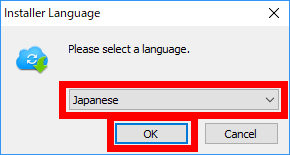
The Cloud Station Server installer starts up. Select "Japanese" and click "OK".
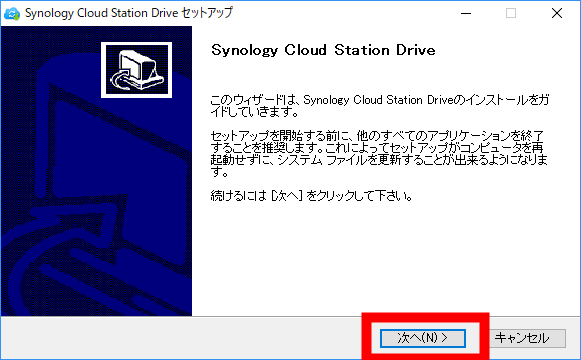
Click "Next".
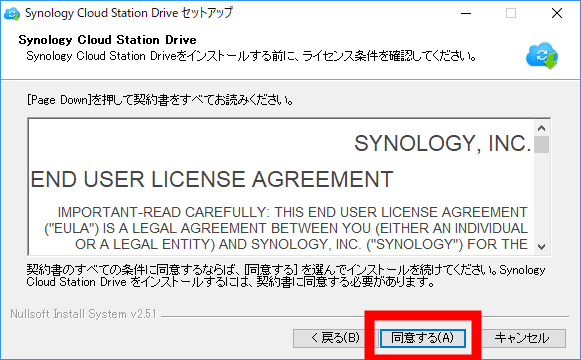
Click "I agree".
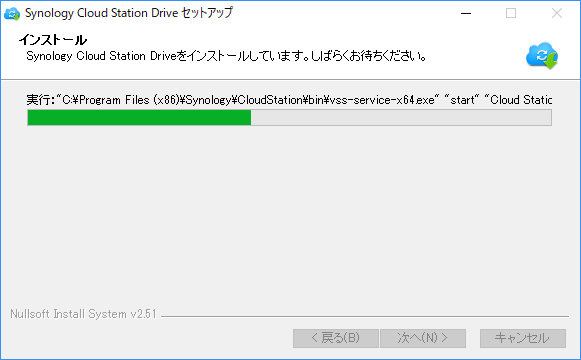
"Installation" starts ...
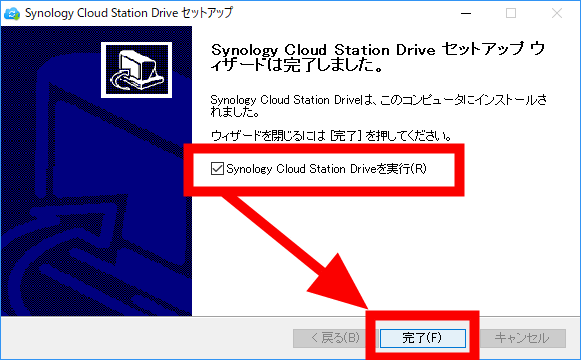
When setup is completed, check "Run Synology Cloud Station Drive" and click "Finish"
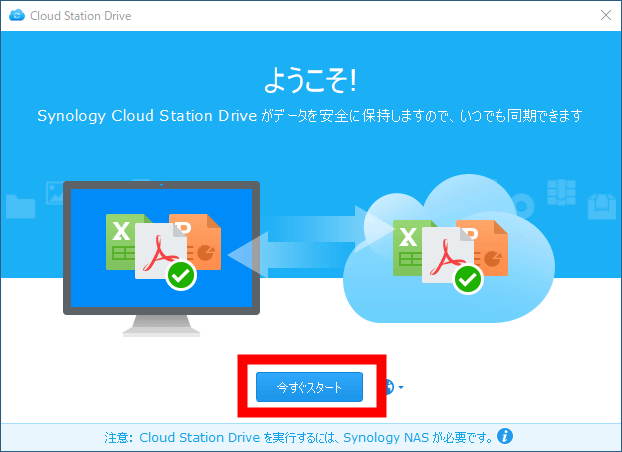
Cloud Station Drive will start, so click "Start Now".
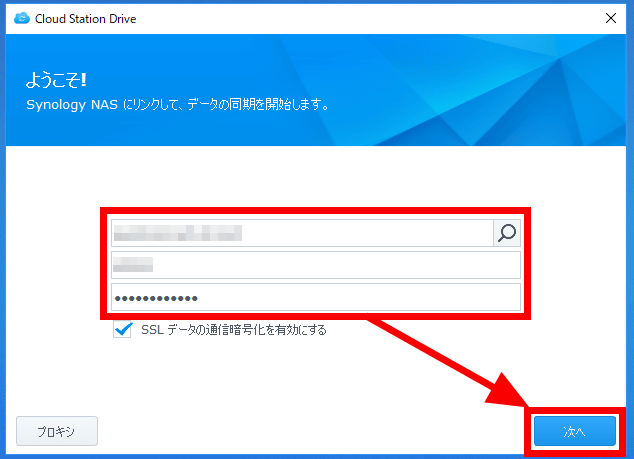
Enter QuickConnectID and DS1517 + user ID and password, then click "Next". This time, log in as an administrator.
"Connection is being tested ......" is displayed, so wait for tens of seconds.

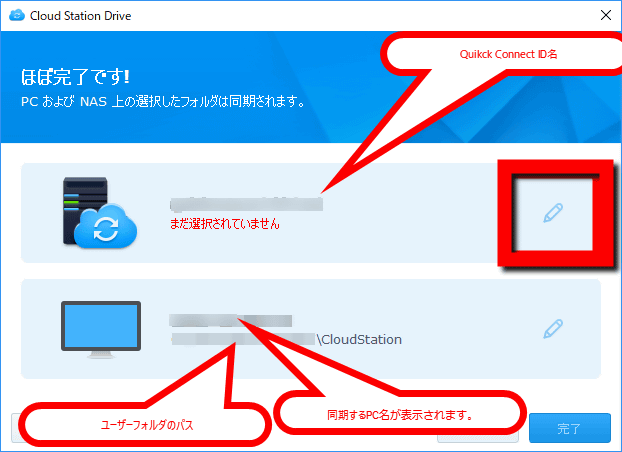
"It's almost done!" Is displayed and you can access the DS1517 + from the PC's Cloud Station Drive. Next, select the folder to be synchronized. First, click the "pencil" icon on the right side of the column written in red, "Not yet selected".
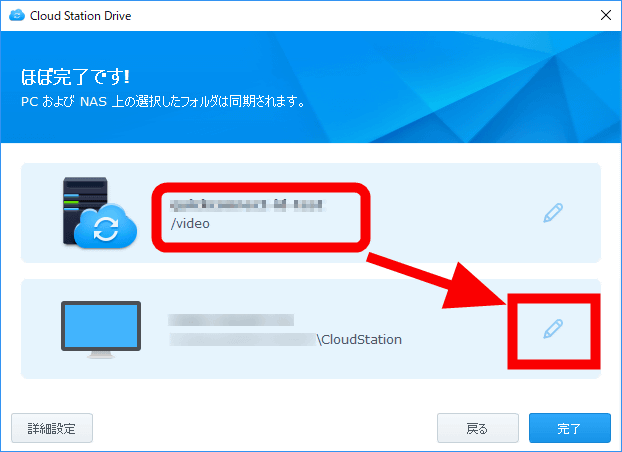
The DS1517 + folder will be displayed. To synchronize the movie files this time, click the "video" folder where you saved the movie file with DS1517 +, select it and click "OK".

Confirm that the DS1517 + side video folder to be synchronized is displayed and click on the mark on the bottom pencil.
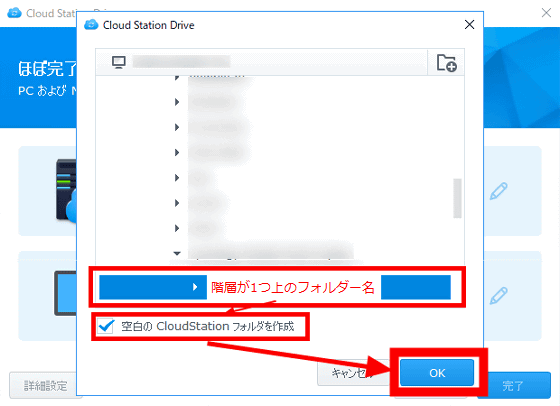
Next, select the folder to be synchronized on the PC side. The folders on the PC side are displayed as a list. In this time, I will make a folder that does not contain anything for synchronization, so click on the folder one level above the folder you are going to synchronize and select it, check "Create a blank Cloudstation folder" Click "OK".
When the message "Completed, use Cloud Station Drive right now, a shortcut to the sync folder will be created on the desktop" appears, click "OK Click ".
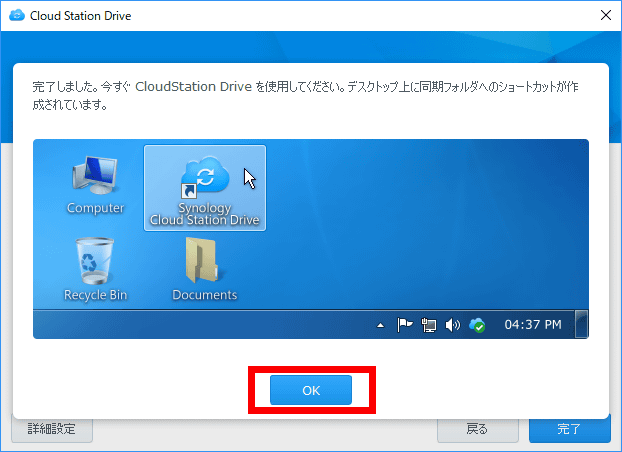
Click "Finish" to close the Cloud Station Server window. Now you can set up synchronization between NAS and PC.

· Confirm synchronization
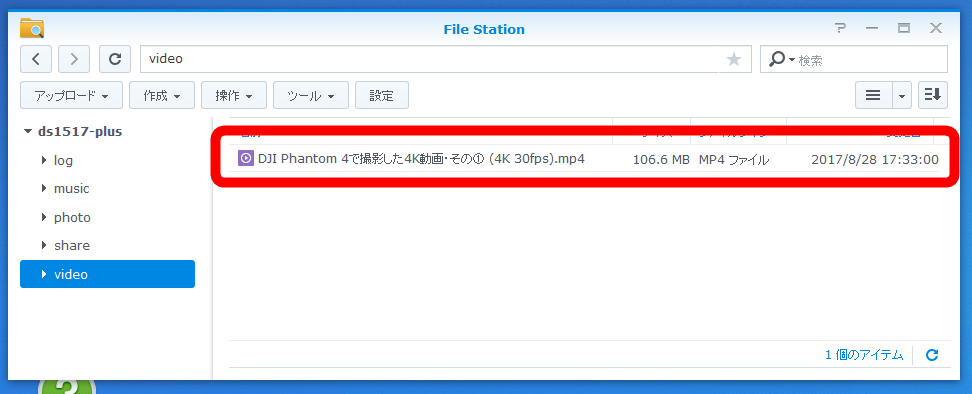
Make sure that you can synchronize immediately. There is one movie file (106 MB) of 4K quality in the "video" folder on DS1517 + side.
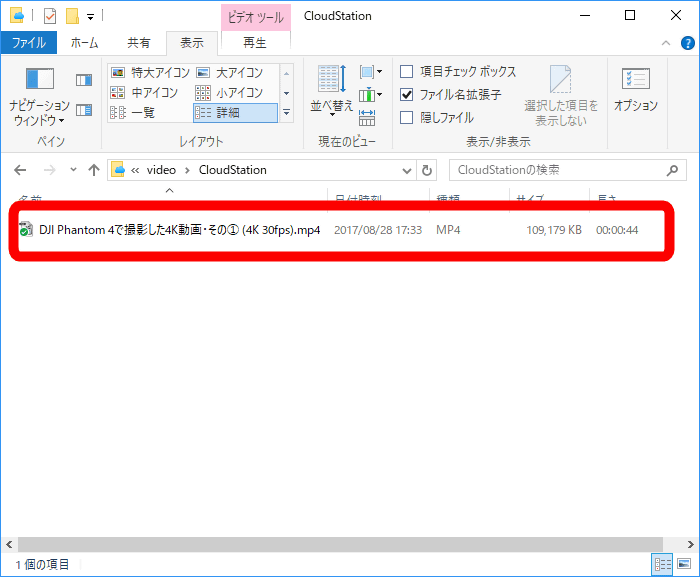
Since synchronization has already been completed, the same movie file was copied to the folder set as the synchronization destination on the PC side.
Synchronization of files is done in both directions, so if you add files to the folder where you set up synchronization on the PC side, the files will also be copied to the DS1517 +. Actually, prepare a new movie file and try it.
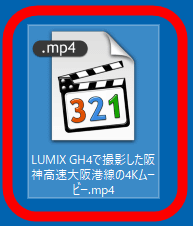
The content of the movie is like this.
4K movie of Hanshin Express high-speed Osaka harbor portrait taken with LUMIX GH 4 - YouTube
Drag and drop the movie file to the PC synchronization folder ... ...
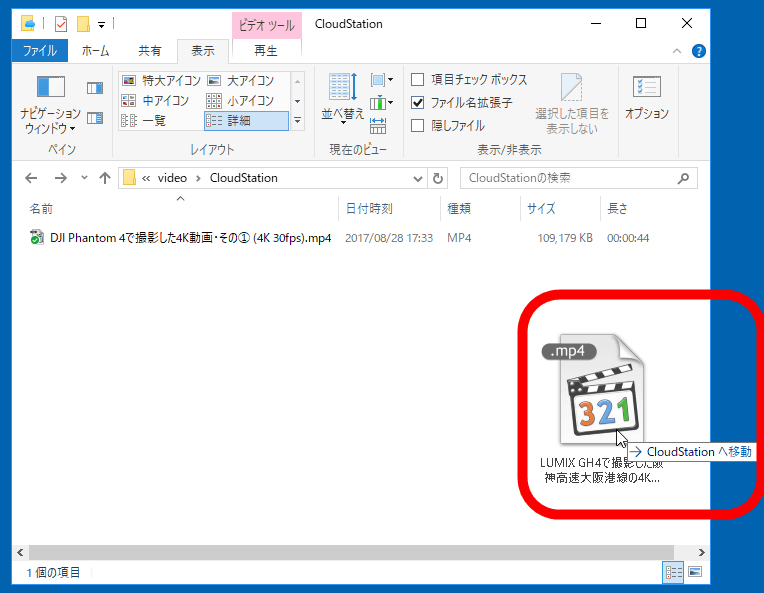
When adding to the synchronization folder on the PC side ......
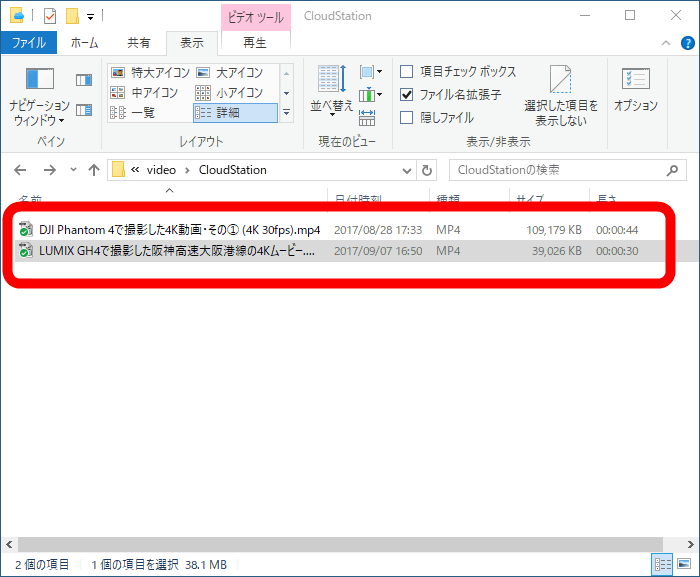
A movie file has also been added to the DS1517 + side.
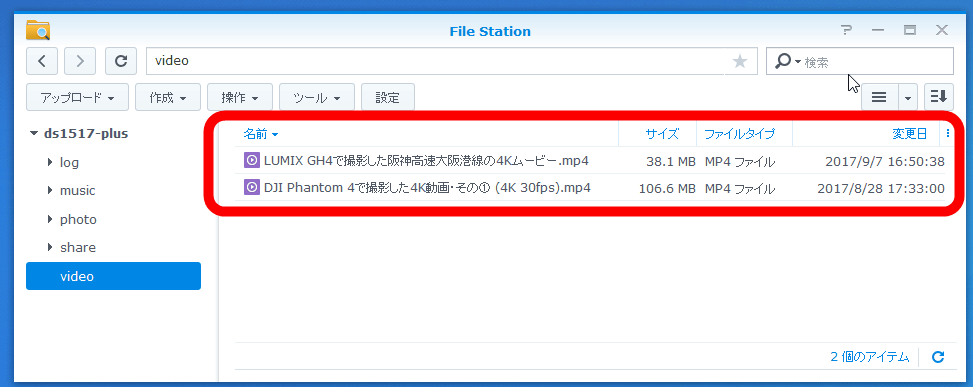
Try playing the movie ......
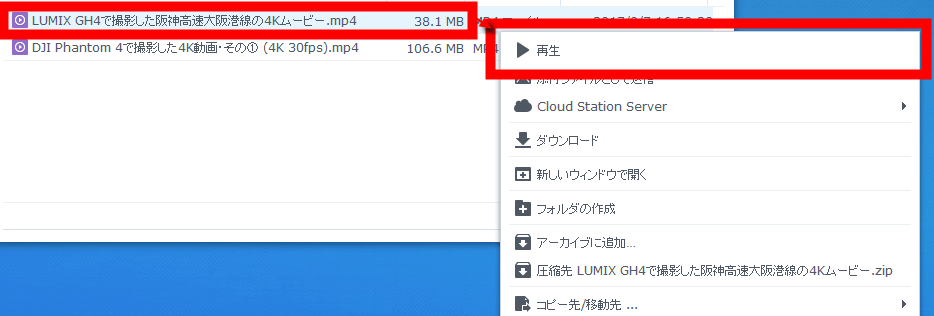
The same content as the movie file added to the folder on the PC was played on the DSM.

Be careful when deleting files synchronized between NAS and PC, since data will be deleted from both. As a test, select "Delete" from the right-click menu in the DS1517 + DSM.
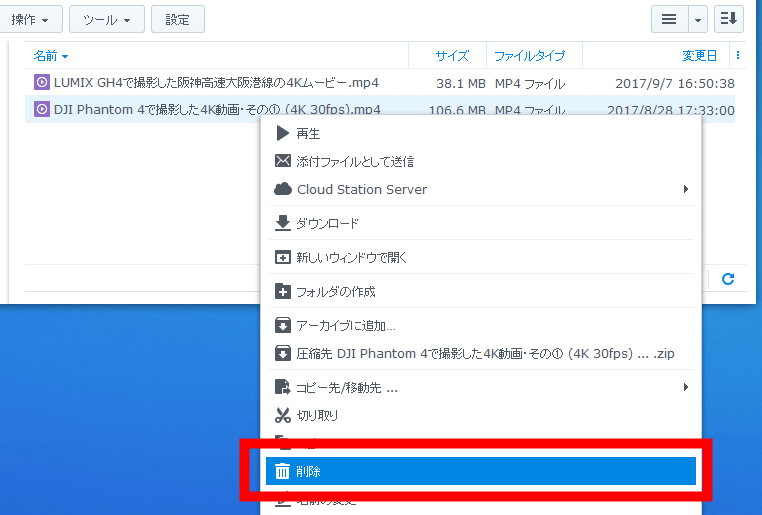
Since a confirmation message appears, click "Delete".
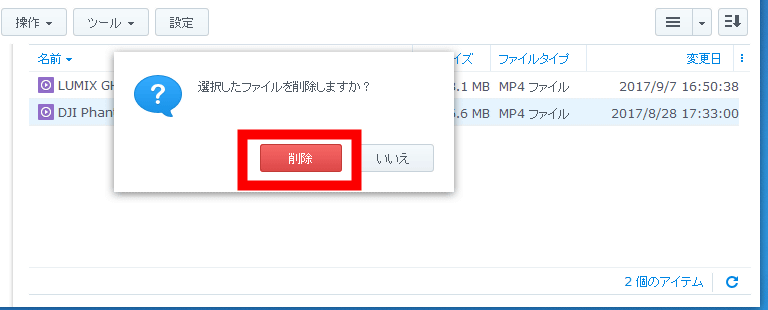
When the DS1517 + side file is deleted ......
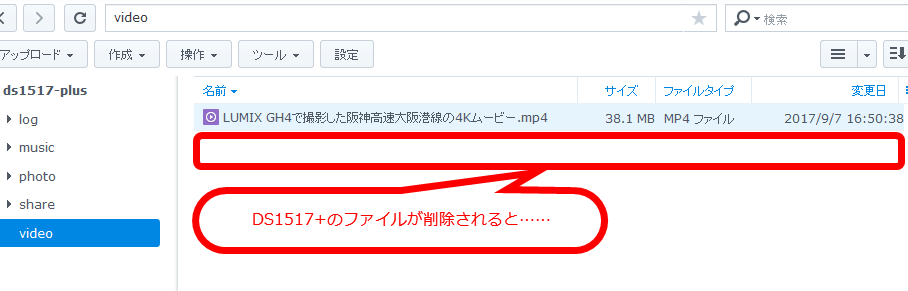
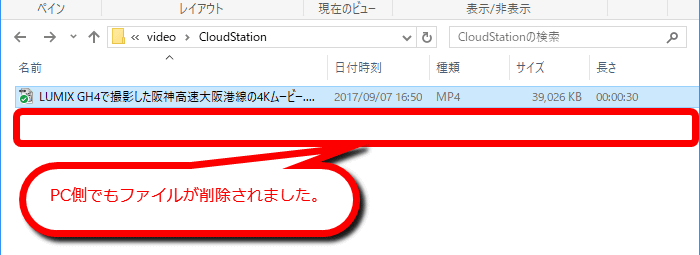
The file was deleted also on the PC side.
· Even if files are deleted on the PC side, do not reflect on the NAS + side
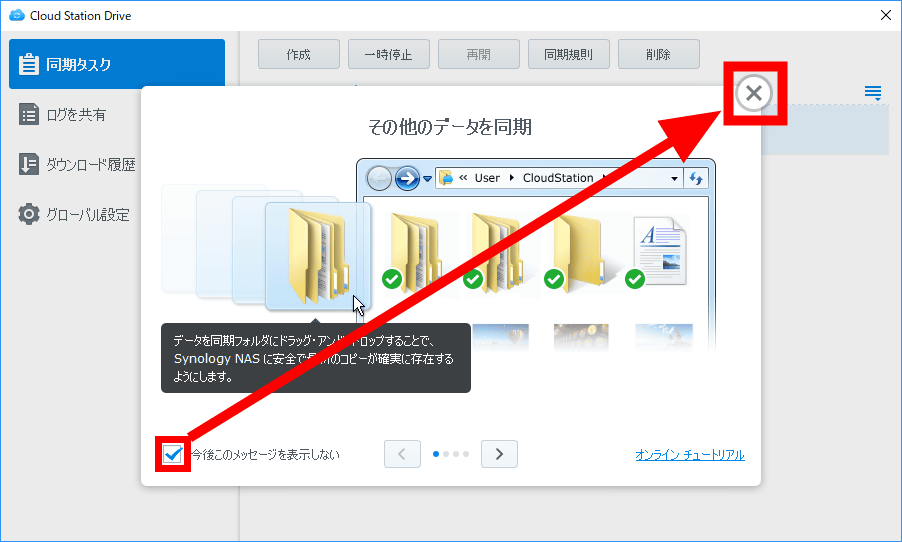
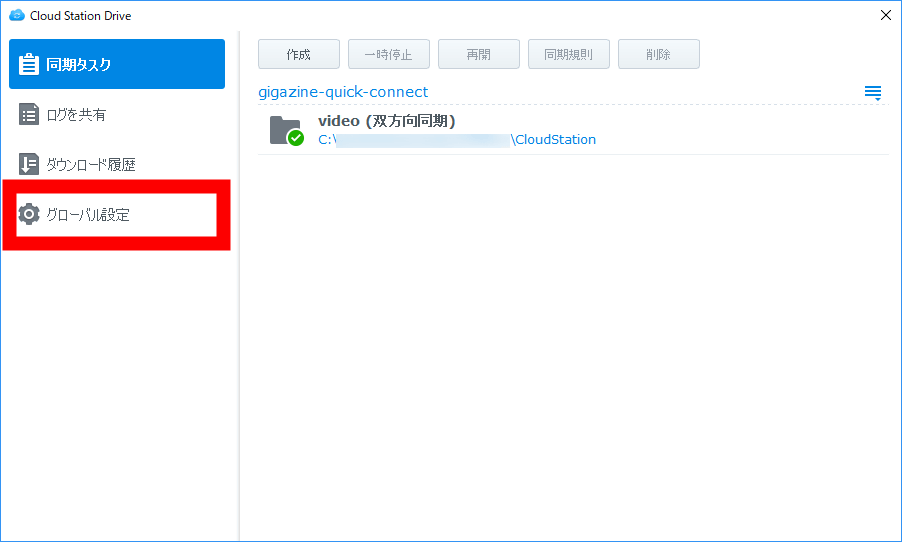
First, double click on the icon of Cloud Station Drive in the form of a blue cloud in the task tray

The Cloud Station Server setting screen opens. In the first run, a message urging the tutorial is displayed. Check "Do not display this message in future" and click "×" to close the message.
Synchronization rule setting opens. Next, click "Global Settings".
Click on the "Advanced Settings" tab.
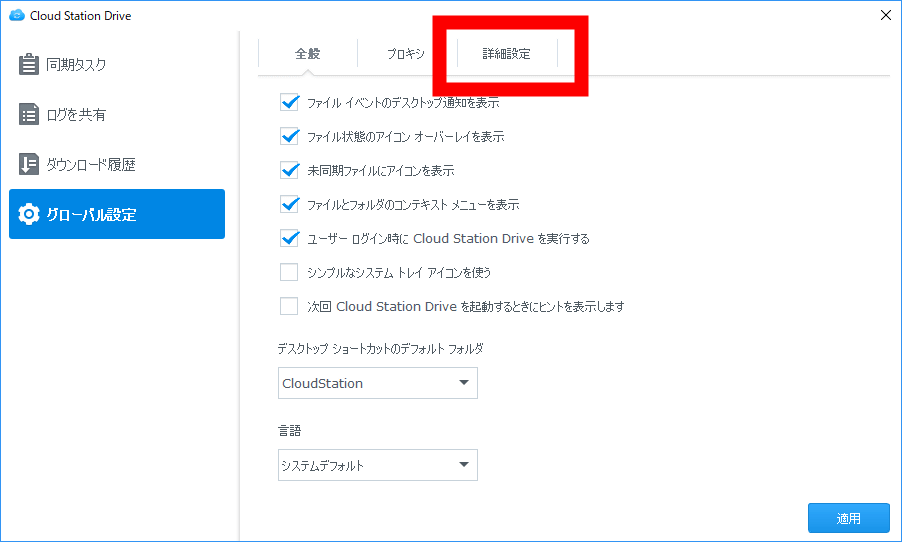
On the "Advanced Settings" tab, check "Check that files deleted locally are retrieved from the NAS" and click "Apply". Even if you delete a file in the folder on the PC side, it will not be reflected on the NAS side. If you delete the file on the PC side, the same file as the deleted file is automatically copied from the NAS to the PC side.

◆ Synchronize the smartphone folder with the DS1517 + folder.
Synchronization on smartphone is "DS cloudApplication installation is required.
· Install DS cloud.
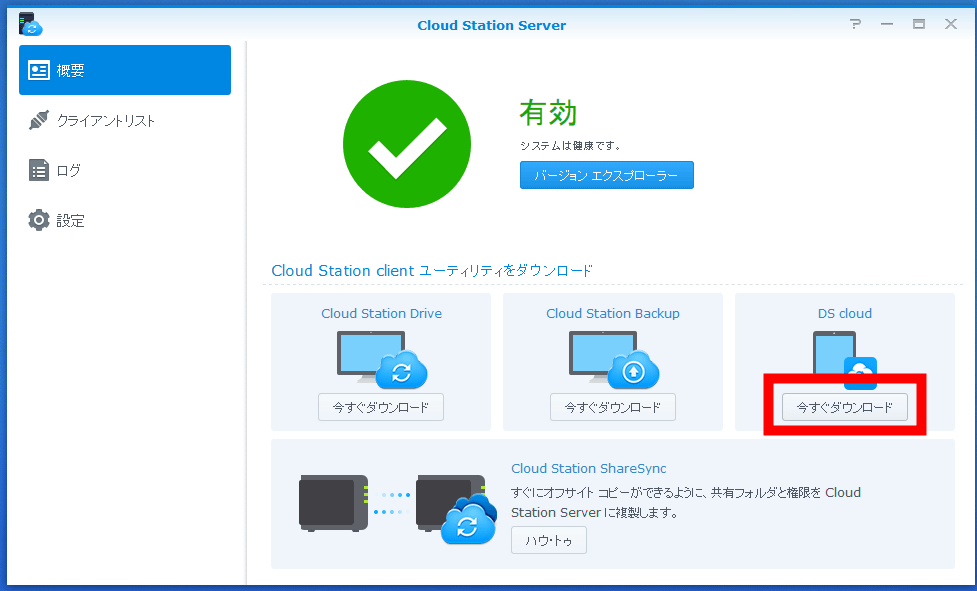
First, start DSM's Cloud Station Server. On the "Summary" tab, a picture of the tablet PC is drawn below "DS cloud" written on the right end, so click "Download Now" at the bottom.
Since the QR code for iOS and Android is displayed, read the one suitable for your terminal with the QR code reader application. Since I used Nexus 6P this time I read the QR code for Android OS.

To install the DS cloud application without using the QR code reader application, you can download from the link below.
DS cloud - Android application on Google Play
https://play.google.com/store/apps/details?id=com.synology.dscloud
DS cloud on the App Store
https://itunes.apple.com/jp/app/ds-cloud/id590216612
Since some menus are displayed, tap "Browse Website".
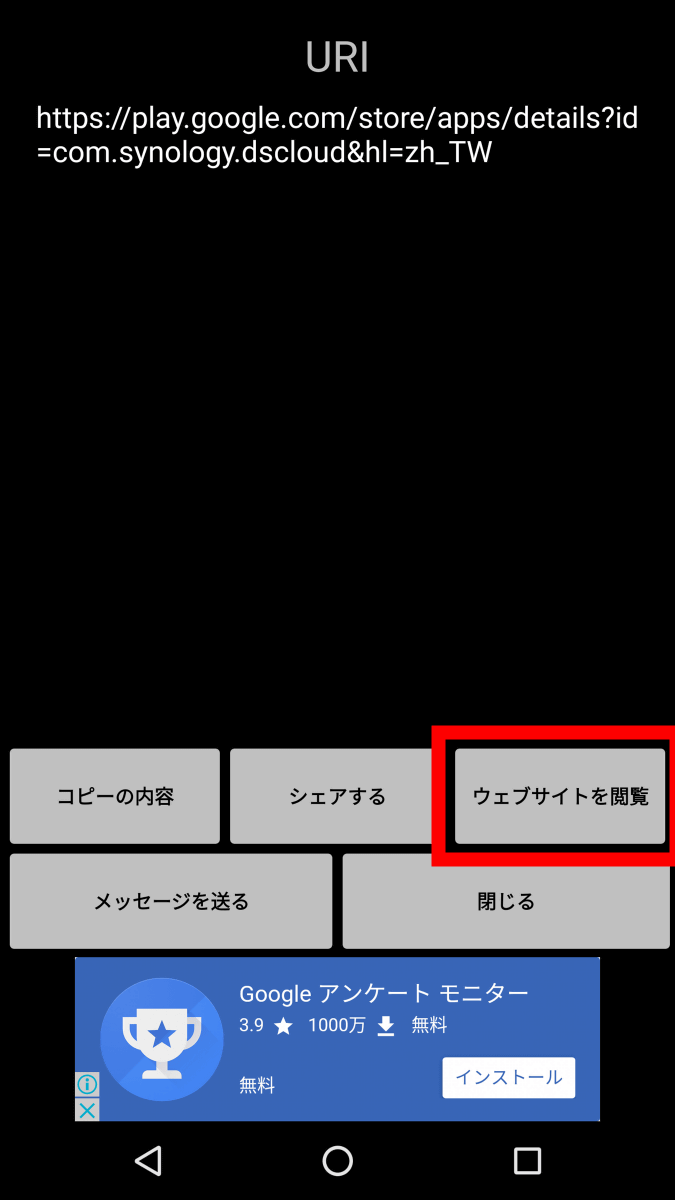
As DS Cloud page appears on Google Play, tap "Install"

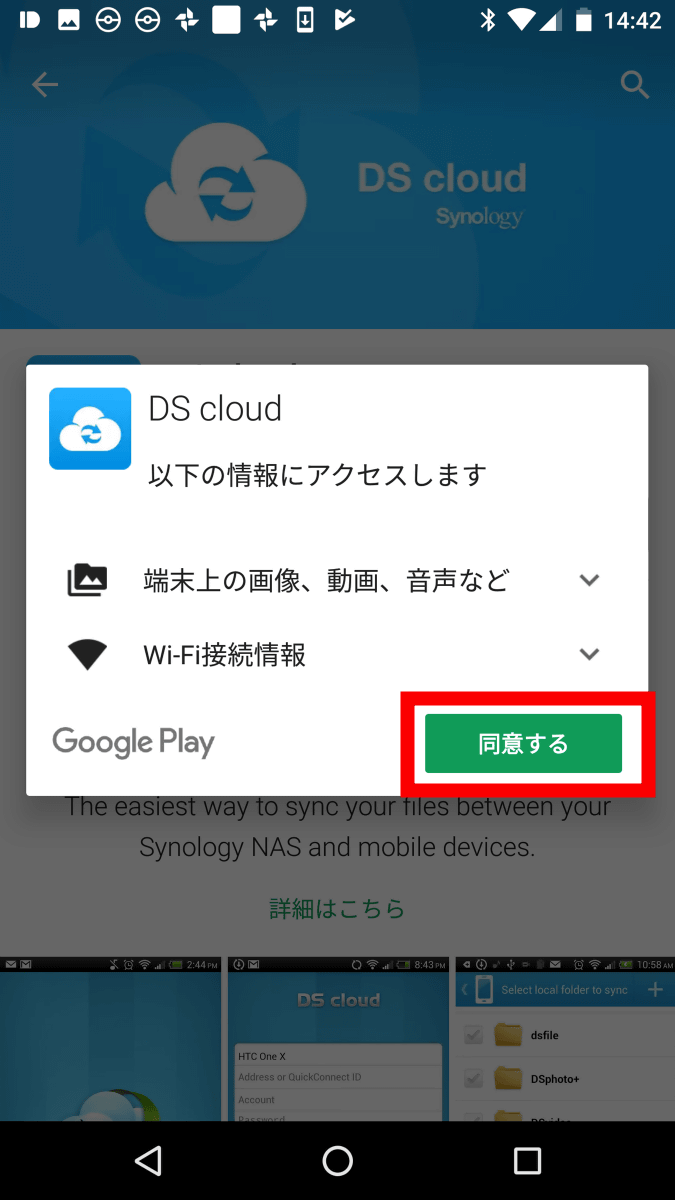
A warning of the information and file format to be accessed by DS cloud is displayed, and tap "I agree".
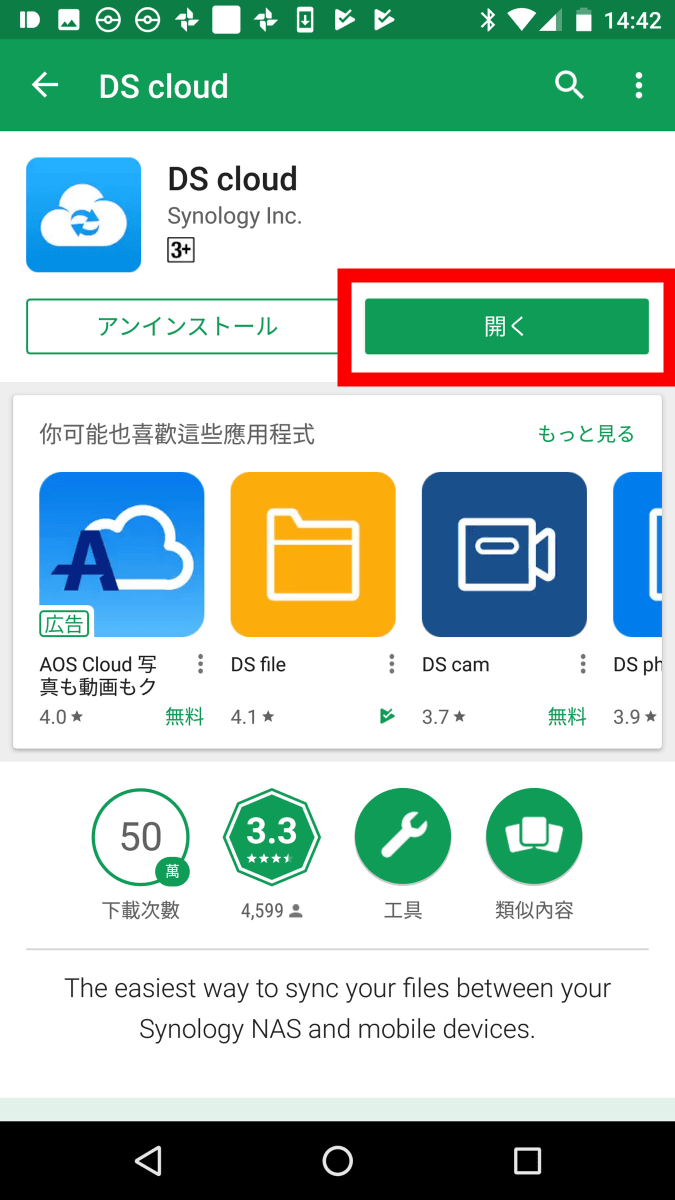
After the installation is completed, tap "Open" to launch the application.
Start up and tap the arrow at the top as new functions are displayed the first time

The DS cloud logo will be displayed for a few seconds.
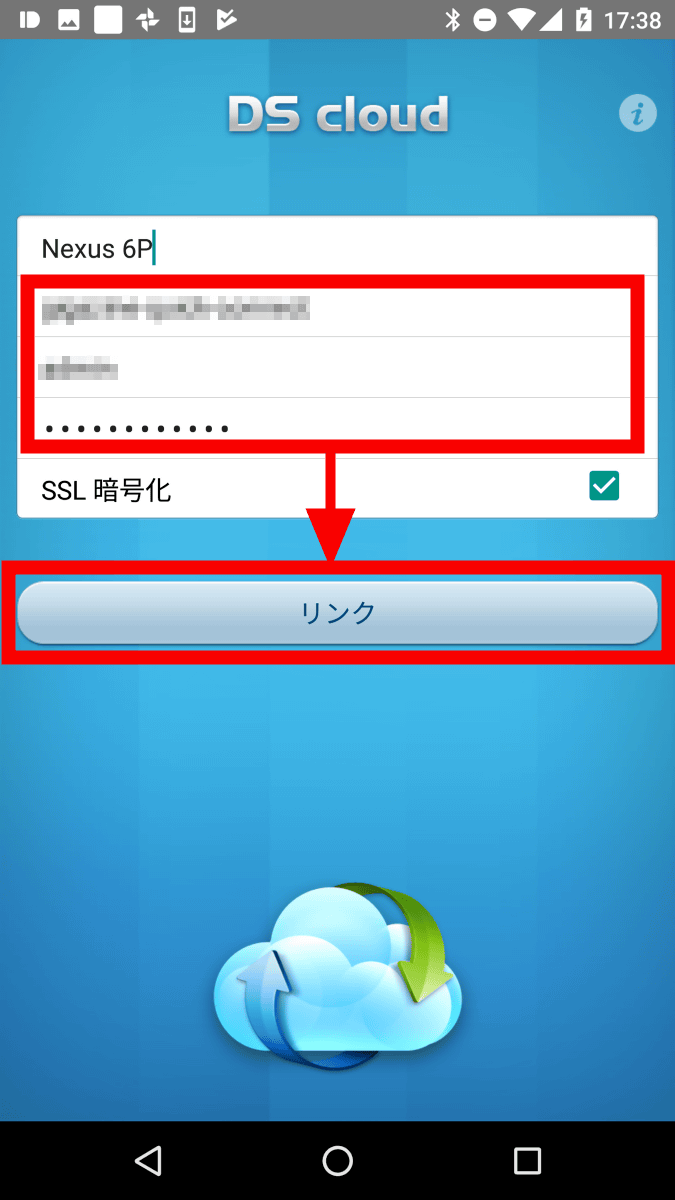
As you go to the login screen, enter it in "Address or QuickConnect" "Account" "Password" respectively.
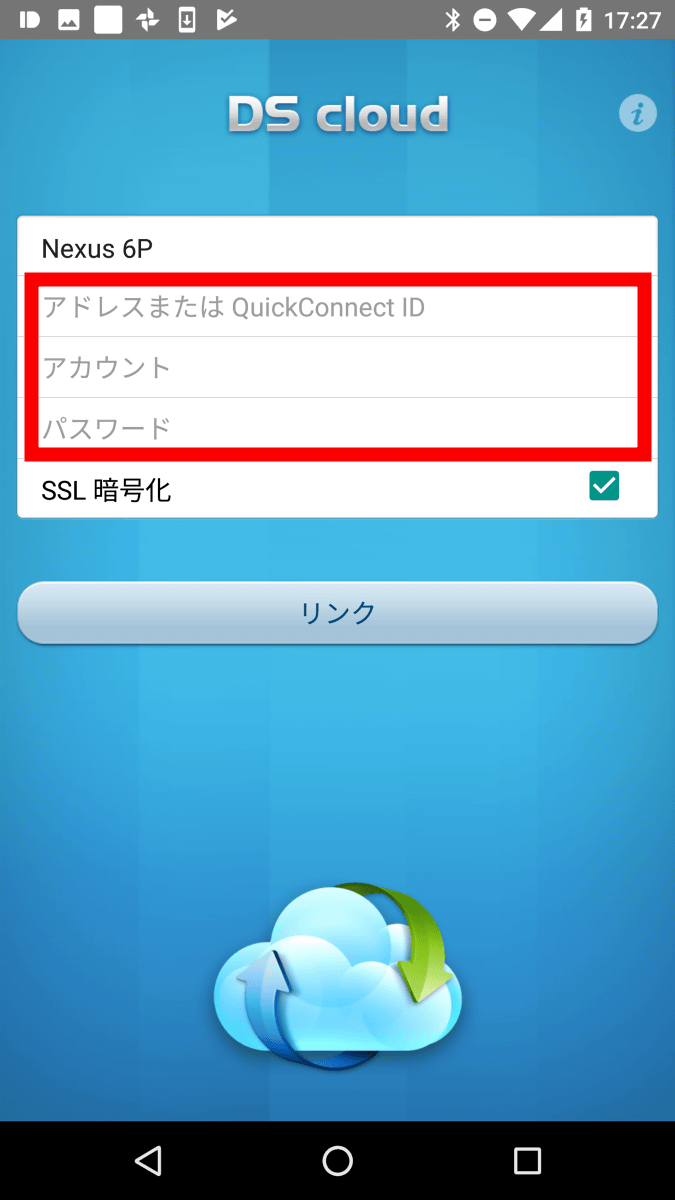
After entering QuickConnectID etc, tap "Link".
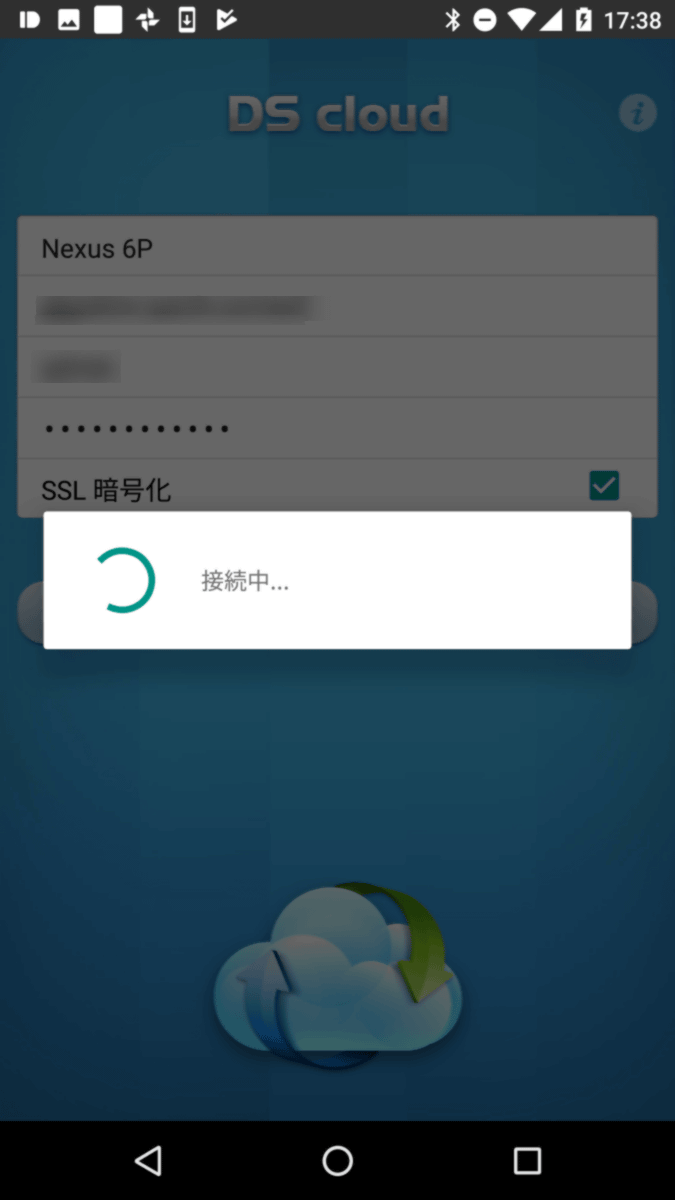
"Connecting ......" will be displayed for about ten or so seconds.
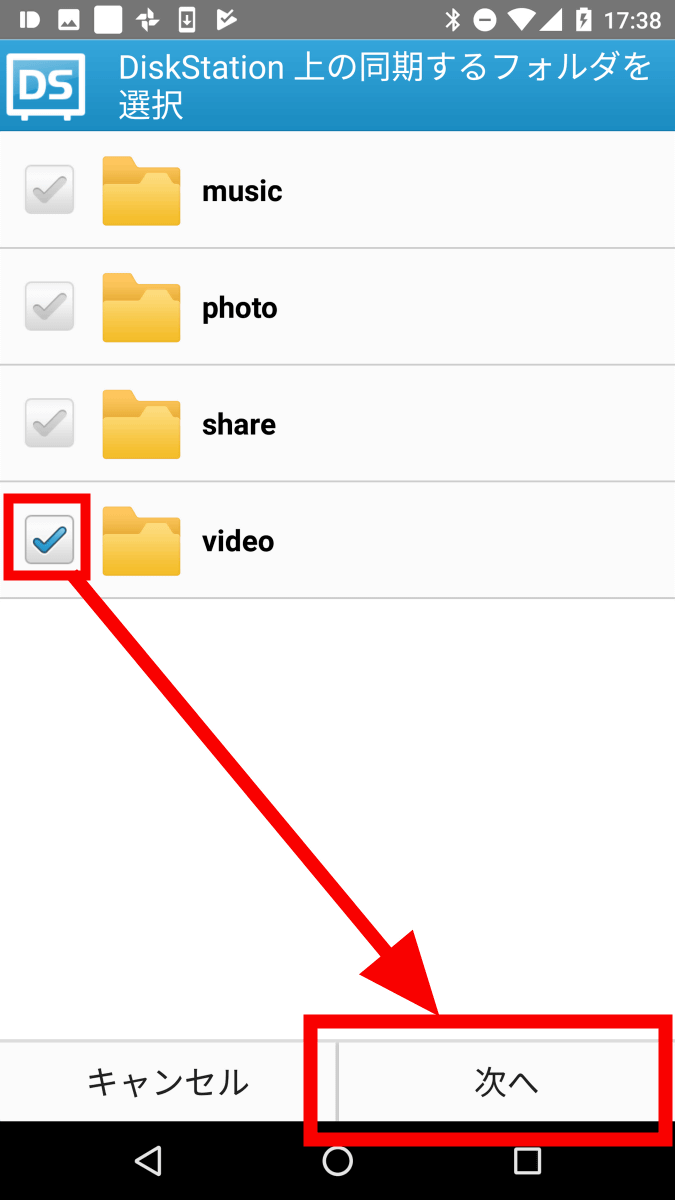
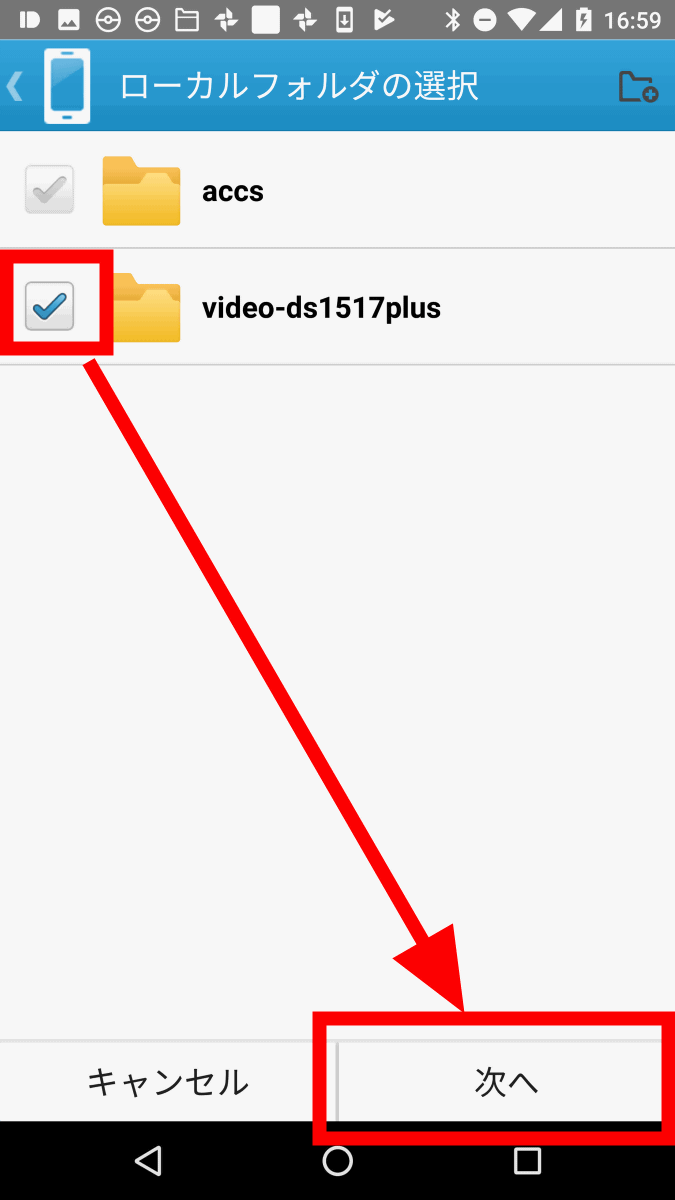
The shared folder of the DS1517 + is displayed in the list. Since we synchronize the movie file with the smartphone this time, tap the checkbox on the left of the folder to specify the "video" folder on the DS1517 + side and put a check mark.

When checked, tap so that "Next" written in light character at the bottom of the screen turns black. You can not tap "Next" unless the check is on.
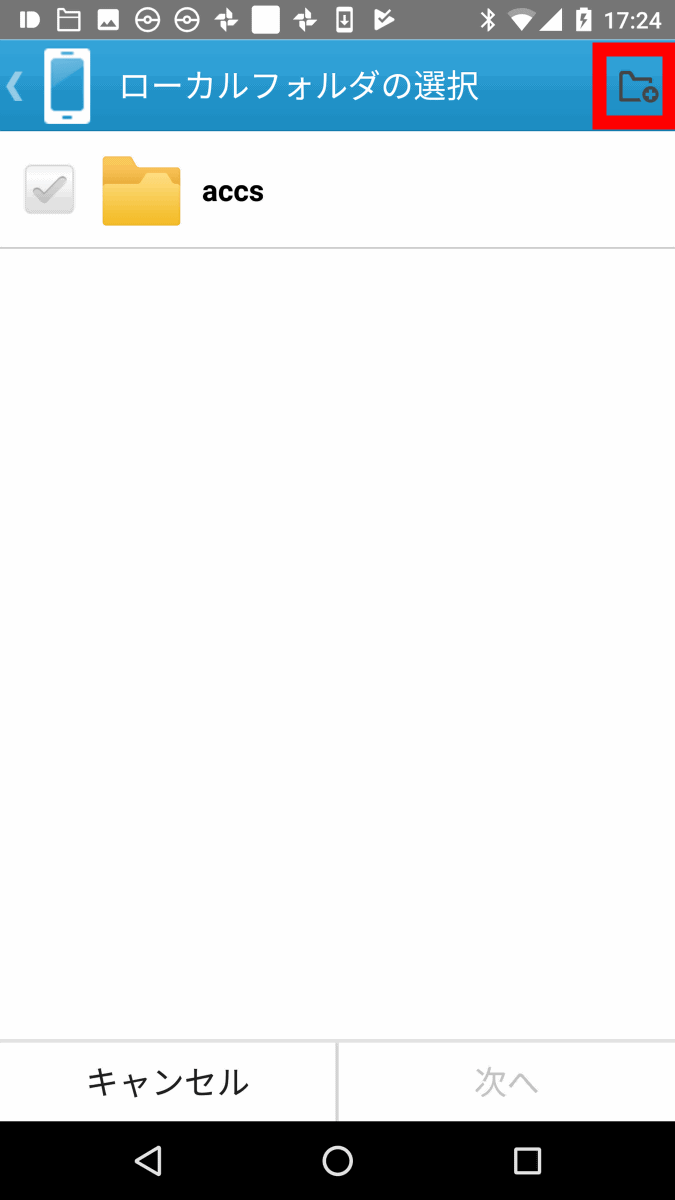
Next, select the folder you want to synchronize on the smartphone side Tap "Internal storage".

For this time, create a new folder for synchronization under the Download folder. First, tap "Download".

Tap the icon on the top right to create a new folder.
Enter any new folder name and tap "Yes".

Check the check box to the left of the folder name you want to synchronize and tap "Next". NAS side and smart phone side synchronized folders are specified respectively.
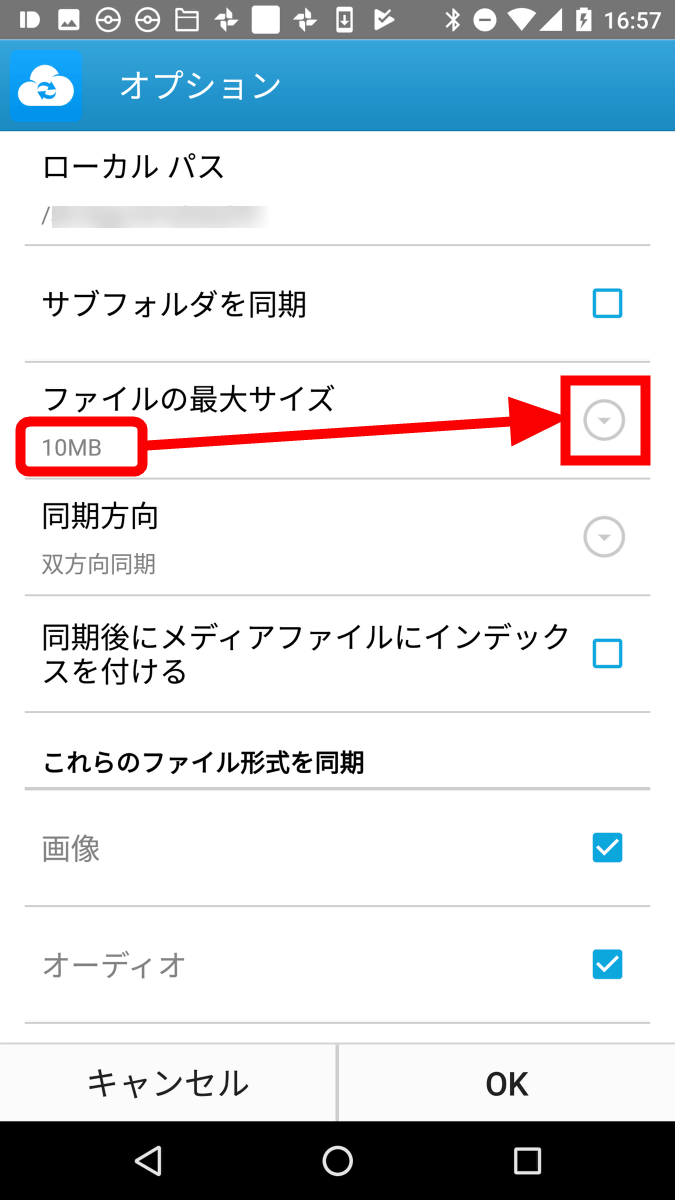
· Change the maximum file size to synchronize
Then the detailed setting screen for synchronization will be displayed. Since we synchronize movie files exceeding 100MB this time, tap "downward triangle mark ▽" on the right of "file maximum size"
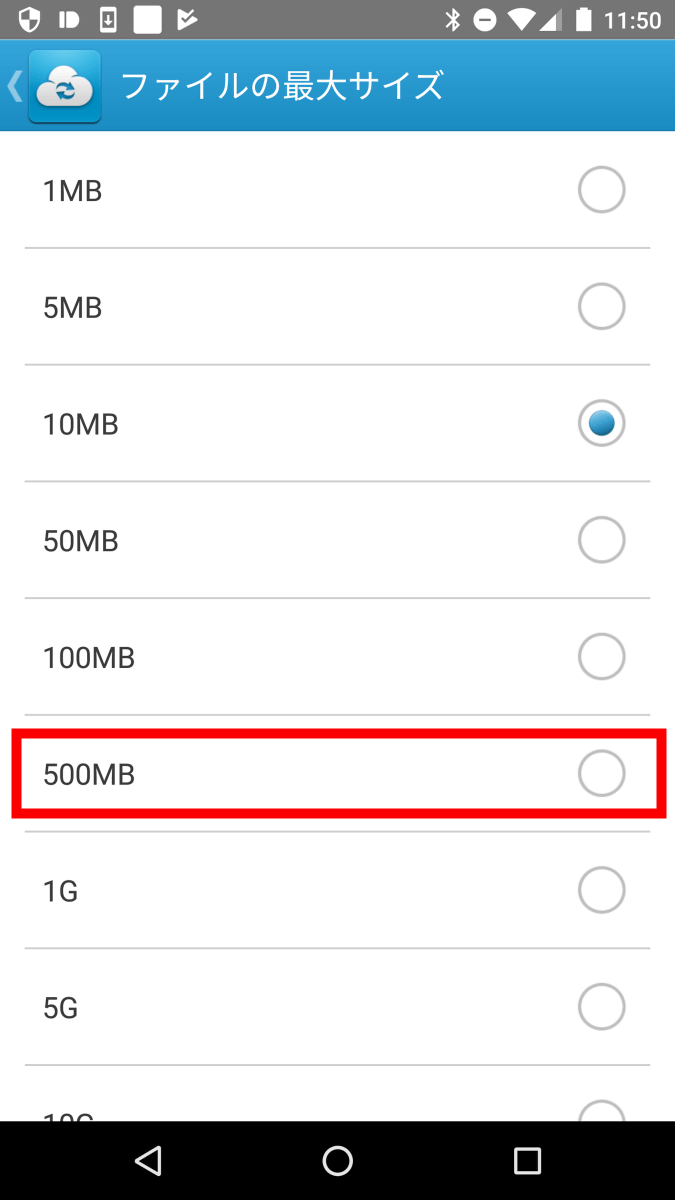
As the file size exceeds 100 MB, tap "500 MB".
The screen switches and the maximum file size is "500 MB".
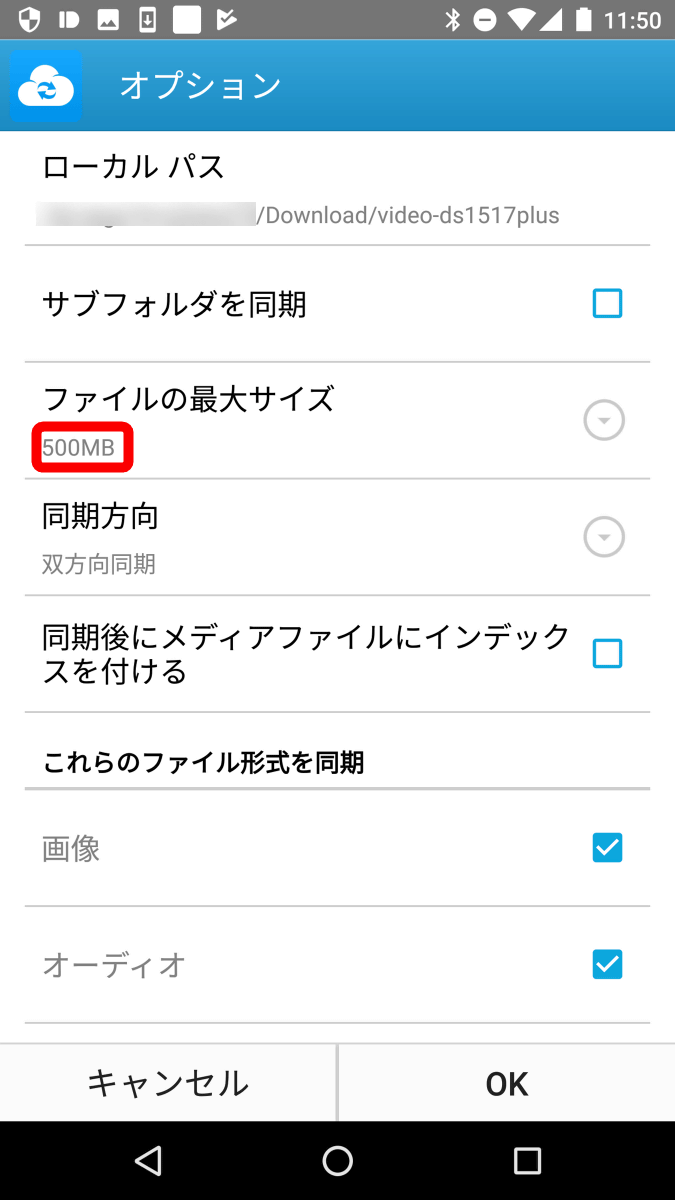
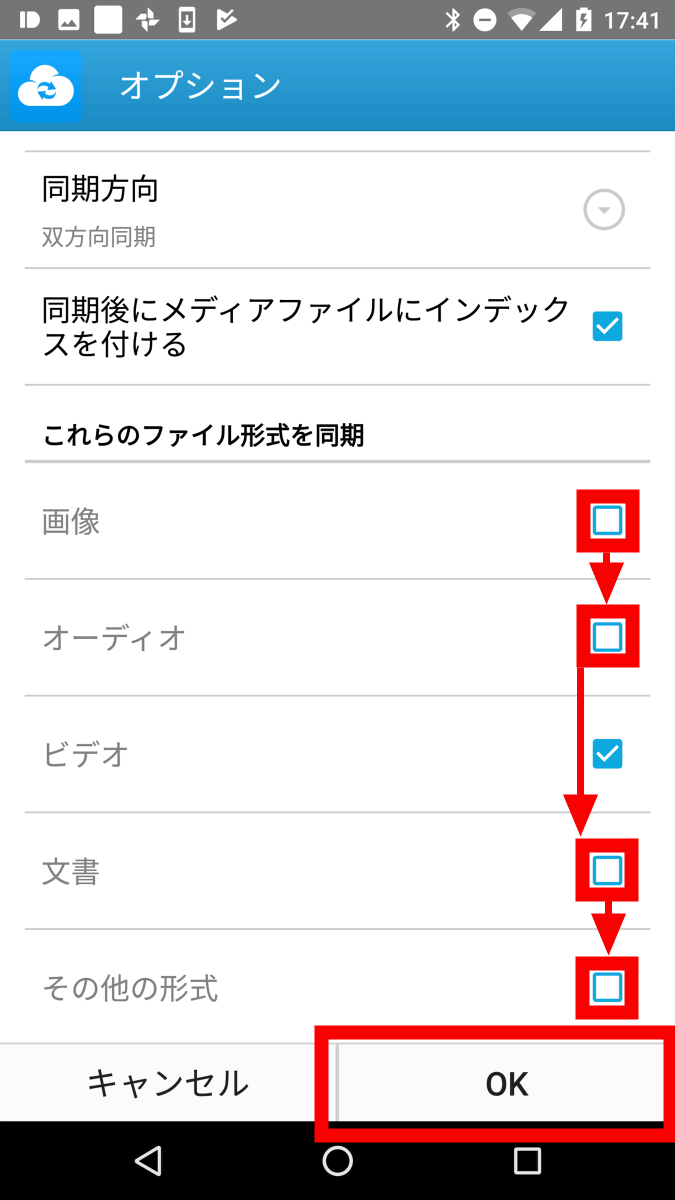
Then scroll down the screen to select the file format to synchronize. Since we synchronize the movie files this time, uncheck the check marks other than "Video" in "Synchronize these file formats" item and tap "OK".
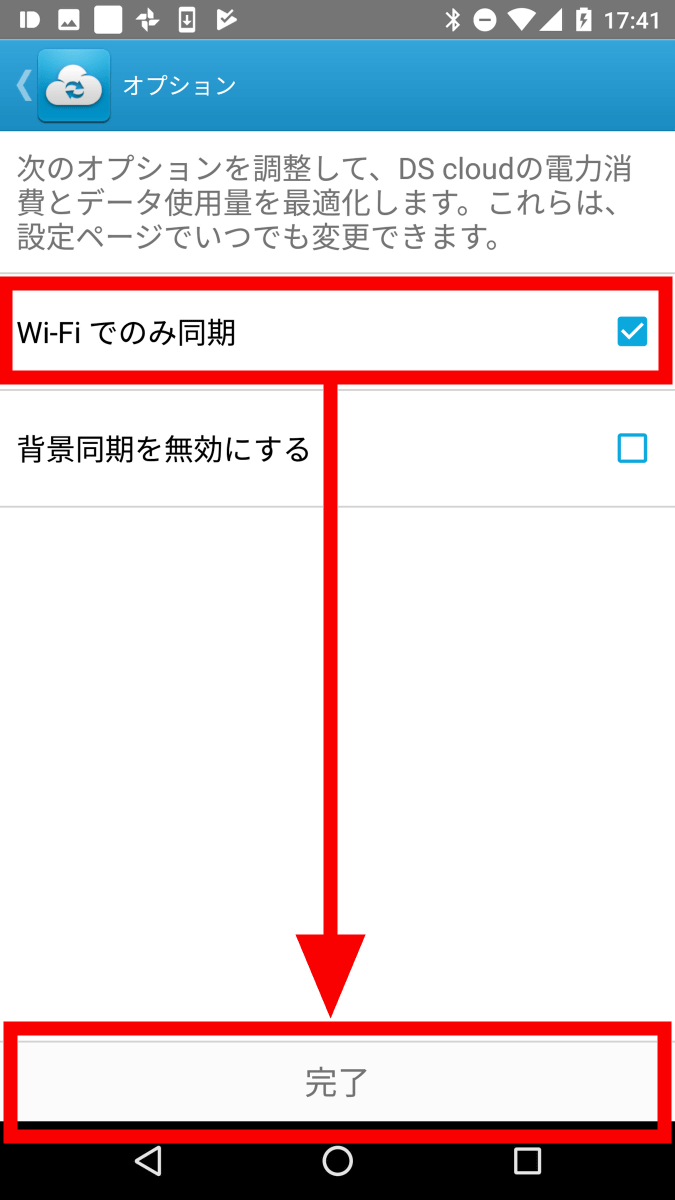
Touch "Sync only on Wi-Fi", put a check mark and tap "Done" because there is a risk of enormous amount of data traffic when synchronizing.
"Loading ......"

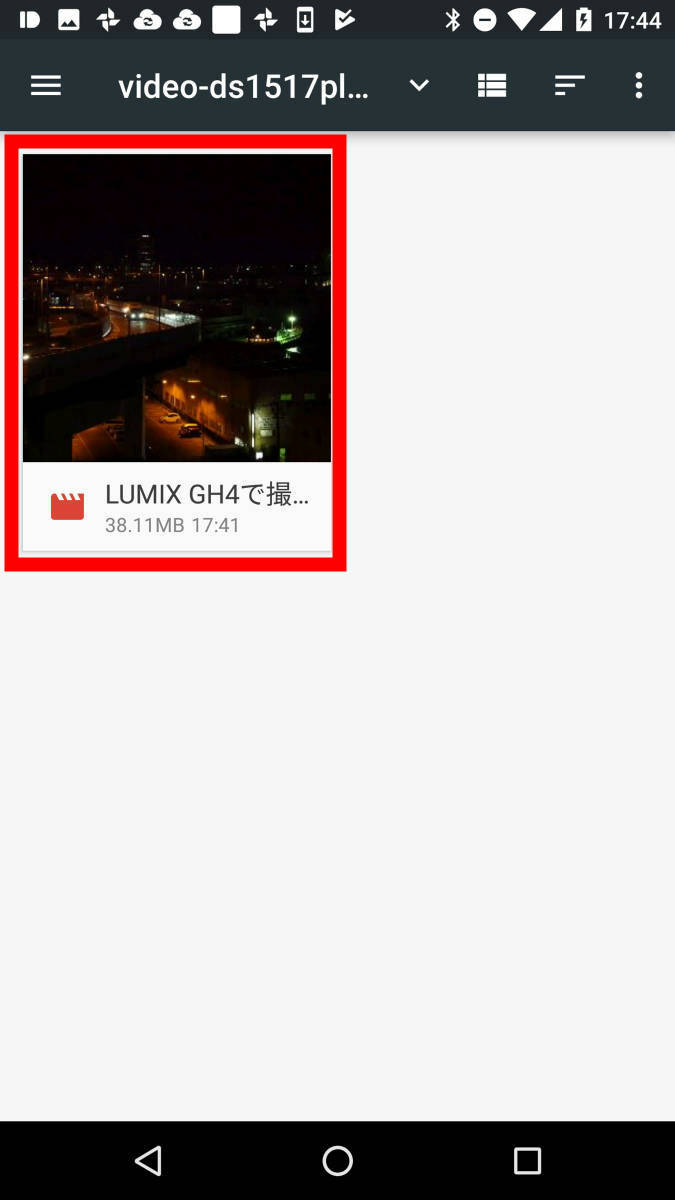
The file on DS1517 + has been displayed.
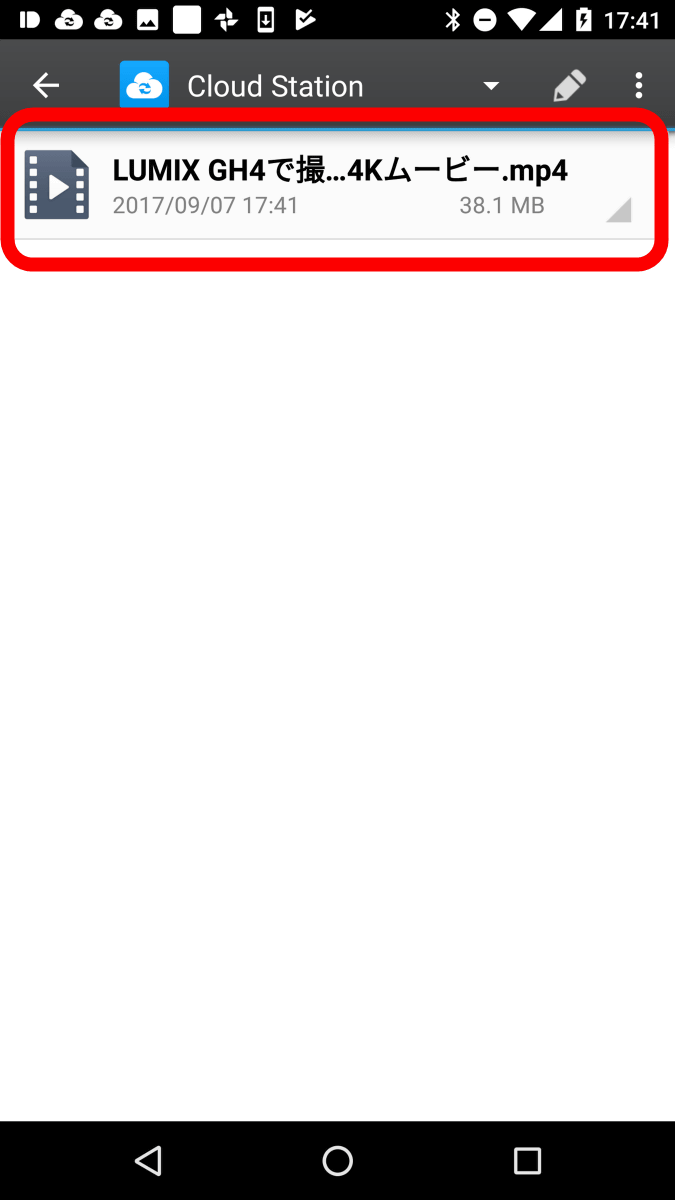
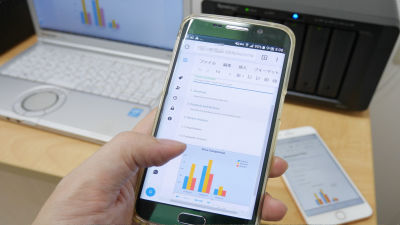
Check the inside of the storage of the smartphone to see if it is synchronized.
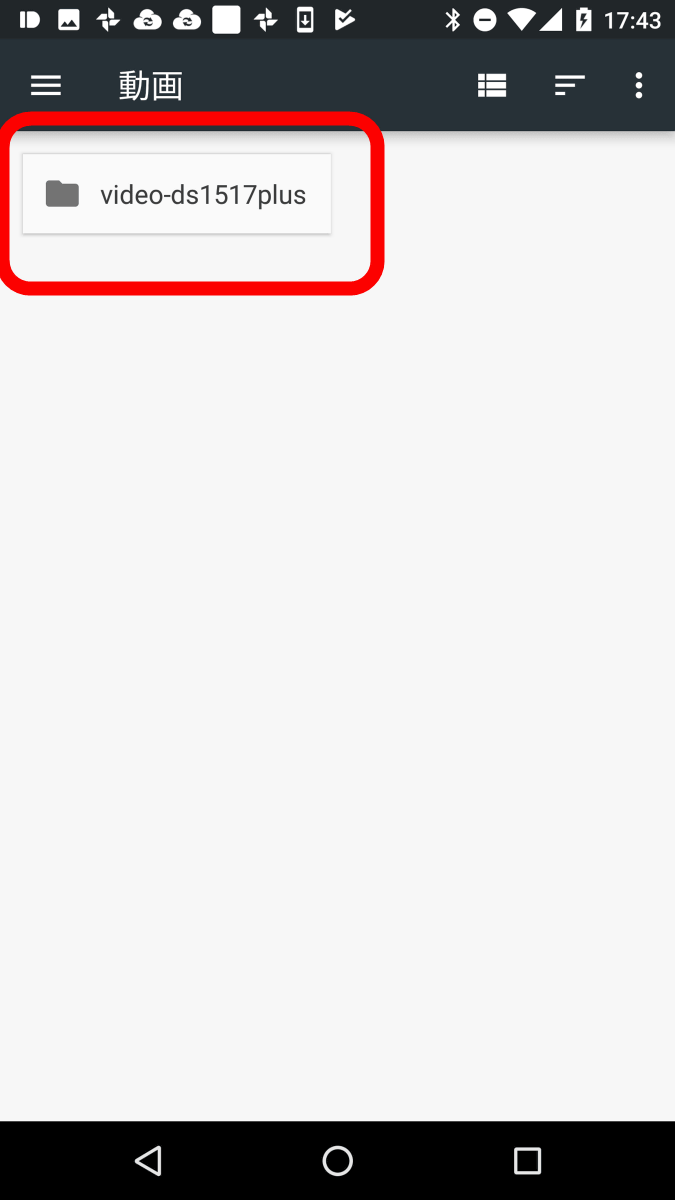
Synchronization was completed properly, there was the same movie as DS 1517 +.
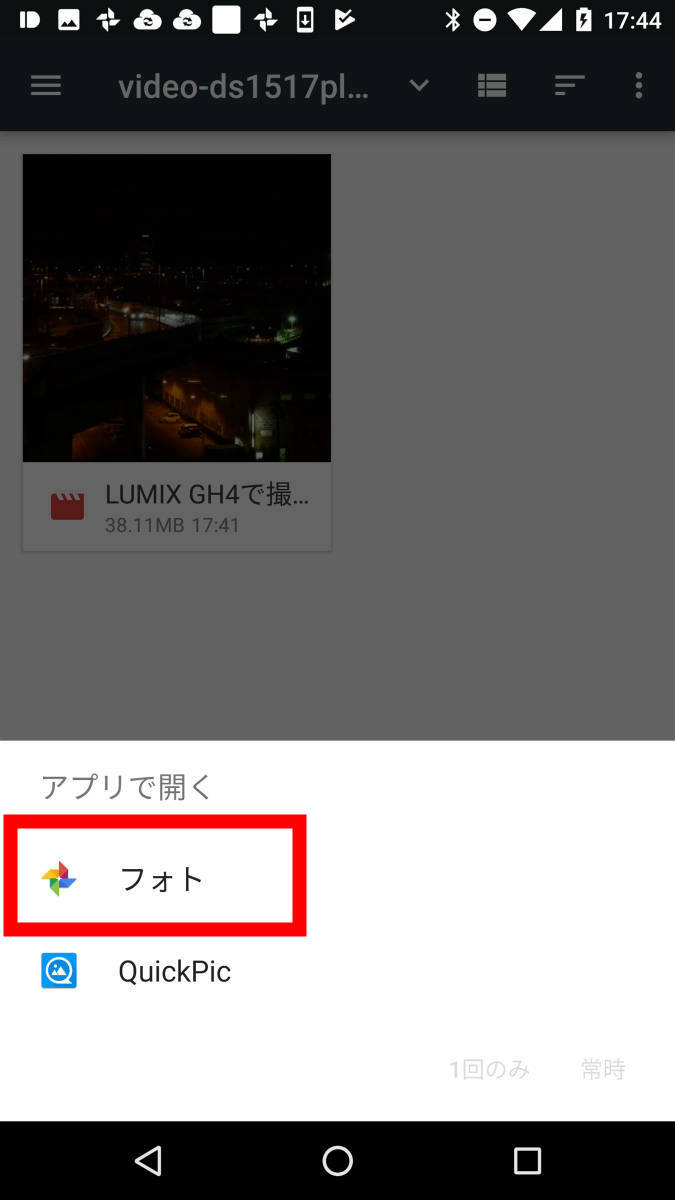
Choosing an application to play ...
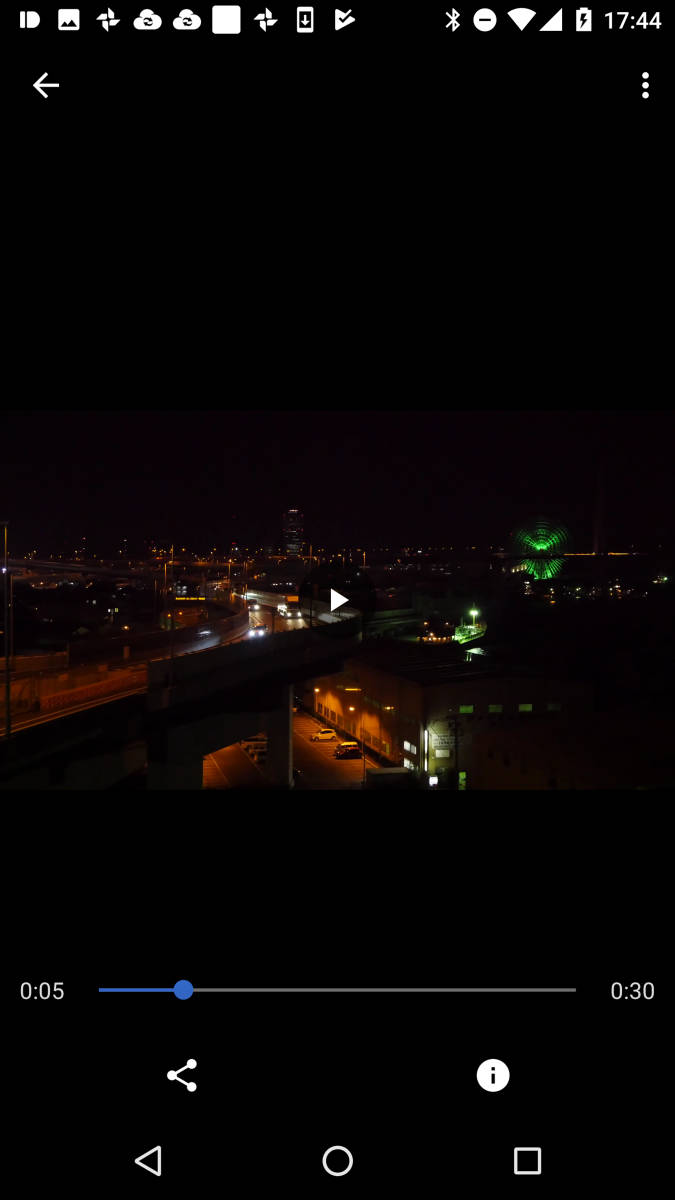
I was able to confirm that the same file as DS1517 + is played.
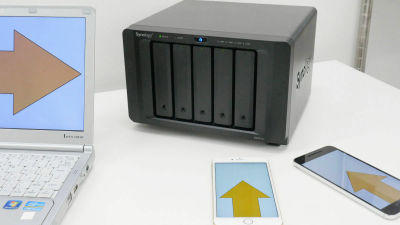
So, regardless of the environment difference between the PC, smartphone, and LAN, synchronization is now possible. When creating an article, NAS · PC exchange and file exchange between smartphones did not plug in or unplug the cable, there was little time lag between file transfer and content reflection, it was convenient. It is very attractive to freely access from anywhere on the go without choosing a terminal to use. However, in mobile communications with smartphones and others, caution is required as traffic volume increases. Next time, we plan to do "restore files from Windows explorer" for reasons such as deleting the DS1517 + file by mistake.
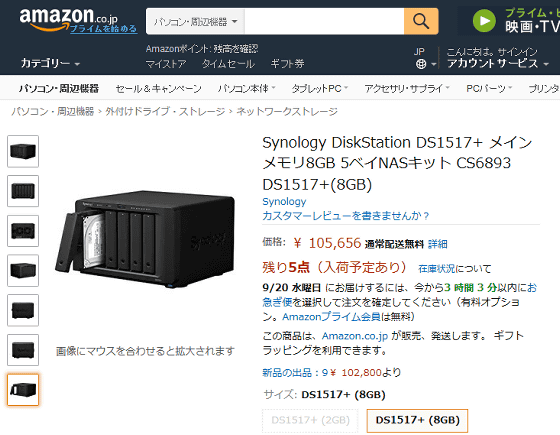
The DS1517 + of the 8 GB memory model used in the review is 105,556 yen at the time of article creation.
Amazon | Synology DiskStation DS1517 + main memory 8GB 5 bay NAS kit CS6893 DS1517 + (8GB) | Synology | network storage | personal computer / peripheral equipment
· Continued
How to set the procedure for restoring files from right-click "Restore previous version" on Windows using DSM with NAS - GIGAZINE

Related Posts: