How to make NAS a media server with Disk Station Manager (DSM) and streaming movies and music from outside with smartphone Summary

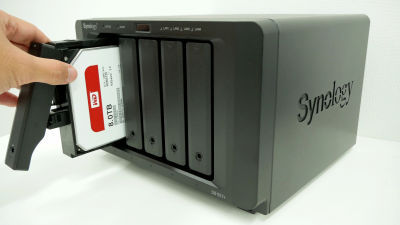
Synology's NAS "DS1517 +"8TB HDD for NAS"WD80EFZXIn order to make effective use of the capacity which was made to 32 TB, we decided to convert it to a media server that can play streaming movies, music and images from PCs and smartphones. You can stream movies, music and images from PCs and smartphones.
File sharing | Synology Inc.
https://www.synology.com/ja-jp/dsm/feature/file_sharing
Synology NAS User's Guide DSM 6.1 Standard
(PDF file)https://global.download.synology.com/download/Document/UserGuide/DSM/6.1/Syno_UsersGuide_NAServer_jpn.pdf
The initial setting of DiskStation can be confirmed in the following article.
Initial setting summary for introducing the strongest NAS · Synology's 5-bay upper model "DiskStation DS1517 +" - GIGAZINE
Procedures for creating shared folders on the Disk Station Manager (DSM) and sharing and accessing them within the group and procedures for setting up e-mail notification at emergency - GIGAZINE
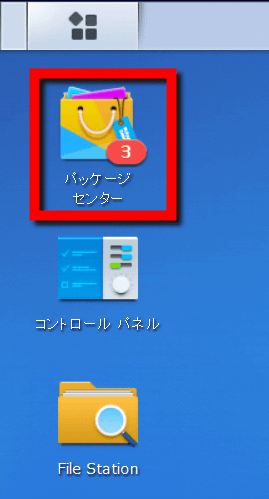
First, in order to convert the DS1517 + to a media server, first open the "Package Center" displayed on the DSM desktop by clicking on it.
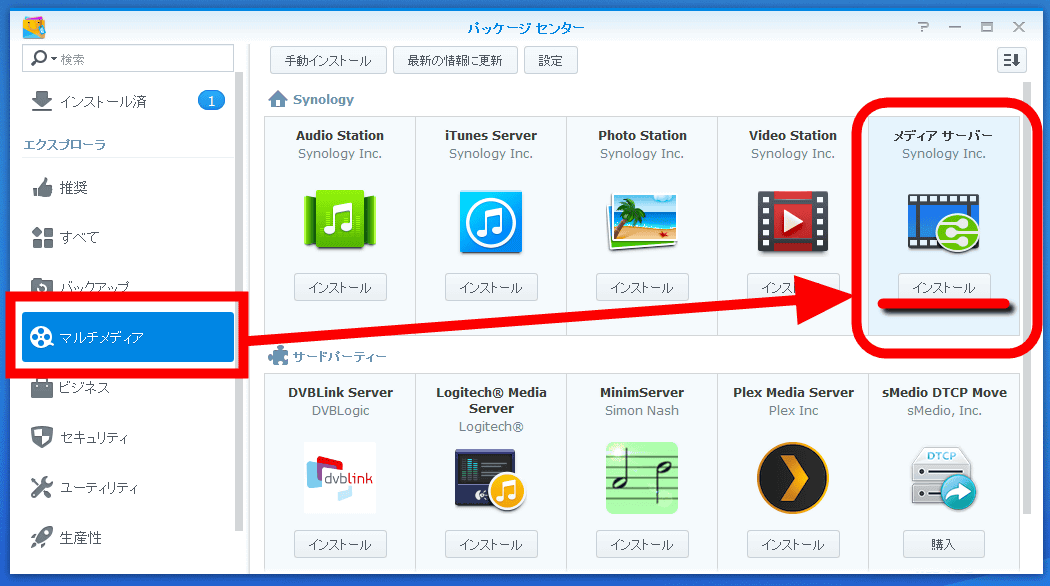
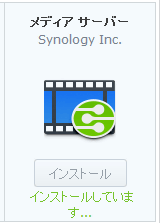
Click the "Multimedia" item and click "Install" of the application "media server" whose source is "Synology Inc.".
Download begins ... ...

Installing ... ....
When the installation is completed, the display becomes "Open", so click.

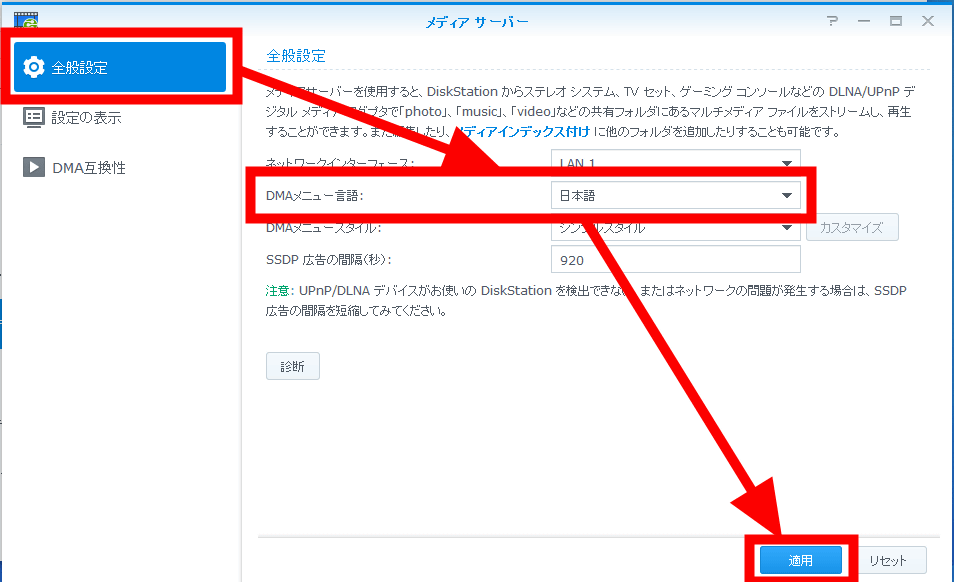
Next, TV · stereo system, PlayStation · Xbox etc.DLNA / UPnP compatible DMA (digital media adapters)To change the display language when accessed with English from English to Japanese, change the item of "DMA menu language" from "English" to "Japanese" in "General setting" and click "Apply". Initial setting of DMA is completed.
Next, in order to make the file easier to handle, change "Music display format" from "Show setting" menu to "Track - Title / Artist - Album", change "Sort photos" to "Photo shooting date" , Click "Transfer low resolution image instead of original image" and check it, then click "apply" at the end.

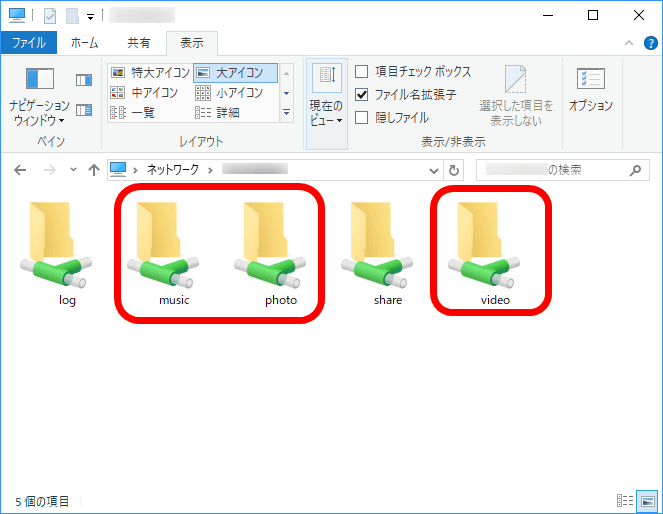
Three folder "music" "photo" "video" is automatically created when "media server" is installed.
◆ Change group file sharing so that you can access folders
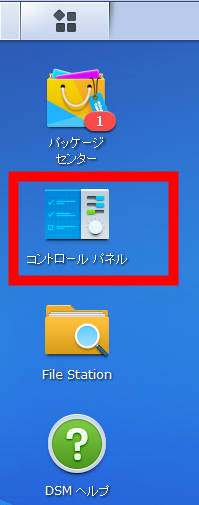
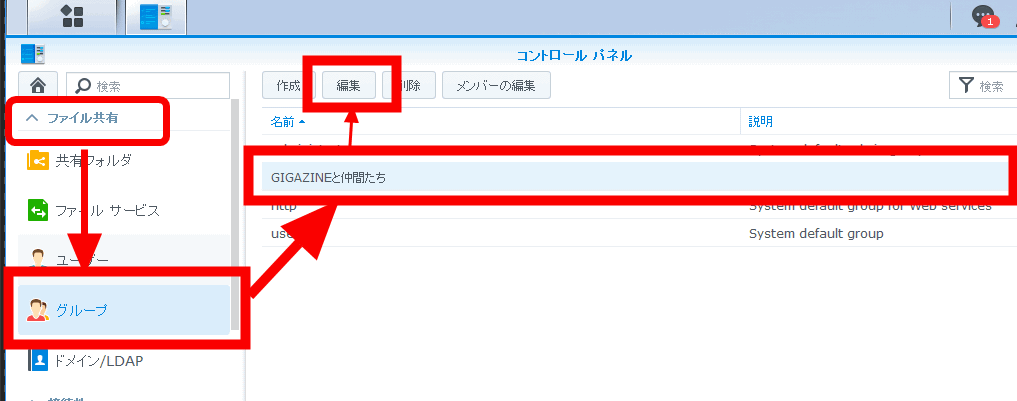
In order to make the user accessible to the file, this time change the file sharing setting so that the user can access the file for each group that is a member. This timeThis series of NAS, DS1517 + seriesTo add files to the music, share, video folder, the user name "Gigao" of general authority created in the user 's "Gigao" of the user or the group "GIGAZINE and friends" in the user list It is necessary to change file sharing. First, click DSM's control panel.
Select "Group" item of "File sharing" by clicking. Changing file sharing settings Click the group "GIGAZINE and friends" and click "Edit".
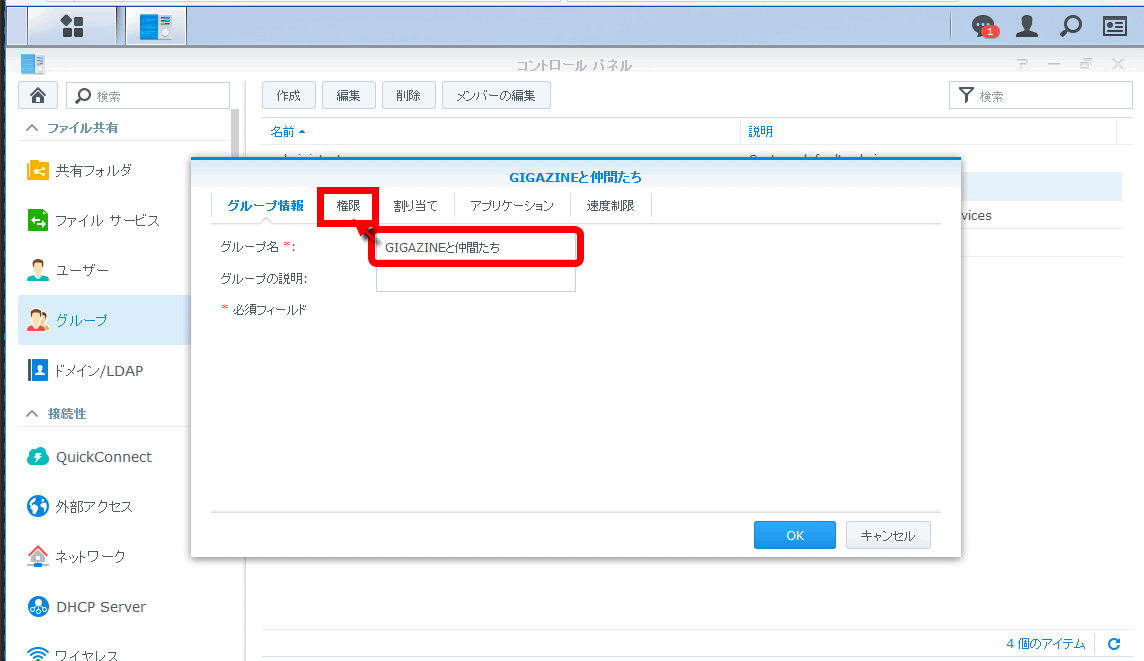
A window for changing group file sharing opens. After checking the "group name" you want to change, click the "authority" item.
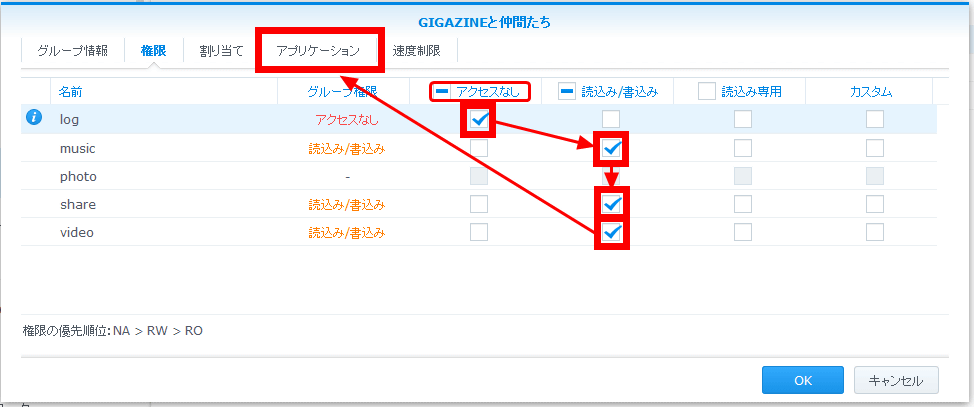
Restrict the folders that the group accesses. This time "Group" GIGAZINE and friends "can not open the log folder, only music, share · video folders can read and write files". So check the check box under "No access" in the check box to the right of the folder name "log". Next, check the check boxes under "Read / Write" in the check boxes to the right of the folder names "music", "share", "video". After checking, setting of "privilege" tab is completed. Click the "Application" tab. If you want to share images with a general authorized user who logged in, you can share images by adding them to other folders except "photo" such as "share" and "video". Incidentally,Photo folderIf you want to share files with DMS applicationsPhoto StationBe careful as you must connect from the outside and change Photo Station settings after installation. Since we do not use the Photo folder this time, I will skip the change method.
How to share files with Photo folder (Synology Official Site)
Photo Station | Synology Inc.
https://www.synology.com/ja-jp/knowledgebase/DSM/help/DSM/MainMenu/personalphoto
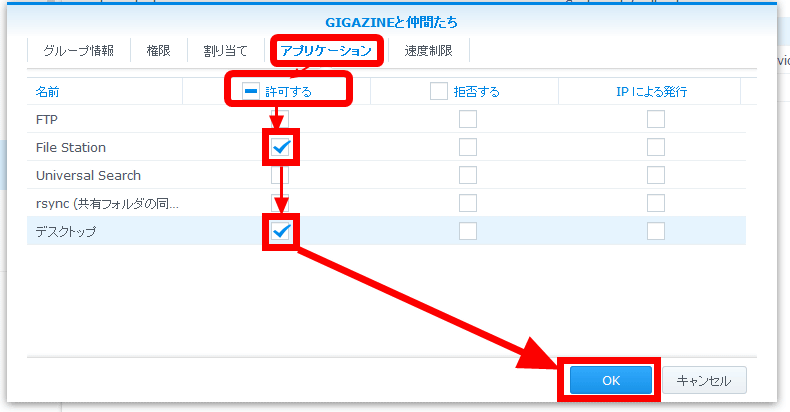
After moving to the item of the application, set the application and communication method that the group can use. In this time check box under the "Allow" item, check the boxes of the DSM application names "File Station" and "Desktop" on the left and click "OK" to close the window.
◆ Access to the DSM of "DS1517 +" from the outside Simple to use QuickConnect
It is easy to use QuickConnect function to access "DS1517 +" DSM. Just by acquiring the Synology account, you can access the DSM of "DS1517 +" from the outside.
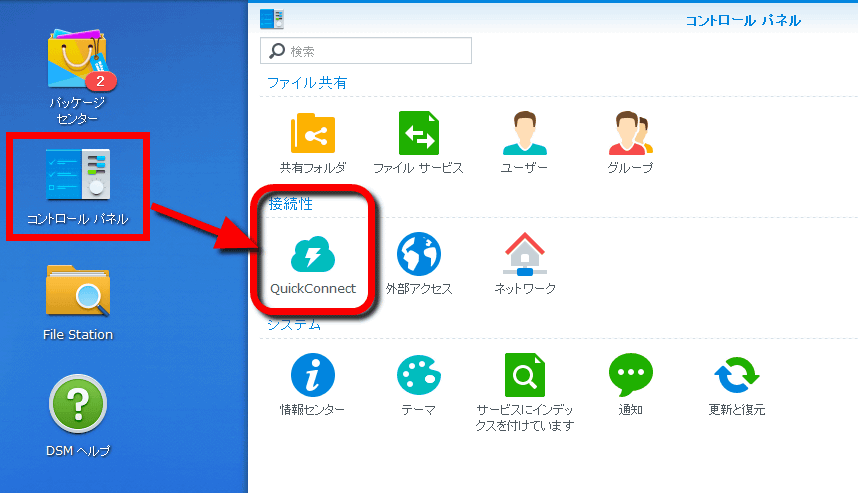
To that end, we will first create a Synology account. To use "QuickConnect" function, first open "Control Panel" with DSM and click "QuickConnect".
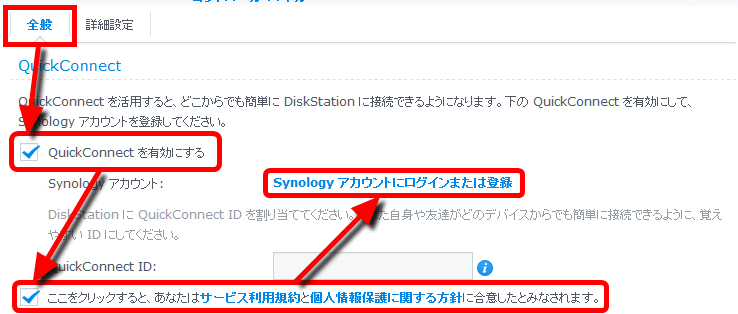
Check "Enable QuickConnect" on the "General" tab and also check the bottom row. Then click "Login or Register to Synology Account".
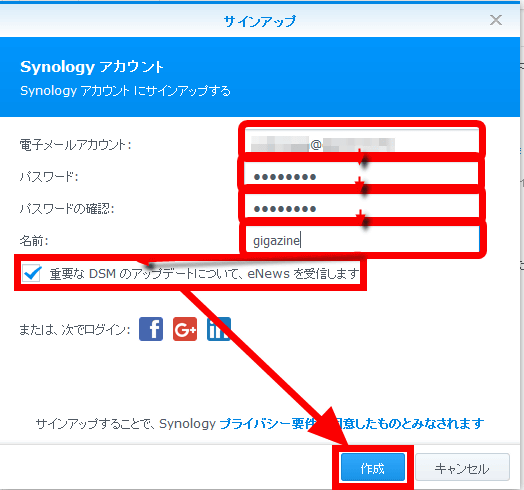
Enter your email address, any password, any name (user name), click on "Receive eNews for important DSM updates", uncheck and click "Create".
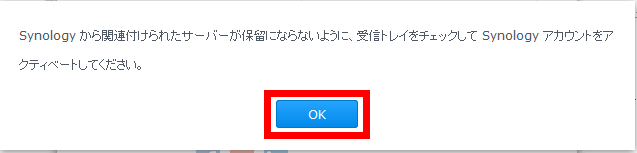
Click "OK" and check reception on the mail address you entered earlier.
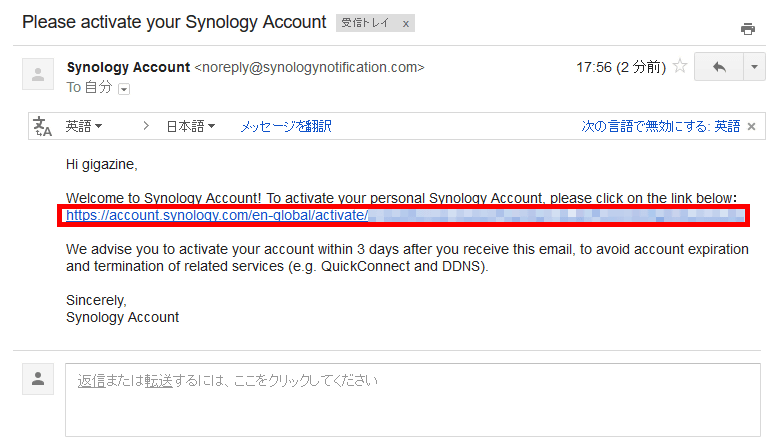
Mail arrived from Synology to the e-mail address you registered earlier. Click the URL in the email.
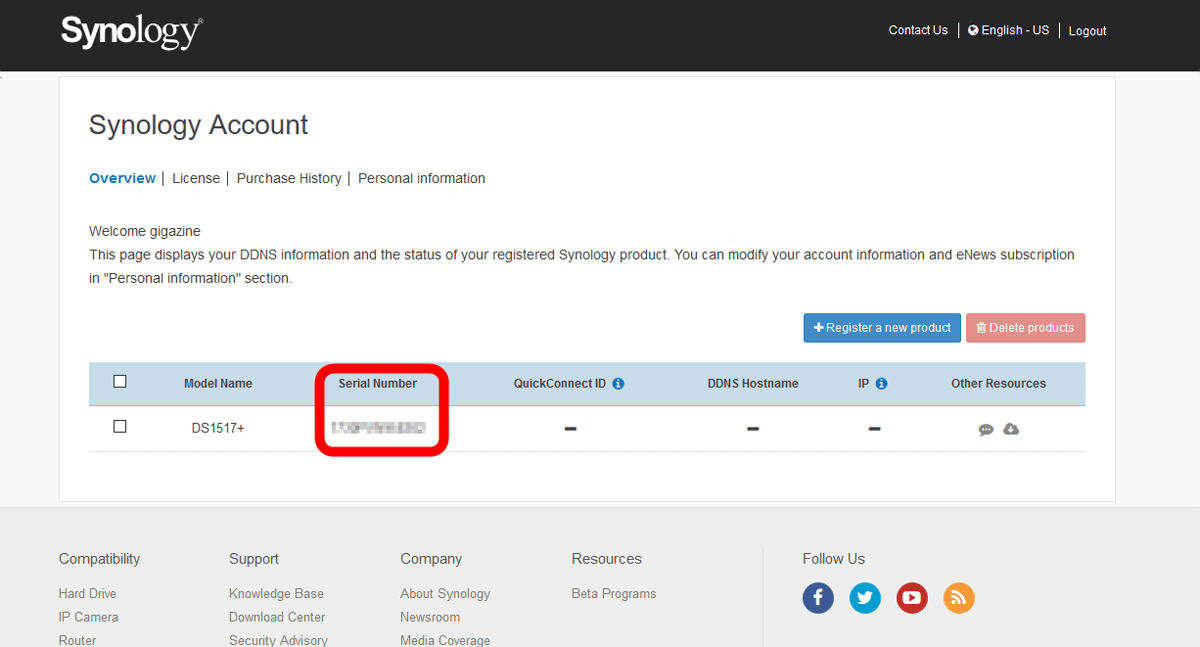
The page of my Synology account opens, so confirm that the serial number of DS1517 + is registered. Your Synology account is now ready.
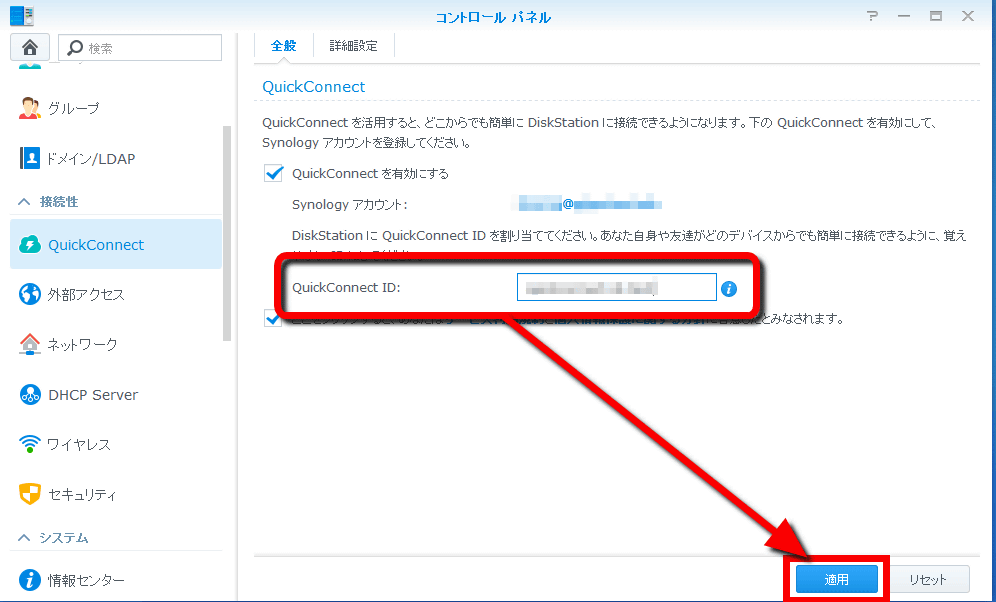
Return to the DSM control panel, enter any "QuickConnectID" and click "Apply". This QuickConnectID will be part of the URL. It is also possible to change it later.
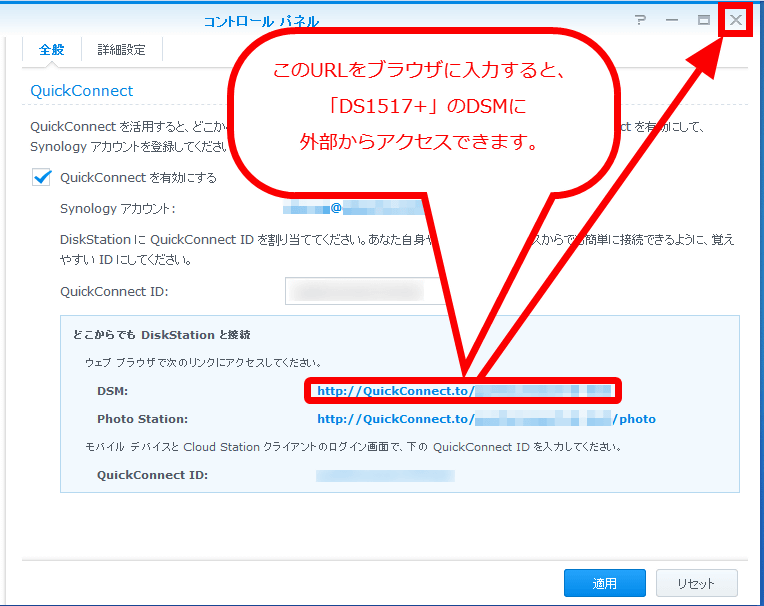
The URL has been created. By entering this URL in the browser, you can access DSM of "DS1517 +" from the outside. Since setting QuickConnectID is completed click "×" to close control panel.
Let's try accessing from the outside using a browser.

"connecting……"
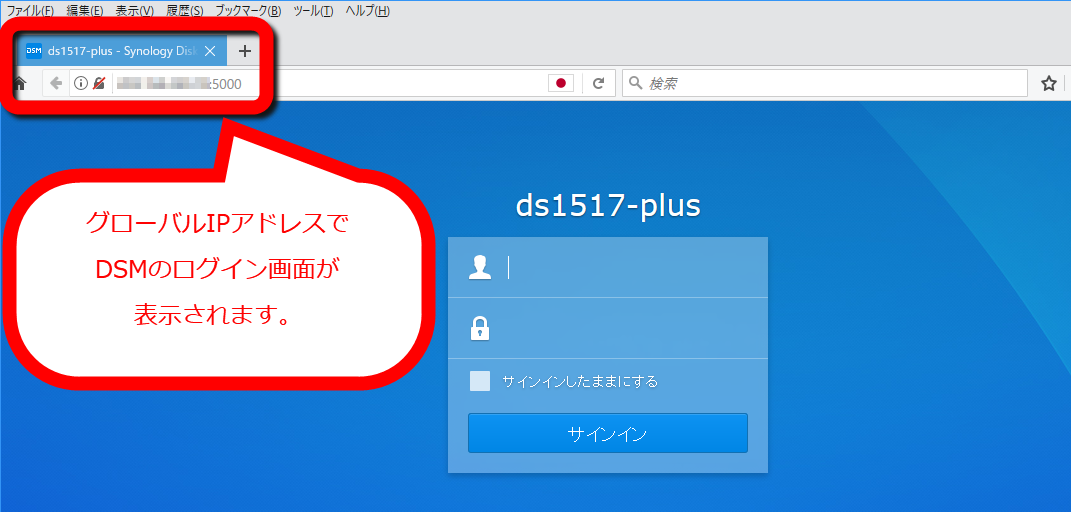
Global IP addressDSM login screen is displayed and can be accessed from the outside.
◆ Browse files using DSM's "File Station"
Since "media server" has already been installed, three folders of "music" "photo" "video" are automatically created.
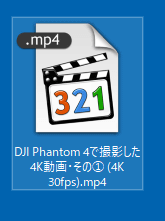
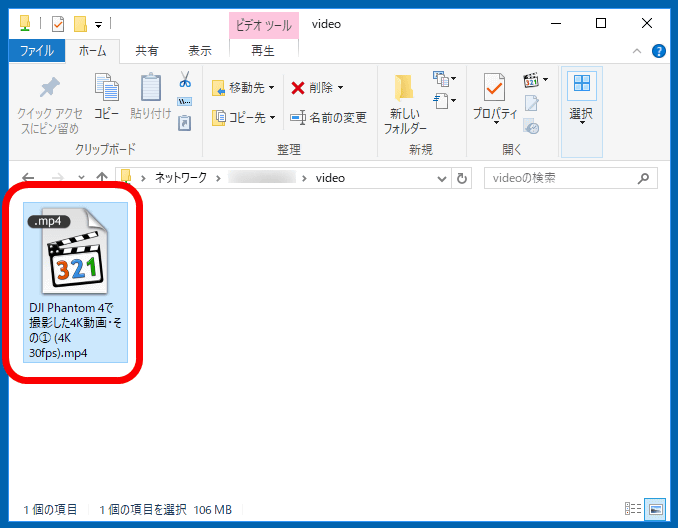
Let's try uploading a 4K movie file with 106 MB taken before.
Open the DS1517 + folder folder
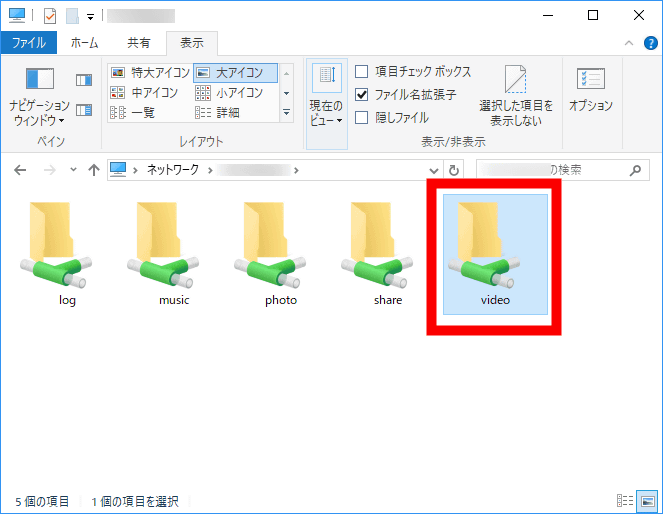
I will copy it inside.
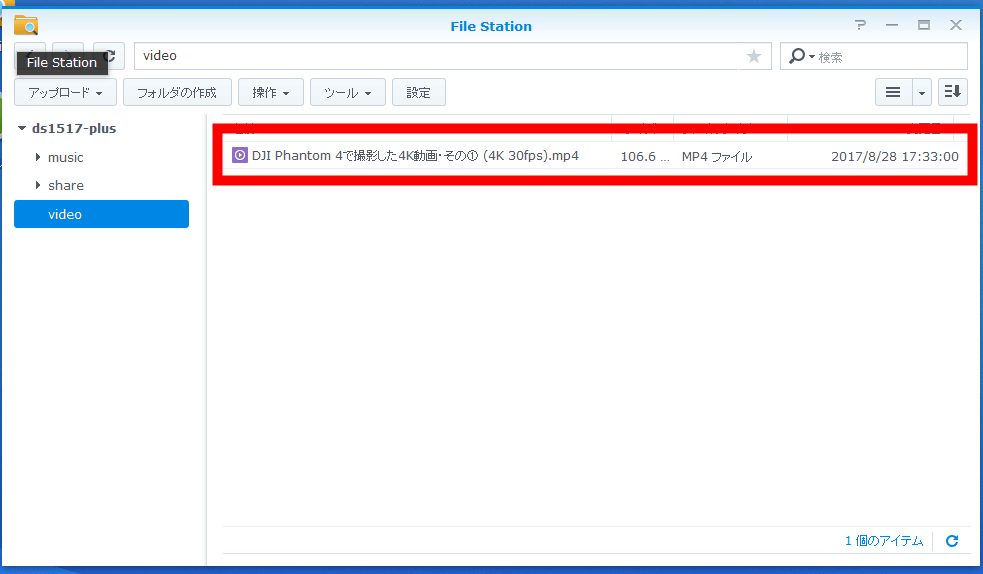
Go back to DSM and open the video folder with "File Station" There was a file uploaded.
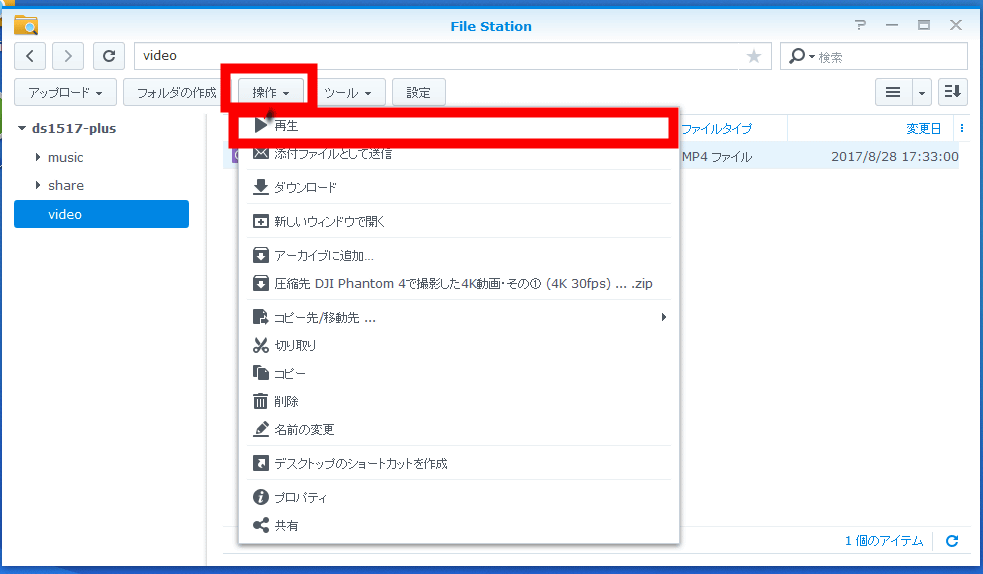
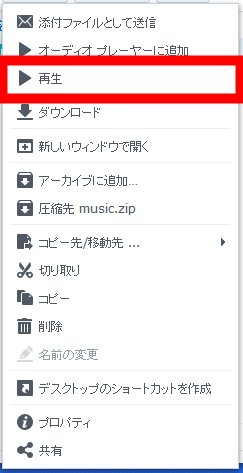
Click on the file to select it, and click "Operation" → "Play" at the top.
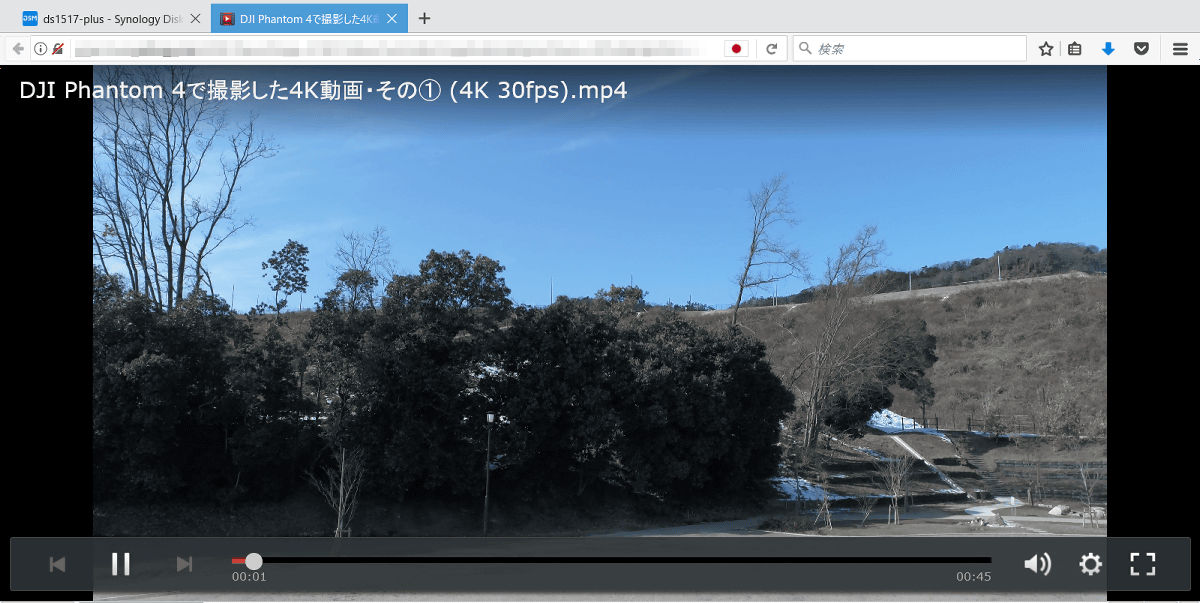
It was played on a tab different from DSM's desktop. Although it is a 4K image quality movie, playback can be performed even if you skip the play position on the seek bar. "Subtitle change" and "Full screen display" can be played.
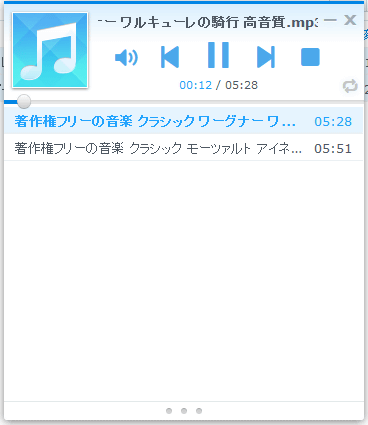
With the music file selected, click "Operation" → "Play" or double click to play the music.
It was played on the DSM desktop. There are three types of playback methods, "Repeat music file in folder", "One track repeat", "No repeat".
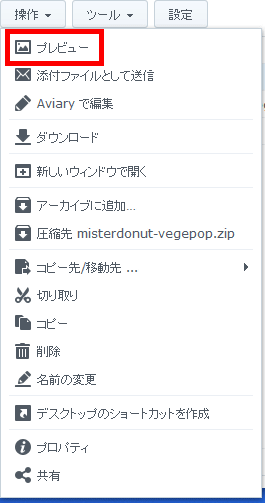
To browse image files, click on the file with the same procedure and click "Operation" → "Preview", or double click on the file.
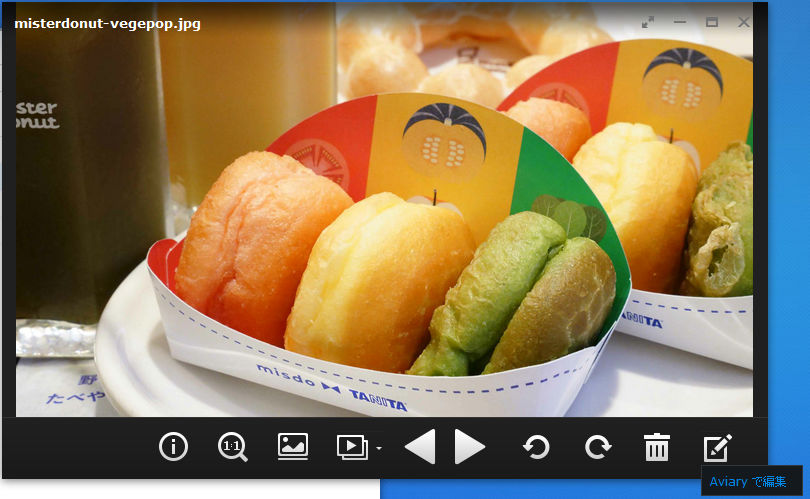
The viewer opens in another tab of the browser. Icons aligned at the bottom of the image are displayed from the left "Display image information" "Display as original size" "Set as wallpaper" "Slideshow" "Show previous file" "Show next file" "Left rotate" " Rotate right "" Delete "" Edit ".
Clicking the edit icon and clicking "Edit with Avirary" coming out further ... ...
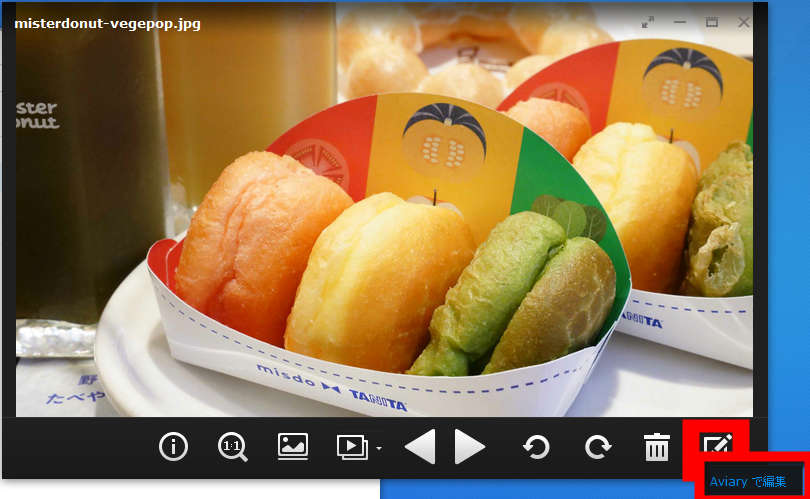
The Aviary Editor opens in another tab of the browser, and you can do various processing on the displayed picture. Attention is necessary since external connection to DiskStation is necessary when using file size which can process with Aviary Editor up to 5 MB.
Edit photos | Synology Inc. (Synology official website)
https://www.synology.com/ja-jp/knowledgebase/DSM/help/FileStation/edit

◆ Access DS1517 + from smartphone
To access the files in the NAS from the smartphone, use the official Synology application. First install "DS file" application on smartphone. The subsequent operation screenNexus 6PWe are verifying with.
DS file on the App Store
https://itunes.apple.com/jp/app/ds-file/id416751772
DS file - Android application on Google Play
https://play.google.com/store/apps/details?id=com.synology.DSfile
After installing, start "DS file" of application from smartphone ... ...

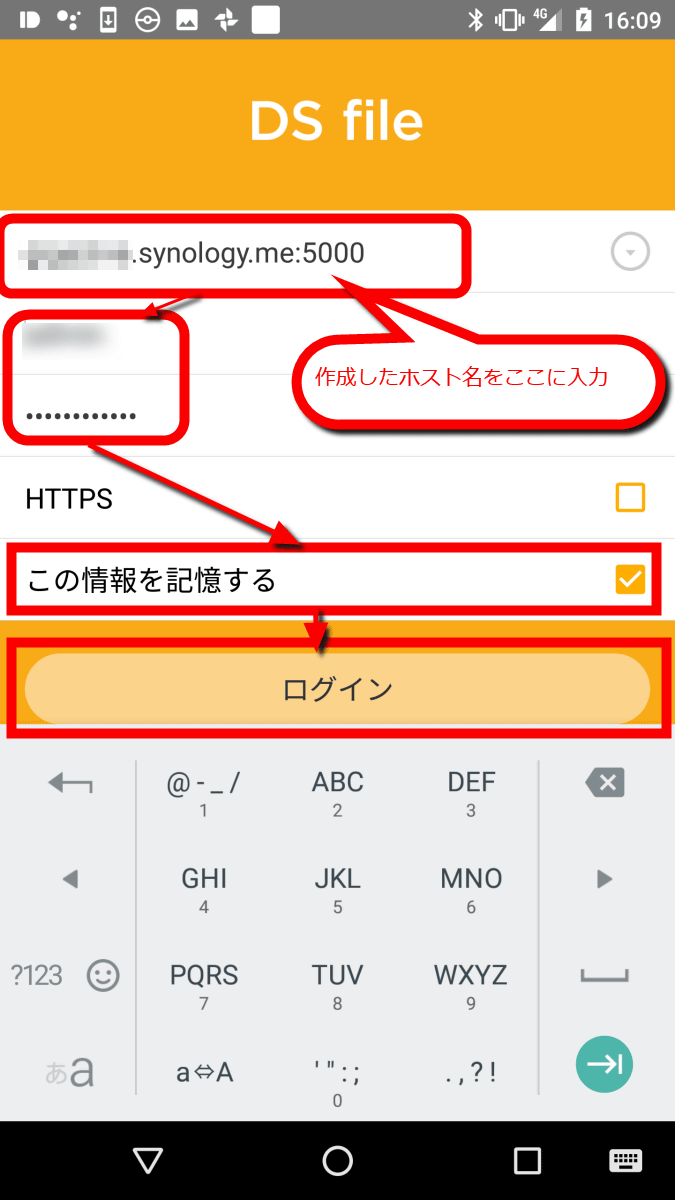
Enter QuickConnectID in the part that is displayed as "Address or QuickConnect ID" thinly.
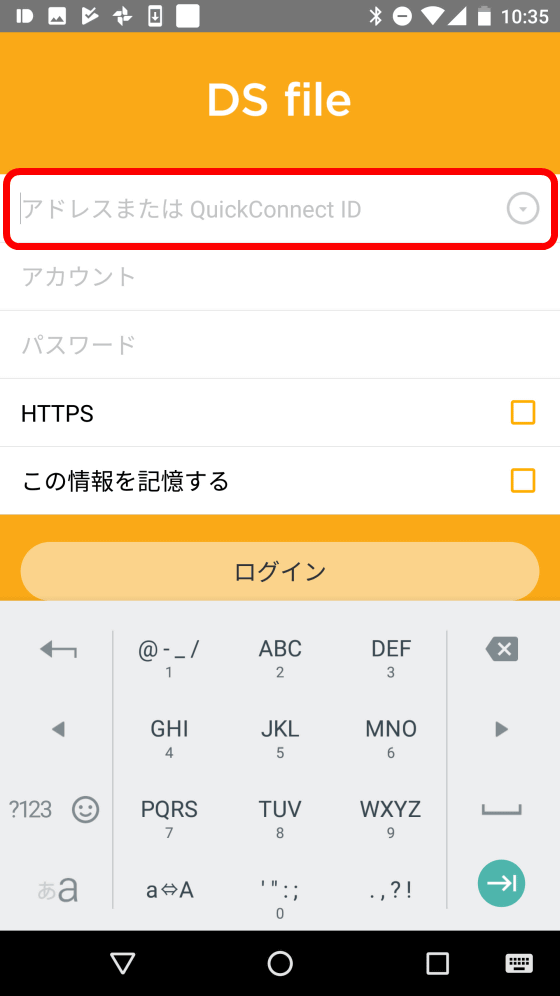
After entering "QuickConnectID", enter the DSM user ID and password, tick "Store this information" and tap "Login".

I logged in to DSM from smartphone.
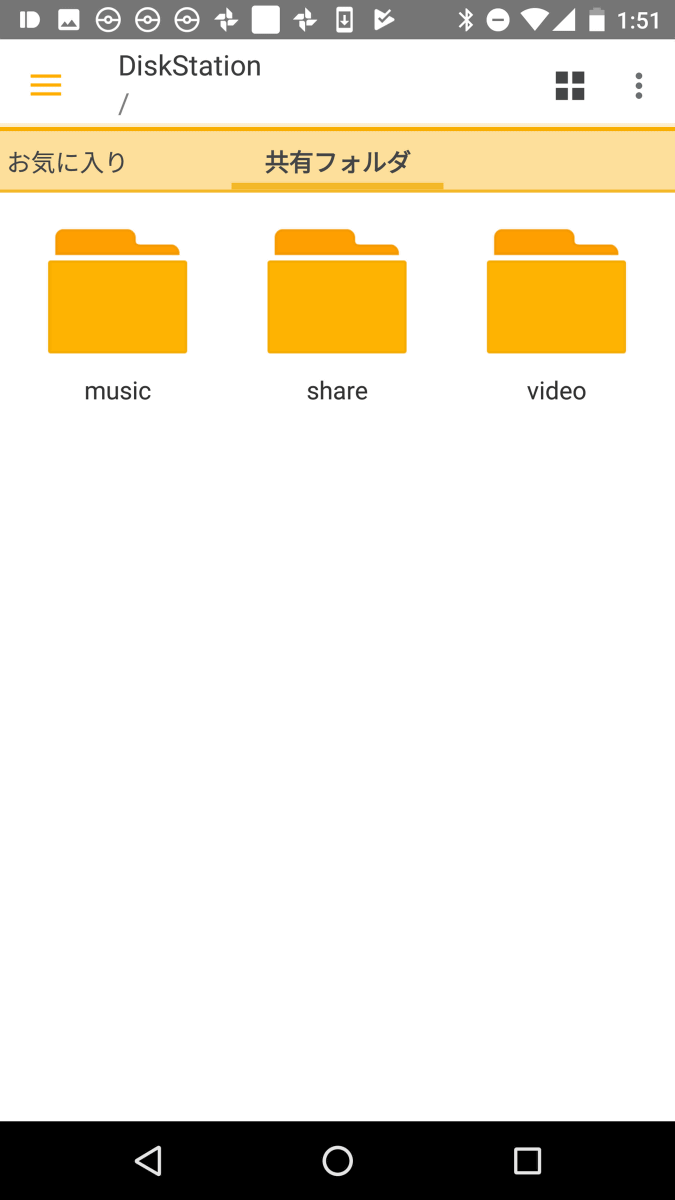
◆ Play media files on DSM with smartphone
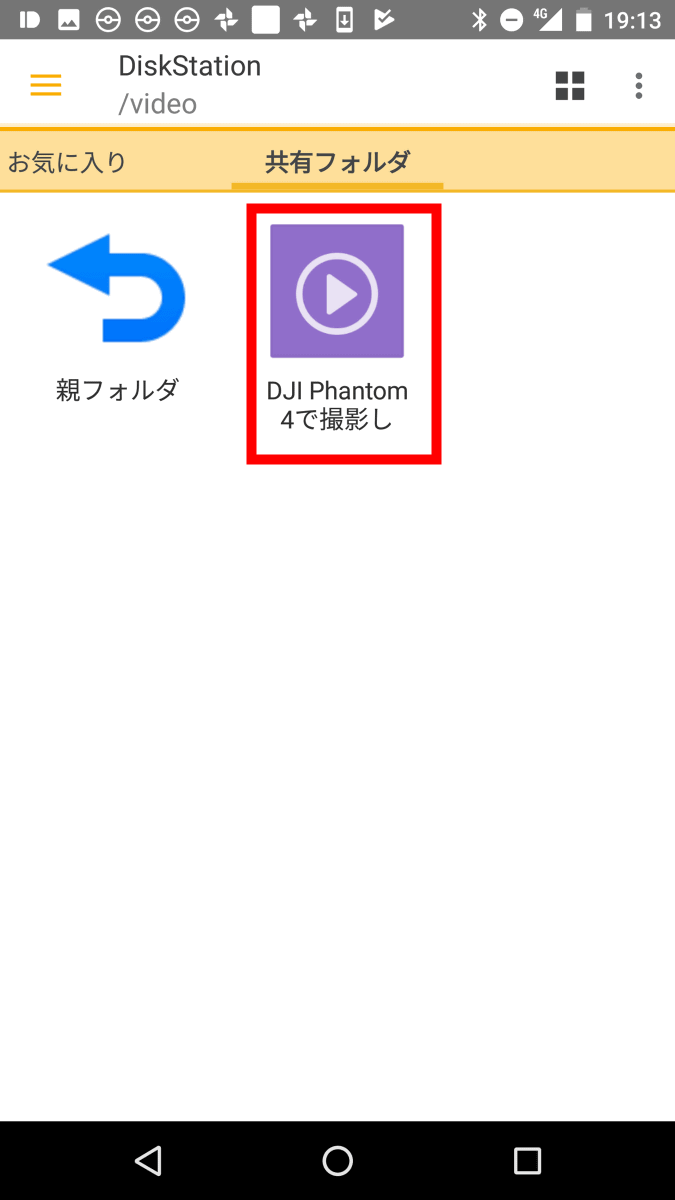
Tap "video" in the shared folder where the file you want to play is located.

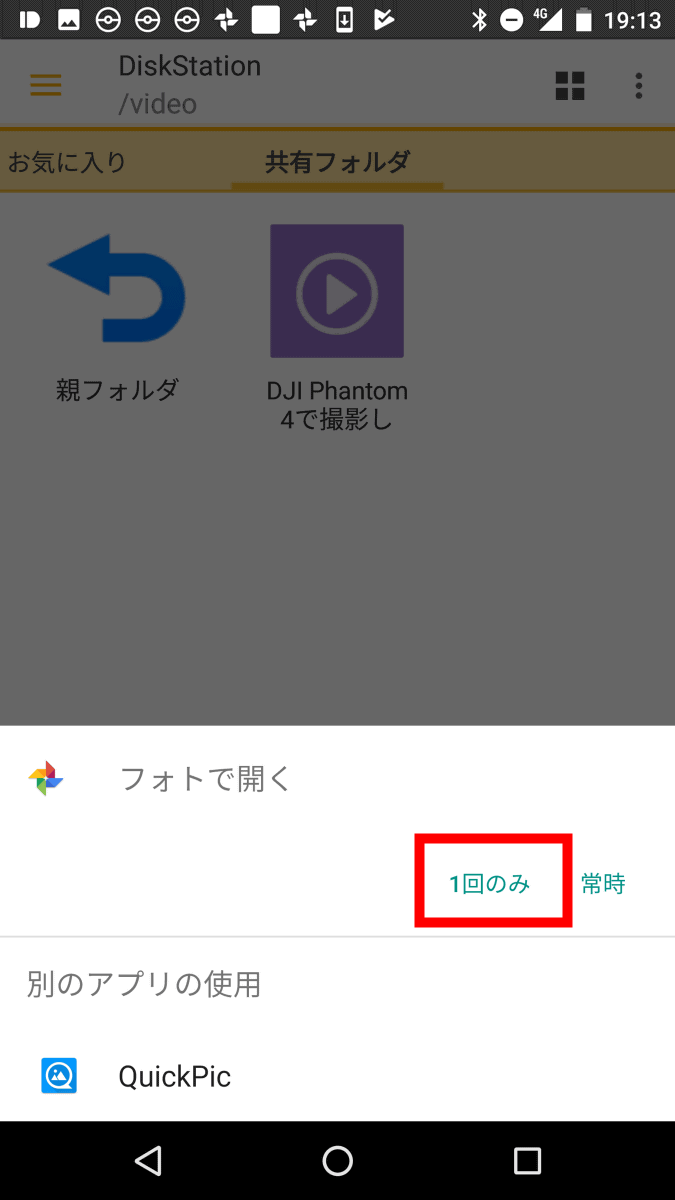
Tap the name of the file you want to play.
Tap "One time only".
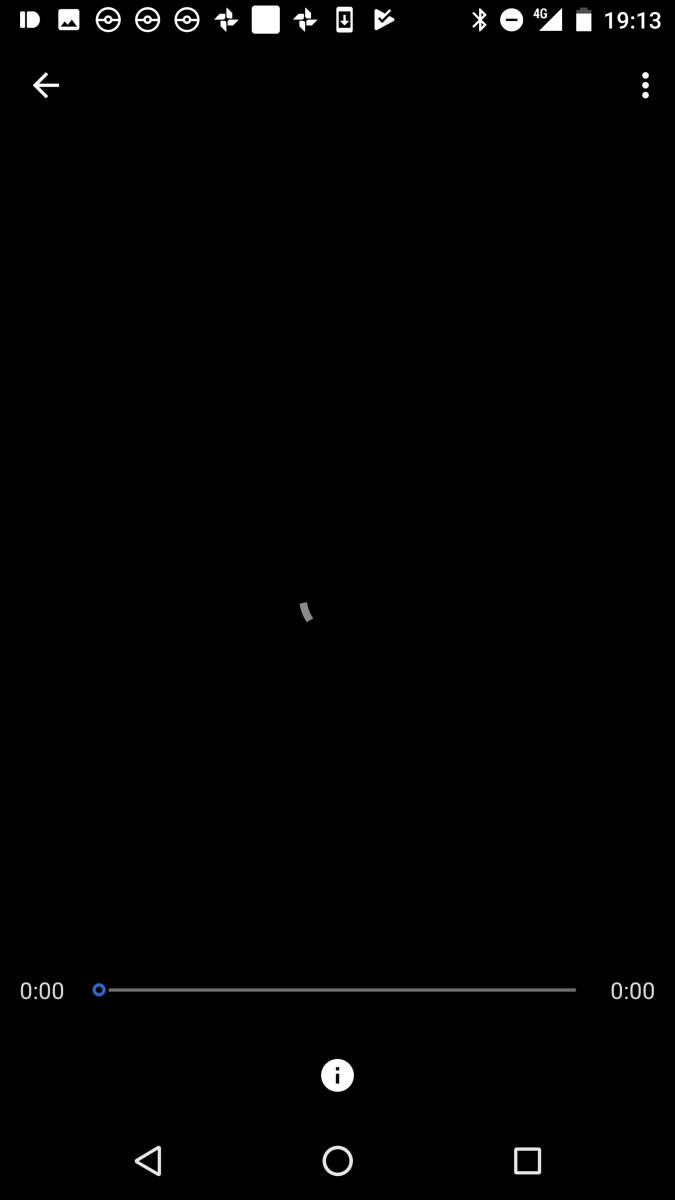
Since it is a cellular phone network, it waits for a moment until it is read
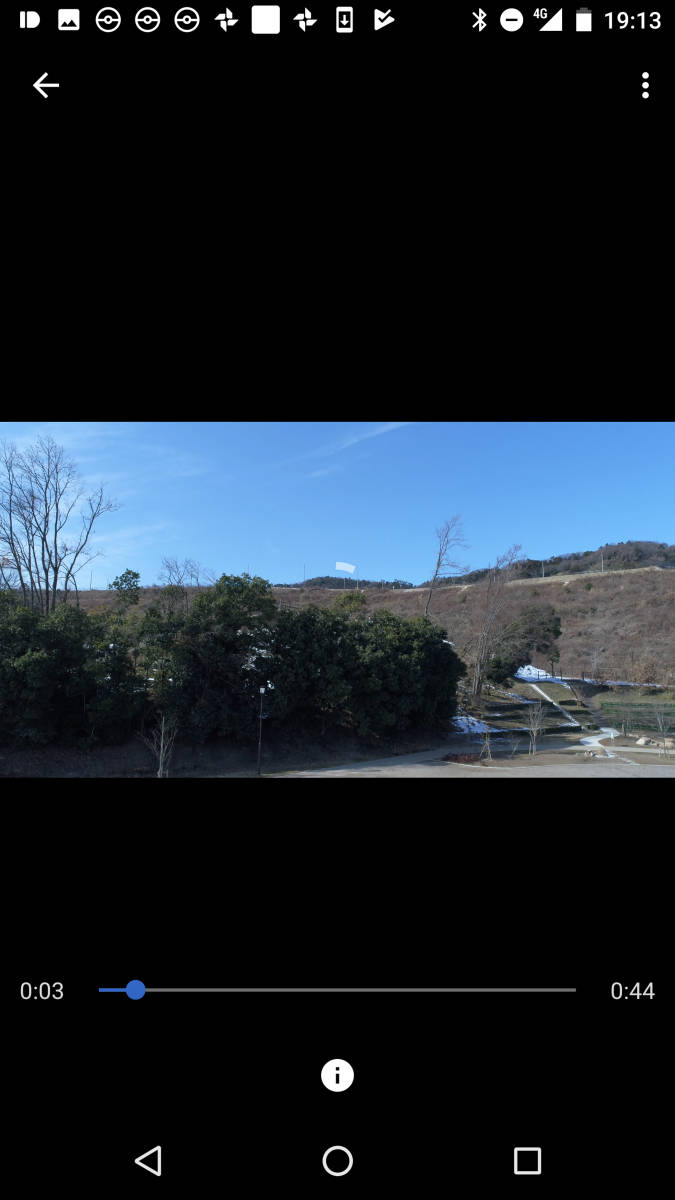
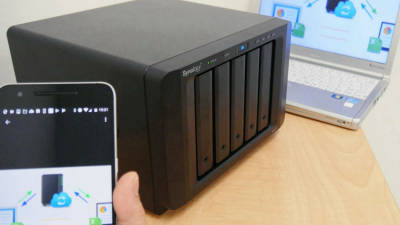
Streaming playback of video on smartphone was done properly by connecting from the outside.
◆ Create "shared link" and "QR code" accessible from the outside
If it is troublesome to issue ID · PASS for logging in to a friend etc., using "shared link" or "QR code" is convenient as the other party will be able to download without logging in.
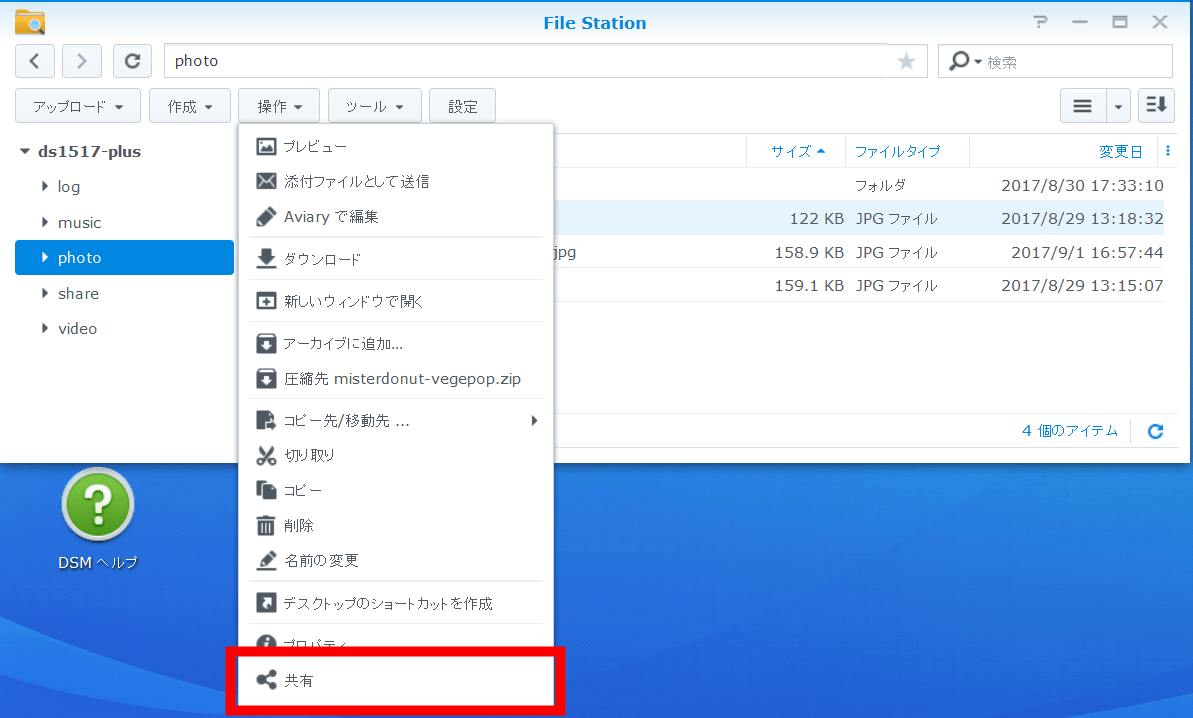
First, I will create a shared link. After selecting the file name you want to share, click "Share" at the bottom of the "Operation" menu.
If you inform the other party you want to share the URL displayed on this "shared link", you can access this file without logging in via the Internet, regardless of whether the other party is on the same network. In this example, I selected a file and displayed a shared link, but if you select a folder and acquire a shared link as well, you can browse and download the entire folder. Also, I actually open this "shared link" URL.
When actually opening this "shared link" URL, "Connecting ......" is displayed, so wait a moment.
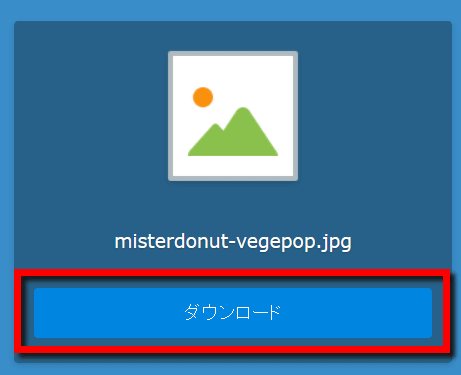
Since the file name is displayed, clicking "download" is OK.
To limit the period to share, click the "validity period" of the shared link.
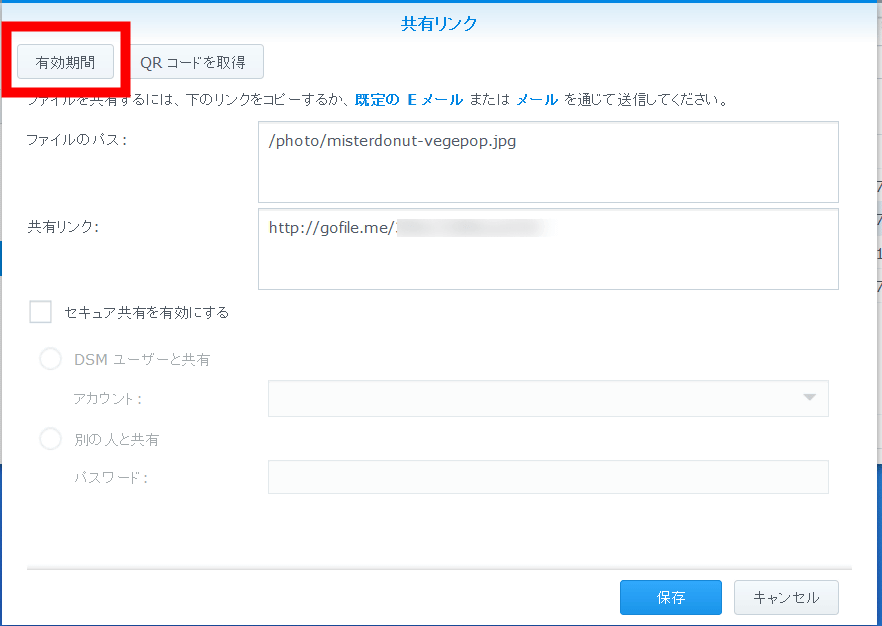
You can limit the validity period and number of access.

Next I will create a "QR code". Click "Get QR Code" at the top of the screen on which "Share Link" is displayed.

The QR code is displayed. By reading this QR code with the smartphone application, you can browse the file.

◆ Access from the outside without using QuickConnect
You can also access DSM without using QuickConnect. This time we will use Synology's DDNS service.
· Set up DDNS service
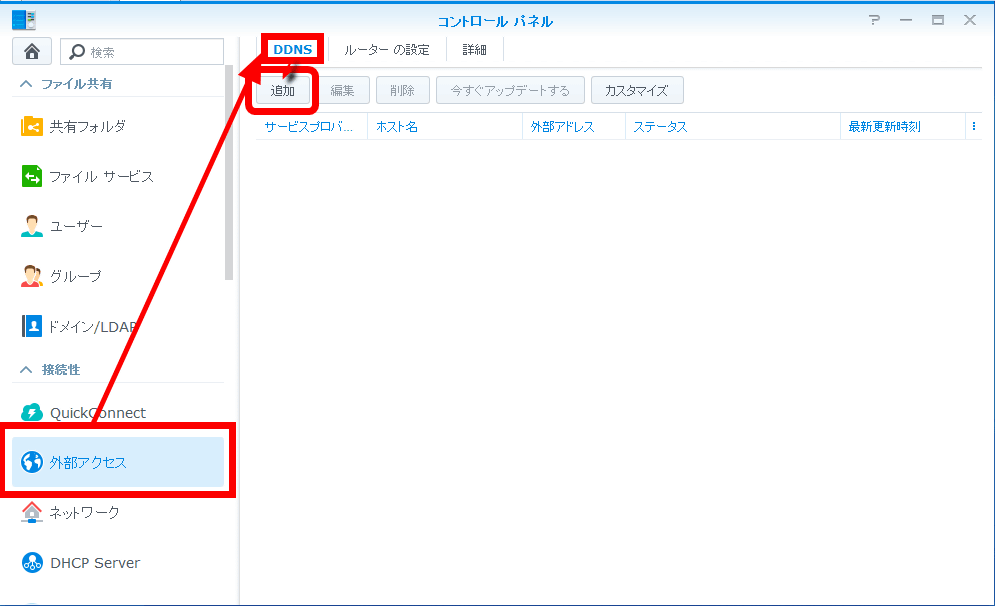
First, open the DSM control panel, click "DDNS" tab from "External access" and click "Add".
When "Synology" is selected for the service provider, set "host name". The host address can be selected from "* .synology.me", "*. DiskStation.me", "*. MyDS.me", etc. When you decide the host name, click "Login or register to Synology account".
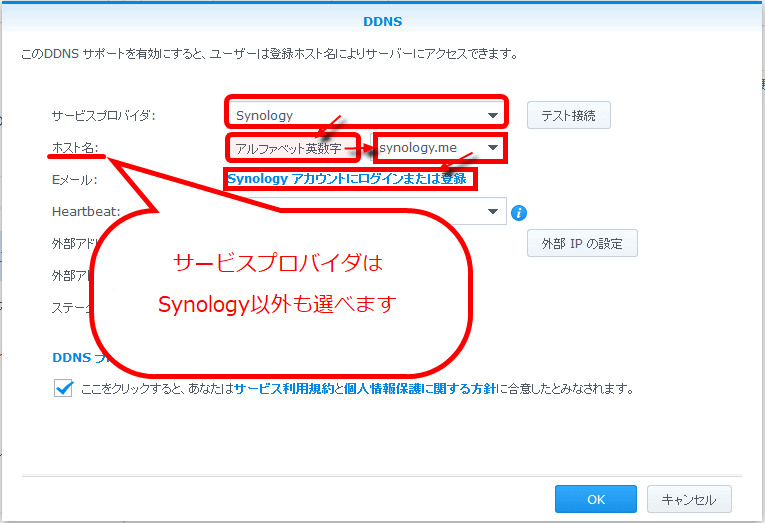
Log in to the Synology account.

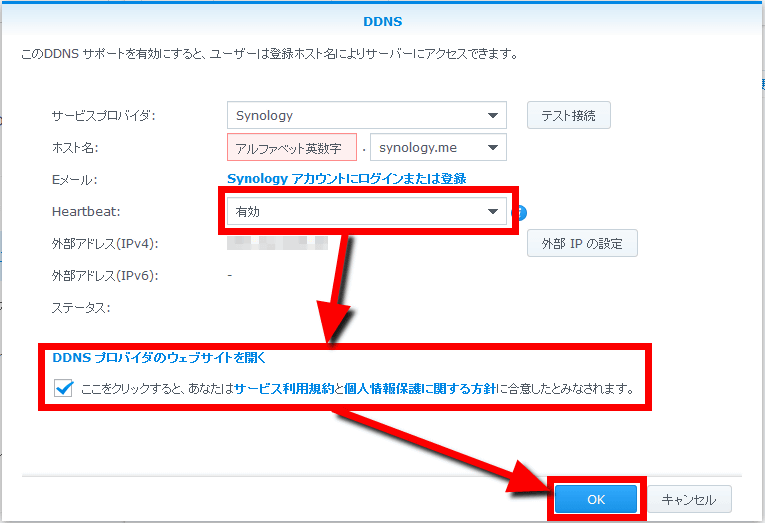
Turn on the item of Heartbeat that prevents the connection from being disconnected and check "I will assume that you have agreed to the terms of service and personal information protection policy" and click on "OK" By clicking on it, the setting of DDNS is completed.
· Configure the router
First check on the Synology official website if the connected router is compatible.
Compatibility List | Synology Inc.
https://www.synology.com/ja-jp/compatibility
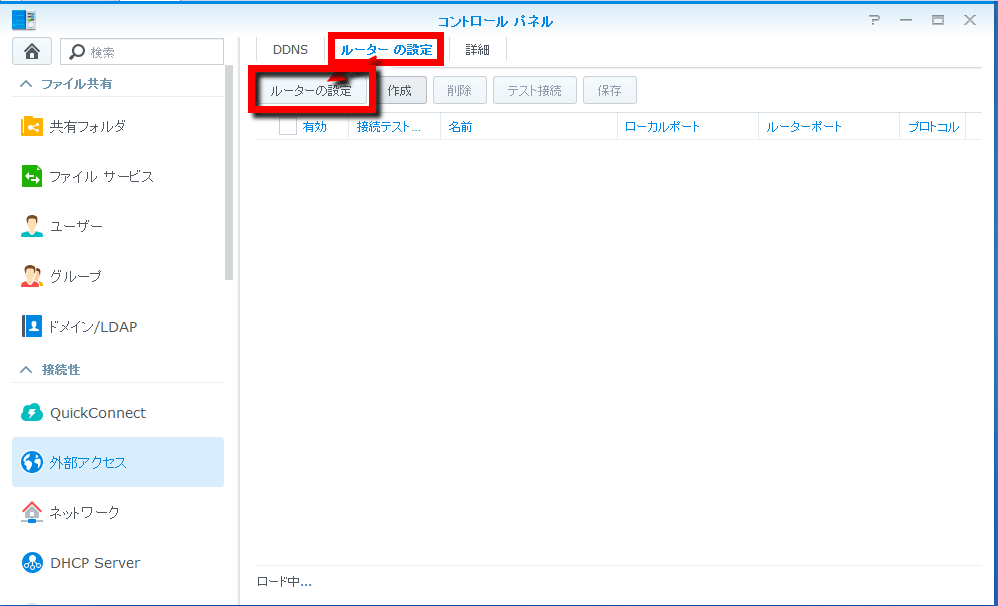
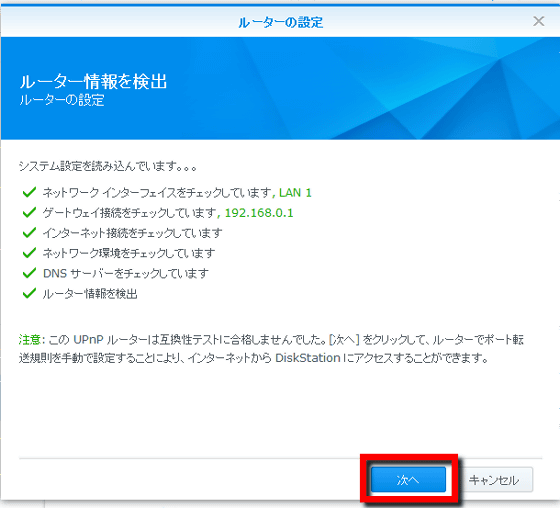
Next go back to "External Network" in "Control Panel", click the "Router Settings" tab and click "Configure Router".
Click "Next".
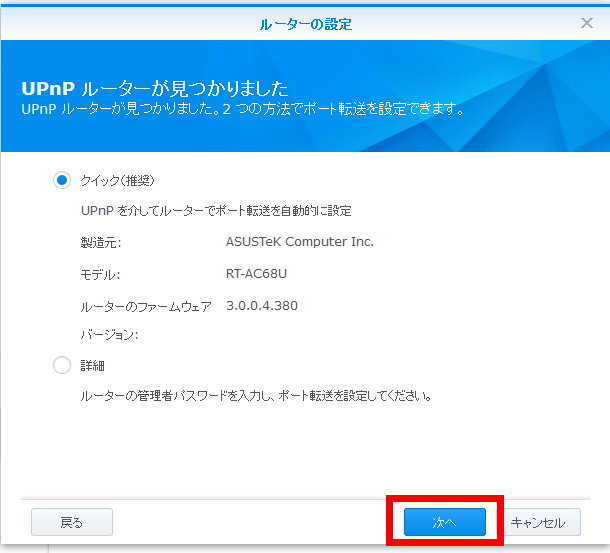
If the firmware of the router manufacturer / model / router being displayed is correct, click "NEXT" as it is.
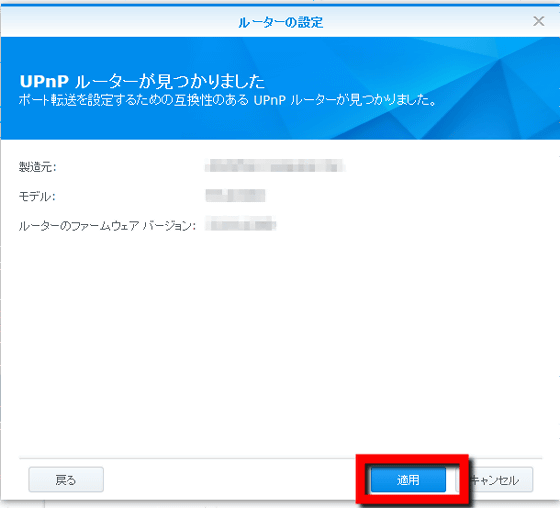
Click "Apply" to complete.
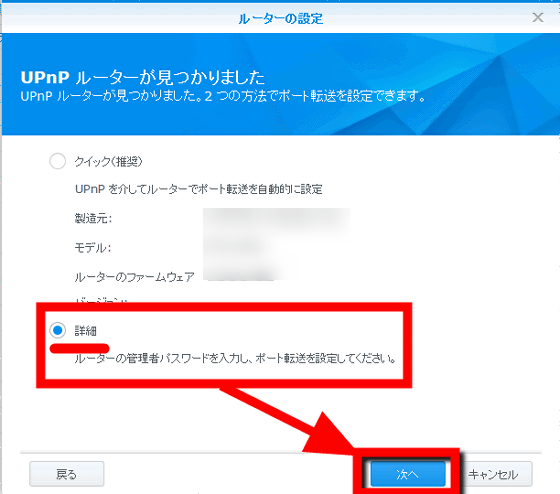
· When the router can not be found automatically
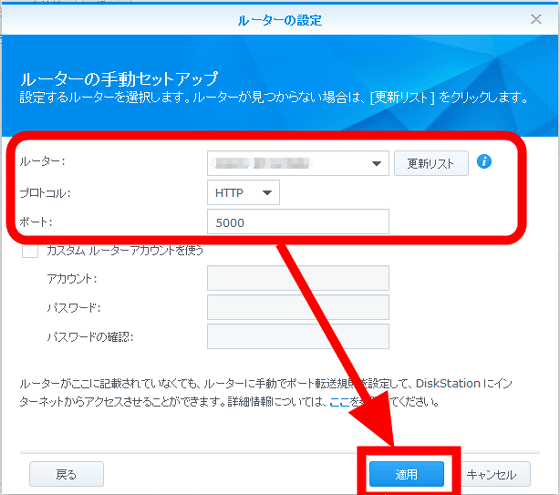
If you can not find the router information automatically, please select "details" and click "Next".
Select the model name of the connected router from the drop down menu, set the protocol to "HTTP", set the port to "5000" and click "Apply"
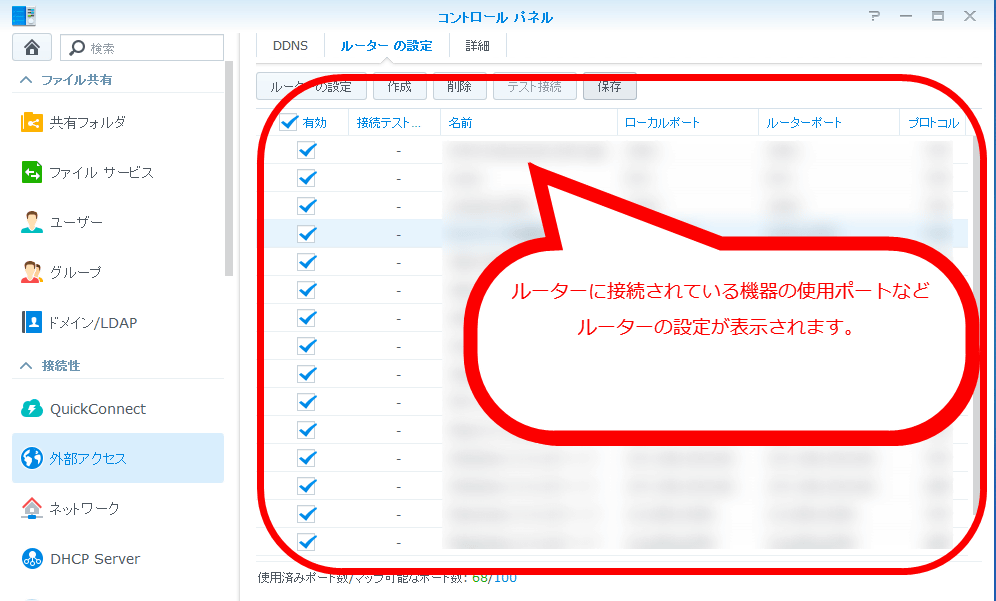
Once you can configure the router, you can complete the port and protocol settings for each application used in DSM on the "Router Settings" tab of the control panel.
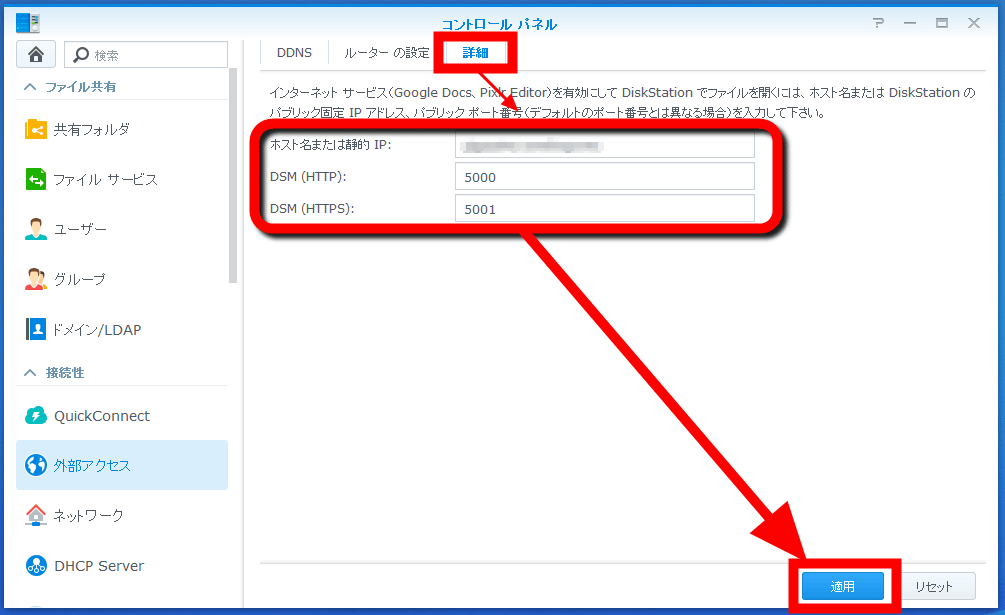
Next, click on the "Details" tab and check the DDNS service and port to be connected. If the host name is blank, you can enter it manually.
If it succeeds, "Synology" selected as "Service Provider" of "DDNS" will be added. The global IP address is displayed in "external address".

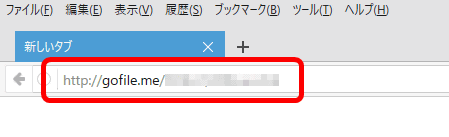
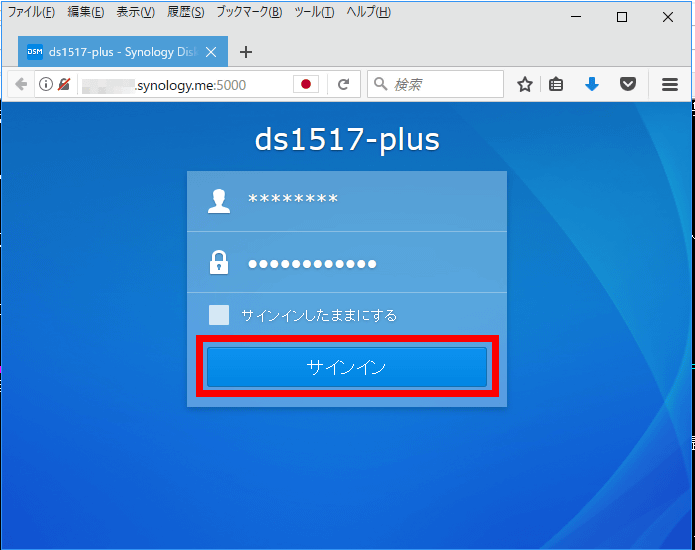
さっそく接続してみます。ブラウザのアドレスバーへ「http://設定したホスト名:5000」と入力すると......。
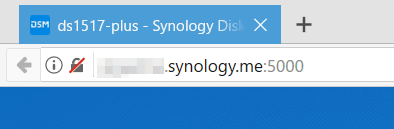
You can connect successfully, the login screen is displayed. Enter user ID and password and click "Sign in".
◆ Access from a smartphone without using QuickConnect
When connecting from a smartphone the address set earlier can be used.
Next time, we will post a way to automatically synchronize files between PC and smartphone.
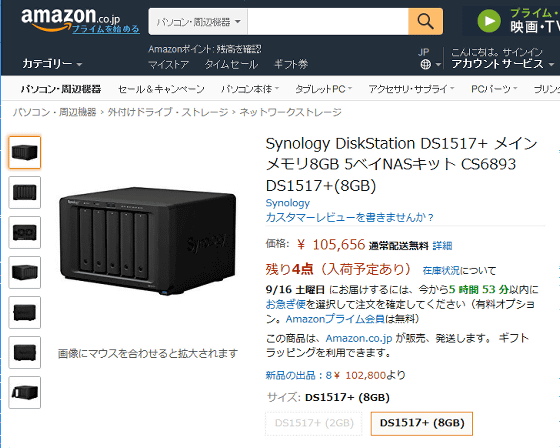
The DS1517 + of the 8 GB memory model used in the review is 100,5556 yen at the time of article writing.
Amazon | Synology DiskStation DS1517 + main memory 8GB 5 bay NAS kit CS6893 DS1517 + (8GB) | Synology | network storage | personal computer / peripheral equipment
· Continued
How to synchronize smartphone · PC · NAS like iCloud with Disk Station Manager (DSM) using Synology NAS Conclusion - GIGAZINE
Related Posts:


in Review, Software, Web Service, Web Application, Hardware, Posted by darkhorse_log