"LosslessCut" capable of lossless cutting on Windows, Mac and Linux without impairing the quality of video files

It is becoming everyday that movie files captured by the camera's image quality has improved by more than 1 GB, and there are many people who are struggling to handle and store data. In such a case, if you cut out only the necessary part of the video, you can save the capacity, but in some cases the picture quality will degrade at the time of cutting out. In such a case, without having to lose the original image quality, it is easy to write out only the necessary parts of the video easily "LosslessCut"Is published on GitHub.
GitHub - mifi / lossless-cut: Cross platform GUI tool for lossless trimming / cutting of videos using ffmpeg
https://github.com/mifi/lossless-cut
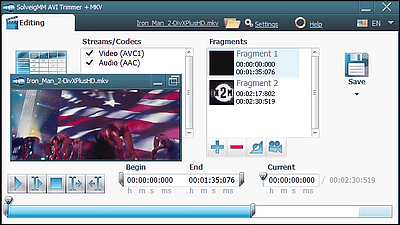
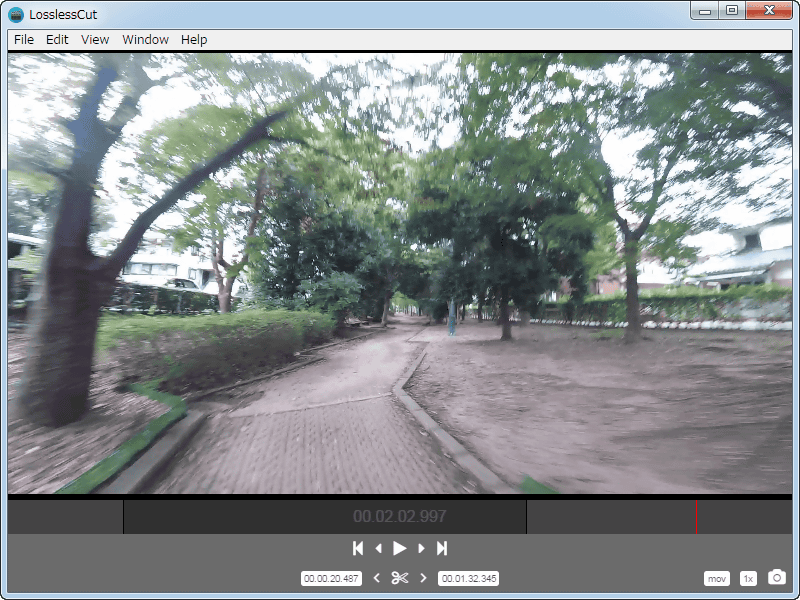
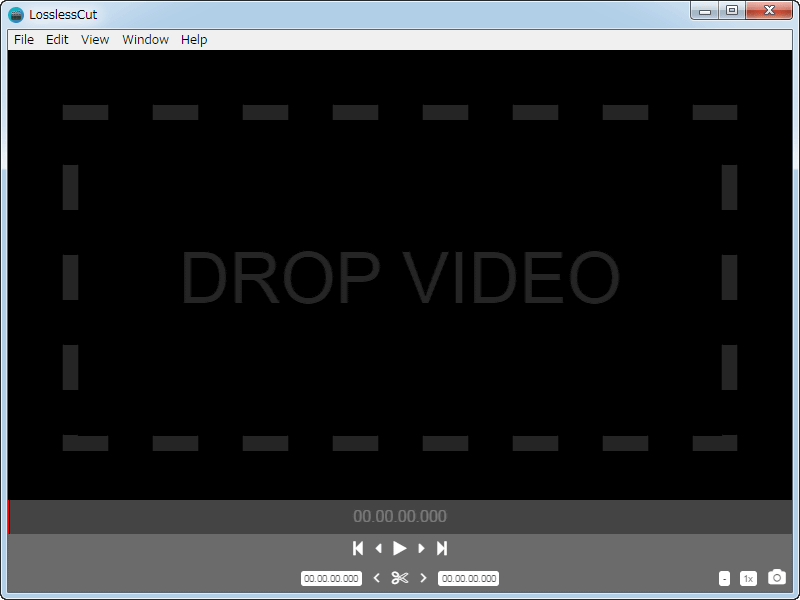
The screen of LosslessCut is simple like this. Since the movie is displayed at the top, it is possible to cut out the image crisply by designating the start position and the end position while checking the actual video with the keyboard and mouse. You can also capture still images from video and save them as image files.
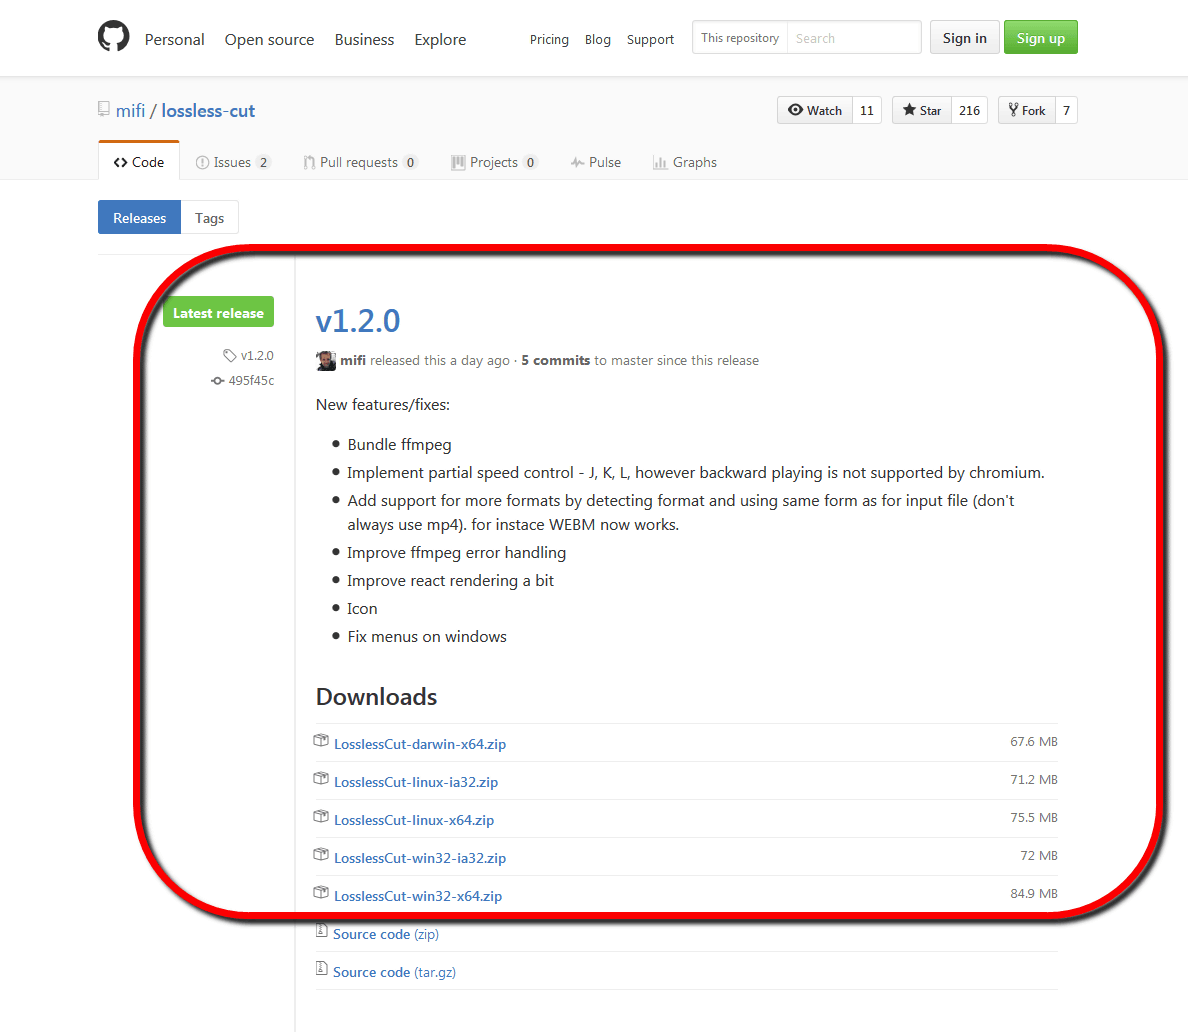
To install LosslessCut,This page of GitHubAnd download the latest version of Zip file prepared for each OS. The latest version at the time of article creation is "v1.2.0", which is Mac OS X, Windows (64 bit · 32 bit), and Linux (64 bit · 32 bit). (* 32 bit Linux is not tested yet)
Extract downloaded file
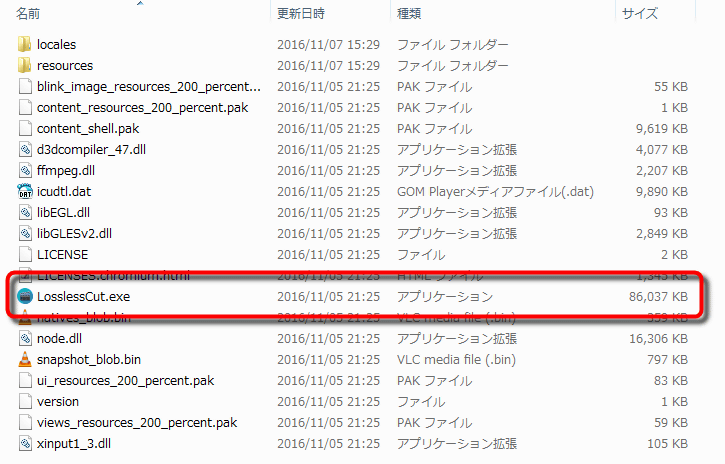
Double-click "LosslessCut.exe" located on the extraction destination to start LosslessCut.
The activated screen is
Drag and drop the movie you want to cut into the LosslessCut window to load the data. This time,Movie taken with GoPro HERO 5 SESSIONI will cut out the video from. By the way, the length of the movie before cutting was 2 minutes 20 seconds and the file size was 503 MB.
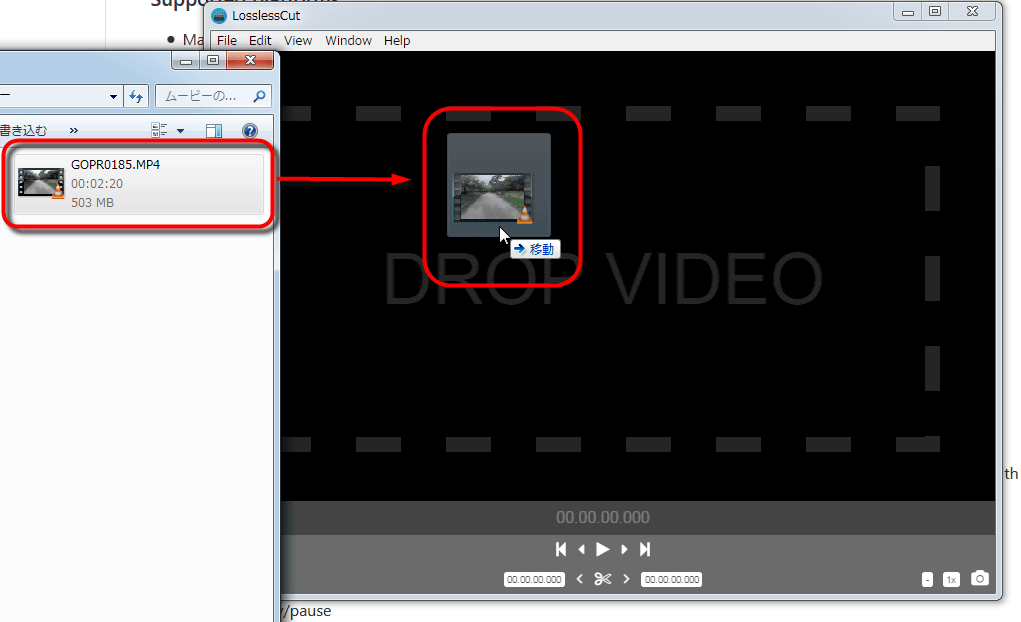
When loading the file, the image was displayed in the window. After that you can set it while checking the part you want to cut with the actual video. You can play / pause by hitting the [Space] key on the keyboard or clicking the "▶" icon at the bottom of the window with the mouse.

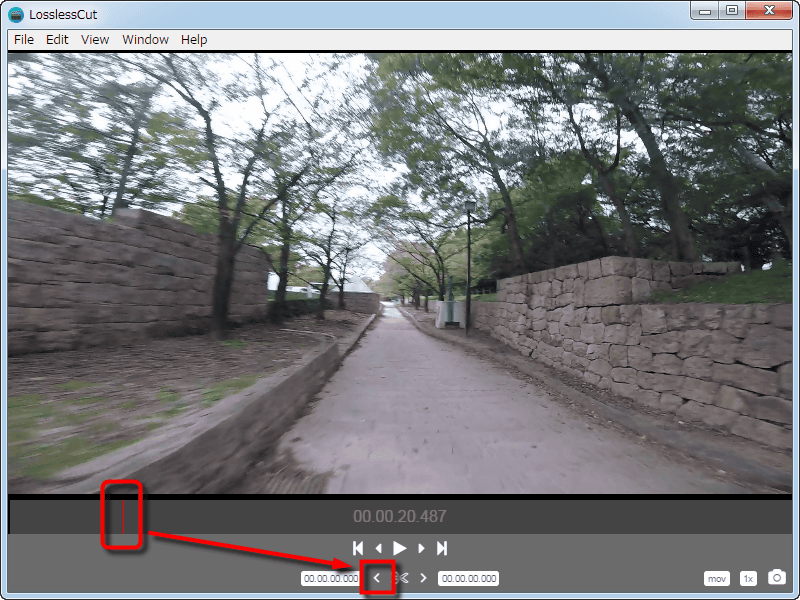
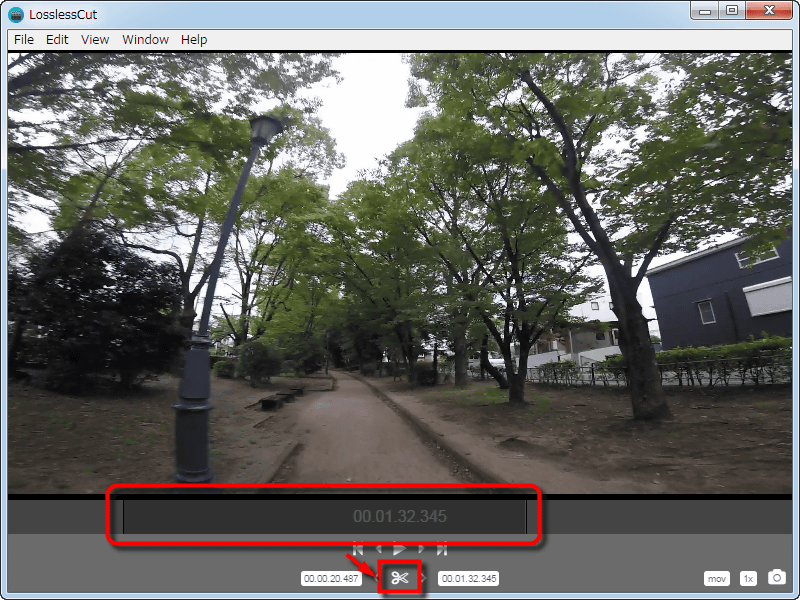
再生を開始すると、以下の画面のように赤い縦のバーが右へとスクロールします。カットを開始したい場所で「<」アイコンをクリックして開始位置を設定。
Then, when you move to the last place you want to cut and click the ">" icon ......
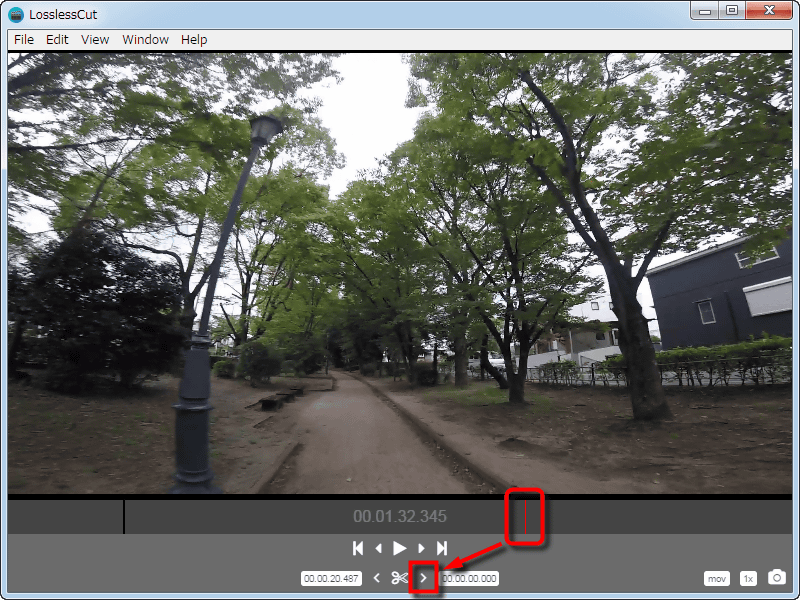
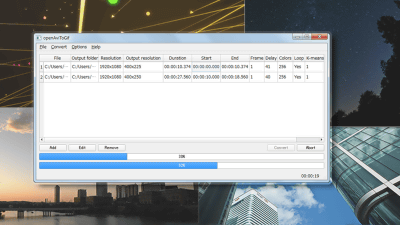
The part to be cut (= part to be newly written out) was highlighted in dark gray. In this state, clicking the scissors icon at the bottom of the screen will only export the necessary part as a new file.
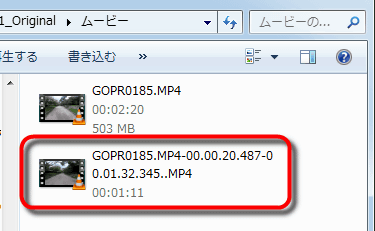
When exporting was completed, the file after cutting out was created in the same folder as the original data. Since the file name is "original file name + cropping start time + cropping end time", it is convenient that it is easier to check later. During the export of the file, the progress bar etc was not displayed in particular, and the file was generated literally as "Fast Fast". The file exported this time was 1 minute 11 seconds in length and the capacity was 256 MB.
Actually cut out the movie. No strange noises occurred at the cutout start position and end position. I did not mind this time, but in the current version there are cases where the extraction position is not reflected precisely. In addition, there is a characteristic in the specification that images before and after the most recent key frame are lost.
Lossless cut possible "LosslessCut" to shoot GoPro shot movie that way - YouTube
In addition, LosslessCut also allows you to capture from movies. When you click on the camera icon in the lower right of the screen during playing / pausing ... ....
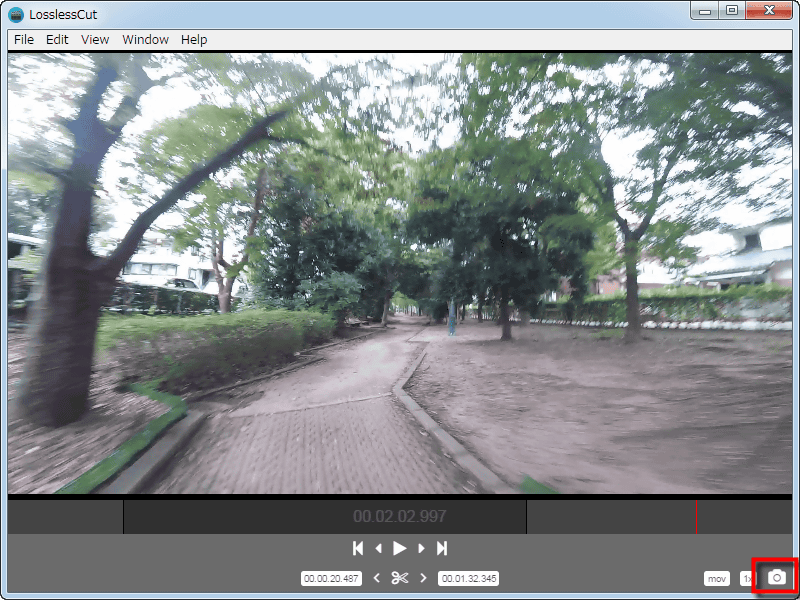
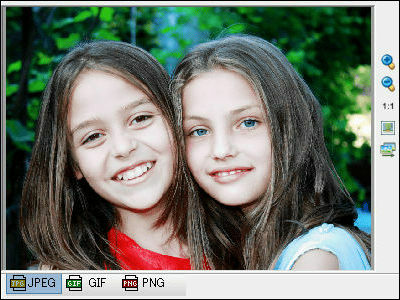
The original image size still image was captured. Although a jpg file is generated at the time of capture, it is important to note that the actual content is png file.
(* Click to display the original file: 1920 × 1080 pixels 920 KB)

Related Posts: