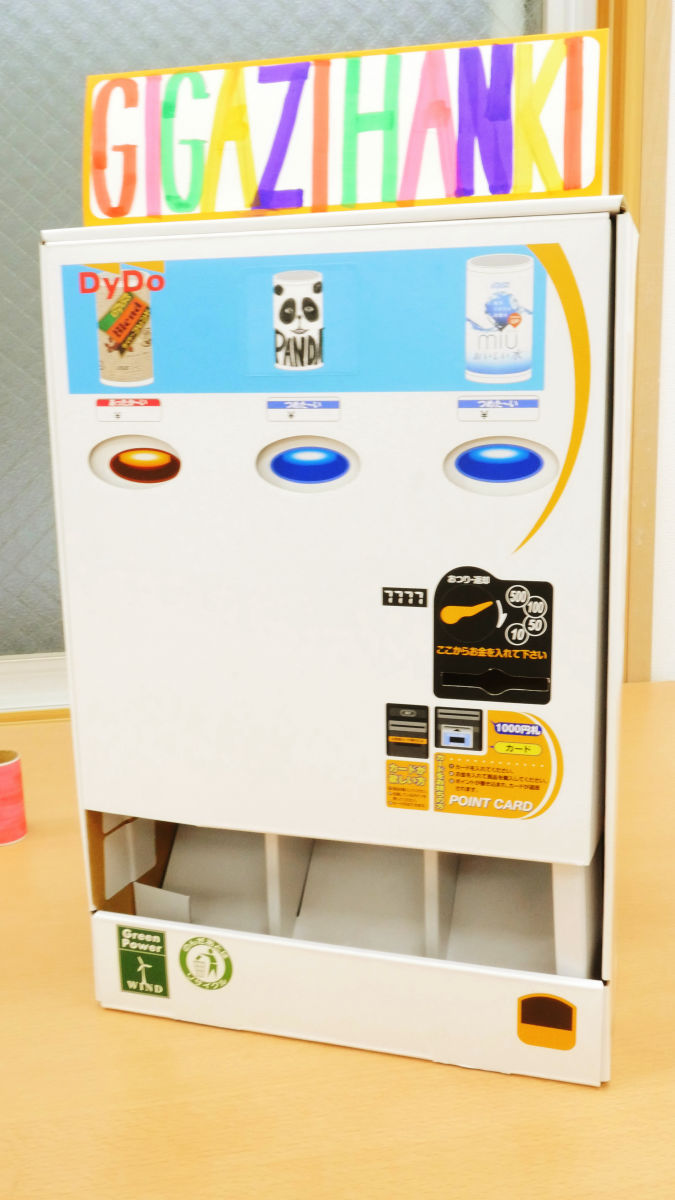
When the button is pushed, the original mini can comes out Dido Drinko "Paper craft automatic vending machine" I made a 2016 edition with scissors · glue free
Put money and push the button and the juice can comes out of paper "Paper craft vending machineDido Drinko announced suddenly in 2015 and provided 2000 children free of charge to children. In response to the number of entries far exceeding the number of items and the fact that it was utilized in an unexpected place, Dido Drinko announced a new model that improved various designs and other items in 2016. Free distribution to schools and institutions is done, and if you apply using SNS, you can also get personal. Since the vending machine kit reached the editorial department of GIGAZINE, I actually assembled it and I tried to see how it differs from the 2015 edition version.
3,500 children are offered free of charge "A new model that can be used for" Daido Drink Paper Craft Vending Machine Kit "~" Shopping Learning "Appears ~
http://www.dydo.co.jp/corporate/news/2016/160622.html
The state of playing with "Paper craft automatic vending machine" which is actually completed can be confirmed from the following movie.
Daido Drinko's new "paper craft automatic vending machine" looks something like this - YouTube
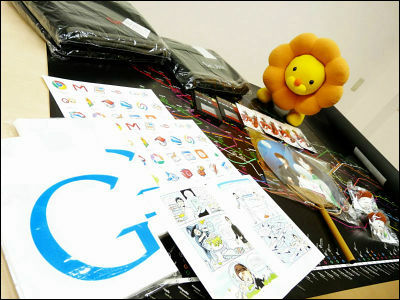
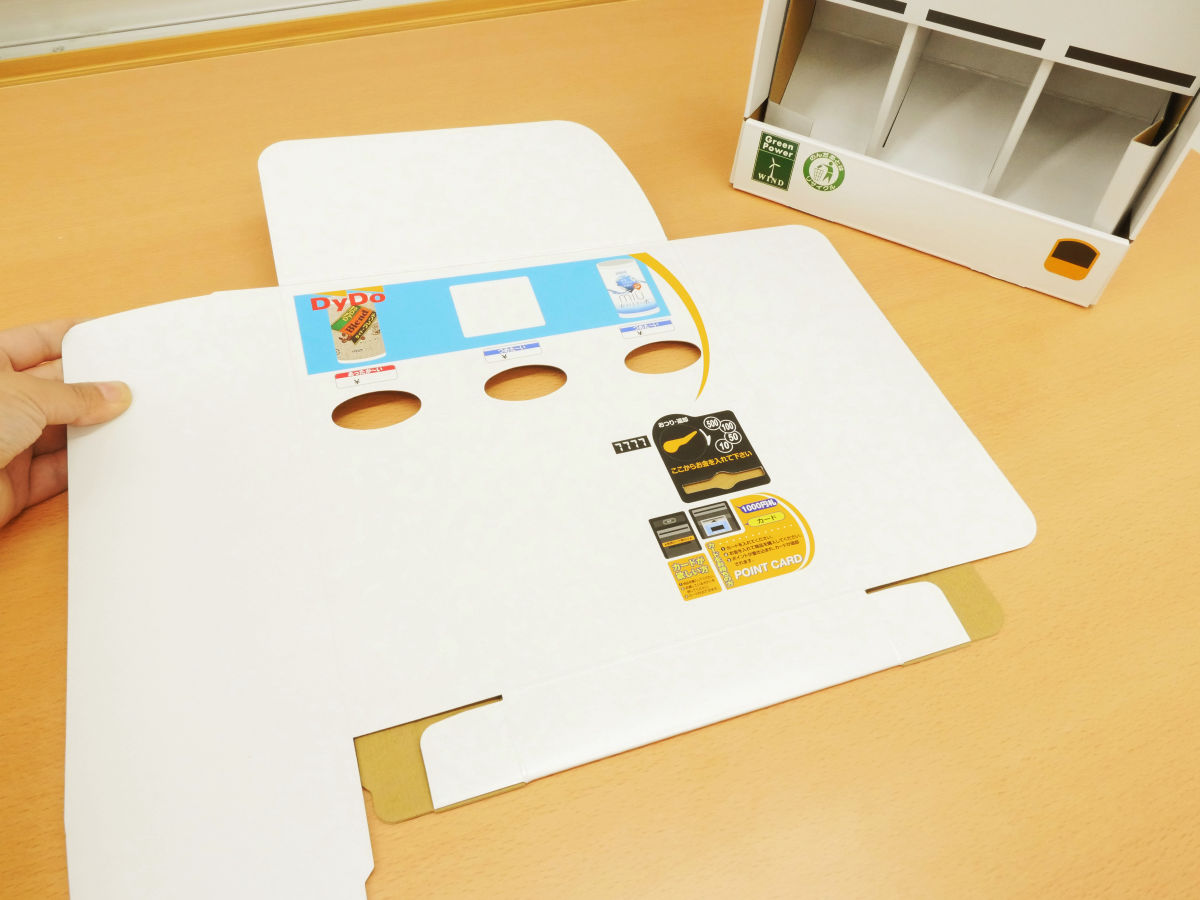
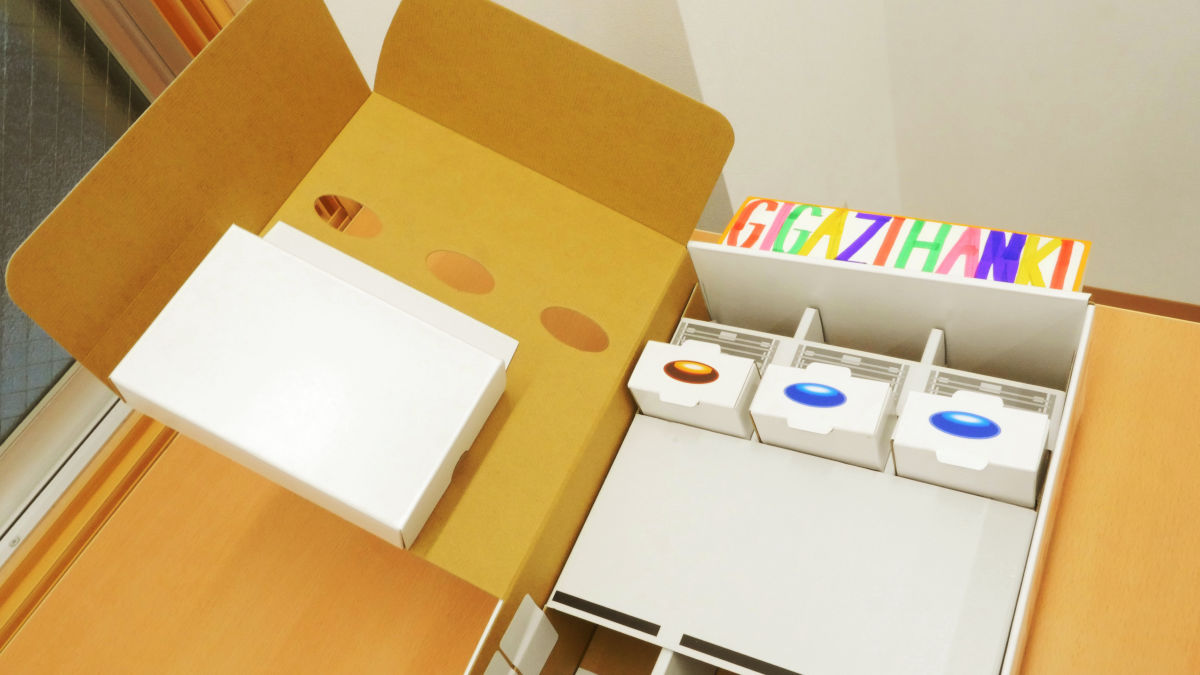
This is a set of paper craft vending machines.
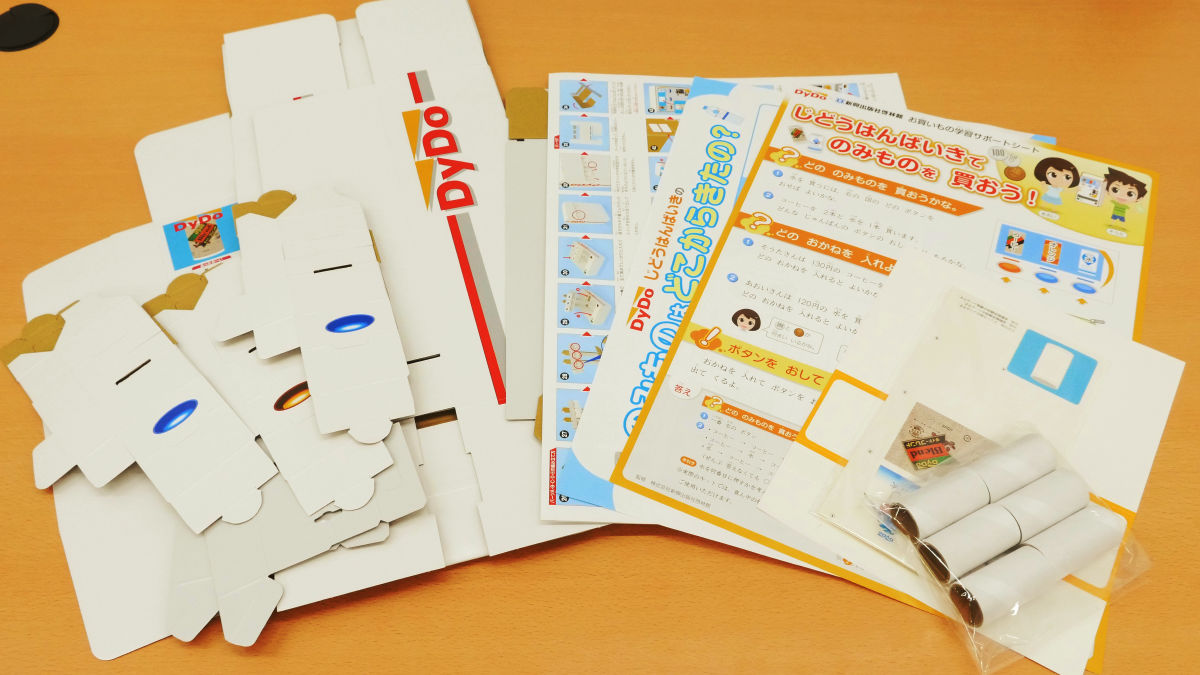
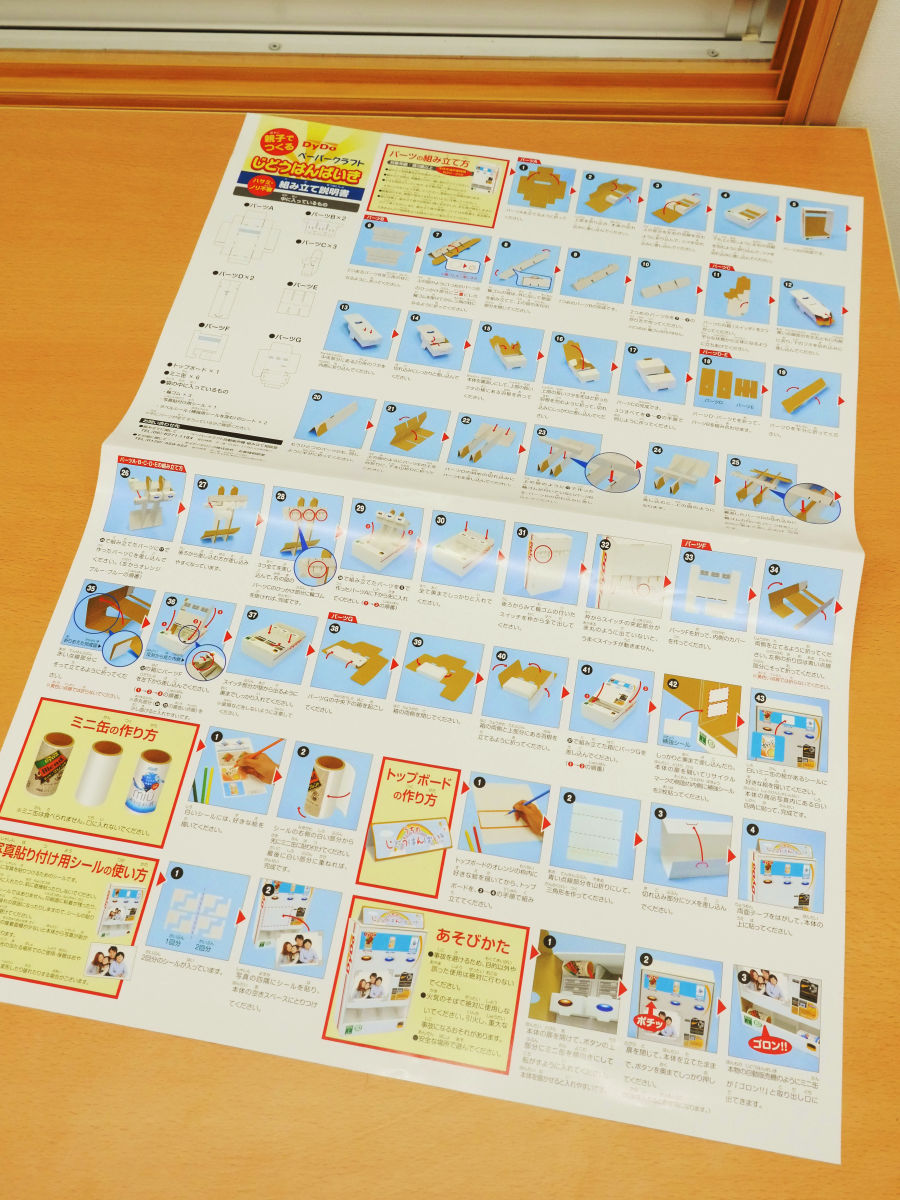
The assembly instructions explain how to assemble the main body in all 43 steps, how to make the mini cans in 2 steps, and how to make the top board 4 steps.
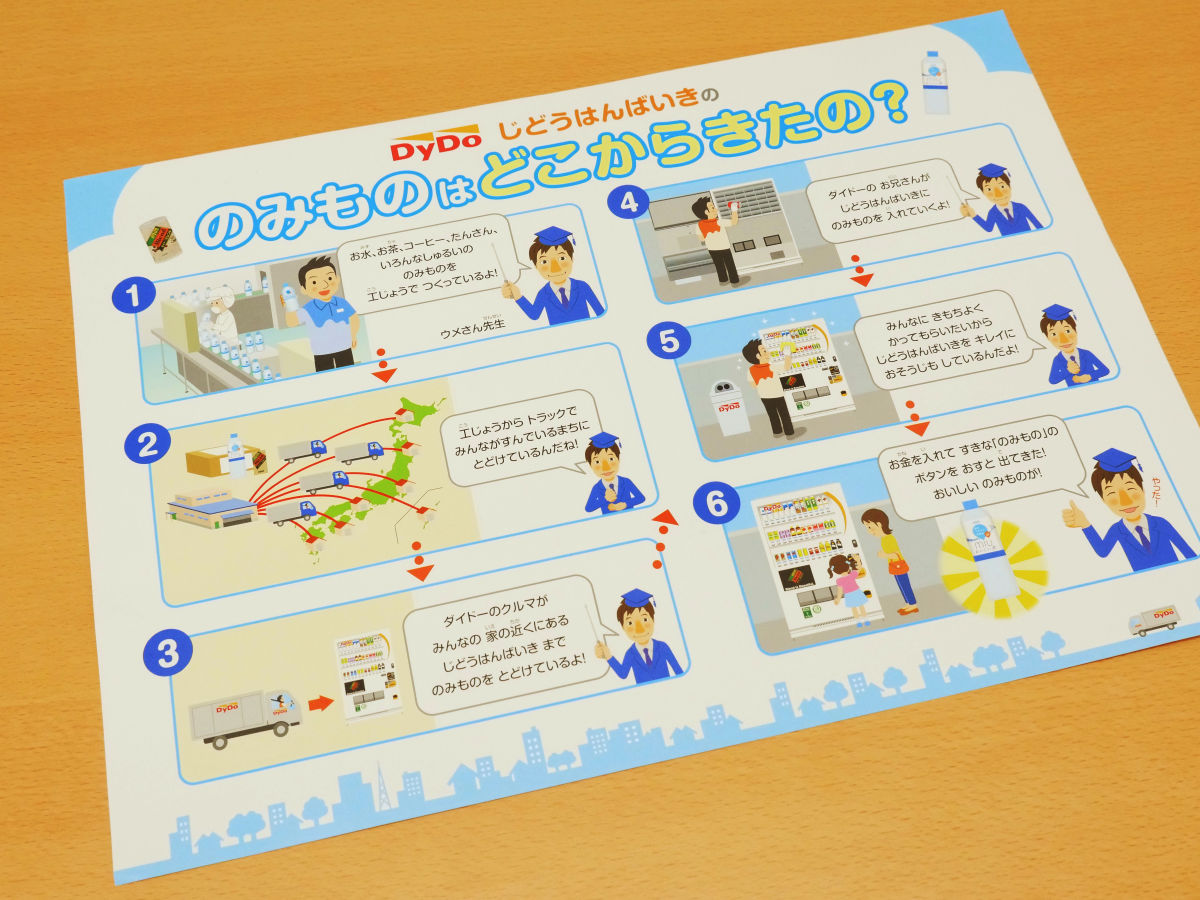
Besides the explanation "Where is the giant bamboo shoots alone?" Which was also included in the 2015 version set? ...
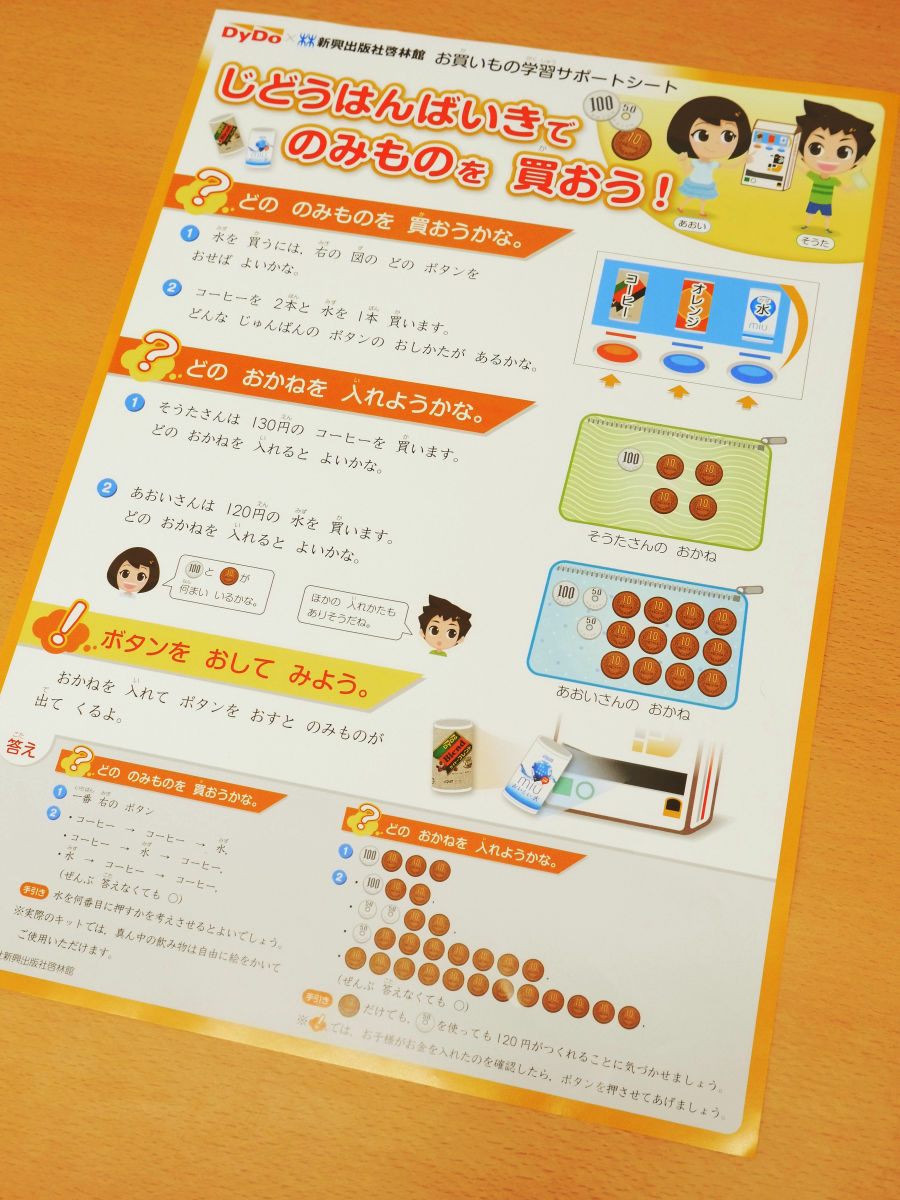
The newly shipped enclosure is a shopping learning support sheet named "Let's buy exclusives with garlands!" Children who can not shop well in shops and other people's environments may practice shopping using vending machines, but when distributing paper craft vending machines free of charge in 2015, these kids It was very pleased from the supporting group. Therefore, in order for children to practice shopping smoothly,Emerging Publishing HouseUnder this supervision, this shopping learning support sheet was made.
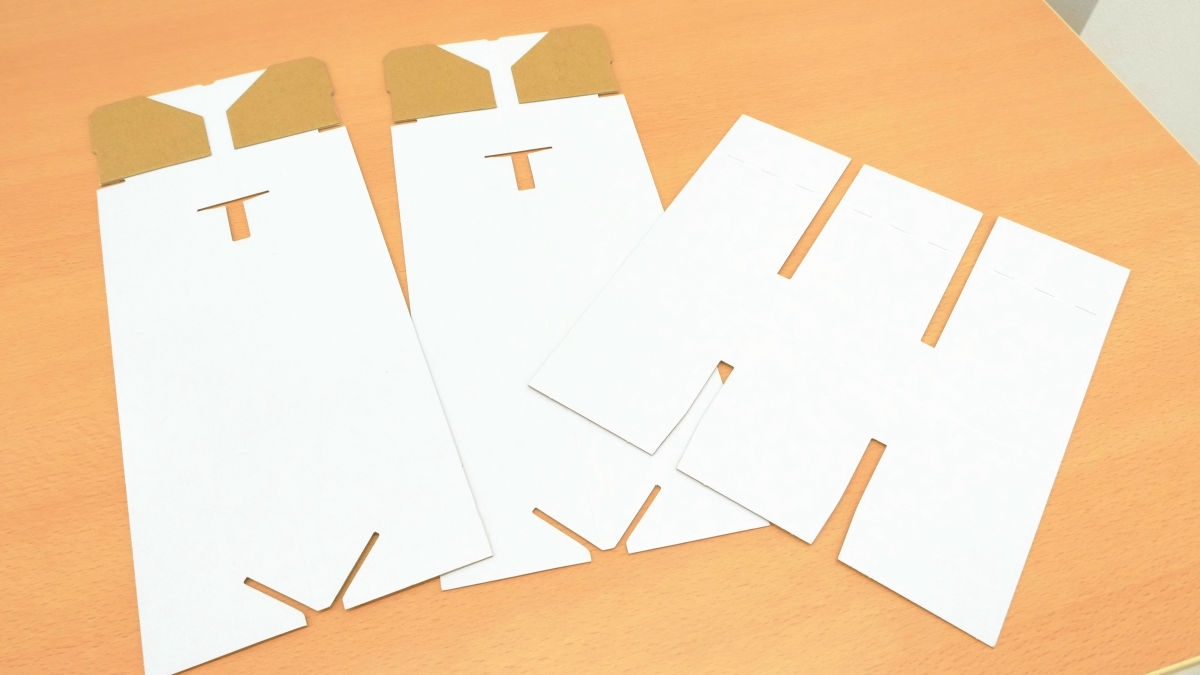
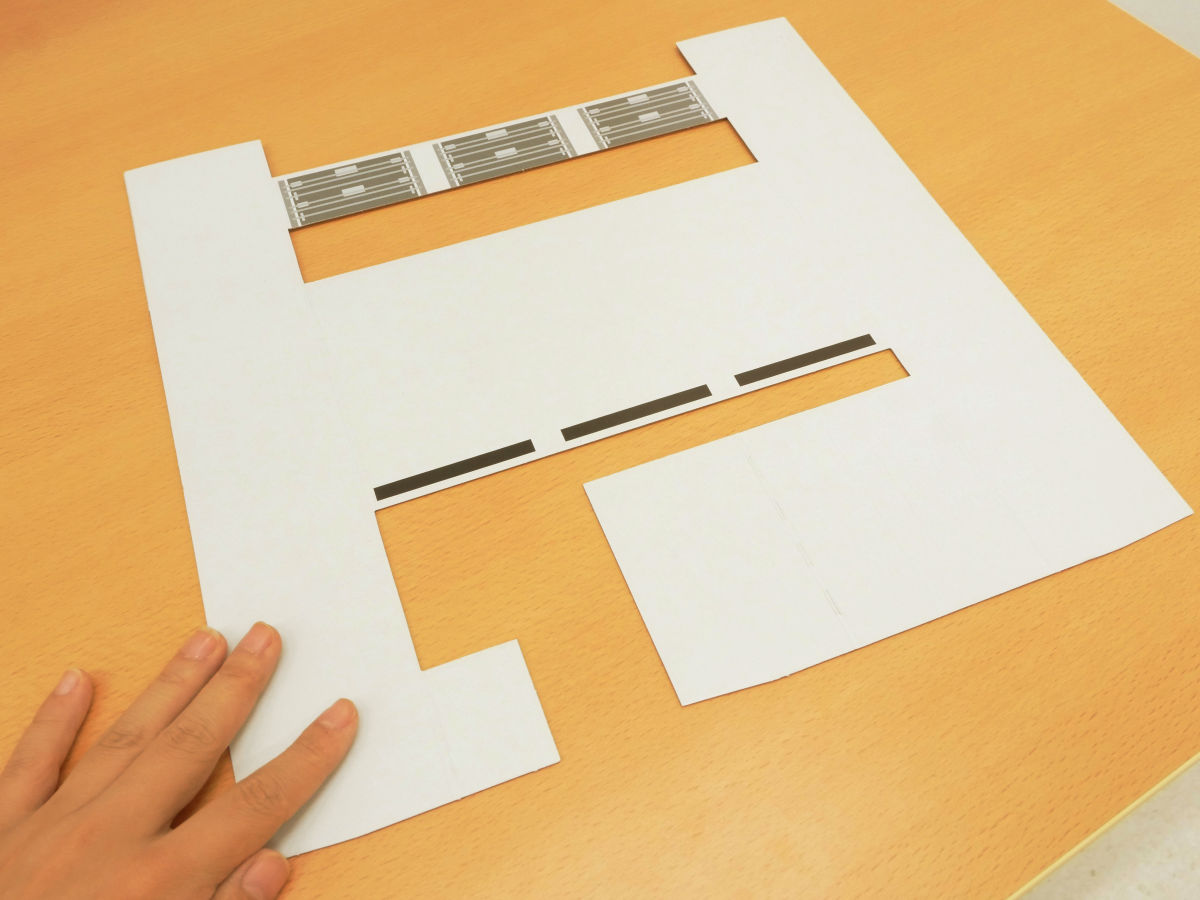
Paper craft vending machines are made up of 7 types and 11 parts in total.
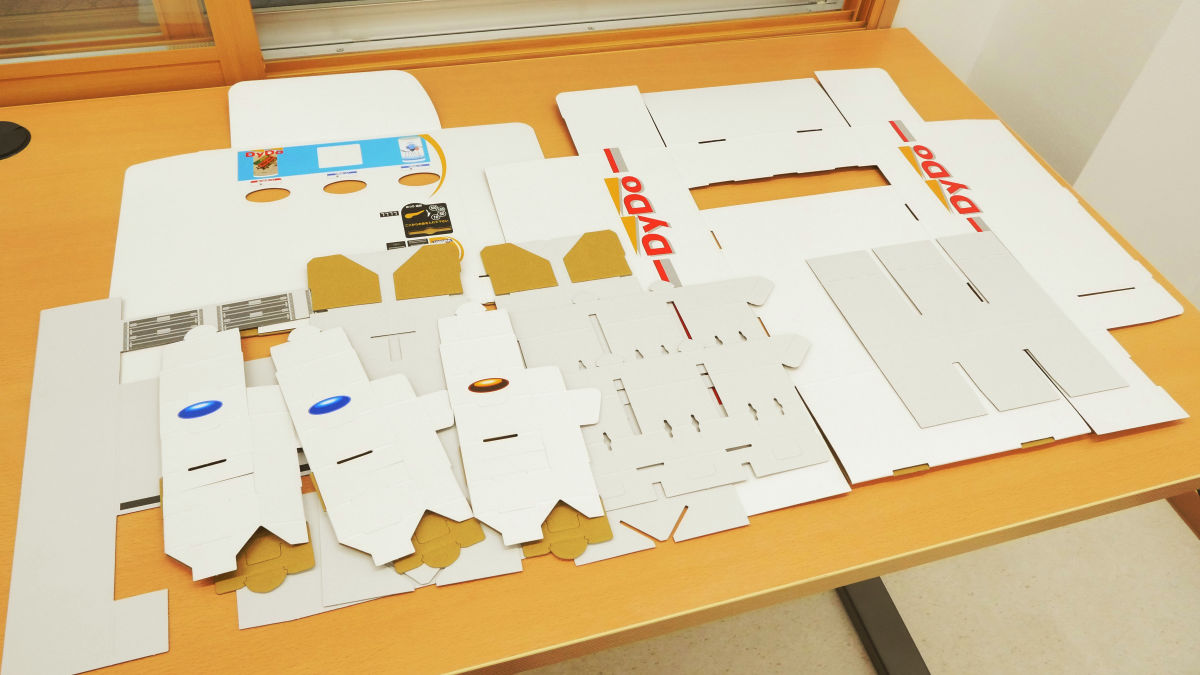
A fine part such as a top board, a mini can, a label sticker put on a vending machine is like this.
So we will make a paper craft vending machine at once. From the assembly of the largest "parts A". Follow the crease, fold the board paper to become three-dimensional.
The outer frame is completed first.
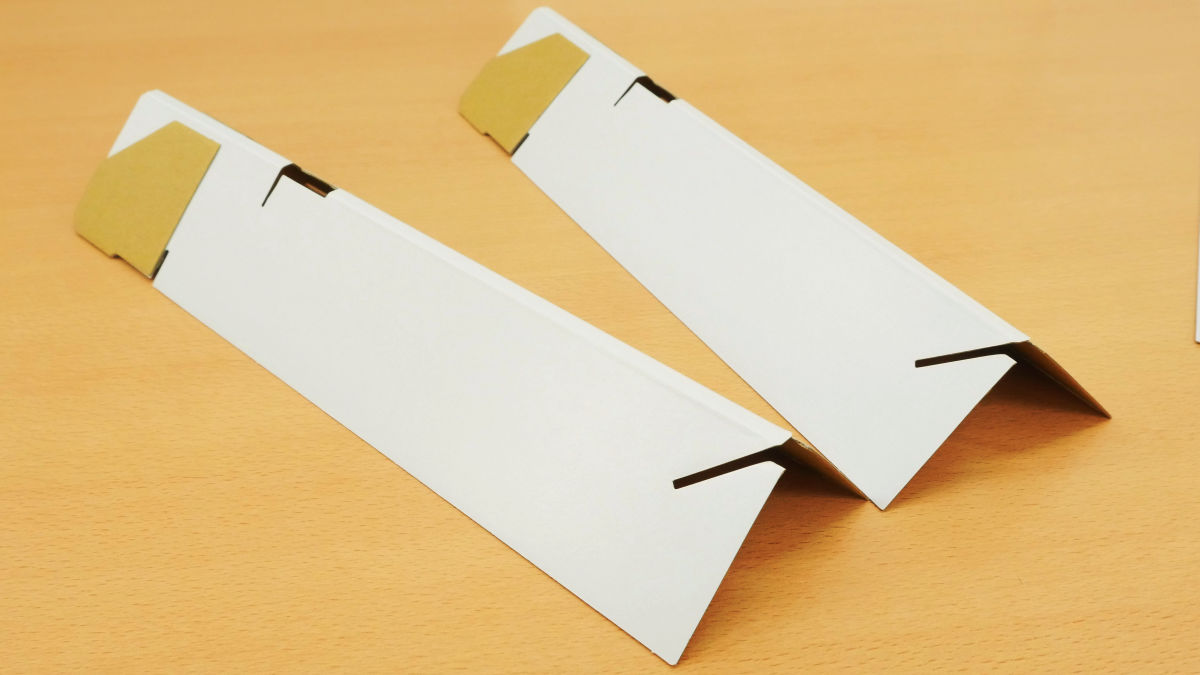
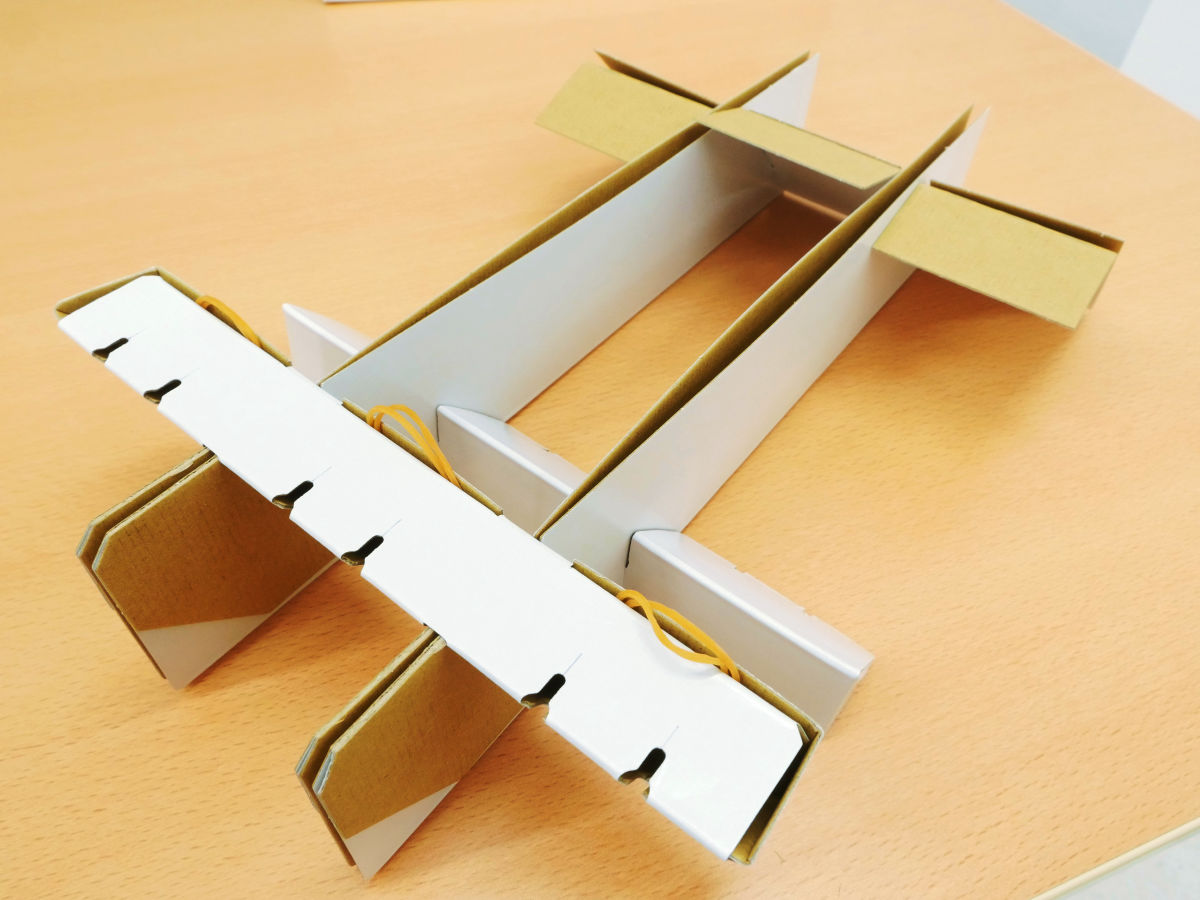
There are two parts B, fold each so that it becomes a triangular pillar.

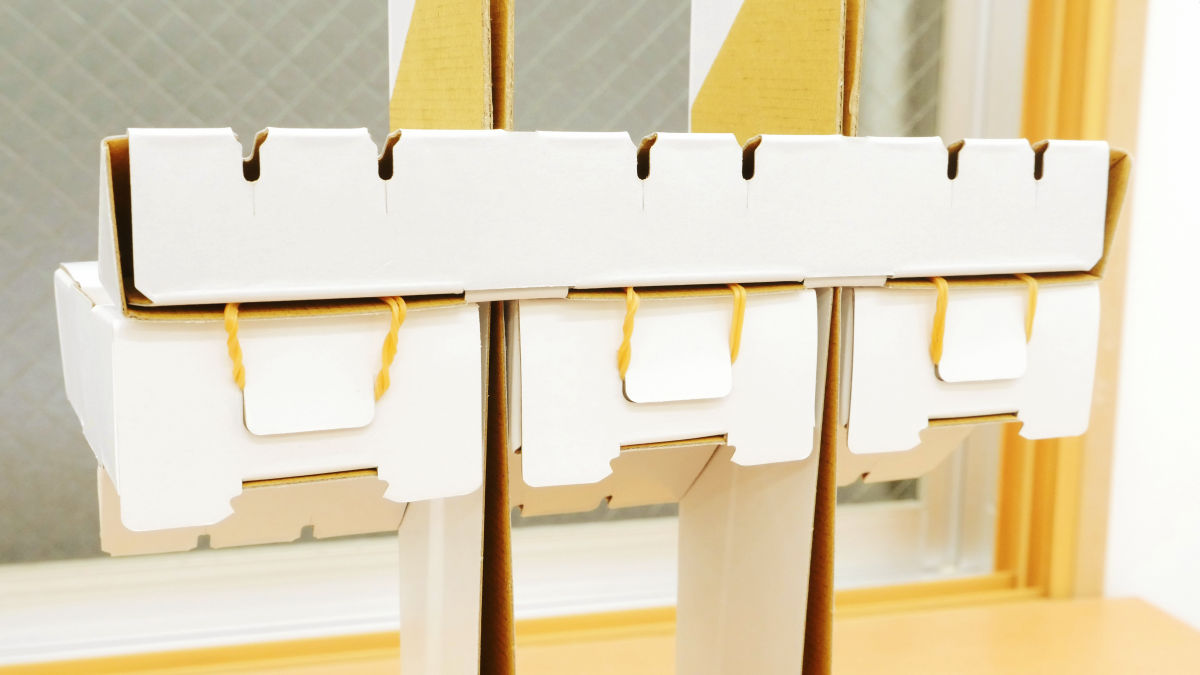
Next, I will hang the rubber band on the triangular pillar, but the part "to make the rubber band double" in the assembly manual is highly emphasized. This is because people who assembled the 2015 version frequently caused the rubber bands to be single, not double. The vending machine does not work well in a single state, and in order to correct it, it has to be disassembled and rebuilt the vending machine, so the 2016 version highlighted with red letters.

I will hook the doubled rubber band to the part of the claw of the triangular pillar like this.
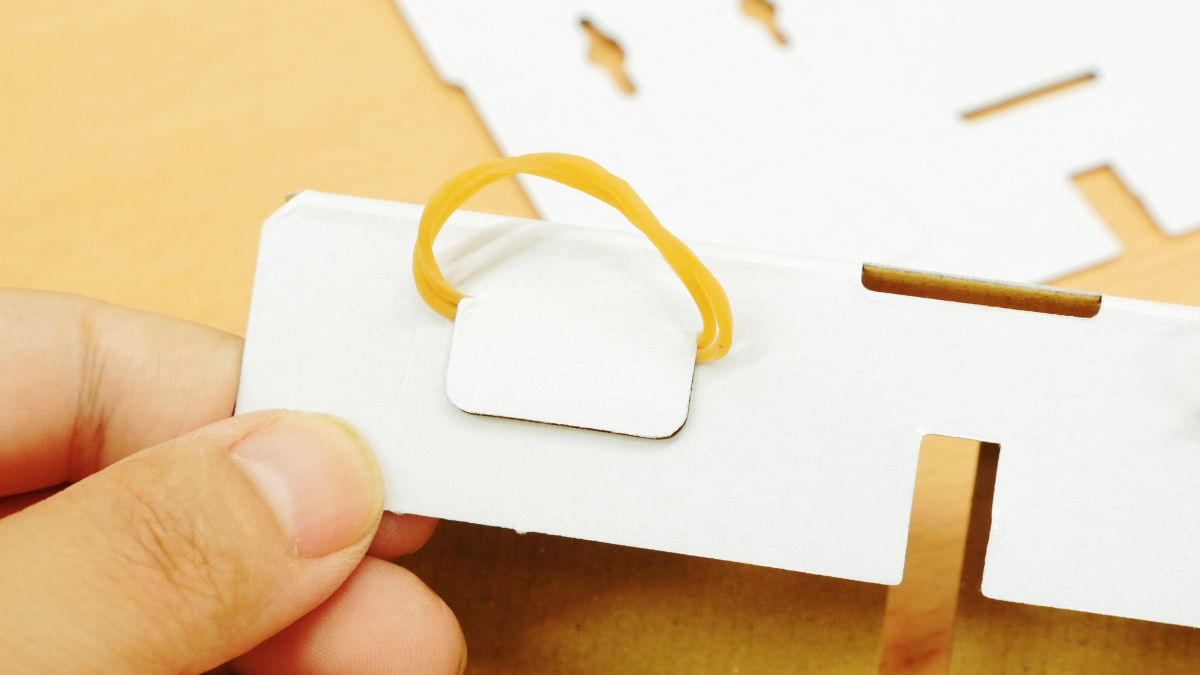
When folding tightly, the rubber band jumps out of the pillar a little.
The other part B does not catch the rubber band and makes it triangular.

Next, we will assemble three parts C which will become buttons of vending machines. Wake up the paper parts first and make it three-dimensional ... ...
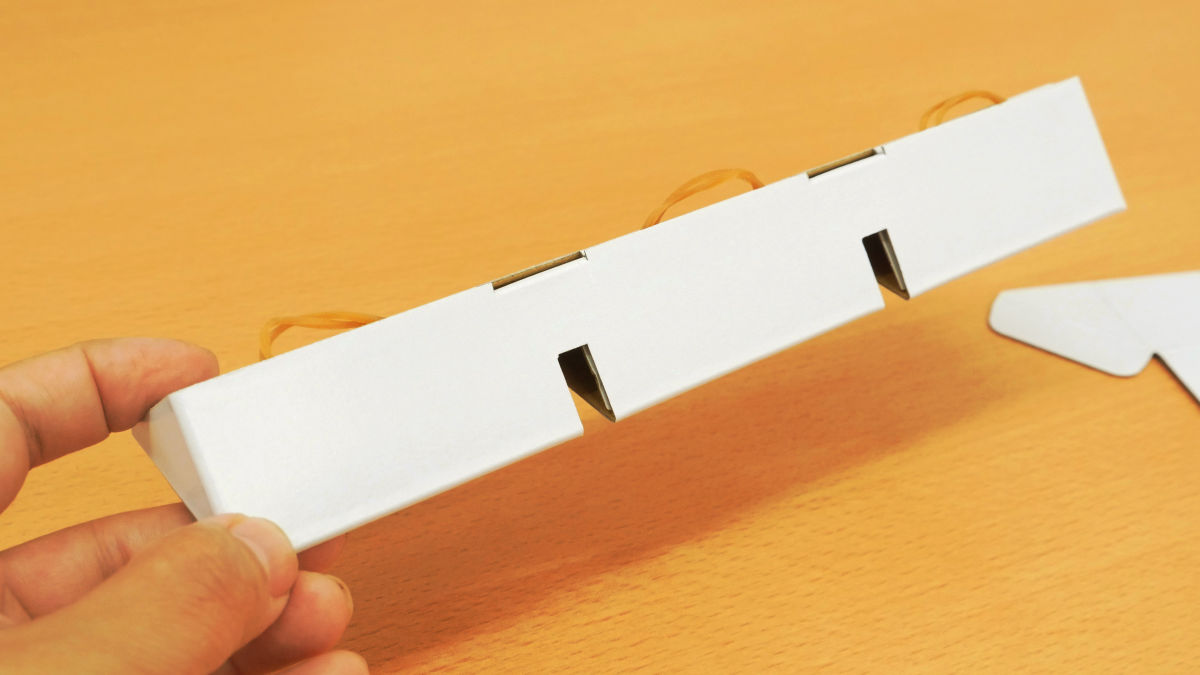
Insert the claw into the notch. Although the paper craft vending machine is assembled in 43 steps in total, although the number of operations can be seen, scissors and glue are unnecessary and the assembly is completed by the work of bending the craft → inserting the claws, so the work itself is very easy and crispy move on.

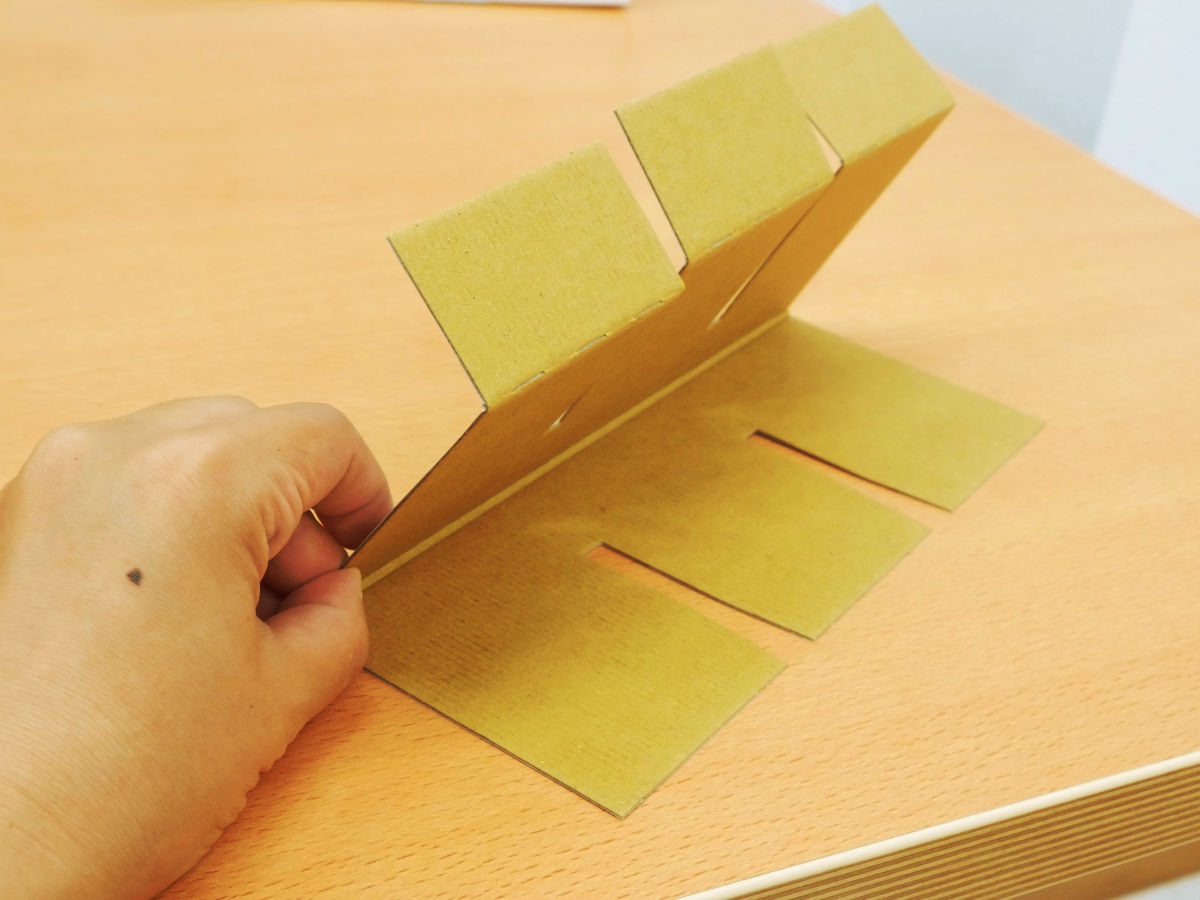
Fold the cardboard like this to create a dent in the middle.
Then fold the cardboard with the other side up and insert the claw into the notch ......
The button part is completed.
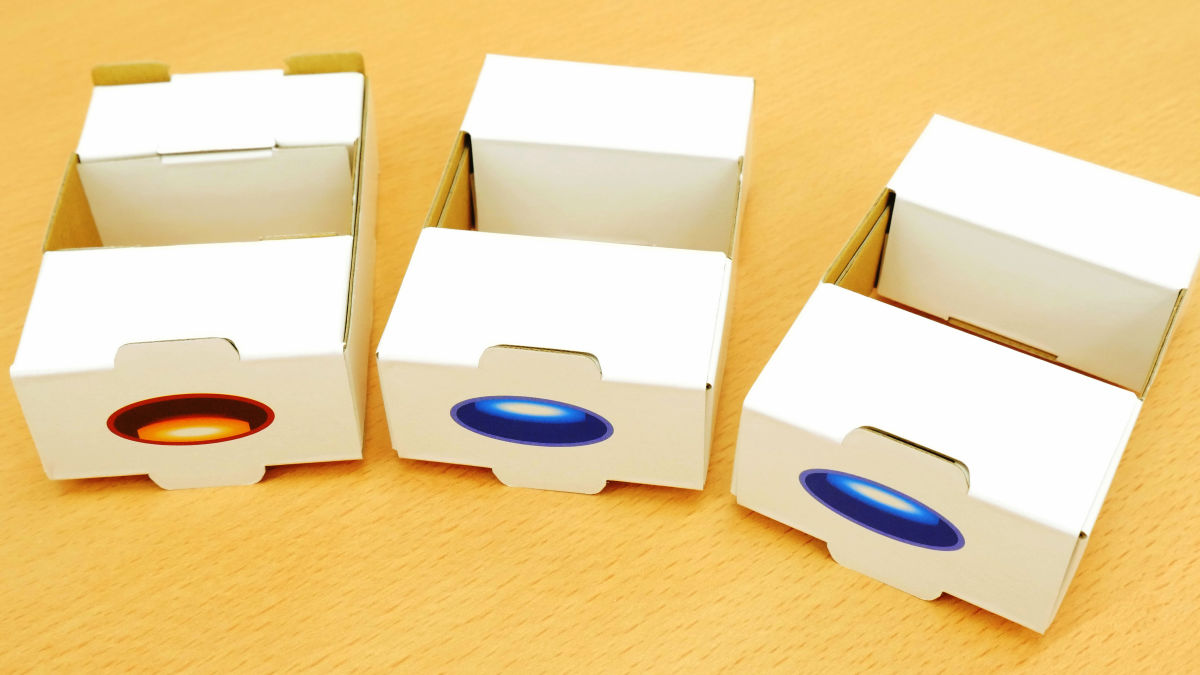
Button is orange where one is hot, and blue is blue indicating two cold.
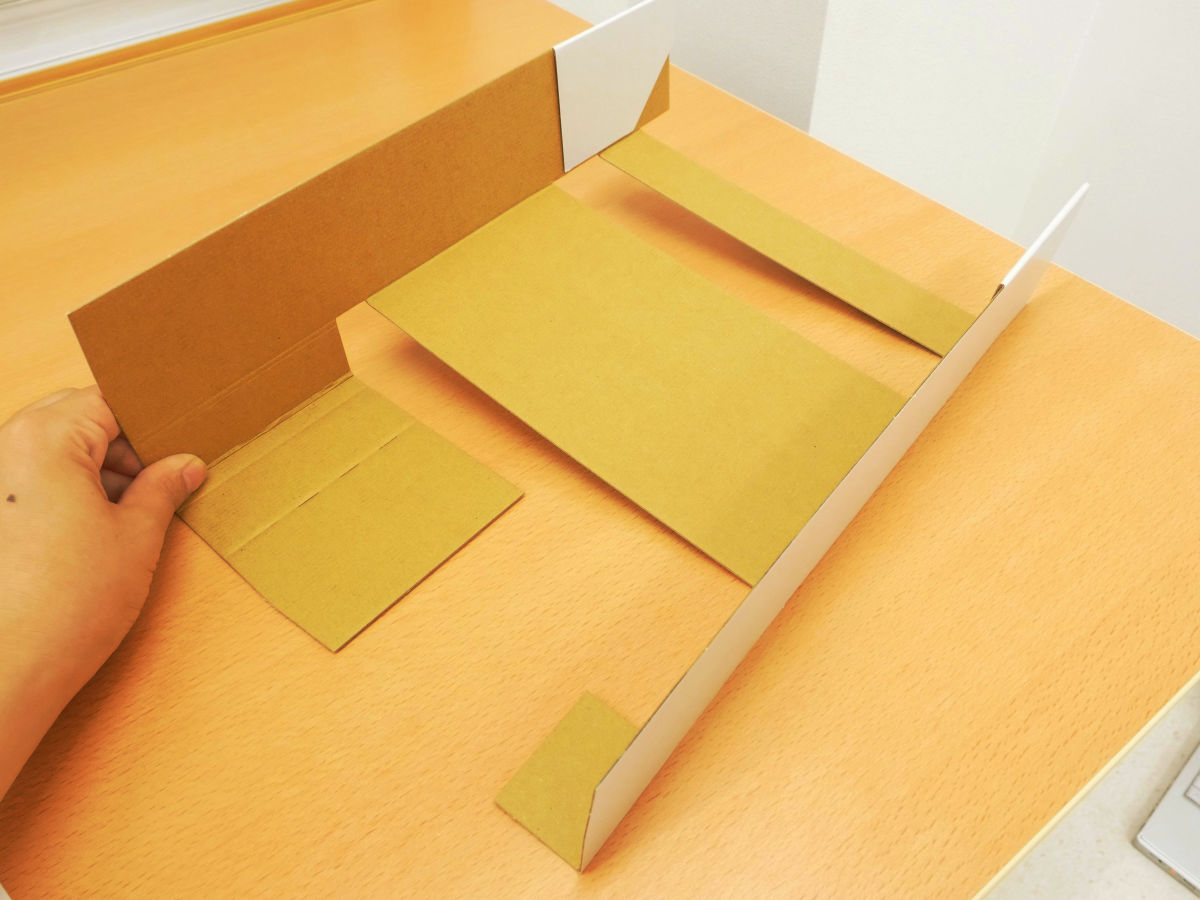
Furthermore, we will combine part D × 2 and part E.
Part D is in a mountain fold in the middle.
Parts E should be folded to be in the form of "Z".
Since the slit is included in the butt part of part D as follows ... ...
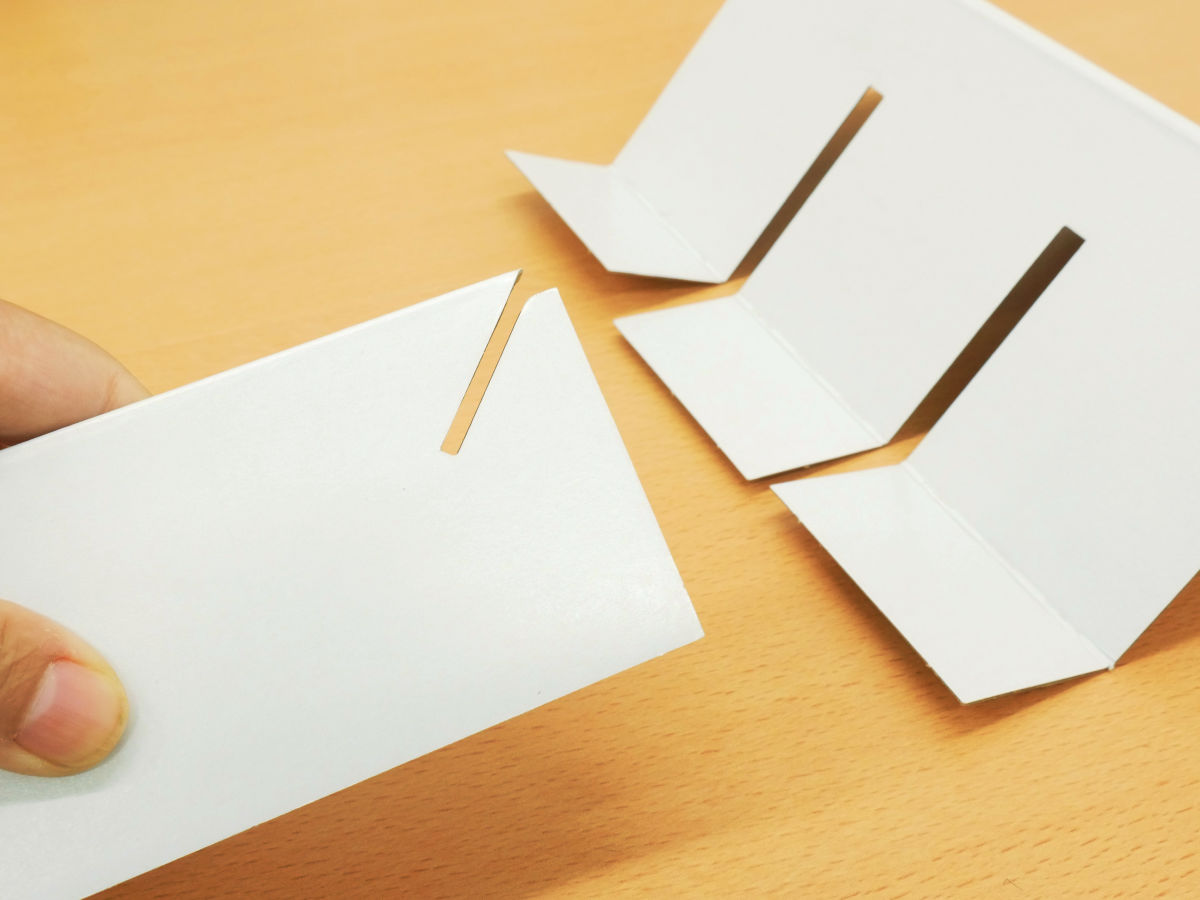
If this is combined with the incision of part E, it is OK.
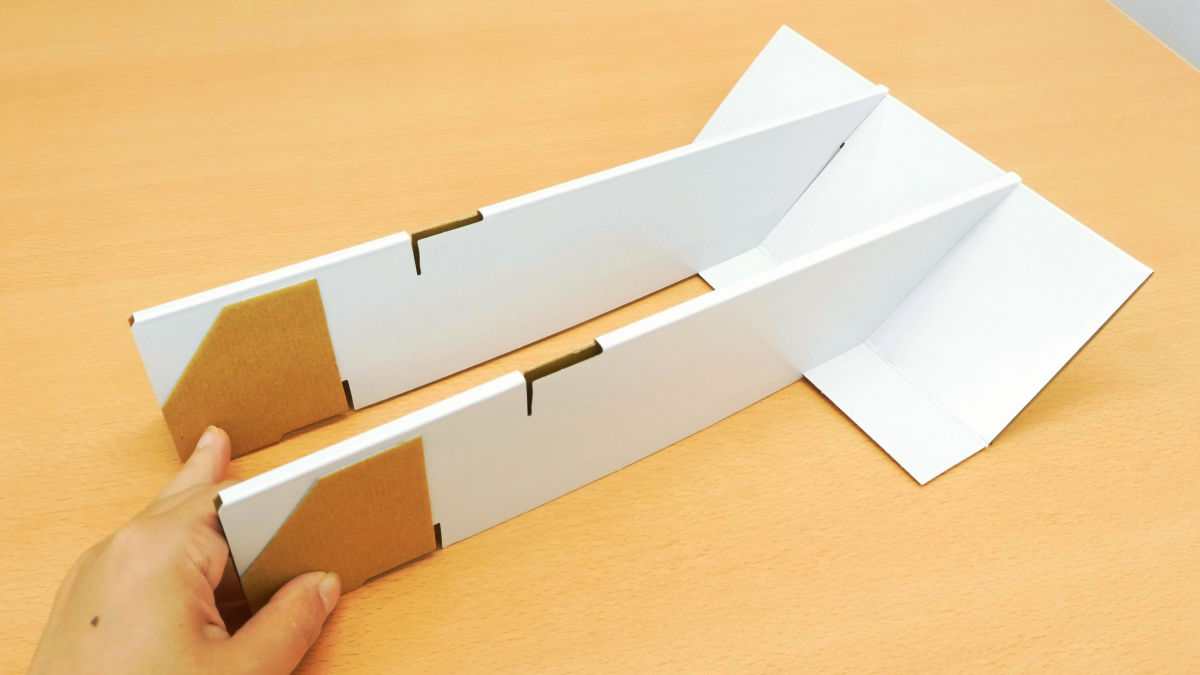
In addition, insert the incision of the triangular pillar that I made earlier into the notch of part D.

Turn the combined parts of D and E backward, this time set the triangular prism of the one with the rubber band.
It became a state of self-reliance firmly.
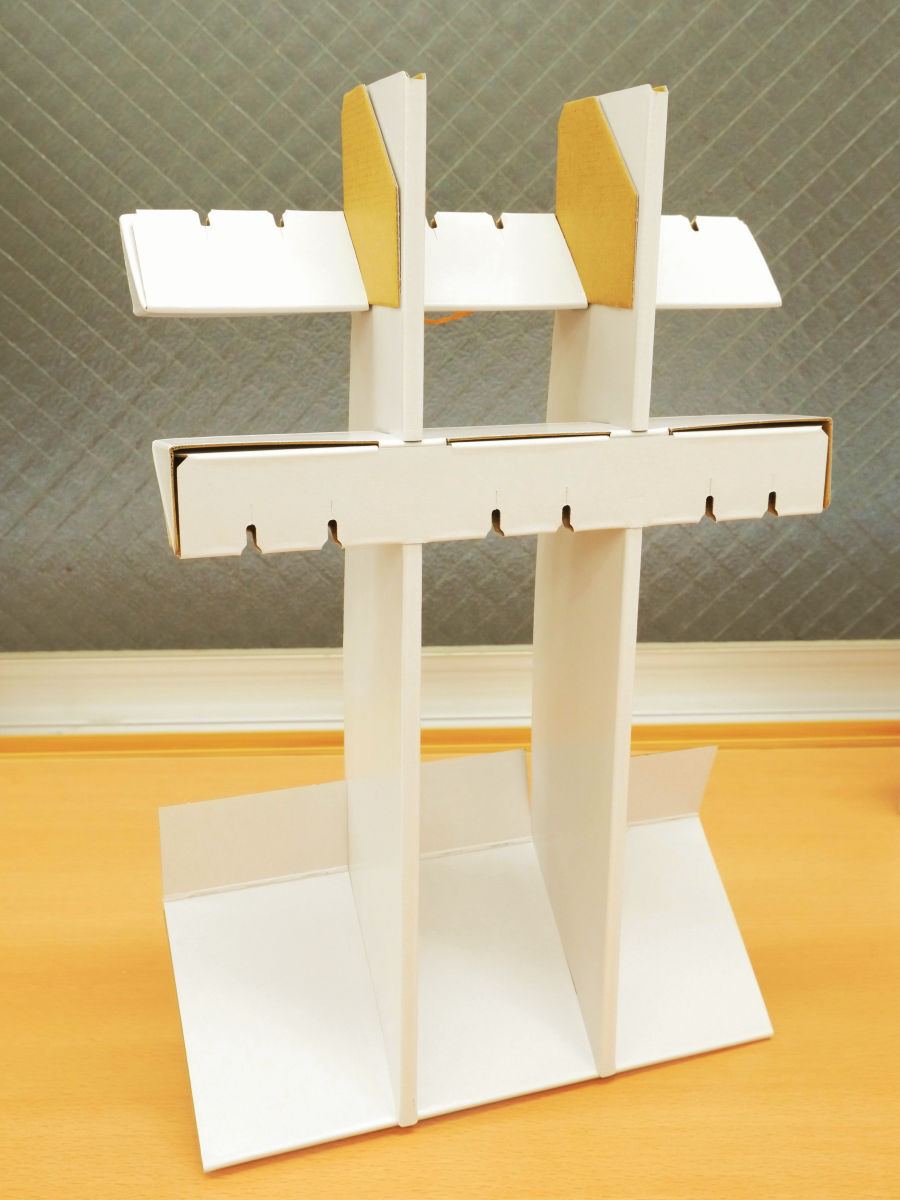
This part will be a part supporting mini cans and buttons in vending machines. Next, I set the button, but the instructions are written in the assembly instructions to set the button "order from orange, blue and blue" from the left.2015 versionWhen reviewing this notice, there was no note, because the order of the buttons was mistaken, it did not match the product display in front of the vending machine and it was decided to rebuild, so this display is a very nice place.
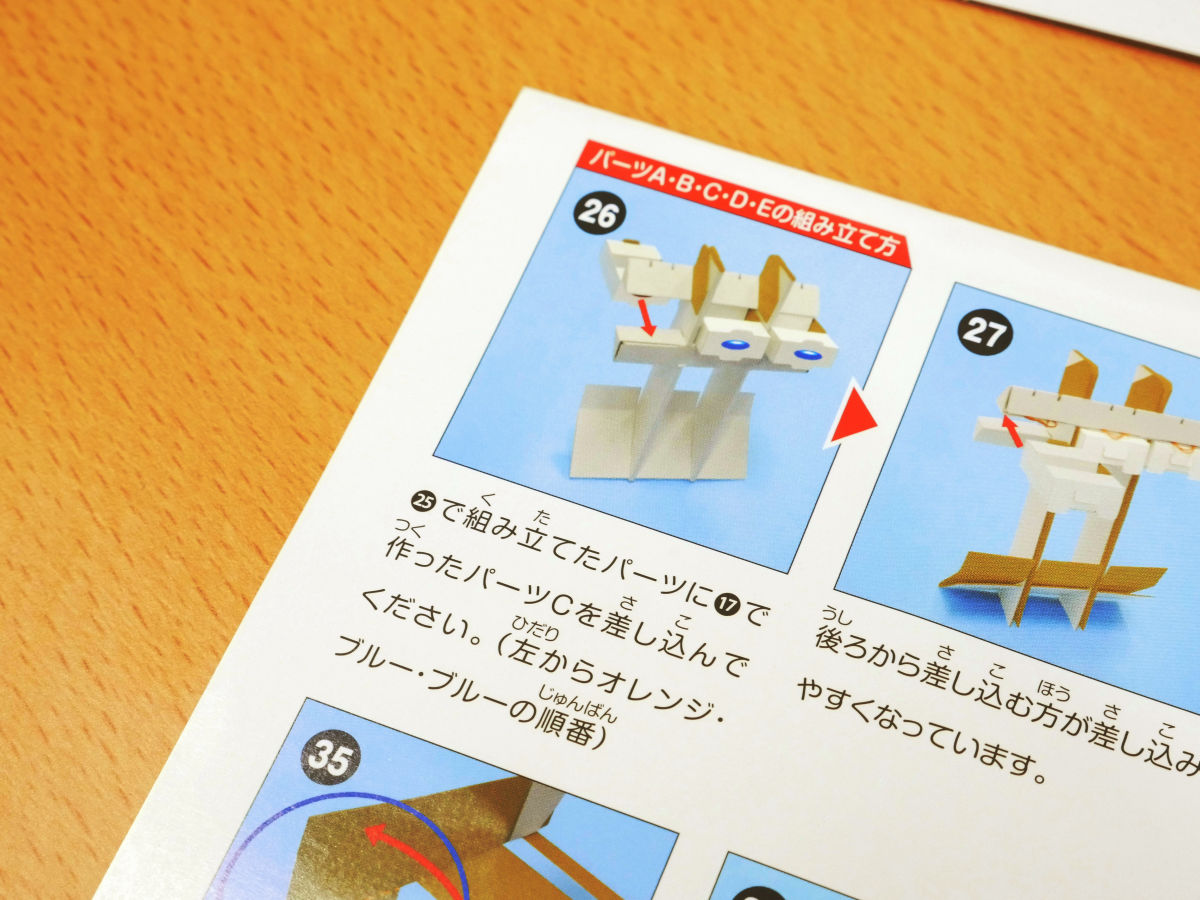
Follow the instructions, set the buttons in the order Orange Blue Blue.
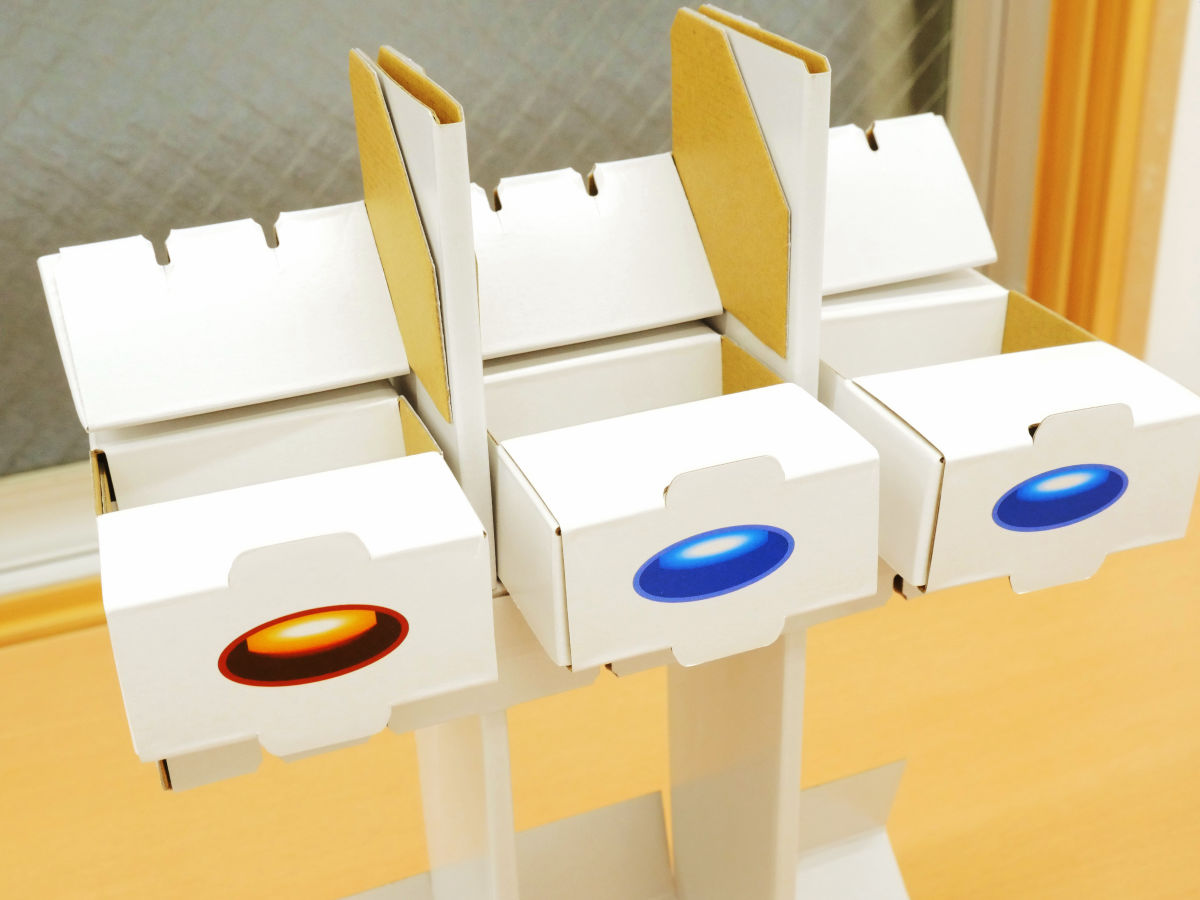
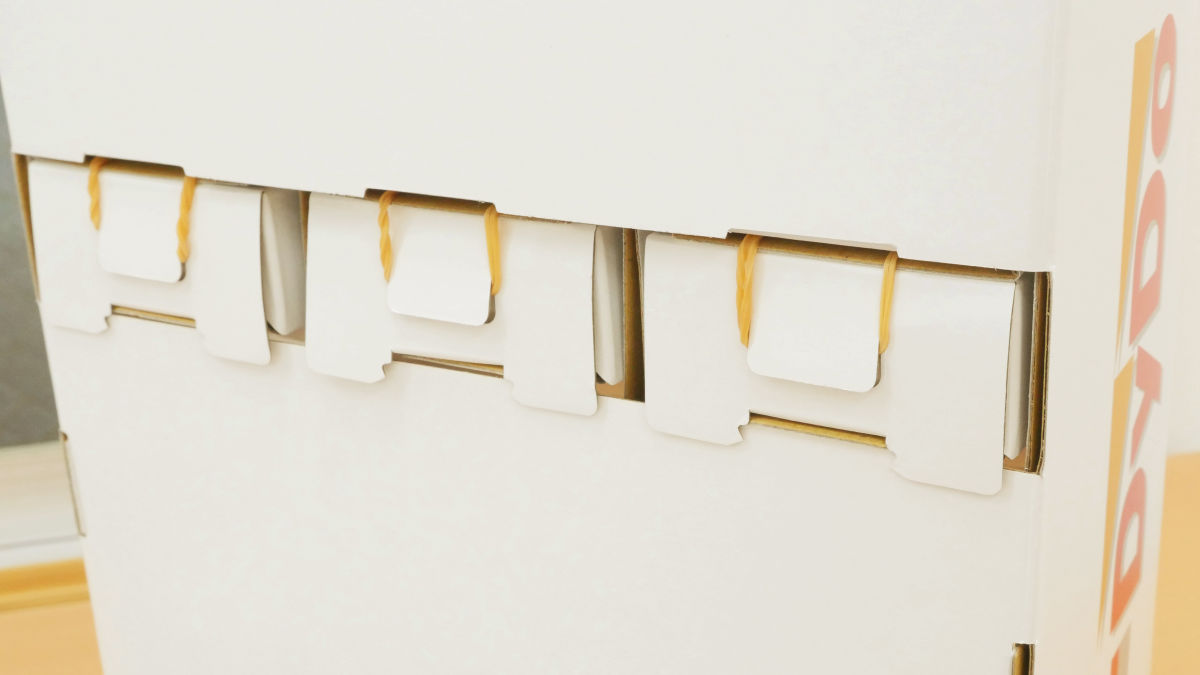
Since there is a claw on the back of the button, I will hang the rubber band that got out a little from the triangular prism on this claw.
When I finished putting the finished parts on the first frame I made, it became much like a vending machine.
The back is like this. It is a point to put the protrusion of the bottom of the button out.
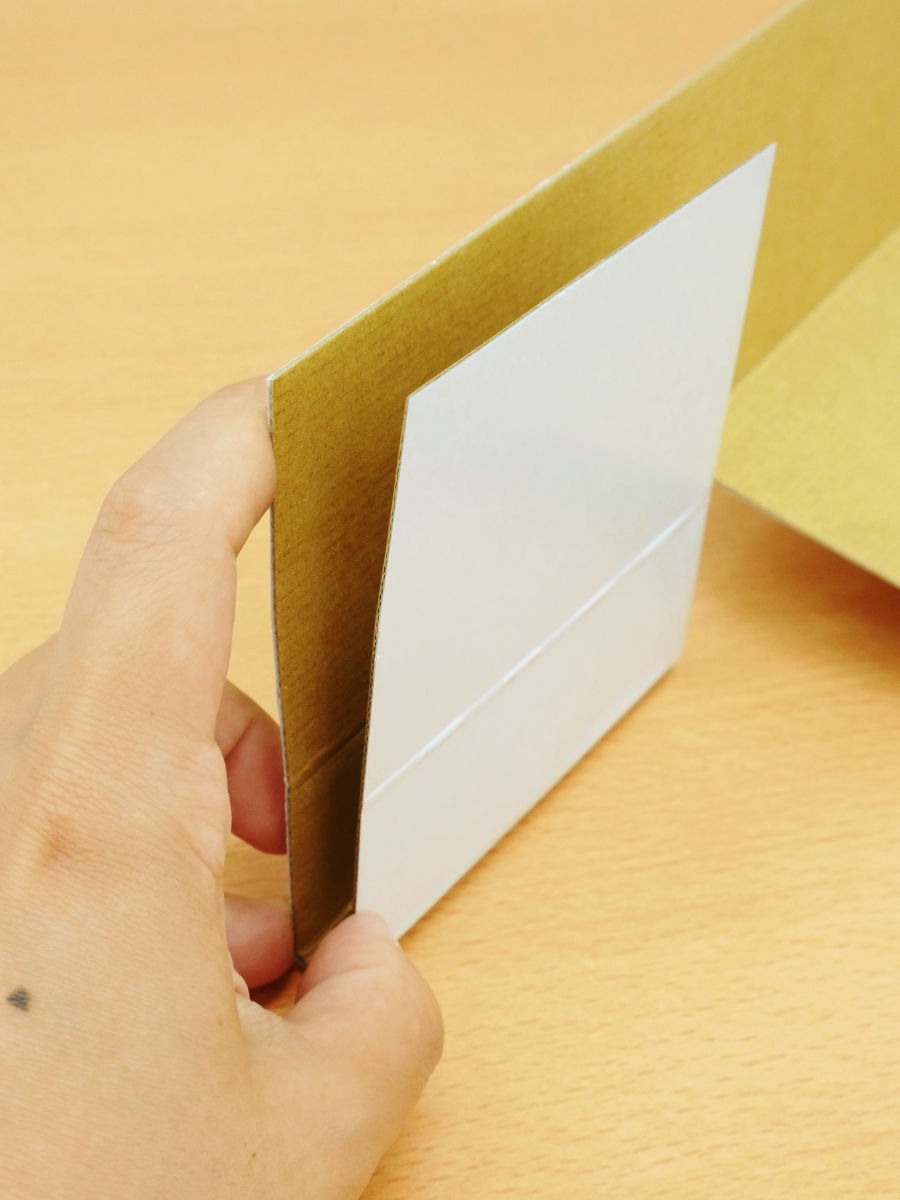
I will also create an inner cover.
Fold it ... ....
Assemble so that protrusions will appear a little outside the cover. This is an improved part, and it will show its effect after all.
Insert the inner cover into the front of the main unit.
Like this.
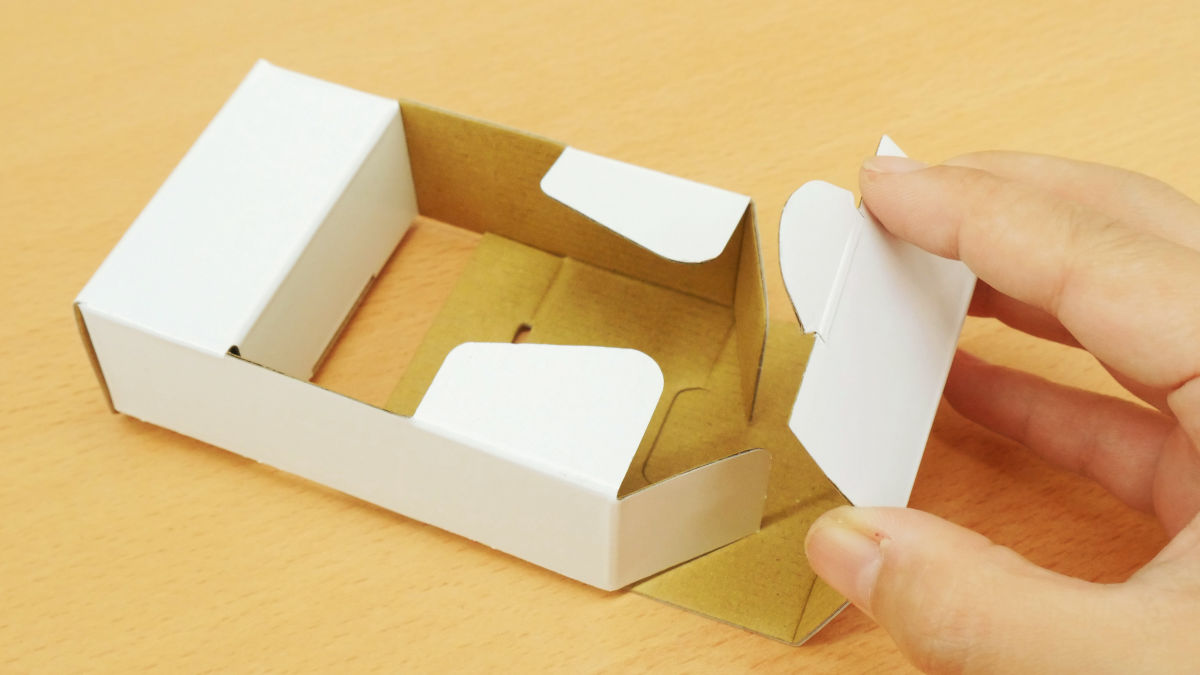
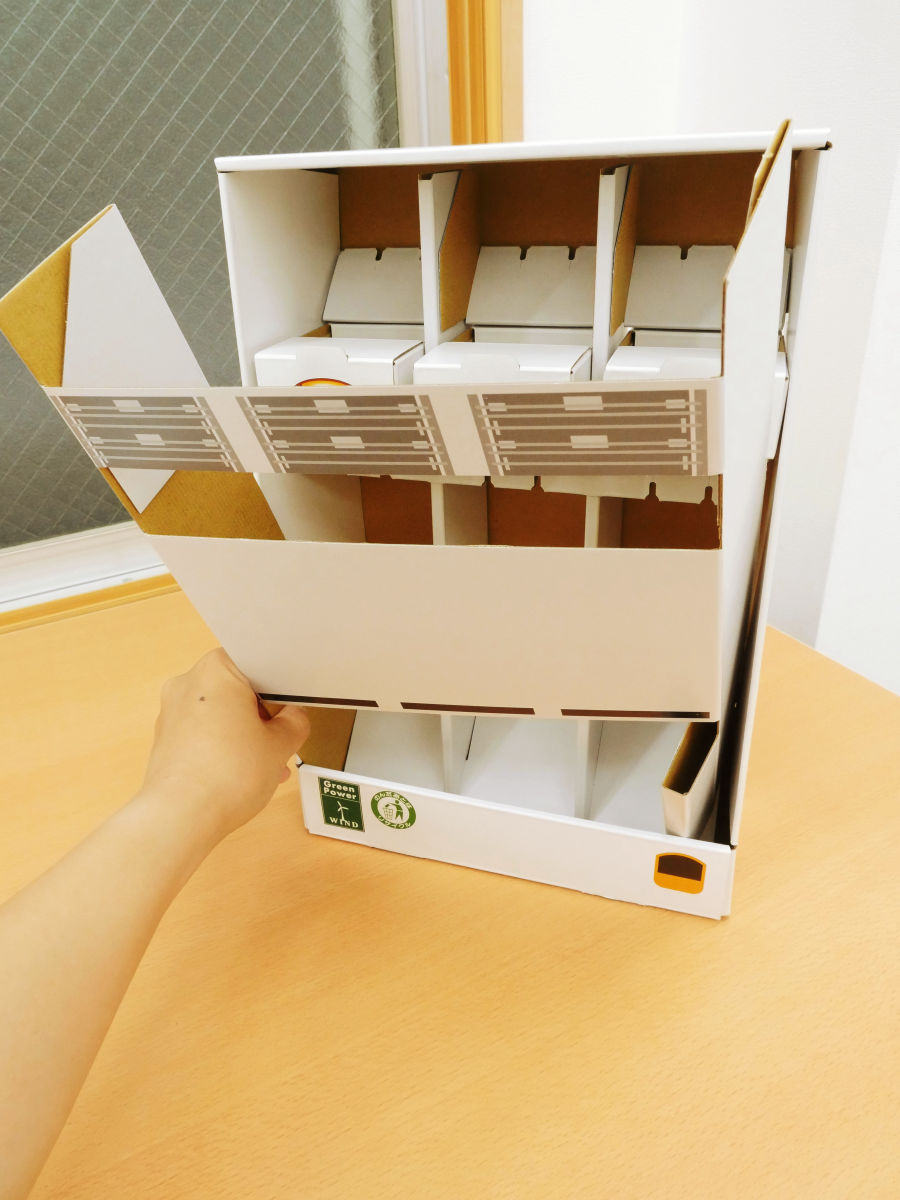
Finally I will make the outer cover.
Since box-shaped objects are stuck on the back of the parts, we first make them three-dimensional.
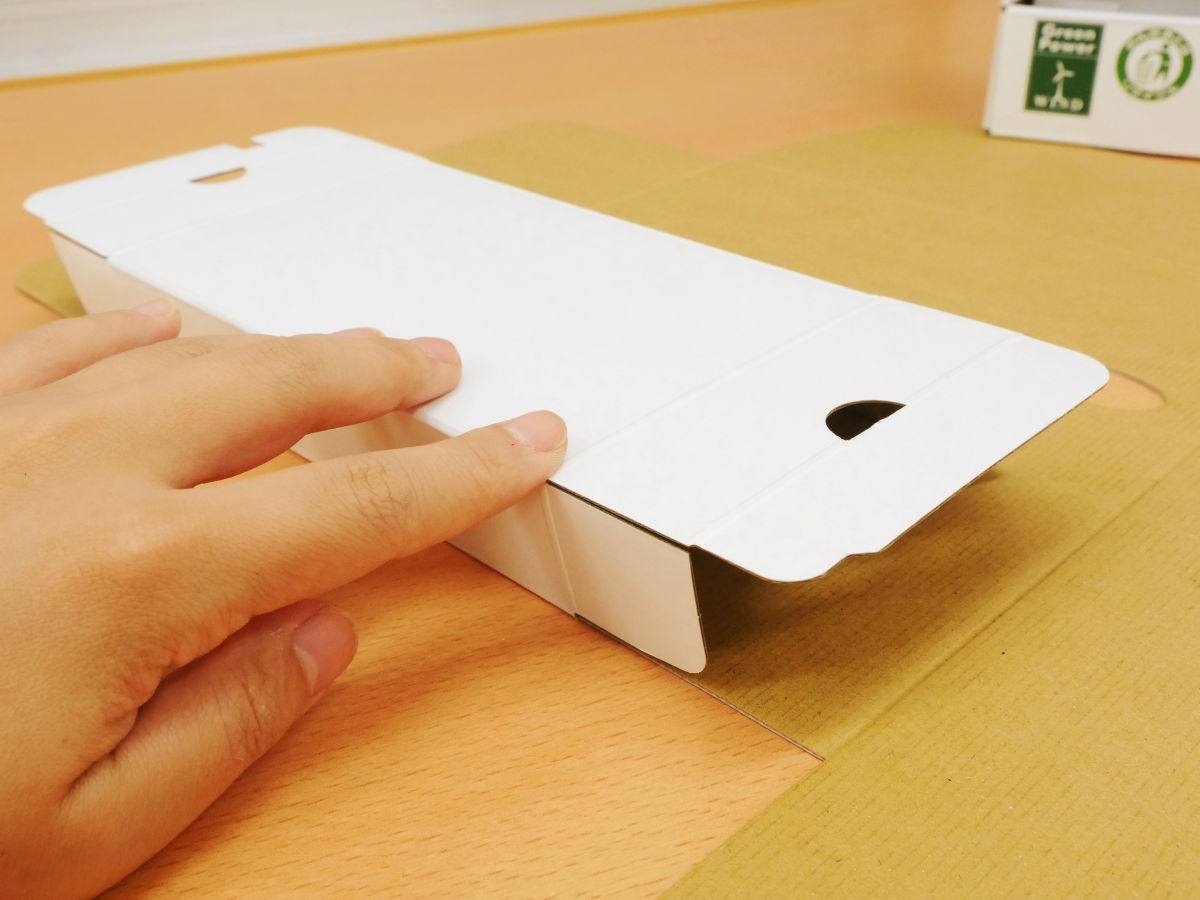
This is the part where the money put in the vending machine is accumulated.

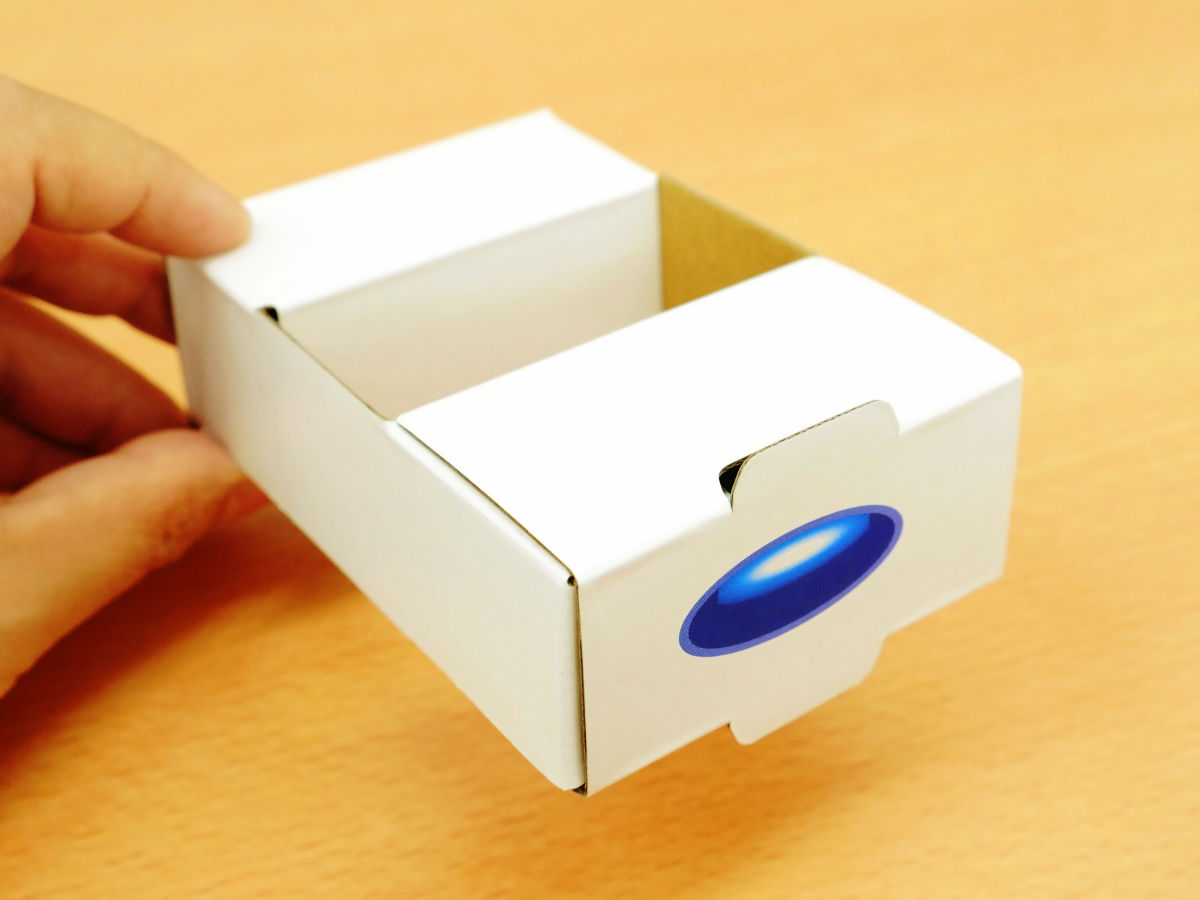
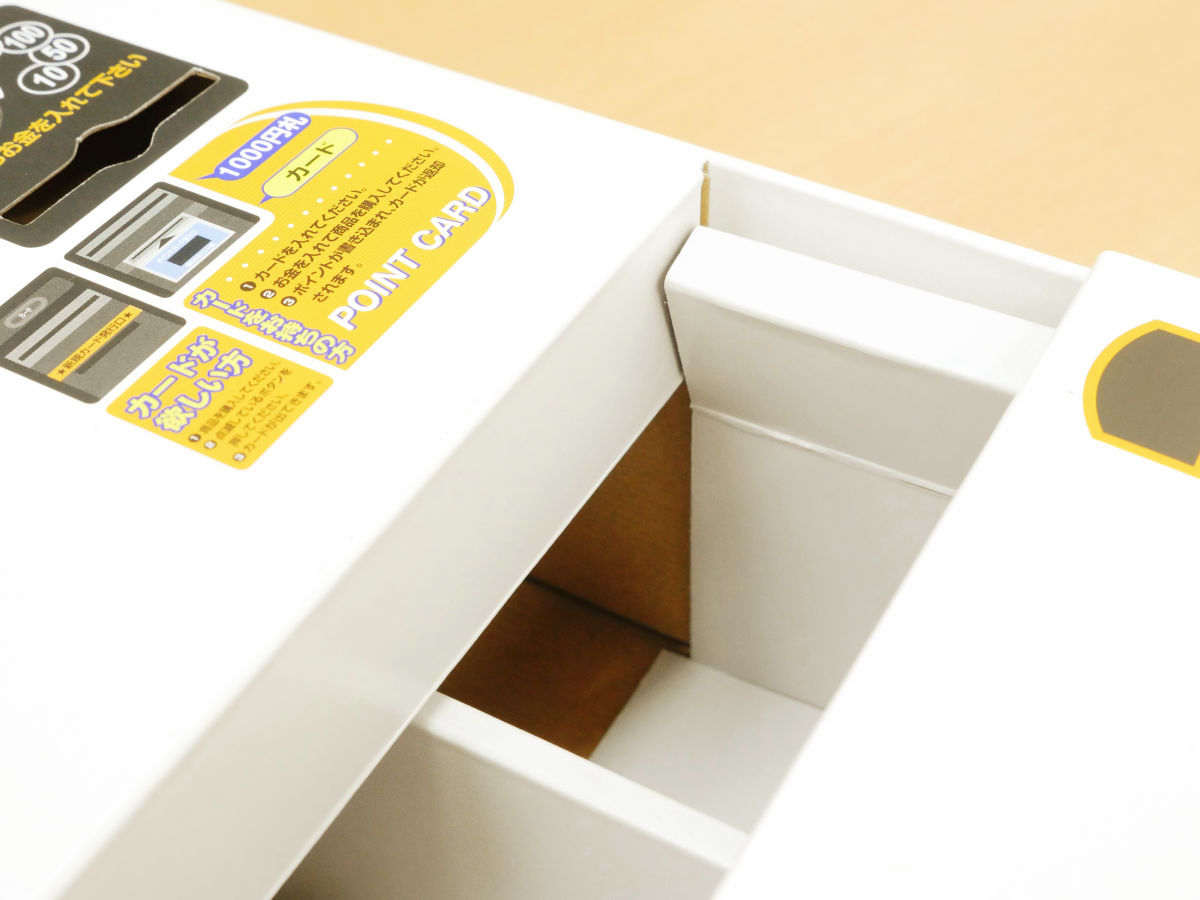
I will place a folded cover on the body.

Then, the protrusion of the inner cover plays the role of supporting the saving box attached to the outer cover. This was because someone who used the 2015 version paper craft vending machine for a long time saw the opinion that "the vending machine deforms due to the weight of money". With the support, even if money accumulates, the form of the vending machine is not collapsed.
The outer cover is fixed with reinforced seals inside the vending machine.

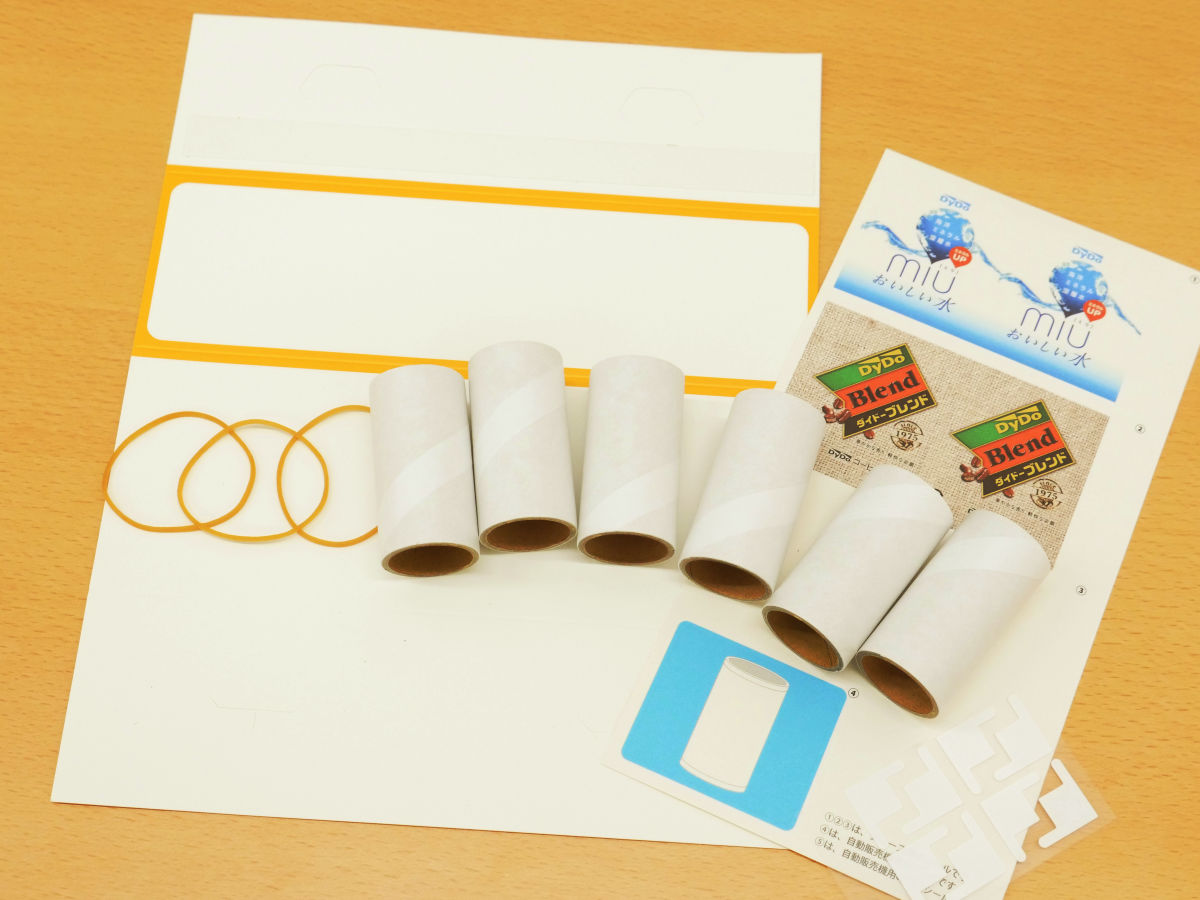
Continue making mini cans. I will wind the seal attached to a white mini can. The label isDaido blendWhenMiuThere are two types.
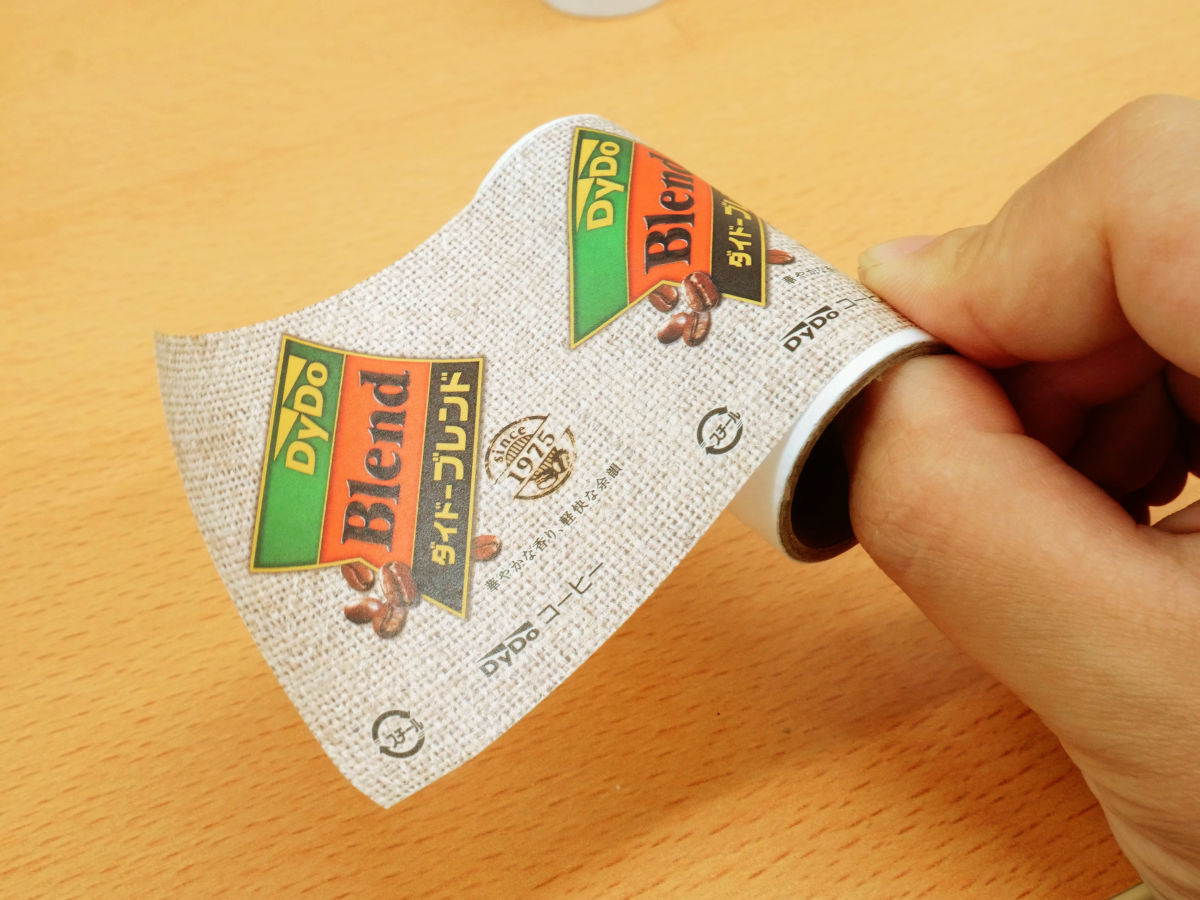
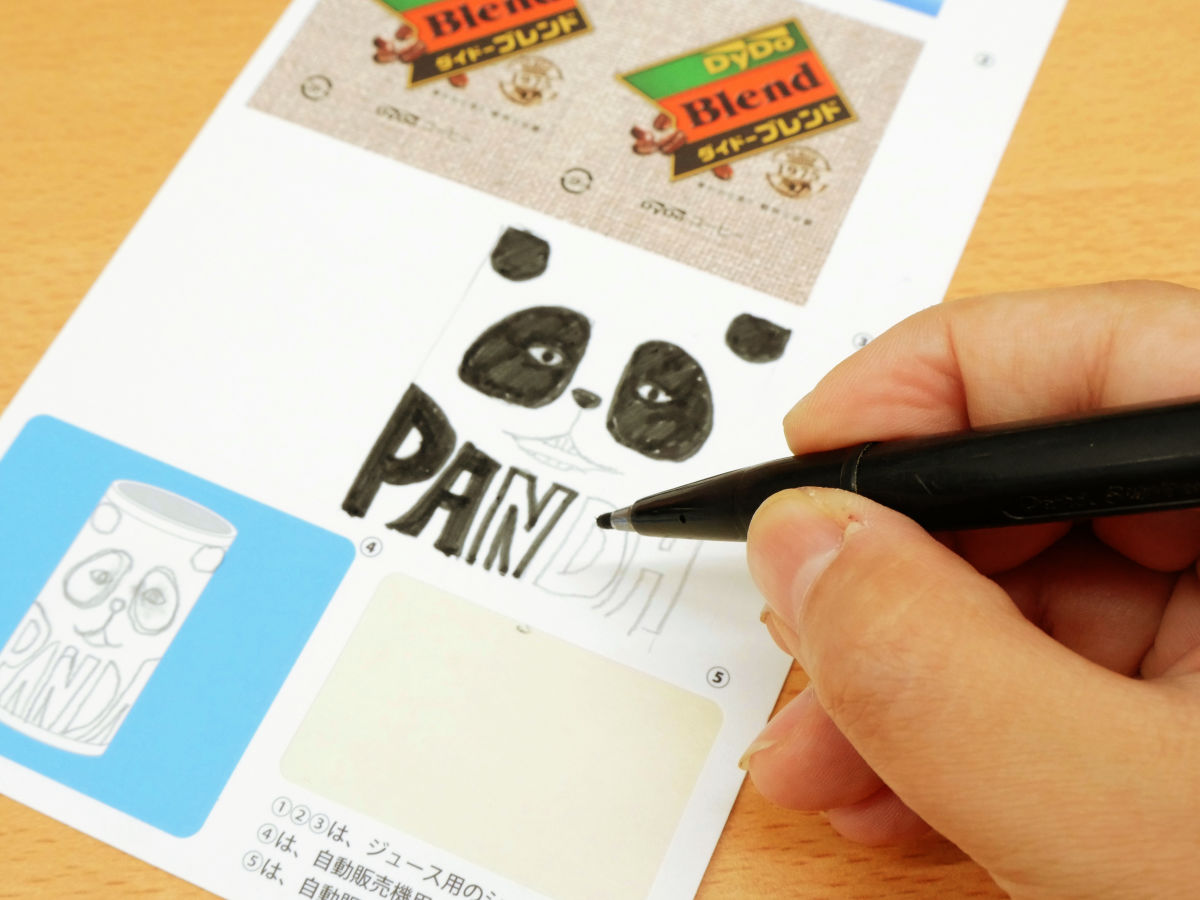
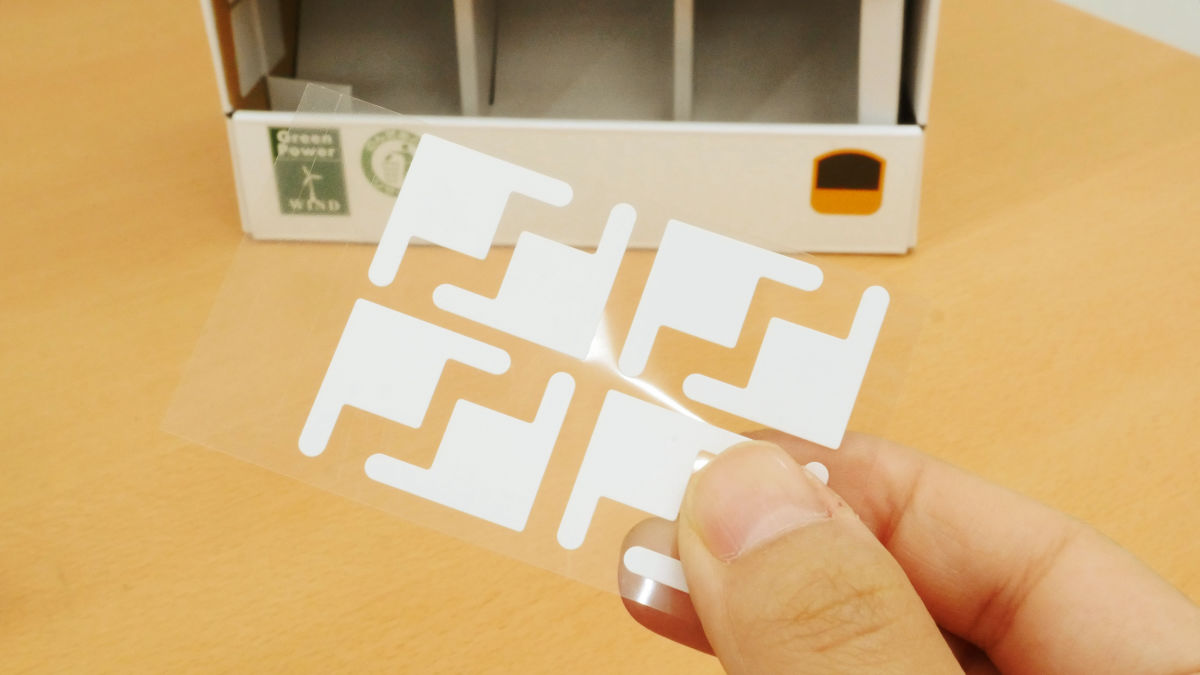
Also, there are white seals that you can draw illustrations etc yourself, so you can create your own label.
Mini cans can be set in total of 6, including 2 original mini cans.

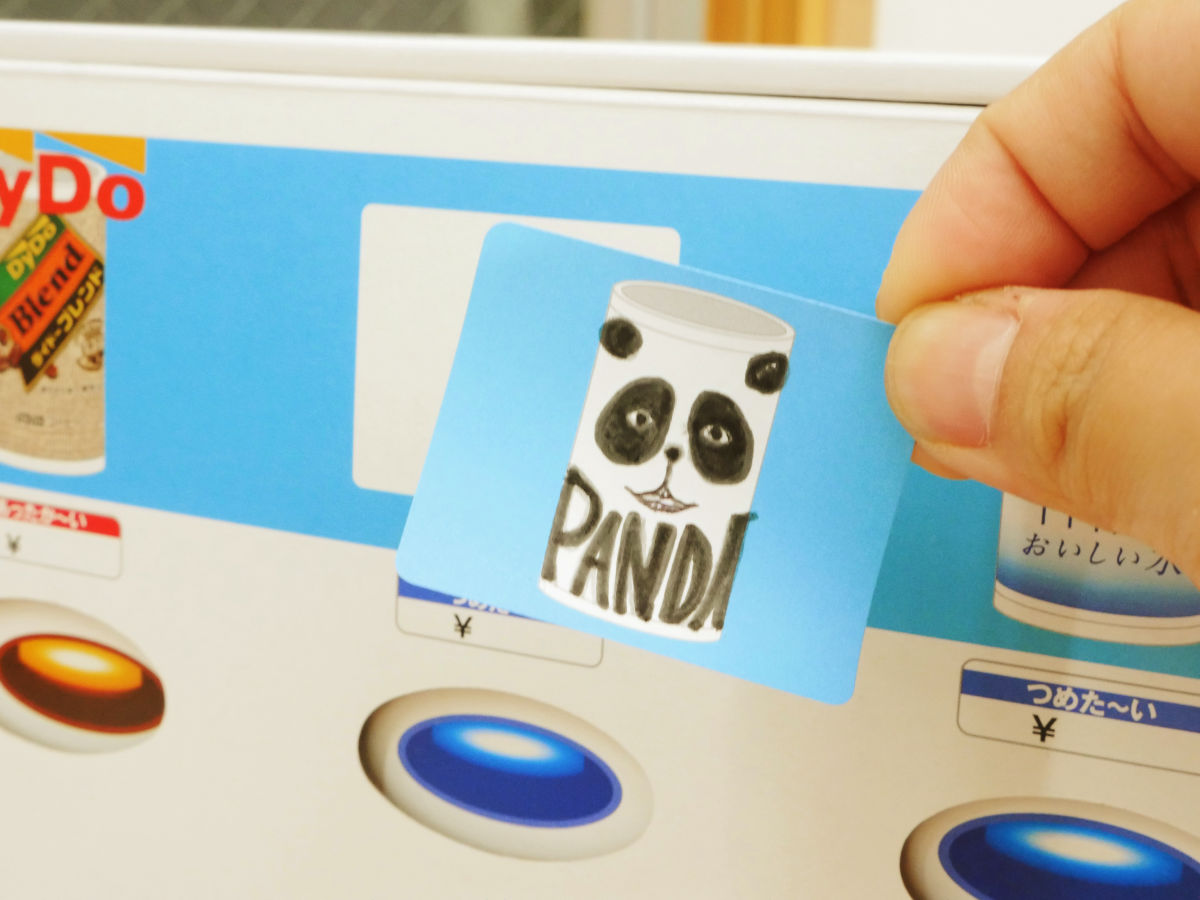
Also stick a sticker that depicts the original package even in the part of the product picture lining up in the vending machine body.
In addition, create a top board.
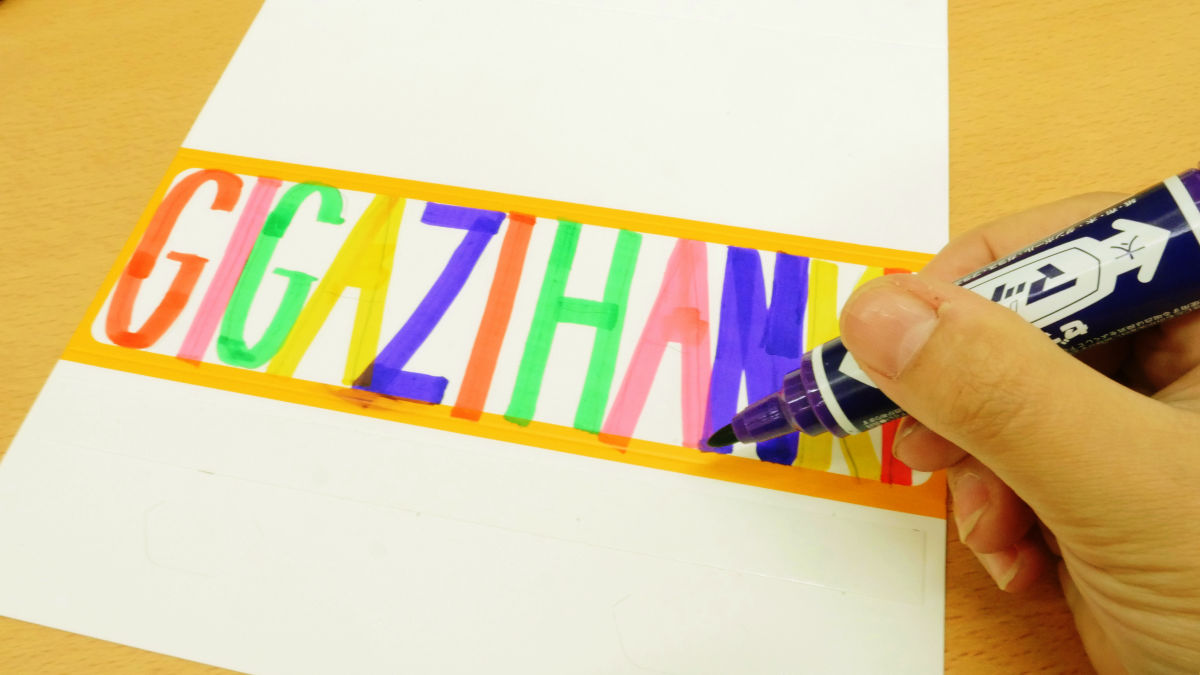
Make the top board a triangular prism shape ... ...
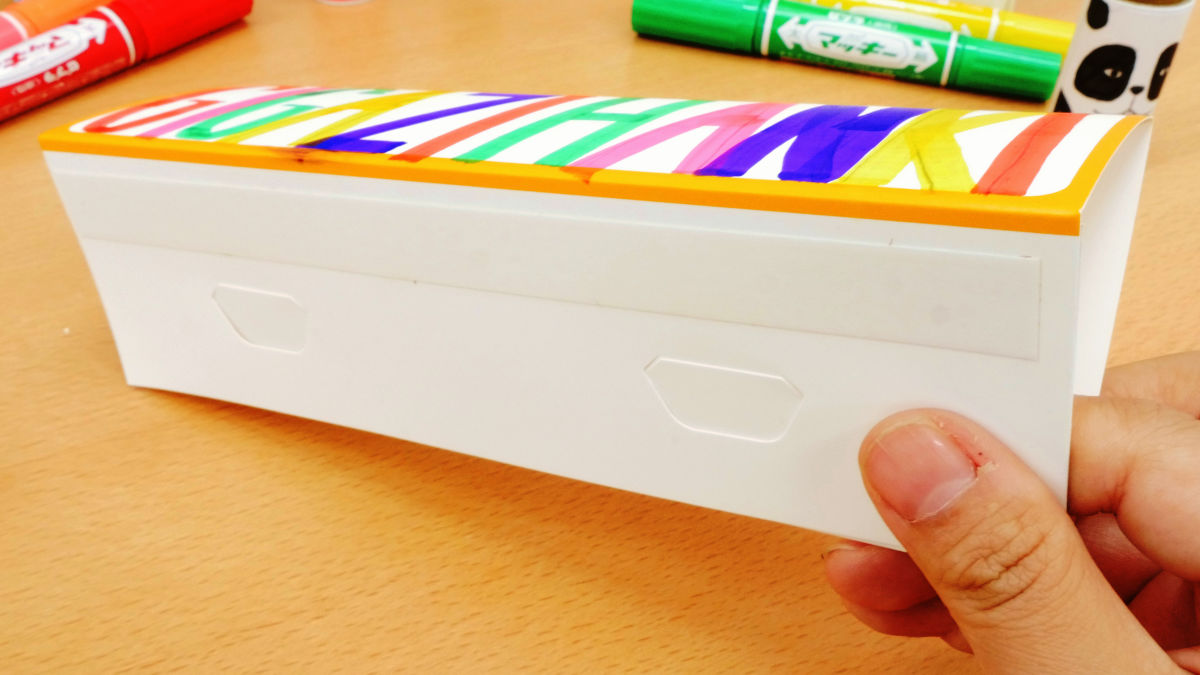
Adhere to the main body using the double-sided seal at the bottom of the top board.
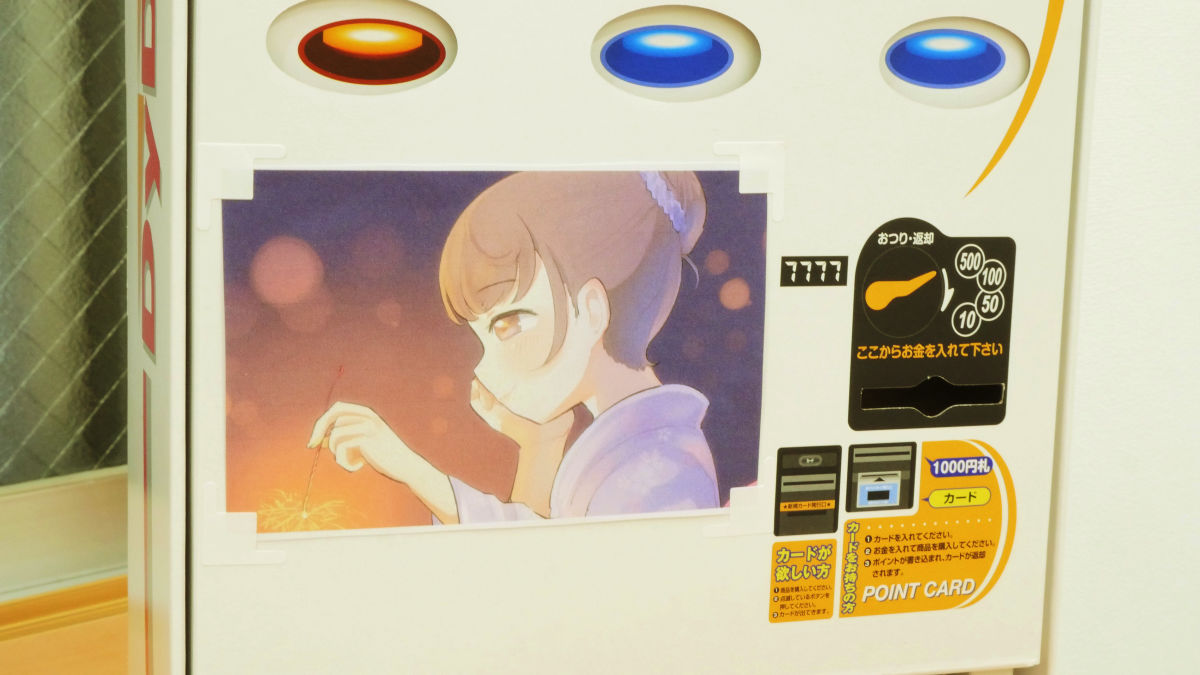
There is also a seal like this in the set contents. If this is something ......
Seal for pasting photos etc. on the front of the main unit.
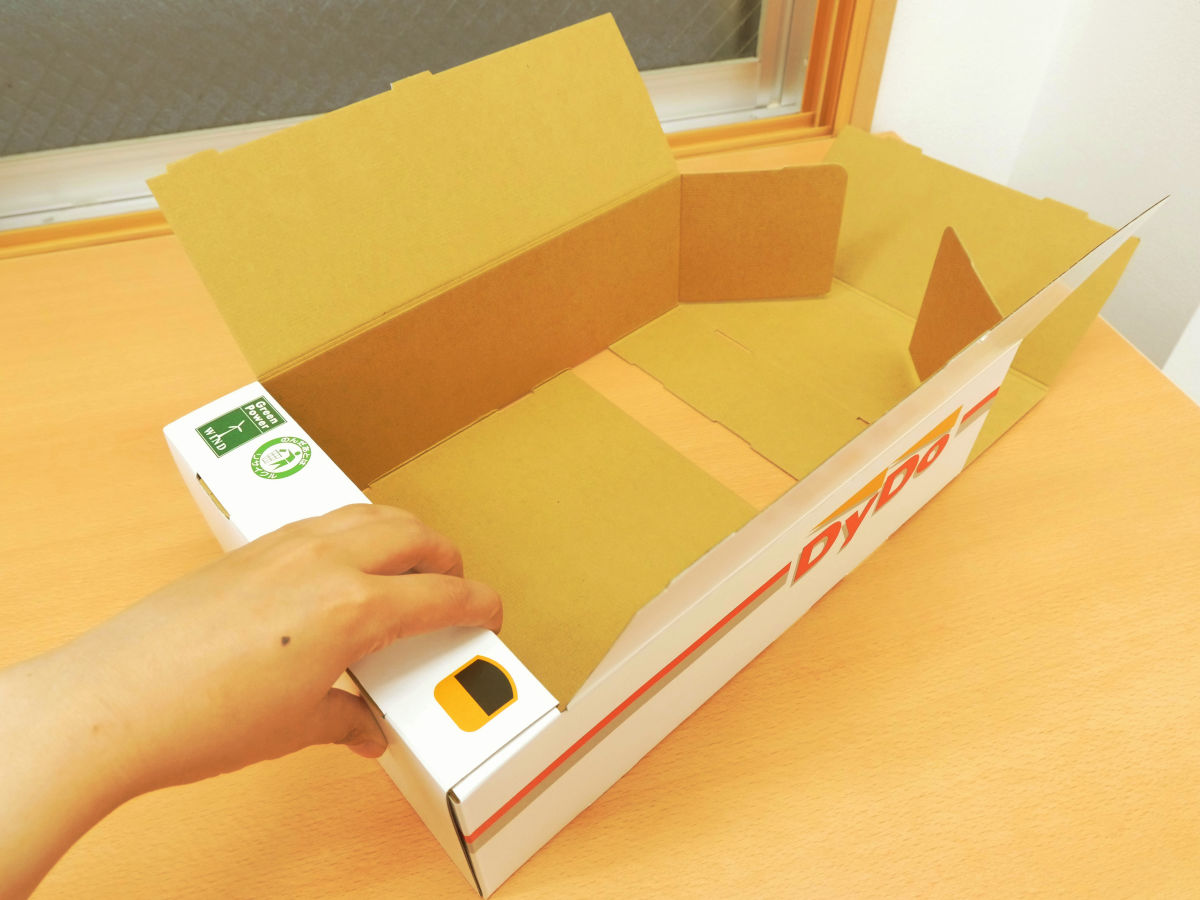
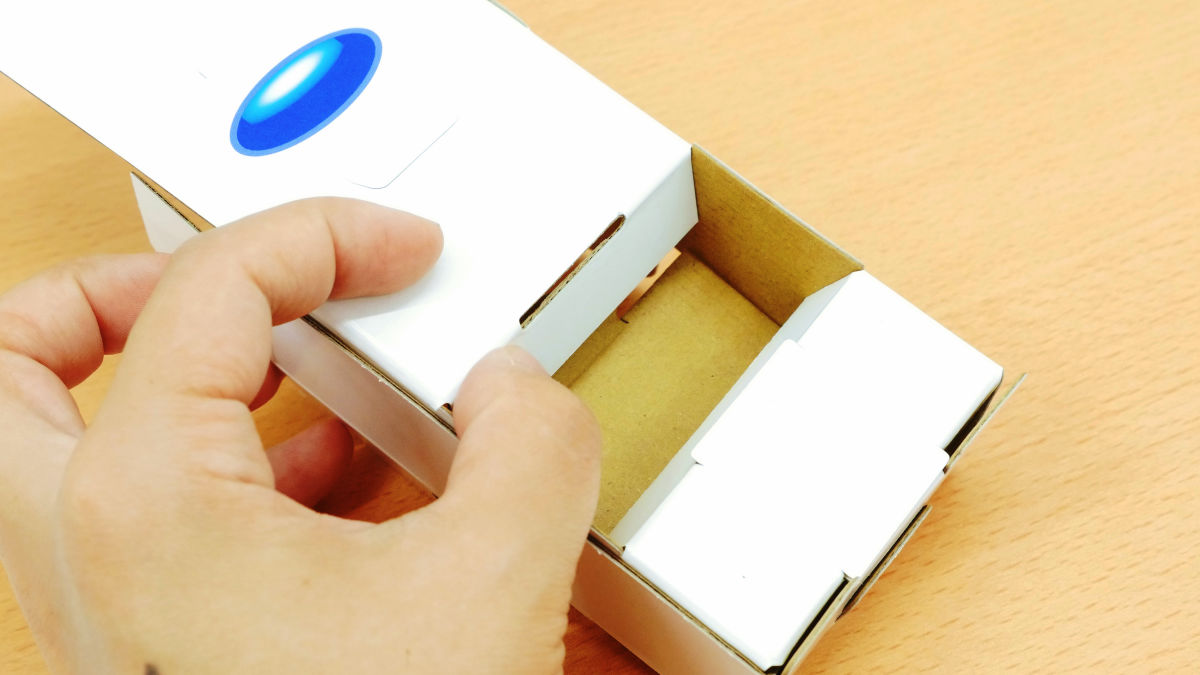
To refill the mini can, open the outside cover of the main body only on one side OK.
I will supplement the mini can with such feeling.
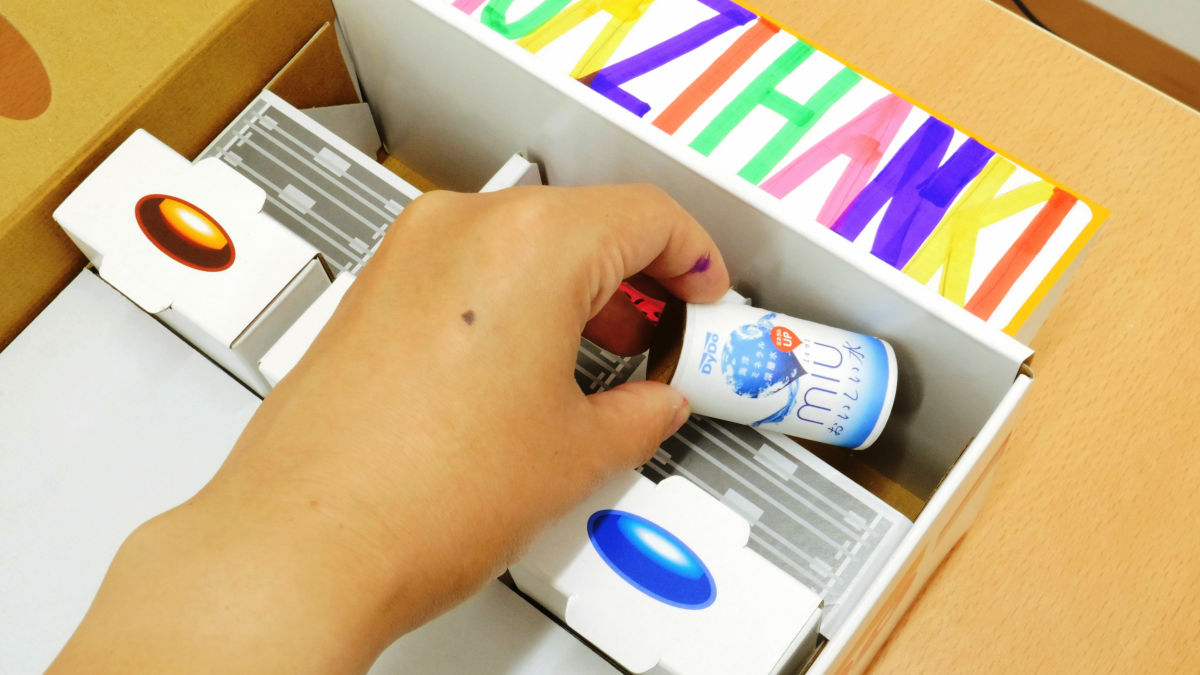
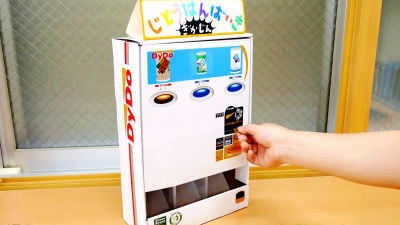
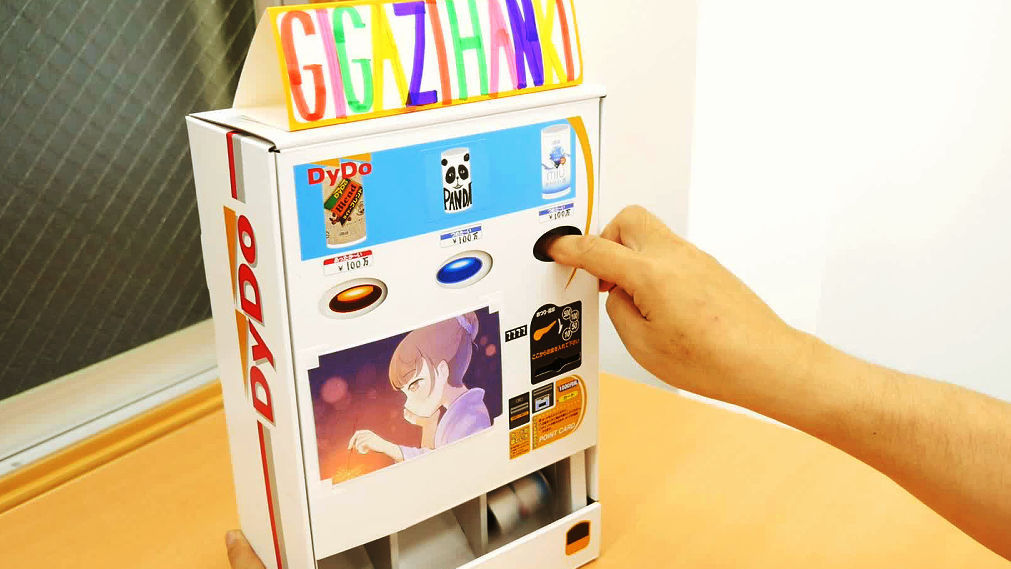
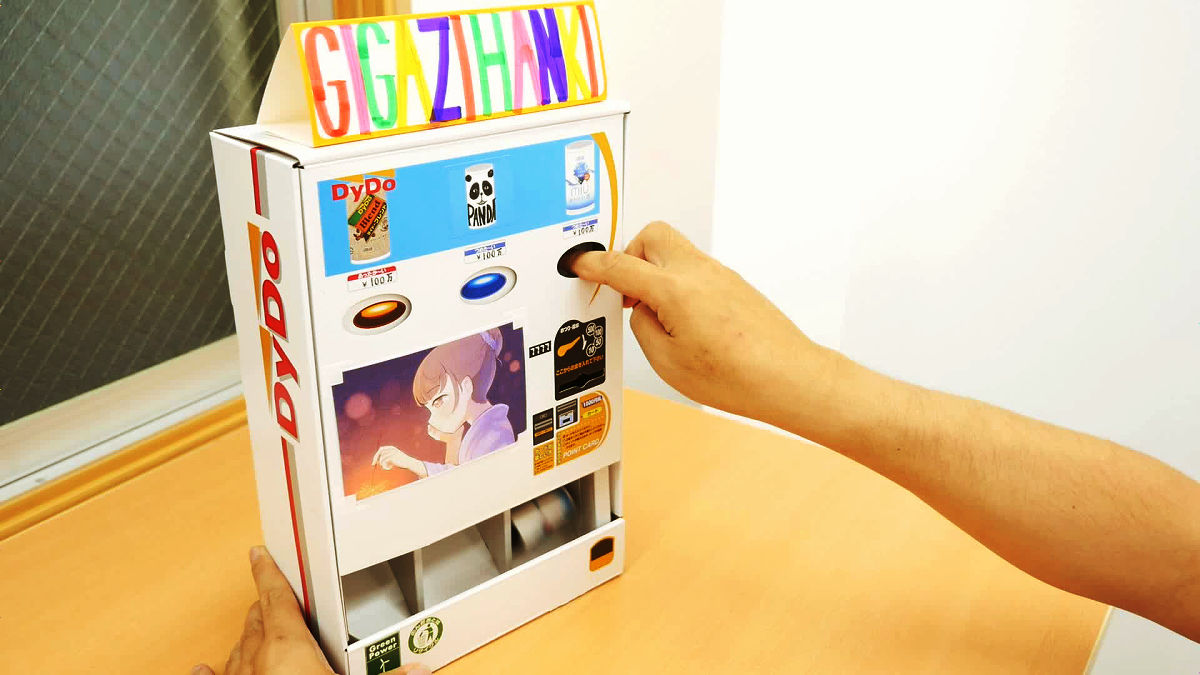
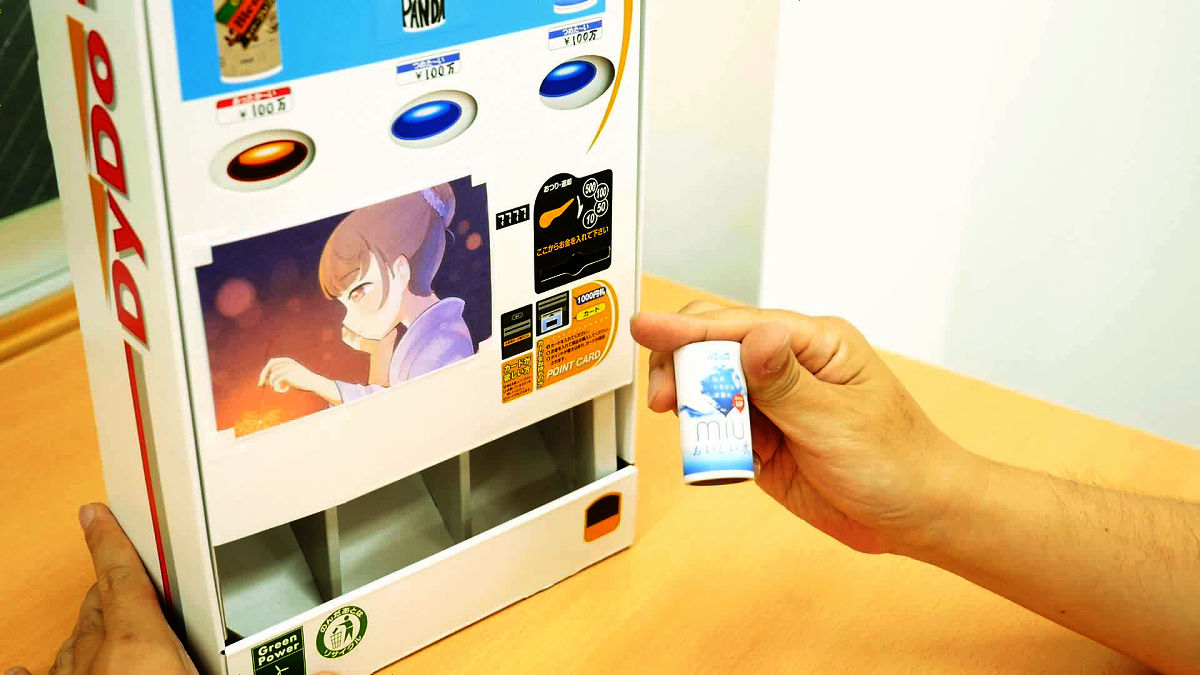
It is completed. So I will actually purchase a mini can. Put money in ... ....

Push the button gently.
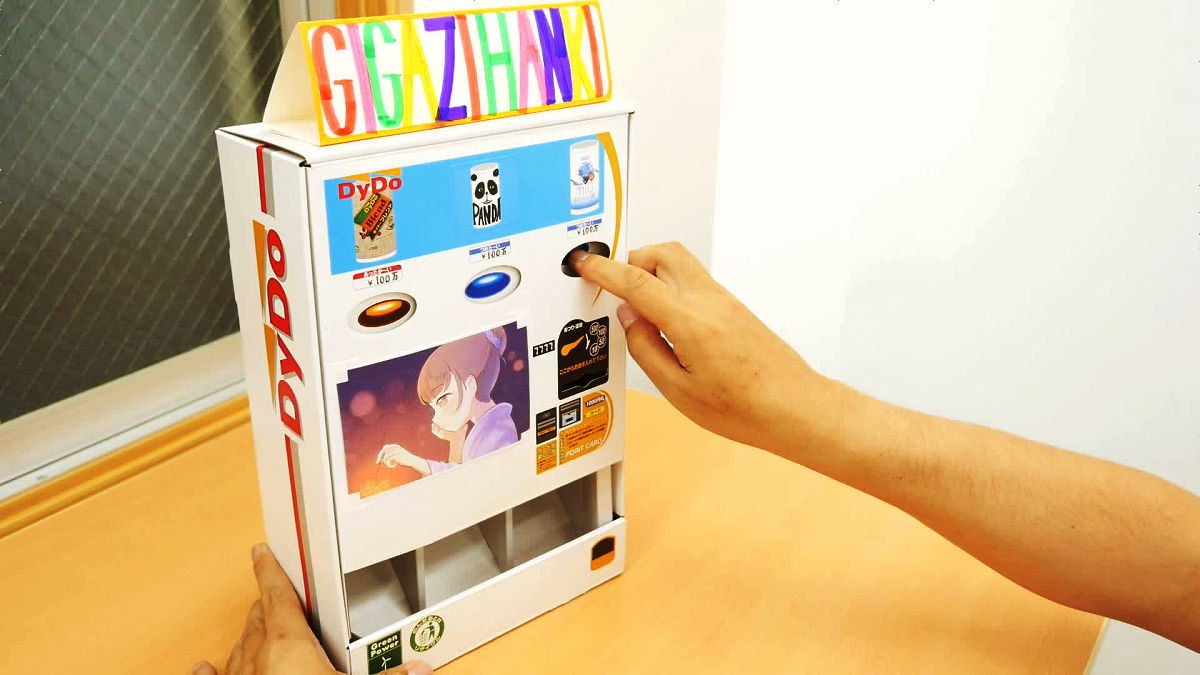
When I pushed it all the way back, a corner stole ... ... and a mini can came out.
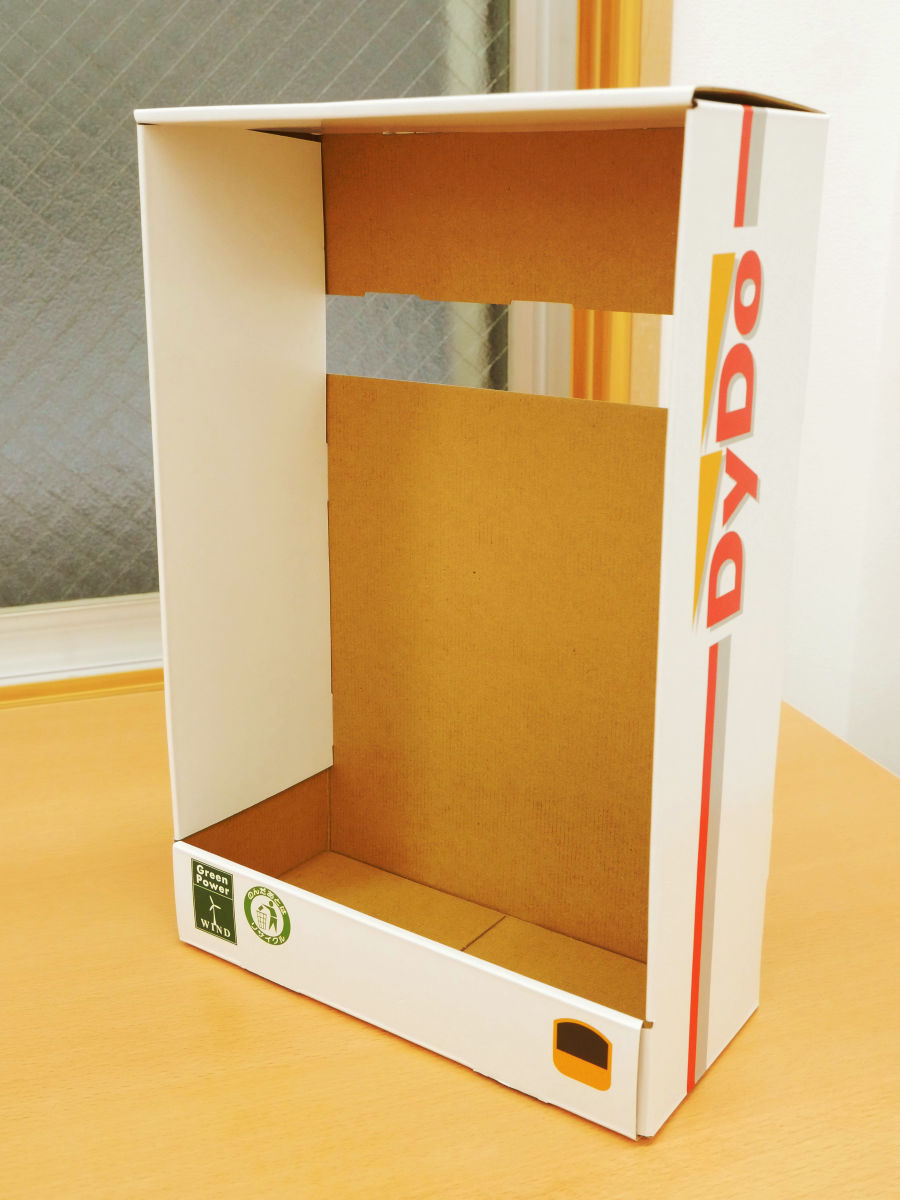
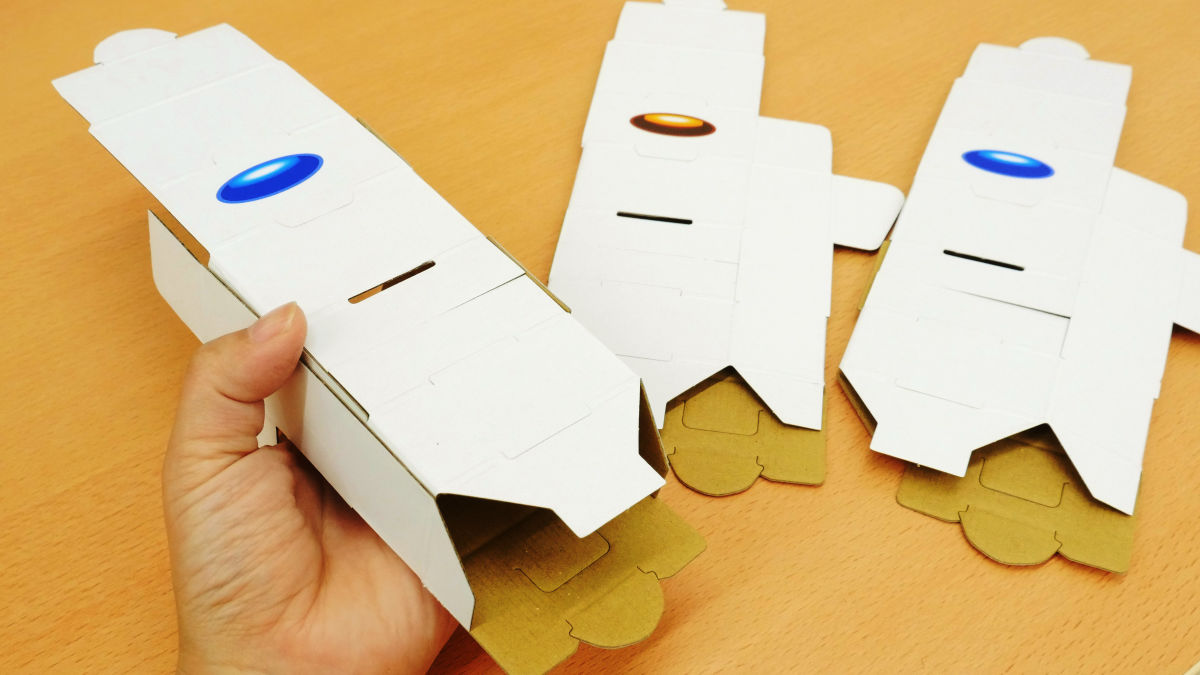
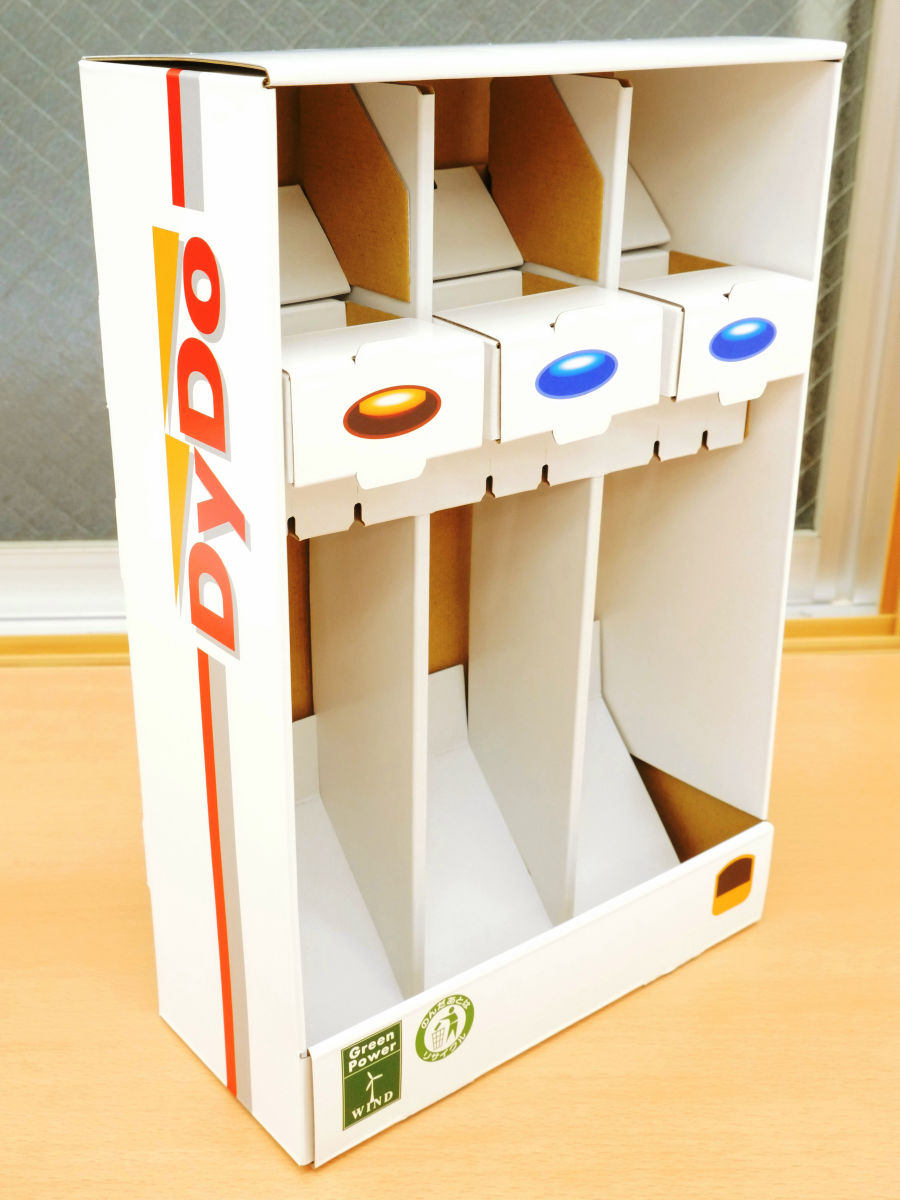
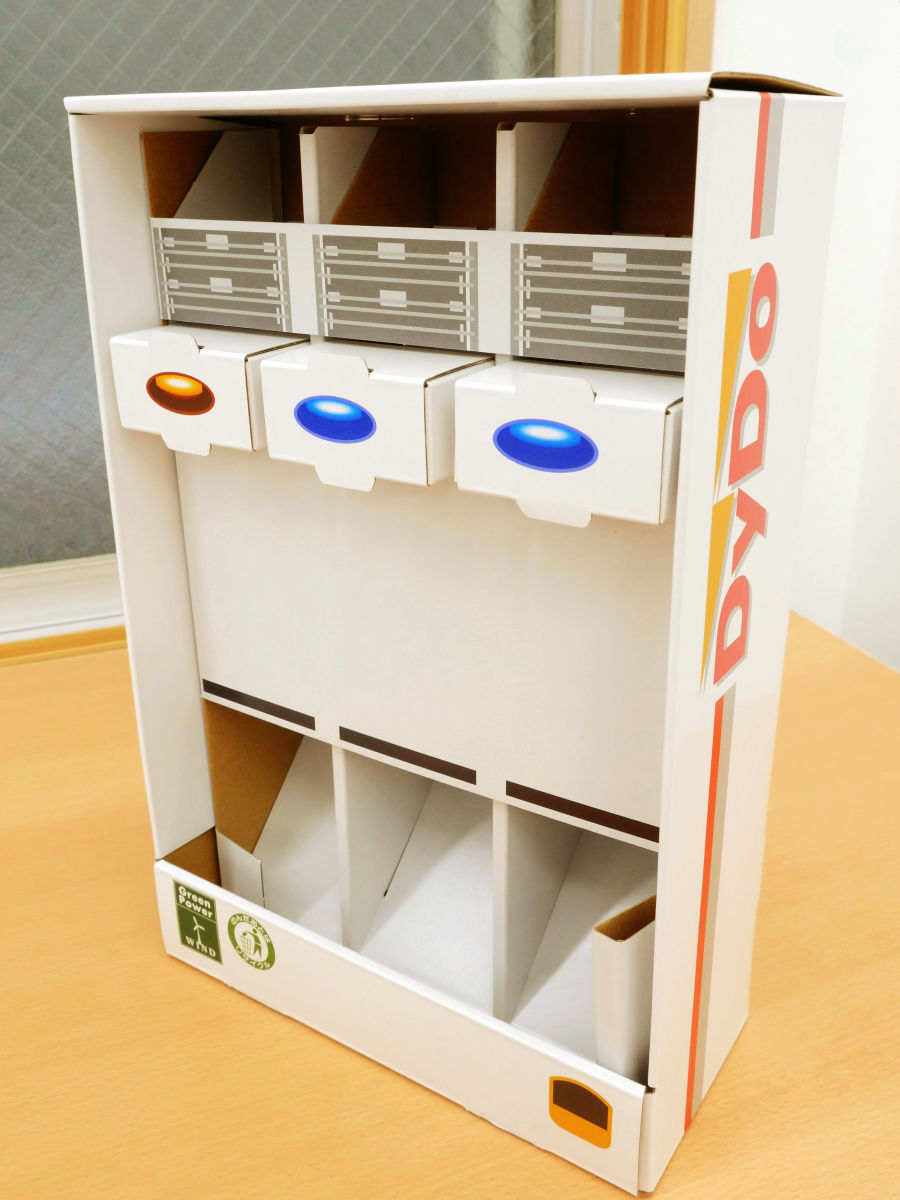
Looking at the 2016 edition paper craft vending machine from the front like this.
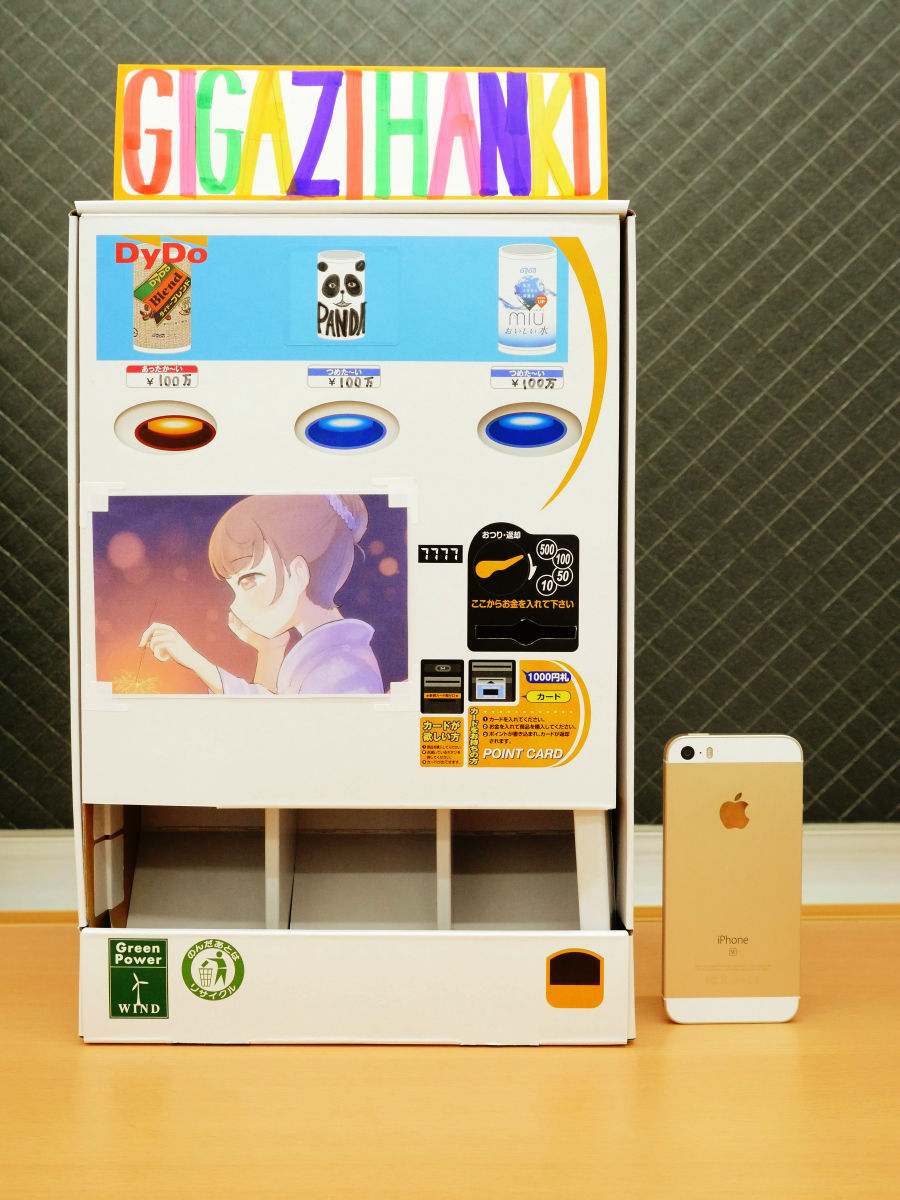
Daido Drinko logo on the side.
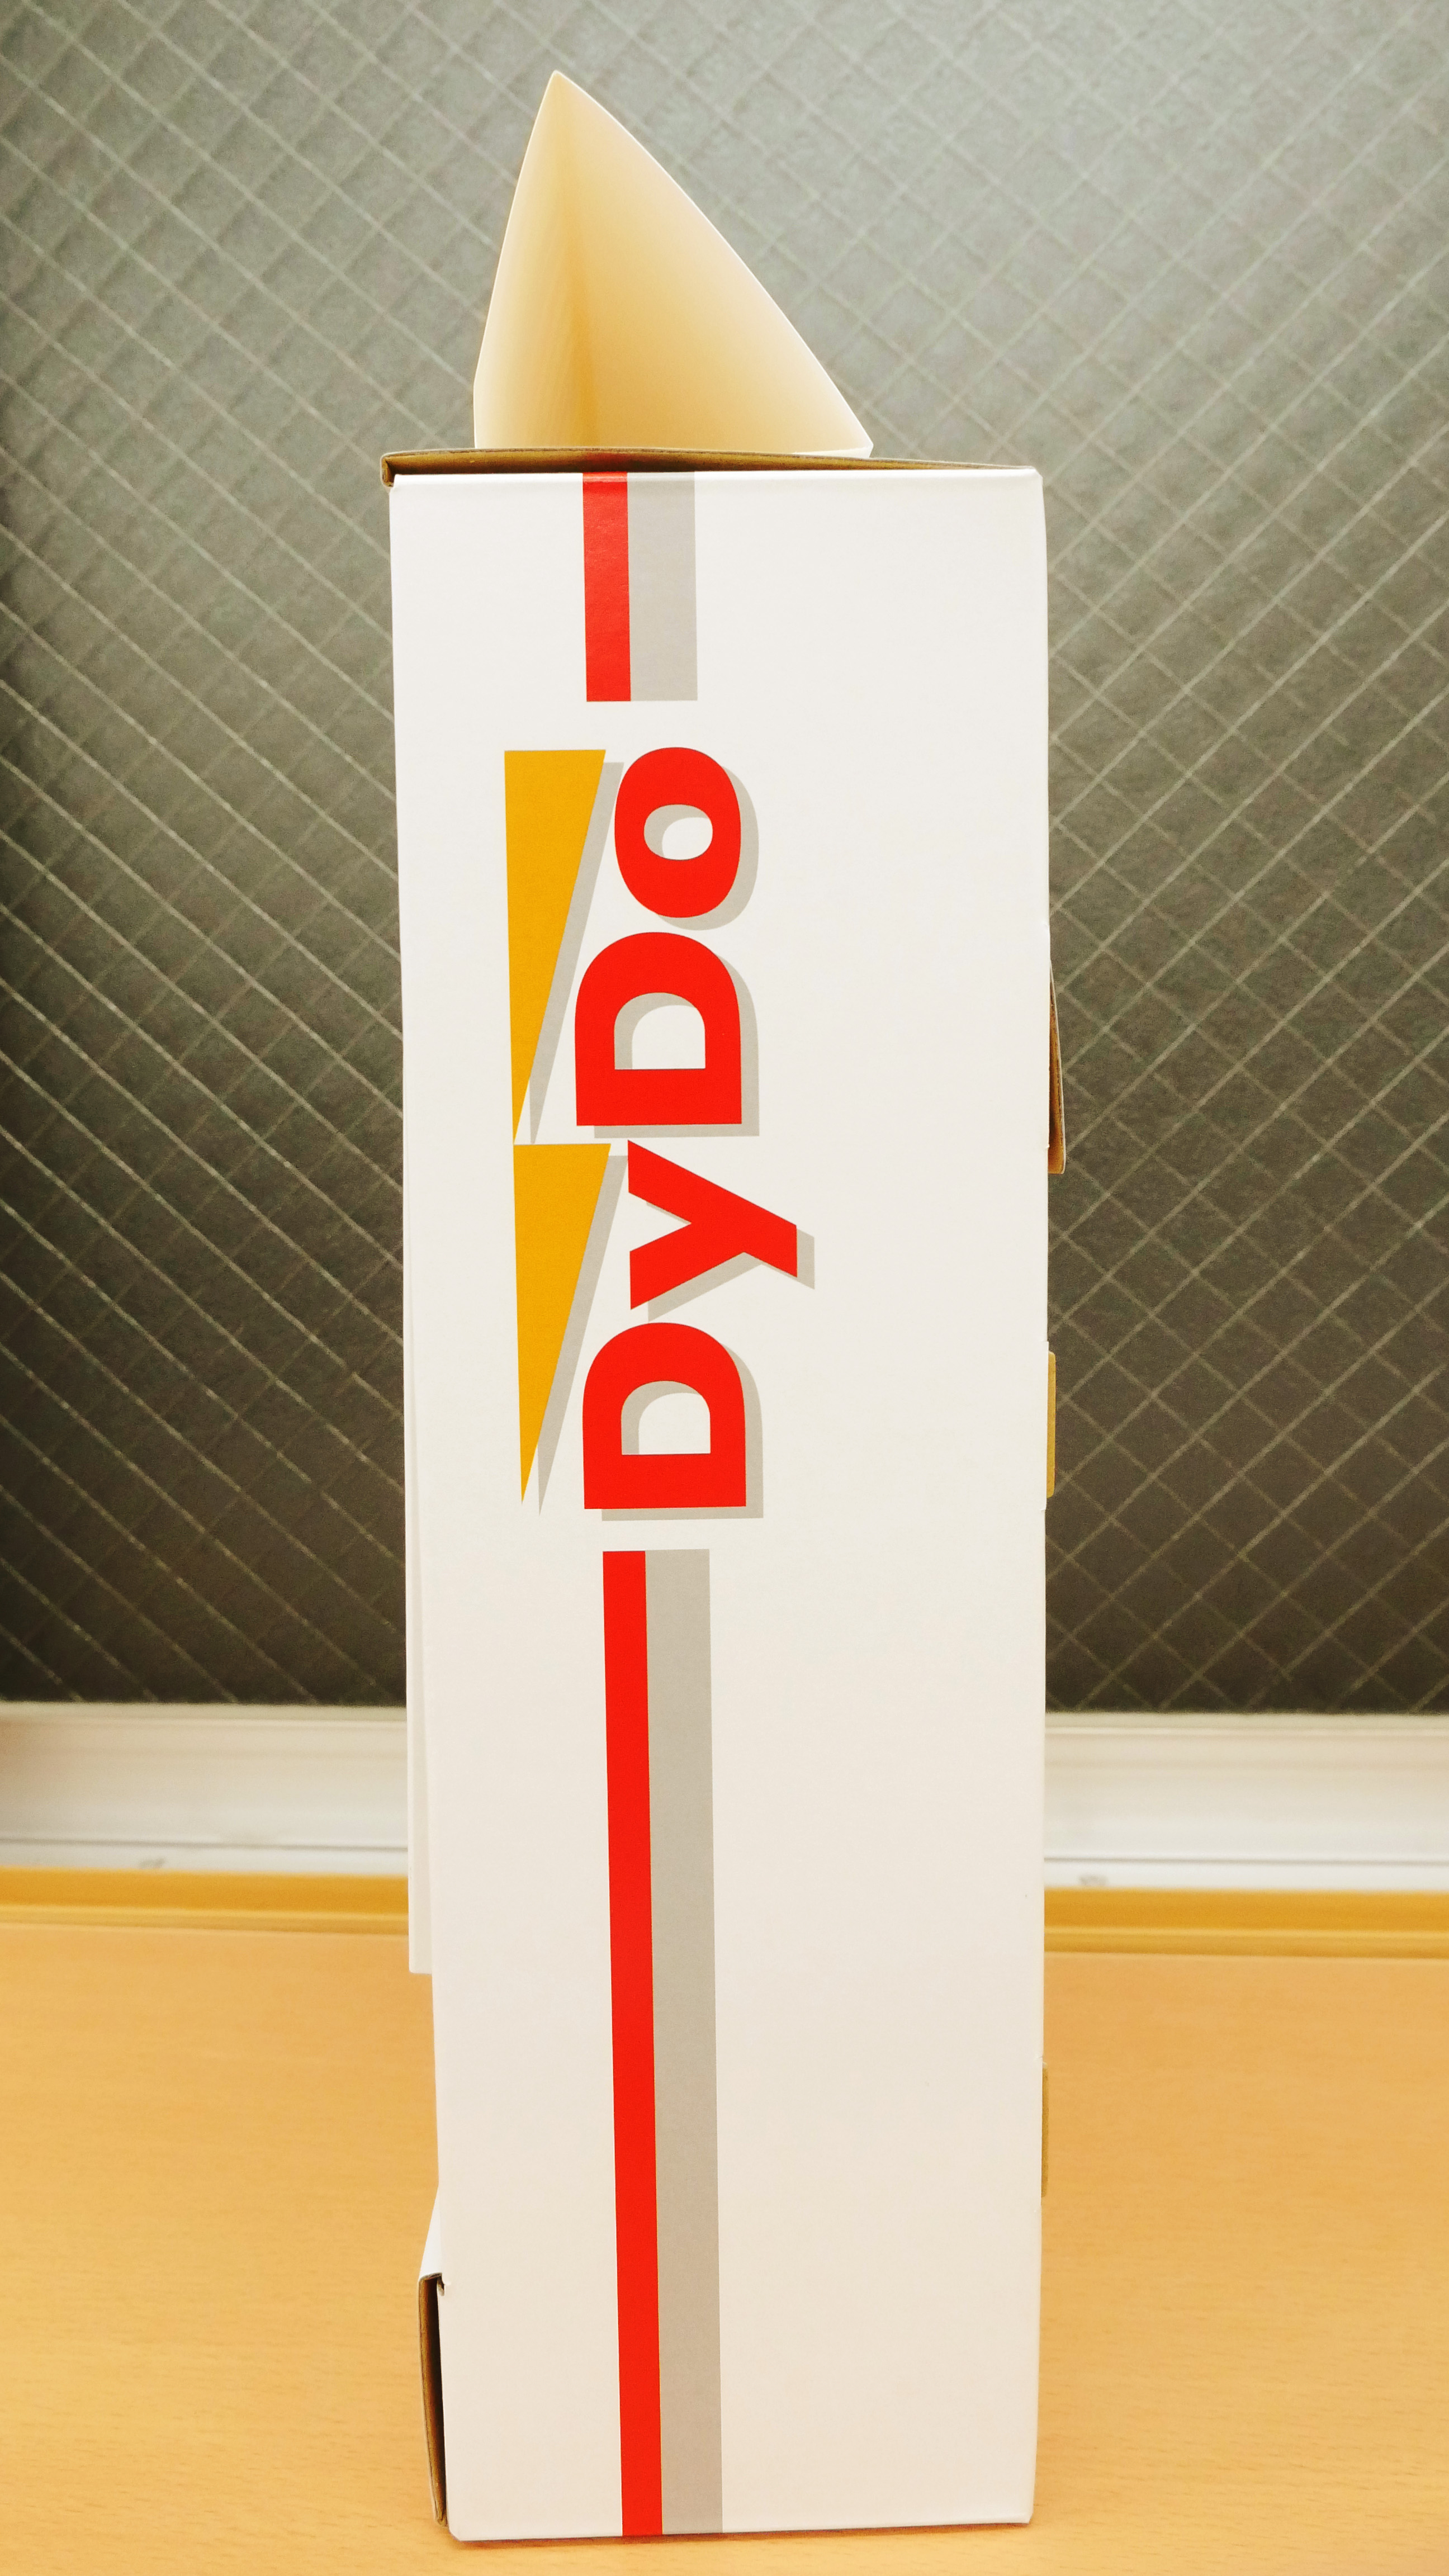
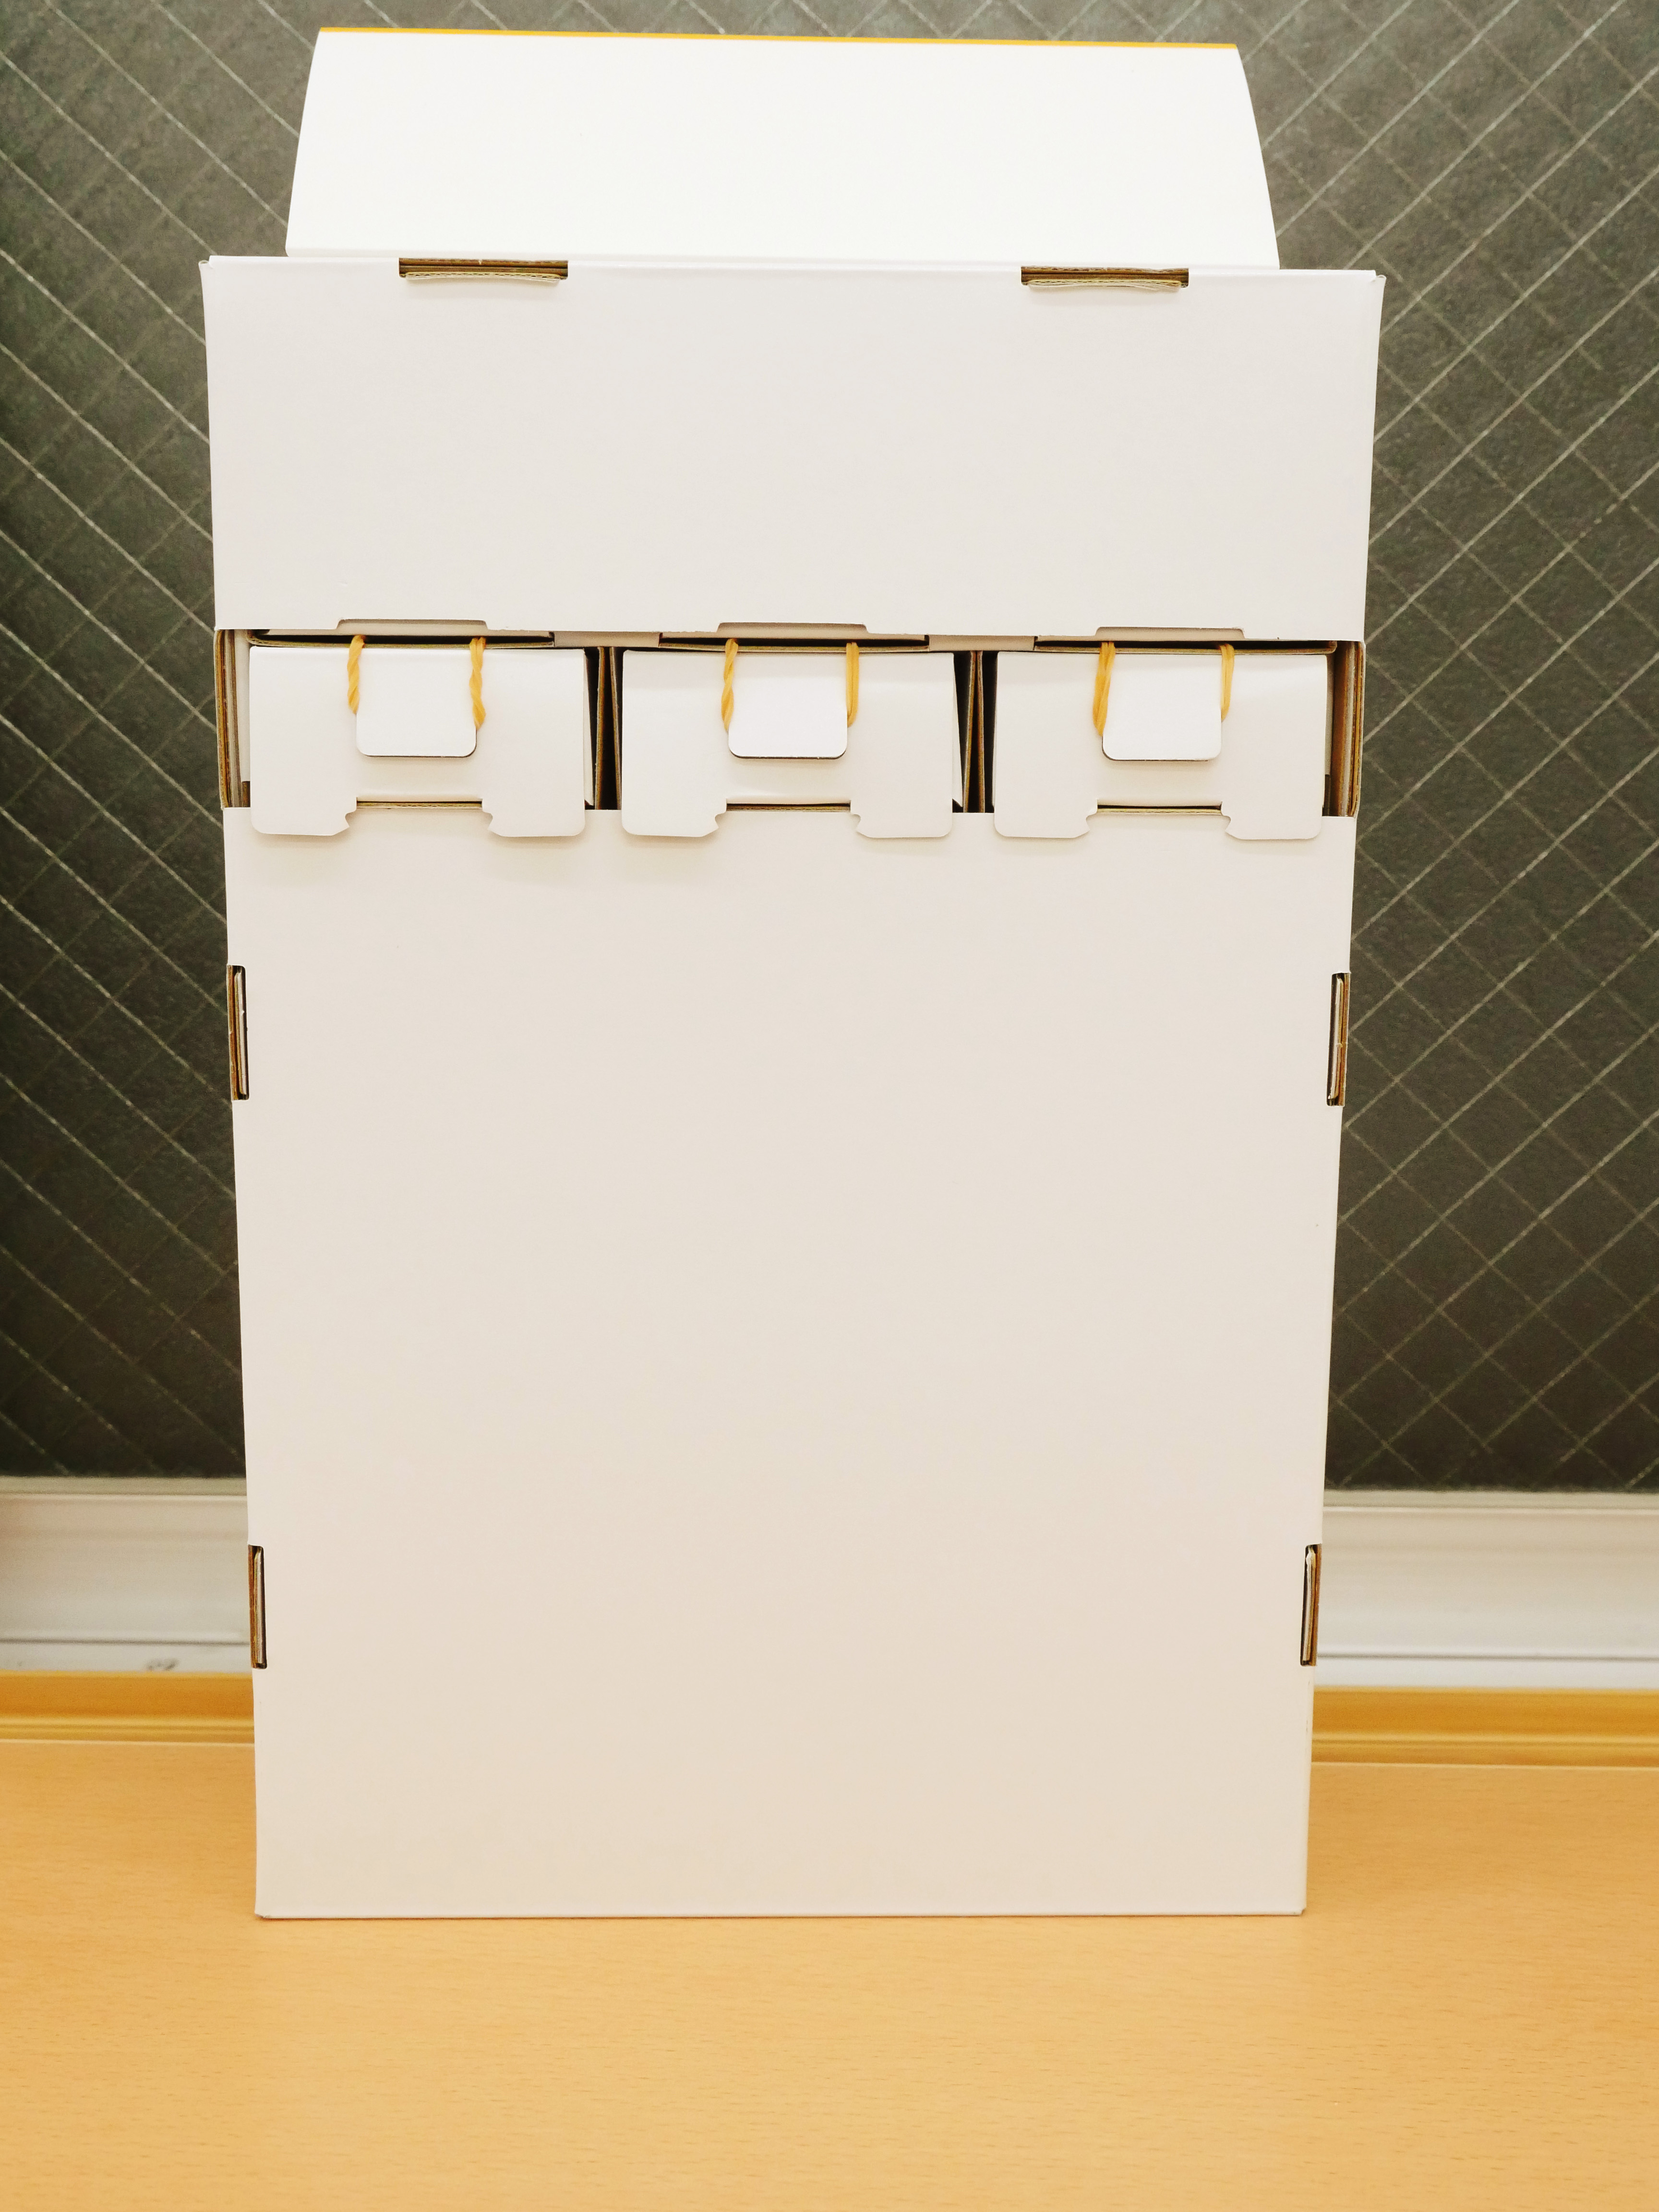
The back is white.
Although the main body size and the main design etc are handed over from the 2015 edition, comparing 2015 version and 2016 version, you can see that the orange line on the upper right is getting longer. This is called "D line" and it was introduced in the real Daido Drinko vending machine since 2007 as to be understood to be "Daido Drinko's vending machine" even when seen from the front. It is designed with the letter "D" which is the initial letter of Dido Drinko and orange which is the key color of Dyodo blend, making it easy to find a Daido Drinko vending machine even in a state where the side logo mark can not be seen It is said that it is. The 2015 version said from the company that "The D line is too small?" There was a voice in the 2016 version that placed this D line bigger.
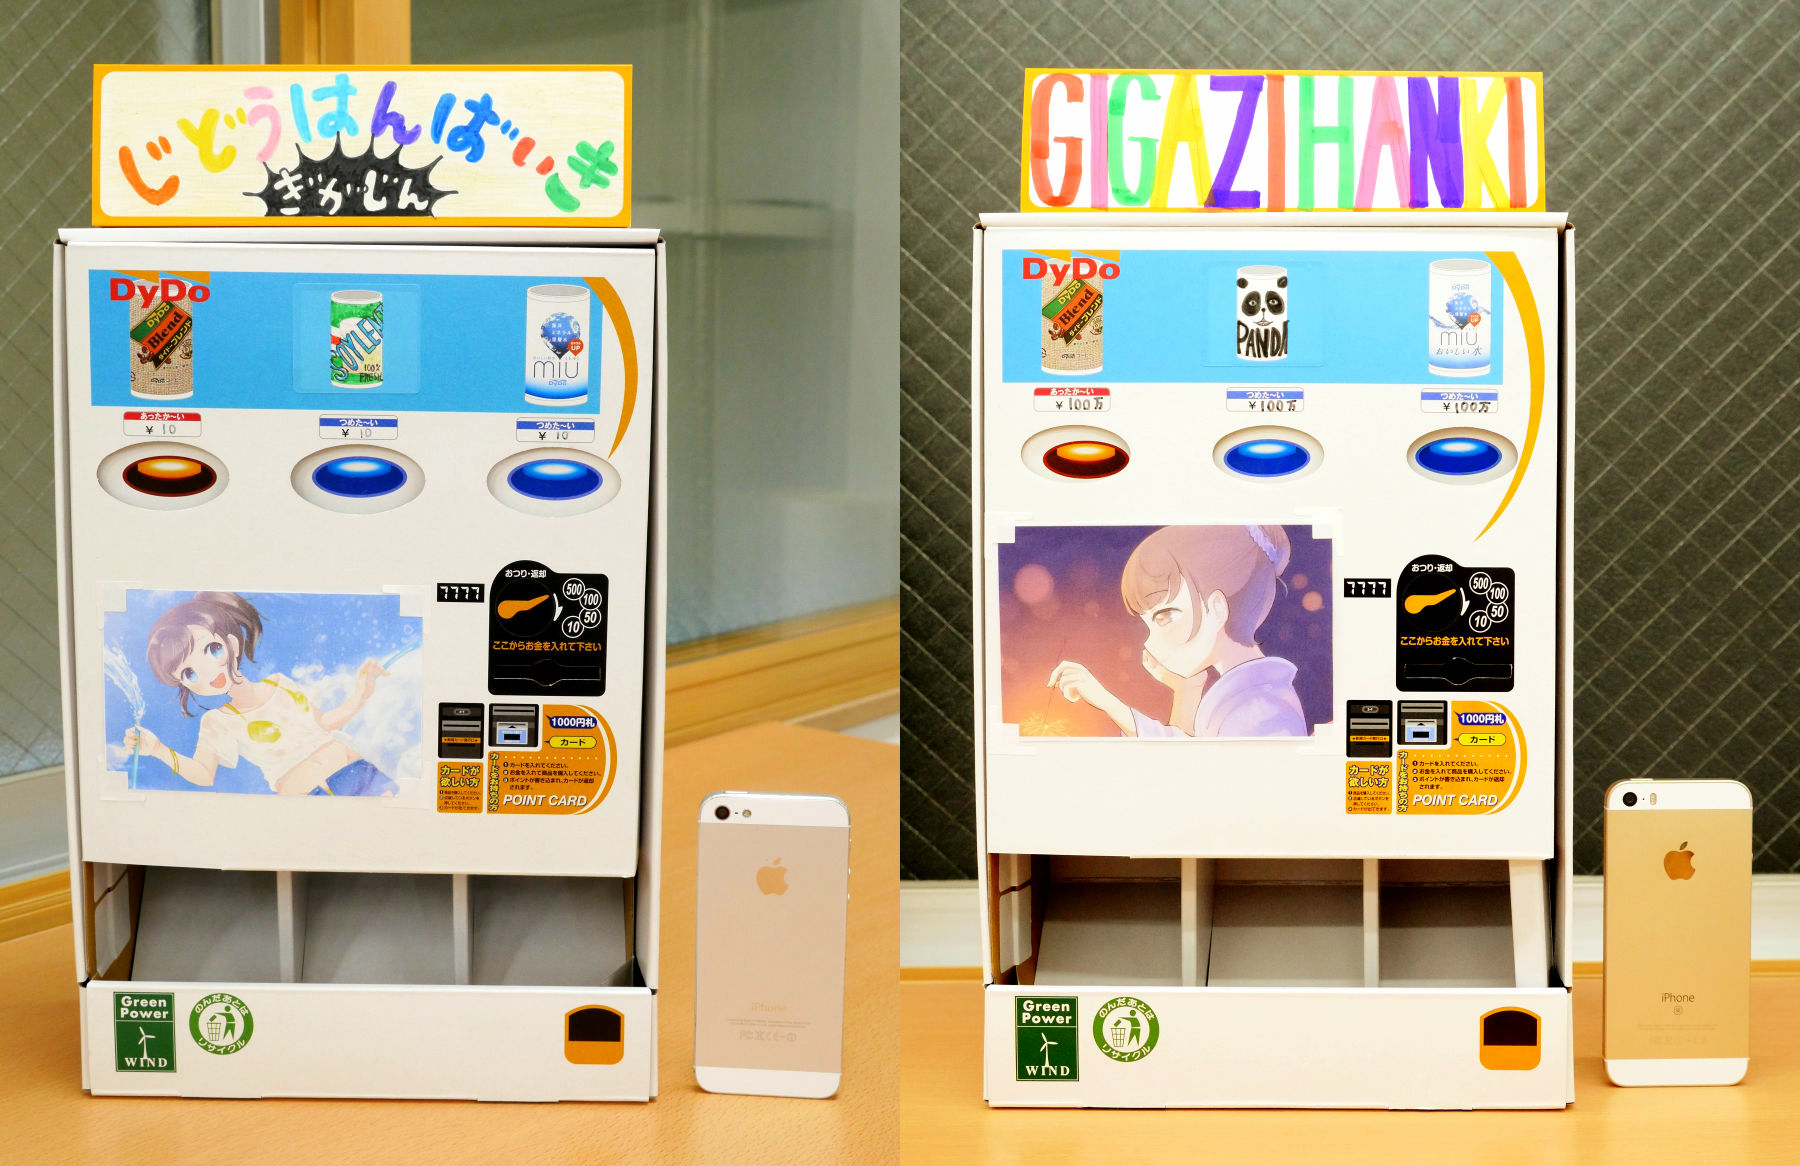
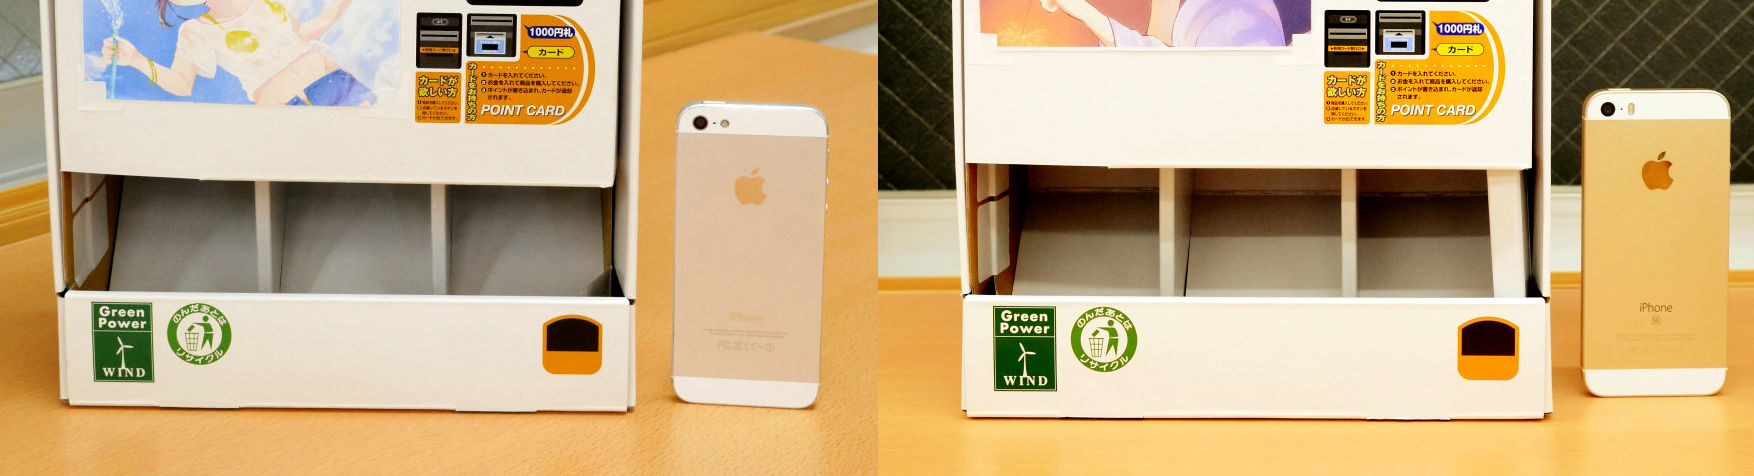
Also, you can see from the front that the savings box part is supported by the protrusion of the inner cover.
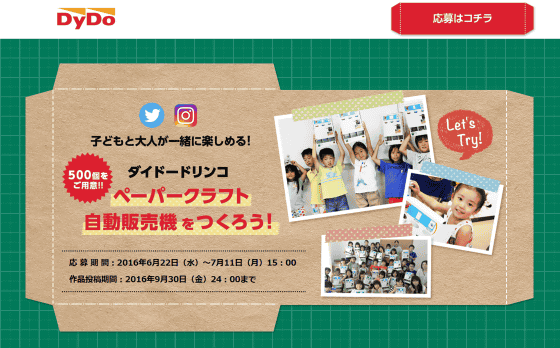
In the 2016 edition of paper craft vending machines, 1000 items are donated to schools, facilities, and organizations, as well as 2000 entries such as nursery schools, elementary schools, schoolchildren, children's organizations, etc. to be entered, as subjects for SNS targets for individuals 500 pieces are prepared. Donation to schools, institutions, and organizationsPublic interest group corporation Hatachi Foundation,Japan Street Dance Studio Association,Second Harvest JapanIt seems that they are making it through through, so that the situation that "I was not donated but I could not use it much" does not occur.
For group entries, please use the form below.
Daido Drinko Paper Craft Vending Machine Production Experience Application Form | Daido Drinko
https://www.dydo.co.jp/papercraft_entries/
People who want a paper craft vending machine as an individual rather than a group, those who can post pictures of paper craft vending machines completed by September 30, 2016 (Friday 2016) on Twitter are "using their own way of thinking" And "required number" if posting to Twitter or Instagram with a hash tag of "# Daido craft vending machine" OK. For both group application and general application, the deadline is 15 o'clock Monday, July 11, 2016.
Make a Daido Drinko 'paper craft vending machine'! | Dido Drinko
http://www.dydo.co.jp/papercraft_sns/
Related Posts: