I tried to replace the contents of old PCs with high-spec PC that can fully enjoy VR headset
2016 is "Oculus Rift"Or"HTC Vive"The full-fledged VR headset has appeared, and VR heat is so exciting as ever as it is called" VR first year ". In order to use a high-performance VR headset, it is essential that a high-performance PC is indispensable, replacing the contents of the PC that was retired and not being used in the editorial department of GIGAZINE, it was born again as a high-spec PC capable of VR compatibility I tried.
◆ Disassembly & cleaning work of old PC
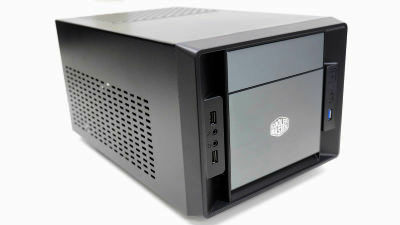
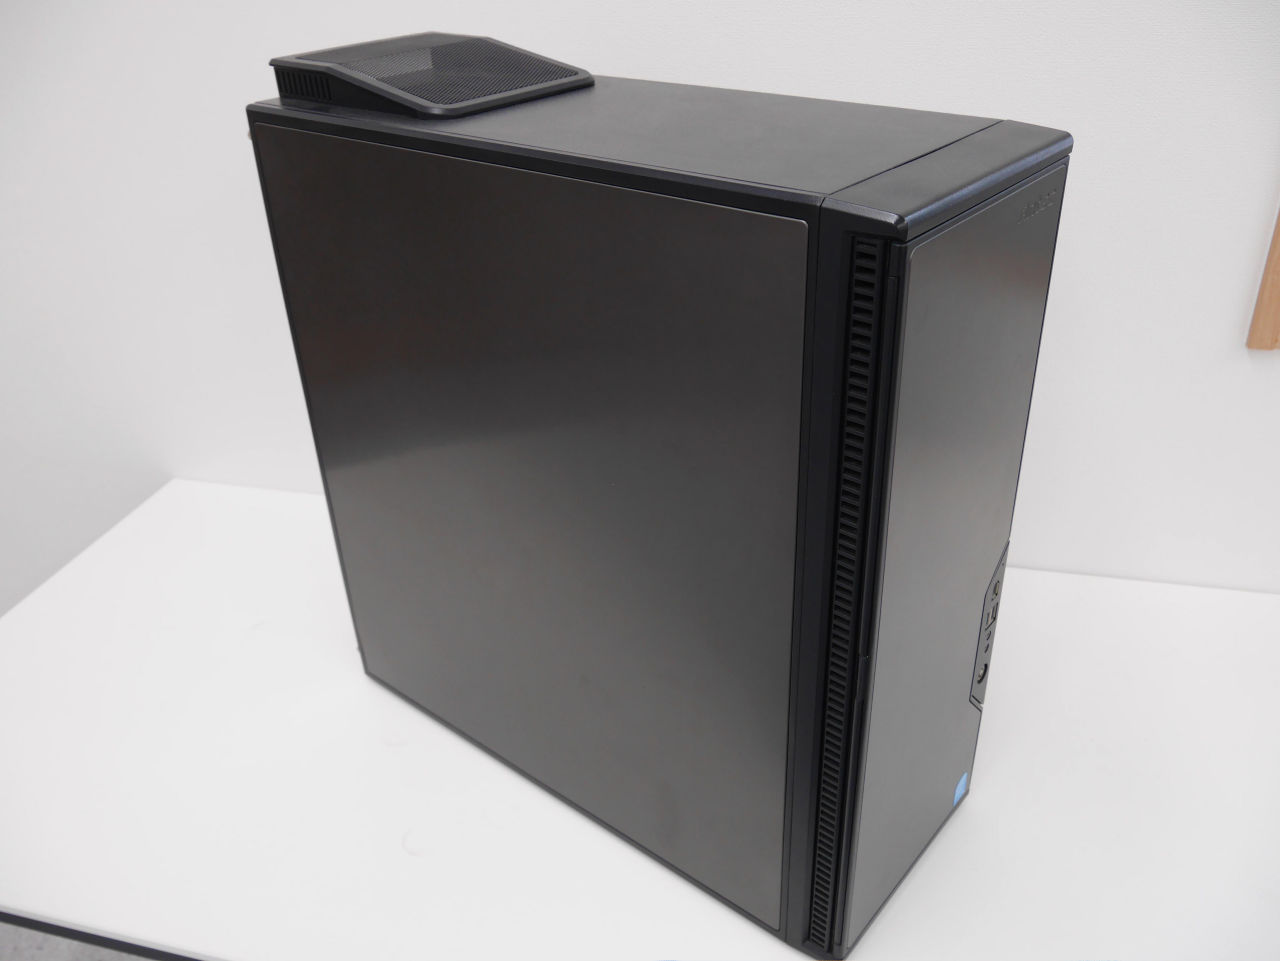
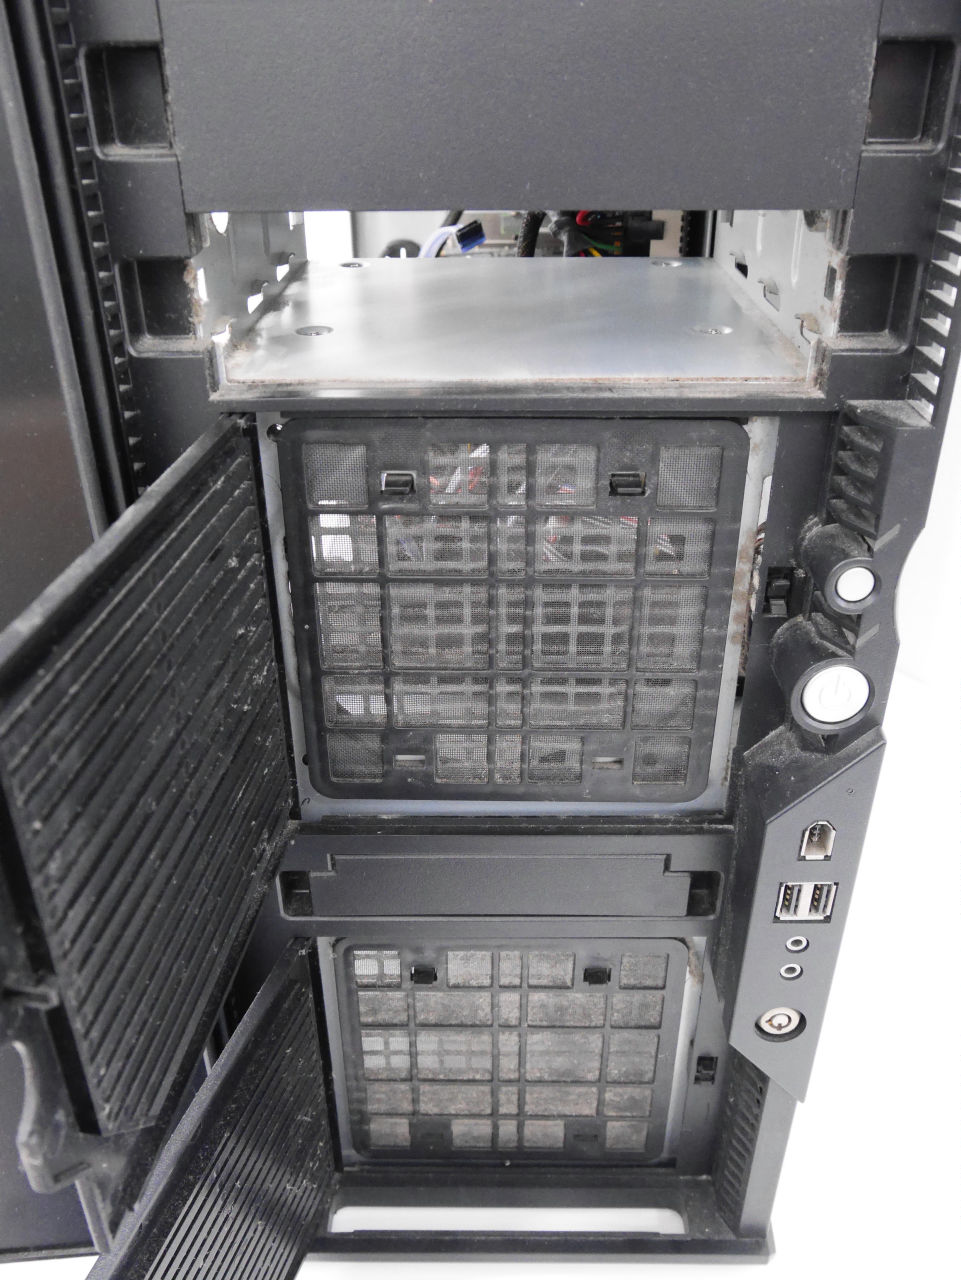
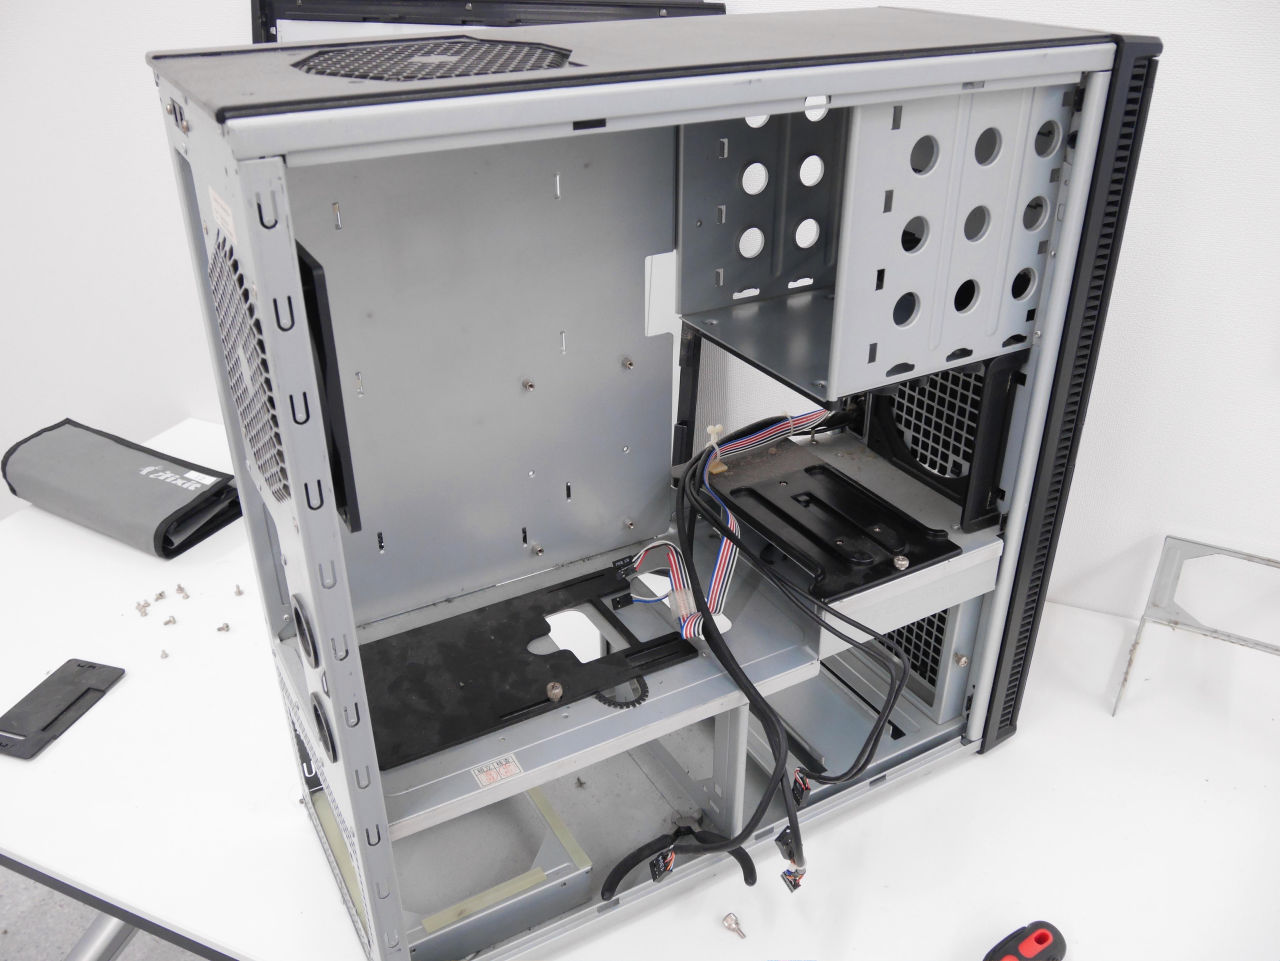
This time, PC to rearrange the contents. Case is Antec's name machine "P180"is.
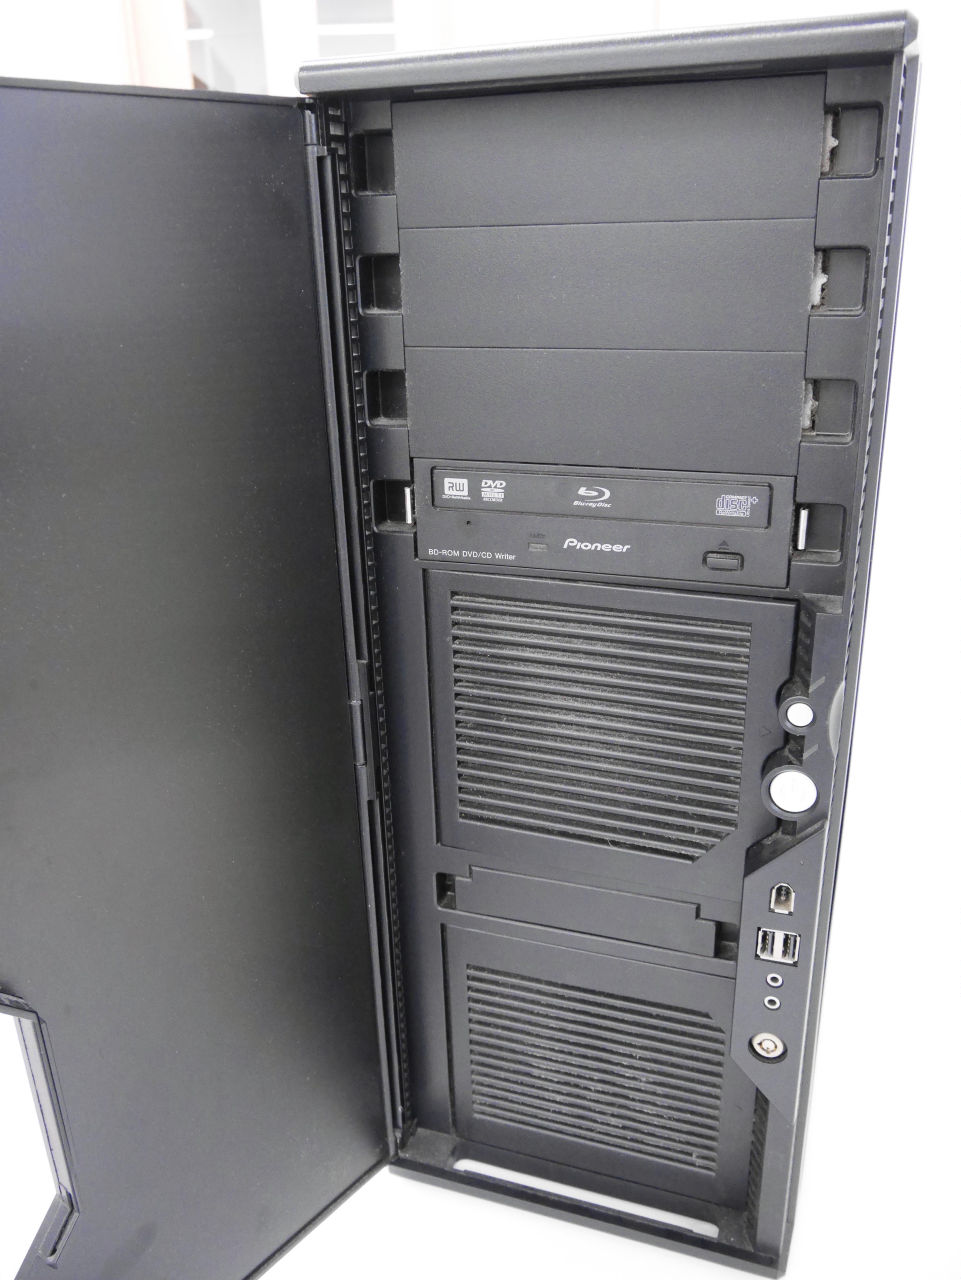
When opening the front panel it is like this. The dust prevention filter and the 3.5 inch bay are carried under the 4-stage 5 inch bay.
It is like this when removing the side cover. Although it is a certain BTO machine, processing of cables is pretty incongruous.
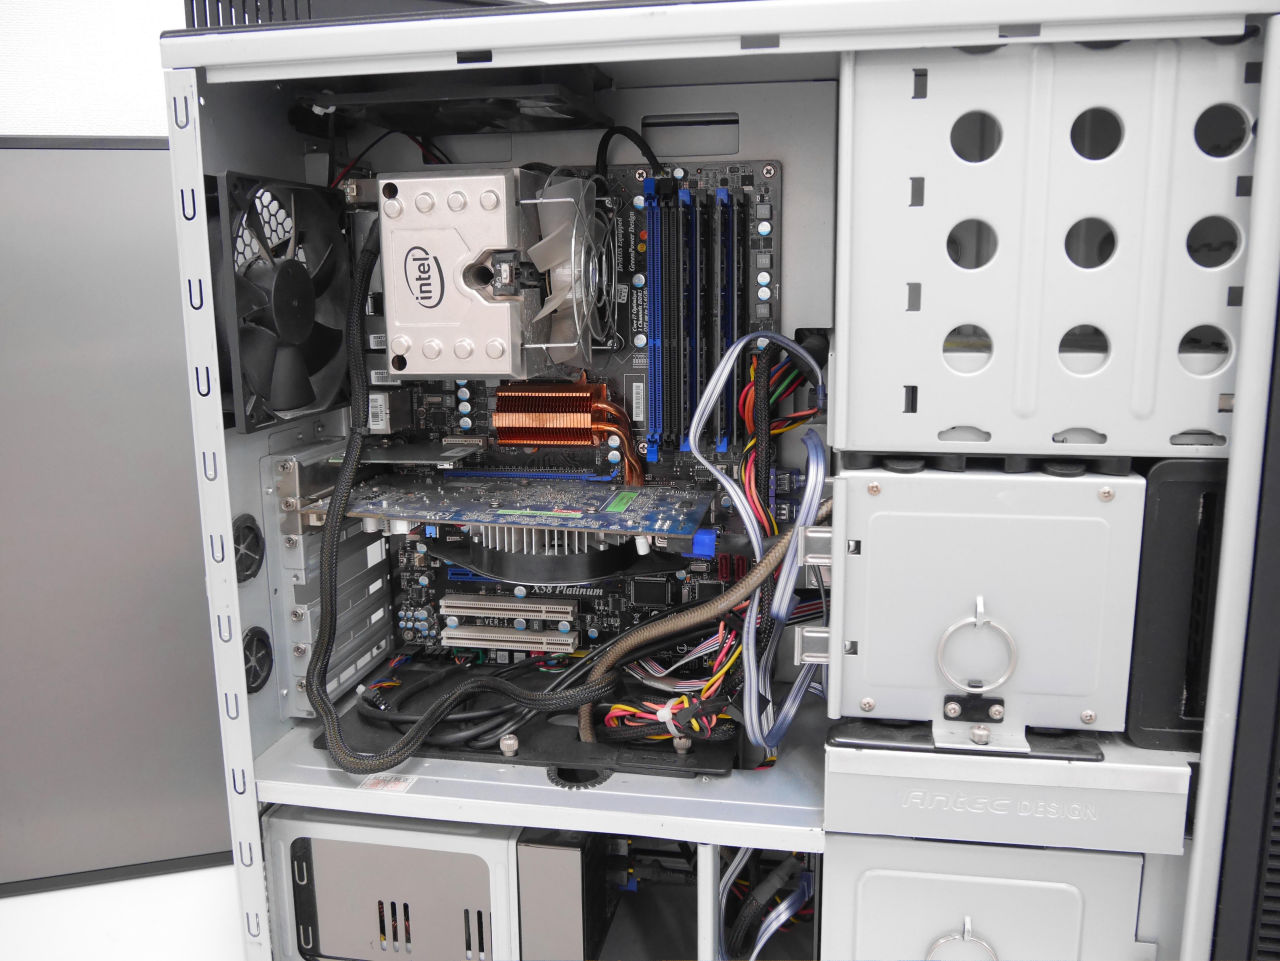
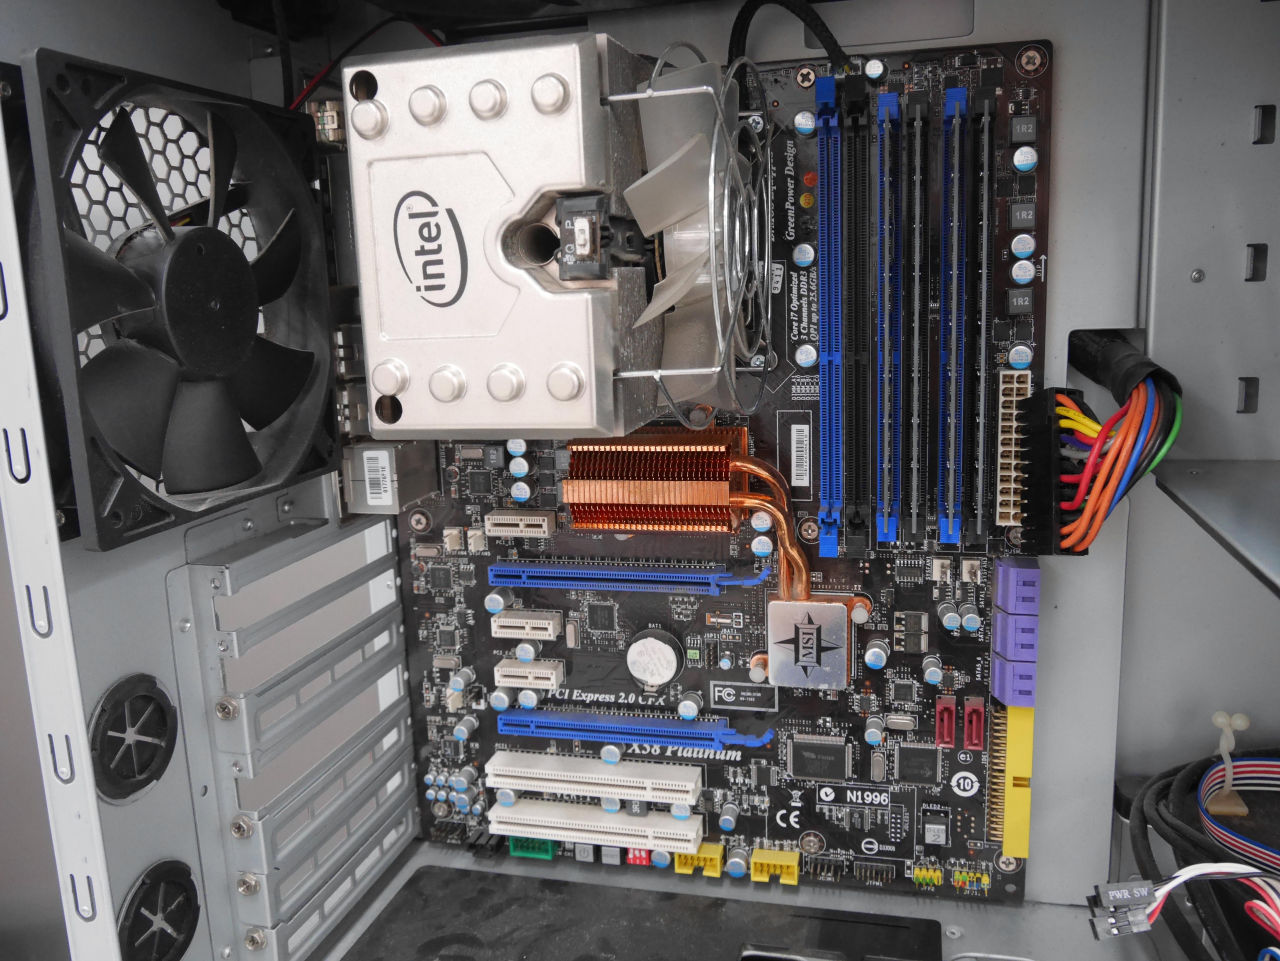
CPU is "1st Generation Intel Core processor" Nehalem ""Core i7-920"(4 cores 8 threads)

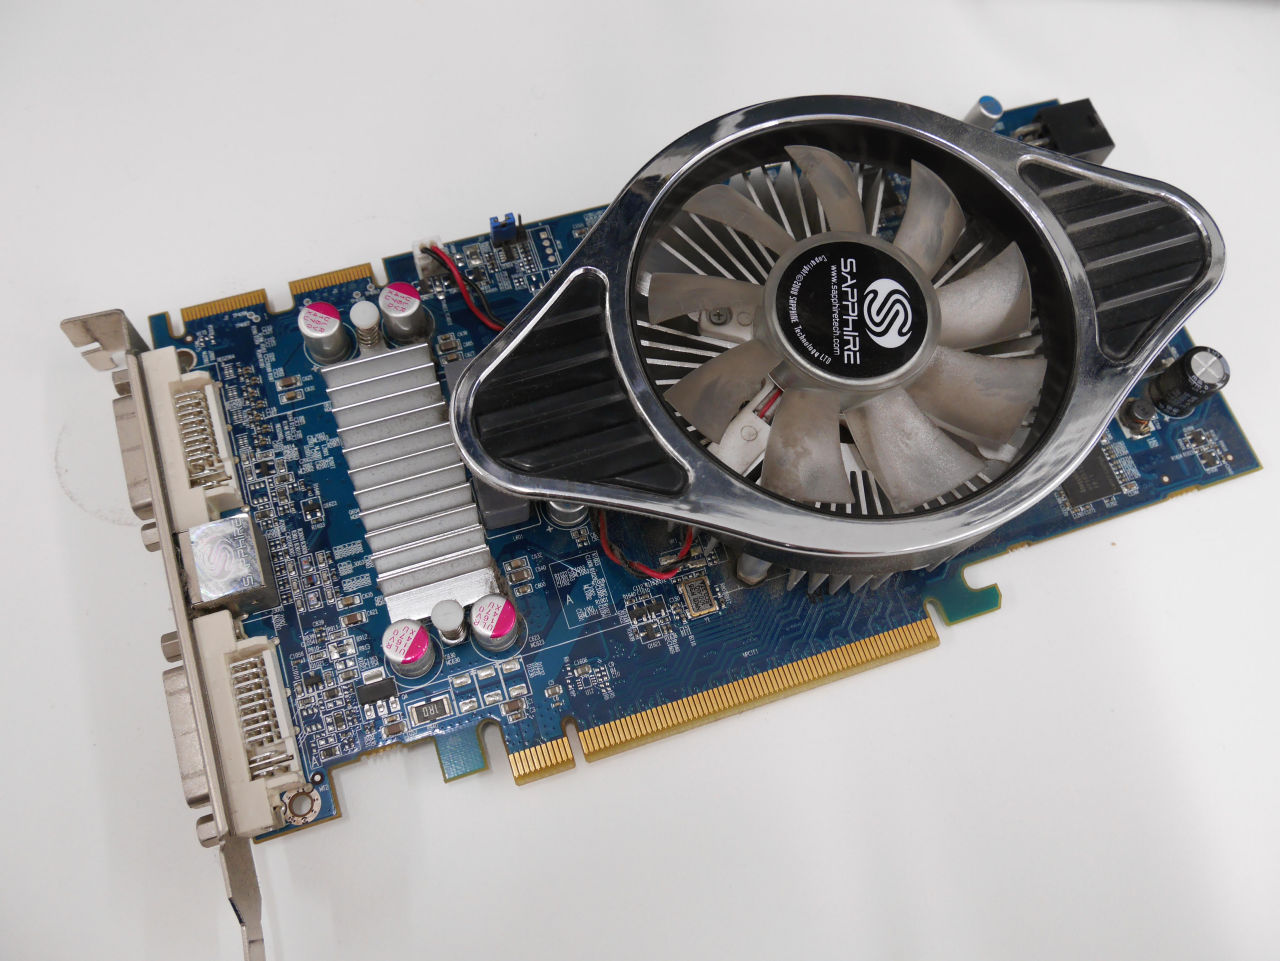
The graphic board is SAPPHIRE's "RADEON HD 4850"
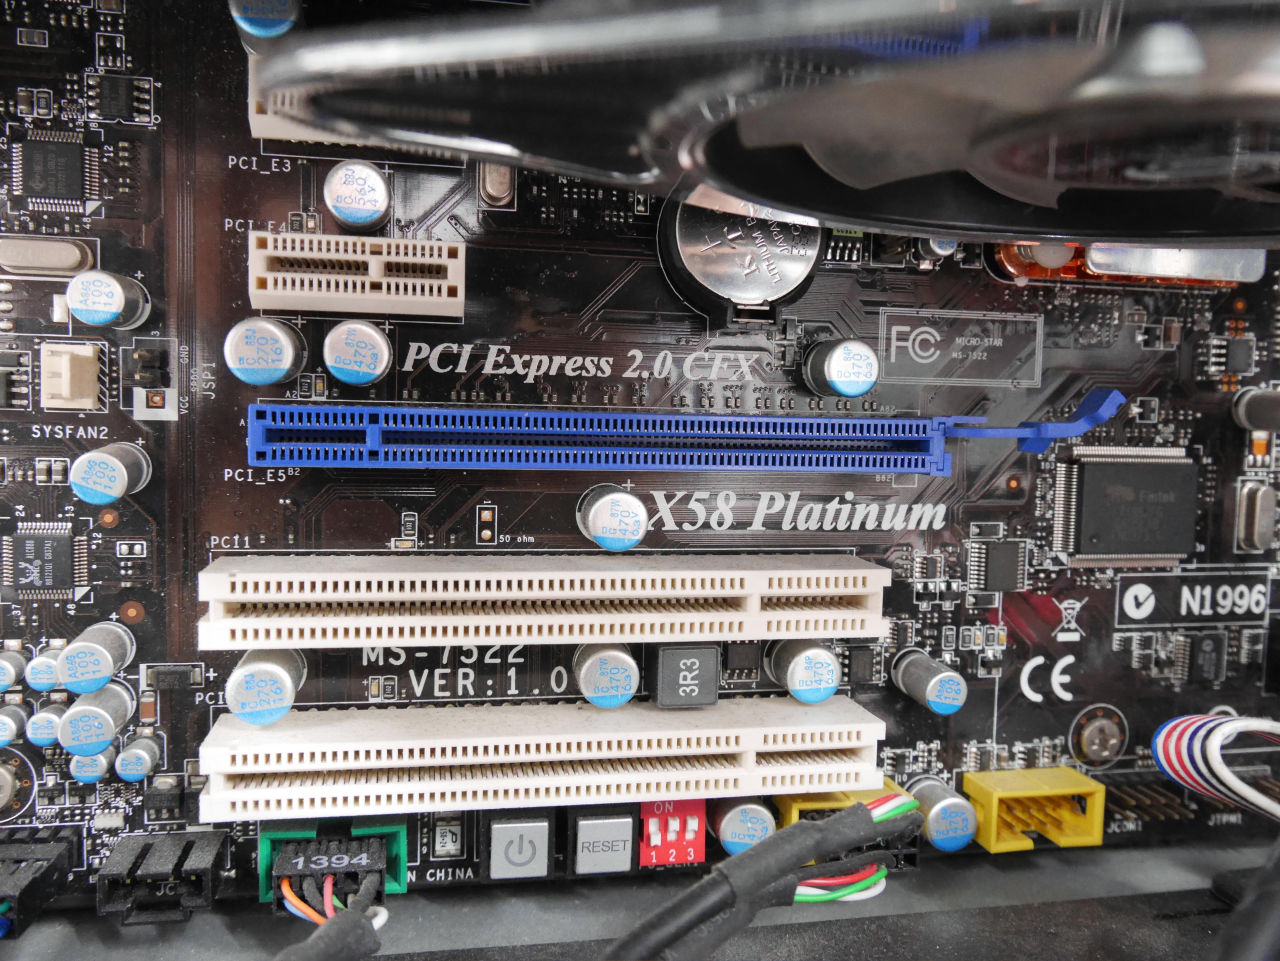
Motherboard is MSI's "X58 Platinum". The corresponding socket is LGA 1366.
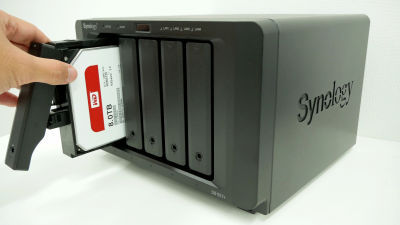
First, remove the hard disk tray.

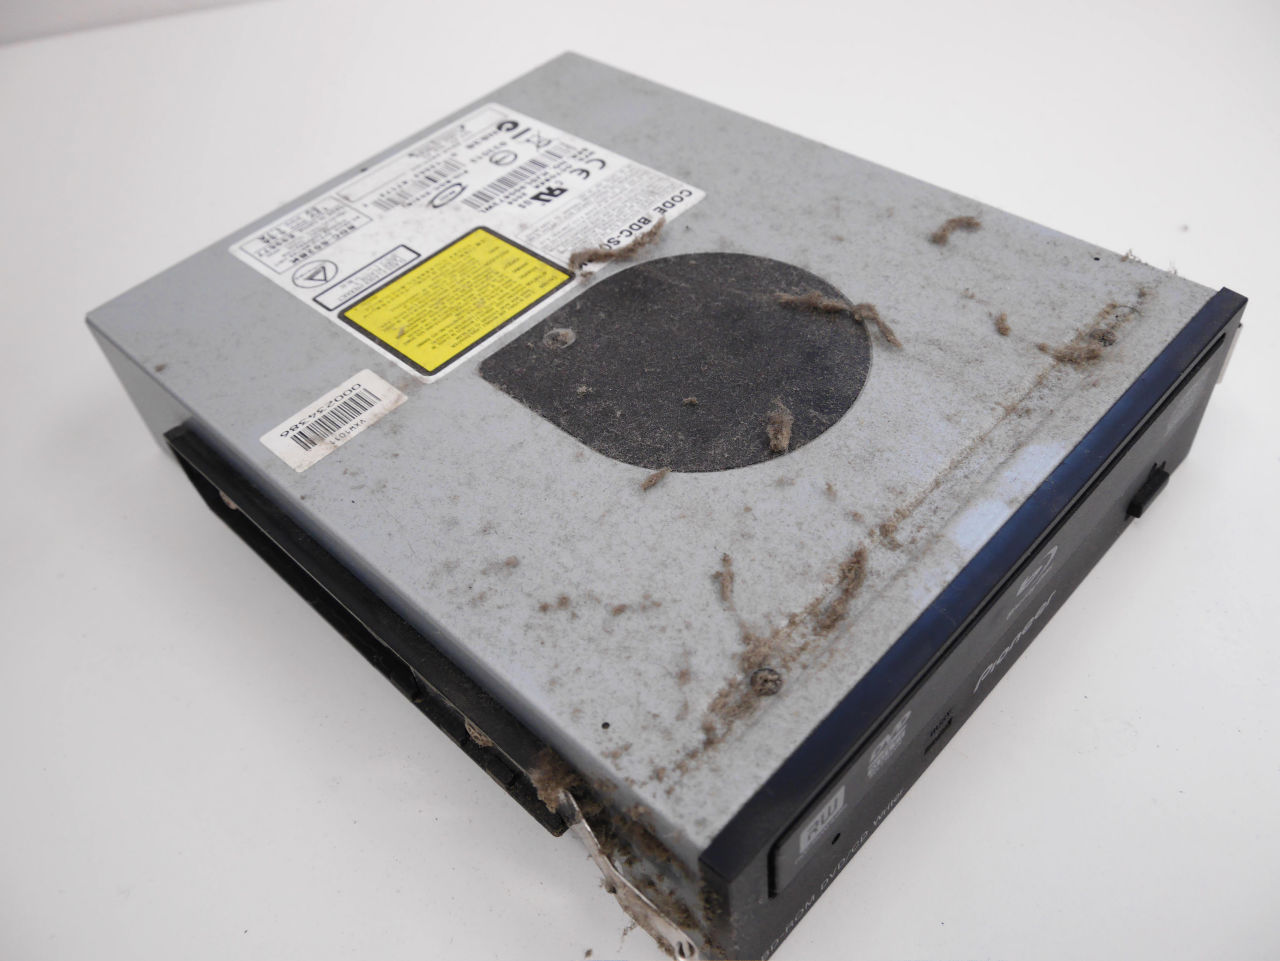
Next, removing Bluray drive ......

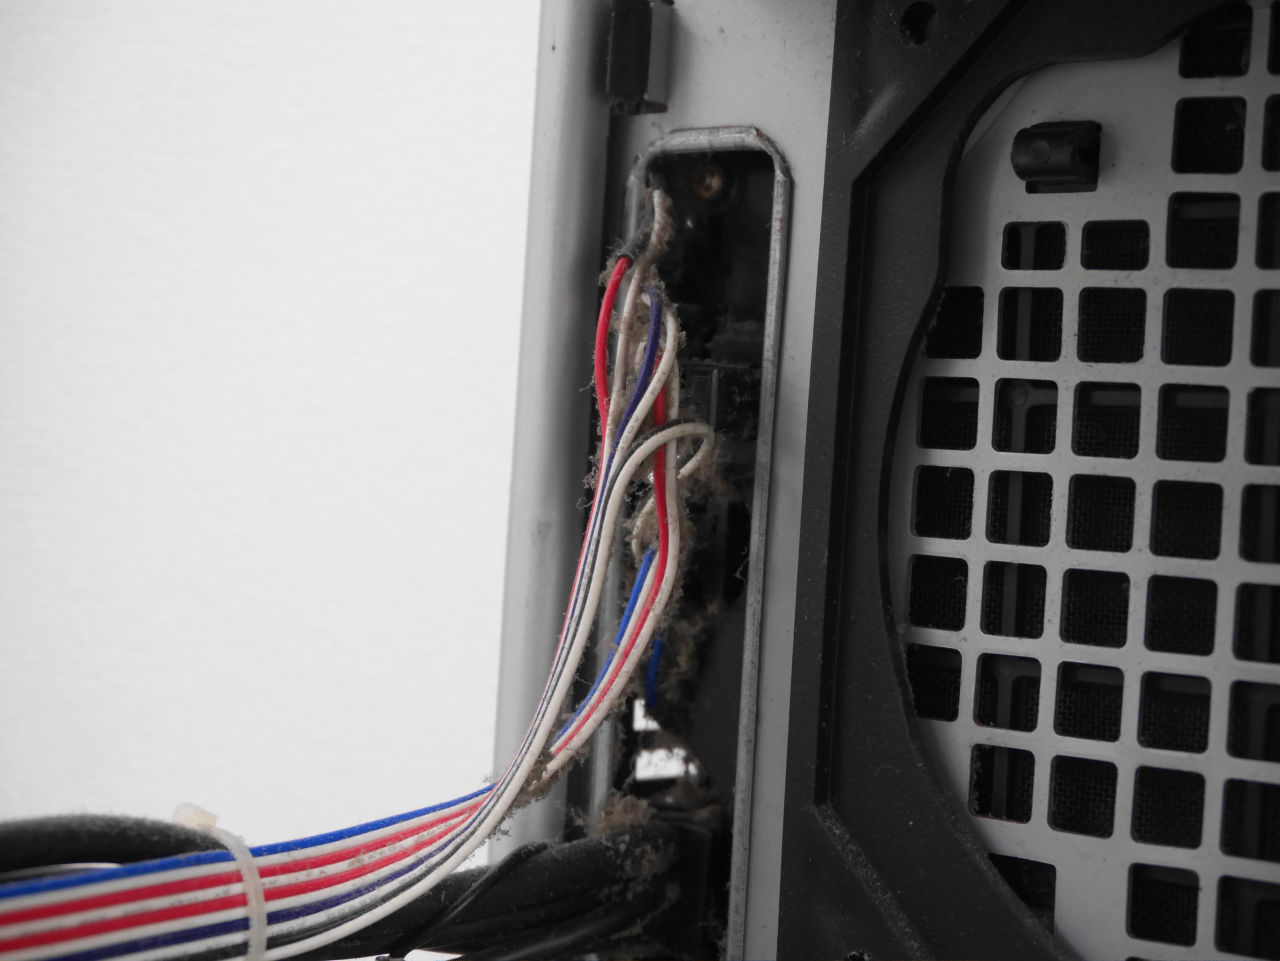
An outrageous amount of dust. To this state with dust for many years.
Because it was cleaning the filter moderately, it was surprisingly beautiful.
Disconnect the power cable, USB, IEEE 1394, jumper pins and other cables from the motherboard, then remove the motherboard.
Removal of all parts from the PC case is completed.
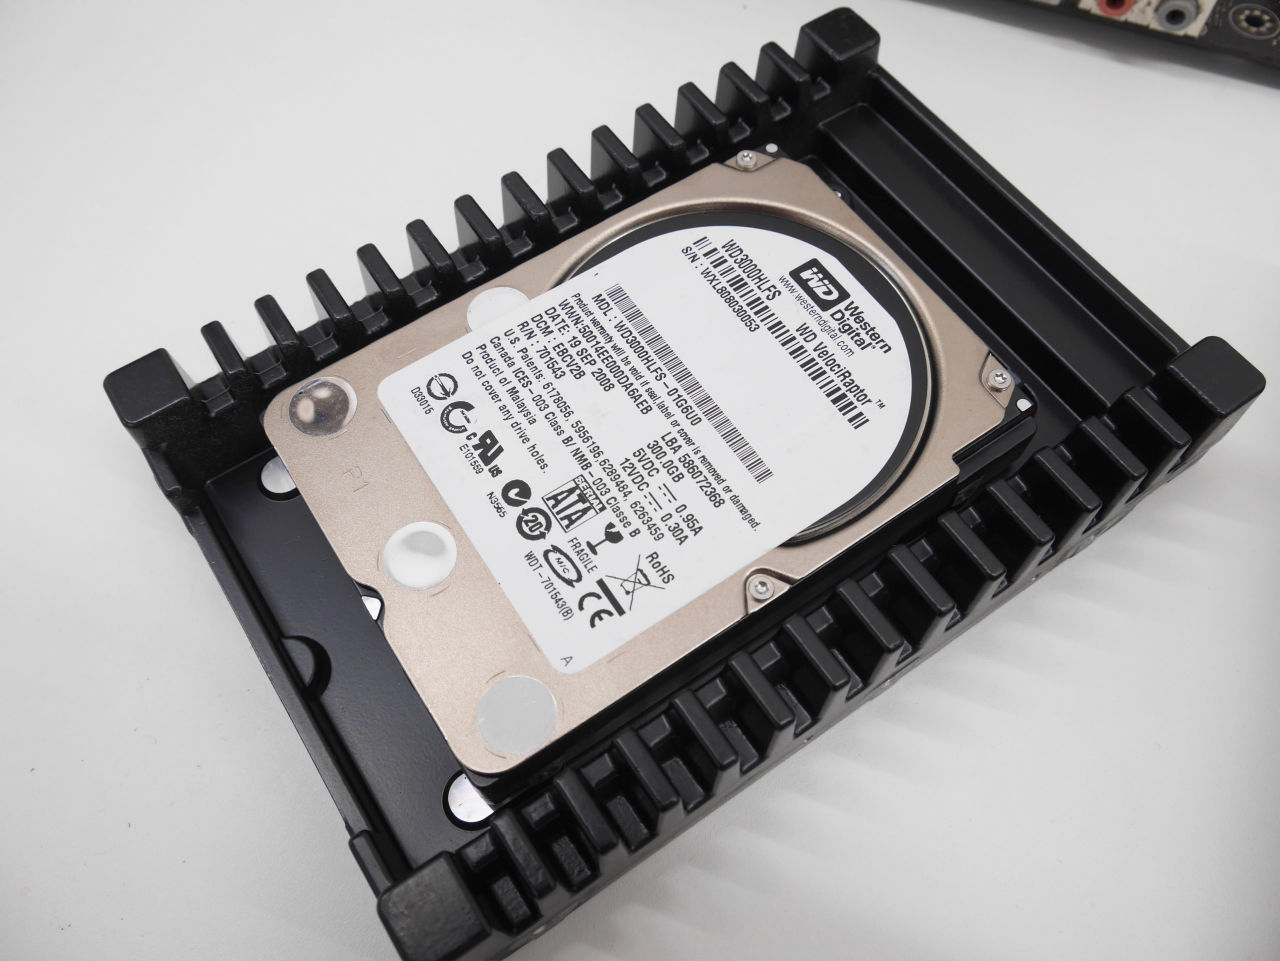
Main storage is "WD 3000 HLFS". It is a former explosive HDD that has been culled out by the advent of the SSD era.
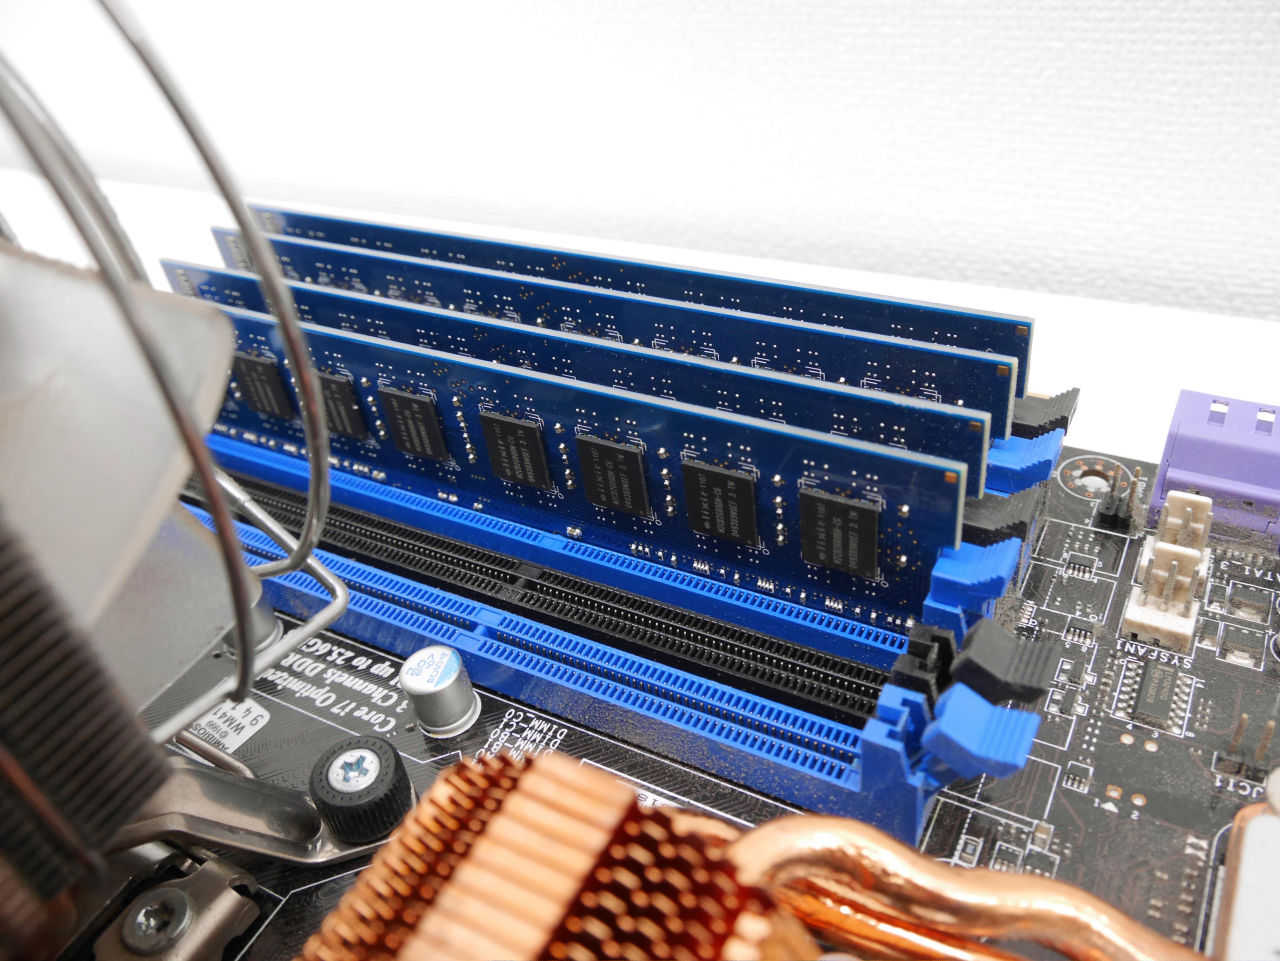
Memory is 4 GB x 4. The X58 chipset was 3 slot memory compatible and had 6 slot specifications.
Intel genuine CPU cooler
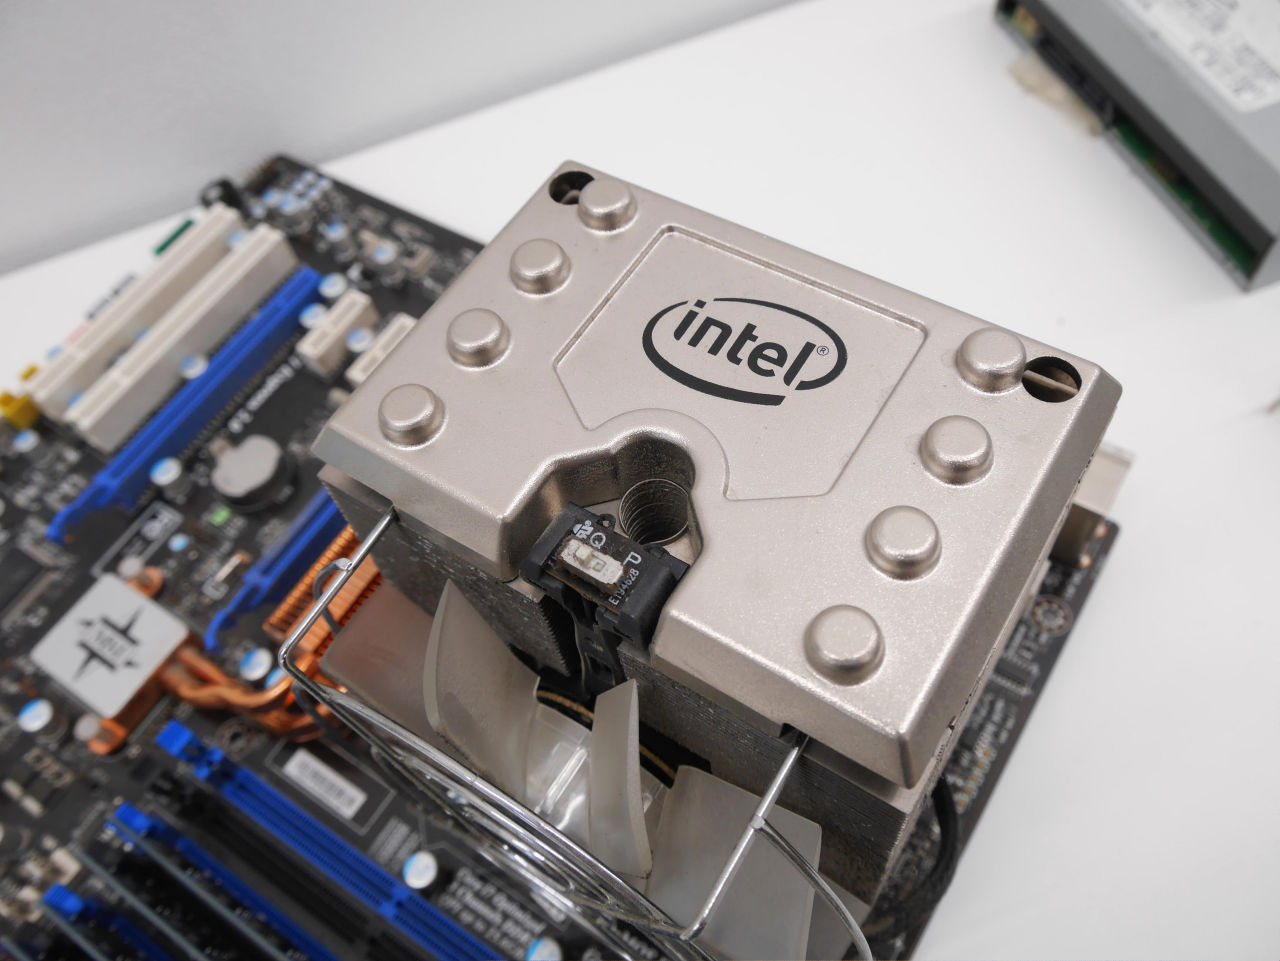
In order to cool the Nehalem generation CPU, it is equal to third-party performance.

Power supply is "TOP - 1100W - P10". Although it seems to be used still more, since it is a power source that I have been using for over 5 years, it is safe to substitute for your role in this place and replace it with a new one.

That means that only the PC case P180 will continue to be used from the old machine.
It's a great opportunity to clean up thoroughly. If big dust sucks with a vacuum cleaner OK.

We also take care of the dust of cables firmly.
There was plenty of dust on the 5-inch bay which was no longer used any more.

It is perfect to remove the 12 cm fan, wipe the dirt of the blade with wet tissues etc.
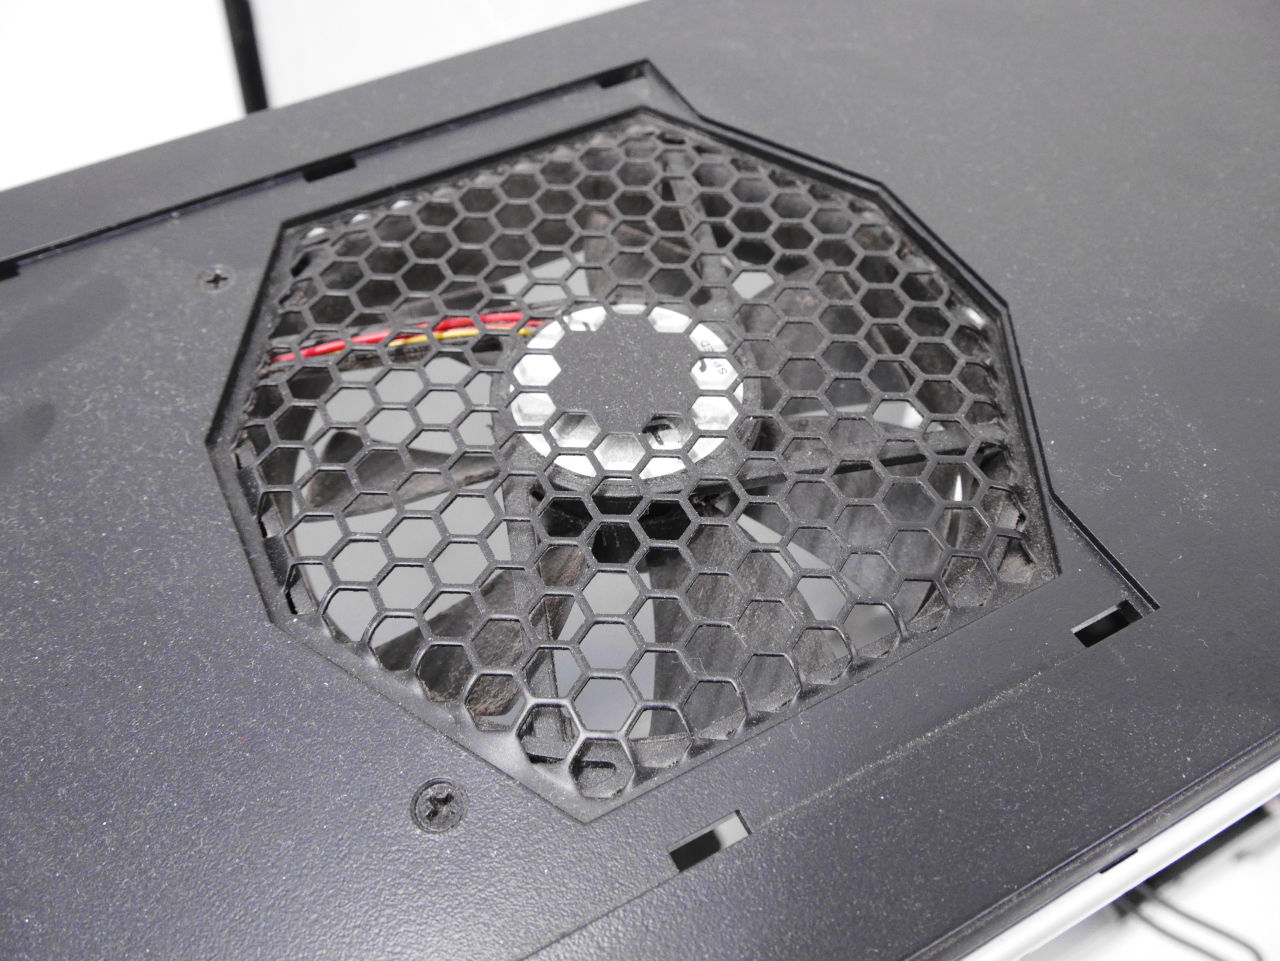
I revived as good as new.

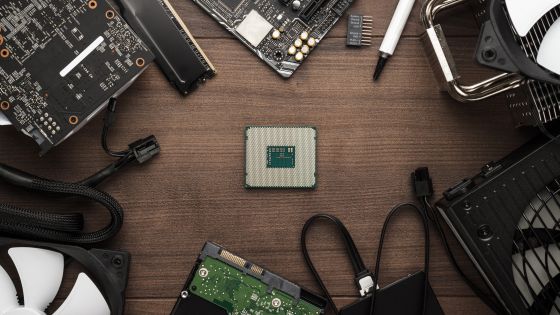
◆ Part composition
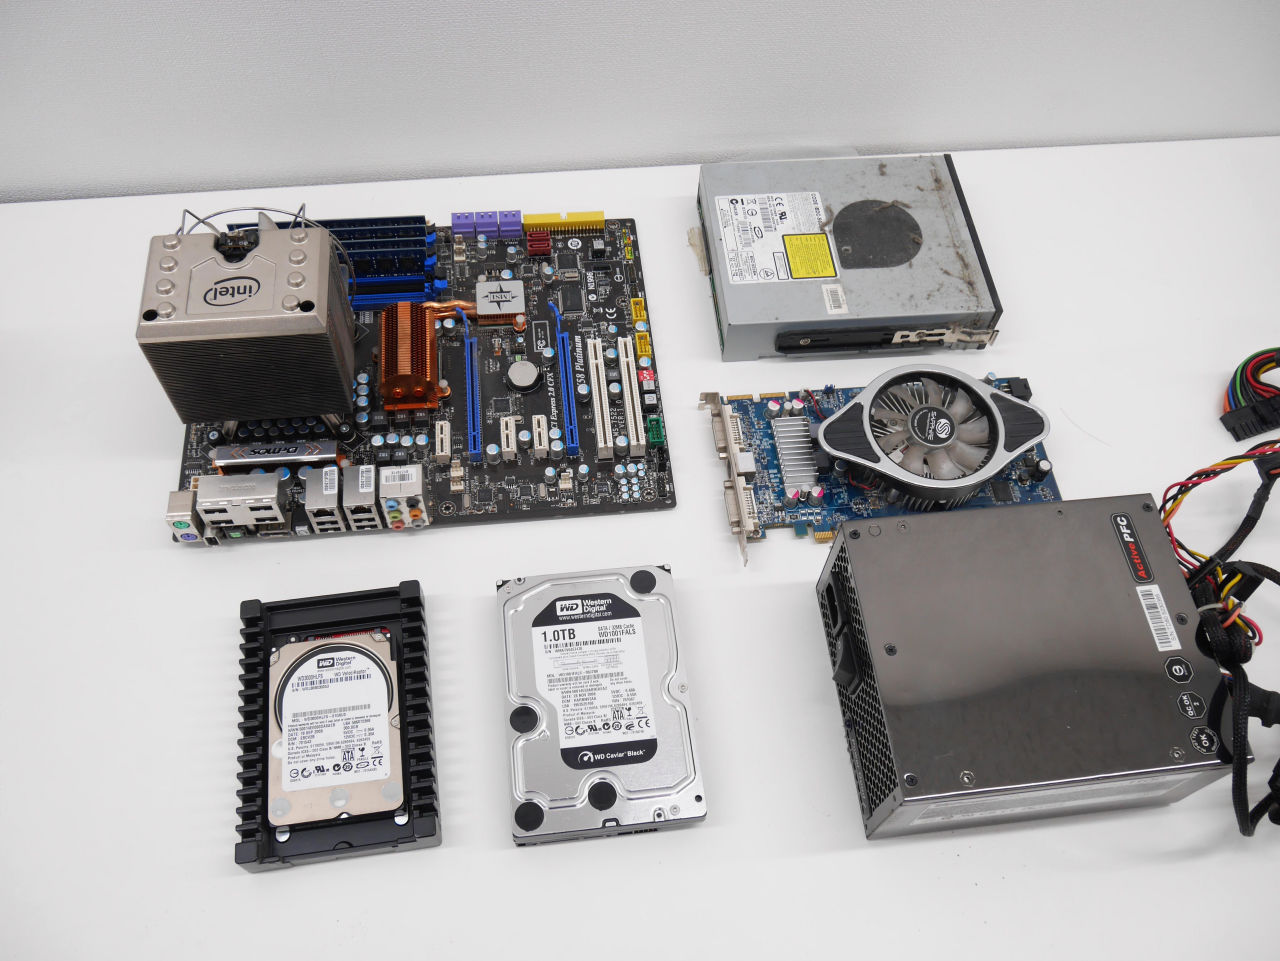
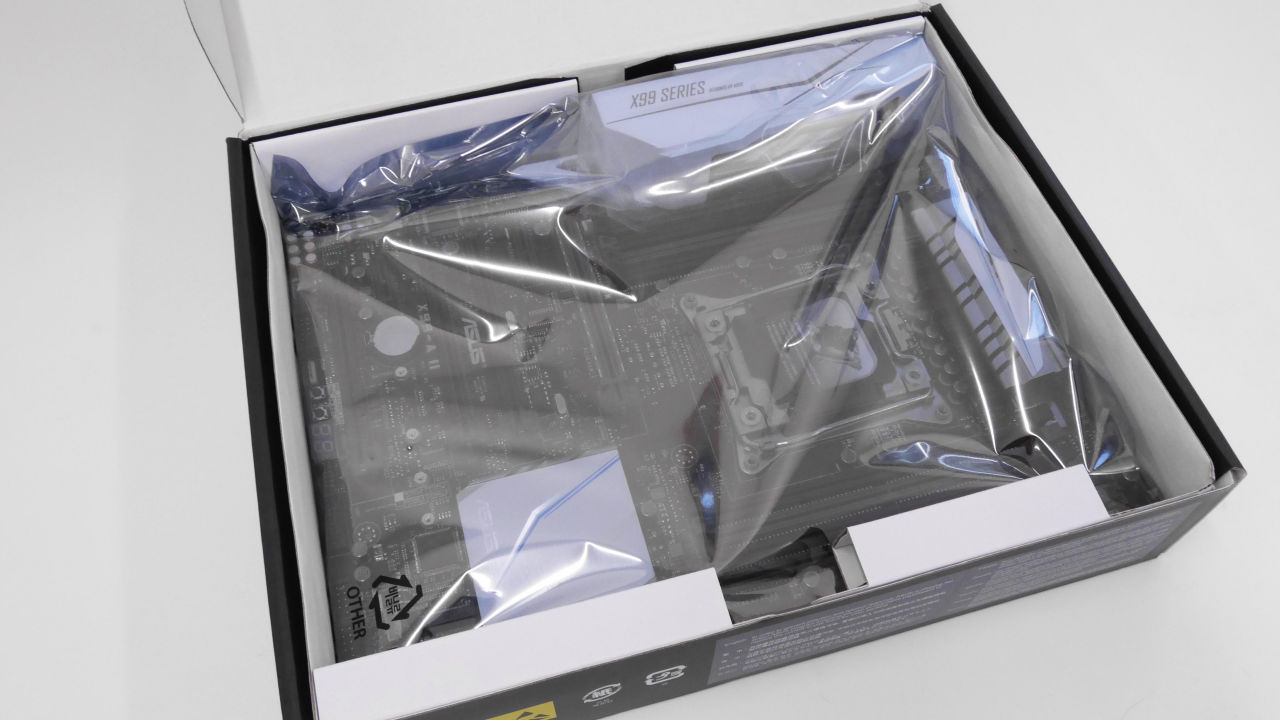
This time, the set of parts to be incorporated to make VR compatible machine is like this.
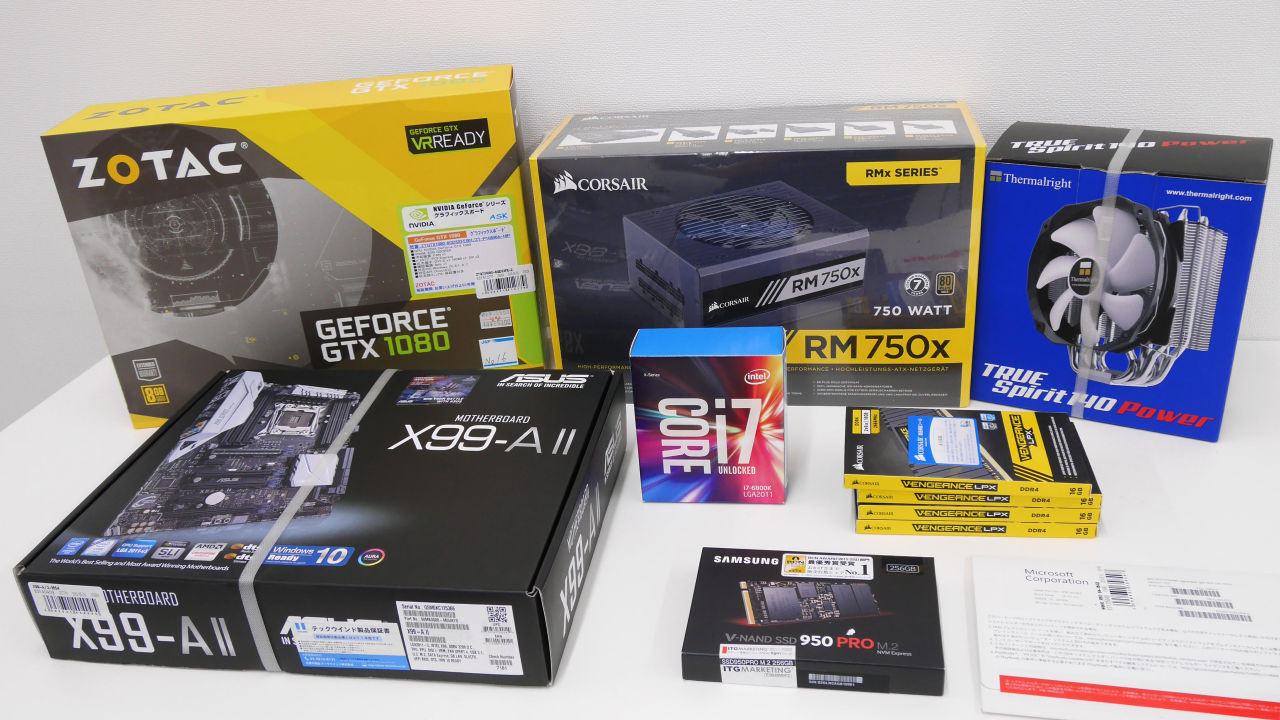
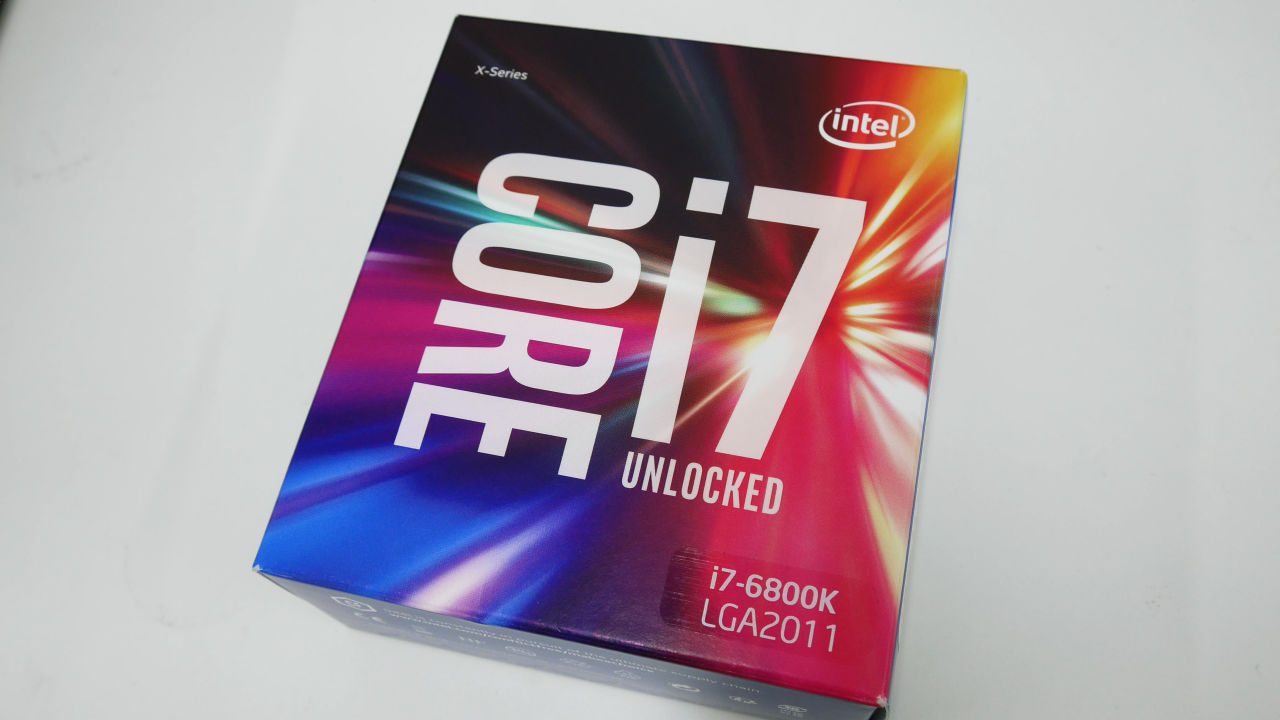
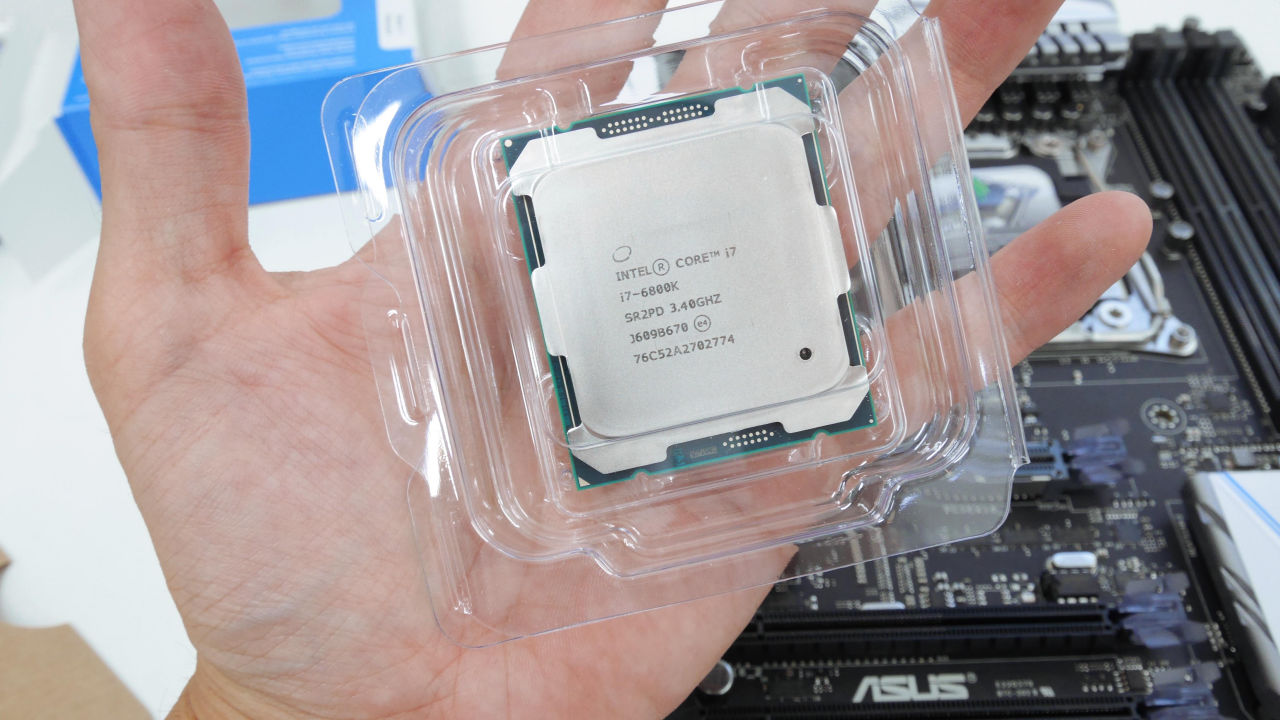
CPU is "5th generation Intel Core processor" Broadwell-E ""Core i7-6800K"(6 cores 12 threads)
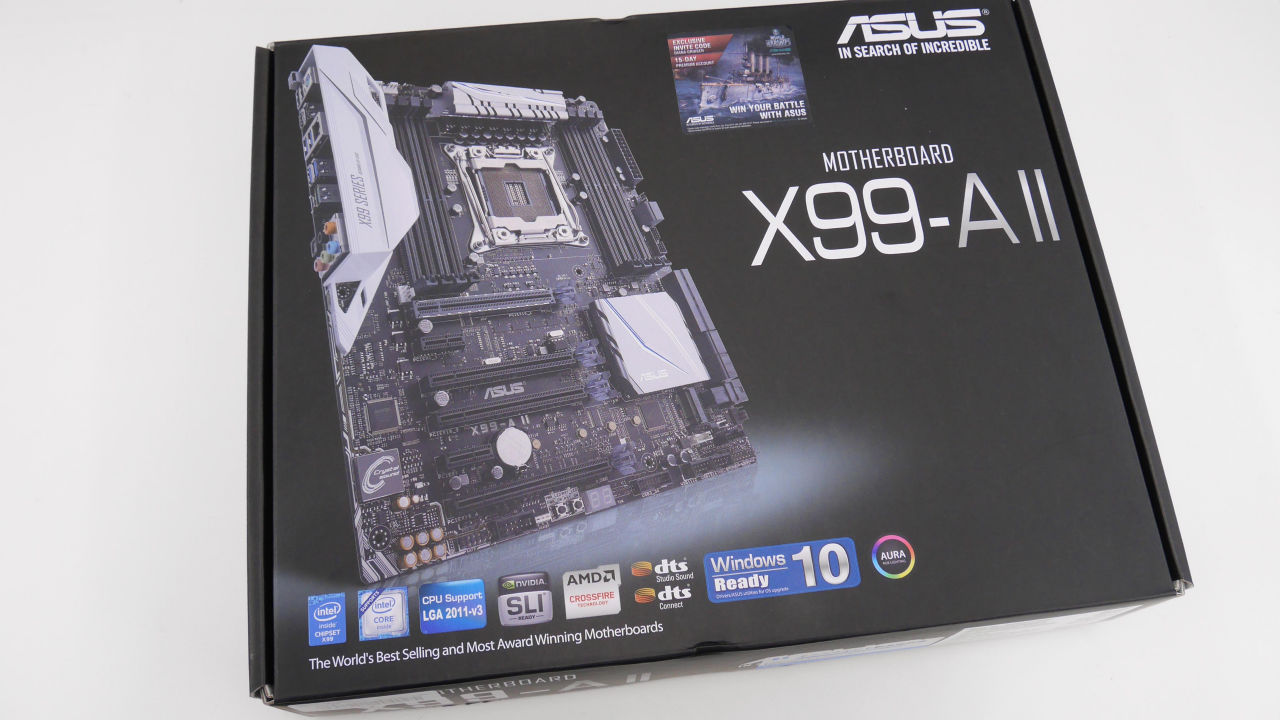
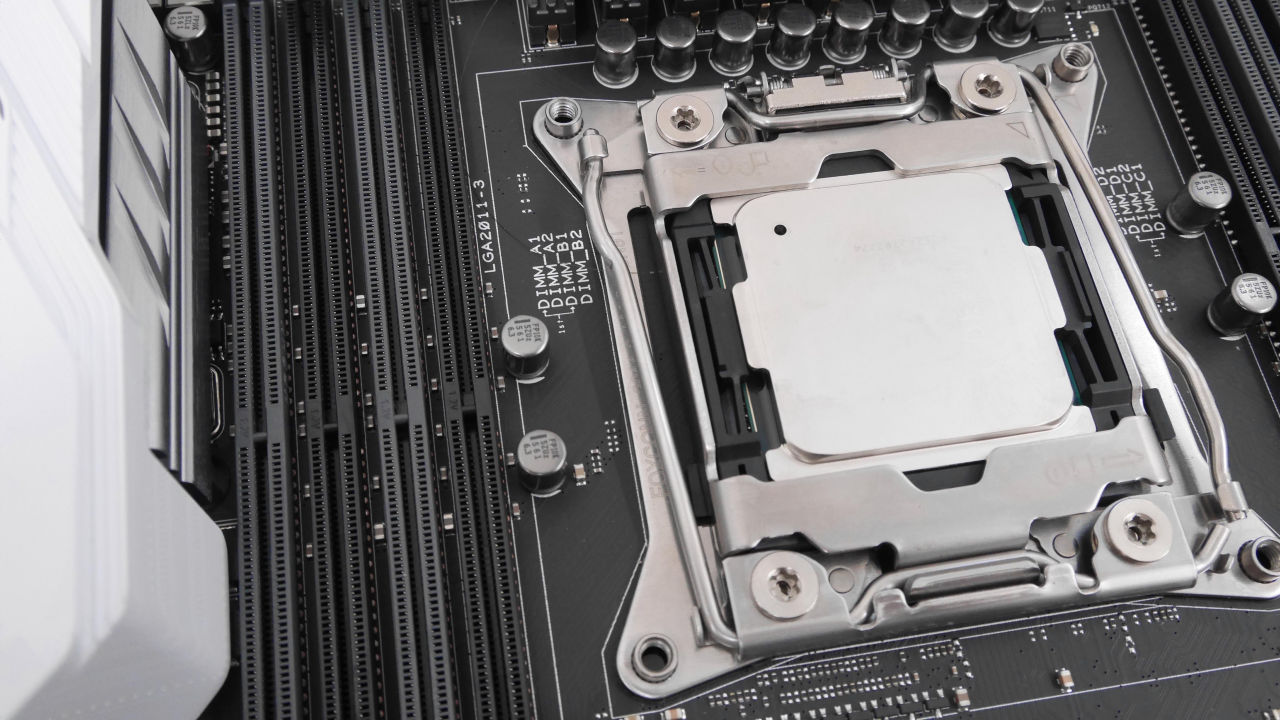
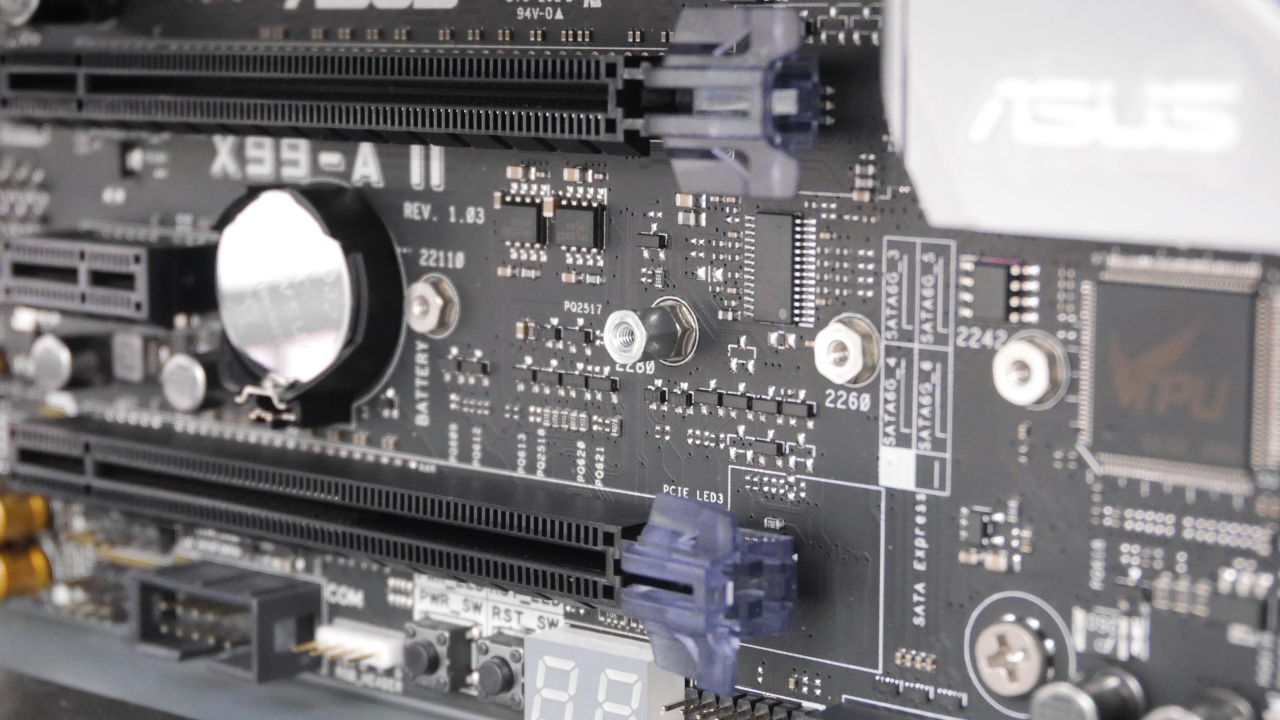
The motherboard is ASUS's "X99-A II". Broadwell-E compatible revision 2 version.
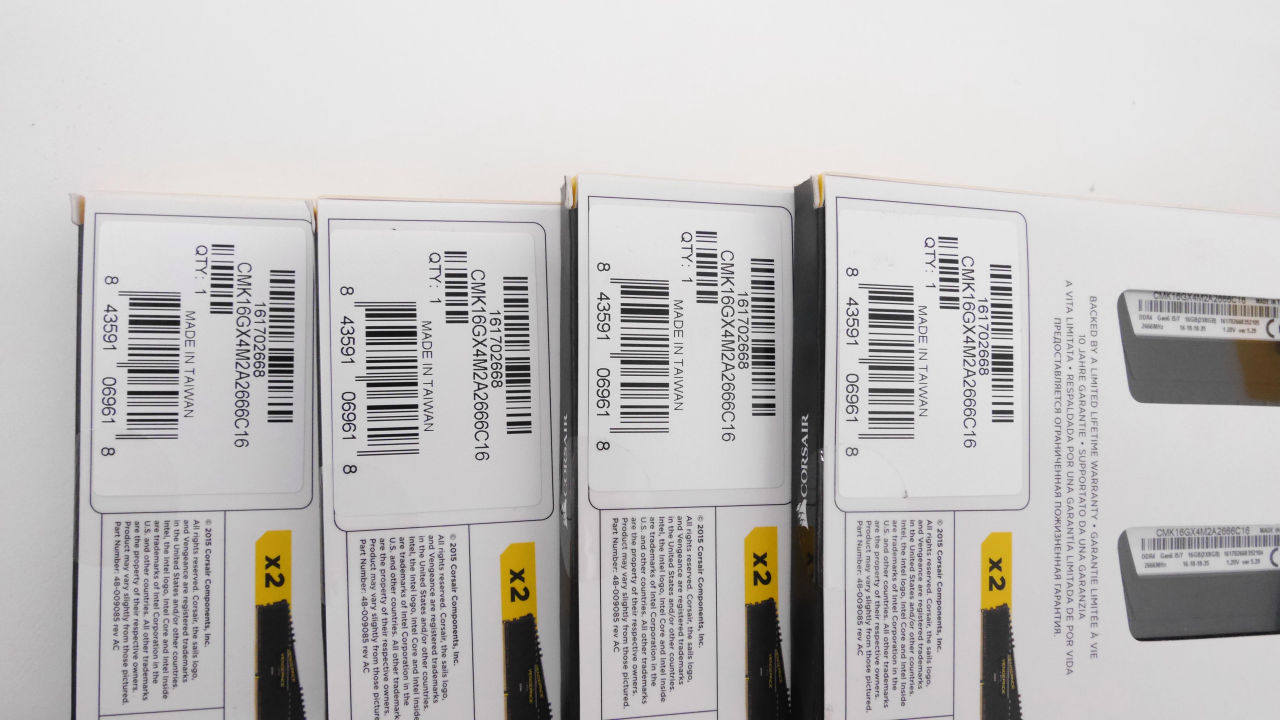
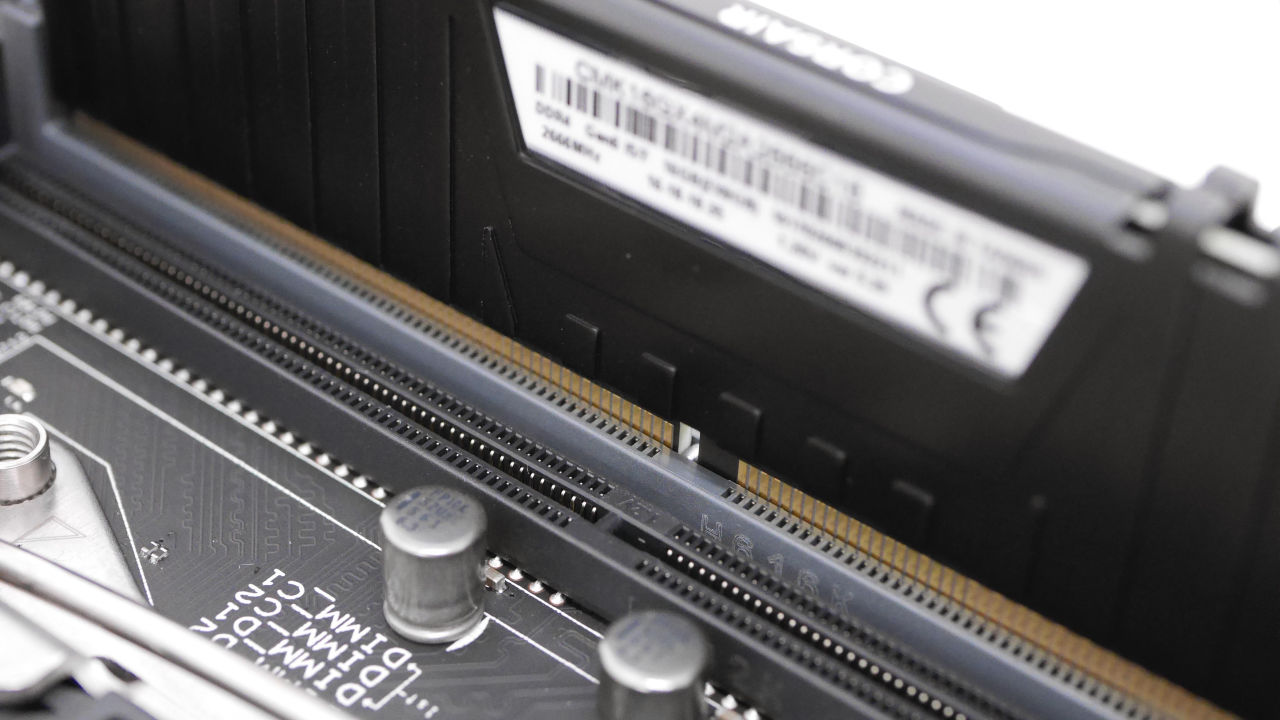
The memory is Corsair's "Vengeance (CMK 16 GX 4 M 2 A 2666 C 16)". It is 8GB × 8 64GB specification.
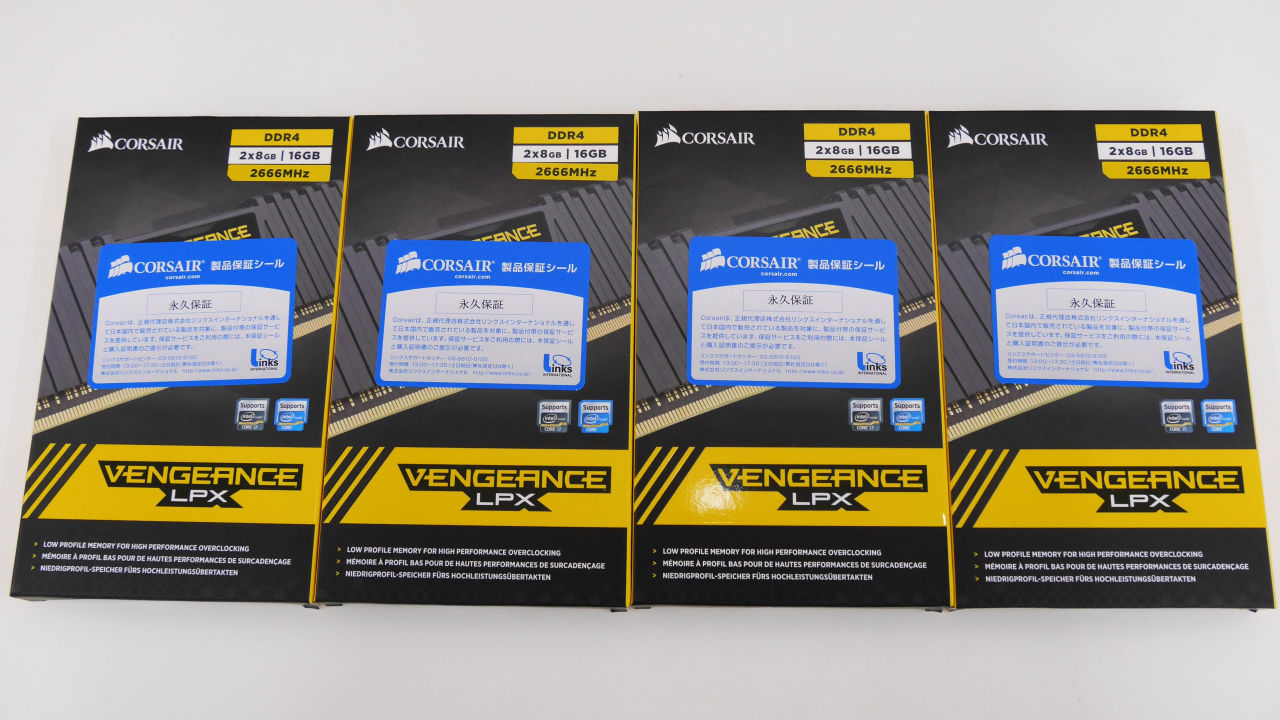
In order to avoid compatibility problems, it is where you want to align lots if you can.
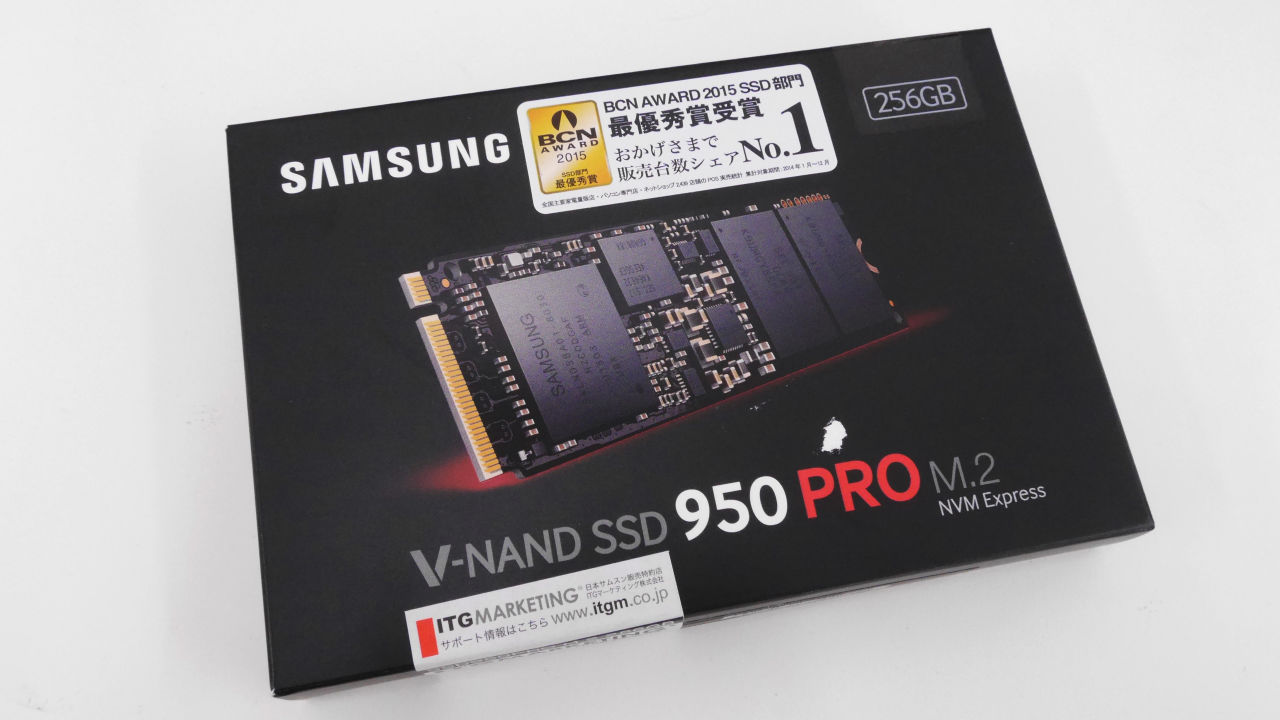
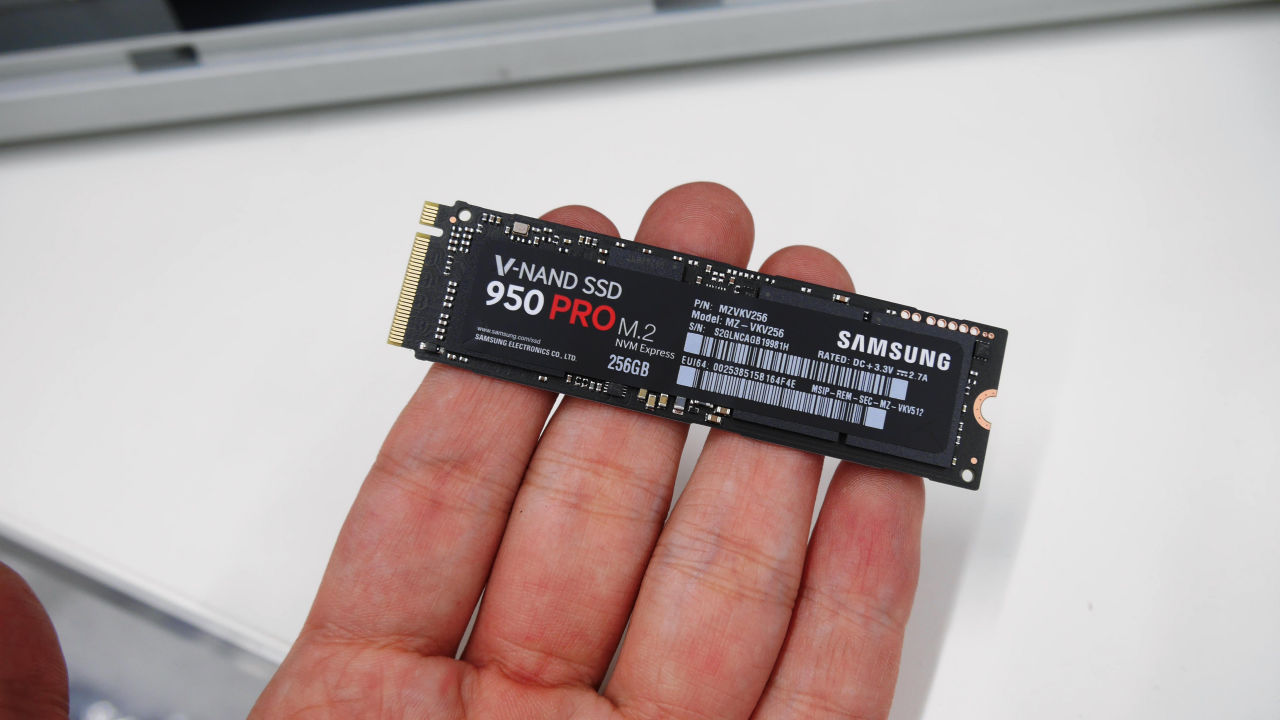
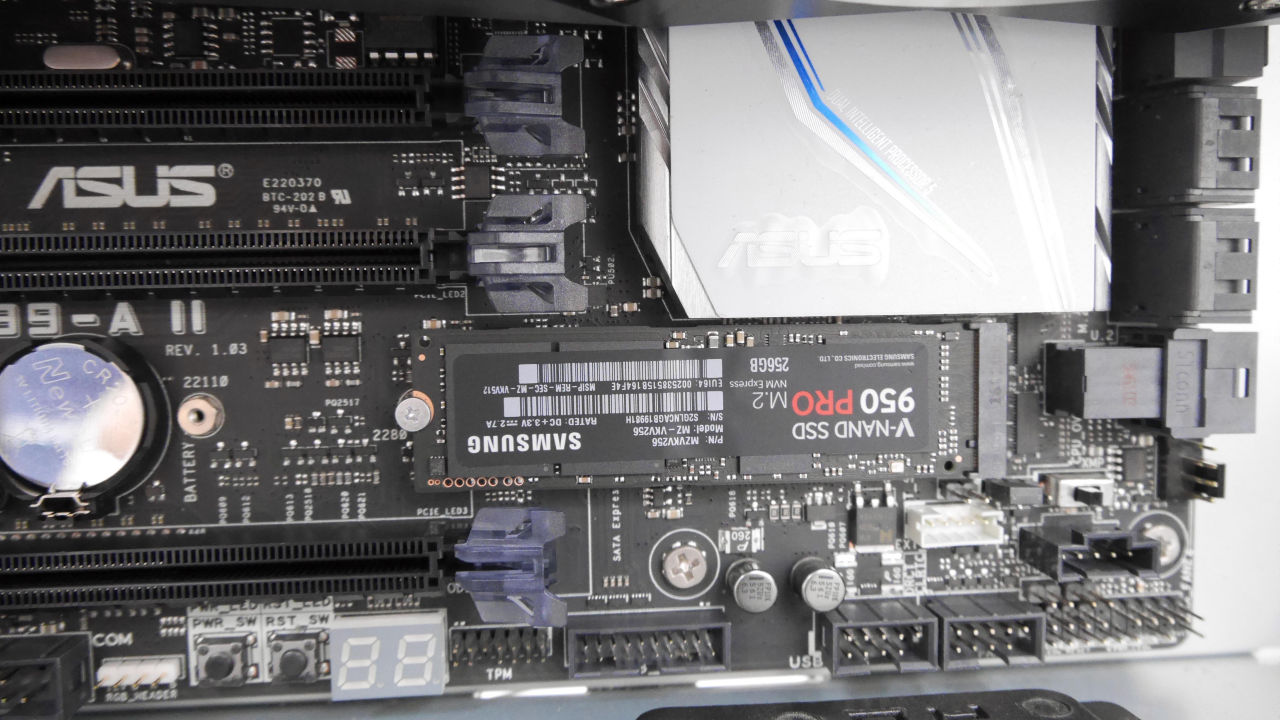
Storage as SSD of PCI - Express connection (M.2 standard), Samsung 's "950 Pro M.2"(256 GB)
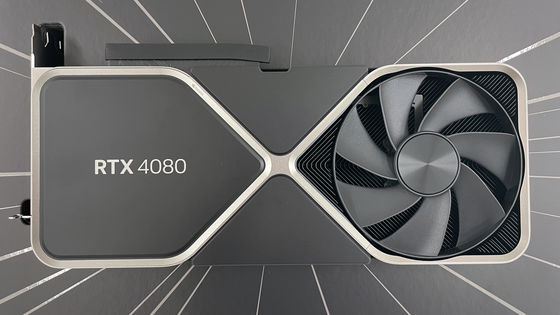
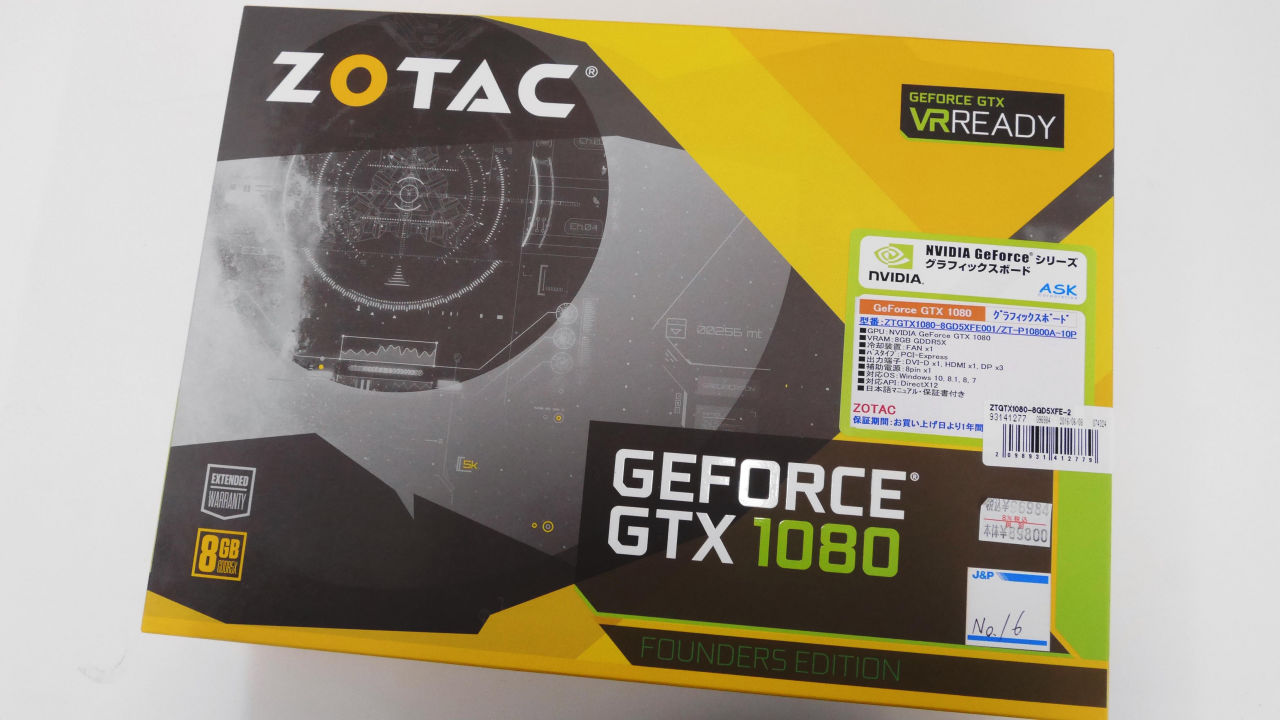
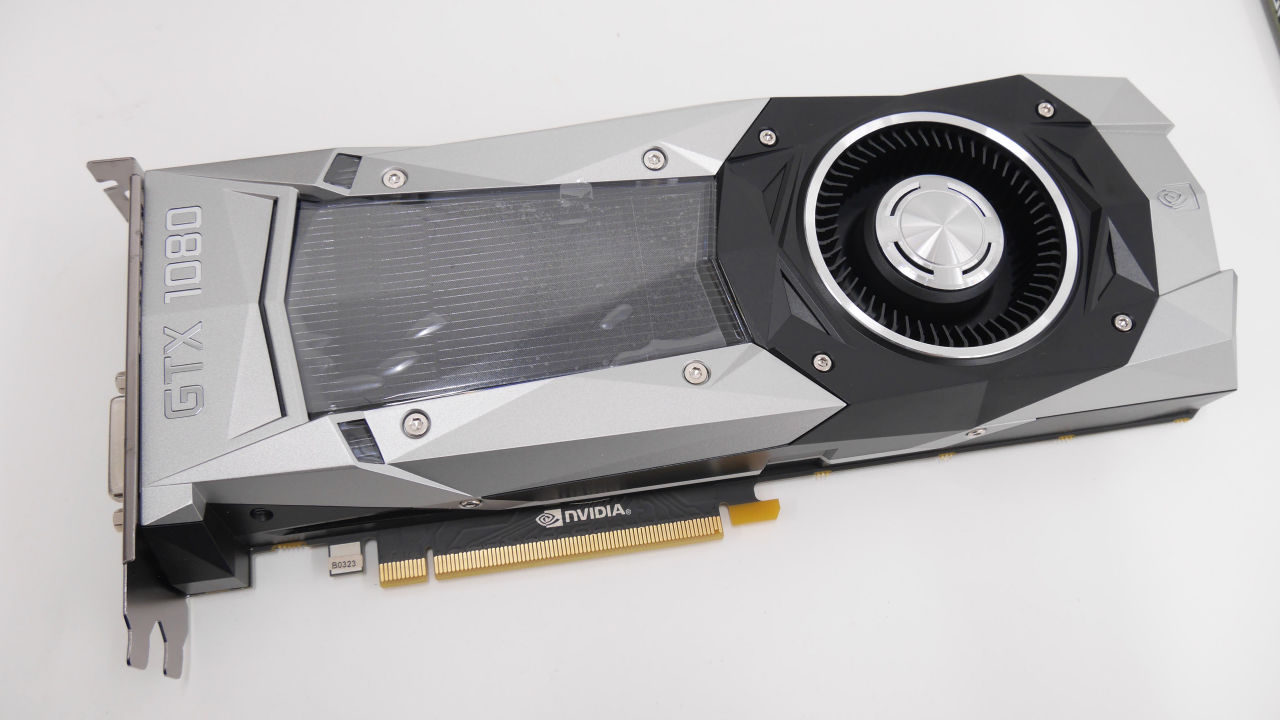
The graphic board is ZOTAC's "NVIDIA GeForce GTX 1080 Founders Edition". Many shops stopped arriving at a sharp appreciation of the yen, and GTX 1080 and GTX 1070 were out of stock at the time of article creation.
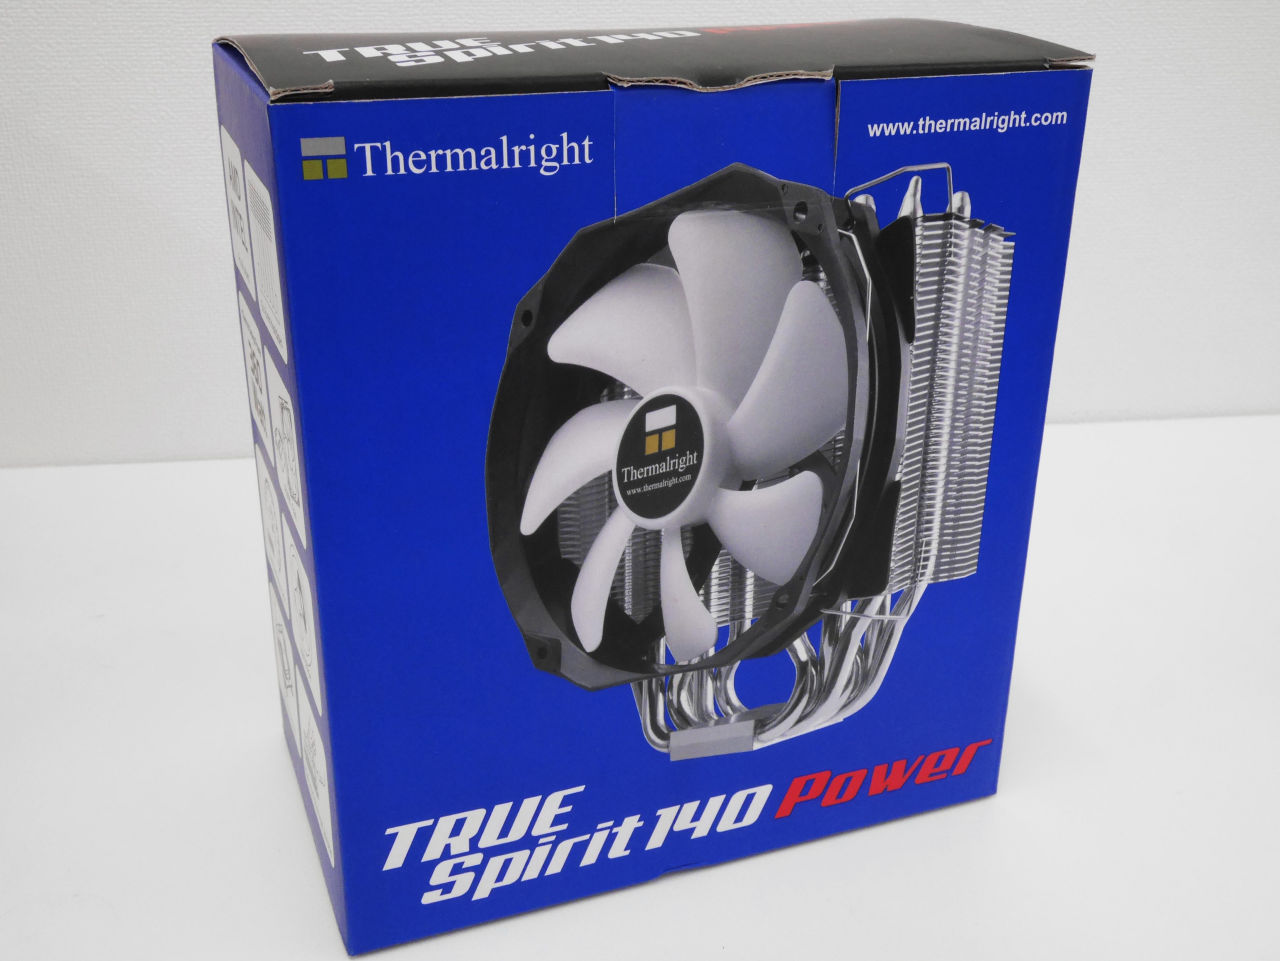
For CPU cooler, Thermalright's "TRUE Spirit 140 Power"
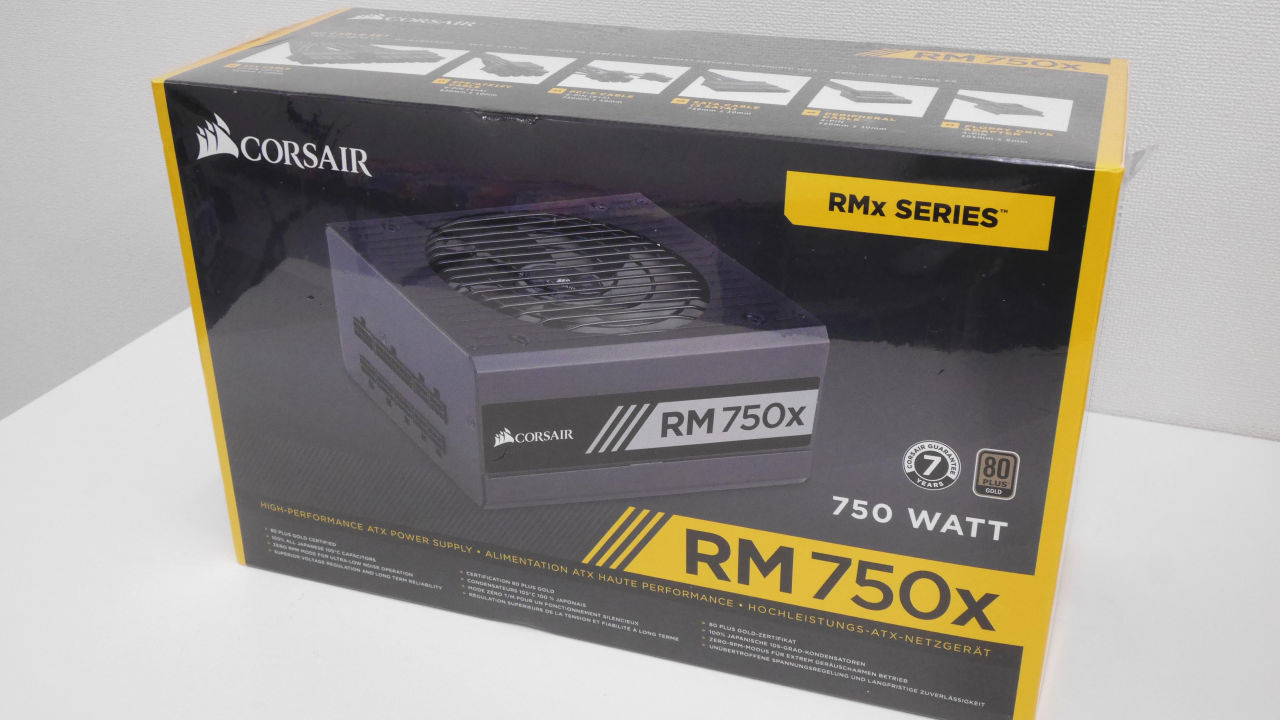
Power supply is Corsair's "RM 750 x". It is an encouraging power supply with a manufacturer's warranty for 7 years with all Japan made 105 degree condenser.
◆ Assembly
First take out the motherboard.
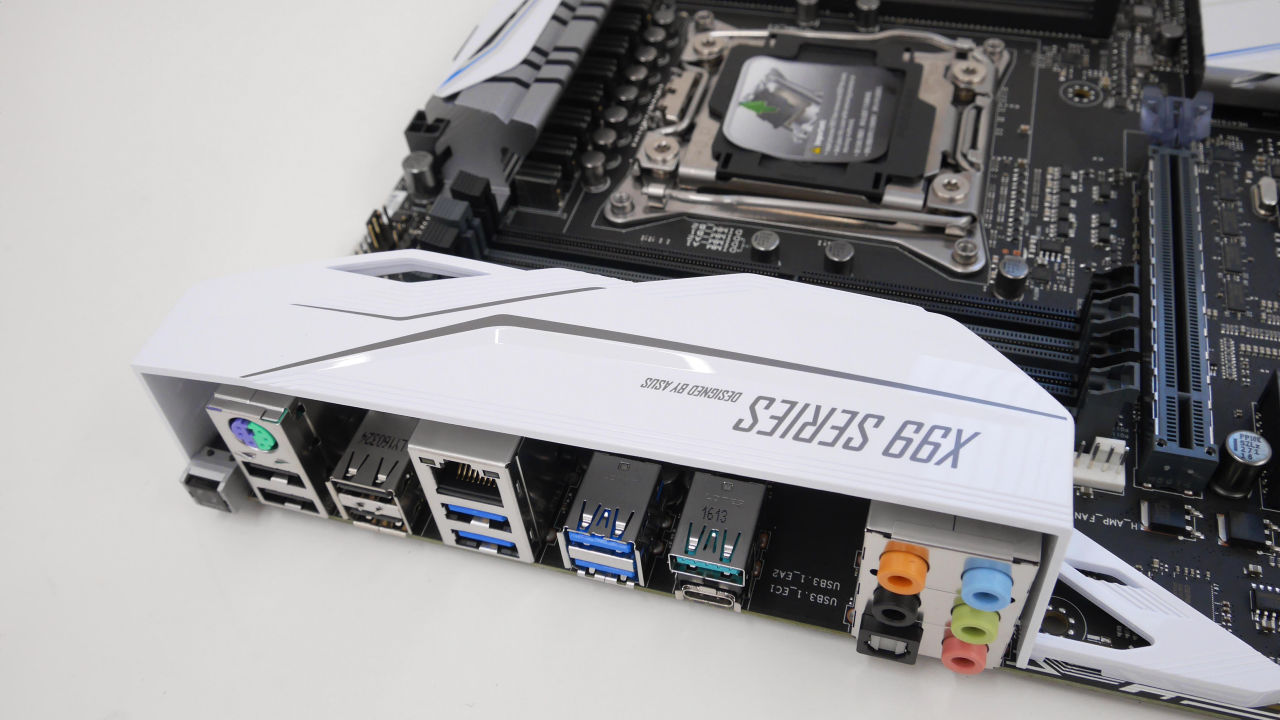
X99 - A II is ATX size.

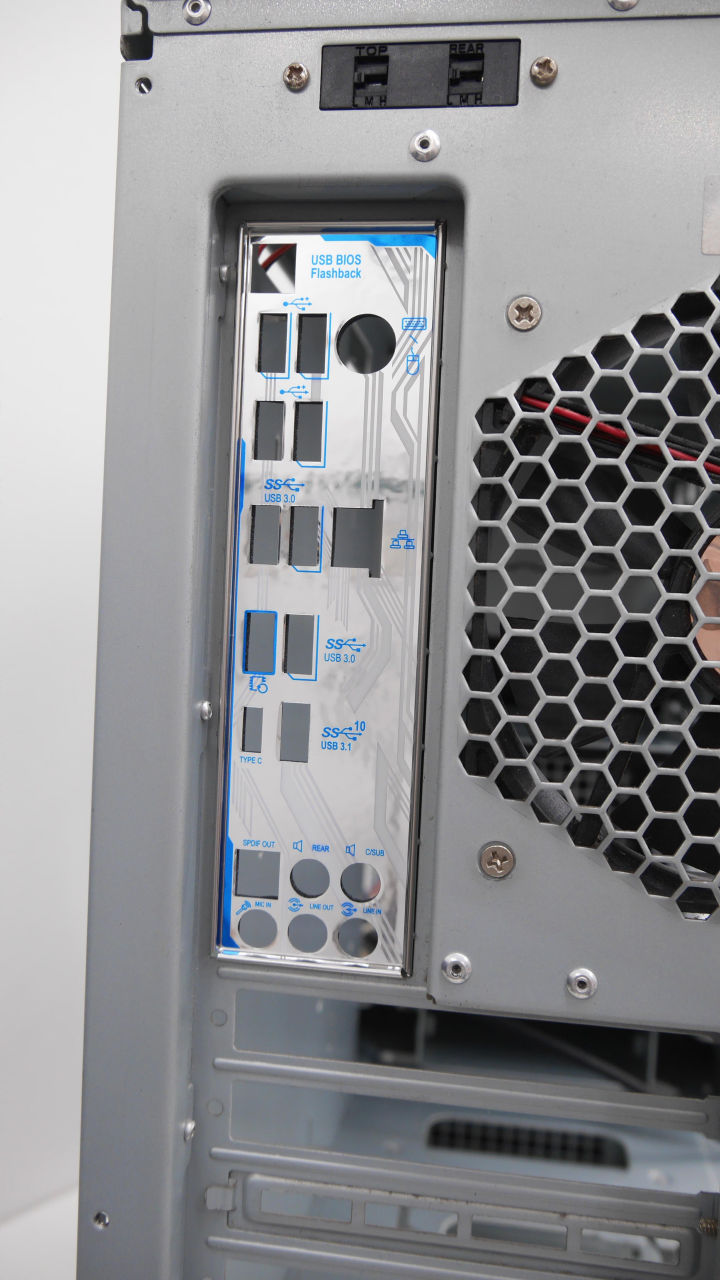
A white cover around the I / O panel has an eye-catching design.
Plastic cover is also attached around VRM, but it seems that importance is attached to design rather than functionality.
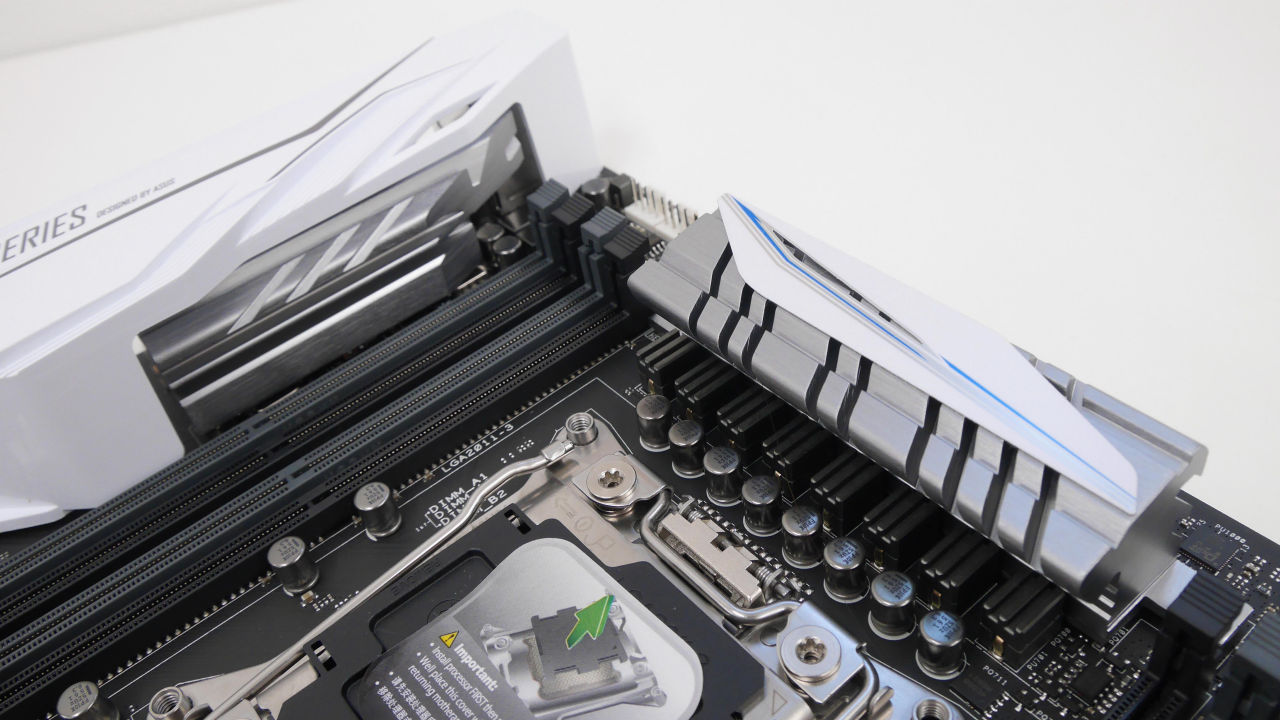
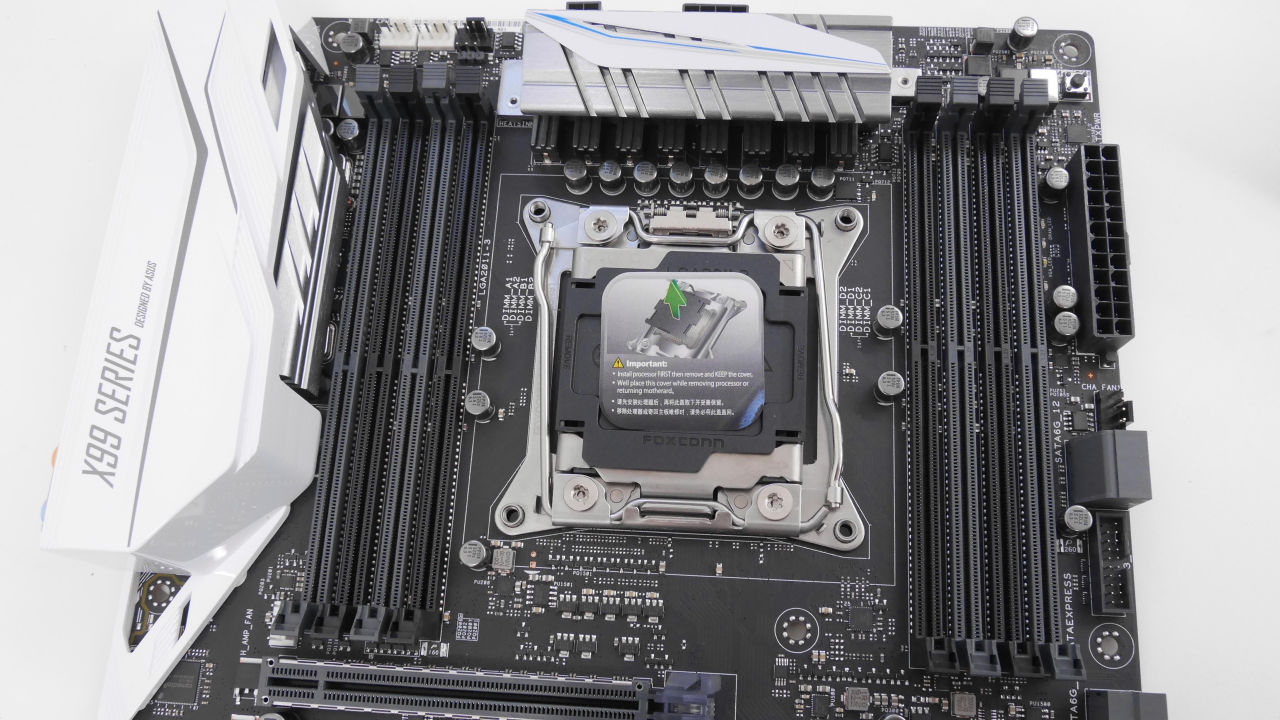
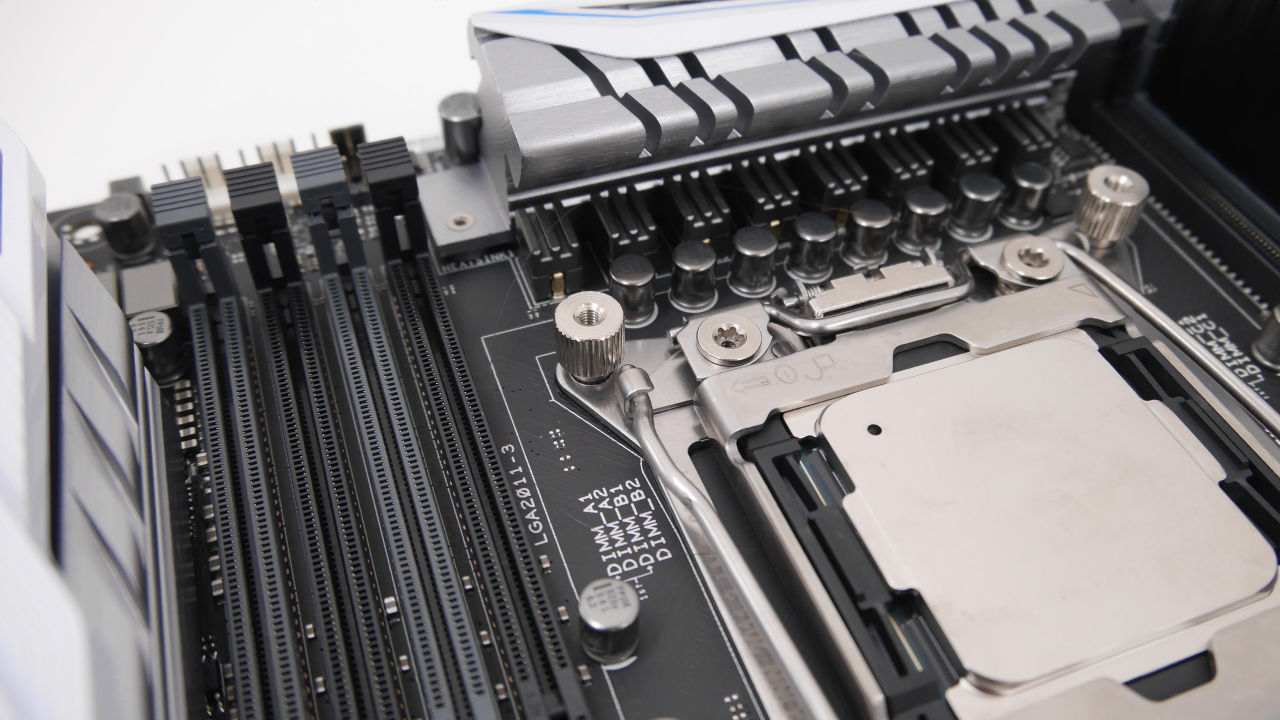
Four memory slots are mounted on each side so as to sandwich the CPU slot of LGA2011 - v3.
Memory is one side latch. Although it is a fashionable one-sided latch in recent years, clearly saying it is difficult to remove memory, so I want you to return it.
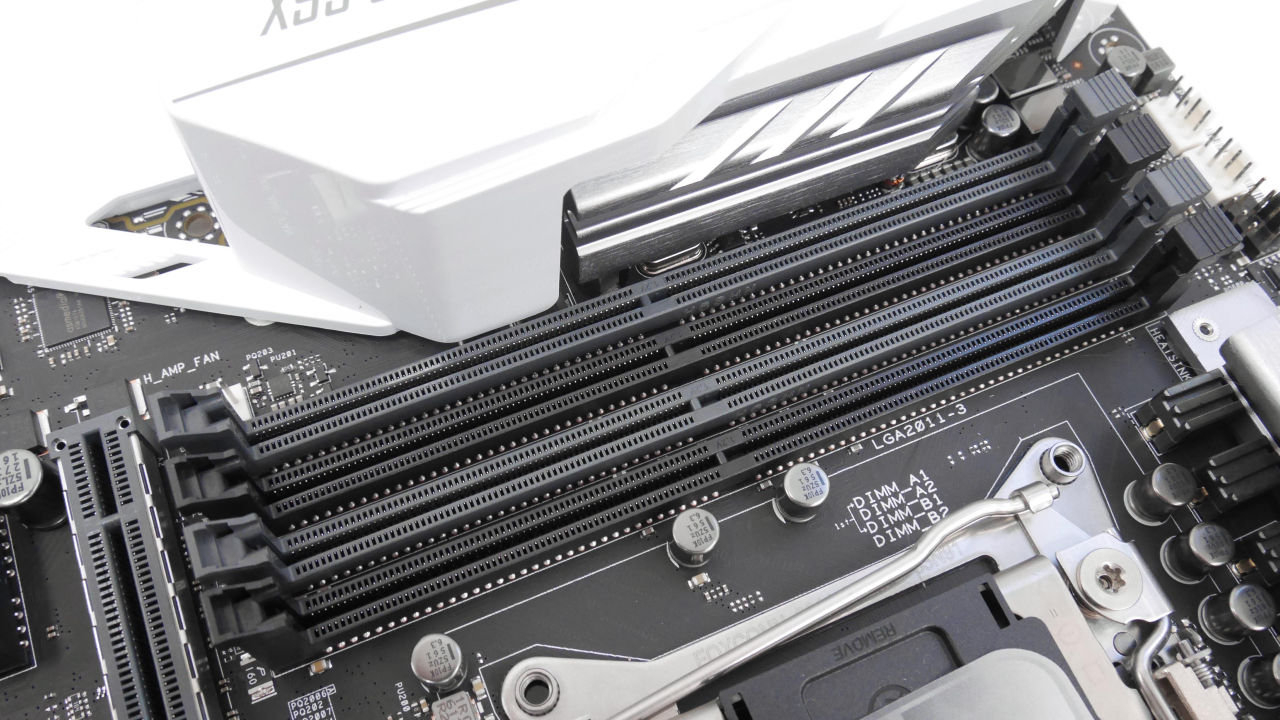
The M.2 slot corresponding to the transfer rate of 32 Gb / s is also carried.
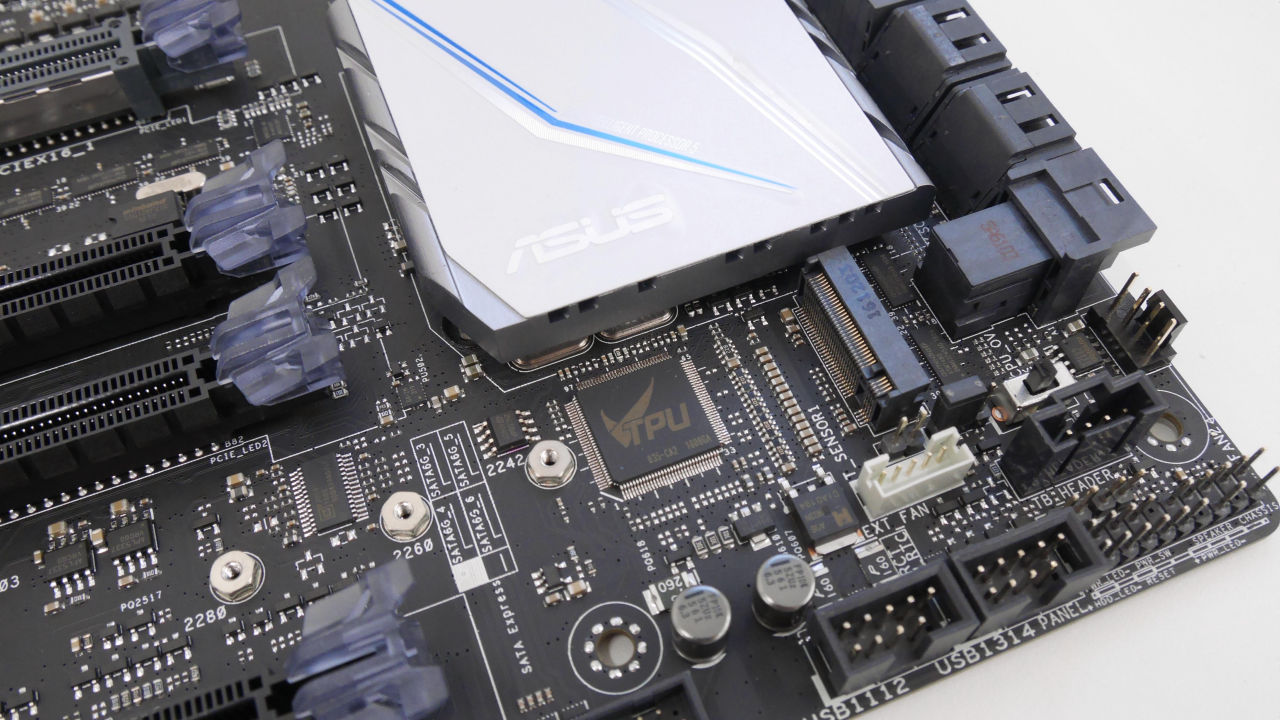
SATA (6 Gb / s) total 10 pieces. On the right side is the SATA Express connector.

U.2 port corresponding to 32 Gb / s transfer rate is also carried.

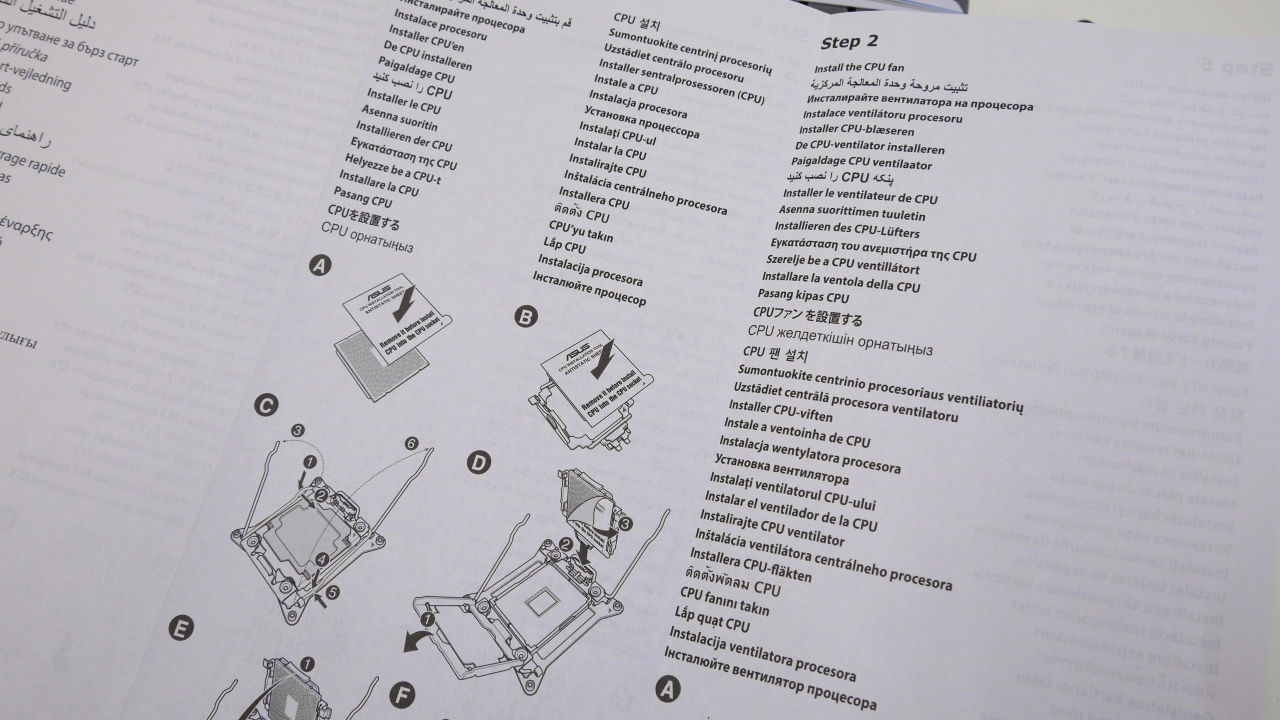
The manual was in English only. As a consumer high end class X99 chipset compatible mother, beginners may have a high threshold.
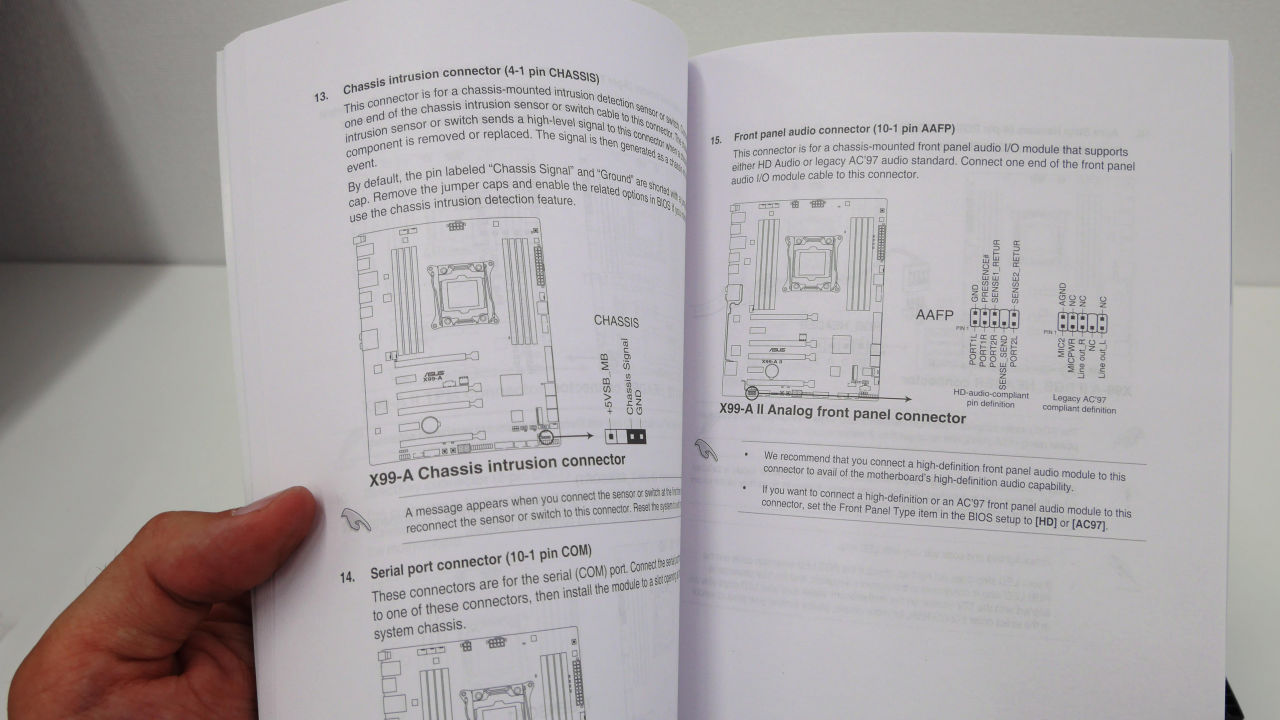
However, there are Japanese notation in the quick manual, so I'd like to expect it to be revised to the Japanese user manual in the future.
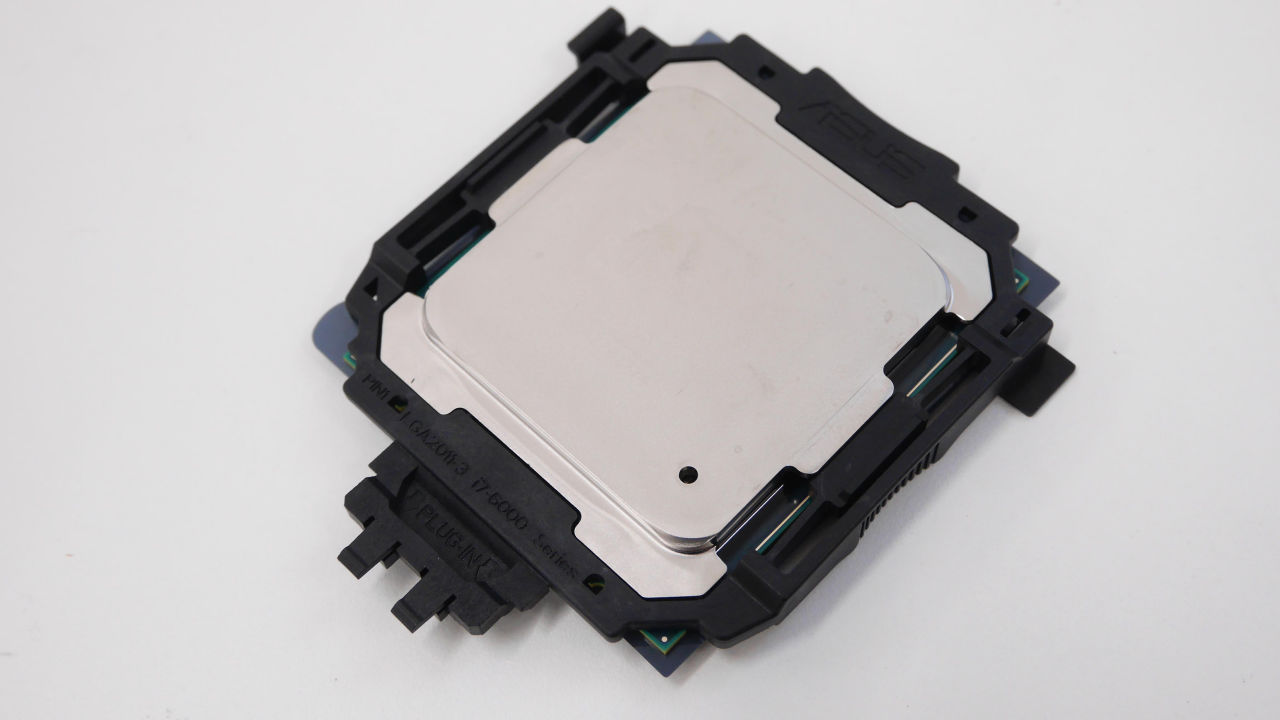
Next, remove the CPU. It is one size larger than mainstream CPU corresponding to LGA 1151, 1150 and so on.
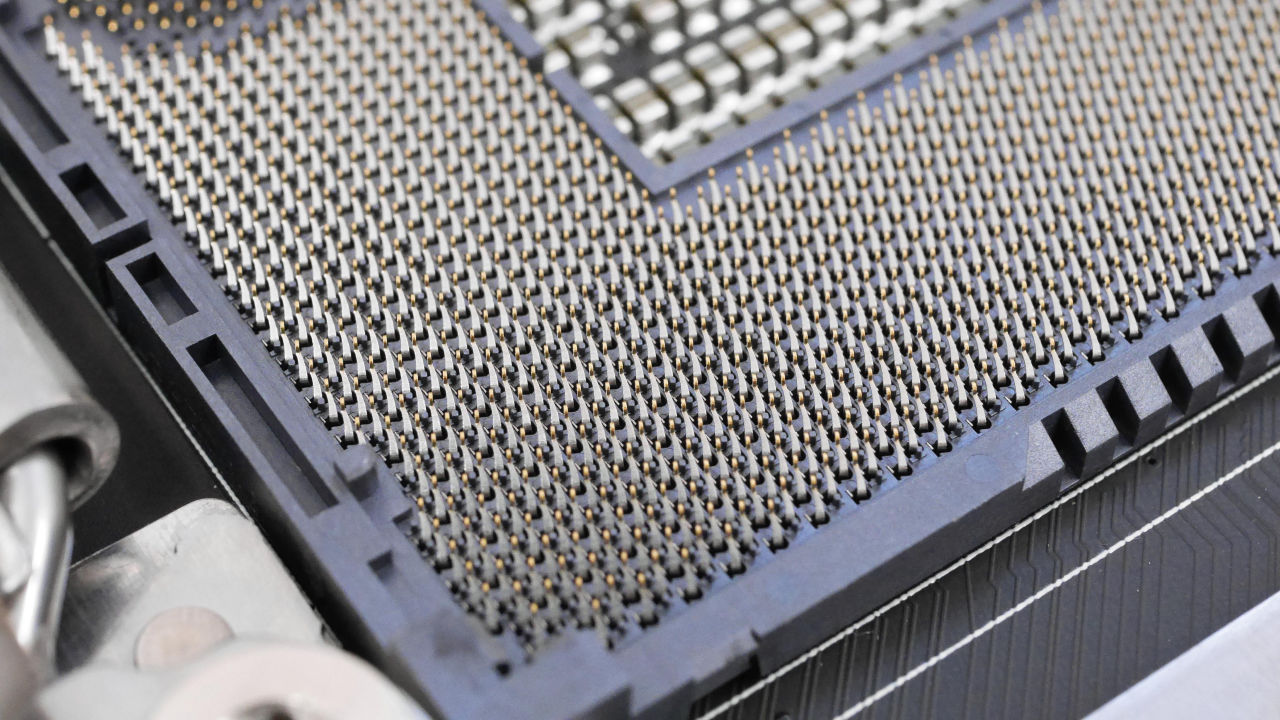
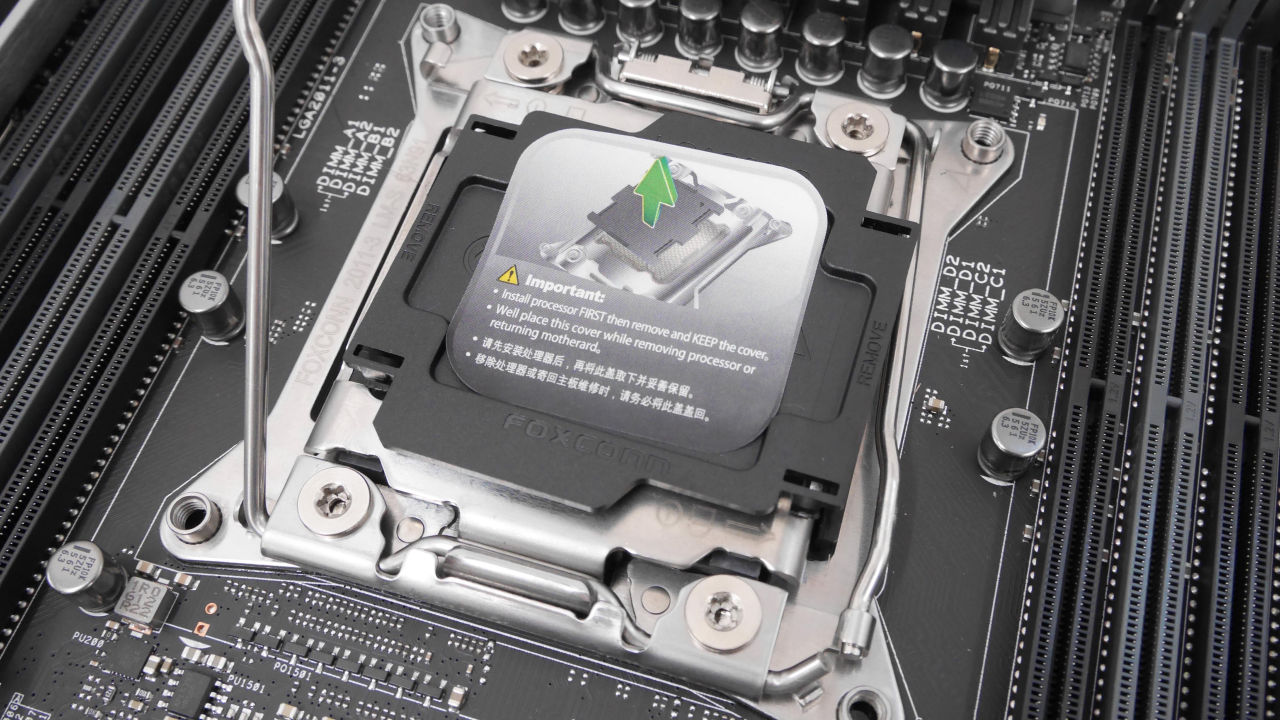
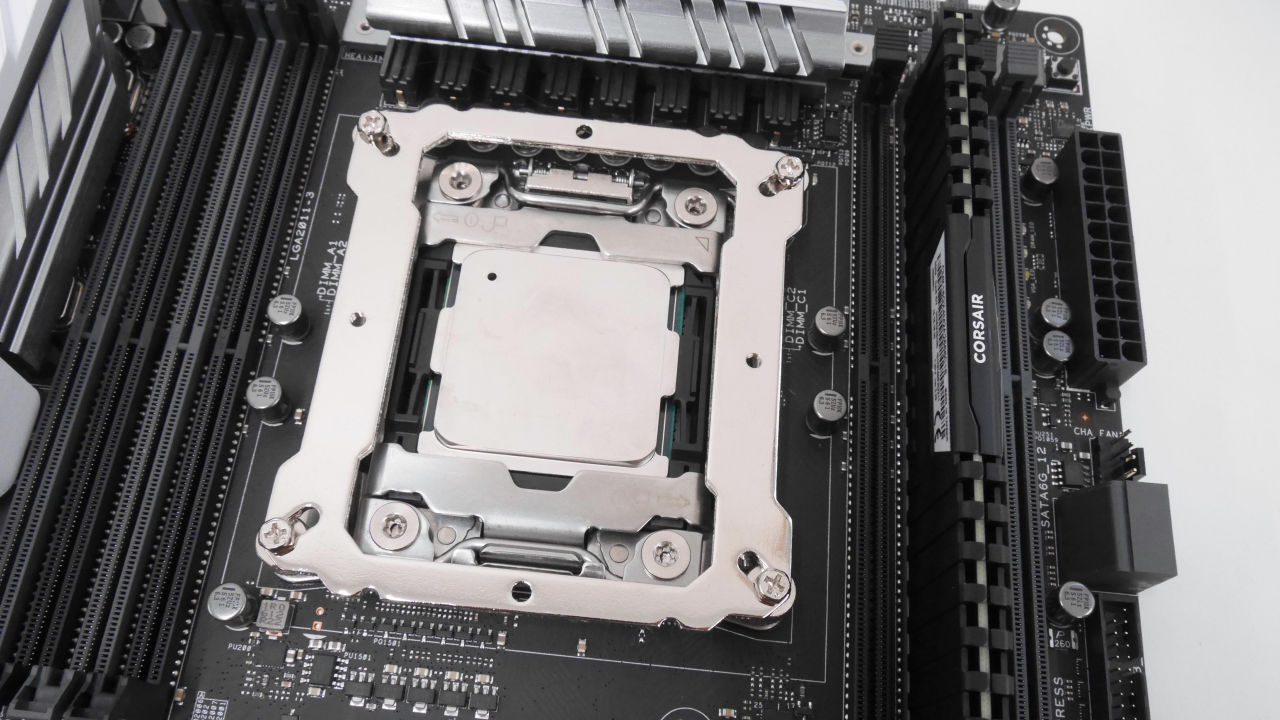
We will move on to CPU installation work. First, release the lever on the left side of the socket ......
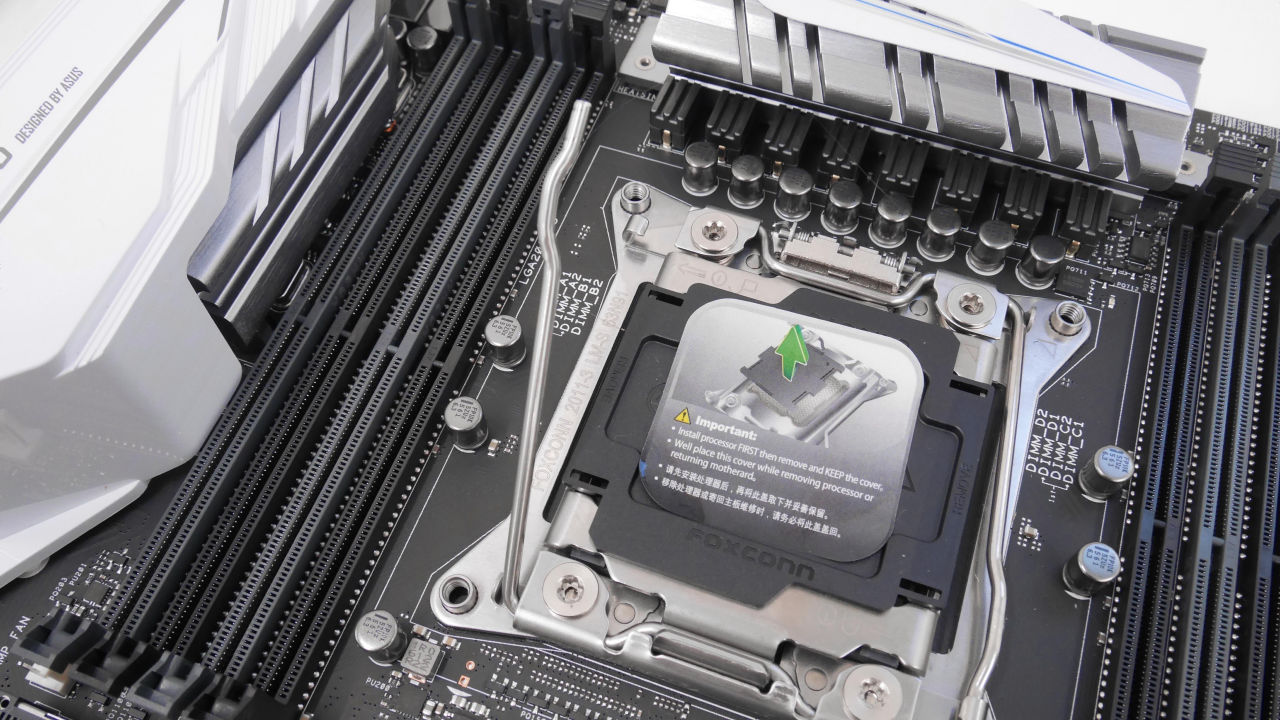
Also release the right lever.
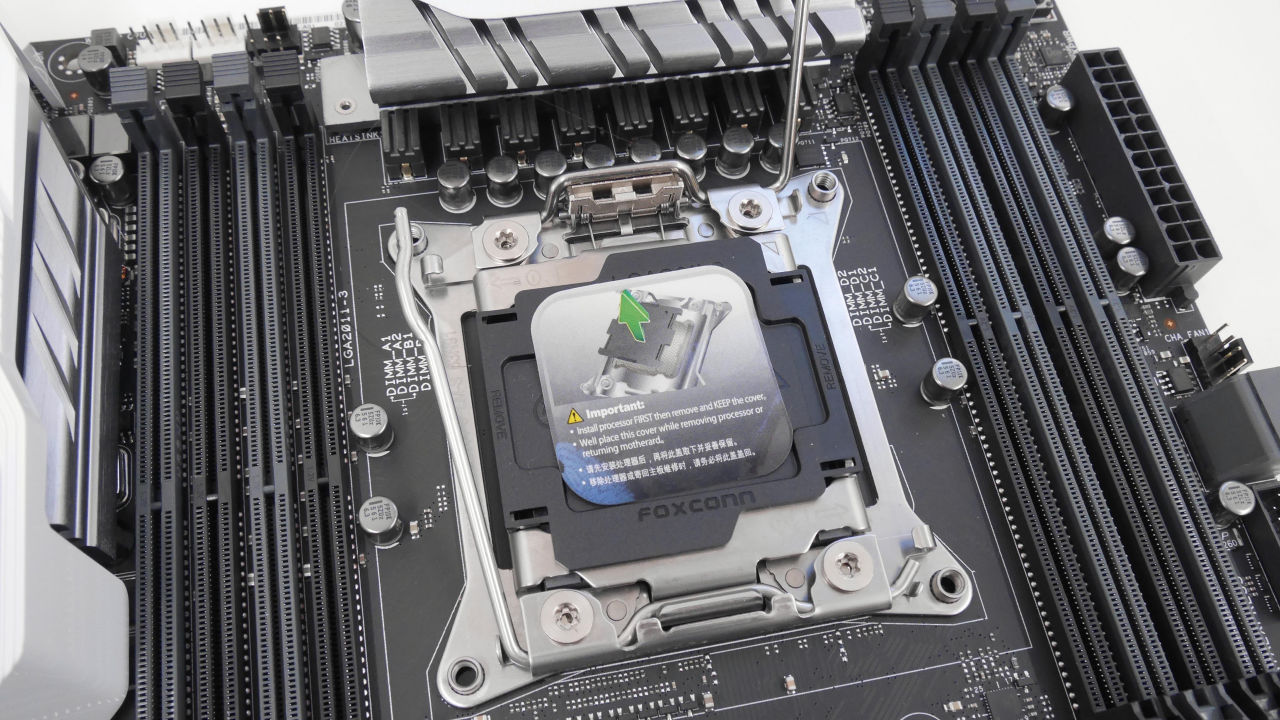
You can open the cover with this.
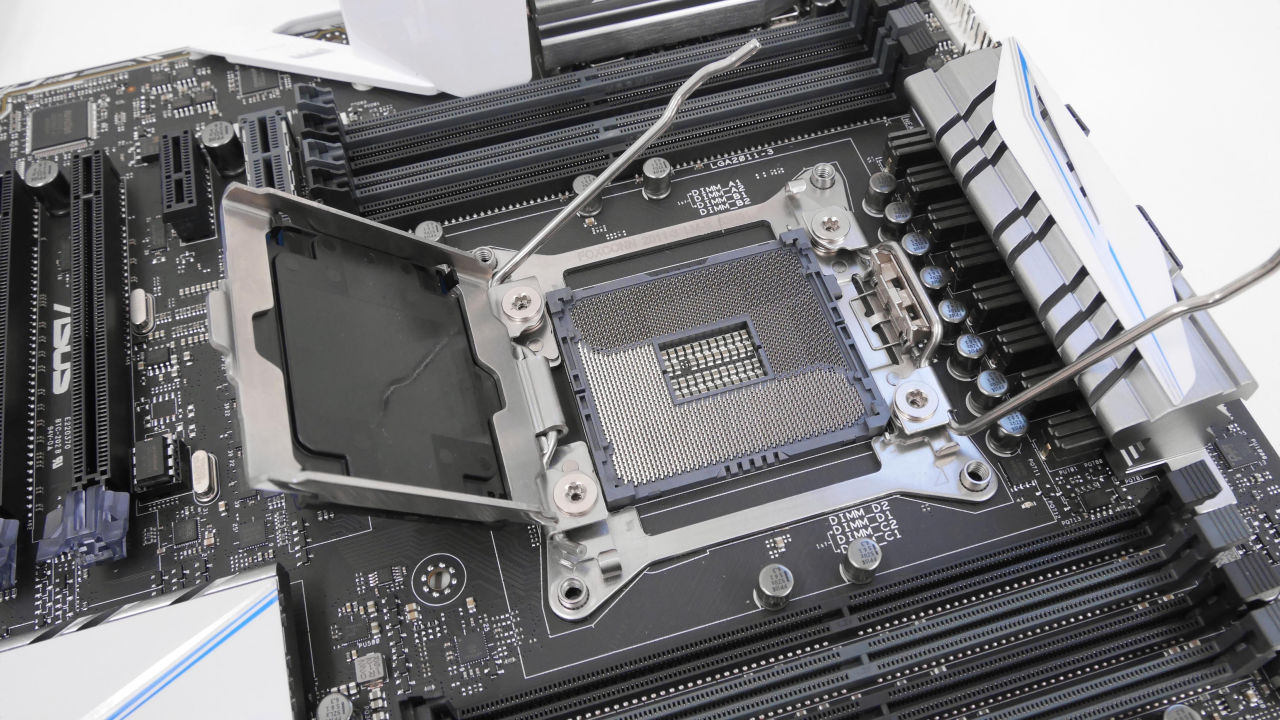
You should check carefully at this point whether the pin is bent or broken. In the unlikely event that a problem is found, it is recommended that you stop incorporating the parts and get them replaced.
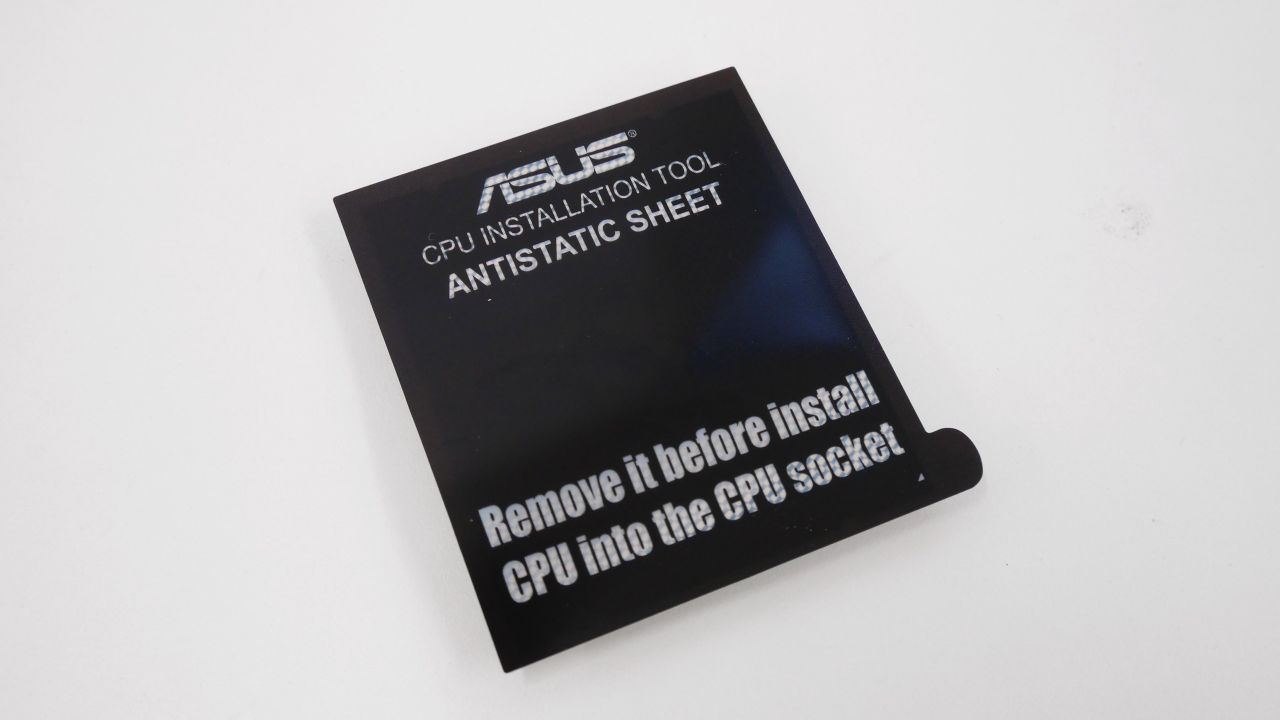
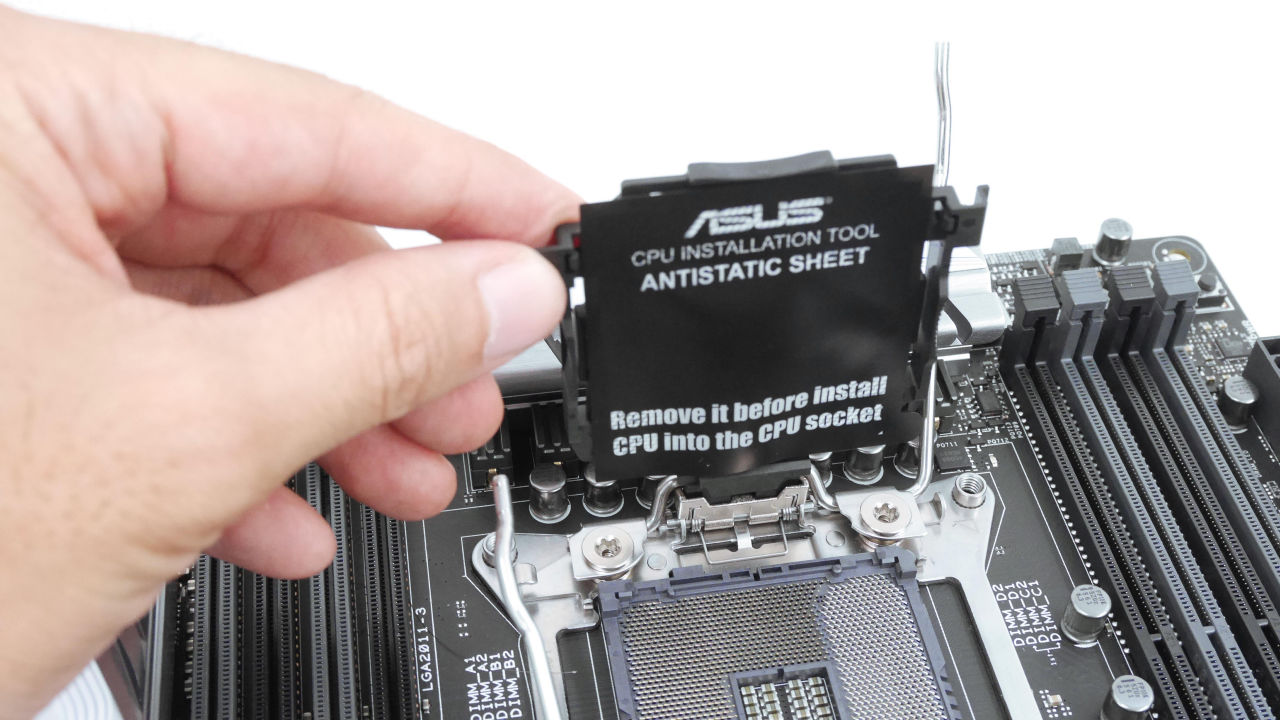
ASUS adopts its own CPU embedded system. First of all, a film called "ANTISTATIC SHEET" ......

Paste it on the back of the CPU.
Next, attach a special plastic cover to the CPU.
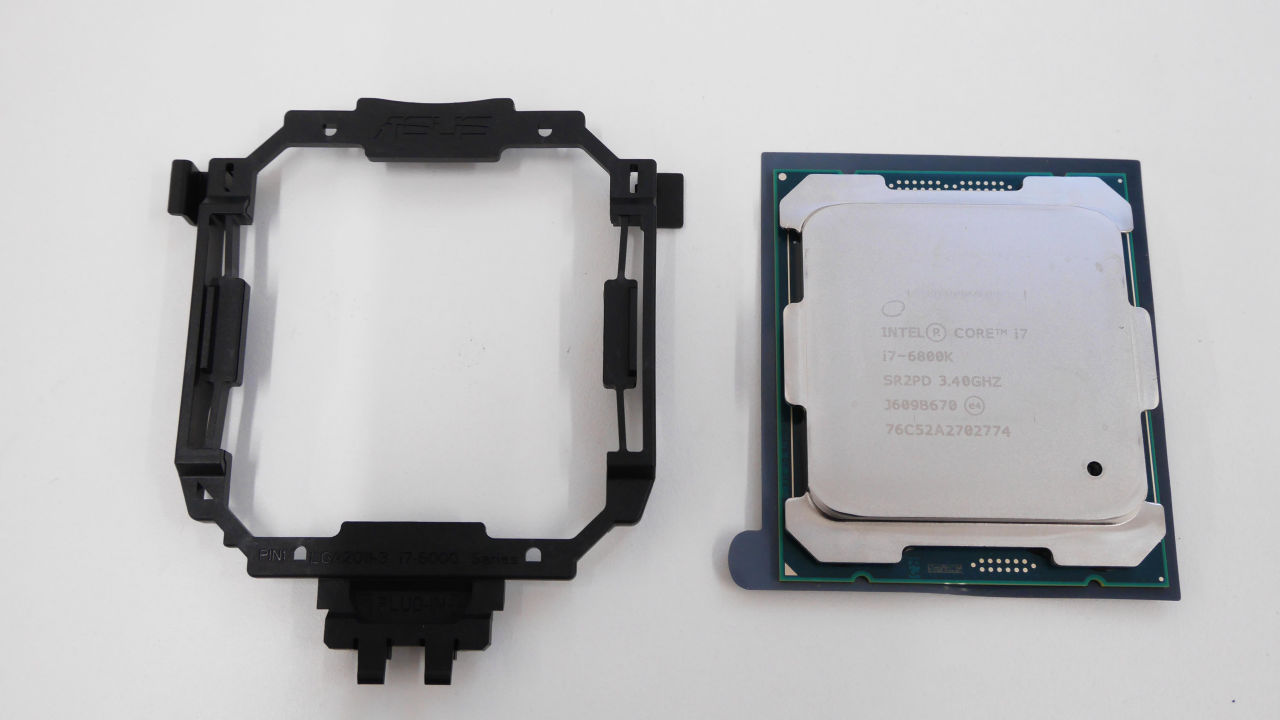
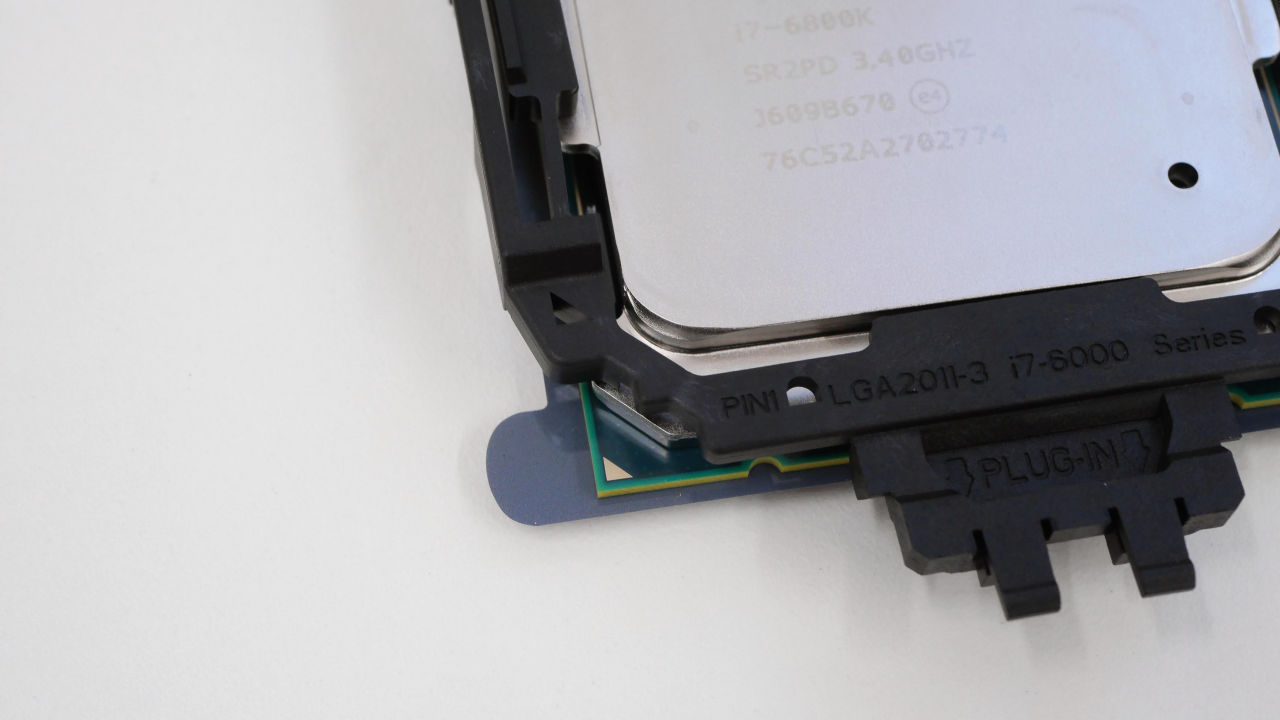
Fix it at the position where the protrusion of the cover is aligned with the ▲ mark of the CPU.
Like this.
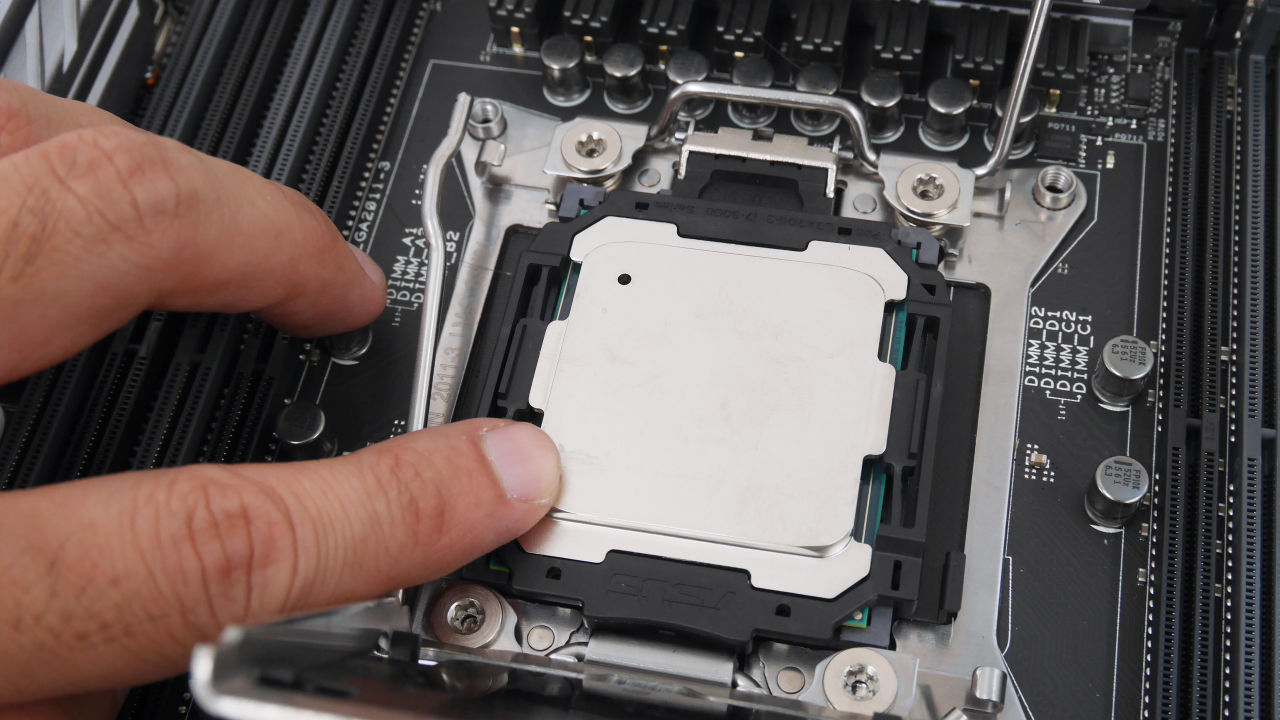
Insert the CPU with the cover into the motherboard ... ...
Peel off ANTISTATIC SHEET.

It is ok if you close the CPU with the hinge. It is that accidentally dropping the CPU reduces the risk of damaging the pins.
When I returned the cover and hooked the right lever to the hook, the black plastic that was attached to the cover from the beginning was taken naturally.
Remove the plastic cover and attach the lever on the left side to the hook to complete the CPU installation.
Then install the memory. For the time being, try it with the minimum configuration of 8 GB.

Insert the memory in the left and right slots in different directions, so install the cutout so that it will not be misunderstood with the mark.
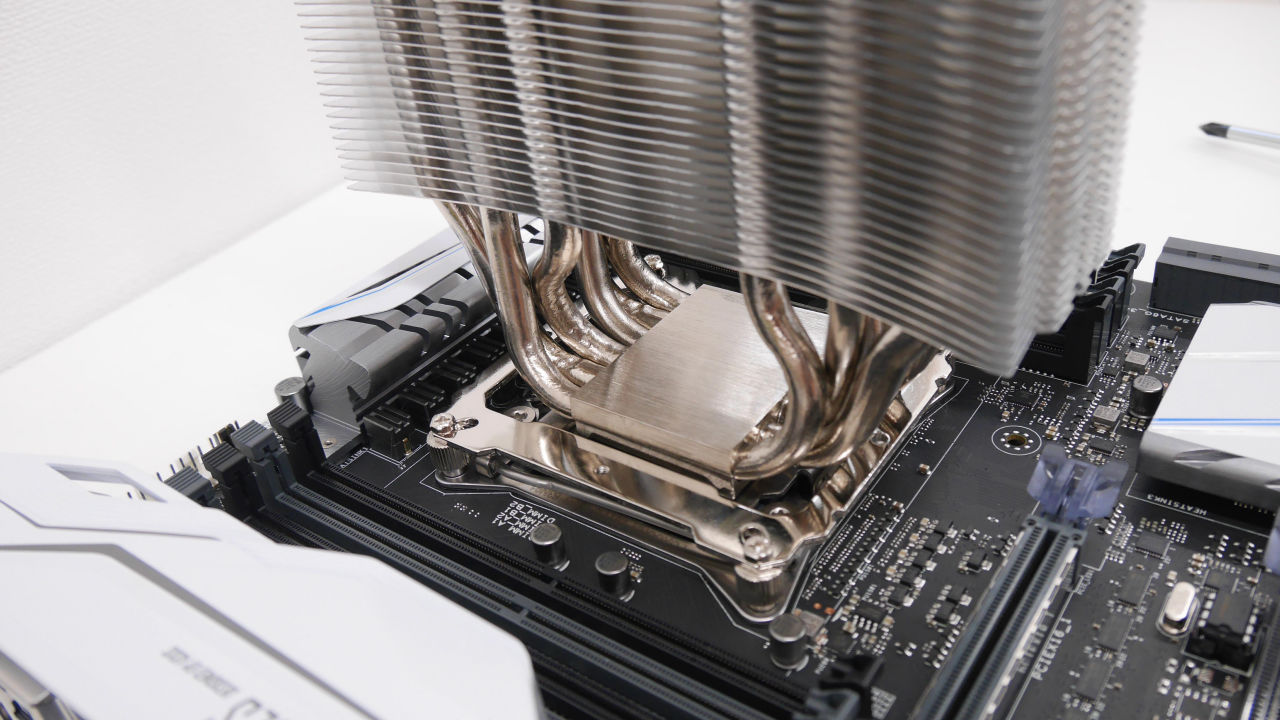
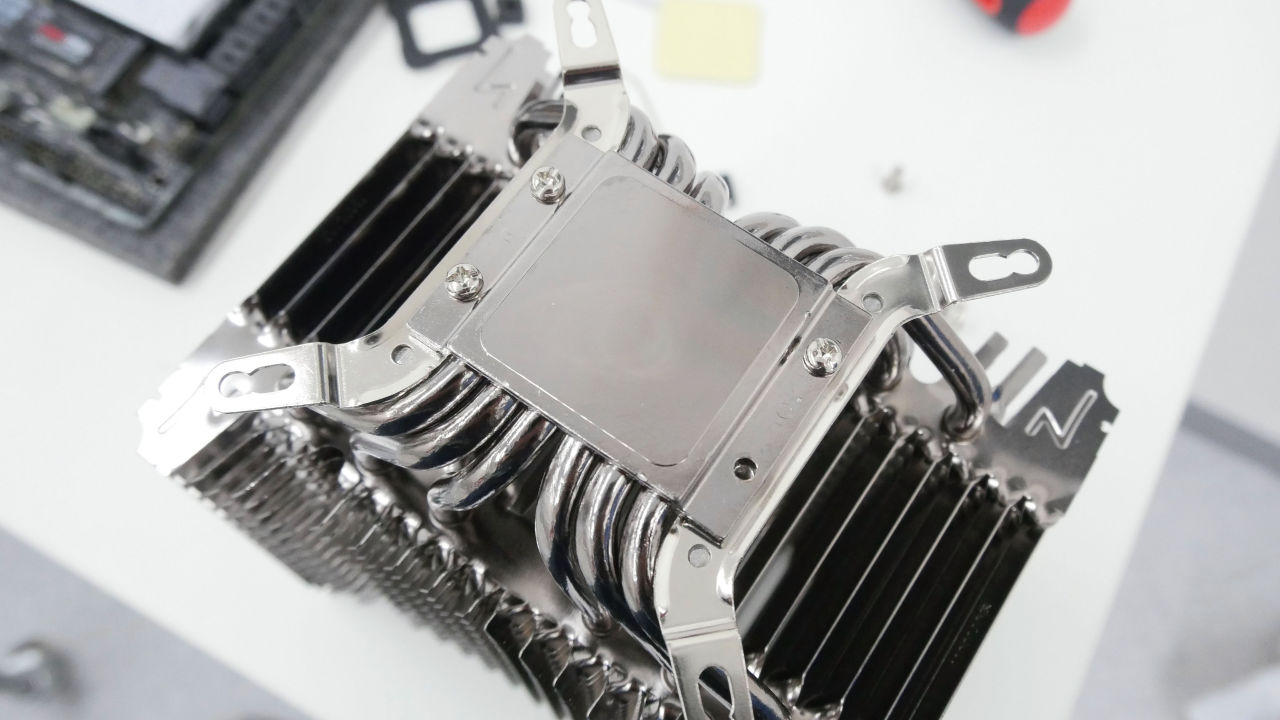
Then install the CPU cooler.

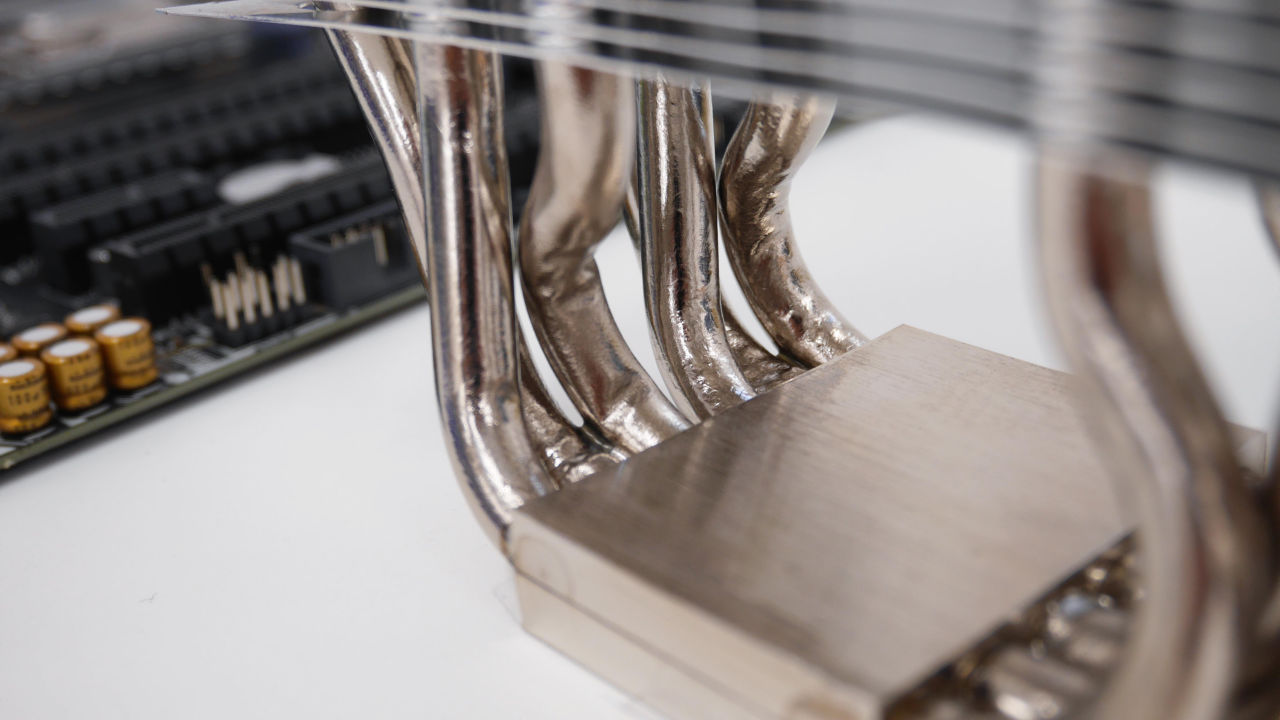
Beautiful fin like Thermalright and heat pipe with plating.
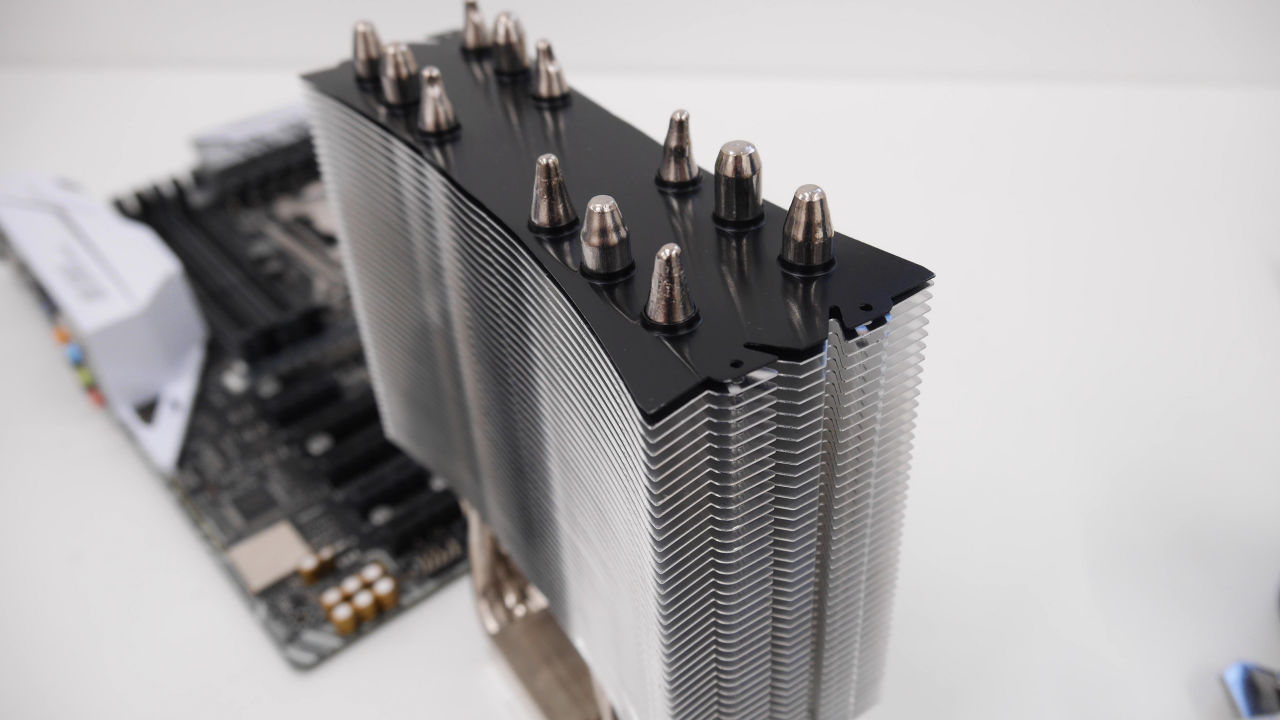
Feeling like functional beauty. Although it is in the heyday of the simple water-cooled cooler, the beauty of the high-end air-cooled cooler is still remarkable.
Attach the screws to the CPU slot ......
Place a metal plate. In order to install in a style to send the fan's wind horizontally, the hole of the plate was oriented vertically.
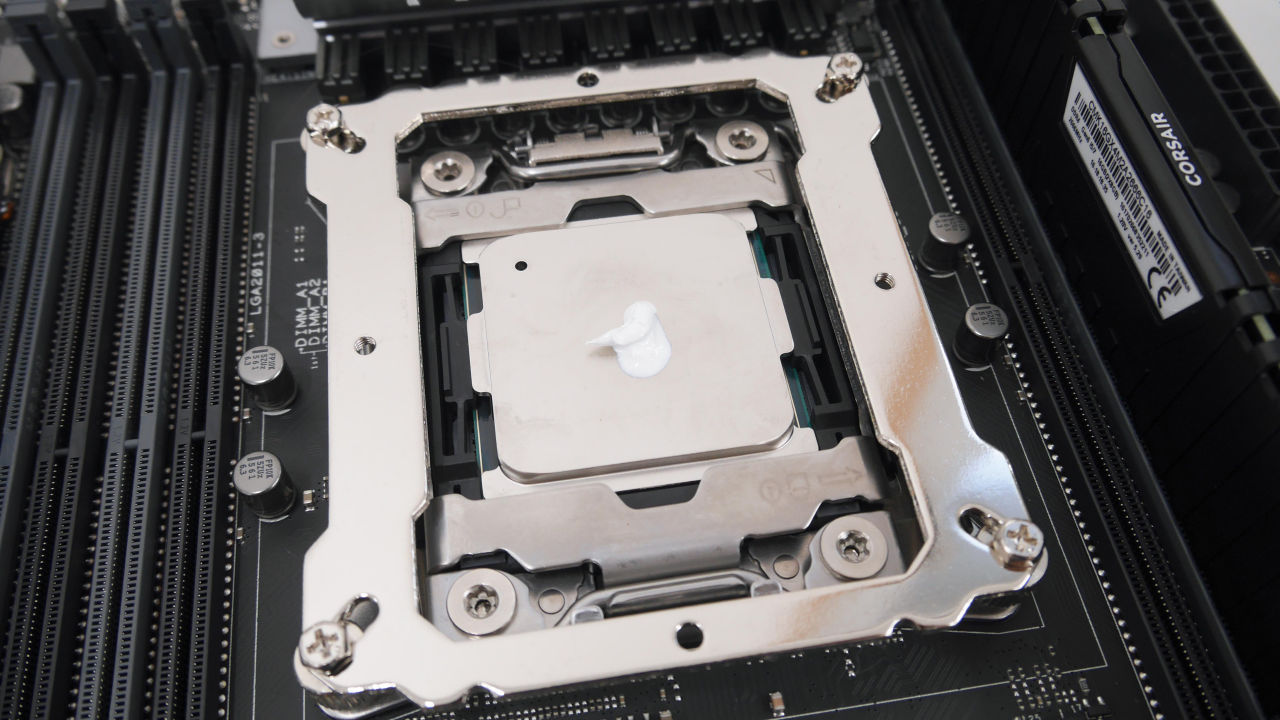
Since it is a temporary set for the time being, I attach it to the center so that the grease that was attached to the CPU cooler is raised. By the way, when using this high performance conductive grease with high conductivity, you can expect higher cost-effectiveness than CPU cooler by improving cooling performance.
After peeling the film on the ground plane of the CPU cooler ......
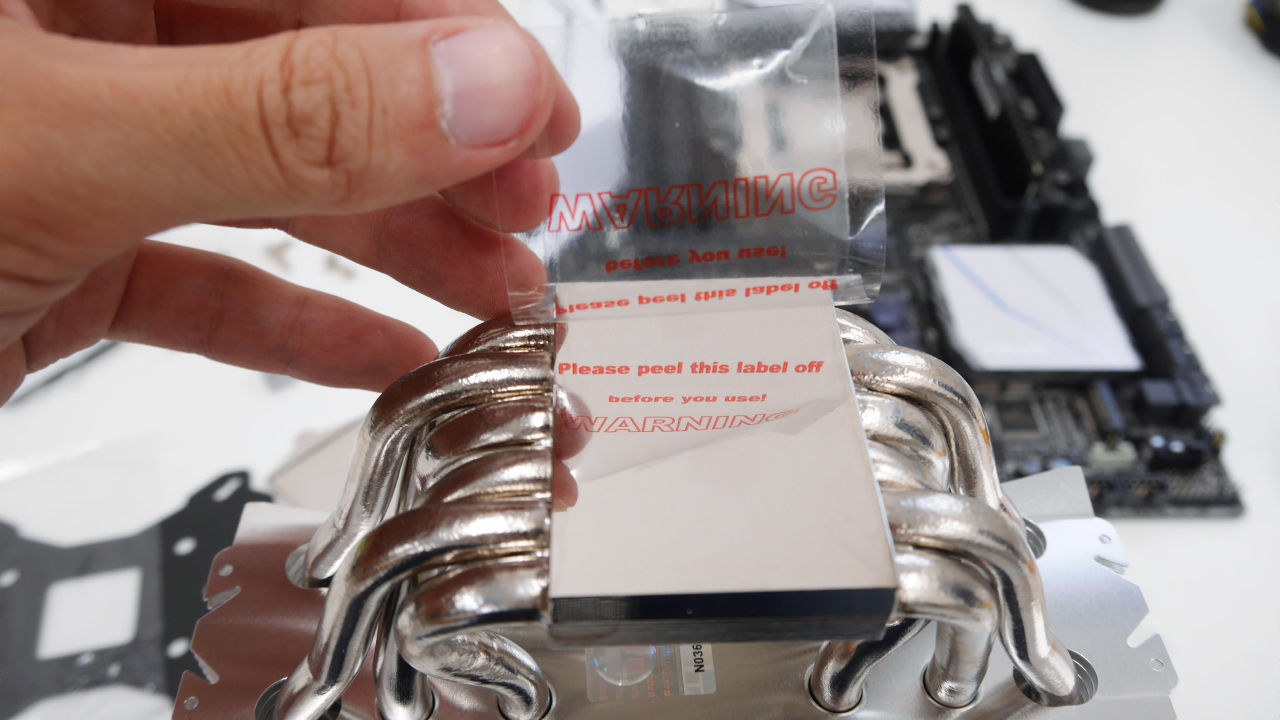
Place it on the CPU.
Installation is completed if it fixes so that it sandwiches the cooler with metal cover.

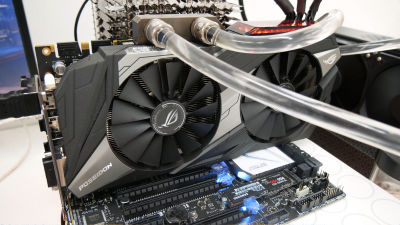
Next is the graphic board. The "Founders Edition" of the NVIDIA reference is as everlasting beauty.
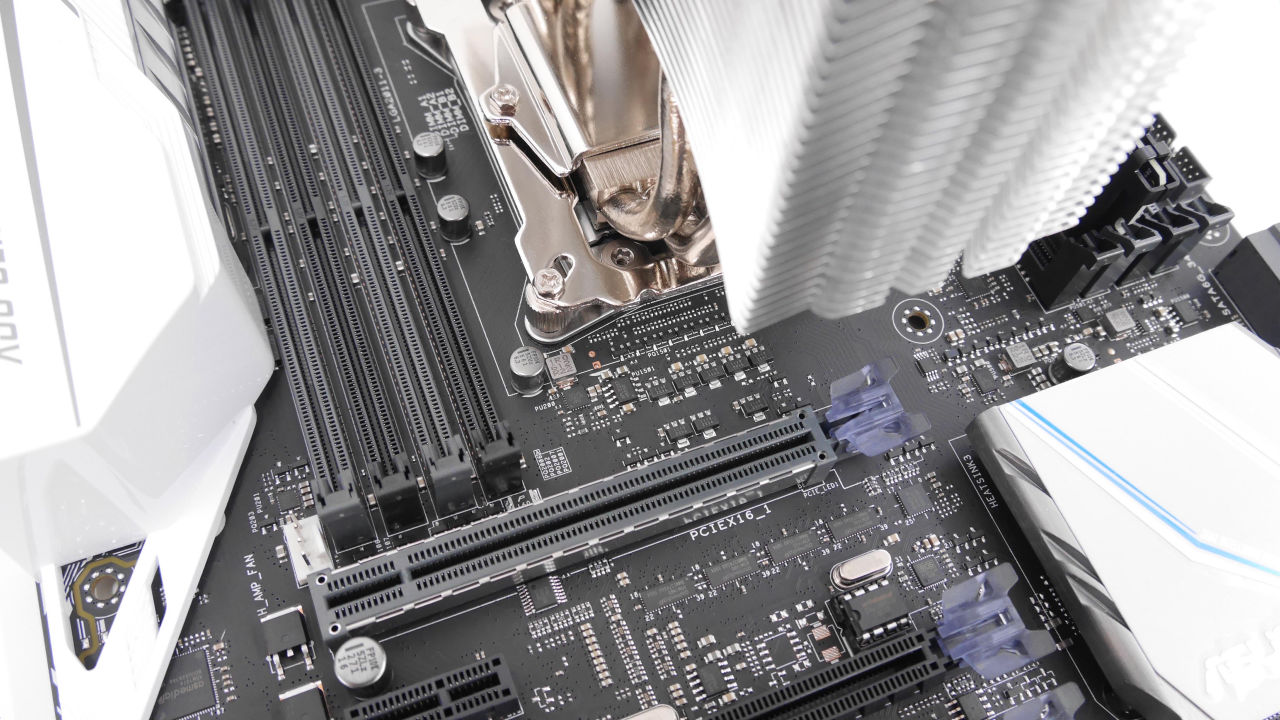
Here, interference of parts occurs. For the X99-A II, the durable high-durability PCI-Express slot "SafeSlot" is reinforced assuming a heavy graphic board at the top, but the TRUE Spirit 140 Power has a fin oriented vertically When installing so as to become the airflow of SafeSlot, I could not install the graphic board.
So change the orientation of the CPU cooler and reattach it and install the graphic board. Before installing it in the PC case, connect the power supply and check the startup in the exposed state.
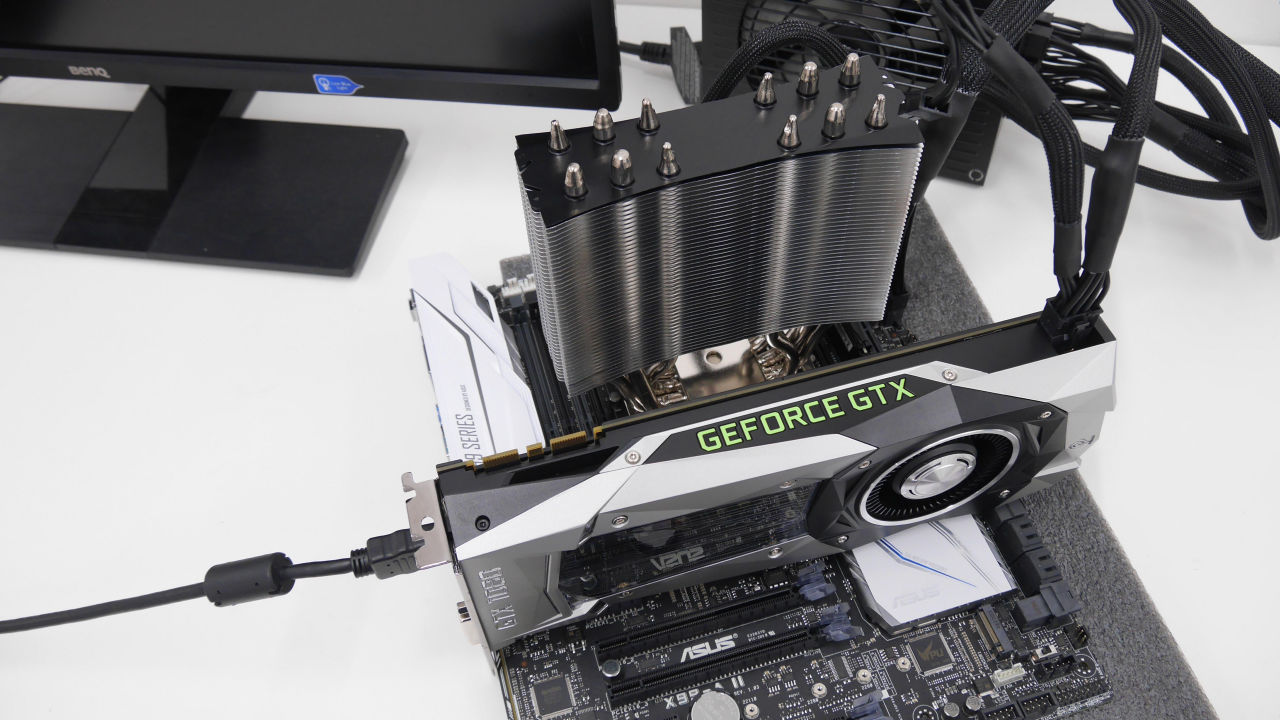
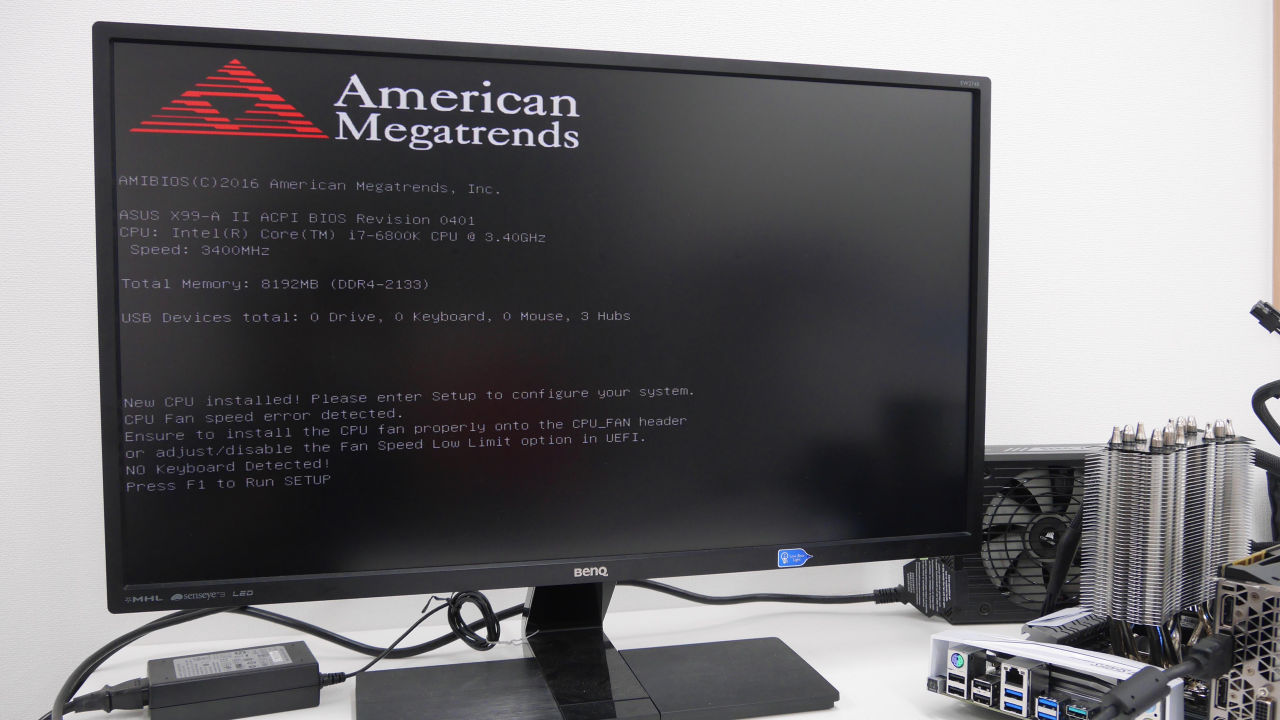
When the power button on the motherboard is pressed, a post screen appears. Successful startup check with minimum configuration.
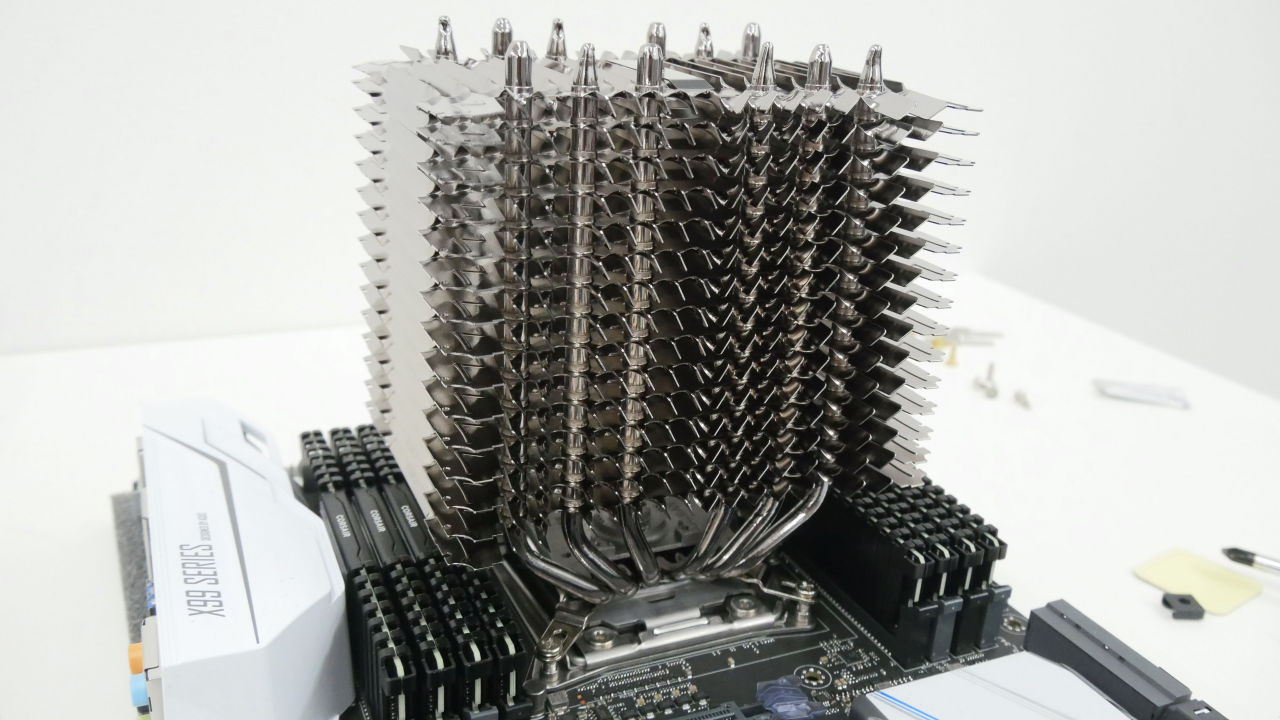
So we built 8 memories into 64 GB state.
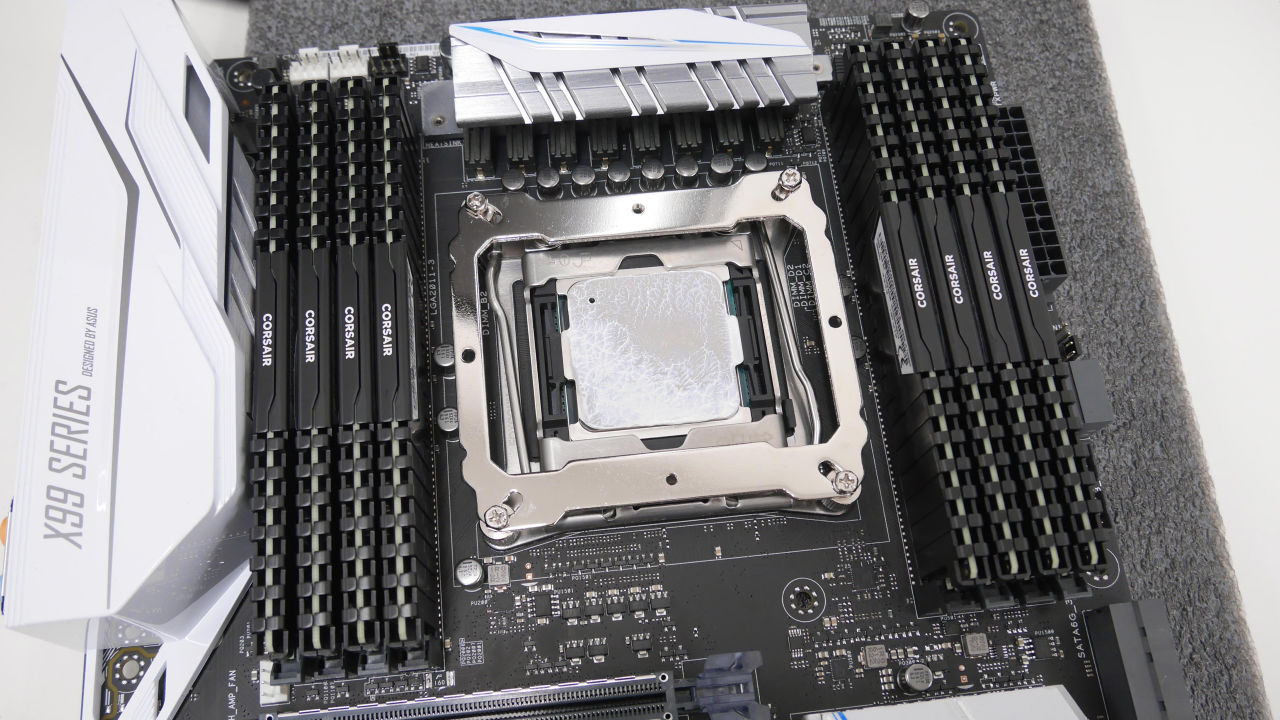
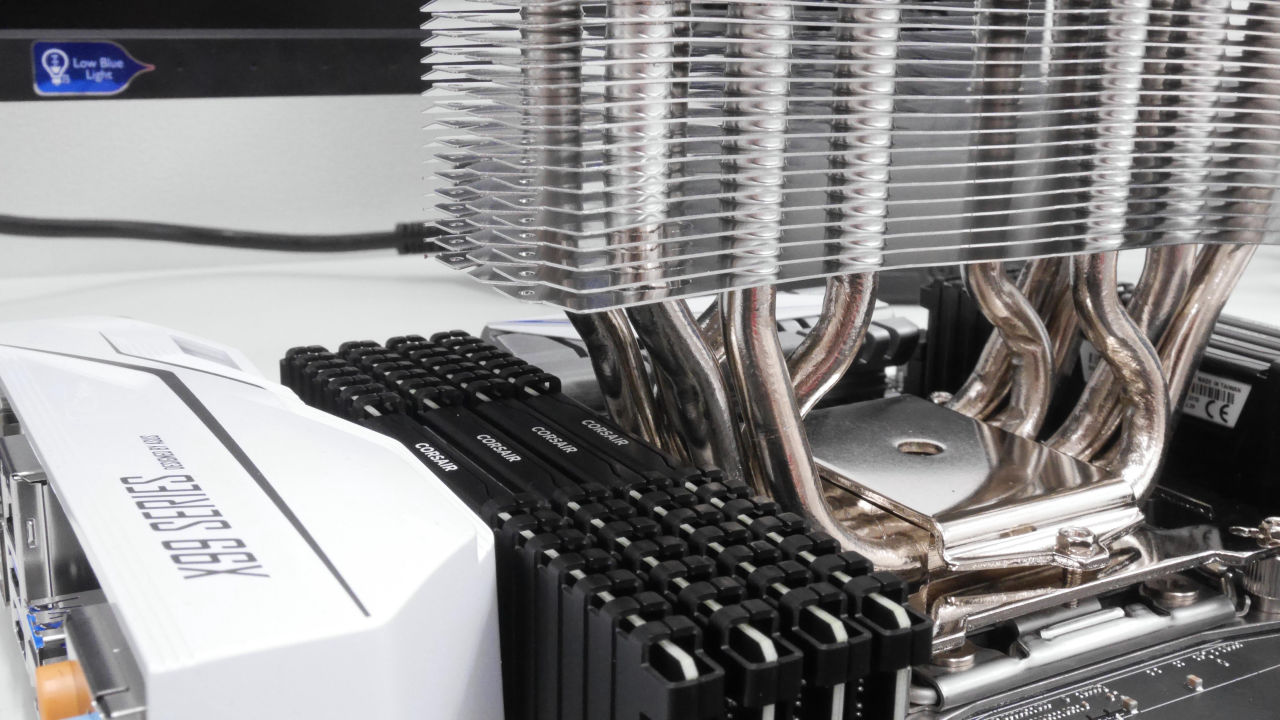
TRUE Spirit 140 Power and memory clearance was sufficient.
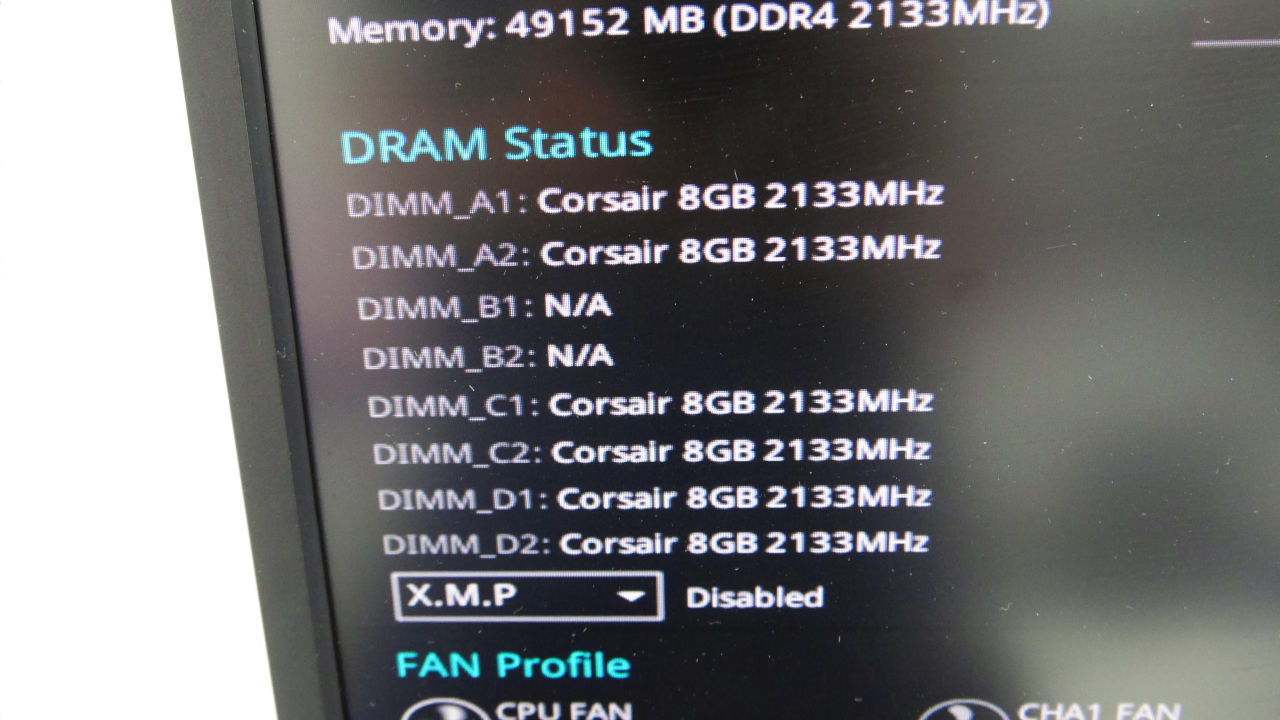
Before incorporating it in the PC case, start check again. Then, it turned out that 2 memories inserted in the B slot were not recognized. Again, removing the CPU cooler and changing the position to insert the memory, it was safe, 64 GB was recognized. I could fix the CPU cooler again and again, so I felt the appreciation of the CPU cooler that I can reattach without detaching the back plate like TRUE Spirit 140 Power.
Finally I will incorporate parts into the PC case. First we installed the power supply.

Do not forget to install the back panel. If you forget, be careful as you will reintegrate your motherboard.
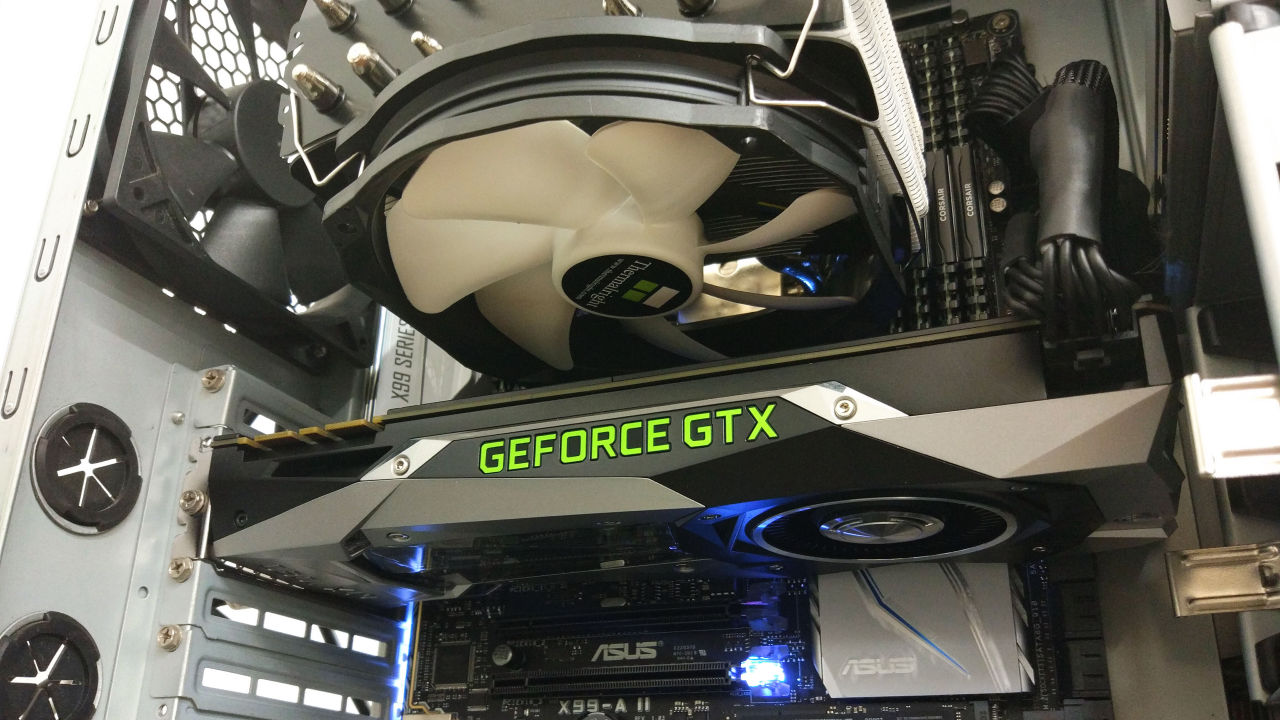
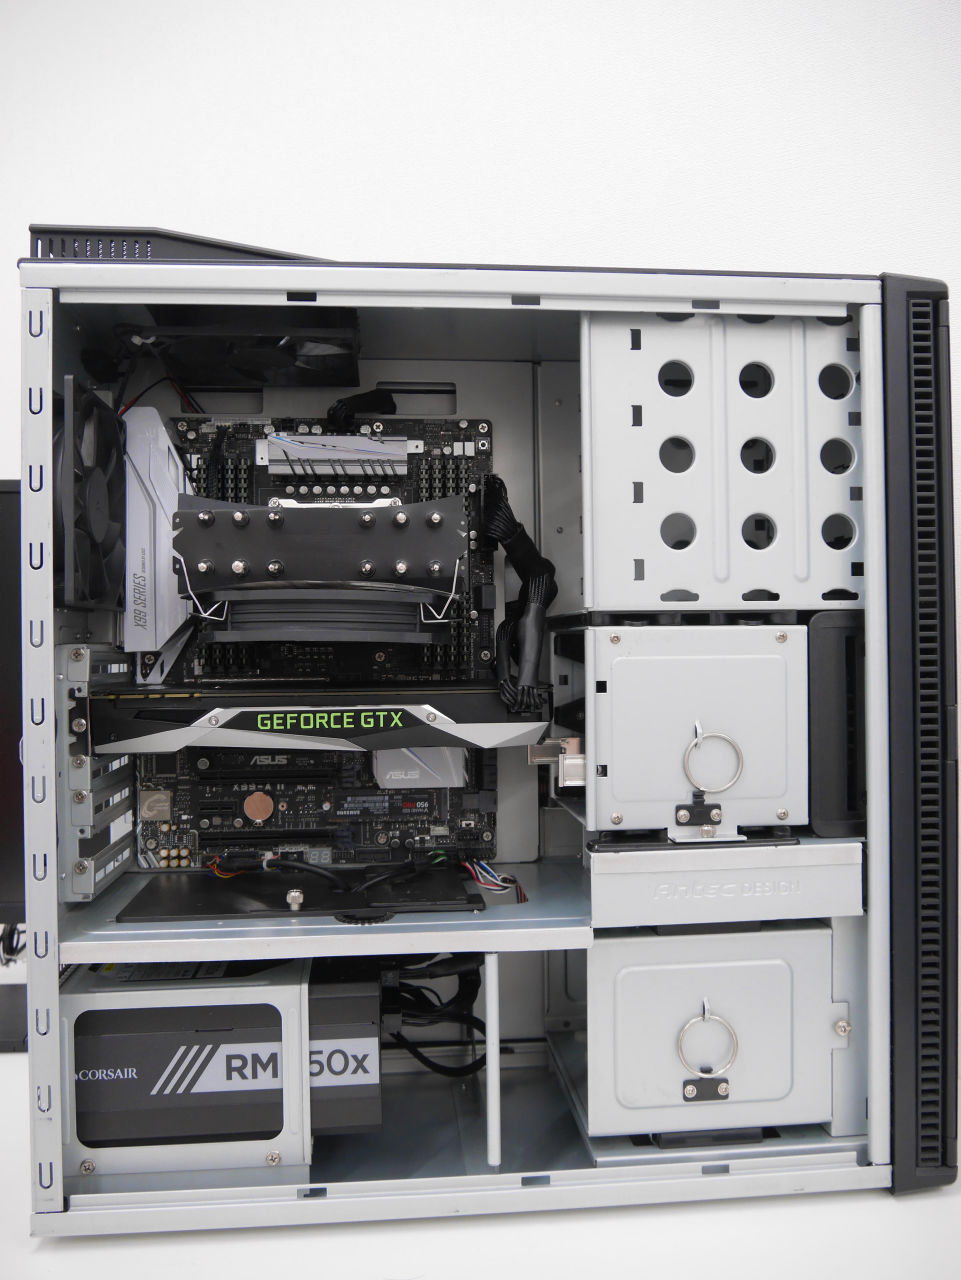
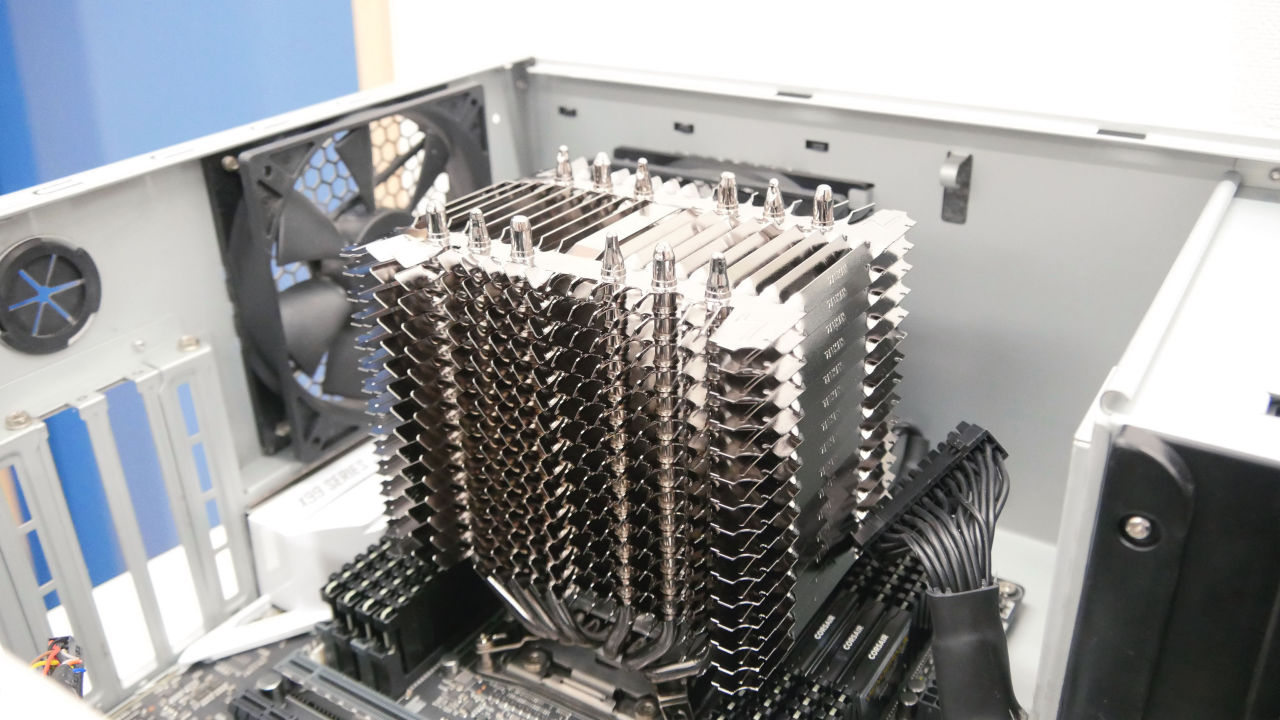
CPU motherboard equipped with built-in CPU cooler. After that I attached a graphic board.
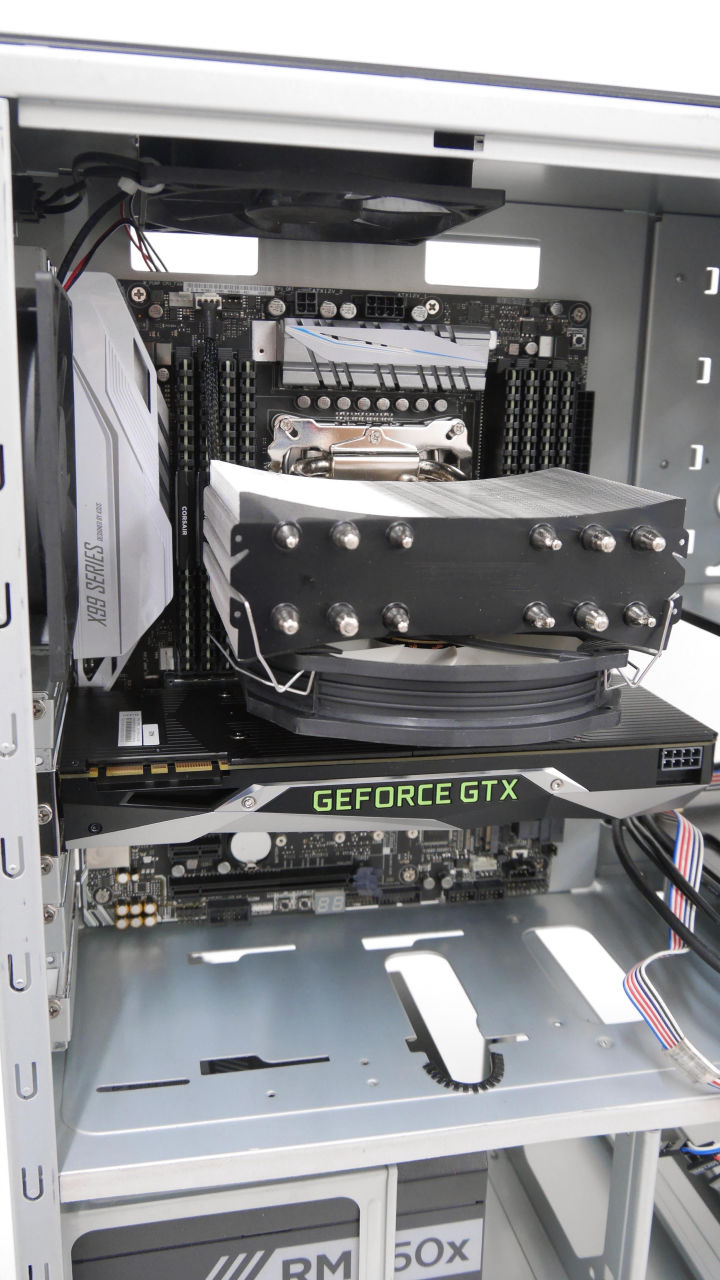
The CPU cooler attached 14 cm fan was installed on the lower side and air flow was sent from the bottom to the 12 cm fan on the top of the case.

Then SSD. Storage of form factor M.2 is like this.
Let "wear clogs" wear screw holes in the 2280 standard ... ...
Secure the SSD with screws. Since it does not use optical drive and HDD this time, it is configured that there is absolutely no cable for drive.
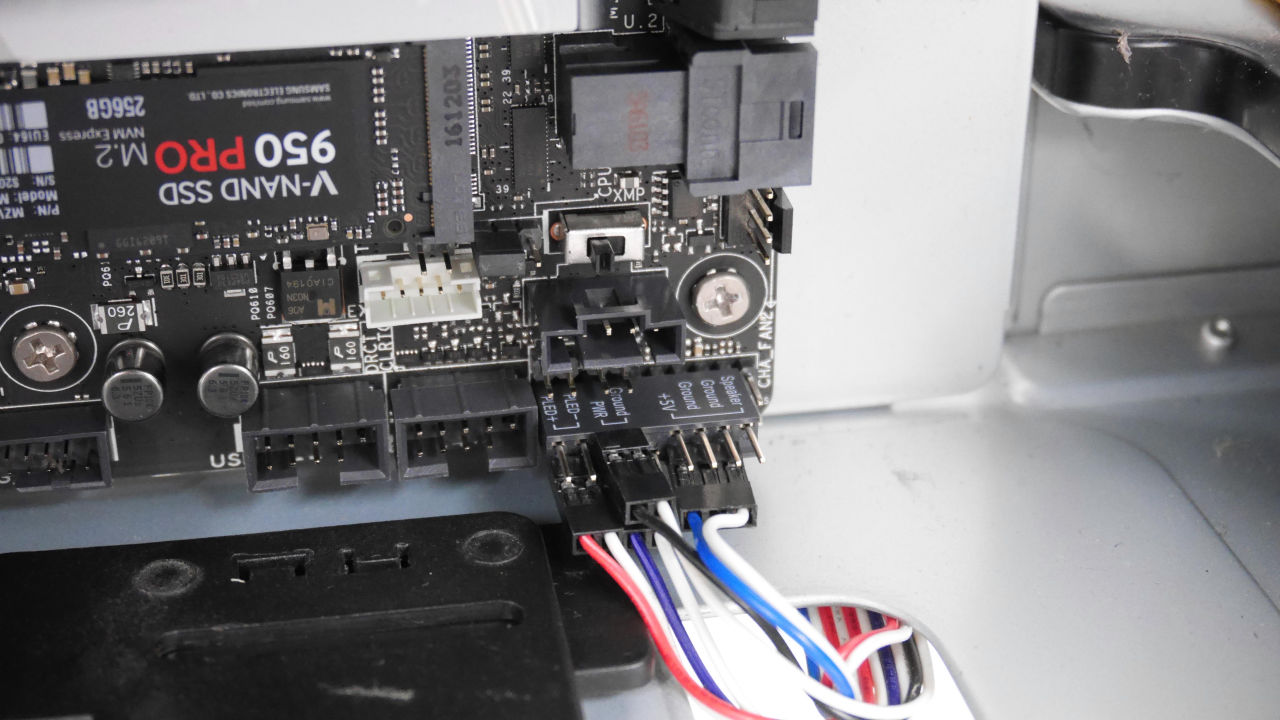
On the ASUS luxury motherboard, using the familiar "Q connector" ......

Connect jumper cable.
If you install audio and USB cable ......
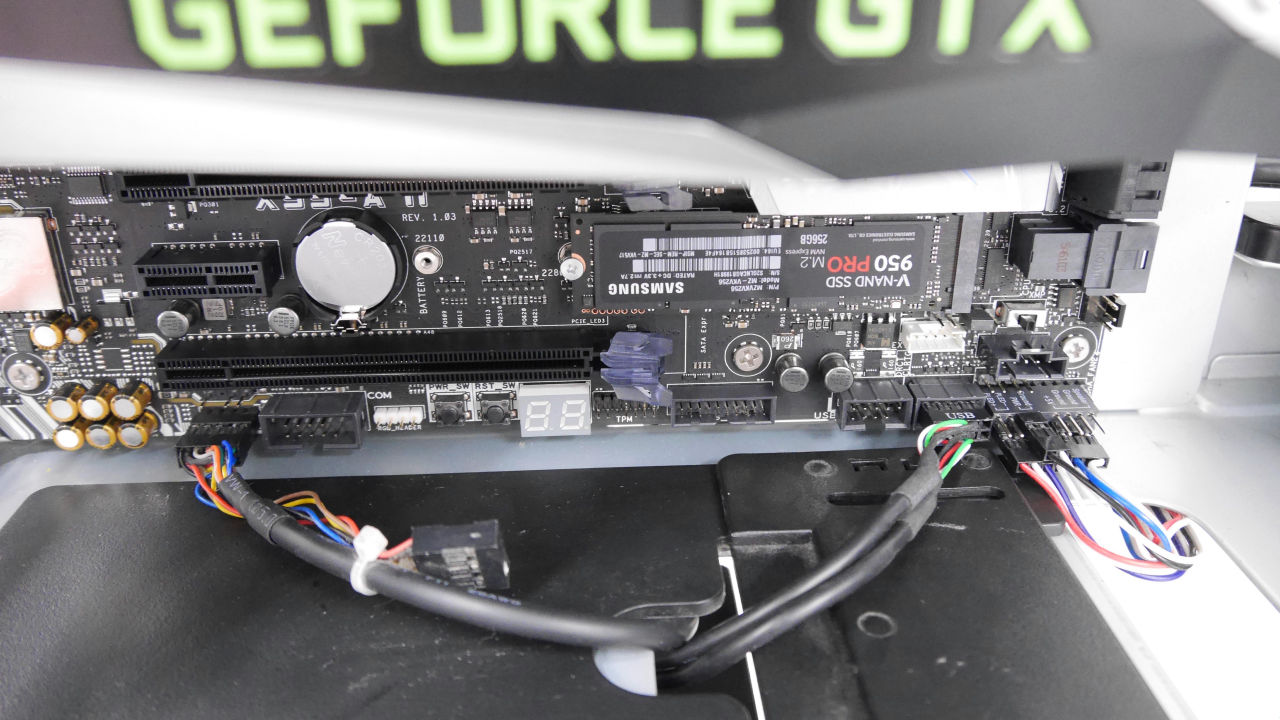
Completion Since there is no drive cable and power supply is modular and uses only the minimum cable, "back wiring" work is also easy, it has become a clear air flow excellent layout with a large internal space.
However, it turned out that the side panels of the case did not close after assembling the parts.
How, CPU cooler was popping out of the case. For this reason I will abandon using TRUE Spirit 140 Power. When diverting the old PC case, I learned that it should be carefully checked whether the latest large type cooler will be included.

Hurriedly, the scrambled newspaper became ZALMAN's "FX 70"
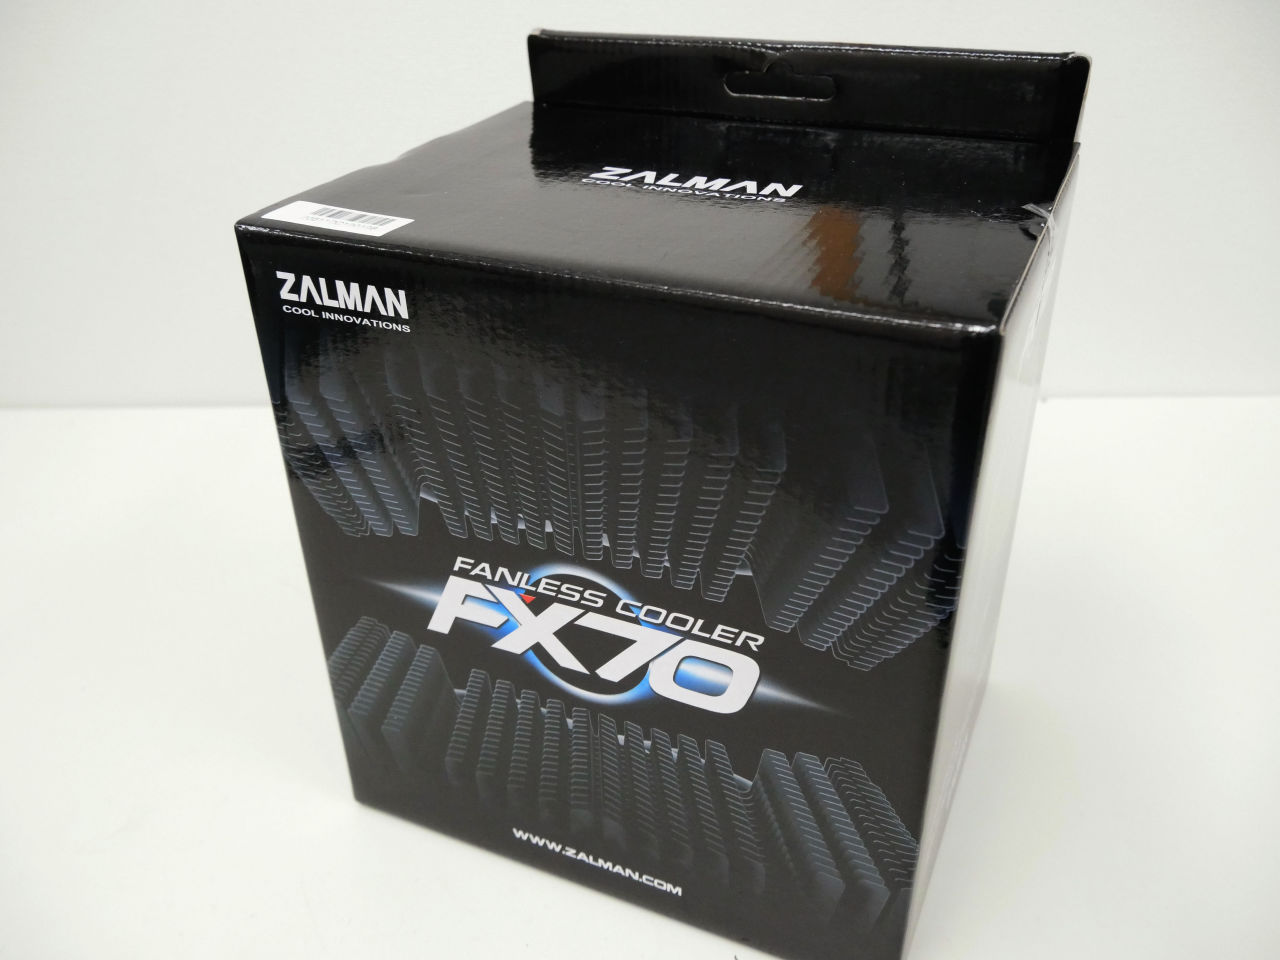
It is a side flow type CPU cooler characterized by the aluminum fin being bent.
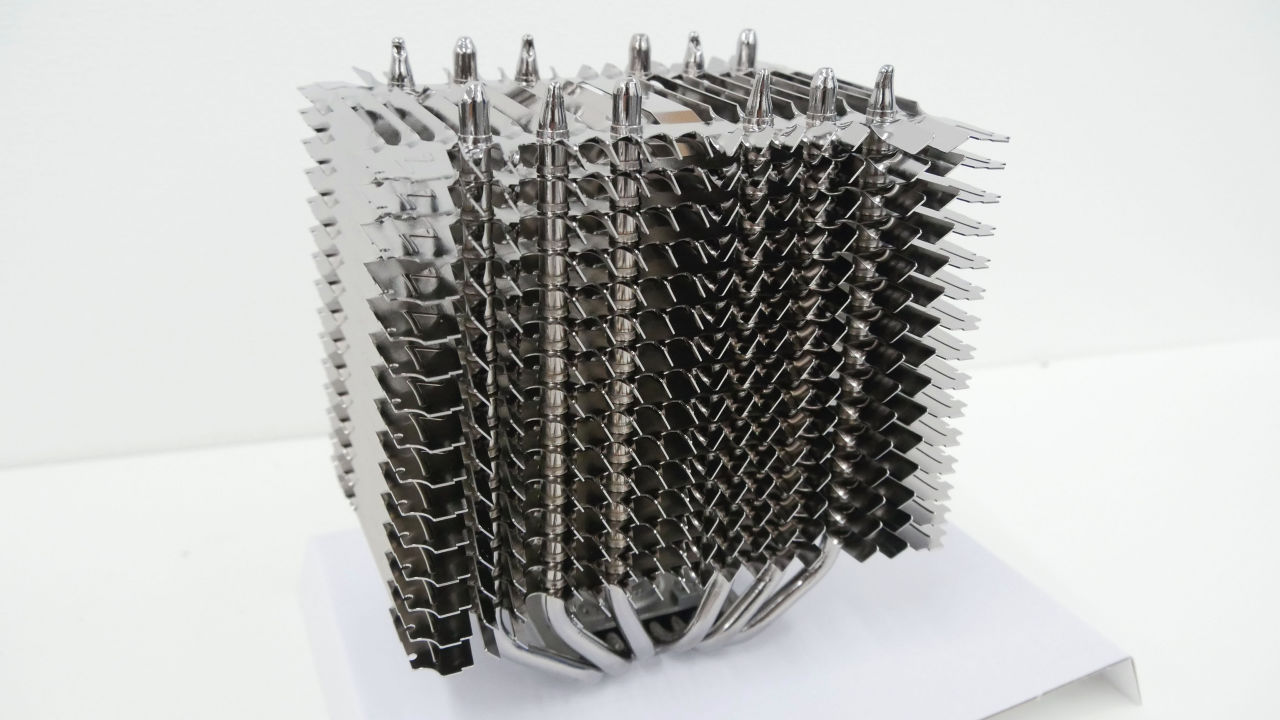
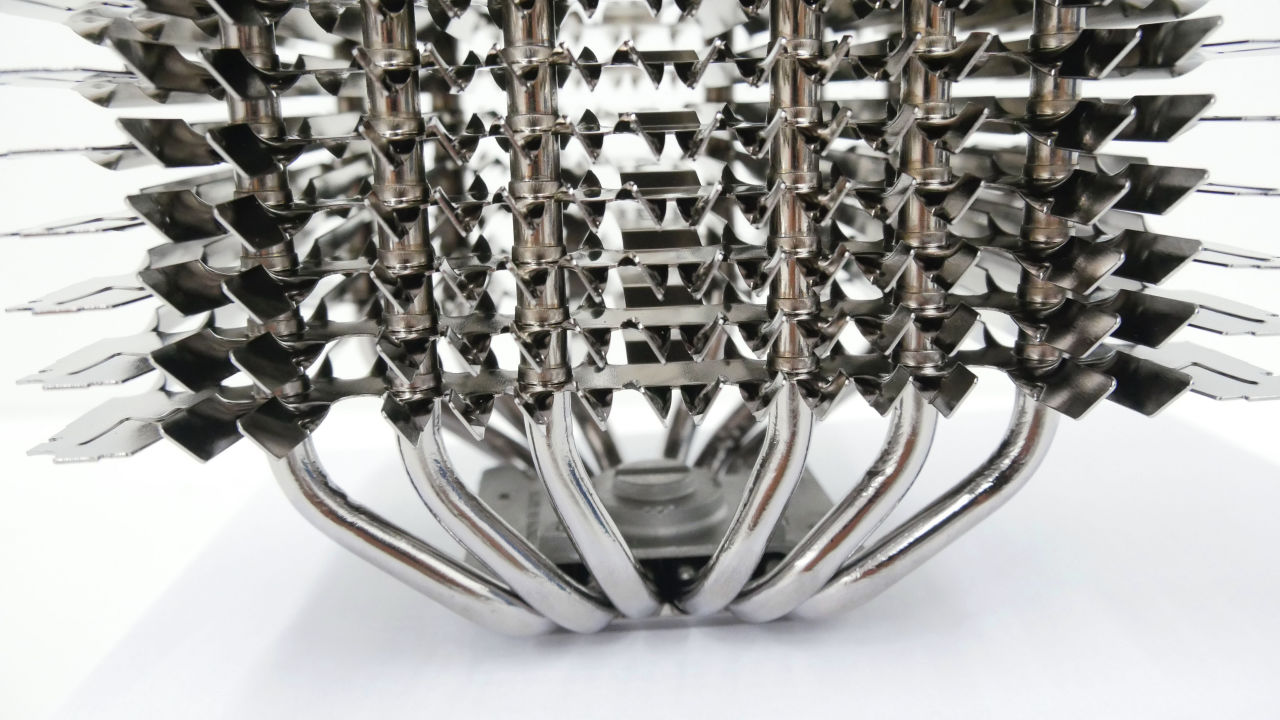
There are 6 heat pipes. The shape beauty of this CPU cooler also tickles the man's heart.
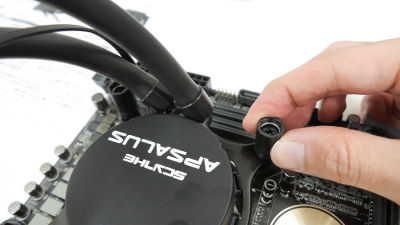
Attach metal fitting for LGA 2011 ... ...
Installation. For ease of installation of the CPU cooler, I removed the motherboard from the PC case and worked. That is why I started over from scratch.
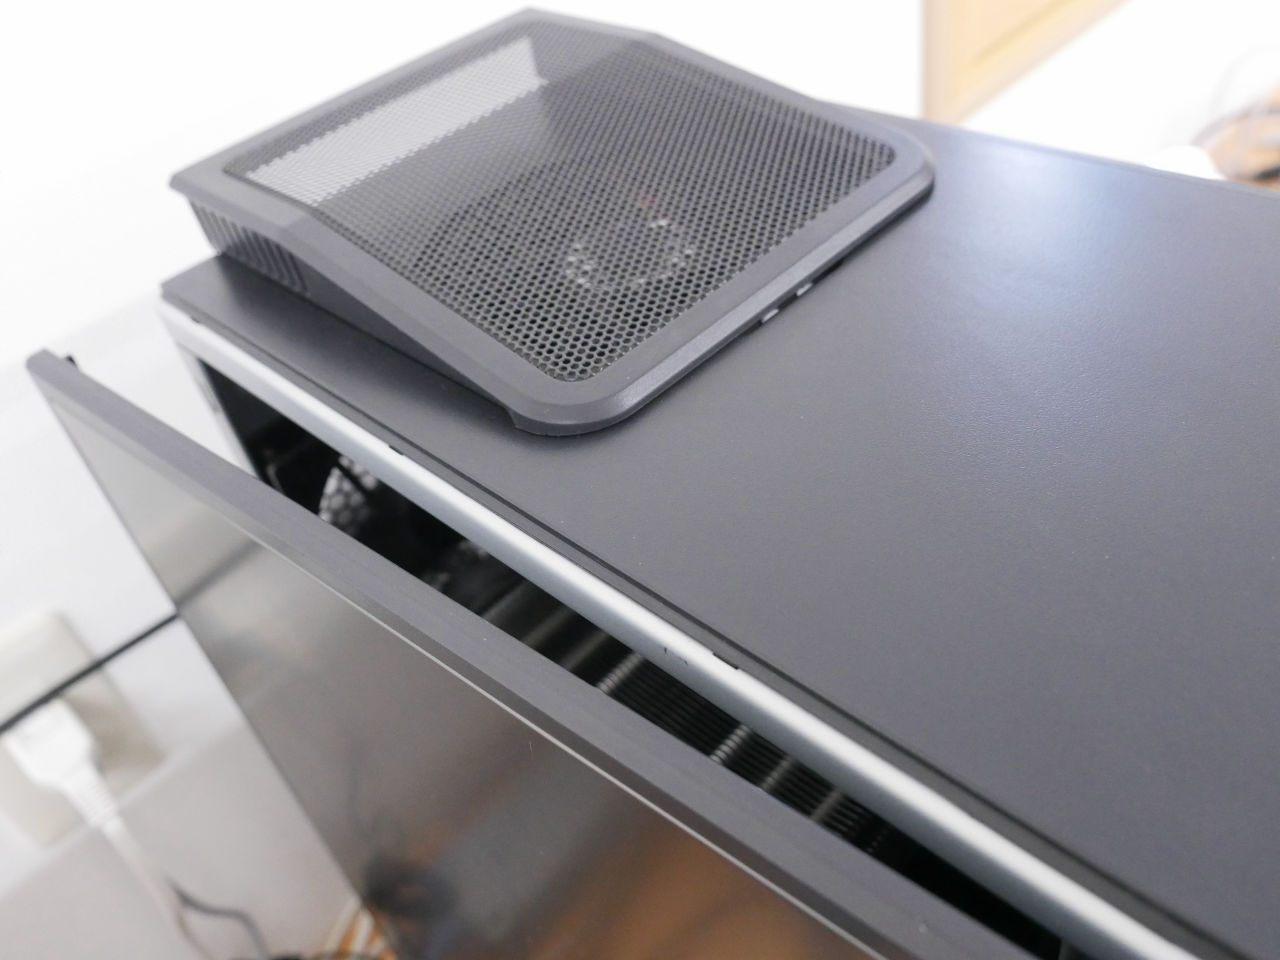
Motherboard & CPU cooler mounted in case. Even this is a bit of a height.
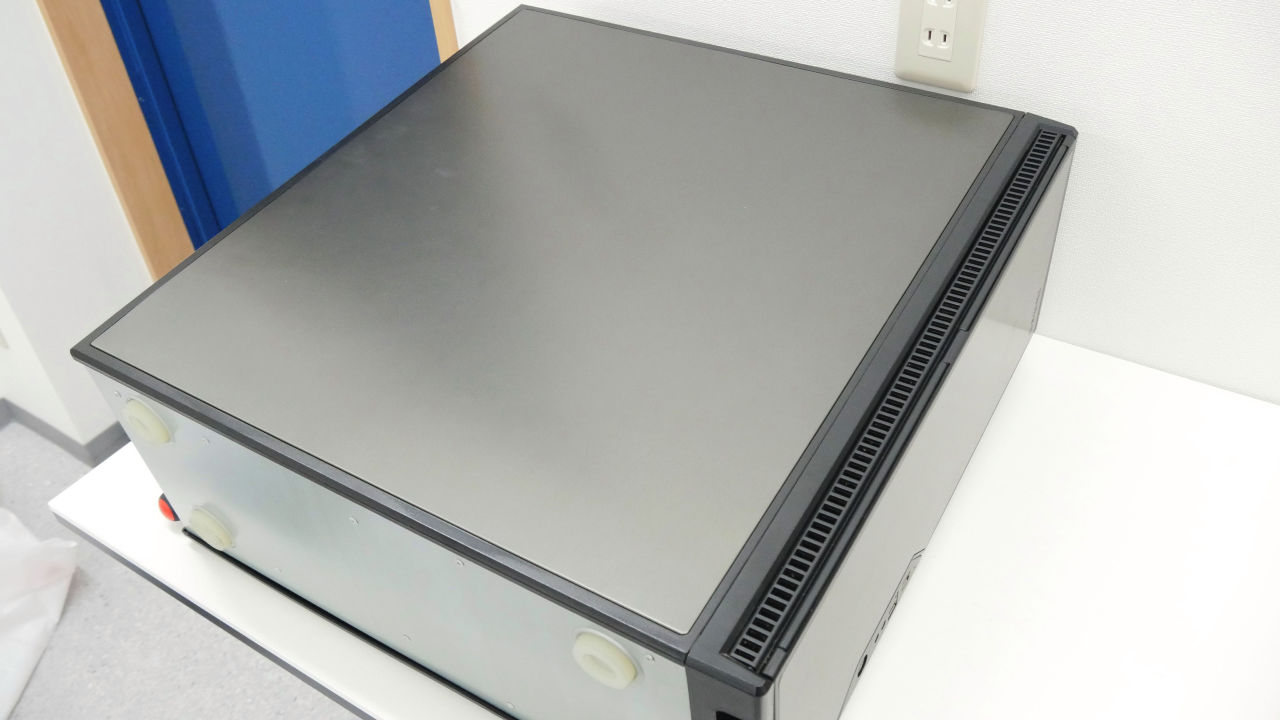
Succeeded to close safely after putting awkward side cover. It seems that he won the bet. In addition, since FX 70 comes with one set of clips for 12 cm fan, we installed 12 cm fan. Unless the airflow is excellent at a considerable level, it is safe if you do not run fanless.
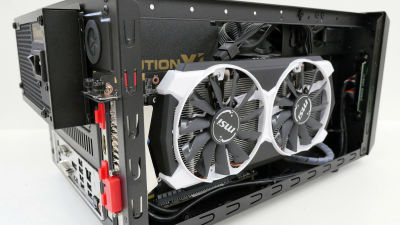
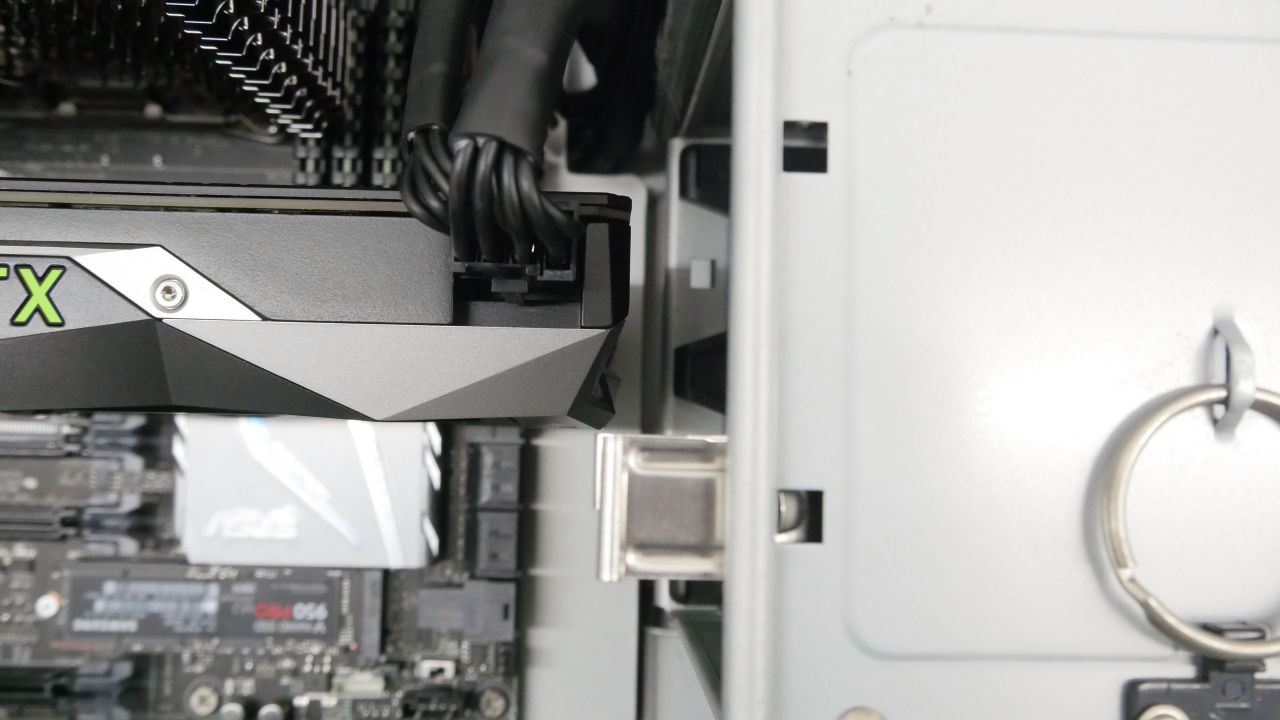
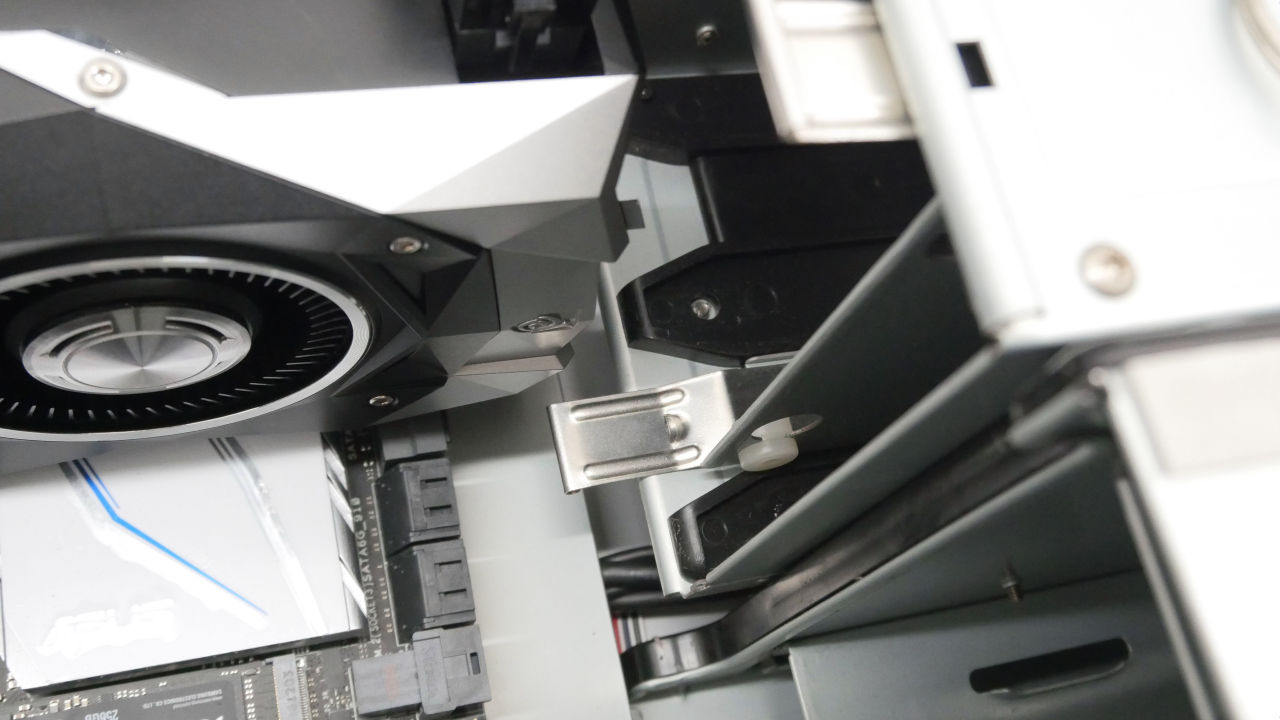
By the way, in the case of P180, if you remove one HDD tray in the interruption ahead of the case you can also install the GTX 1080 class graphic boards.
So, since my own PC for VR was completed, I will move on to the OS installation work. Given its role as a gaming PC,DirectX 12You can use Windows 10 as a state of choice.
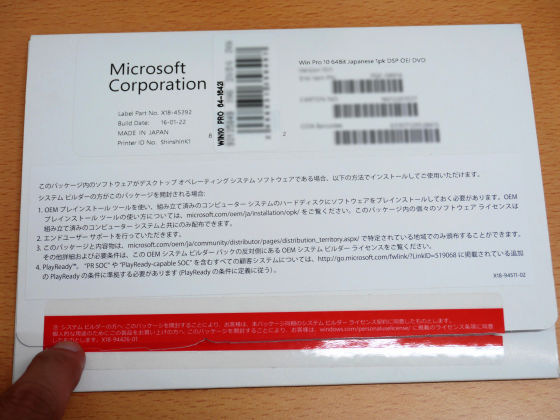
Installation of Windows 10 is not installation DVD, it is recommended to do it from USB memory sooner. Installation for Windows 10 How to make USB memory is described in the following article "◆ How to install Windows 10 cleanly with USB memoryYou can understand by looking at.
How to use Microsoft official "media creation tool" that can be upgraded free from Windows 7 or 8.1 to Windows 10 Summary - GIGAZINE
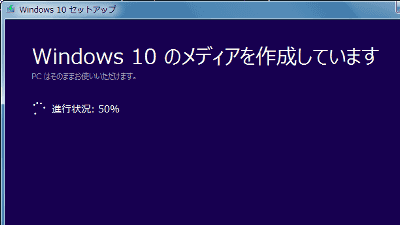
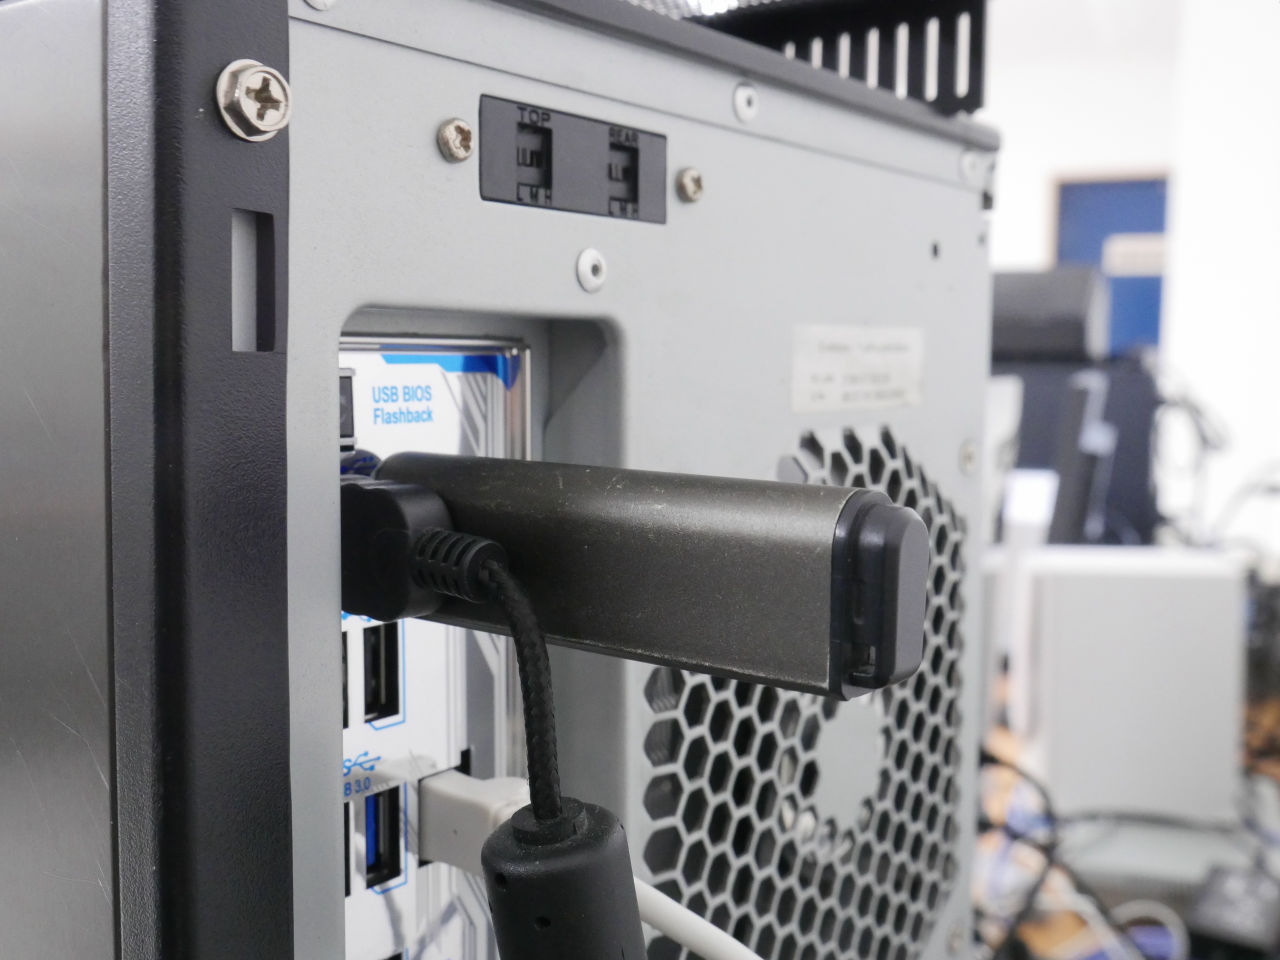
So by inserting the USB memory created by the media creation tool in the back panel of the motherboard and installing it.
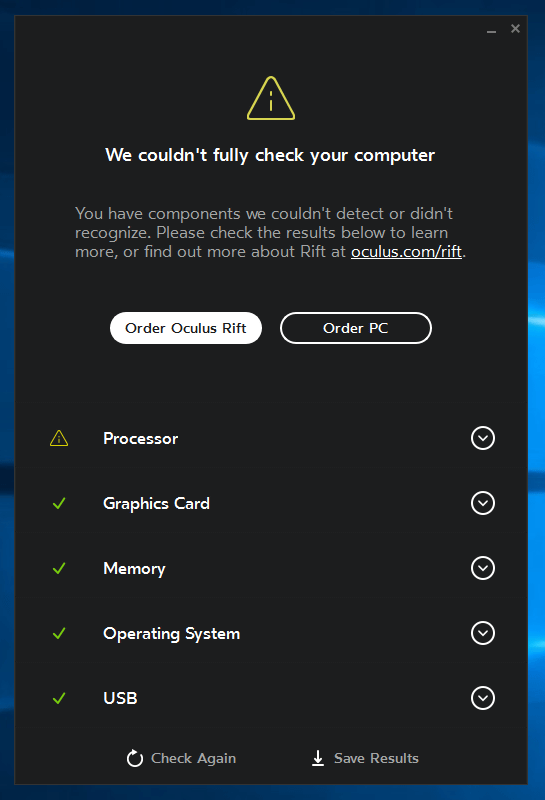
After installation of Windows 10 is completed and installation of various drivers is finished, we check using "Oculus Rift Compatibility Tool" and "SteamVR Performance Test" to check VR performance.
Tools to test whether VR works on my PC "Oculus Rift Compatibility Tool" & "SteamVR Performance Test" - GIGAZINE

When I checked it, I wondered what it was "Processor" item. The information of Core i7-6800K does not seem to be registered. Of course, the required specifications are easily satisfied.
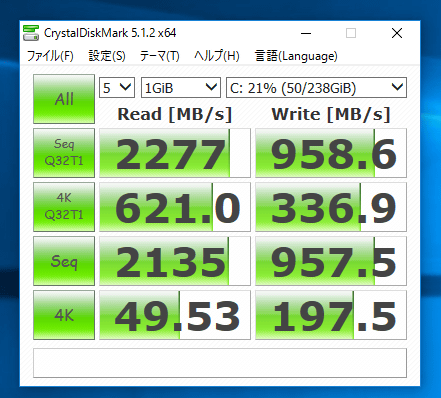
The score of CrystalDiskMark looks something like this. Sequential read / write speed which is not comparable with SATA 3.0 is the high speed SSD compatible with NVMe.
When it is a Dragon Quest X benchmark, it is "very comfortable"

3DMARK (Fire Strike) got a score of "15972".

VR compatible gaming PC finally completed. So, the VR experience review at the VR headset "Oculus Rift" will be published soon.

Related Posts: