I tried using "Hackey" which can control the web service just by turning the key
There are a lot of services on the Internet, but as if you can open them with the keys of the house as well, you can control the device simply by turning the key Kurutsu "Hackey"is. For example, when turning the key, it is possible to cooperate with various services / actions depending on ideas such as "ordering new detergent", "contacting family members returning home" and "receiving collective information to collect" So, I tried to see what I can do with Hackey actually.
Hackey - Key switch that can control web services
http://hackey.cerevo.com/ja/
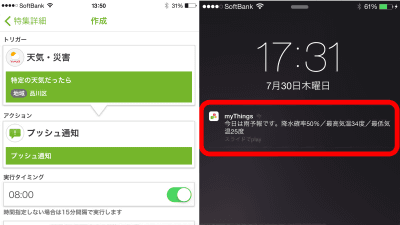
This time I tried to create an action saying "Notification will be delivered to smartphones linked to IFTTT by turning key of Hackey."
Turn the key of Hackey and notify iPhone - YouTube
◆ Photo review
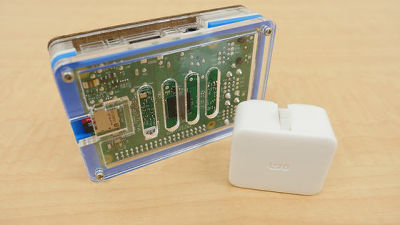
This is "Hackey".

Open the box with a crackling ... ...

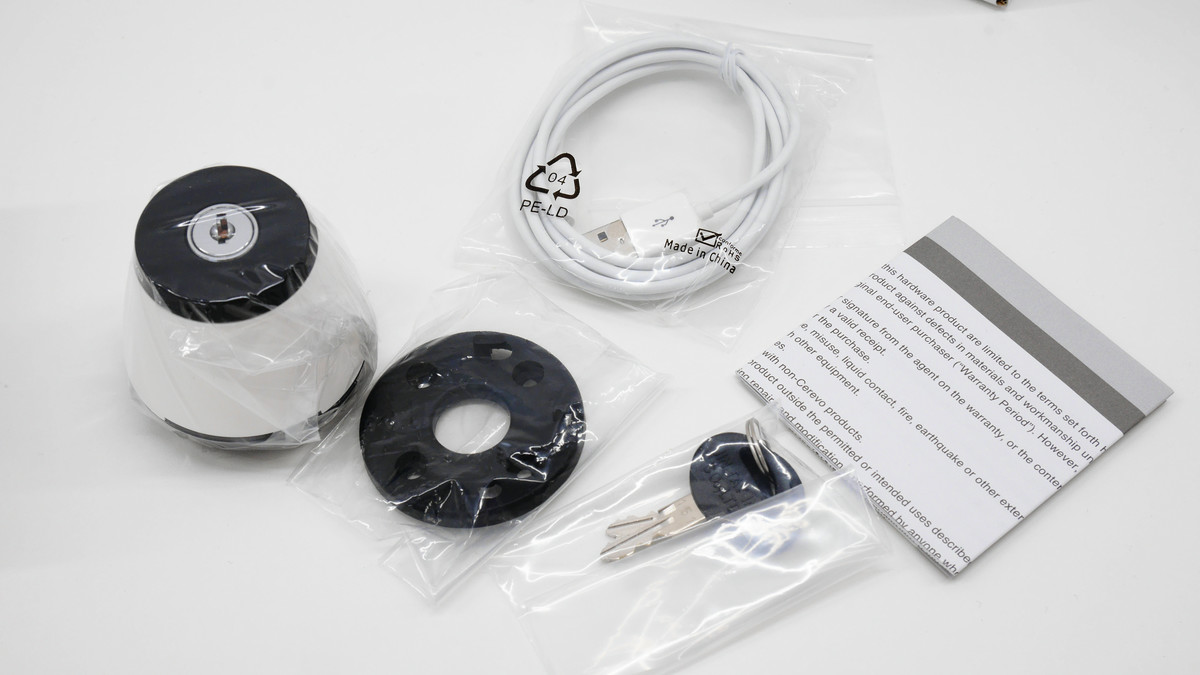
Inside the Hackey main body · Wall mount for wall hanging · Micro-USB cable · Special key × 2 · Warranty card was included.
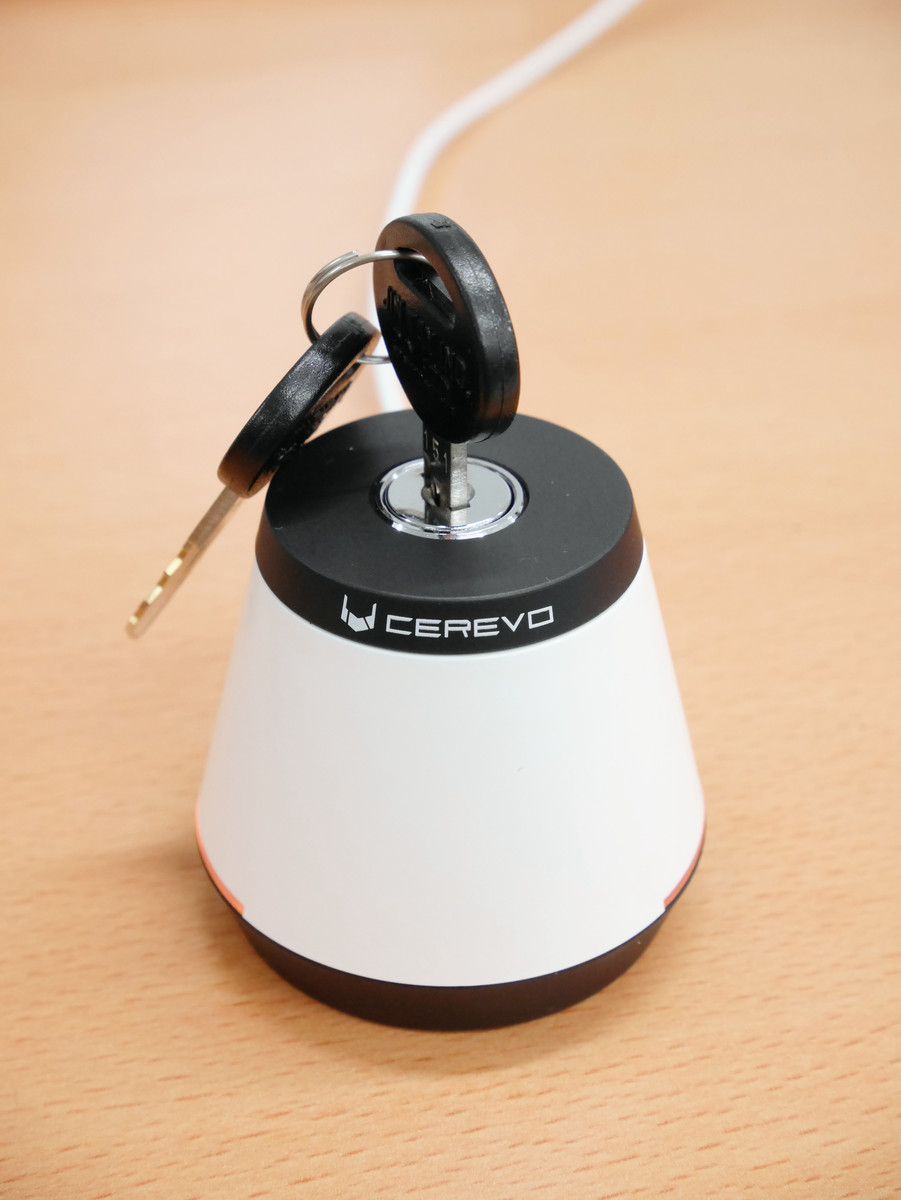
This is the body of Hackey. With coloring based on white, the slit at the bottom of the side is an LED light.

I put this on my hands and the size is about this.

A keyhole is in the top.

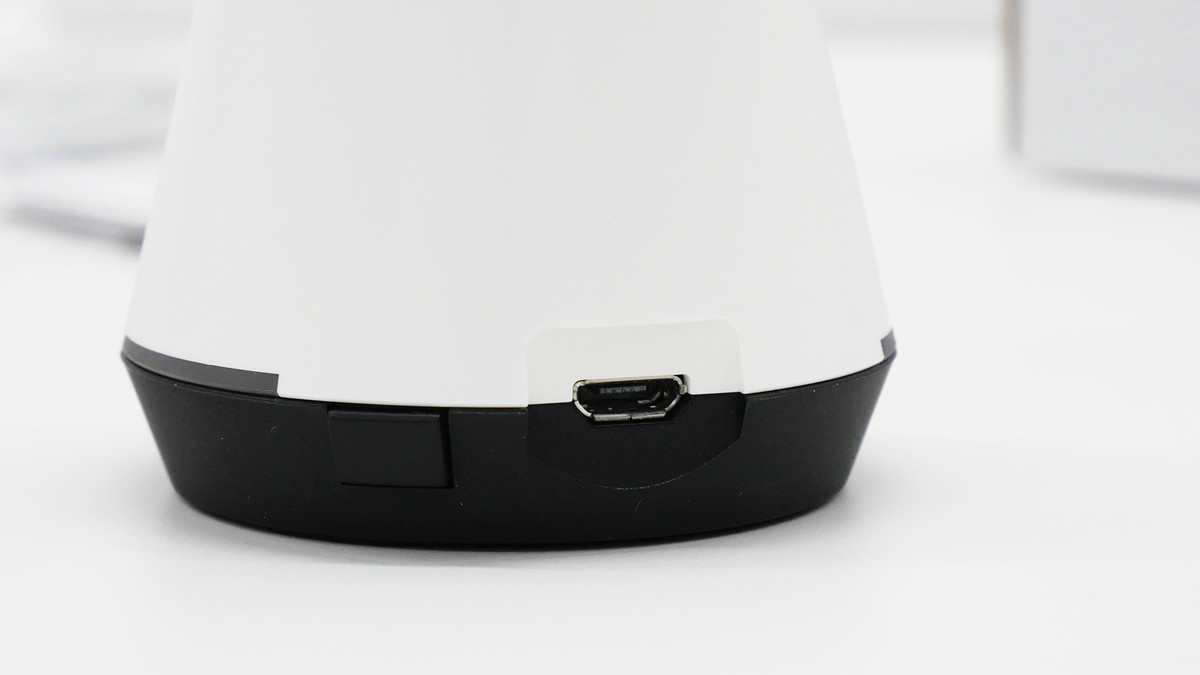
Micro - USB port for power supply on the back. On the left of it there is a "function button".
On the bottom is a non-slip rubber and three holes to hook on the wall mount.

Wall mount for wall hanging · Micro-USB cable · Special key × 2 is like this.

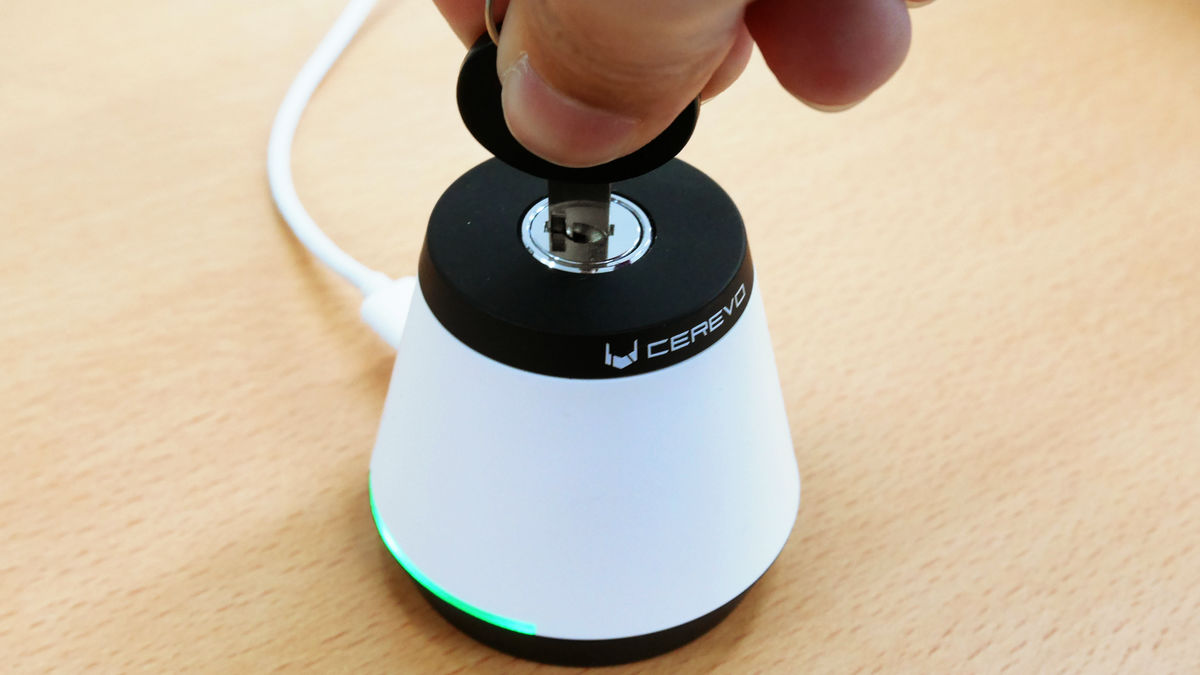
Insert private key ......
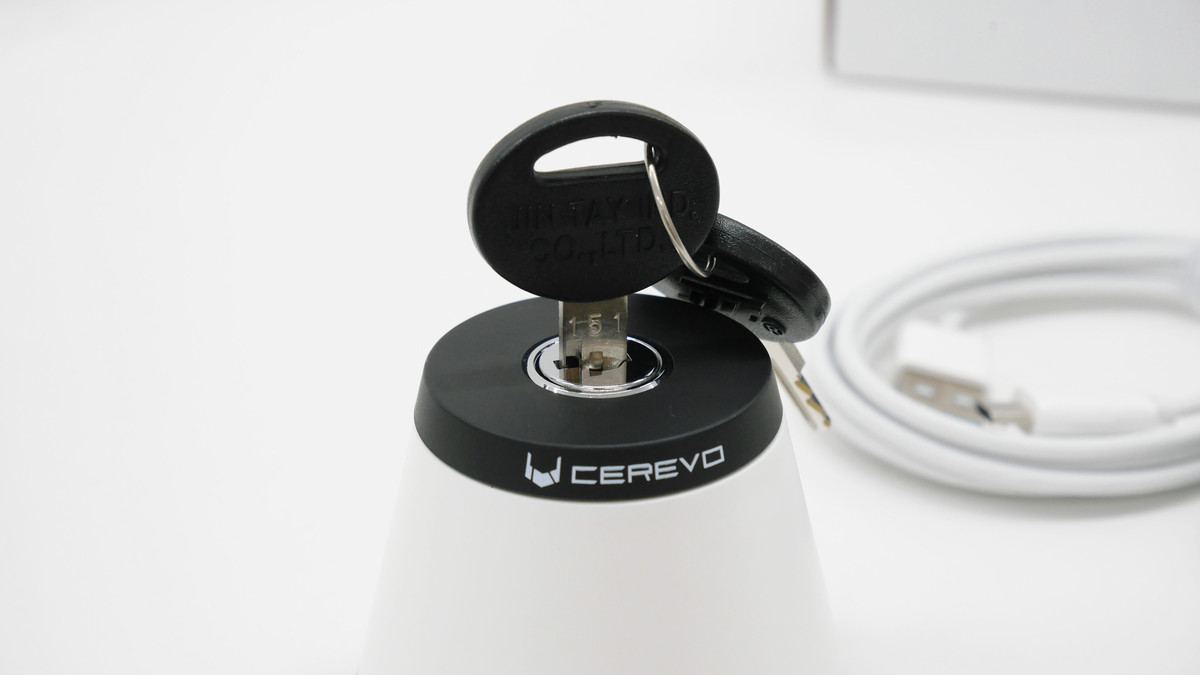
Scheduled to control web services if you turn around. Furthermore, when turning, there is a firm feeling of "Katchi", good turning comfort.

Since batteries etc. are not built in, it is necessary to supply with a Micro-USB cable when using. In addition, the LED light blinks orange when first connected to the power supply.

Preparation before use is only this, so I will try using it in real time.
◆ Initial setting of Hackey
So, we will make initial setup of Hackey. Since Hackey does not have any instructions or anything else, you can set it while reading this article,Hackey Online ManualIt is necessary to make settings while checking.
First, access the following registration screen.
Sign up | My Hackey
http://hackey-app.cerevo.com/en/users/sign_up
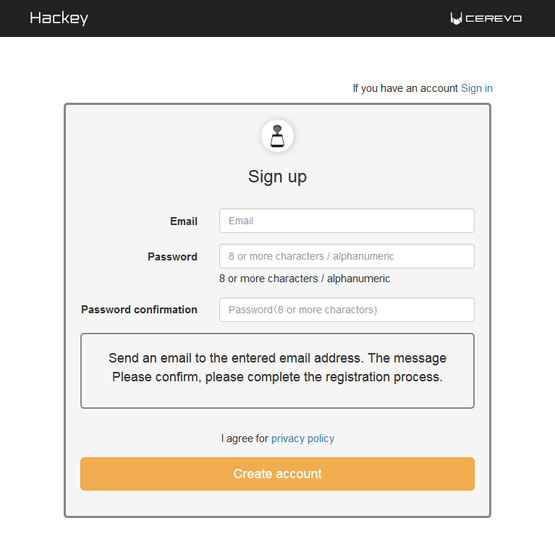
Since it is necessary to create a Hackey account, please enter the password again for e-mail address, password, confirmation from above, and click "Create account".
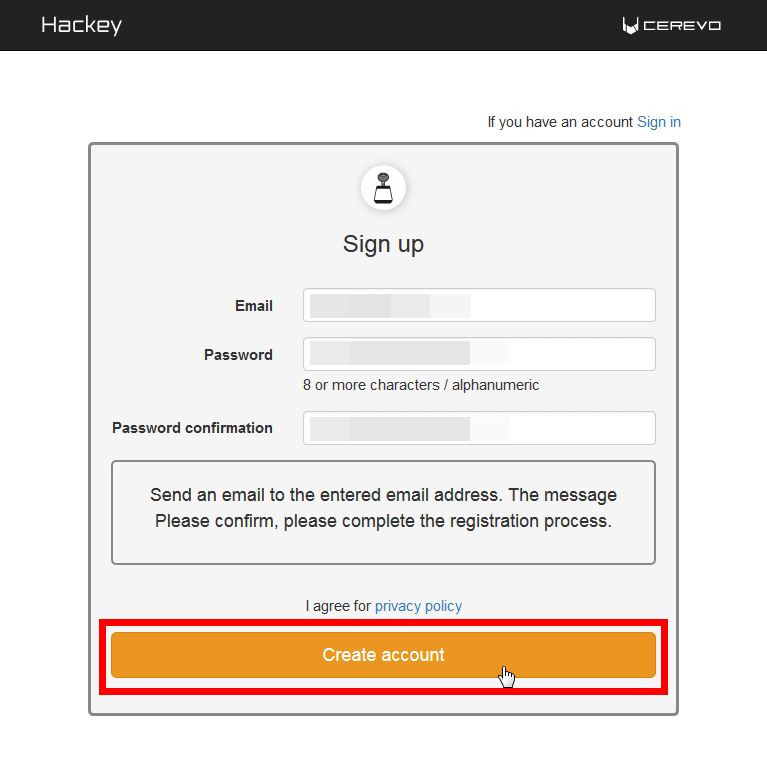
Then you will see something like the following, and a confirmation e-mail will be sent to the e-mail address you entered.
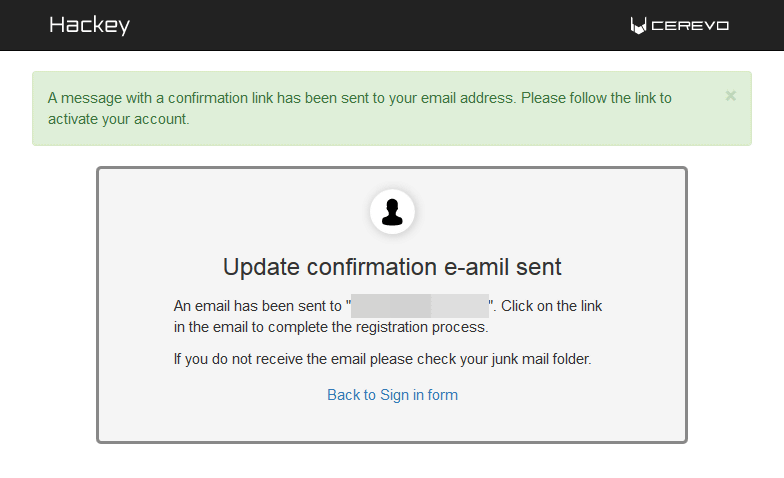
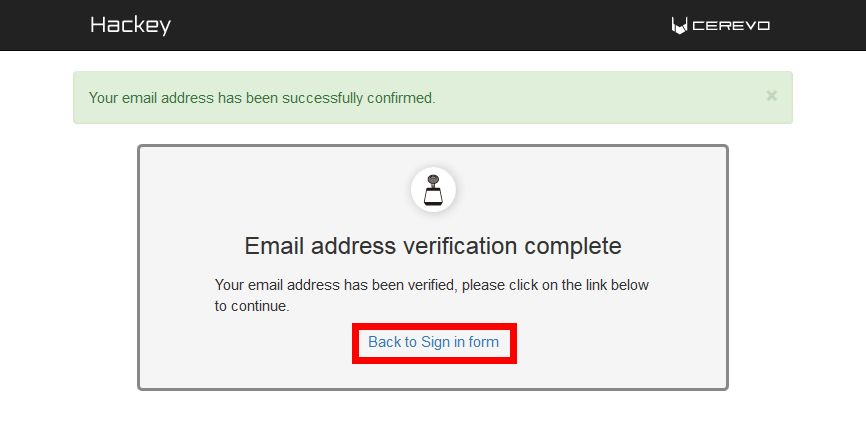
So please open the mail you received from Hackey to the email address you entered and click "Registration Confirmation URL" in red frame part.
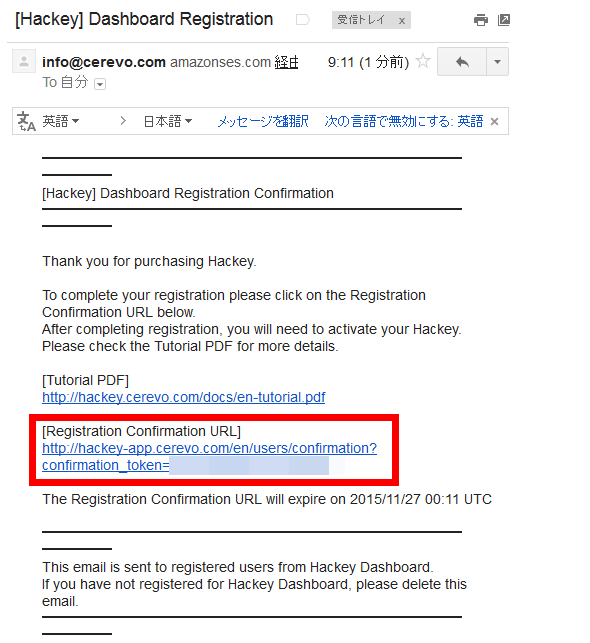
This completes the mail address confirmation, that is, the creation of the Hackey account is completed. Click the red frame to sign in like this.
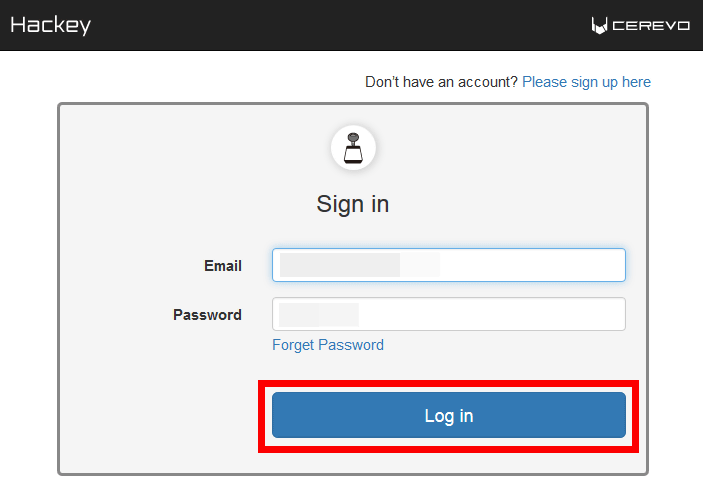
Enter the Hackey account information just created and click "Log in".
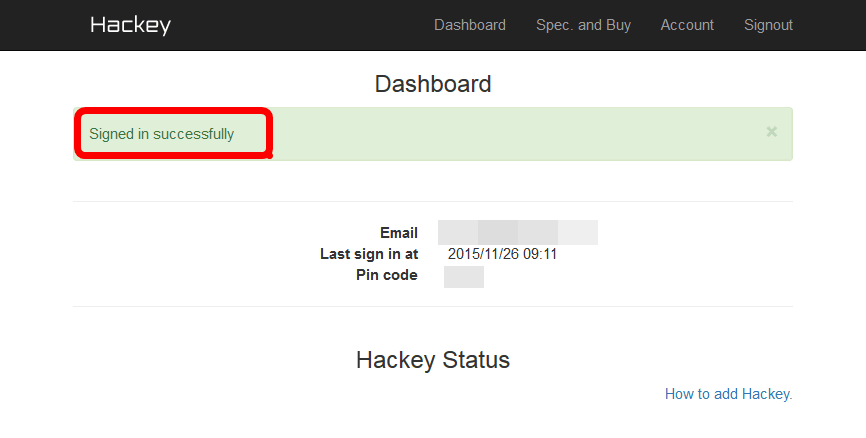
Then, the dashboard of Hackey is displayed, and from this screen it is possible to register an action to Hackey and confirm the operation. In addition, since this dashboard and the Hackey main unit at hand are not connected at the first start, connect the dashboard and the main body from here.
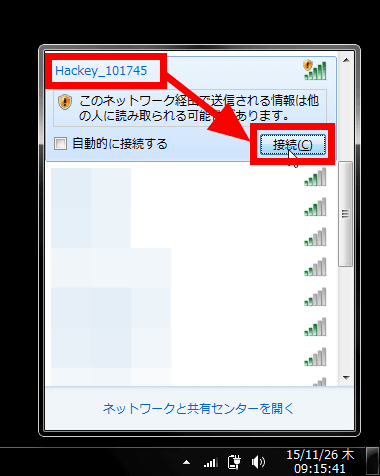
First, display the wireless LAN access point of PC or smartphone. When connecting the Hackey main unit to the power supply, here is the access point "Hackey ~~~ (6 digits written on the bottom of the main unit)", so connect the PC.
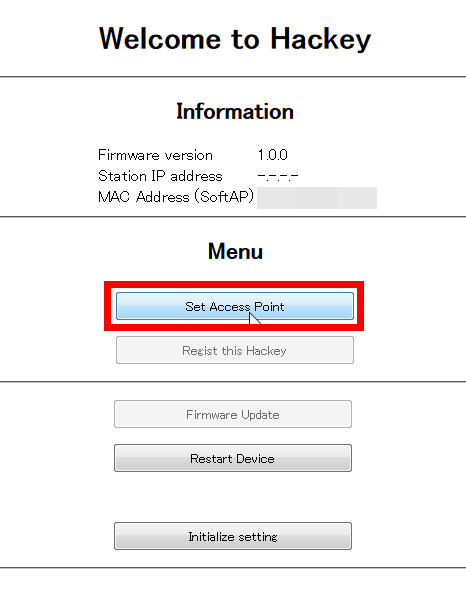
接続に成功したらブラウザを開き、「http://192.168.4.1/」にアクセス。すると、以下のようなページに飛ぶので「Set Access Point」をクリック。
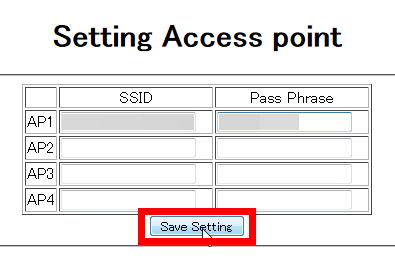
Enter the SSID and password of the wireless LAN access point you can use here and click "Save Setting".
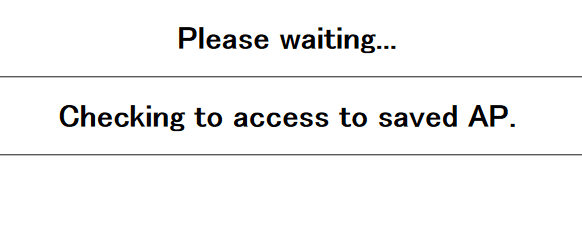
It says that checking access point is in progress ... ....
After successful connection successfully, IP address and MAC address are displayed in the red frame part.
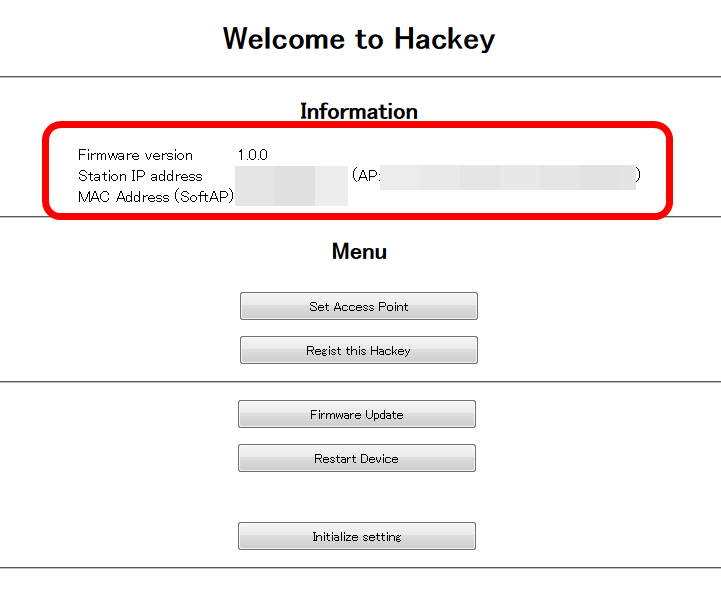
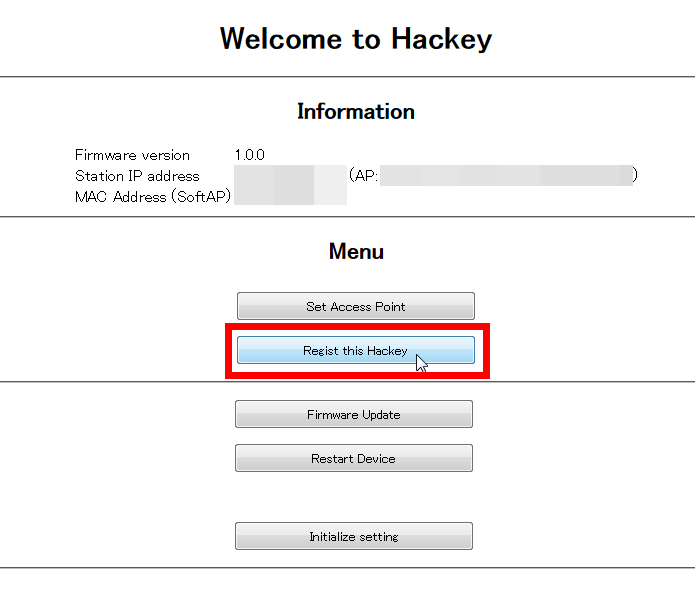
Then click "Regist this Hackey".
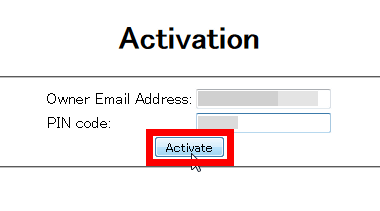
Then enter the email address registered in the Hackey account and the pin code displayed when logging in to the dashboard and click "Activate".
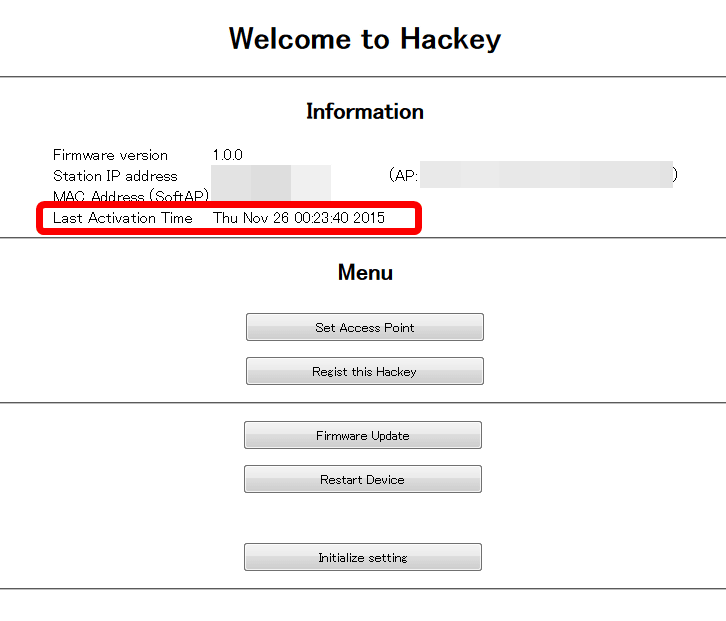
If the red frame part display is added, it means that Hackey succeeded to connect on the Internet.
When setting is completed so far, close the browser screen and reconnect the PC or smartphone to the SSID that can connect to the Internet as usual, not Hackey itself. At this time, please unplug the HACkey main unit and restart it.
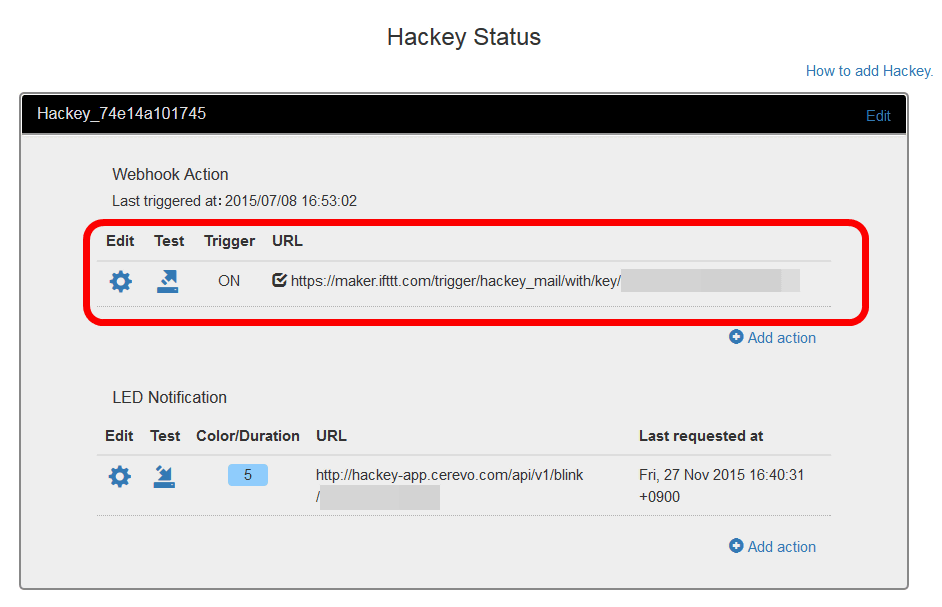
And again from PC or smartphoneDashboardWhen you access, information about your Hackey will be added to the bottom of the dashboard.
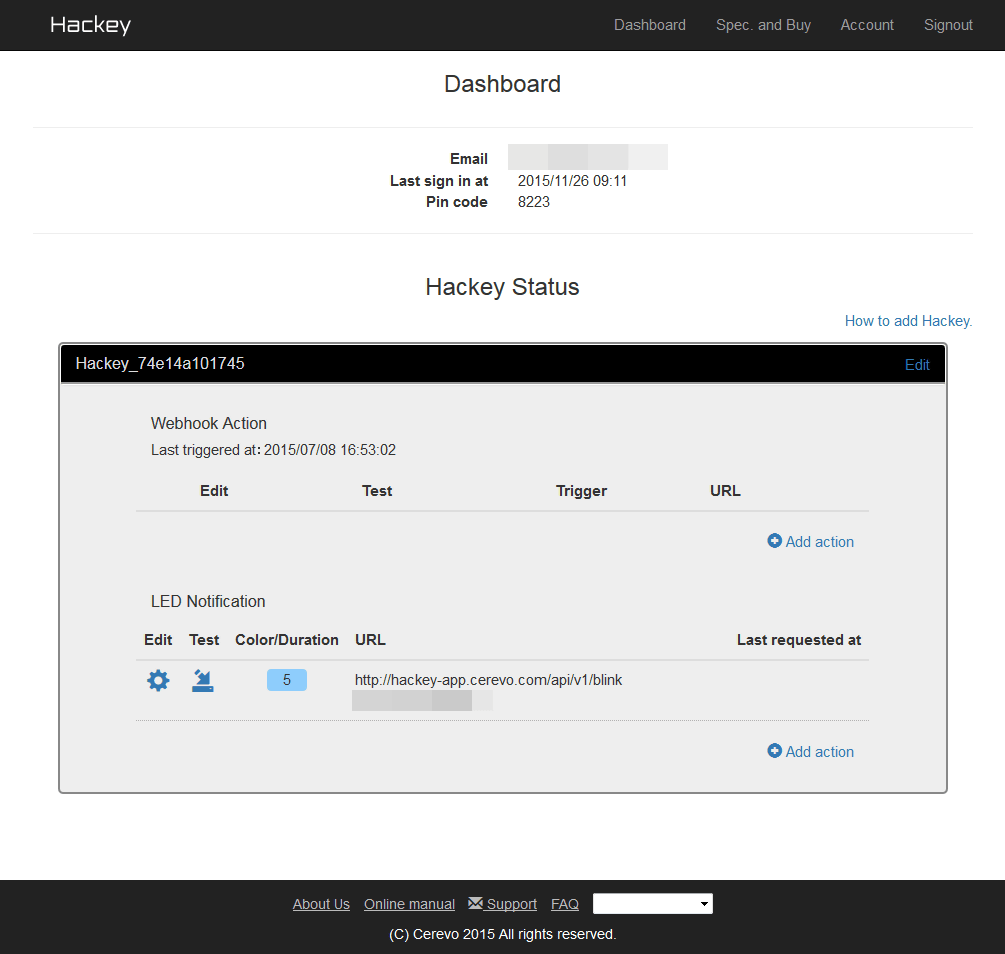
Since the action "LED Notification" is registered here, click "Test".
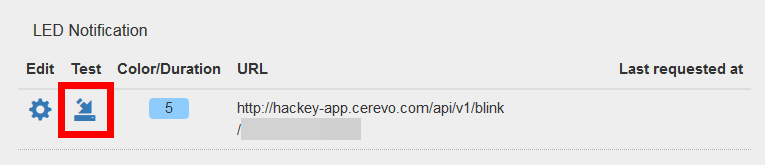
Then the LED on the side of the Hackey main unit flashes blue like the following movie. If it blinks, it means that the main unit is securely connected to the network, so operation check is completed.
Hackey's operation confirmation depresses the test button and if the main body LED glows in blue OK - YouTube
If you say "LED light remains unchanged in orange", you can OK by plugging in and unplugging the power cable, even in the case of other colorsHackey's LED lit color what does it meanYou may find the solution if you confirm.
◆ I tried to cooperate with the web service actually
That's why I checked the operation, so I will actually link Hackey and Web service. Hackey can also link with "Zapier", but this time I will use "IFTTT" to link Hackey and Web service.
You can check how to use IFTTT in the following article.
From saving articles to weather notification, I tried using 'IFTTT' which can easily coordinate 59 Web services automatically - GIGAZINE

Indeed, any web services and behaviors that can be linked with Hackey can be anything that IFTTT can use, so it's possible to create a fairly wide range of actions. This time I tried to create an action saying "Notification will be delivered to smartphones linked to IFTTT by turning key of Hackey."
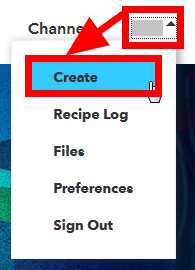
First of allIFTTTAccess the user name, click the user name in the upper right corner of the screen, and click "Create".
Then click 'this' to create a recipe.

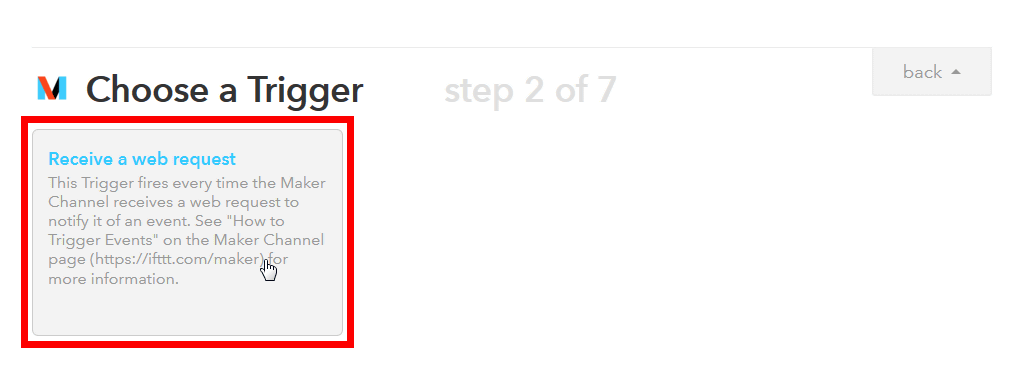
In order to link Hackey with IFTTT you need to use "Maker Channel", enter "Maker" in the text box and click the red frame icon. Whatever action you create with Hackey, the triggering channel is this "Maker Channel".

Then click the red frame part.
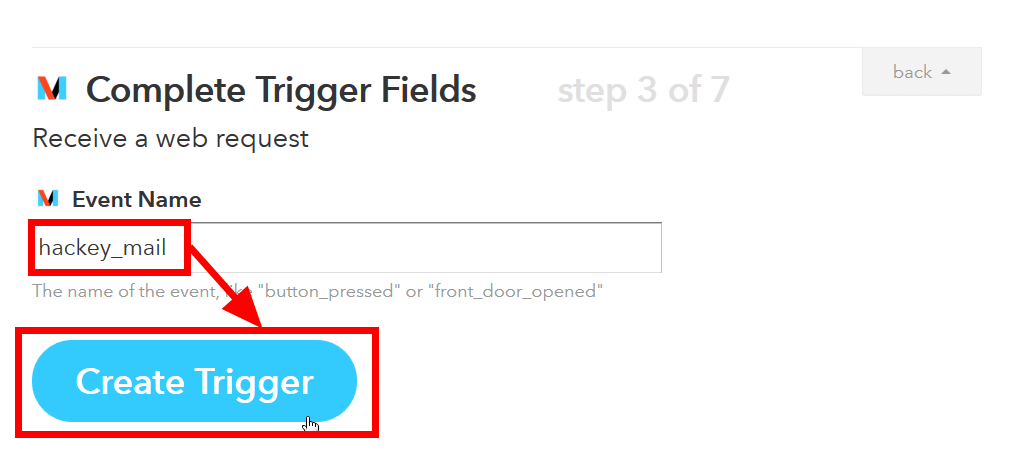
Then enter "Event Name". Be careful not to duplicate this "Event Name" if you want to create multiple actions using Maker Channel. After entering "Event Name", click "Create Trigger".
Then click "that".

In order to skip notification to iPhone this time, enter "ios" and click "IF Notifications".

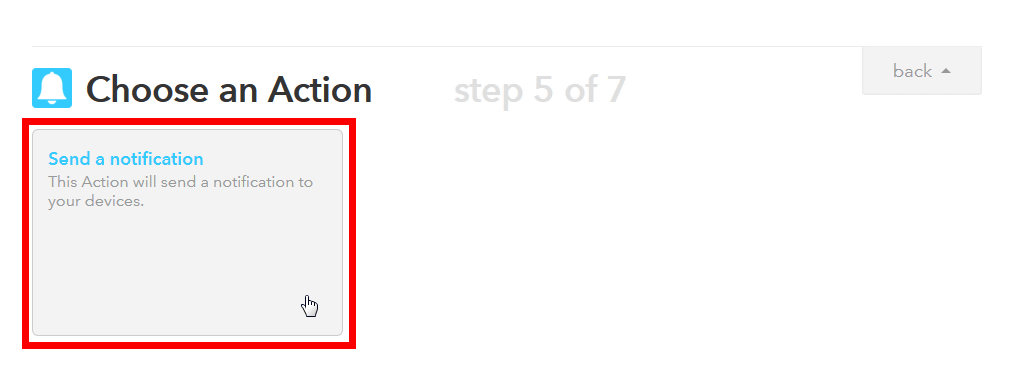
Click "Send a notification".
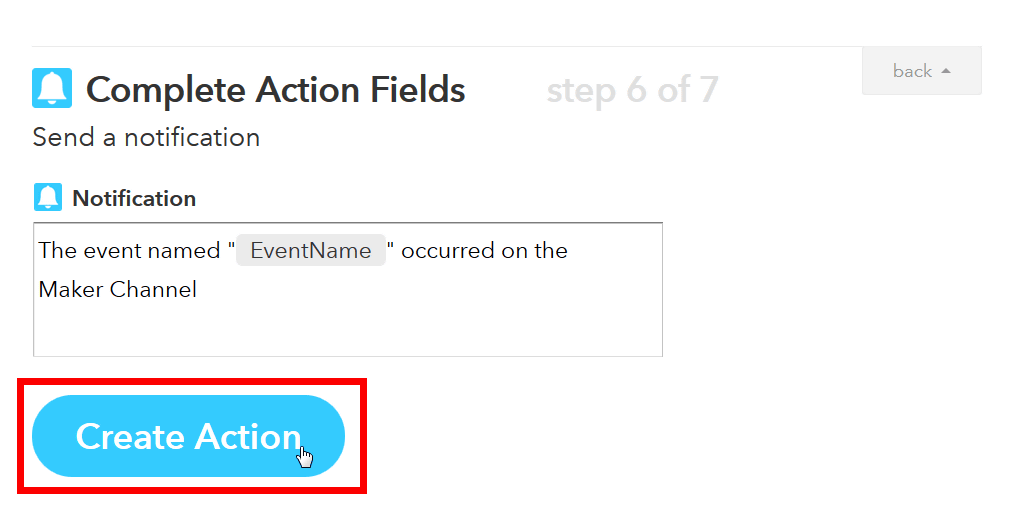
Click "Create Action".
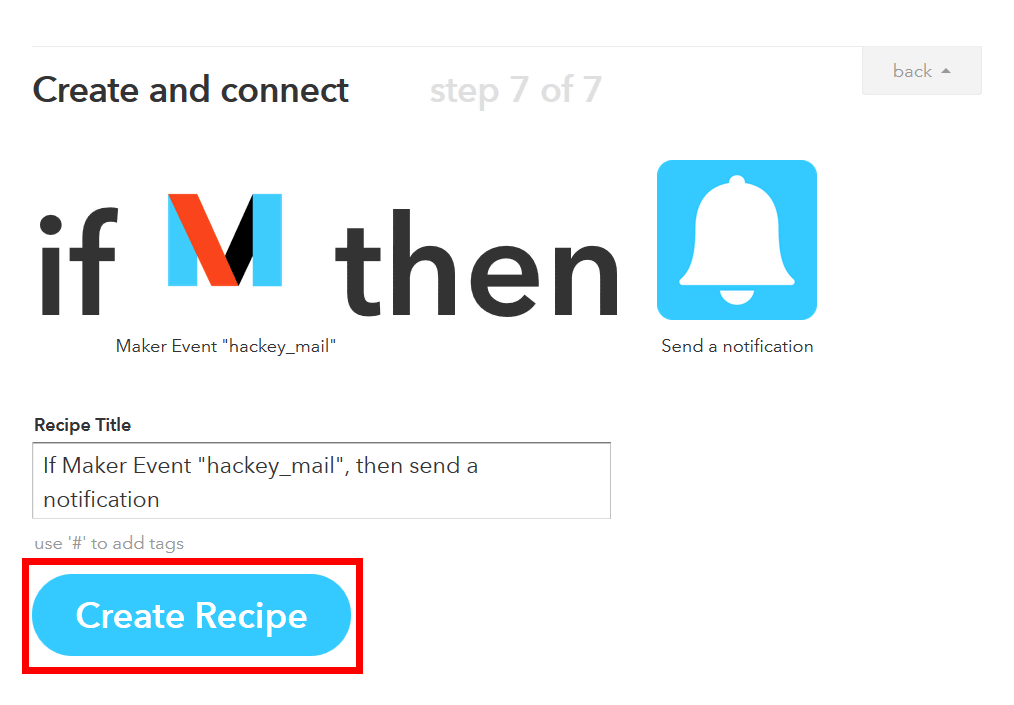
Click "Create Recipe".
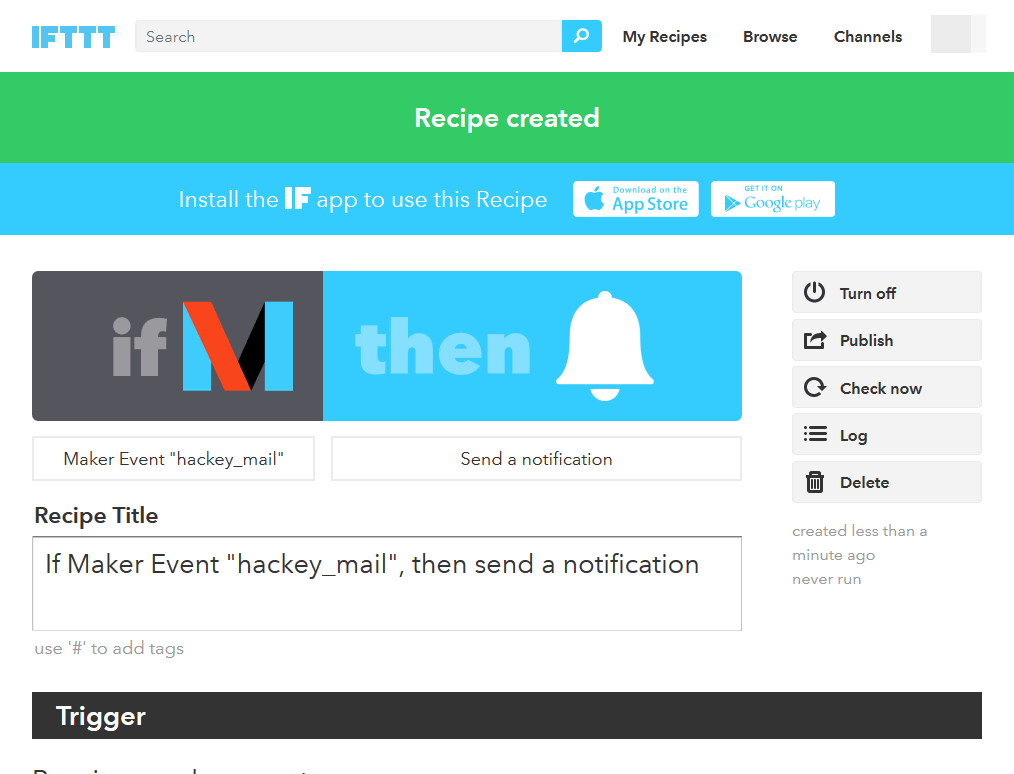
This completes the recipe.
Subsequently, with logging in to IFTTTMaker ChannelAccess the page of. Then click "Your key is:" in the red frame part.
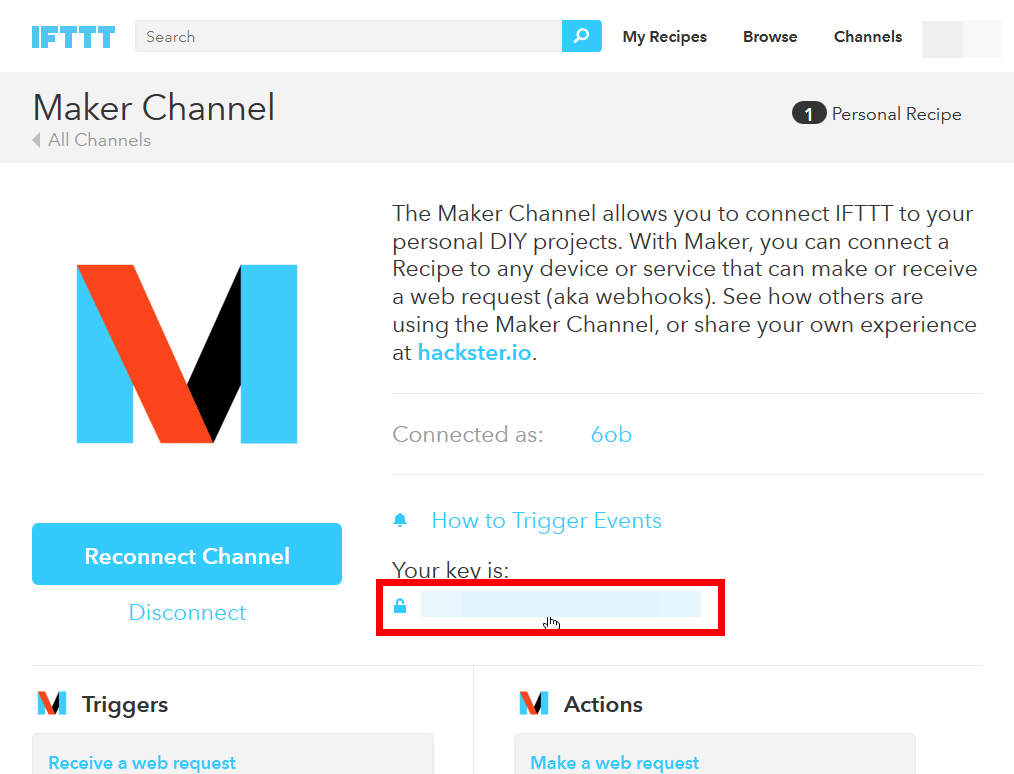
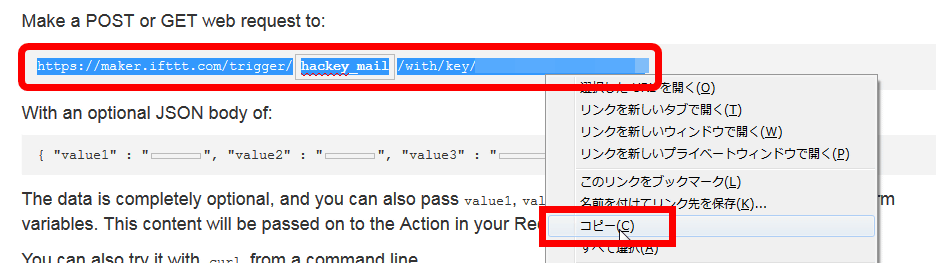
Then we will move to the page like the one below. "Event" in this red frame part ... ...
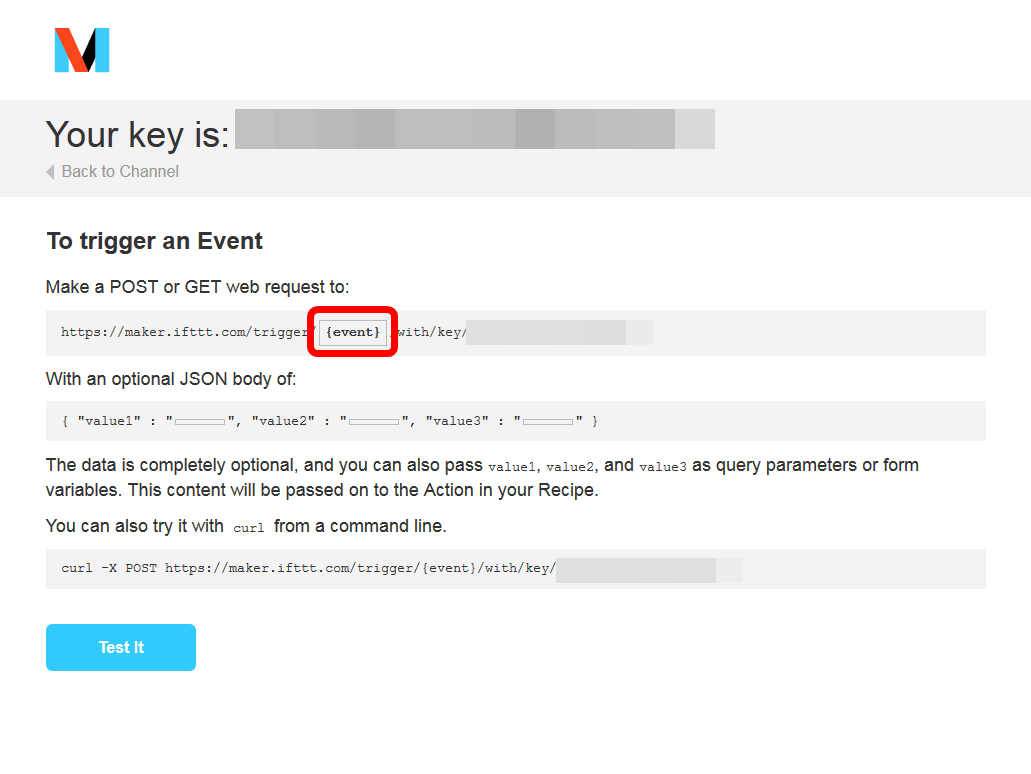
Changed to "Event Name" of the recipe created earlier. In this case, "Event Name" was set to "hackey_mail", so enter it exactly and click "Test it" at the bottom of the screen.
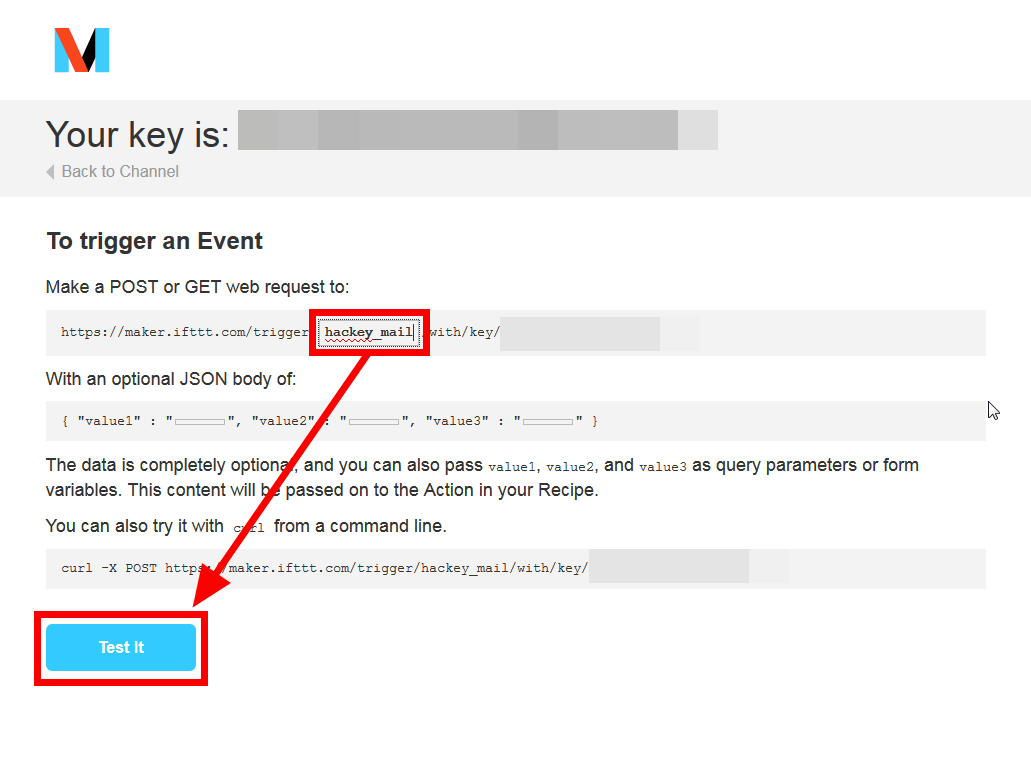
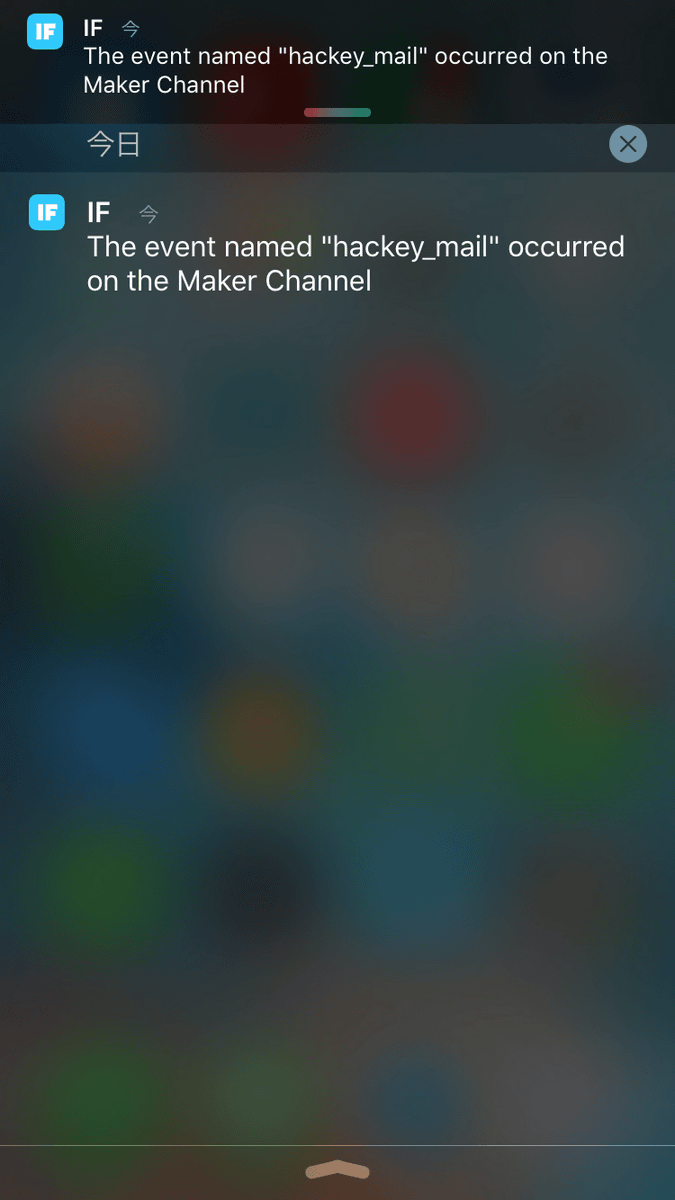
When the created recipe works properly, notification will be sent to the iOS terminal linked with IFTTT.
When the recipe works correctly, copy the URL of the red frame part.
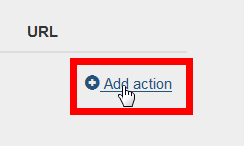
Then open the Hackey dashboard and click "Add action".
Paste the previously copied URL in the URL input field and click "Create Webhook". The "Timing" on this screen shows "Which timing will be executed when turning on or off Hackey key?"

This concludes cooperation between Hackey and IFTTT.
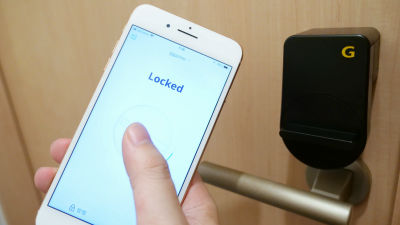
So, if you turn Hackey 's key quickly to make the created action work, you will be notified by haste as shown in the following movie.
Turn the key of Hackey and notify iPhone - YouTube
In order to link Hackey with some kind of Web service you have to take some steps and you may get a bit of a problem if you are not familiar. However, once set, the operation is very stable, and the speed of operation is quite good. With IFTTT, it is possible to link more than 200 Web services and actions, so it seems that a keyhole that is convenient to transcend may be born depending on the idea.
Related Posts: