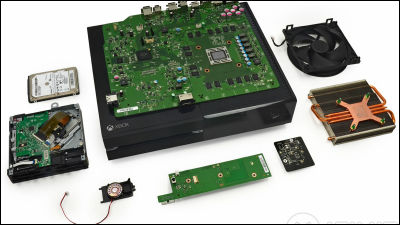
Report of Google's latest smartphone "Nexus 5X" immediately disassembled
Google's latest smartphoneNexus 5XSales started to be sold in Japan, NTT docomo and Wyomobile handling in addition to Google Play. IFixit breaks down the freshly released Nexus 5X in a hurry and clarifies the structure and the difficulty of repairing the contents.
Nexus 5X Teardown - iFixit
https://www.ifixit.com/Teardown/Nexus+5X+Teardown/51318
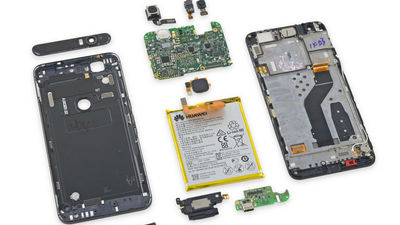
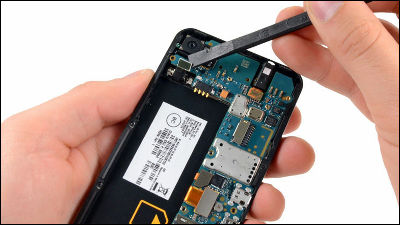
It is Nexus 5X carbon that decomposes.

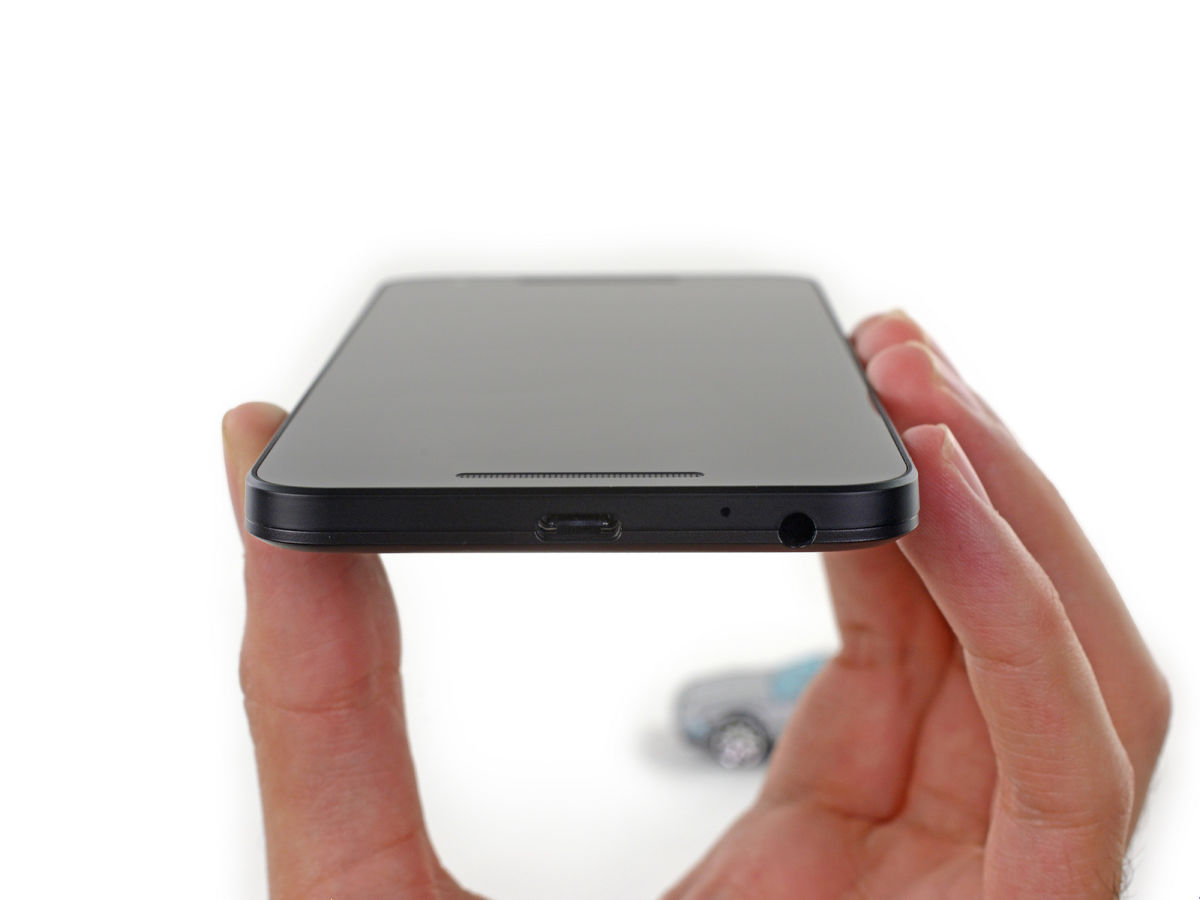
The Nexus 5X adopts "USB Type-C" which can be inserted from either side of the back and forth, and I am concerned about what's going on around here.
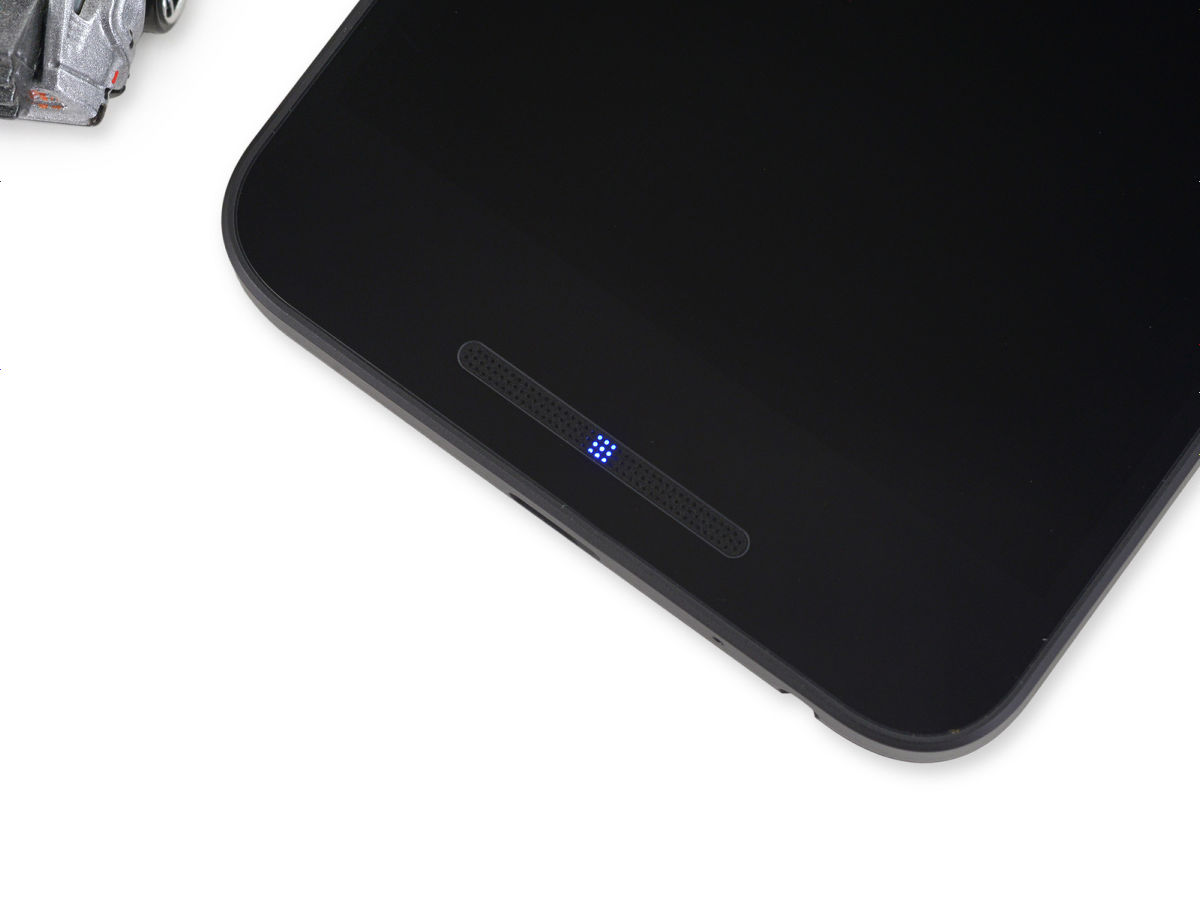
It is also a point that the notice LED lamp is installed inside the speaker grill at the bottom of the front of the main unit.
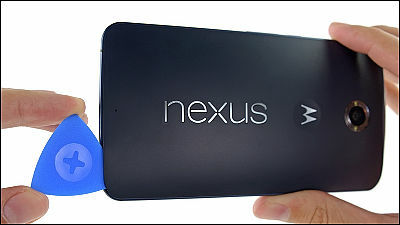
Insert the iFixit Opening Pick into the groove on the side of the main unit and remove the back cover. The rear cover is only attached with claws, so tape and adhesive etc are not used, so it seems difficult to remove.

Removing the claws from the main unit removes the back cover and the back cover.
It is like this when removing the back cover. Wi-Fi · MIMO · GPS antenna is mounted on the back cover.
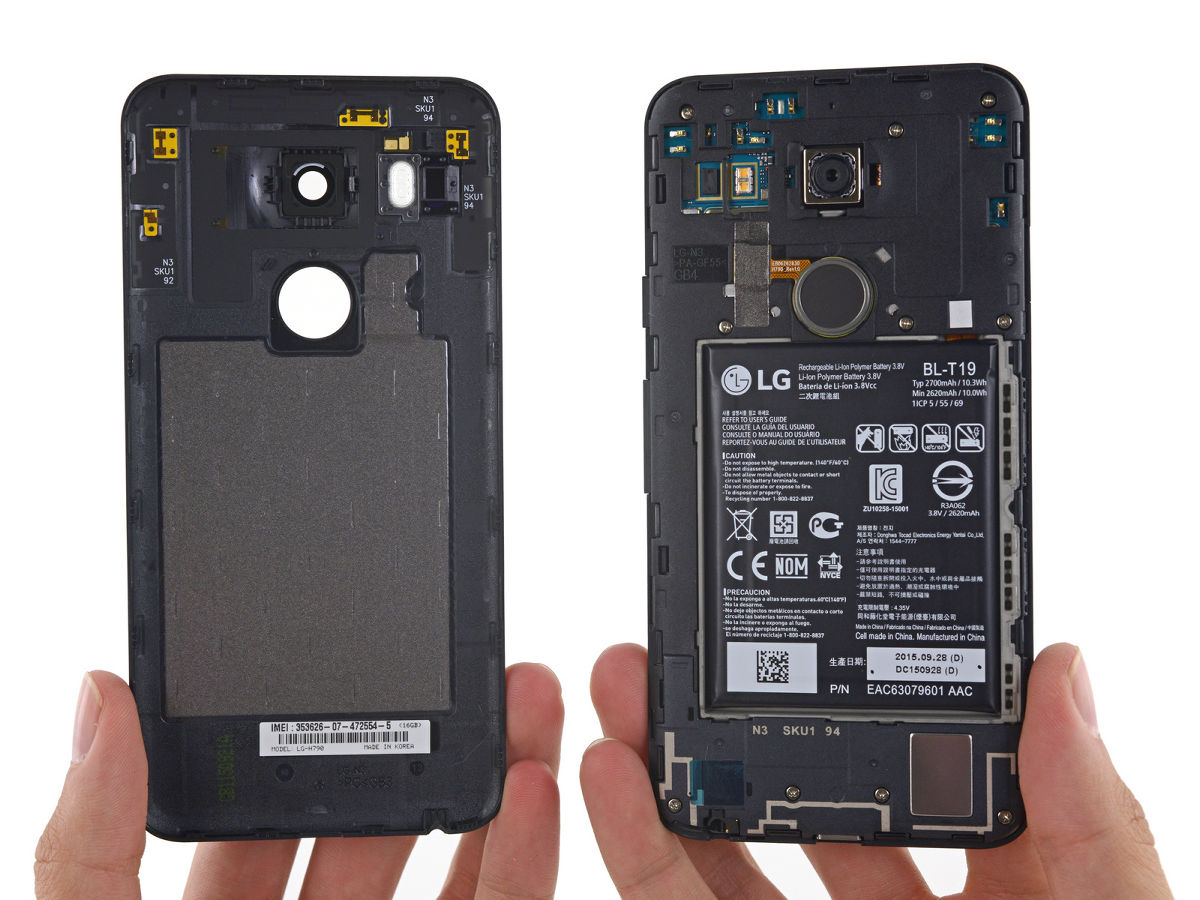
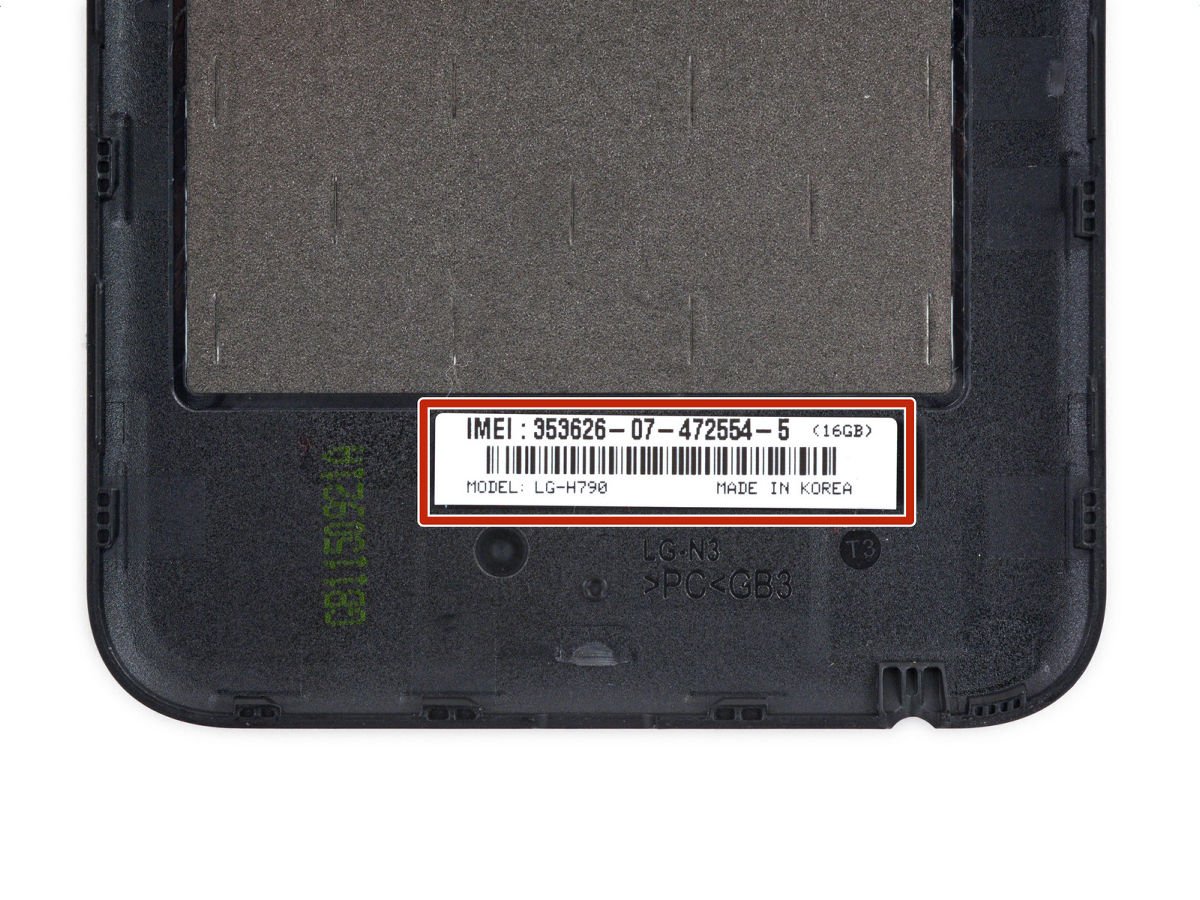
The label with the terminal identification number (IMEI) is also affixed to the back cover.
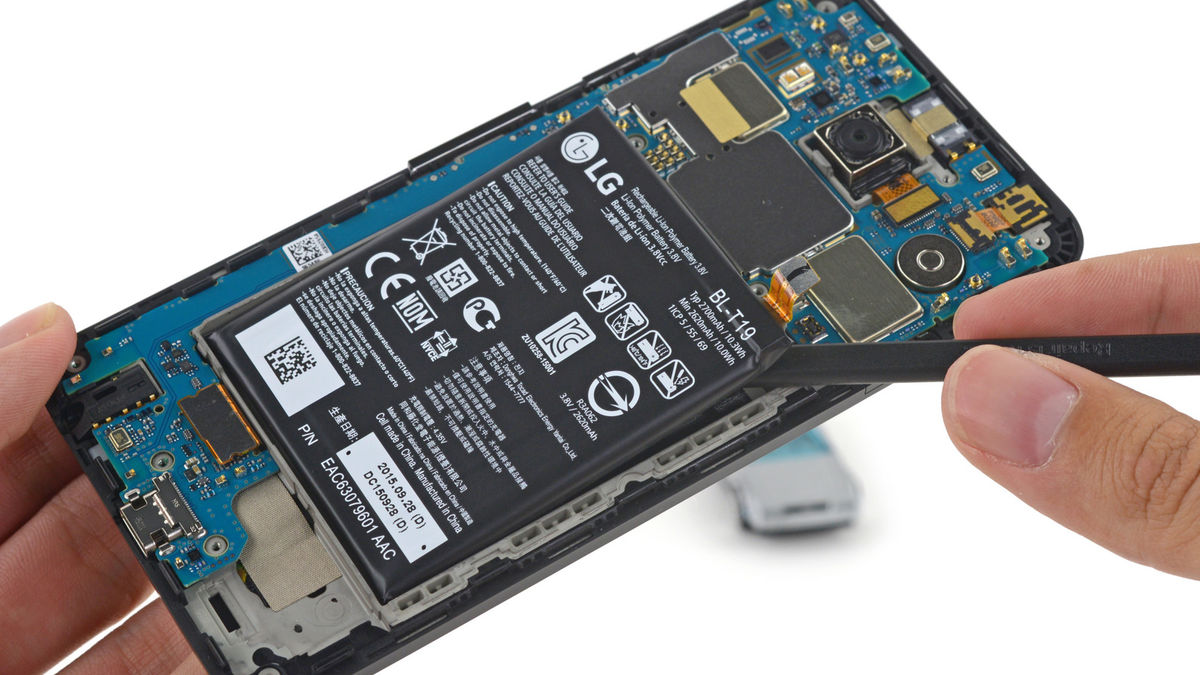
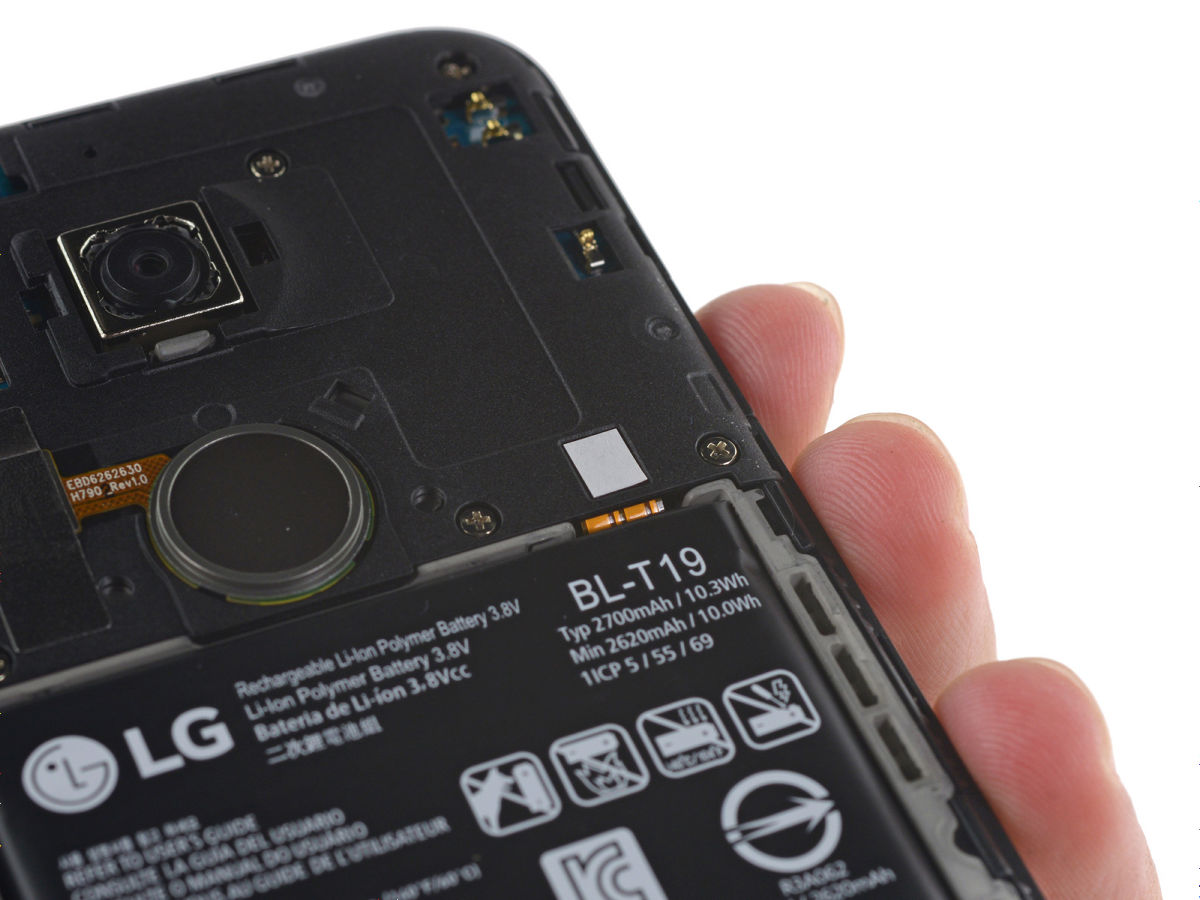
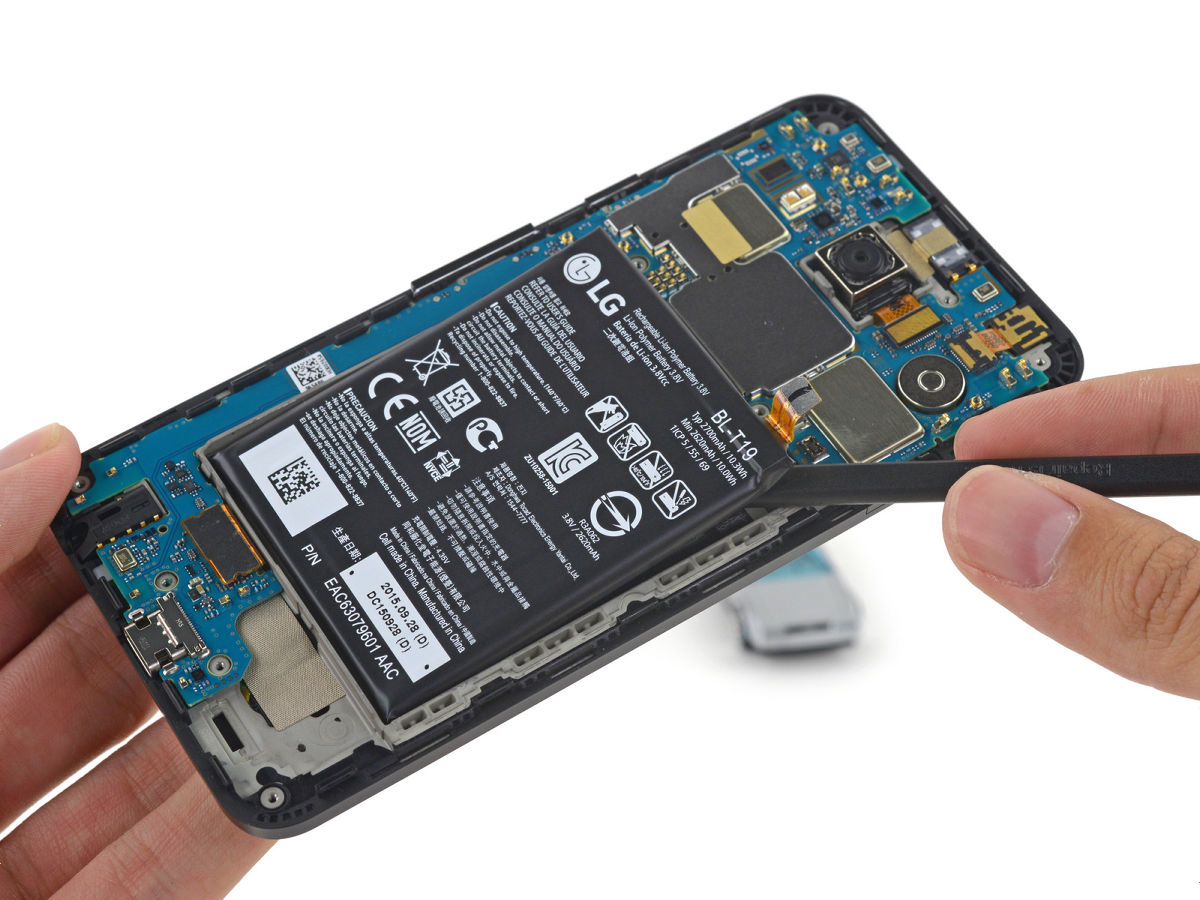
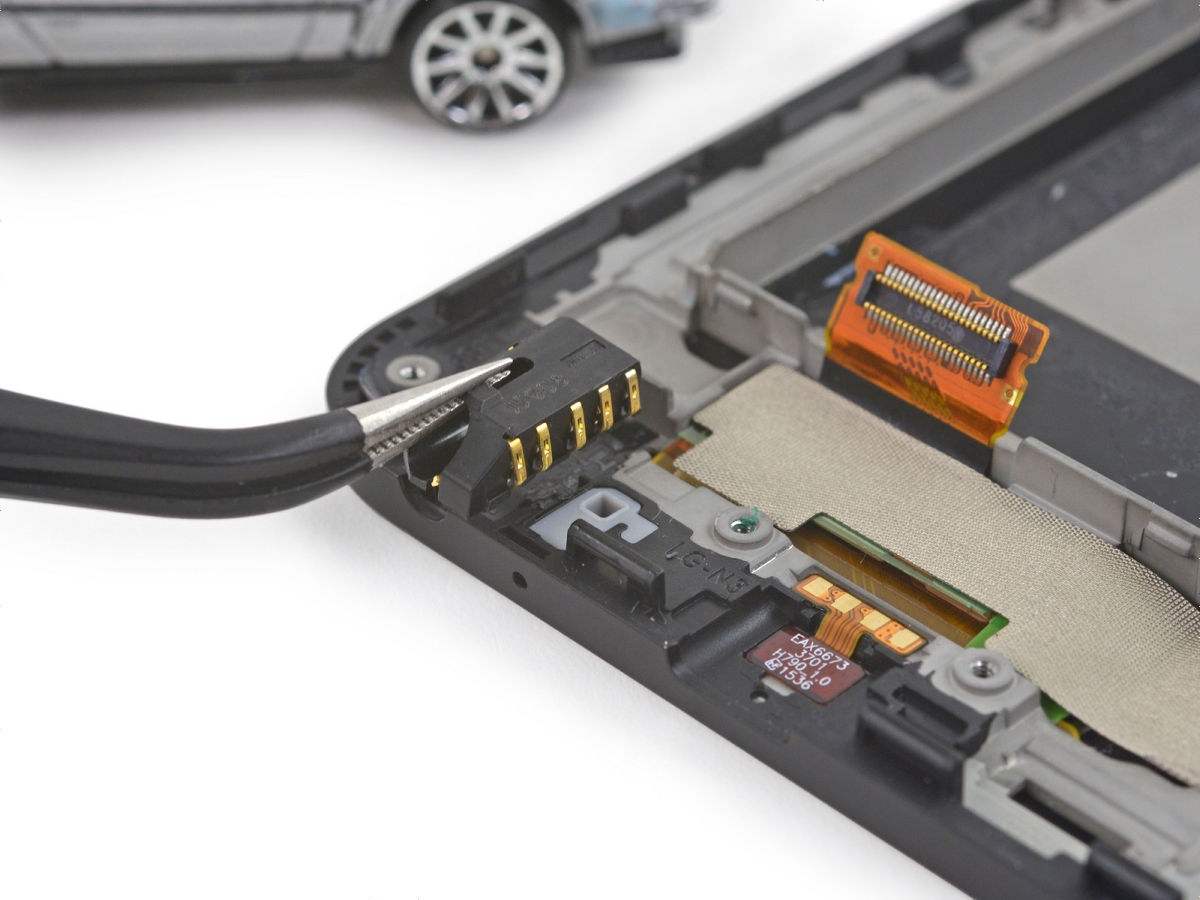
The battery connector can not be removed immediately because the connector part of the battery is getting under the screwed screws firmly.
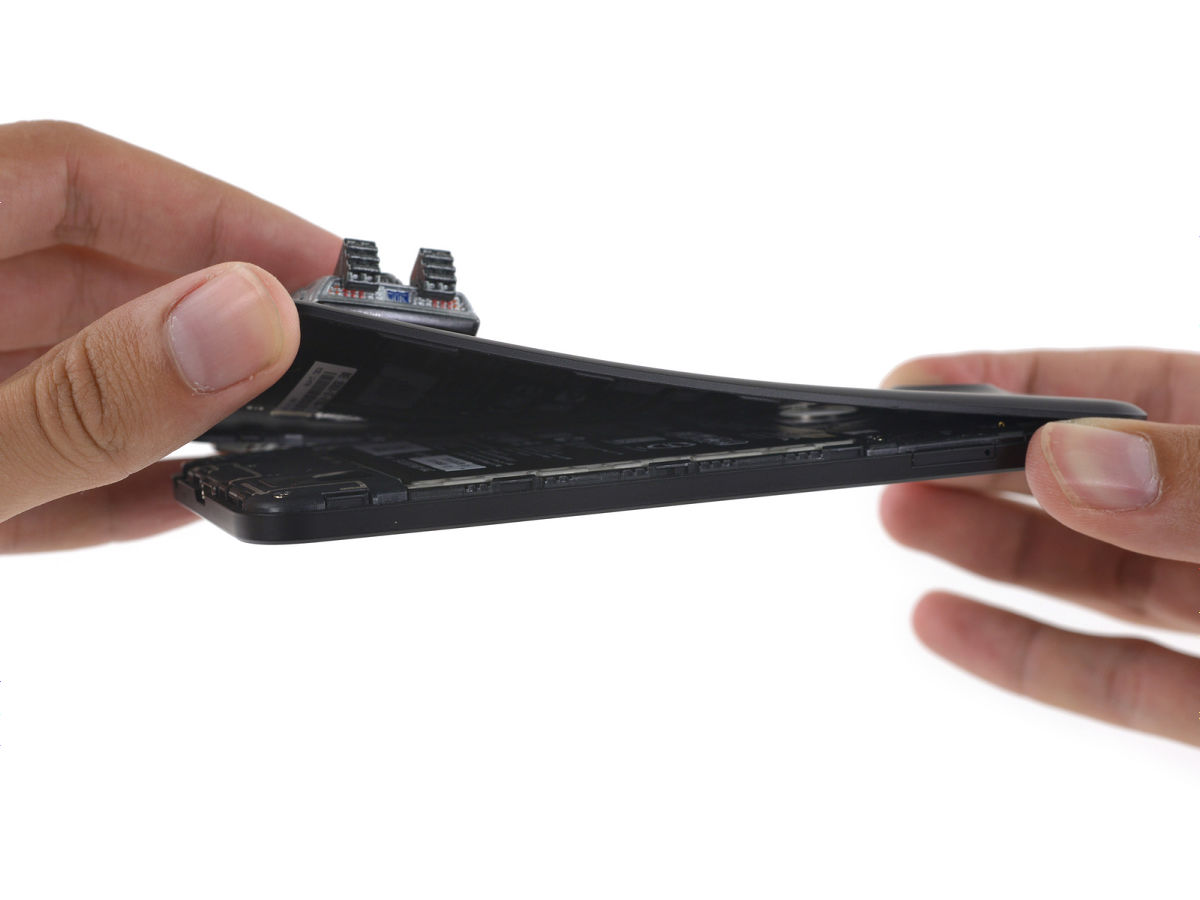
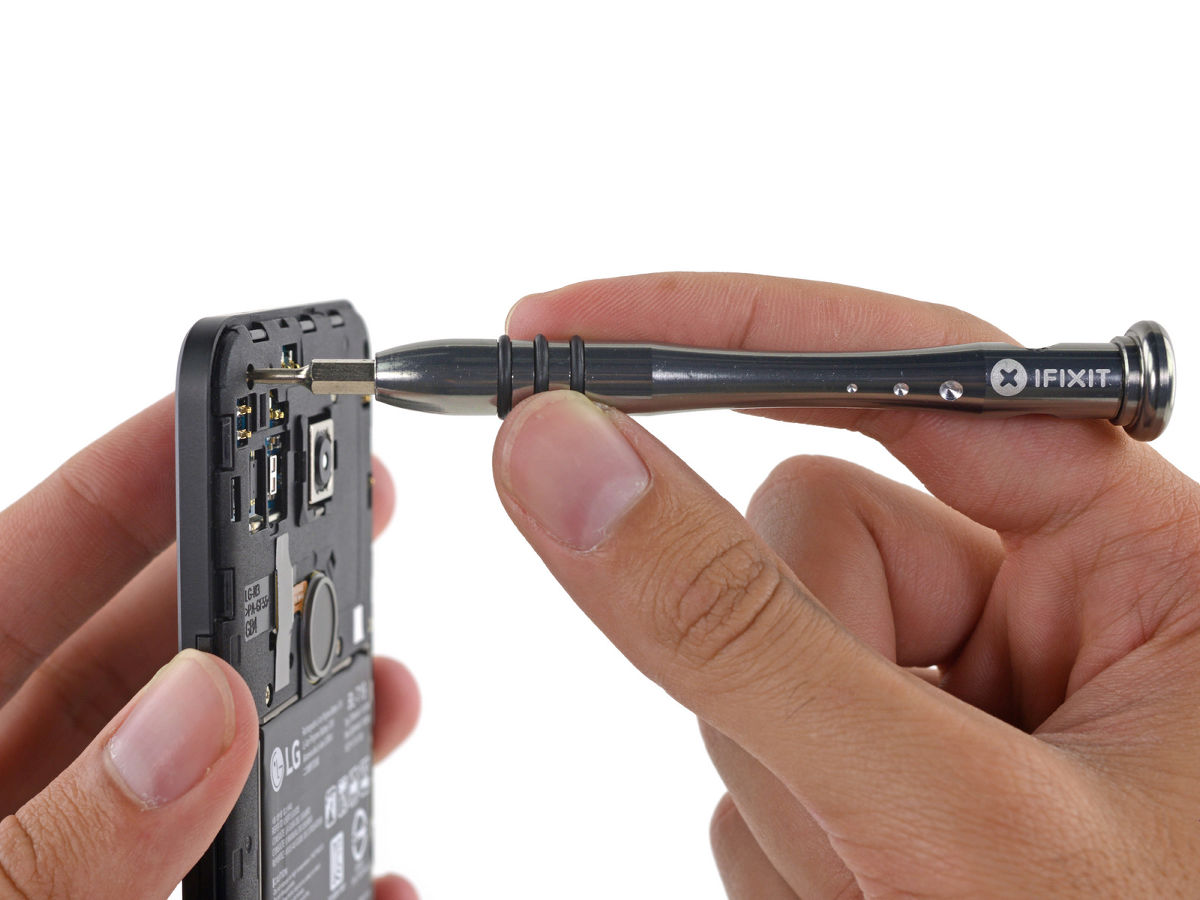
Remove the cover that covers the inside of the body. There are ten screws in total.
Take the cover at the bottom ... ...
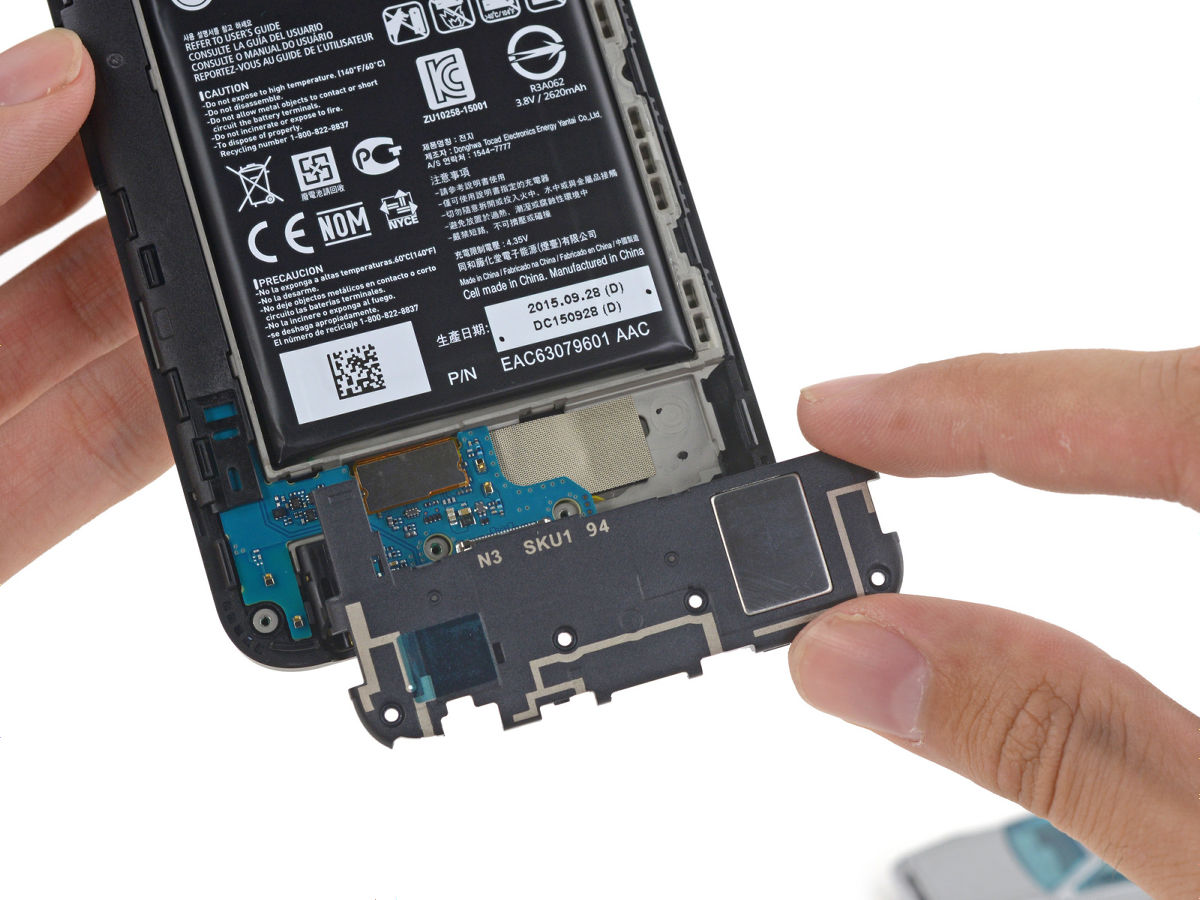
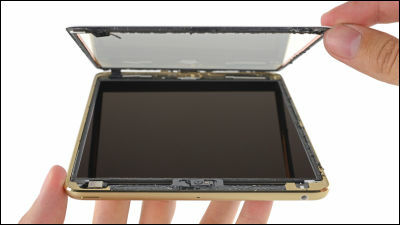
Remove the top cover.
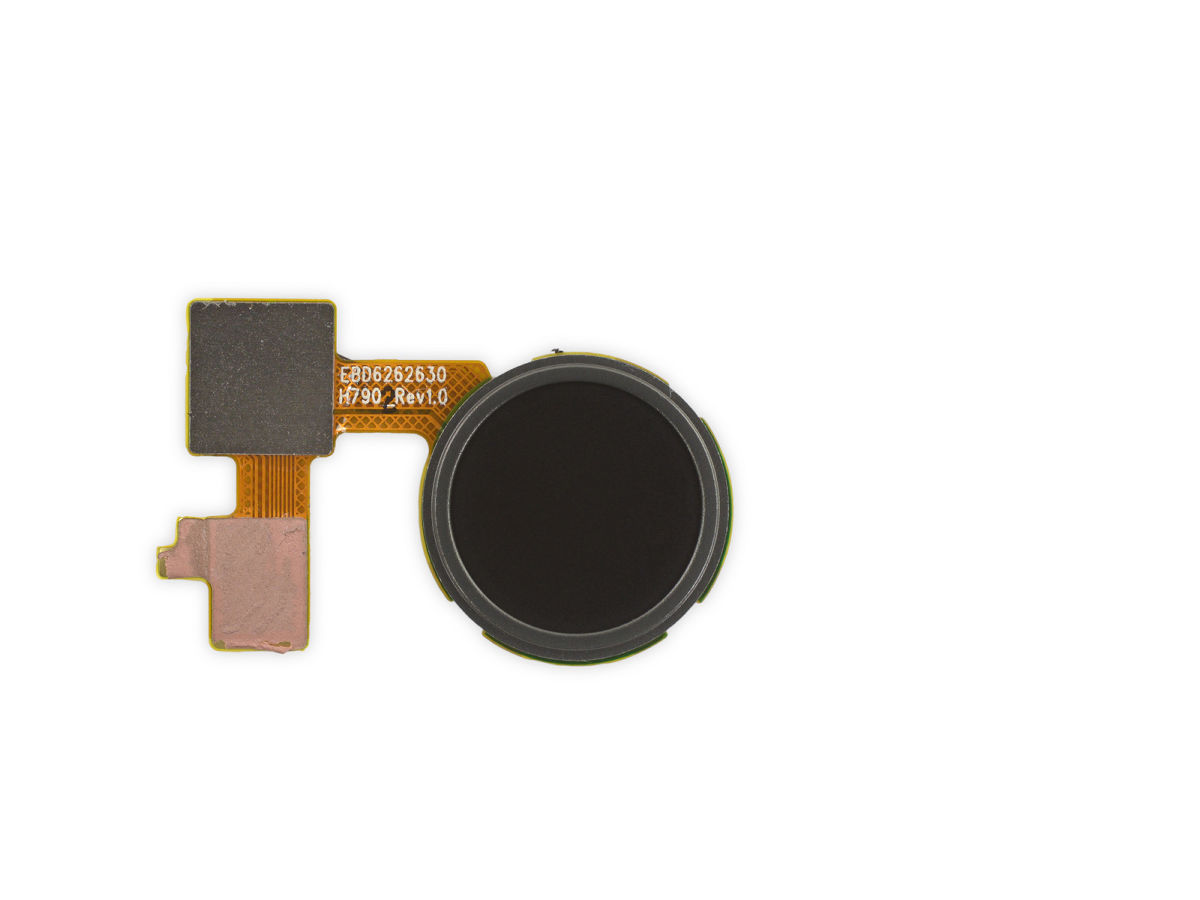
Next is a fingerprint authentication sensor attached to the top cover.

This is the removed fingerprint authentication sensor.
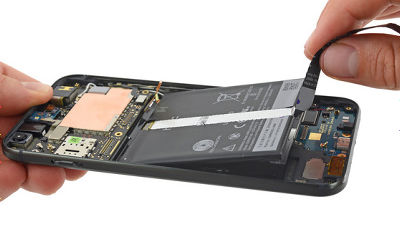
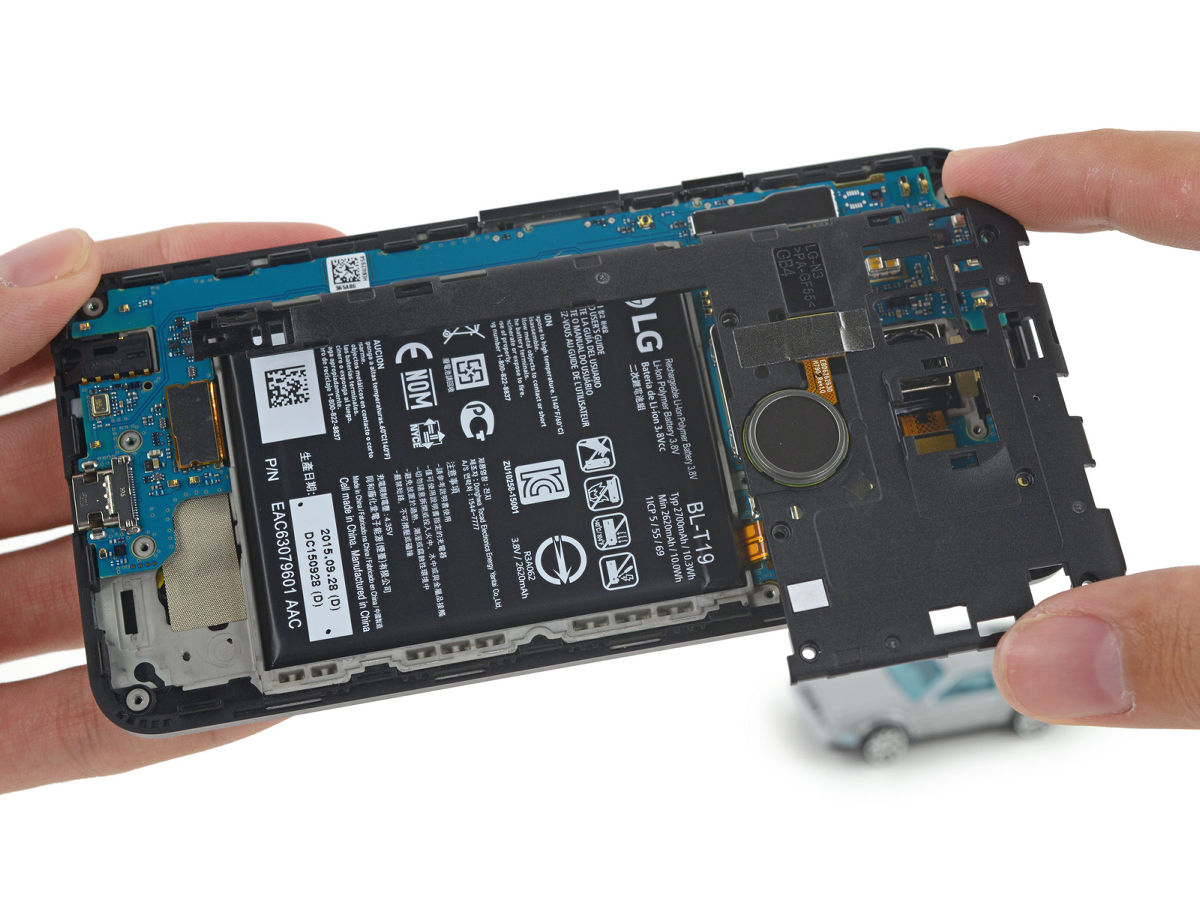
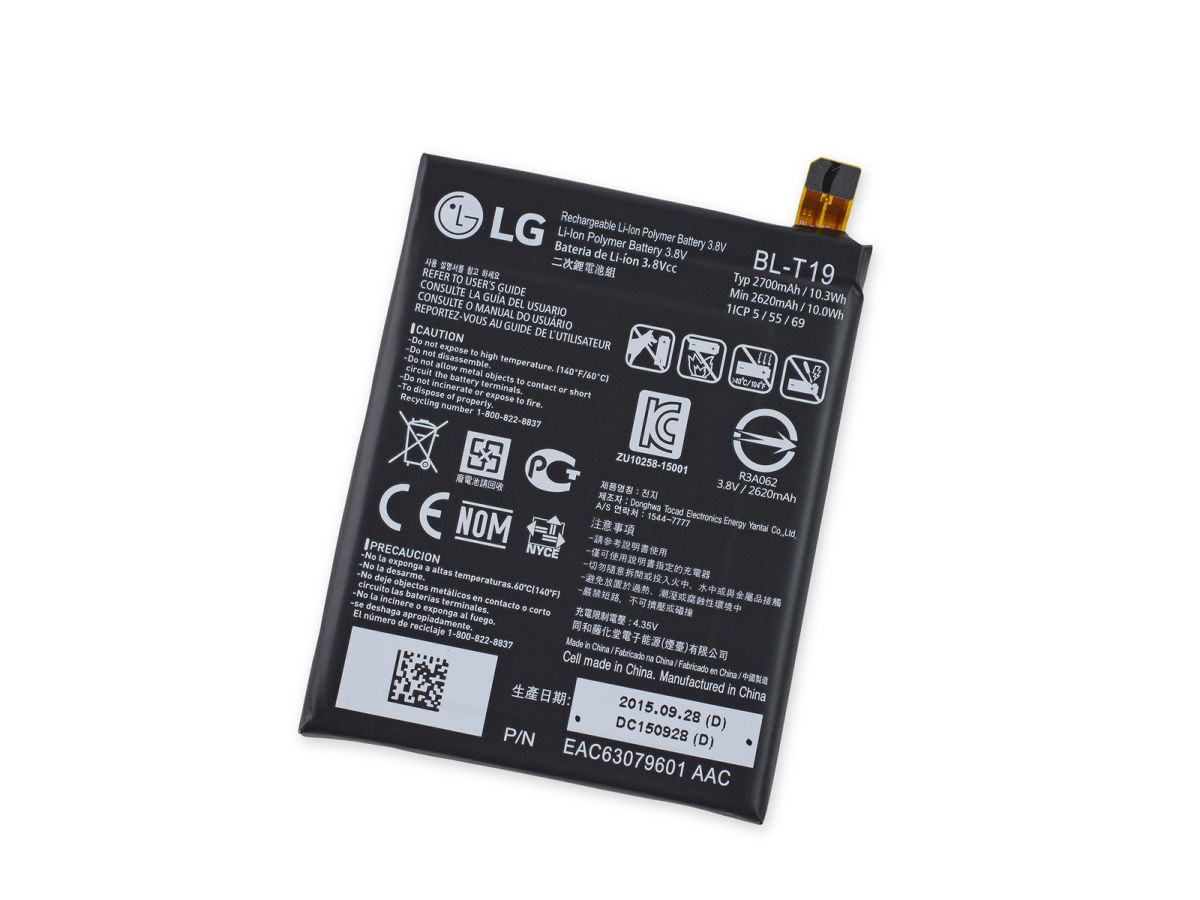
Because the battery is held with adhesive, a little force is required to remove it.
This is a battery of 2700 mAh.
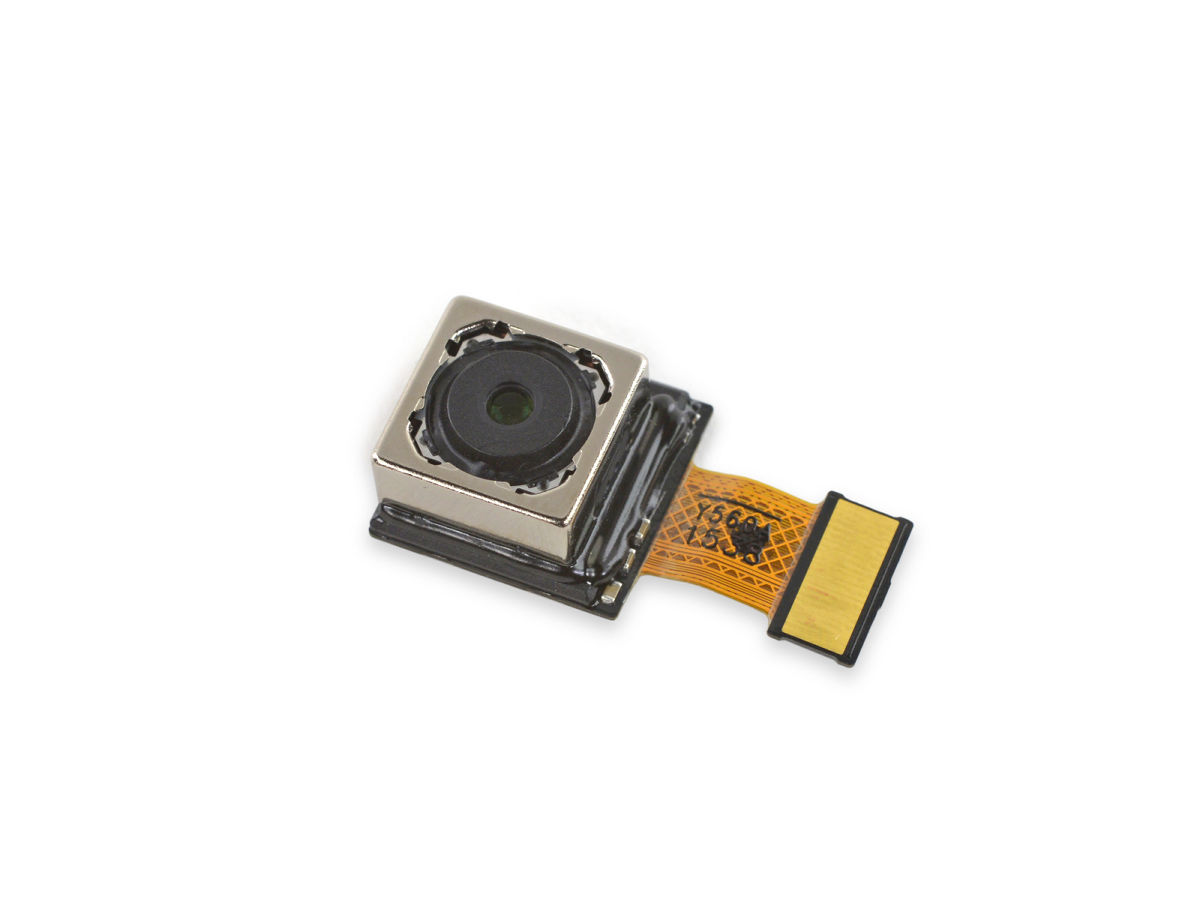
Next, remove the rear camera with tweezers.
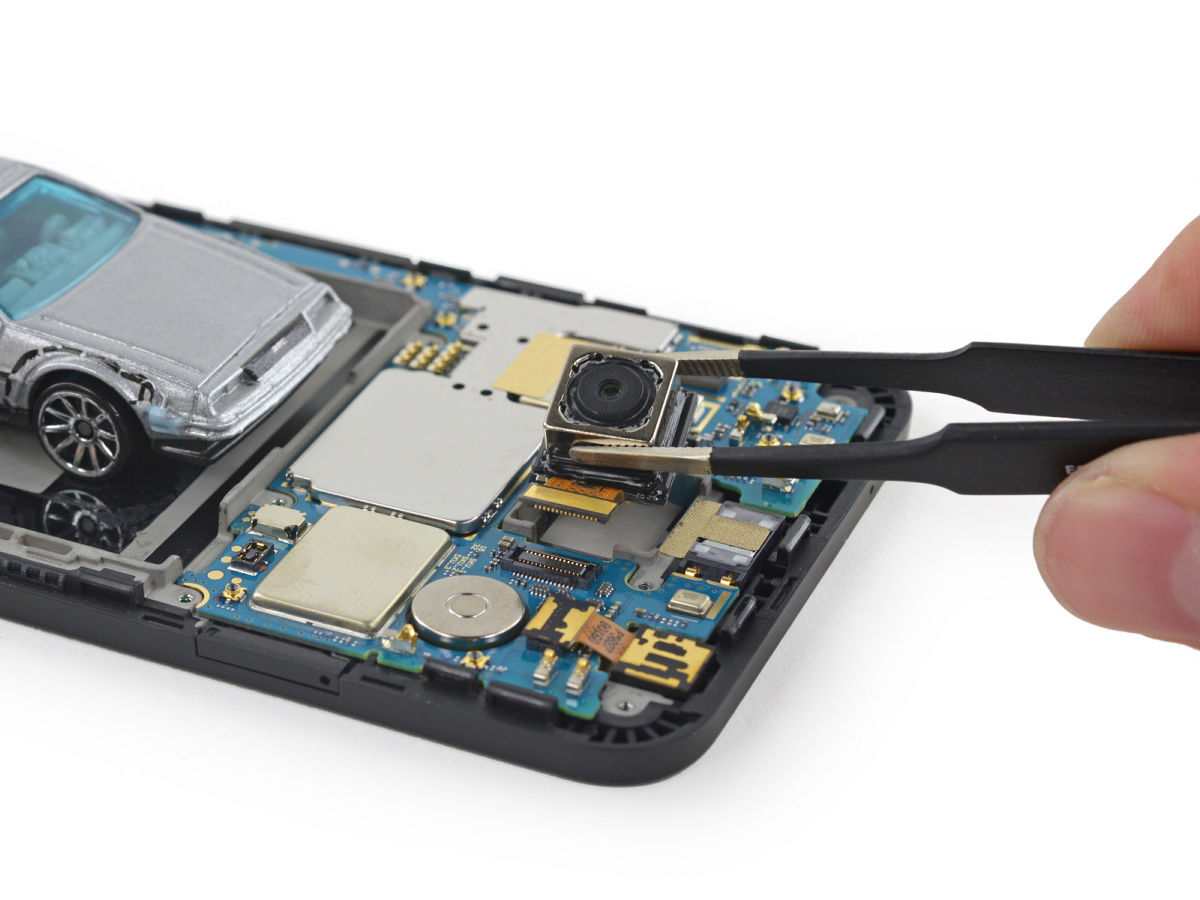
Rear camera adopting Sony's CMOS image sensor "IMX 377".
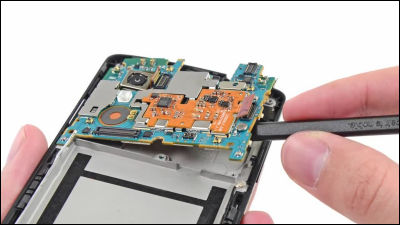
After that, if you remove the 5 million pixel front camera, it reaches the motherboard.
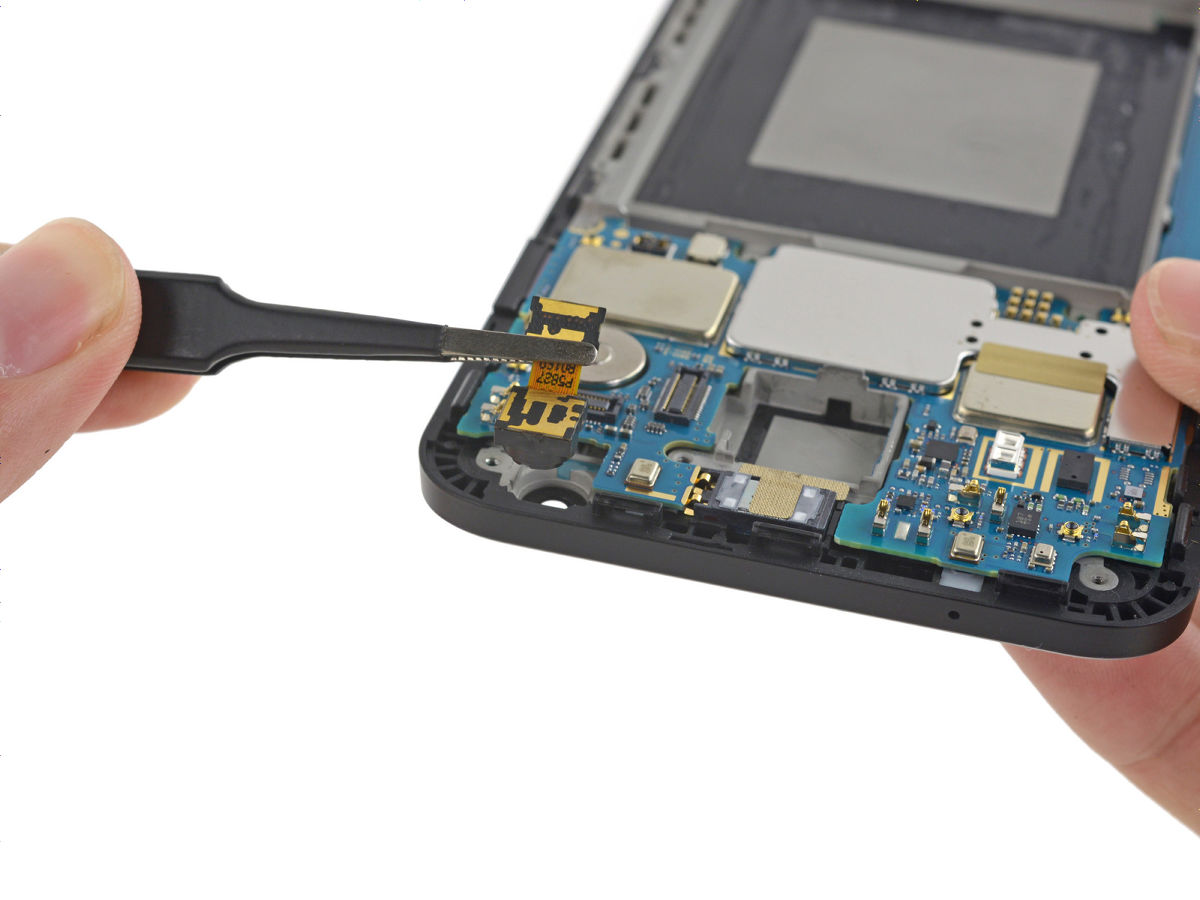
Remove the front camera and remove the motherboard.
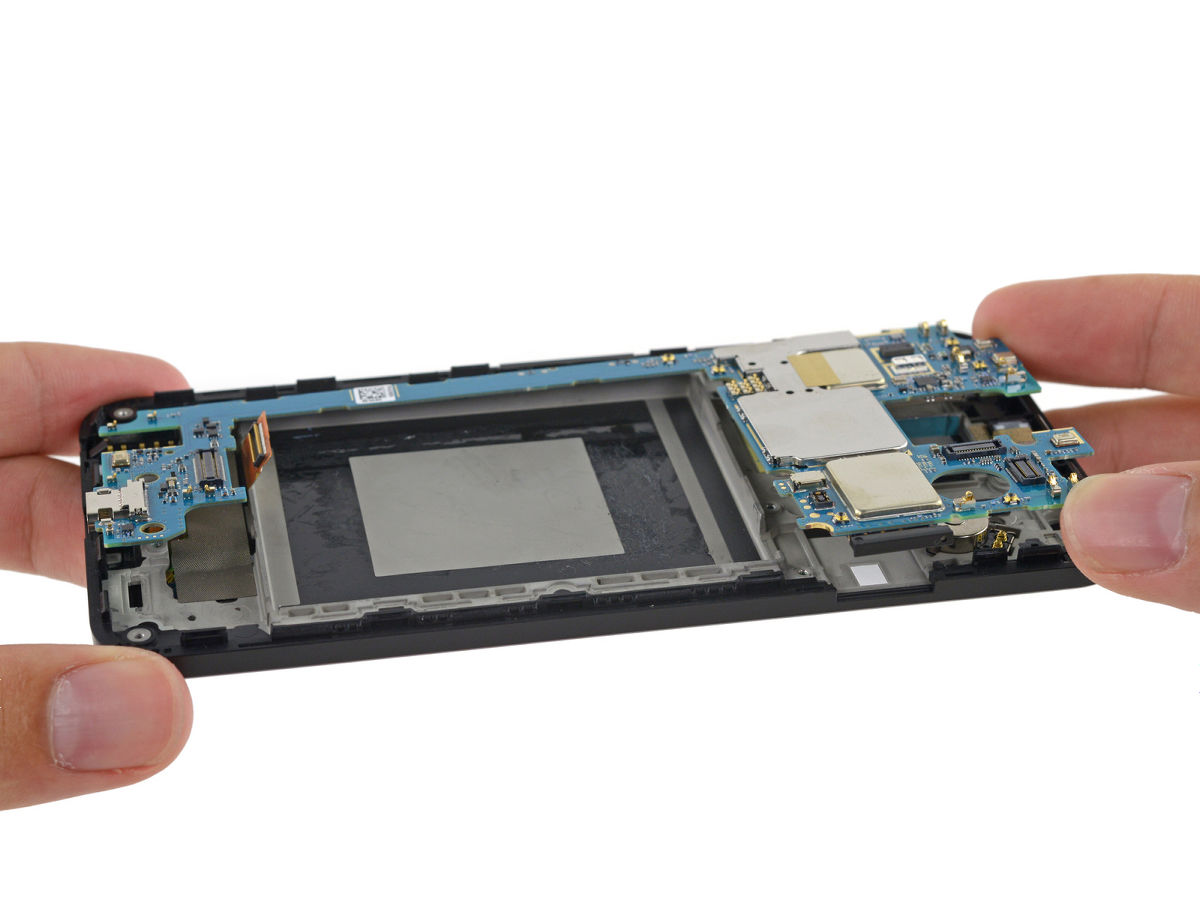
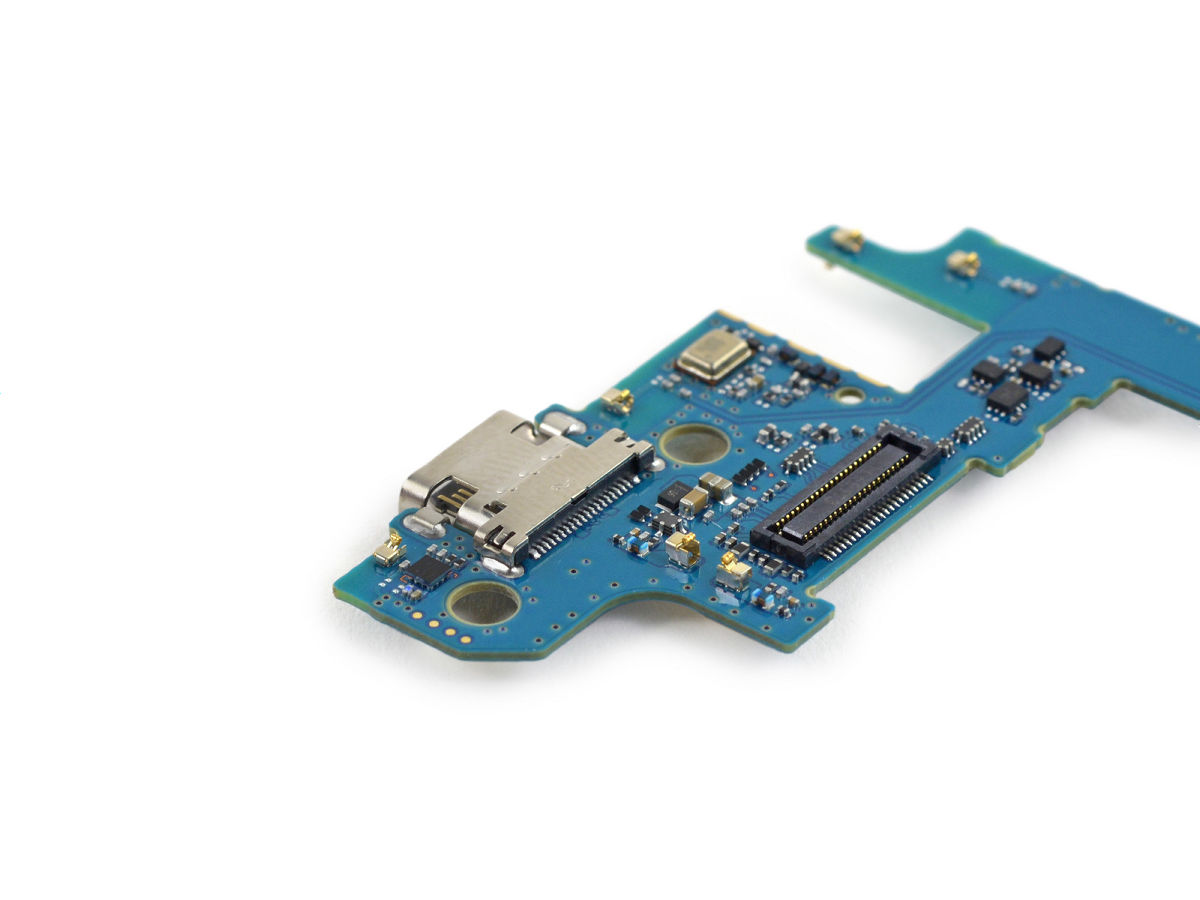
Since the USB Type-C port is soldered to the motherboard, once it is damaged it will be quite difficult to fix it yourself unless you have expertise.
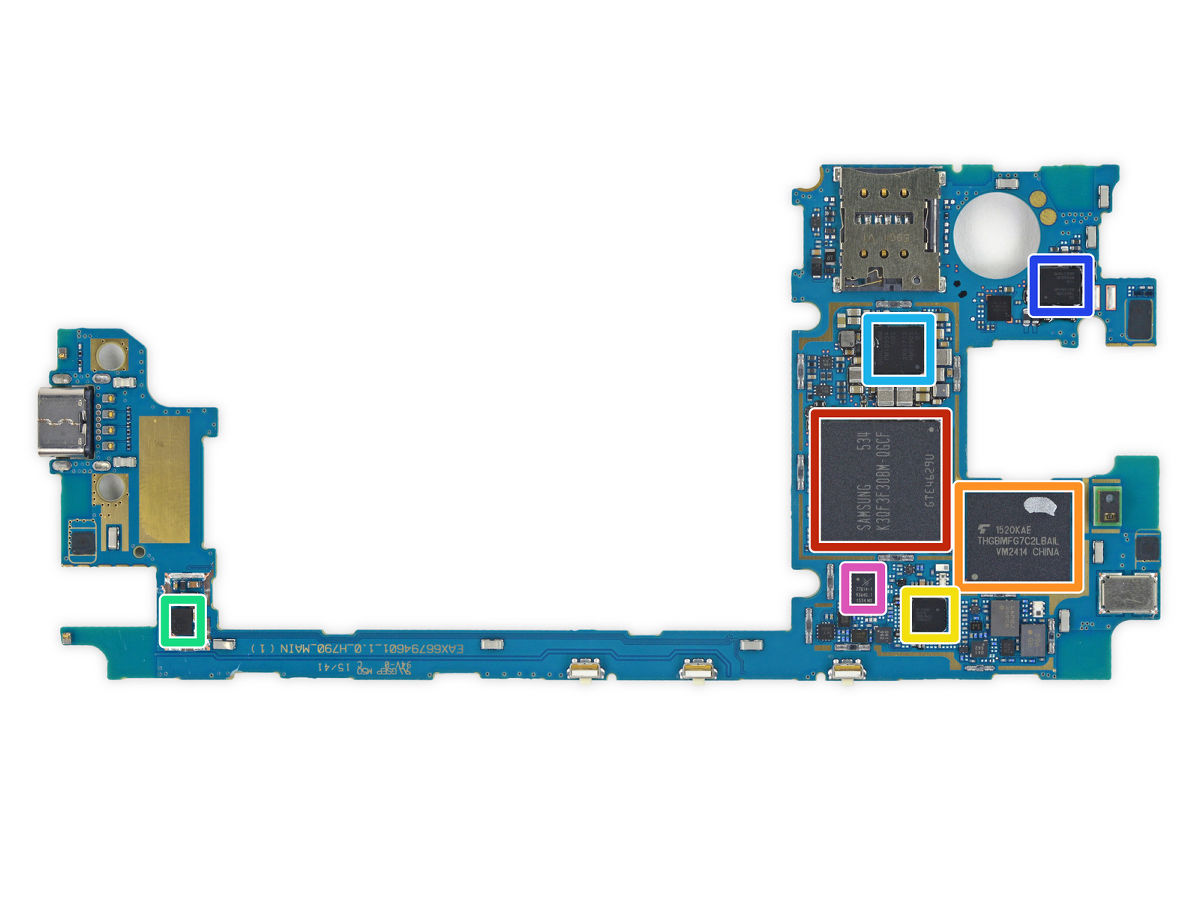
On the front side of the main body of the motherboard, Samsung 2GB RAM "K3 QF 3 F 30 BM-Q GCF(Red frame) "and Toshiba's built-in NAND flash memory" THGBMFG 7C 2 LBAIL (Orange frame) "and Qualcomm's LTE transceiver" WTR 3925 (yellow frame) ".
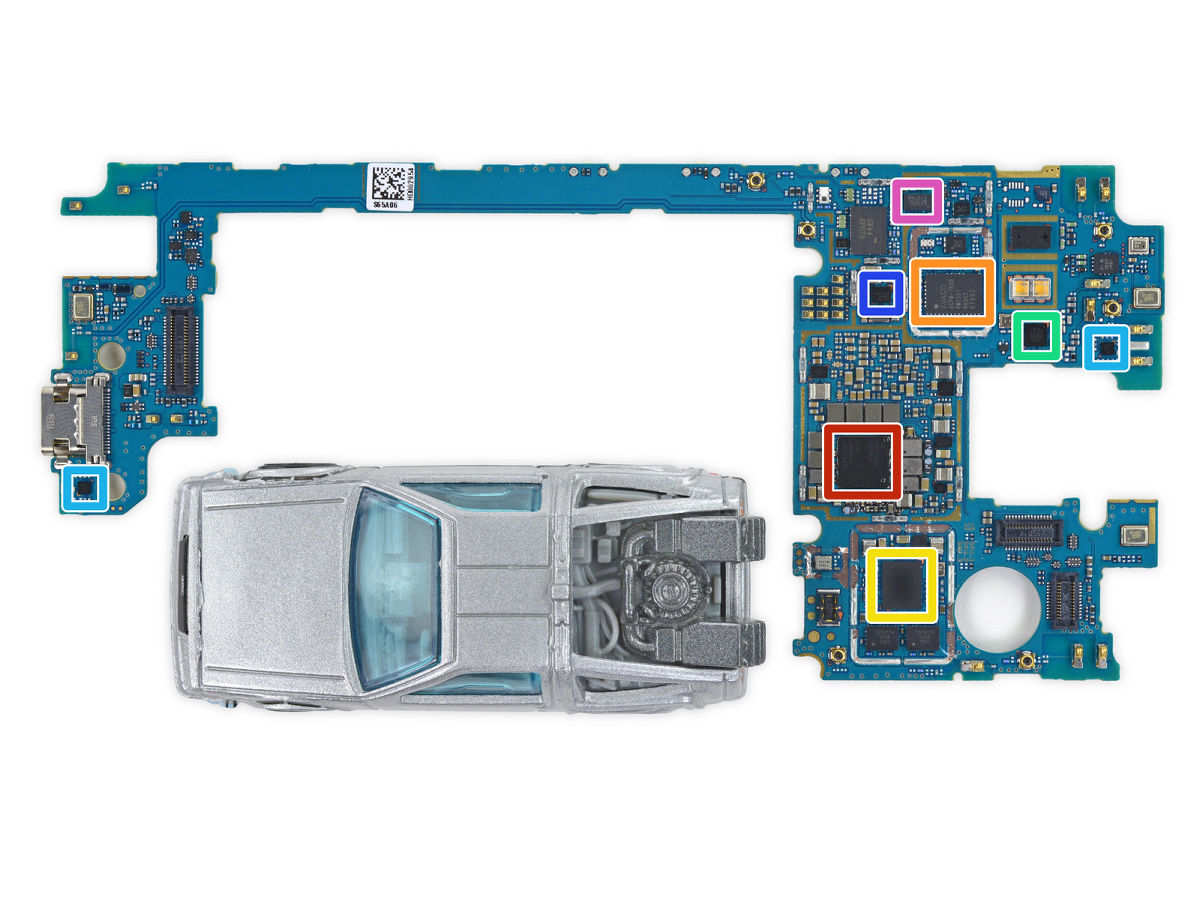
Mounted on the back side of the main unit is the same power supply IC manufactured by LG G4 and HTC One M9 as "Qualcomm"PMI 8994(Red frame) "and 802.11ac compatible Wi-Fi 2 × 2 MIMO combo chip" QCA 6174 (yellow frame) ", etc.
The one using the contact spring is adopted as the earphone jack, which seems to contribute to lower repair cost.
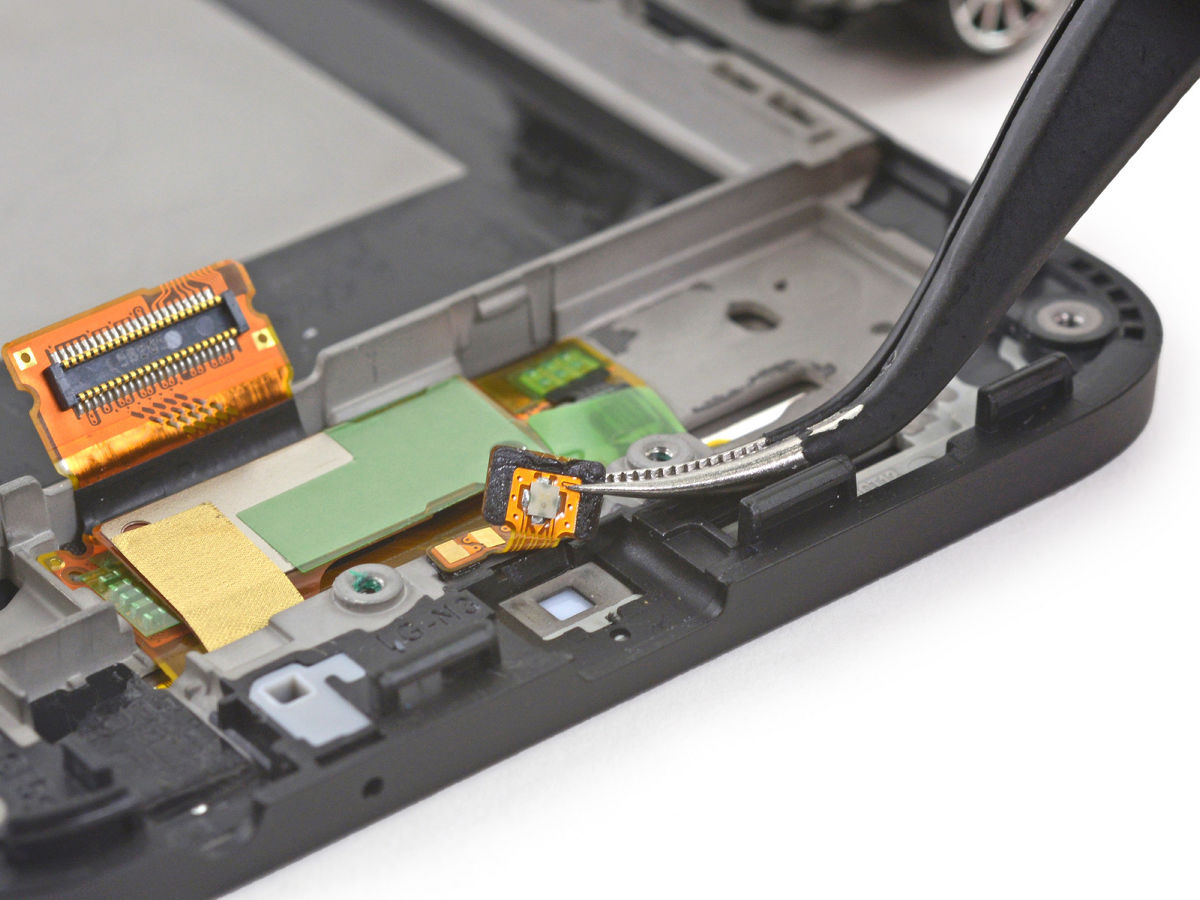
What is lifting with tweezers is a notification LED lamp installed inside the speaker grill.
This completes the decomposition of Nexus 5X.
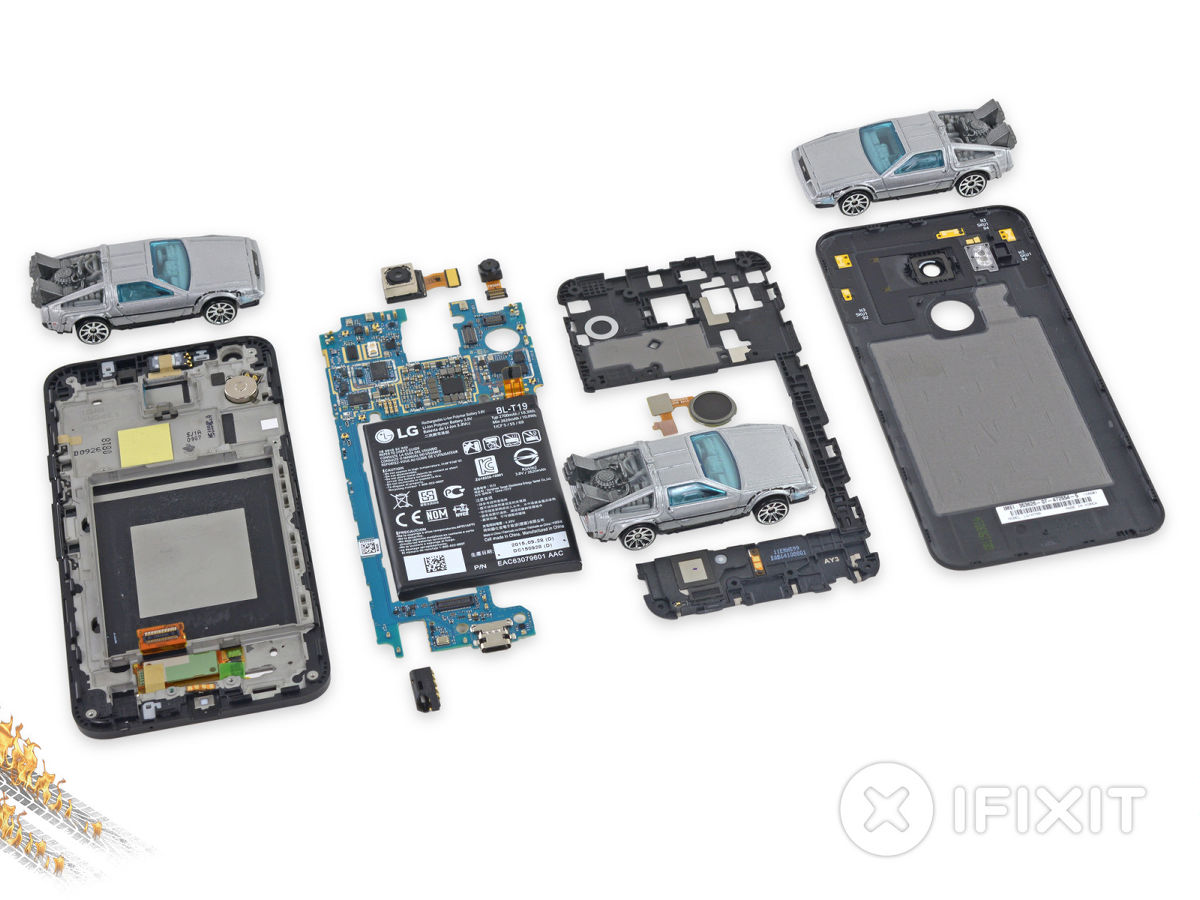
The iFixit estimated repair difficulty is close to 7.10 in 10 steps, the difficulty goes down, the reason that it is 7 "Most modules can be replaced individually" That screws are not special shapes "is mentioned.

Related Posts: