Dido Drinko is distributing realistic vending machines free of mini cans comes up when assembling by myself and pushing buttons
It is secretly prevalent to make own vending machines using cardboard etc. among elementary school students, and in the movie uploading handmade vending machinesThose with over 1,200,000 viewsIt is popular enough to exist. Against such a background, "There is only Daido Drinko to make a" paper craft vending machine "at a beverage maker!Dido DrinkoIt was "made by"Paper craft vending machine"is. Without using scissors and glue, you can create your own vending machine that faithfully reproduces the authentic Daido Drinko vending machine.
Daido Drinko Paper Craft Vending Machine Production Experience Application Form | Daido Drinko
https://www.dydo.co.jp/papercraft_entries
You can check the state of playing with a vending machine actually handmade from the following movie.
I played with a vending machine that assembles Dido Drinko's cardboard - YouTube
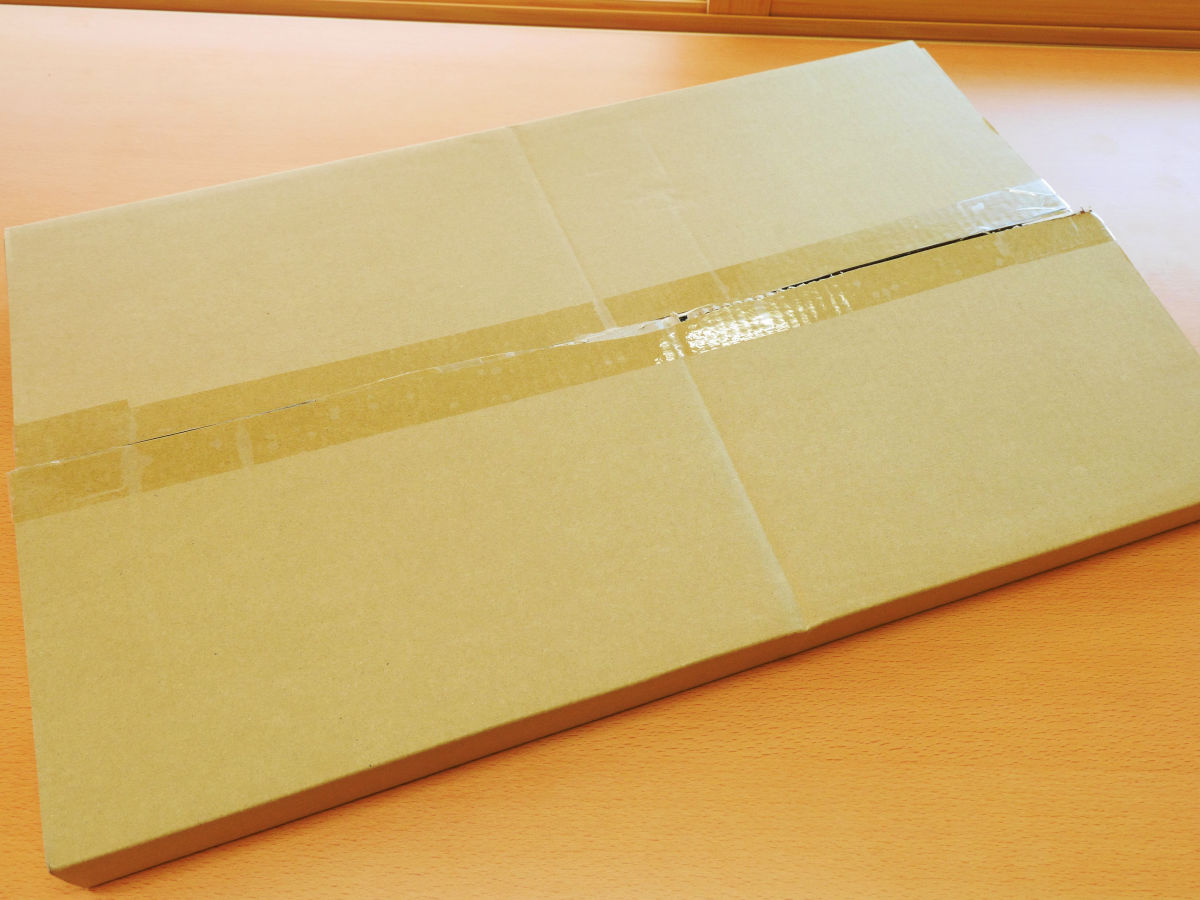
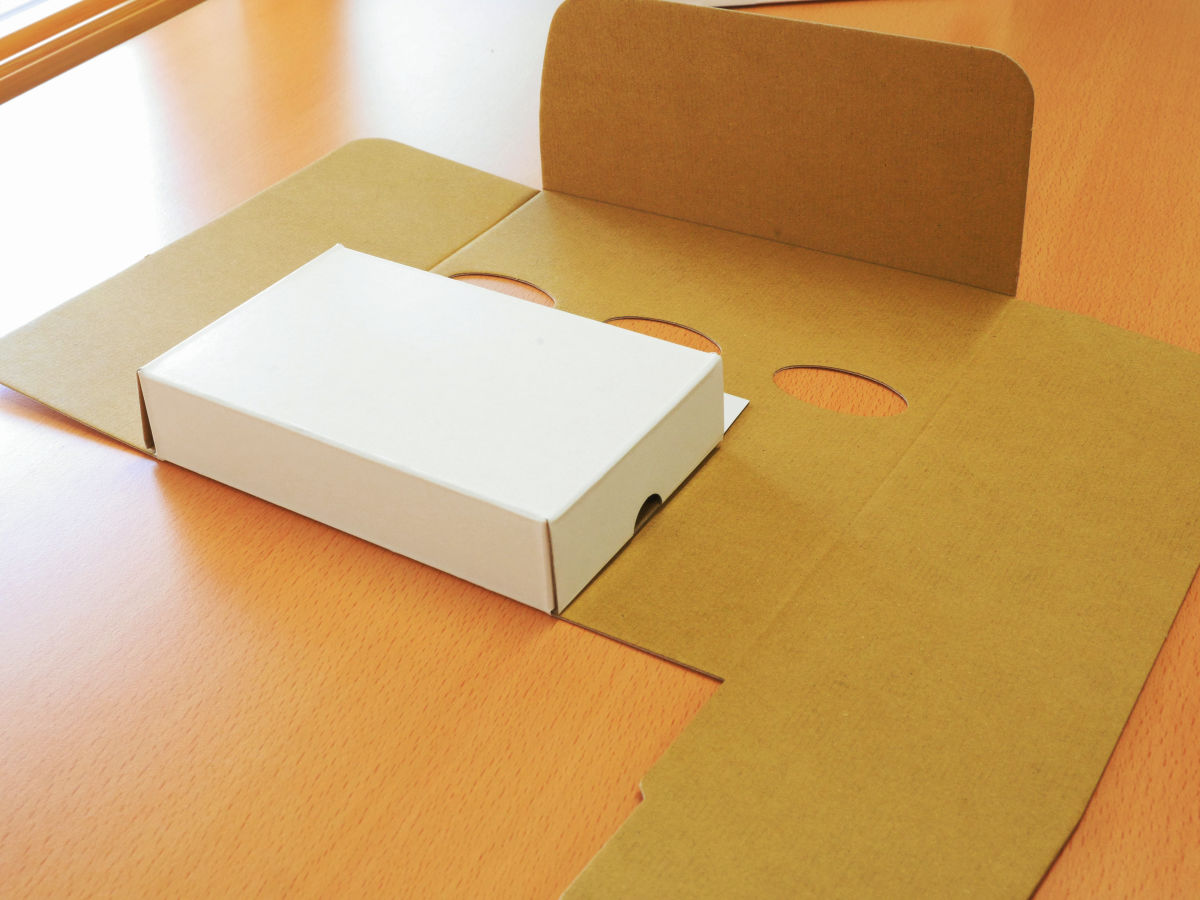
Paper craft vending machines came in flat cardboard boxes.
Taking out the contents looks like this. Inside the box there was a paper with cardboard parts, instructions on how to assemble, "Where did the come-from come from?" A vending machine's mechanism was written.
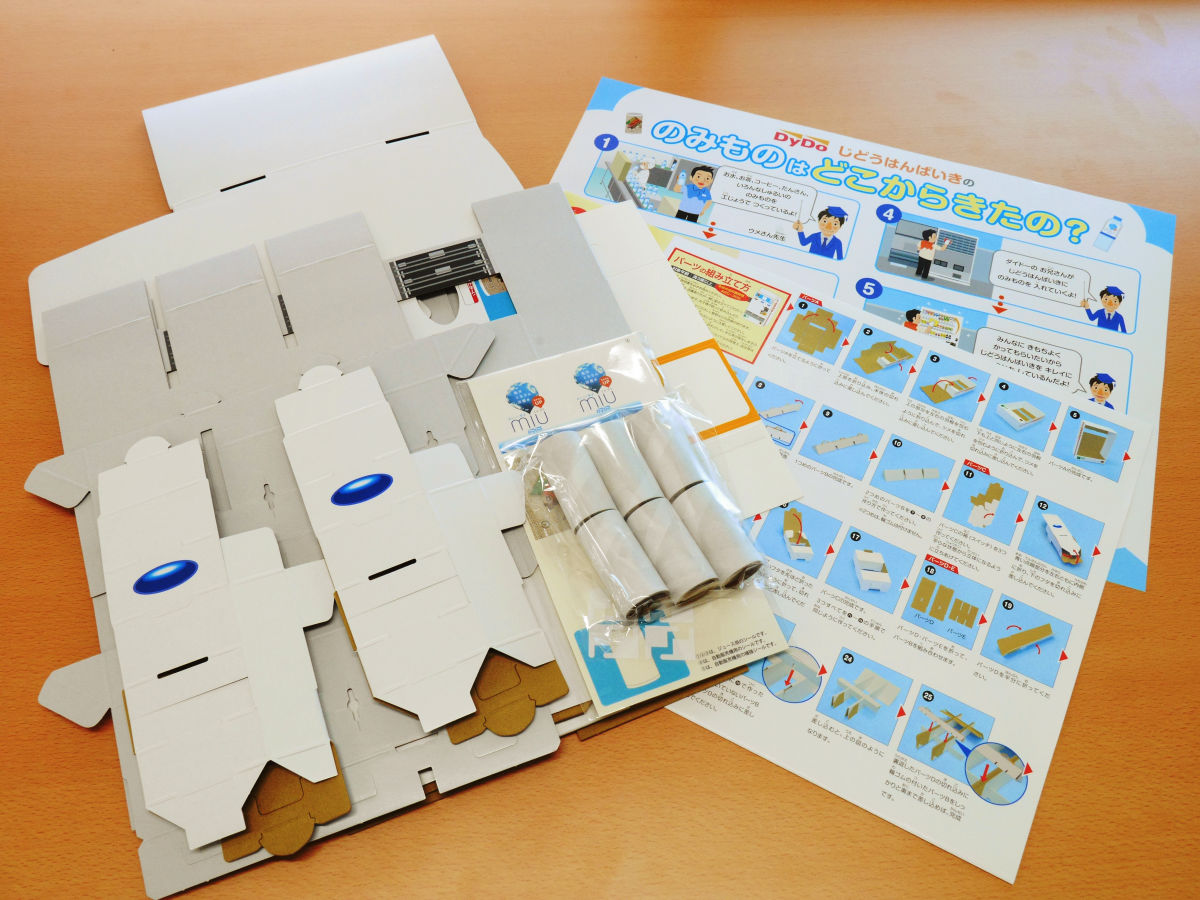
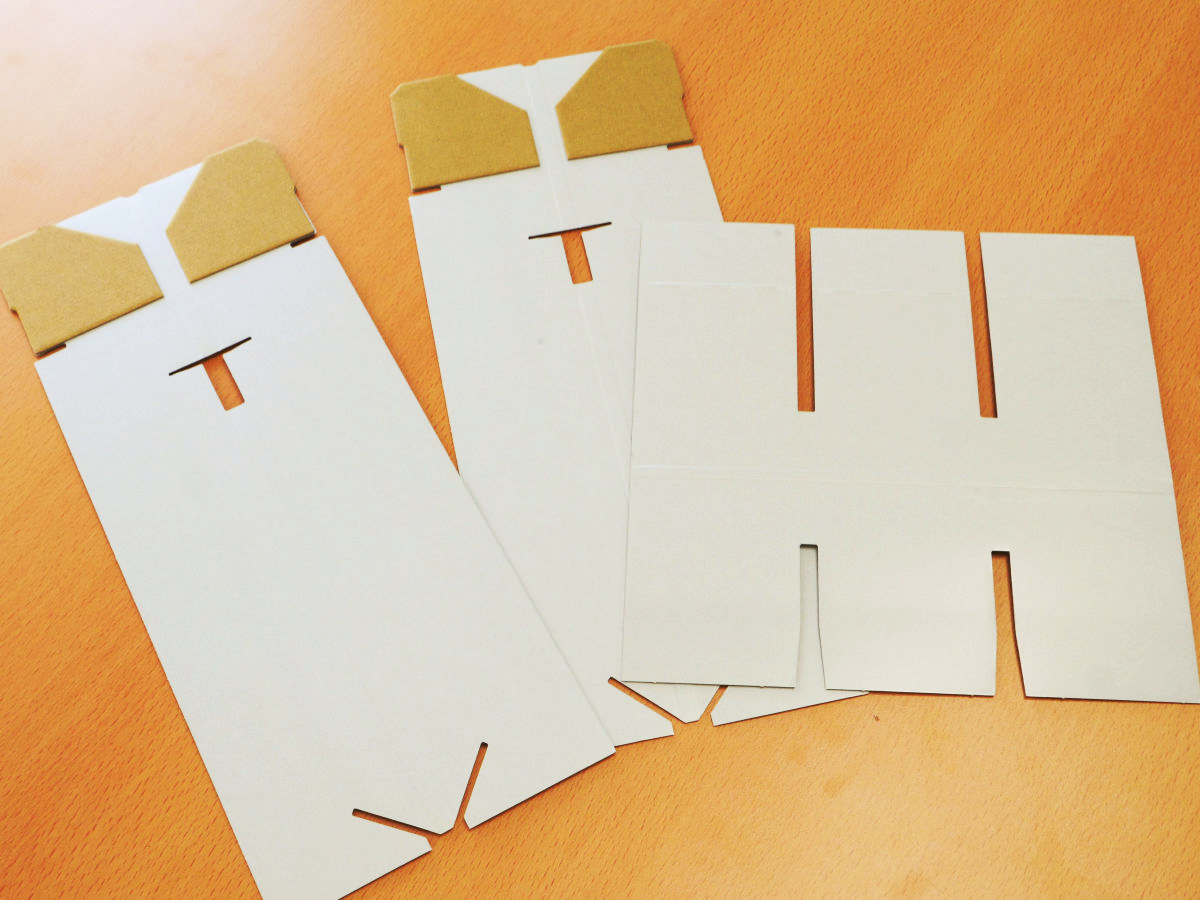
The cardboard parts are divided into seven types from A to G.
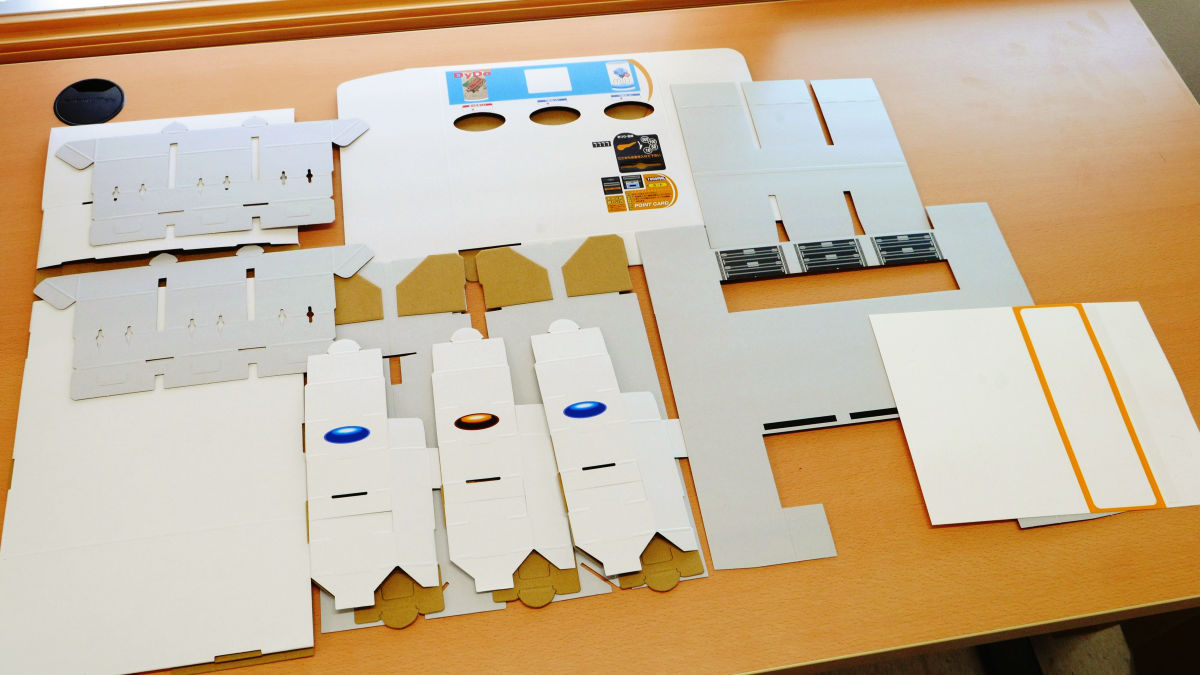
Each part has a notch and a claw, it folds thick paper and solidifies and sticks by inserting the claw into the cut, so it is possible to complete a vending machine without using scissors or glue.
This is the instruction manual. There are 43 steps in the assembly process of the main body, it is necessary to make a mini can and make a top board, so the work is somewhat heavy.

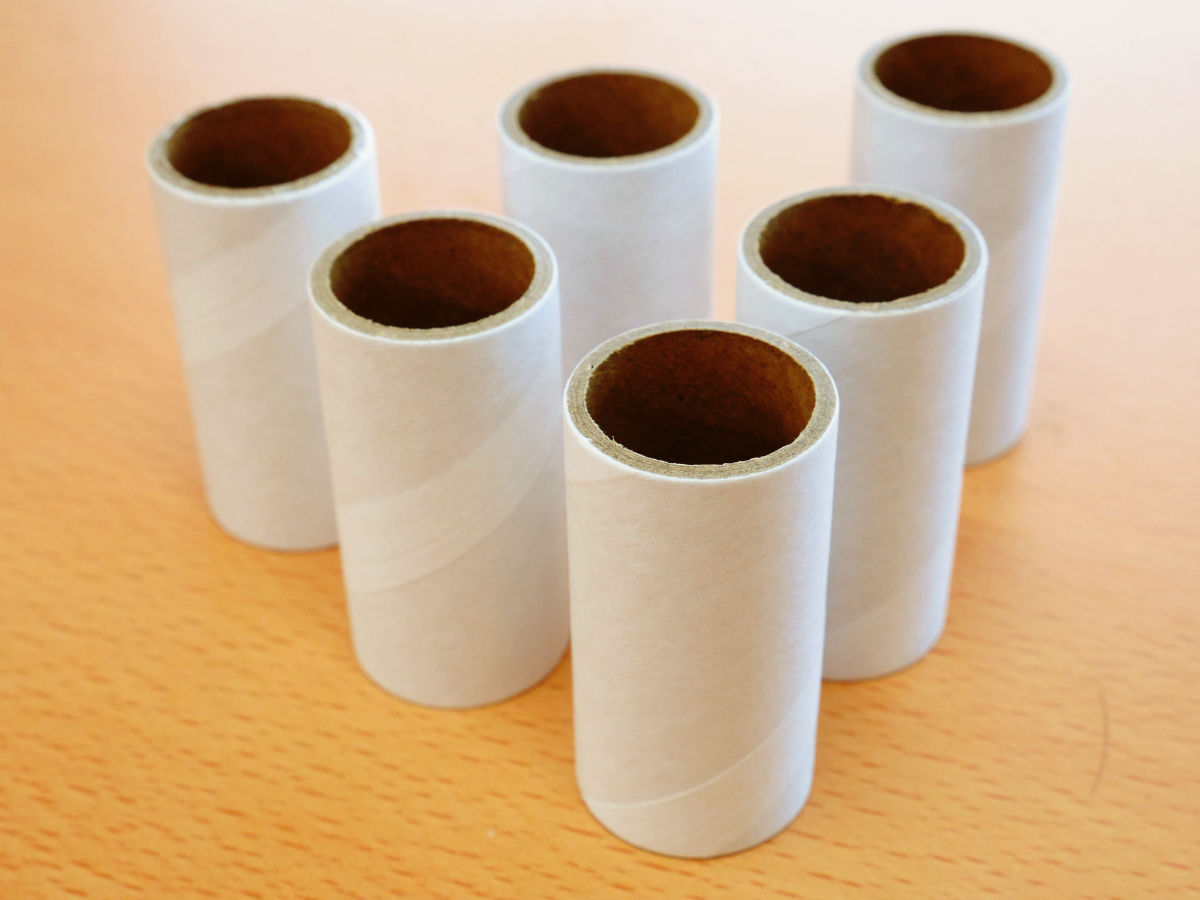
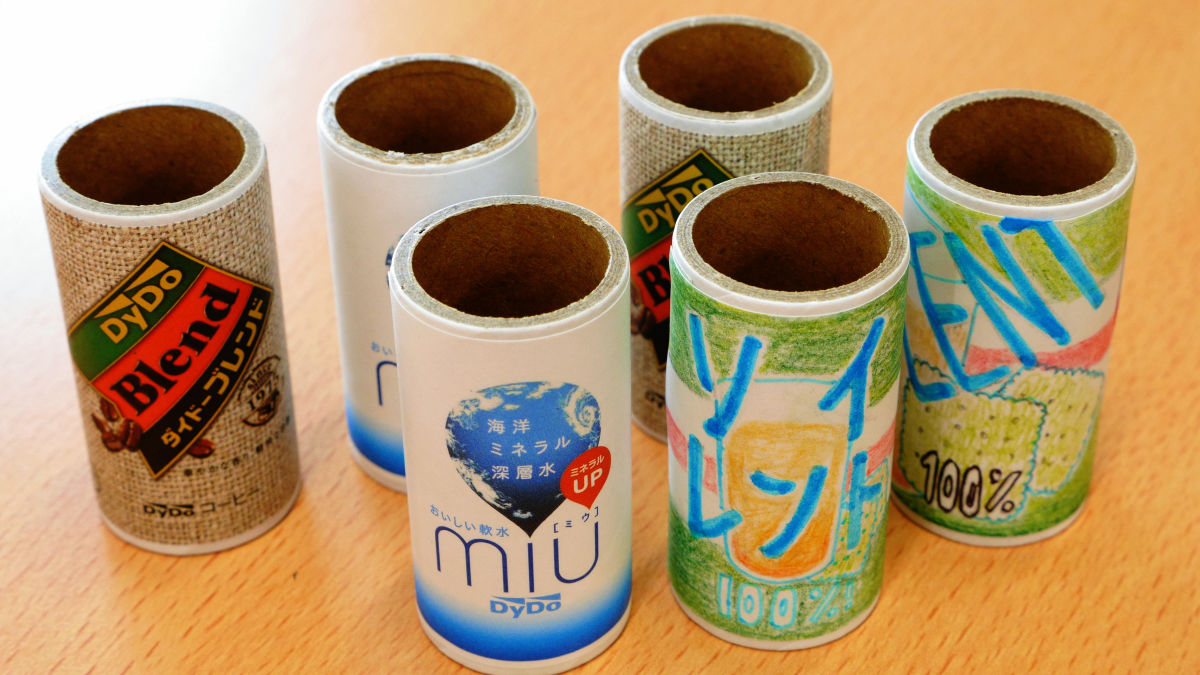
Instead of putting real canned juice in vending machines, we will put the package in a cylindrical mini can.
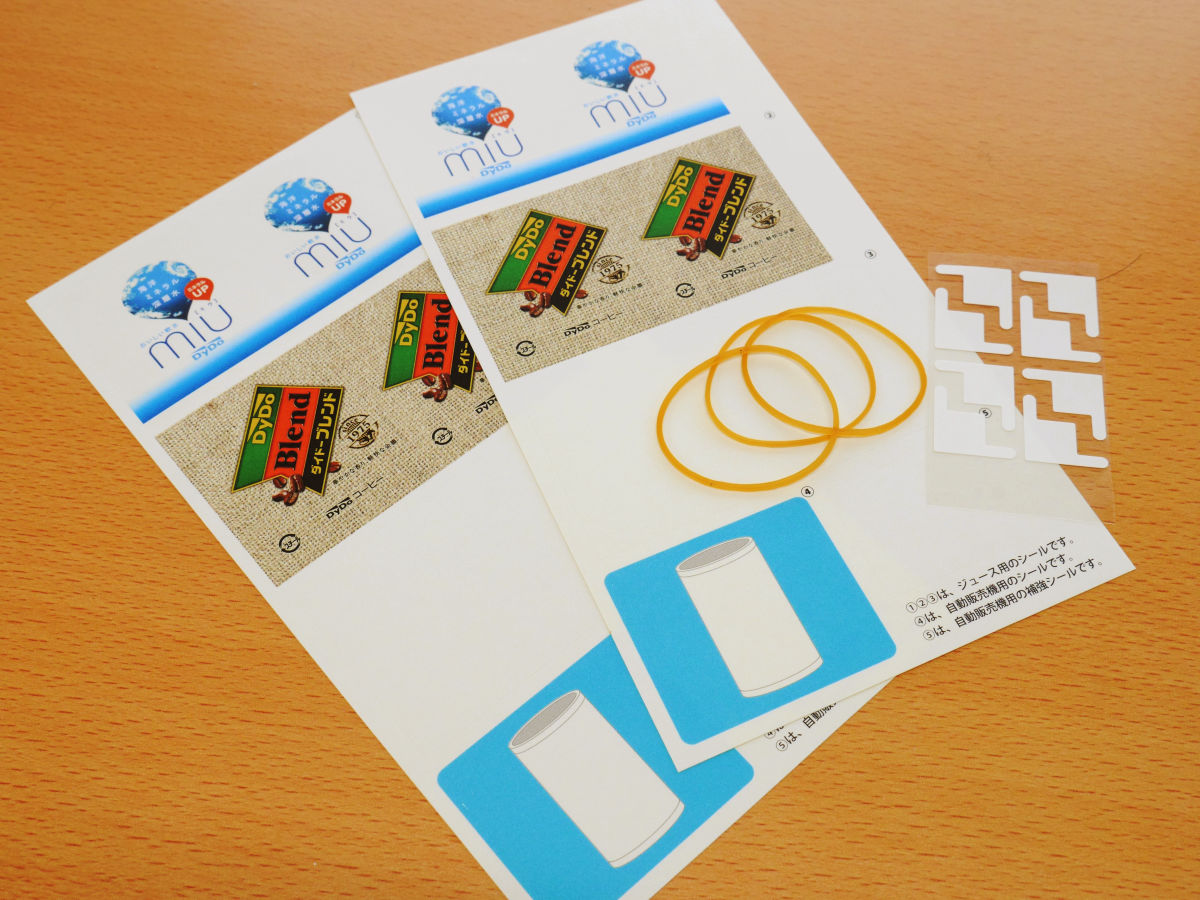
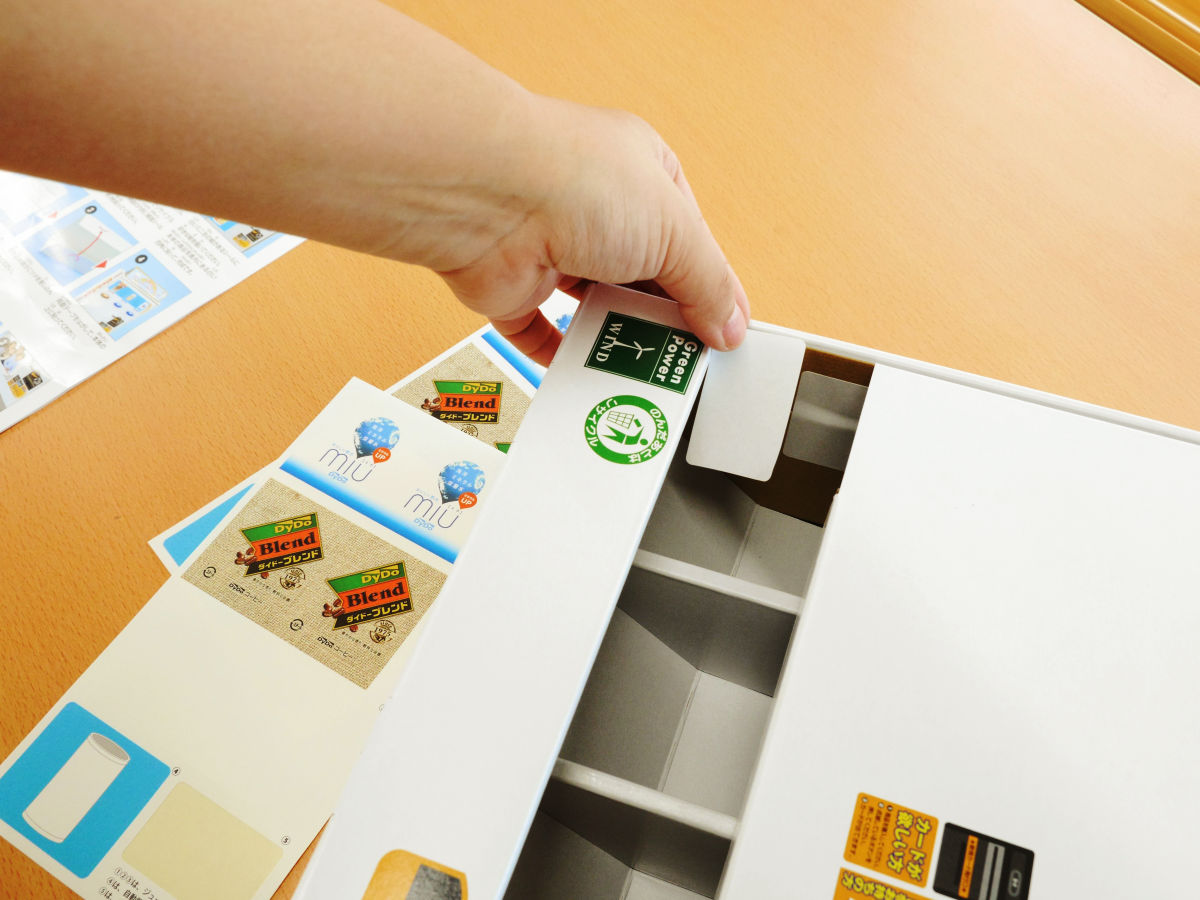
This is a seal that becomes a package. Daido Drinko's "Miu"When"Daido blend"In addition to a white seal that allows you to design your own package. In addition, it also comes with three rubber bands used for assembly and a sticker for attaching photos to the body later.
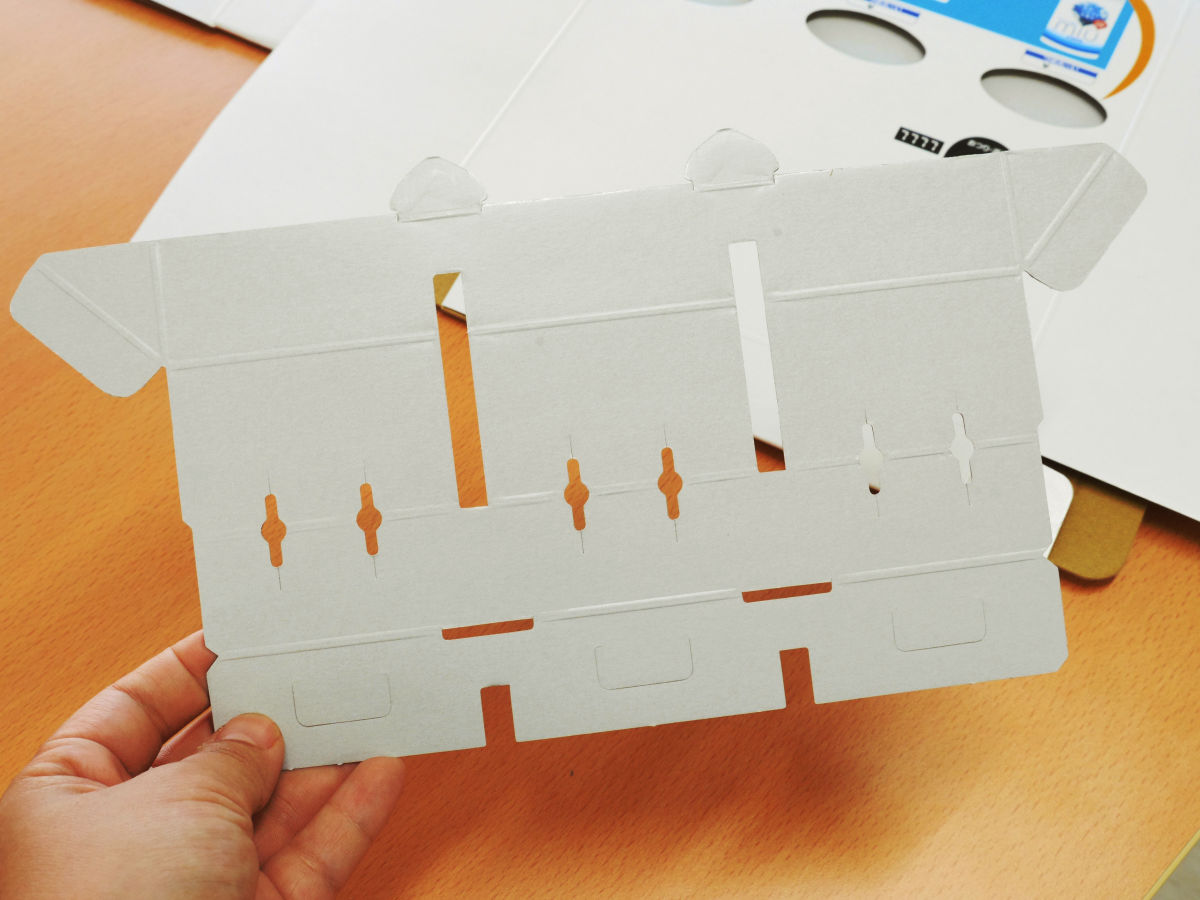
So we will assemble parts A at once.
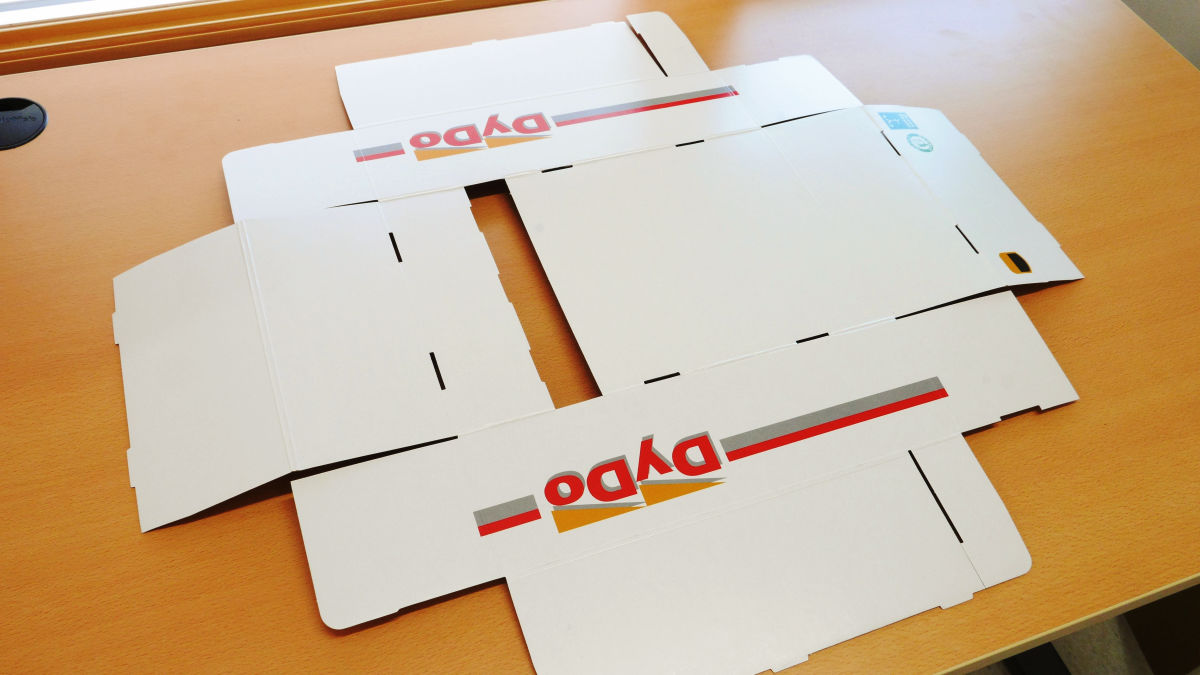
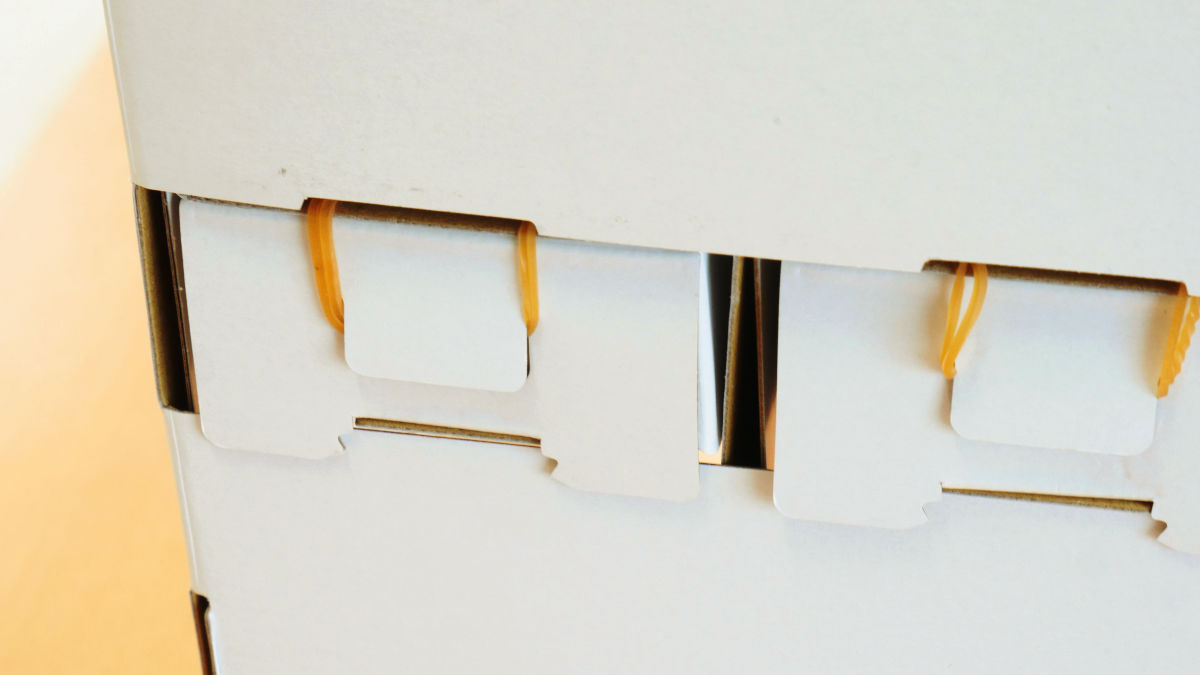
Since all the cuts necessary for assembly are contained in each part, folding the cardboard along the fold line, just by putting the claw into the notch, it became a box shape.
This is the outer frame of the vending machine.

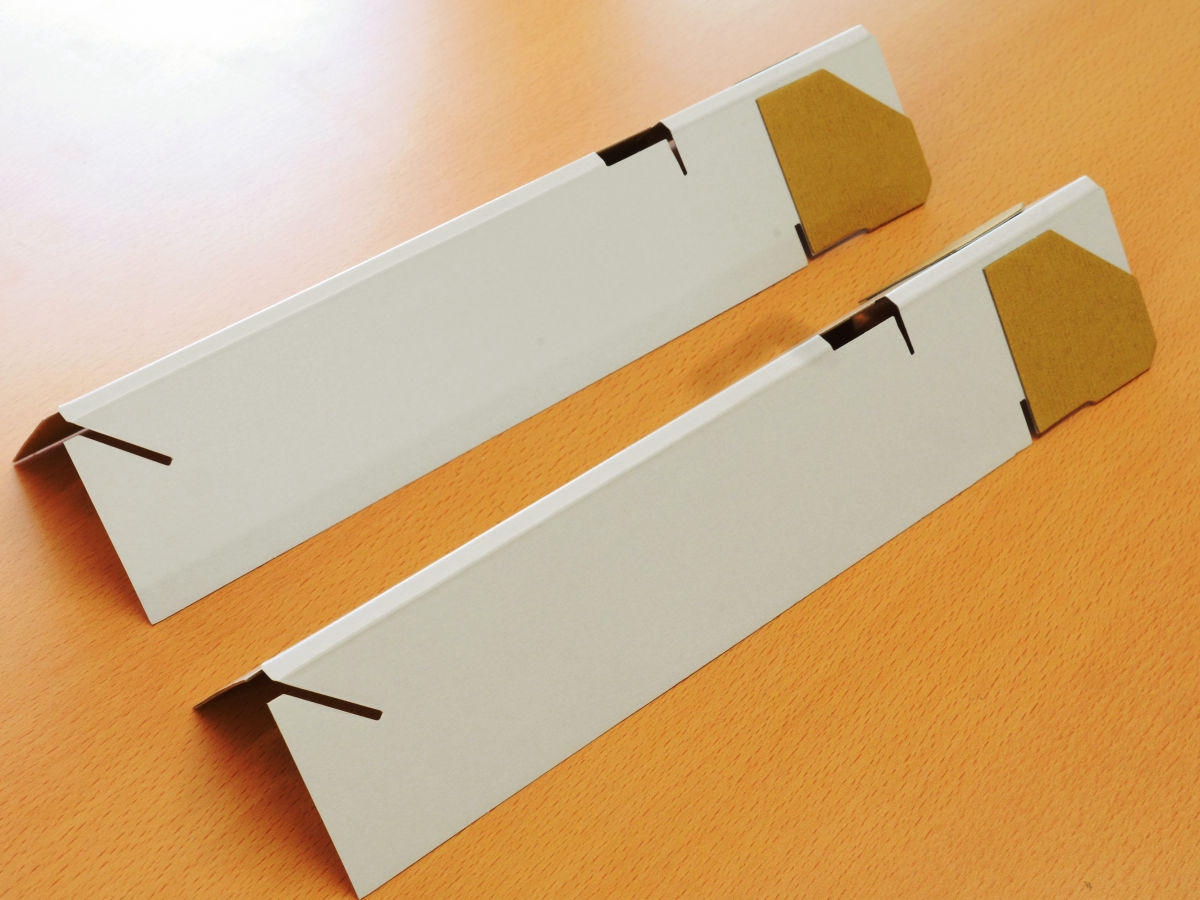
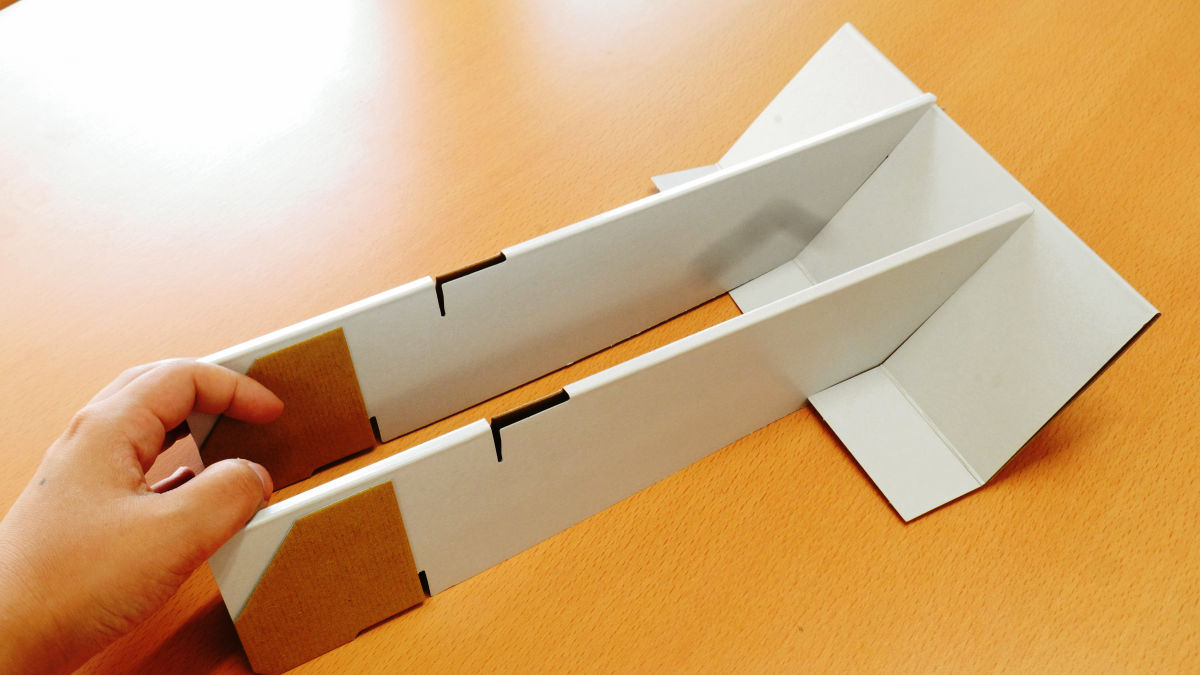
I will make more and more. Parts that can not be considered as to what parts it will be B.
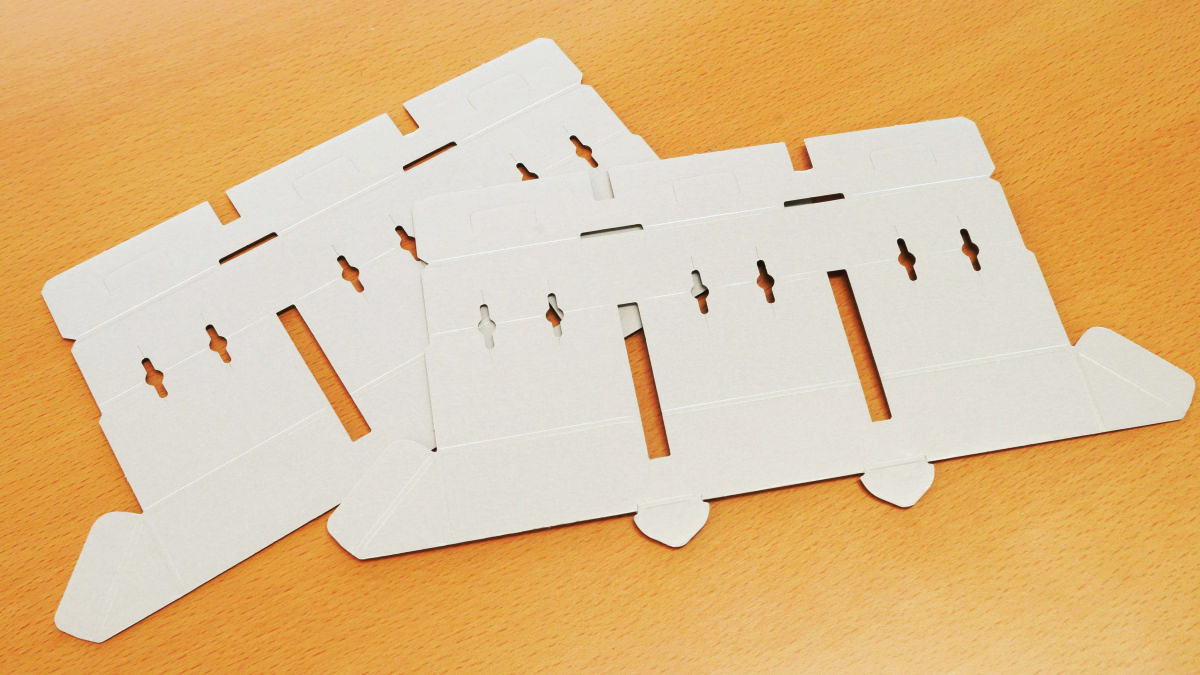
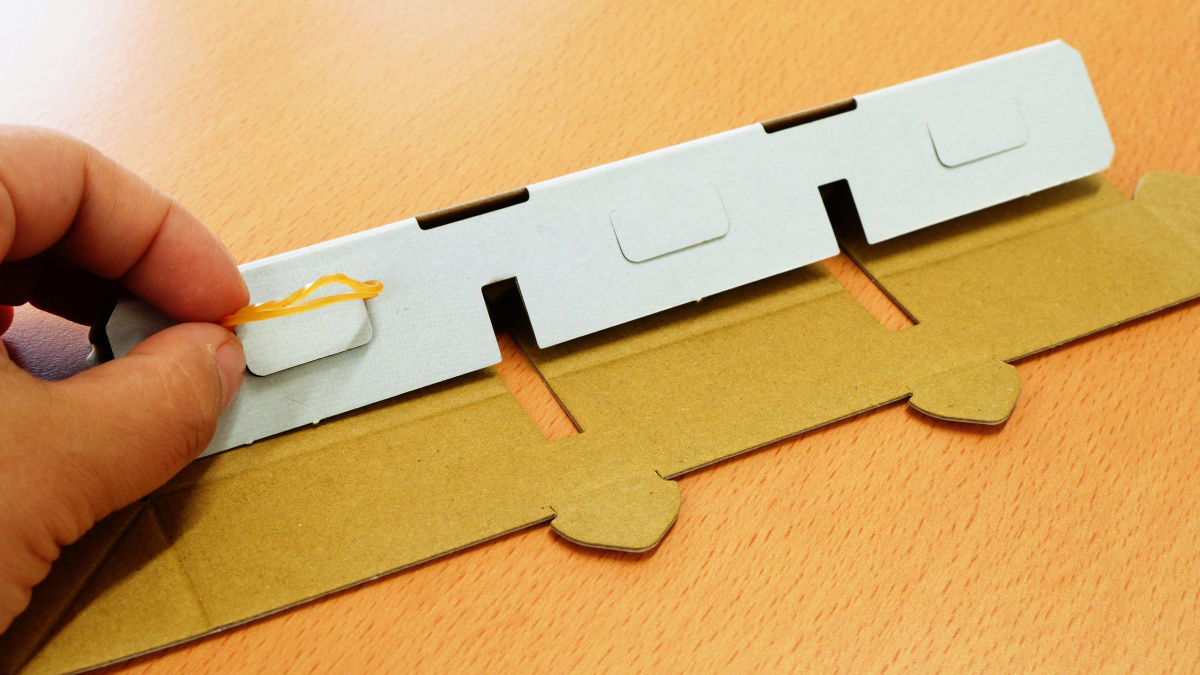
This is a mountain fold to make a triangle, hang a doubled rubber band on the hook part.
Folding side or both ends makes it look like this.
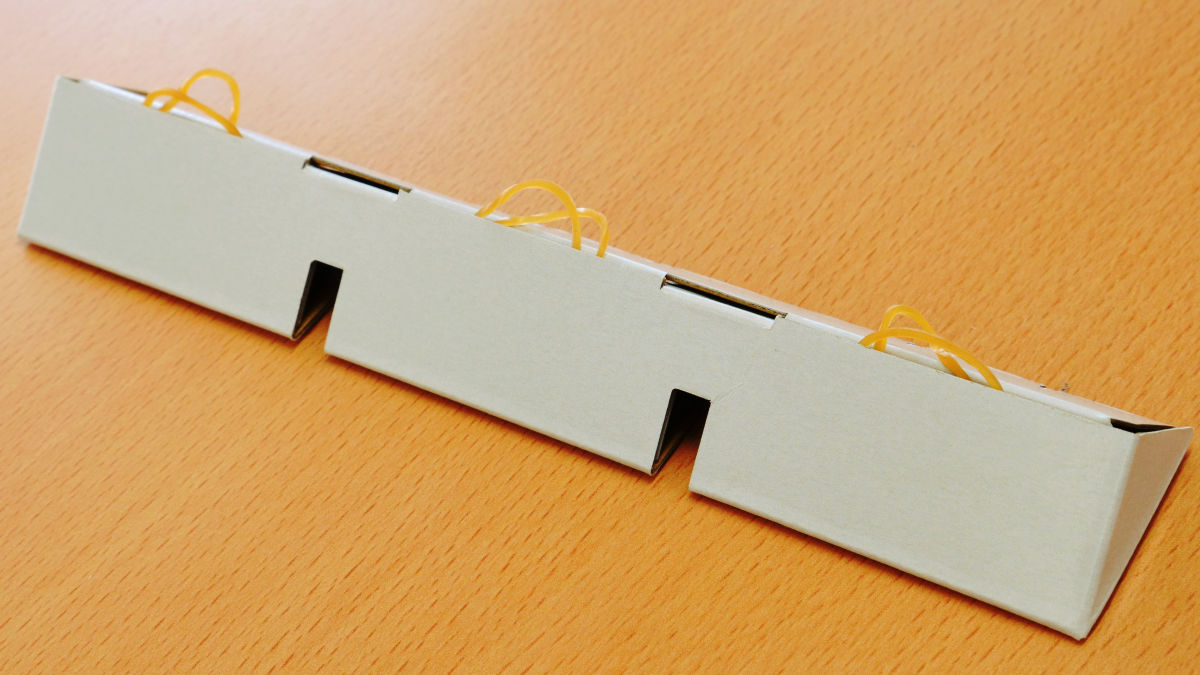
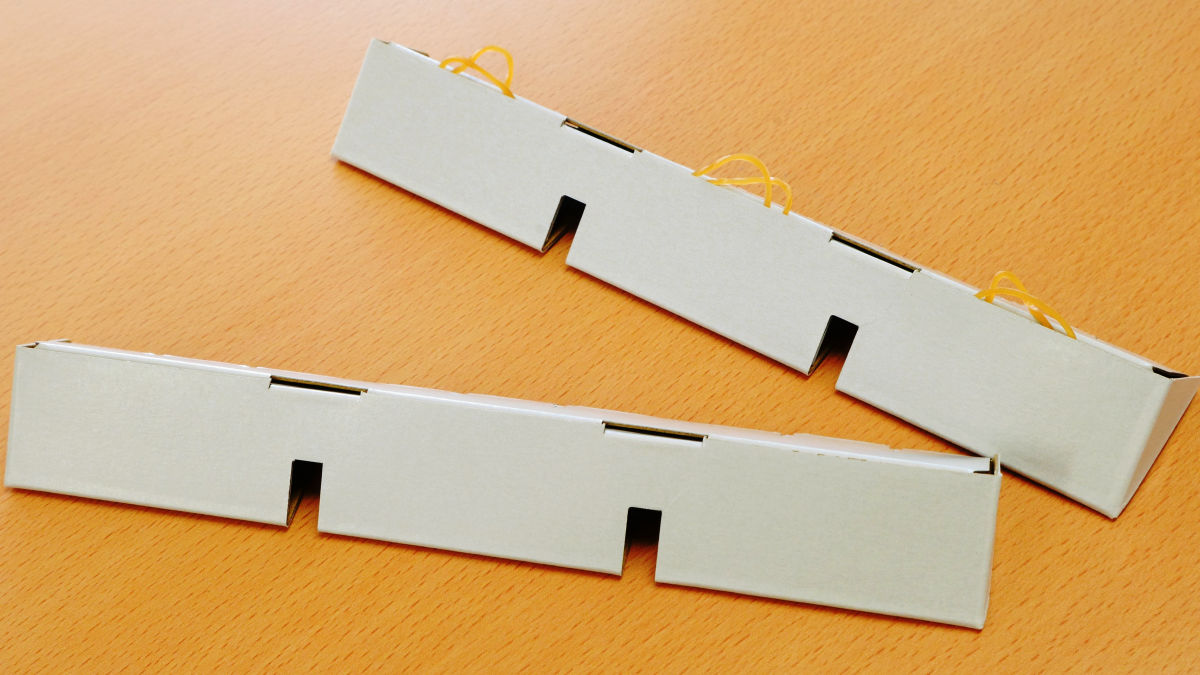
There are two parts B, one with rubber, the other with no rubber parts.
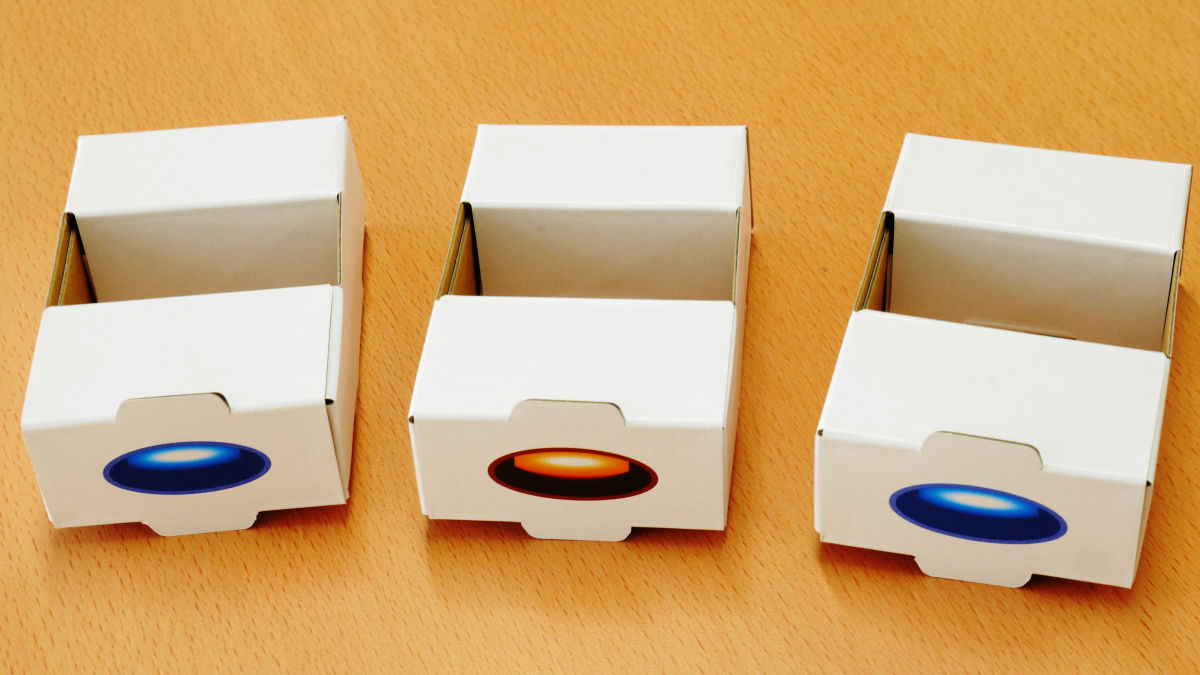
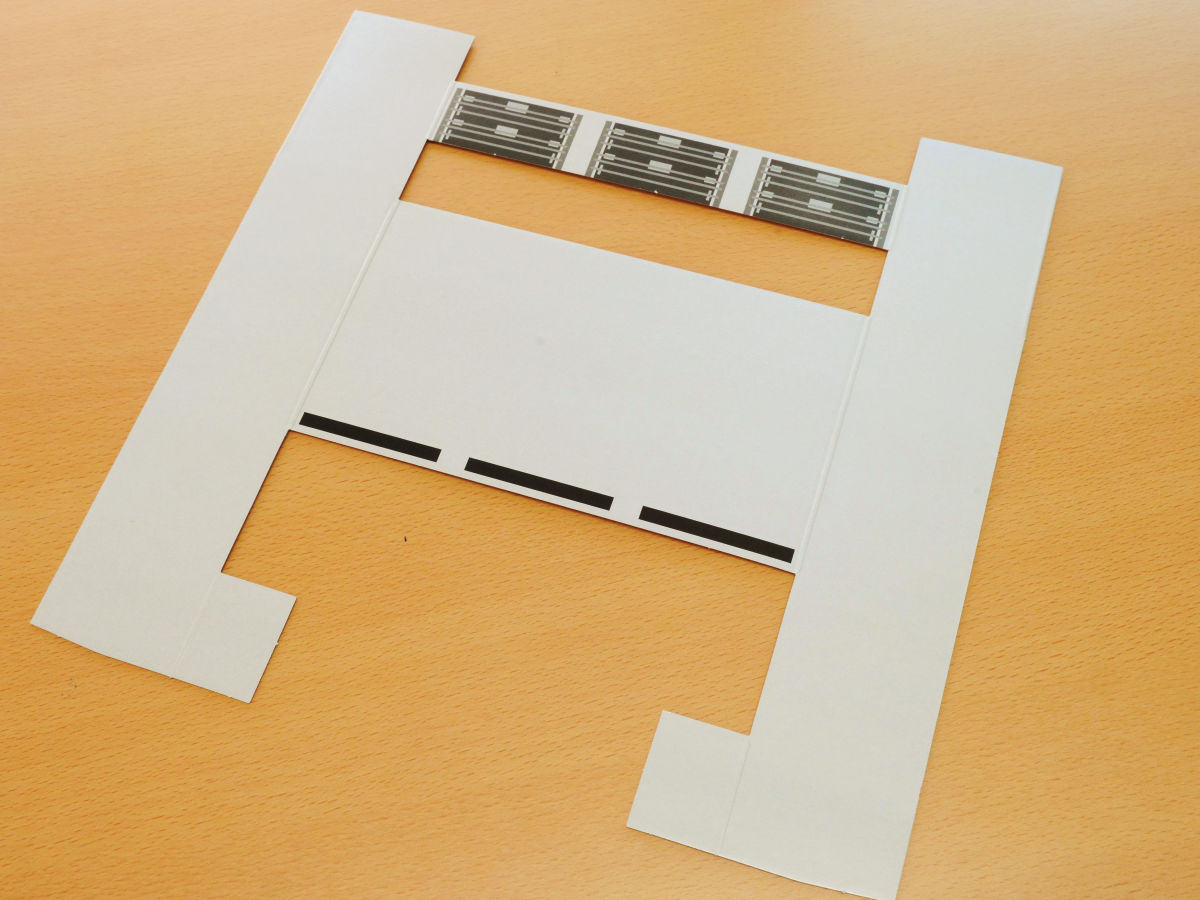
Next part C. This illustration shows illustrations of some familiar buttons.

Also assemble this in a box ... ...
Fold the middle piece of paper inside and make a hole.
Completion of button part of vending machine. When the button is pushed, the can falls down through the hole and is a mechanism.
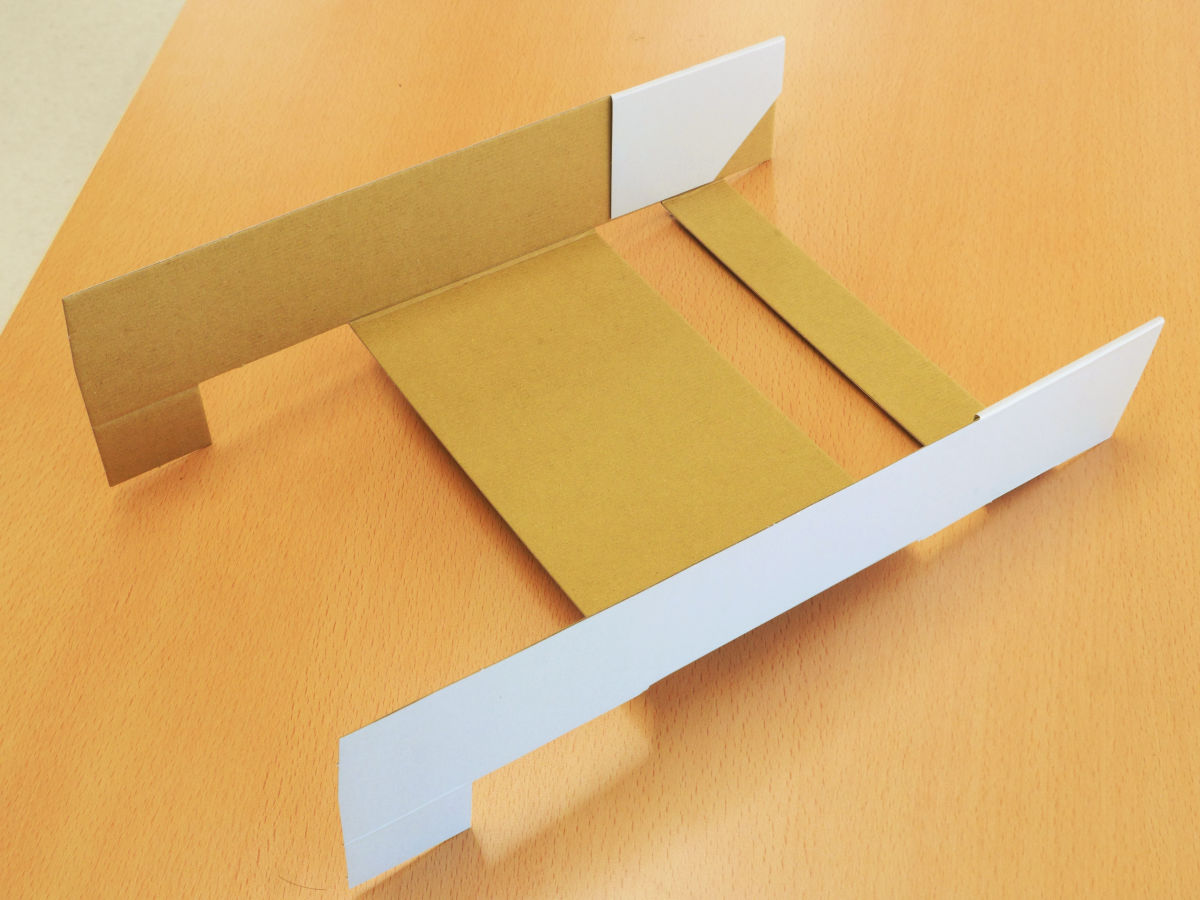
We will assemble parts D and E.
Two parts D are mountain folded.
Combining the parts E folded in half and the parts D ......
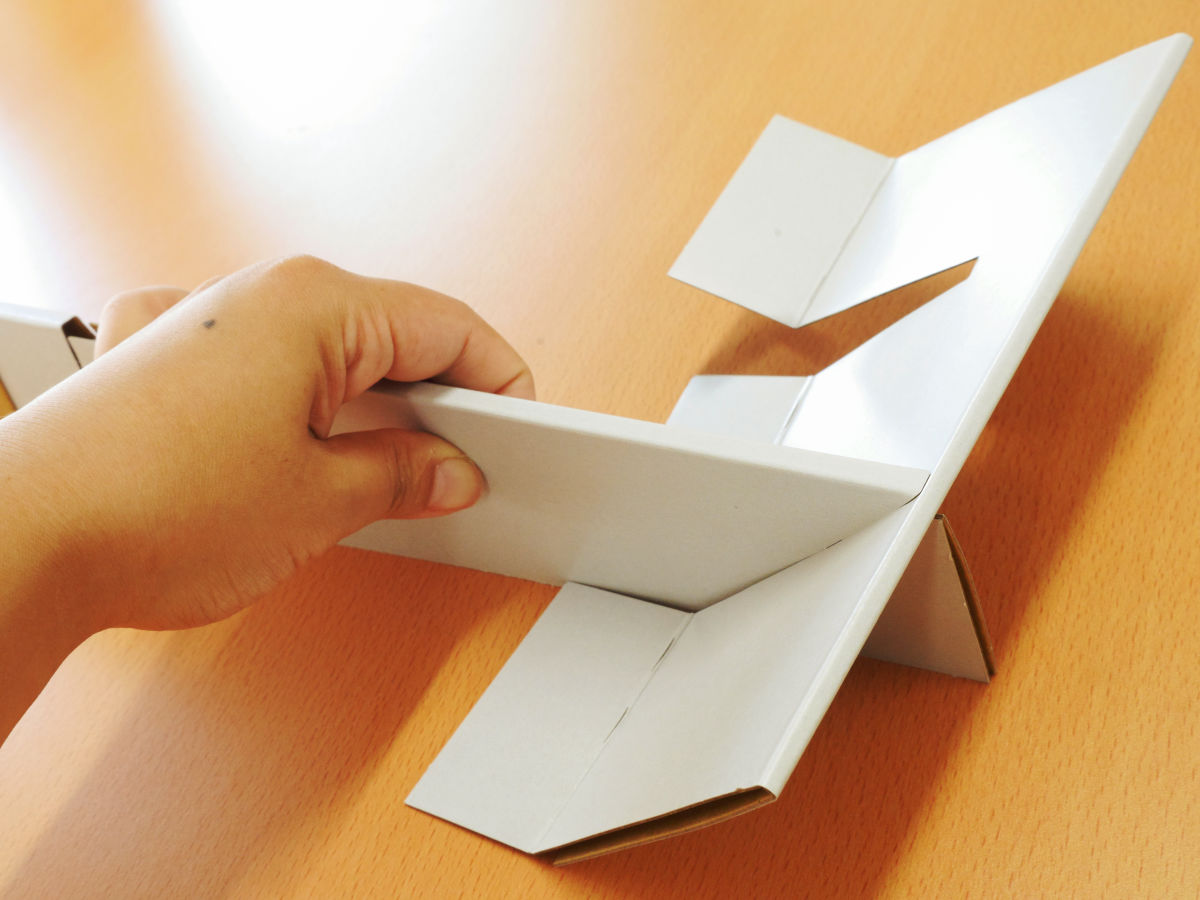
I will make this state.
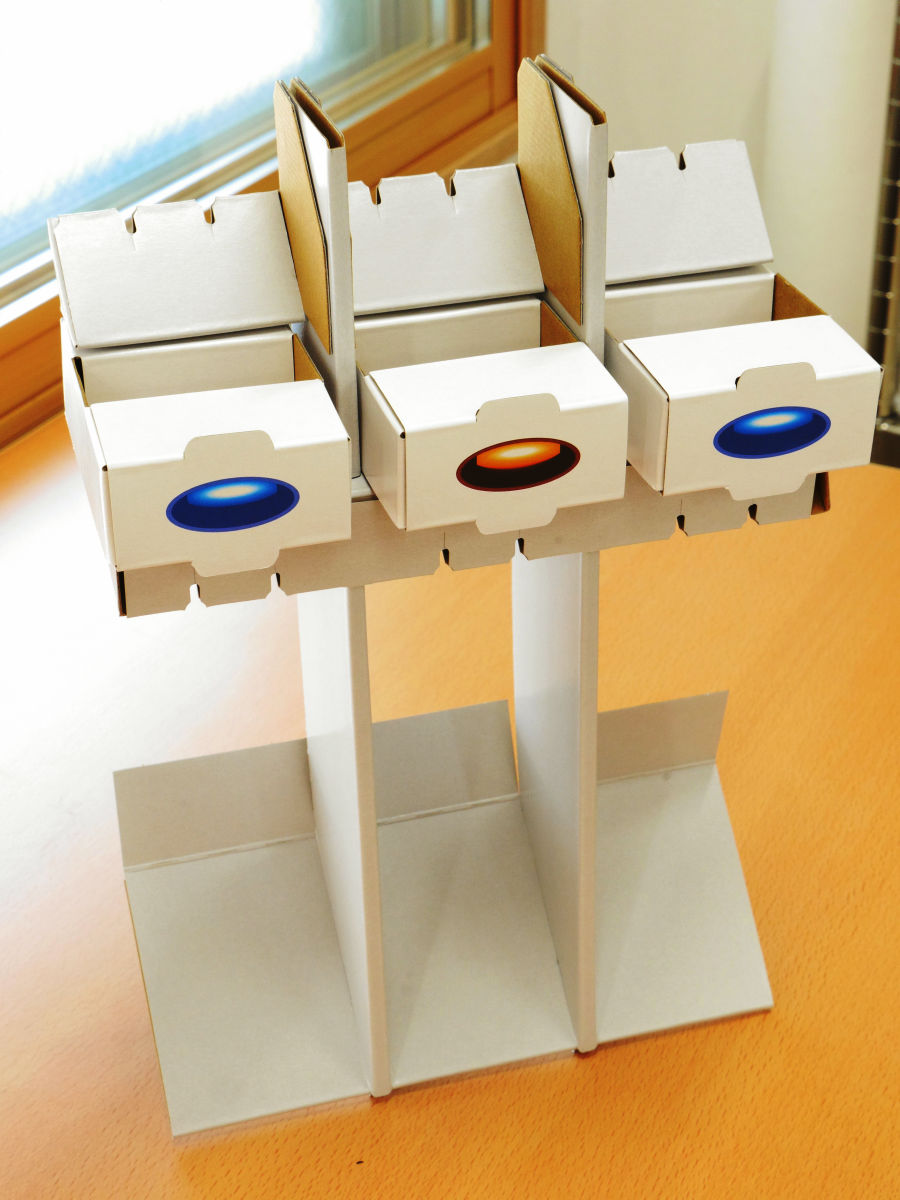
Here we insert the two parts B we made earlier in cross shape with part D.
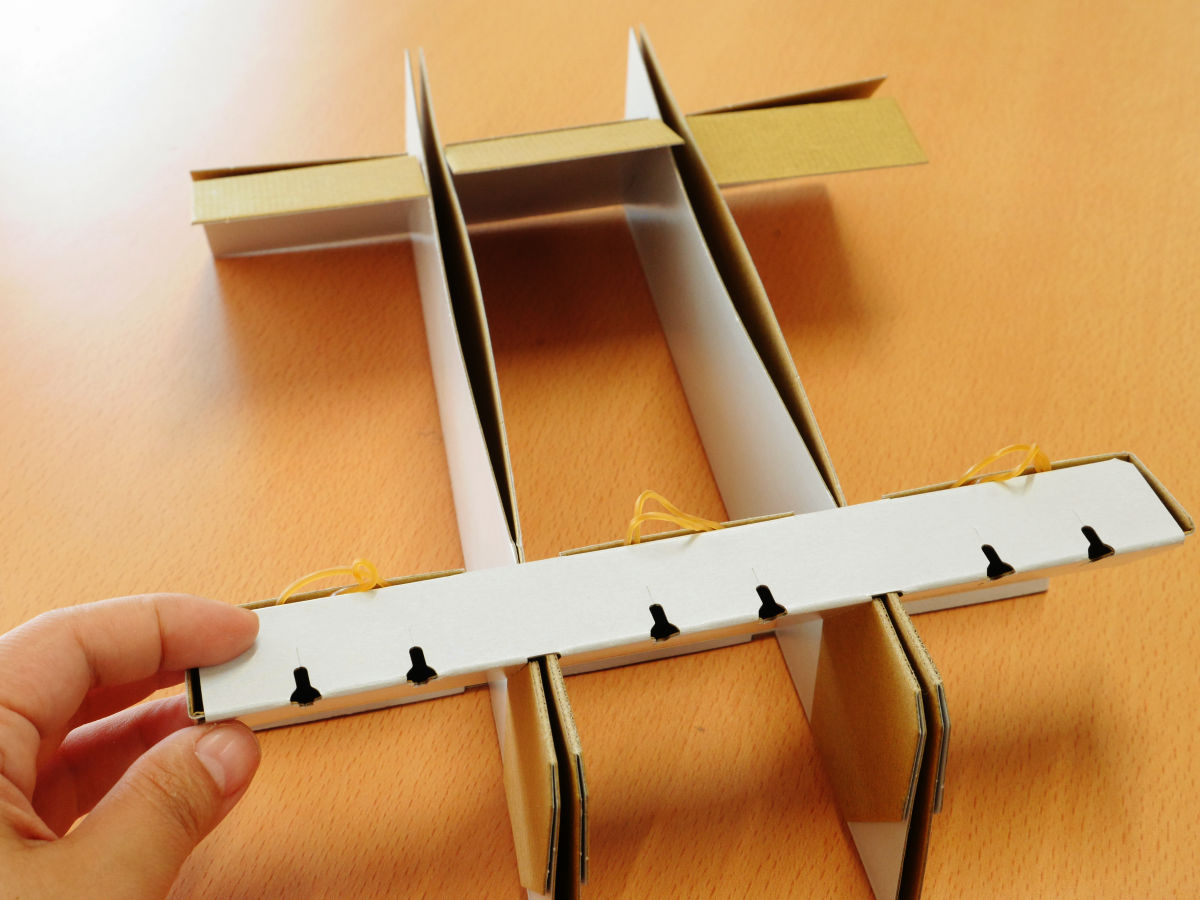
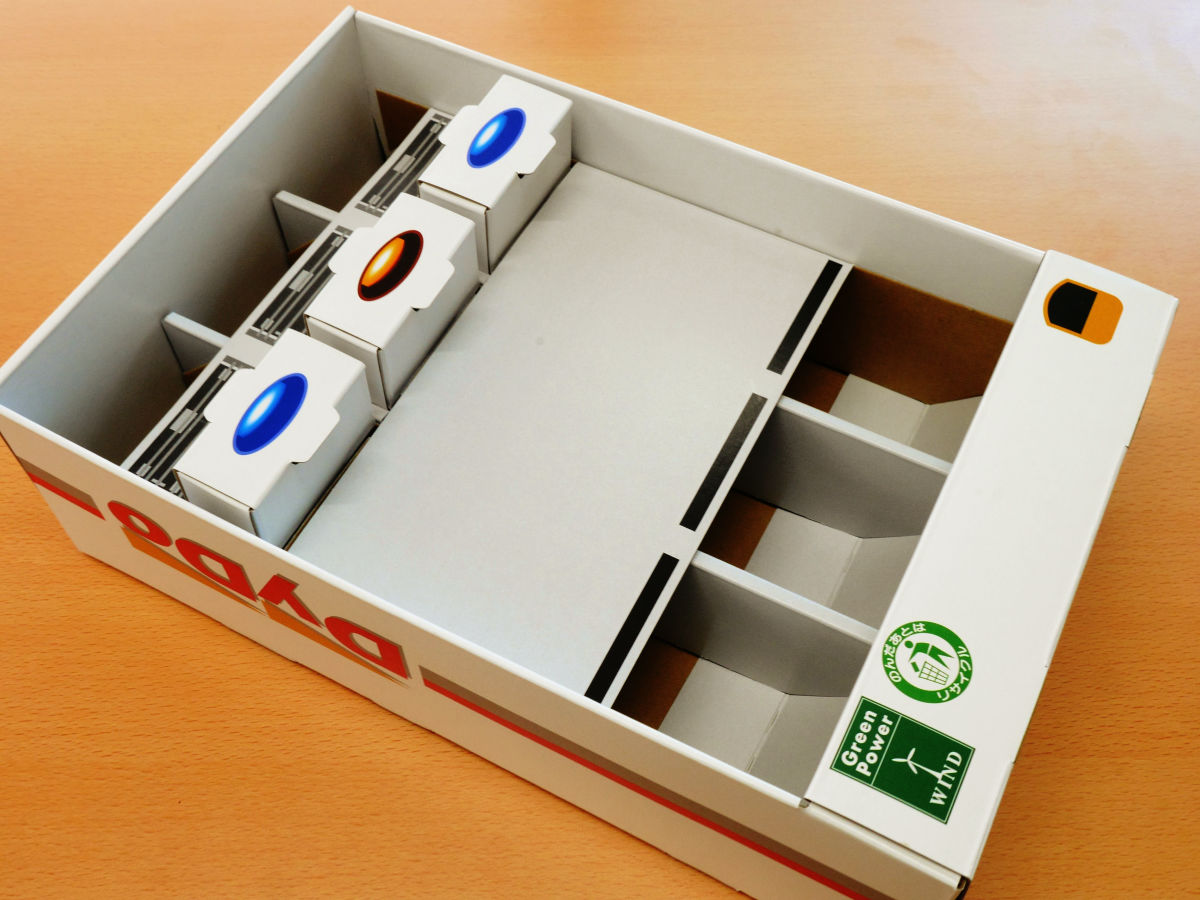
When standing up, there is a gap between the two parts B attached to the part D, so that the button part can be inserted, so set three buttons.
Why is rubber attached to part B? I was wondering, but it was settled here. By hanging a rubber band on the hook part behind the button part, after pushing the button from the front, the nature and the button will return to the original position.
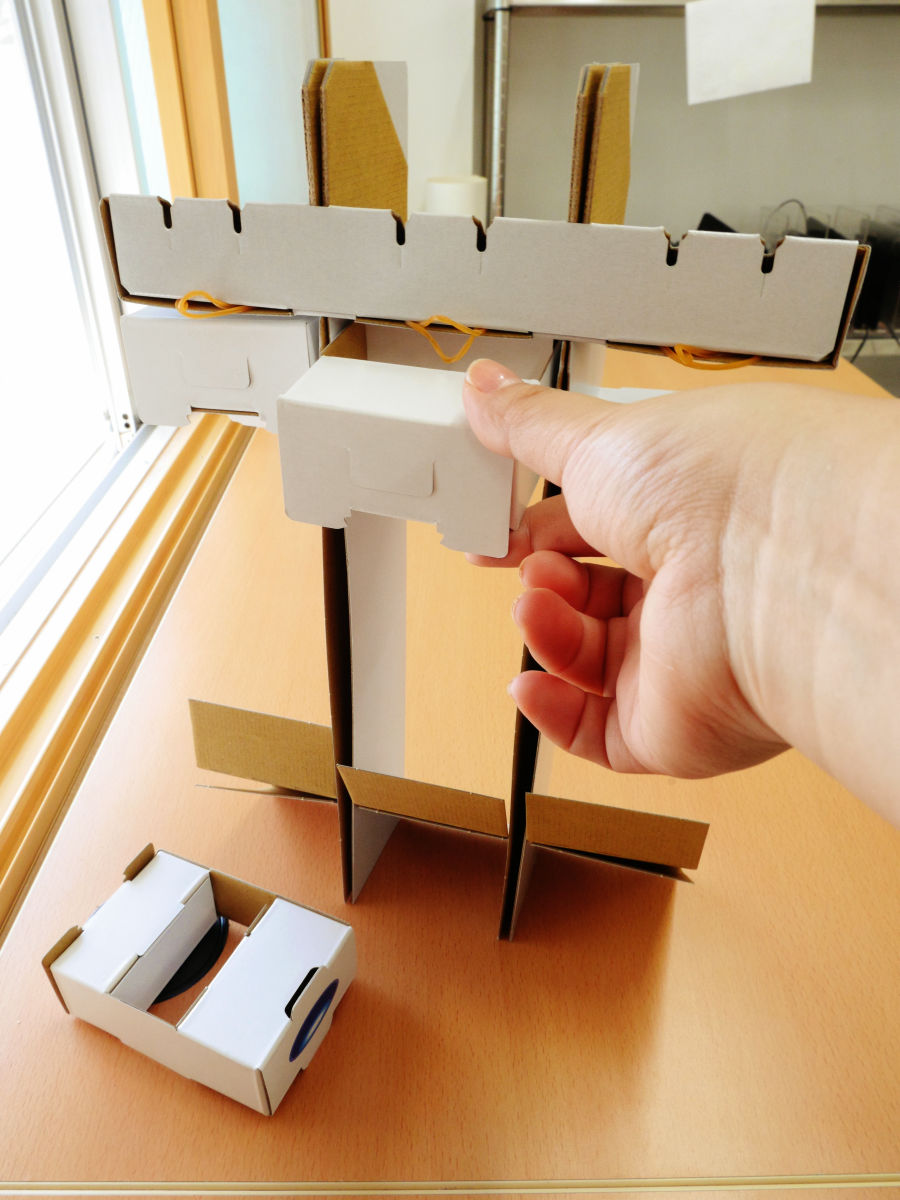
Looking from the front like this.
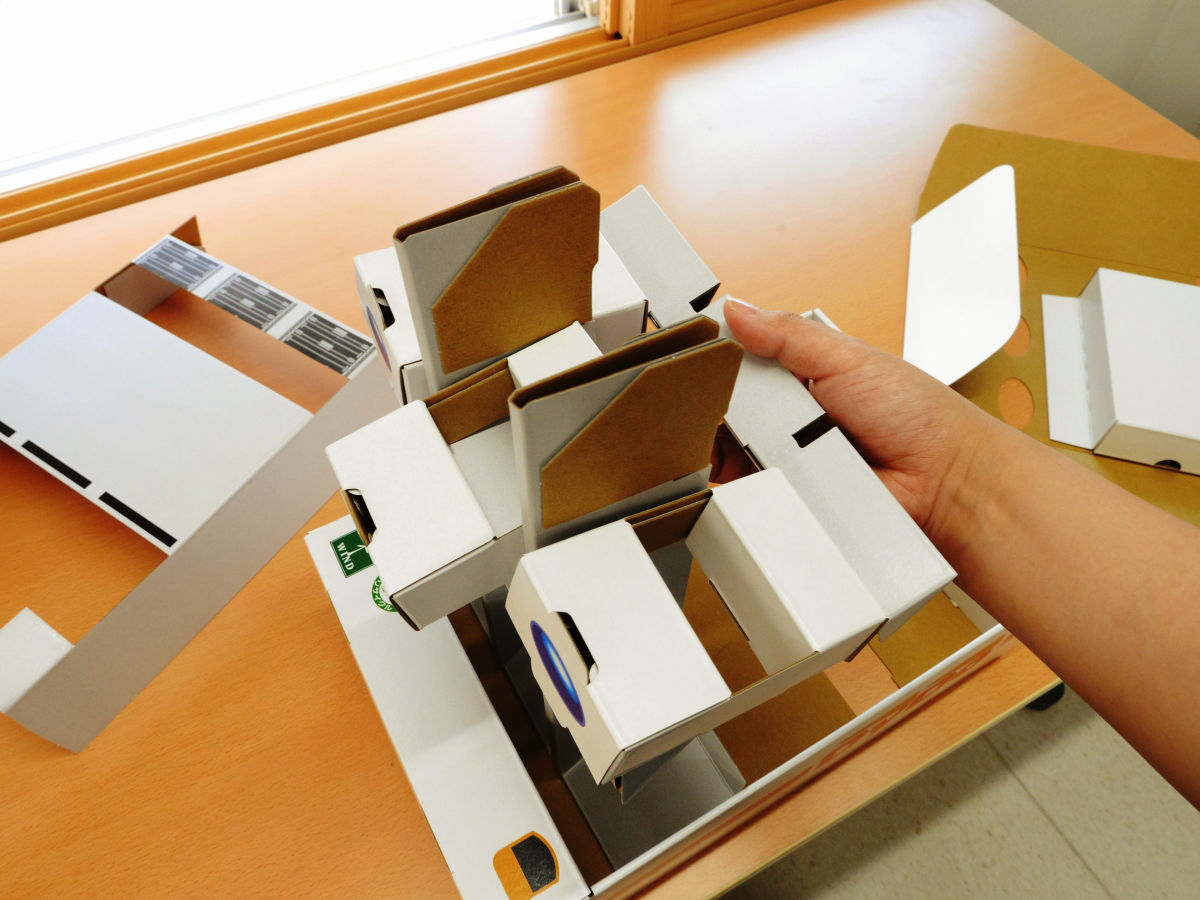
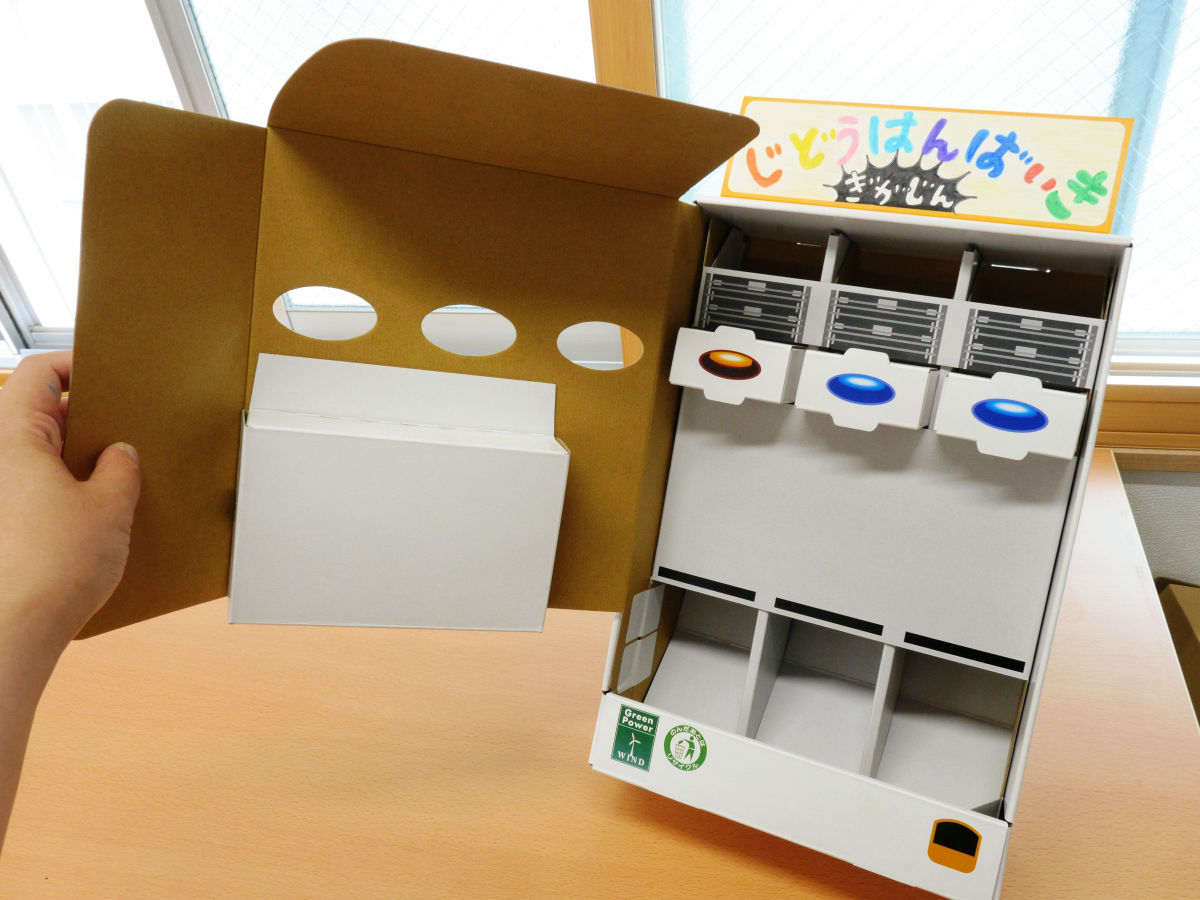
I will set this in the outer frame I made first.
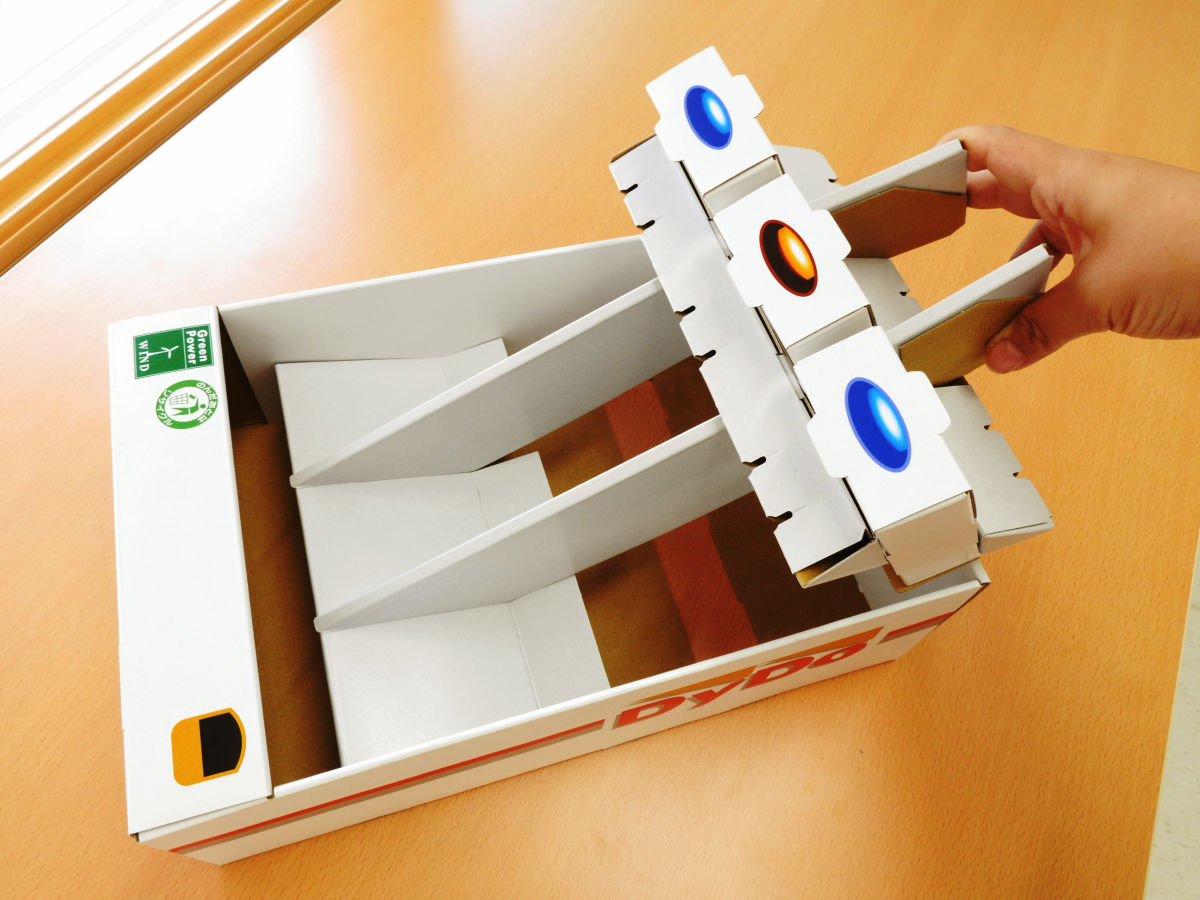
The whole picture of the vending machine gradually became visible.
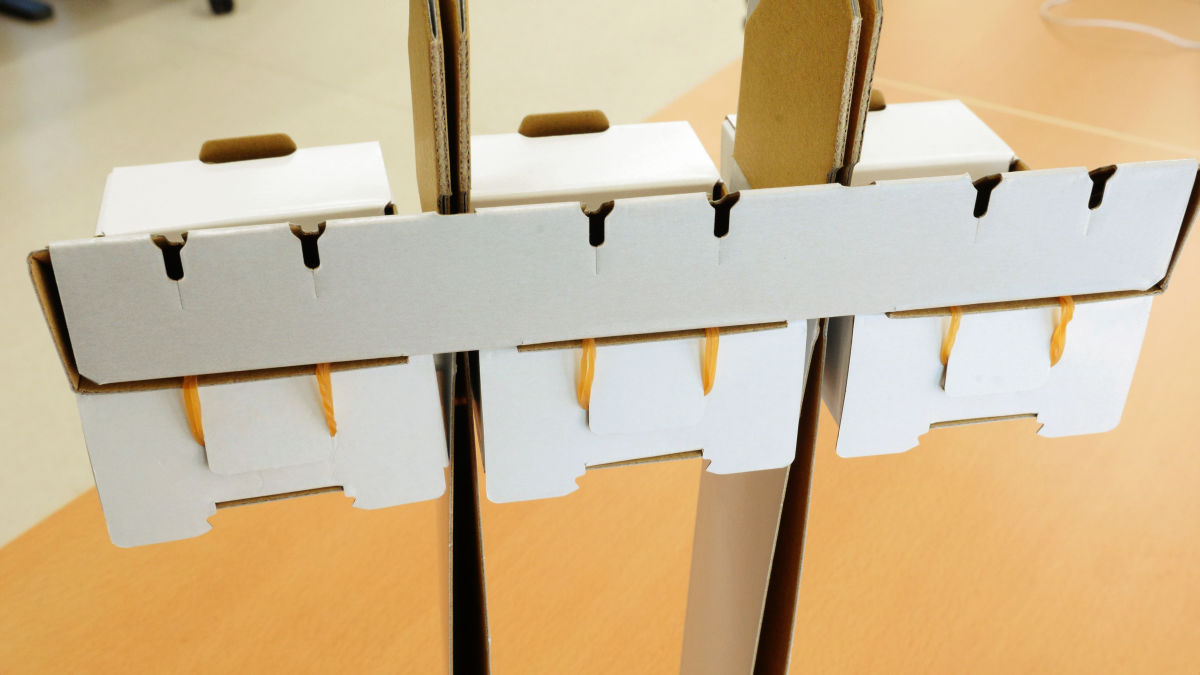
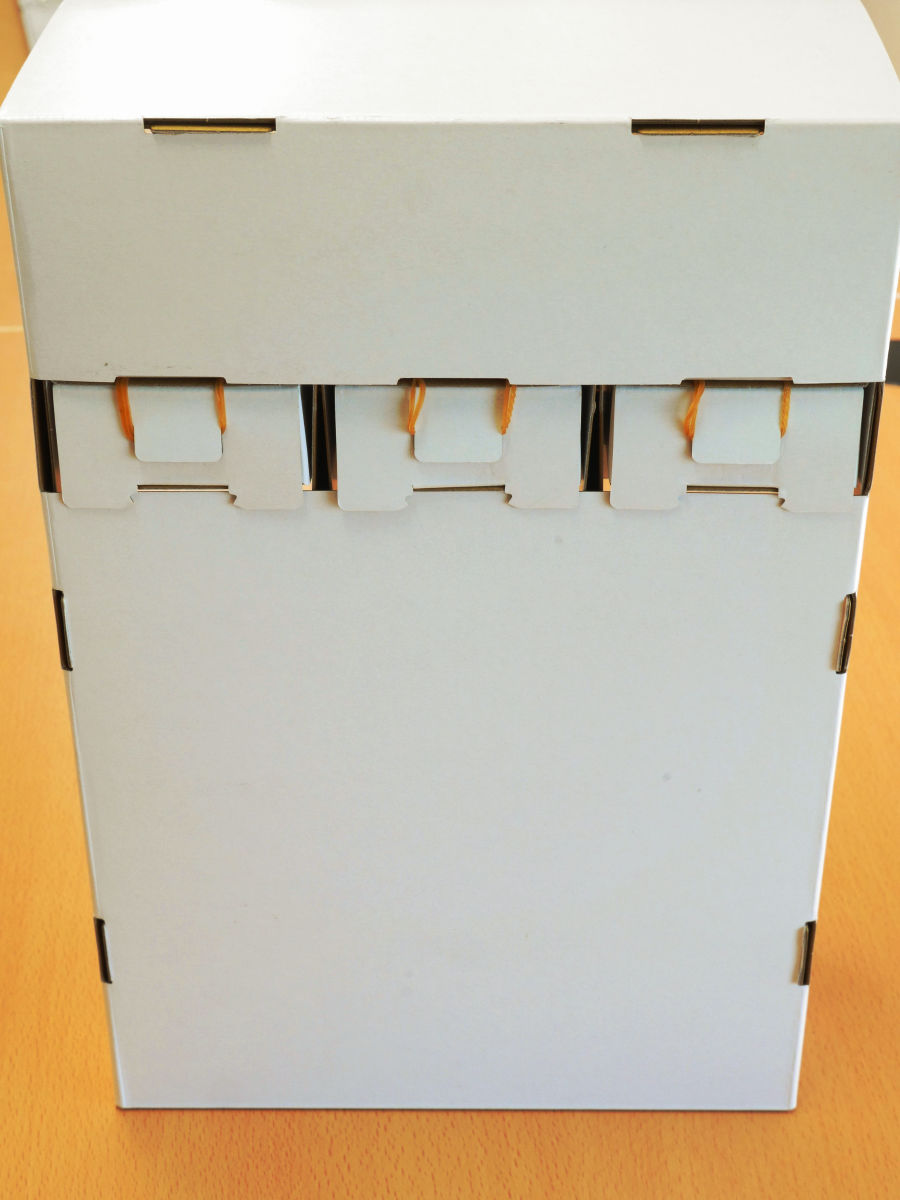
back.
At the back of the button part, the claw protrudes on the bottom side, but at this time it is important to ensure that the claw appears on the outside of the vending machine. You can not press the vending machine's button if the claws are inside.
Making vending machines has also entered the everyday luxury. Assemble the part E.
This is OK with a little crease.
I will plug it into the vending machine.
Part E was a holding part to prevent mini cans from jumping. With this, the can falls beneath the stone.
And finally, to parts G.
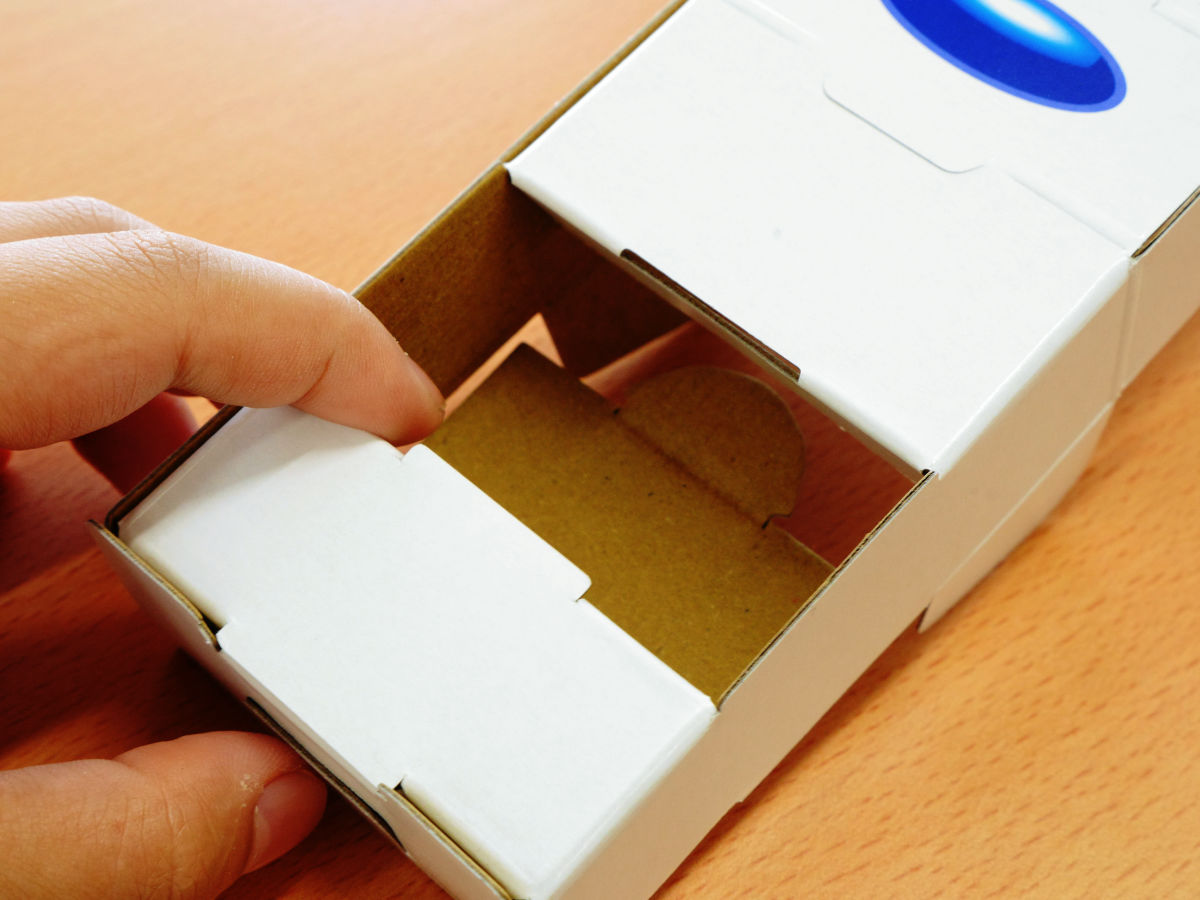
Part G has a box on the back of cardboard, so wake the box to make it three-dimensional. This is where the money put in the vending machine gathers.
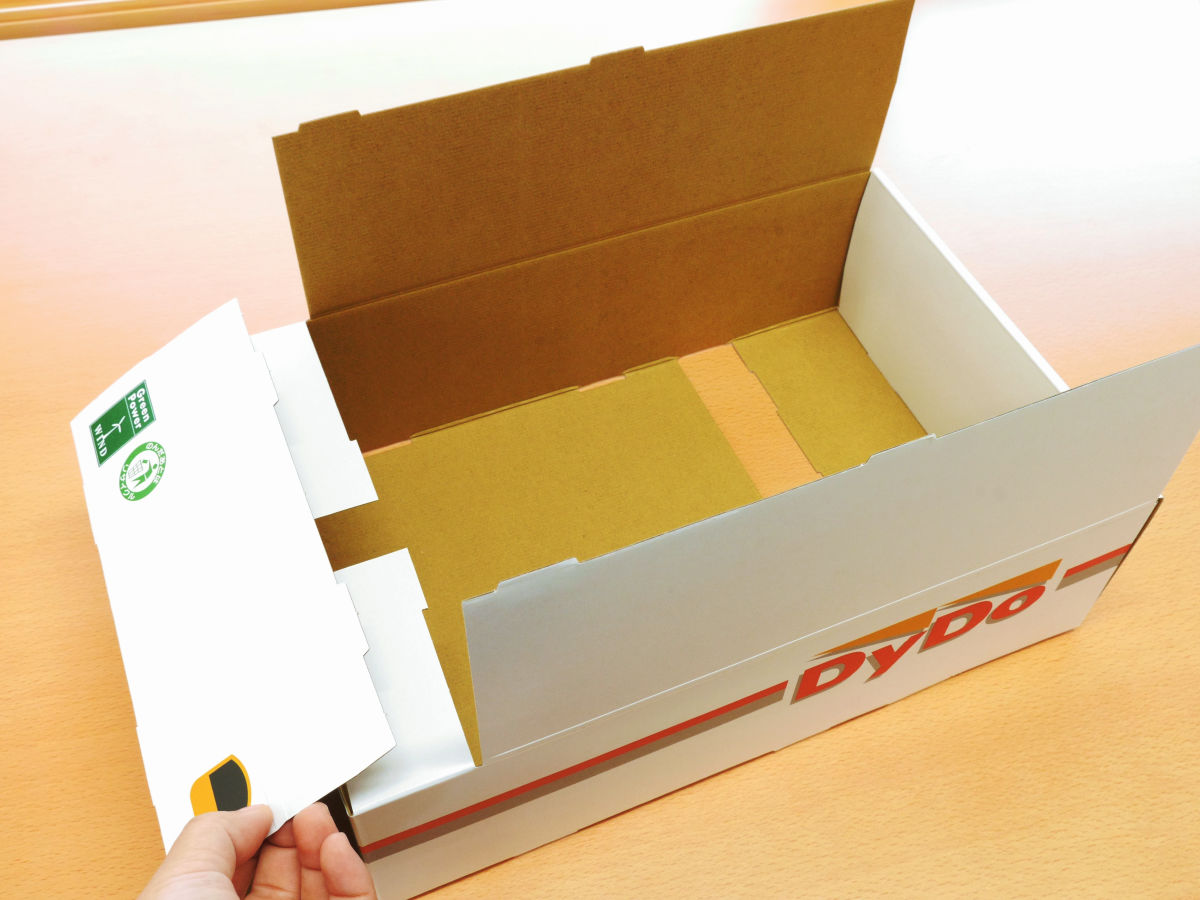
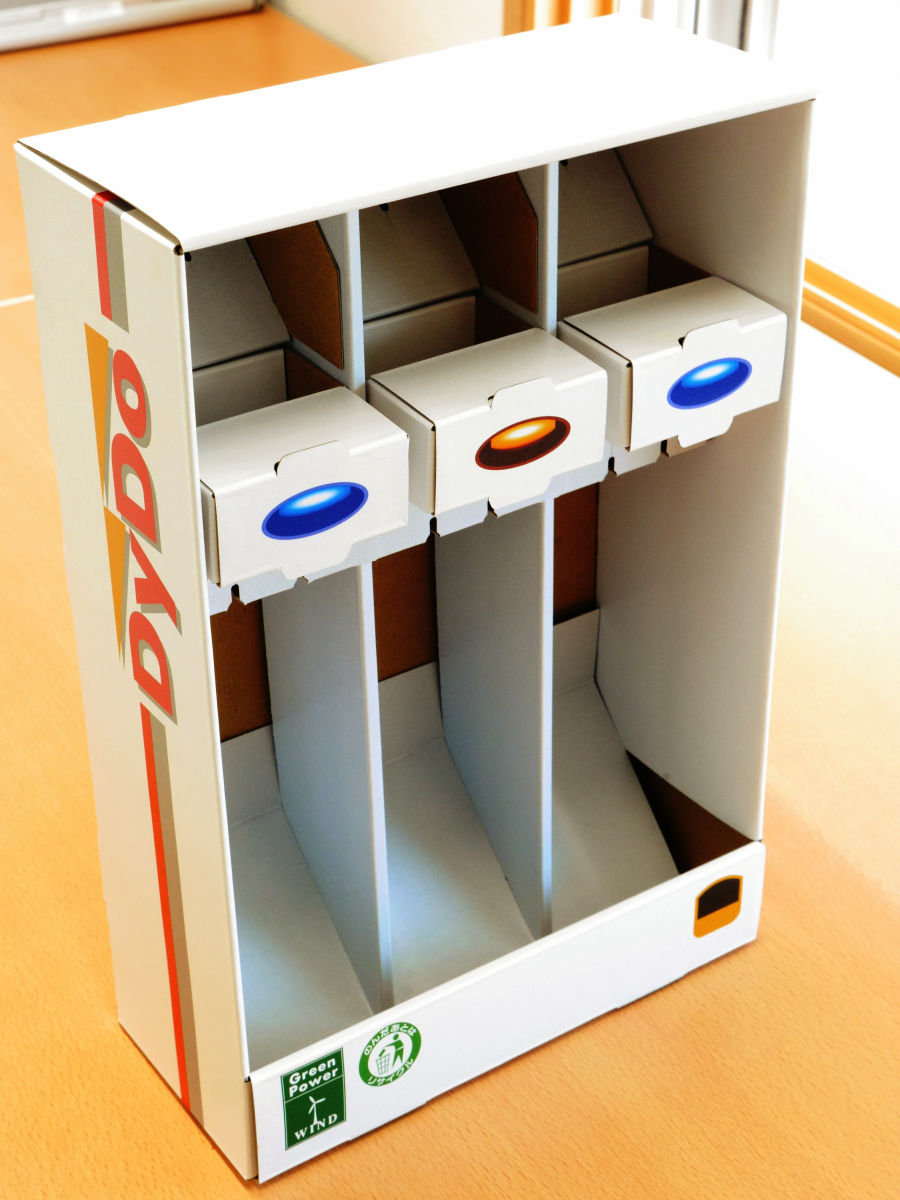
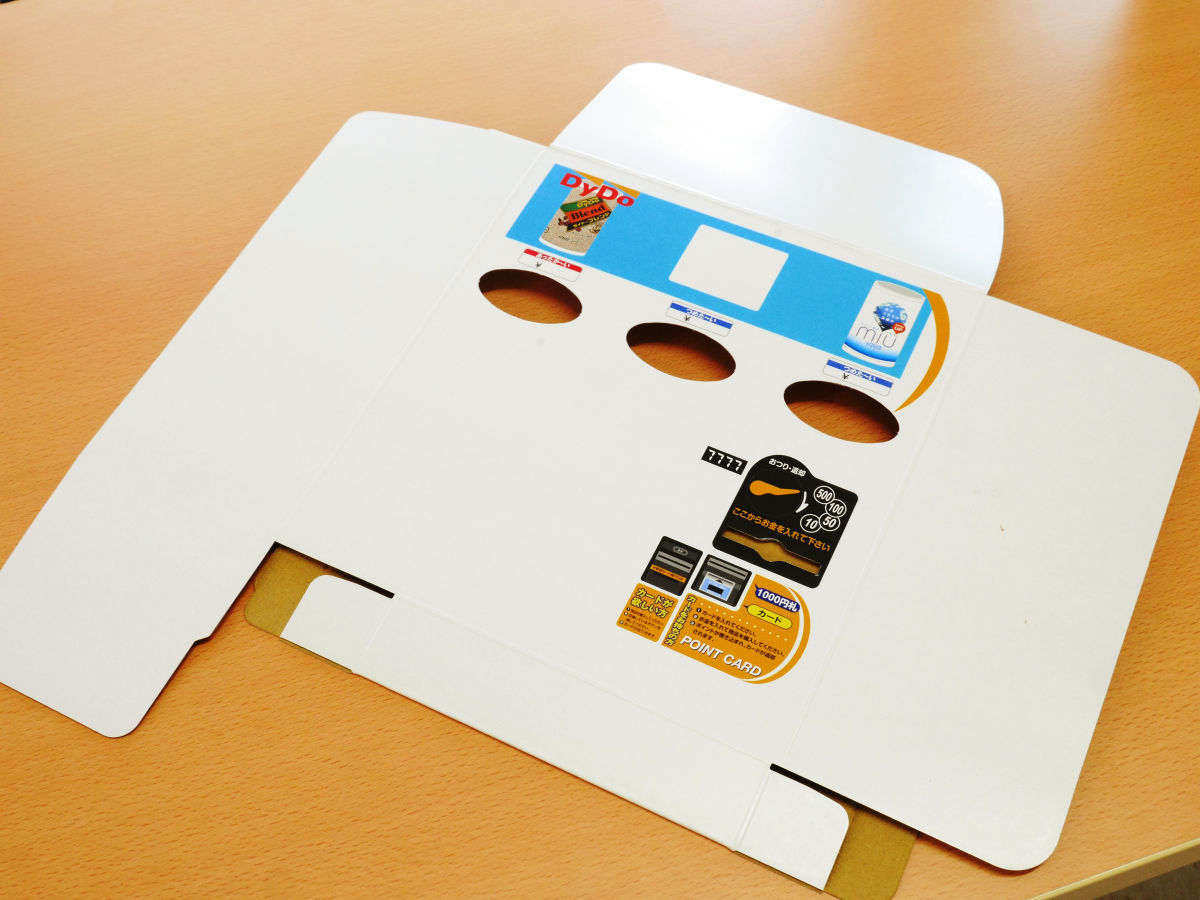
It is completed if it covers the body ......

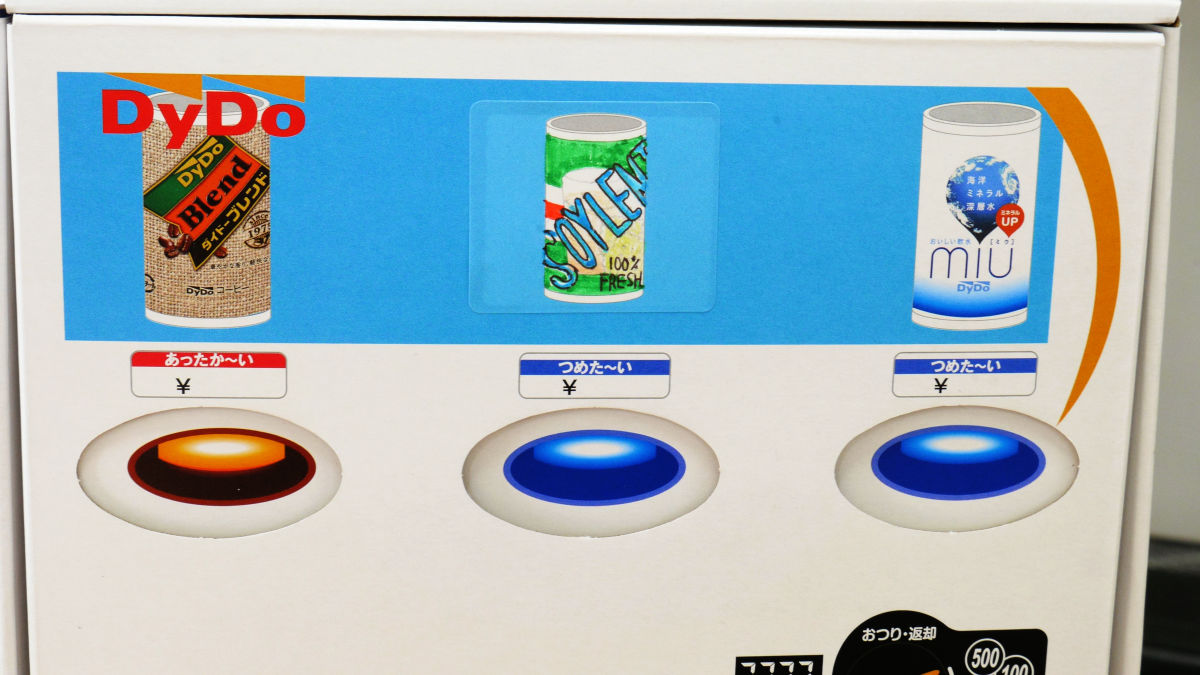
I came here and discovered that the display of "I was there" and "I wanted to" and the position of the buttons were inconsistent. There is no special note at the time of button installation, but let's keep in mind that the orange button will come to the far left.
So, disassemble once ......
Correct the position of the button.

I tried a part G on it.

Finally, fixing the left end part of part G and part A with a seal completes the body making.
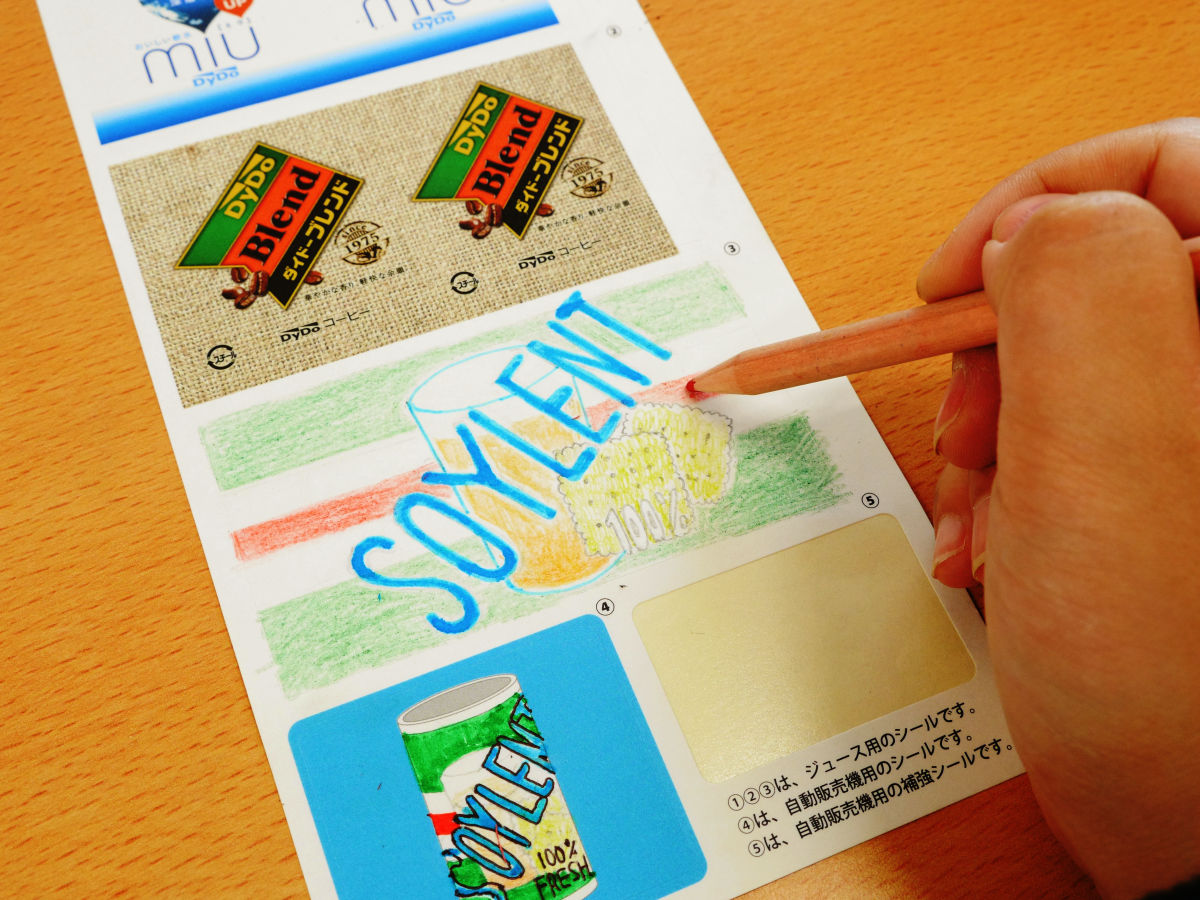
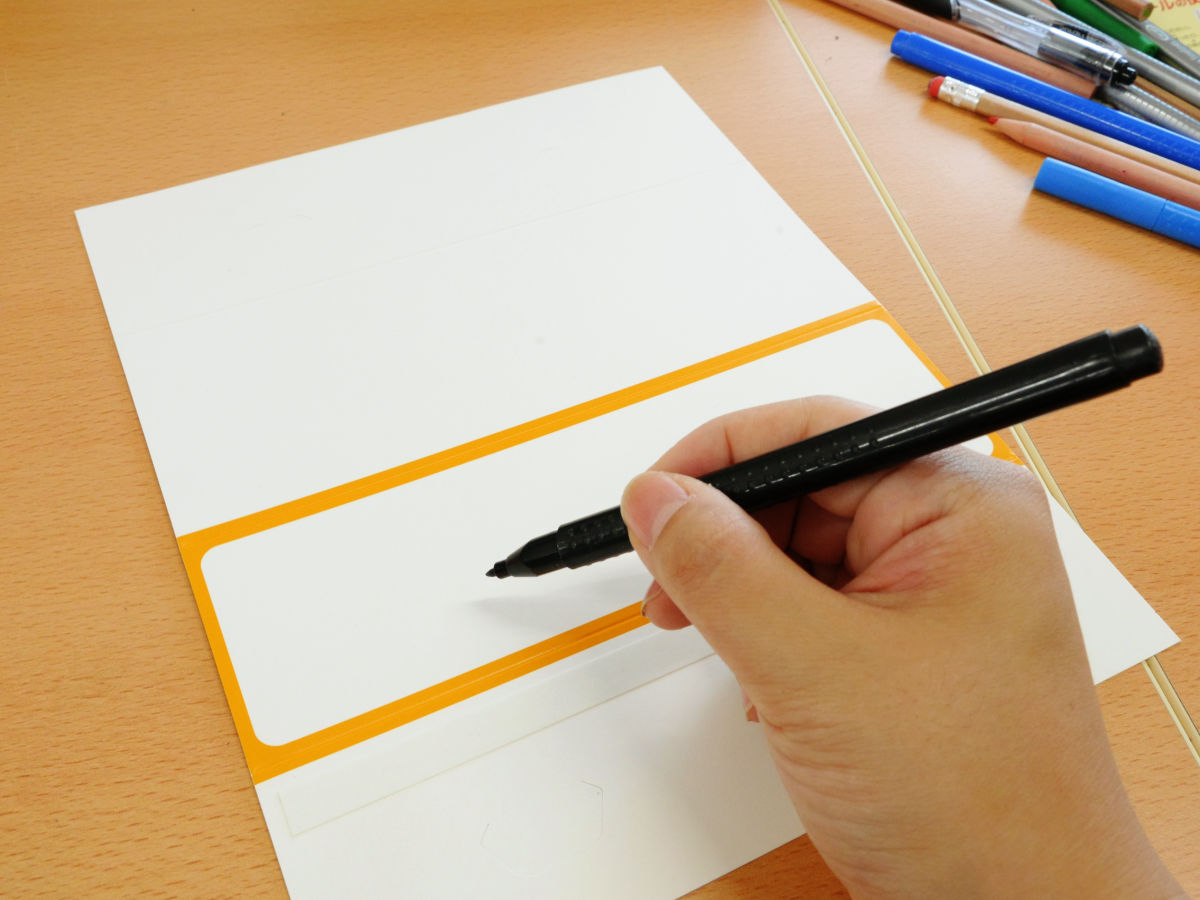
Next I will draw a package that will be stuck on a mini can. Complete nutrition food that makes meal unnecessary with the wish "I hope to be able to purchase even in Japan as soon as possible"SorrentoI tried to make it into a mini can.
If you wrap a seal around the cylinder, the mini can is completed.
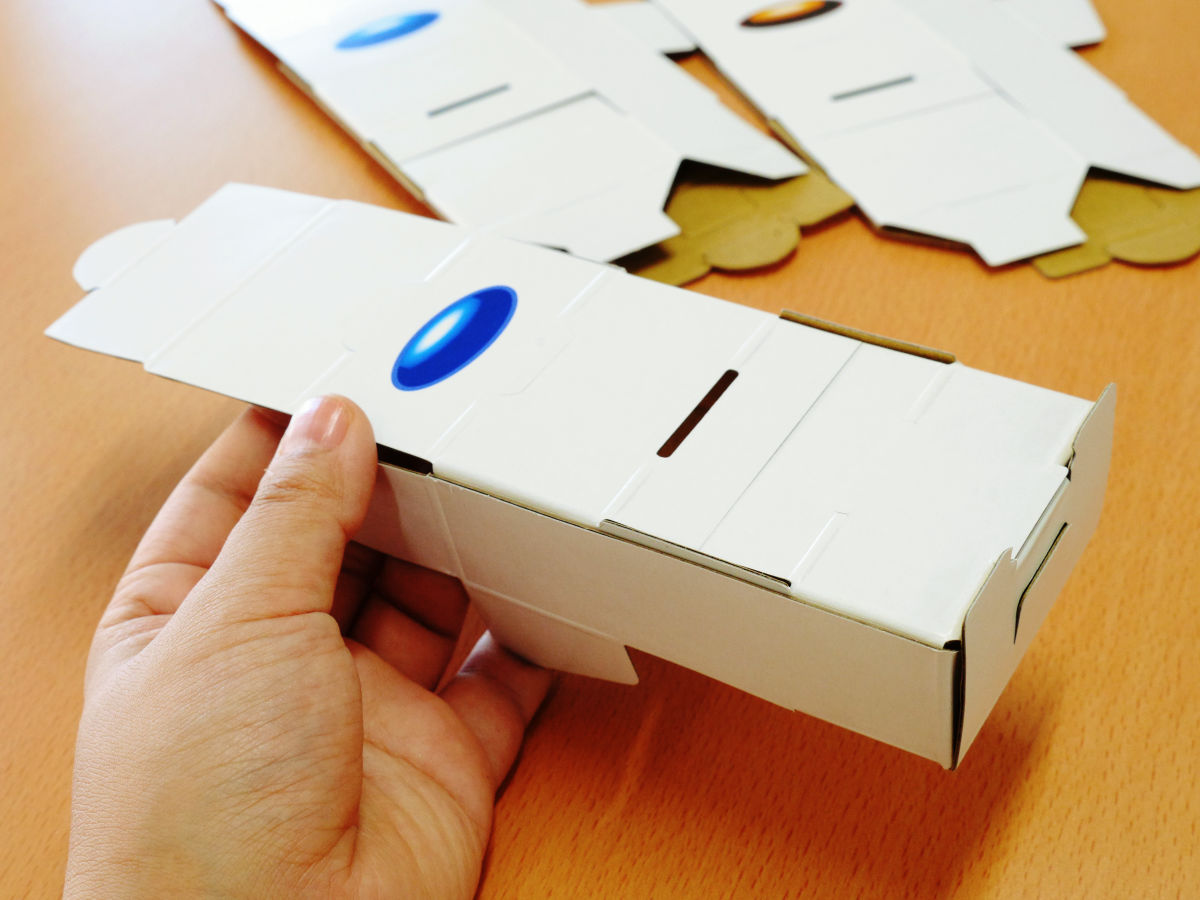
Furthermore, if you paste your self-made soil seal on a vending machine ... ...

Sorento is familiar to vending machines.
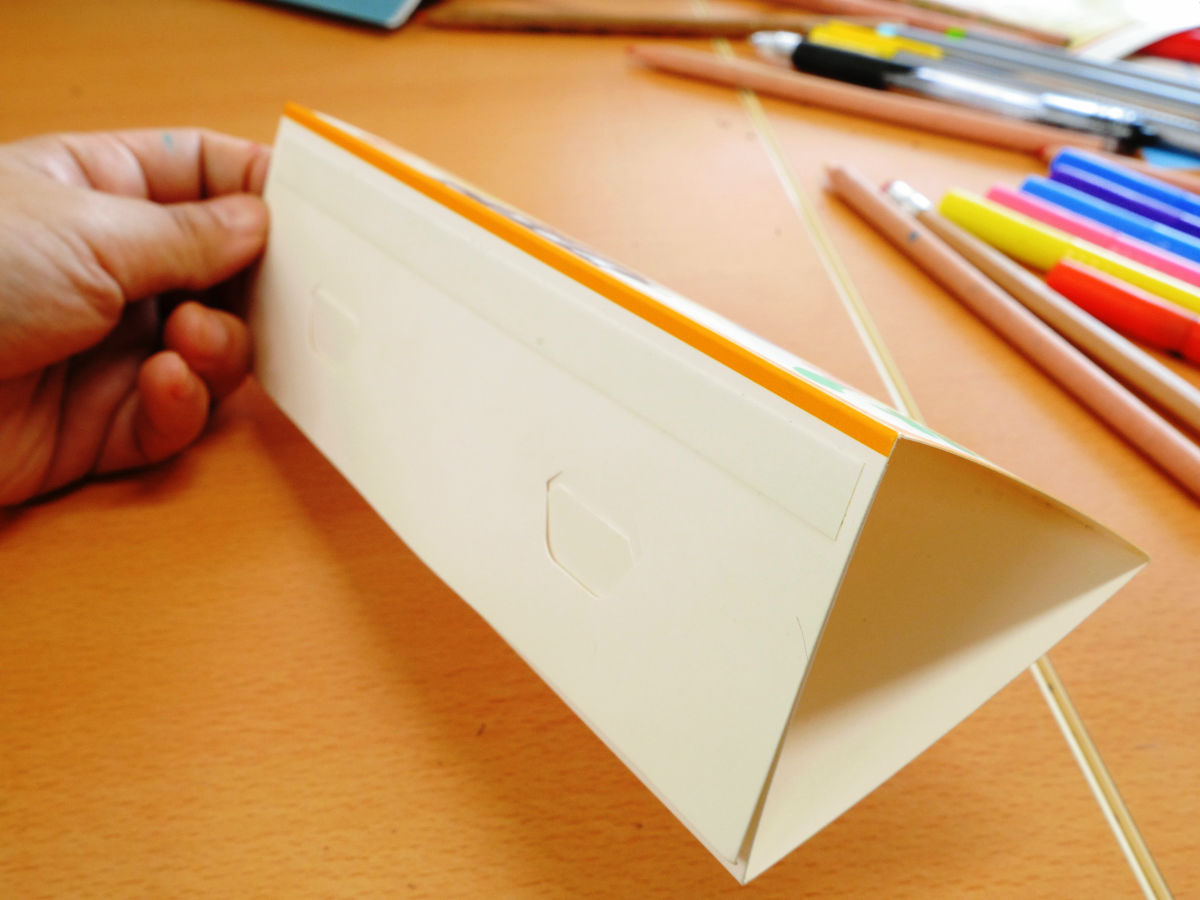
Finally create a top board to be placed on the vending machine.
When folding into a triangle like this ...
Place it on the vending machine body.
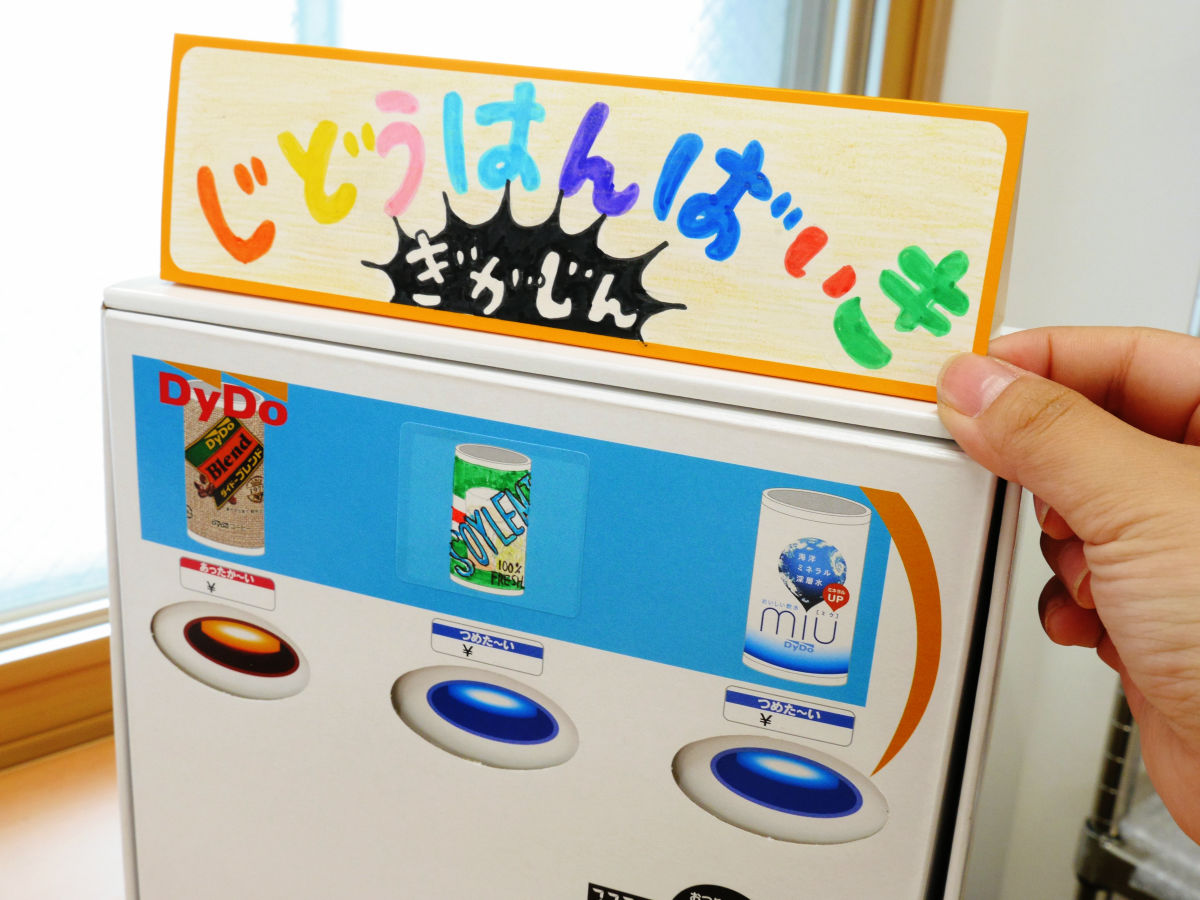
Since parts on the vending machine parts G and parts A are fixed with a seal on the left side, it is designed to open with Pakari with such a condition.
I introduced mini cans I made earlier.
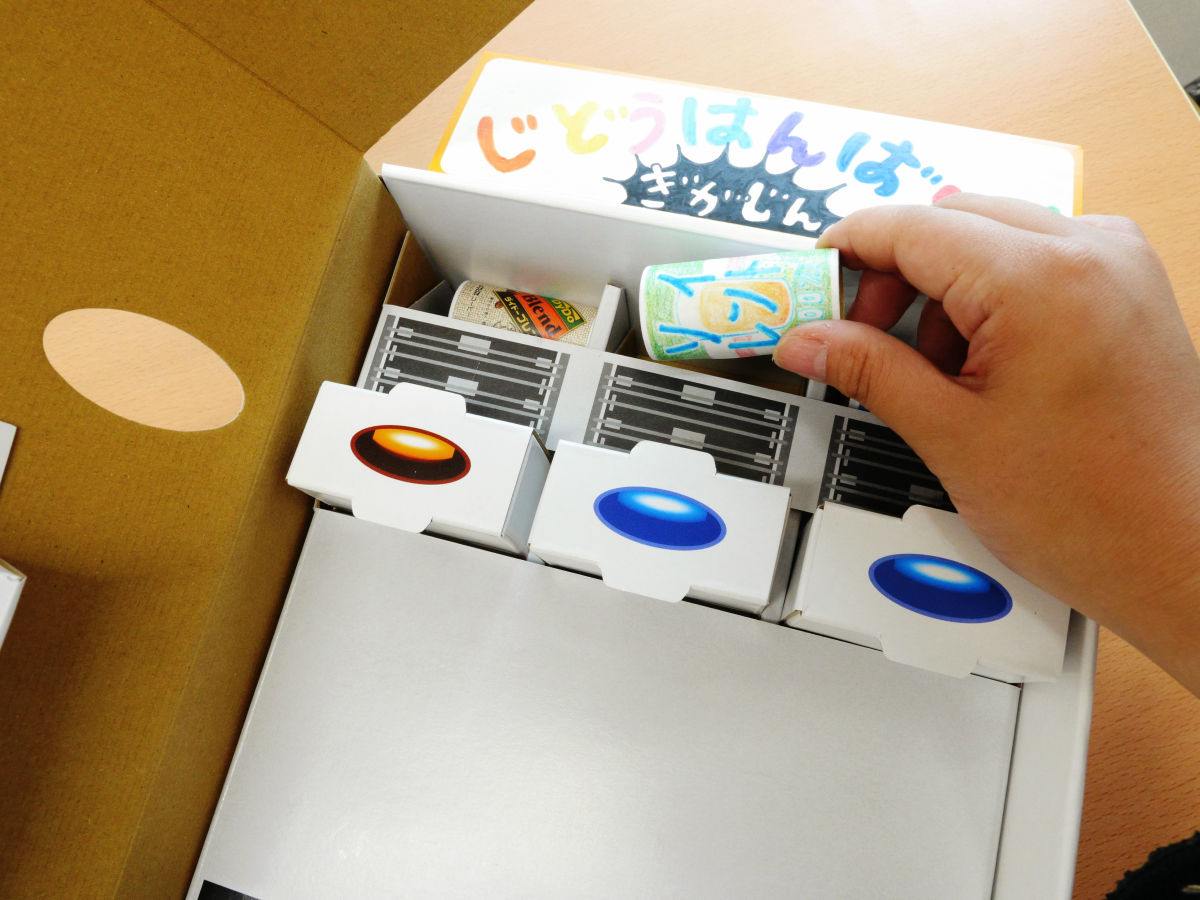
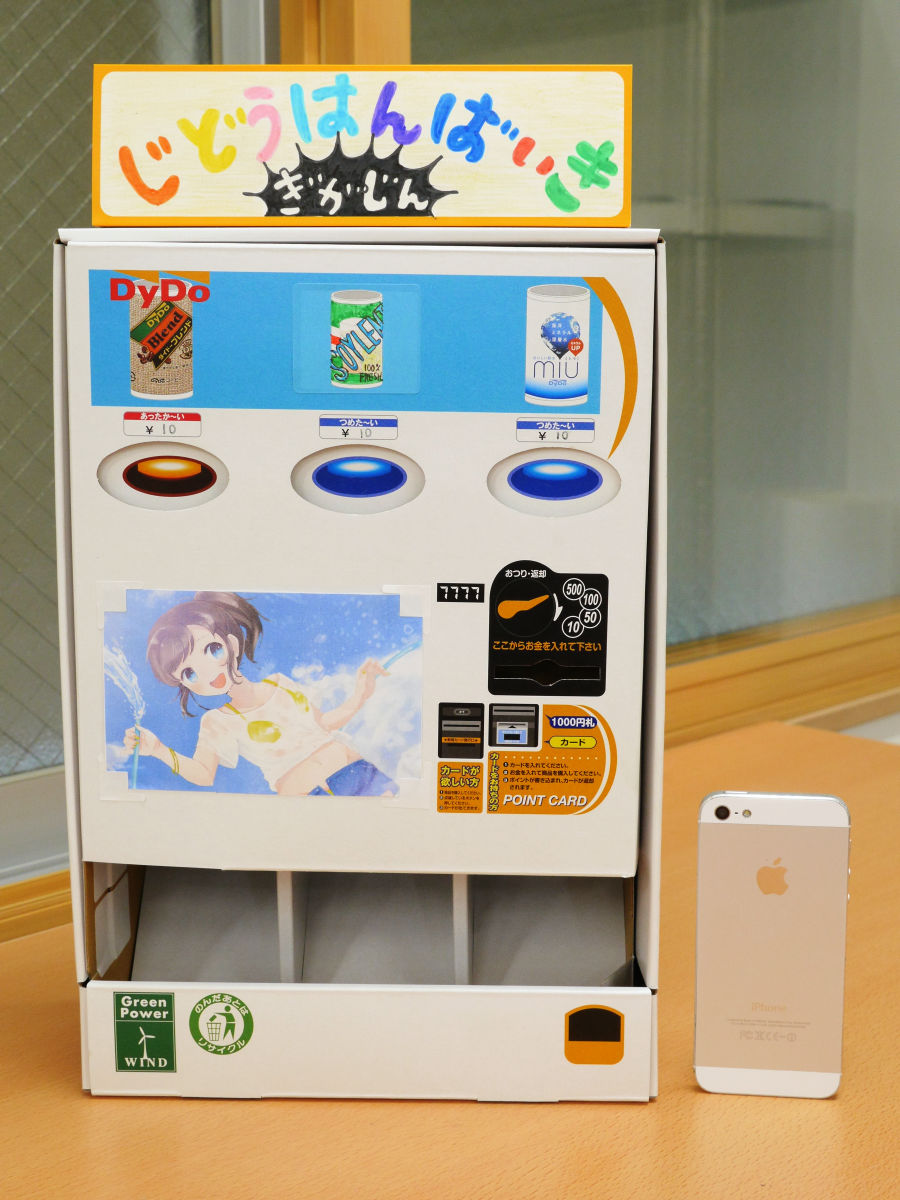
That's it. It took a while though it took a while to shoot, but the work itself was easy, so the target age was 3 years old, the required time was 20 to 30 minutes.
Looking from the side like this.

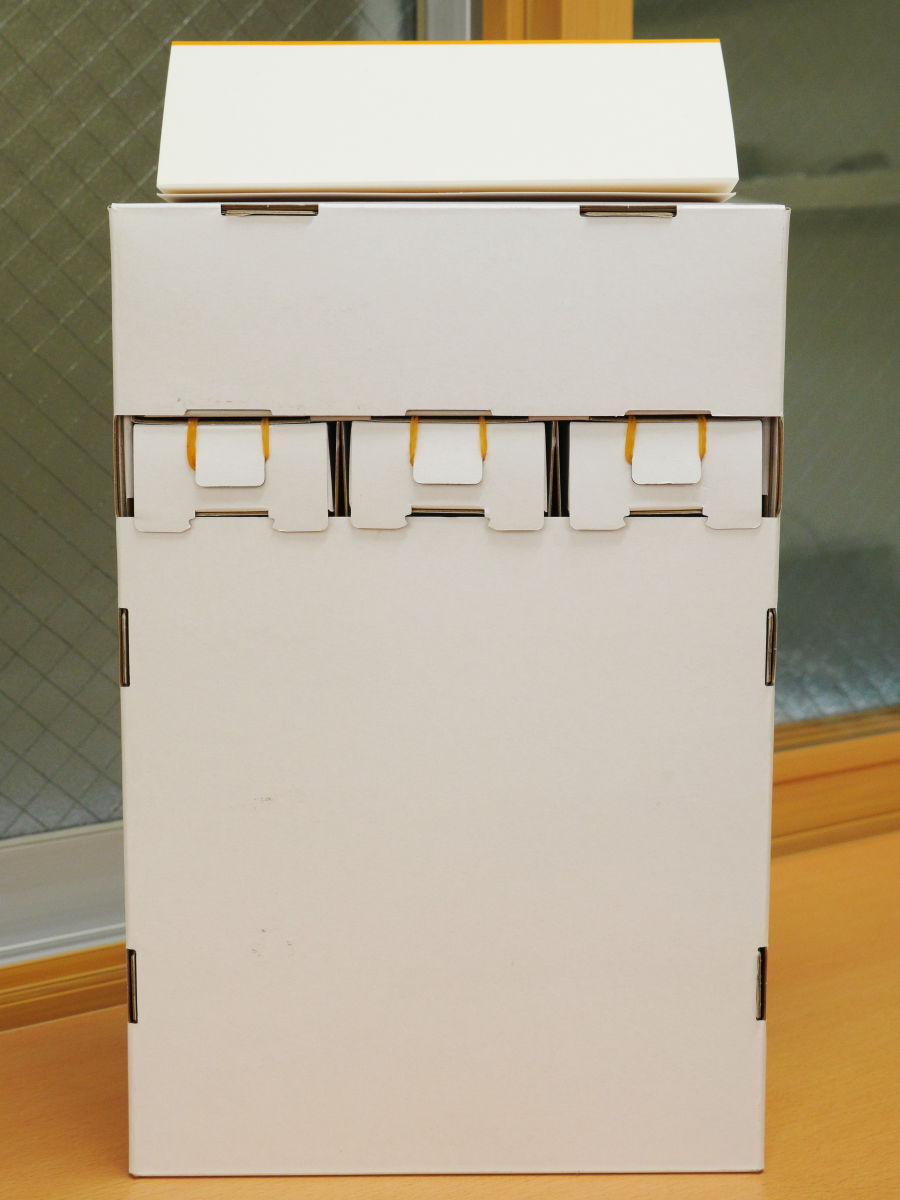
back.
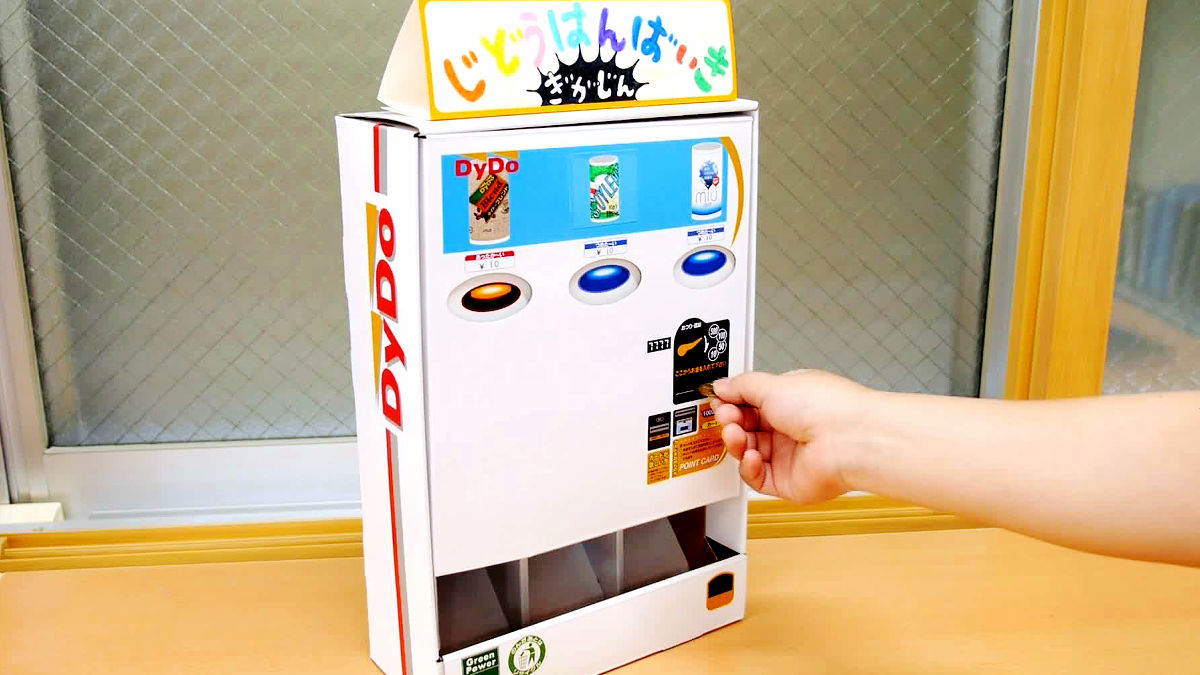
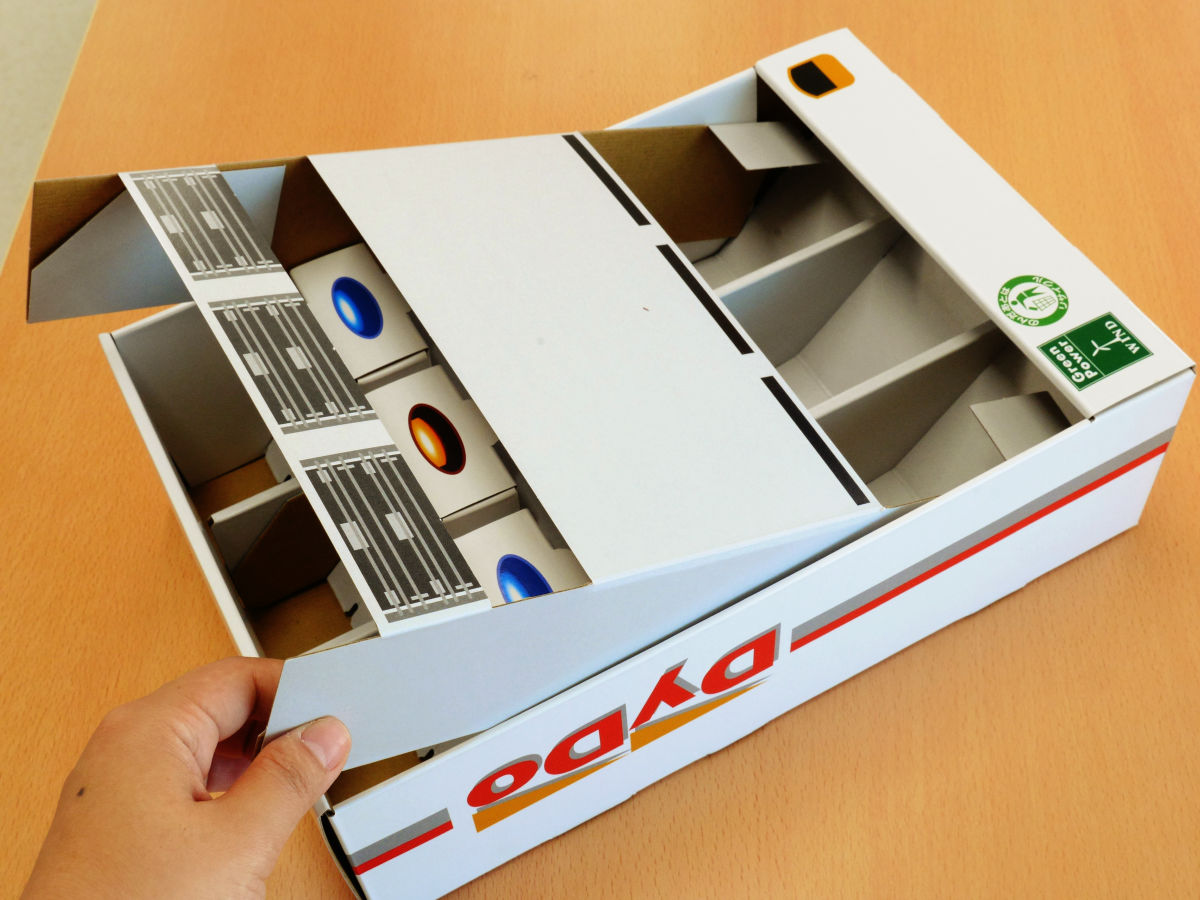
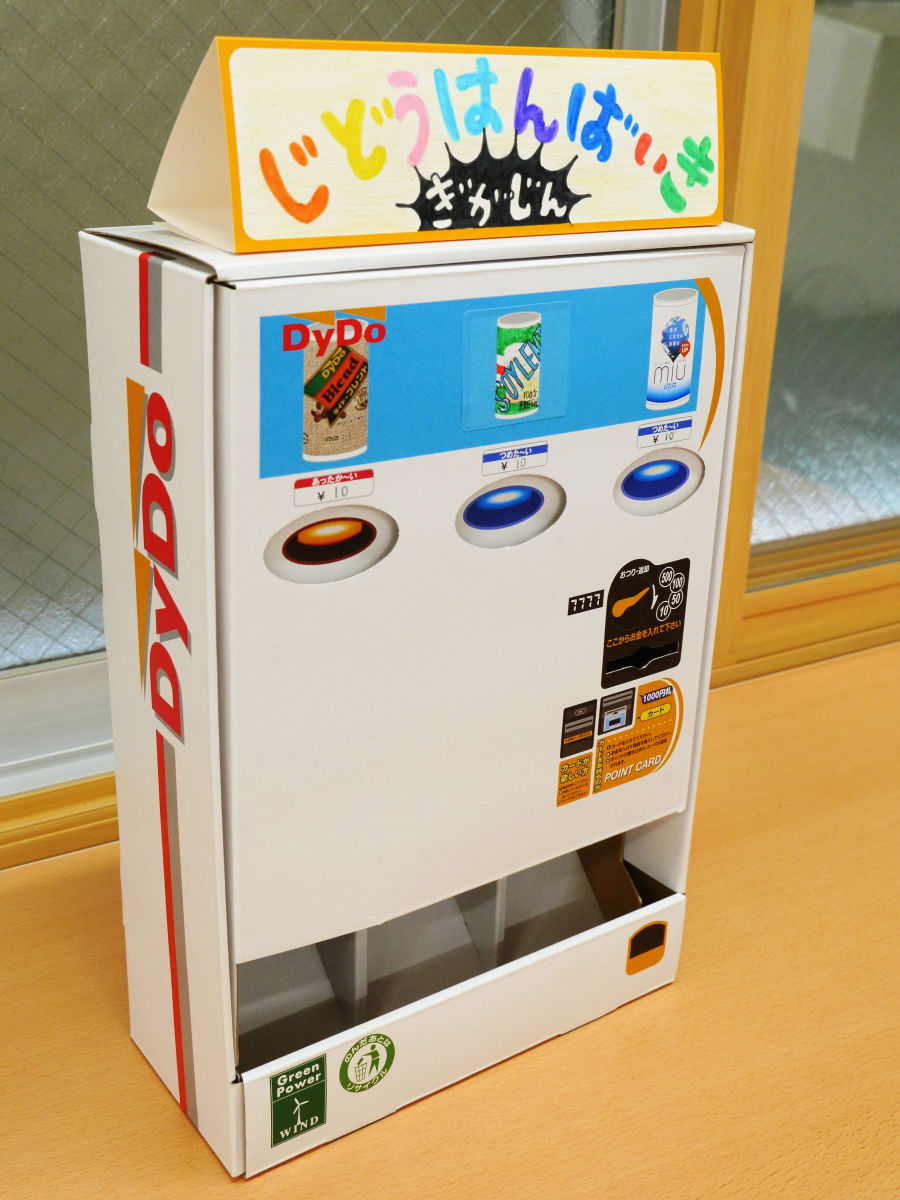
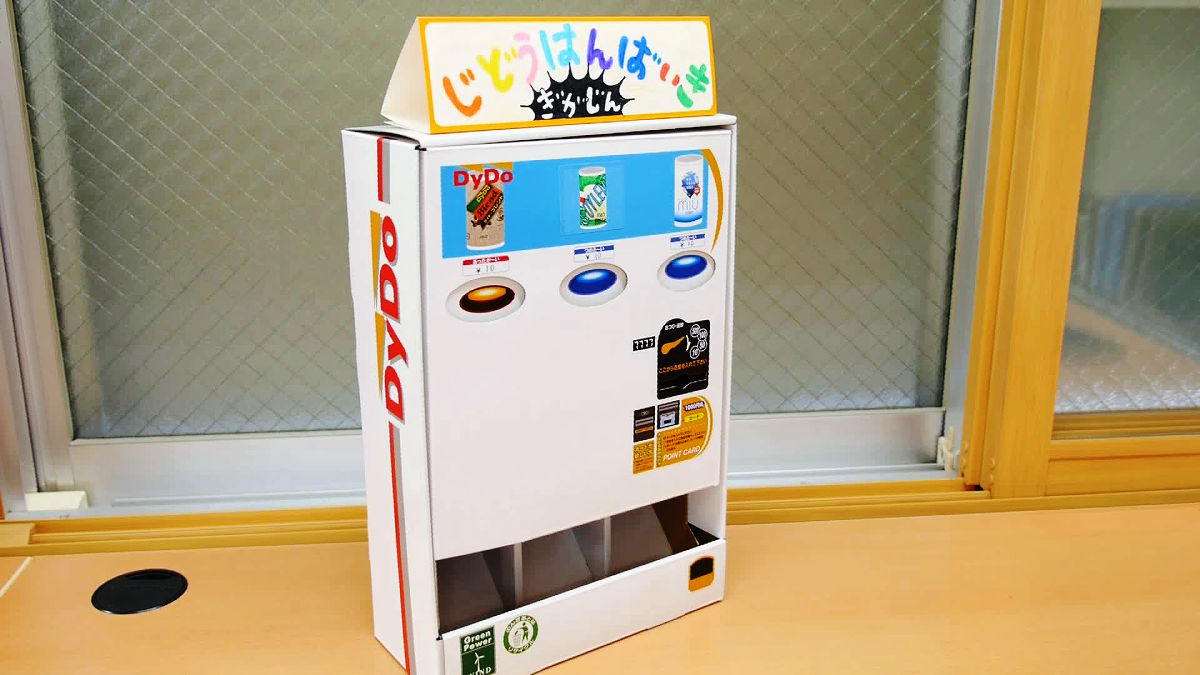
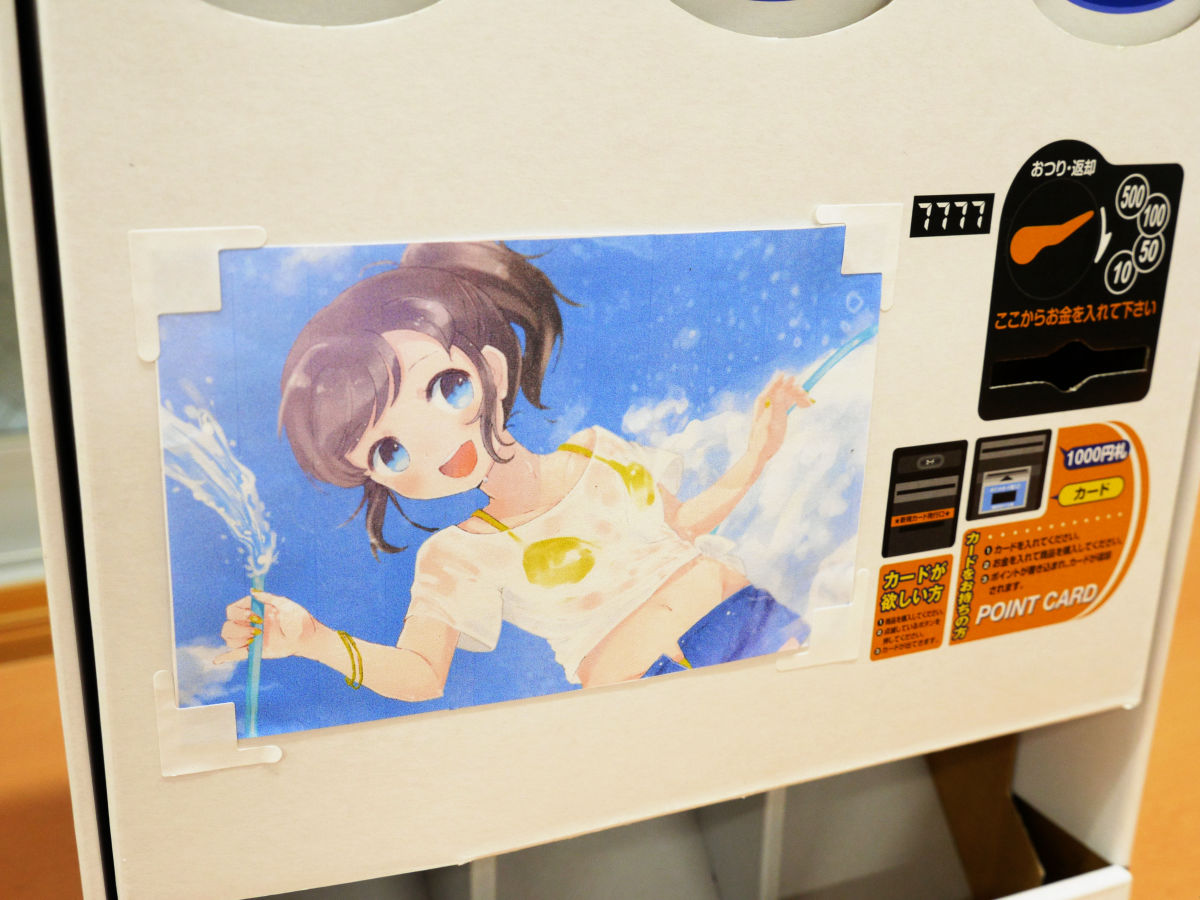
There is a slot of the coin on the right side of the main unit, and it is the first thoroughness that there is even a point card and a part to put the bill. In addition, since money is not linked with buttons, please use it as a piggy bank.

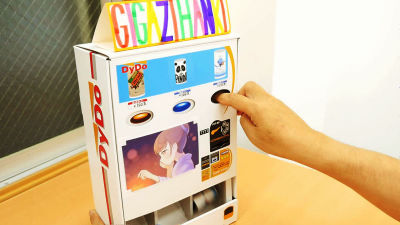
I will actually play with that.
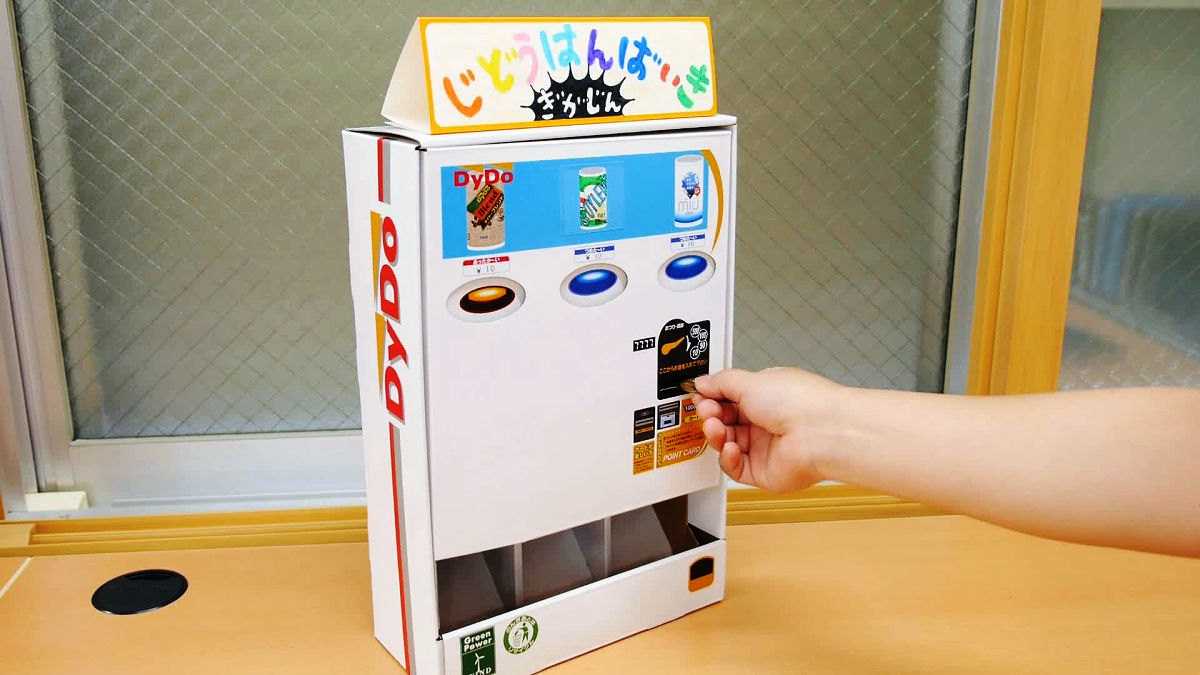
First of all, I put in money. ... ... but, even if you do not put money separately, you can push the button, it will also be a little trap.
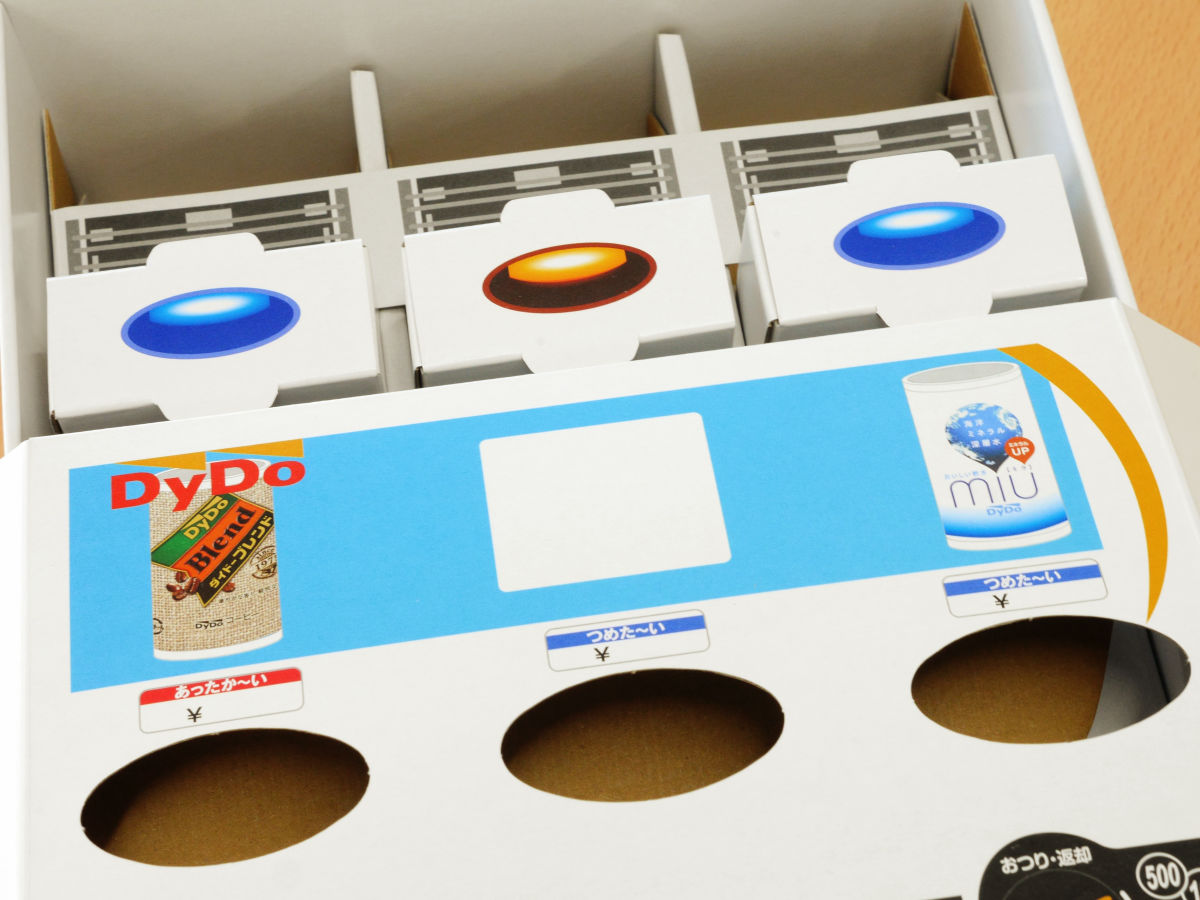
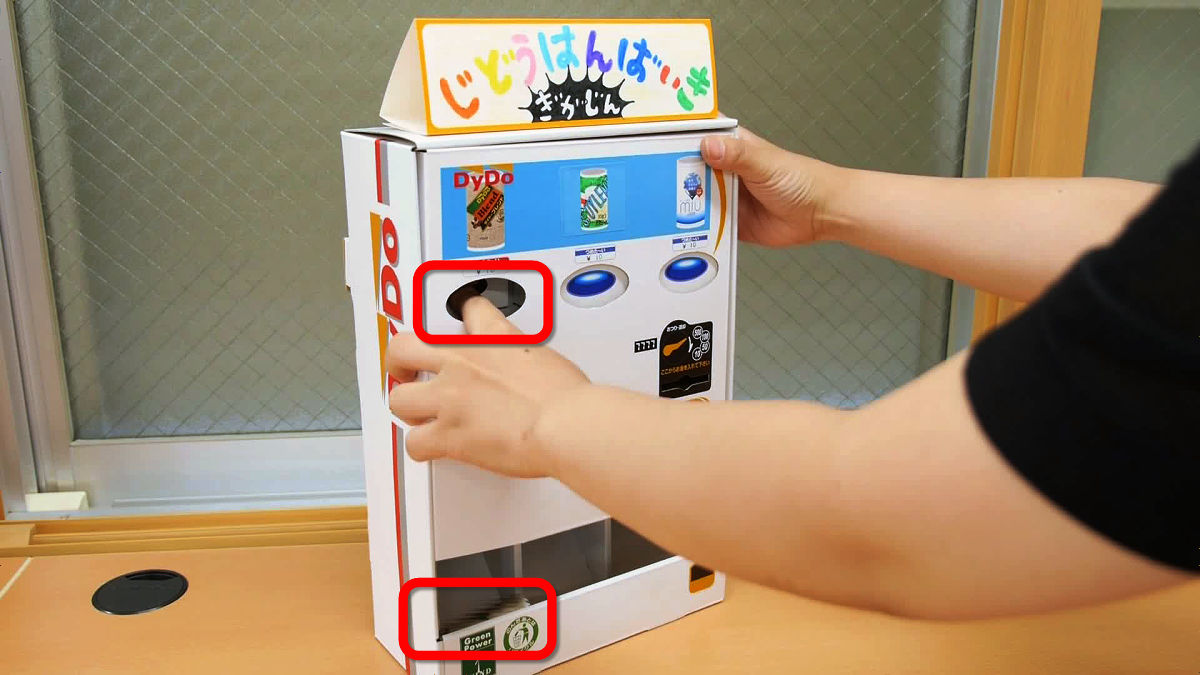
When pushing the button of the Dydeu blend, the mini can falls on the roll.
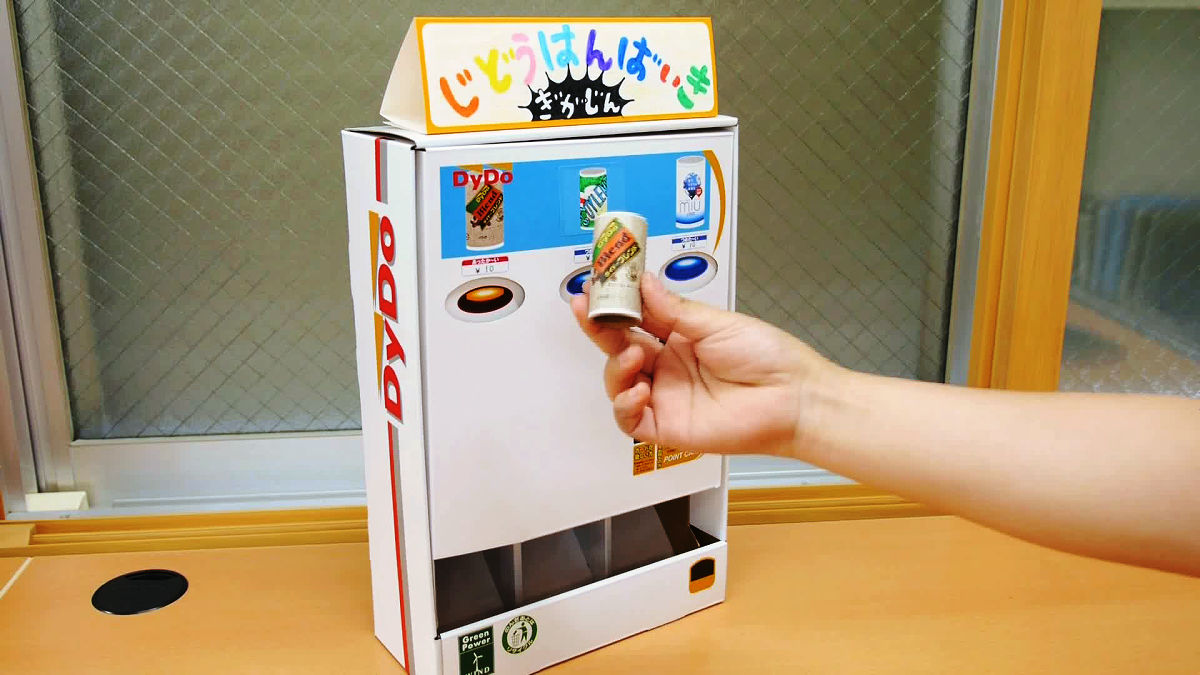
You can get a can like this.
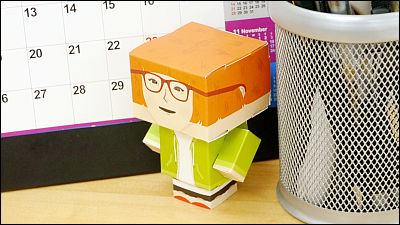
In addition, there are places to put photos etc. instead of advertisements, so you can use it as a photo stand with the attached seal.
Since it is about this size compared with the iPhone, it seems to function as a savings box & photo stand that makes you feel confident when you put it on your desk.
In addition, "Daido Drink Paper Craft Vending Machine Kit" is an article created At this time Dido Drinko is offering it for free. The group to which the recruitment target is "Organization where 5 or more children of the target age such as kindergarten, nursery school, elementary school, schoolchildren's club, after school children's club, children's society, mother club, NPO corporation, volunteer organization, The application condition is "an organization that you can offer photos of completed paper craft vending machines", but if you meet the conditions, it will be shipping free shipping from 5 to 40 groups per group. The deadline is 15th Monday, August 17th (Monday), and those who want to get are able to apply from the following website.
Daido Drinko Paper Craft Vending Machine Production Experience Application Form | Daido Drinko
https://www.dydo.co.jp/papercraft_entries
Related Posts: