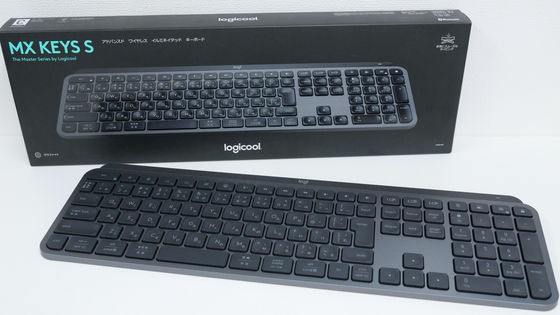
I tried using the high-end high-performance wireless mouse 'MX Master' released by Logitech

Logitech's high-end mouse 'MX' series is the first new product in 6 years, ' MX Master '. MX Master is not only highly designed, but also packed with functions that make you wonder, 'Isn't it enough with just a mouse?', And it is also possible to assign buttons with dedicated software. So, I got it a little earlier and tried it out.
MX Master Wireless Mouse-Rechargeable-Performance-Logitech
◆ Appearance review
MX Master arrives in a box.

Open with Pakari.
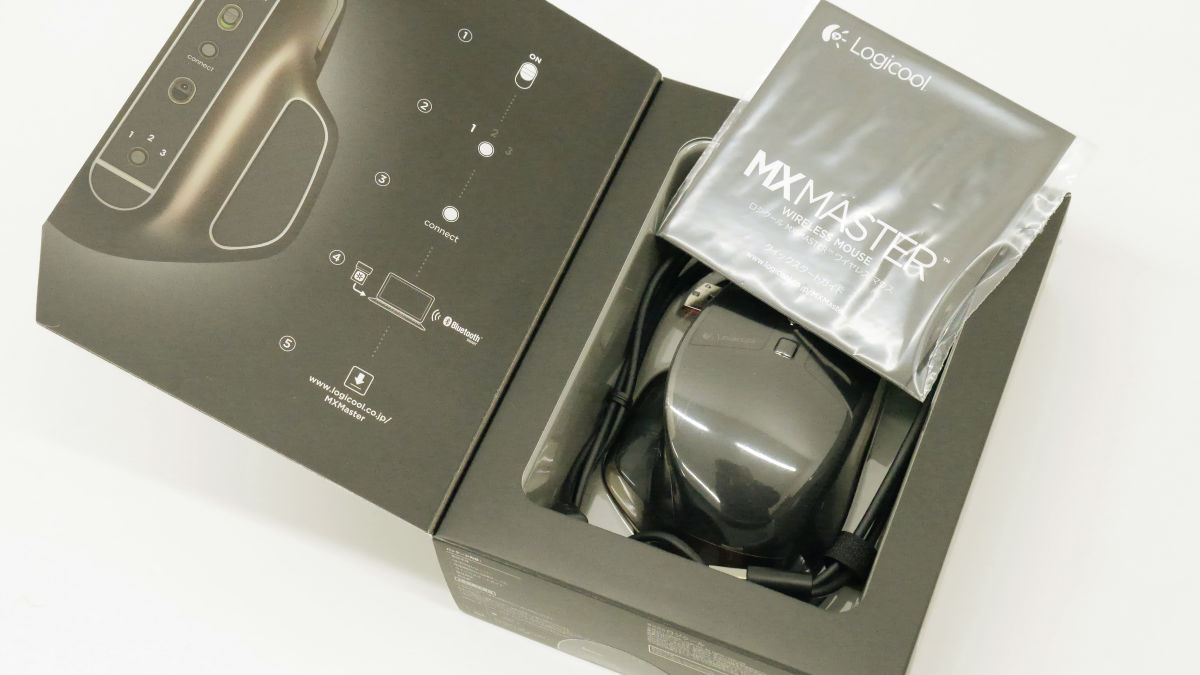
The box contained the MX Master main unit, Micro-USB cable, Unifying receiver, and instruction manual.
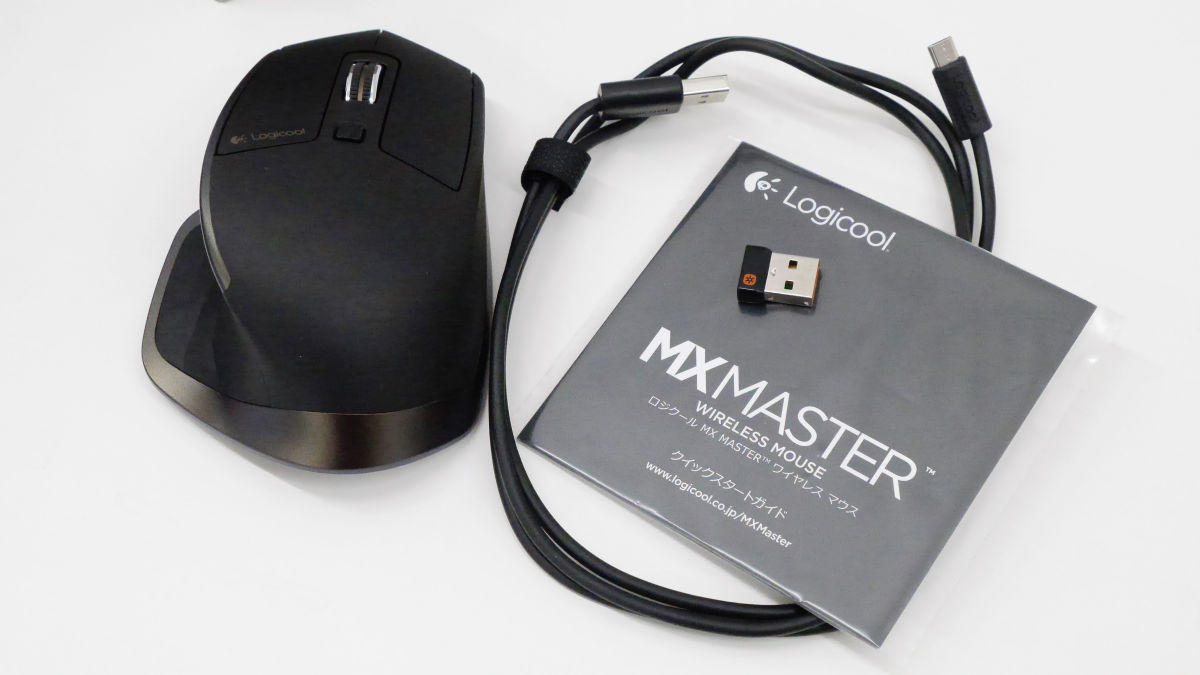
The instruction manual is simple without saying much.
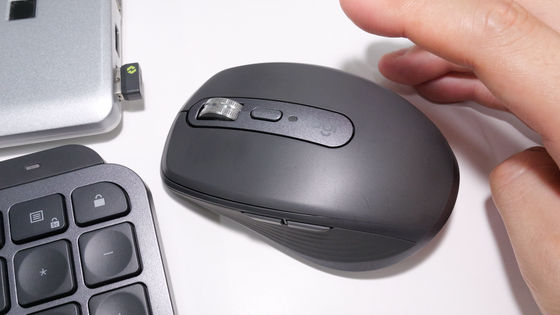
The size of MX Master is 85.7mm wide x 126.0mm long x 48.4mm high and weighs 145g. It's a little small when placed side by side with the Nexus 5.

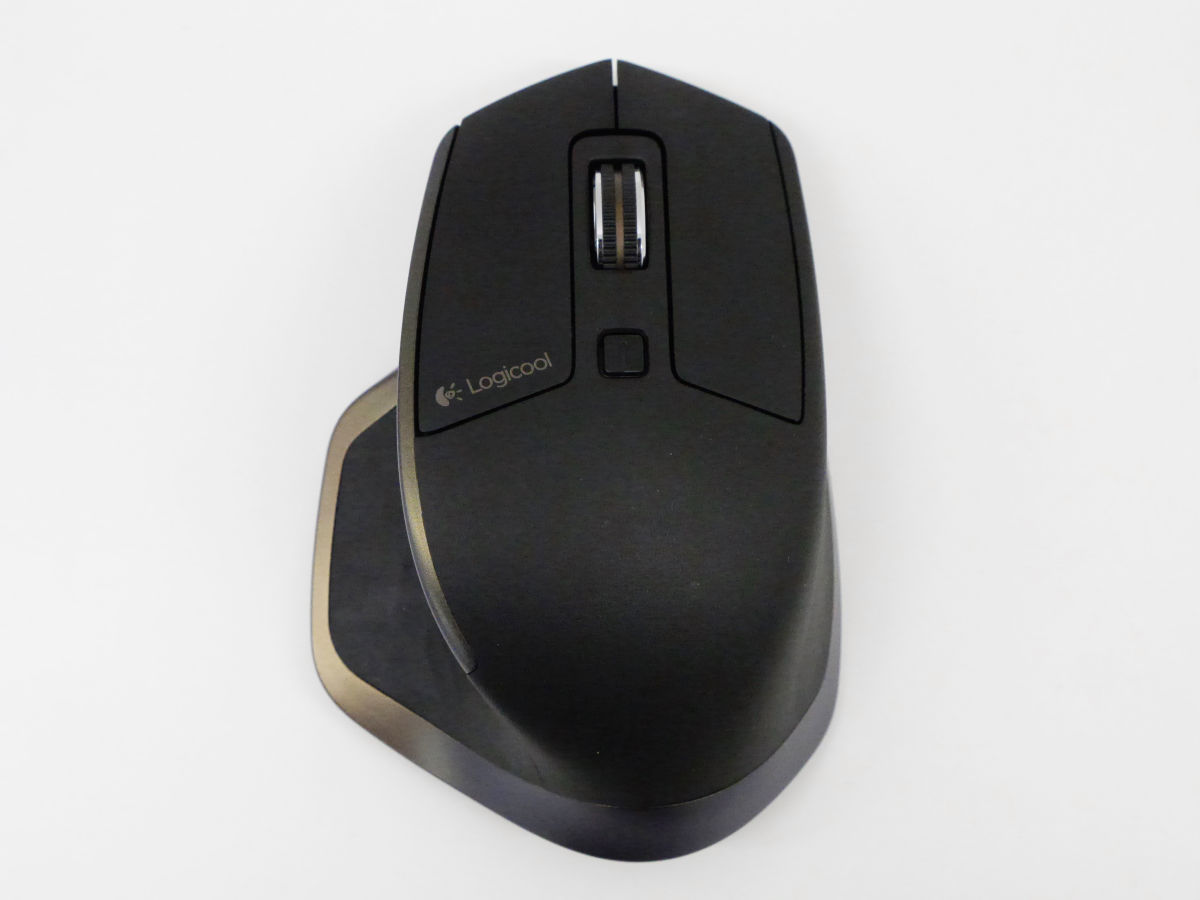
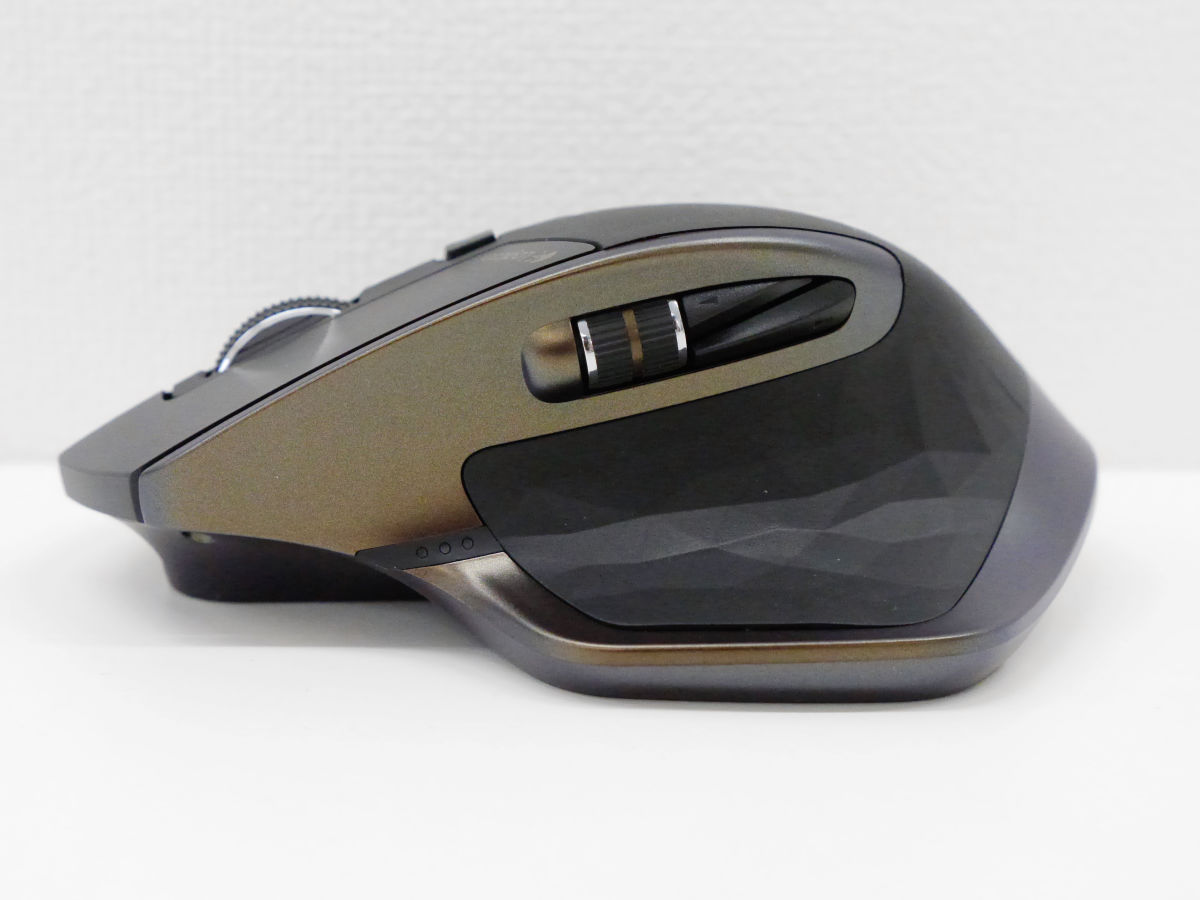
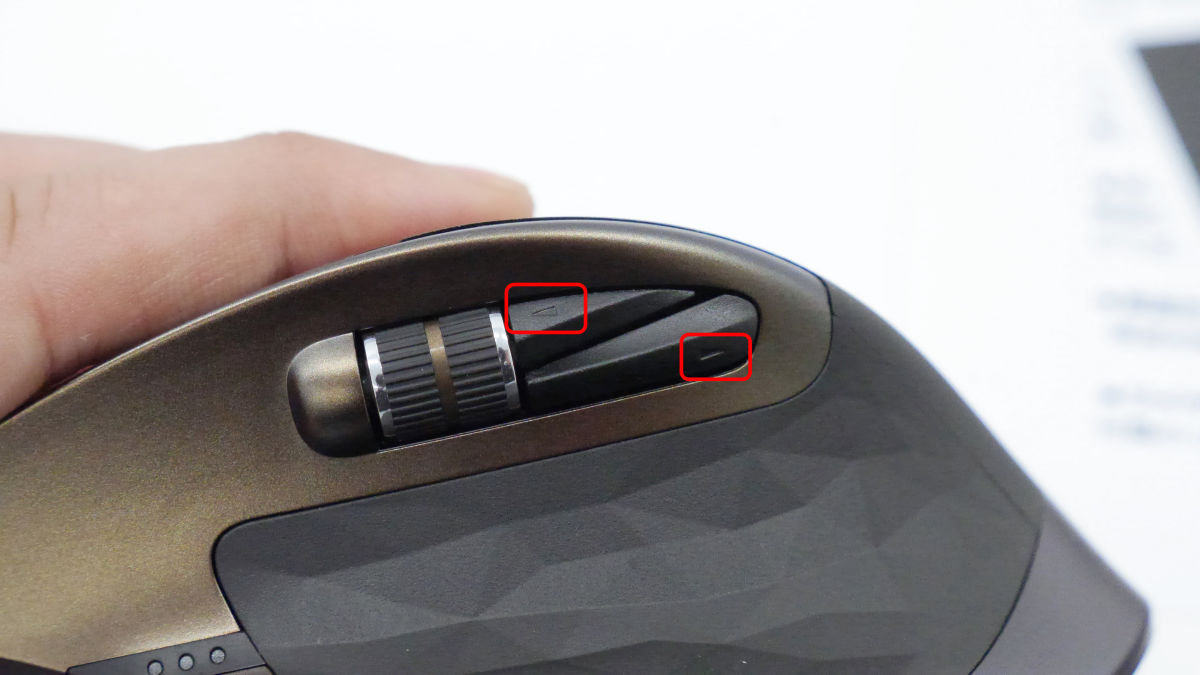
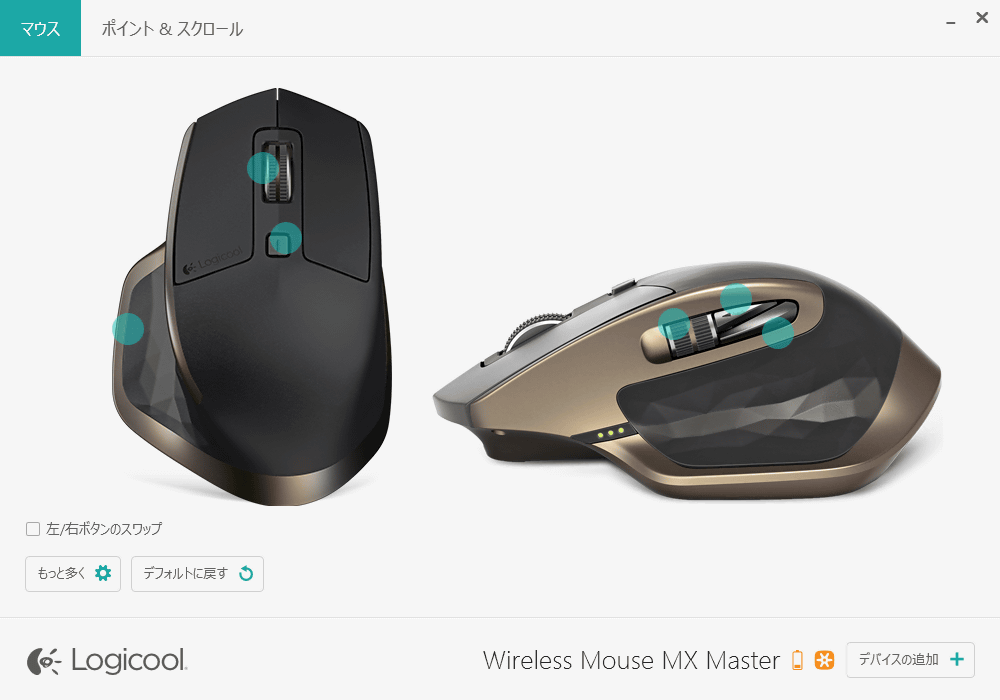
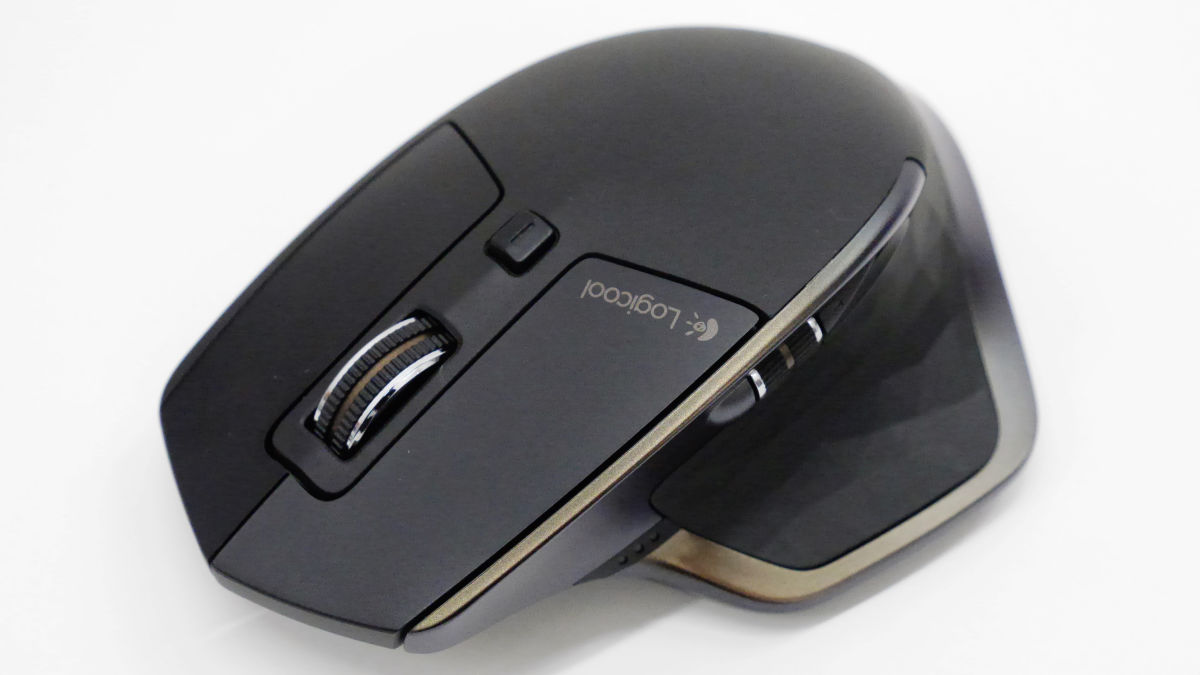
There is a left / right button, a wheel, and a scroll mode switching button at the top.
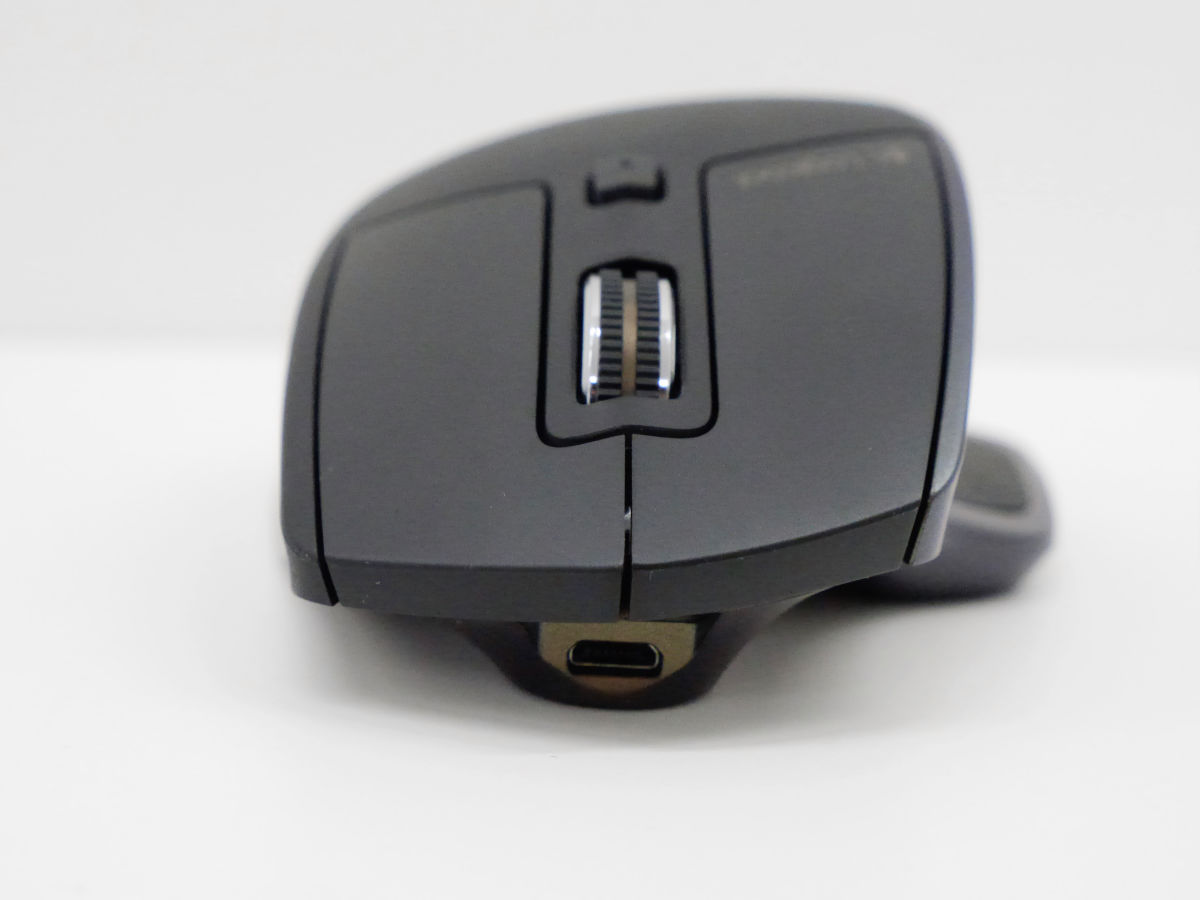
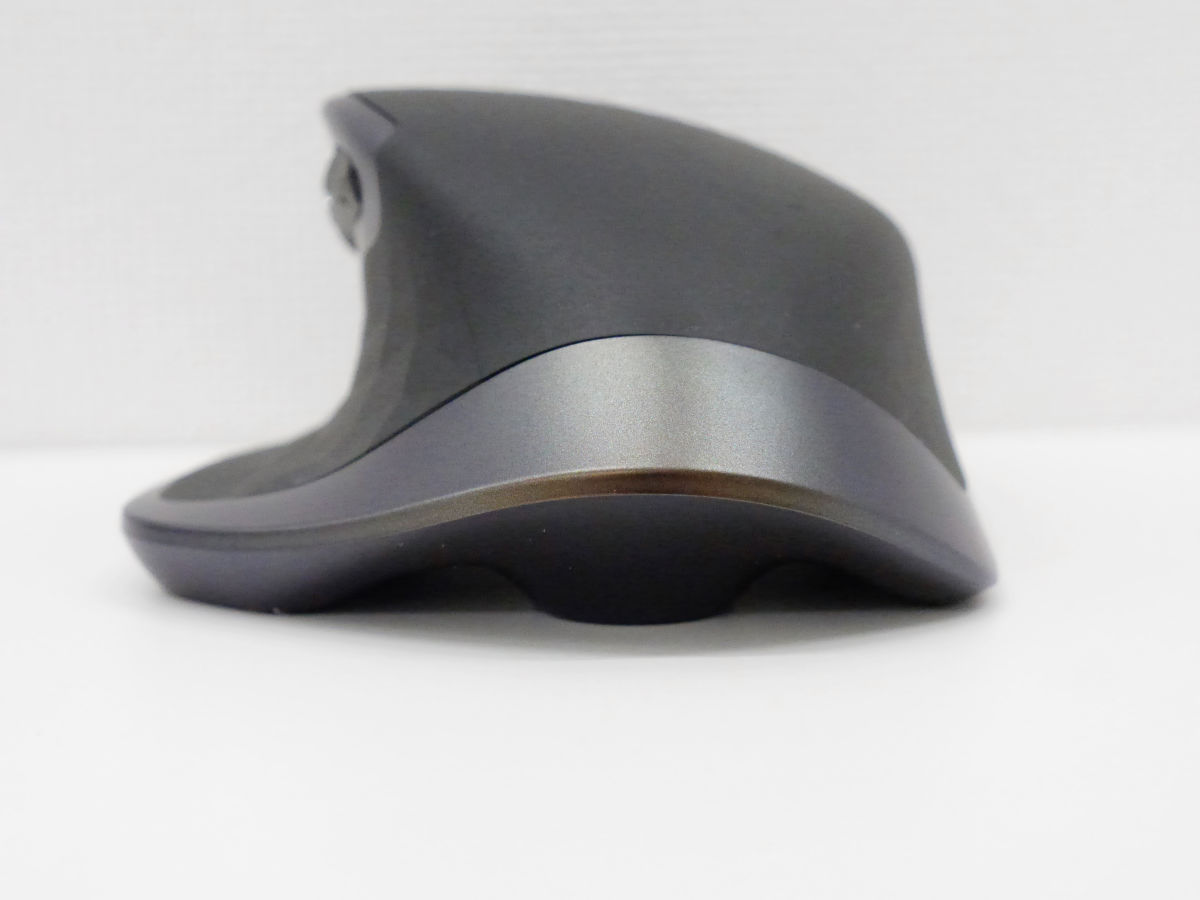
From the front, you can see that the Micro-USB port is at the bottom of the main unit.
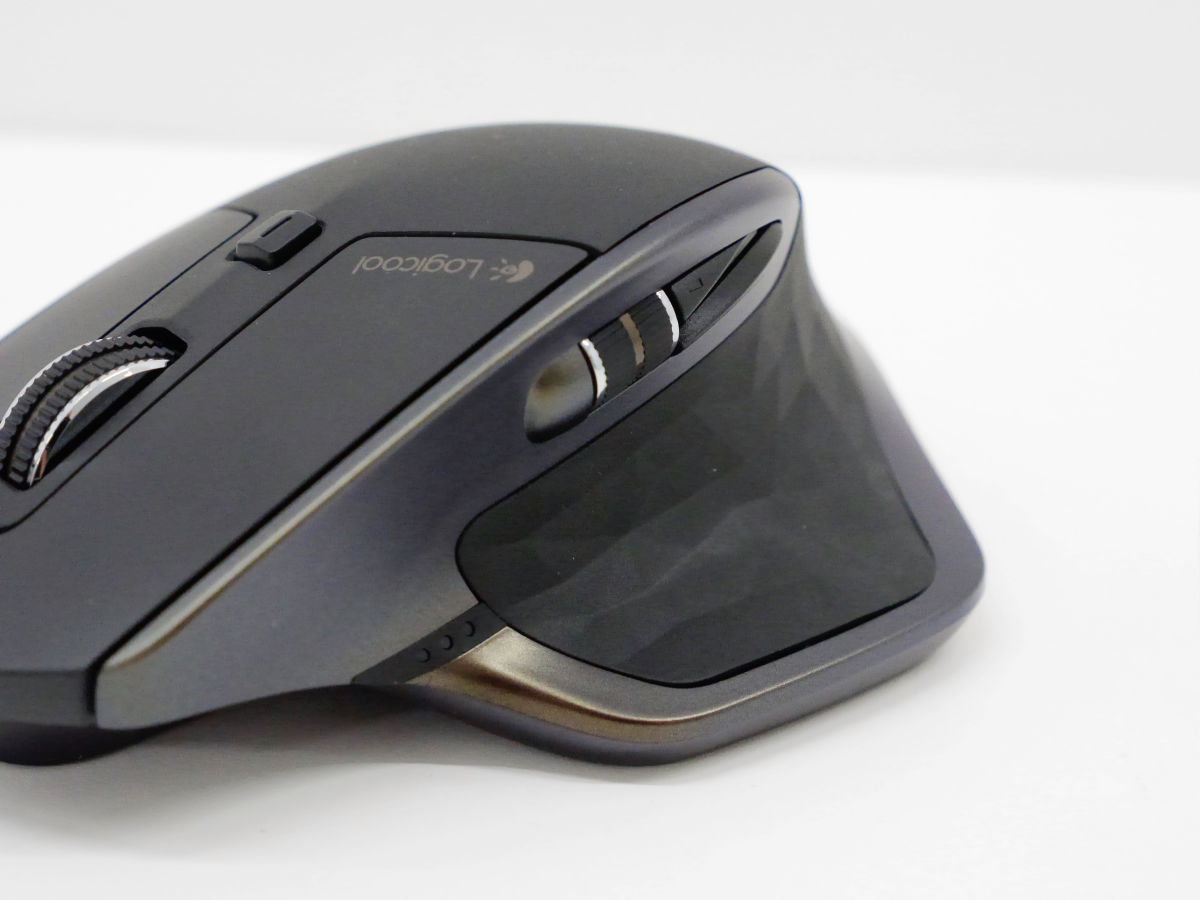
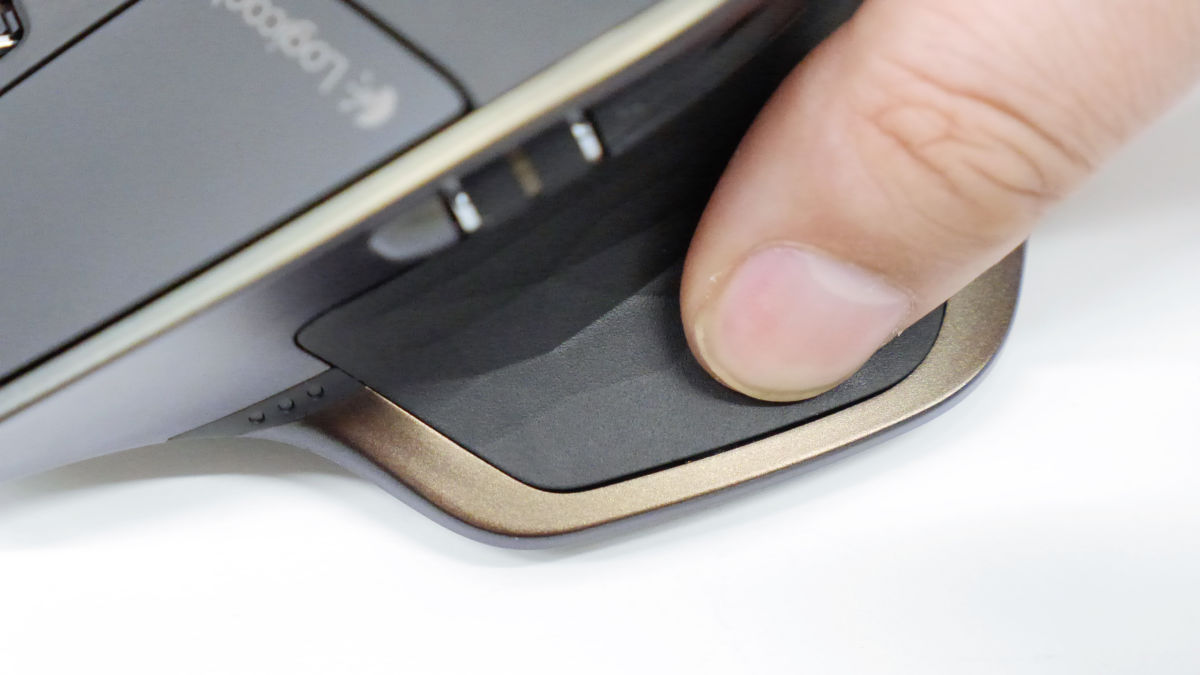
On the left side of the main unit are the thumbwheel and back / forward buttons.
The part where the thumb fits is like this.
There is nothing on the right side.
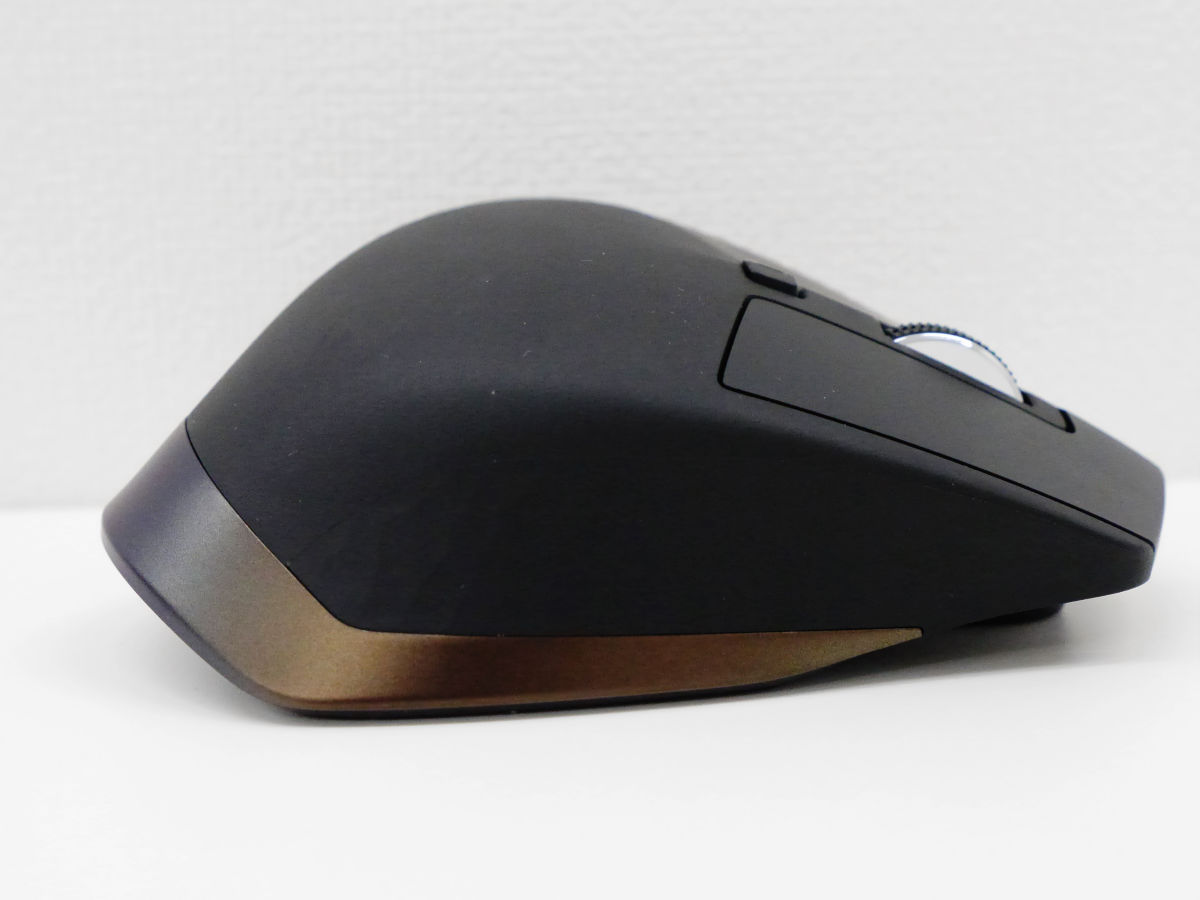
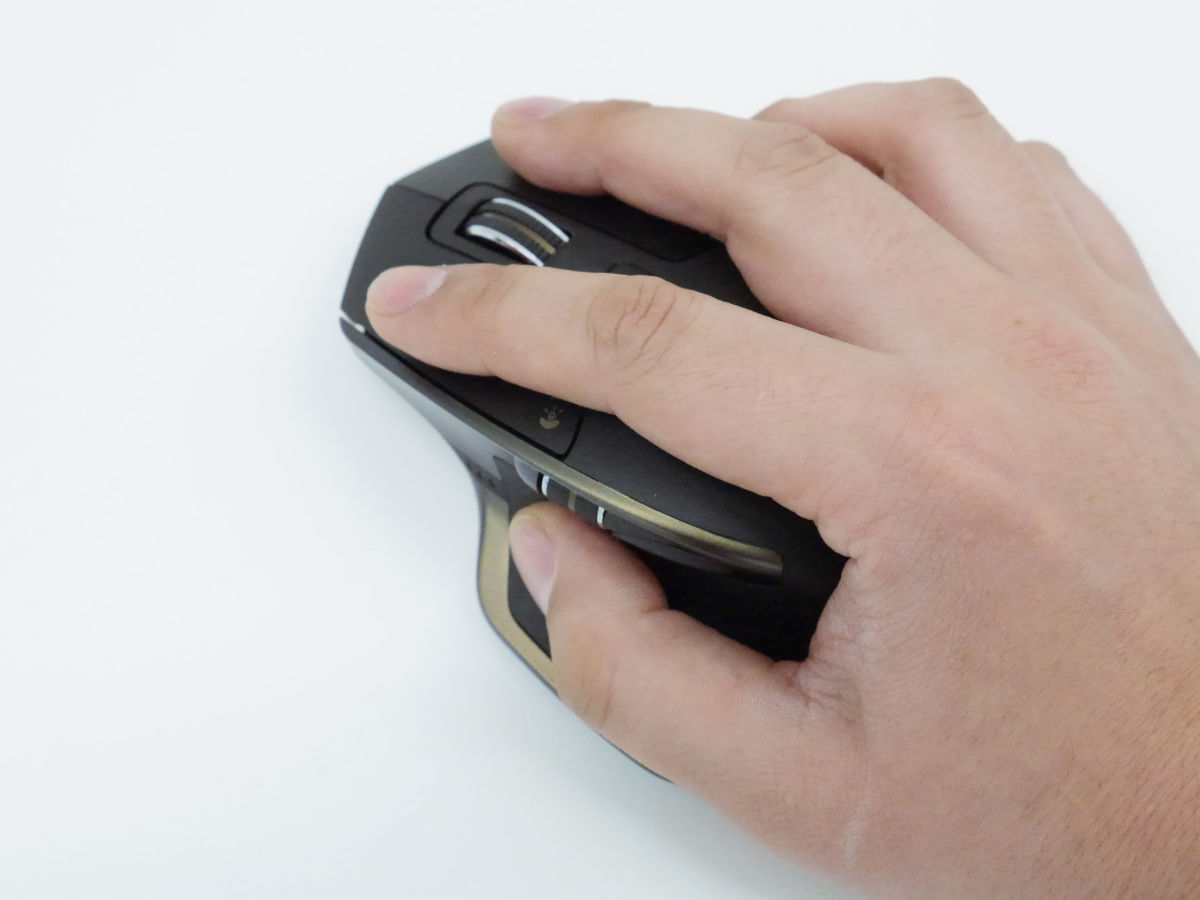
The body that draws a gentle curve is designed to fit in your hand.
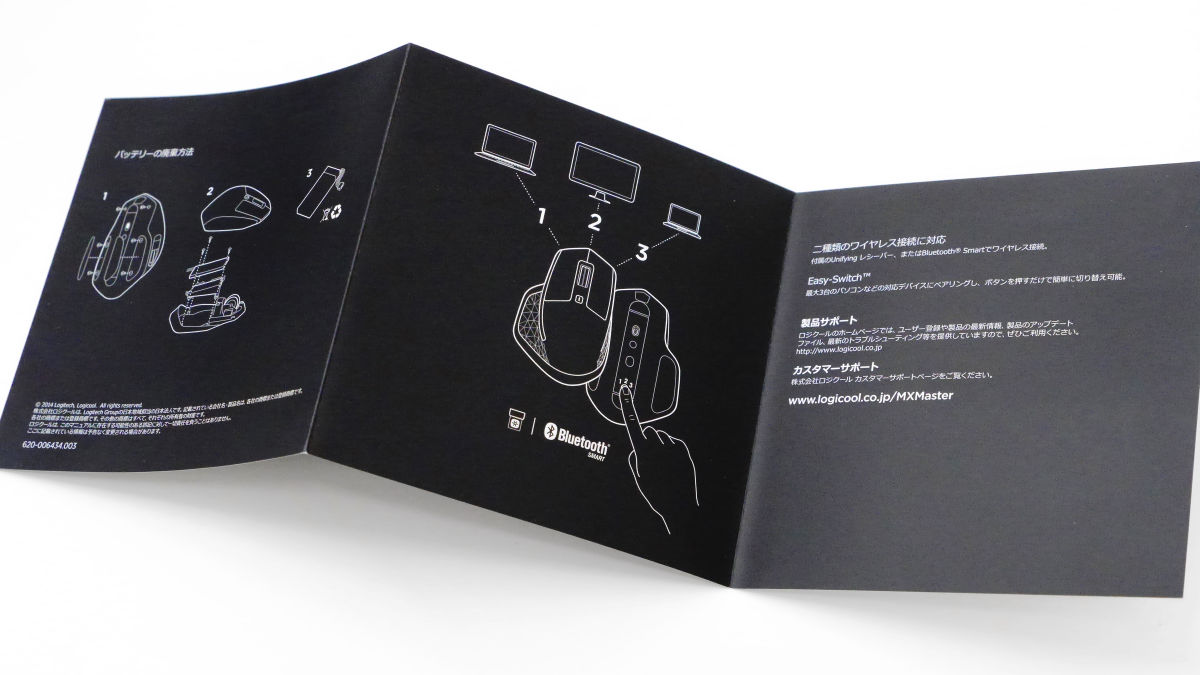
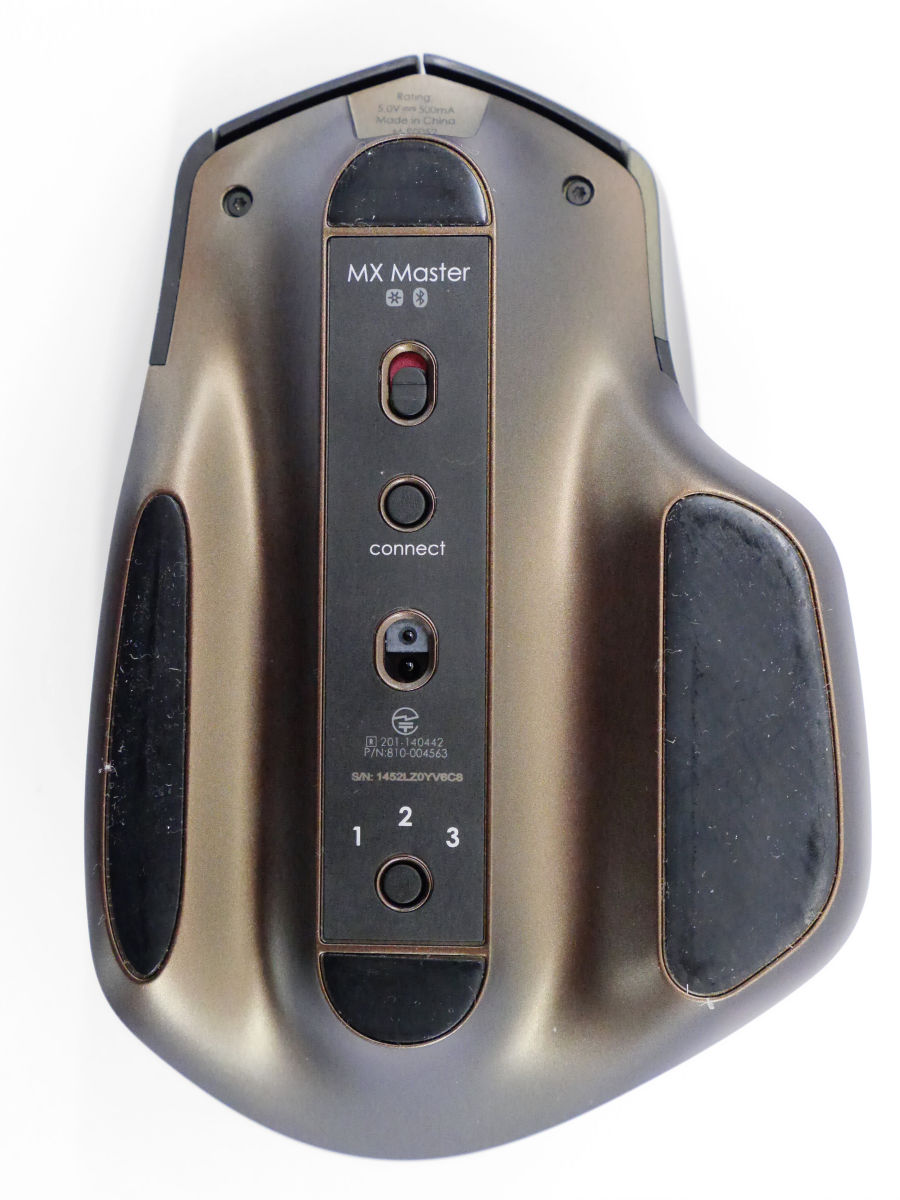
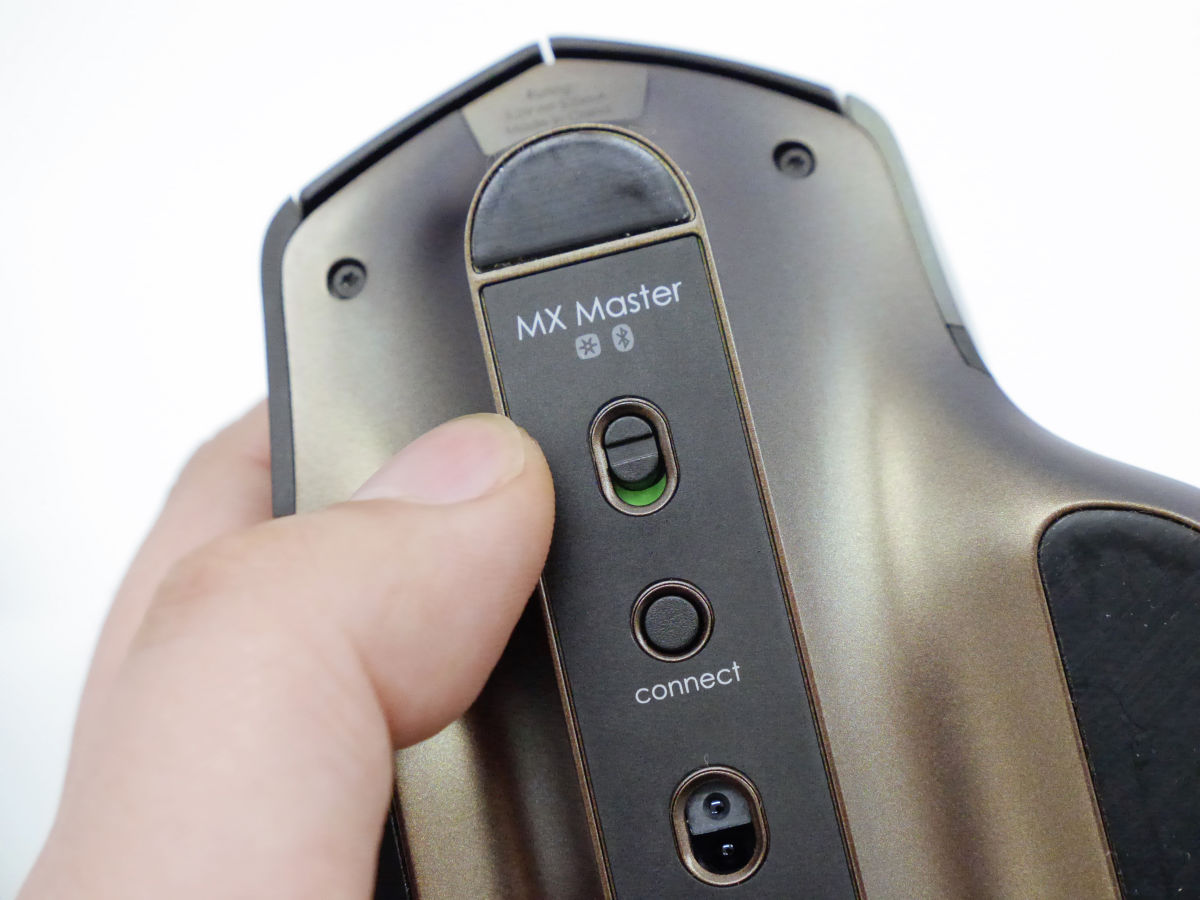
There is a power button, a connection button, and an Easy-switch button from the top on the bottom. MX Master can be paired with 3 devices, and the Easy-switch button switches the connected device.
When you grasp it, it fits perfectly in the palm of your hand and is quite comfortable.
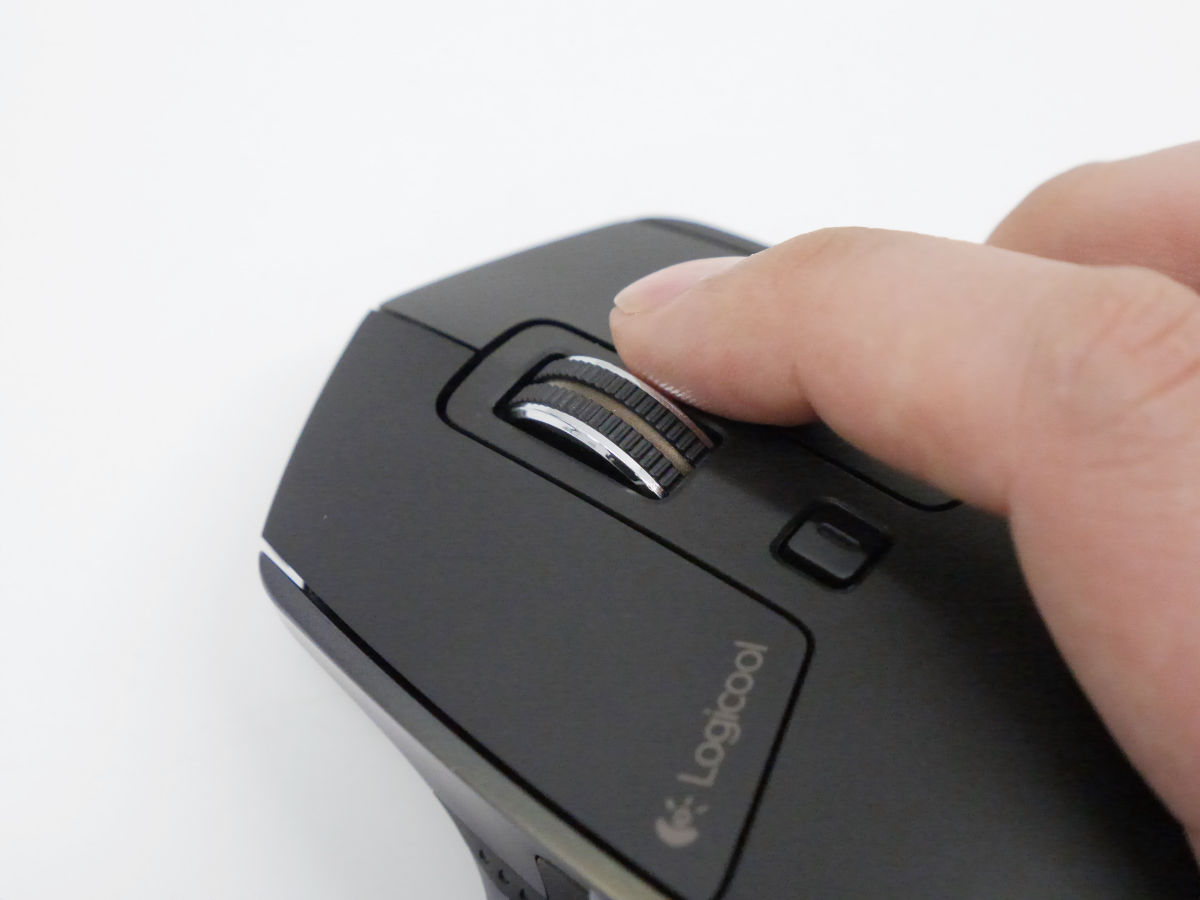
The wheel buttons also rotate smoothly.

The thumb wheel can be operated by simply moving the thumb up a little.
◆ Connection & function
MX Master has two types of wireless connections using the included Unifying receiver or Bluetooth Smart. This time, I will try connecting to a PC using the included Unifying receiver.
Unifying Software-Logitech Support
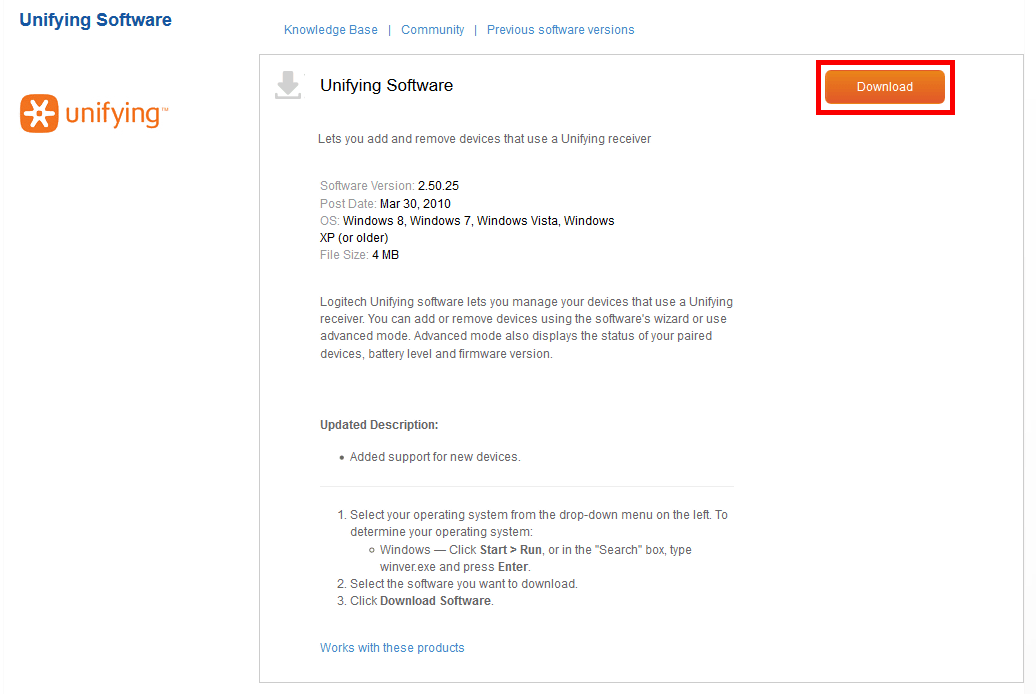
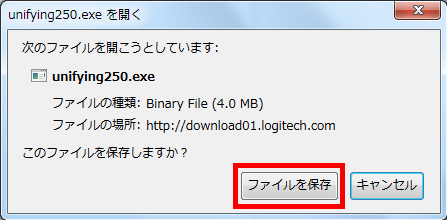
Since special software is required to connect MX Master with the Unifying receiver, open the above URL and click 'Download'.
Click 'Save File'.
When the download is complete, the Unifying icon will be generated and you can start it.
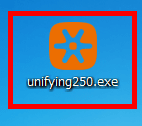
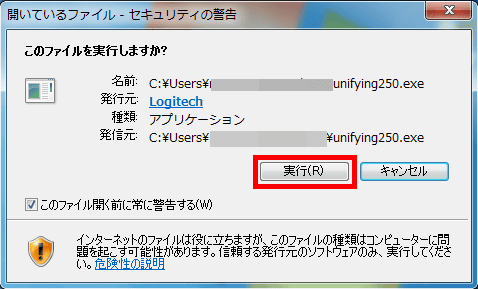
Click 'Run'.
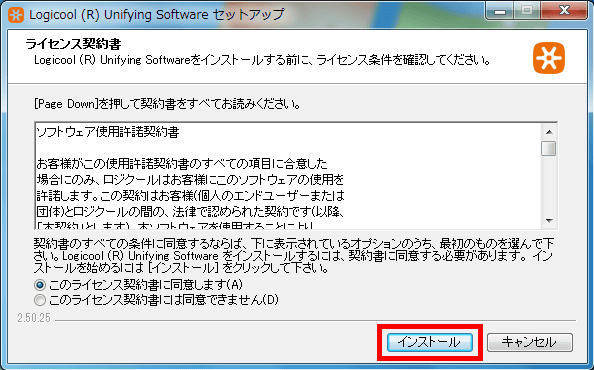
Click 'Install'.
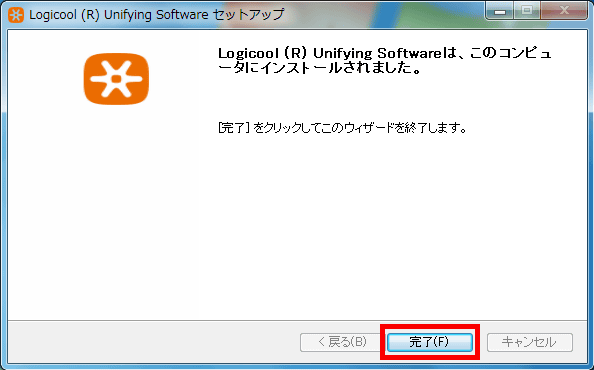
Click 'Finish' when the installation is complete.
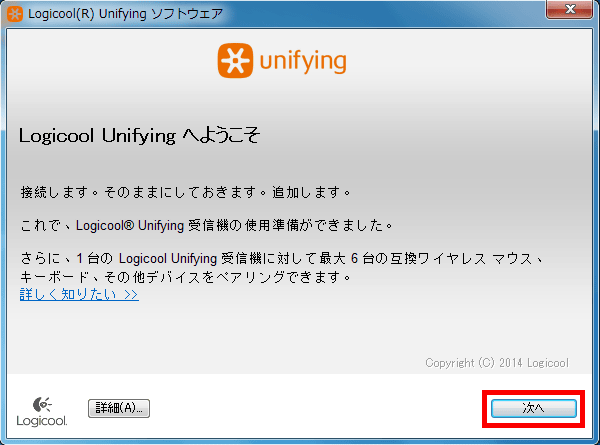
The Unifying software will start automatically, so click 'Next'.
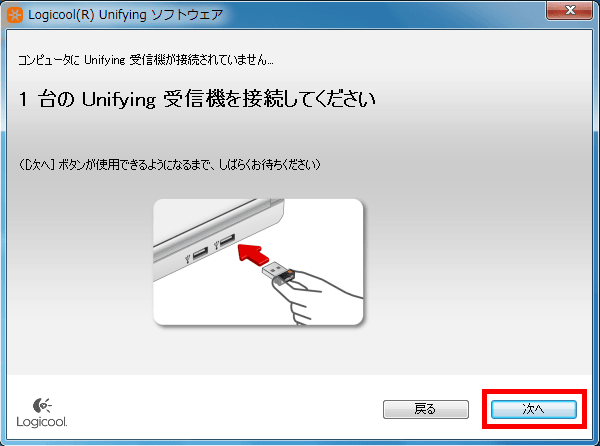
If the image below is displayed ...
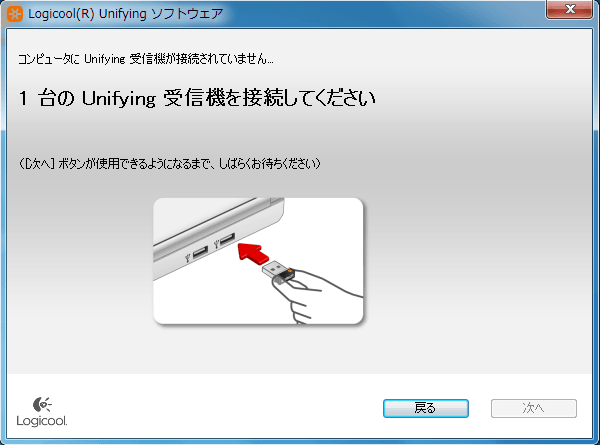
Plug the included Unifying receiver into your PC's USB port.
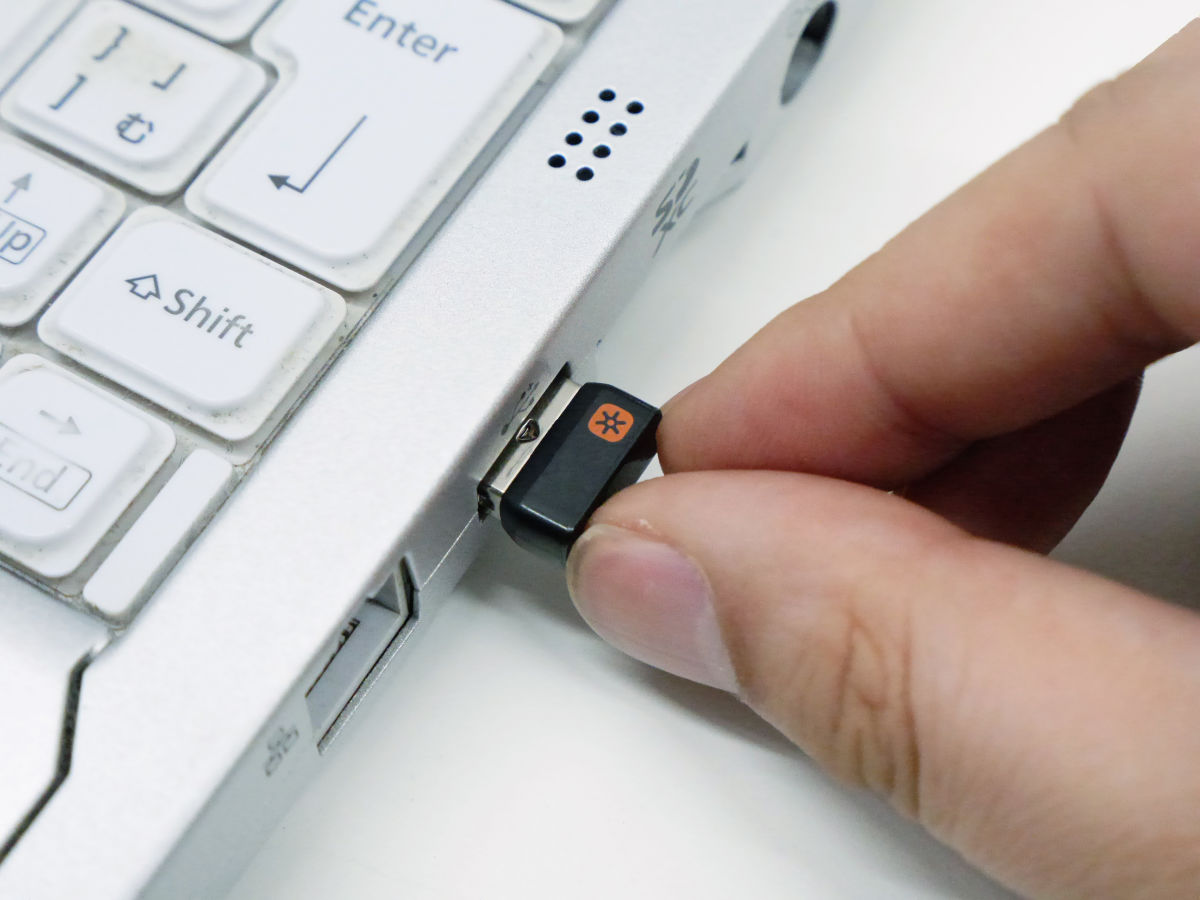
After connecting the Unifying receiver to your PC, click Next.
Follow the on-screen instructions to turn on your MX Master console.
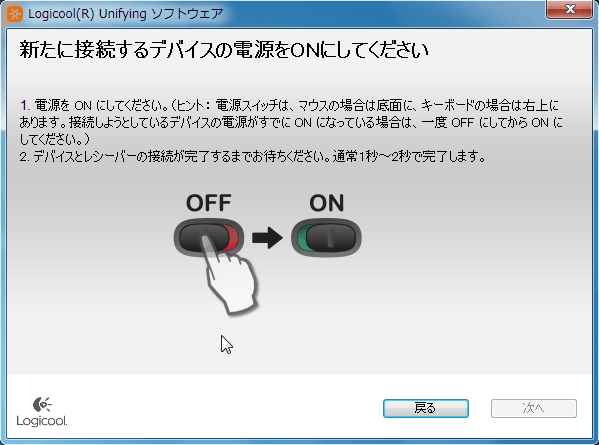
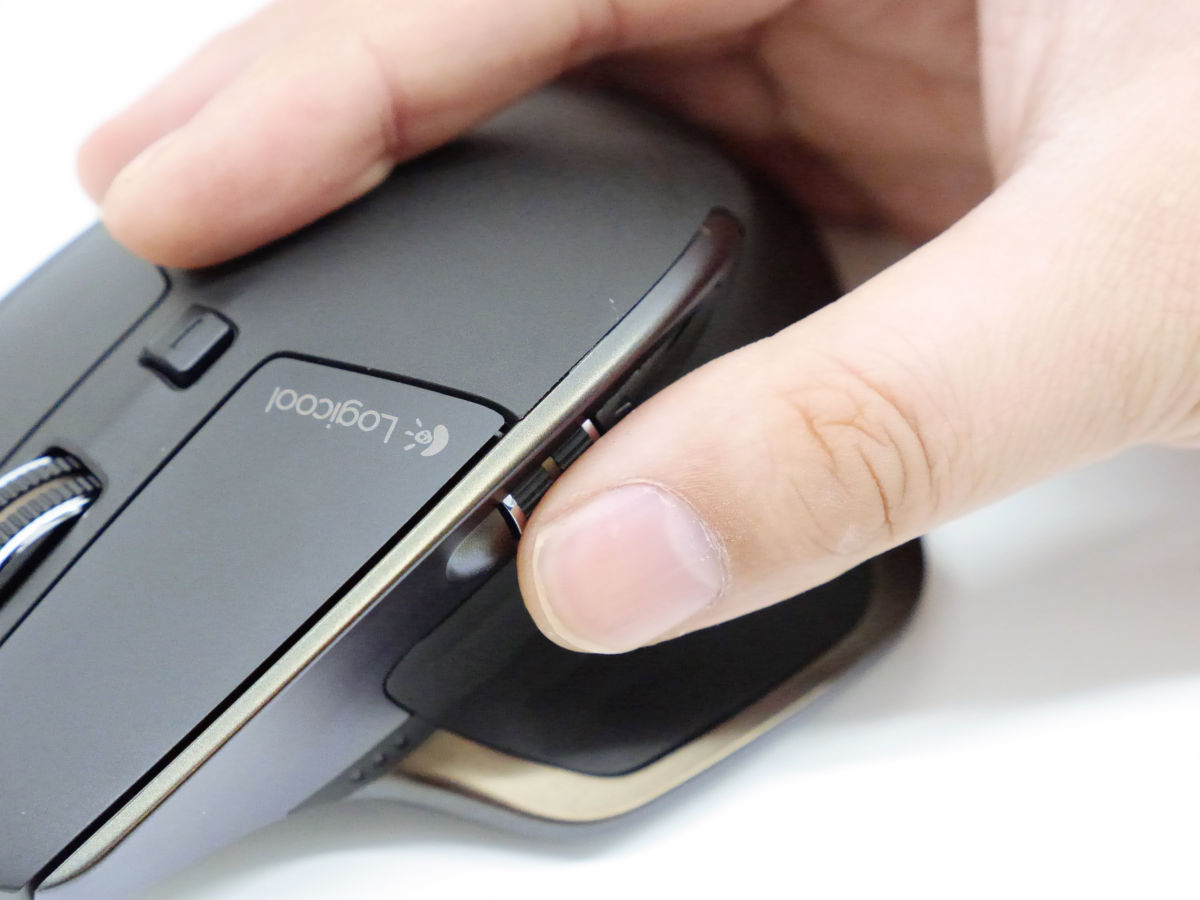
Click on the power supply on the bottom of the main unit.
This completes the connection between MX Master and PC.
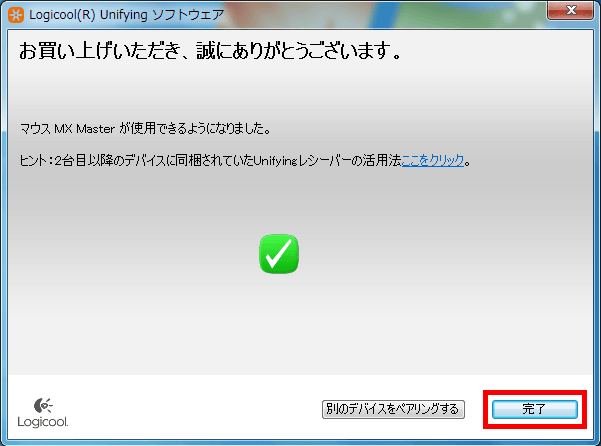
Try moving the mouse, and if it works normally, check 'Yes' and click 'Next'.
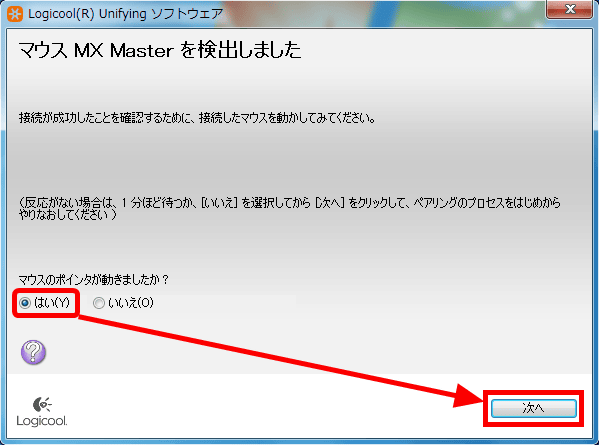
Finally, click Finish to exit the wizard.
If you turn the wheel without exerting any force, it will rotate while making a clicking sound and scroll the screen.
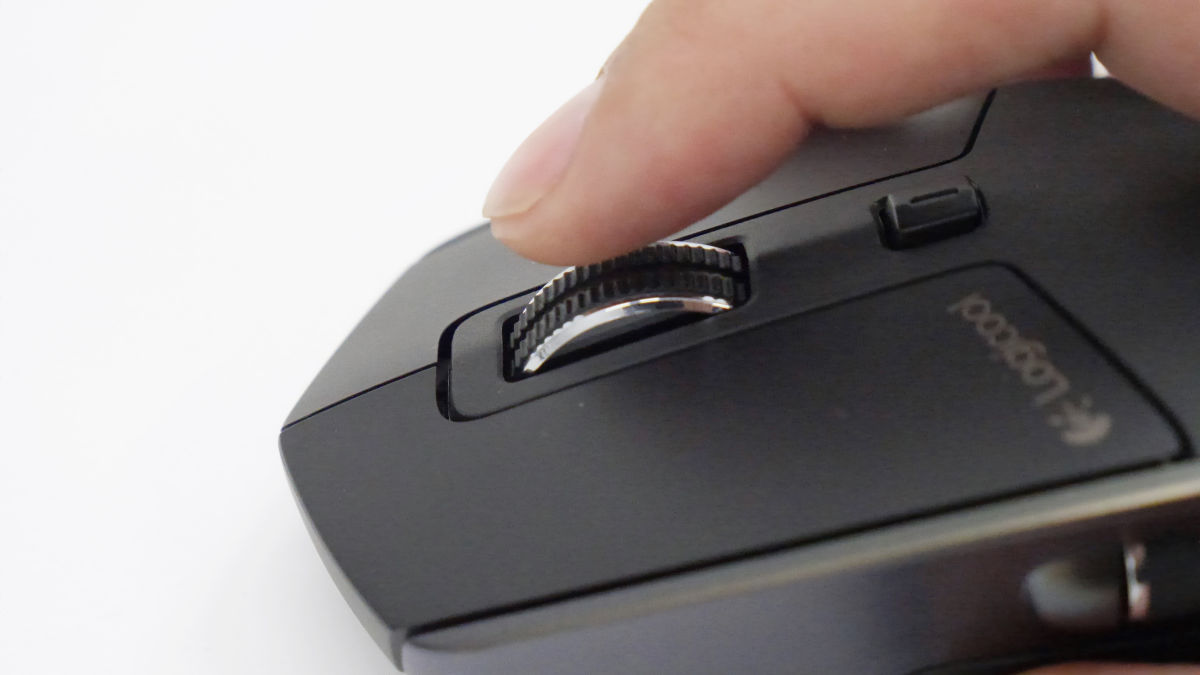
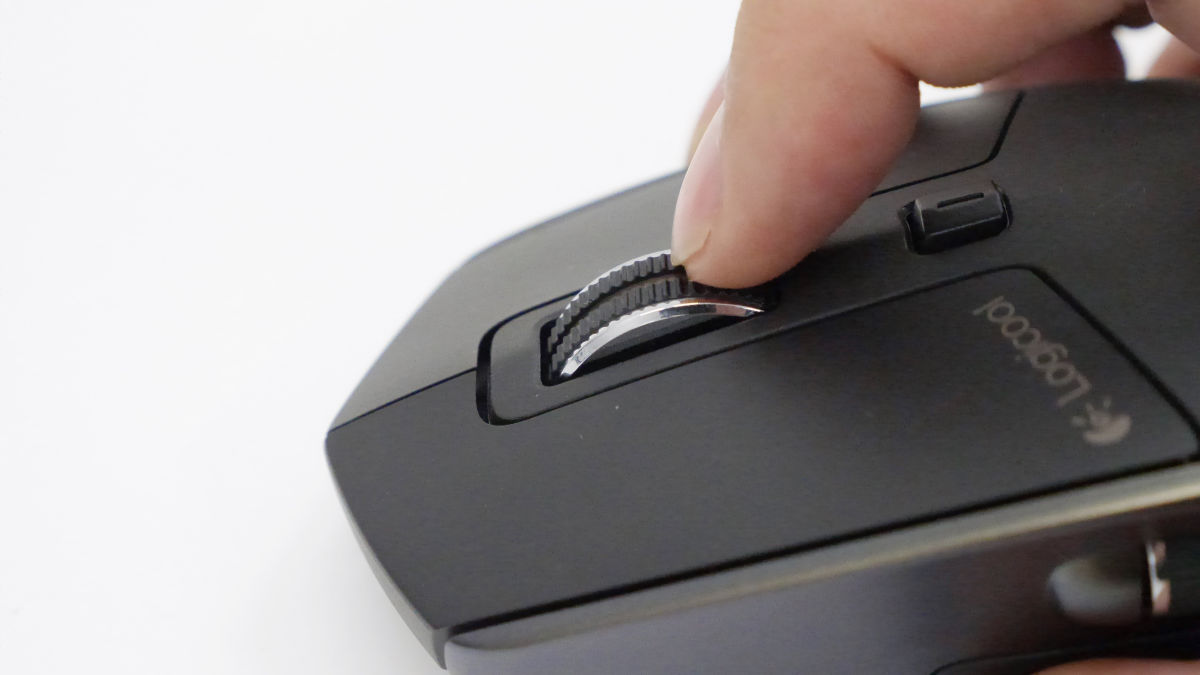
If you apply a little force and turn it vigorously, it will rotate at high speed while making a 'sharp' sound. In other words, it makes browsing more efficient when viewing extremely long pages.
It is easy to understand how scrolling actually works by watching the movie. The following is the place where the wheel was rotated without applying force.
You can see how you are scrolling at high speed with great effort from the movie below.
I tried high-speed scrolling with the wireless mouse 'MX Master'-YouTube
You can check the smooth movement of the wheel that is trying high-speed scrolling from normal scrolling from the following movie.
I tried scrolling the wheel of the wireless mouse 'MX Master' at high speed-YouTube
You can also switch between normal and fast scrolling with the manual scroll mode switch button at the bottom of the wheel.
The thumb wheel just above your thumb supports horizontal scrolling.

On the right side of the thumbwheel are a 'back button' and a 'forward button'. When I tried it with a browser such as Firefox or Chrome, I was able to go back and forth from the open page.
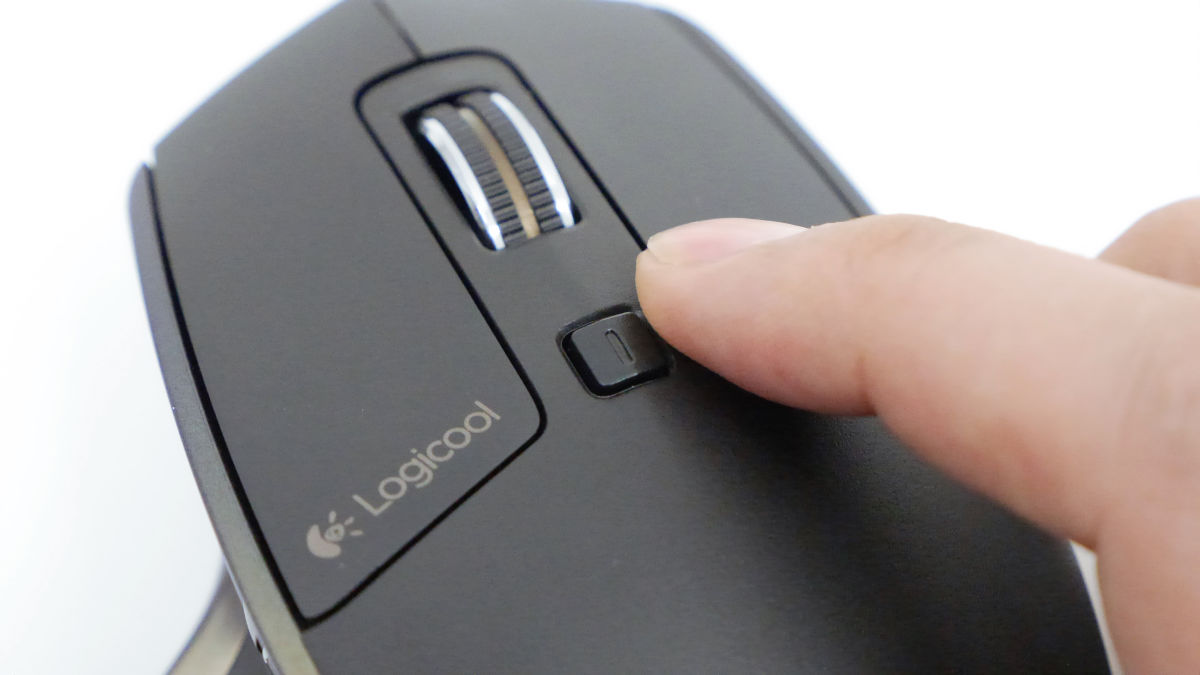
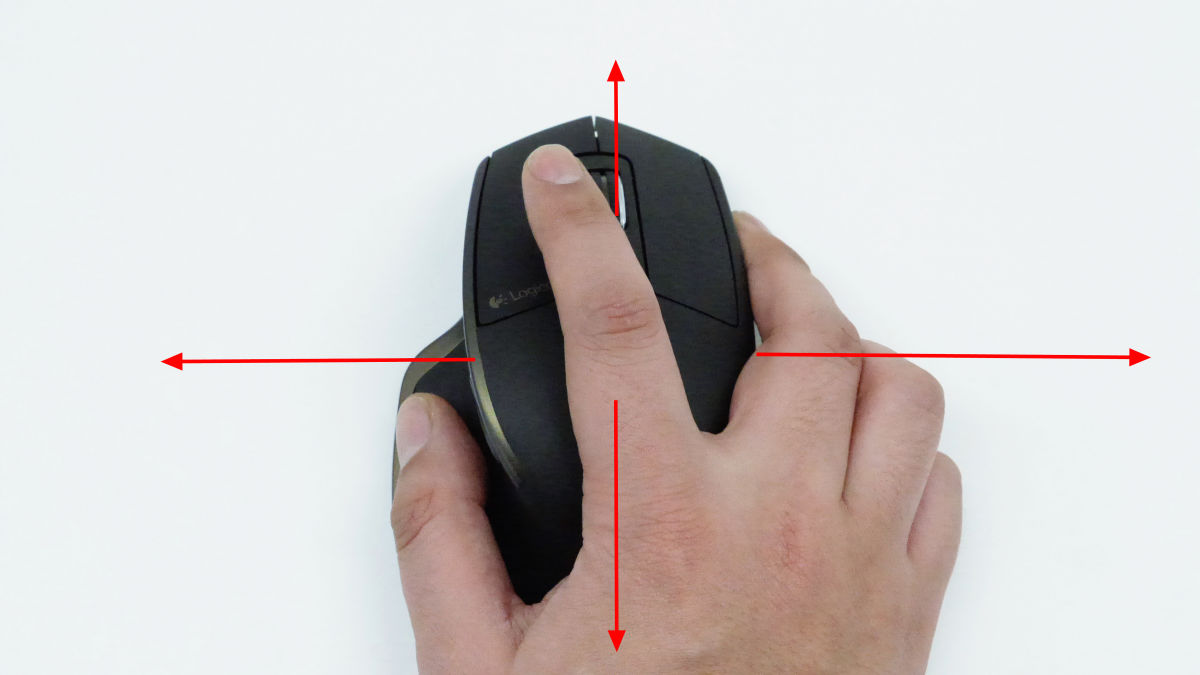
Actually, the part where the thumb fits is also a button named 'thumb button', and when you press it ...
It will display the running application.

Also, hold down the thumb button and move the mouse up to 'maximize the open window', move it to the right to 'move the window to the right', move it down to 'display the desktop screen', and move it to the left to 'display the desktop screen'. You can also move the window to the left. If you remember, the work will be much faster.
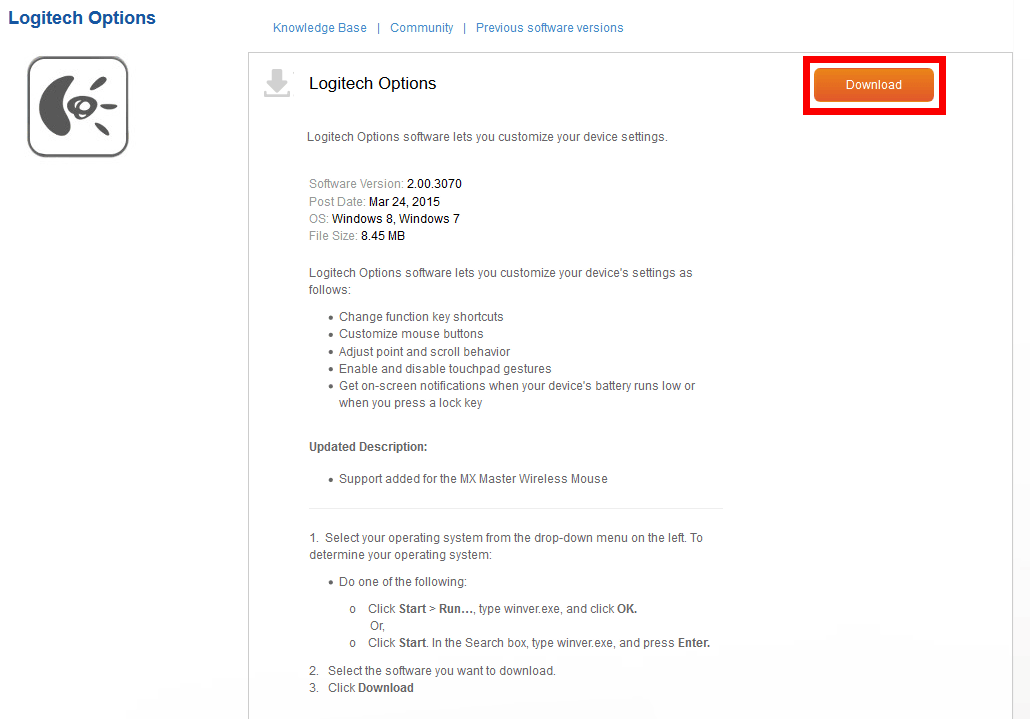
That's the basic operation of MX Master, but to get the most out of MX Master, you need to install software called 'Logitech Options'. With Logitech Options installed, you can customize the behavior of the wheels and buttons on your MX Master to your liking.
Logitech Options --Logitech Support
After opening the above URL, click 'Download'.
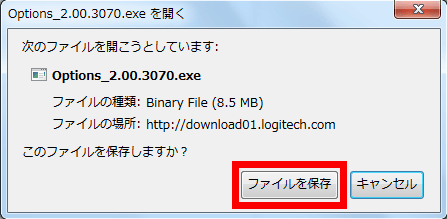
Click 'Save File'.
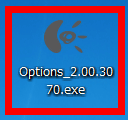
After downloading, launch the created icon.
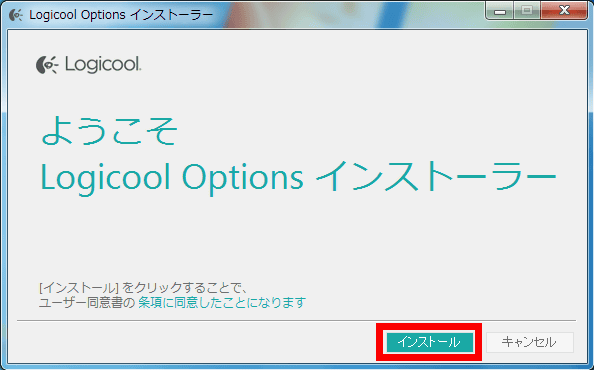
Click 'Install'.
Logitech Options will start automatically when the installation is complete. You can easily customize the buttons from this screen.
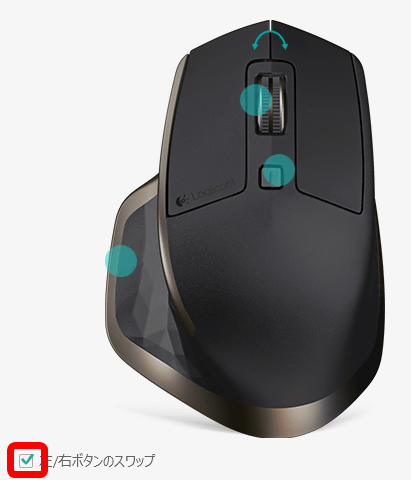
For example, if you check 'Swap left / right button' at the bottom left of the screen, the left and right clicks will be switched.
Click the blue circle to customize individual buttons. Three operations will be assigned, so click 'More'.

If you check the item you like from this list, you can assign a function to each button. Ease of use is also good because the changes are reflected just by checking.
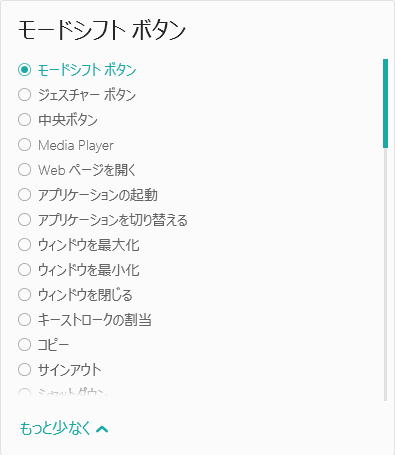
The assigned operations are as follows. From 'maximize windows' to 'my computer', there are many choices.

These operations can be assigned to a total of 6 buttons.

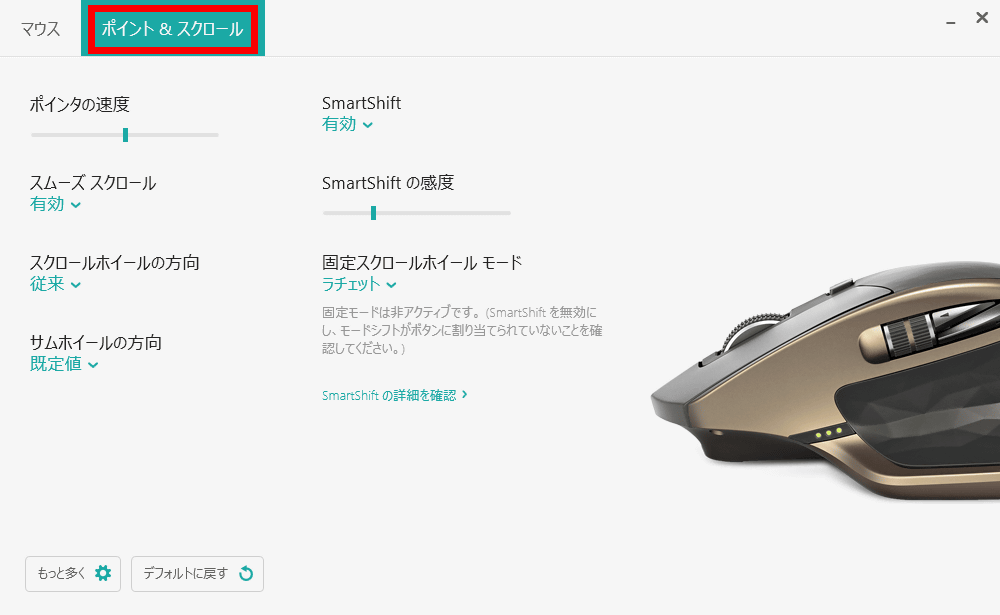
Click 'Point & Scroll' to change settings such as 'Pointer Speed' and 'Scroll Wheel Direction'.
MX Master will be released on April 2, 2015 for 12,880 yen excluding tax. At the time of writing the article, we are accepting reservations from the official website.
Related Posts: