A report that disassembled "iPad Air 2" thinner than a pencil into pieces disappears
Every time a new device is decomposed, its contents are released "IFixit"Is thinner than a pencil"IPad Air 2"Is broken down and details are released.
IPad Air 2 Teardown - iFixit
https://www.ifixit.com/Teardown/iPad+Air+2+Teardown/30592
The iPad Air 2 Teardown Review! - YouTube
This is iPad Air 2 of the Wi-Fi model which will be disassembled.
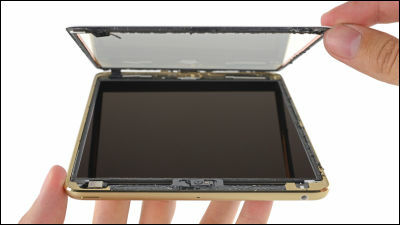
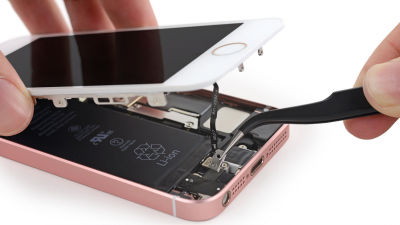
Since the new front panel is mounted with a larger amount of adhesive than the front model,IOpenerSlowly dissolve the adhesive, then between the front panel and the frameIFixit Opening Picks set of 6Insert and pry open.
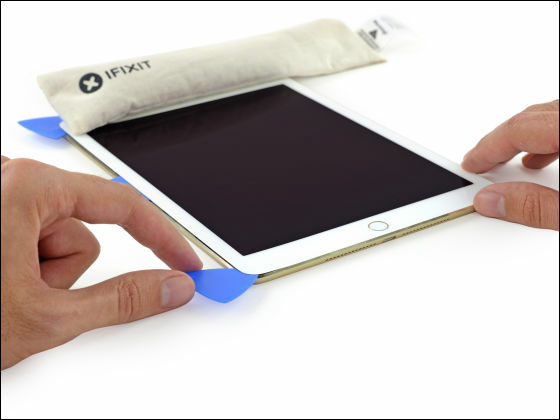
Opening the front panel of iPad Air 2 with Pakari ......
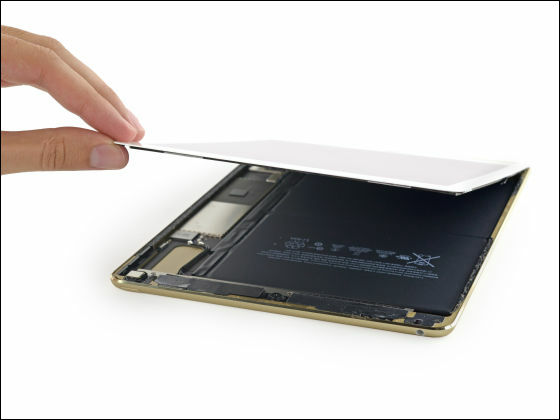
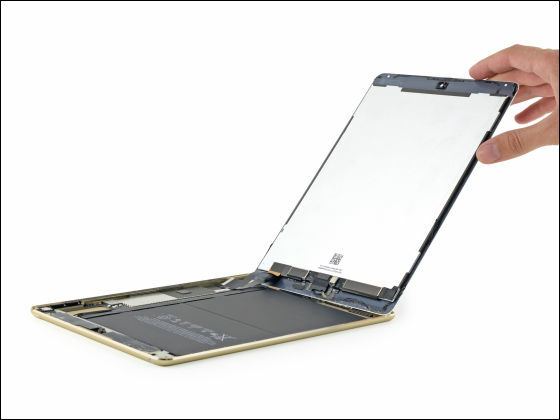
You can see that the cable connected to the display is stored at the bottom of the front panel. In addition, the front panel display was integrated from iPad Air 2.
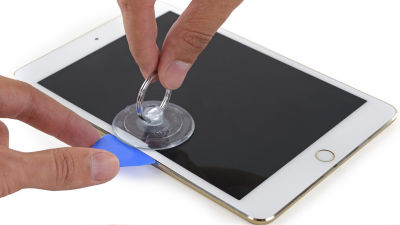
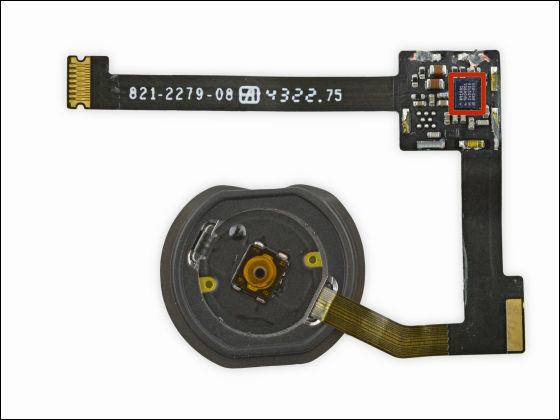
Remove the Touch ID sensor mounted on the bottom of the front panel.
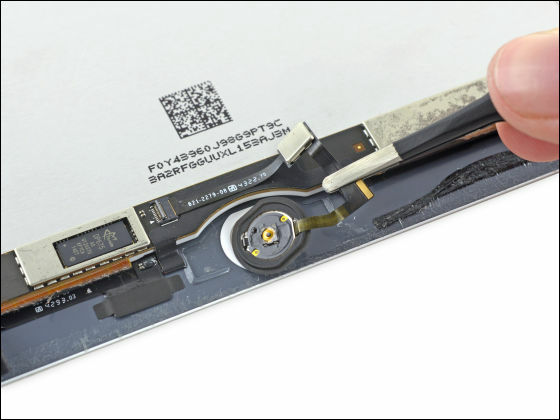
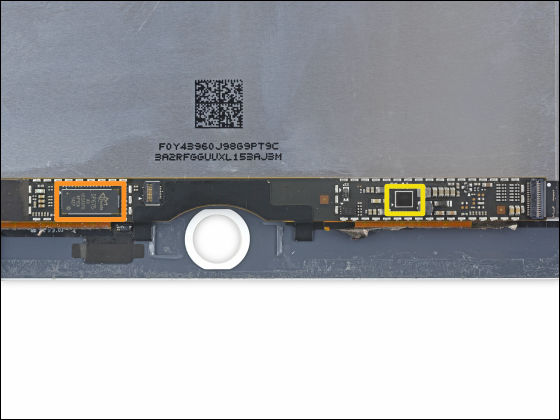
The sensor is mounted on the removed Touch ID sensor, the red frame is "NXP Semiconductor 8416A1 Touch ID Sensor"is.
Even around the front panel Touch ID sensor was installedDP675"Or"TPS65143A"There was an IC chip such as was installed.
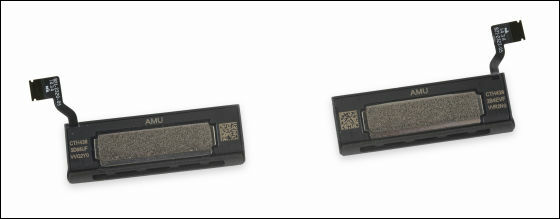
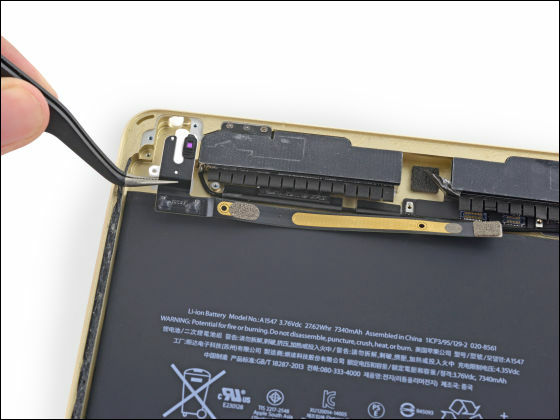
Next we will separate the speakers.
Two speakers removed here.
Next to the speaker is a tweezers and FaceTime HD camera ......
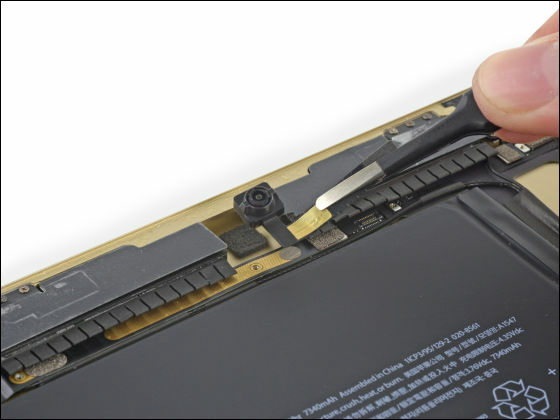
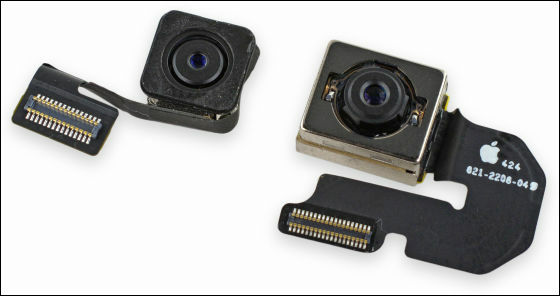
Remove the 8 million pixel iSight camera.
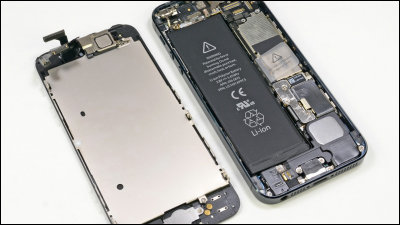
The iSight camera is not the same as the one installed in the iPhone 6 Plus, but it is said that it is upgrading from the camera of the previous model.
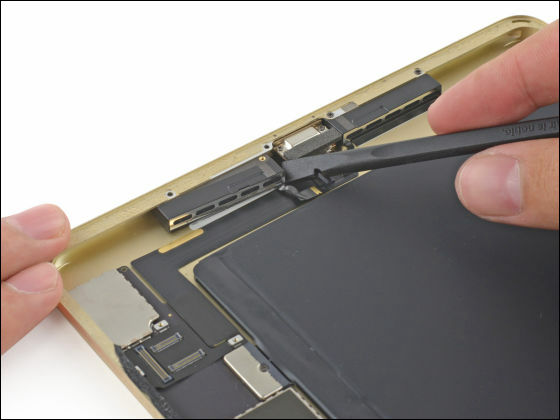
Next is a stereo headphone mini jack periperi.
Following the stereo headphone mini jack, peel off the Wi-Fi antenna. The Wi-Fi antenna was attached to the lower part of the main body in the previous model, but the position has been changed on the main body of the iPad Air 2.

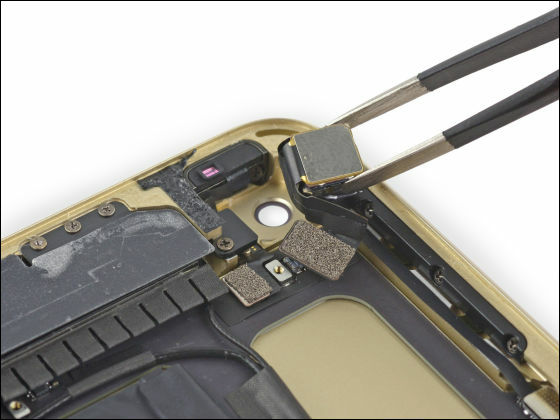
Remove the small microphone / optical sensor / power button with tweezers.
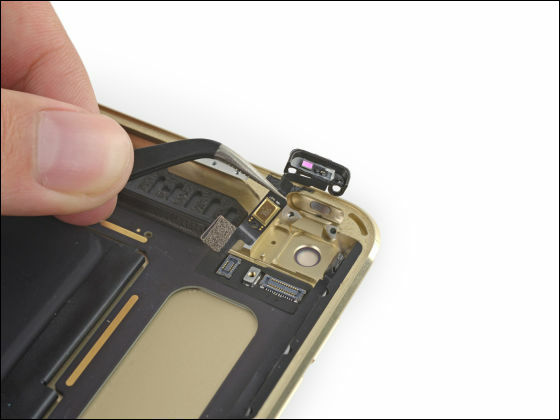
The small microphone was also installed next to the volume button.
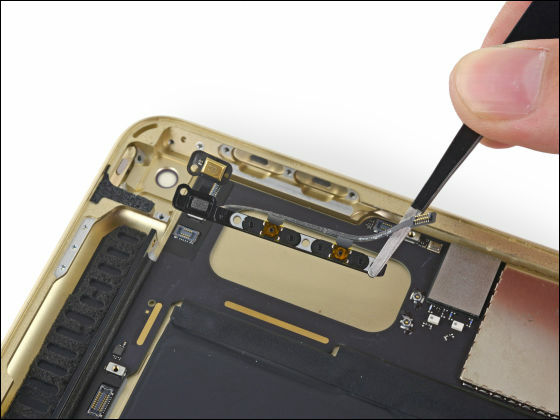
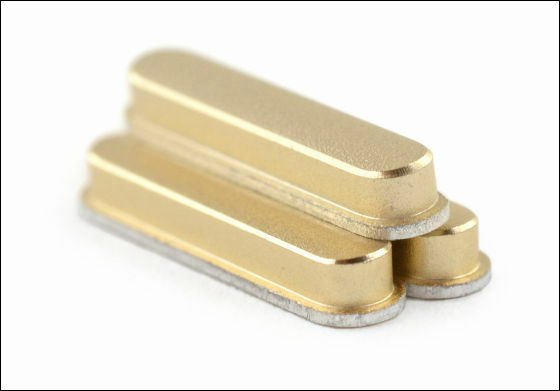
Power button and volume button removed here.
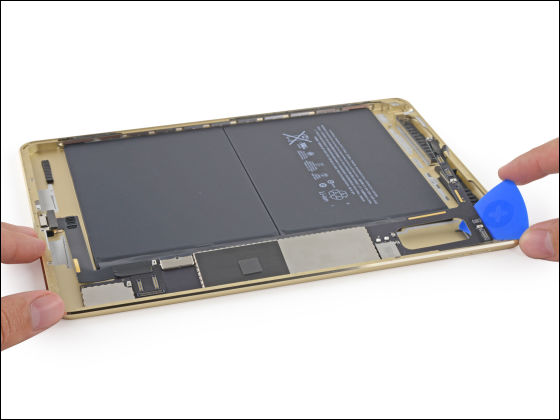
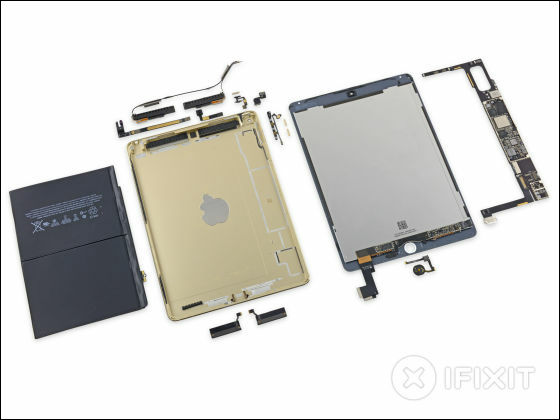
Like the front panel, the main unit and the battery and logic board are mounted with a large amount of adhesive, so warm it thoroughly and peel it off with a pick. In addition, be careful as there is a possibility that the main body may be deformed if you warm it too much using a dryer or the like.
Successfully removing the logic board safely.
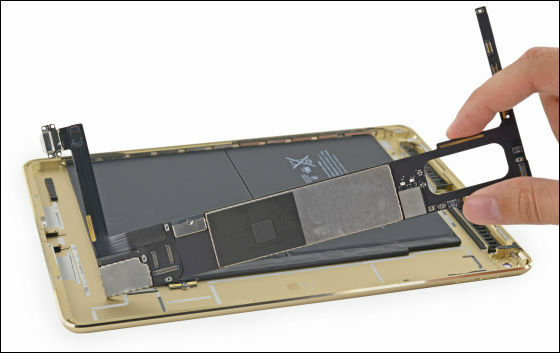
What is surrounded by a red rectangle in the middle is the second generation 64-bit CPU "A8X", which means that you can demonstrate 40% faster CPU performance than the A7 chip of the previous model.
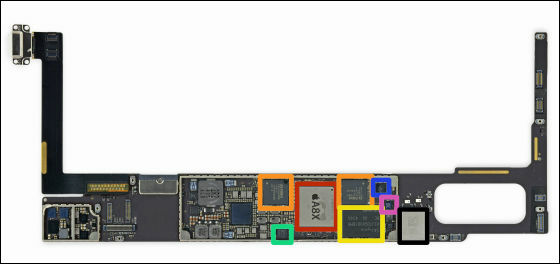
The back of the logic board.
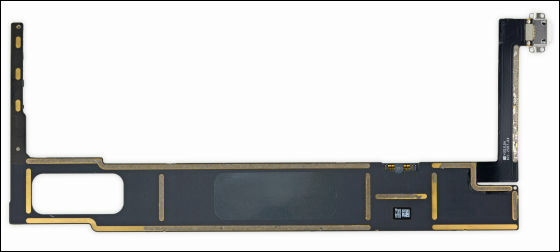
There is also a chip in the lower left part of the logic board, and Maxim's audio amplifier and digitizer are installed.

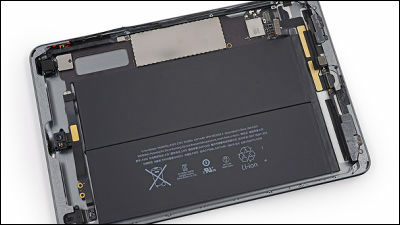
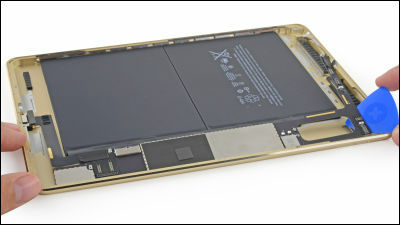
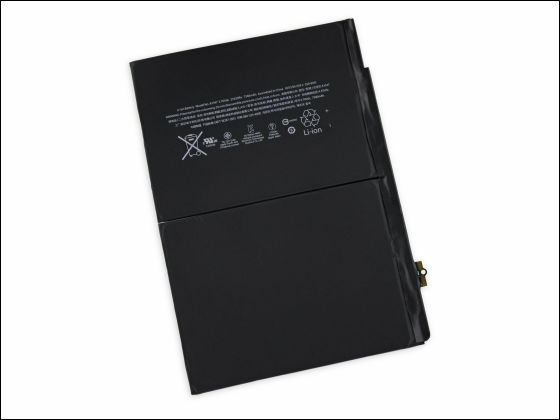
Batteries that do not change driving time from the previous model to leave. Many adhesives are used in the battery, it is the most difficult part to remove,Cue iOpenerI will peel off with the ball.
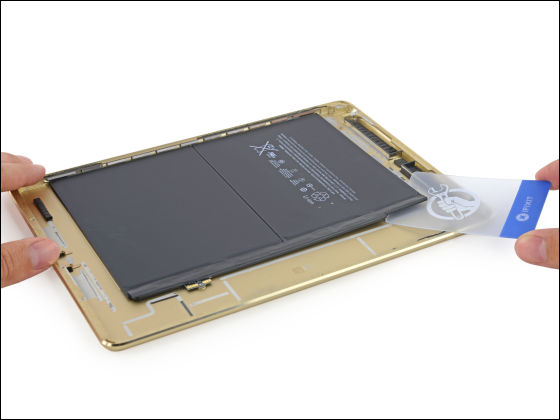
Battery size decreased from 32.9 Wh in the previous model to 27.62 Wh. The reason that the battery driving time does not change despite the decrease is because the power consumption can be reduced by reducing the display brightness.
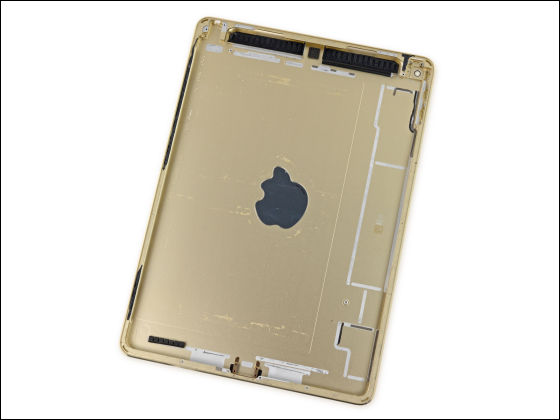
Body with all parts removed. The place behind the adhesive is scratchy.
The repair difficulty of the iPad Air 2 was 2 points with a score of 10 points. Considering that 10 points are the easiest to repair, it is quite difficult to repair the iPad Air 2 by yourself. There was a possibility that the display might be damaged when removing the front panel. · The adhesive was used almost over the entire front panel, etc. It was cited as the reason for raising the repair difficulty level.
Related Posts: