That Adobe made digital pen and ruler for iPad "Adobe Ink & Slide" haste photo review
I am developing software for professionals including Illustrator and PhotoshopAdobeIs a digital pen and ruler for the iPad series "Adobe Ink & SlideWe will release it on October 17th. When I made a purchase reservation to review this device, which is the first hardware product of the company, I got to get it early one day somehow, so I touched on it and used it a bit It was.
Tablet pen & amp; digital ruler | Adobe Ink & Slide
https://www.adobe.com/jp/products/ink-and-slide.html
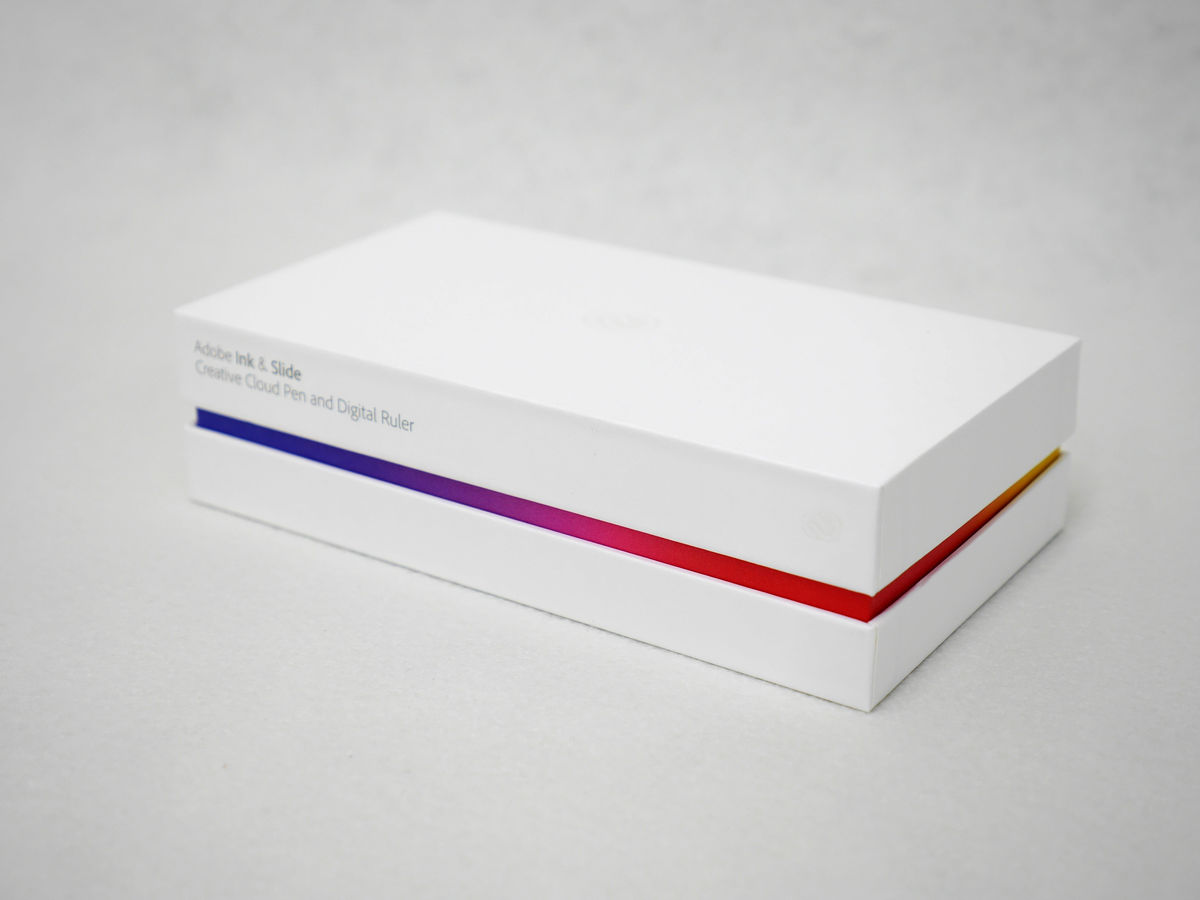
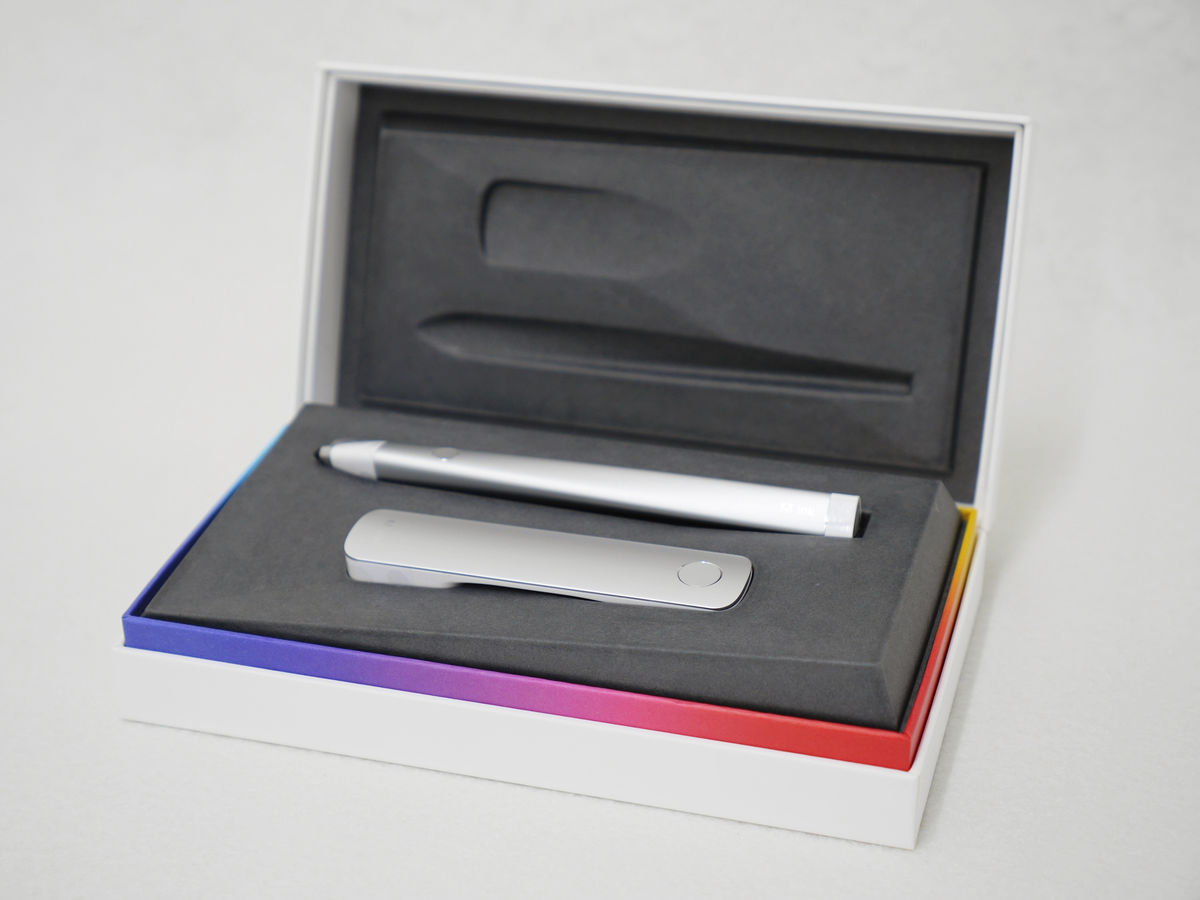
The "Ink & Slide" package looks something like this.

When the outer case is removed, an inner box containing the body appears.
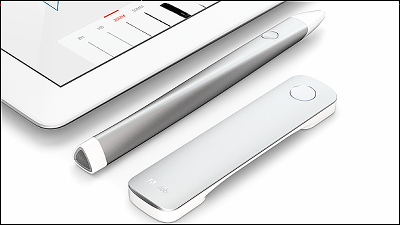
Open the lid quickly and face "Ink" and "Slide".
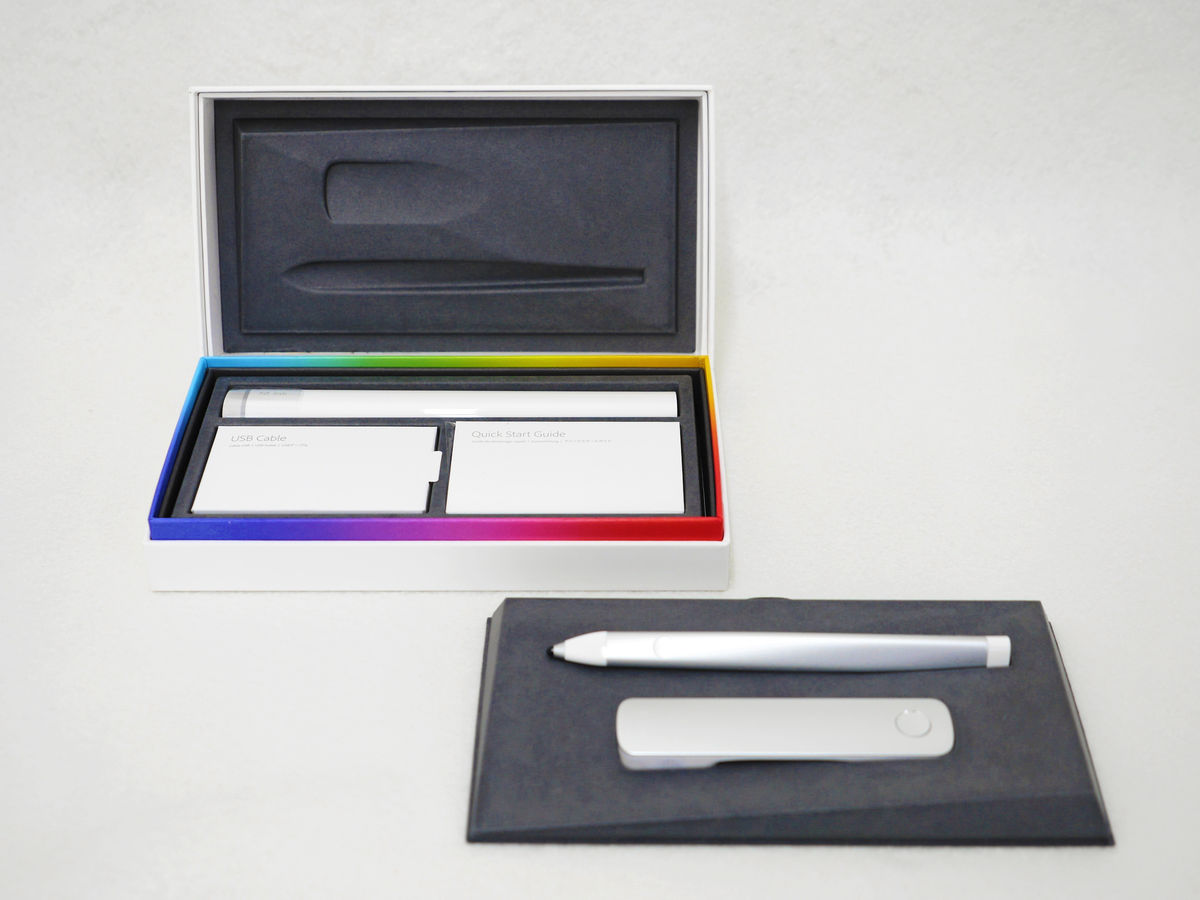
Under the dish removed, accessories such as manuals were stored.
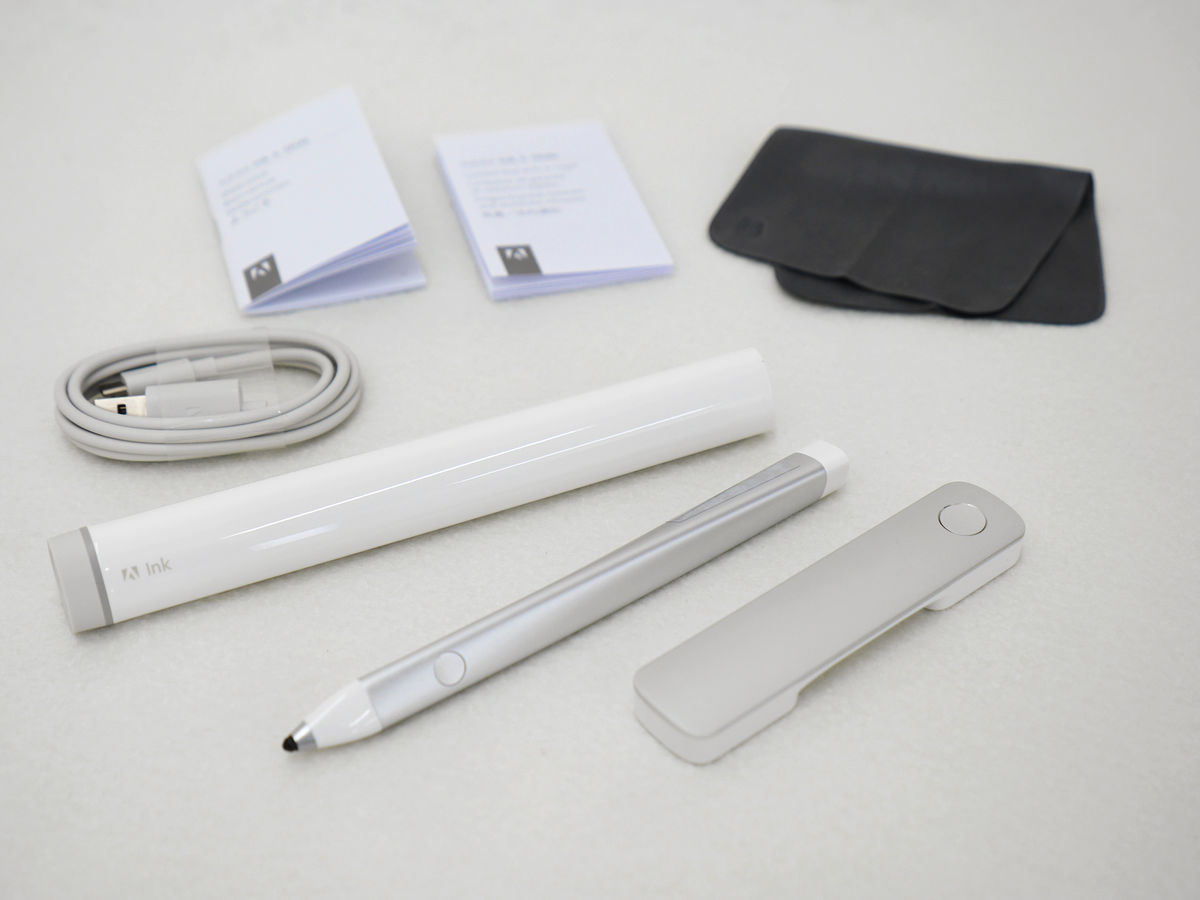
I tried arranging the items included. There are two booklets such as manuals, a screen cleaner such as iPad, a USB cable, and a holder for charging.
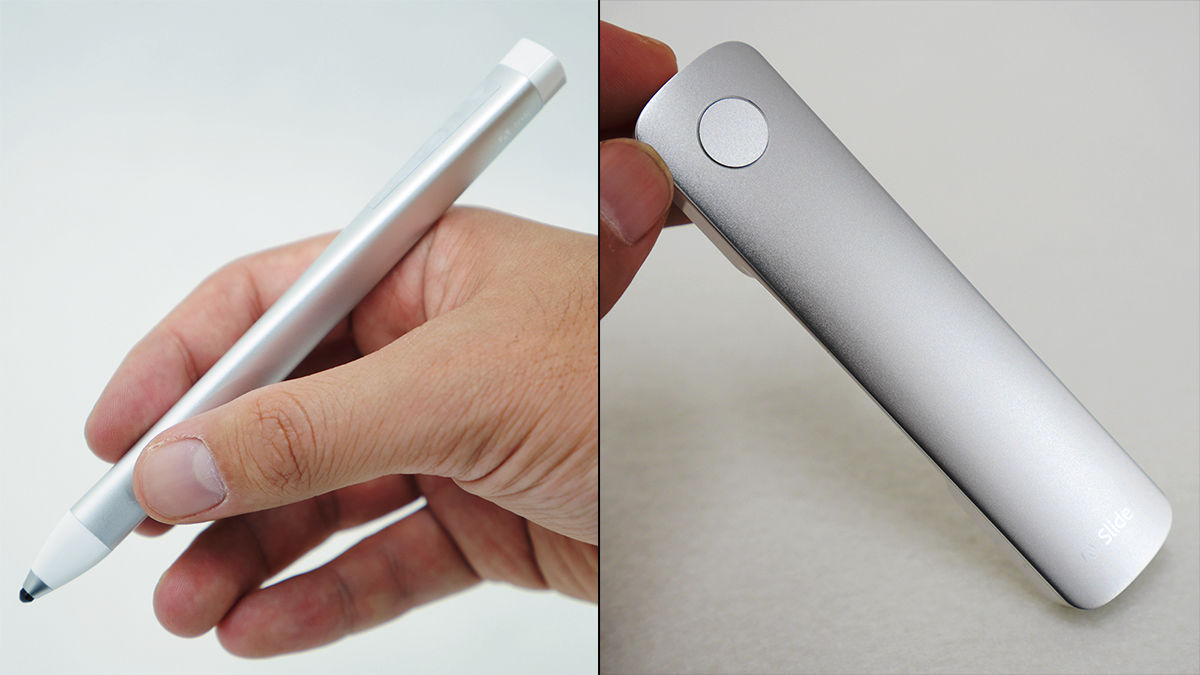
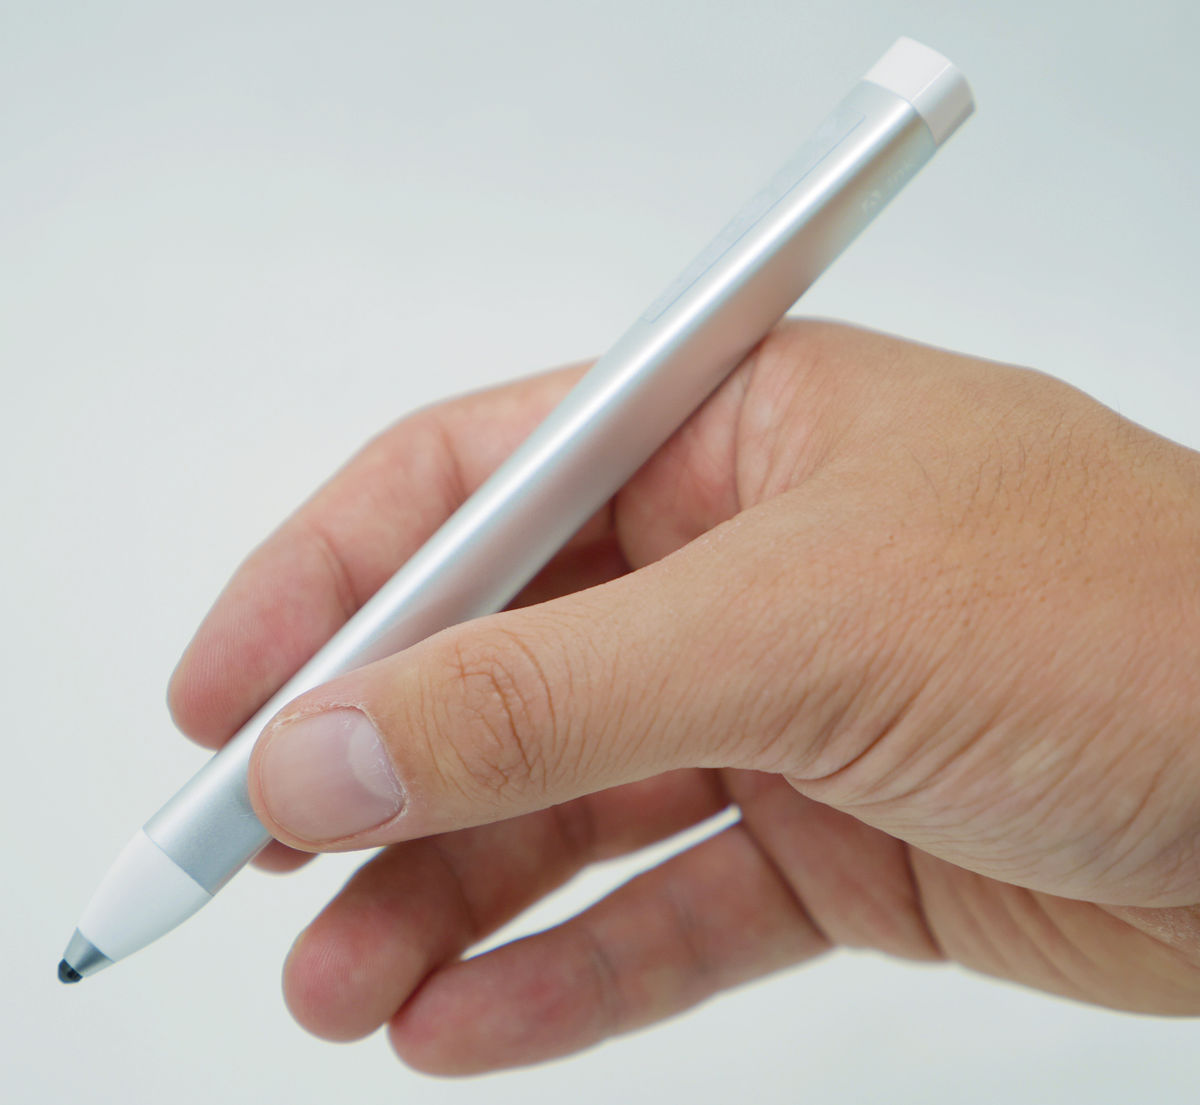
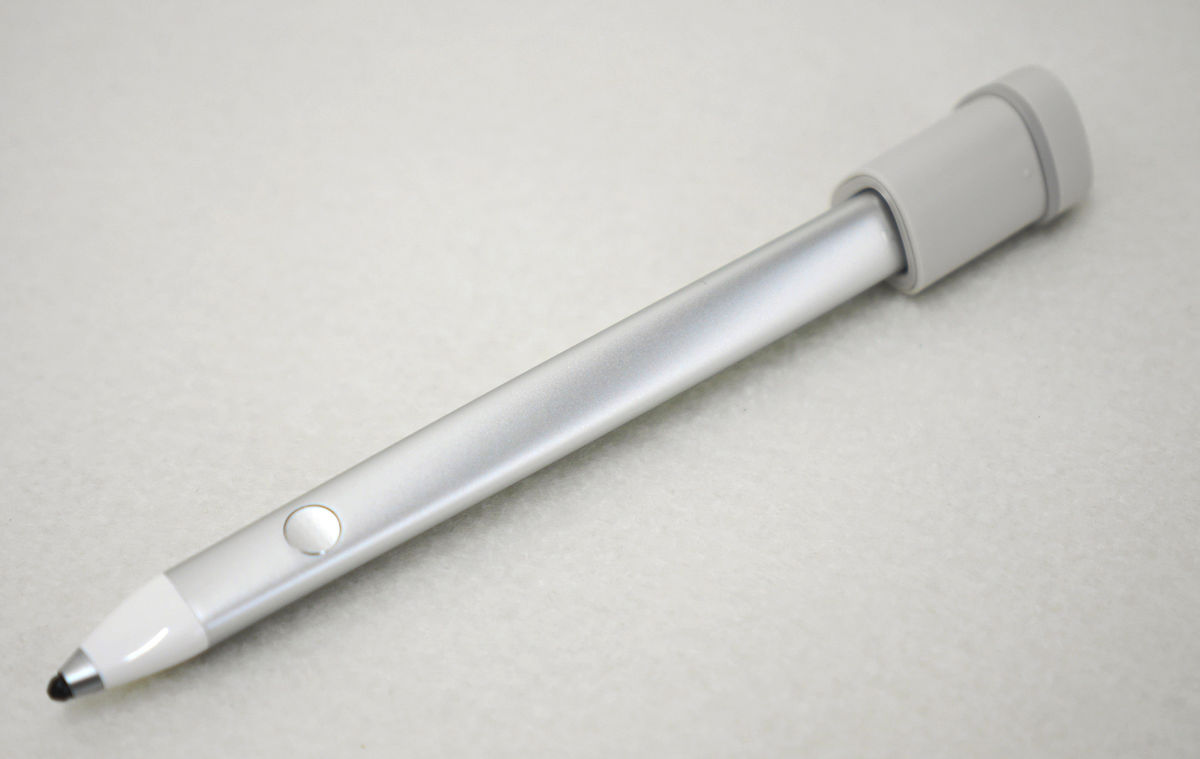
The main part of "Ink" has a triangle twisted slightly. Operation buttons are arranged in the part of the hand.
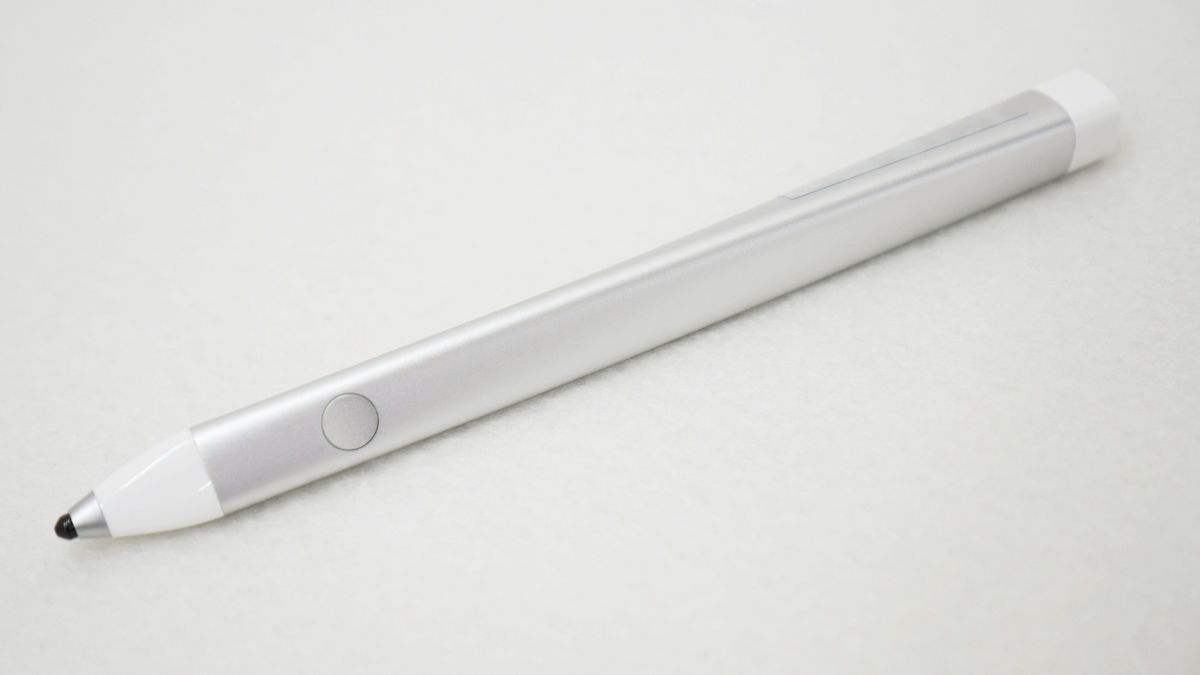
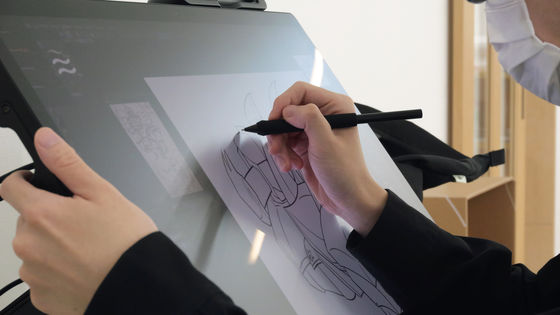
Taking it in your hand, the triangular line exquisitely fits. It was a natural and comfortable grip feeling that I thought "All pens should be in this shape".
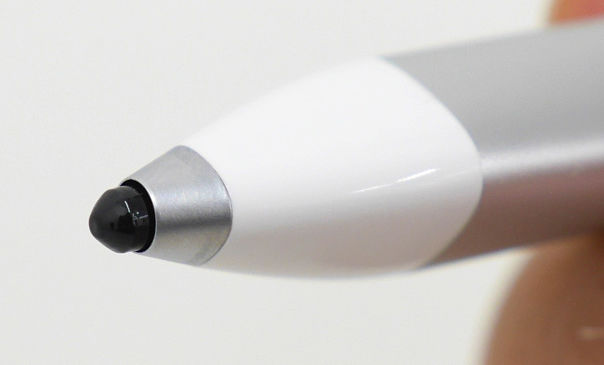
The tip of the pen has a built-in pressure sensitive type chip, and it has come to reproduce delicate nuances of the writer. Since it has a thin and pointy shape, it is possible to accurately grasp the actual position of the pen tip even during actual drawing.
At the end of the pen is an electrode for charging and an LED indicator lamp.

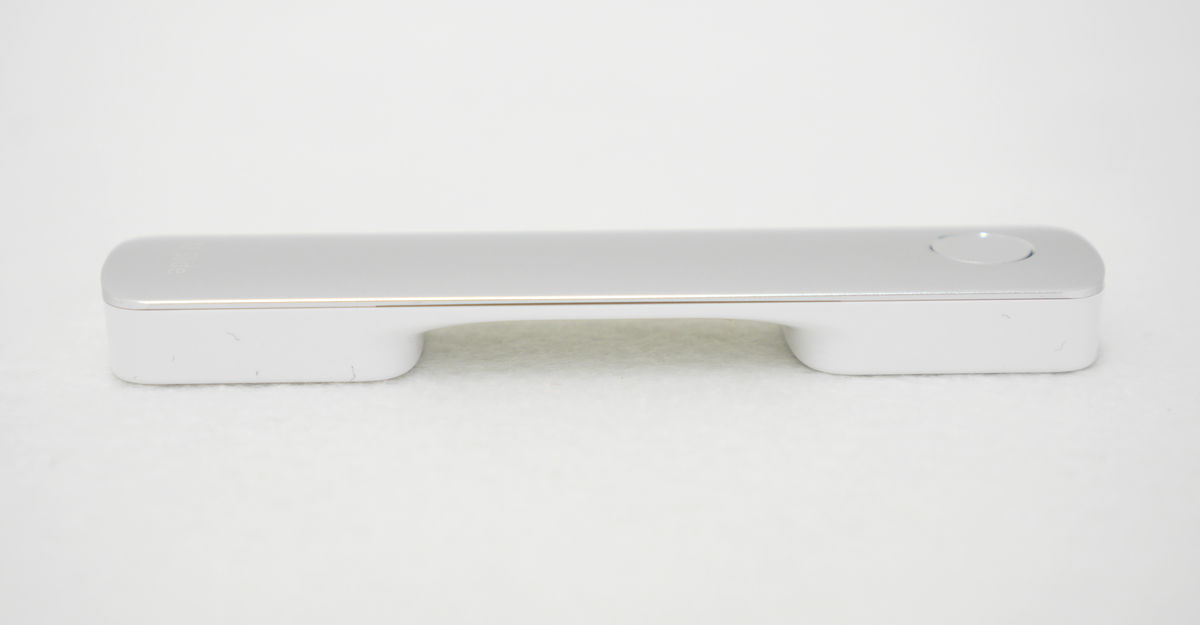
And here is the digital ruler "Slide". One small operation button is arranged.

When viewed from the side, the shape where both ends are swollen like telephone handset. In this state you put it on the tablet screen and operate it.
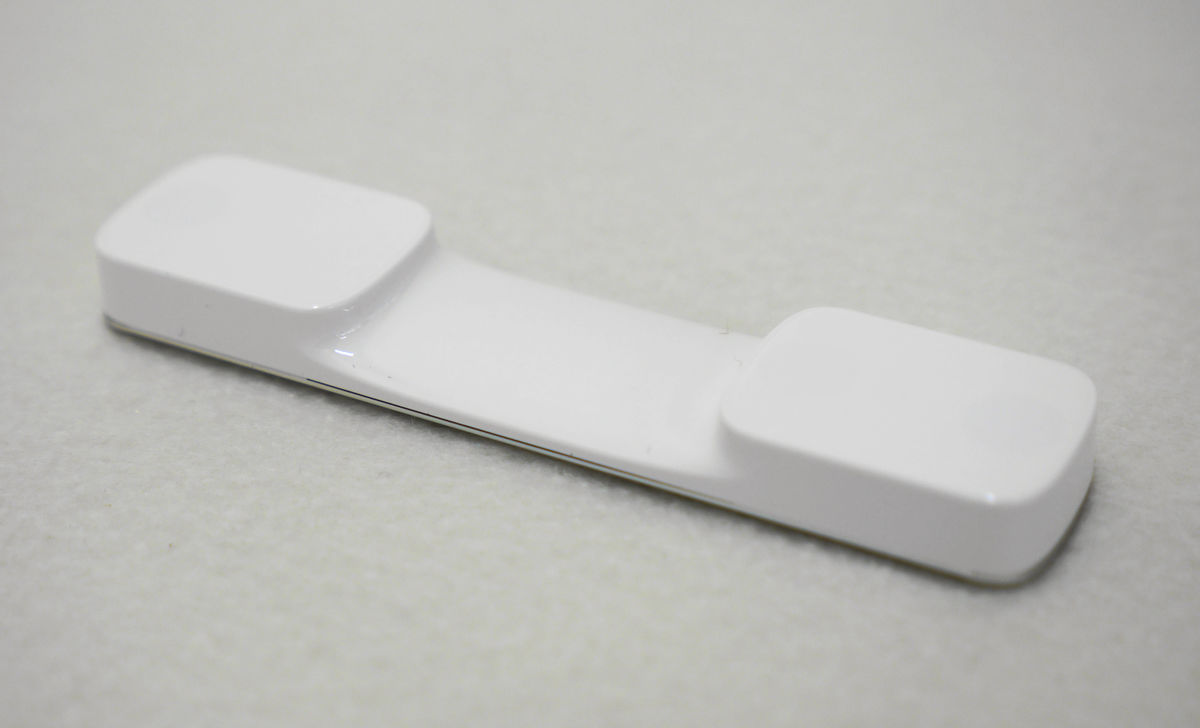
Simple design with nothing on the back. Since Slide is a device that does not require a power supply, there are no charging terminals and so on.
The holder for charging is designed to divide the lid and the main body.

Inside the lid there are three electrodes
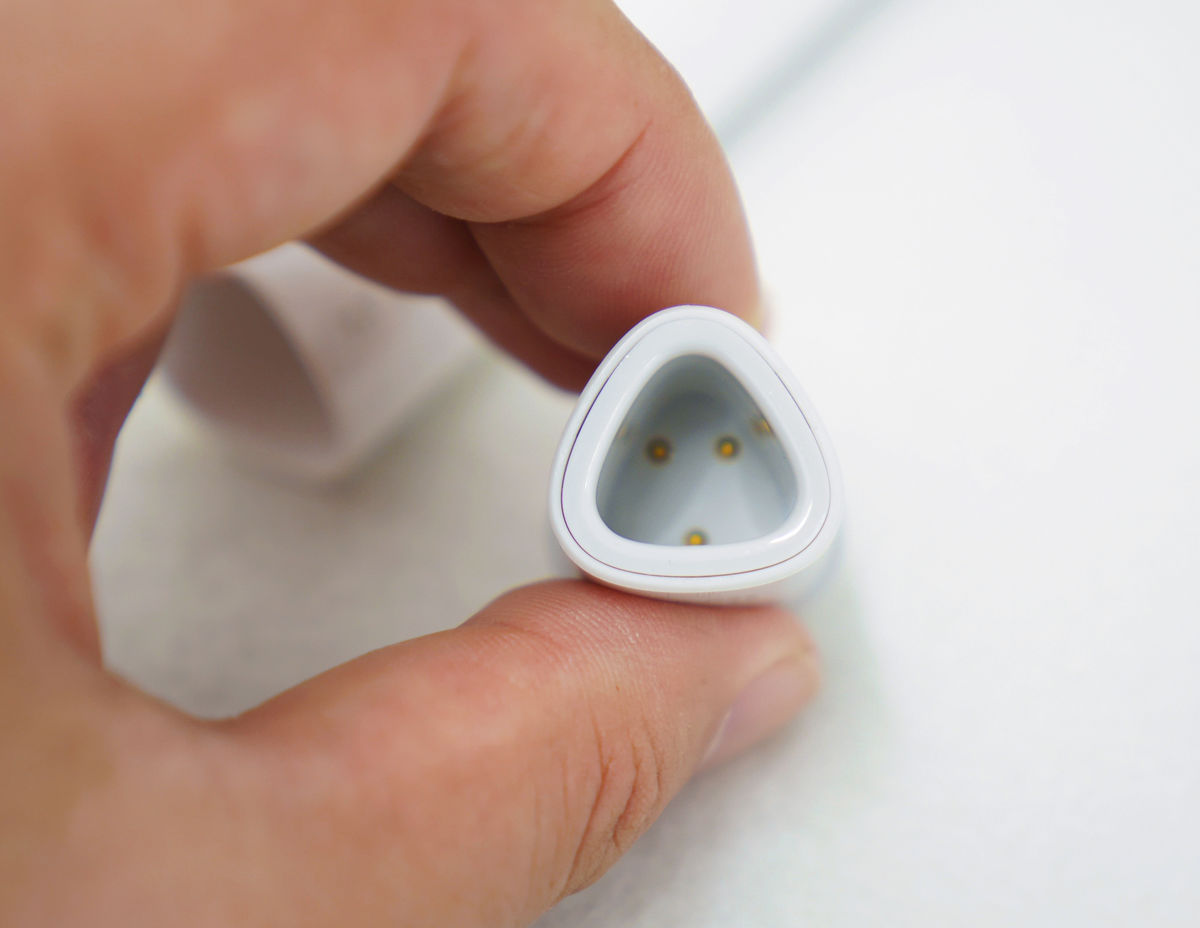
When inserting Ink, it is mounted as "click" with a magnet, so that you can reliably charge it.
Charging will start when Micro - USB is inserted on the bottom of the lid.

◆ Ink setup
Ink is a dedicated device that can be used with iPad (4 th generation), iPad Air, iPad mini or iPad mini (Retina display model). Also,Adobe LineYaAdobe Photoshop SketchIt is designed to make full use of the cloud cooperation function by using correspondence application such as.
Adobe Line for iPhone, iPod touch, iPad currently on the iTunes App Store - an authentic tool for drawing
https://itunes.apple.com/jp/app/adobe-line-miao-hua-yongno/id855475913
Connect Ink and iPad as follows. Since Bluetooth is used for connection, launch the application with Bluetooth turned on on the iPad side.
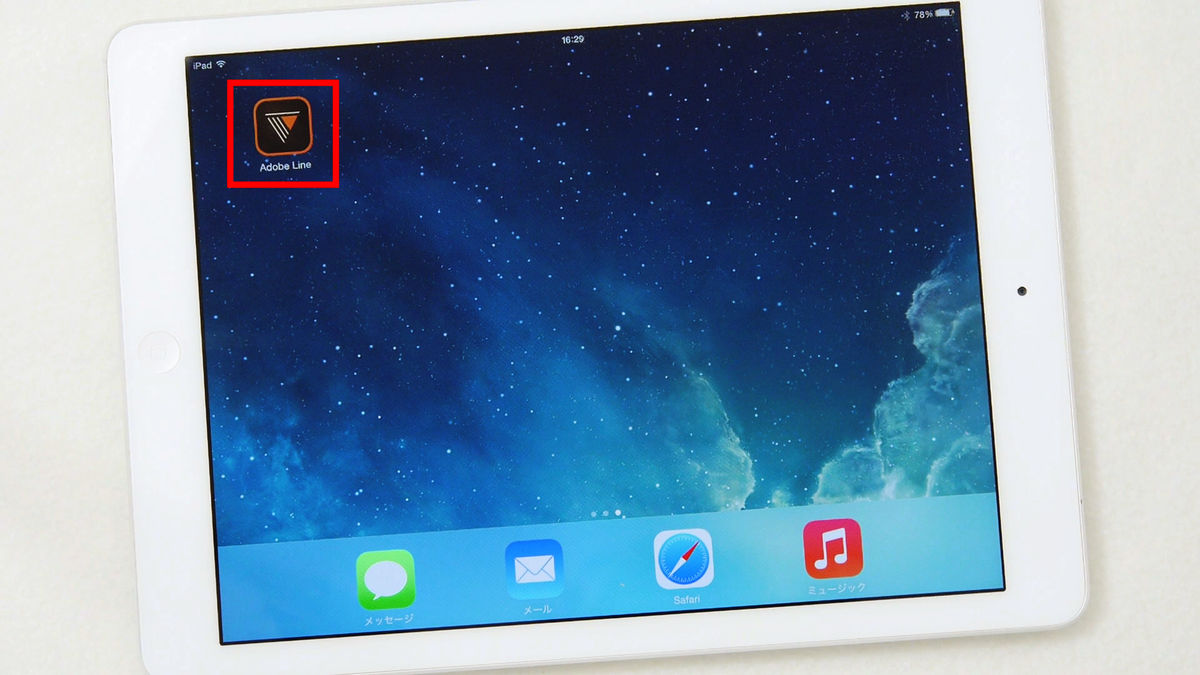
Tap the pen type icon at the top right of the new illustration.

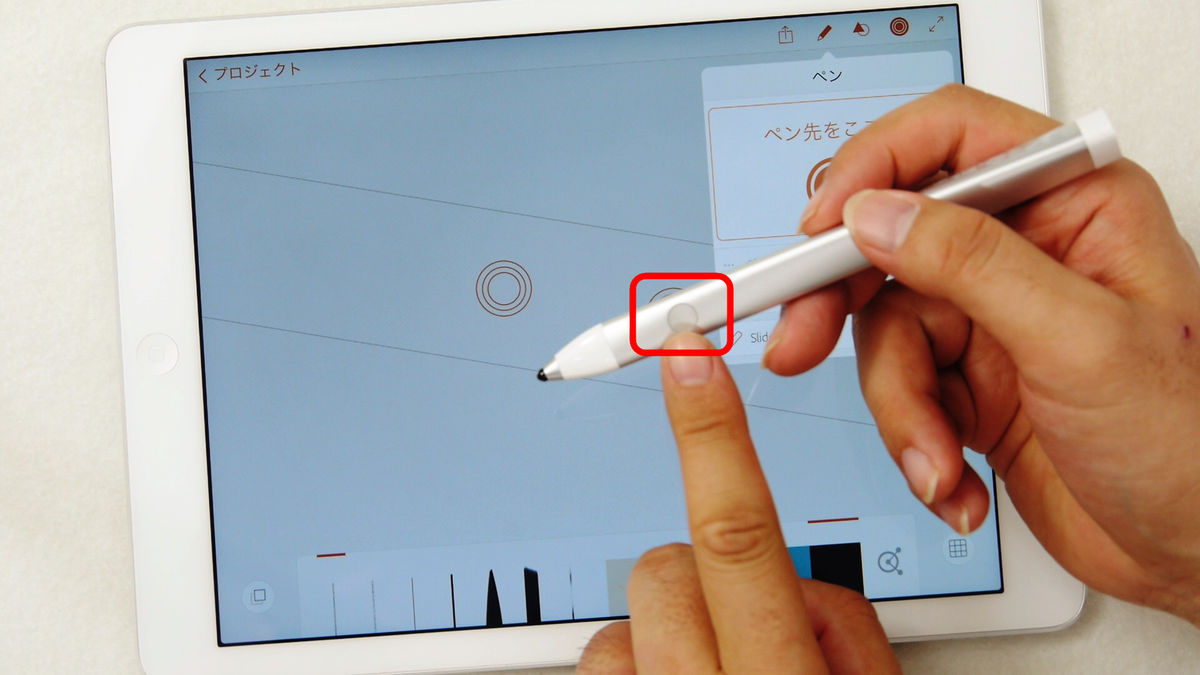
I tap Ink with the circle named "Pen Tip Here" in the window to be displayed, but before turning it on, turn on the power of Ink as follows.
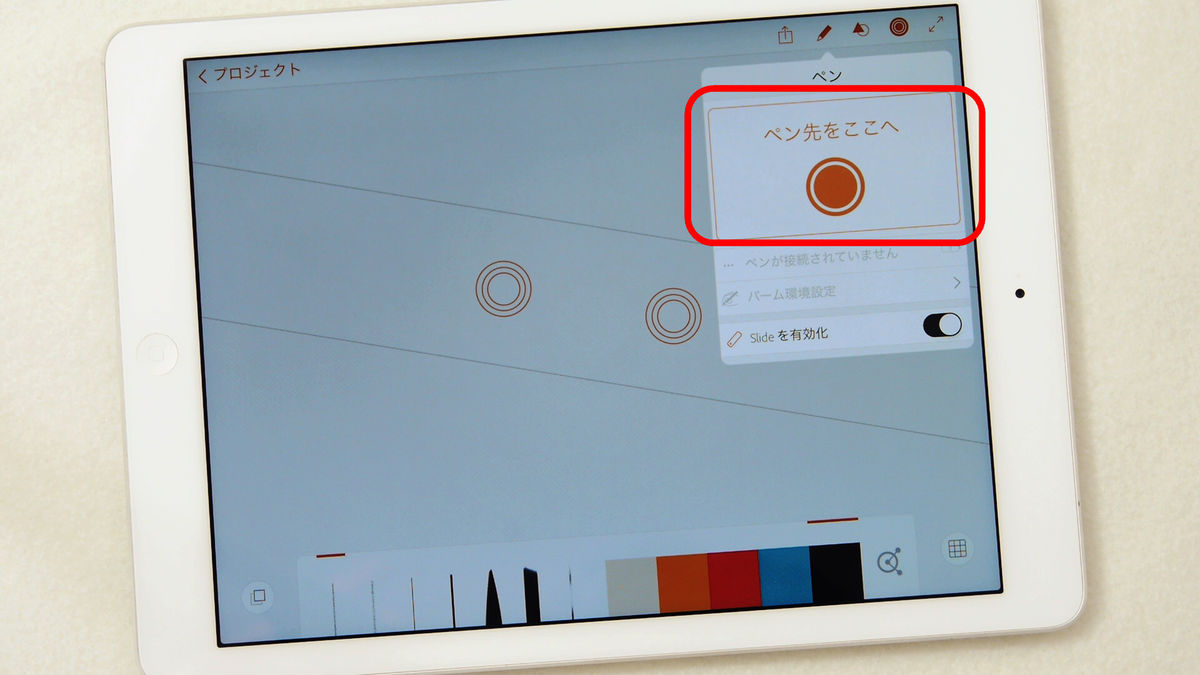
Press and hold the button on the side of Ink.
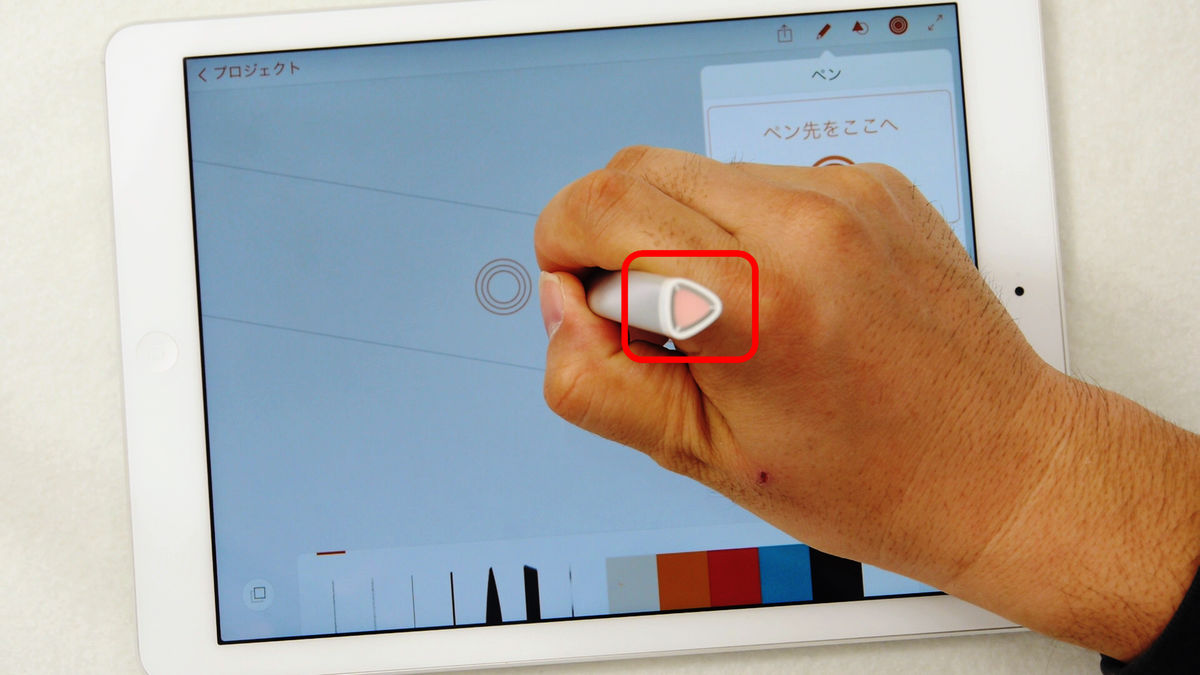
Preparation is completed if the last LED lights up and lights up in rainbow color.
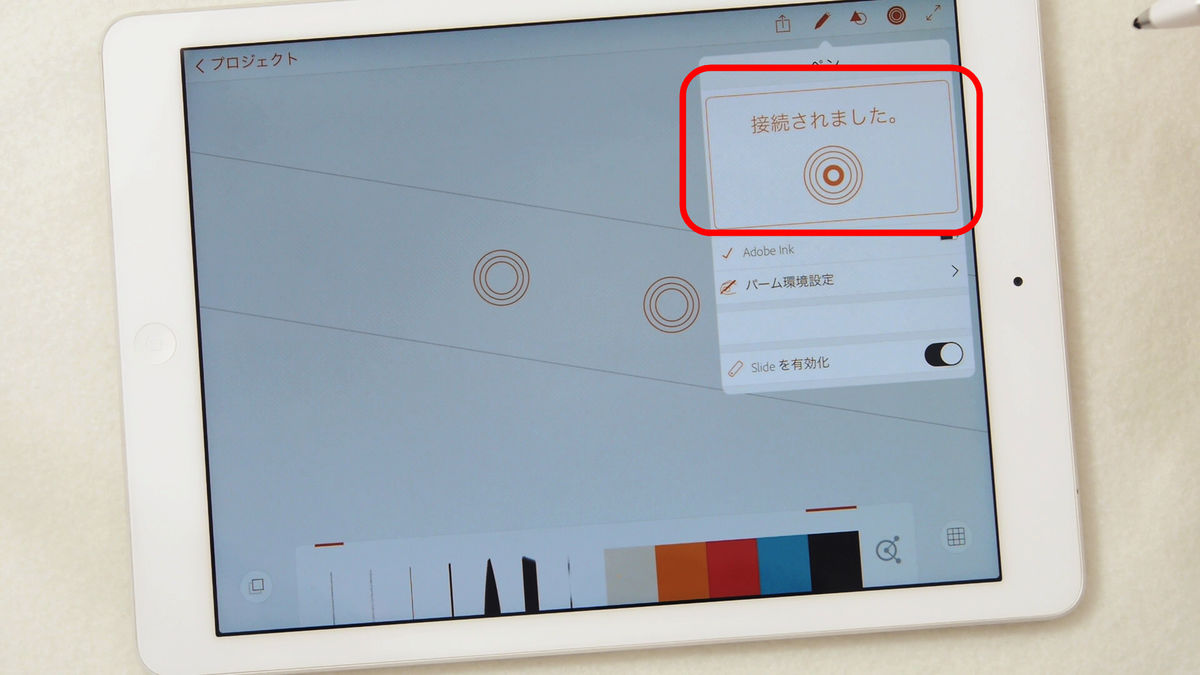
Tap the screen and if the LED turns on again, the connection is completed.

When the display comes out "Connected" OK.
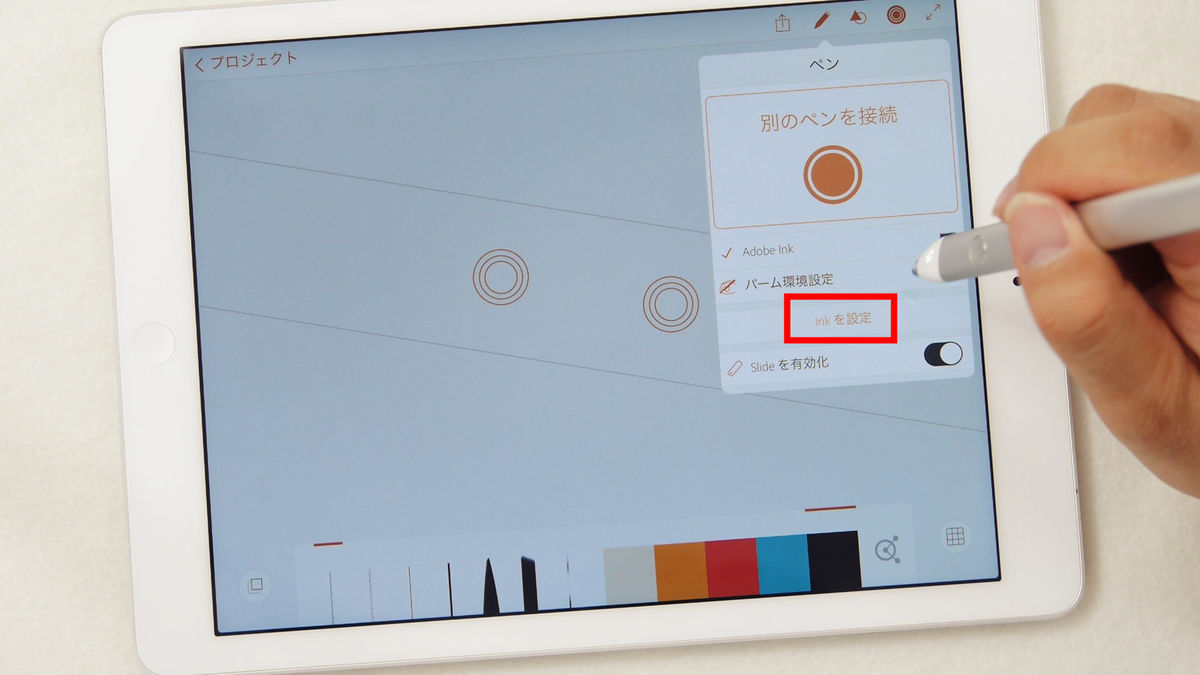
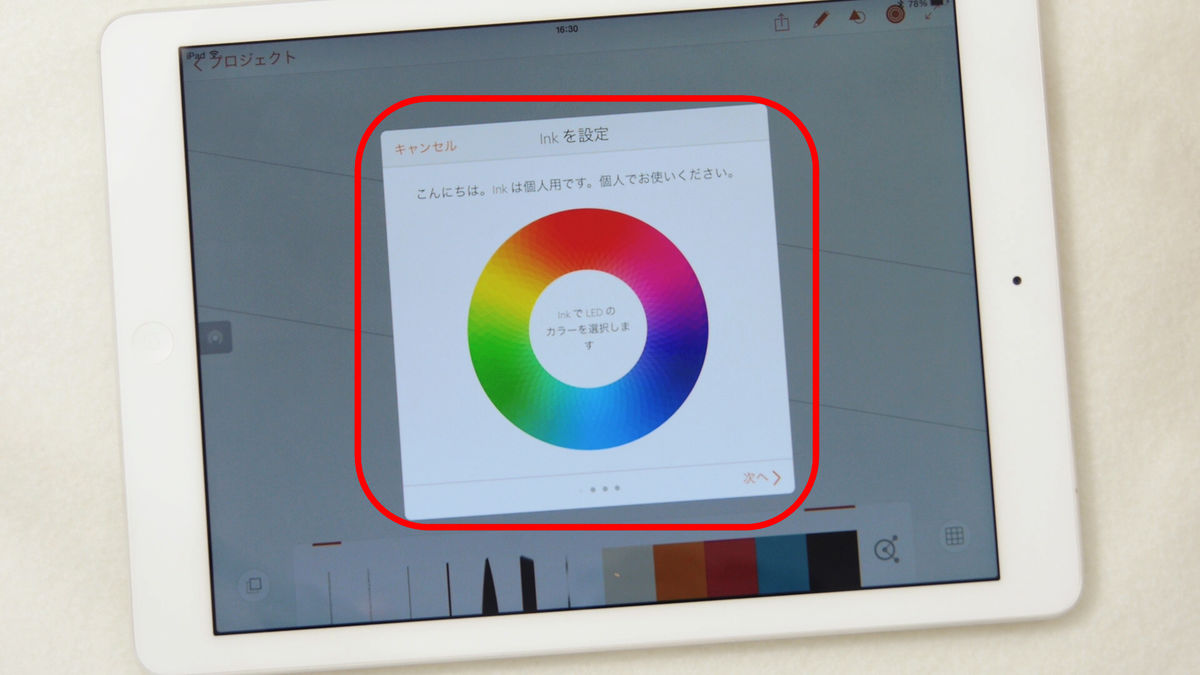
Next, set the name of Ink and so on. Tap "Set Ink".
Then, a color circle in which shimmer and color was lined up was displayed. From here select the color you want to set in your Ink.
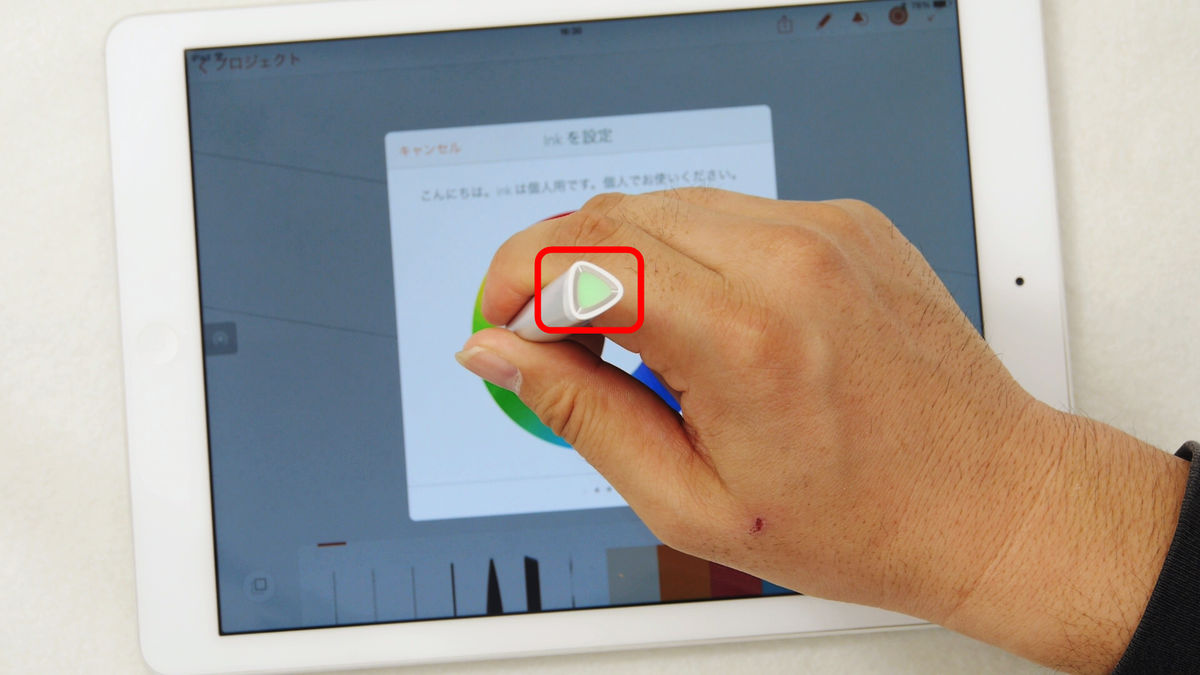
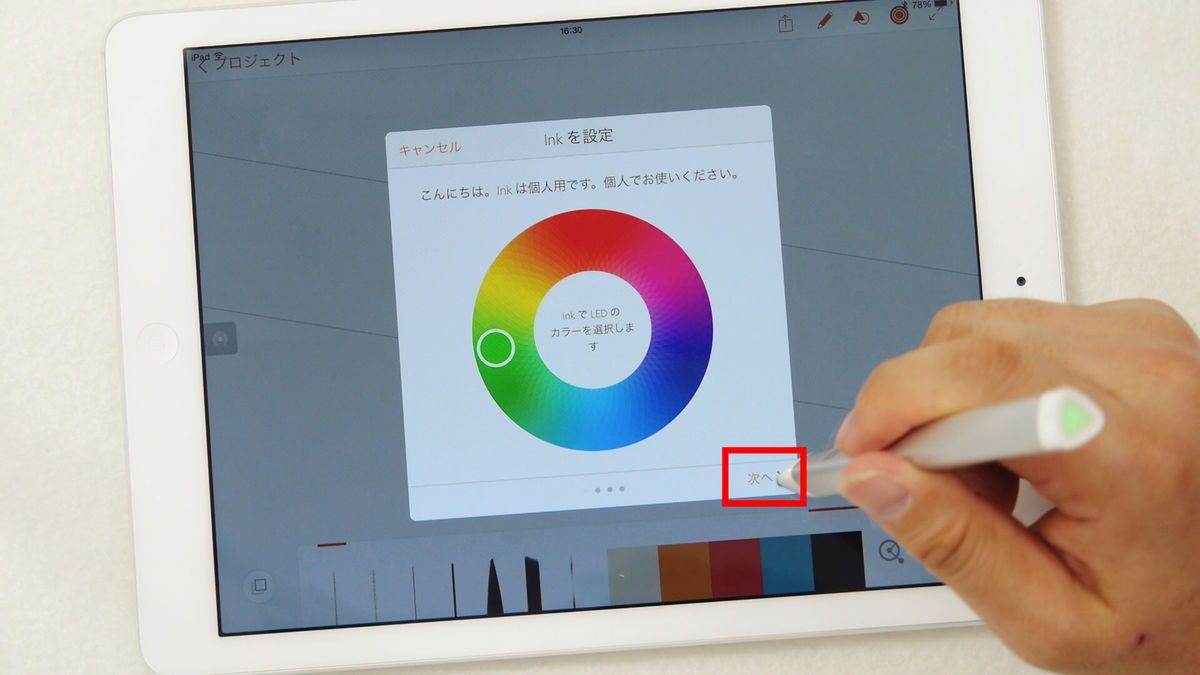
To set it, just trace the color circle with Ink. Since the color of the part being touched is reflected on the LED, it is OK if you leave Ink from the screen at the place of your favorite color.
Tap "Next".
You can register your own Ink for your own name. Enter your favorite name and tap "Next".

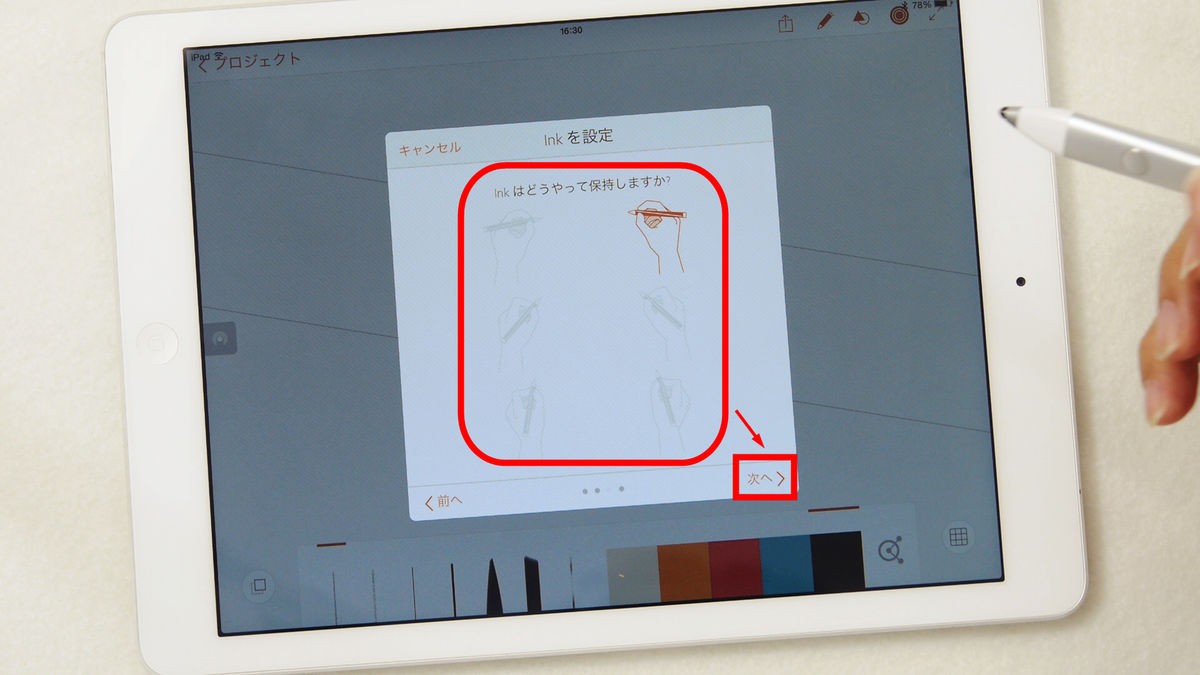
Select how to hold the pen from the display item. Select the difference between right-handed and left-handed and the angle with the pen closest to you and tap "Next".
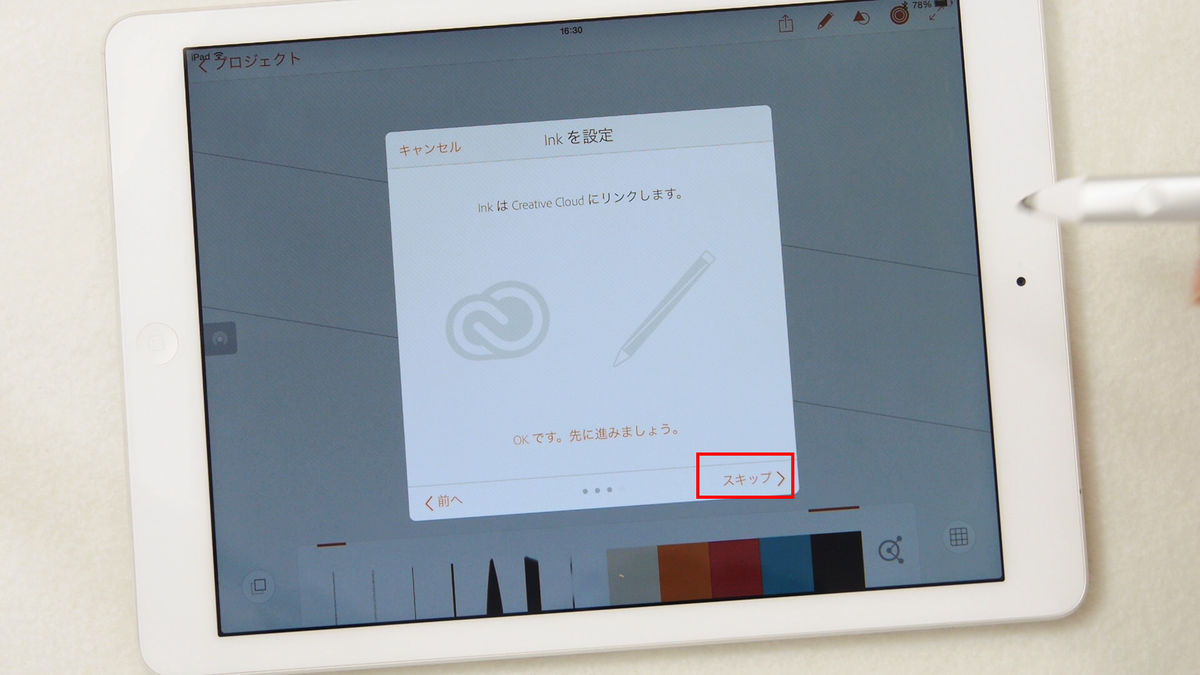
Link the application to Adobe Creative Cloud. This procedure is set with "Account" at the time of installing the application, so "Skip" is OK.
When the display shows "All settings have been made", the setting of the application and Ink is completed. I began to create illustrations more and more.

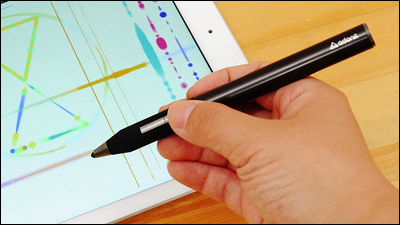
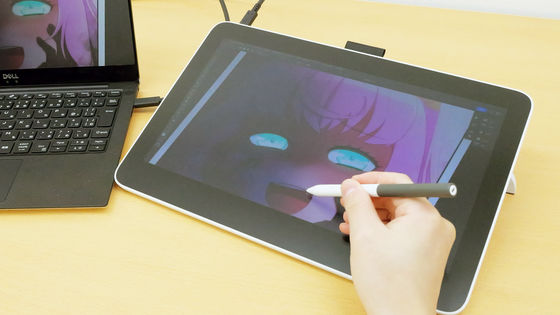
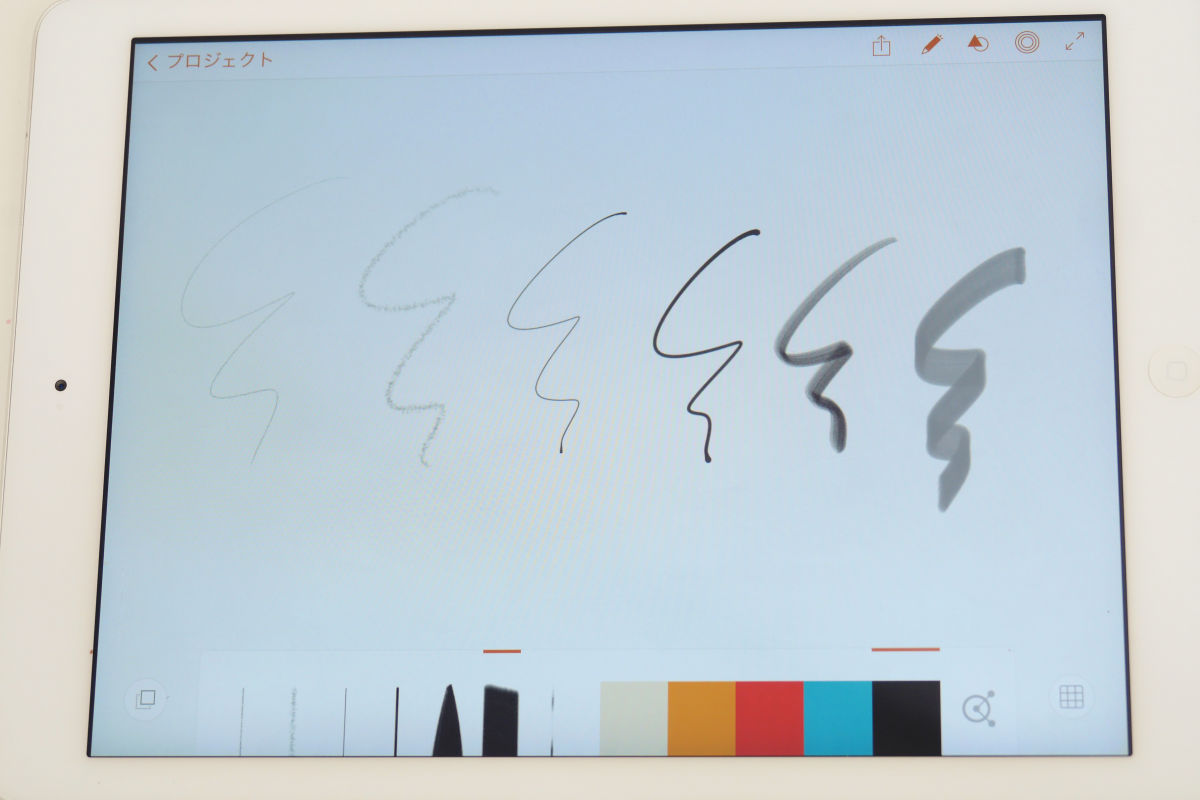
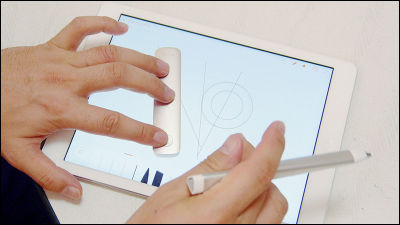
First draw with a brush tool. The strength of the line is expressed by sensing the pen pressure.
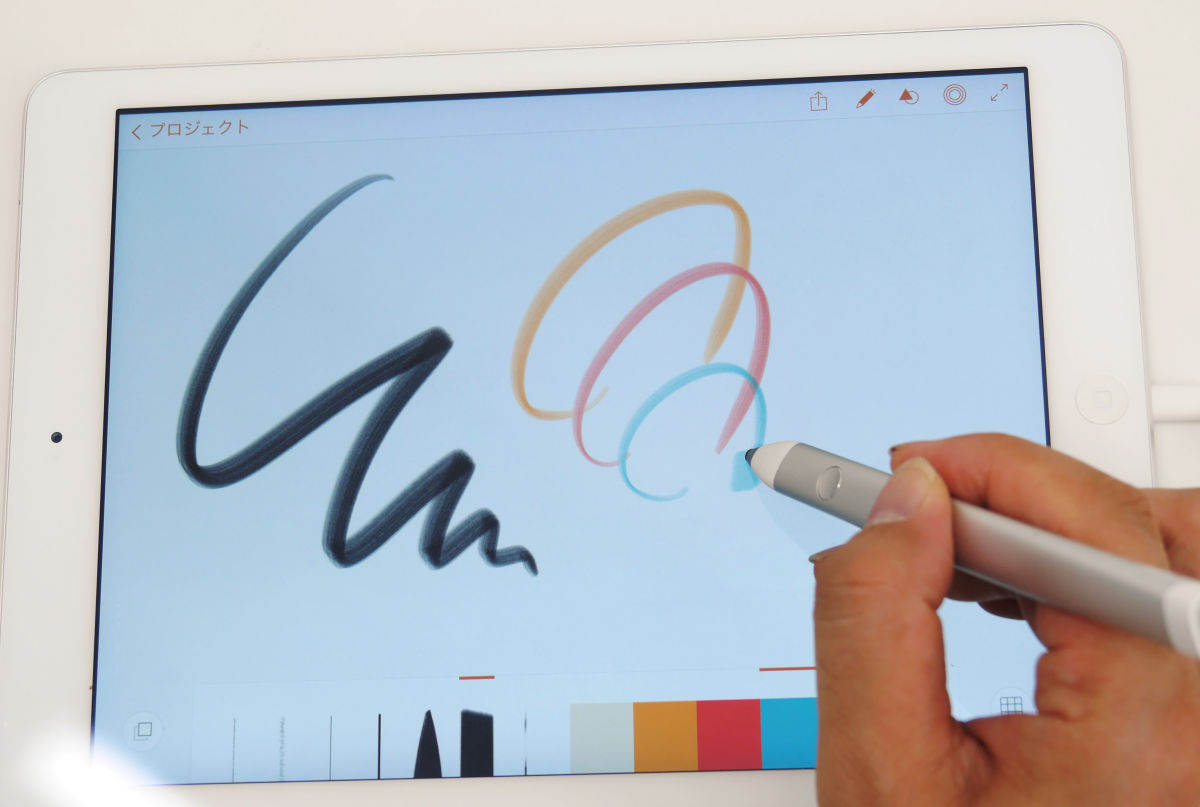
It is also possible to reproduce various kinds of touch such as a brush from a pencil.
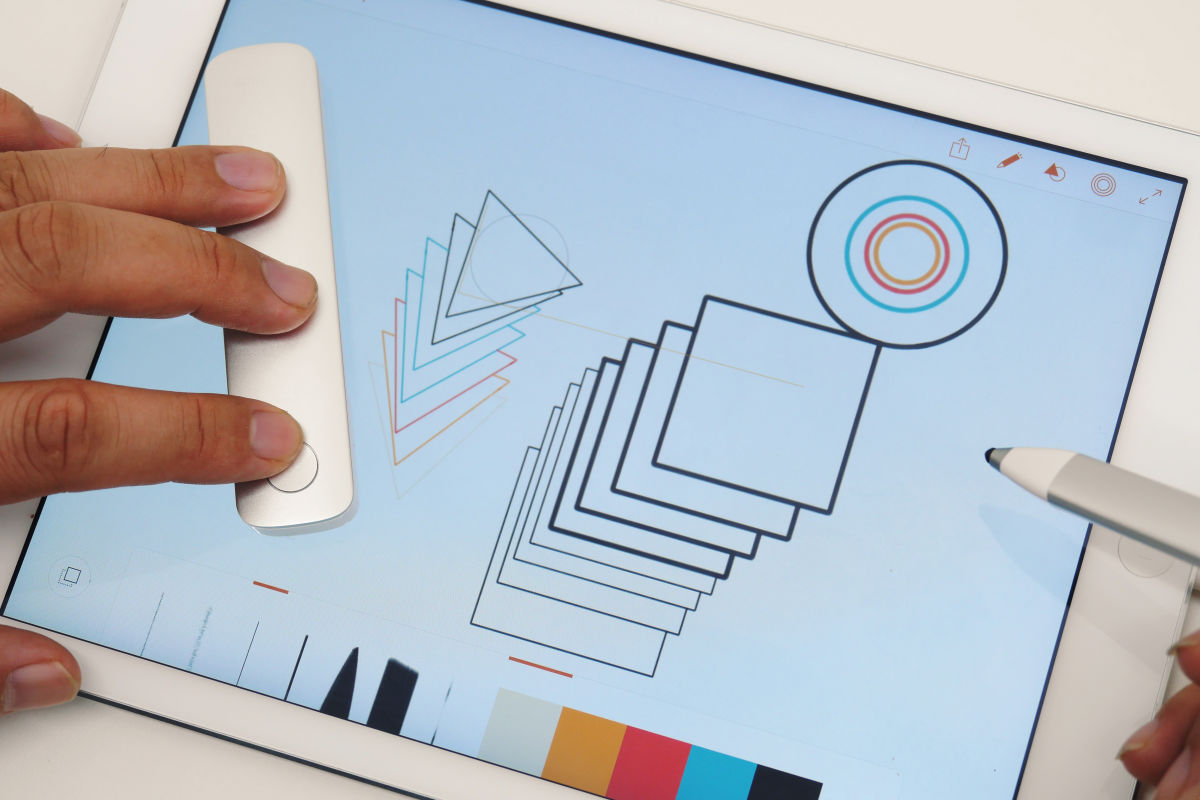
And the biggest feature of Ink & Slide is that you can draw extremely accurate drawing using the digital ruler Slide. Just by tracing the line displayed on the screen with Ink, you can draw a straight line that does not lead to dimensions.
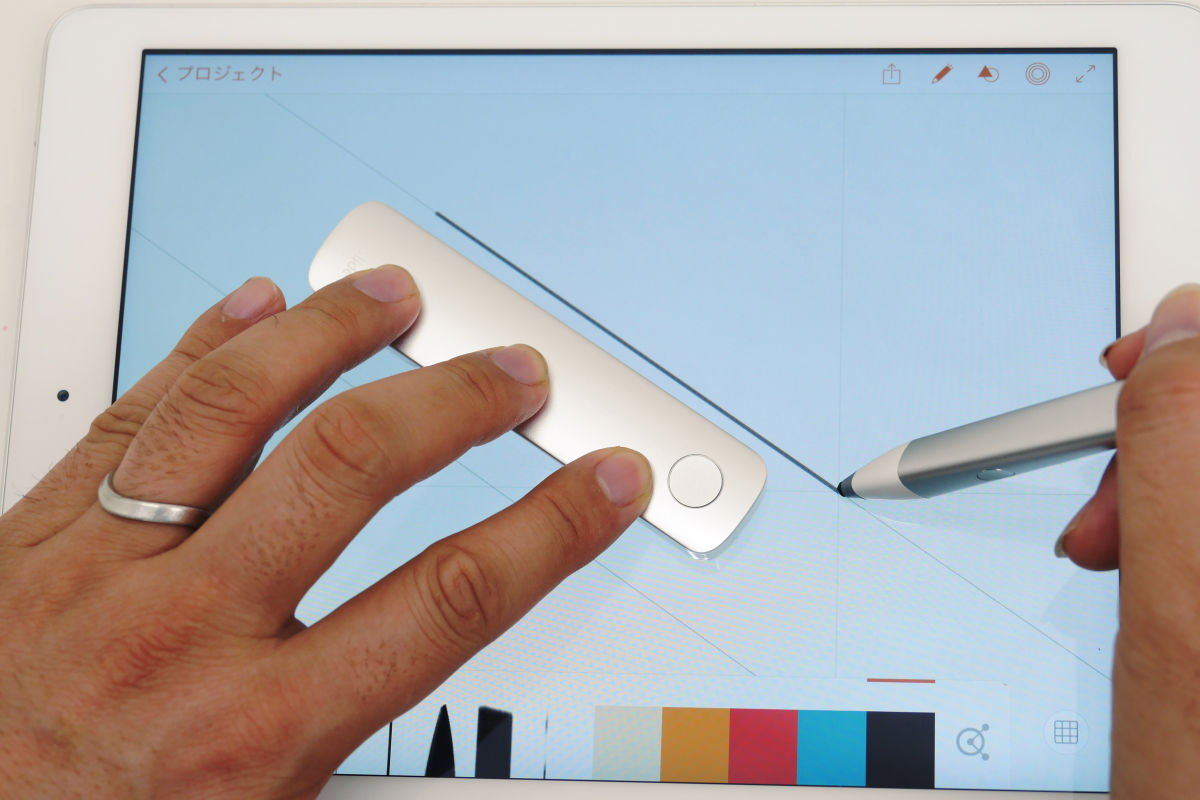
Not only straight lines but also circles, rectangles, triangles and other shapes can be drawn accurately, so it is convenient for accurate drawing as shown in the drawing.
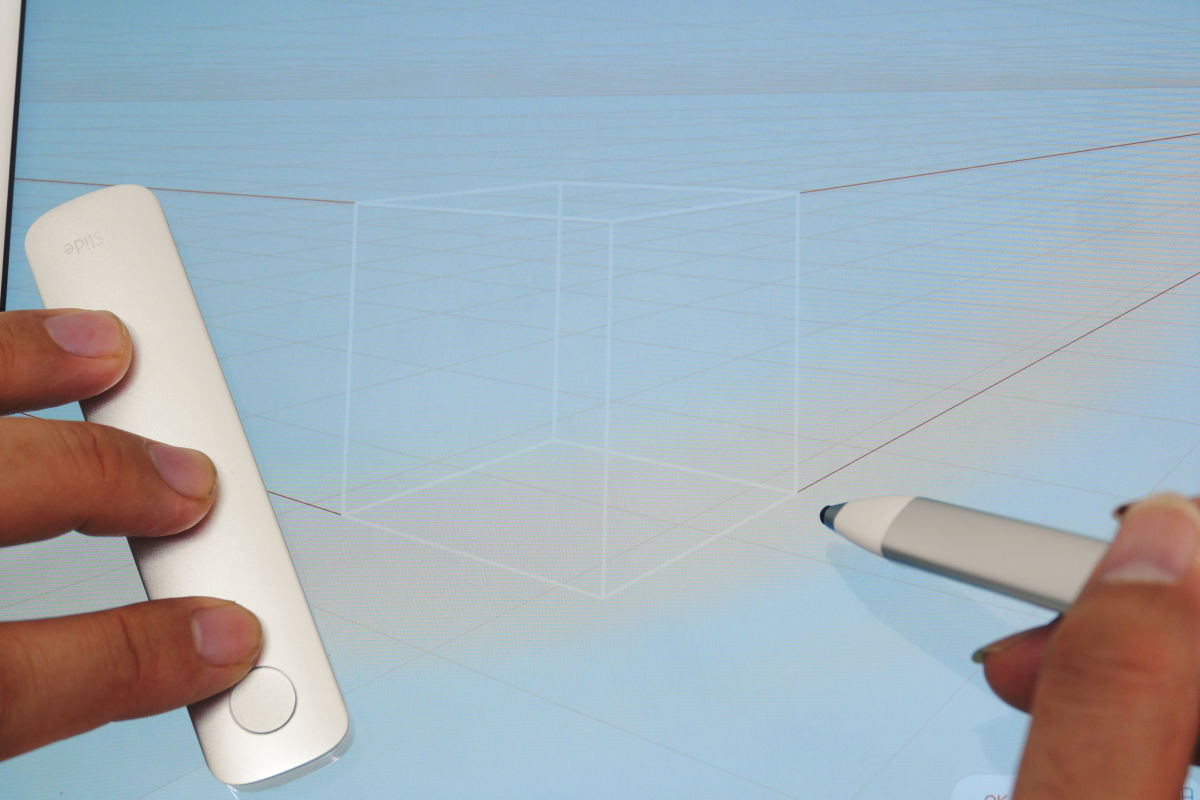
Furthermore, it can be said that it can be said that it can be said that it is a big point that you can draw expressions such as two-point projection method easily by displaying guidelines on the screen.
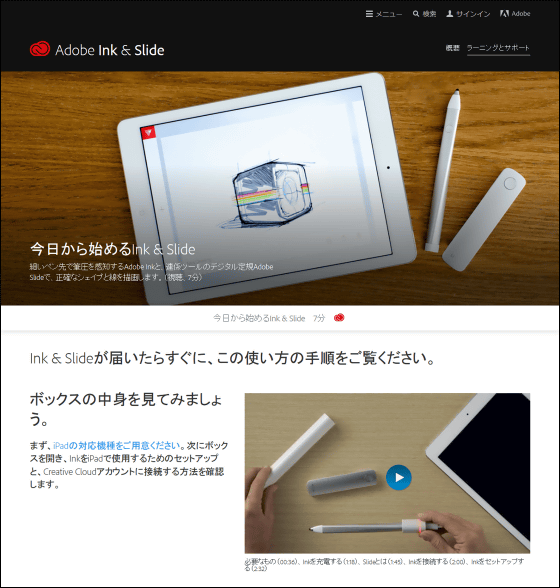
On Adobe's site more uses are introduced in the movie and you can see how to draw accurate lines freely.
Start with today Ink & Slide | Adobe Ink & Slide Tutorial
https://helpx.adobe.com/jp/ink-and-slide/how-to/get-started.html
In addition, we will post a review of what kind of impression it will be in the actual use position at a later date.
· Continued
Movie review using Adobe's digital pen & amp; ruler "Ink & Slide" - GIGAZINE
Related Posts: