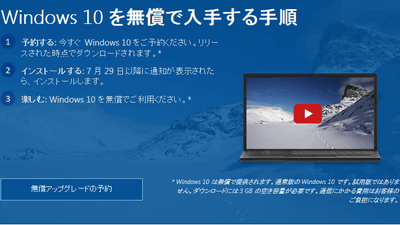
How to use Windows 10 technical preview with dual boot without affecting the current environment in VHD

DVD discYaUSB memoryHow to install Windows 10 Developer Preview Edition (Technical Preview) using the article already made an article. However, these methods overwrite the PC system and erase the data for each partition, so it is very inconvenient to prepare a sub machine for installing technical preview separately from the main PC. So, this time, to the main PC, Windows 7VHD, And installed a technical preview there, we tried building a dual boot environment of Windows 7 and technical preview with the environment such as existing system data completely left.
◆Preparation in Windows 7
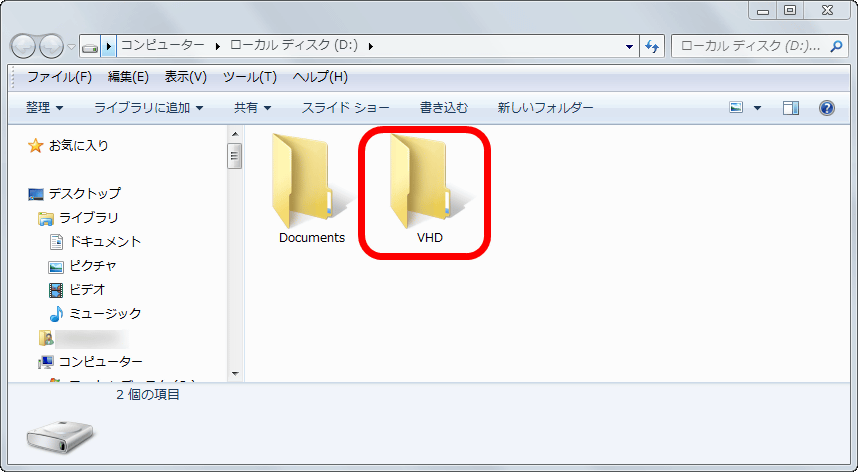
First of all, create a folder to create VHD (virtual disk) on a drive with more than 50 GB of free space. This time, I created a folder named "VHD" on drive D.
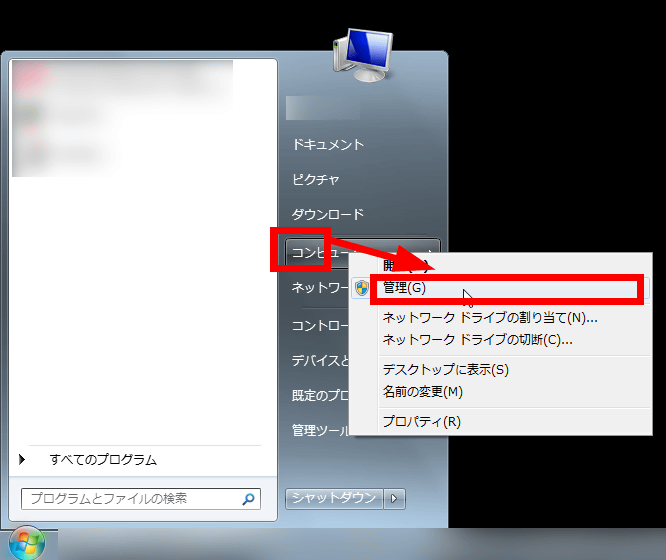
Right-click "Computer" in the start menu and click "Administration".
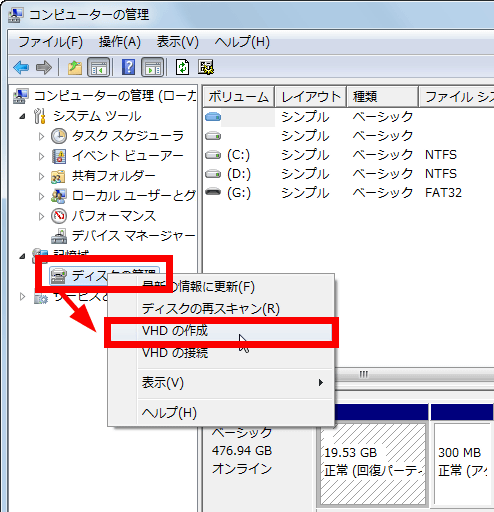
Right-click "Device Management" in "Storage Area" and click "Create VHD".
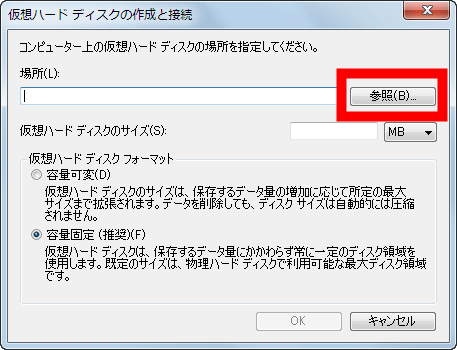
Click "Browse".
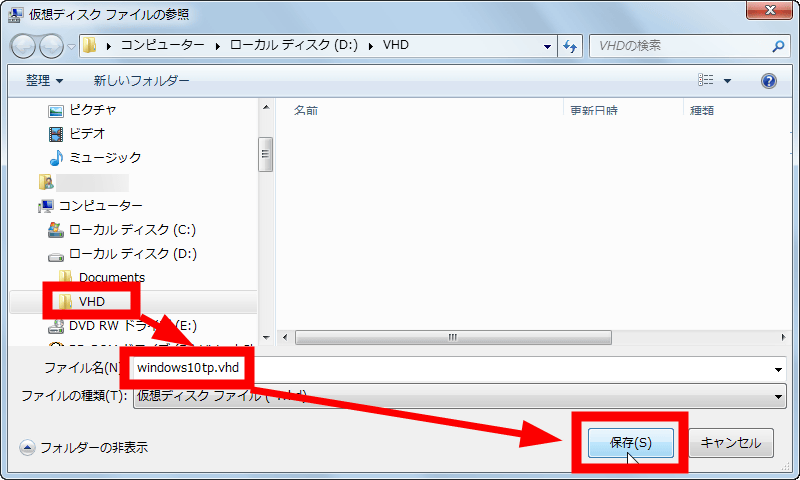
After selecting the folder (VHD) created earlier, give the file name of the virtual disk. For this time, we have renamed the file "windows 10 tp.vhd". Incidentally,Be sure to make the file extension ".vhd".
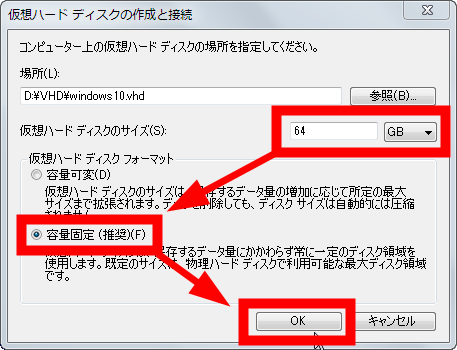
Specify "virtual hard disk size". For this time, set the capacity to "64 GB", "Capacity fixed" and click "OK".
Then, "Virtual disk is being created ..." is displayed at the bottom of the "Computer Management" window, so wait for a while.

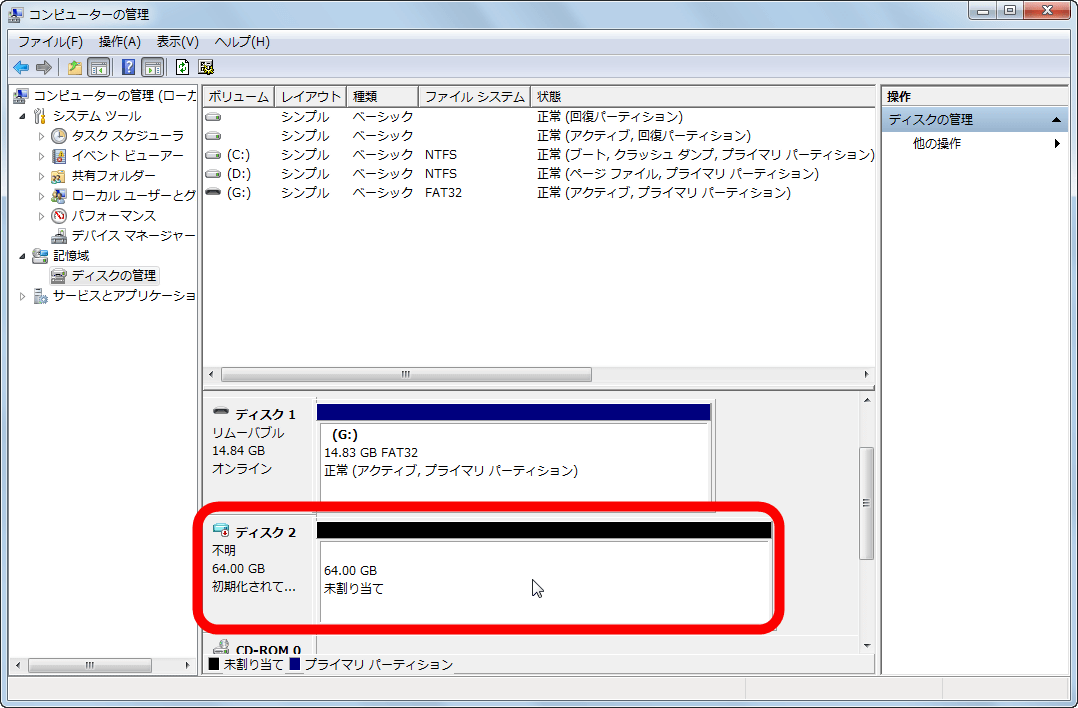
"Disk" (Disk 2 this time) which has not been initialized appears when the virtual disk is created. After creating the virtual disk, shut down the PC.
A boyCreating a boot USB for installation
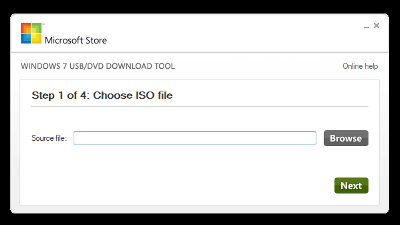
Next, refer to the following article, create a Windows 10 technical preview boot USB memory, boot from USB memory, and start installation of technical preview.
How to easily install Windows 10 Technical Preview using USB memory - GIGAZINE
◆Install Technical Preview on Virtual Disk
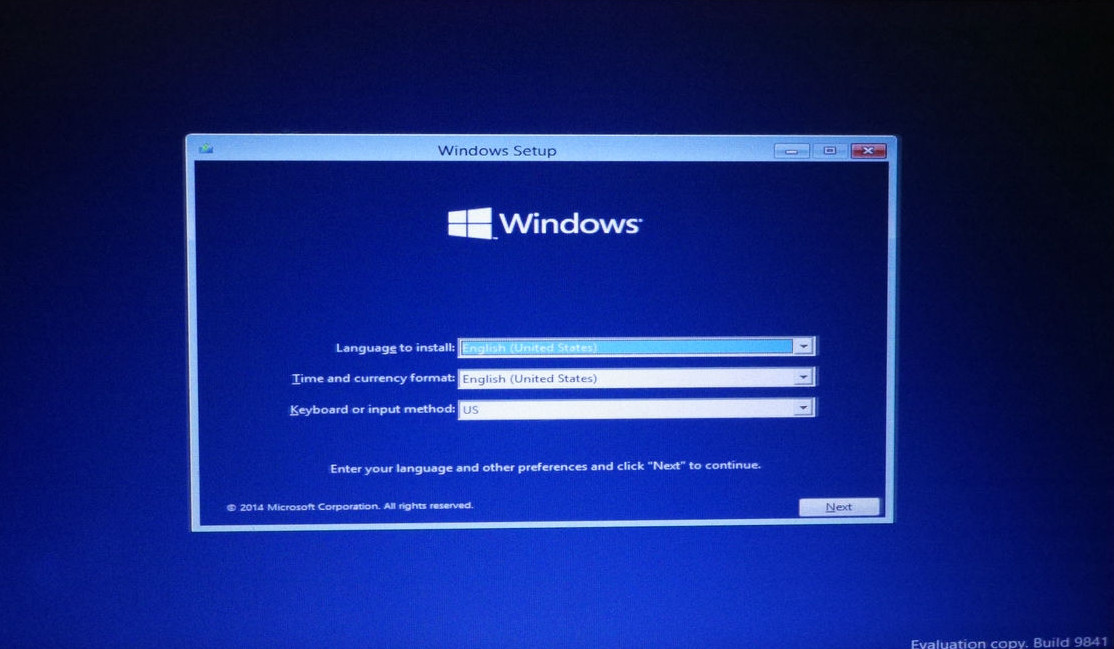
When booting from USB memory and "Windows setup" window starts up, press "Shift" and "F10" on the keyboard at the same time.
Then the command prompt is started.

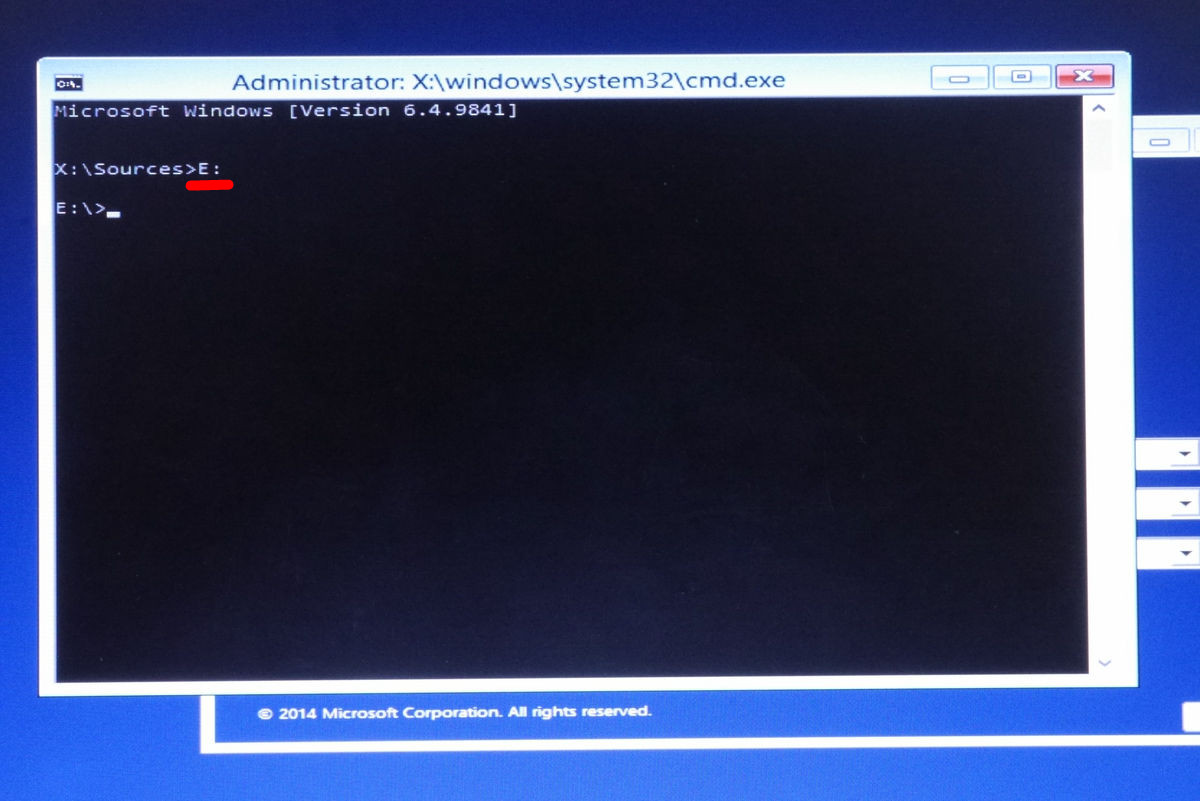
Here, the folder where the virtual disk is created is saved in the driveFirst drive. This time, I created a folder on drive D, so enter "E:". In addition, since the keyboard is in English version, in the case of the Japanese version keyboard it is necessary to enter the command in a fumble state.
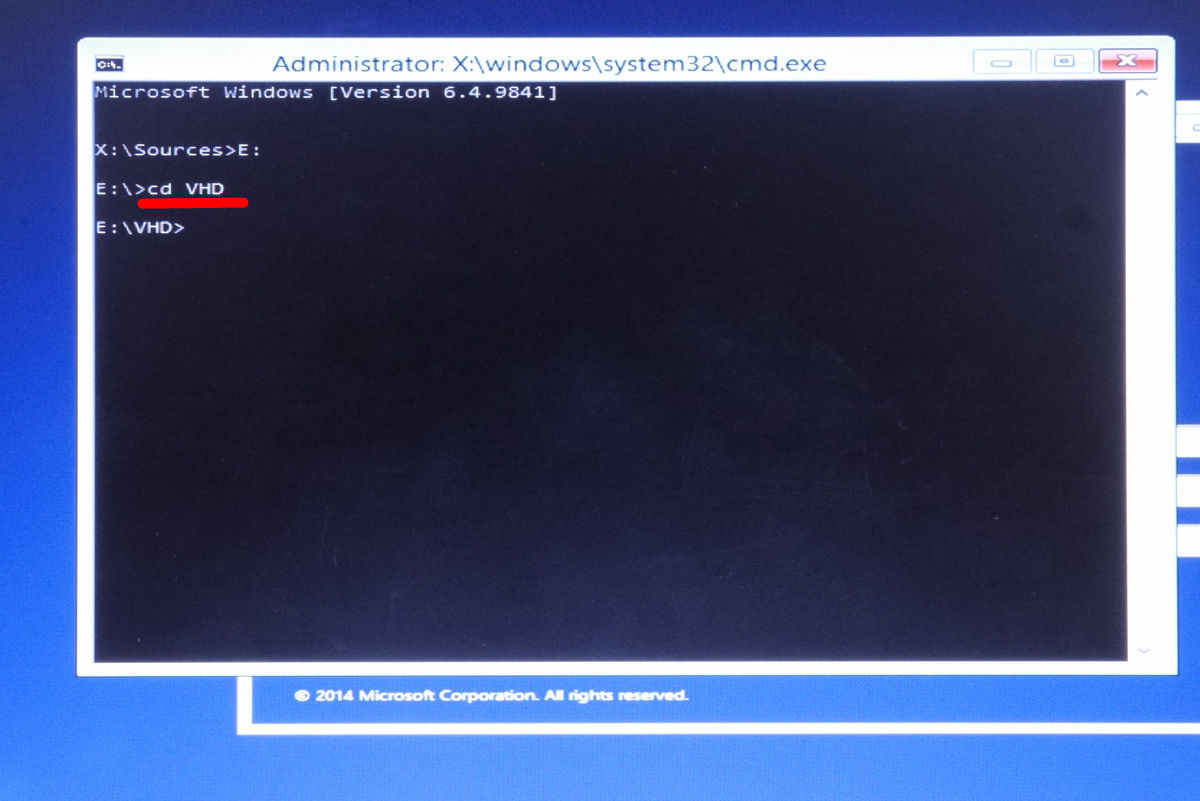
After successfully moving to E drive, enter "cd VHD (folder name)". It will be OK if "E: \ VHD>" is displayed.
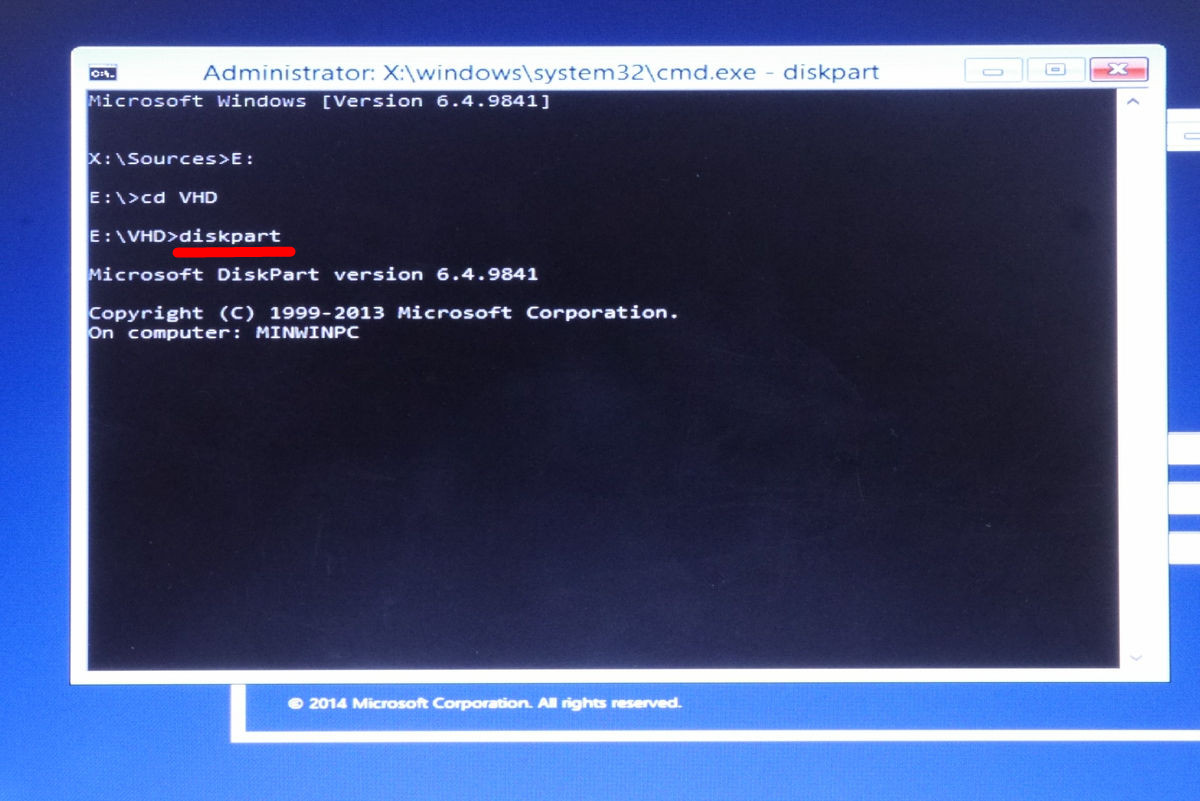
Continue typing "diskpart" and it will be OK if "on computer: MINWINPC" is displayed.
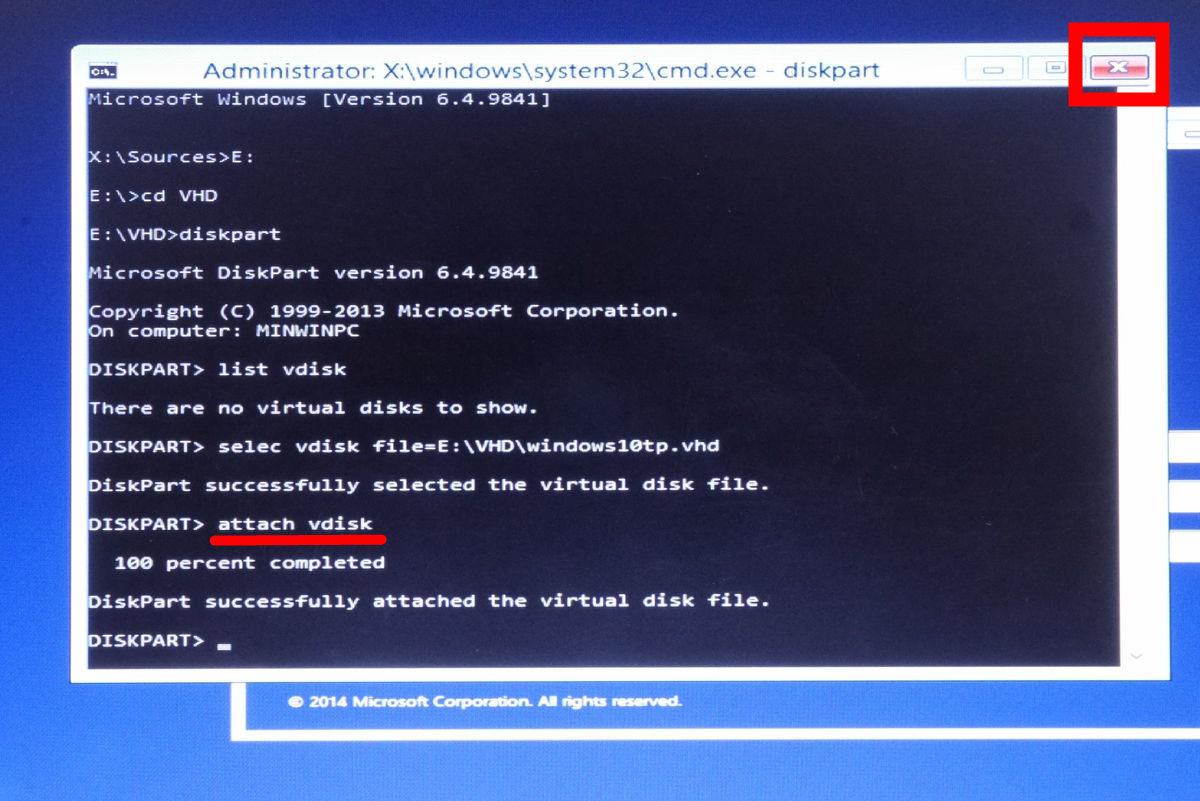
Wait for a while and enter "list vdisk" when "DISKPART>" appears. "There are no virtual disk to show." Was displayed.

Next, specify the virtual disk file with the extension ".vhd". For this time, enter "select vdisk file = E: \ VHD \ windows 10 tp.vhd". It will be OK if "successfully selected the virtual disk file." Is displayed.

Then attach the virtual disk. Enter "attach vdisk". Successfully, attachment is successful when "successfully attached the virtula disk file." Is displayed. Click the "X" button at the top right to finish the command prompt.
After that, I installed a technical preview as usual. Select "Japanese (Japan)" in "Time and currency format" and click "Next".

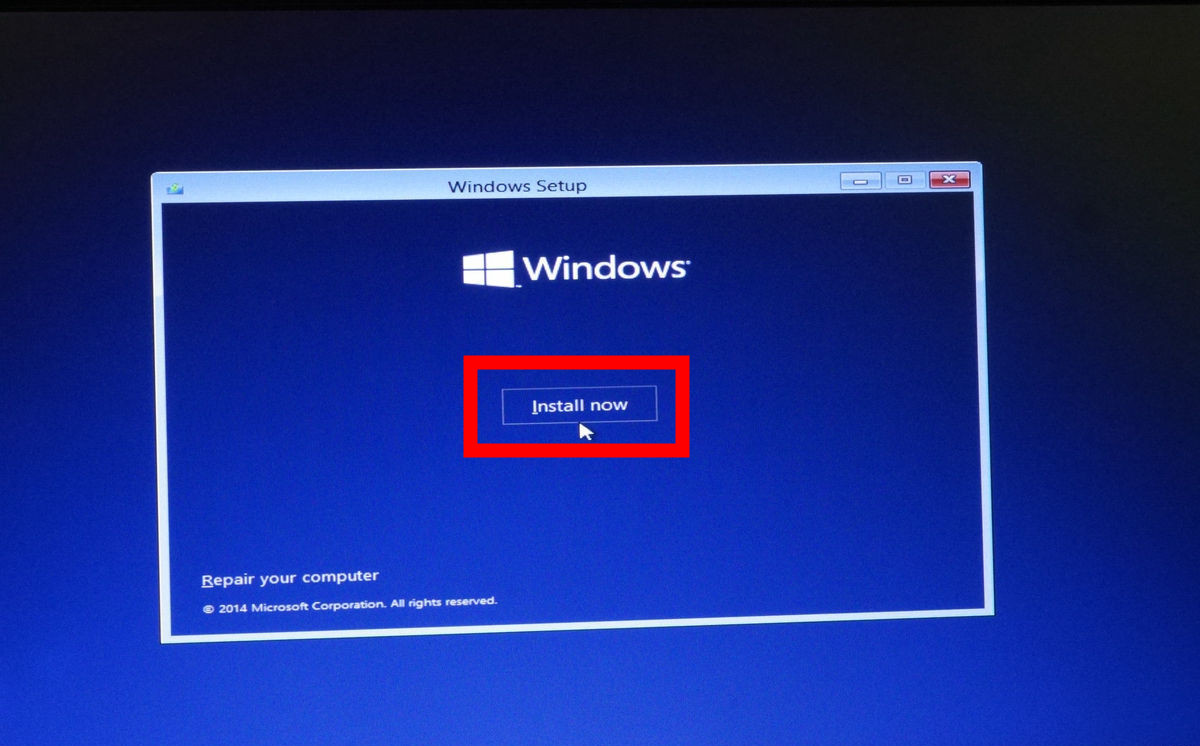
Click "Install now".
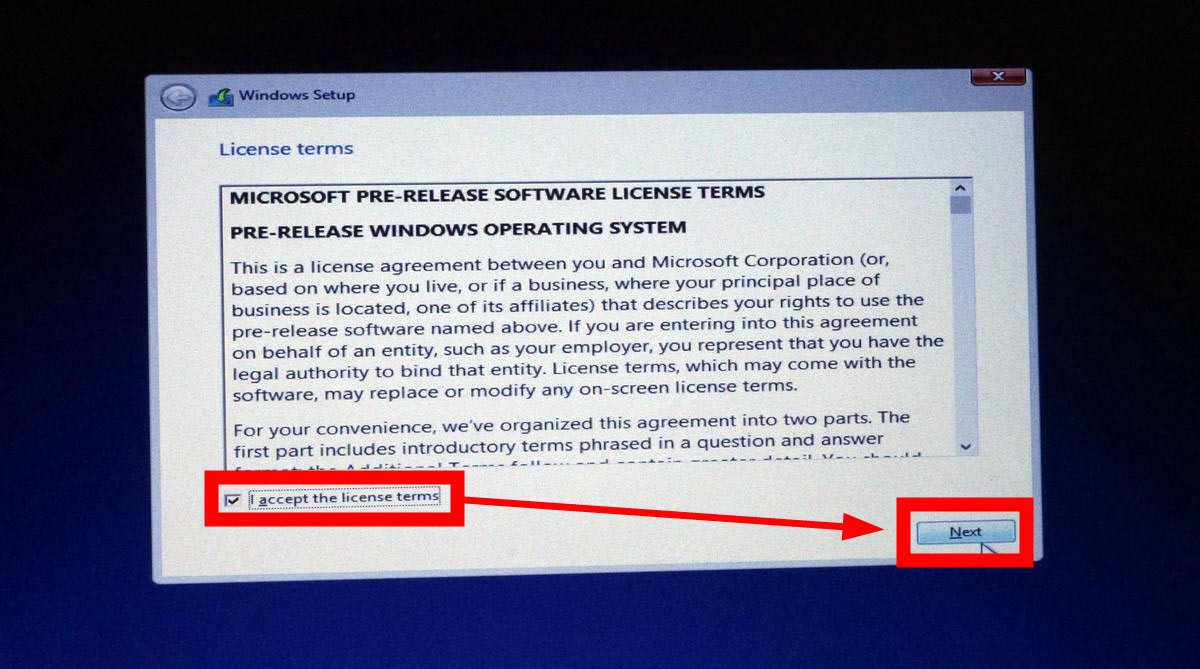
Check "I accept the license terms" and click "Next".
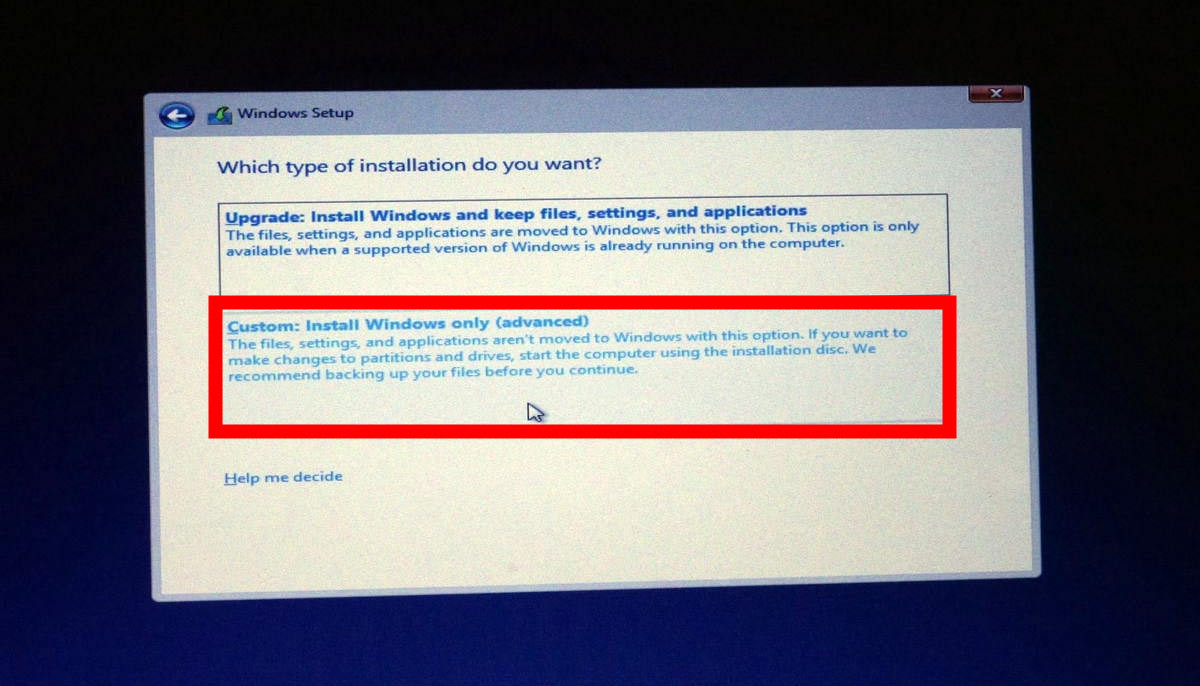
Click "Custom: Install Windows only (advanced)".
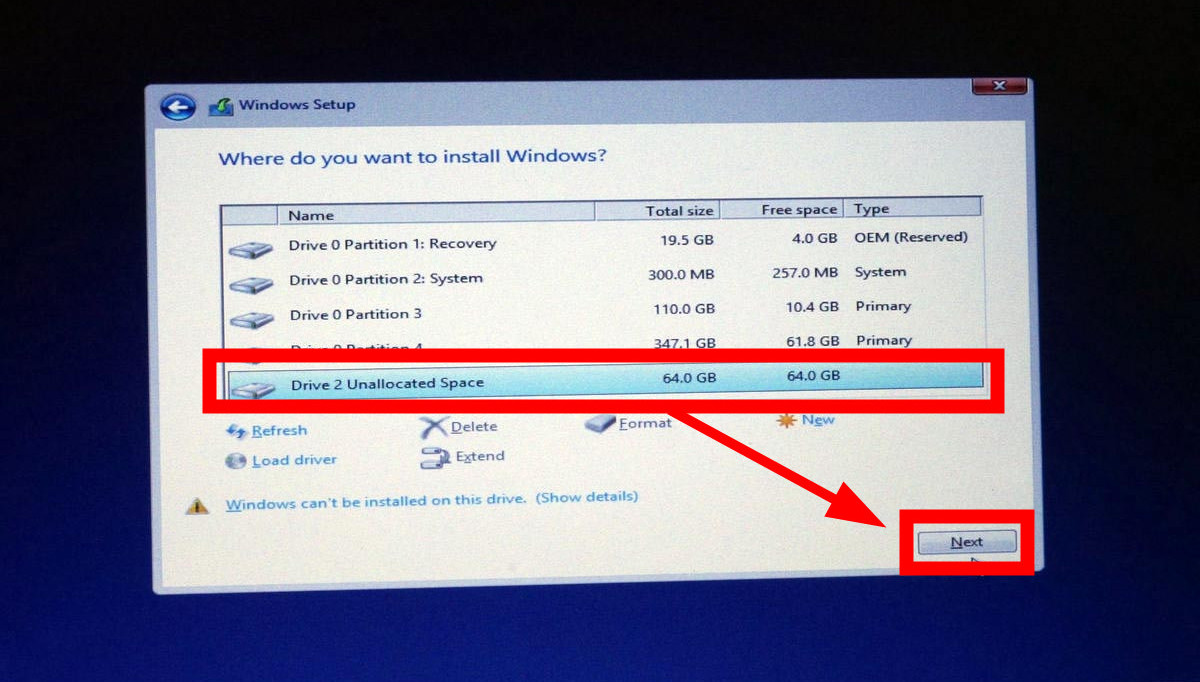
Select the virtual drive as the installation destination. For this time, select "Drive (number) Unallocated Space" and click "OK". hereIf you accidentally select a drive where a system or data is stored, the environment of the main PC will be overwritten and deletedSo be careful enough.
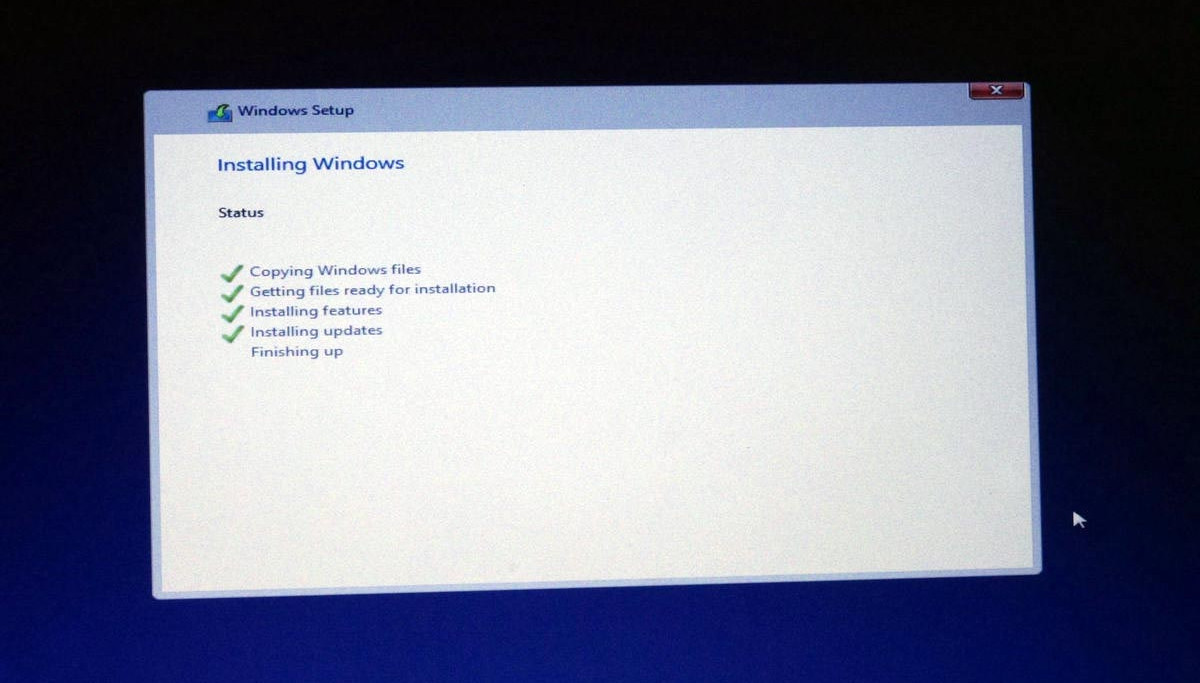
After that I only wait until the installation is completed.
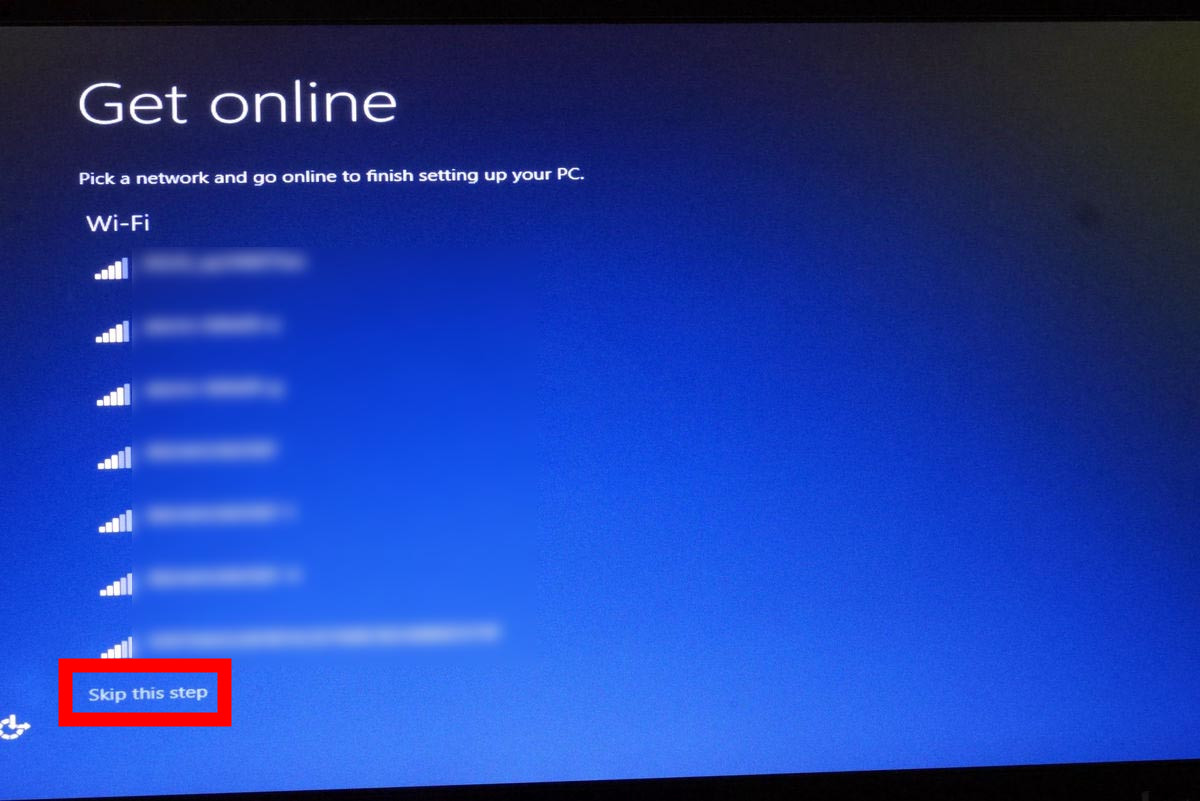
When it changes to "Get online" screen, click "skip this step".
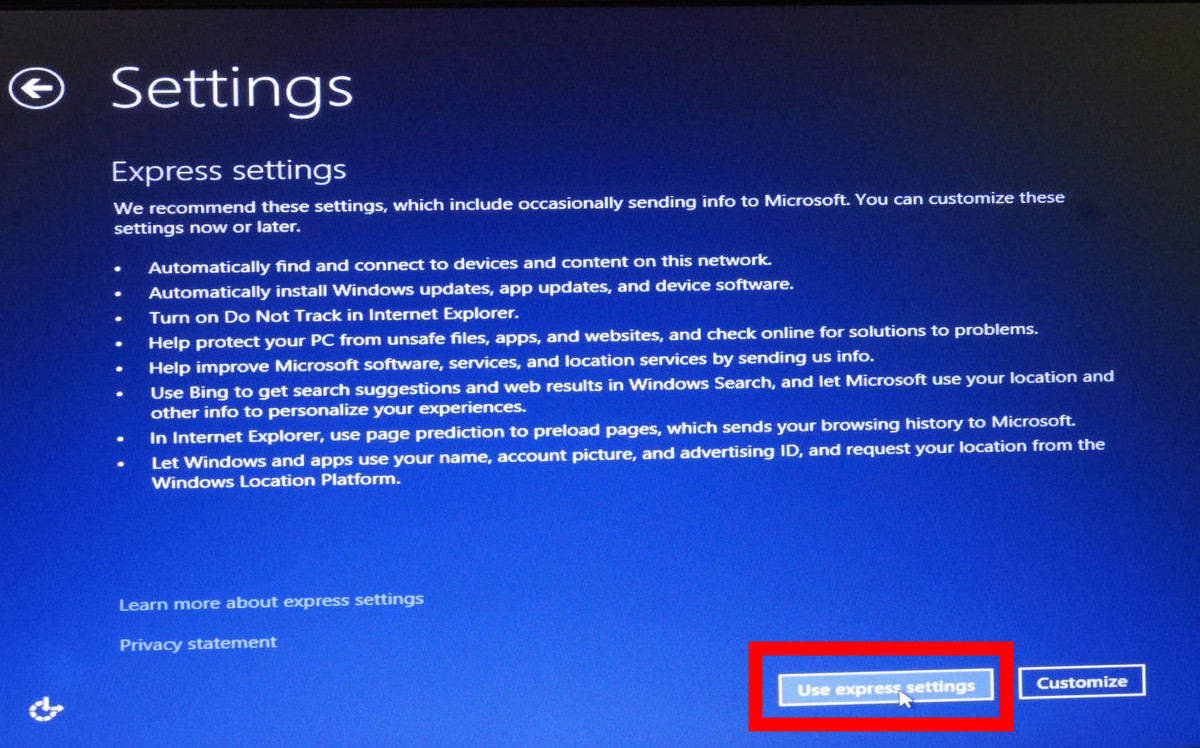
Click "Use express settings".
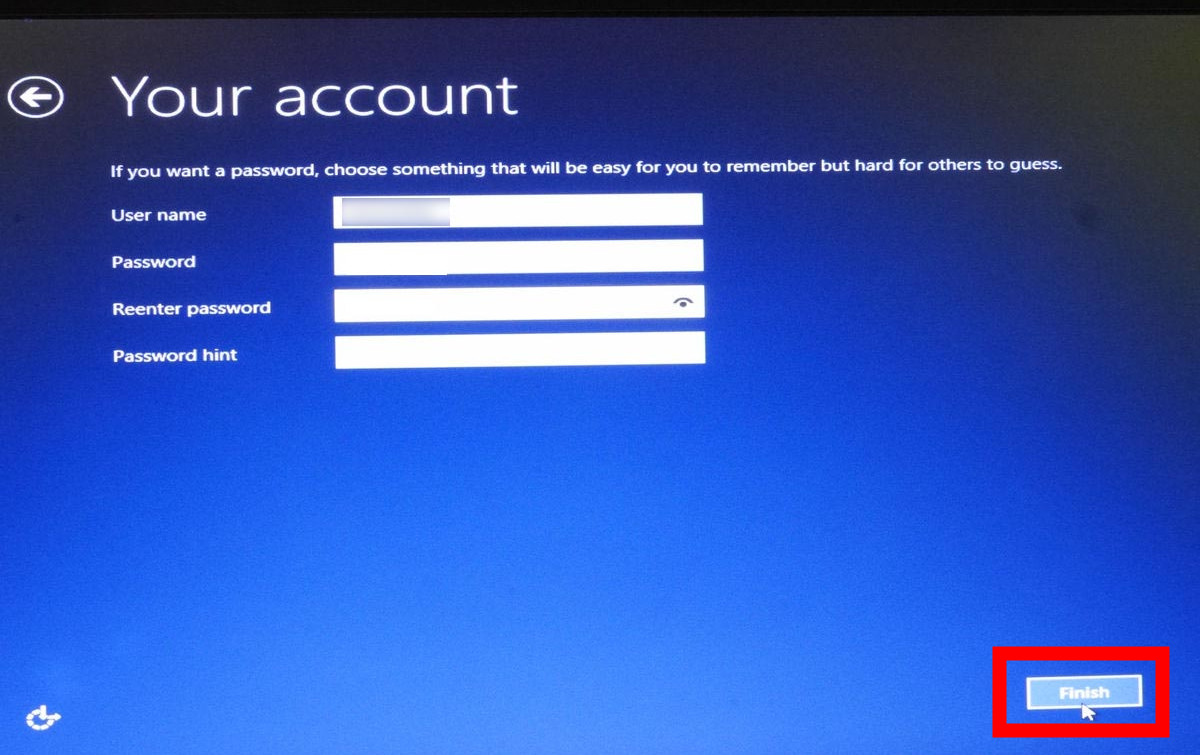
After entering the Microsoft account information and clicking "Finish", installation of technical preview on the virtual disk is completed.
◆Dual Boot Environment
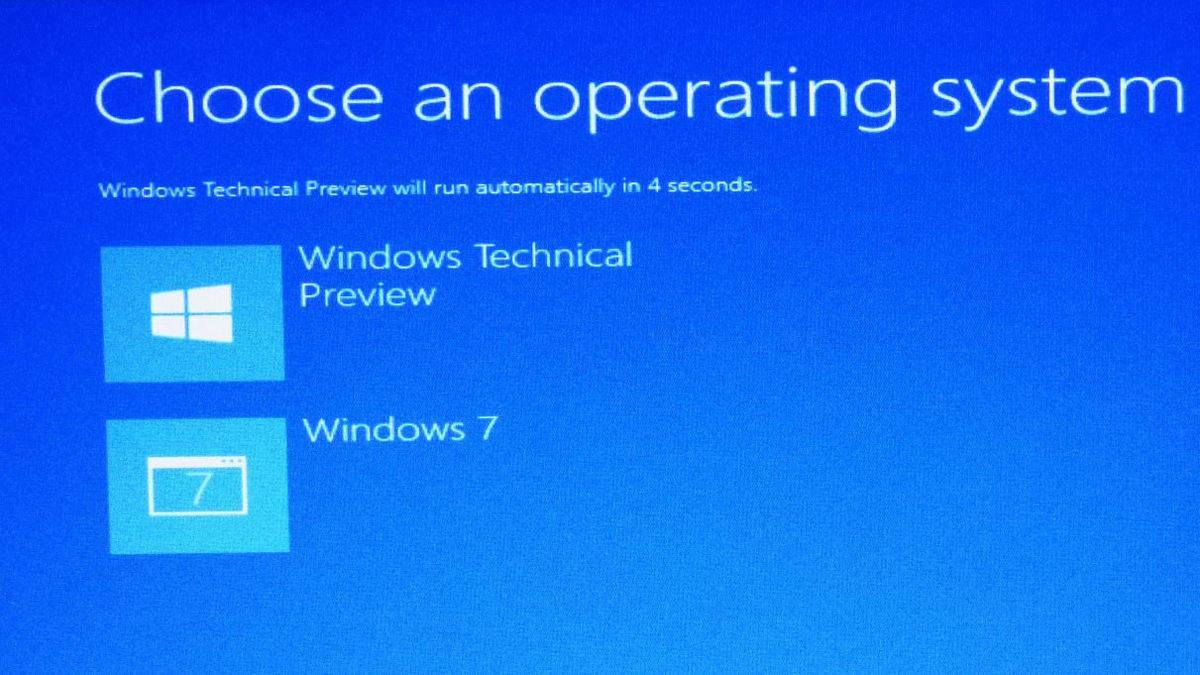
When the installation of Technical Preview is completed and the PC restarts, it will be such a start screen. Click "Windows Technical Preview" to get technical preview, click "Windows 7" will start Windows 7. If you leave it for 30 seconds, the system above icon (priority boot destination) will start up automatically.
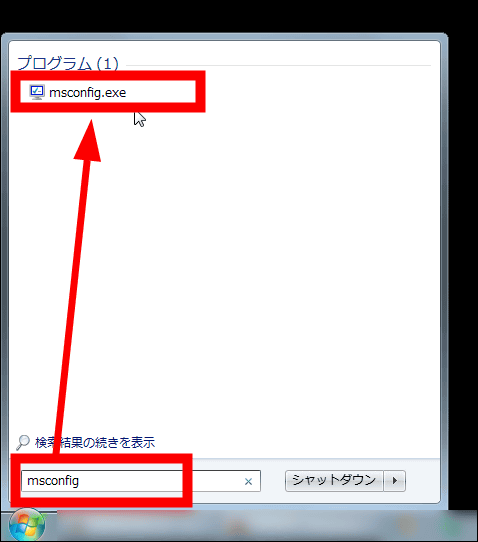
To change the preferred boot destination Start Windows 7, enter "msconfig" in "Search for programs and files" and click "msconfig.exe". Activate the system configuration window.
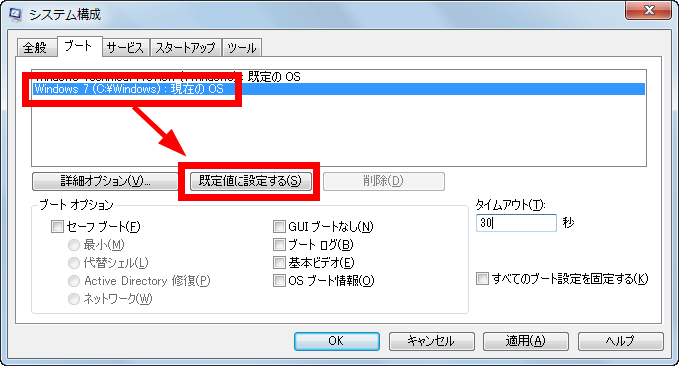
Select "Windows 7" in "Boot" and click "Set as Default" OK.
◆Clear the virtual disk environment
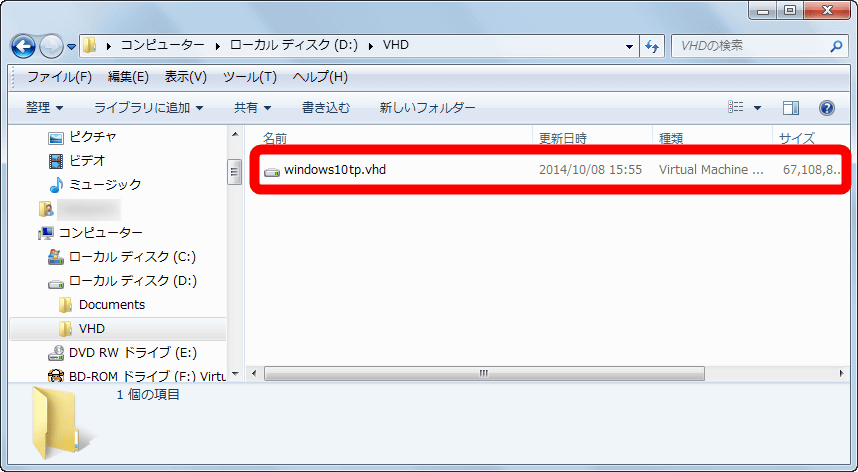
About 67 GB of windows 10 tp.vhd file was generated in the folder "VHD" where Windows 7 virtual disk was saved. Deleting this VHD folder will delete the virtual disk file, but since the ini file of the boot loader remains, an error will be displayed at PC startup.
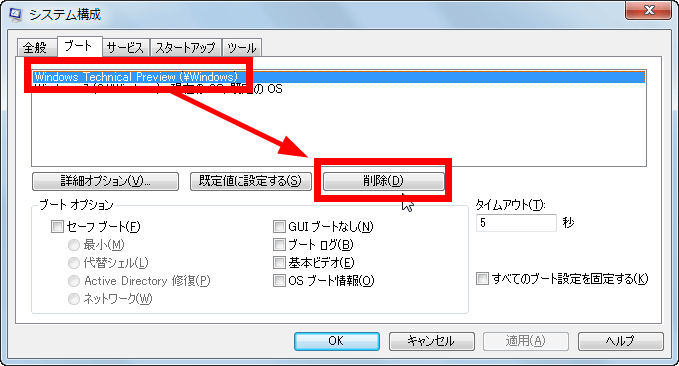
In order to completely erase the virtual disk environment, it is necessary to erase the boot loader ini file after clearing the virtual disk folder. Select "Windows Technical Preview" in "Boot" of the previous system configuration window and click "Delete".
Related Posts: