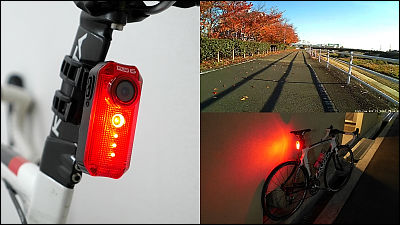
I actually wore a tail light type drive recorder "Fly 6" to record on the back with a bicycle being a blind spot in HD

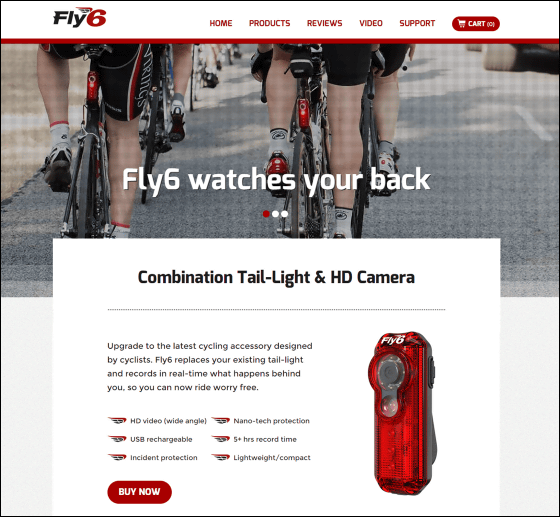
Tail light type drive recorder 's camera that always shoots behind the scenes while informing of their presence with LED lightsFly 6To the cloud funding siteKickstarterI finally got it finished and arrived at hand, so I decided to experiment with various actual skills.
Bicycle Camera and Rear-light | Fly 6
http://fly6.com/
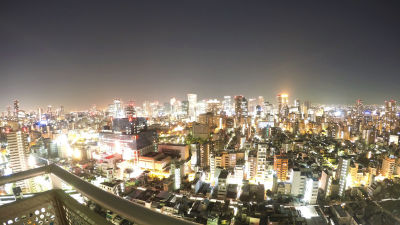
In order to try out the power of Fly 6, I tried running around various places and seeing what kind of images can be stored. The picture taken while driving at night is like this. Although the bicycle basically runs on the roadway, even if it is caught in the accident from behind by any chance, it seems that you can clearly check the situation later.
Night highway cycling while shooting with Fly 6 - YouTube
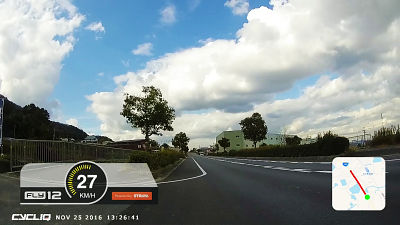
I tried driving downtown where bicycle running was OK.
Downtown strolling cycling with Fly 6 - YouTube
And this is a scene where we ran lightly over a green full cycling road.
Running a cycling road while shooting with Fly 6 - YouTube
The lighting pattern and brightness of the LED light are made visible by seeing the following movie.
The LED blinking pattern of Fly 6 looks something like this - YouTube
◆ Package opening · Contents look like this
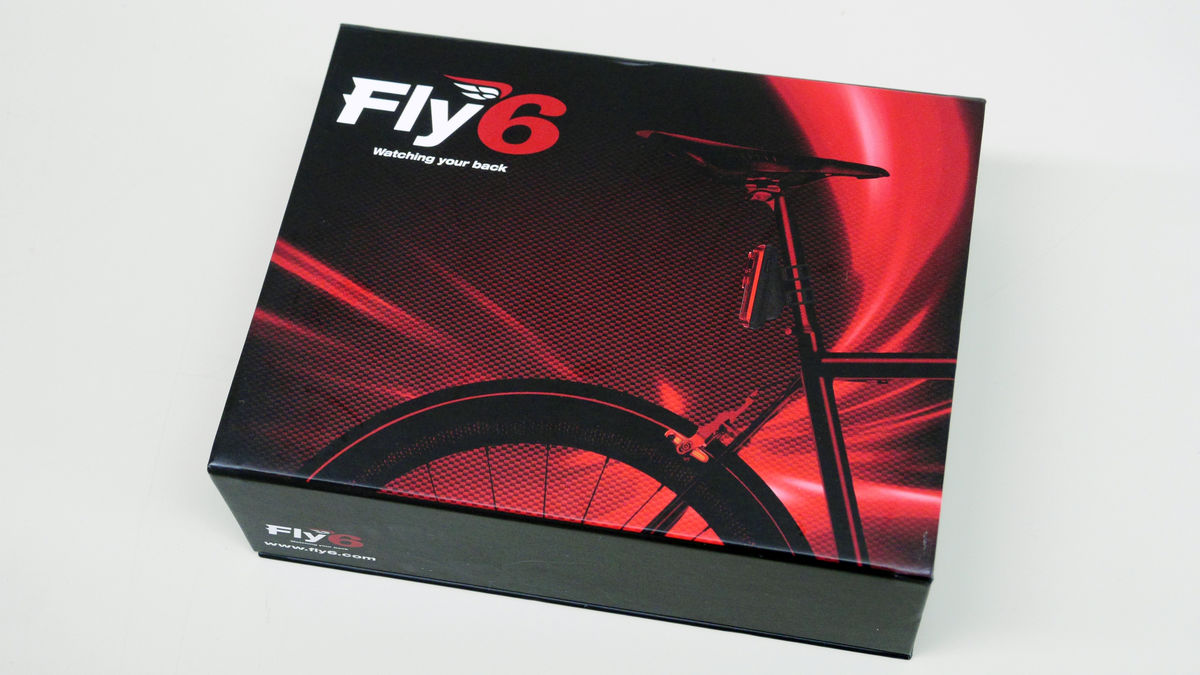
The product package looks something like this. The figure of the road bike equipped with Fly 6 is printed.
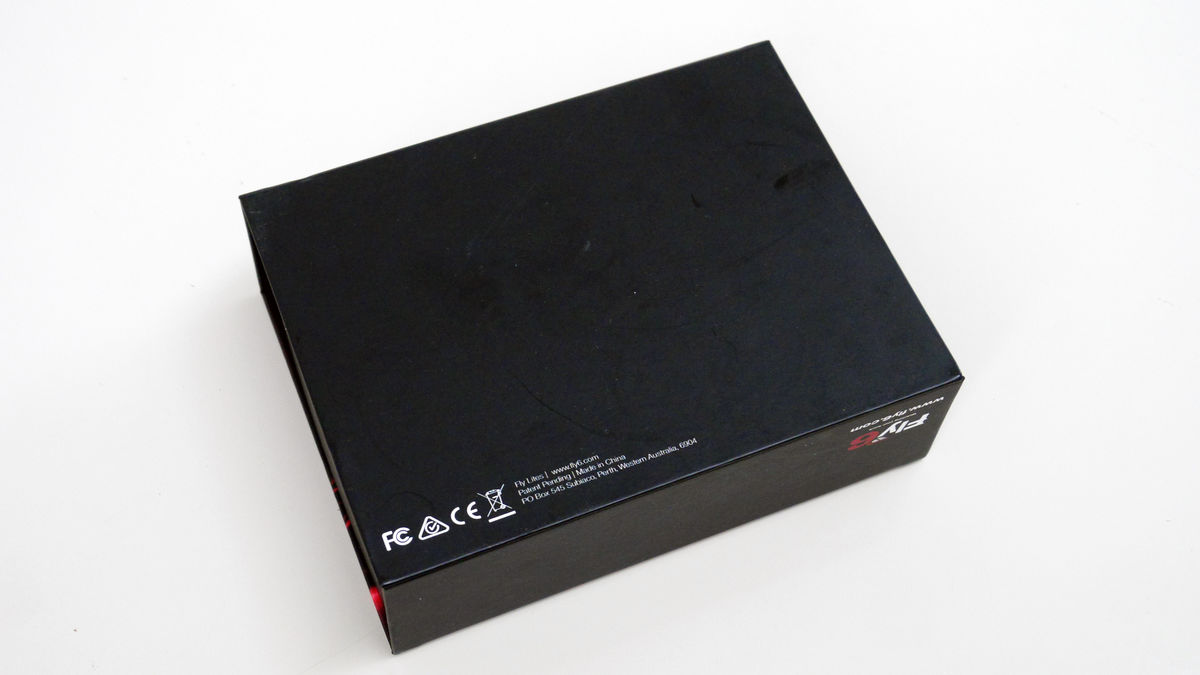
The bottom of the package was very simple.
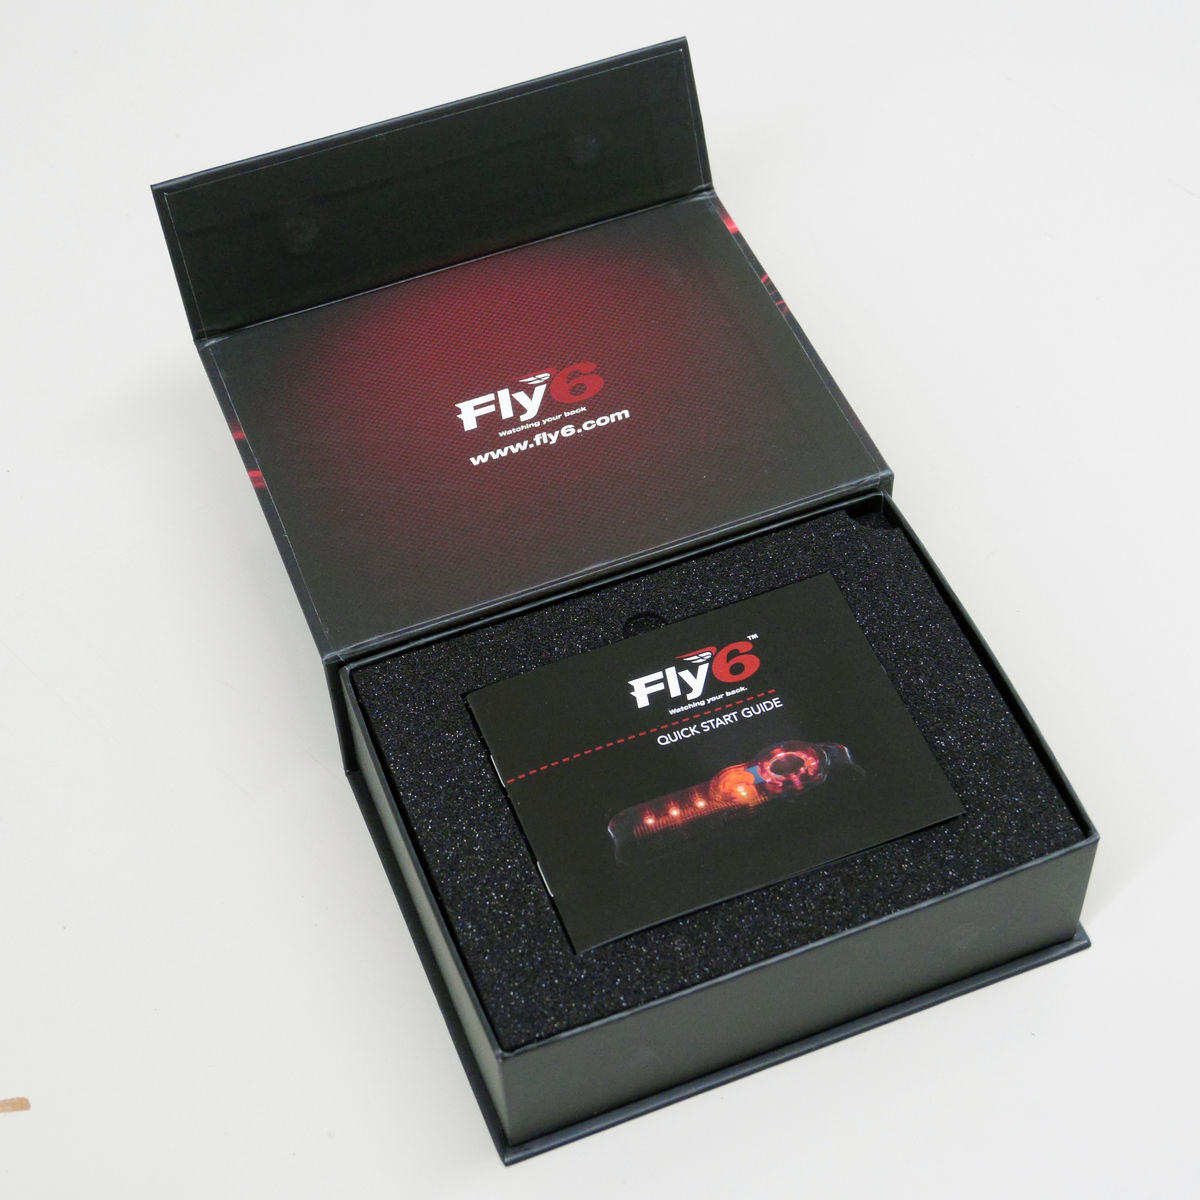
Package is a type in which the top surface sticks out. Inside the manual is placed on the cushioning material of the sponge.
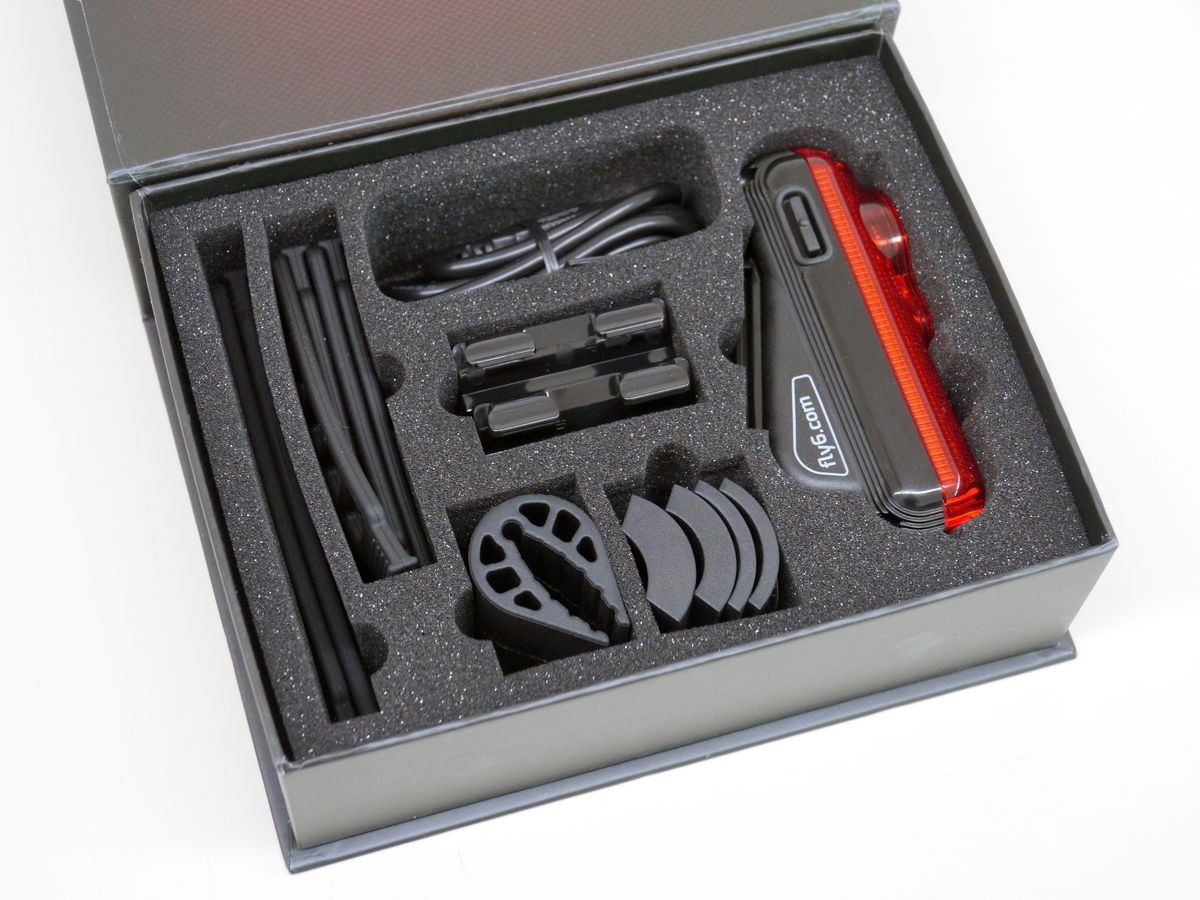
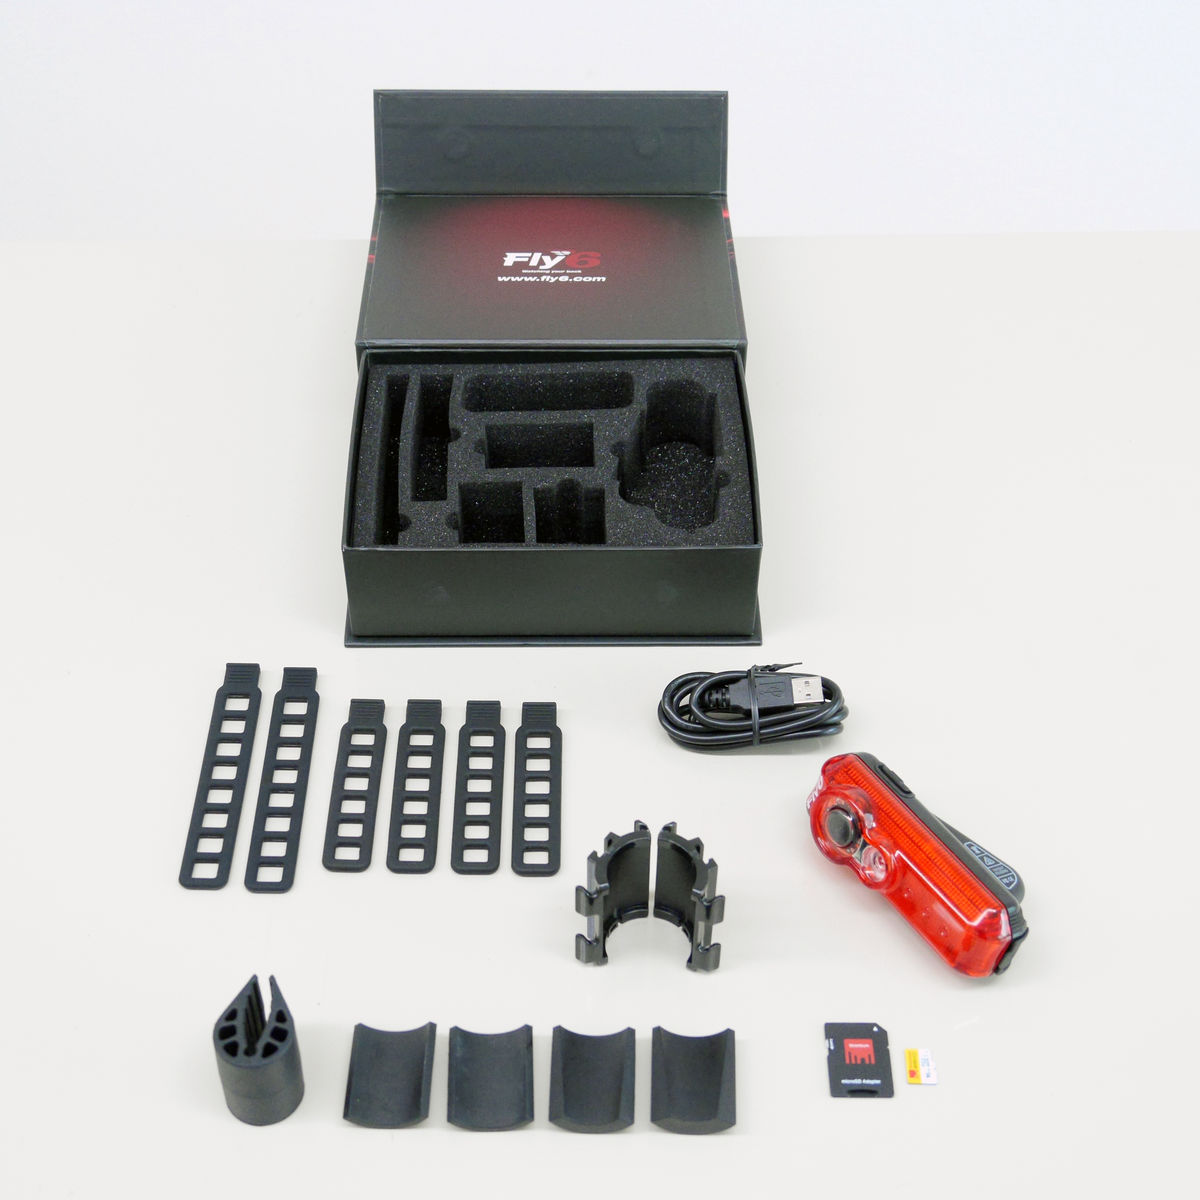
Taking a manual and a sponge, Fly 6 and peripheral parts appeared.

All parts are packaged in a sponge which is dedicatedly cut, making the feeling of high quality feel.
Try out all contents and it looks like this.
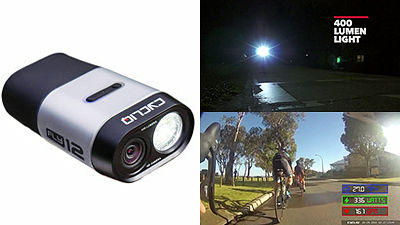
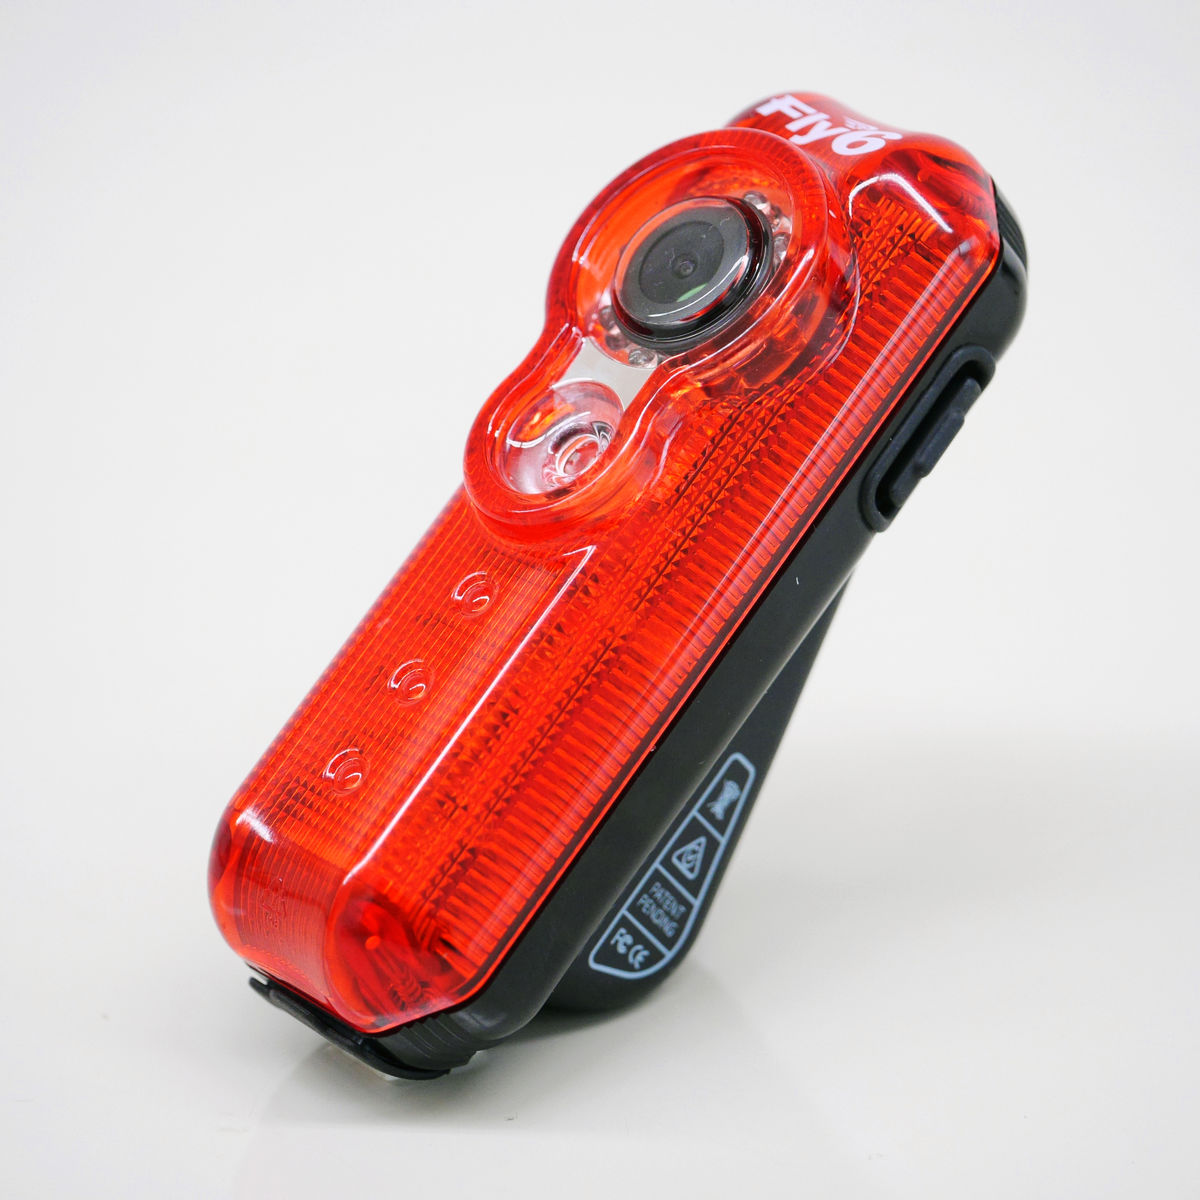
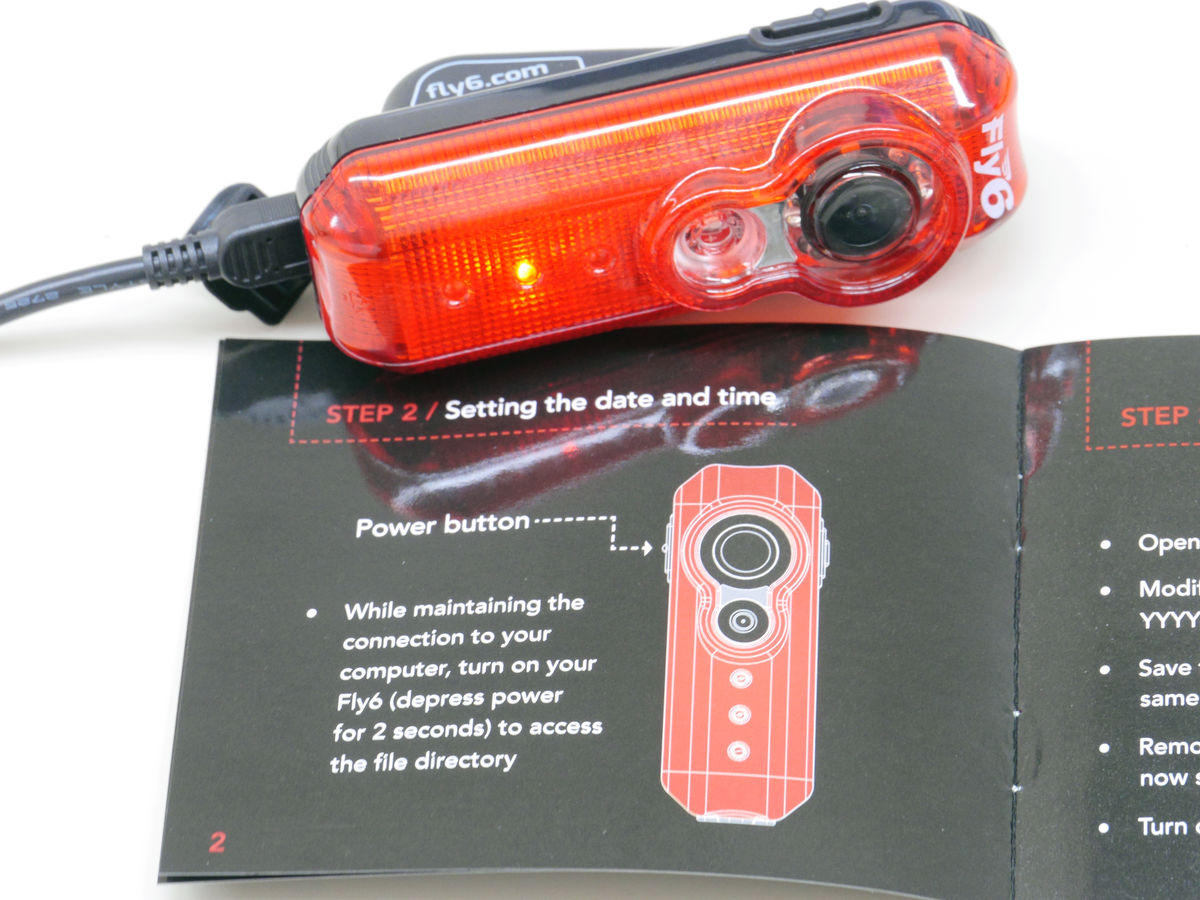
Body of Fly 6. It is similar in shape to a commercially available LED taillight, but the black circular camera part is distinctive in character.
Eight LED lights are arranged around the lens of the camera.
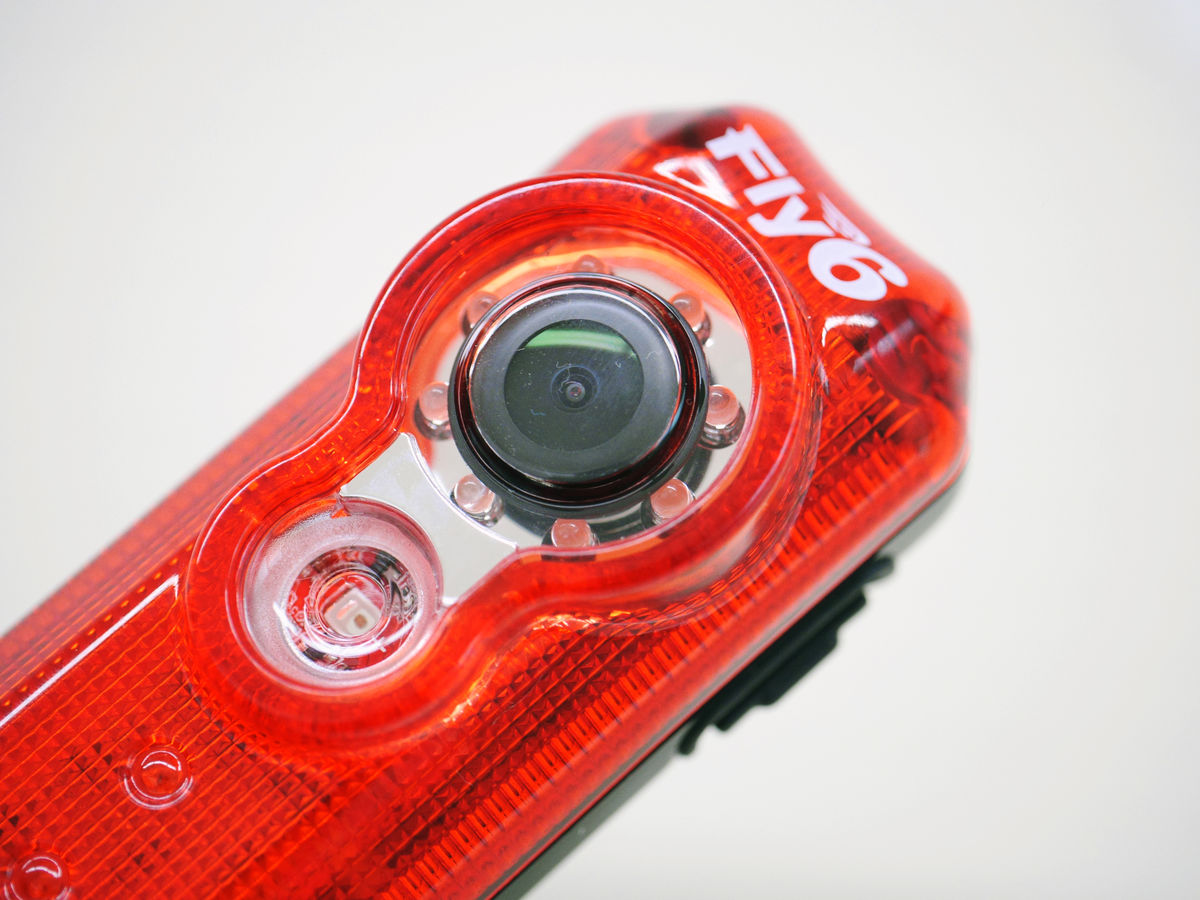
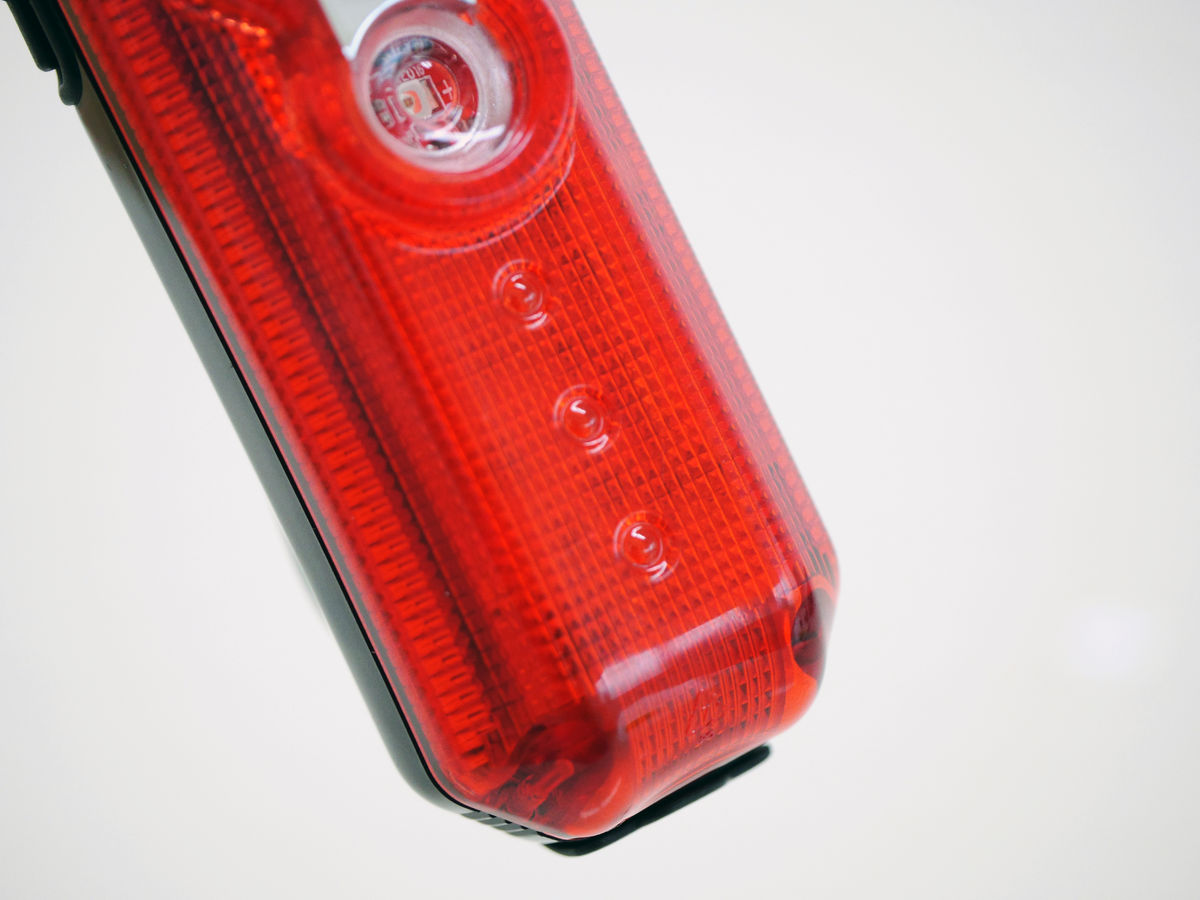
Under the camera there was a red LED light to inform the existence in the back.
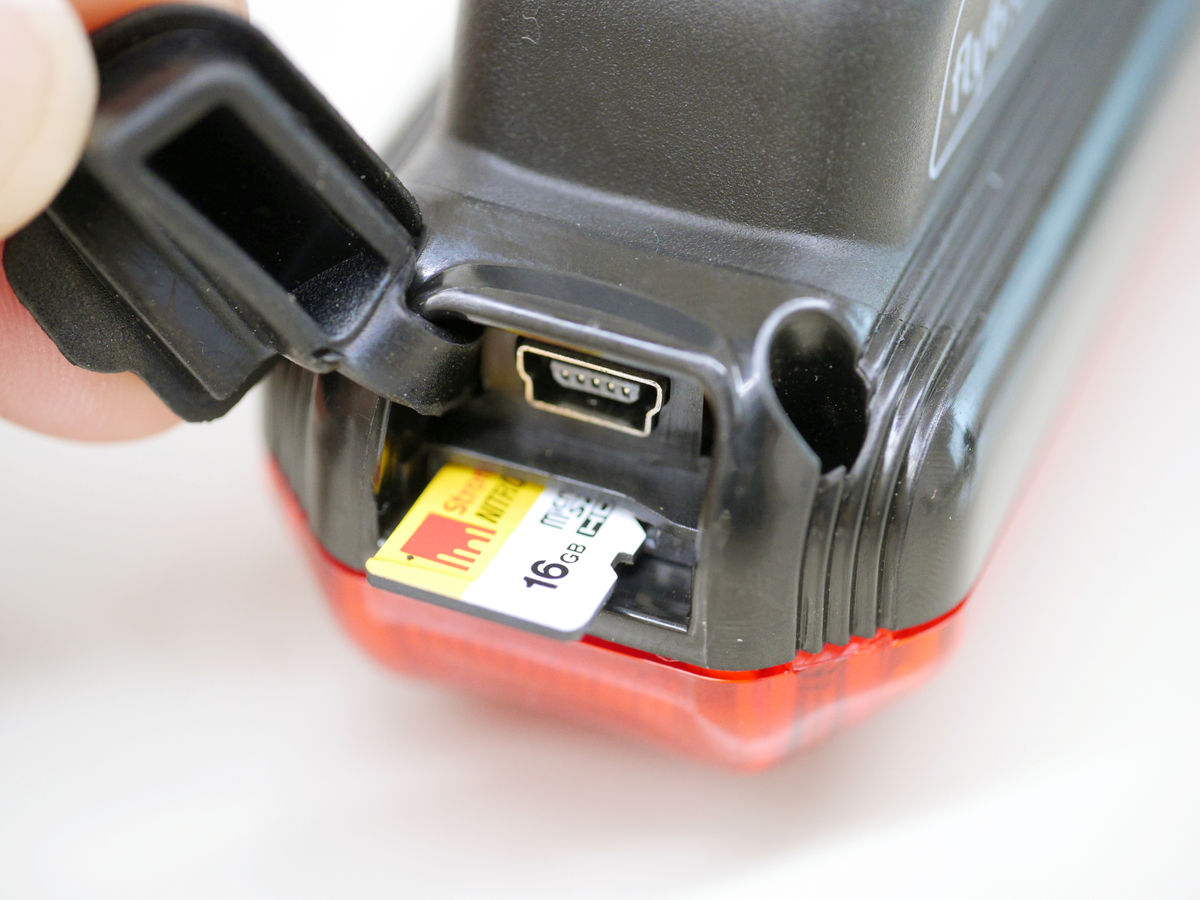
Rubber cover on the bottom of the main unit

Taking the cover, the Mini-USB terminal and the microSD card slot appeared.
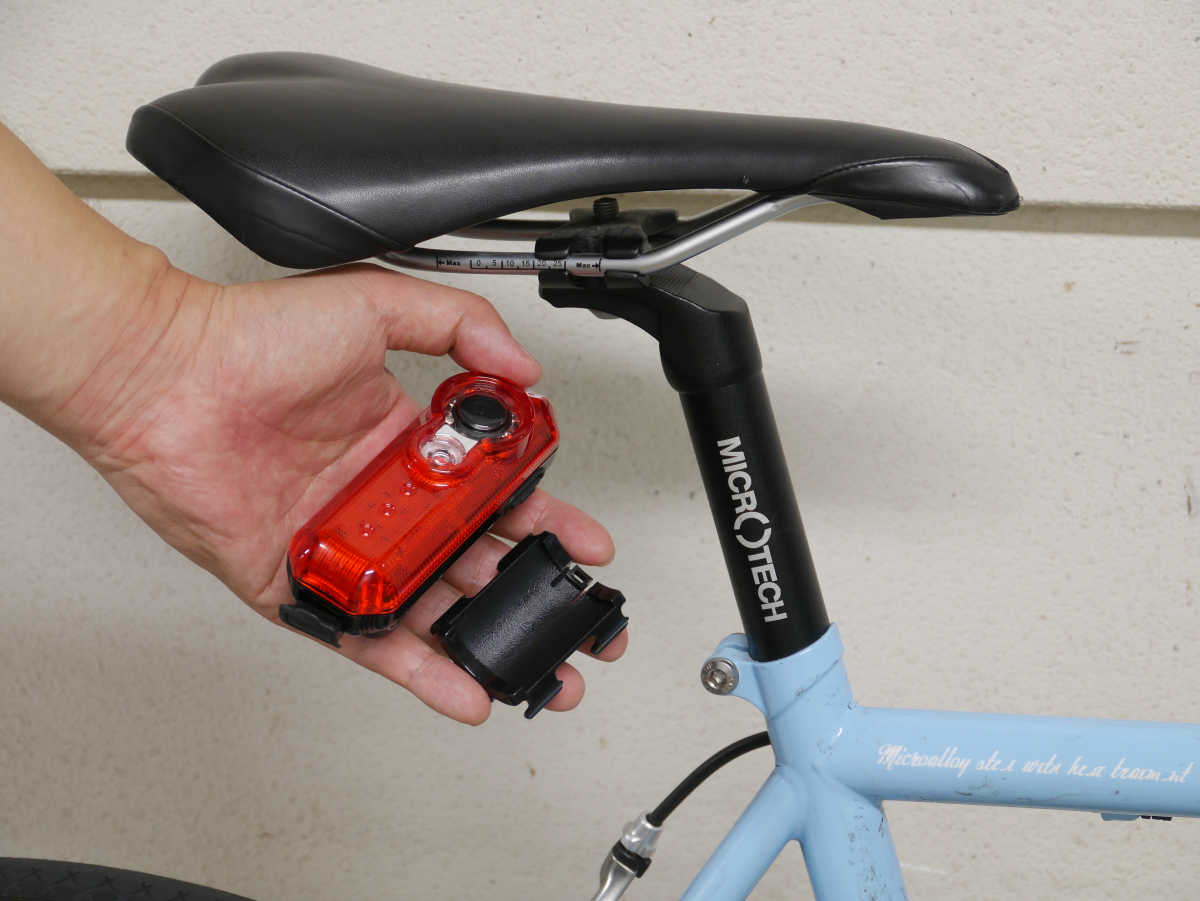
2 pieces of attachment for attaching Fly 6 under the seat.
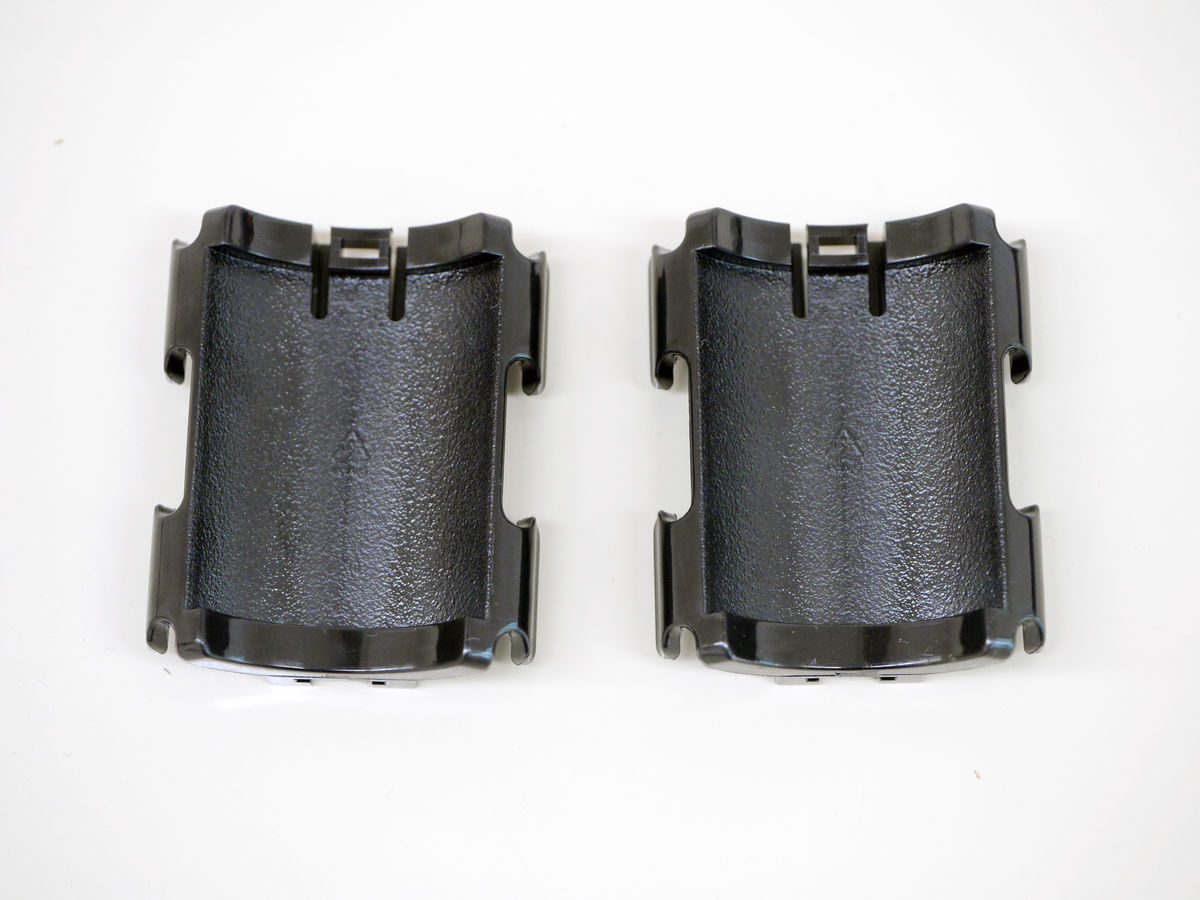
Install Fly 6 in the groove on the back.
Frugality.

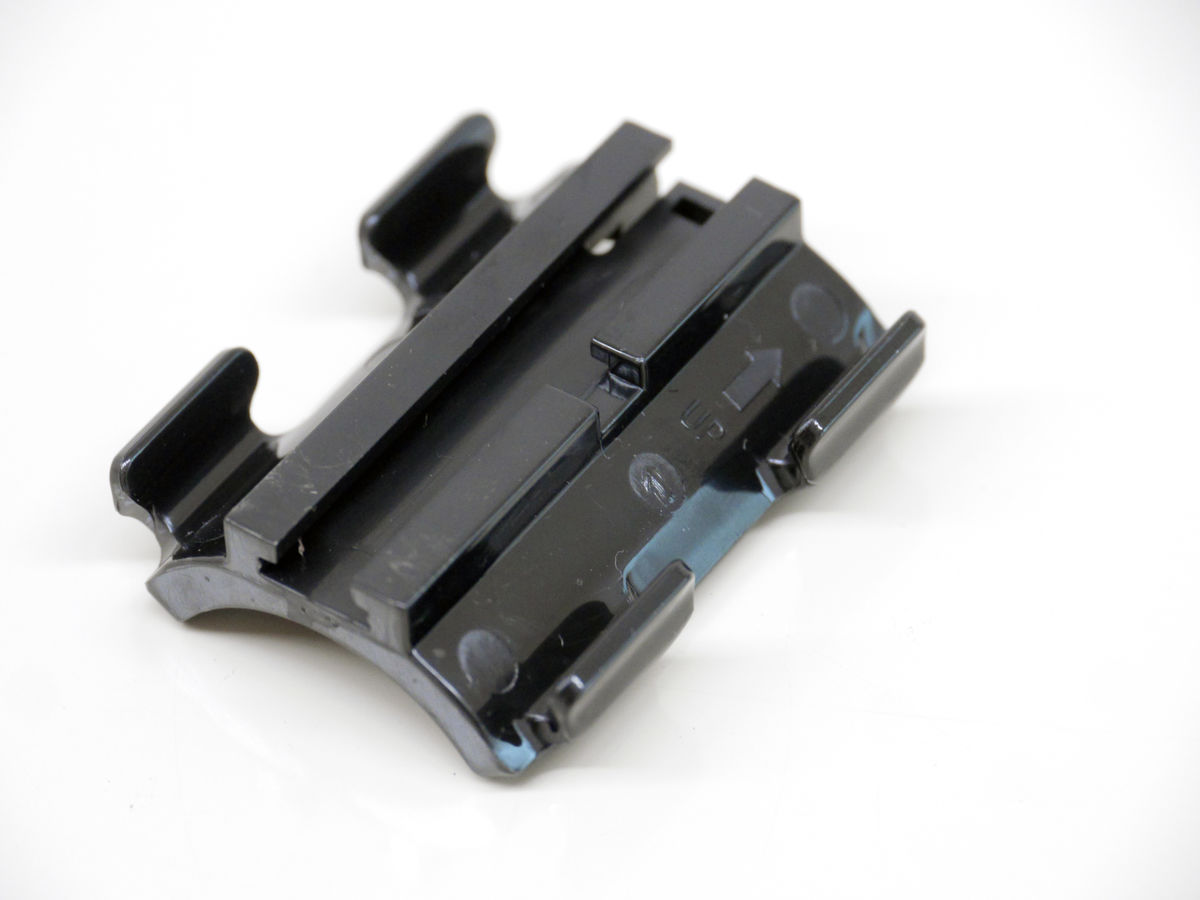
Angle is attached to the mount part of Fly 6, and it is set to be the optimum angle when wearing on the seat post.

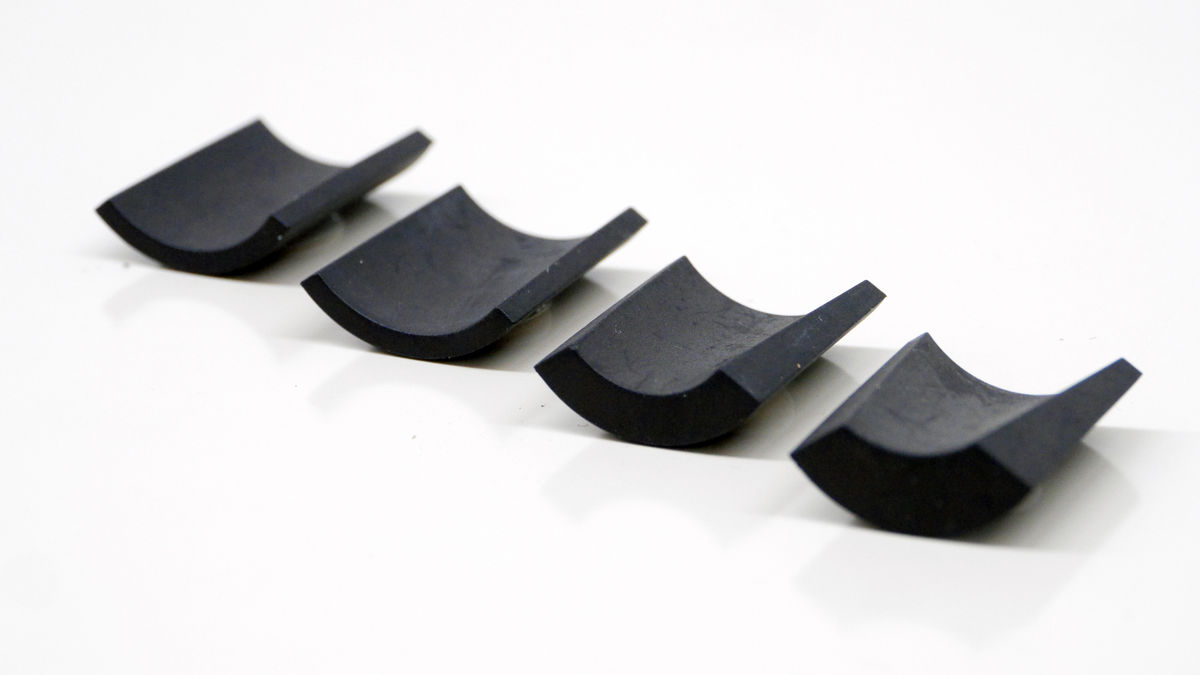
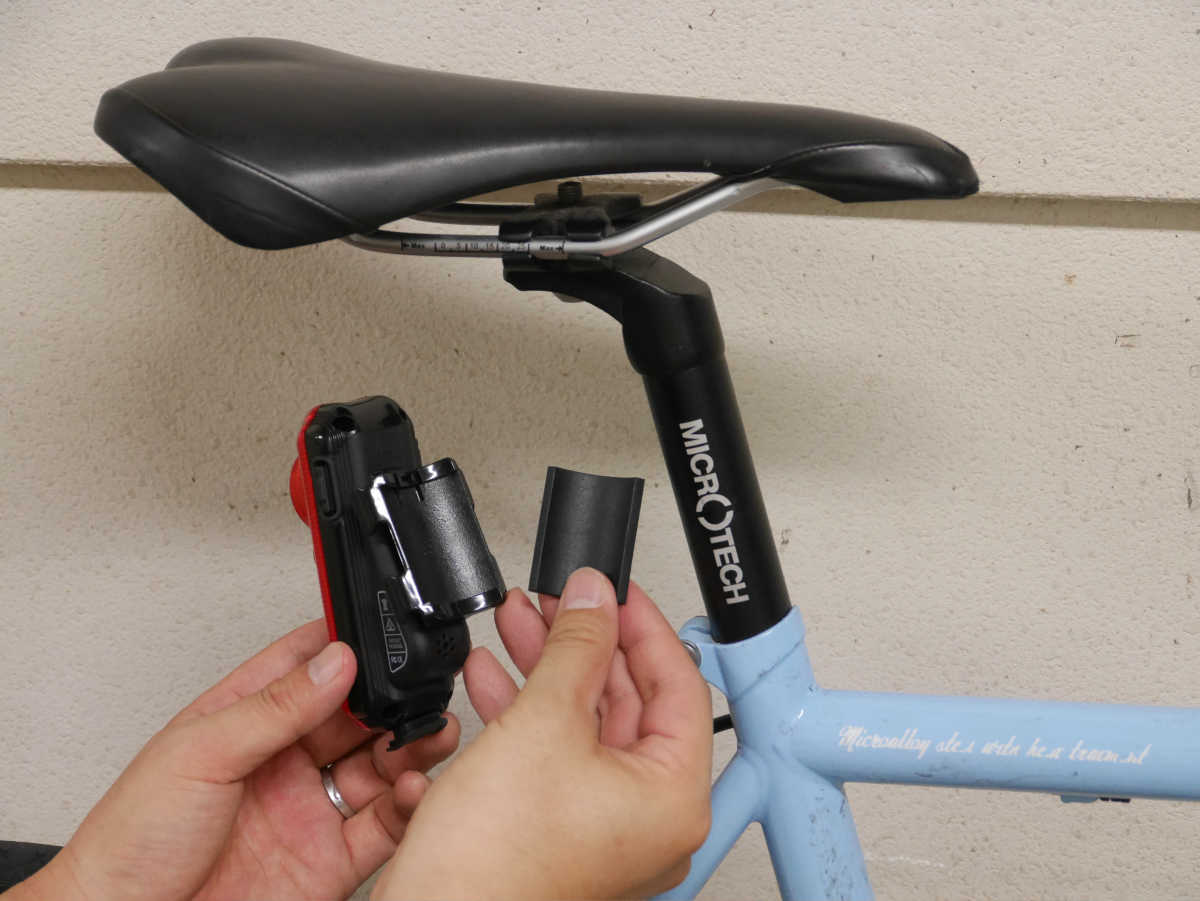
Silicon shims for angle adjustment are set in 3 types and 4 pieces.
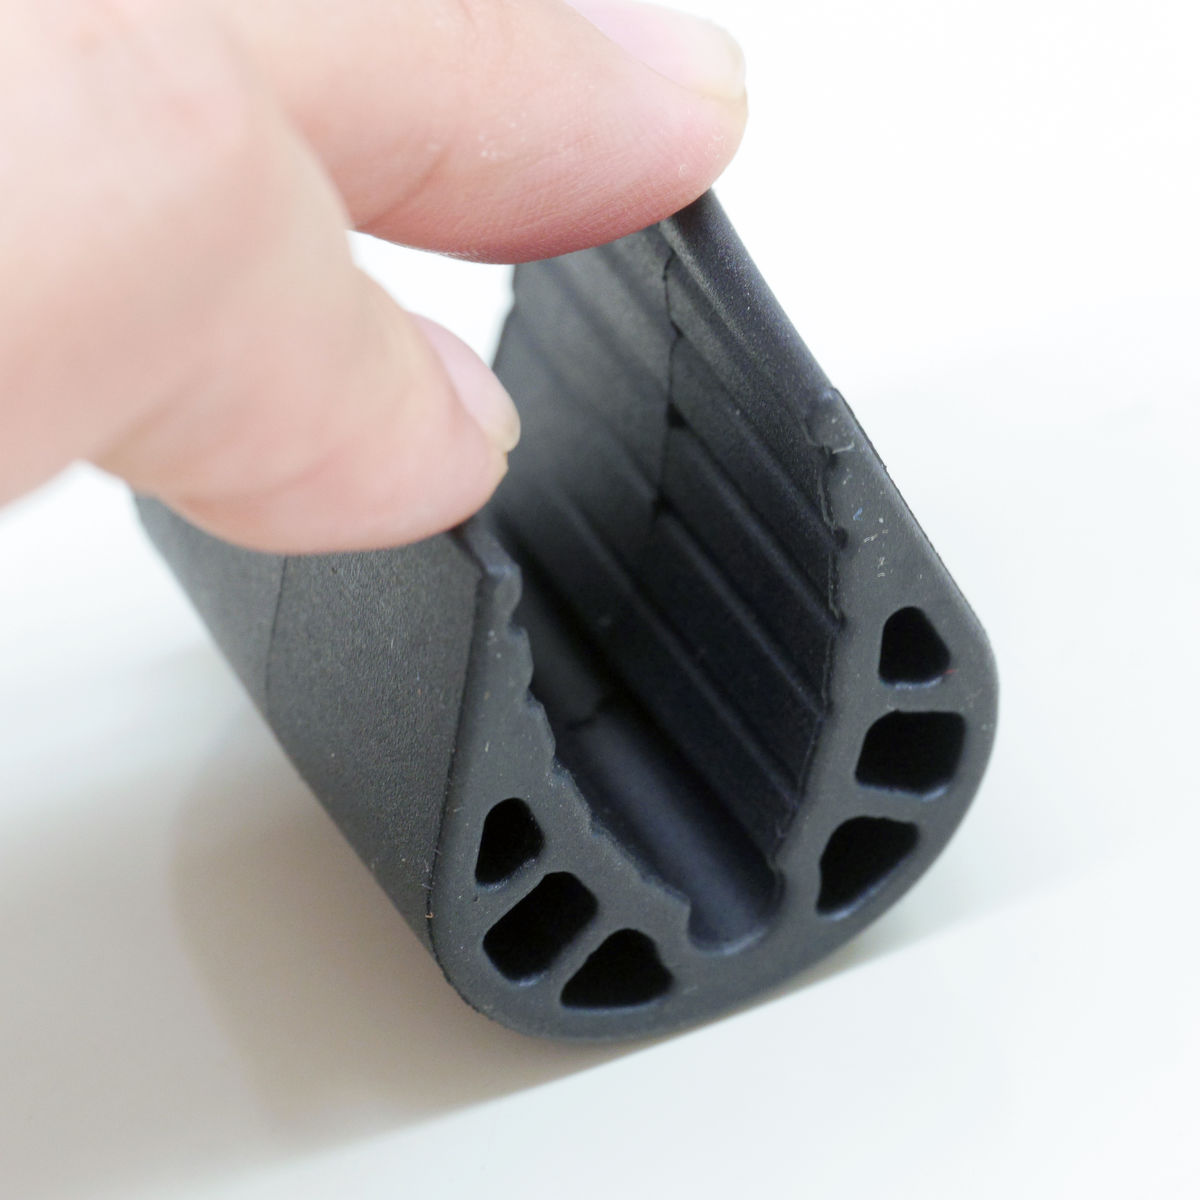
And this is a silicon shim dedicated to the seat post in the wing section shape.
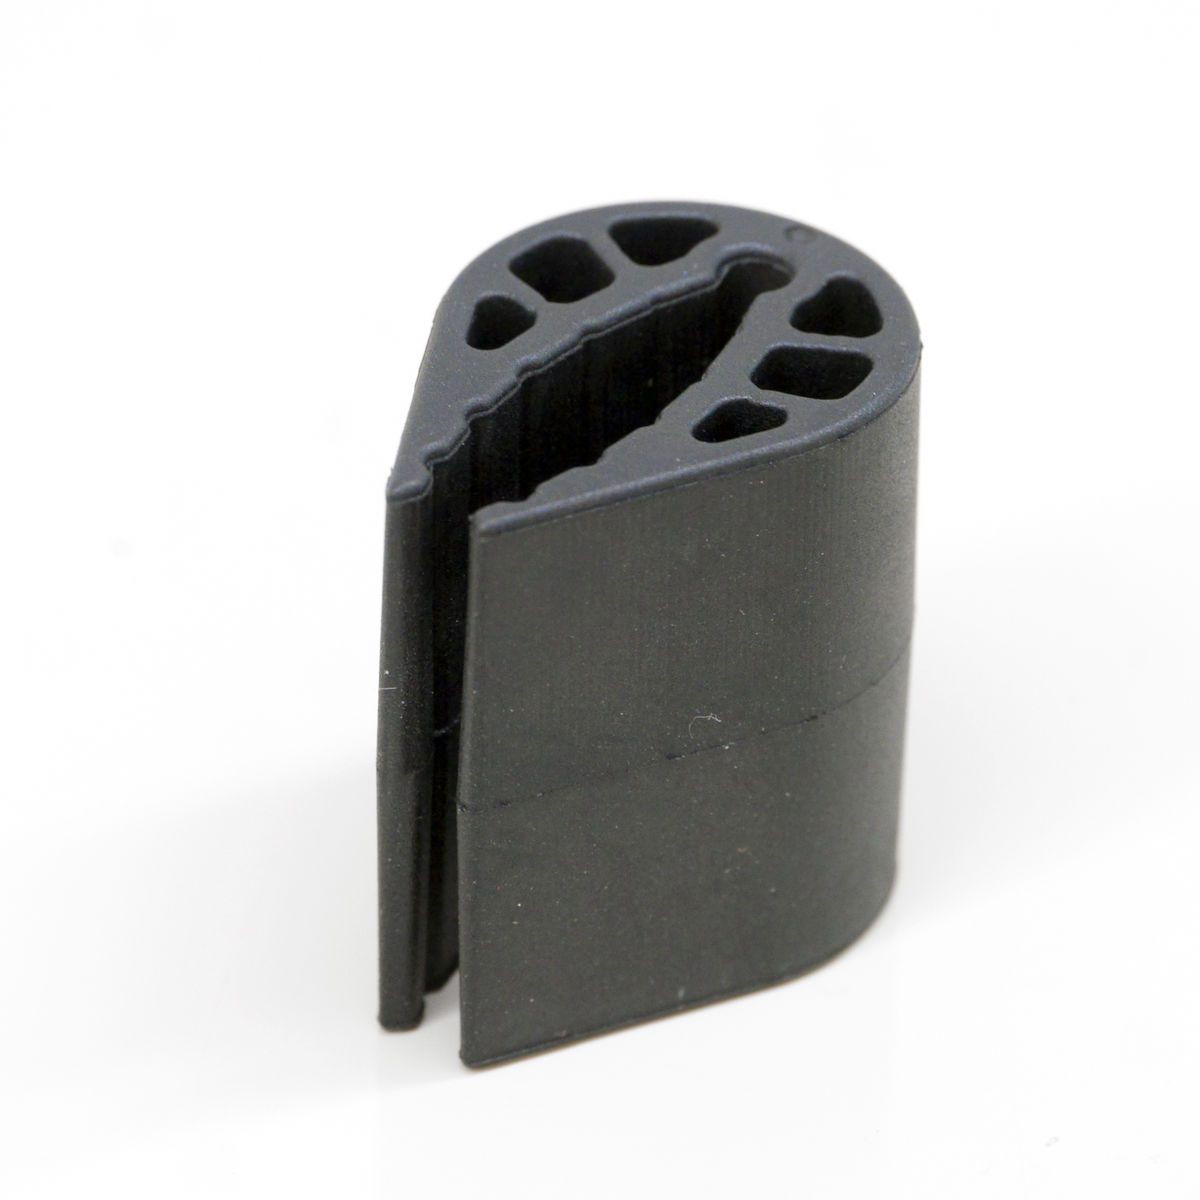
It is a soft material and it has a wide range of shapes.
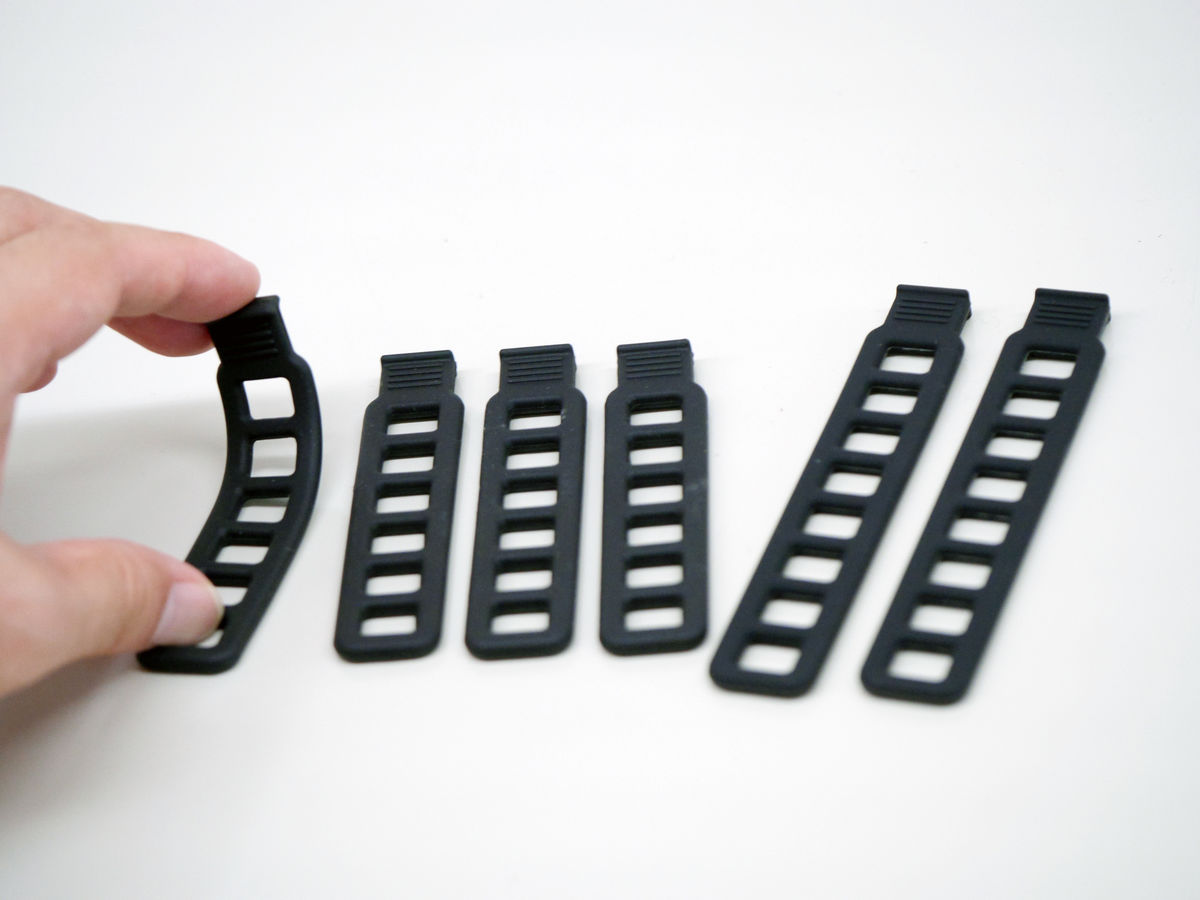
The strap for fixing the main body was also made of silicon.
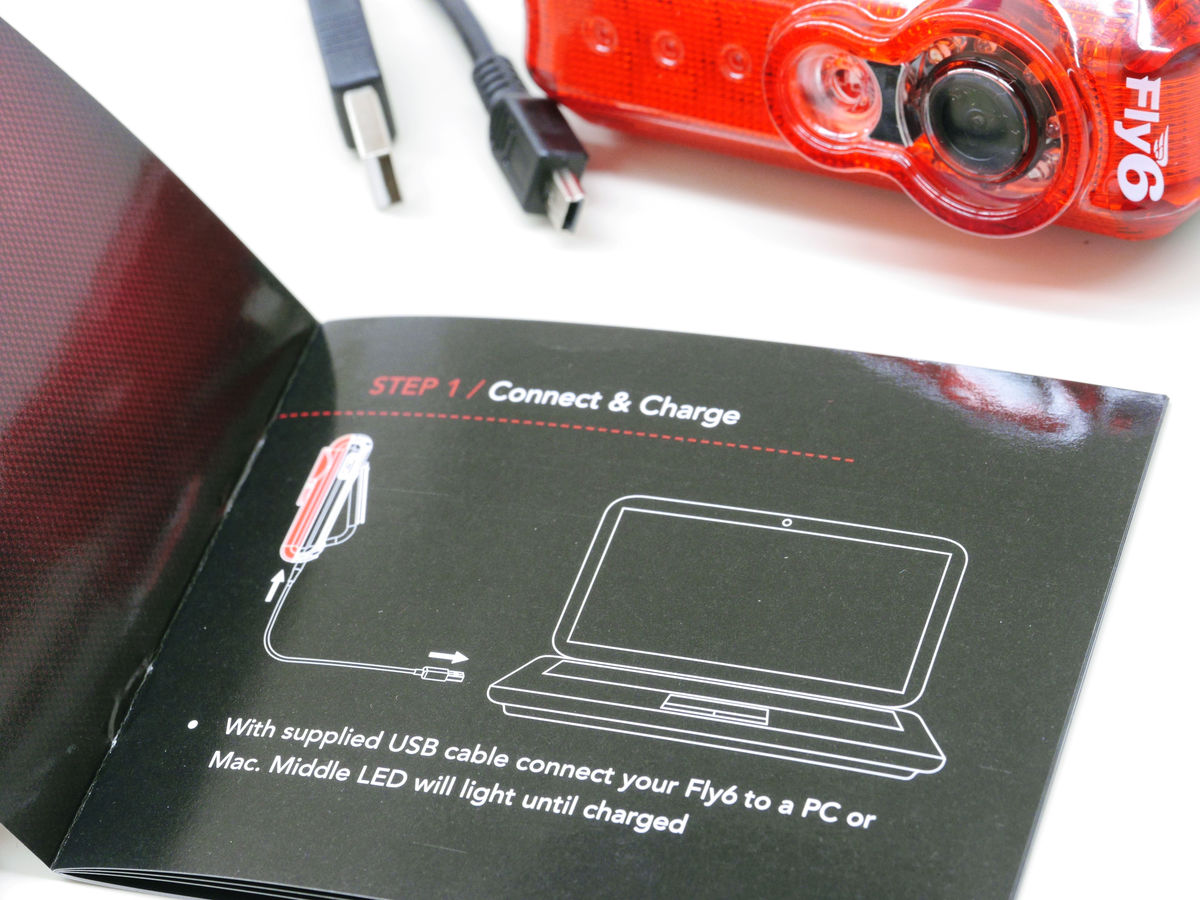
◆ Main unit setting of Fly 6
When using Fly 6 for the first time, it is necessary to first connect to the PC in order to set the time of the main unit. With the power off, connect Fly 6 and PC with the included USB cable.
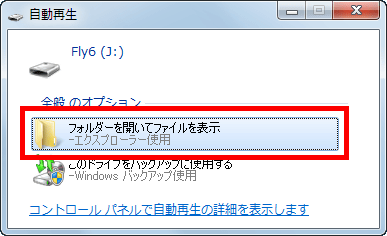
When you turn on the power, the connection is started.
Click "Open folder and view file".
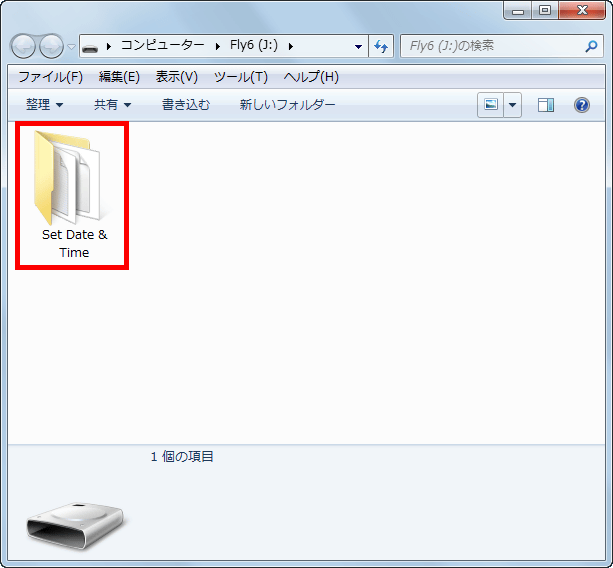
Open the "Set Date & amp; Time" folder.
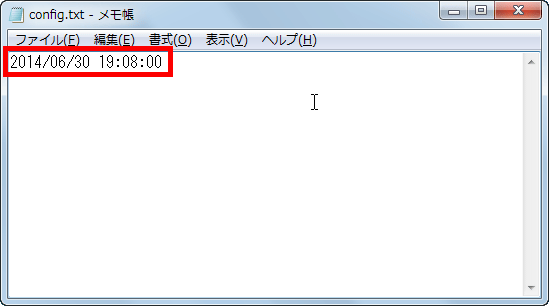
Click "config.txt" saved in the folder to open it.
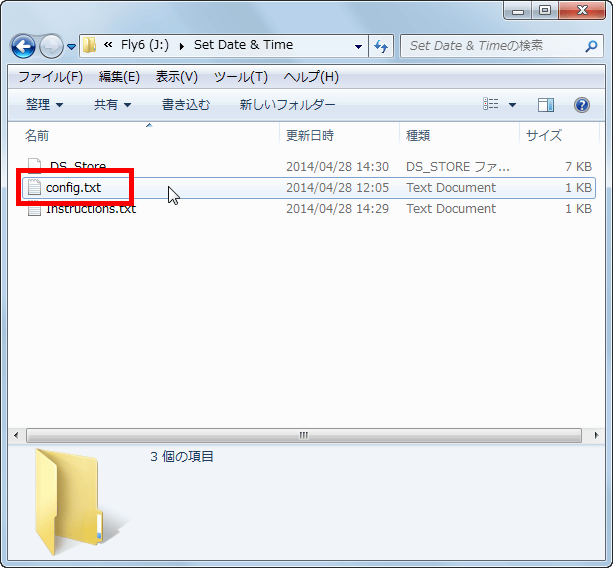
Since the contents of the file contains a character string representing the date and time, we rewrite it and return it to Fly 6 to set the time. Enter the current time without changing the format described.
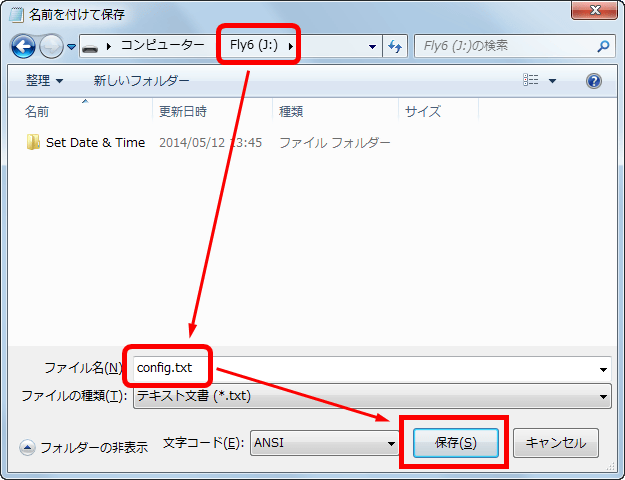
Then, display the root folder of Fly 6 from "Save As" and save the file name as it is, the time setting is completed.
Fly 6 is now ready for use. Next is installation on the bicycle.
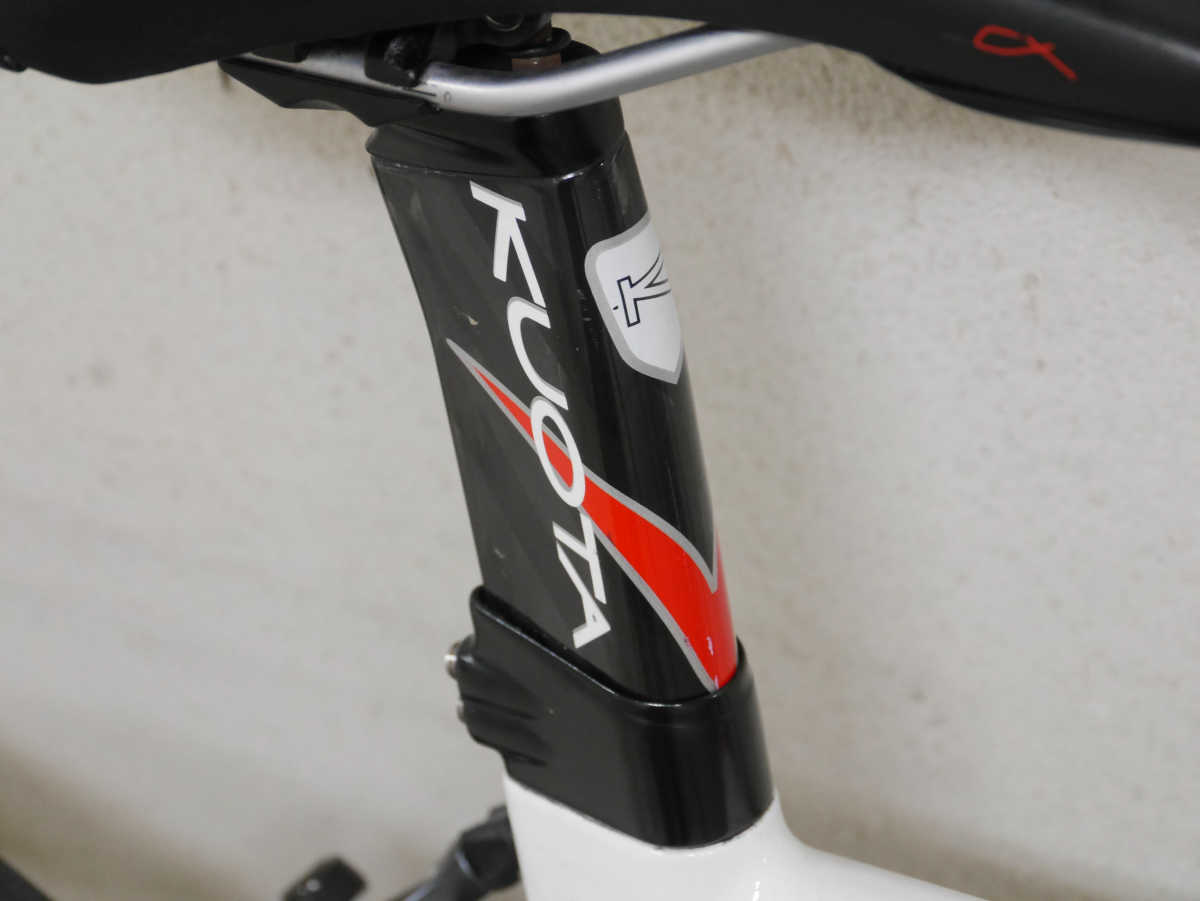
◆ Attach to seat post
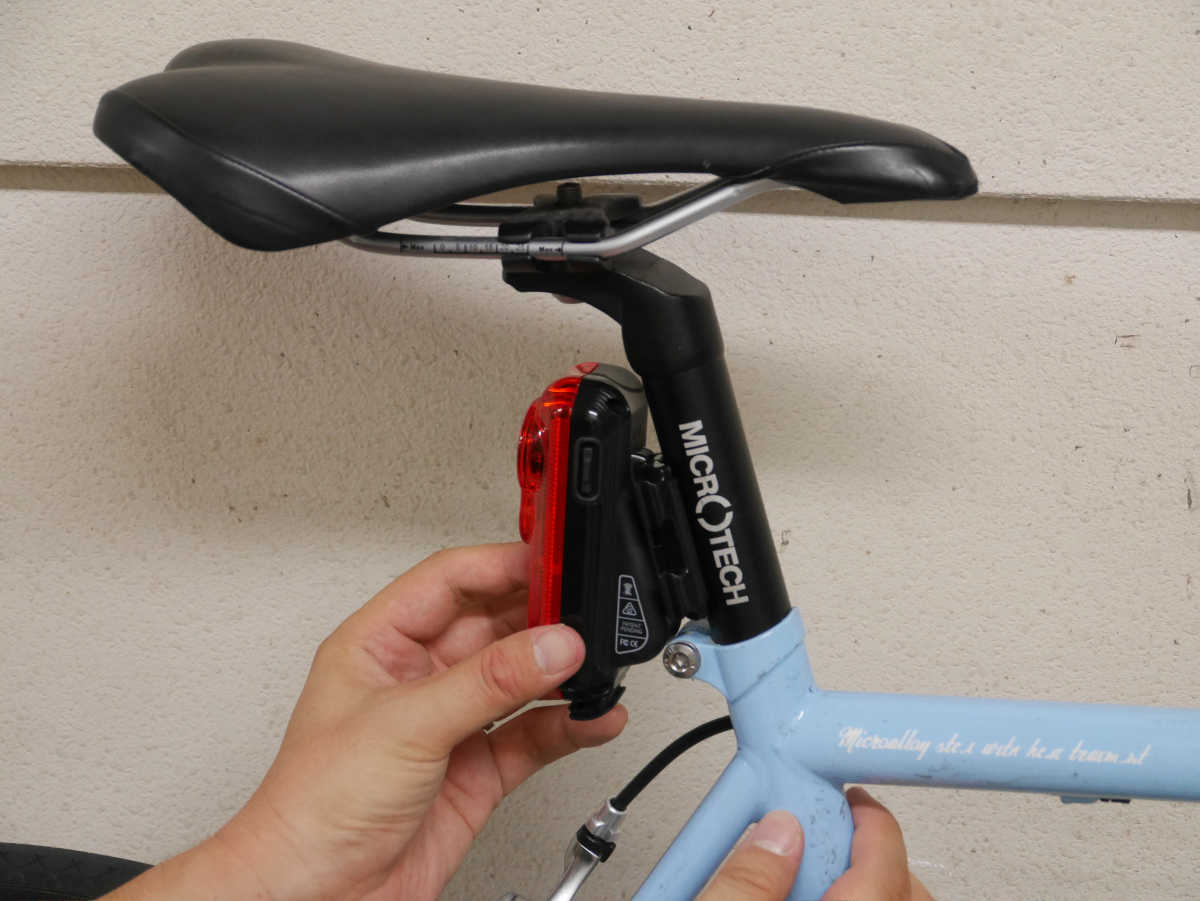
Firstly check the angle after Fly 6 installation. Mount and prepared Fly 6 body.
With the Fly 6 mounted on the mount, attach the shim for angle adjustment and try the angle after mounting.
In this way, it is OK if the red face of Fly 6 is perpendicular to the ground.
When the angle is decided, prepare a silicone strap.
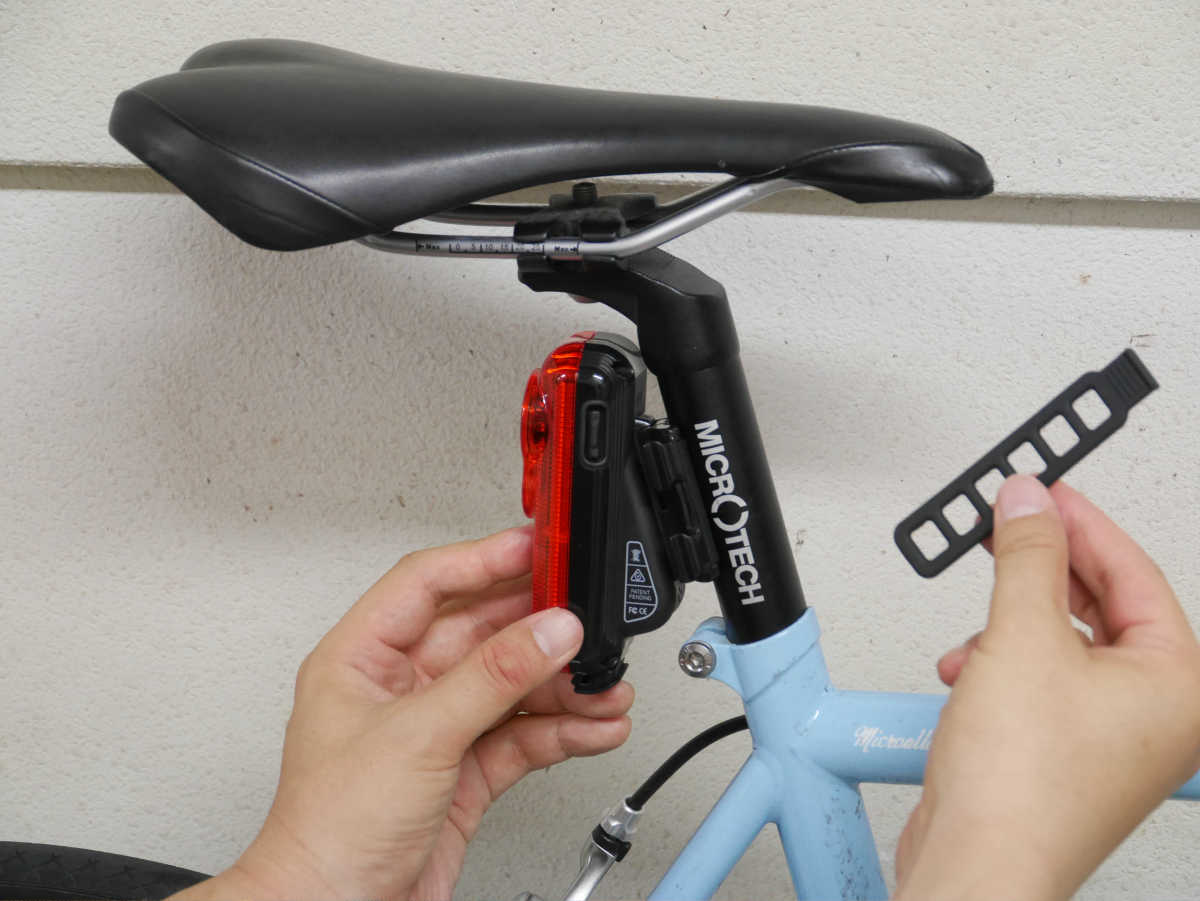
Hook the strap around the claw of the mount and hook it on the other claw while stretching out as "ぐ い っ" and fix it.
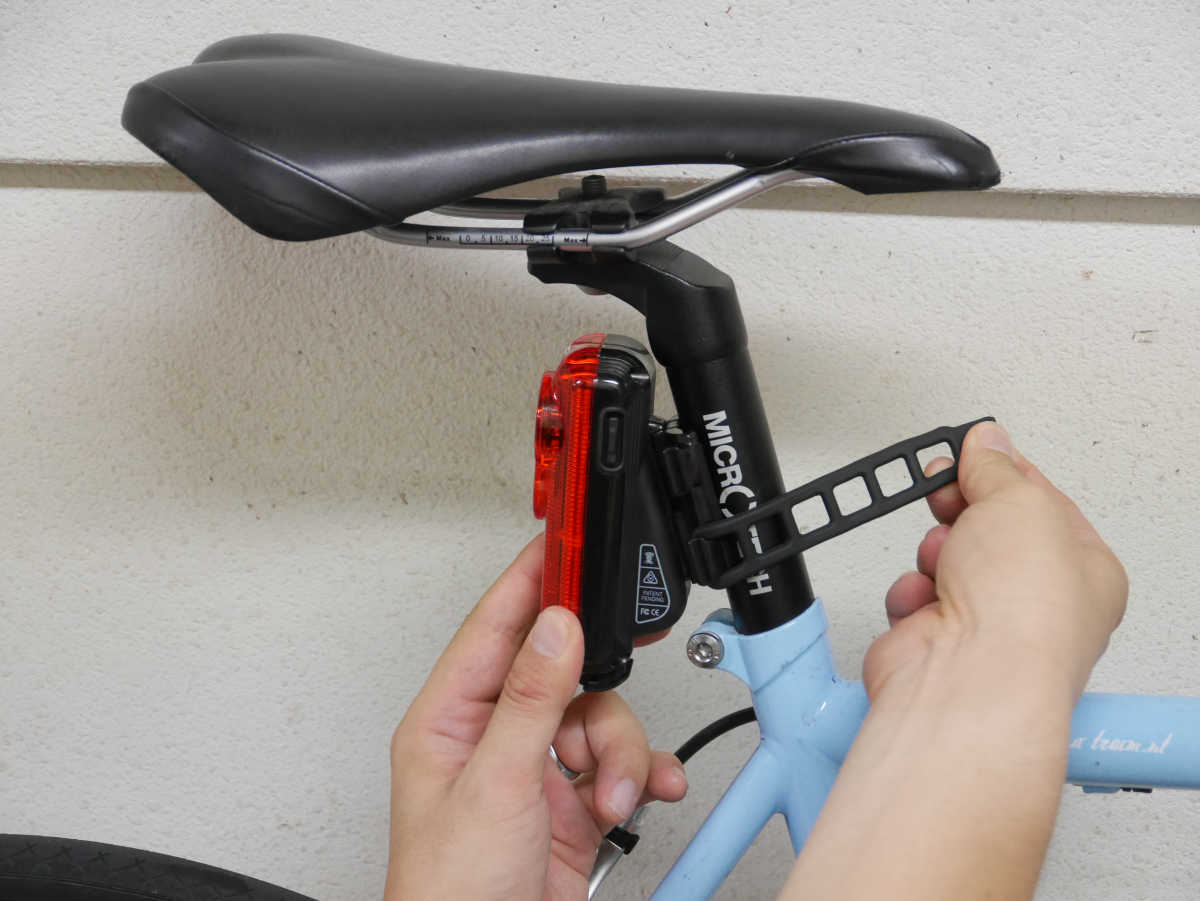
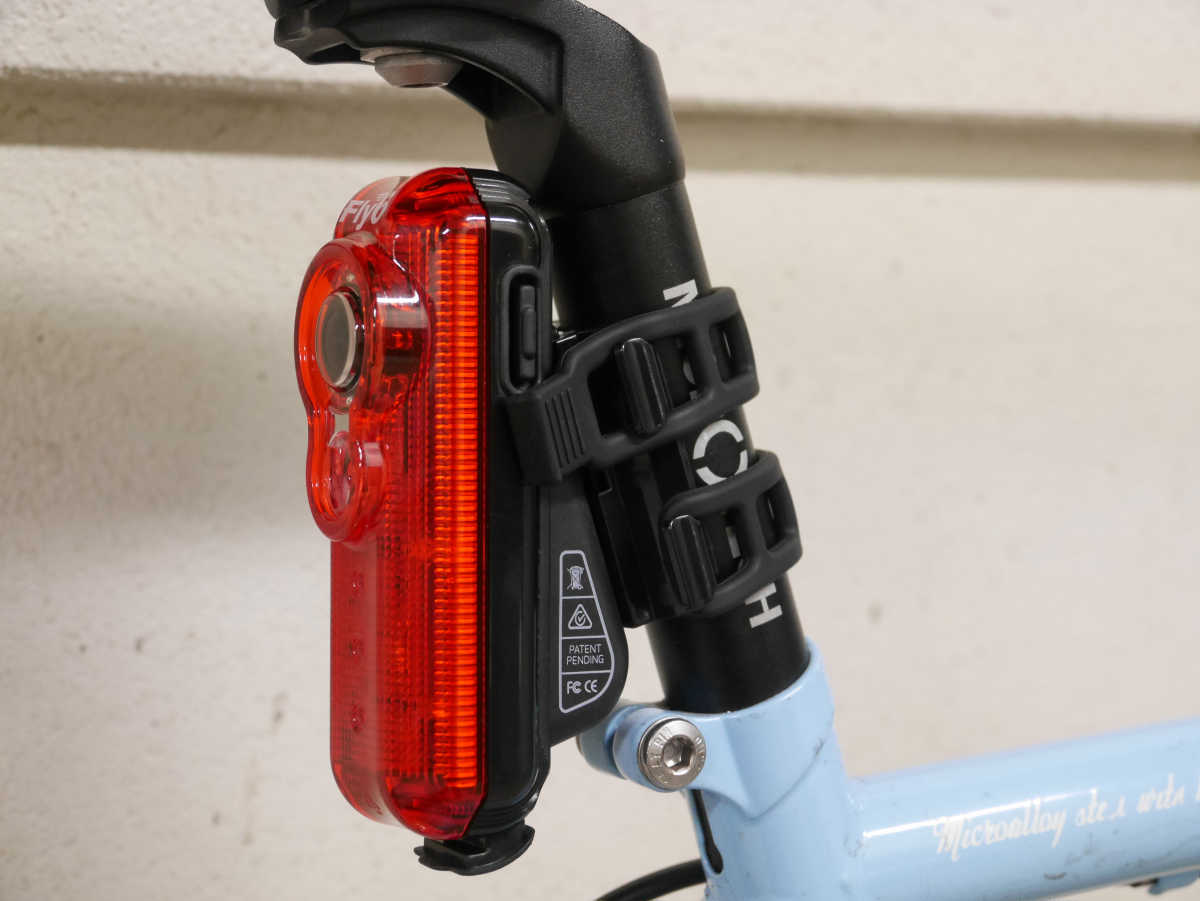
Since the claws are designed to fix the top and bottom two places, set another strap.

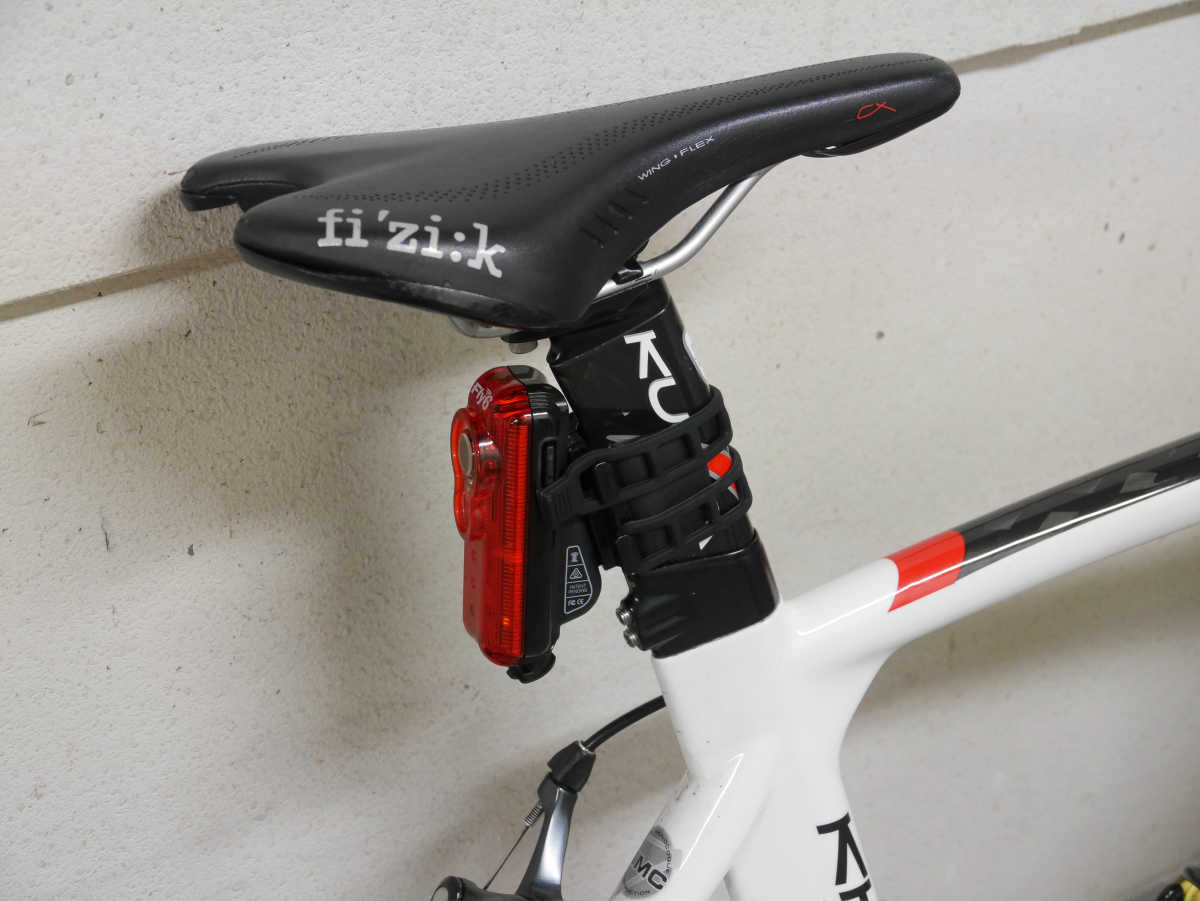
Installation is complete.
Such a seat post on the wing cross section can be worn without problems.
Sandwich the seat post with a shim ......
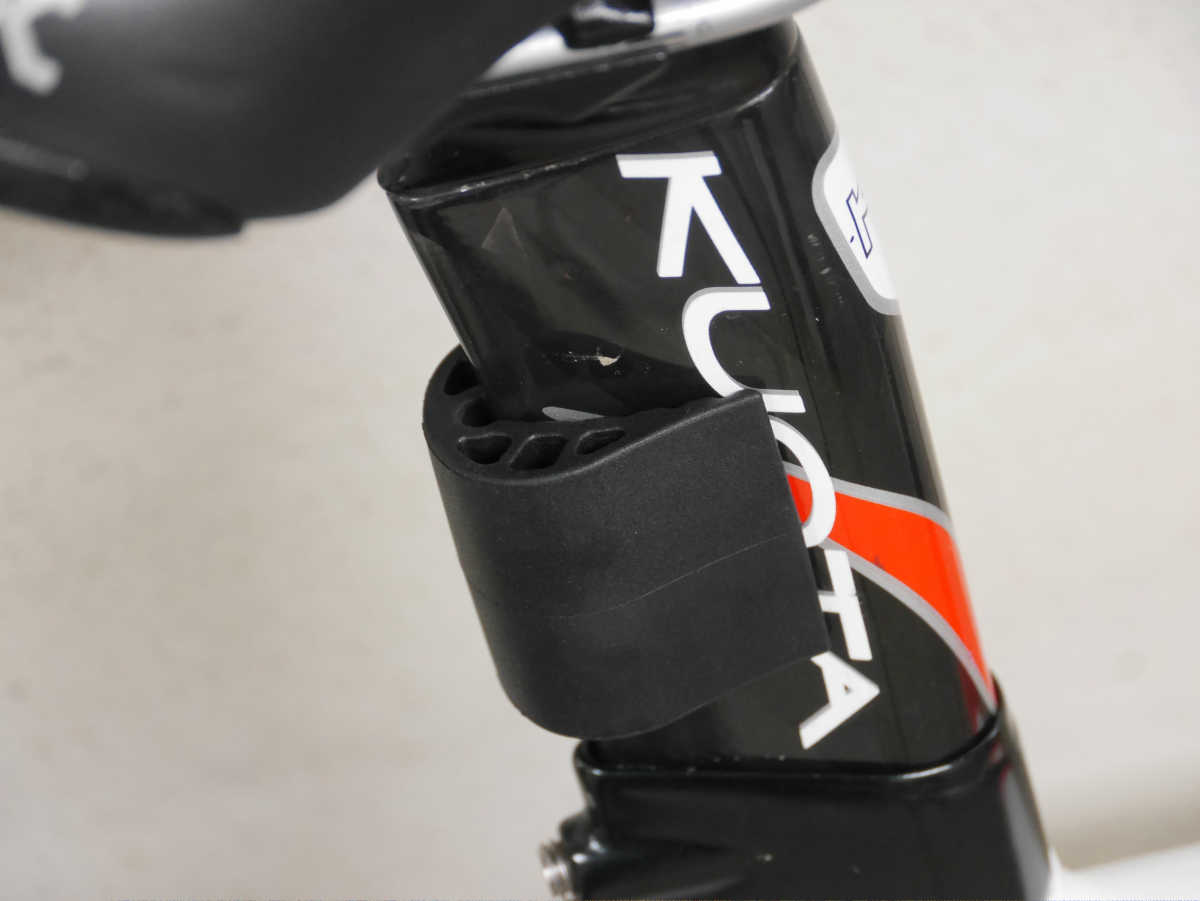
Afterwards if you fix with the strap in the same way it is ready.
I shot on a flat road along the Yodogawa in Osaka city.
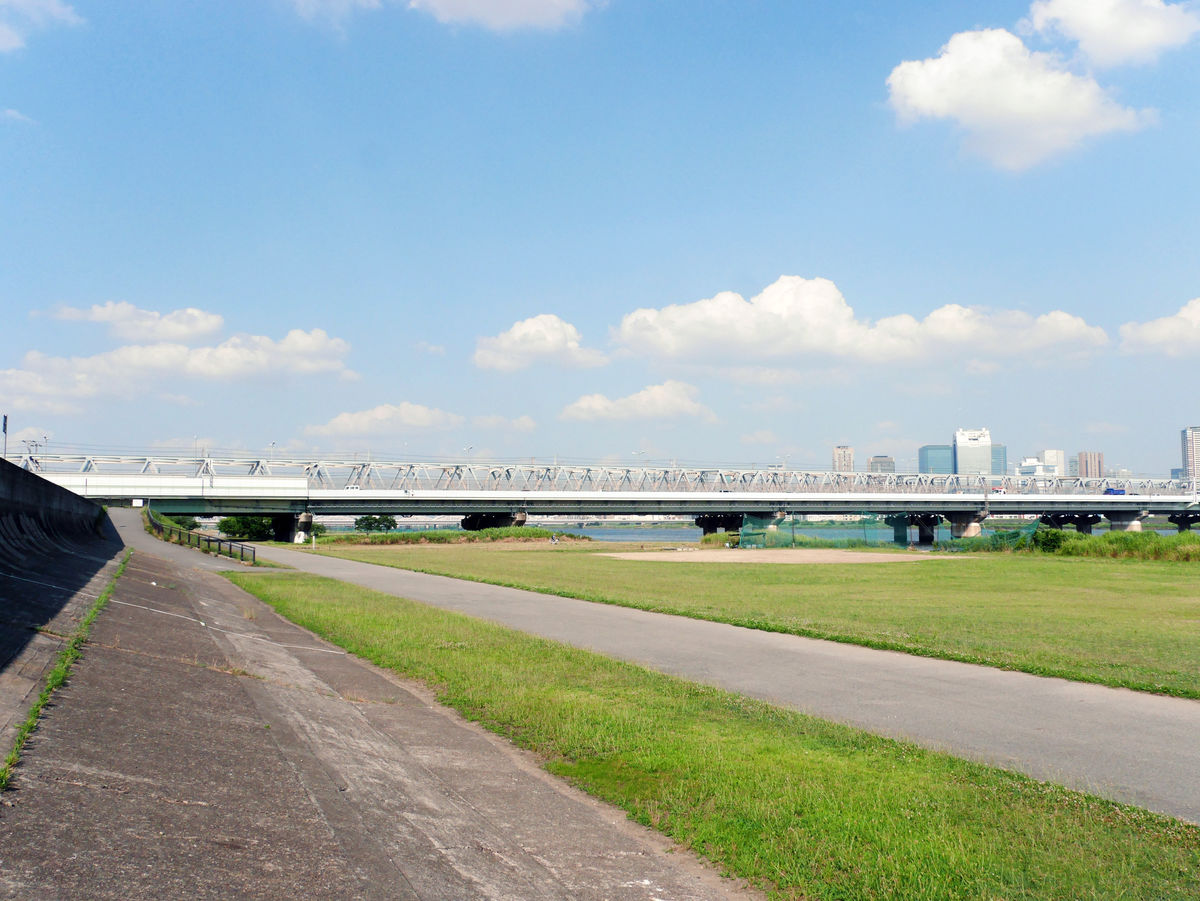
You can check the actual shot images from the following. It is mounted near the rear wheel and picks up a lot of noise on the road surface and wind noise, but this can happen even with other similar cameras, so it can not be avoided to some extent.
Cycling along Yodogawa · When shooting with Fly 6 - YouTube
The same scene taken with GoPro HERO 3 is here. As expected, it is only a model specialized for shooting and it has become a very clear image, but this seems to be said to say that the difference in character of both models appears clearly.
Cycling along Yodogawa · When shooting with GoPro - YouTube
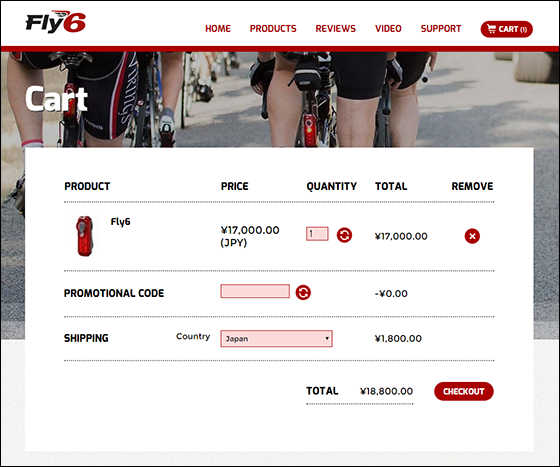
Fly 6 can be purchased in Japanese yen from the manufacturer's site. The box set containing all the necessary parts is 17,000 yen, and a separate shipping fee of 1800 yen is required.
Cycling HD Camera and Tail-light Combo
http://fly6.com/products/fly6/
Related Posts: