I actually tried KitKat's new "screenrecord" with "Nexus 5"
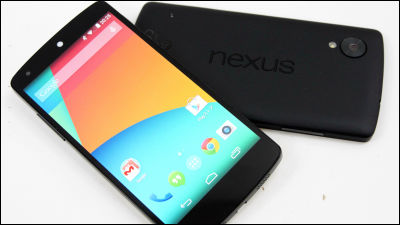
"Nexus 5" which opened breaking and exterior reviewActually, I immediately recorded and recorded the operation movie with KitKat's new function "screenrecord (video capture)".
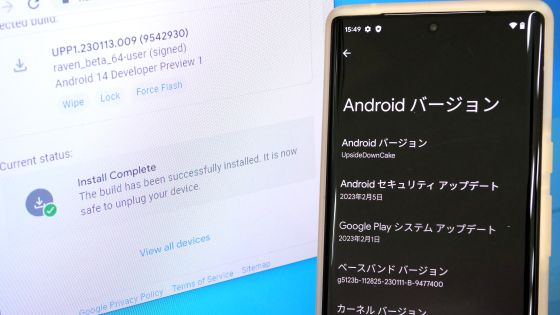
◆ System update
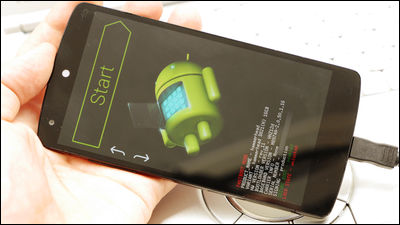
When Nexus 5 is turned on, system update starts suddenly. It takes about 20 minutes for the update process to complete, so be careful with that. Actual work is as follows.
When turning on the power, preparation for the initial setting is done (In the following movie, it is fast-forwarding middle part.)
Nexus 5, Initial setting (System update version 1) - YouTube
After changing to the screen "Welcome", after setting Wi-Fi, download the update file (in the following movie, it is fast-forwarding halfway).
Nexus 5, Initial setting (System update version 2) - YouTube
After the droid's appear, after the rebooting is completed the system update is completed (In the following movie, it is fast-forwarding halfway).
Nexus 5, Initial setting (System Update Part 3) - YouTube
◆ Google Chrome
"Google Chrome" is preinstalled on Nexus 5. How much crisp and browsable on Nexus 5 is from this movie.
When browsing the net with Google Chrome preinstalled with Nexus 5, it looks like this - YouTube
◆ "screeenrecord (video capture)" function
In KitKat, I can try using "screeenrecord" function which can record the state of screen operation with movie.
· PC settings
"Java SE - Downloads | Oracle Technology Network | OracleDownload and install JDK from. Click "JDK DOWNLOAD".

Download JDK of target OS. Because the machine at hand is Windows 7 (64 bit version), we download "jdk - 7u45 - windows - x64.exe" for Windows x64.

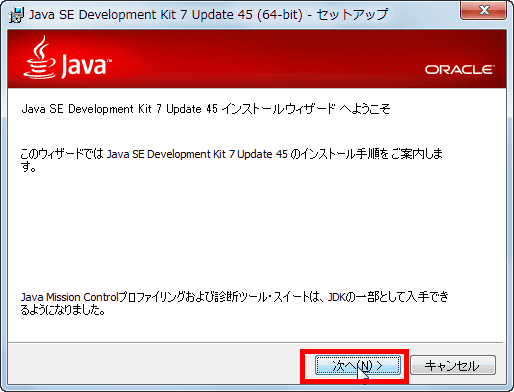
Launch the downloaded installer.
Click "Next".
Click "Next".

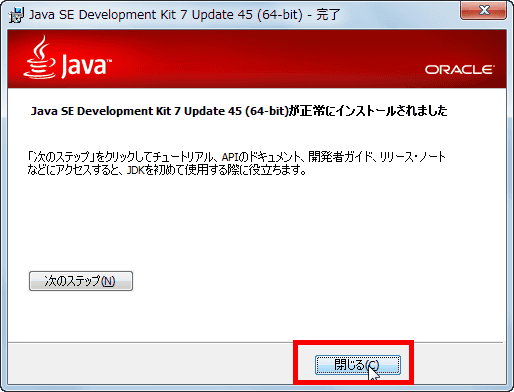
Click "Close".
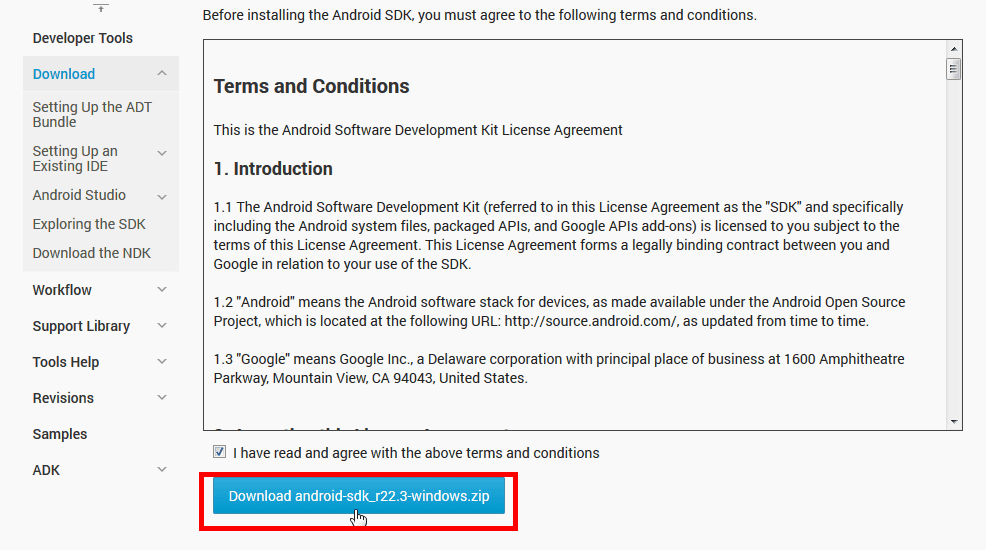
continue,"Android SDK | Android DevelopersDownload and install the Android SDK. Click "DOWNLOAD FOR OTHER PLATFORM".

Download SDK of target OS. As before, select for Windows.
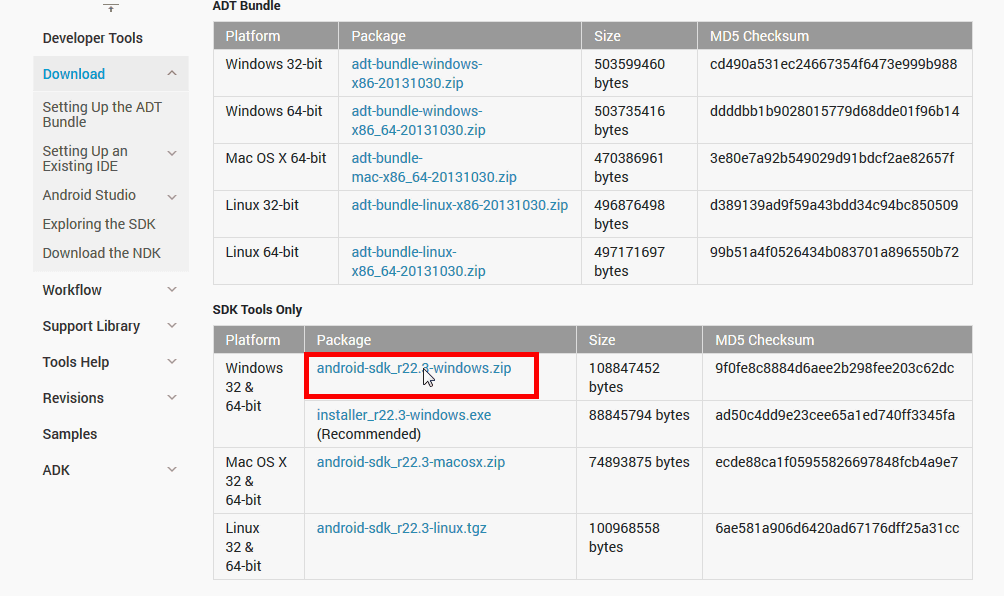
Click "Download android-sdk_r22.3-windows.zip"ExplzhExtract it using etc.
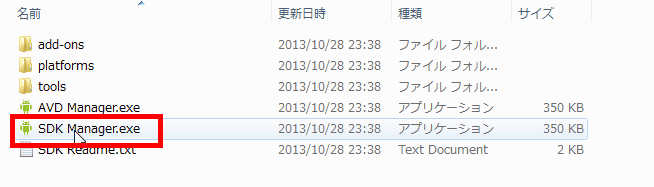
In order to ease the work after this, move the extracted folder to the location just under the C drive (C: \) and start "SDK Manager.exe".
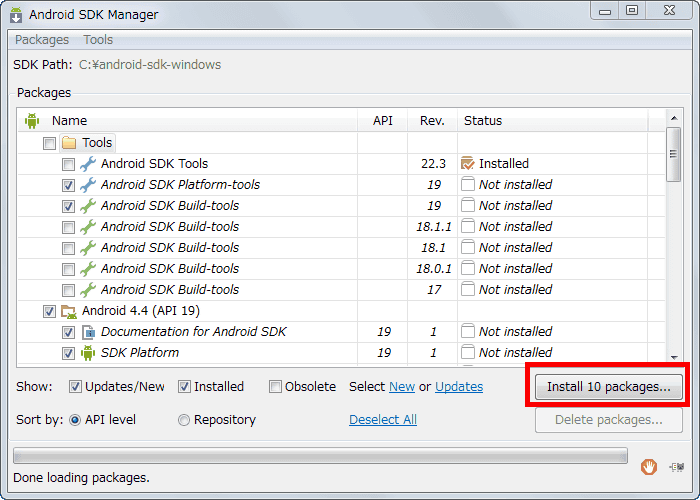
Click "Install 10 packages ......". Depending on version and environment, the number part may be different.
Check "Accept License" and click "Install".

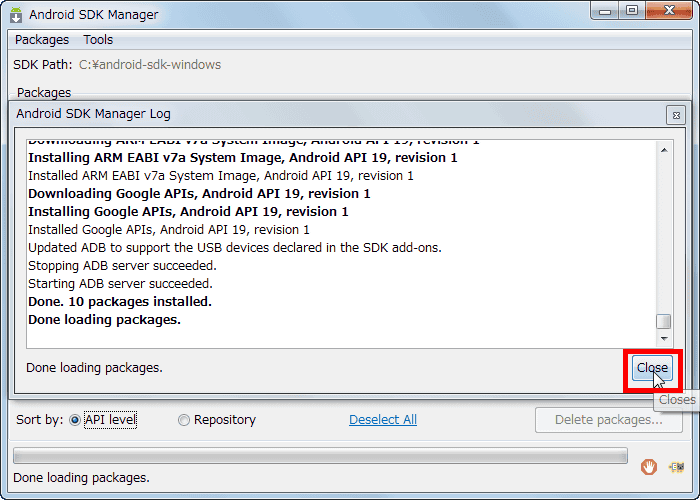
When installation is completed, click "Close" to close the window.
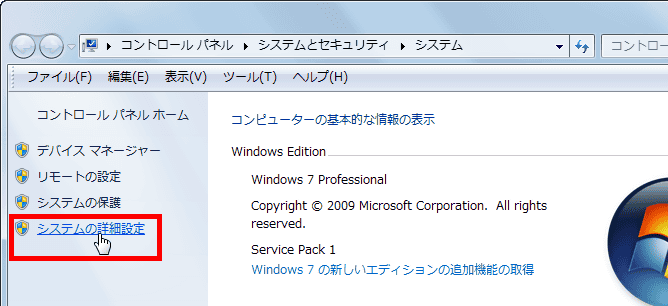
Next, "passing through" work is necessary. Click "Control Panel" → "System and Security" → "System" → "Advanced System Settings".
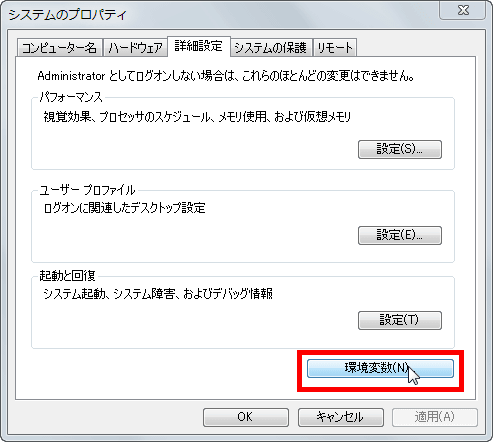
Display "System Properties" and click "Environment Variable" in the "Advanced Settings Tab".
Confirm that the system environment variable is "Path" and click "Edit".
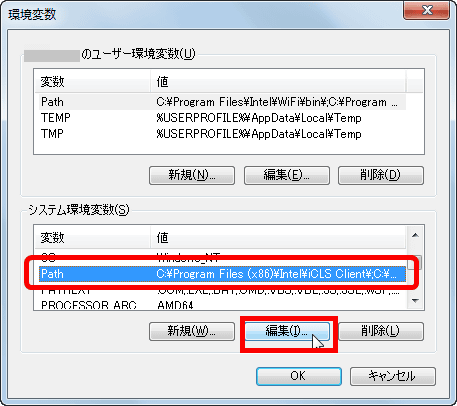
Add "; C: \ android-sdk-windows \ tools; C: \ android-sdk-windows \ platform-tools" to the end of the variable value and click "OK".

· Setting up Nexus 5
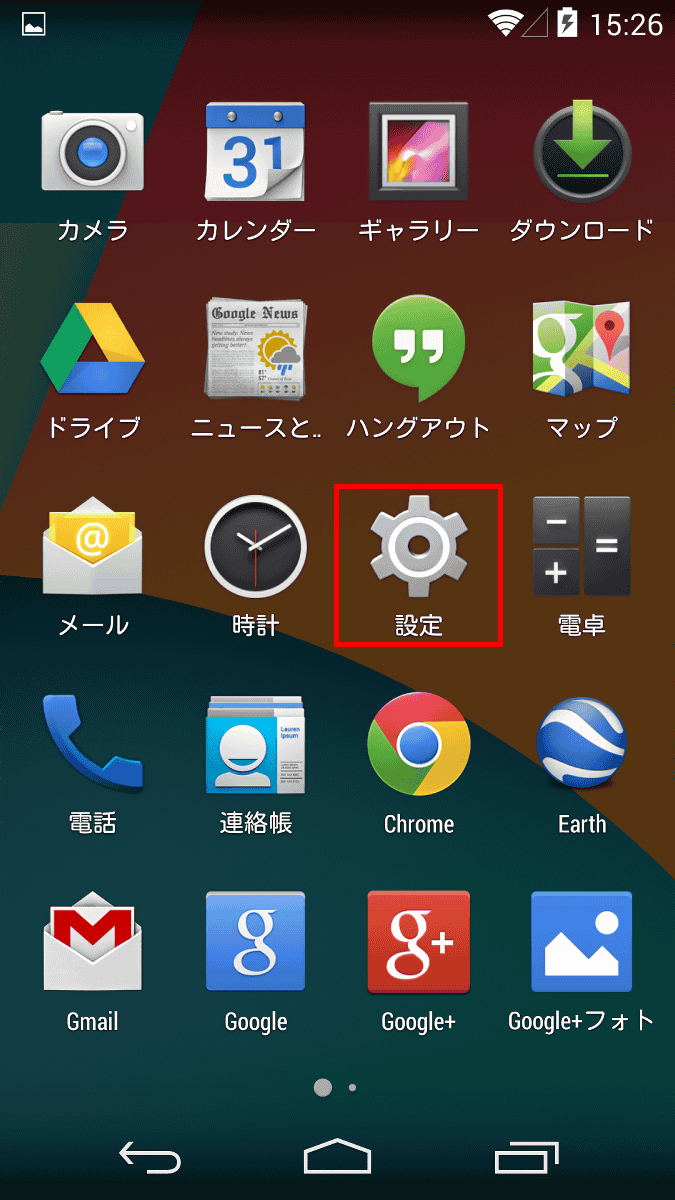
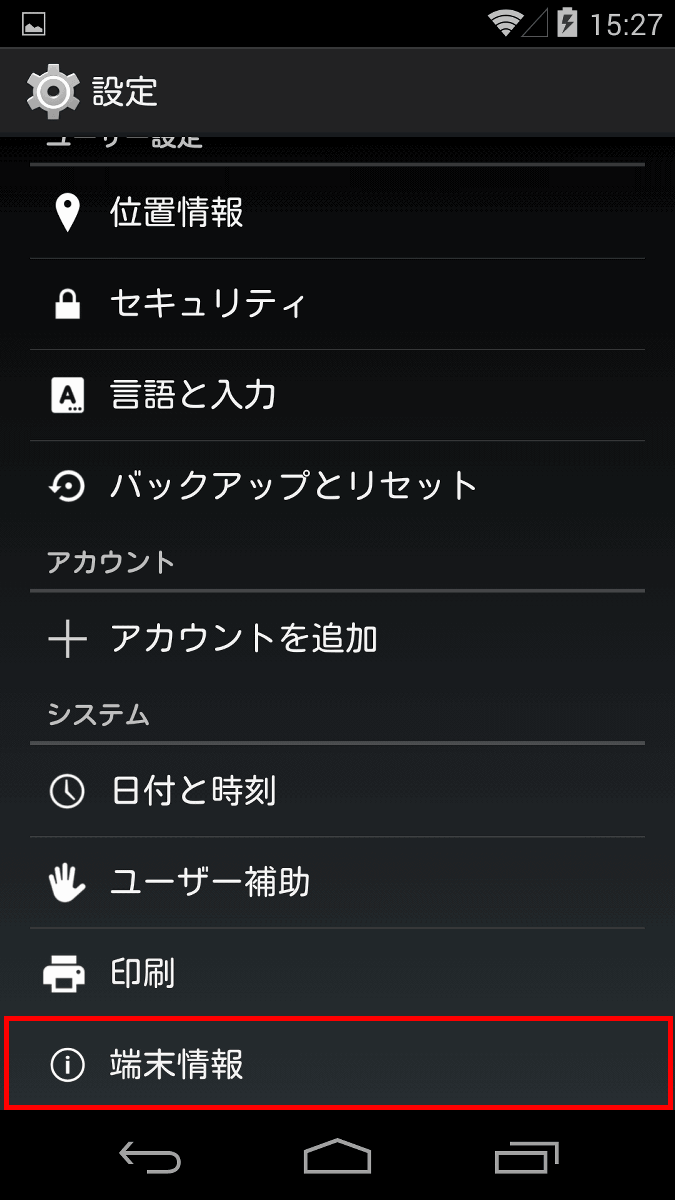
First, change Nexus 5 to USB debug mode. Tap "Settings".
Tap "terminal information".
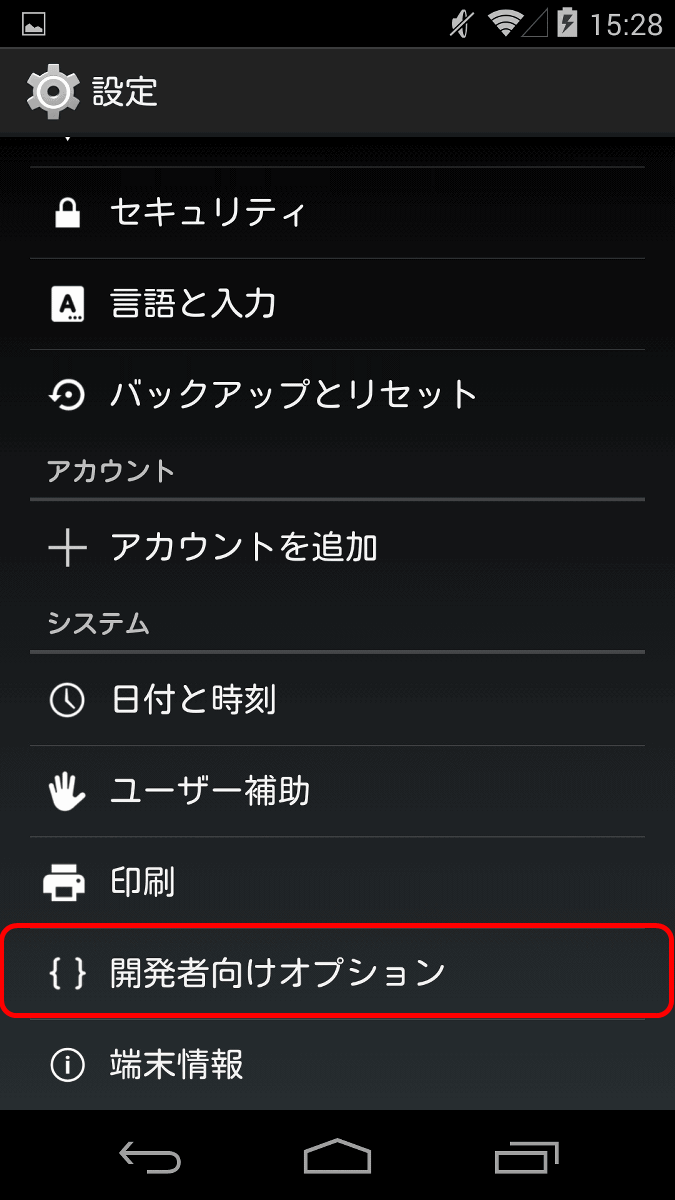
Continue tapping "build number" until "come on with developers!"

Return to the "Settings" screen and tap on the newly added "Developer Options".
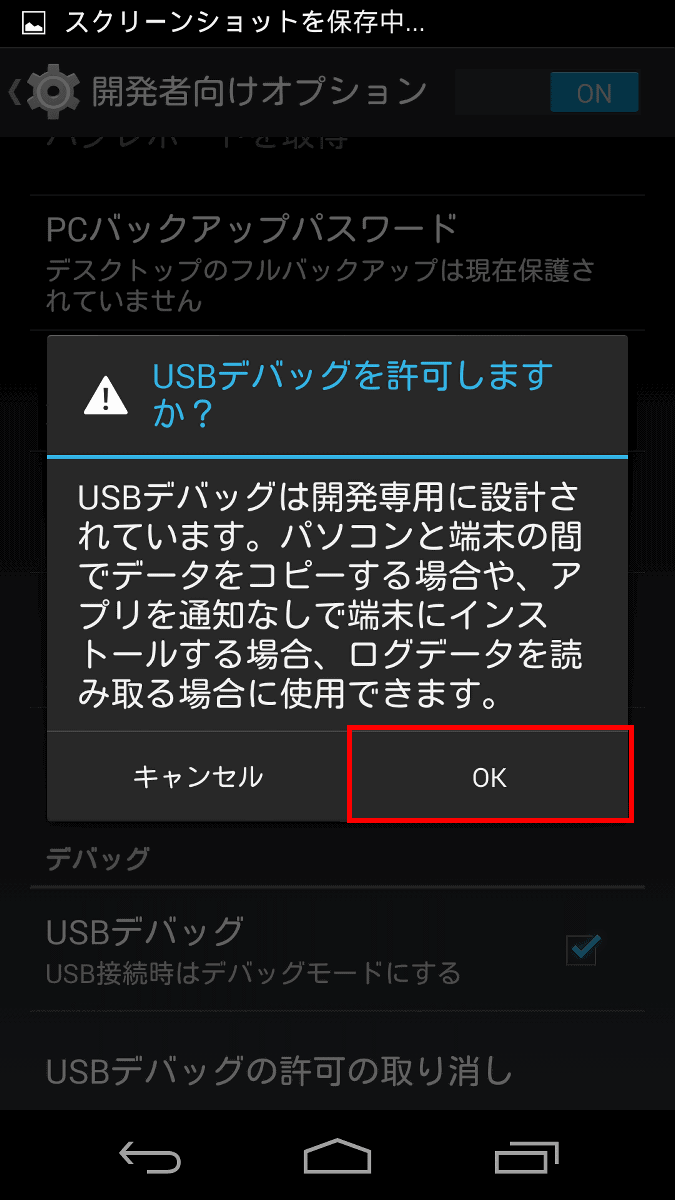
Checking "USB debug" ......
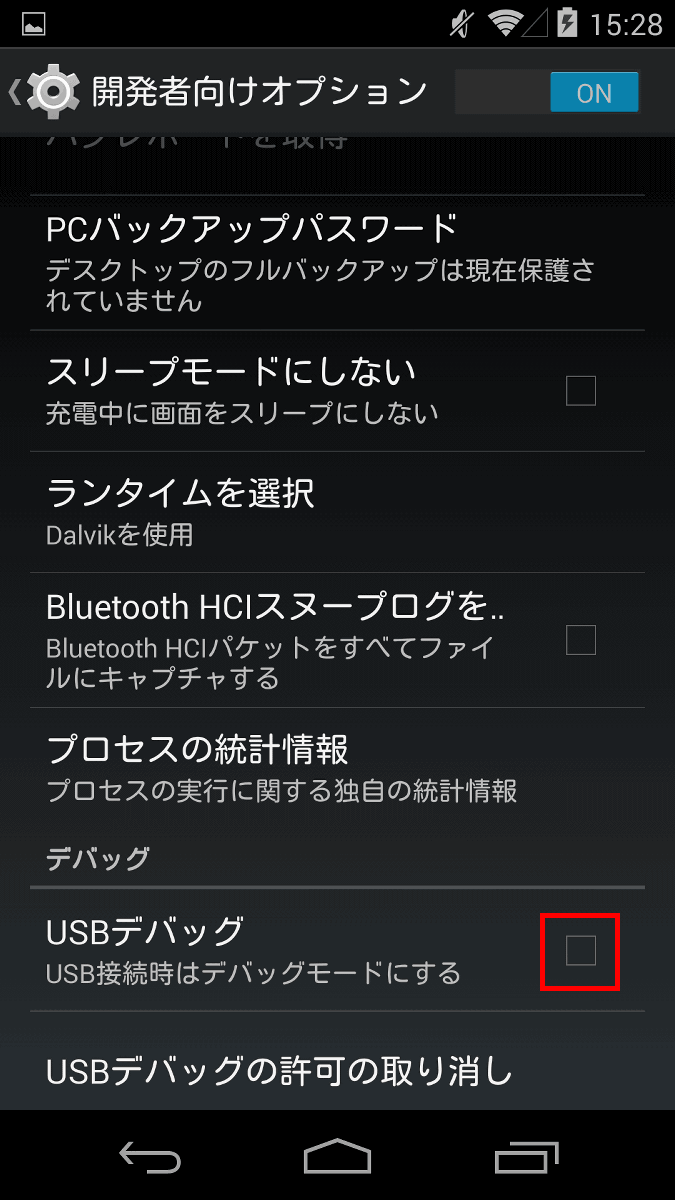
As an alert appears, tap "OK".
Here, connect the Nexus 5 to the PC with a USB cable. The Nexus 5 driver will be installed automatically on the PC, but if it can not be successfully installed, you can install it with the following settings.
"Google USB Driver | Android DevelopersDownload the Nexus 5 driver from. Click "Download Google USB Driver".
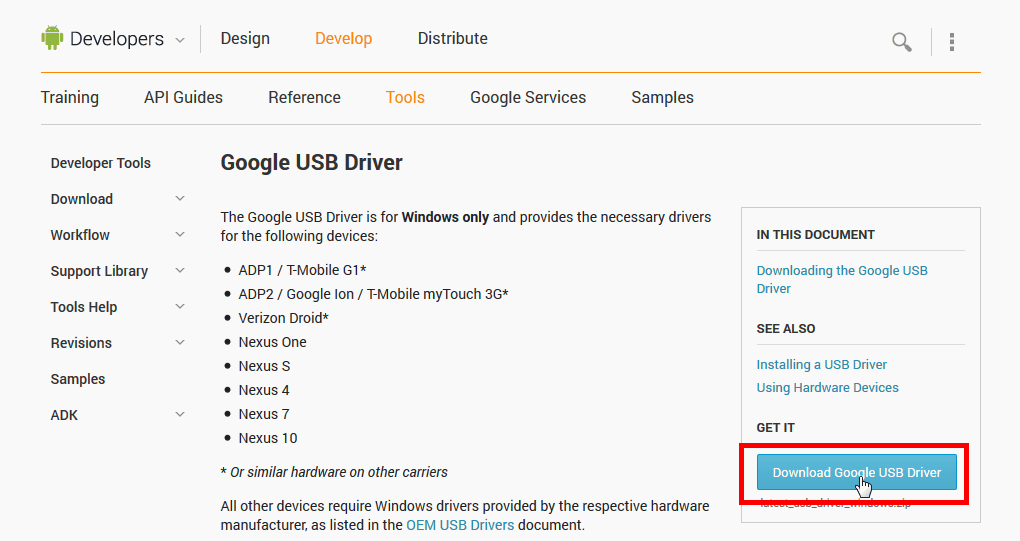
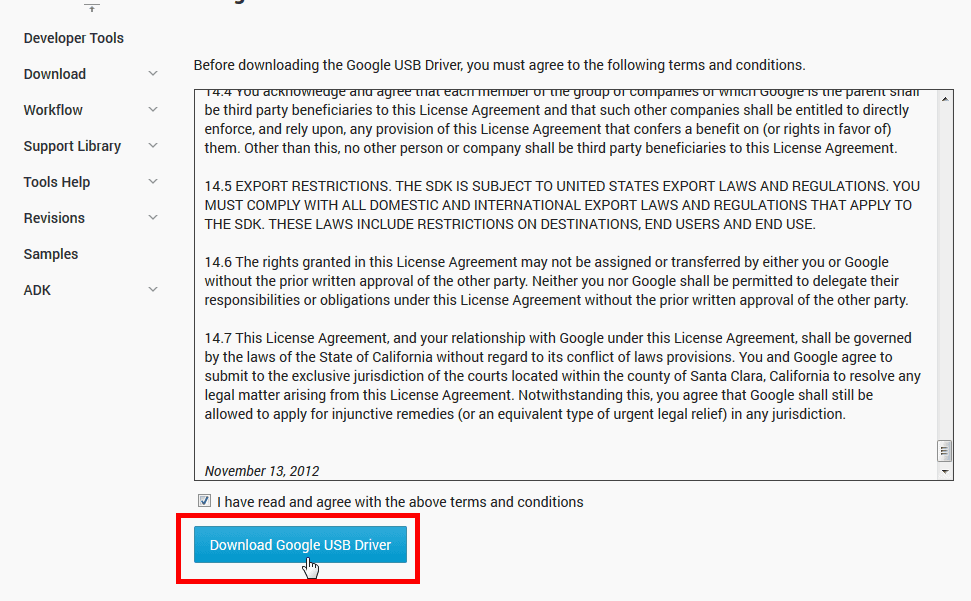
Please check and click "Download Google USB Driver".
Right click "Computer" → "Administration" → "Device Manager" click.

Click "Update Driver".

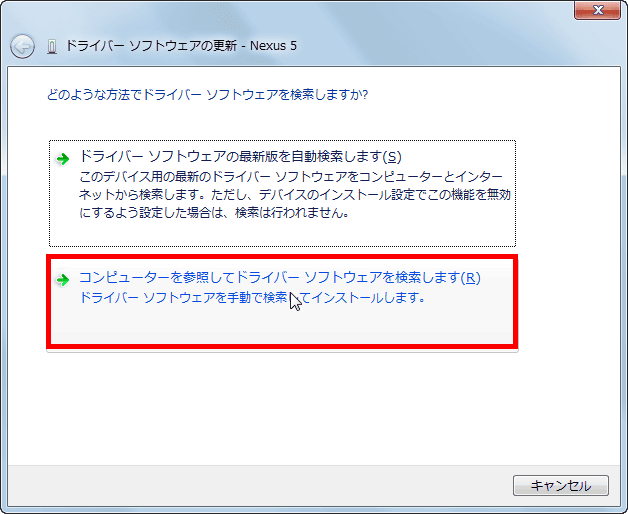
Click "Search for driver software by referring to the computer" and specify the downloaded driver file.
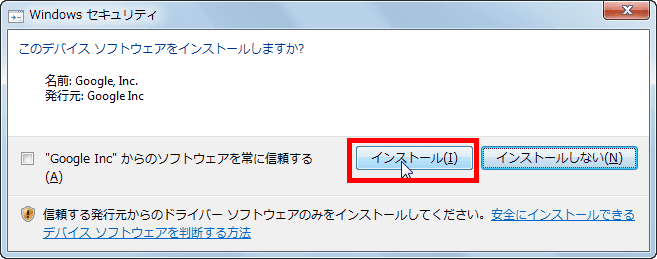
Click "Install".
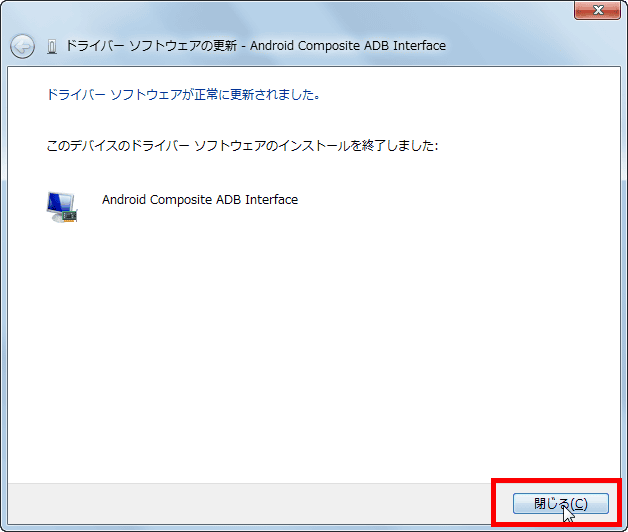
Click "Close" when the installation of the driver is completed. This completes all the settings.
· Actually record the operation movie
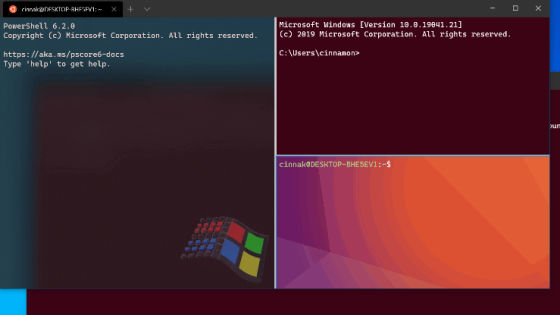
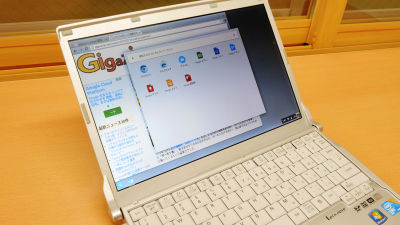
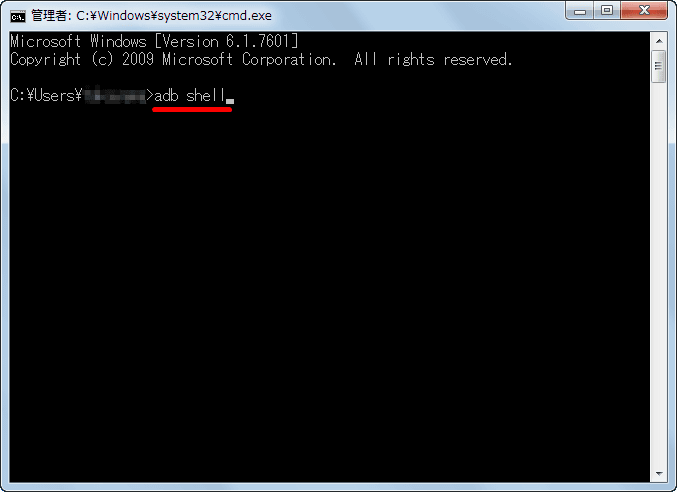
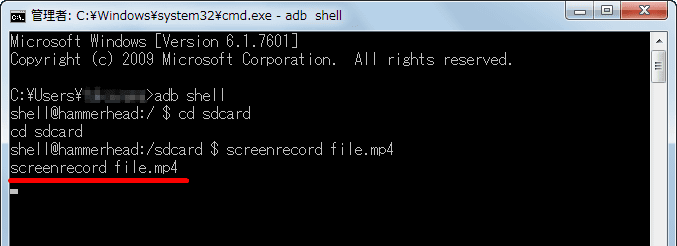
Click on the Windows start button and enter "cmd" in the search window to launch the command prompt.

Type "adb shell" at the command prompt.
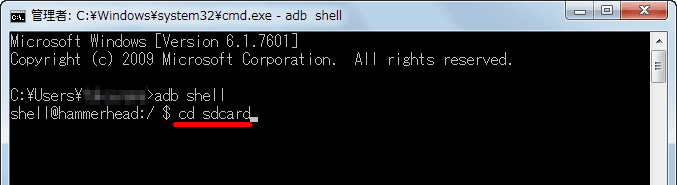
Next, specify the save destination of the movie. Enter "cd sdcard".
Enter "screenrecord file.mp4". It is OK if you attach a file name of "file".
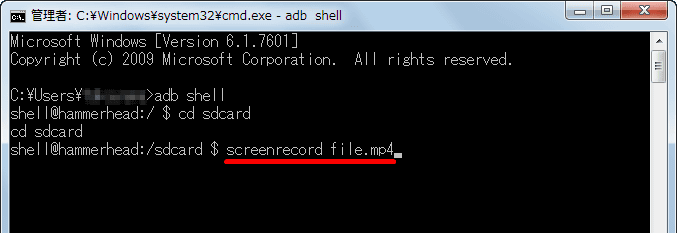
If "screenrecord file.mp4" is displayed below one line, preparation is completed. How to operate with Nexus 5 will be recorded.
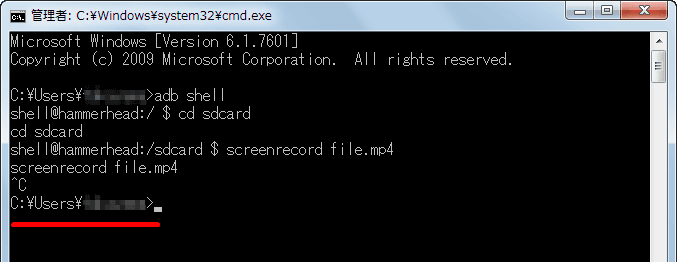
To end recording, enter "Ctrl + C" on the keyboard and OK if you return to the original folder.
Actually, the movie that recorded KitKat's animation looks like this.
I recorded a state of the operation of Nexsus 5 with "screenrecord" function - YouTube
Please note that screenrecord can not attach sound to recorded files.
◆ Camera activation from lock screen
KitKat started up the camera directly from the lock screen and was able to take pictures, so I tried it with Nexus 5.
When swiping "camera icon" on the lower right in the lock screen to the left ... ...

The screen of the camera will come up.
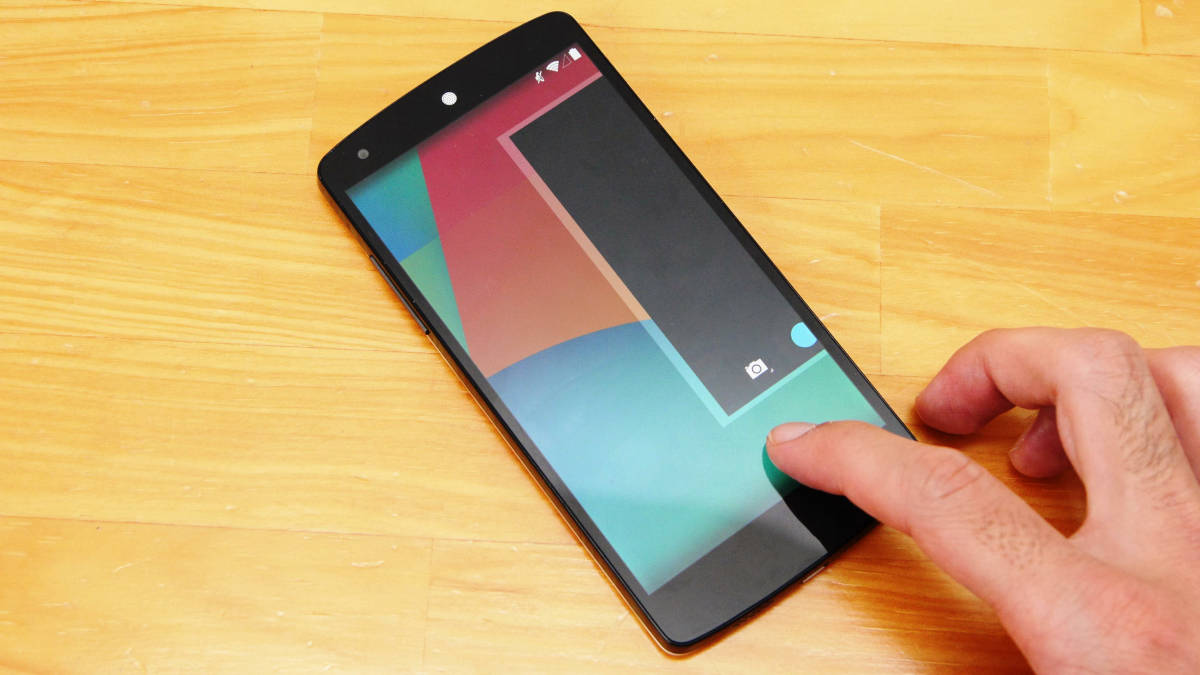
With this, it is possible to start up the camera directly and shoot immediately.

Launch camera directly from Nexus 5 lock screen - YouTube
◆ bonus
Nexus 5, a SIM-free terminal,
LTE
Band 1 (2100 MHz) docomo, SoftBank, au
Band 3 (1800 MHz) EMOBILE, docomo Tomei Osaka
Band 8 (900 MHz) SoftBank (scheduled to start from April 2014 to July)
WCDMA
Band 1 (2100 MHz) docomo FOMA, SoftBank 3 G
Band 6 (800 MHz) docomo FOMA Plus Area
Band 8 (900 MHz) SoftBank Platinum Band
It is compatible with various bands, and it can be used with various carrier lines.
Related Posts: