When I try making a homemade head-up display with DIY it becomes like this

Head-up displayIs a system that displays running speed and information on car navigation etc. on the windshield of a car etc. When adopting it to a car navigation system, it can reduce the movement of the driver's eyes during driving, so it may contribute to the reduction of traffic accidents It attracts attention as a technology. However, it is still a developing technology, and it is not that anyone can easily purchase an ordinary person, but Bill Wong, who wanted to get a head-up display by inevitable, created his own head-up display "The Car Heads-Up Display (HUD) Version 1.0I created the procedure on my own blog.
Bill Wong Tech: How to Build a HUD for your Car
http://bwongtech.blogspot.jp/2013/02/how-to-build-hud-for-your-car.html
The mechanism of the Car Heads-Up Display (HUD) version 1.0 created by Mr. Wong,7 segment displayIt connects the Arduino microcontroller programmed to display the speed of the car on the OBD - II port of the car and displays the speed of the car on a small display installed on the windshield.

◆ 1: What to prepare
Wong used the following eight items to make his own head-up display.
·Arduino Uno
· OBD-II cable
· 7 segment display
· Arduino proto shield
·Fresnel lens
·Power button
· Teleprompter glass
· Four suckers
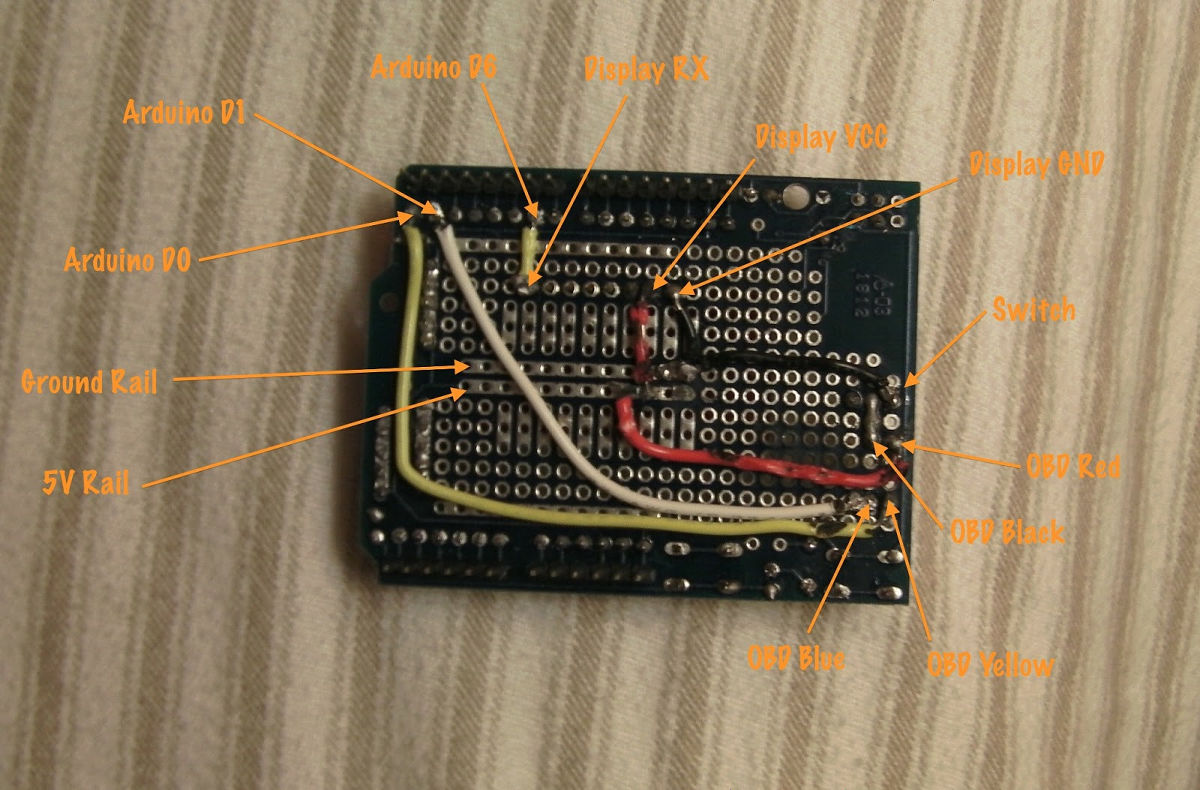
◆ 2: Circuit production
First, join the circuit on the Arduino proto shield. According to the photo uploaded by Mr. Wong, among the OBD-II cables, the yellow line is connected to D 0 of Arduino, the blue line to D 1, the red line to the 5 V rail, and the black line to GND. The 7 segment display connects Display VCC and 5 V, Display GND and Display GND, and Display RX and Arduino D 6 respectively.
◆ 3: Forwarding code
Bwongtech / Car-HUD · GitHub
https://github.com/bwongtech/Car-HUD
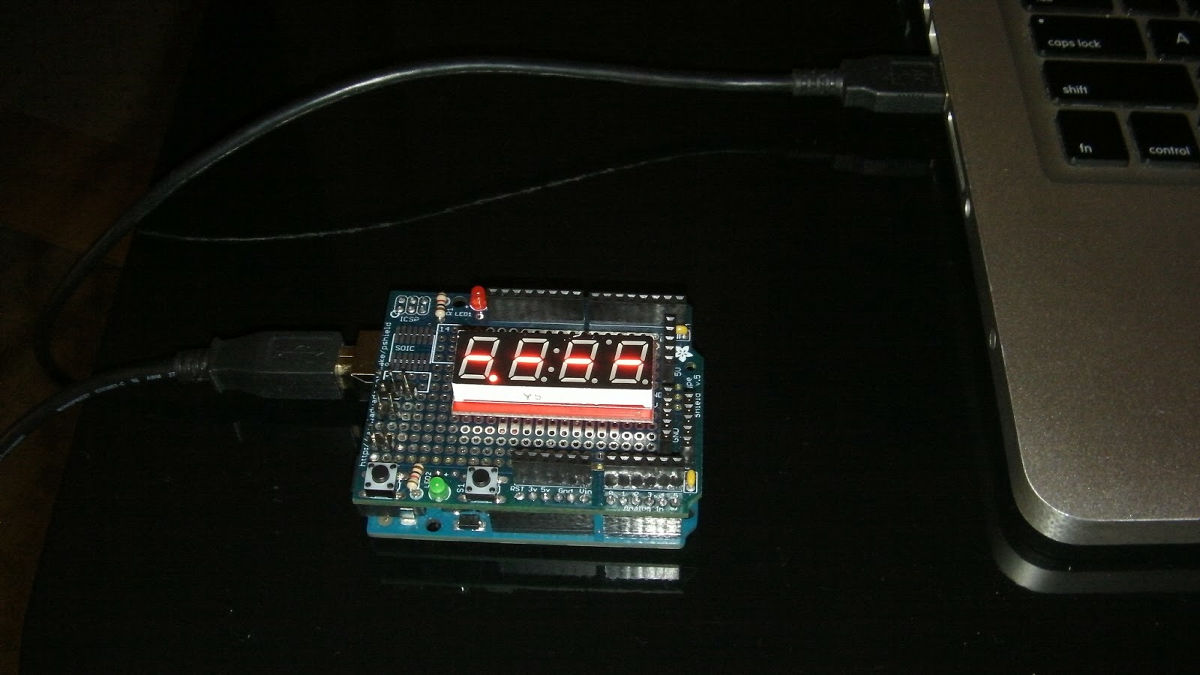
First on the PCArduino 1.0.5Install it and open the downloaded code from the above URL. Then, connect the assembled Arduino (HUD body) to the PC and transfer the code.
◆ 4: Arduino holder installed
Next I will create a holder for installing the assembled Arduino in the car, but here are two points of caution: First, Arduino must be separated from the Fresnel lens more than 10 inches (about 25 cm) The second thing is to install Arduino in a place where your hands and feet will not hit during driving.

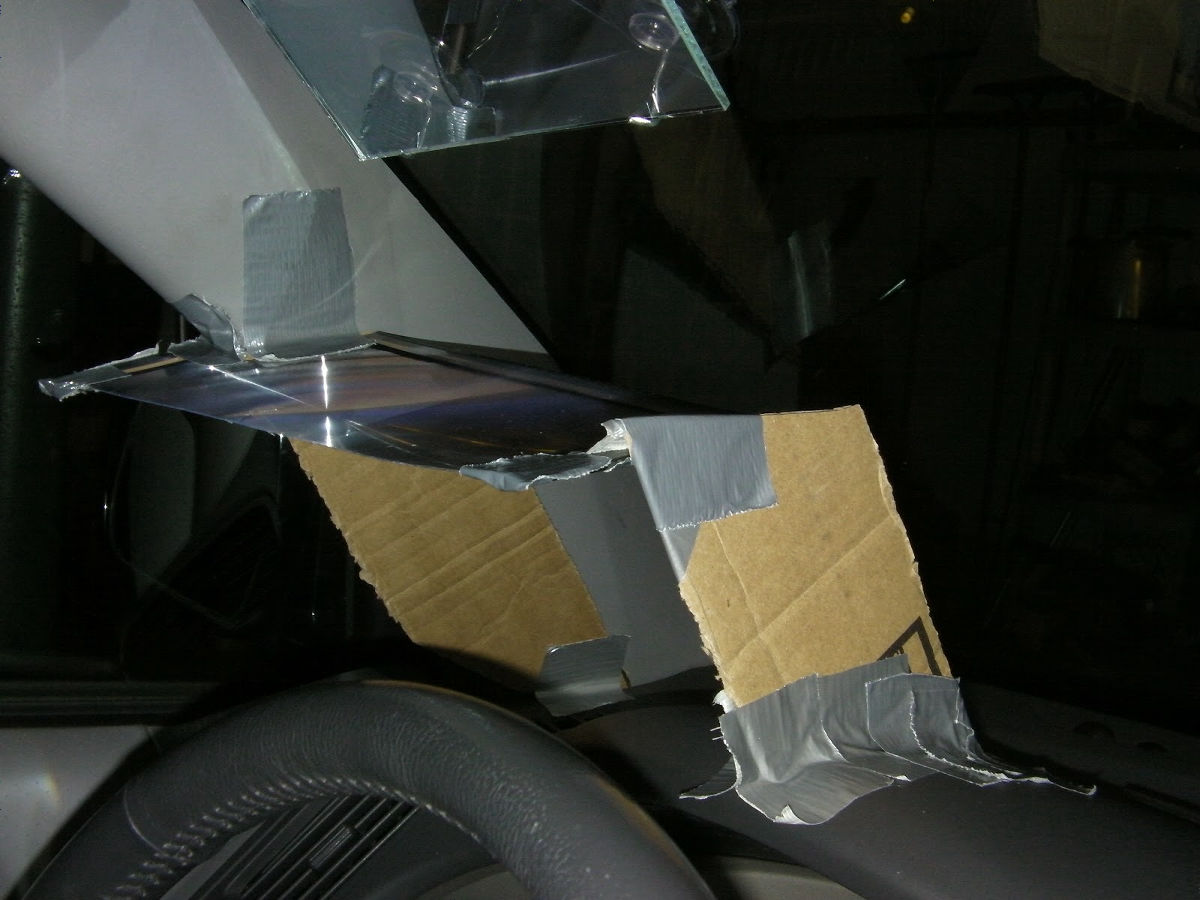
Once you've created an instant Arduino holder with cardboard or tape, you can install Arduino and connect it to the OBD - II port.

◆ 5: set the teleprompter glass to be the display
Using the wire attached to the suction cup, securely fixed so as to hold the teleprompter glass.
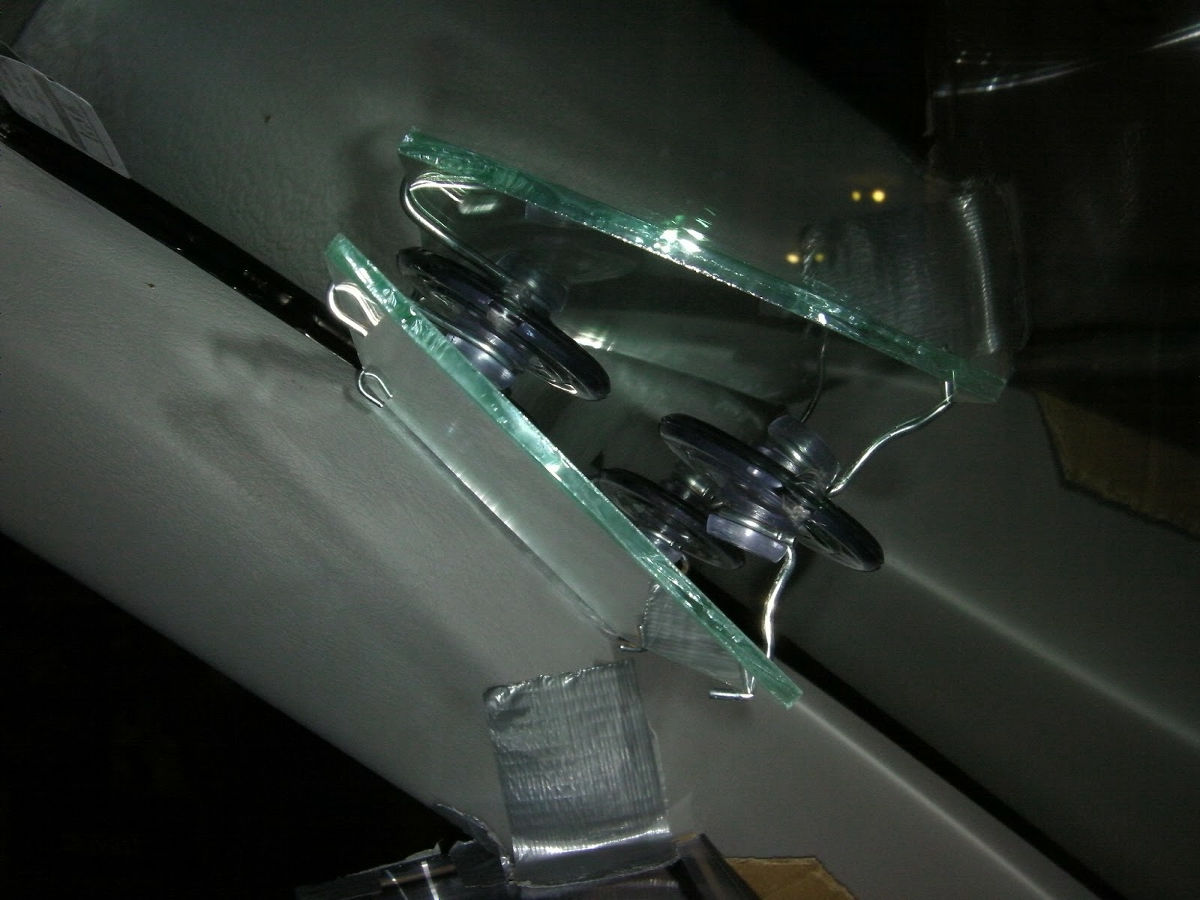
You can adjust the angle of the glass so that the number reflected on the teleprompter glass can be seen OK.
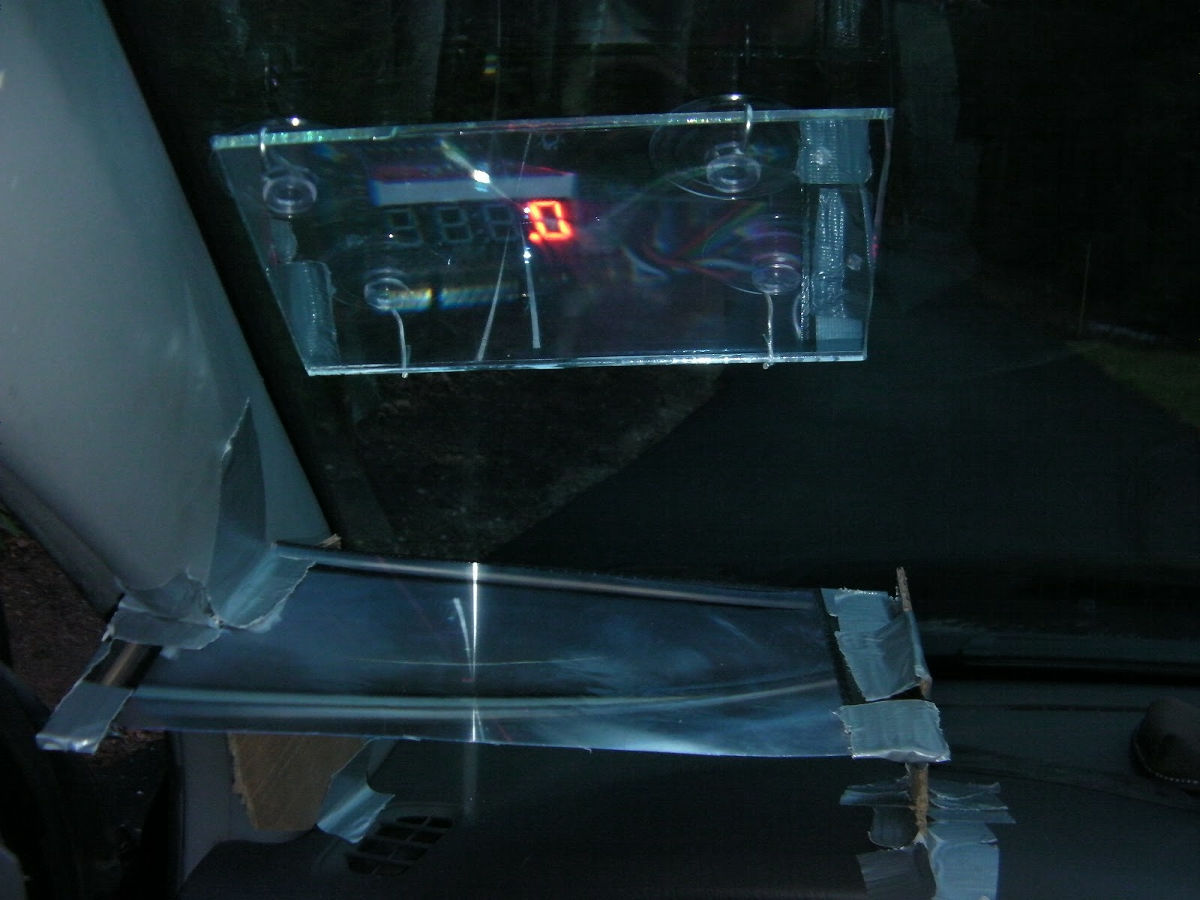
◆ 6: Embed Fresnel lens
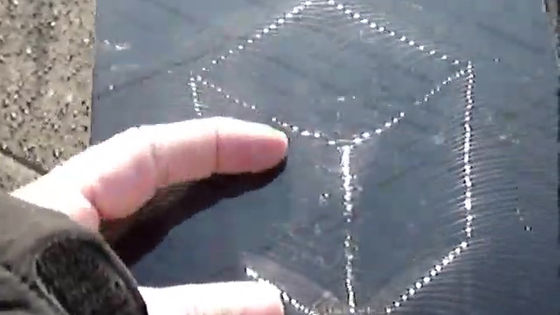
It is nearly complete if Arduino (system main body) and teleprompter glass are installed, but if you keep eye line to what is far away, the characters shown on the teleprompter glass will be divided into two. Fresnel lens is used here. If you bring it between Teleprompter Glass and Arduino, there is a point where the captured characters overlap one another. Since this is a place where the focus is in place, fixing the Fresnel lens is OK. However, since the Fresnel lens is very fragile, it is better to reinforce it by winding a corner with tape.

Once you have decided where to place the Fresnel lens, create a stand that supports the lens with cardboard and fix it with tape to complete the head up display.
It was completedThe Car Heads-Up Display (HUD) Version 1.0You can check how you are actually using the following movie.
Car Heads Up Display (HUD) Demo - YouTube
Related Posts:


in Hardware, Posted by darkhorse_log