IFixit unveils thorough decomposition report of "Surface Pro" internal components

IPad, Android tablet, and thin and light notebook PCUltrabookAs a rival of the (Ultra Book), Windows 8 loaded machine that Microsoft threw in the market and put on the market is "Surface Pro"is.
Surface Windows 8 Pro is powerful
http://www.microsoft.com/Surface/en-us/surface-with-windows-8-pro/home
This time I will update its latest model to iFixitSince we are disclosing how they are disassembled into pieces even though they are released immediately, let's check the details of internal parts etc.
Microsoft Surface Pro Teardown - iFixit
http://www.ifixit.com/Teardown/Microsoft+Surface+Pro+Teardown/12842/
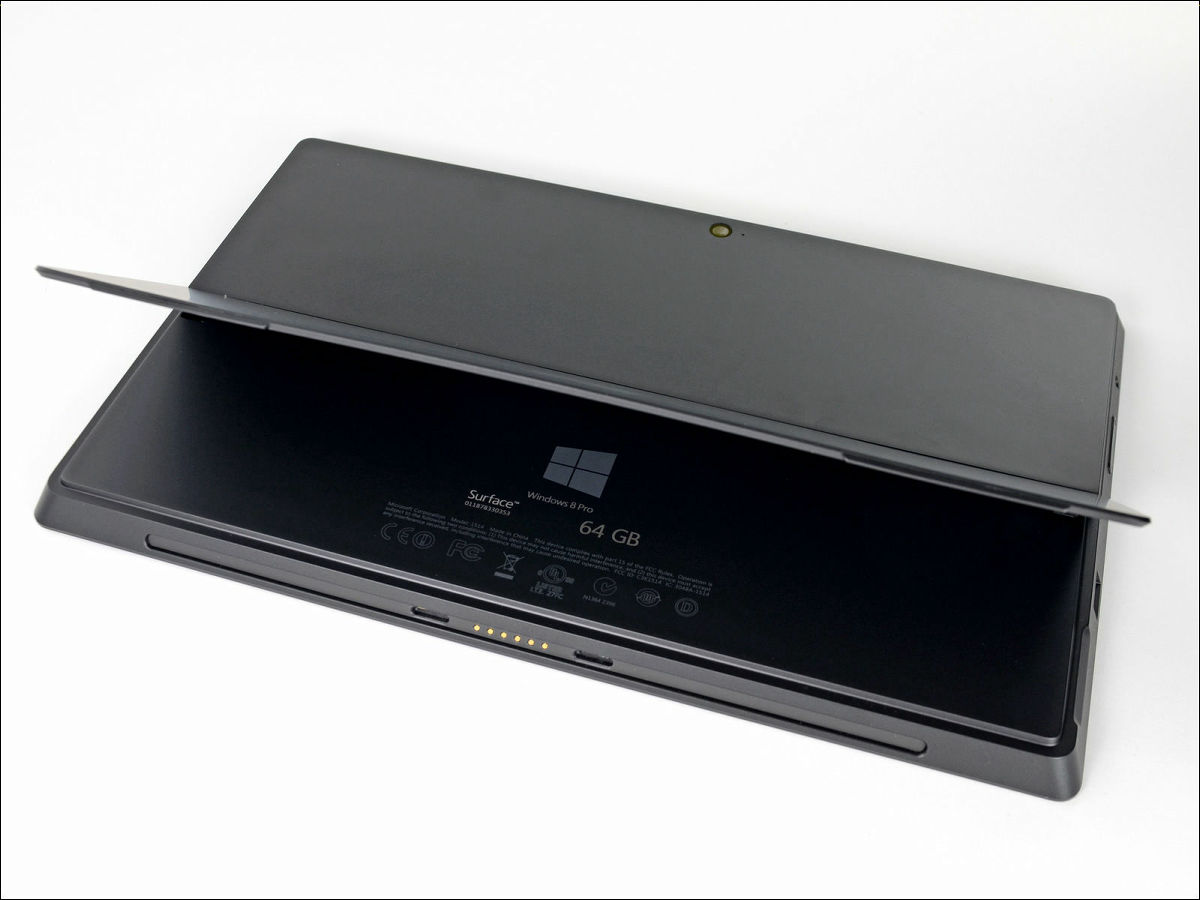
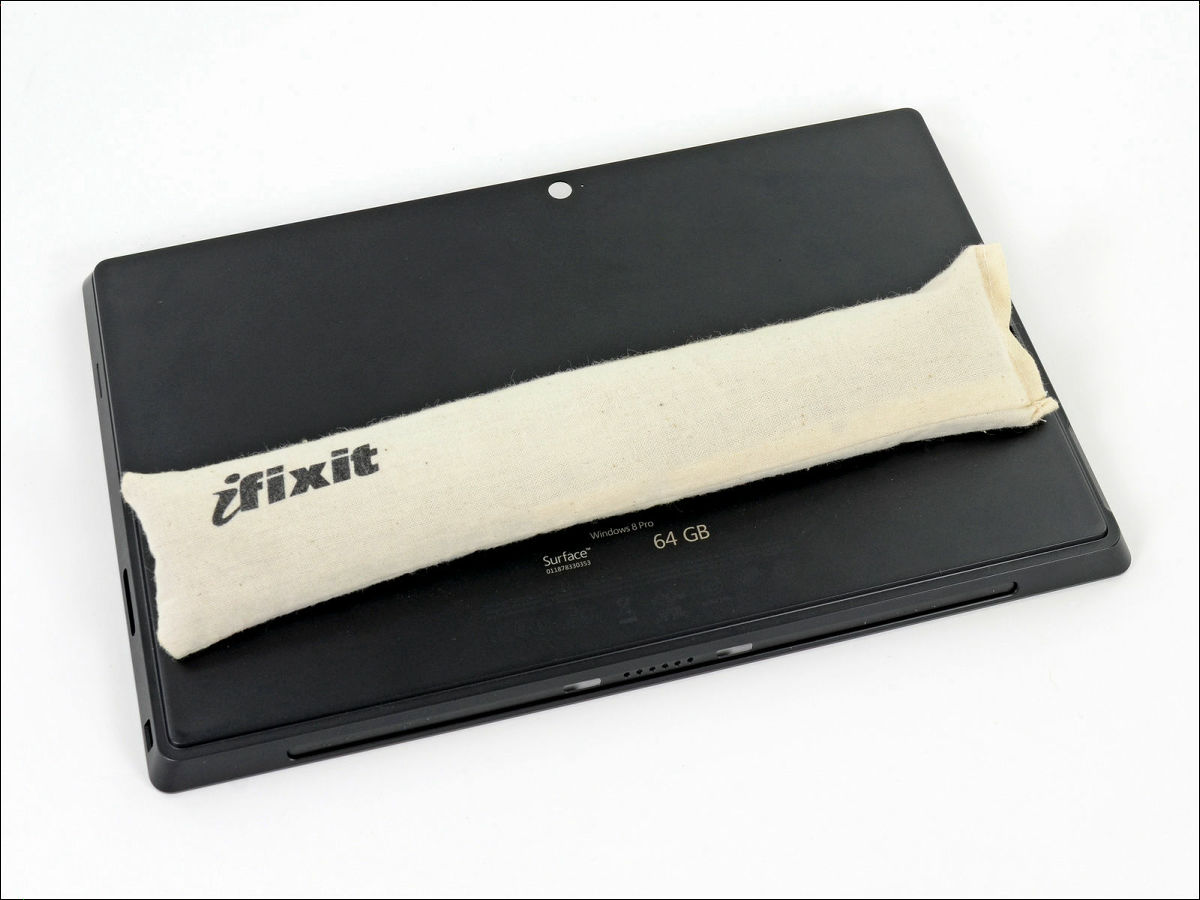
Appearance before disassembly.

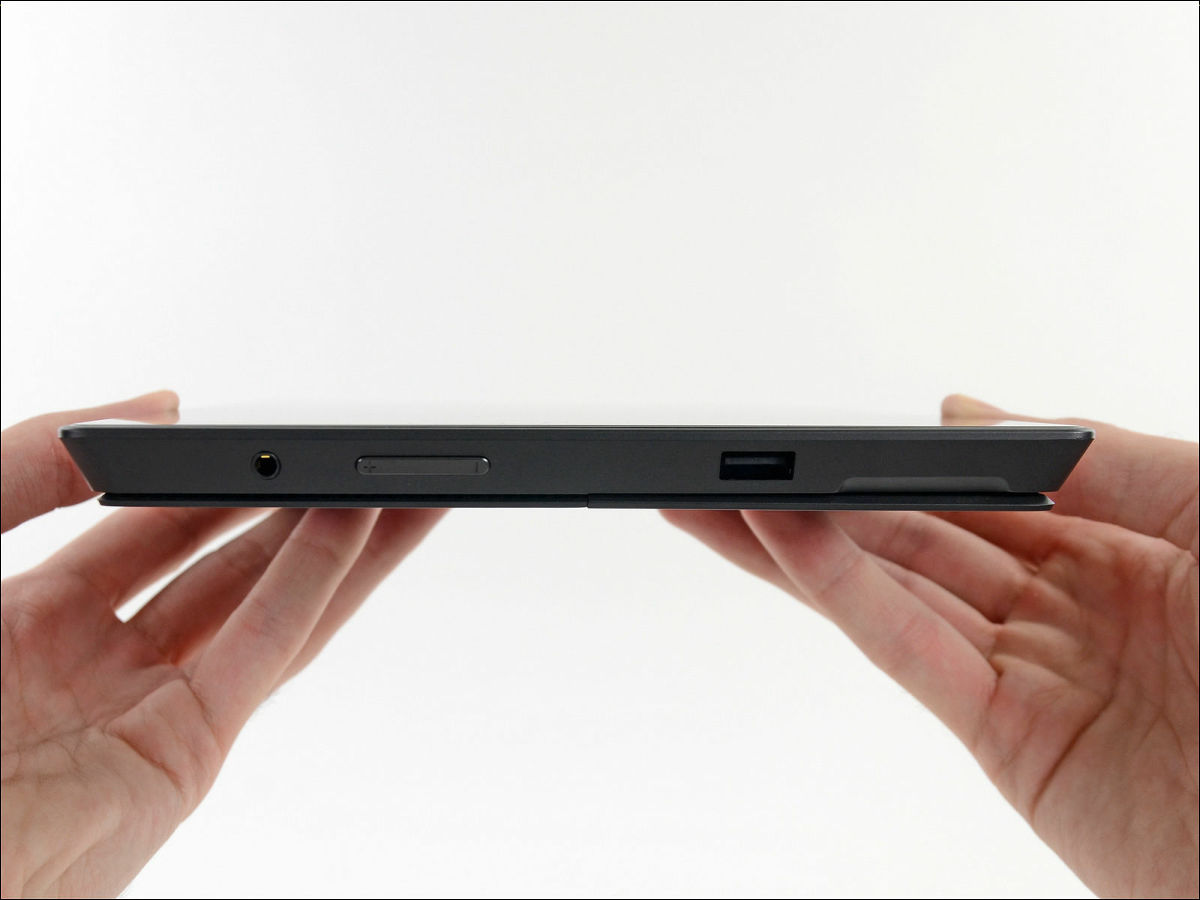
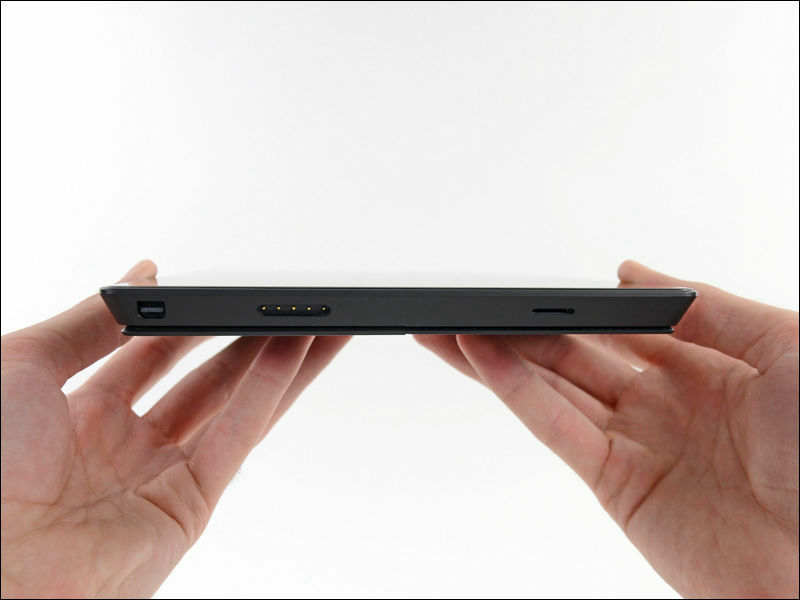
side.
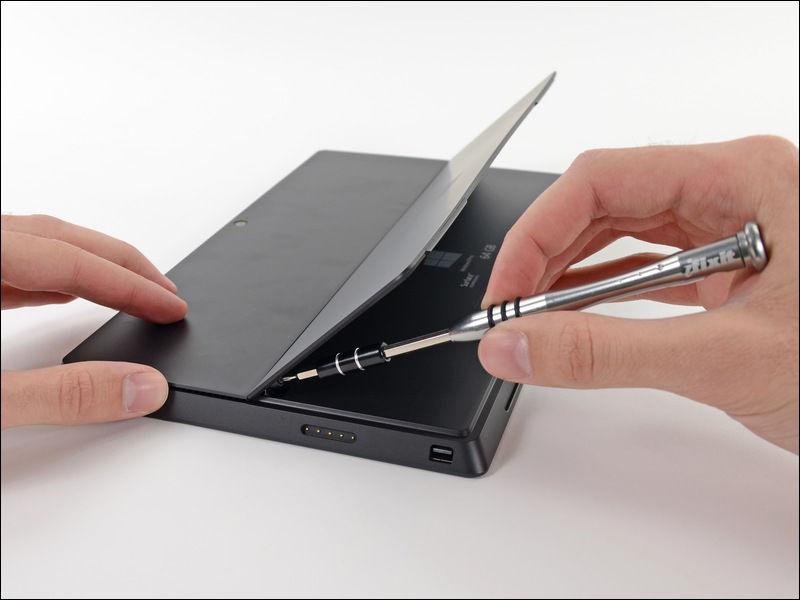
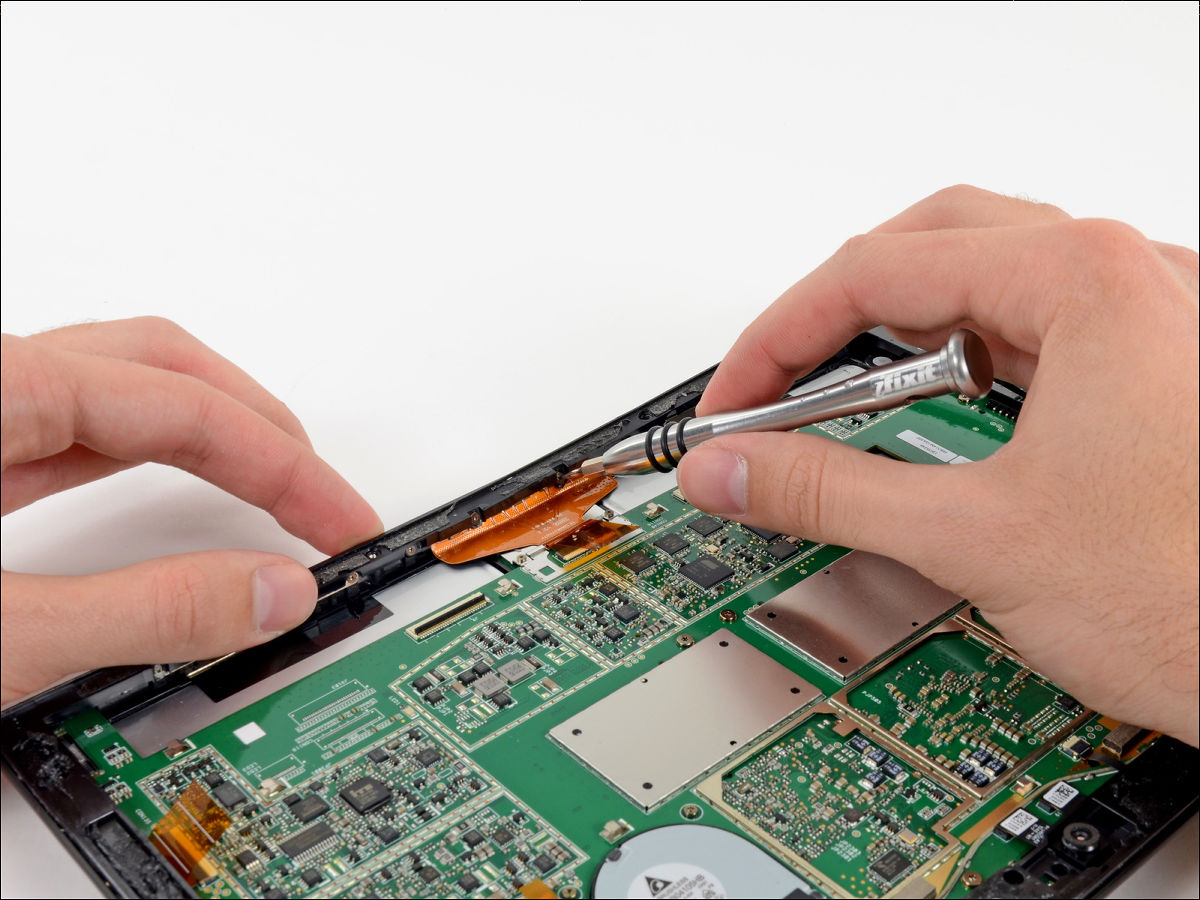
First, remove the stand on the back.
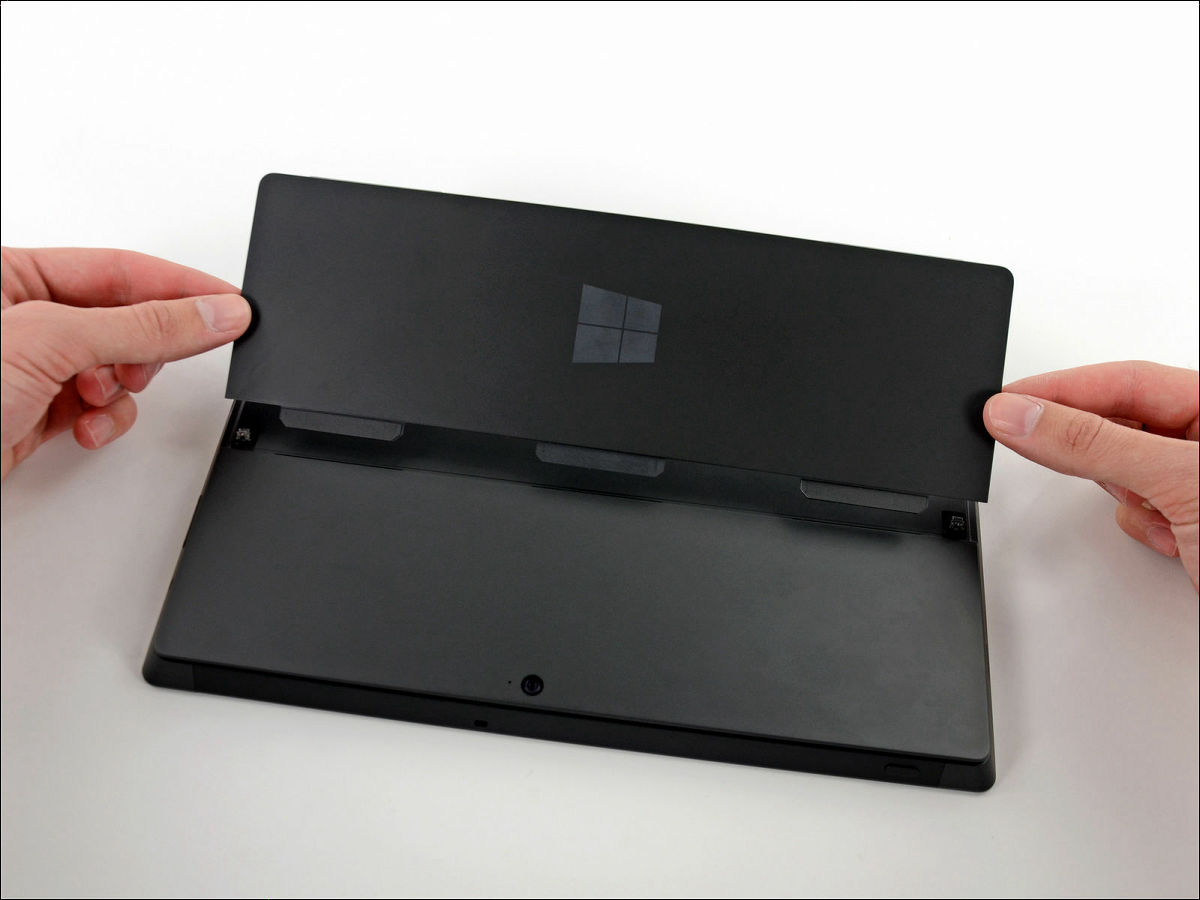
Since the display is attached to the main body with adhesive, warm it with a dryer and weaken the adhesive strength and disassemble.

Push a thing like a guitar pick in the gap and separate the display and guyguy.
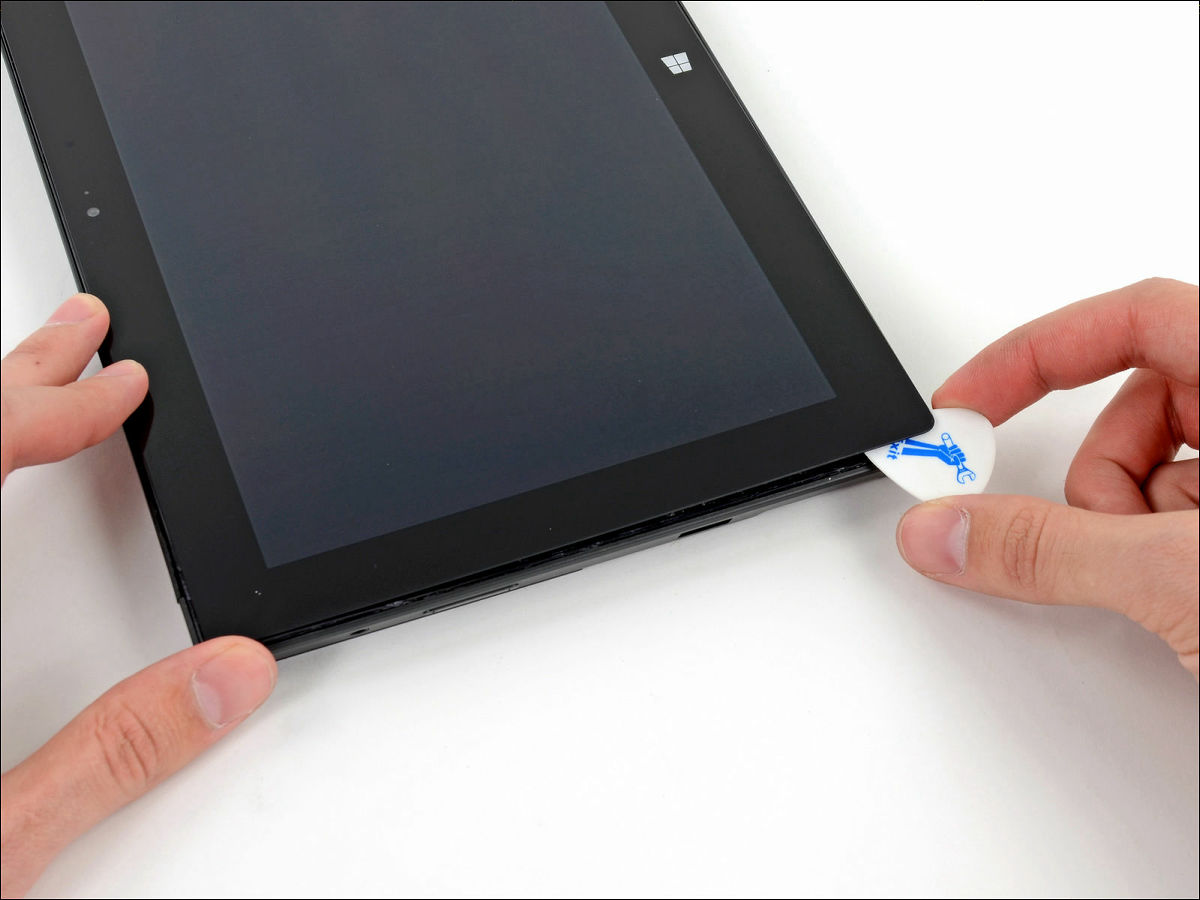
Pad.

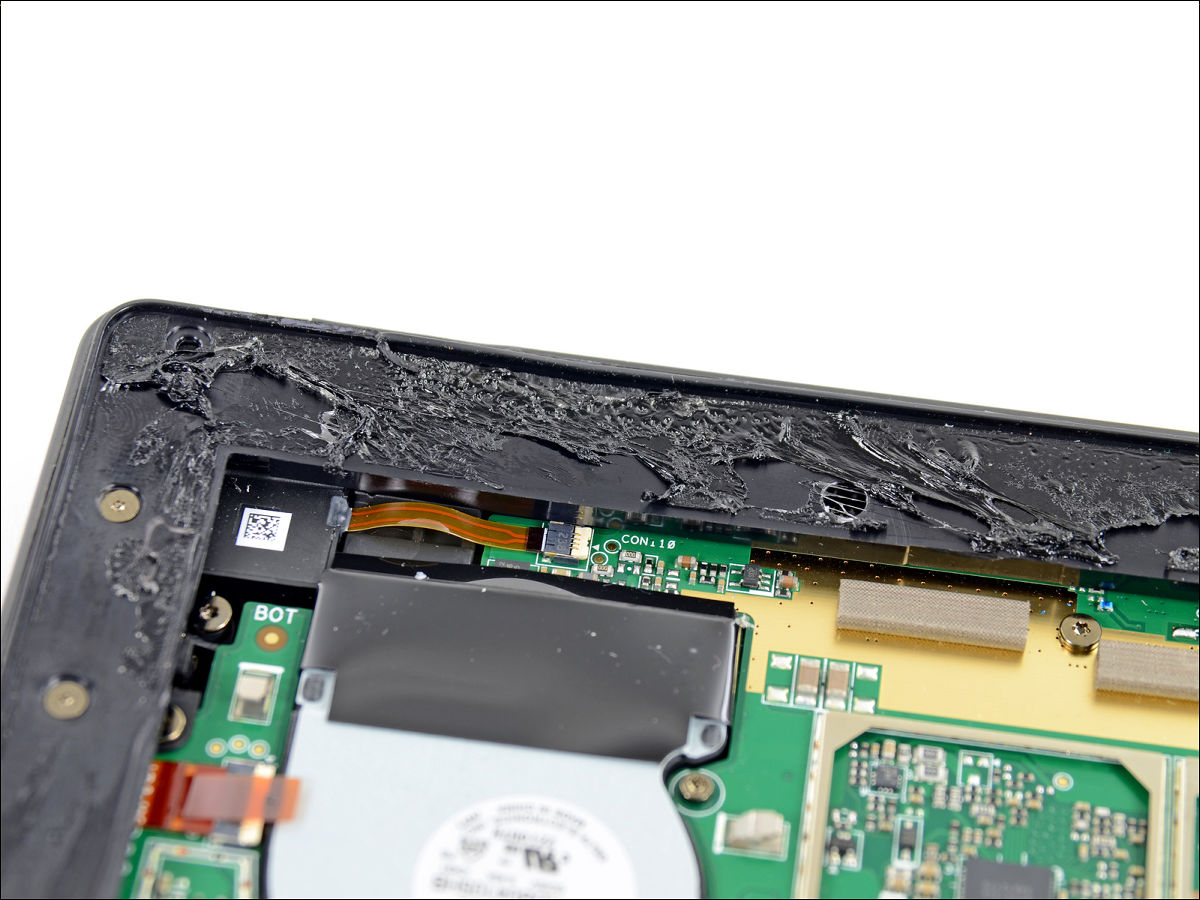
Adhesive is stuck to the edge of the main body with such feeling.
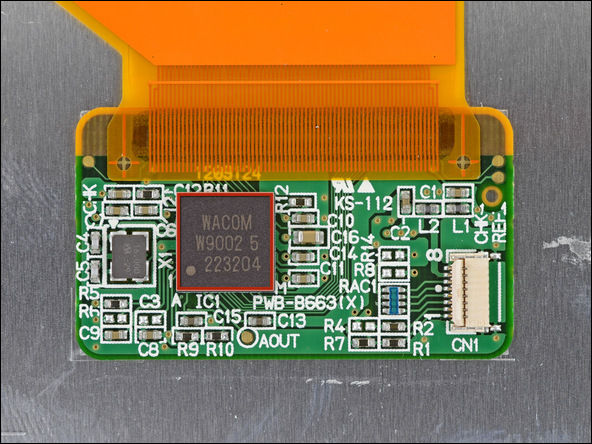
The back side of the display.

Wacom made touch sensor.
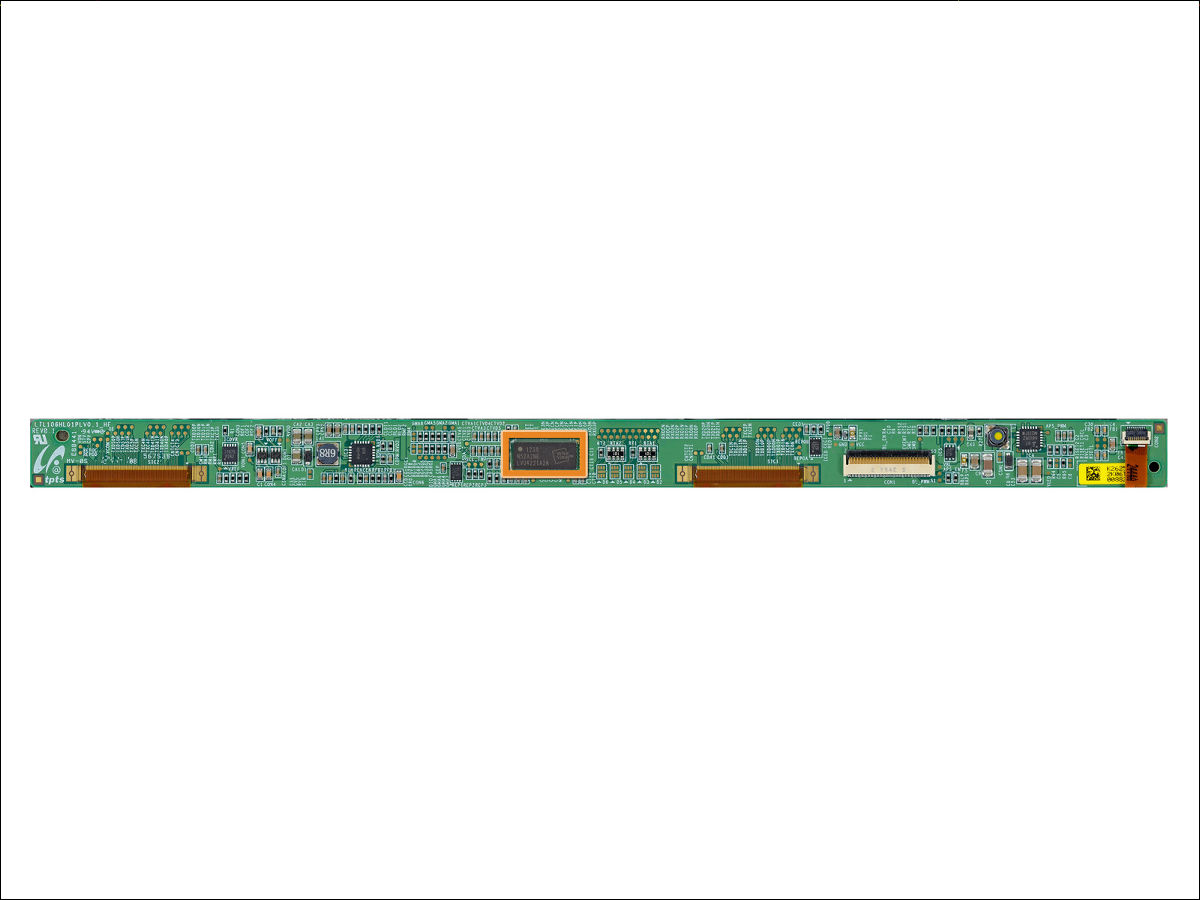
The driver of the display belongs to Samsung.
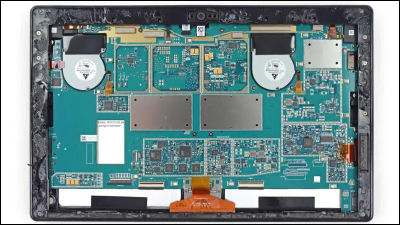
Inside the main body.
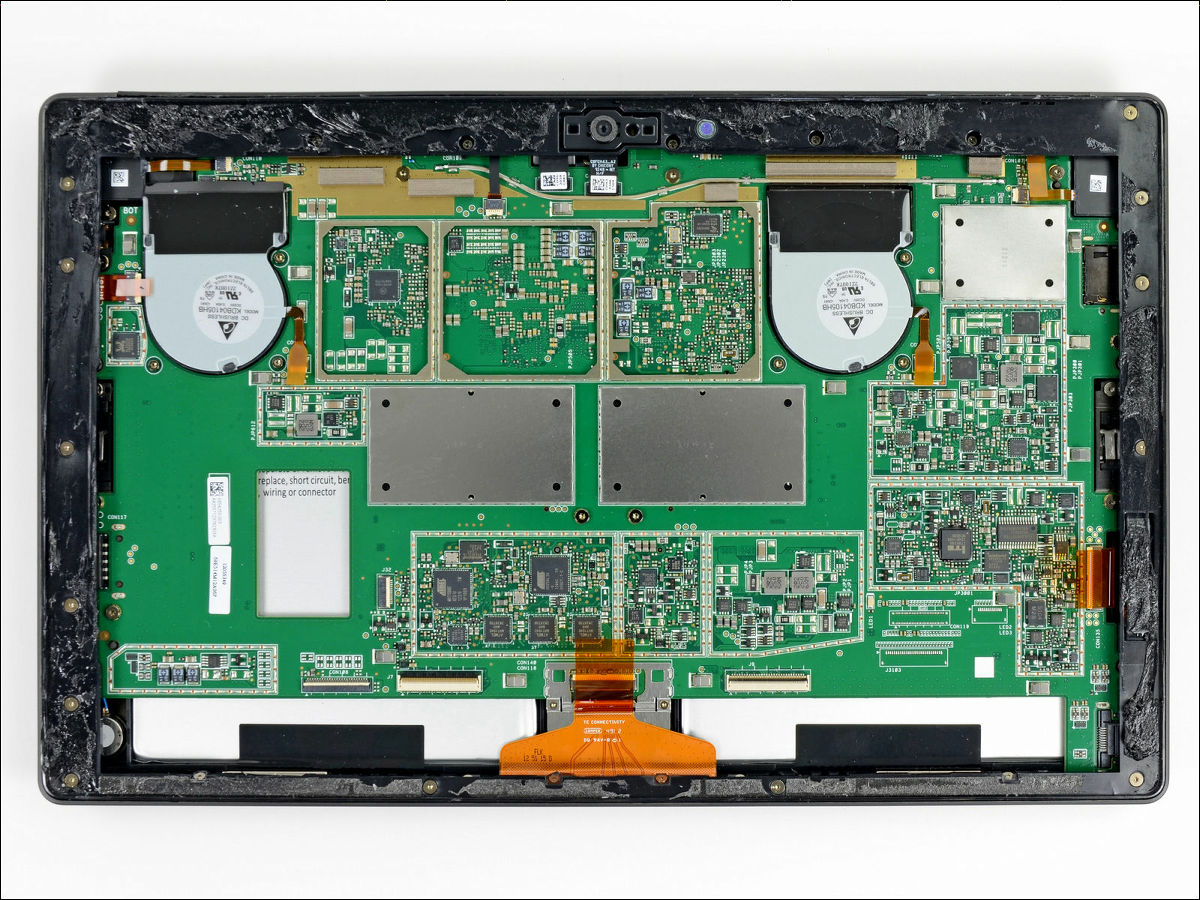
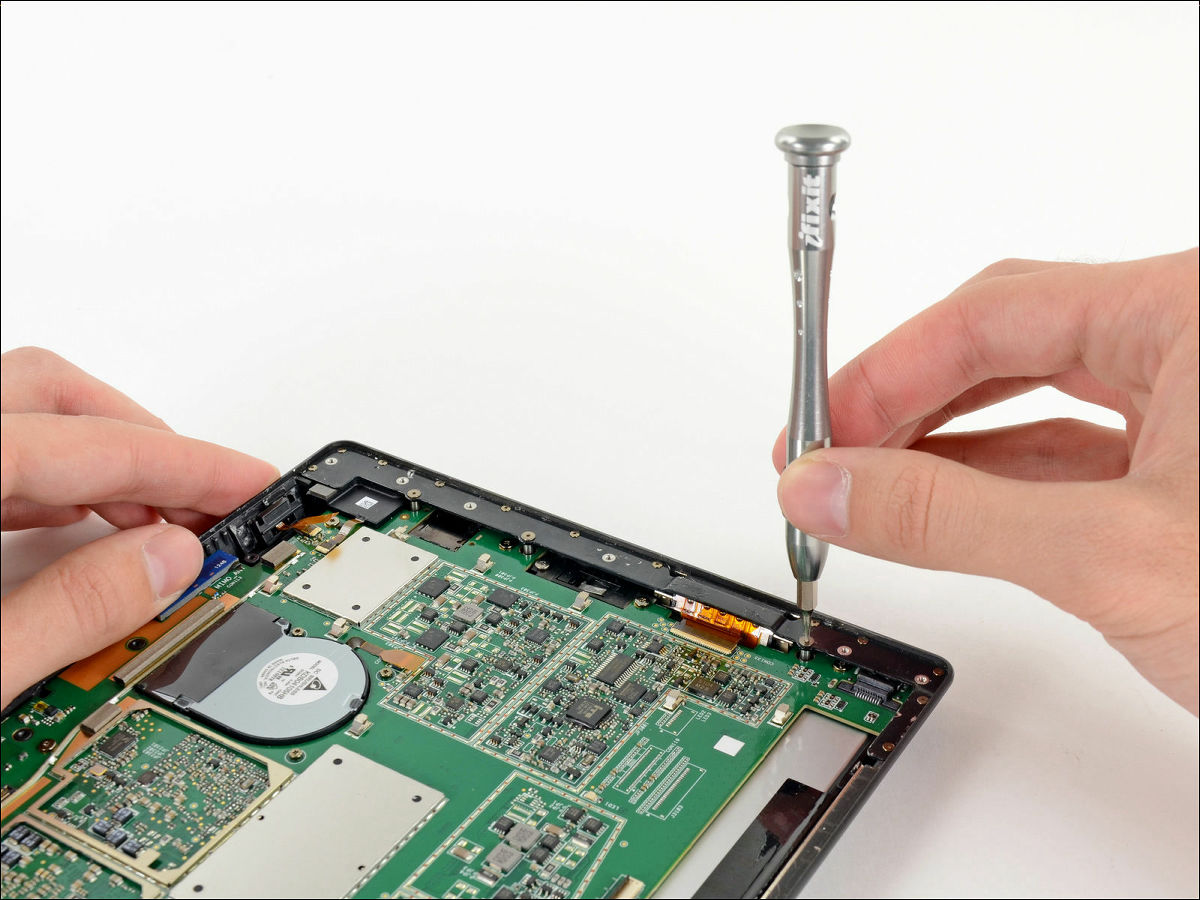
I will steadily remove screws.
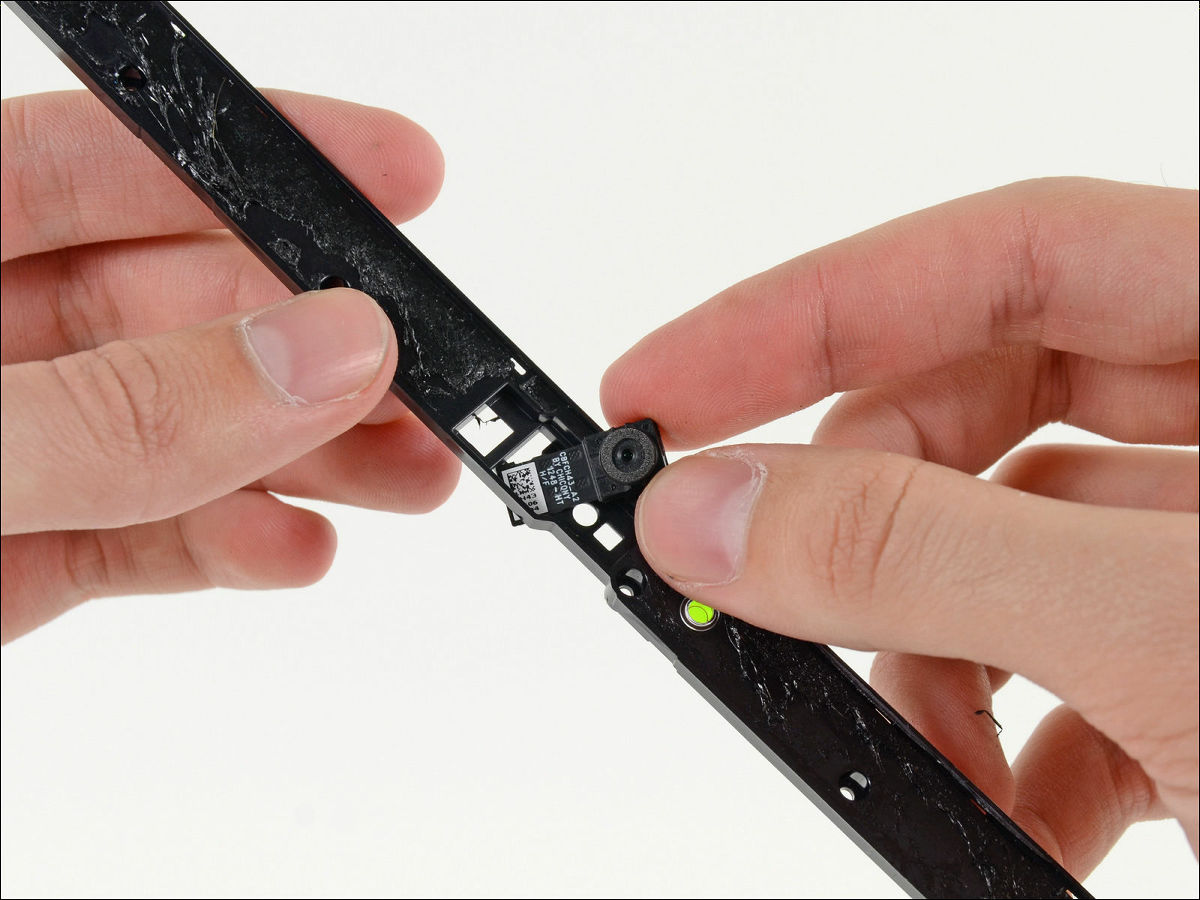
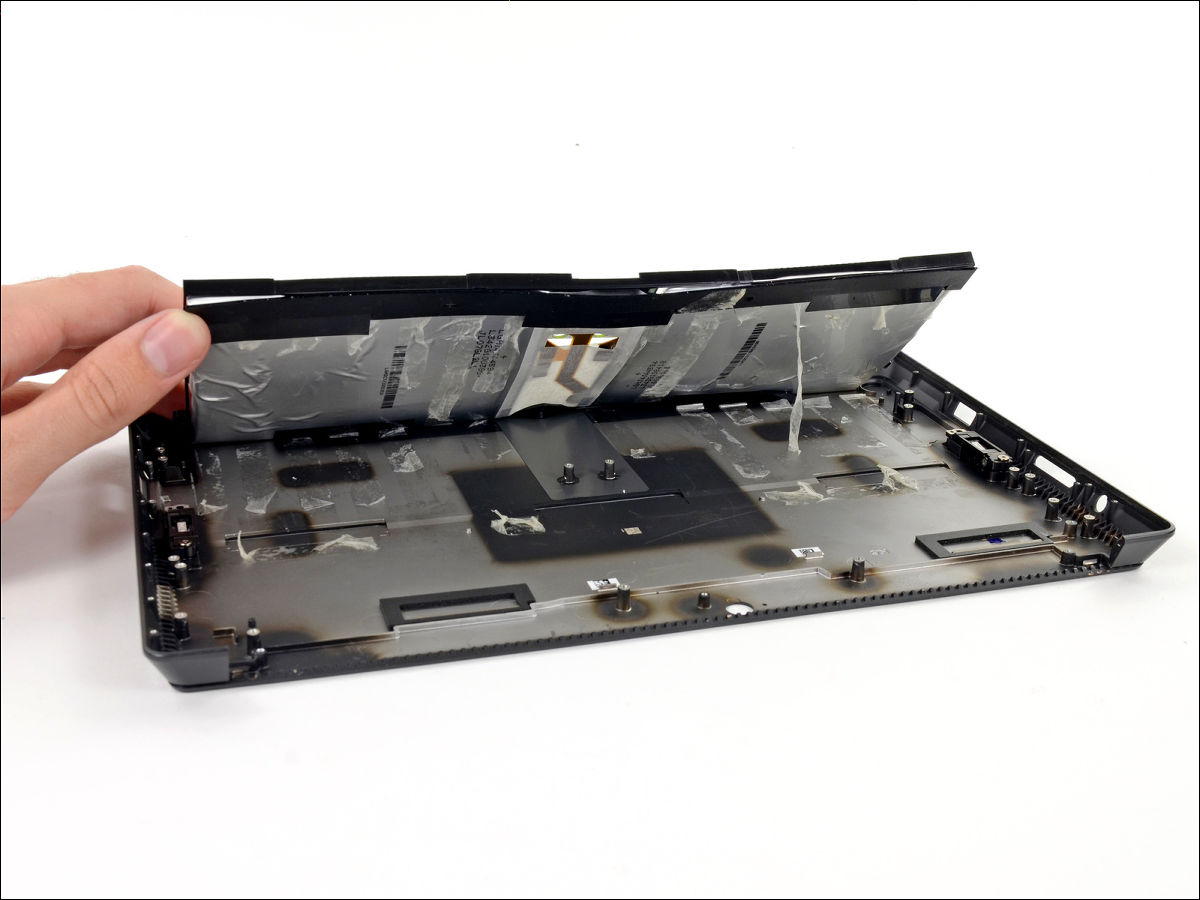
I lost the frame.
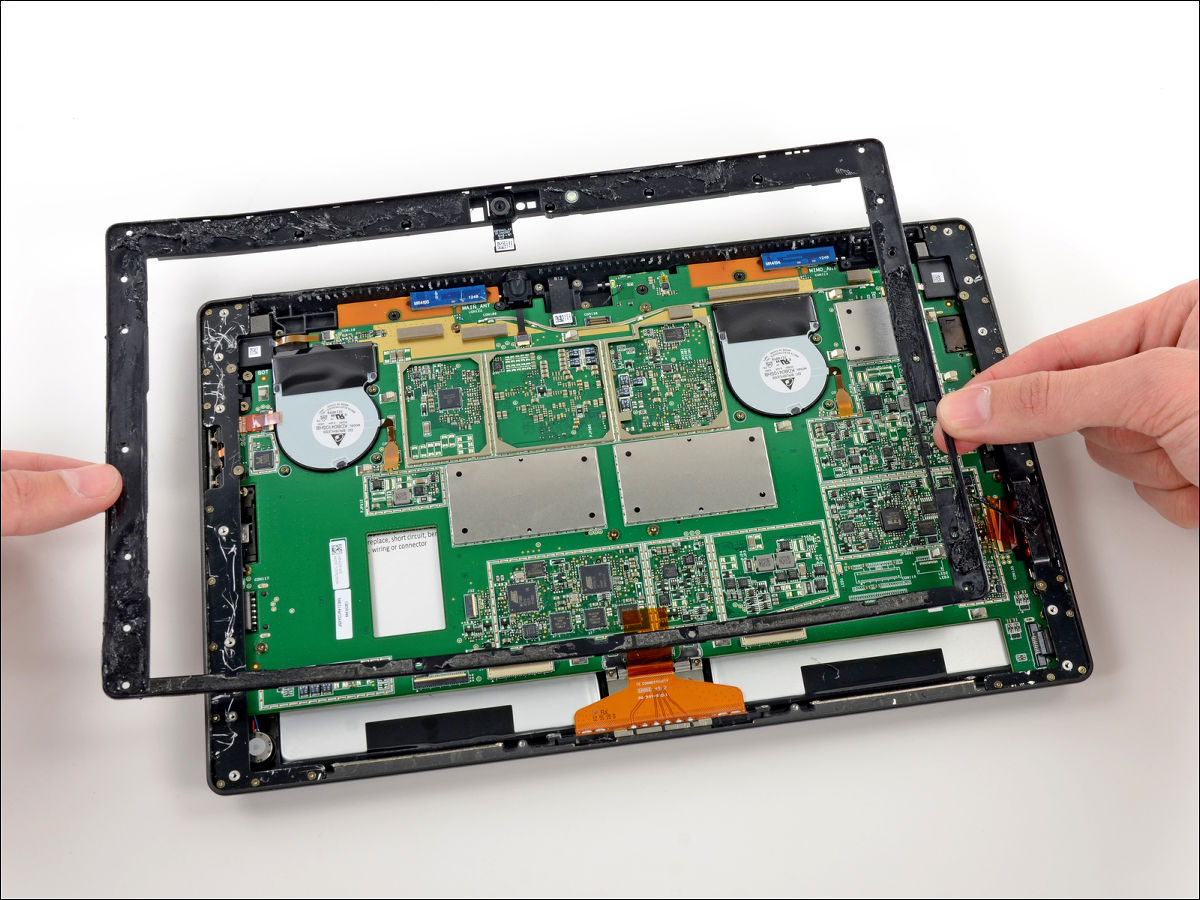
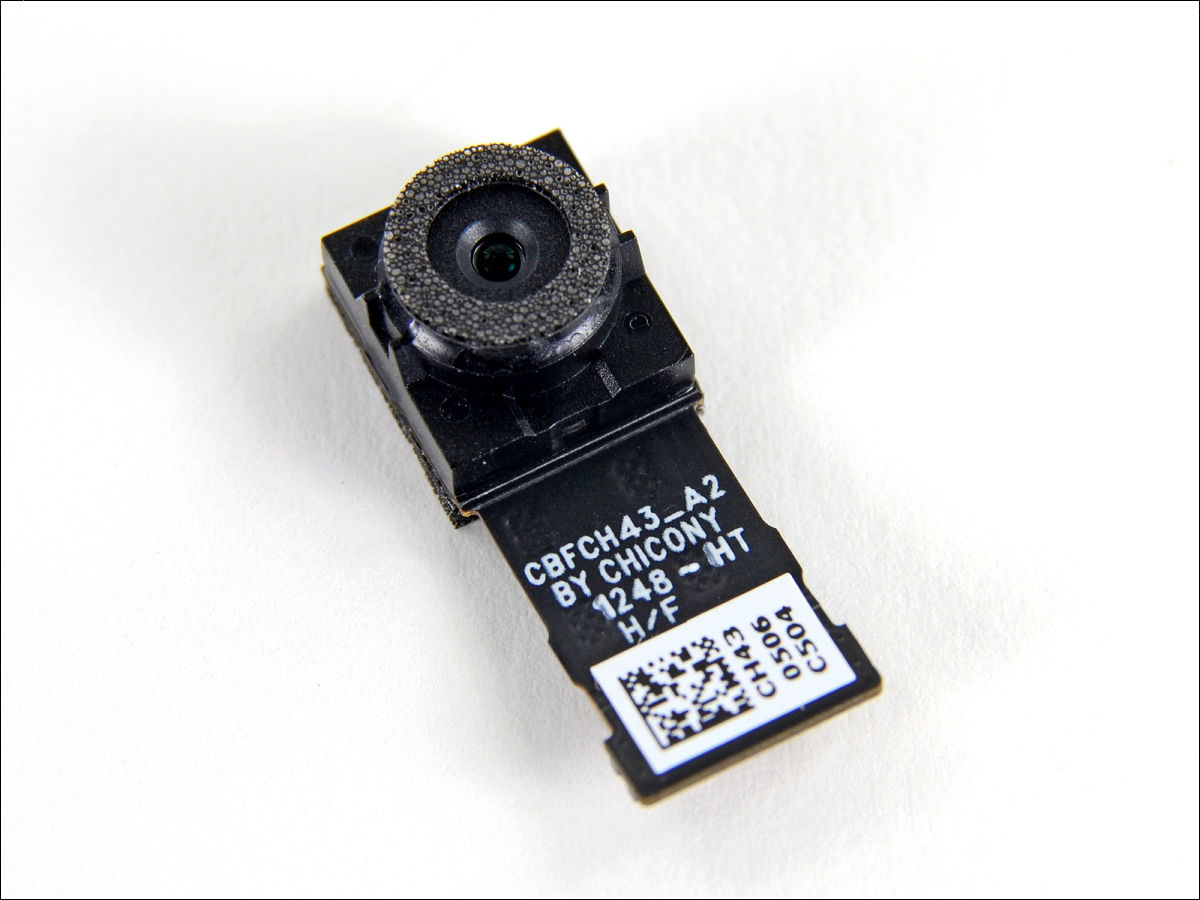
There is a front camera in the center.
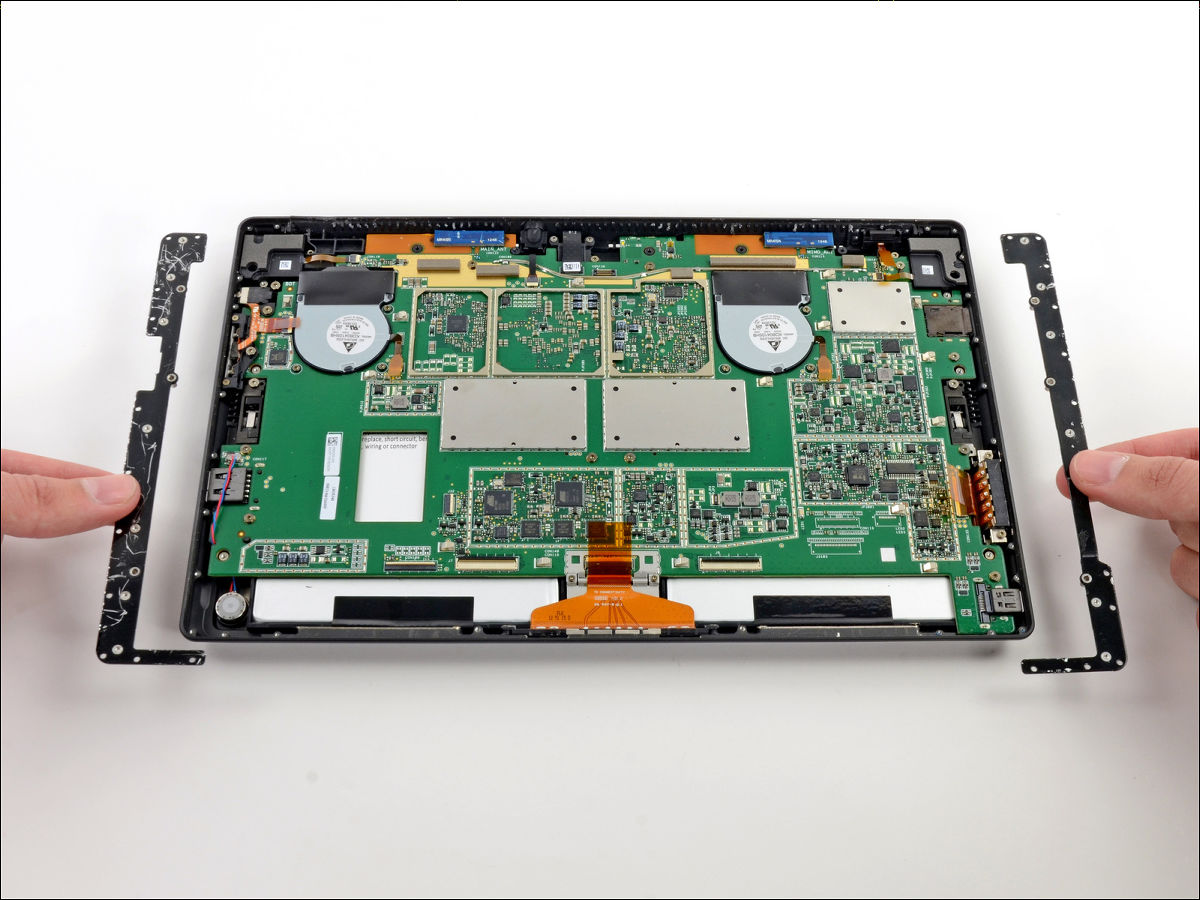
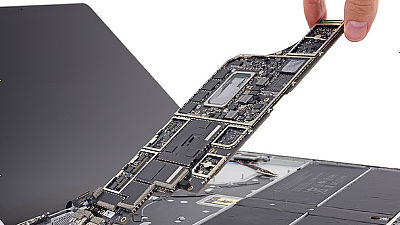
Next is the removal of the motherboard.
I will also take parts on both sides.
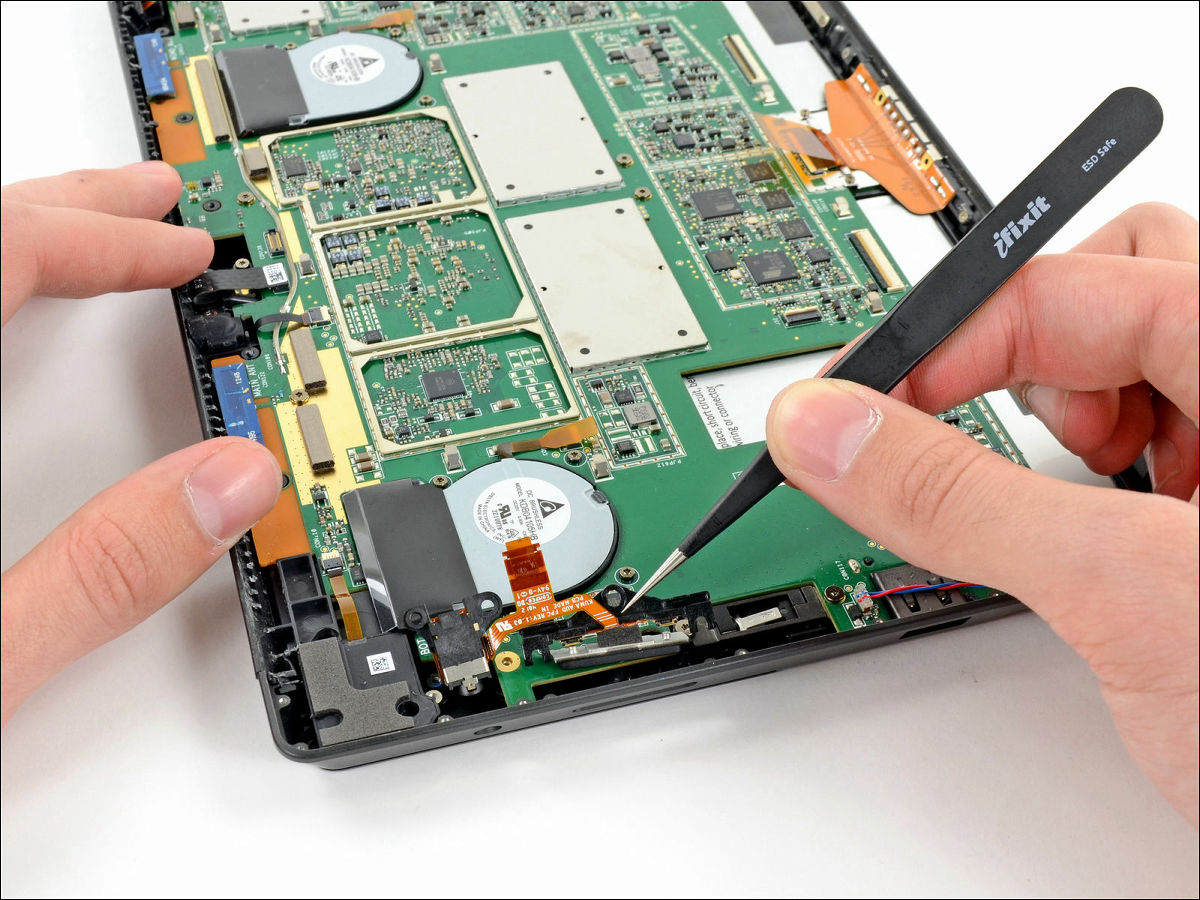
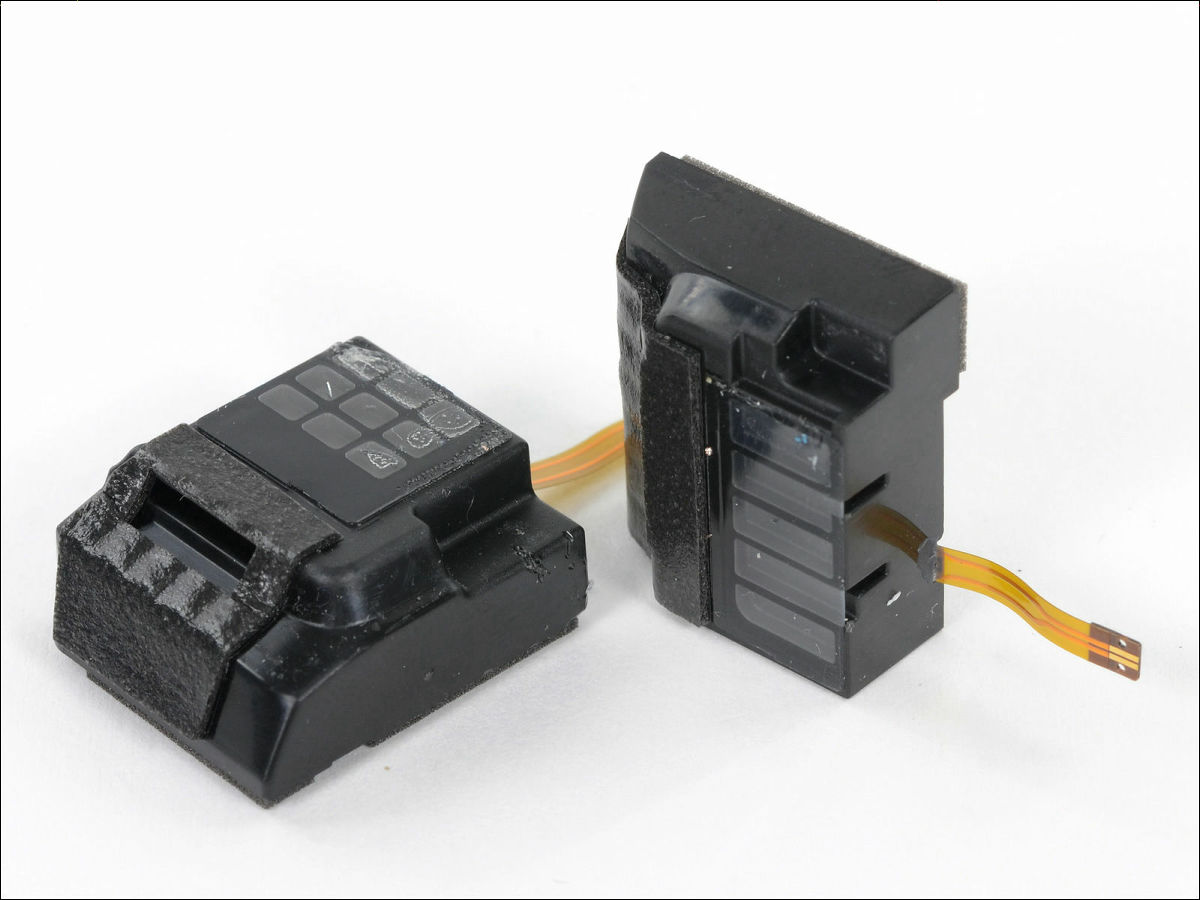
Pull out the ribbon cable and remove the volume button.

Unplug the cable connecting the motherboard and the frame at the bottom of the main unit (the picture is taken upside down).
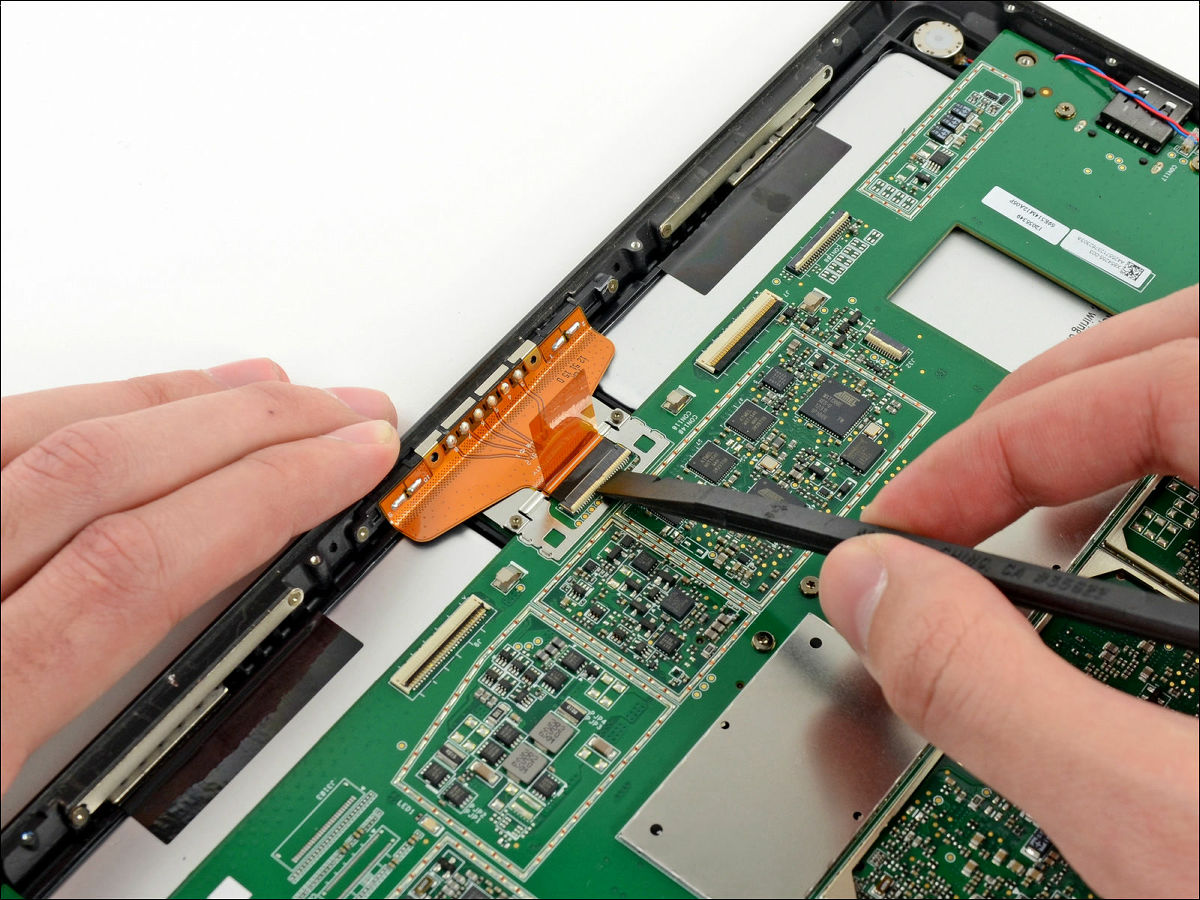
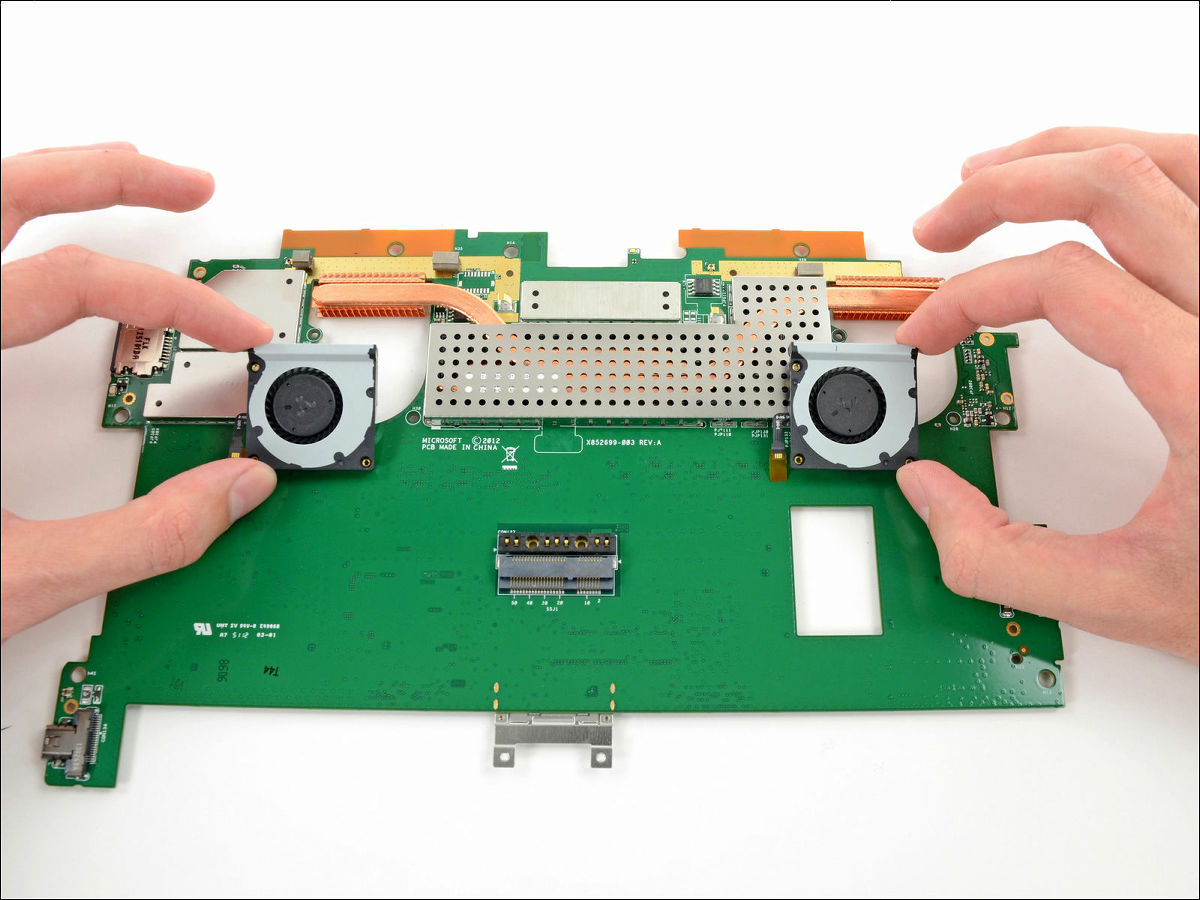
Then the board will come off like this.

Turn the screw to remove the SSD from the motherboard.
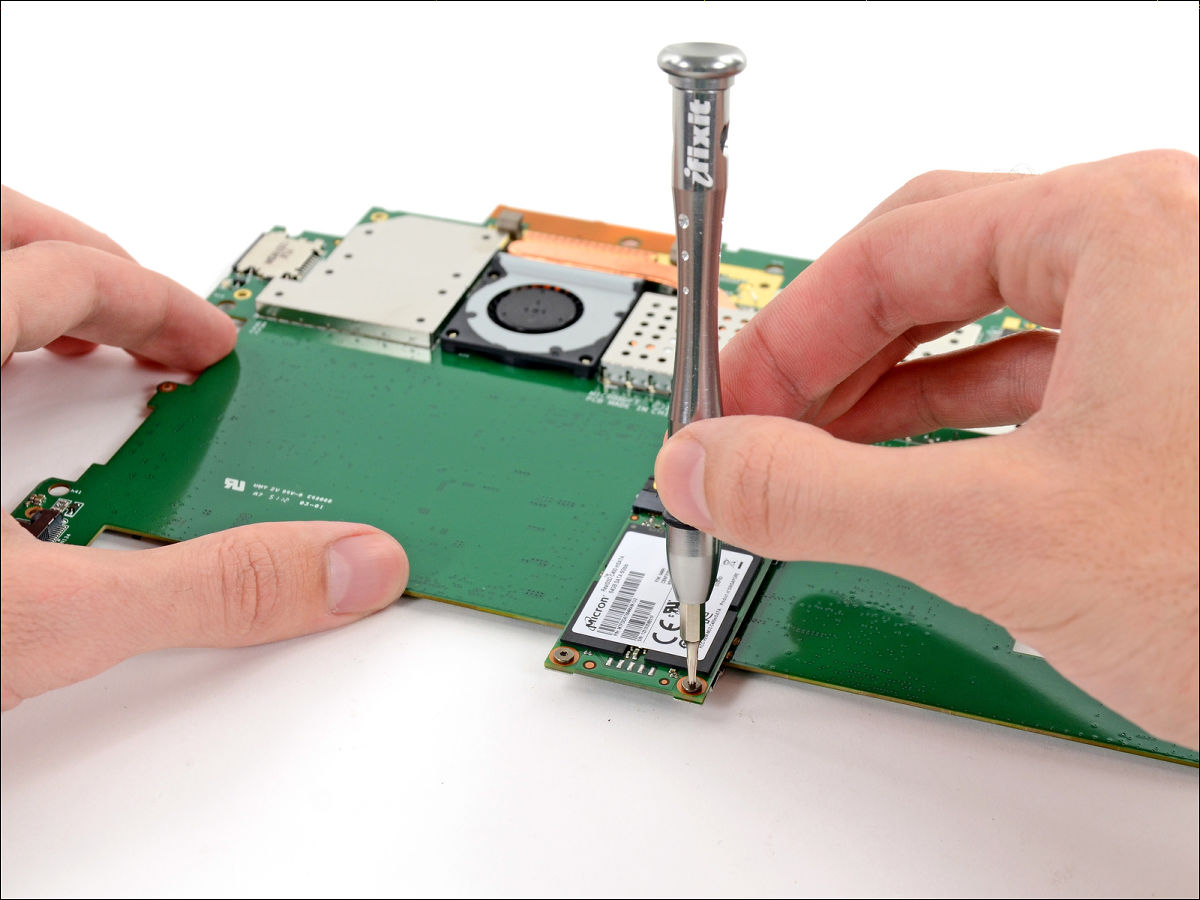
It is a 64 GB model made by Micron.
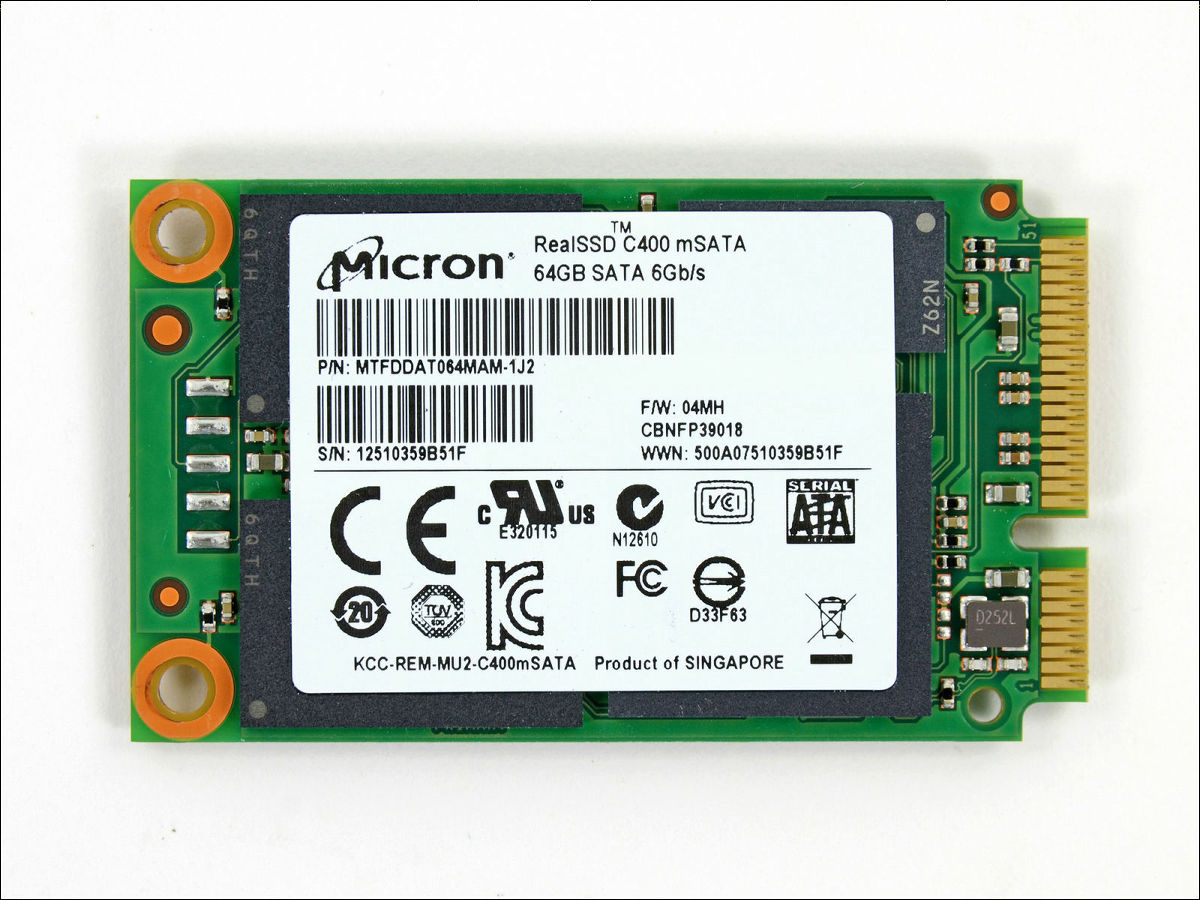
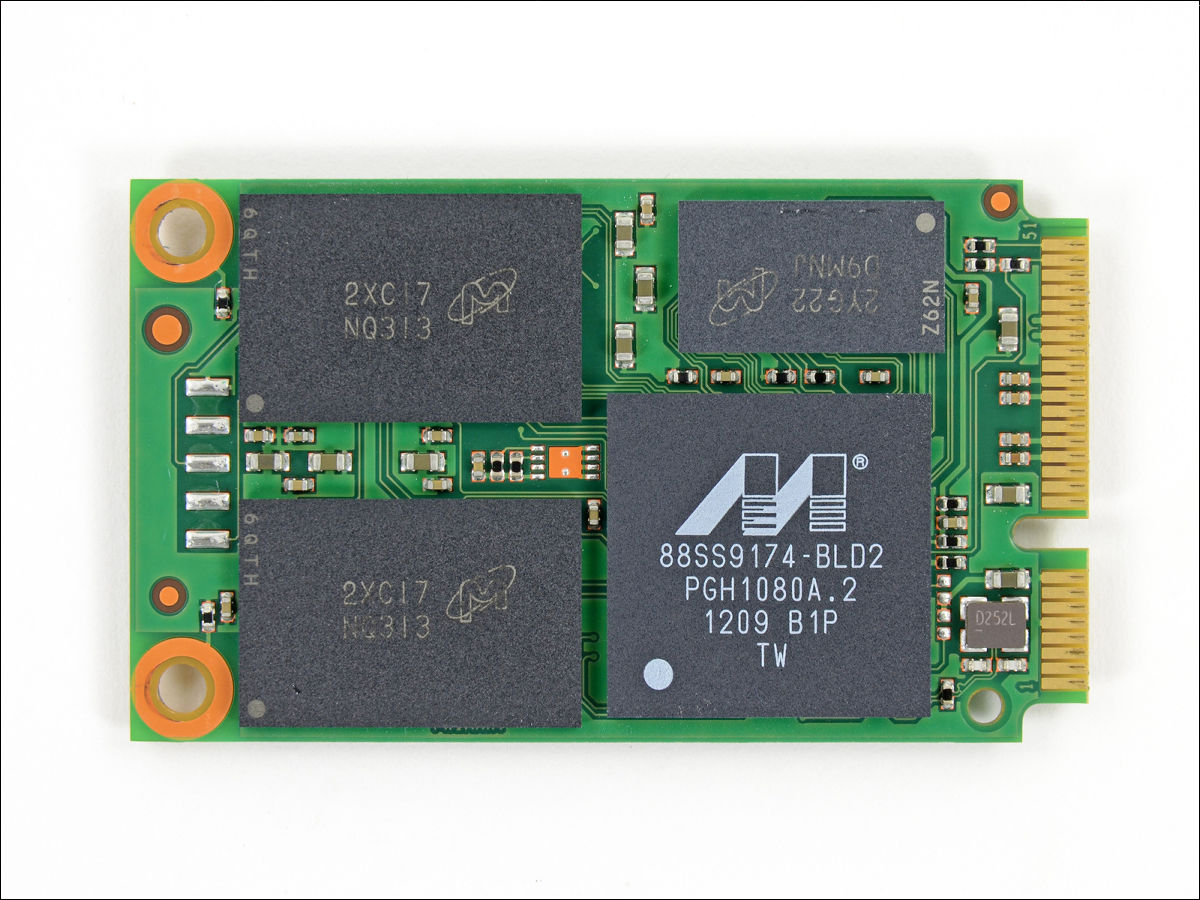
Peel off the surface seal and feel like this.
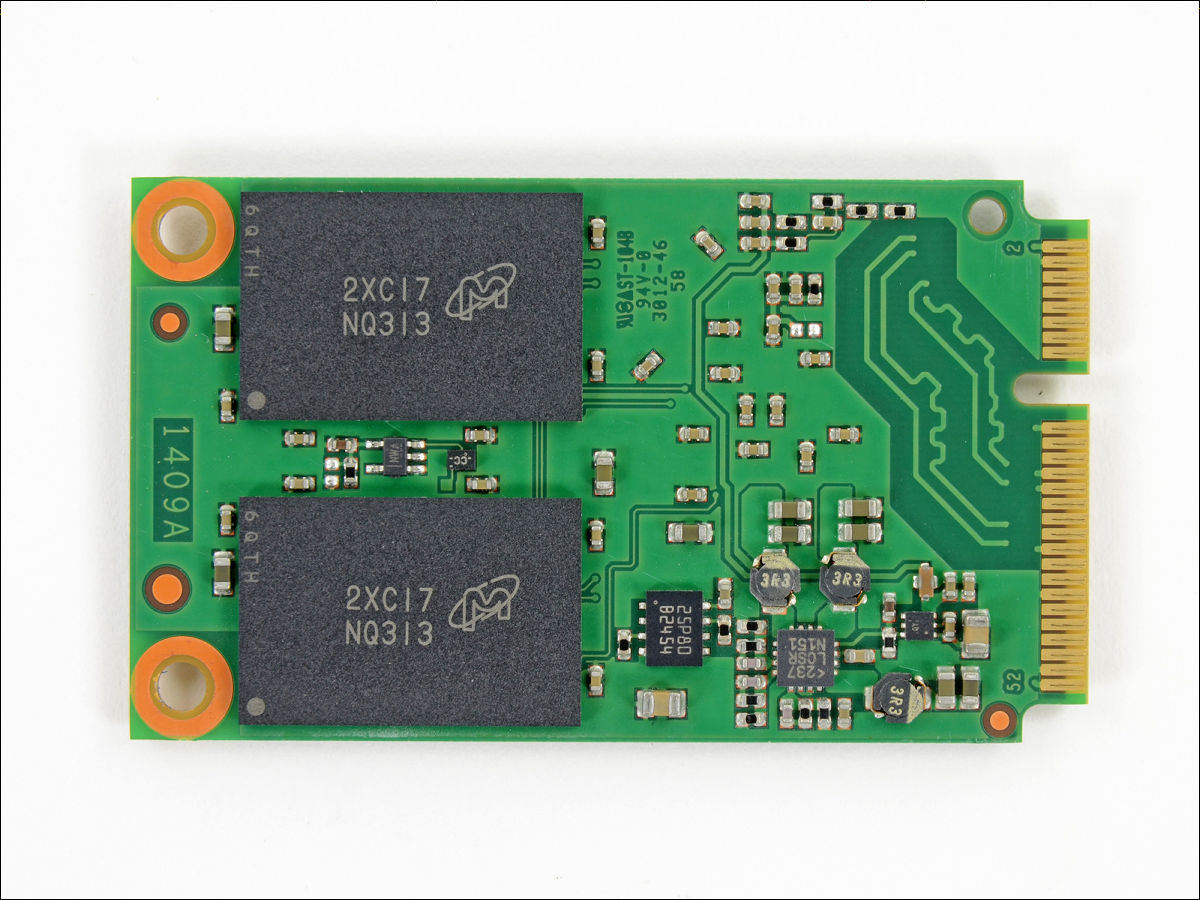
Backside.
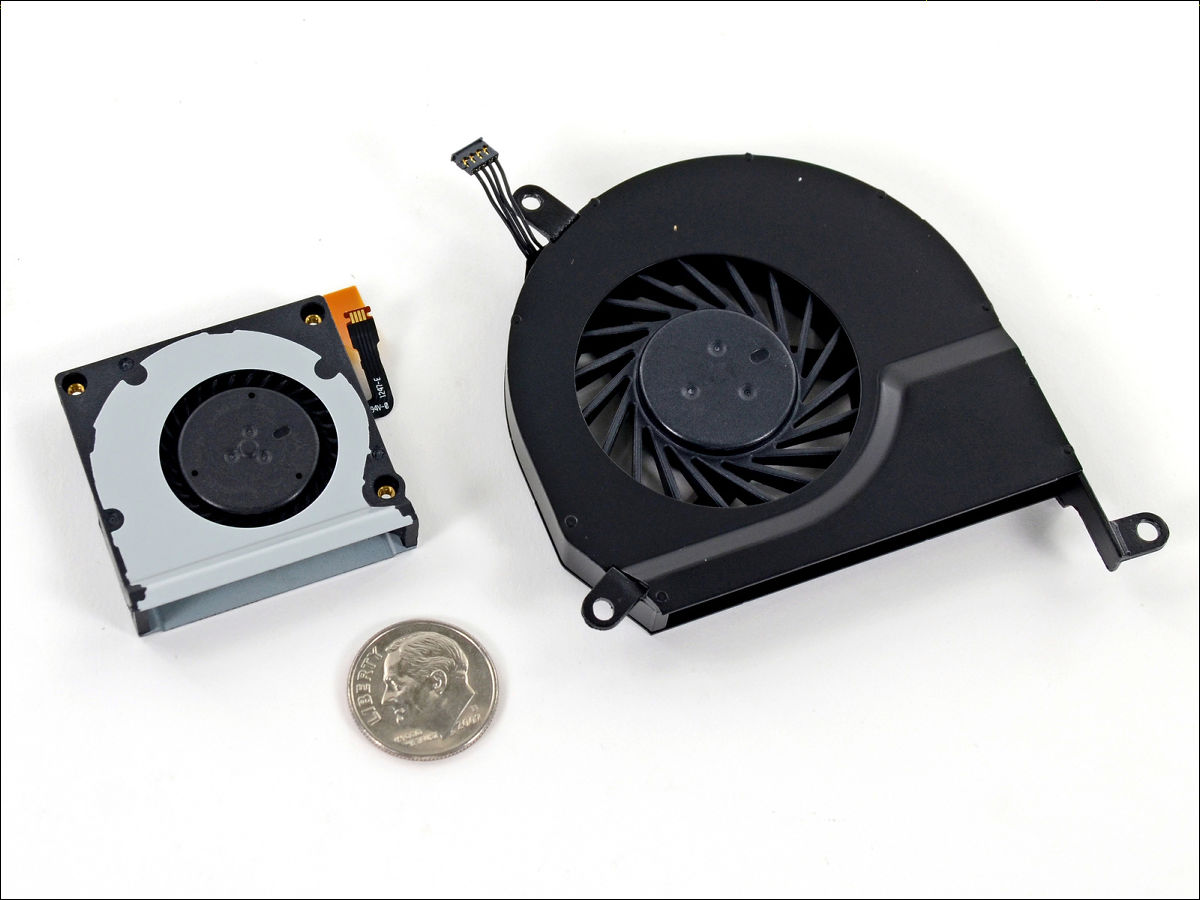
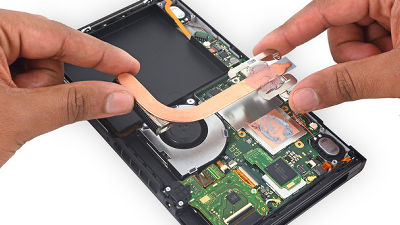
One cooling fan is mounted on each side.

The pictures of "Surface Pro" fans (left) compared to "Macbook Pro" fans (upper right) and 10 cent coins (lower left) are as follows.
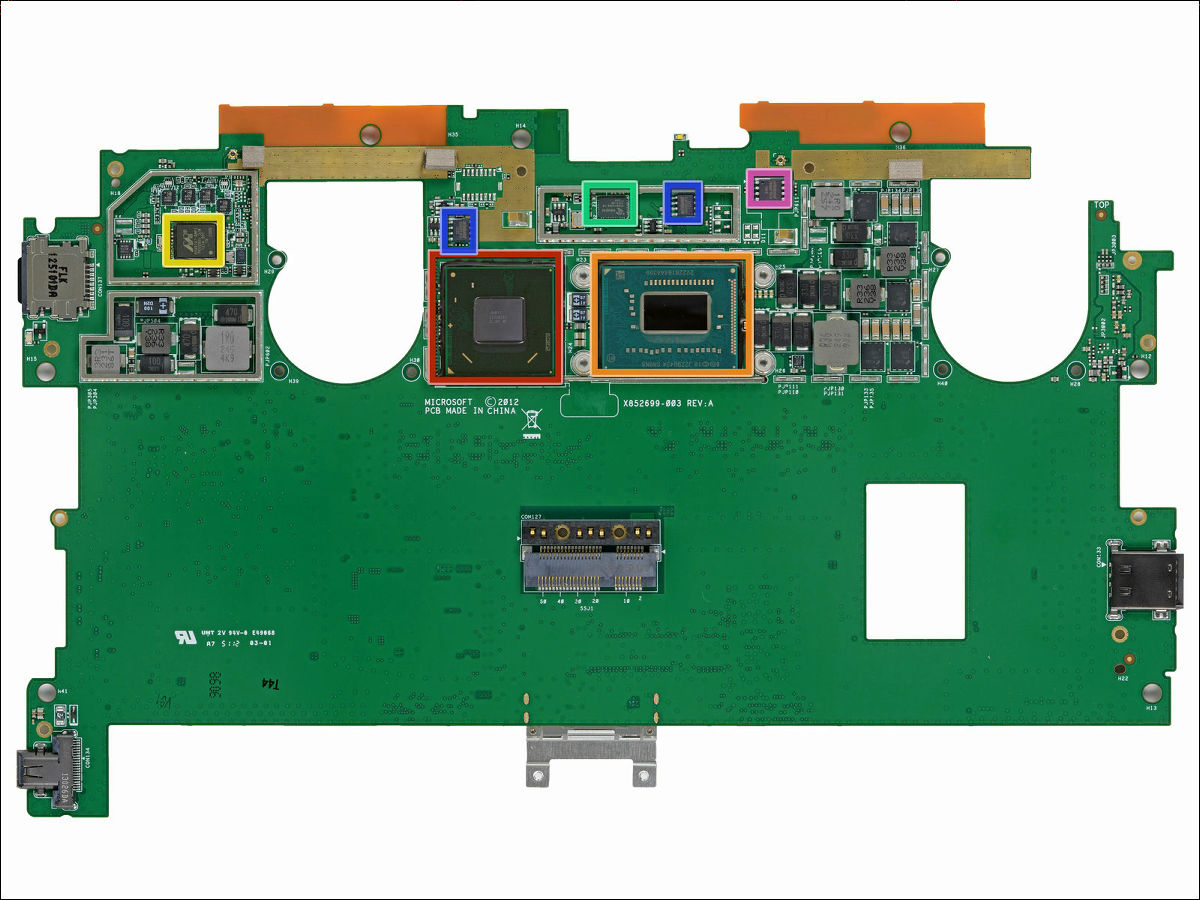
Micron's memory is installed in the center of the foundation.
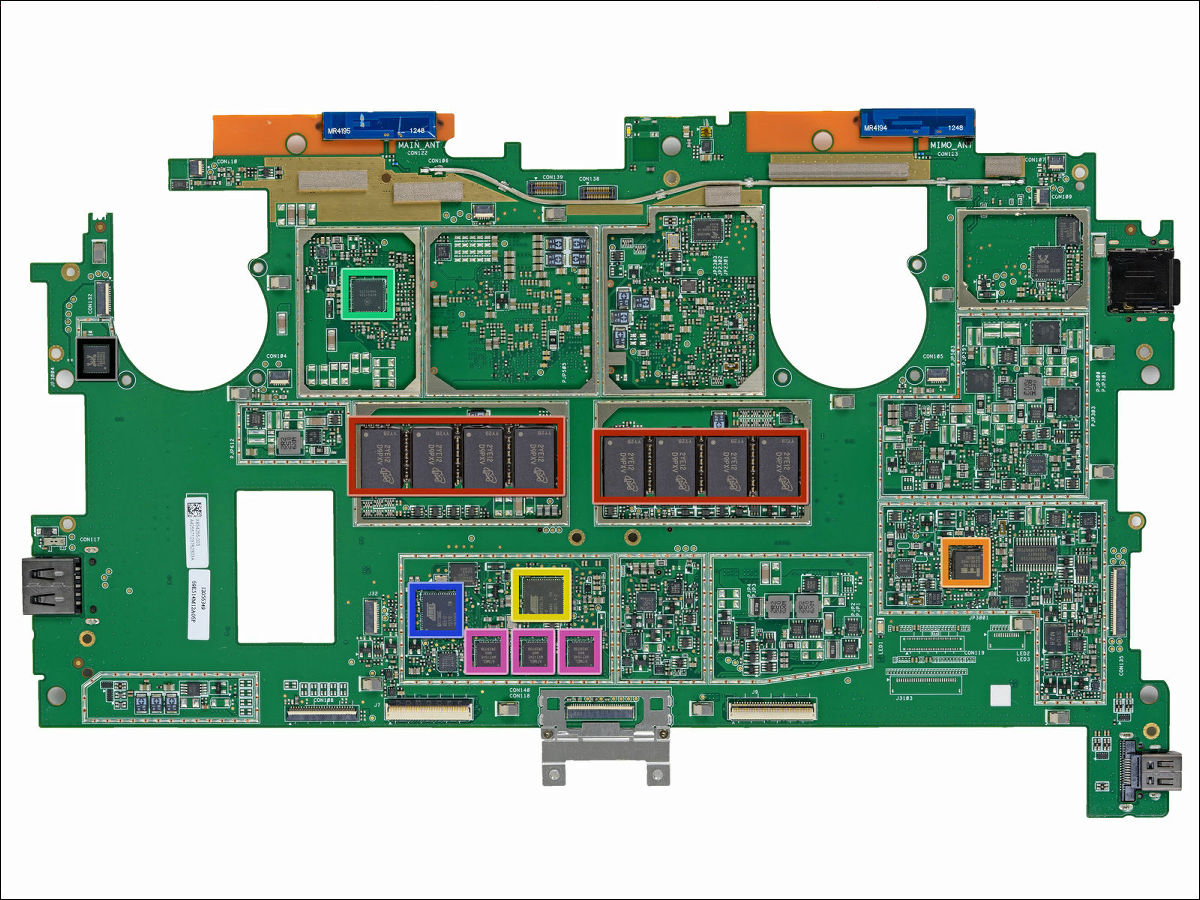
Intel's Core i 5 - 331 7 U CPU.
Disconnected speaker.
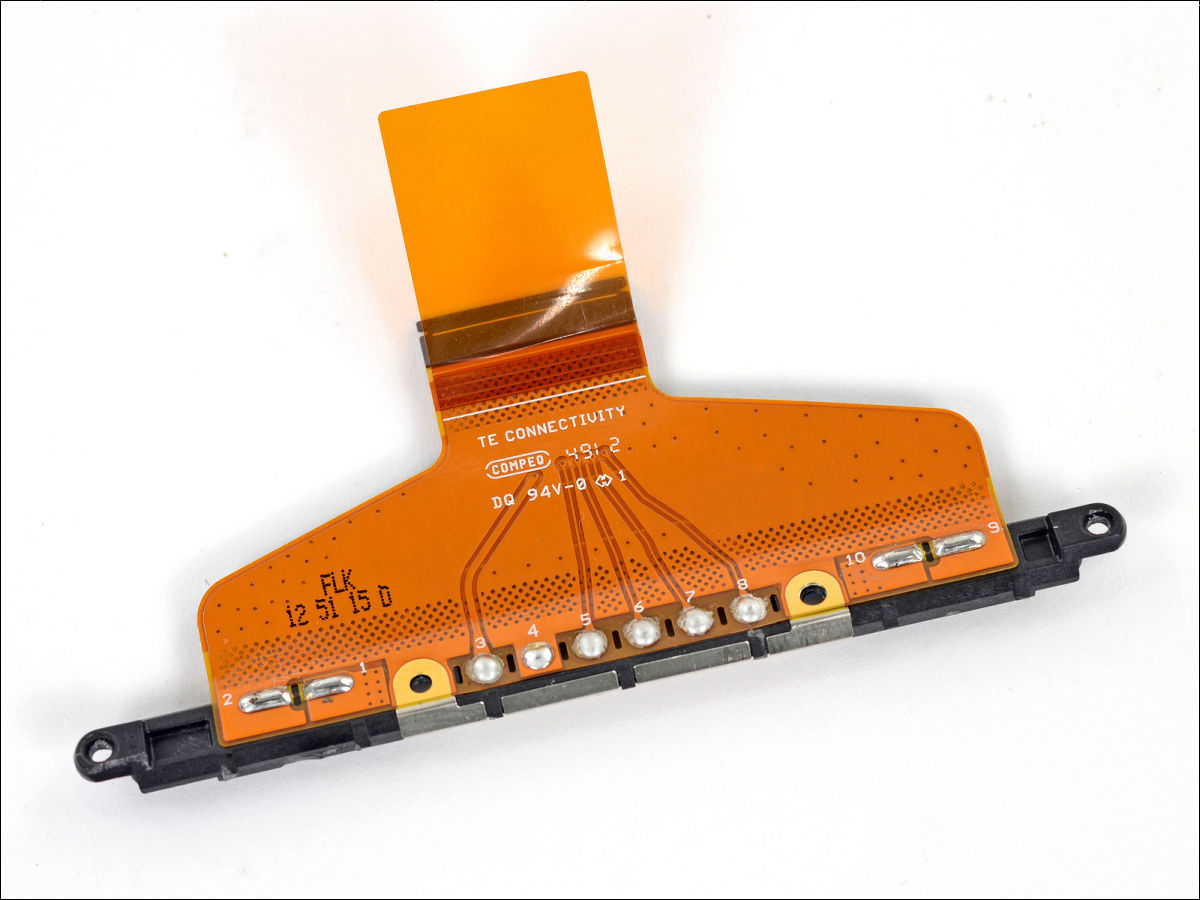
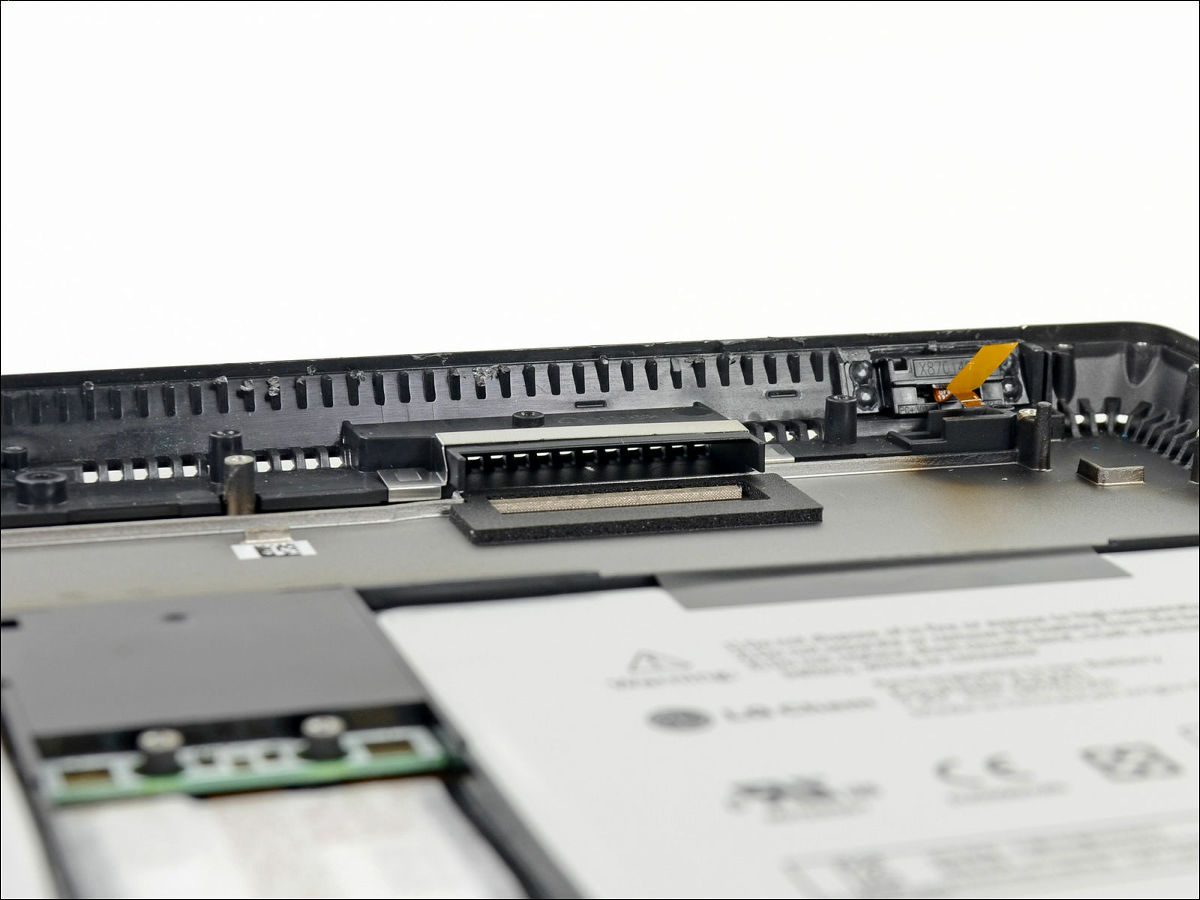
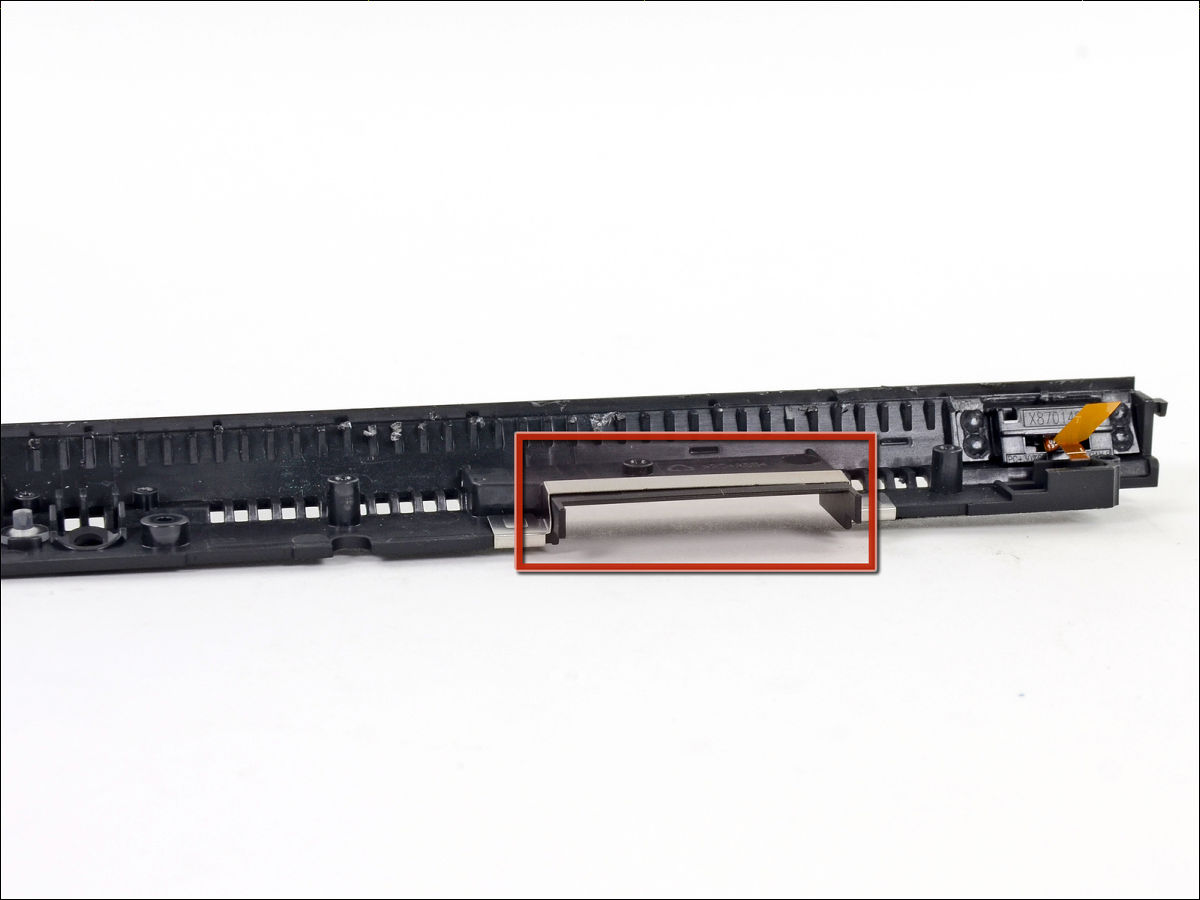
Connector for keyboard dock.

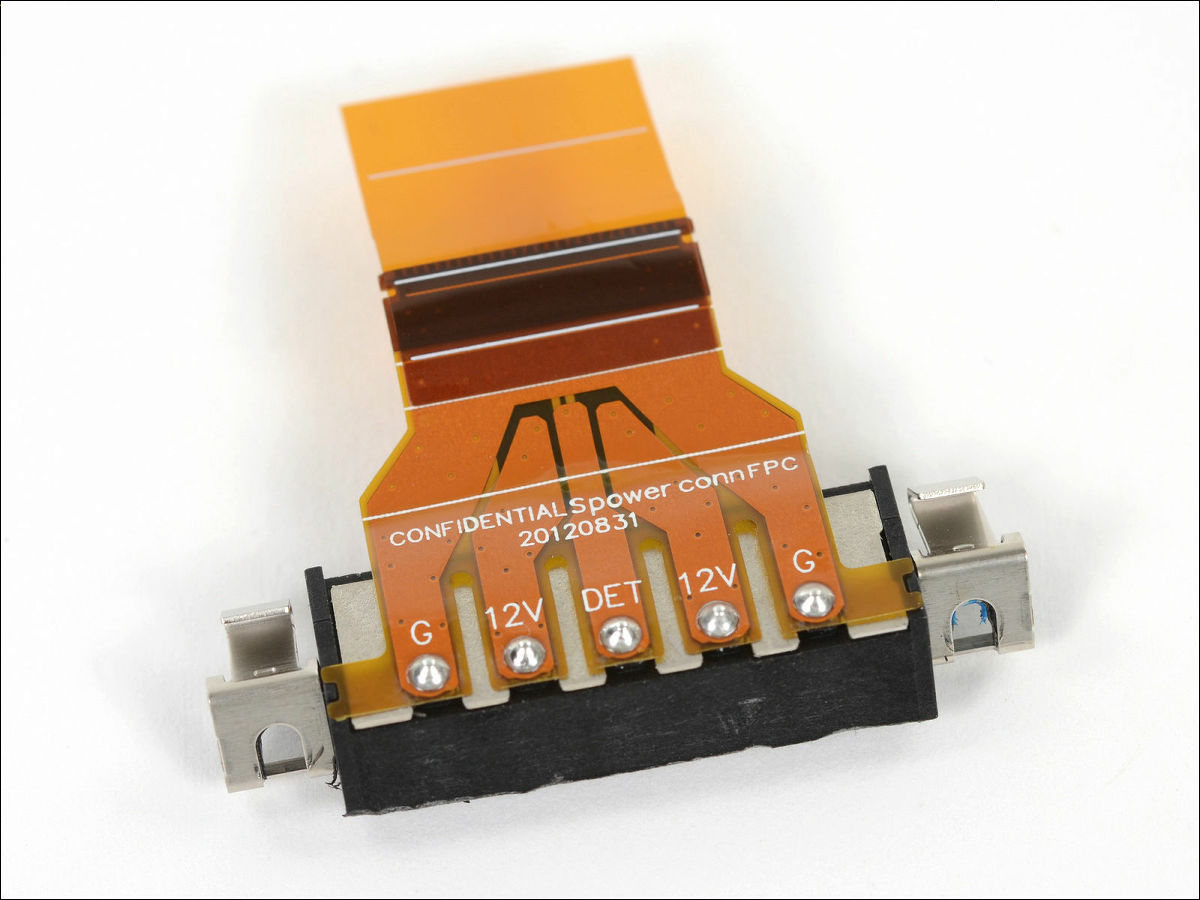
Ribbon cable for power connector.
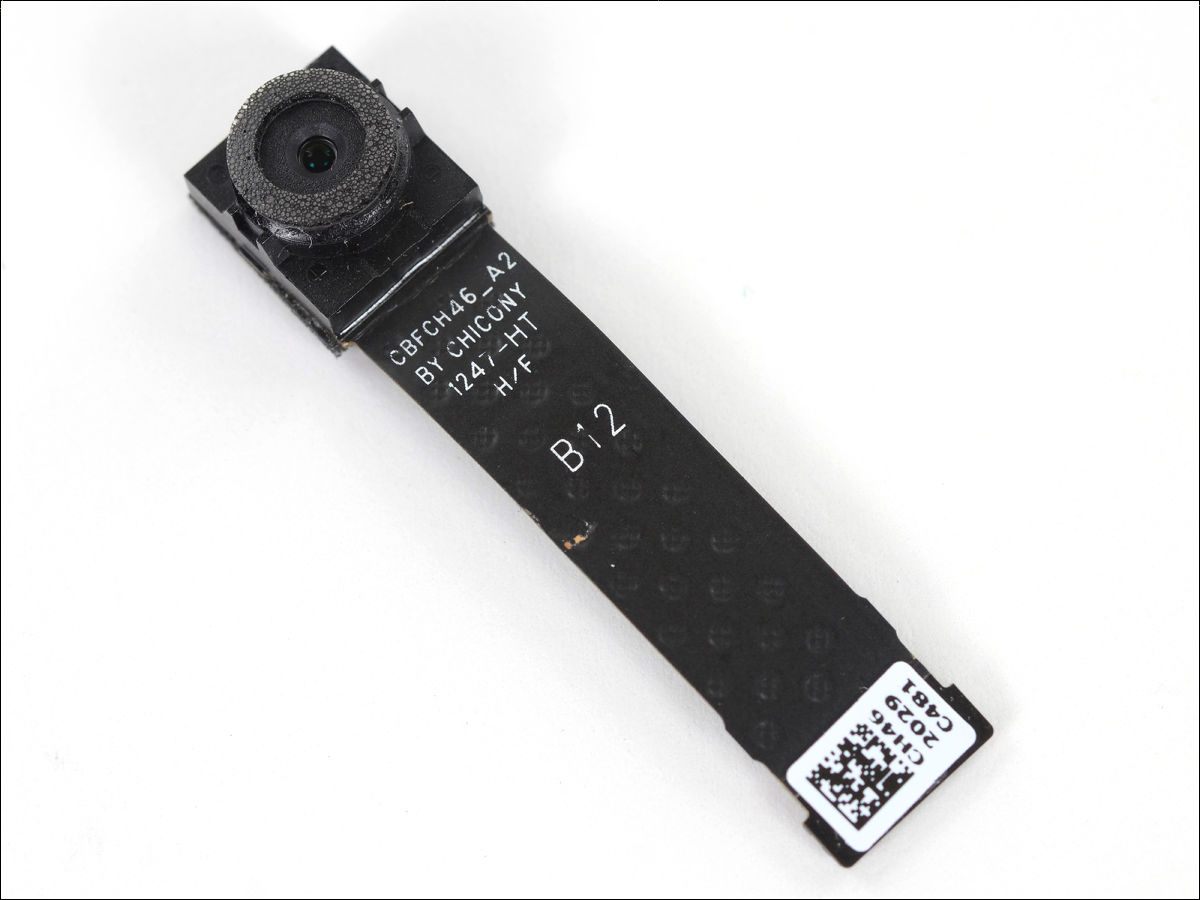
Rear camera.
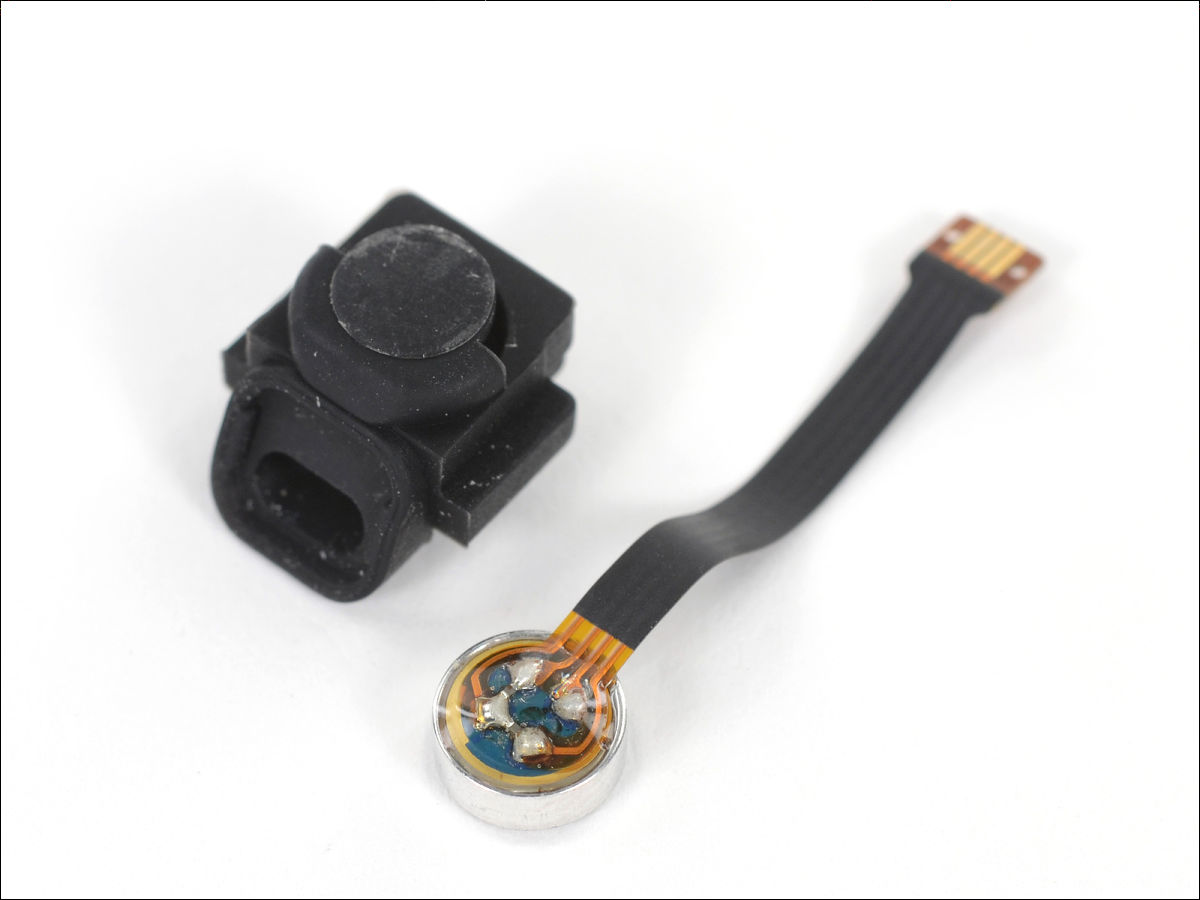
Microphone.
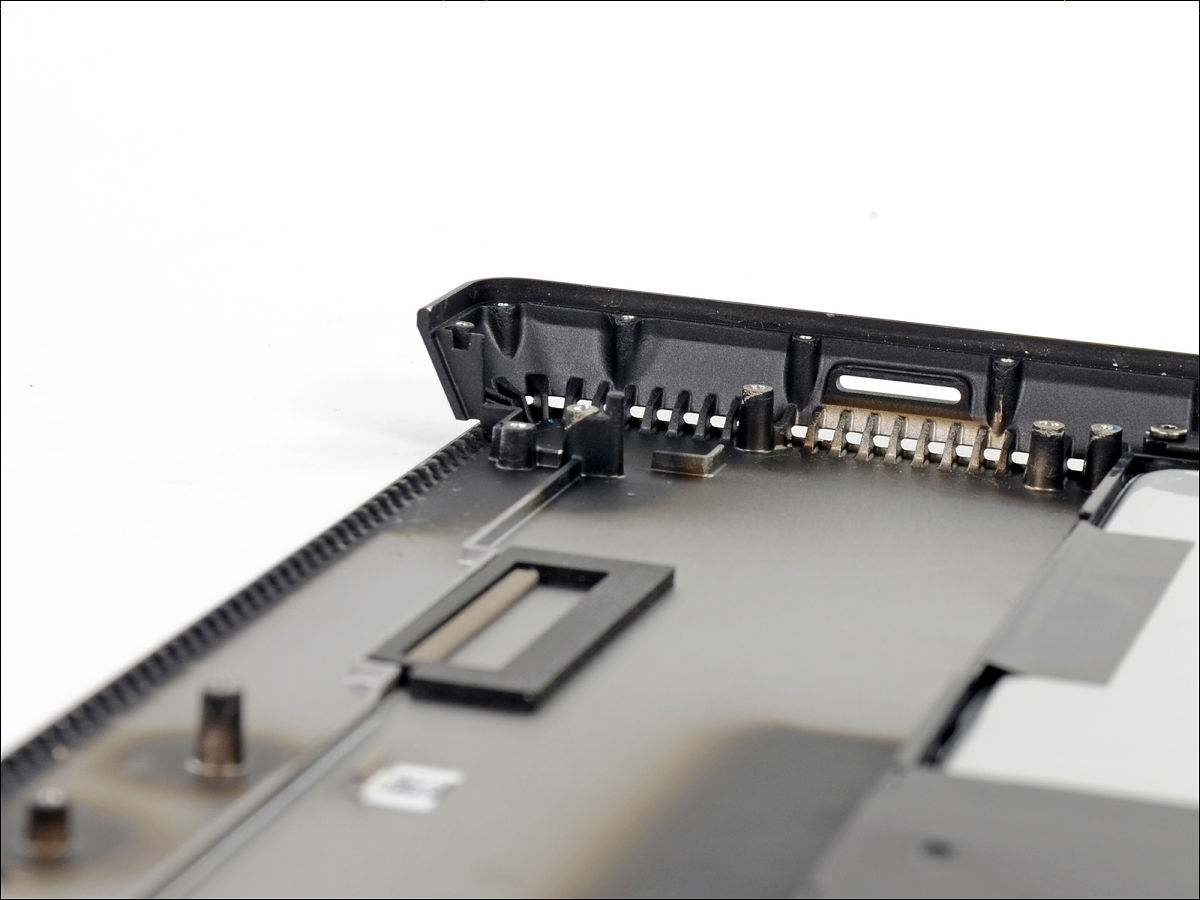
The back parts look like this.
Exit of hot air sent out by the fan.
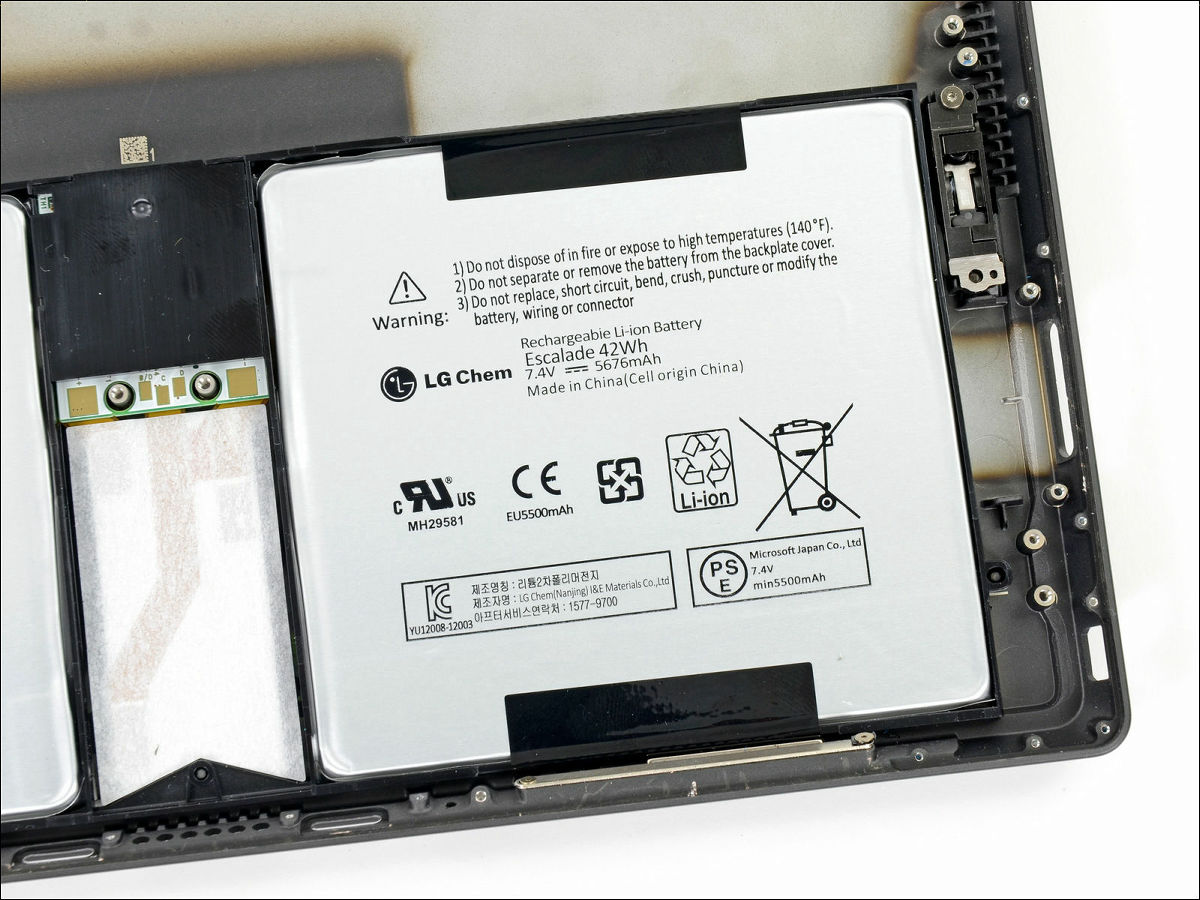
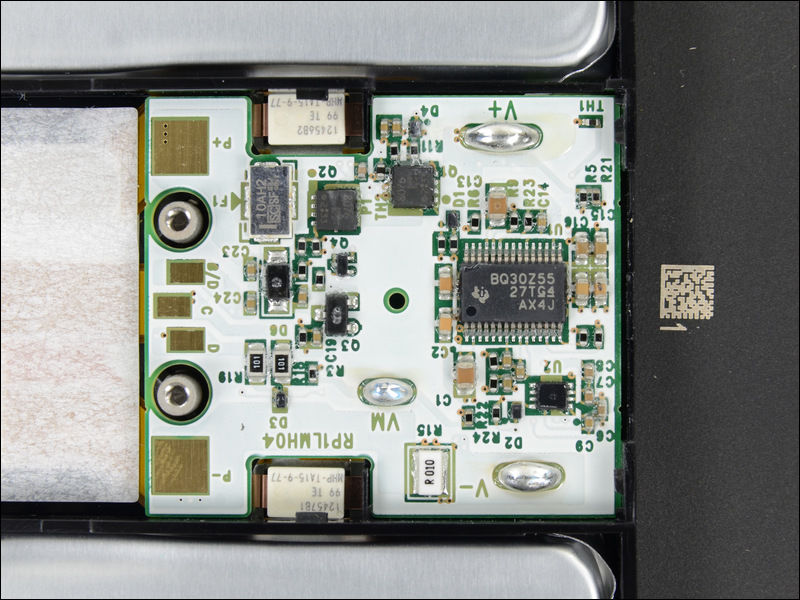
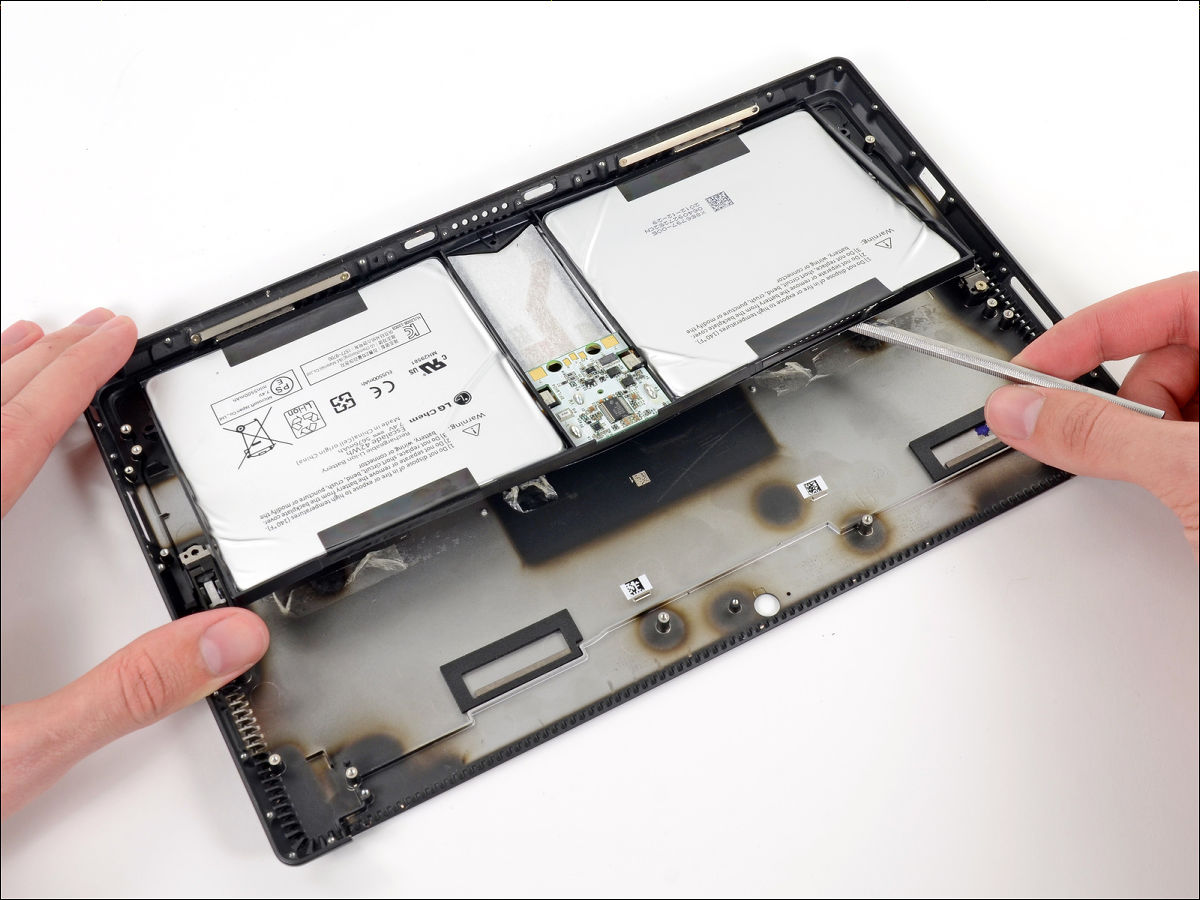
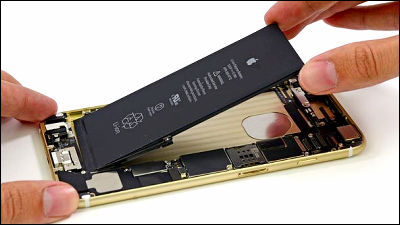
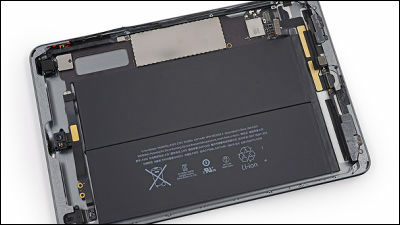
The LG battery (7.4 V / 5676 mAh) is installed.
Place a bag containing plastic beads warmed with a microwave oven etc. to weaken the adhesive strength of the tape adhering the back panel and the battery etc.
Just peel off afterwards.
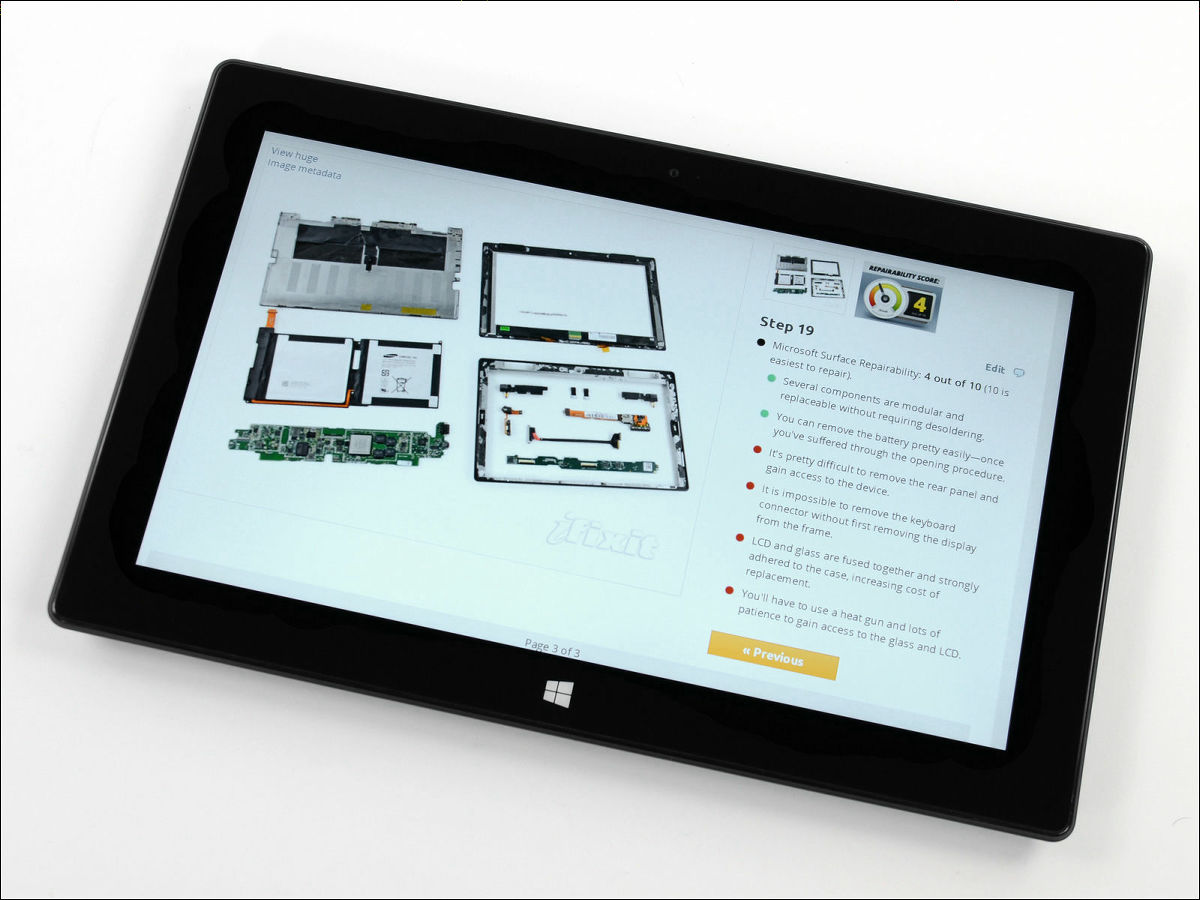
It became completely disjointed.
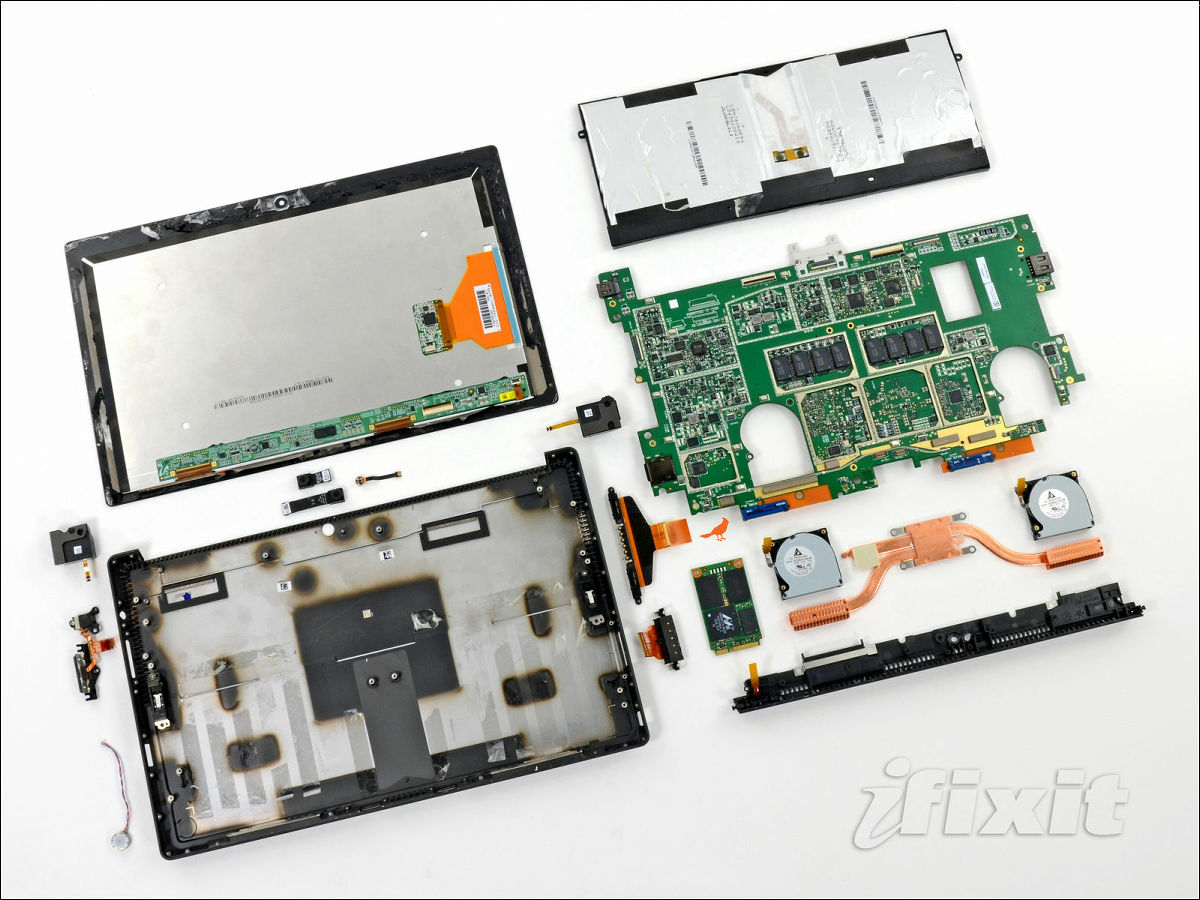
According to the criteria of iFixit which carried out this disassembling work, ease of repair is the lowest rank and it is 1 point out of ten scores.

So it seems that it can be disassembled if a special tool is used, but it will take considerable labor. Moreover, since it seems that the hurdle is quite likely to be assembled properly from here properly, it is safe to avoid disassembling in individuals unless there is so much.
Related Posts:

in Hardware, Posted by darkhorse_log