The photo report released, "GoPro Hero 3" disassembled, the secret of 4K image quality is like this
It is possible to take pictures with 4K picture quality exceeding full HDGoPro HERO 3You can preview & amp; from smartphone,Model so farIt is a high quality hand-held size action camera with much improved functions compared to its counterparts, but what is inside of the action camera? In that regardIFixitIs decomposed.
GoPro Hero 3 Teardown - iFixit
http://www.ifixit.com/Teardown/GoPro+HD+Hero3+Teardown/12457
This is going to disassemble from now GoPro HERO 3.
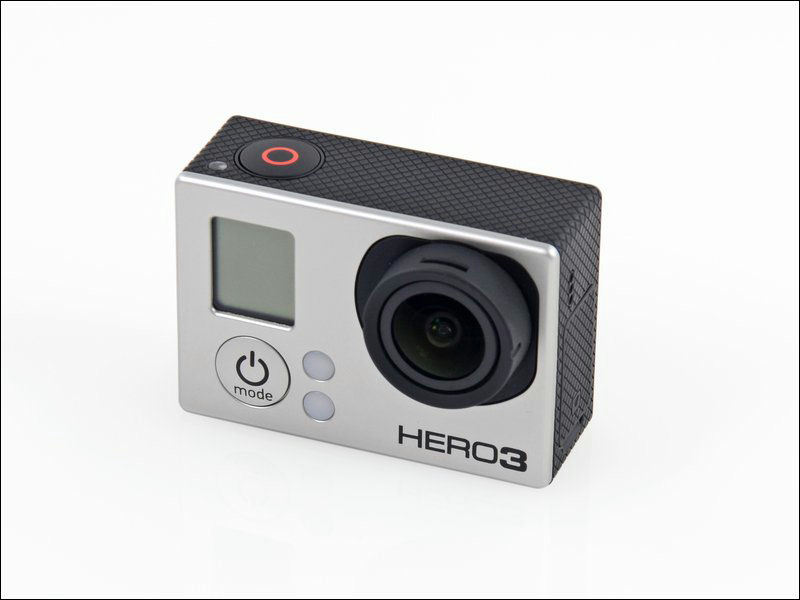
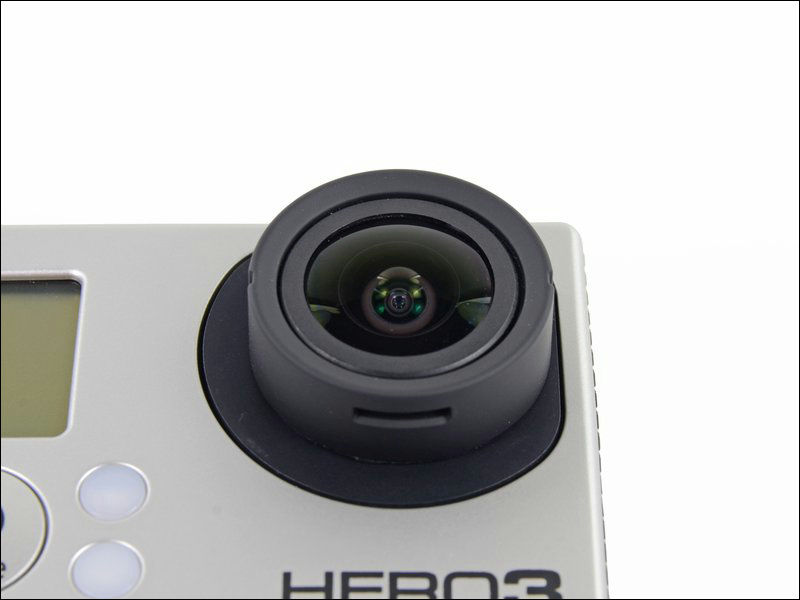
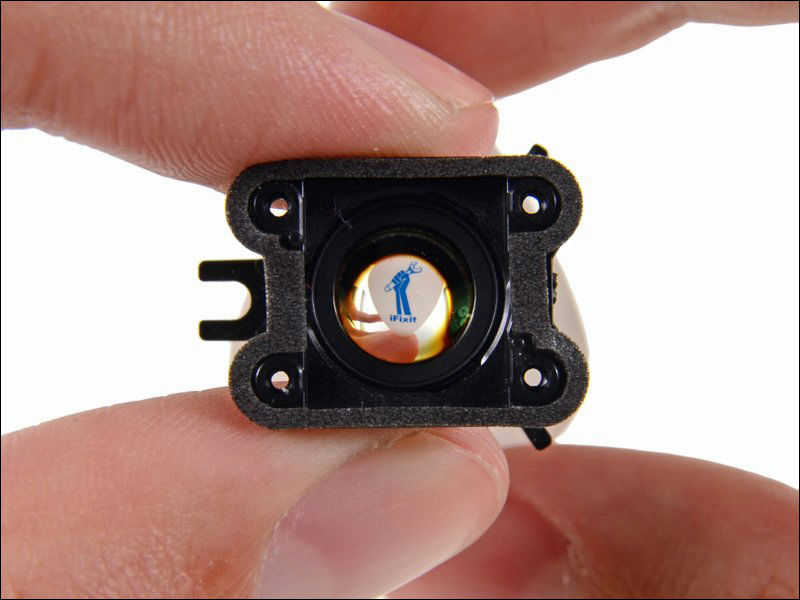
First of all, can you look through the lens and see something? I checked it, but unfortunately I could not see anything.
Remove the cover on the right side of the main unit.
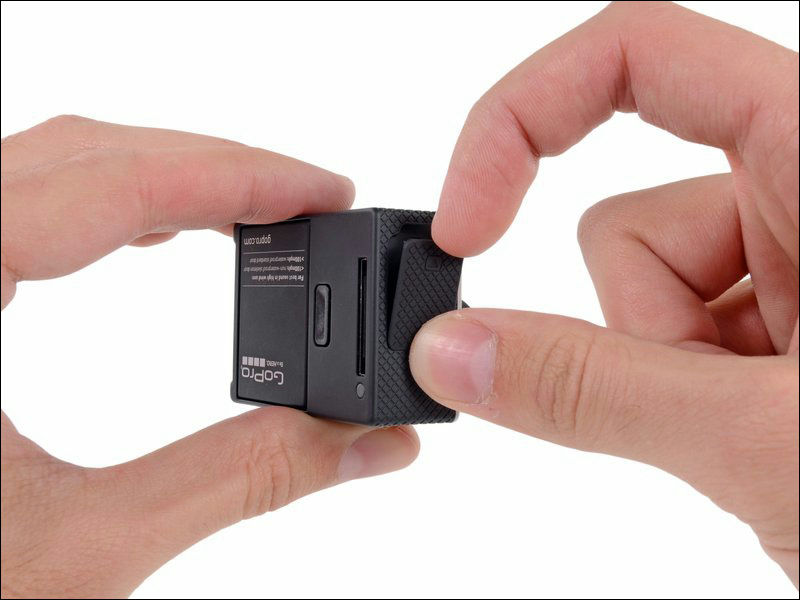
Like this, HDMI port, USB port, microSD card slot are exposed.

The cover on the back is designed to easily disengage by pushing the button. Under the cover there is a battery pack, a mechanism to pull the handle and remove it.
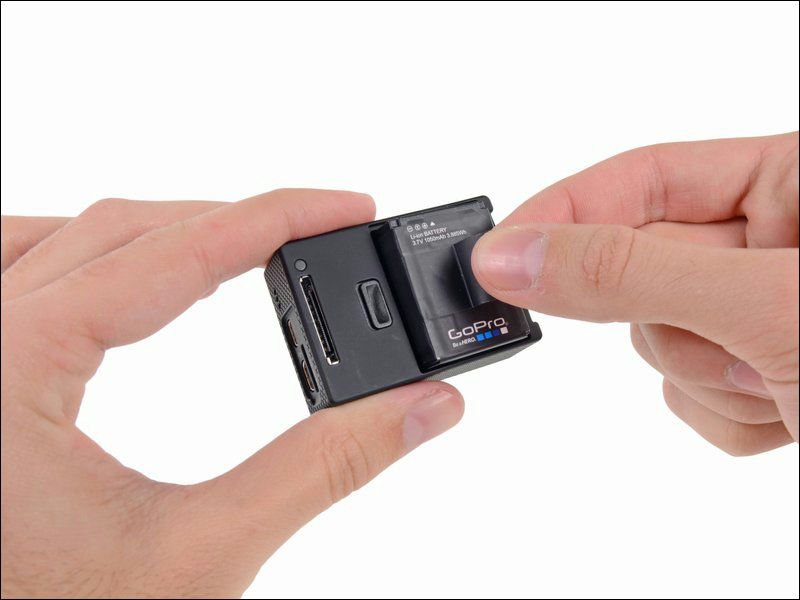
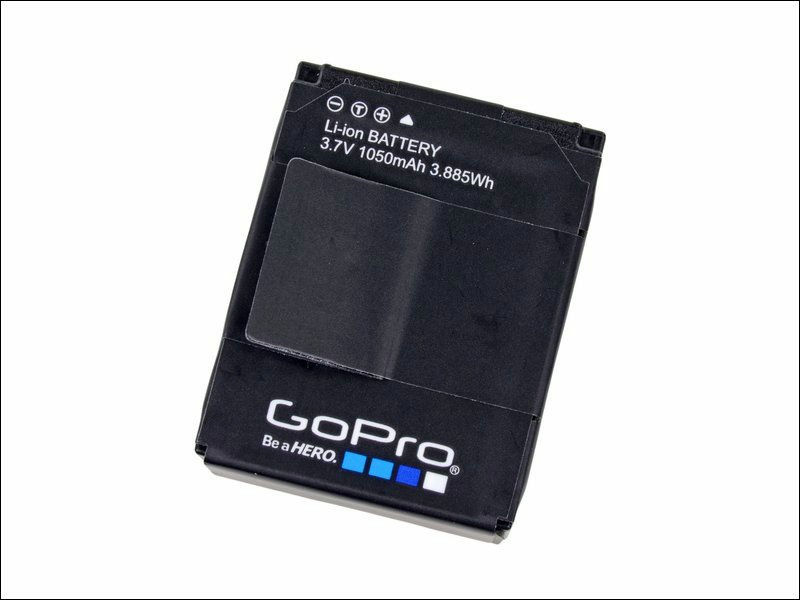
Here is a battery pack. The battery of Hero 3 is 3.7 V, 1050 mAh, 3.85 Wh, due to device miniaturizationHERO 2It has decreased by 50 mAh.
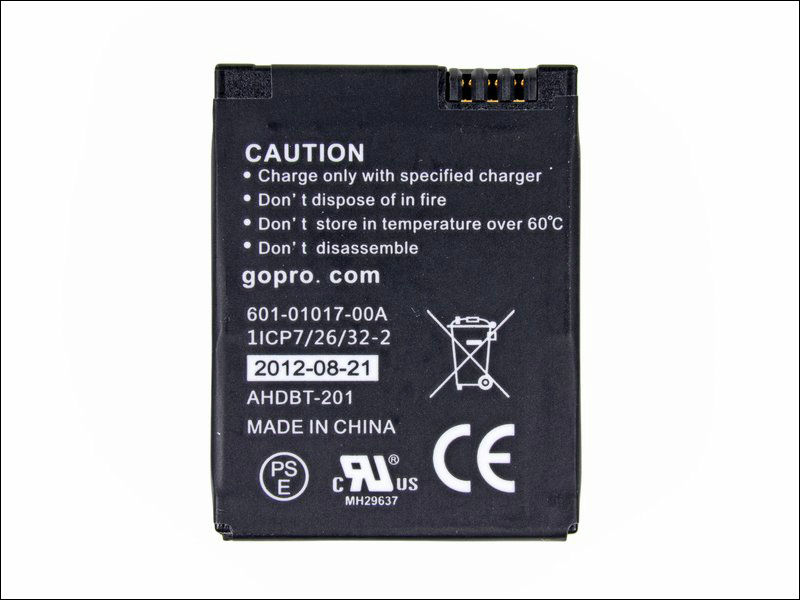
It is written on the reverse side to keep it at high temperature, not to disassemble the battery or use fire to dispose of it.
In order not to damage the device,Dedicated plastic tweezersI will remove the exterior using.
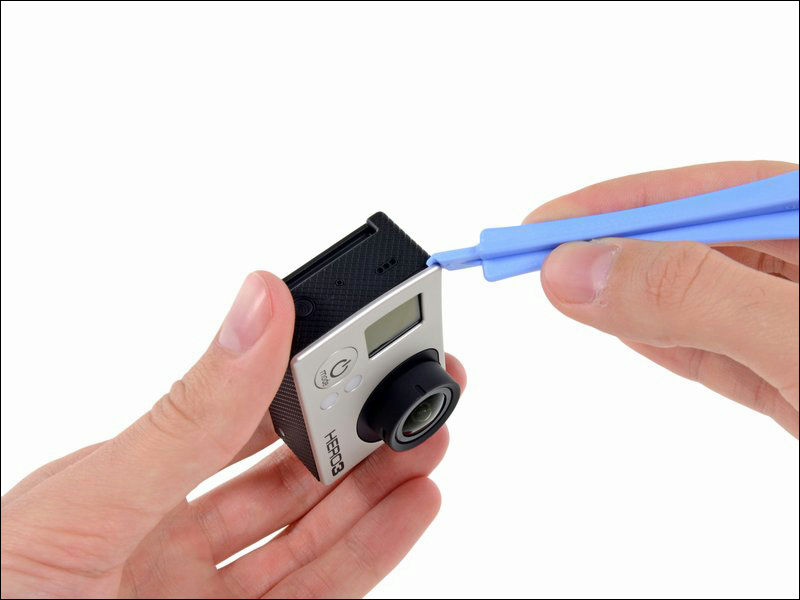
Crack
I will screw the screw using the screwdriver.
Four corners are fixed with 8.1 mm screws, but dedicateddriverIt is possible to easily remove it by using.

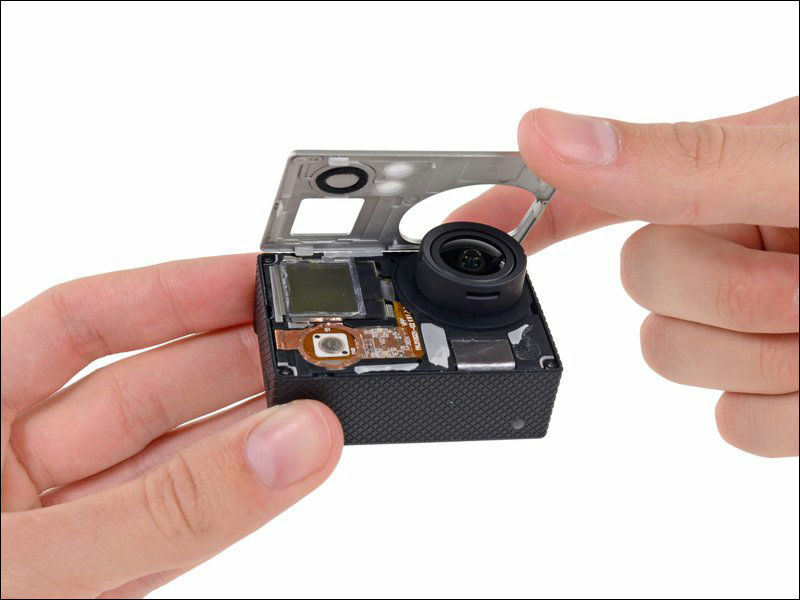
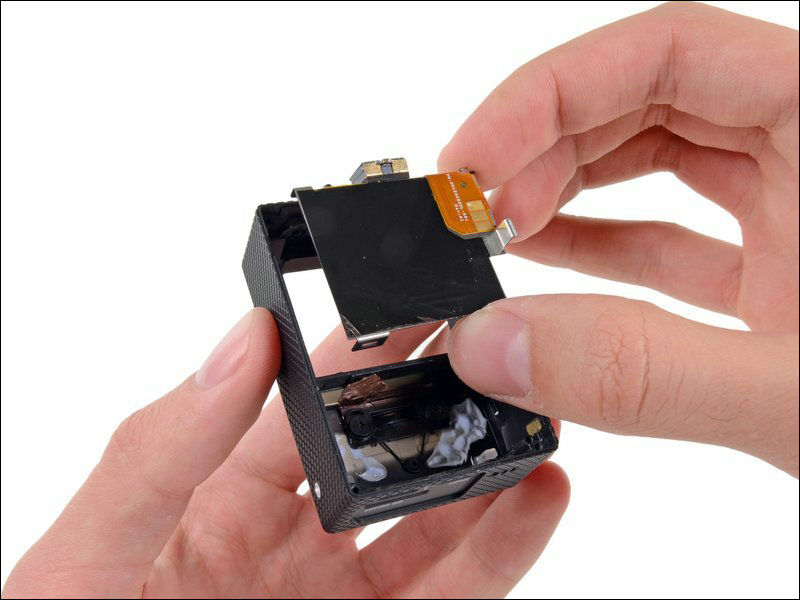
Going off the midframe ......
The motherboard was stuck behind.
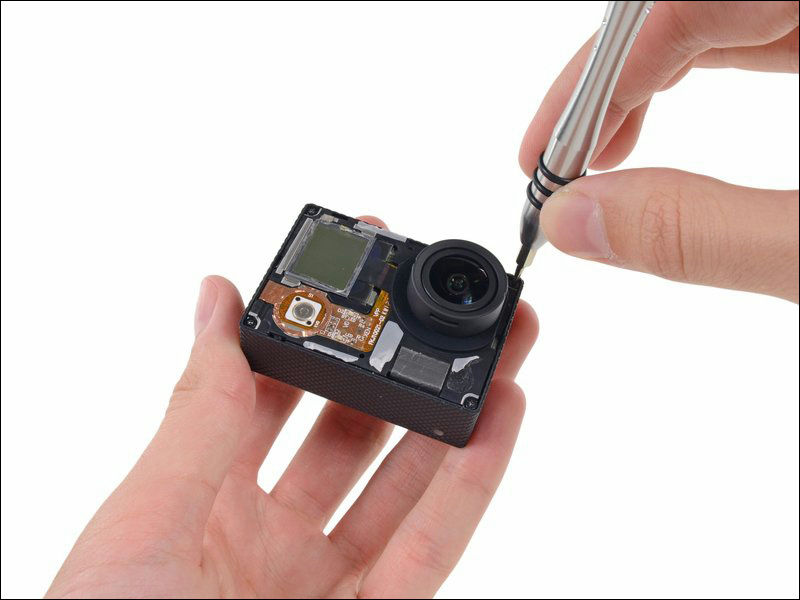
Remove the tape.

Then use a screwdriver to remove the screw.
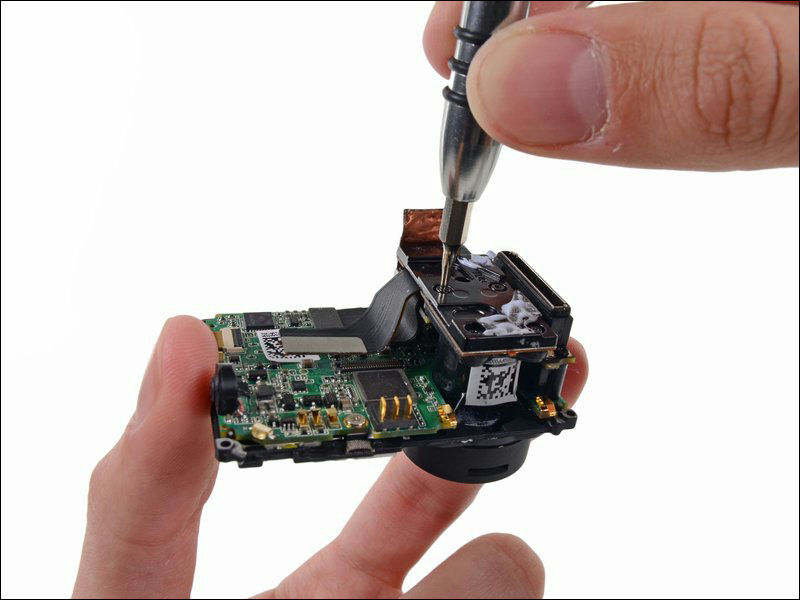
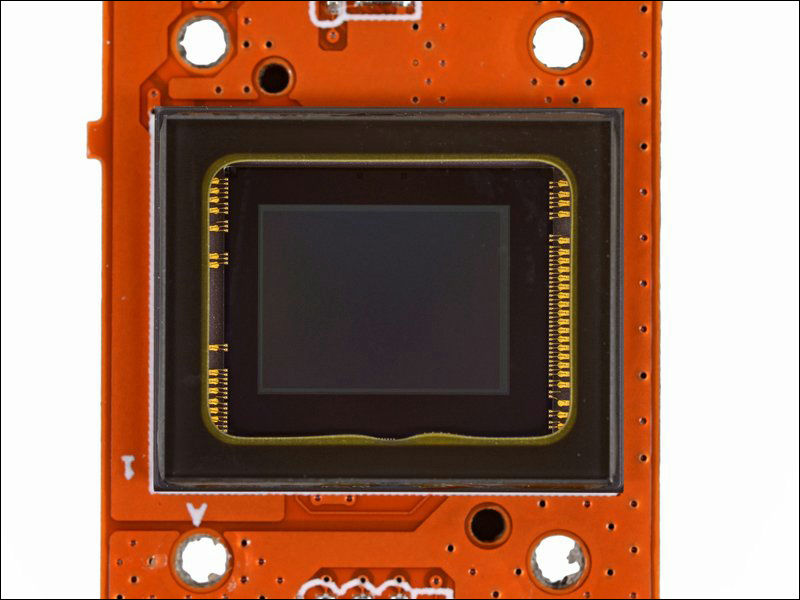
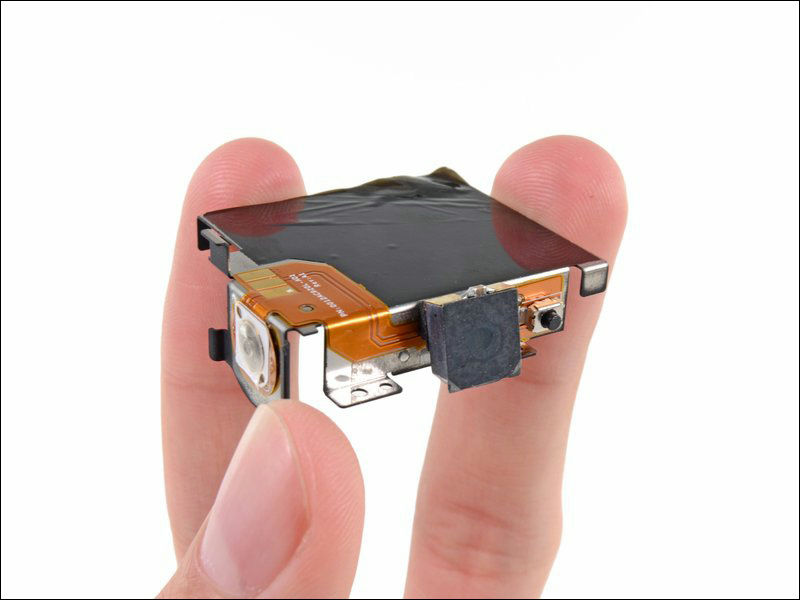
This is the image sensor used in HERO 3.
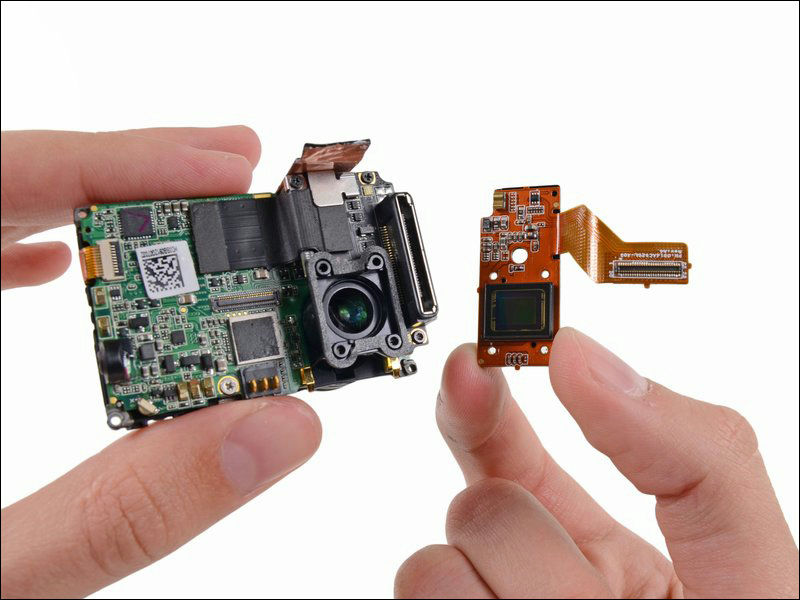
The model before HERO 3 was 5 million pixels, 11 million pixels, but this small image sensor improves the performance at low light intensity, enabling up to 4 K Cinema (15 fps) images and 12 million pixel photography .

In the center is Sony's semiconductorIMX117CQT. On the official site there are 30 photos of 12 MPP per second, but it is originally a sensor that can take 35 photos per second.
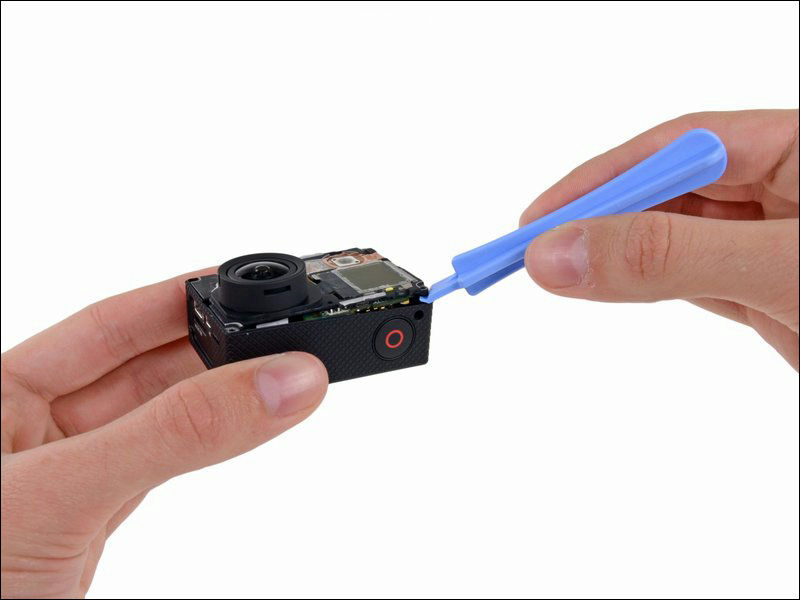
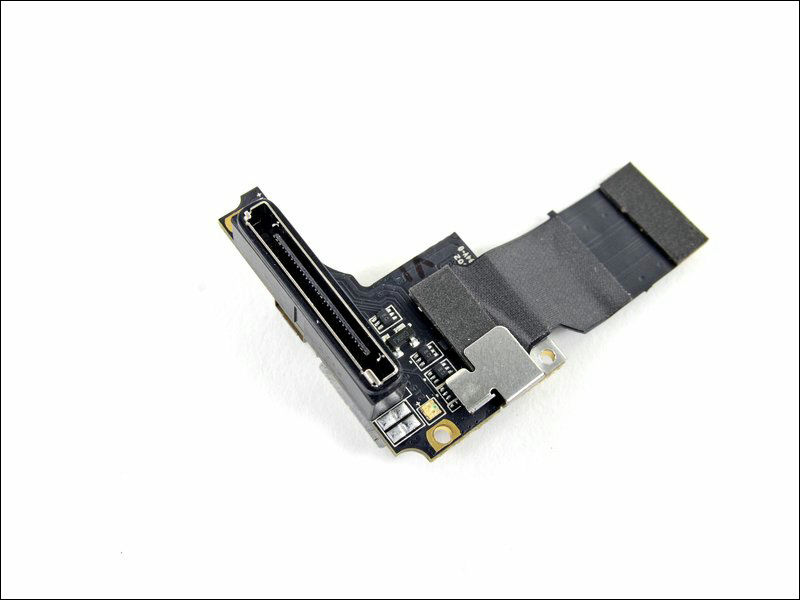
Next, I will remove the attached board that sticks to the motherboard.
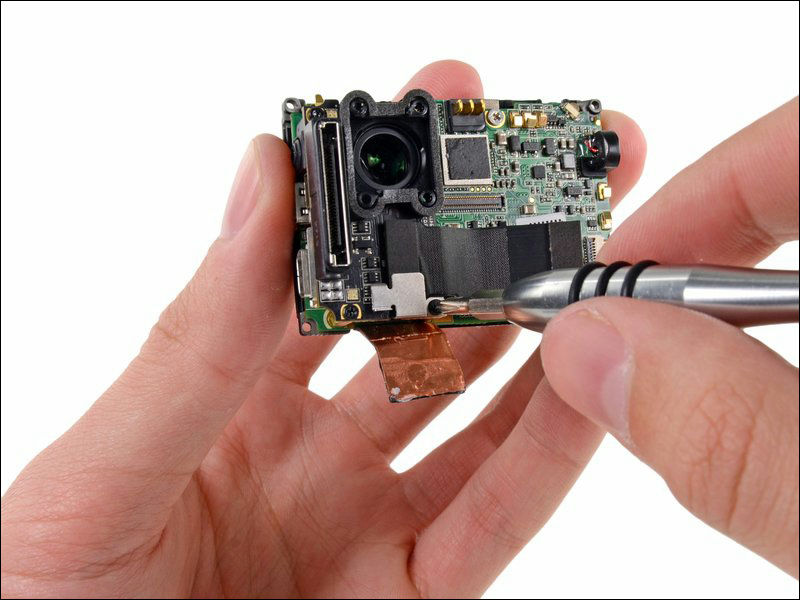
The removed attached board is here. In addition to microSD port, A / V adapter, LCD backpack, extended battery and so on can be installed so it is larger.
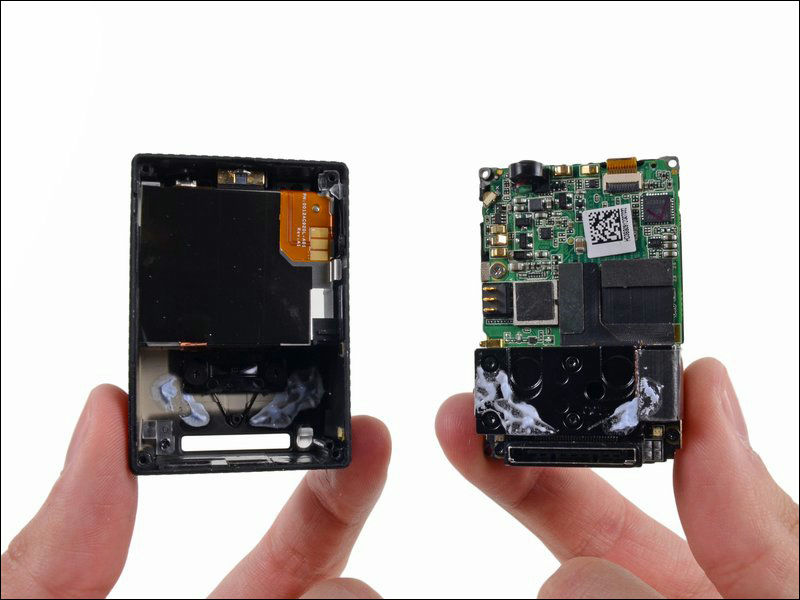
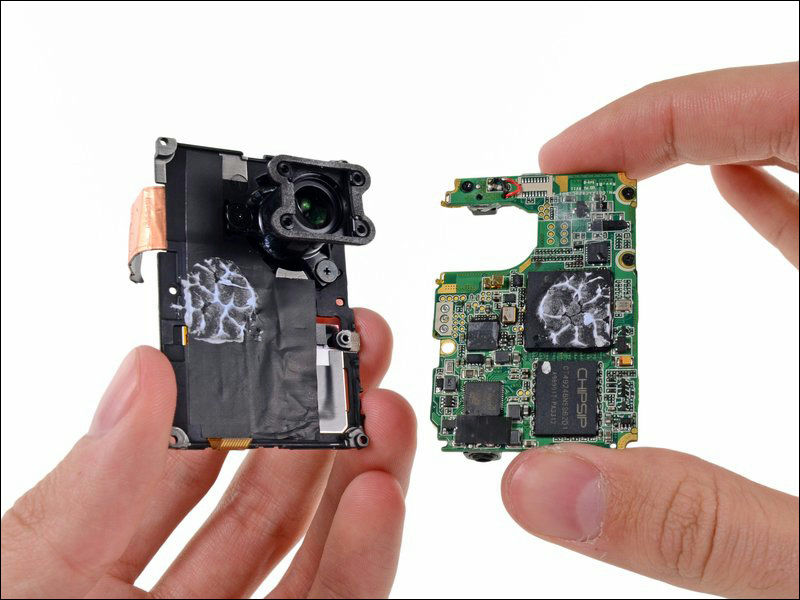
Then use a screwdriver to remove the motherboard from the midframe.

Disassembly.
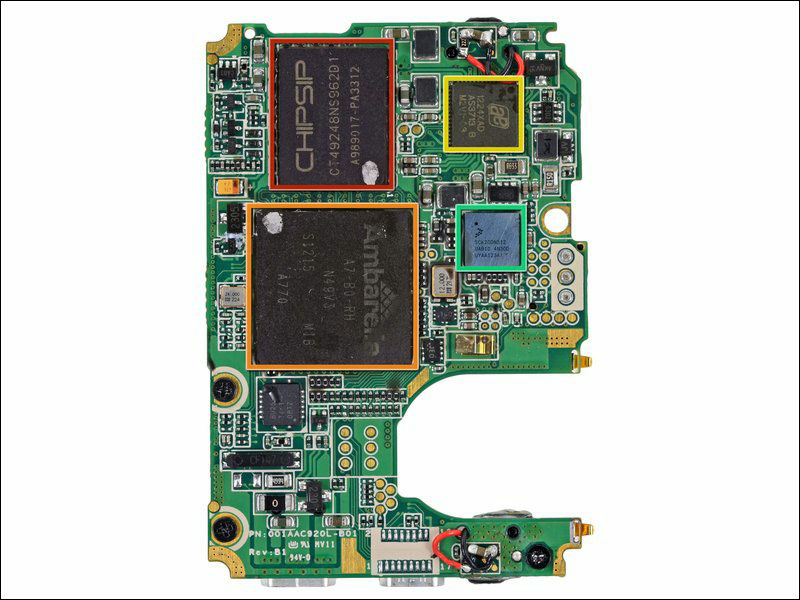
The part with the red frame is Chipsip'sCT4924 128 MB NAND flash + 512 MB DDR 3, Orange frame is Ambarella'sA770 system on chip, Yellow frame by AustriamicrosystemsAS3713 system PMU with backlight driver, The green frame is Kinetis' SCK 20 DN 51 Z USB controller.
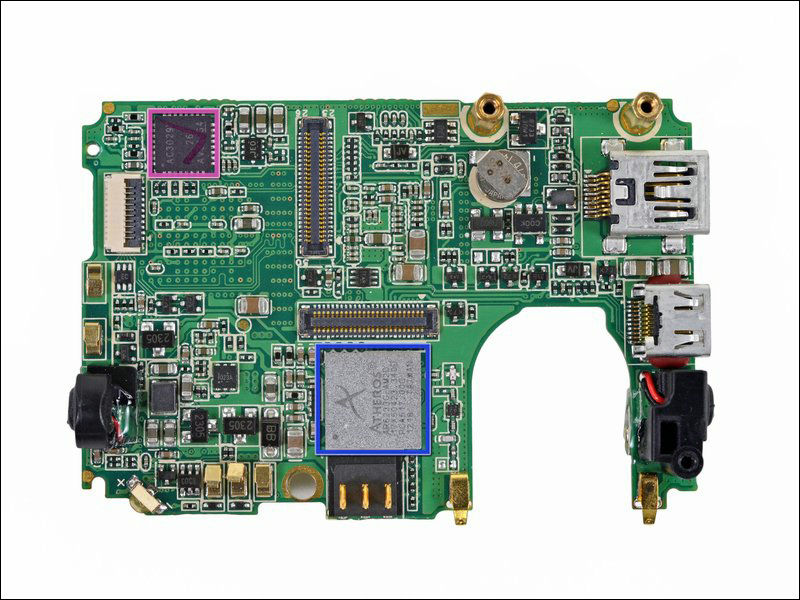
Here is the inside out look. The blue frameAR 6233 GEAM 2 D 802.11 n + Bluetooth 4.0 controller, Purple frame is AC3029.
I will peel off the tape further.
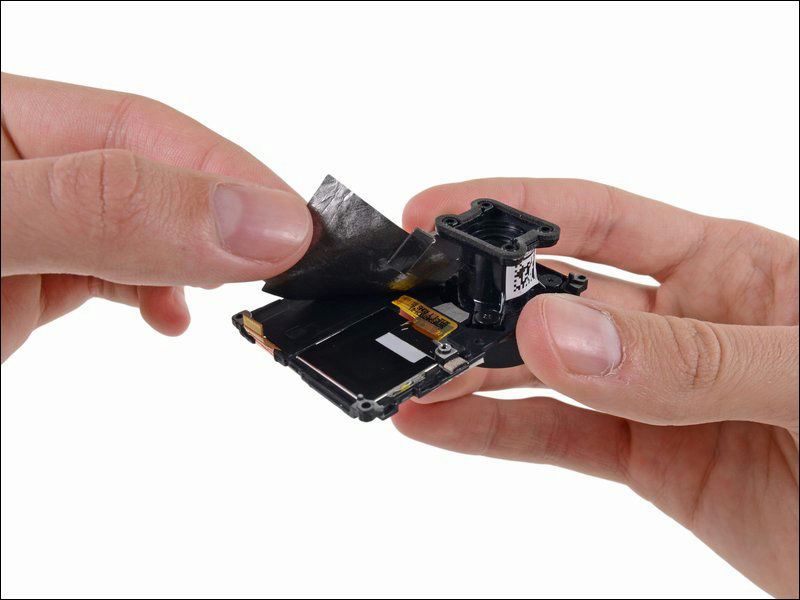
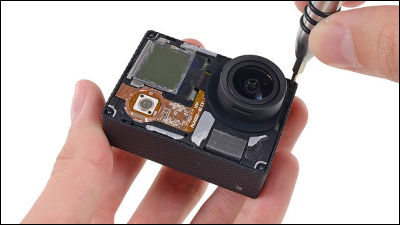
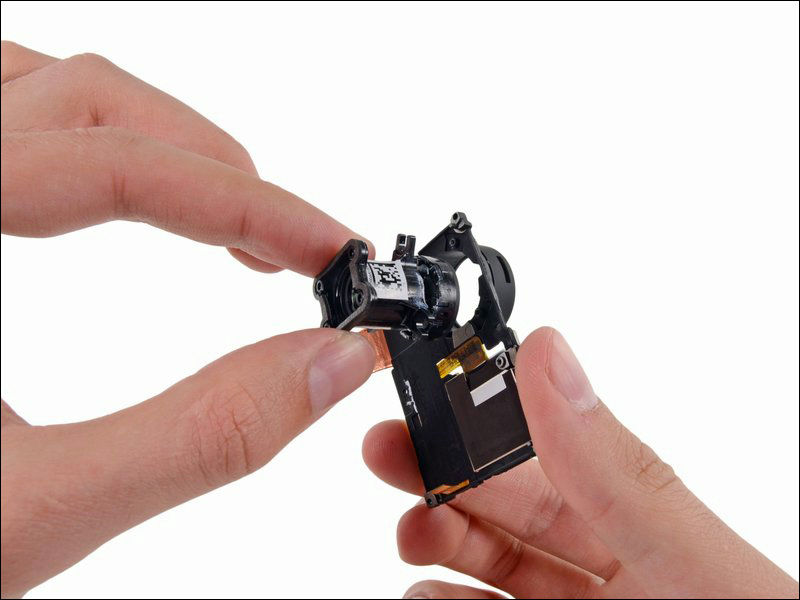
I removed the camera lens.
When bringing the pick of the guitar in front of the lens, the left and right are reversed and are reflected.
Since it disassembled anyway, the remaining components in the device are only a few. Cable and liquid crystal display soldered on the midframe.
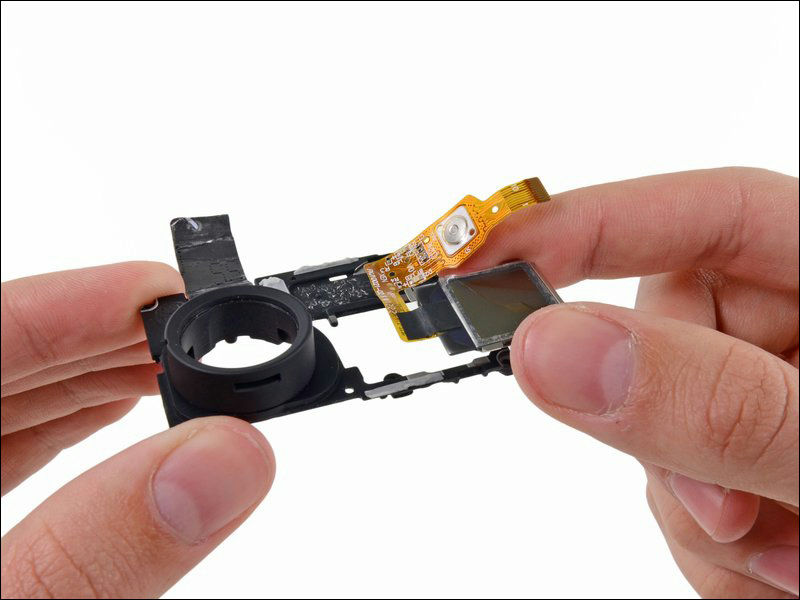
I removed the component that remained on the exterior.
Speakers located behind the battery and buttons are united.
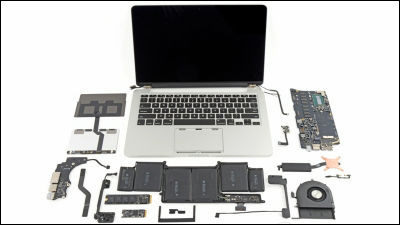
So when you try to disassemble it all, the end looks like this. According to iFixit, ease of disassembly is "7" out of 10 stages, it seems that it was easier one.

Related Posts:


in Hardware, Posted by darkhorse_log