A report that tried repaired screen "iPad" with a dedicated repair kit of "iFixit"
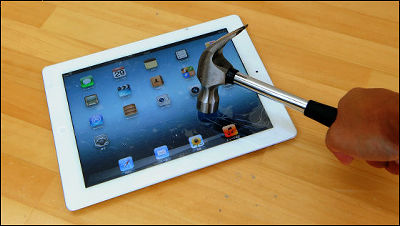
Protective filmReview article"3rd Generation iPad" that the glass on the display cracked by the direct hit of the concrete block. While thinking in a hurry to repair, I thought whether I should repair them by themselves, purchased parts and dedicated tool kit from iFixit and tried it.
◆ Equipment used
IFixit is an American company, so I ordered the package by international mail.

Boxes are packed with cushioning materials and parts.

This time I ordered a replacement part for iPad "IPad 3rd Gen Front PaneL (169.95 dollars / around 13,600 yen) and a tool set for repair "Pro Tech Toolkit(About 59.95 dollars / 4800 yen) "used to hold the panel,"Heavy-duty Suction Cups Pair(About $ 14.95 / about 1200 yen) ".
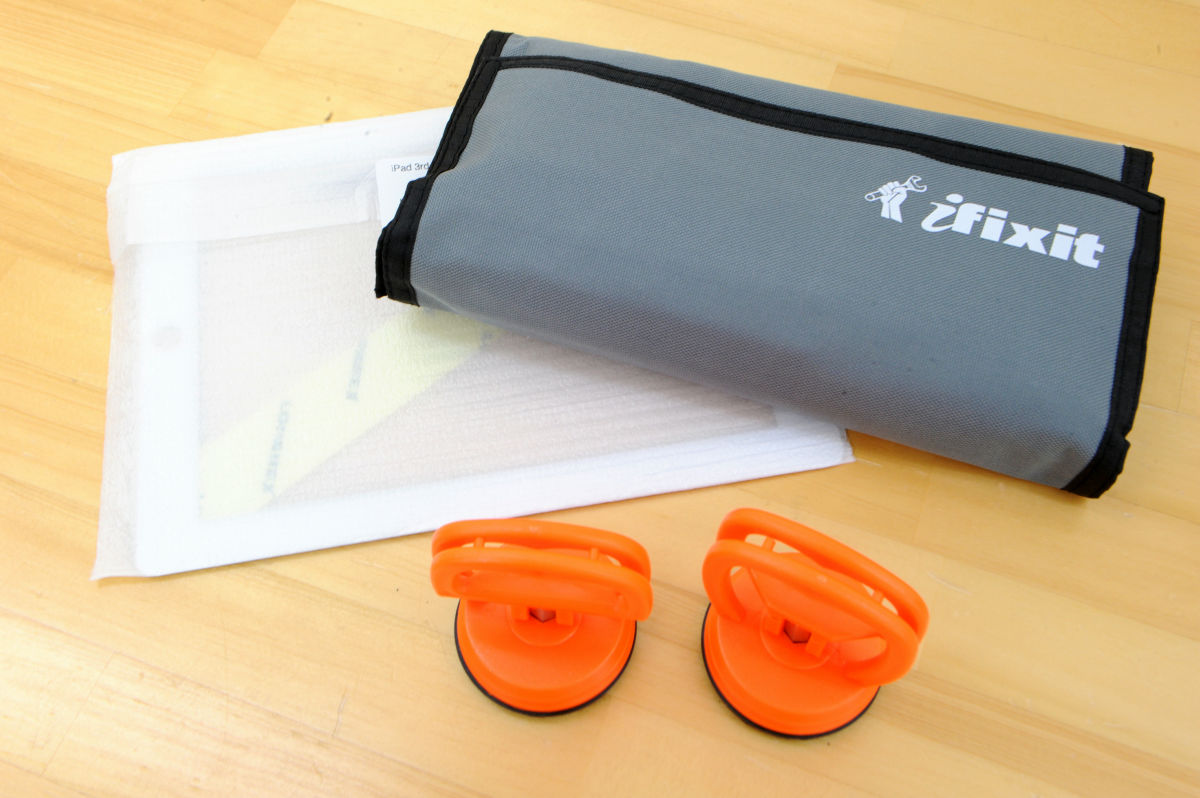
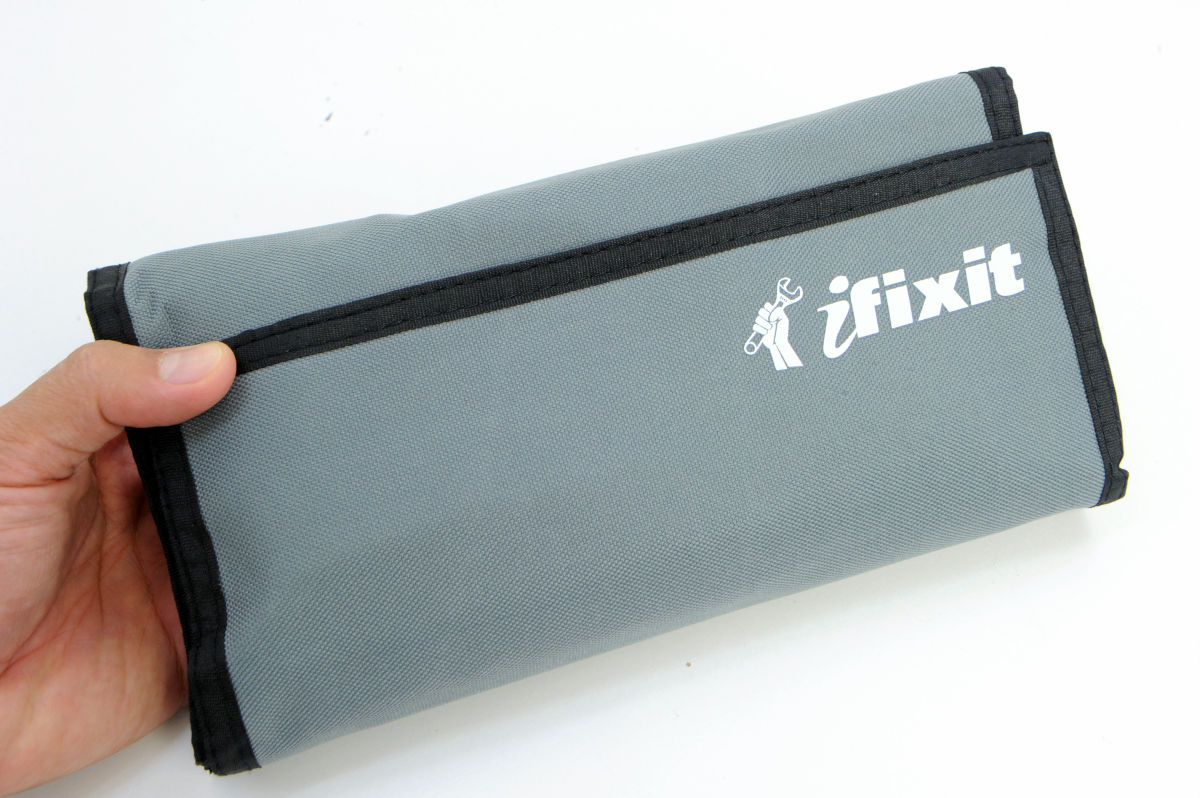
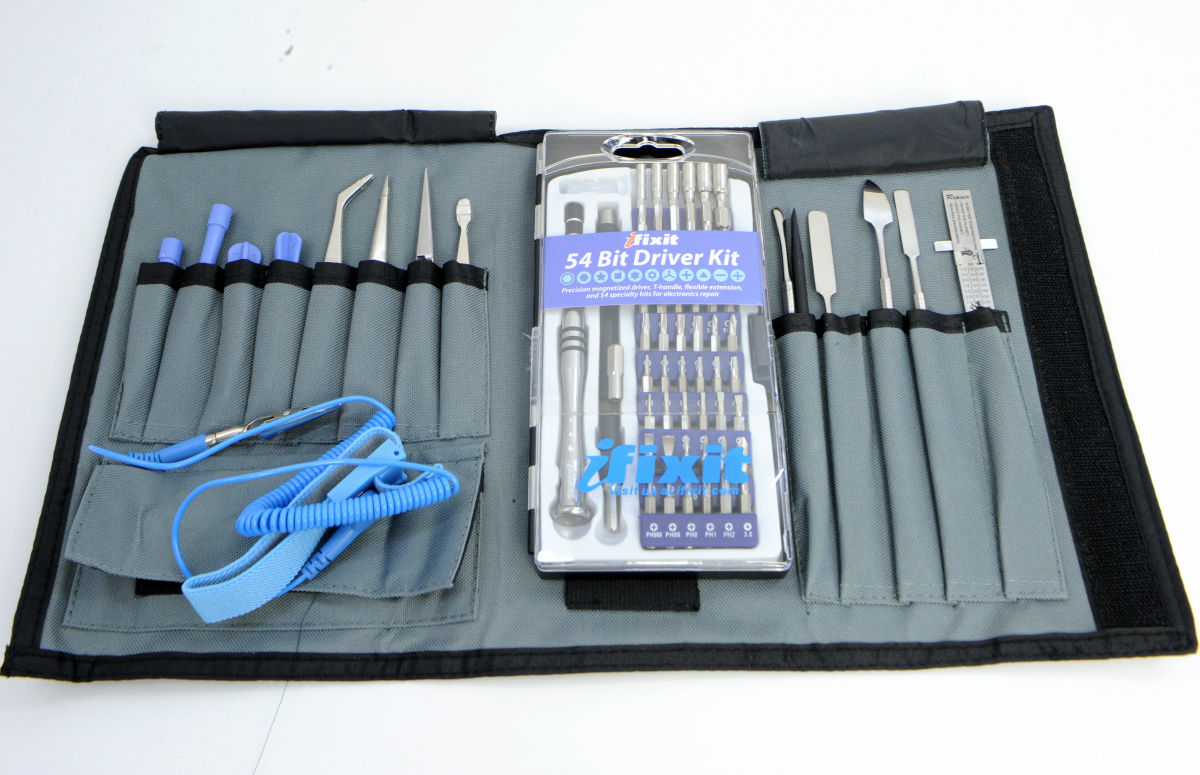
"Pro Tech Toolkit" entered in a cloth case.
Contents is like this.
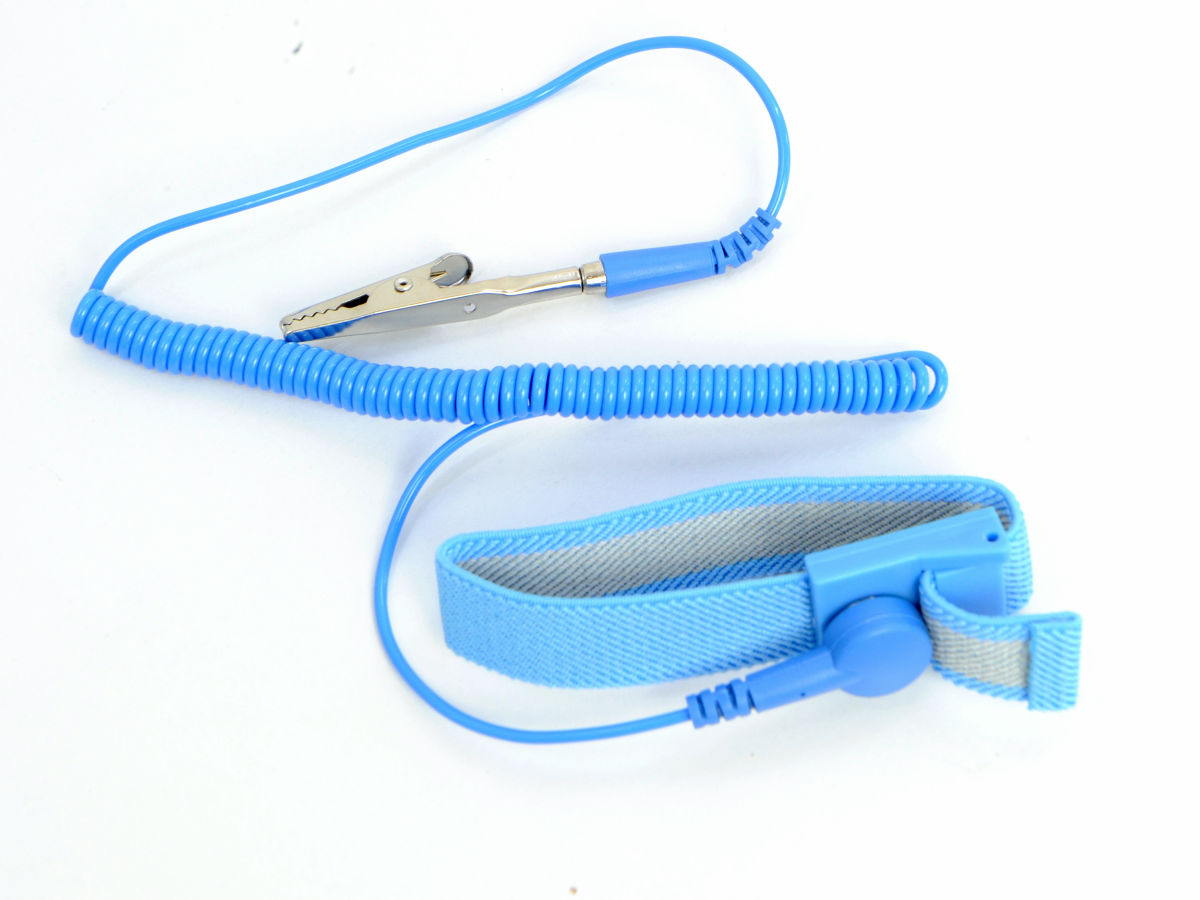
Antistatic wristband.
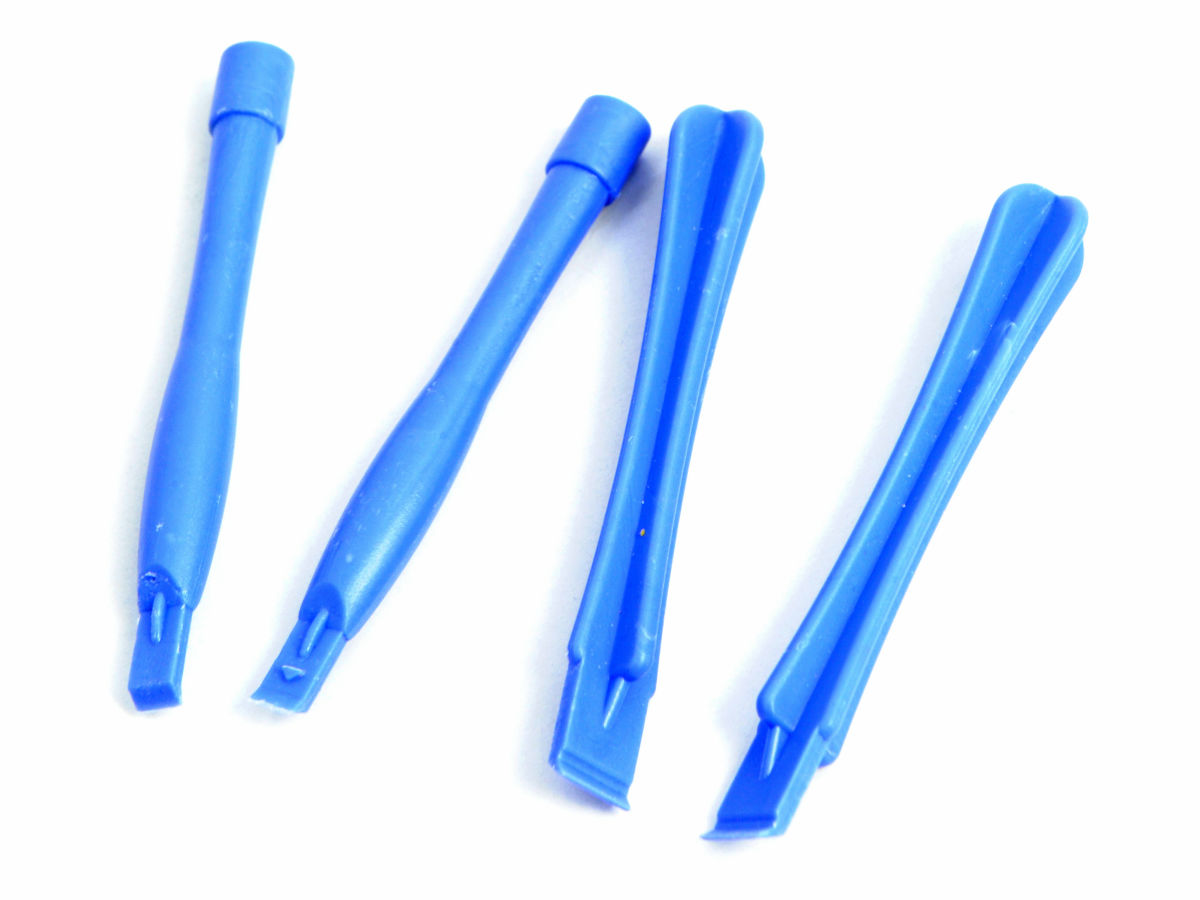
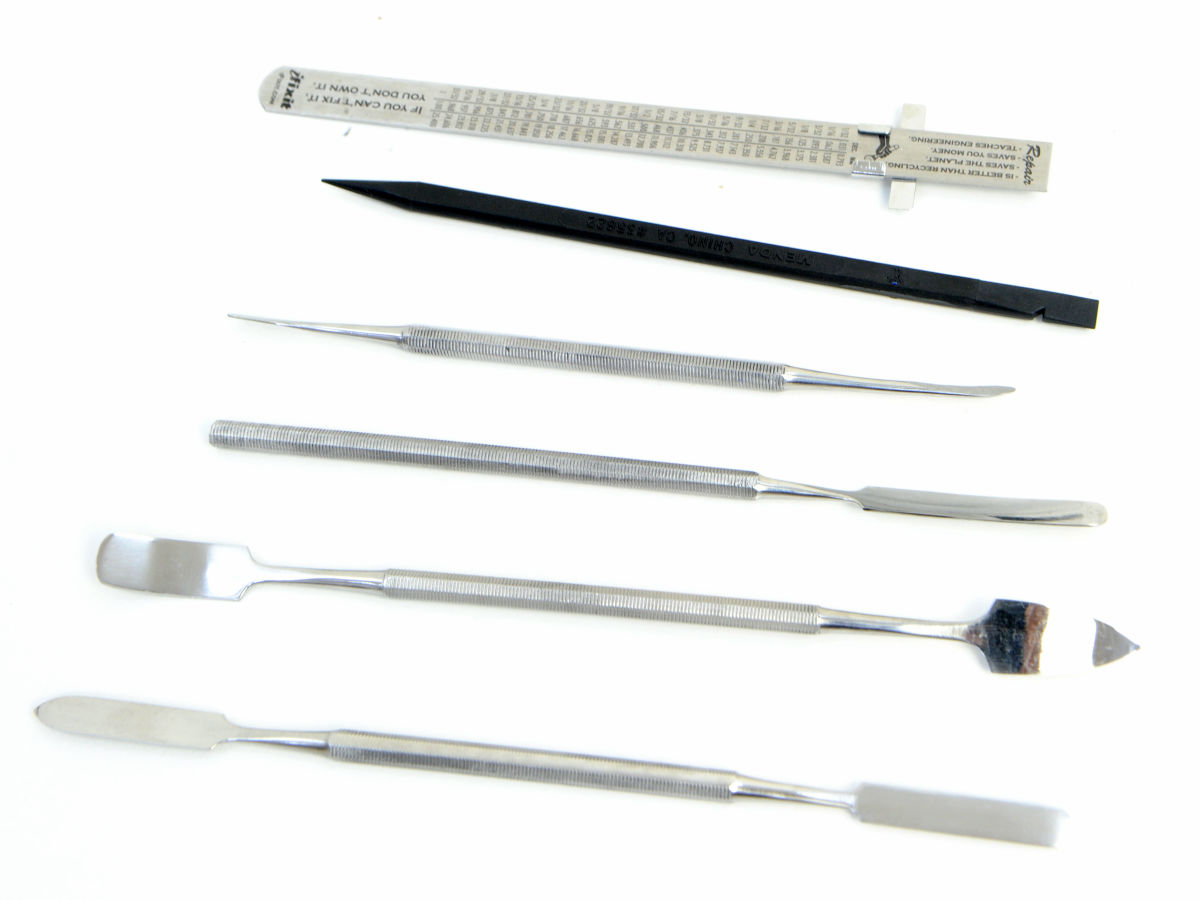
Plastic equipment used when removing the front panel glass.
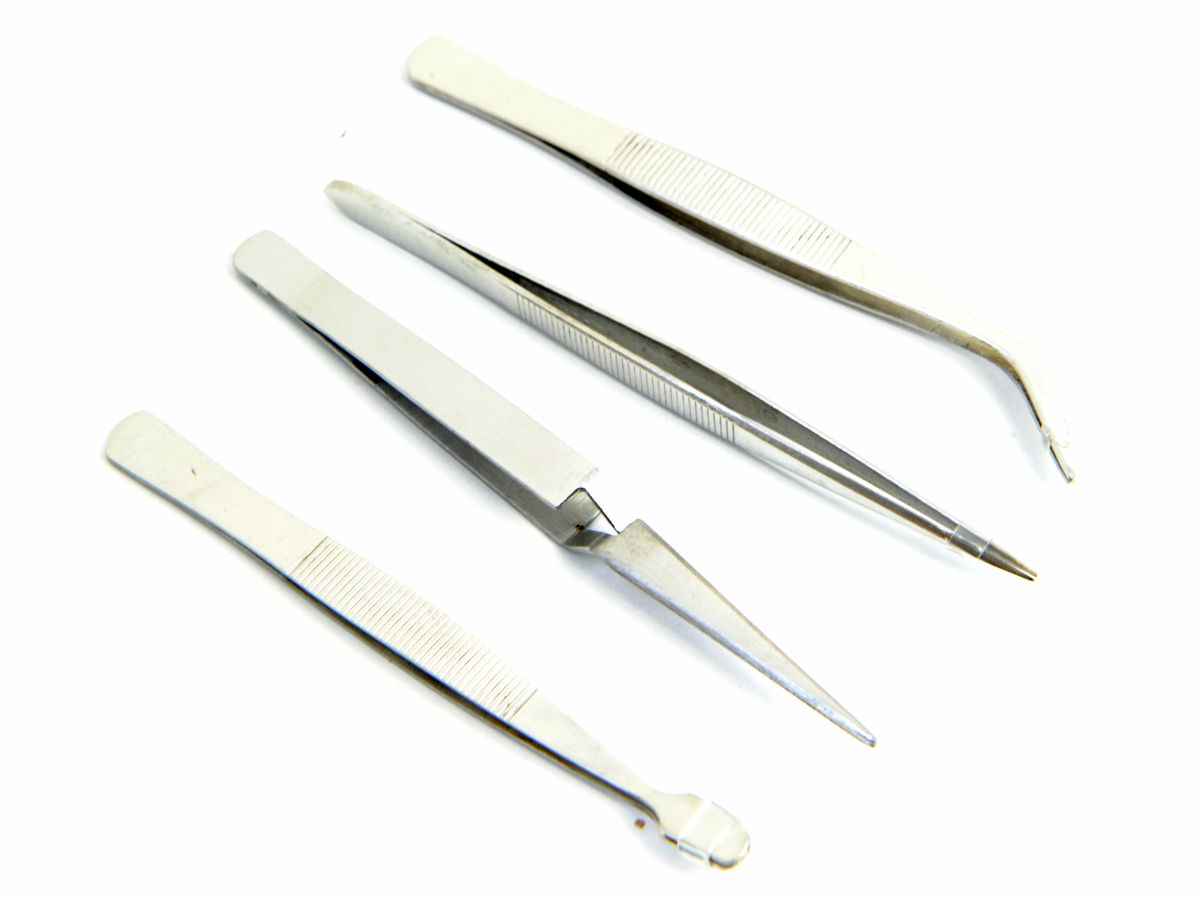
Four types of tweezers.
Driver set which also corresponds to special screw used in iPhone 4 / 4S etc.
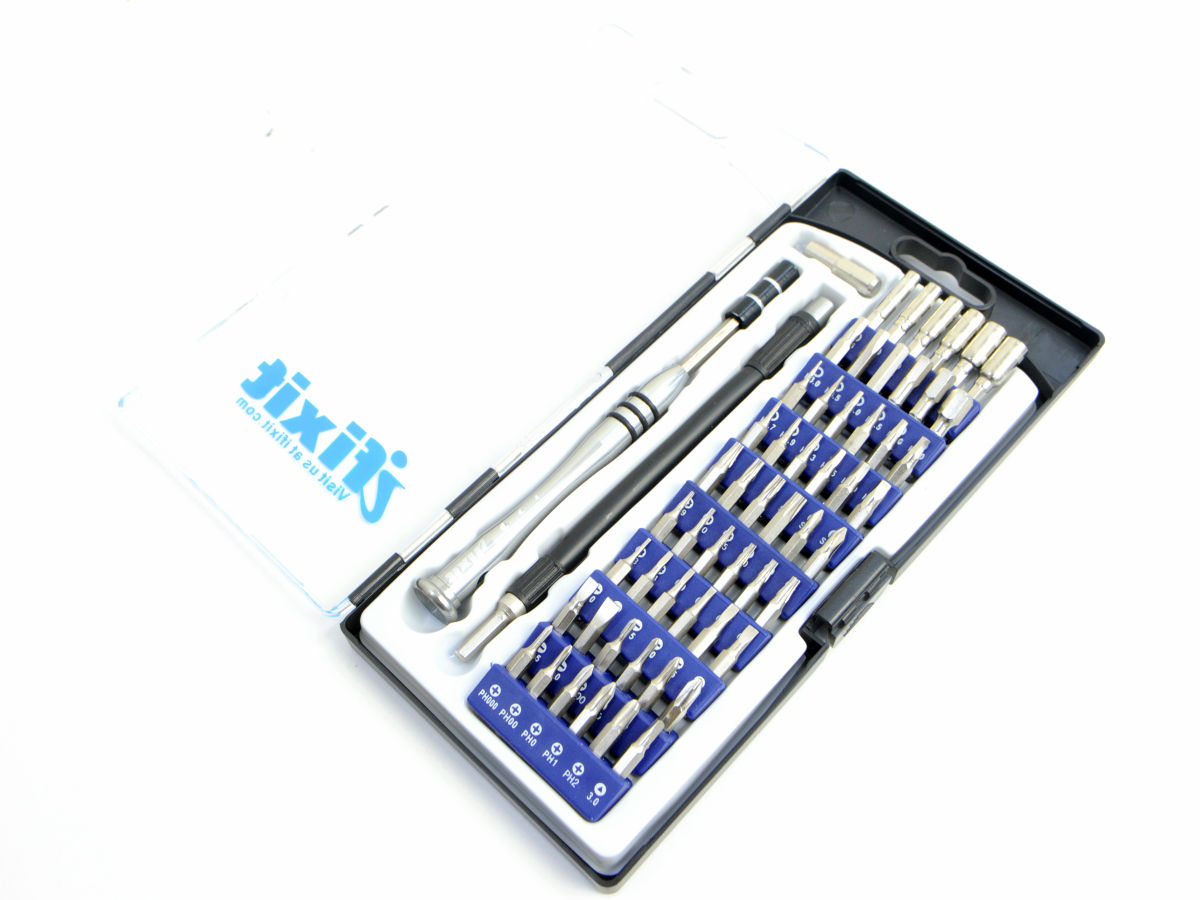
A spatula for removing part by inserting it into the gap of parts when disassembling.
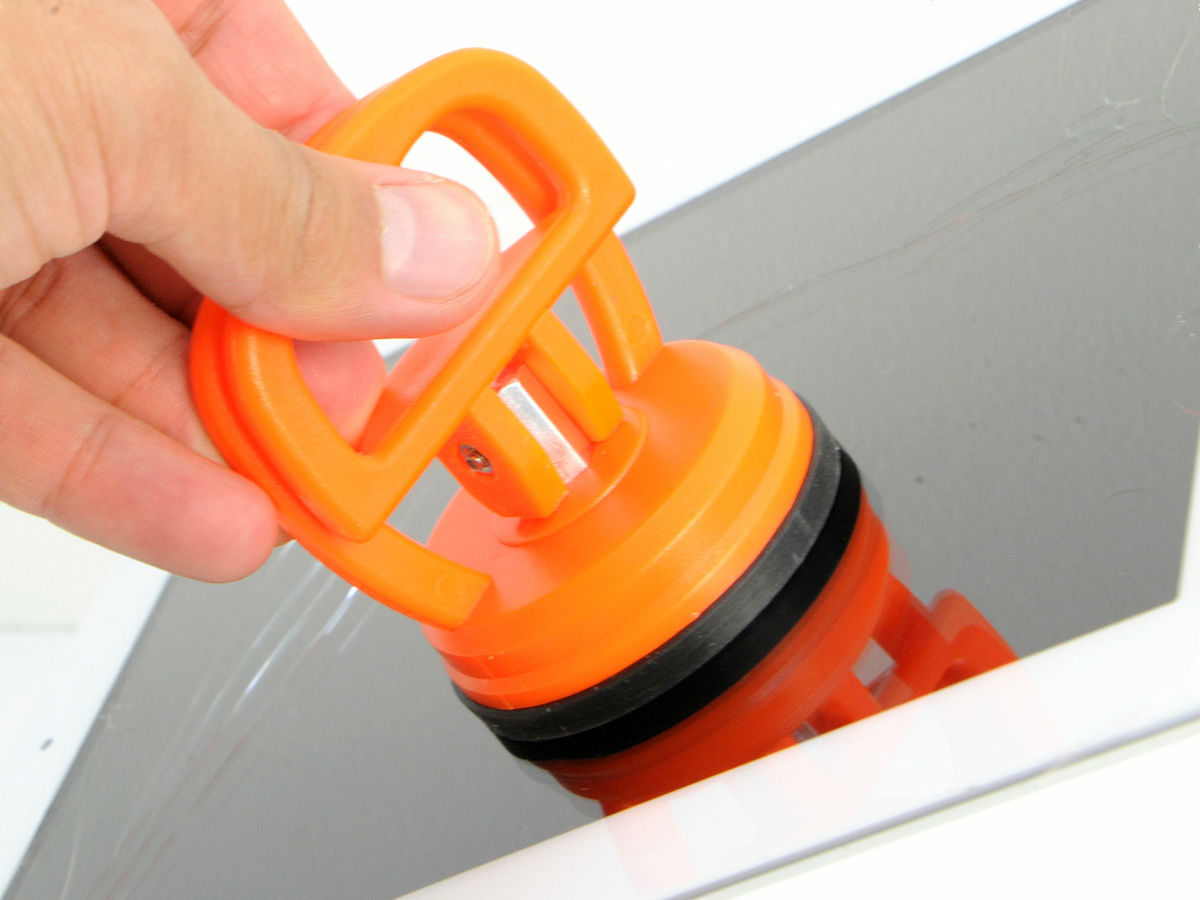
The "Heavy-duty Suction Cups Pair" sold separately from the tool kit is as follows.
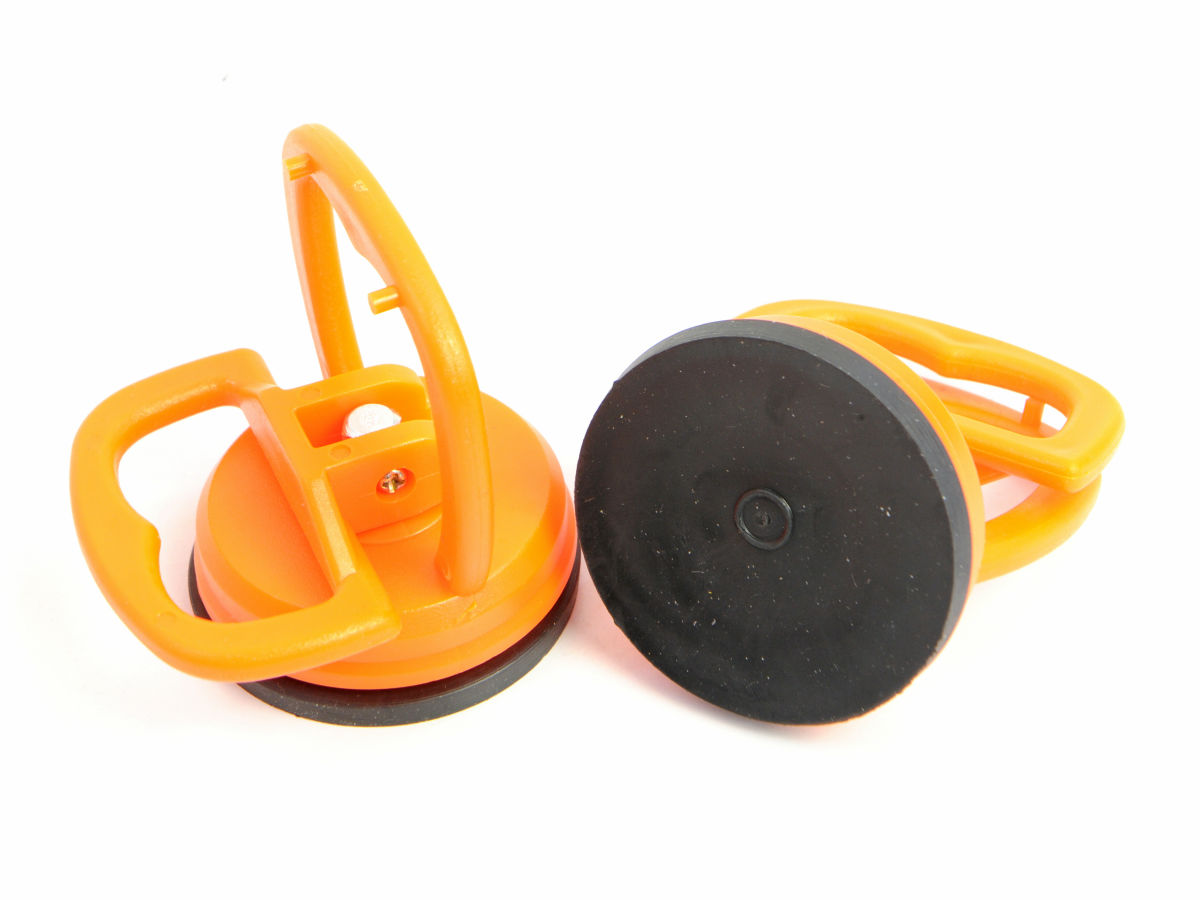
It is a tool to hold the panel by sucking on the surface of the display with a suction cup. In addition, it is not that we can not repair without this tool, and it is convenient if there is any.
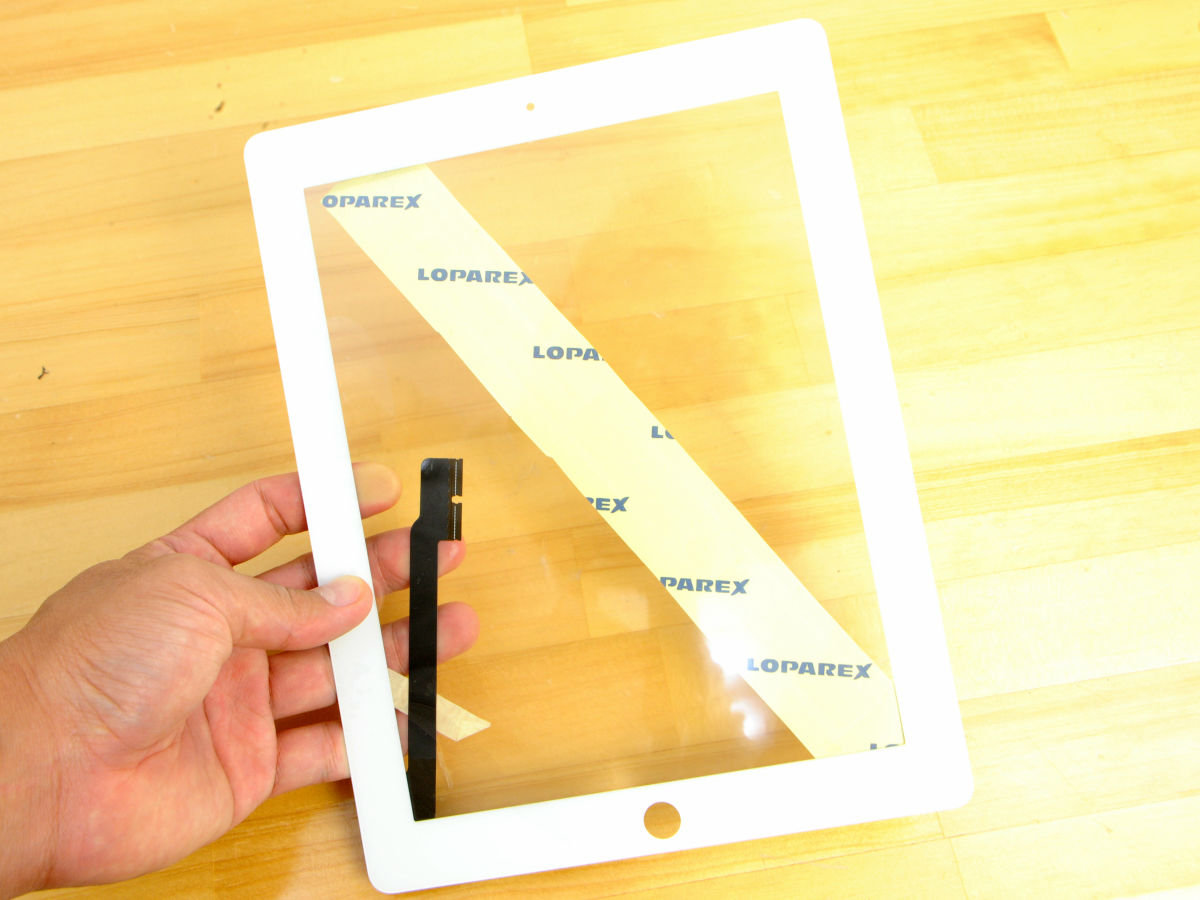
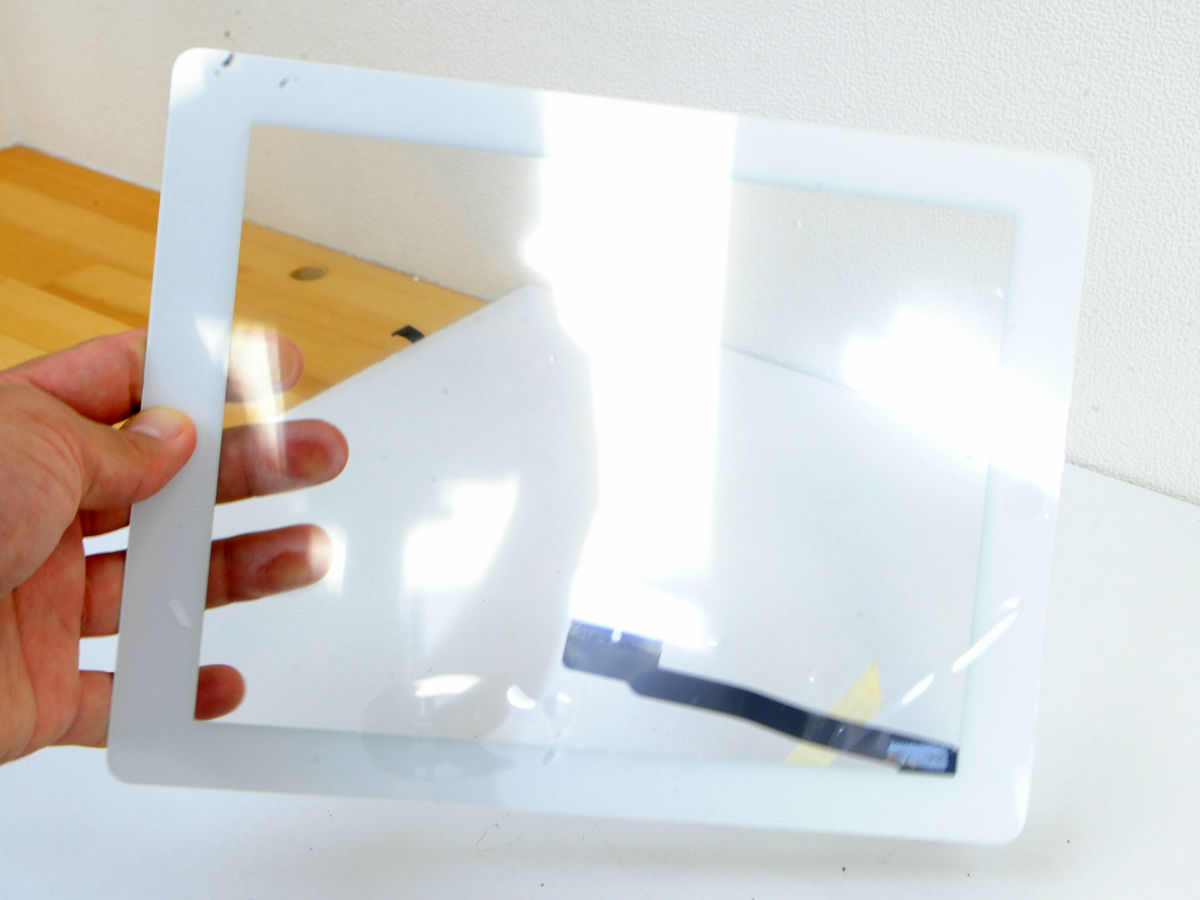
The replacement front panel is as follows.
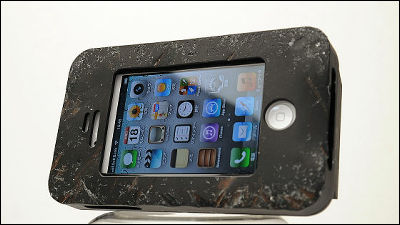
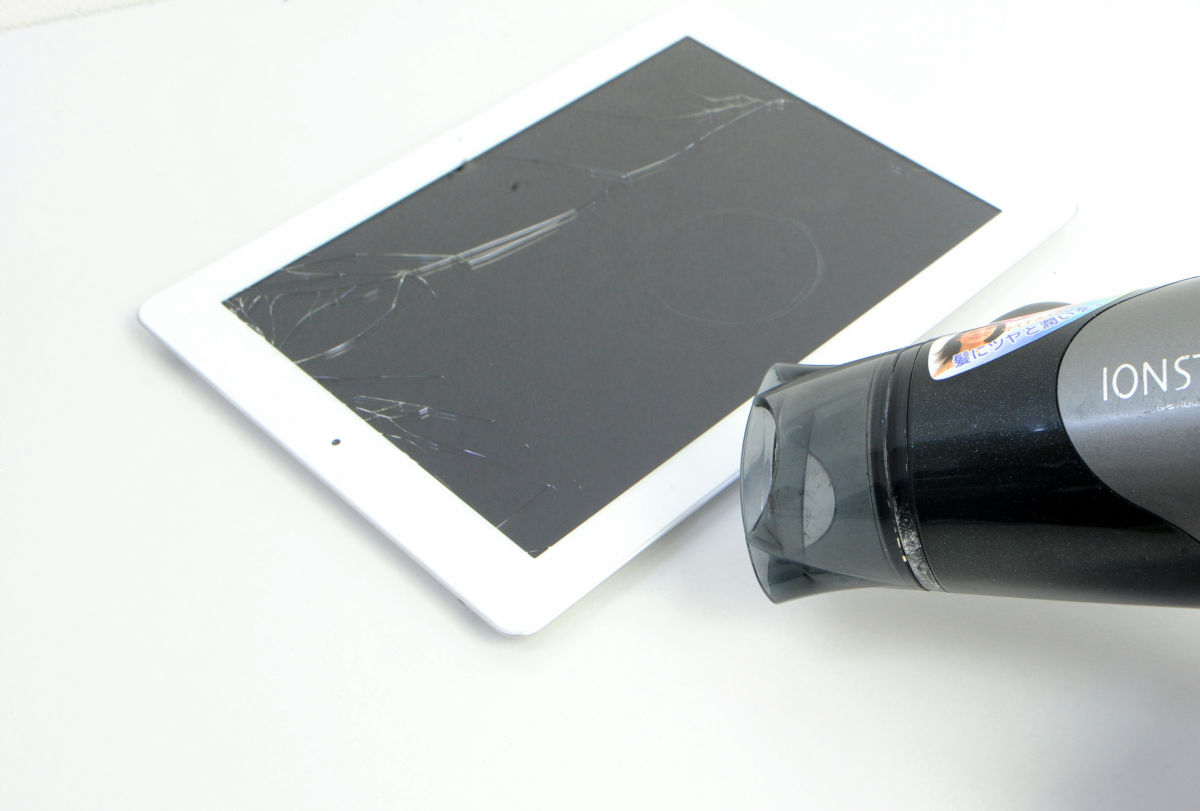
And this is a damaged iPad that will repair this time.
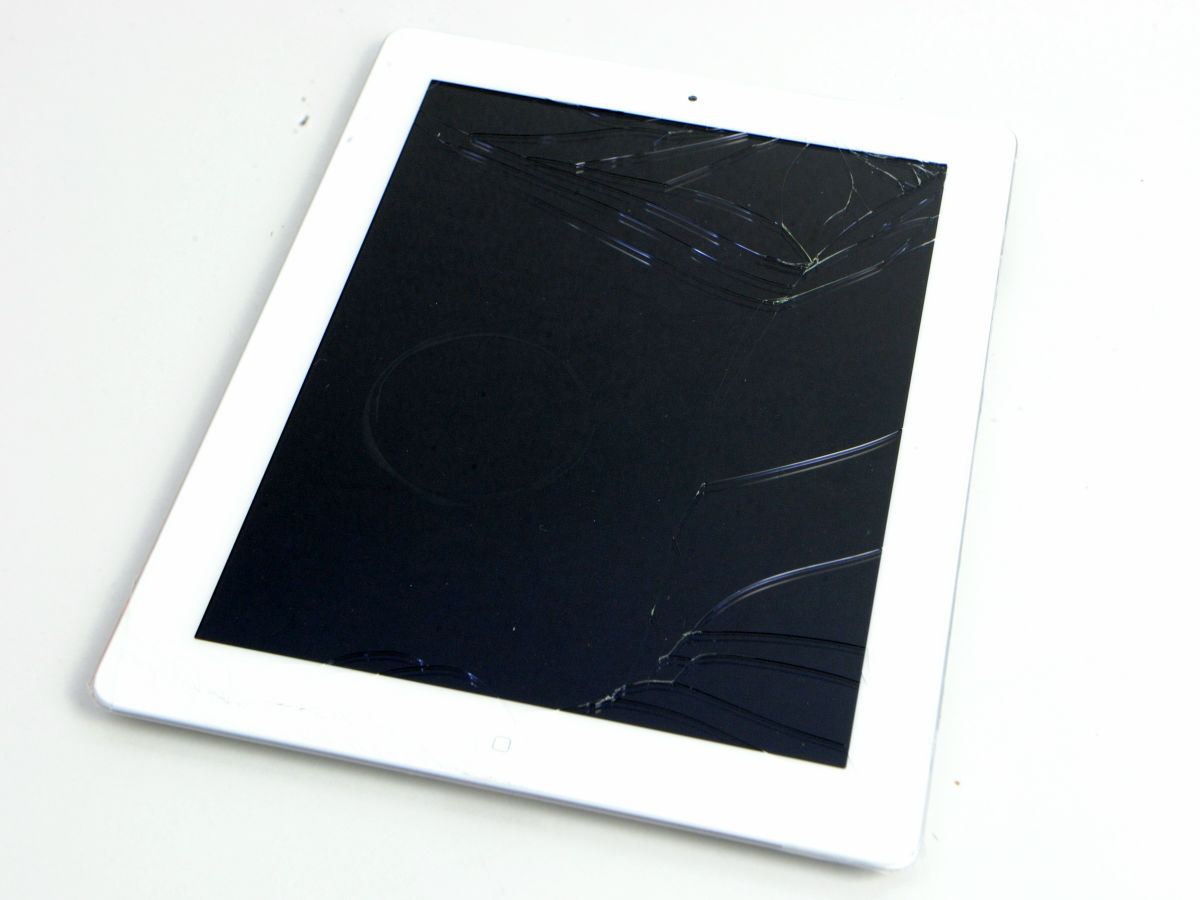
The display will light normally, but ...
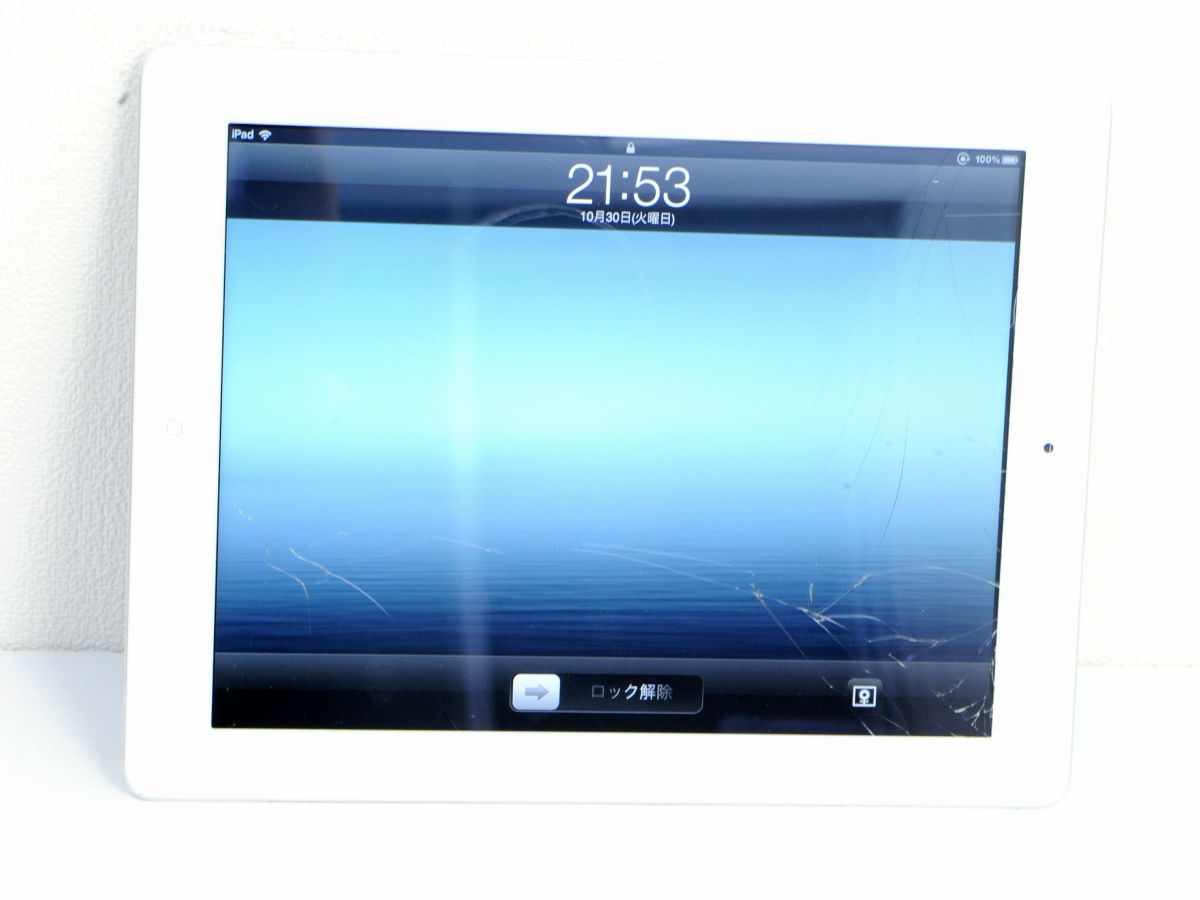
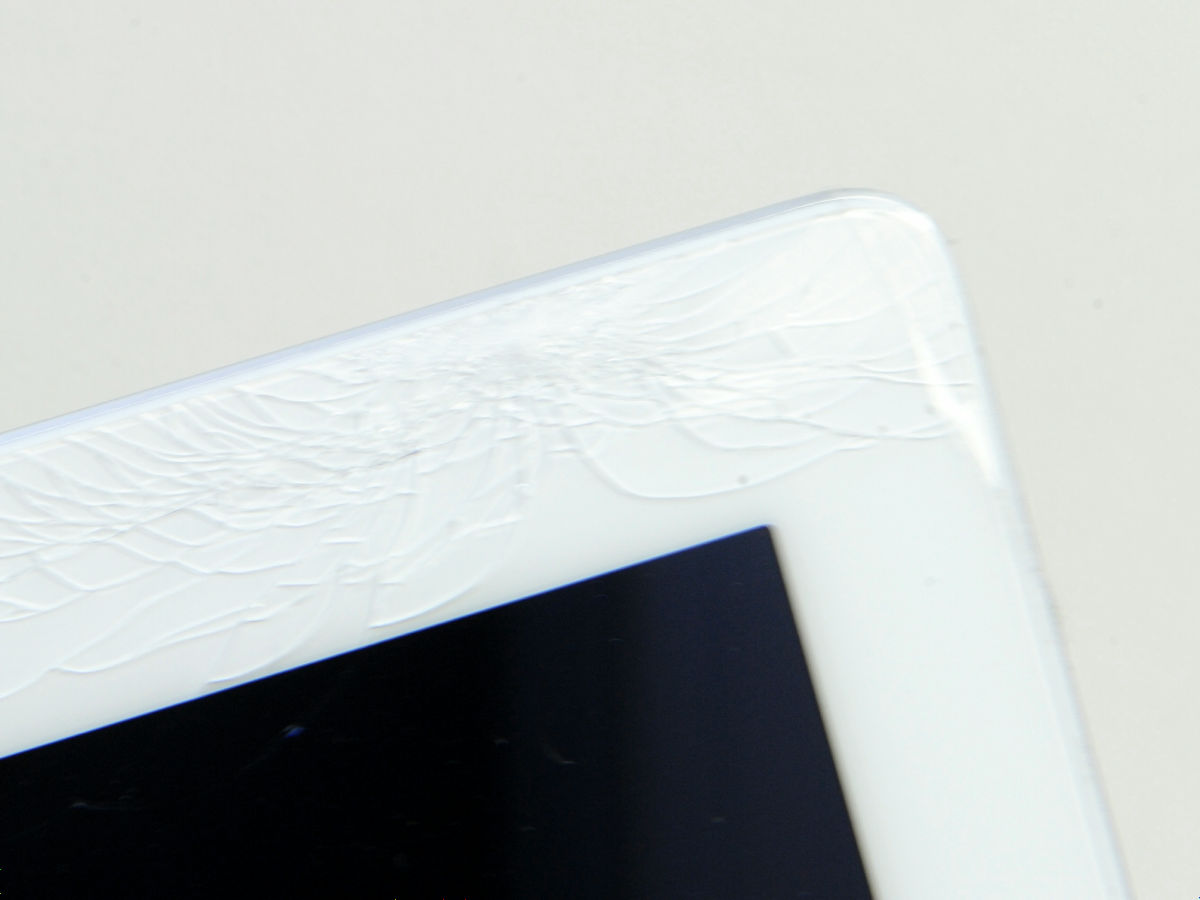
The glass of the front panel is broken.
Work procedure
The iPad has a structure in which a glass front panel and an aluminum back panel are stuck together with a powerful double-sided tape. So, first of all, to remove the tape, apply hot air of the dryer for 20 to 30 seconds to weaken the adhesive strength.
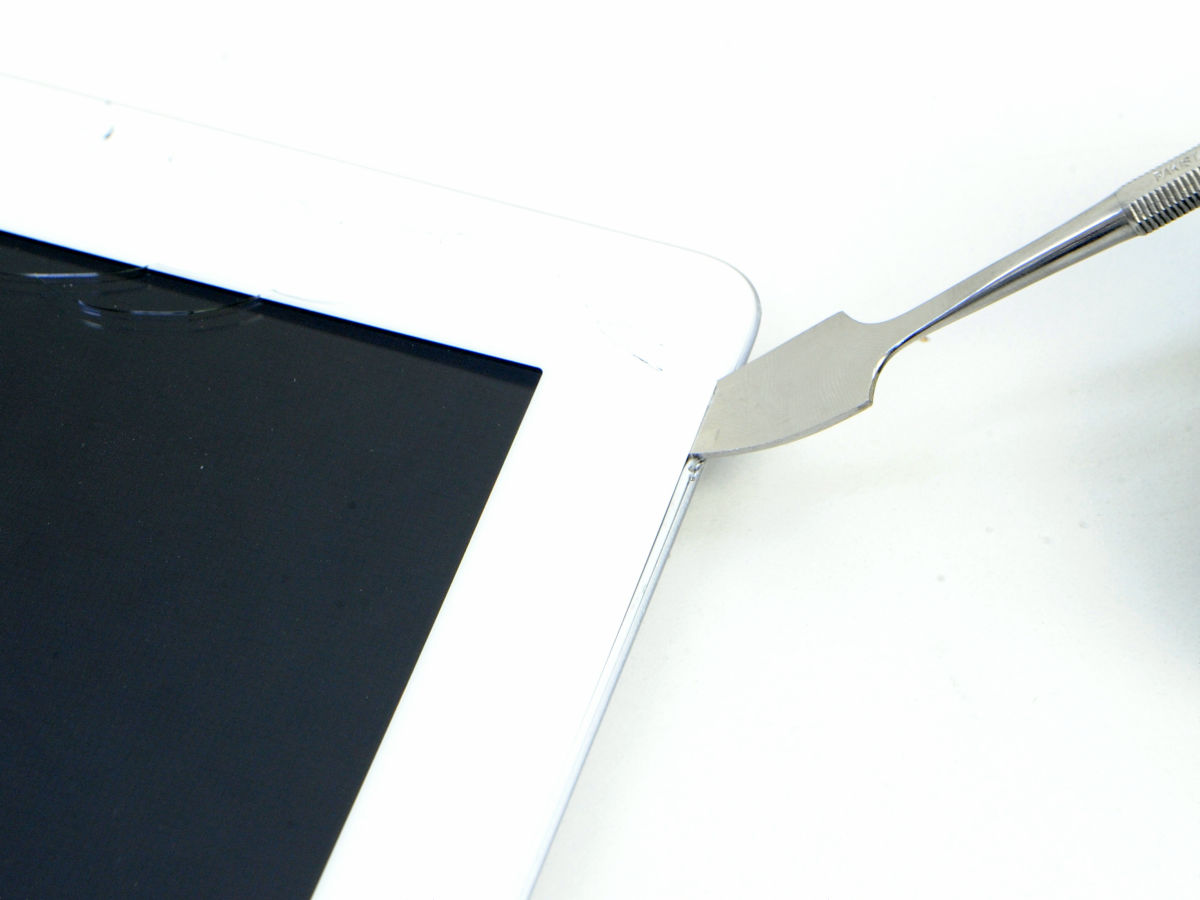
When it becomes hot enough to touch with your fingers, insert a metal spatula in the tool kit and float the glass panel. Please note that this work is for iFixitWork procedure explanationAlthough it is done with plastic equipment, teeth do not stand unless it is actually a metallic spatula.
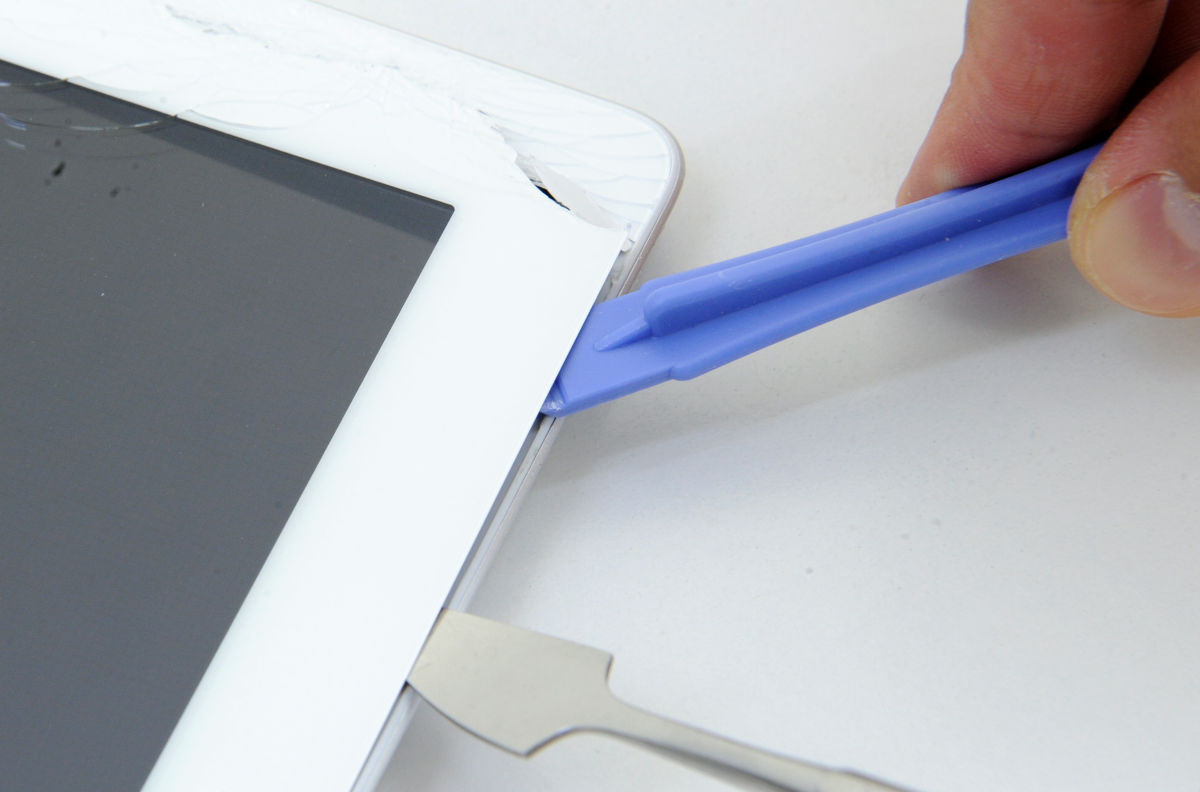
When the part floats up, she will immediately bite a plastic tool and prevent the glass surface from sticking to the body again.
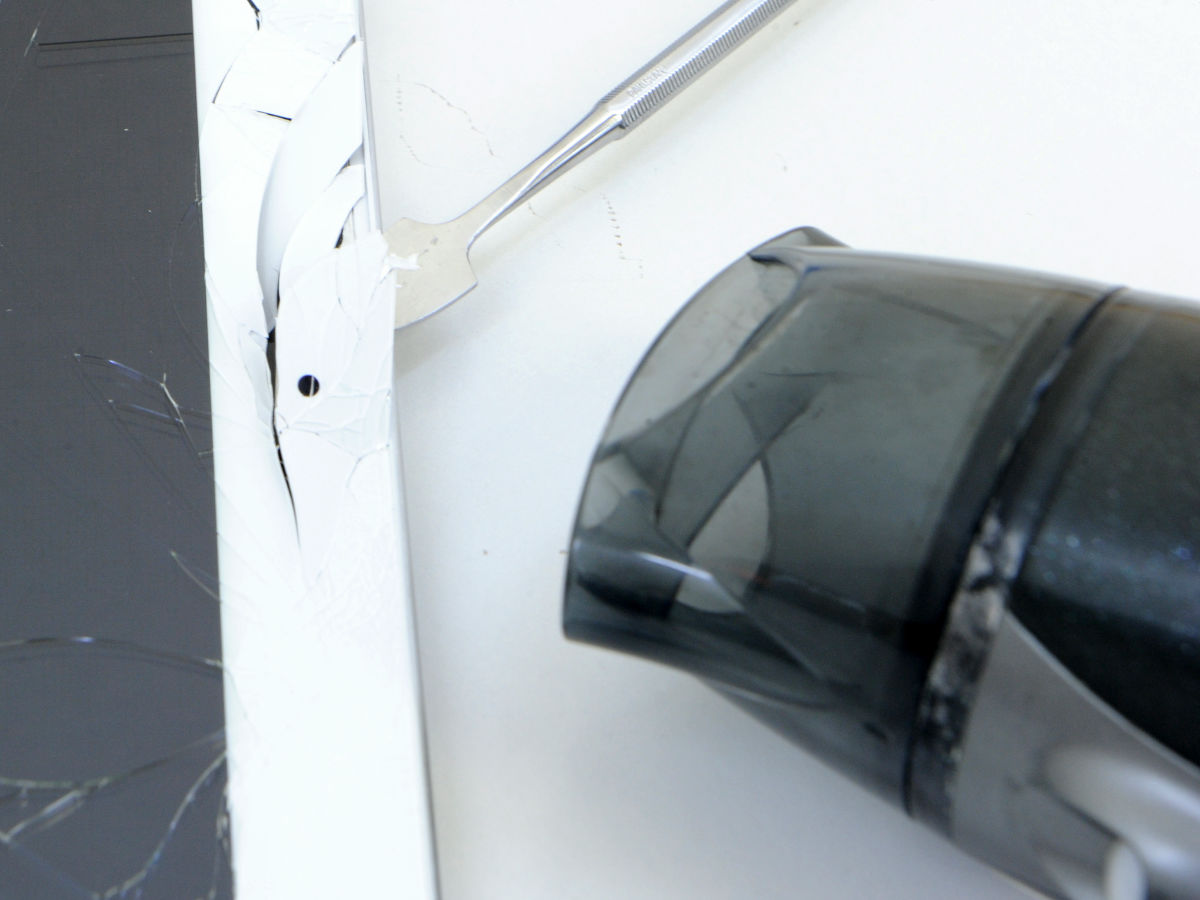
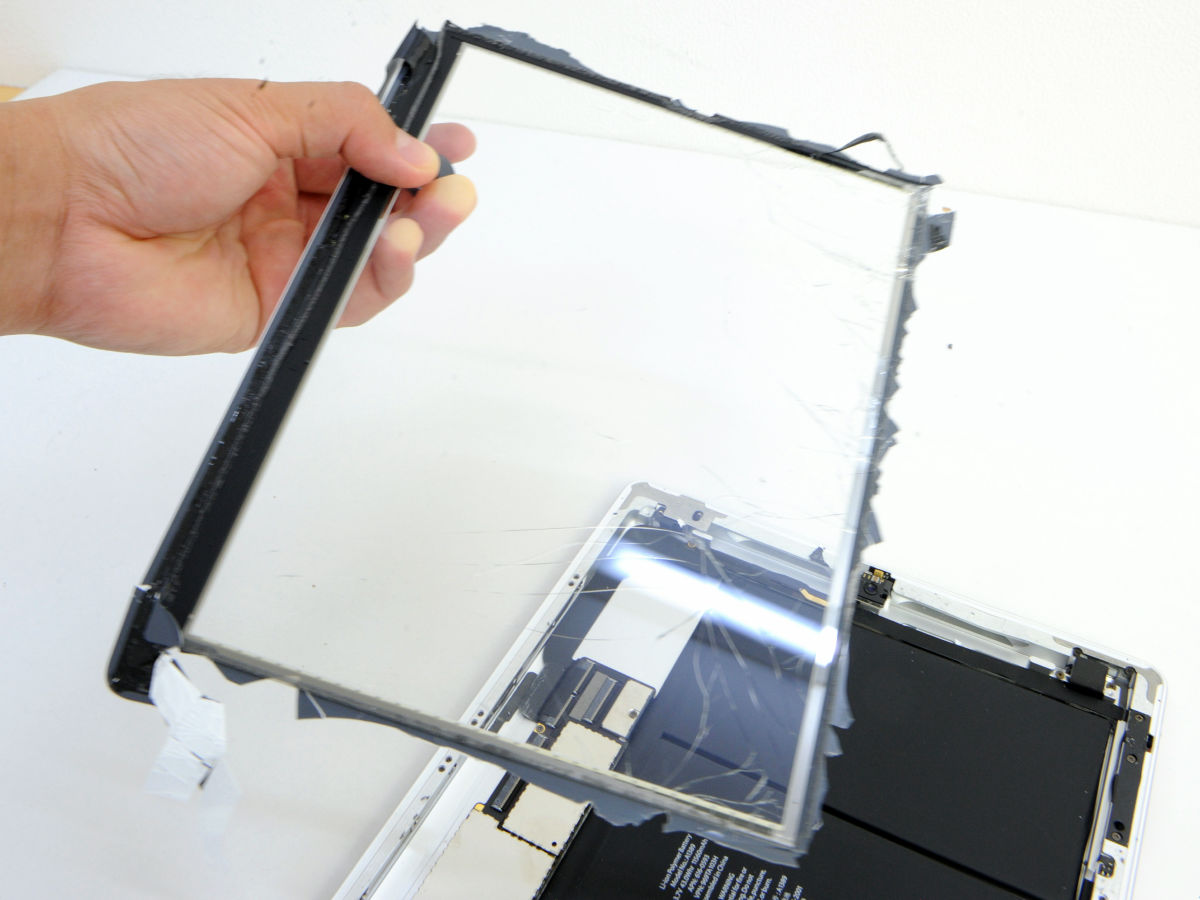
After that we warm it up and repeat the work of peeling off, but when the glass is broken fine pieces are scattered, so be careful.
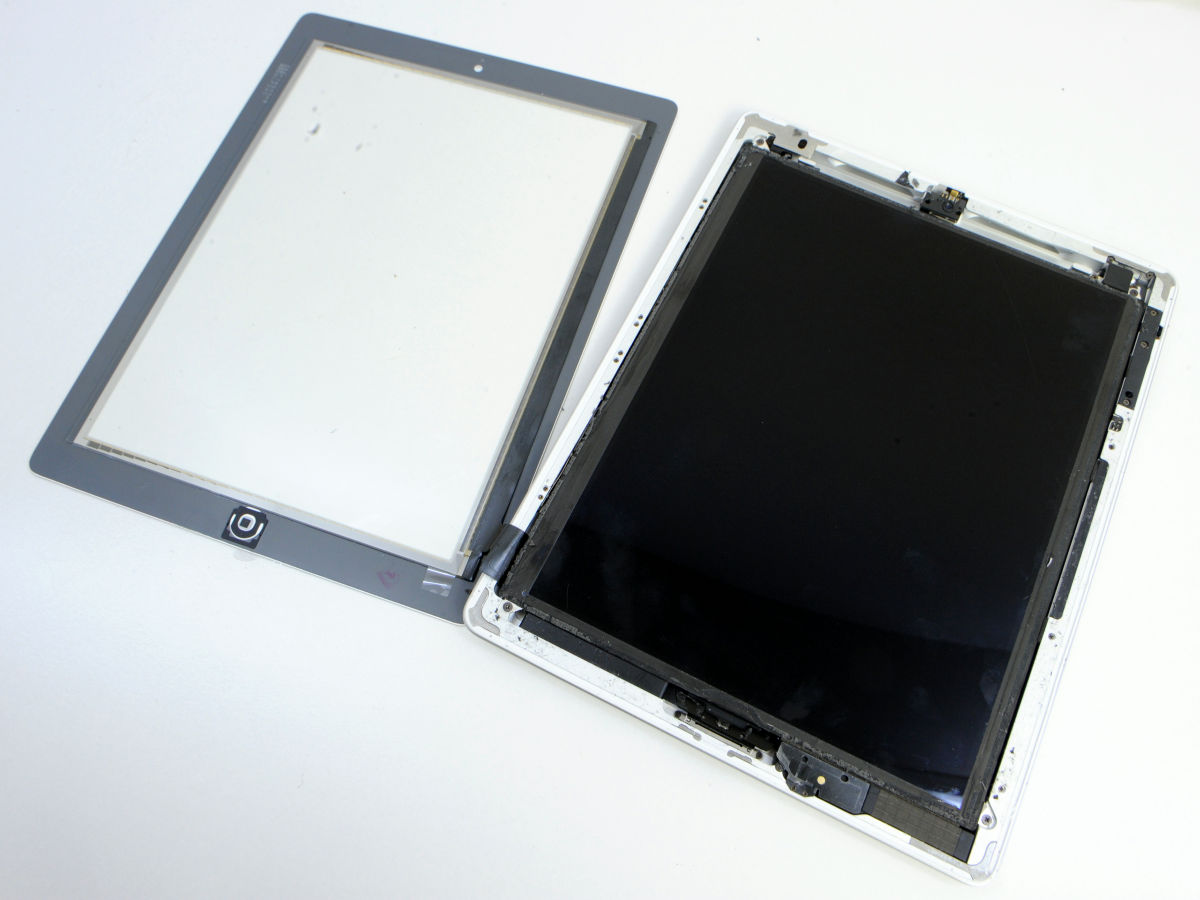
It is like this when peeling off the front panel.
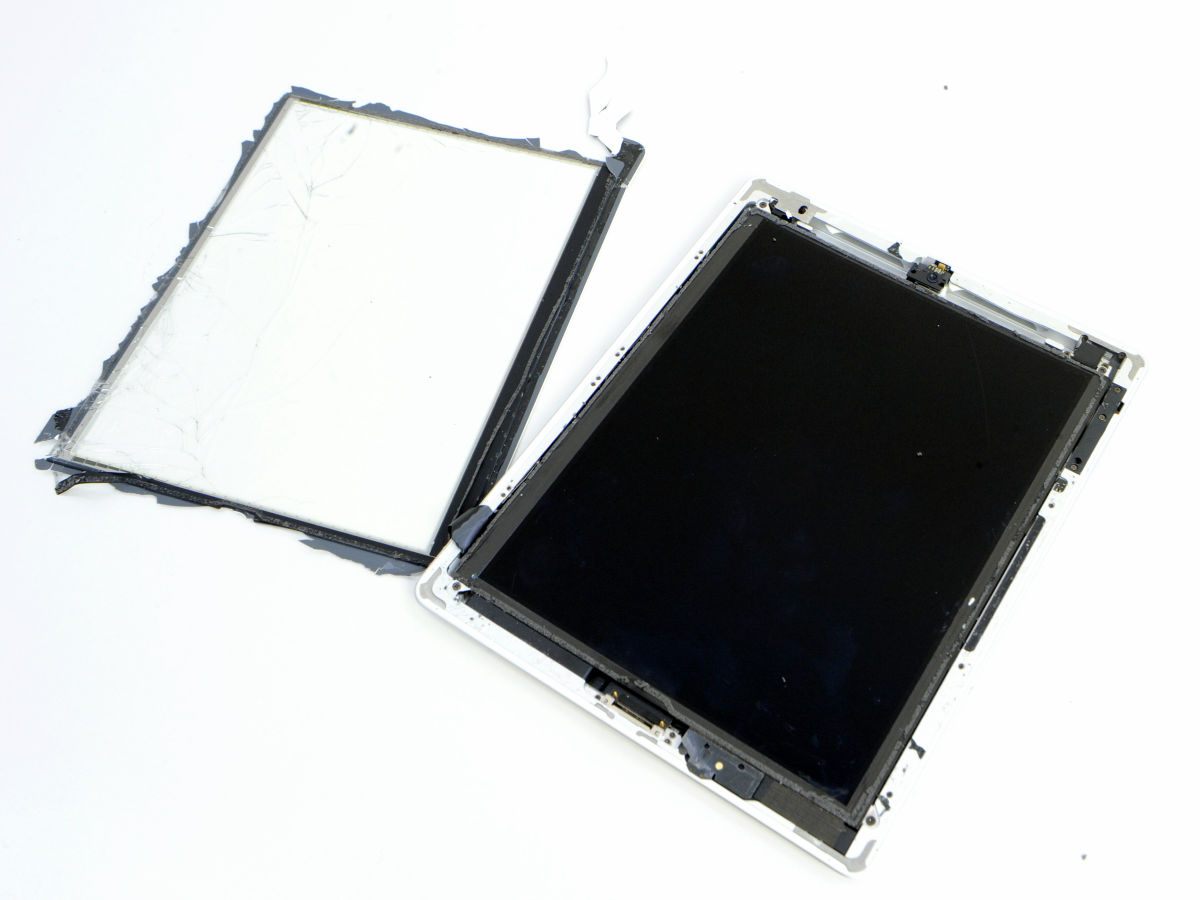
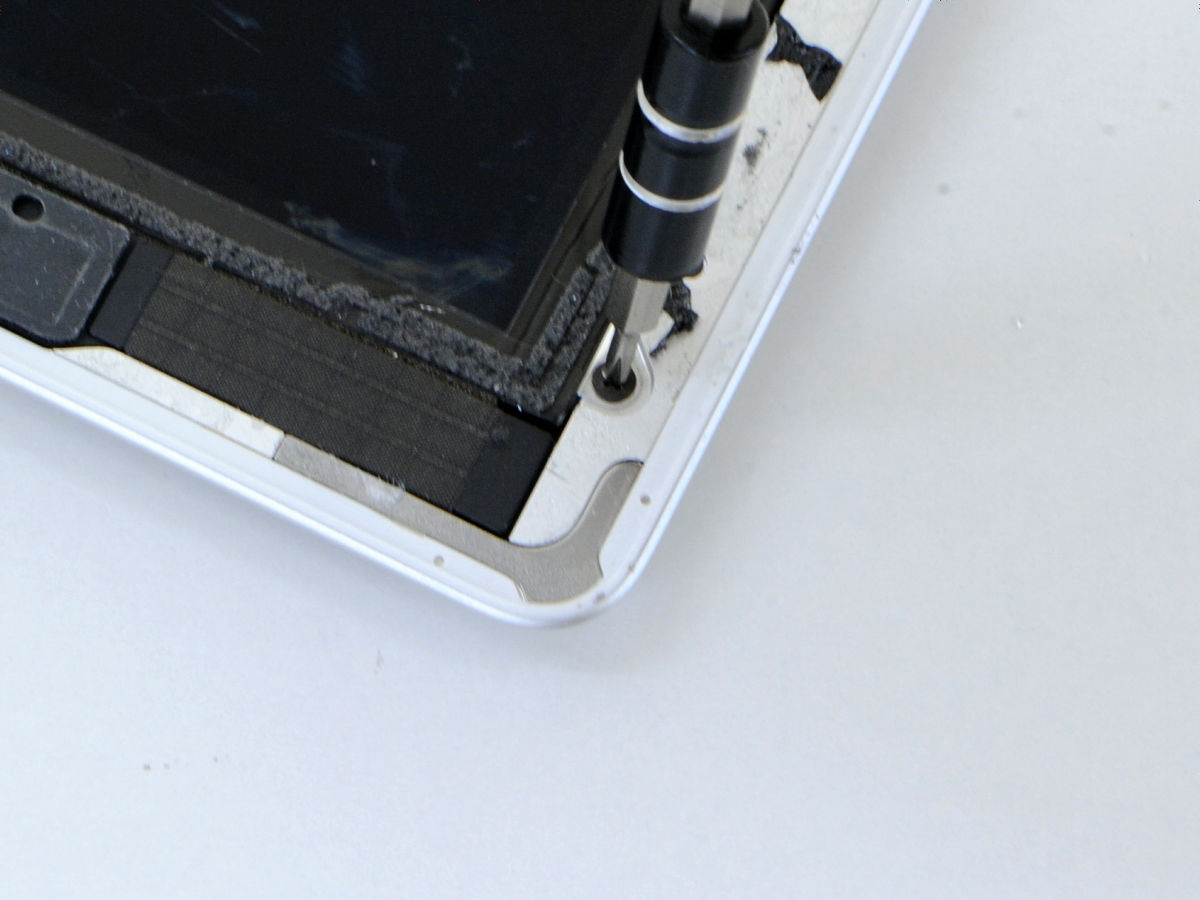
Remove the screws at the four corners fixing the display. In addition, since the liquid crystal panel is not damaged this time, it is not necessary to replace it, but when removing the front panel it is necessary to remove the display in connection with the connection.
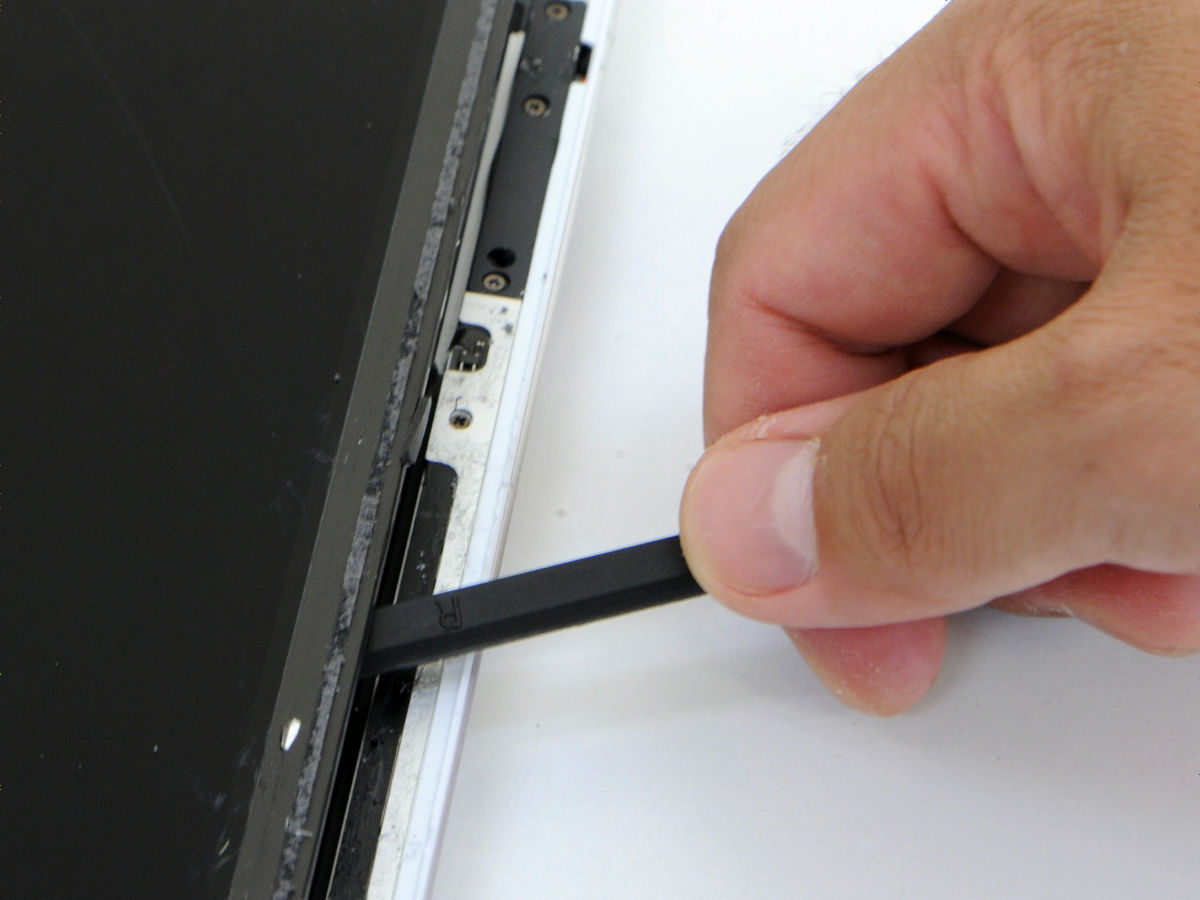
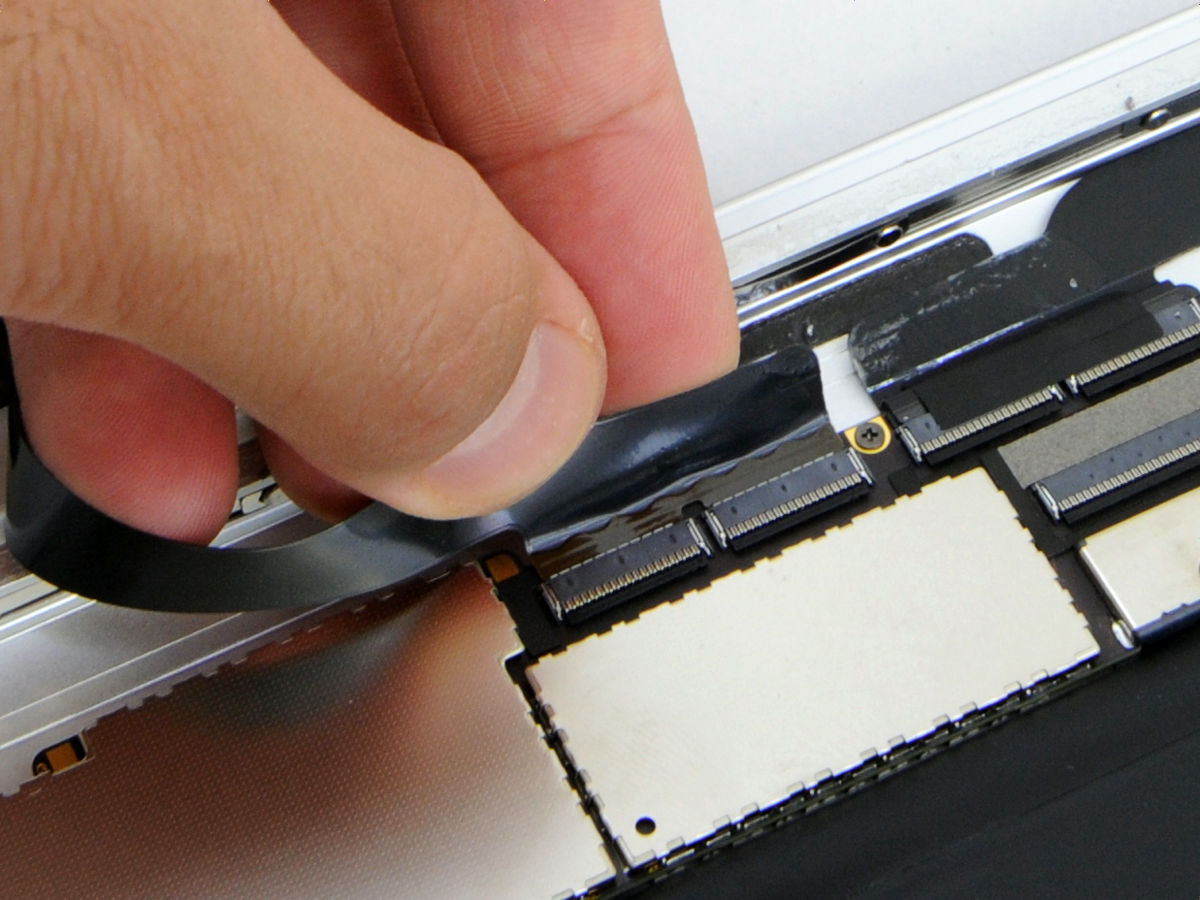
It is possible to easily remove the panel by inserting the black bar attached to the tool kit under the display.
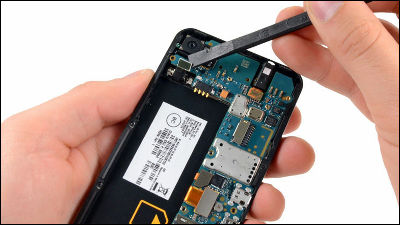
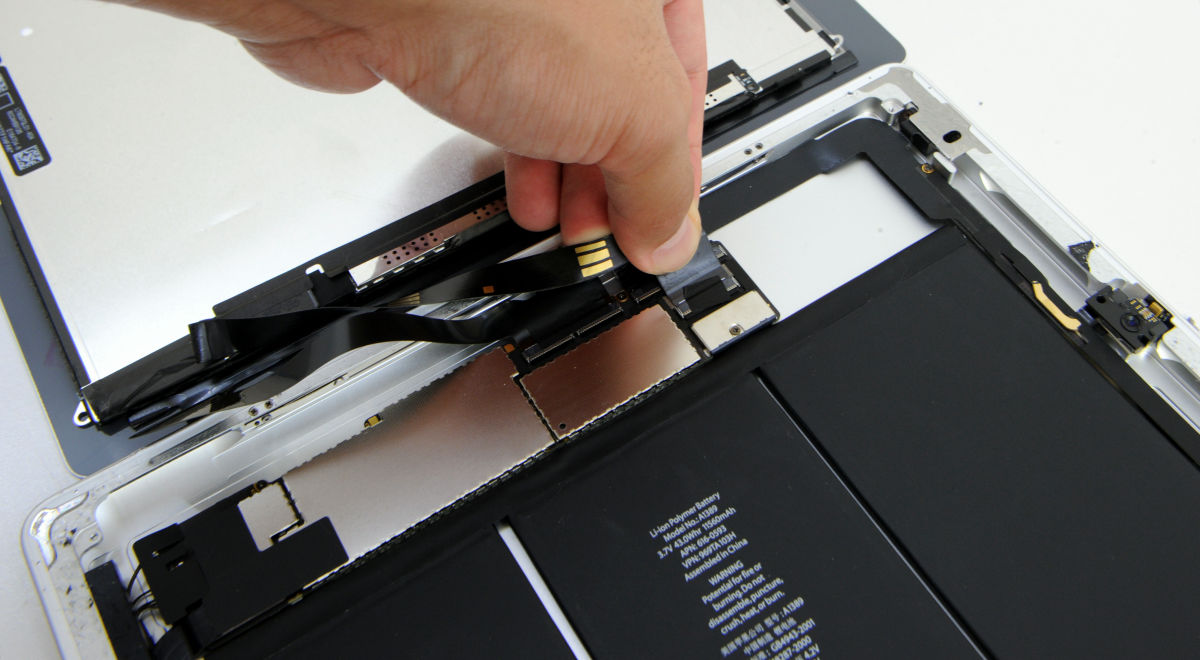
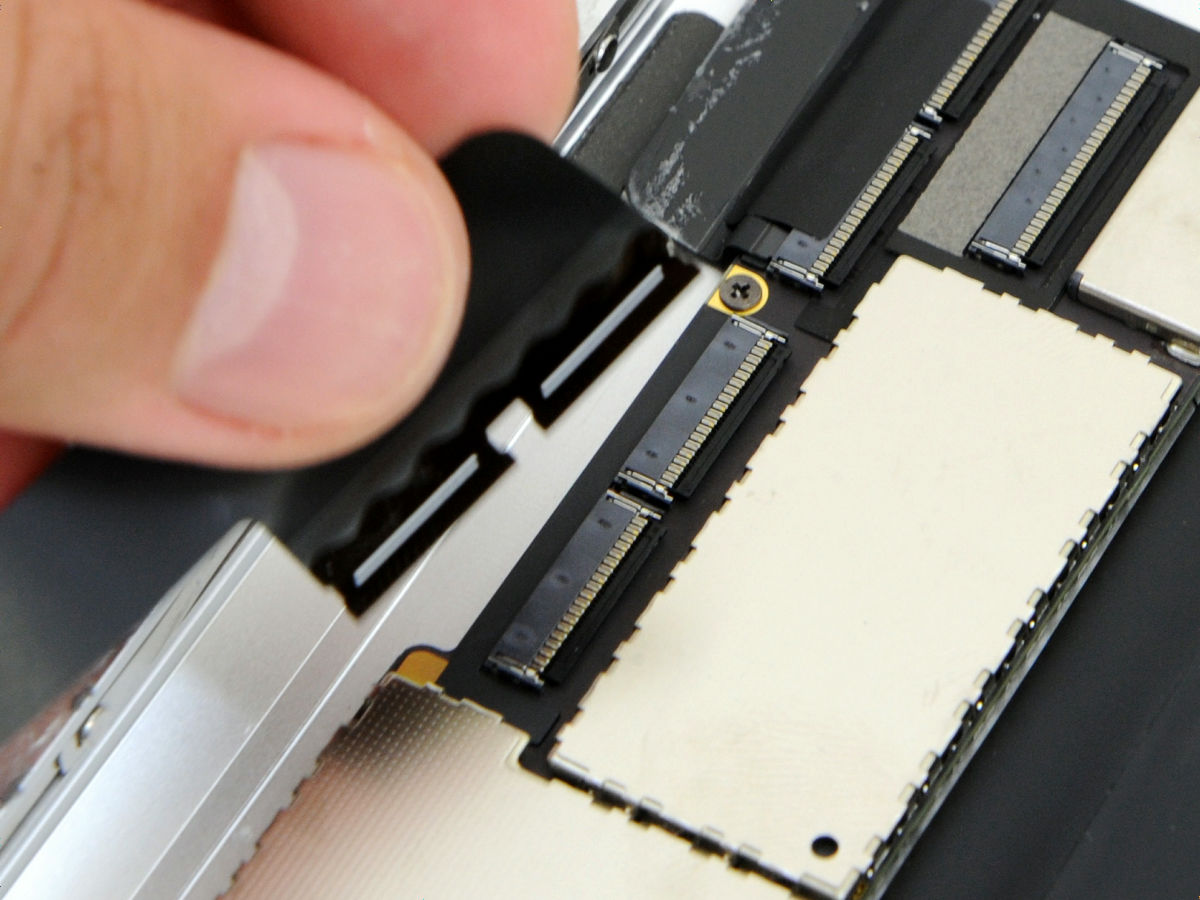
Extend from the display and pull out the cable of the flux connected to the main unit.
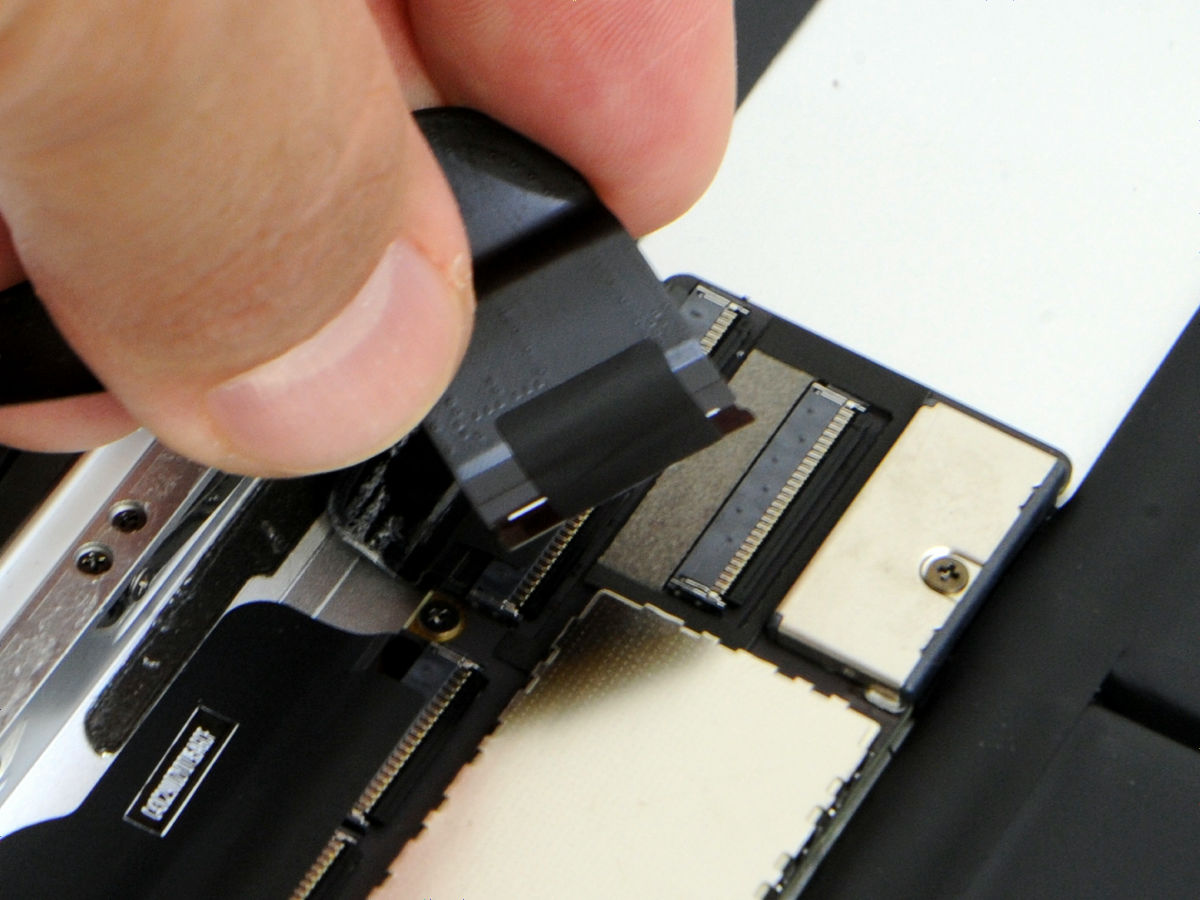
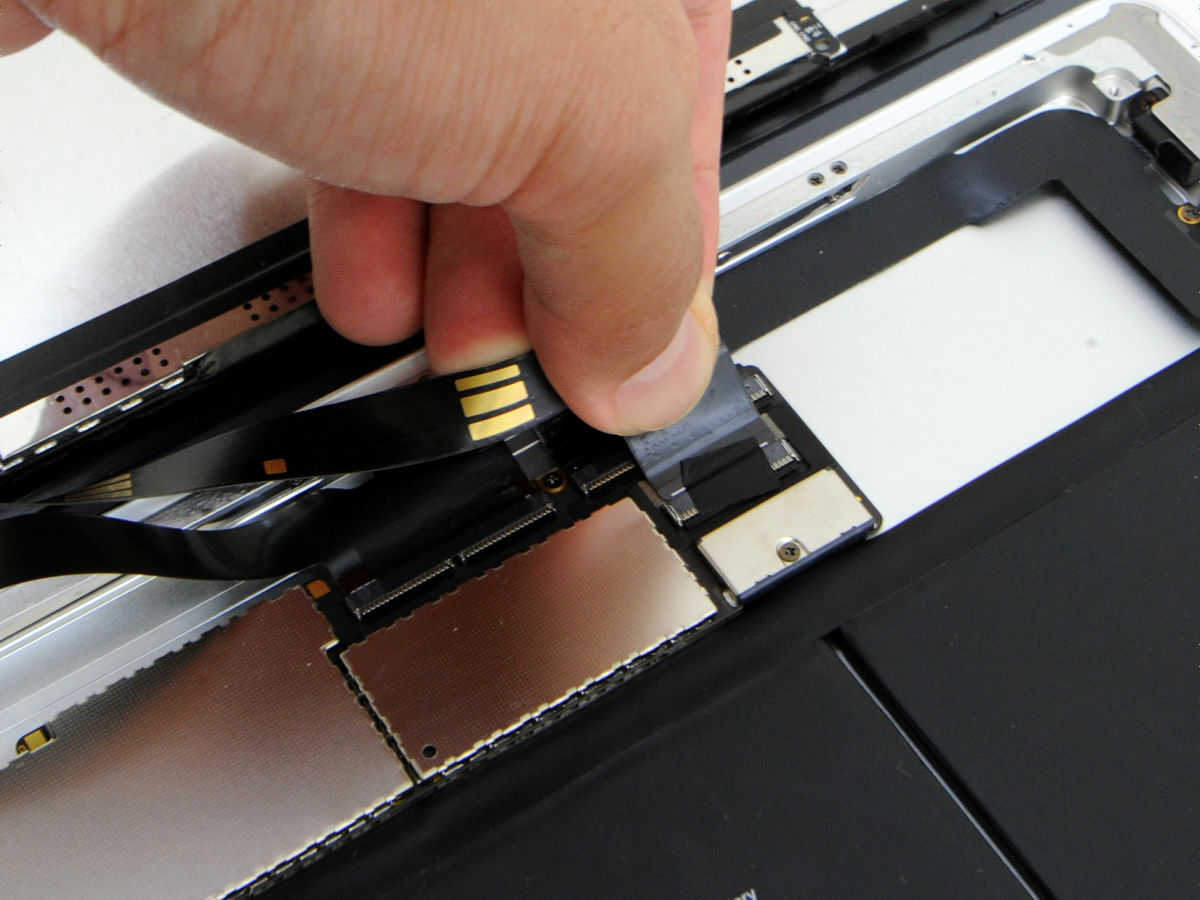
I was able to remove the screen with this.
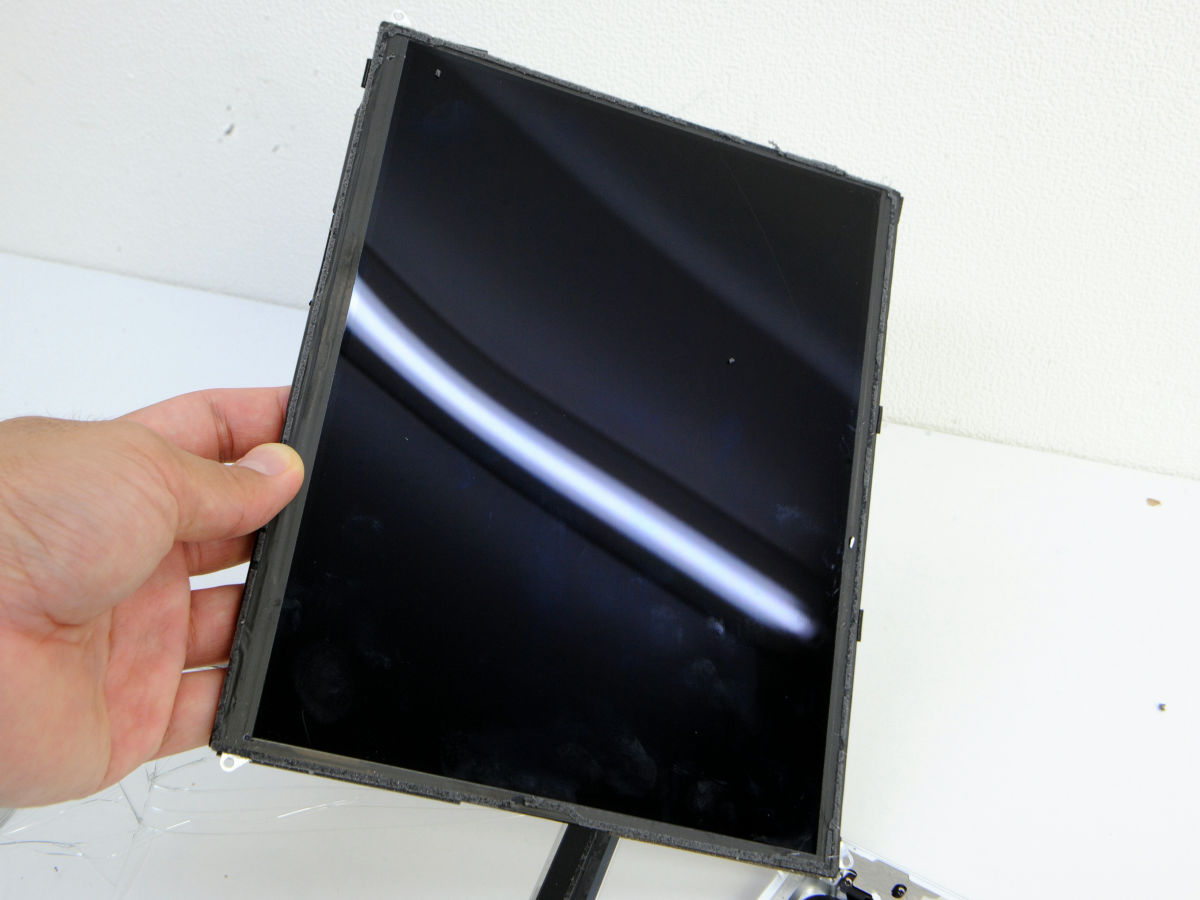
In the same procedure, unplug the cable connecting the front panel and the main unit.
Removal of the panel is complete with Kore.
I will prepare a new panel.
Afterwards connect the cable in the reverse order to the previous step OK.
When exchange is completed it is like this.
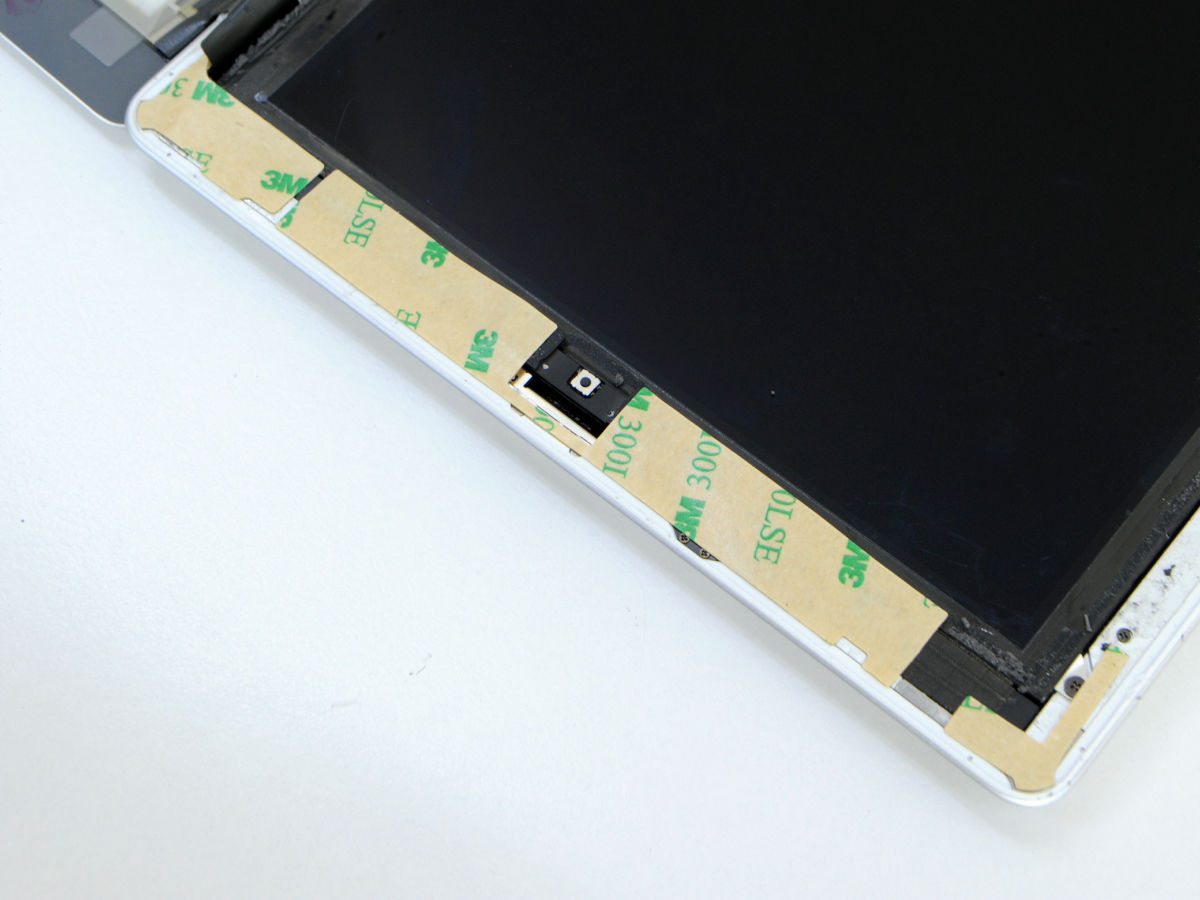
We use double sided tape attached to parts purchased to fix the glass panel to the main body again.

With this feeling you can stick it with petapeta OK.
Finally close the panel and press it with your finger to complete the bonding.
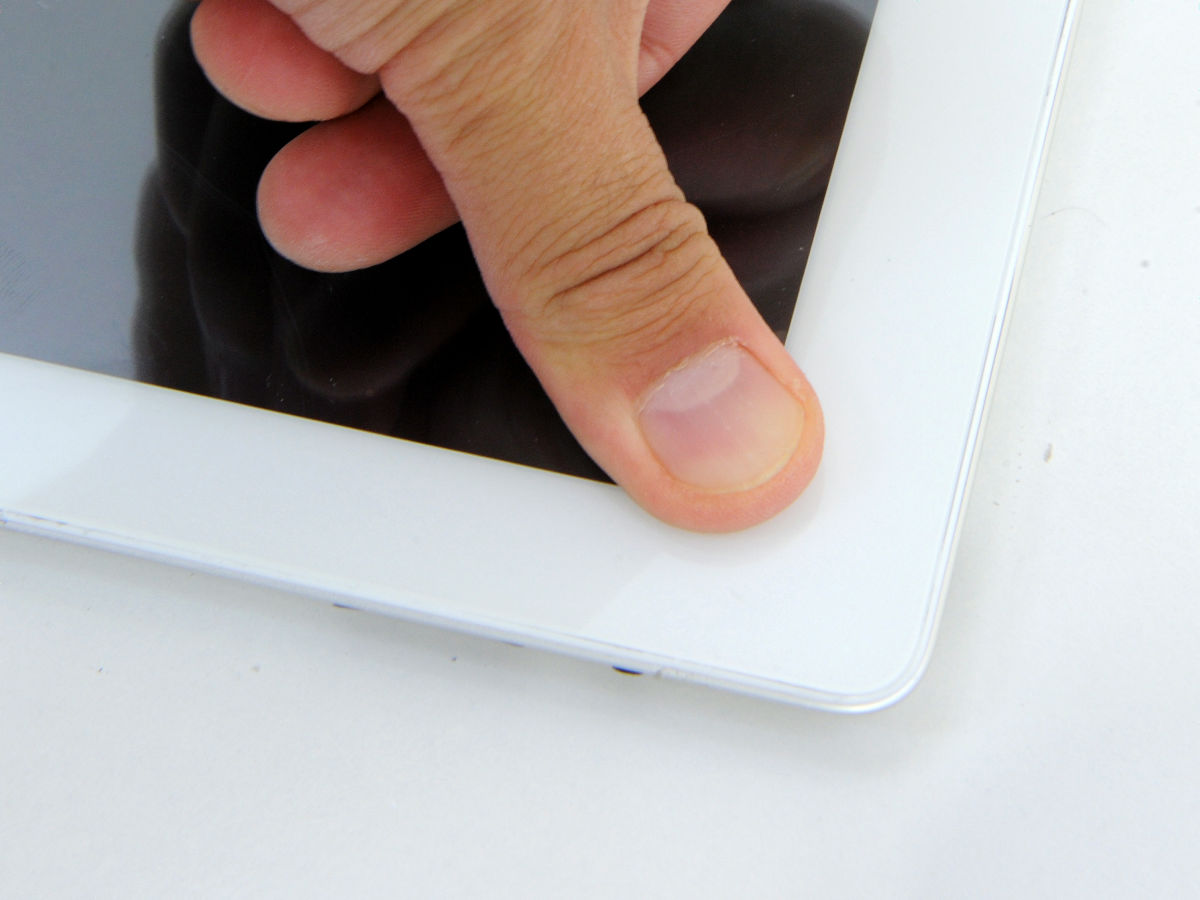
Although the appearance is restored, the display does not light up when I turned on the power.

I thought that the repair was a failure, but when I pressed the home button and sleep button at the same time and forcedly reset it I was able to display the screen without any problems.

So, if you try to repair your iPad's display on your own, it will take some time and money, there is also a risk that repair will fail, so if you want certaintyApple StoreOrRepair shopIt is better to leave it to.
However, since the process of actually disassembling and repairing the terminal with my own hand using the iFixit kit and parts should be quite interesting for those who like machine tinkering, the risk that the terminal will become unusable People who are prepared for against iPad may be willing to try their own iPad repair.
· Previous article
I tried to hit it or hit it with a hammer to ascertain the defense power of "BUFF Ultra Shock Absorption Protector for iPad" - GIGAZINE
Related Posts: