JPEGcrop free software that can easily clip and rotate JPEG images with no degradation
byBlu *
JPEGJPEGcrop is a free software that allows you to easily process image processing such as left / right inversion, upside-down rotation, 90-degree rotation, 180-degree rotation, trimming, monochrome correction etc. by pressing a button.
The download and image processing operation method is as follows.
JPEGclub.org
http://sylvana.net/jpegcrop/
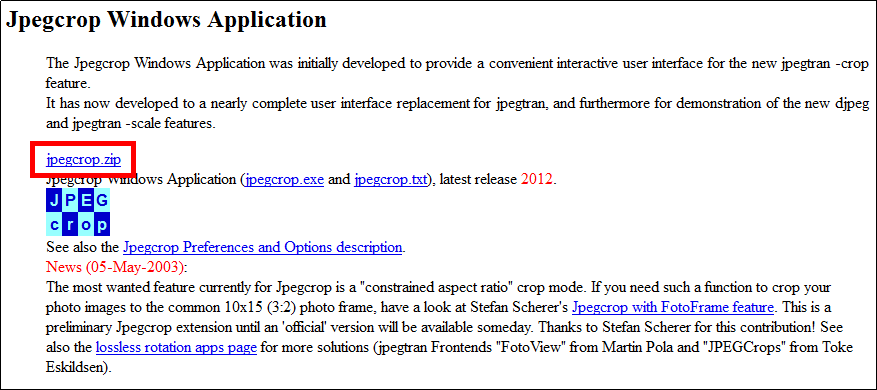
◆ Download
Just click on "jpegcrop.zip" in the "Jpegcrop Windows Application" item just in the middle of the above site.
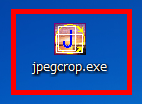
Download the downloaded ZIP fileExplzhExtract it with etc and start "jpegcrop.exe".
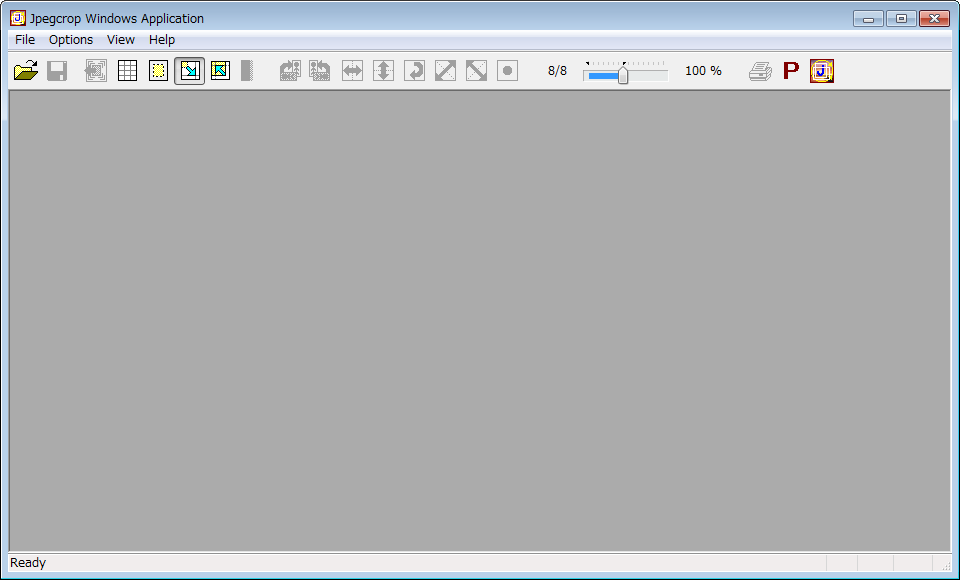
JPEGcrop operation screen will be displayed after startup.
◆ Preparation before image processing
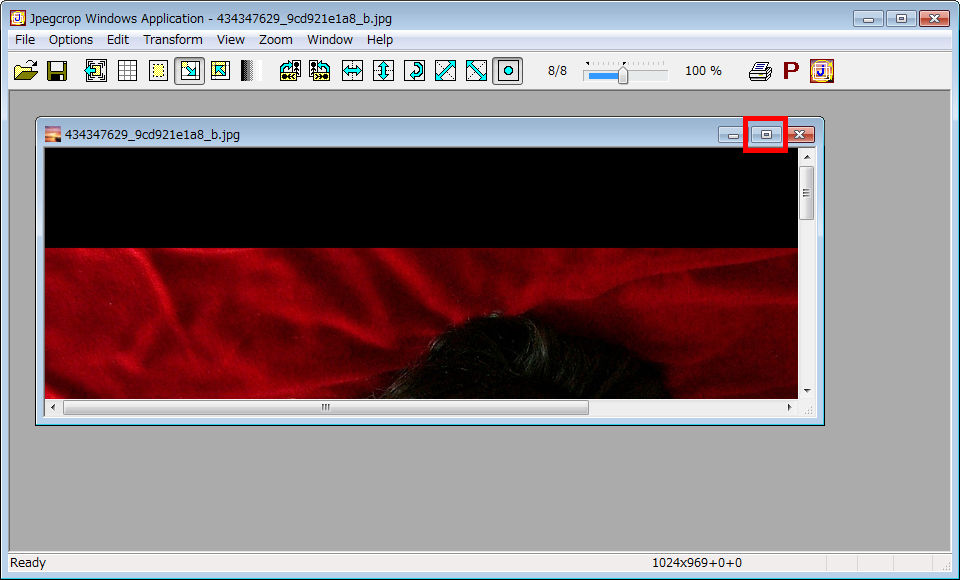
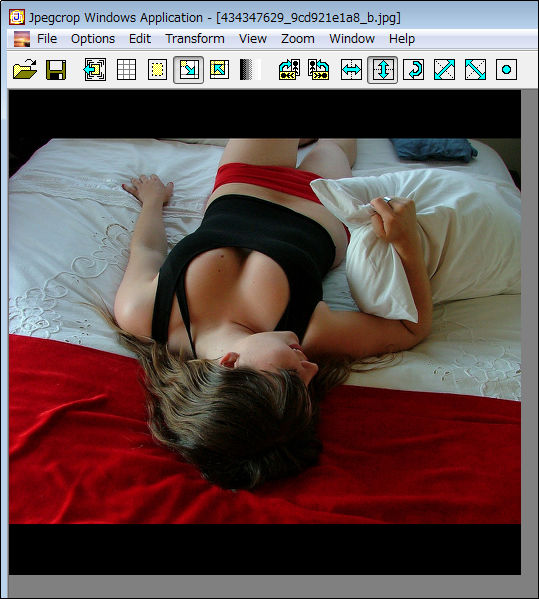
First, in order to open a JPEG image for image processing, click on the "Open File" button on the tool bar and select a JPEG image.

Although the image is displayed, it is hard to see it for image processing, so click on the "maximize button" in the window displaying the image to maximize the image.
To make it even easier to see, change the image size by moving the slide to the left or right of "Image Scaling Knob."
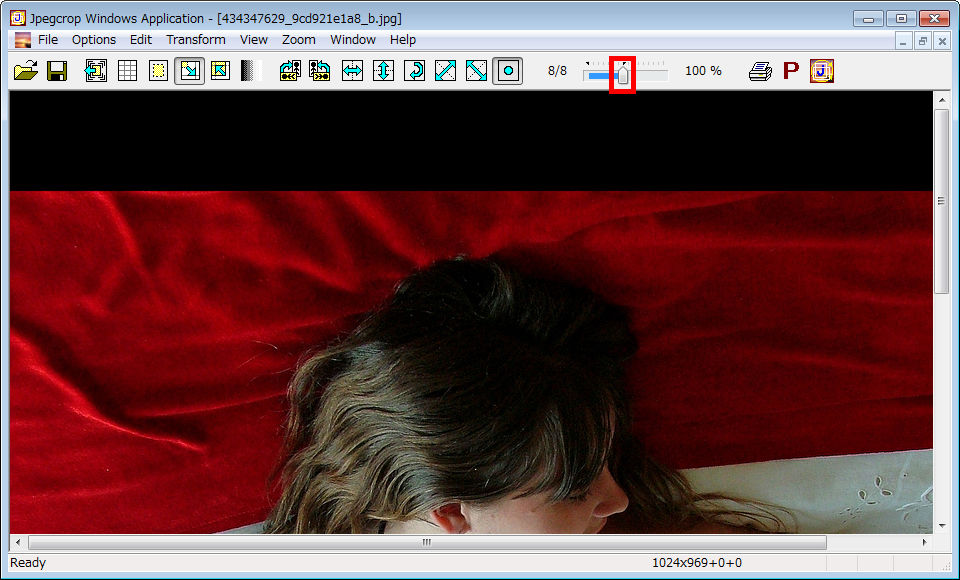
Preparation before image processing is completed.
◆ Flip the image upside down
Try turning the image upside-down. Click on the "Flip Vertical" button on the toolbar ... ...
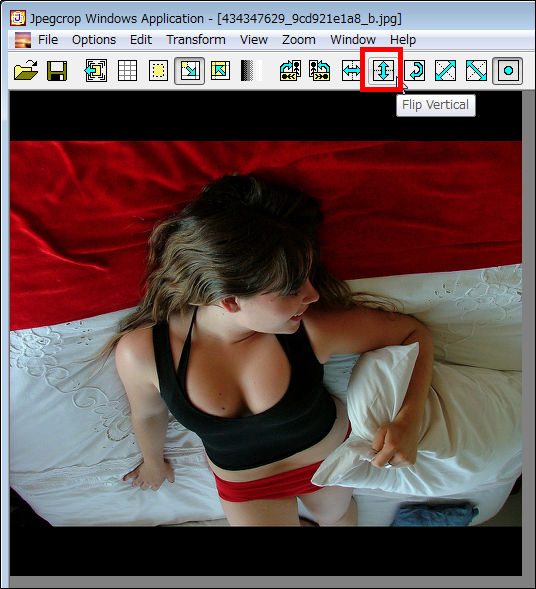
It is possible to invert the image in this way.
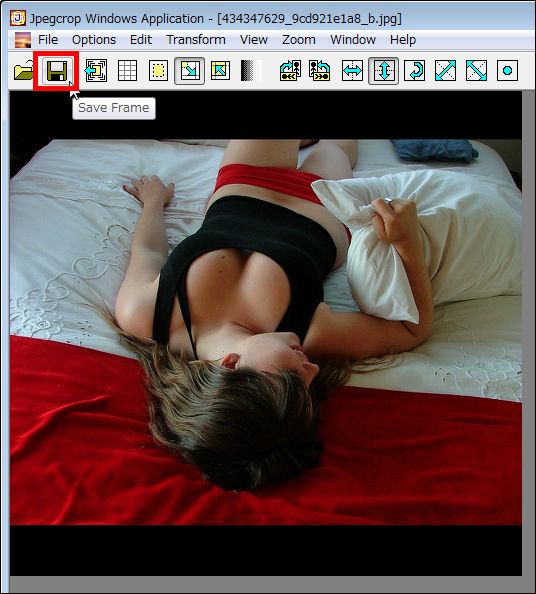
◆ Save image after image processing
To save the processed image, click the "Save Frame" button on the toolbar.
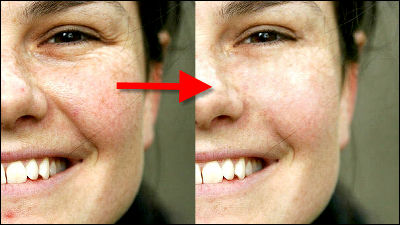
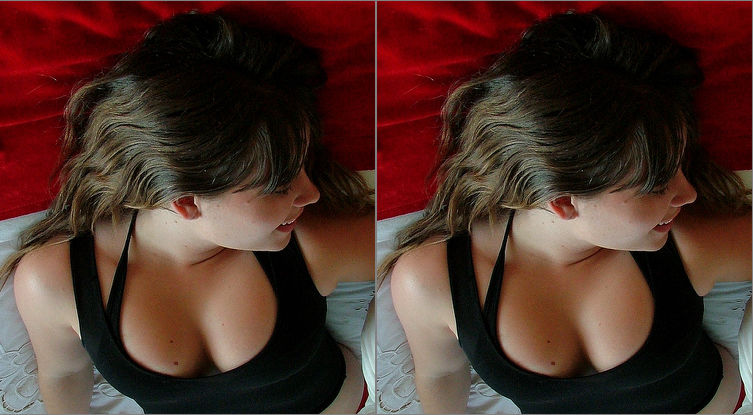
I compared images before and after processing whether the image is deteriorated after image processing. The image on the left is without image processing, the image on the right is turned upside down once, then it is saved, then upside down again.
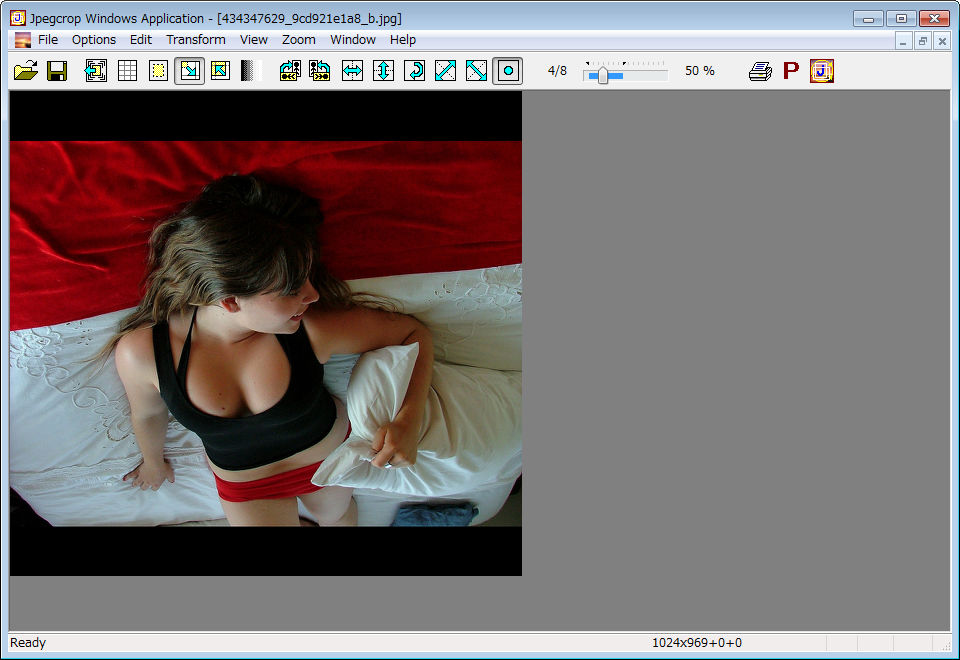
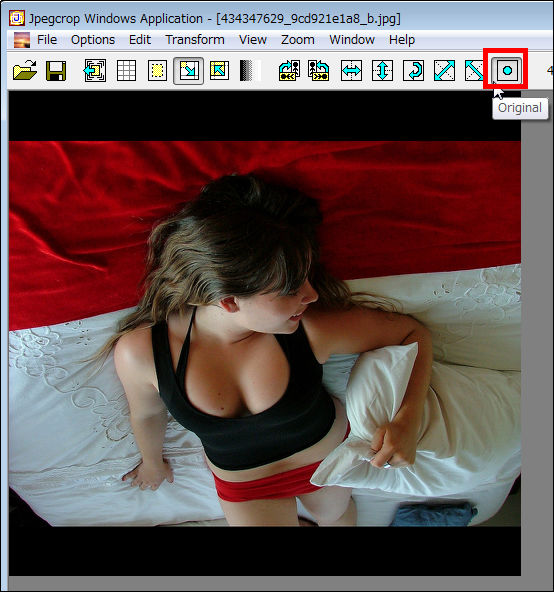
◆ Restore before image processing
To return to the image before image processing, click the "Original" button on the tool bar. It is possible to return to the original image with this.
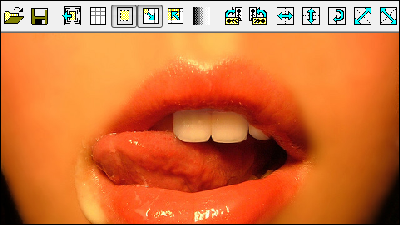
◆ Trimming
When you want to trim only the part surrounded by the red frame except for the black part at the top and bottom of the image.
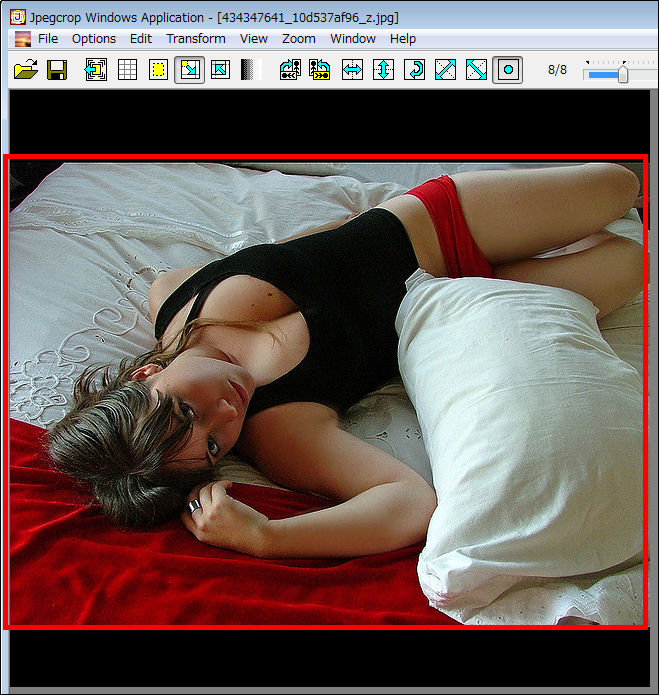
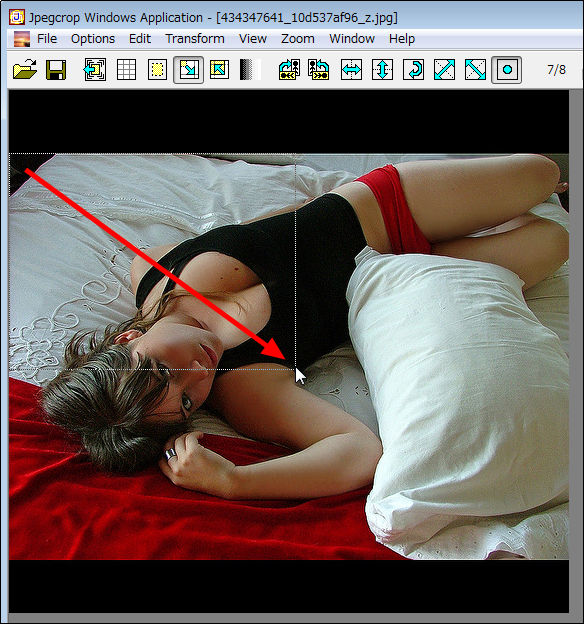
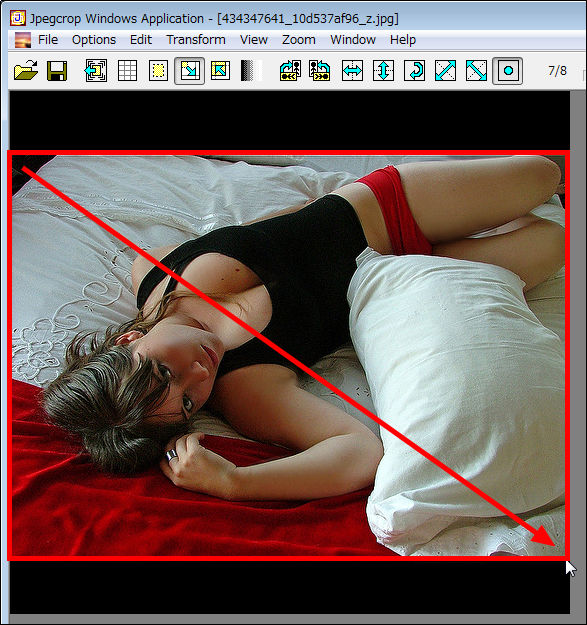
From the top left corner of the area you want to trim as the starting point, drag and drop from the top left to the bottom right to select the range.
Click the "Save Frame" button on the toolbar to save the trimmed image.
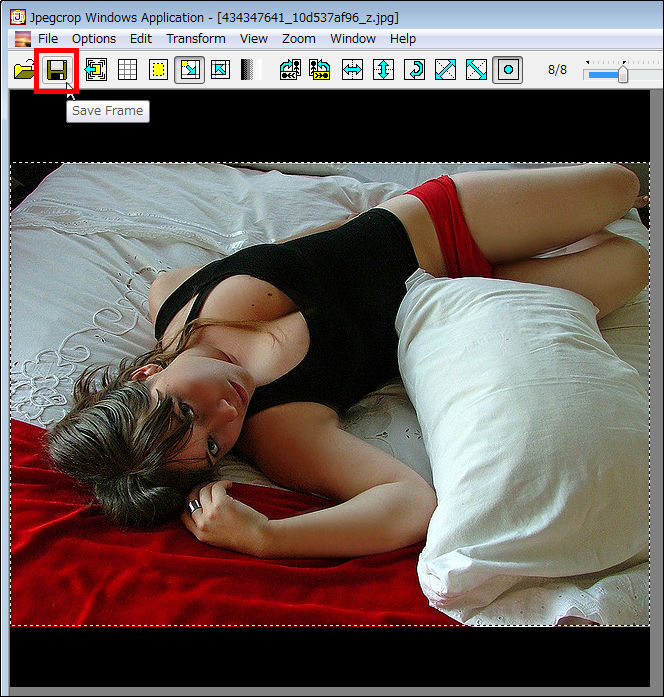
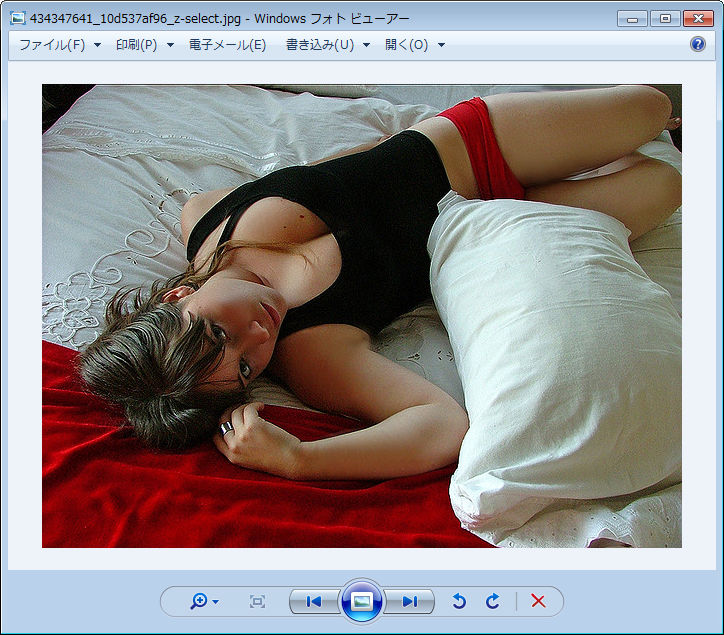
For the sake of confirmation, opening the image trimmed with "Windows Photo Viewer", it was trimmed without problems.
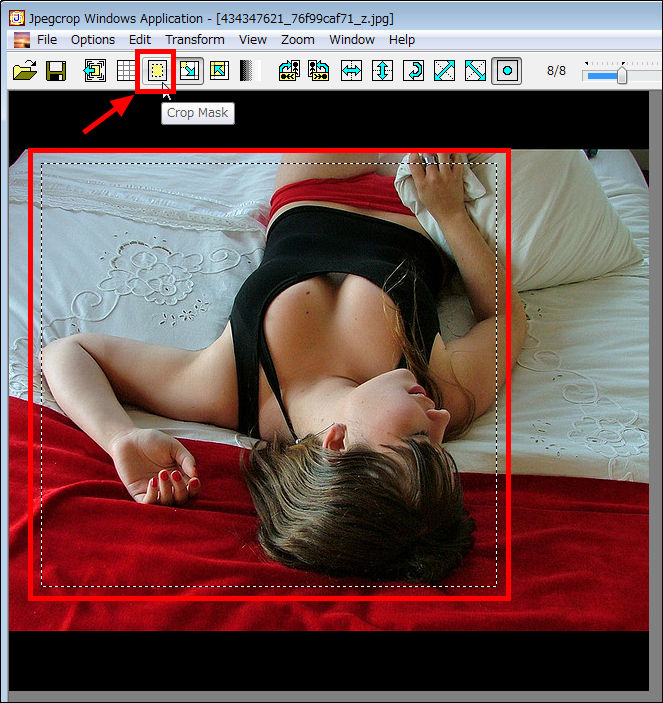
◆ Function of range selection
To display only the selected range, drag & drop from the upper left to the lower right with the "upper left corner of the range you want to display" as the starting point, enclose the range, and click the "Crop Mask" button on the tool bar.
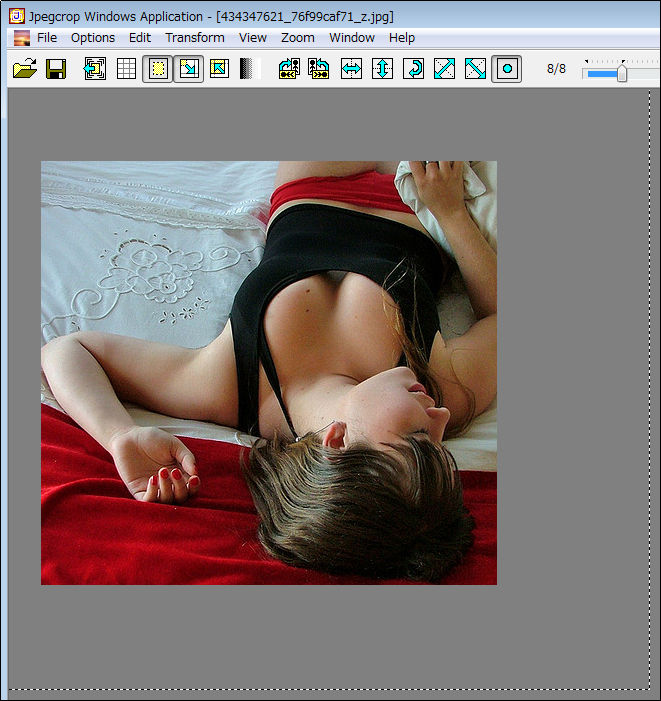
Only the selected range will be displayed.
To move the selection range without changing the selection range, right click on "inside the displayed range" and click "Move Frame".
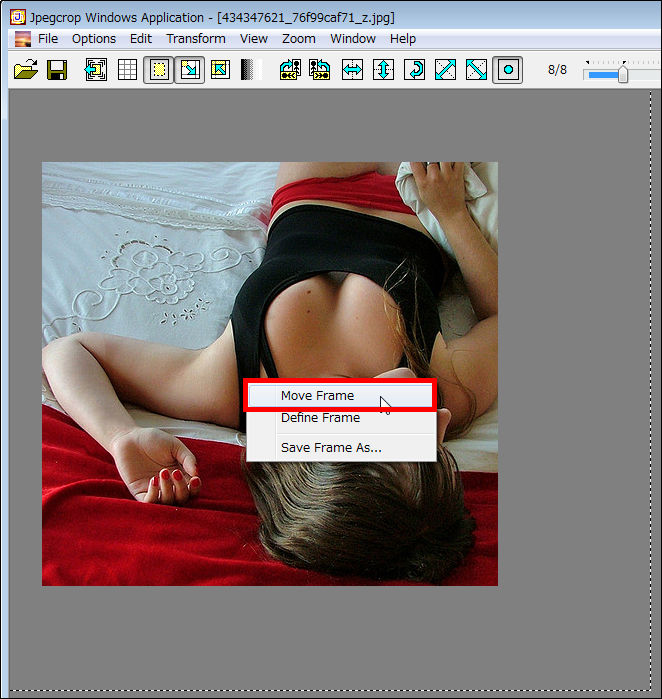
A mouse pointer with up, down, left, and right arrows is displayed, it is possible to move the selection range, and clicking at the destination of the selection range can fix the selection range to that place.

If you want to use an exact selection range such as 560 × 420 in size, right click on "inside the displayed range" and click "Define Frame".

In this case enter 560 and 420 for "Width (width)" and "Height (height)" and click "OK".

This is the exact selection range of 560 × 420.

Also, you can make settings such as adding a grid to an image, printing an image, or ignoring warnings while JPEG crop is running. The JPEG image can not be restored in the lossy compression format, and when edited or processed and saved, the image quality will degrade more than before editing, so when editing, I'd like to use software that I can.
Related Posts: