I tried using the remote management card "Lights-Out 100" which can turn on / off the server that hung from a remote place and manipulate the BIOS
One of the most troublesome cases when the server is located in a remote place is when the OS of the server hangs up and no commands are accepted, and it comes to the state of "You have only to press the power button on the server!" It takes time to go to the place where the server is so bothersome, especially if it is a night or a holiday, it will be heavy. Therefore, in order to avoid such an emergency situation,HP ProLiant ML 150 G 5In addition to purchasing a remote management card "HP Lights-Out 100"(Price of 24,100 yen) as an option item.
Mainly two functions I thought I could use. The first one"Power on / off using the virtual power button from the web browser"And the other using JAVA"Operate console independent of OSIt is that it can do. With these two functions, you can safely install a server at a remote place, as well as remotely monitor the system's temperature, voltage and fan operation, so if the server freezes is the cause of the software software or hardware I will be able to make a primary judgment of the innocence.
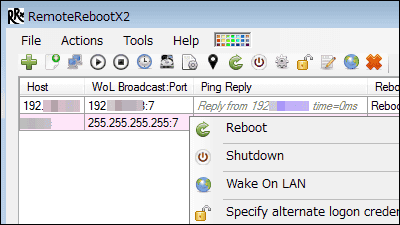
So, the report you actually used was from the following.
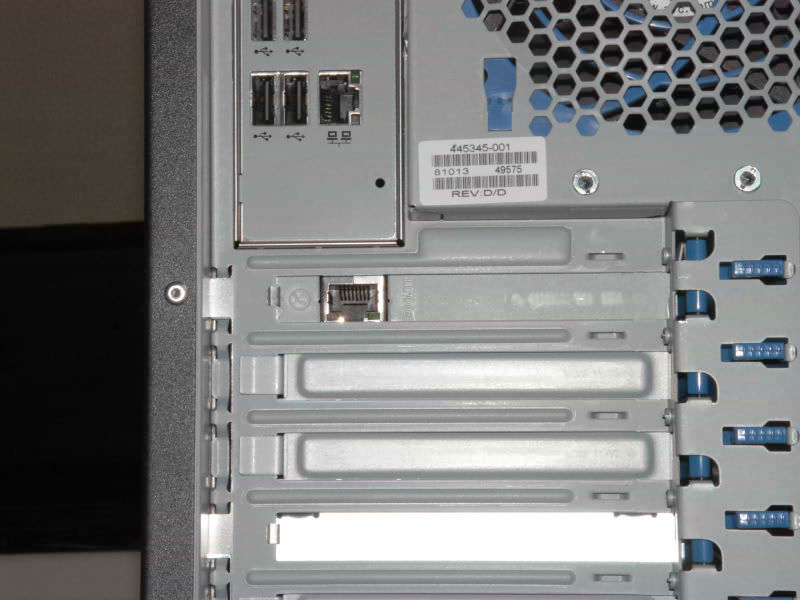
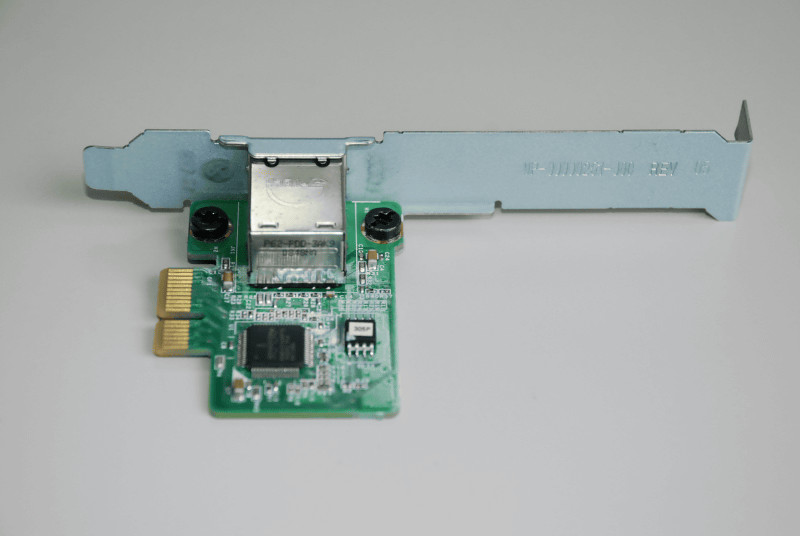
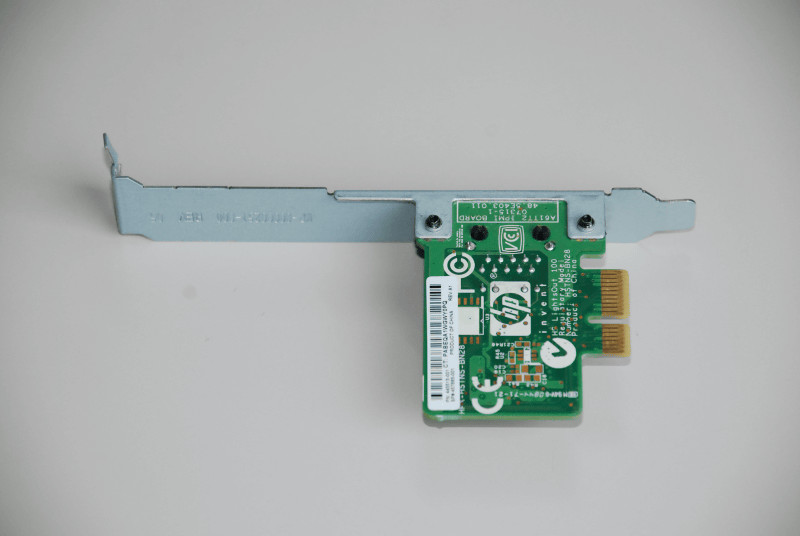
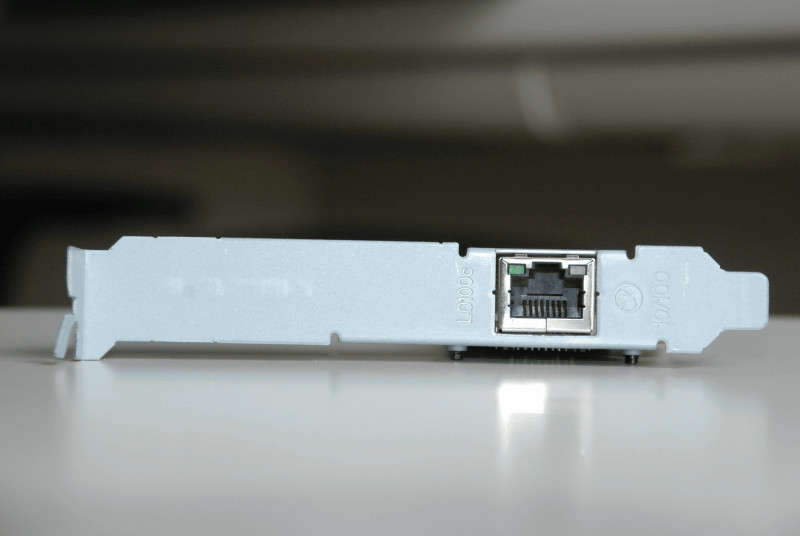
A thing like this network card is "Lights-Out 100".
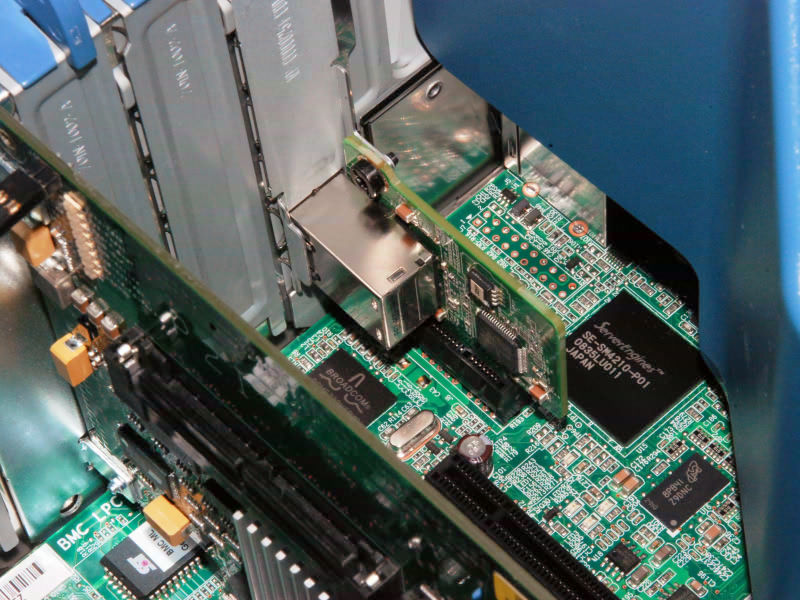
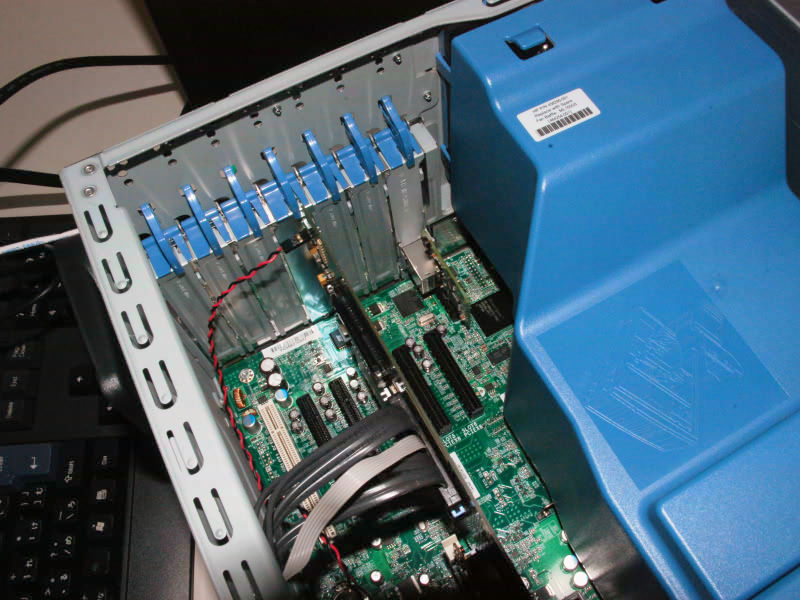
I really wanted to know what kind of card it is, so open the lid and check the contents.
up. I am stuck with this feeling.
I wanted to take a closer look, so I tried to remove it. It is rather small and small.
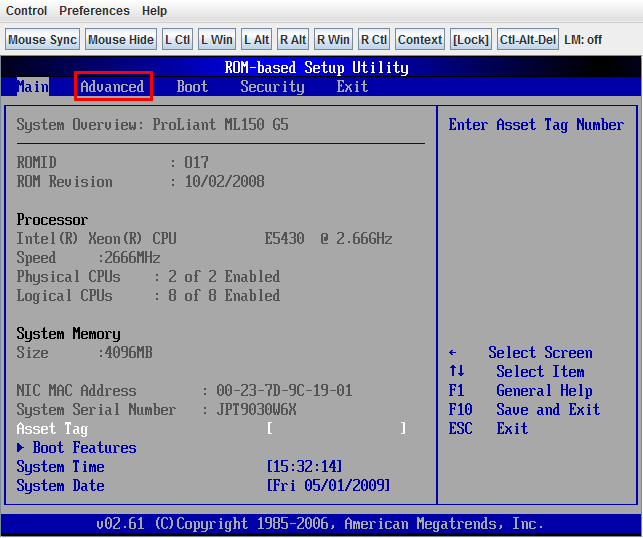
Several settings are necessary for actual use. First of all, you set BIOS. Press the power button to start up normally, and press the "F10" key on this screen to display the BIOS screen.

Use the "→" key to select "Advanced" and press the "Enter" key.
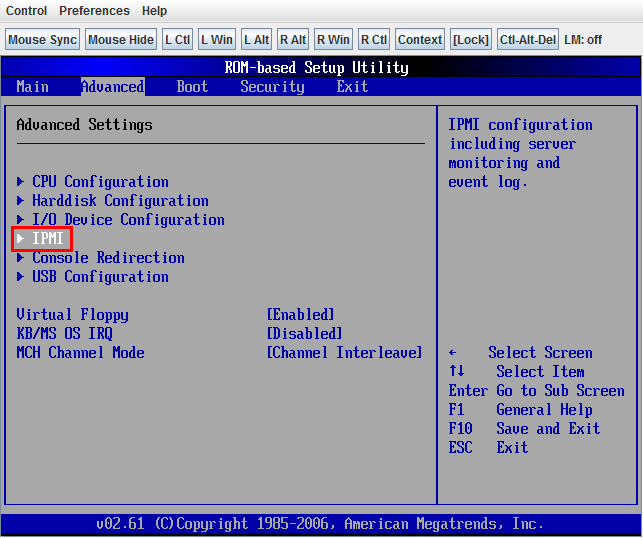
Select "IPMI" and press "Enter" key.
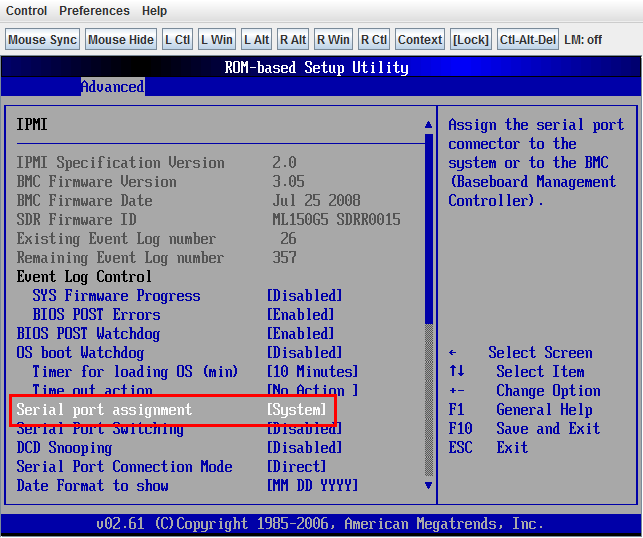
Select "Serial port assignment".
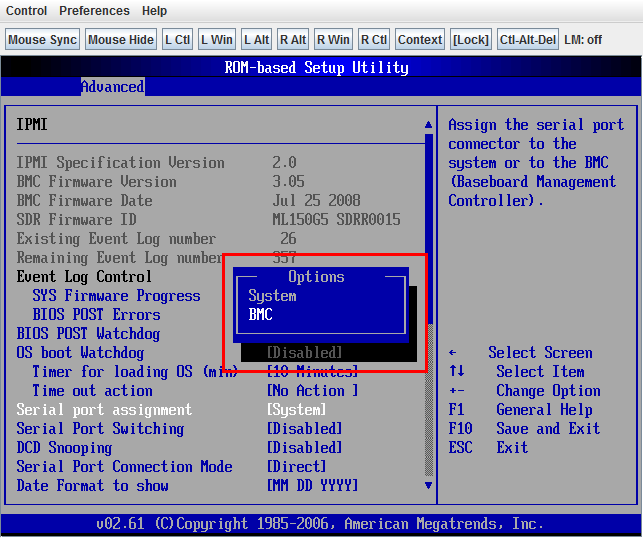
Change from "System" to "BMC". By the way, BMC stands for Baseboard Management Controller.
The next is how to check and change the IP address. If the DHCP server is in the network and you use the DHCP server, please check the IP address here. To assign a fixed IP address, select "DHCP IP Source" and press the "Enter" button.

Change from "DHCP" to "STATIC"
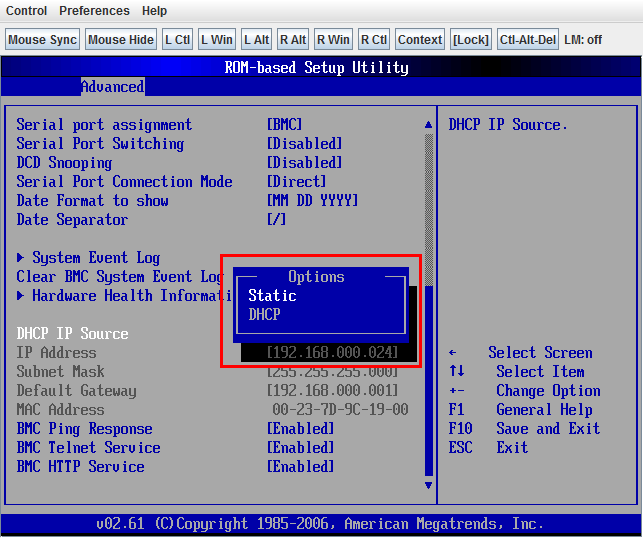
IP Address, Subnet Mask, Default Gateway.
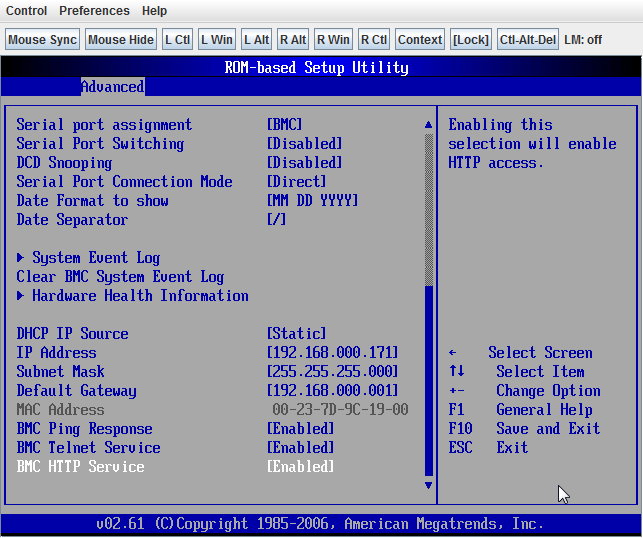
If you select "Save Changes and Exit" from "Exit" and finally "OK", the server will restart. You are ready.

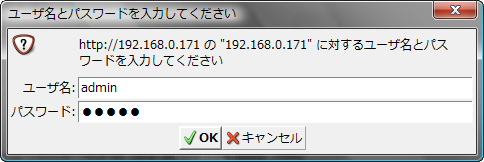
先ほど、設定したIPアドレスにブラウザから接続します。先ほど設定したIPアドレスは「192.168.0.171」なので、「http://192.168.0.171」へ接続します。
Since you are asked for user name and password, both defaults are "admin".
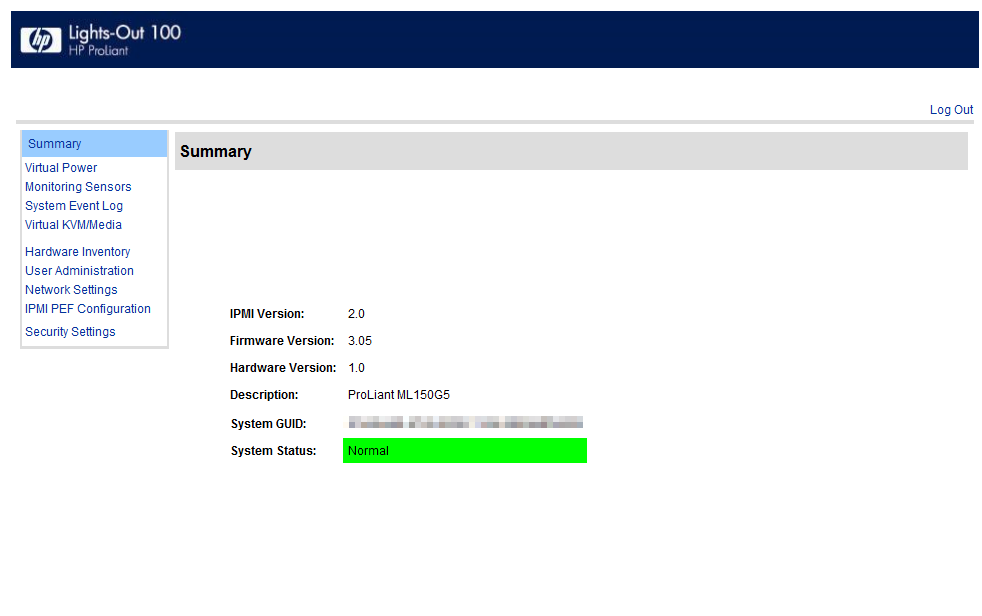
When logging in, the Summary screen like this will appear.
1. Power Management
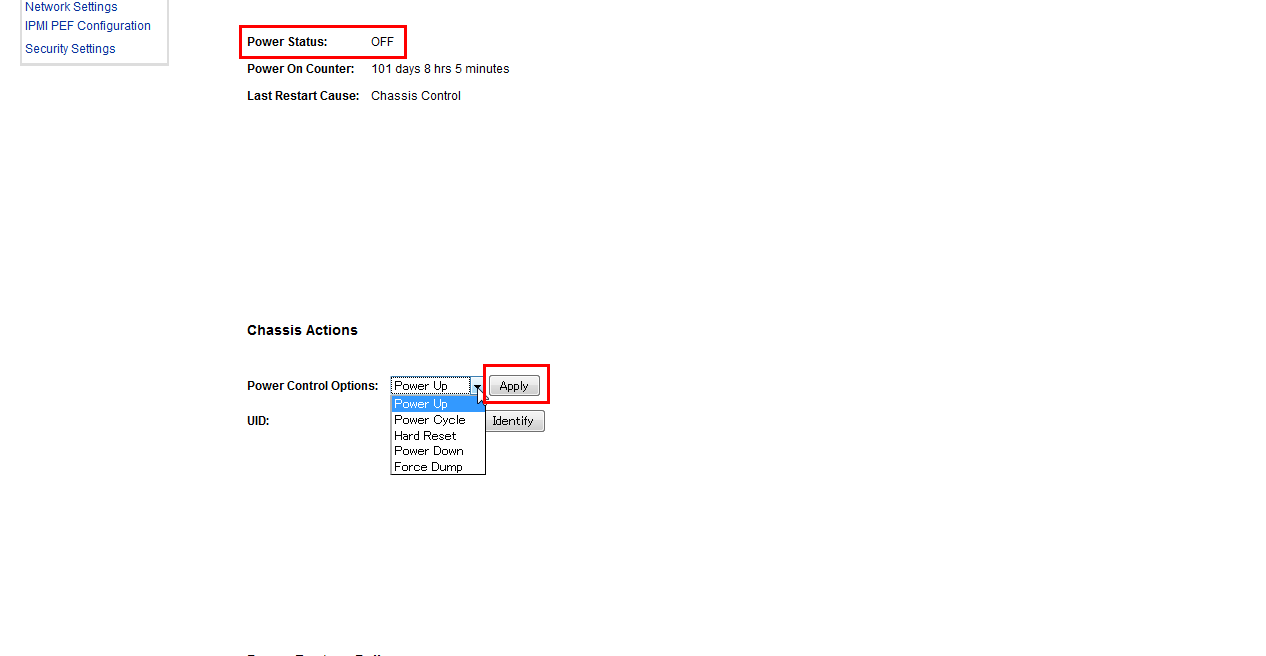
"Virtual Power" allows you to turn on / off the power of the server freely.
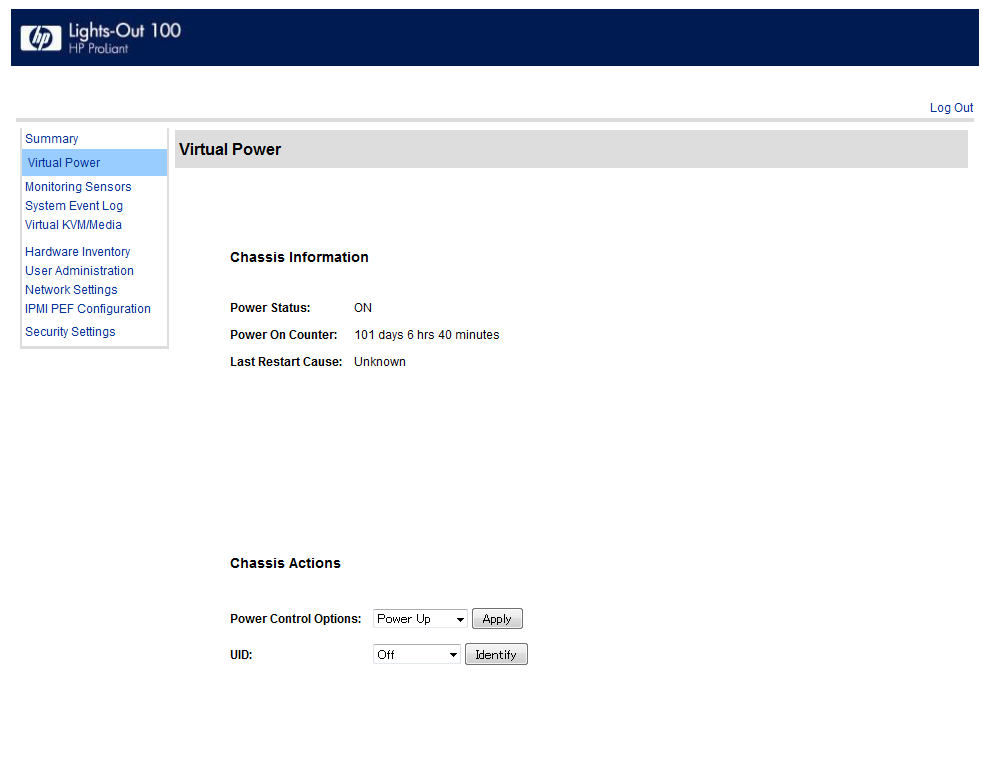
Even when the Power Status is OFF and the server is turned off, if you select "Power Up" in Power Control Options and press the "Apply" button next to it, it will be powered on. On the other hand, if the server is running, select "Power Down" and press the "Apply" button to turn off the power.
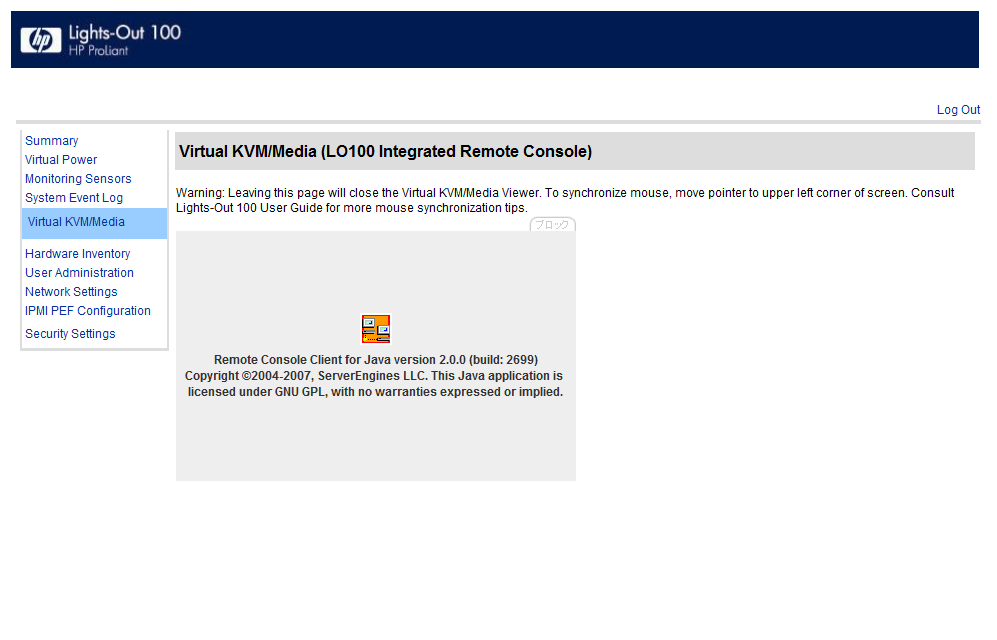
2. Console screen display and operation
Select "Virtual KVM / Media". Since JAVA environment is required, if you do not install JAVAHereFrom.
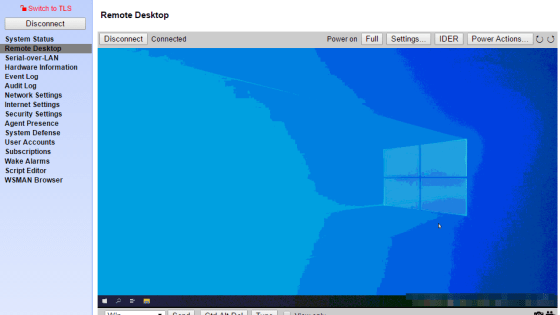
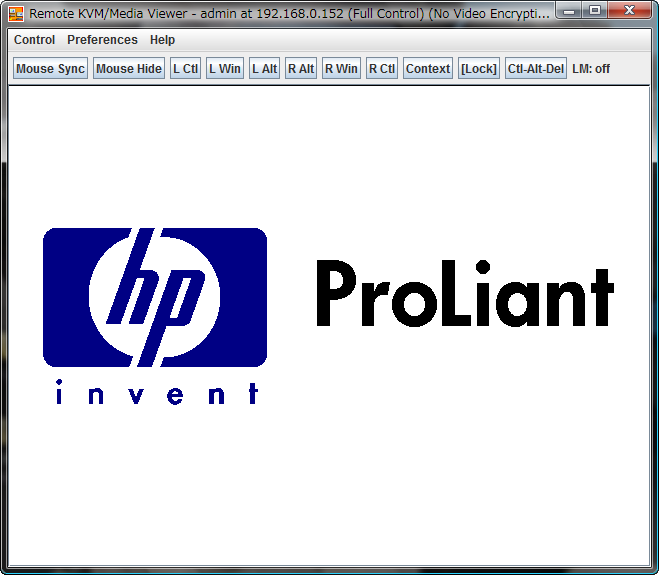
After waiting for a while, the console screen is displayed like this. Screen immediately after turning on the power. Where the HP logo is displayed.
Where the BIOS screen is being displayed
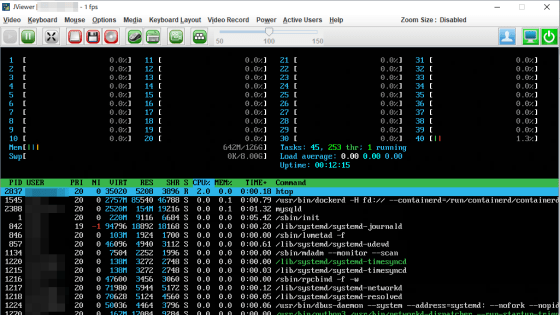
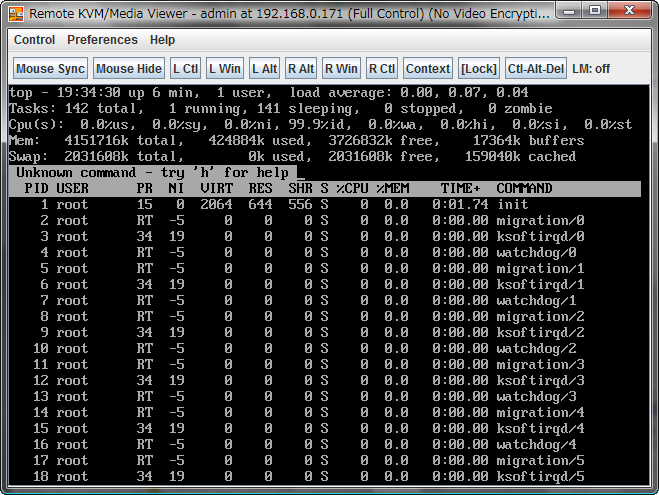
I installed Linux and running "top" command
Other functions include the following functions.
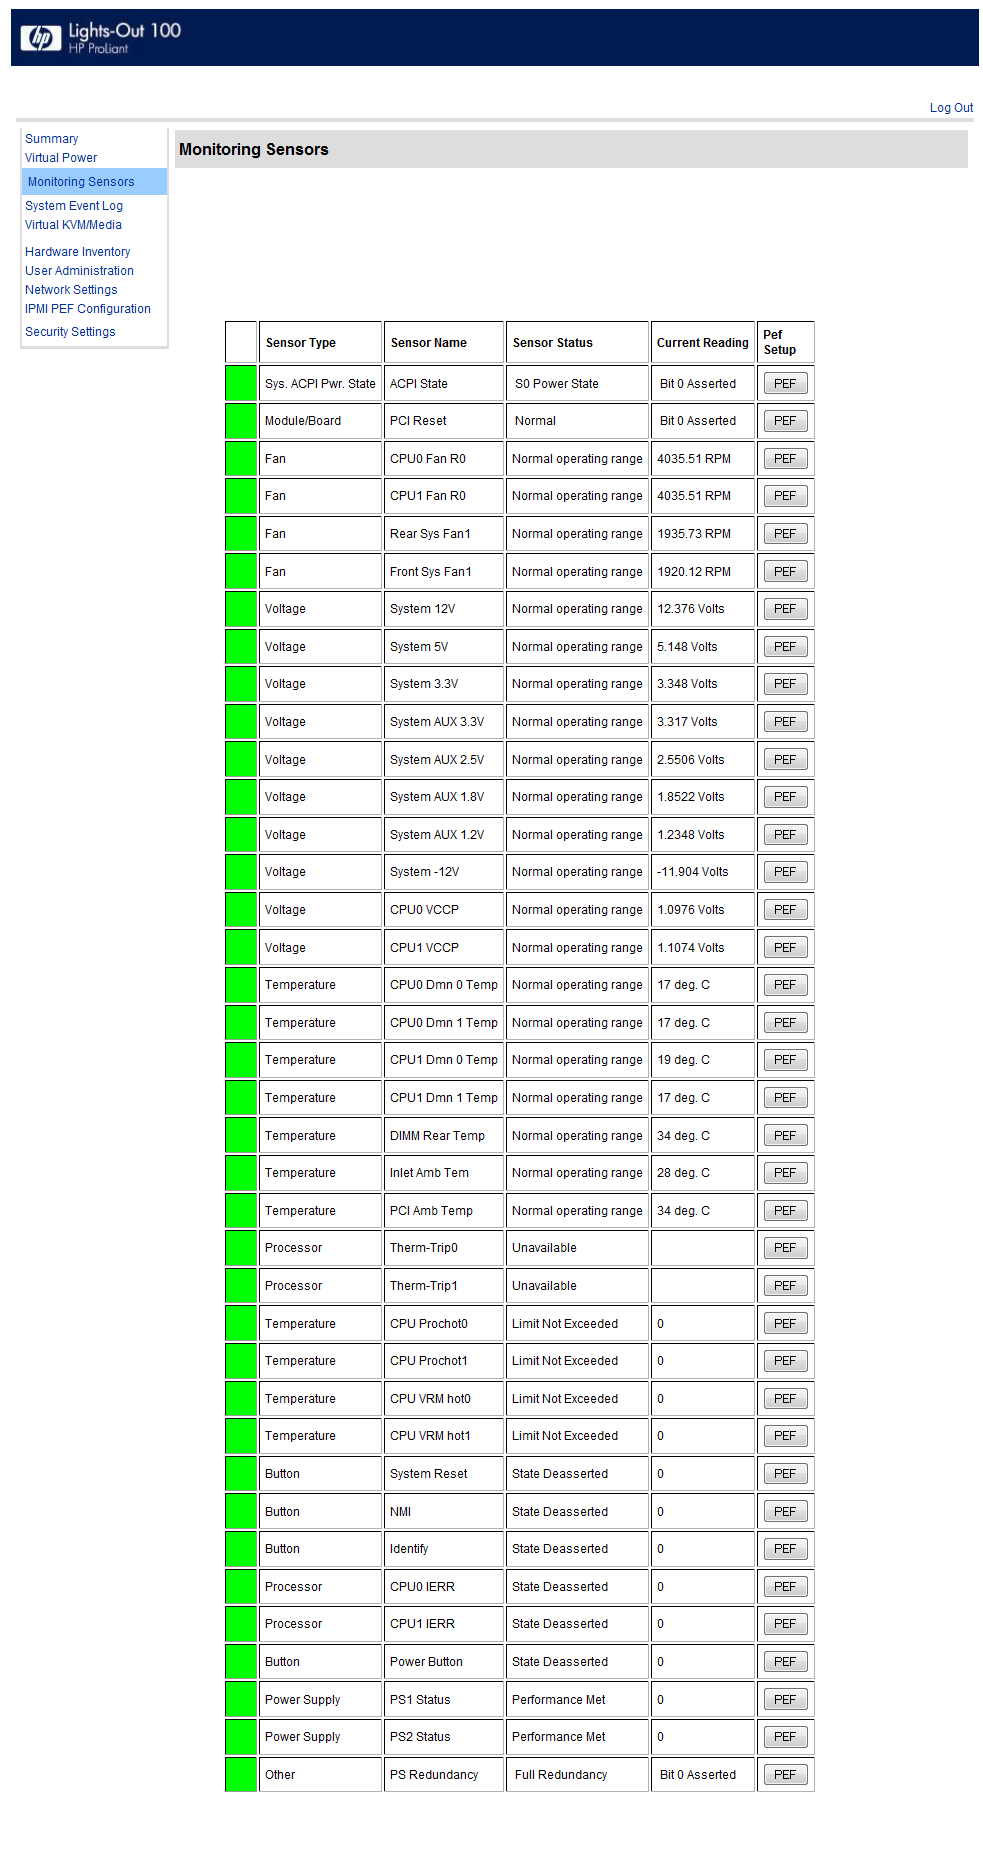
"Monitoring Sensors" is a server status display that can be acquired by IPMI.
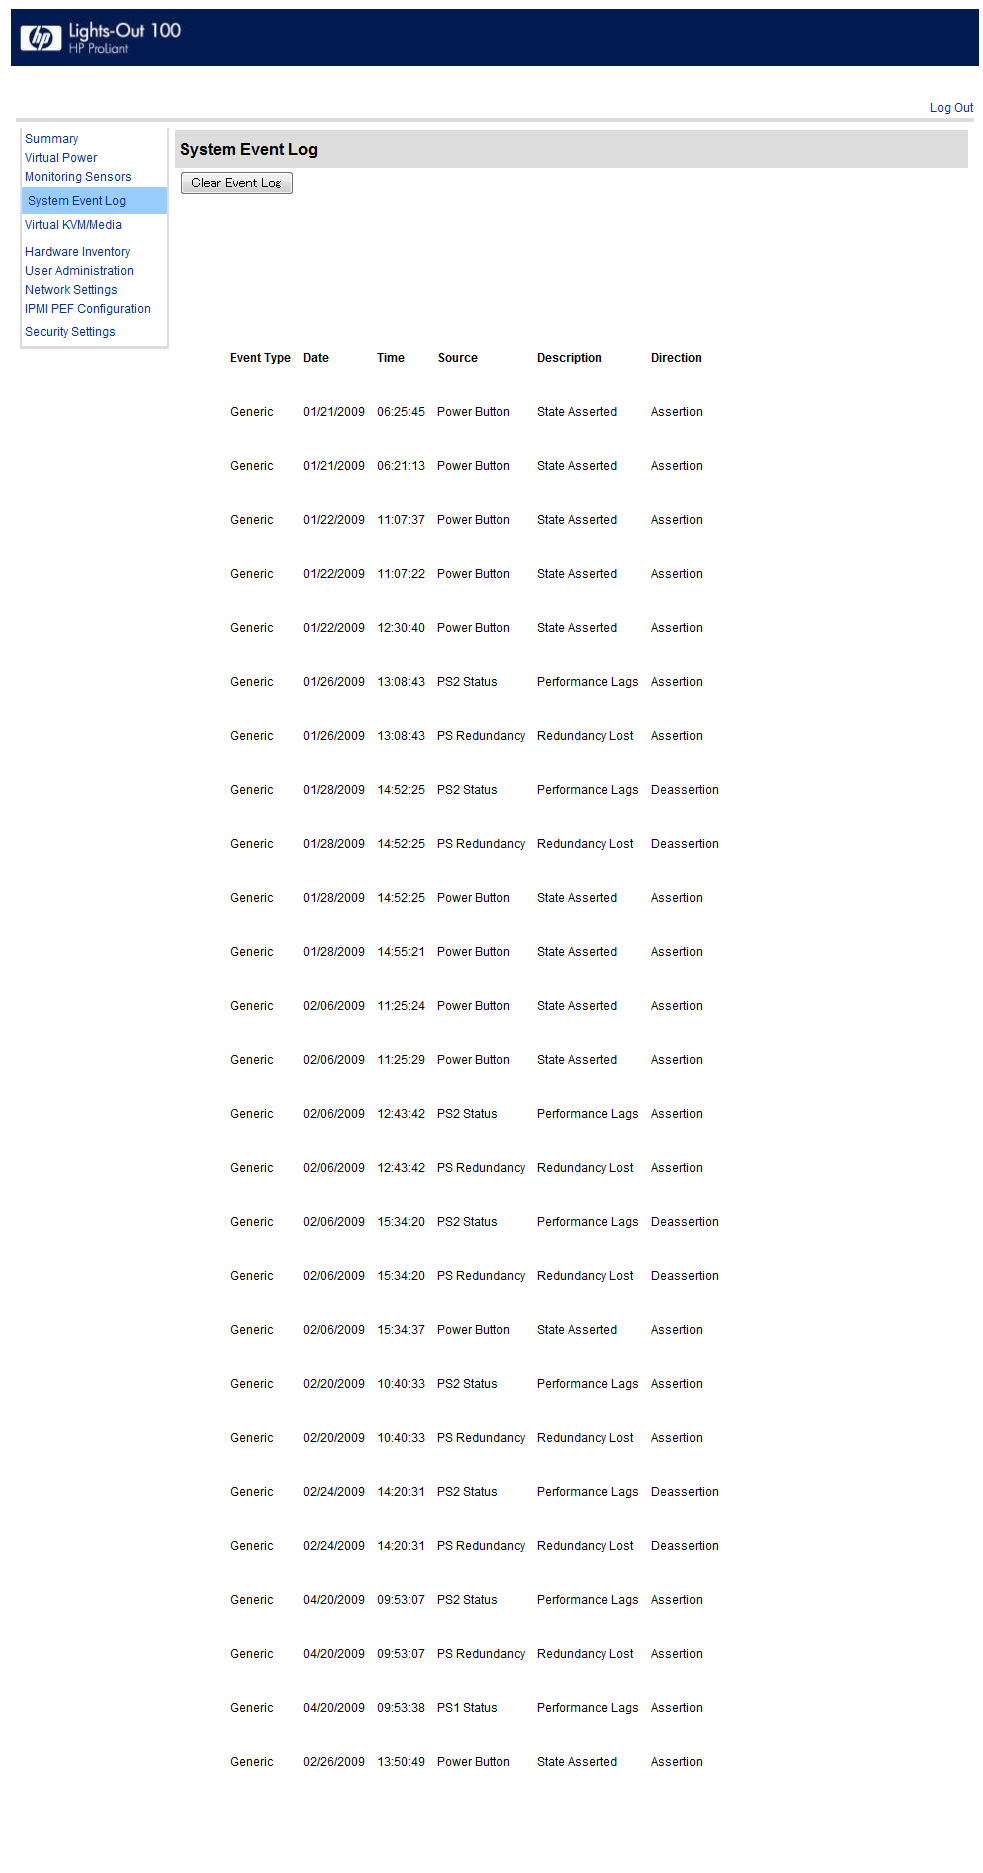
"System Event Log". The event log is displayed.
"Hardware Inventory". Hardware list.

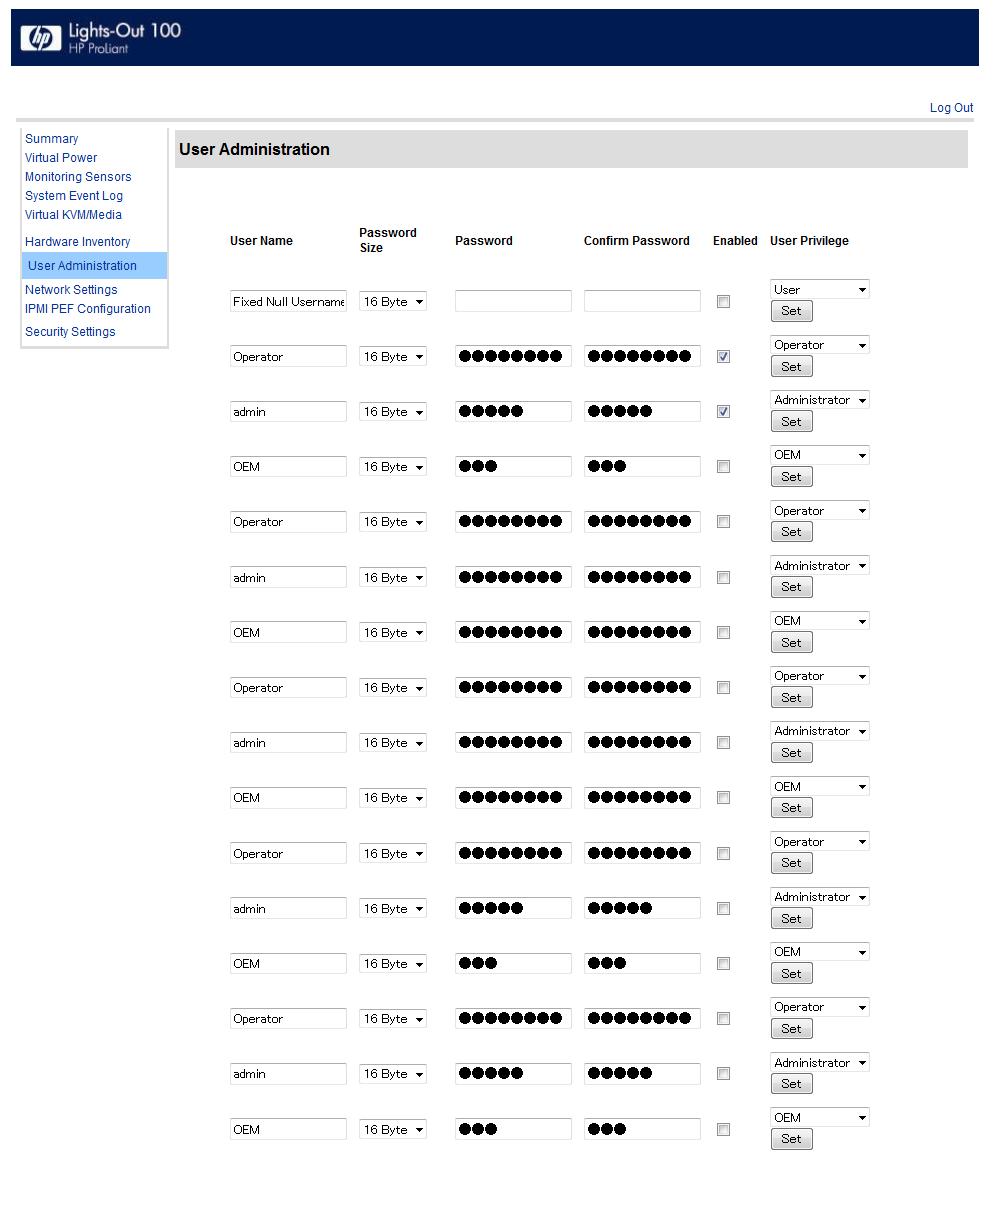
In "User Administration" you can change the user ID and password.
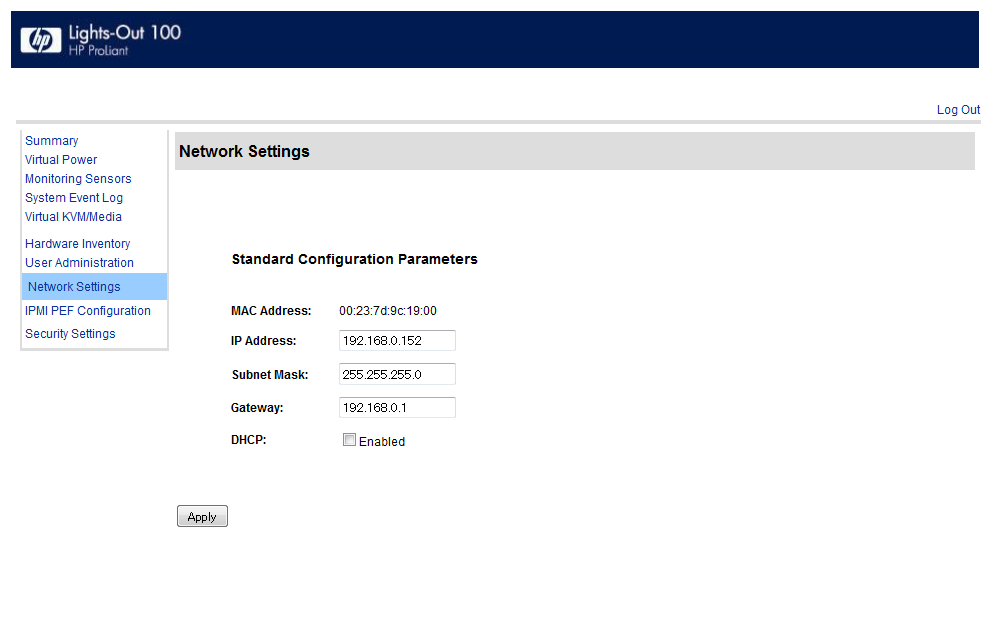
"Network Settings". It is used when you want to change the settings of network relation such as IP address.
"IPMI PEF Configuration". It is used when you want to change IPMI settings etc.

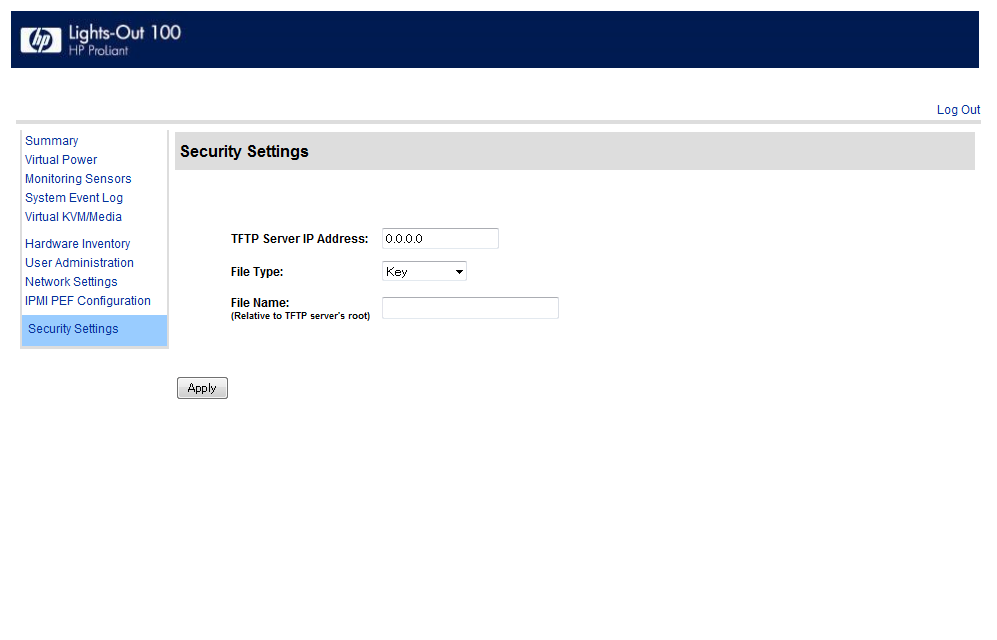
"Security Settings". People who care about security can be strengthened from here.
Related Posts: