Free remote control software "UltraVNC" capable of smooth high-speed drawing and file transfer
It is "UltraVNC" which is a high-function, free remote control software that can remotely control a Windows machine at another location from a Windows machine at hand and also can transfer files and chat. By installing a mirror driver additionally, it is possible to remotely control by very smooth high-speed drawing by lowering the CPU load, and in addition to that, it also has various functions reachable to itchy place.
This time I installed "UltraVNC Japanese version" on Vista and XP and actually used it. I also shot a movie that shows how fast drawing will be drawn.
Download and installation, settings etc. from the following.
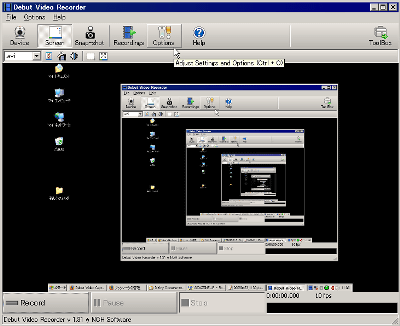
Firstly from the actual appearance. Vista machine whose monitor in the back is "UltraVNC server" is running. The laptop in front is the XP machine on which "UltraVNC Viewer" is running. That's why I remotely control Vista from XP. The same thing as on the monitor of Vista is also displayed in XP, there are almost no delays, the animation of Flash looks smooth, the menu switching is smooth, the afterimage is You can confirm that it does not remain. I tried to display the transfer rate (KB / s) in real time on the reference level. The network environment is a LAN of 100 Mbps, and the CPU load is about 5% to 10% (when the mirror driver is used) at 2.40 GHz of Intel Core 2 DUO 6600.
"UltraVNC Japanese version" can be downloaded from the following page.
UltraVNC Japanese Version | NANASI's Home Page
For this time, we will make Vista a server (controlled side, puppet) and XP to viewer (control side, use doll). It is the same composition as the above movie.
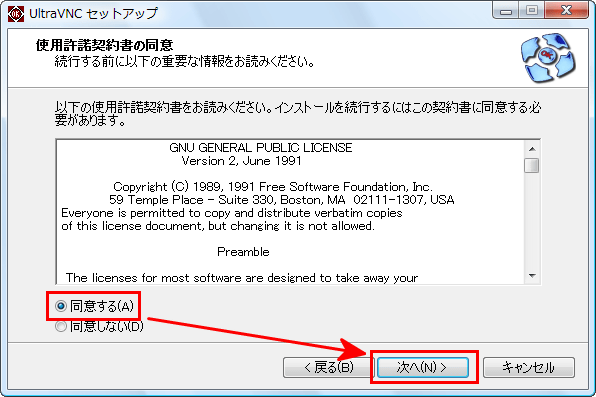
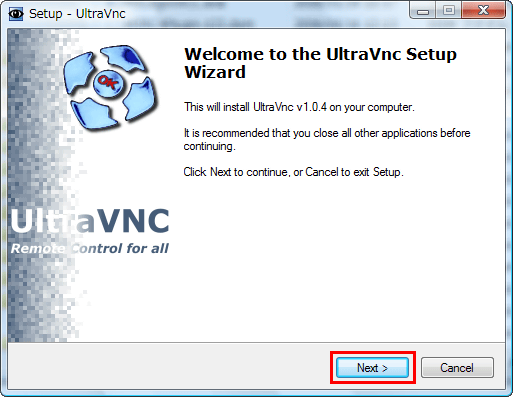
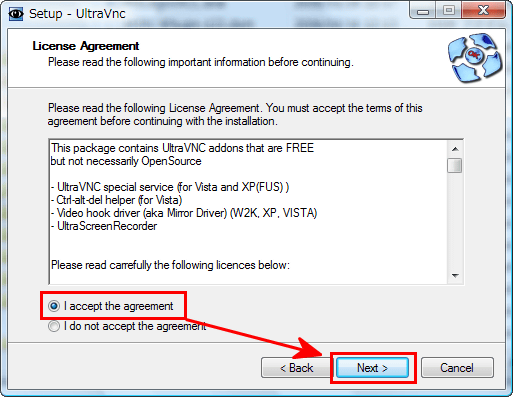
When downloading, activate the installer, check "I agree" and click "Next"
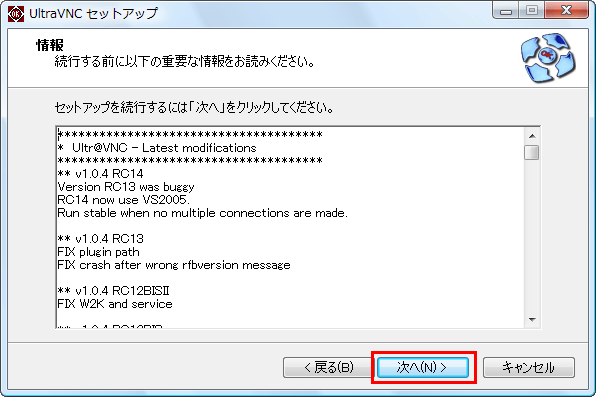
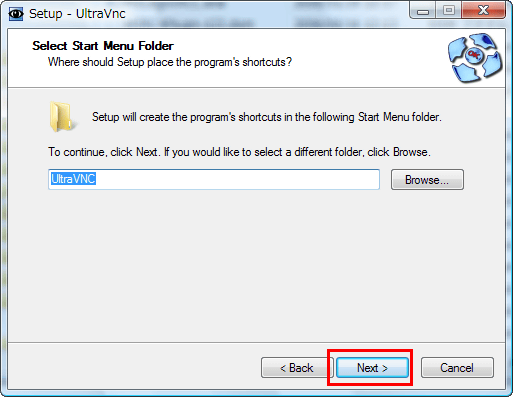
Click "Next"
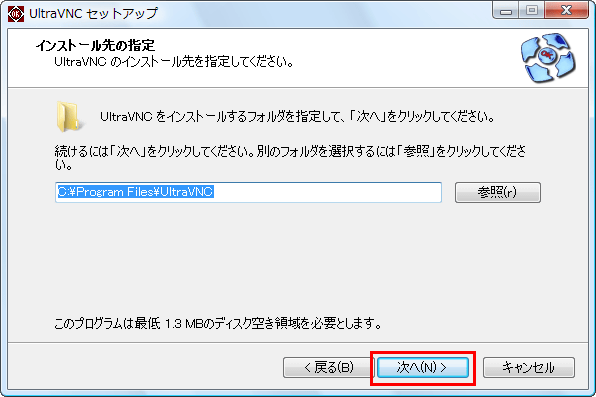
Click "Next"
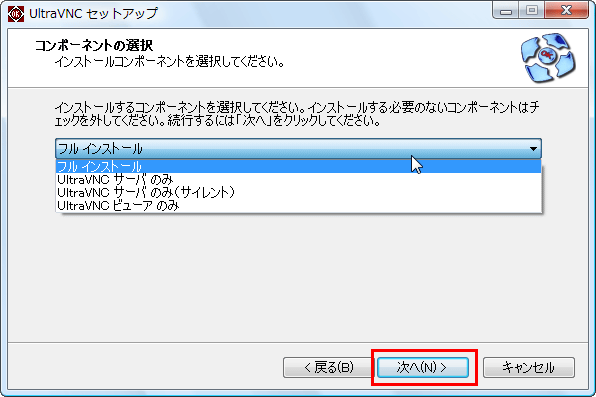
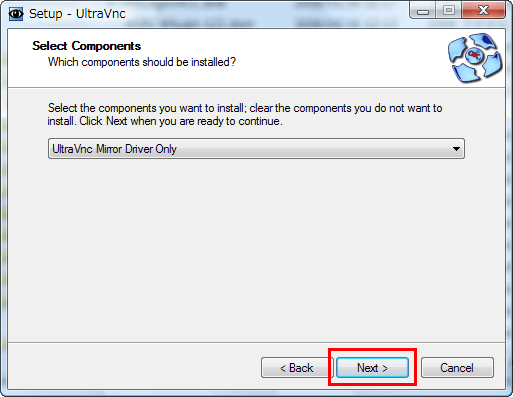
Select "Full installation" and click "Next".
Click "Next"
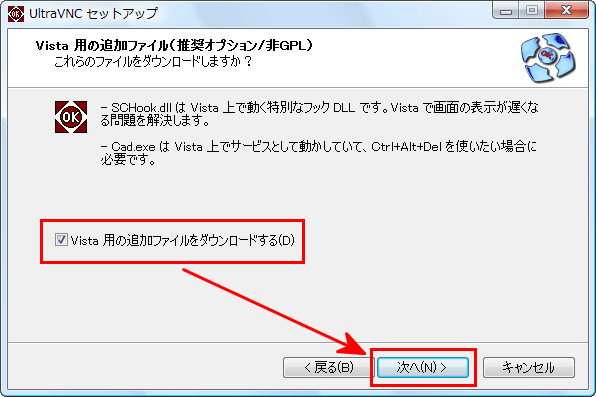
In the case of Vista, such a screen will appear, so click "Next" when you check it. XP does not come out.
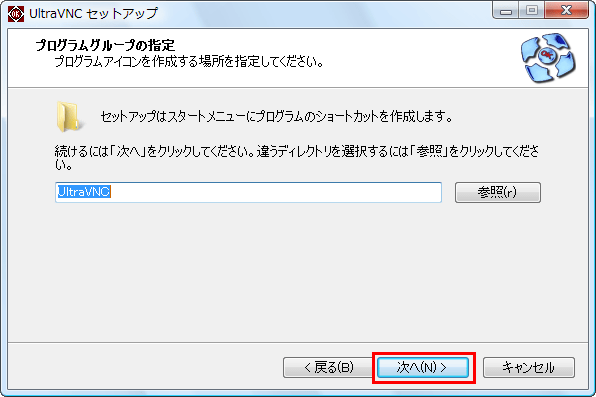
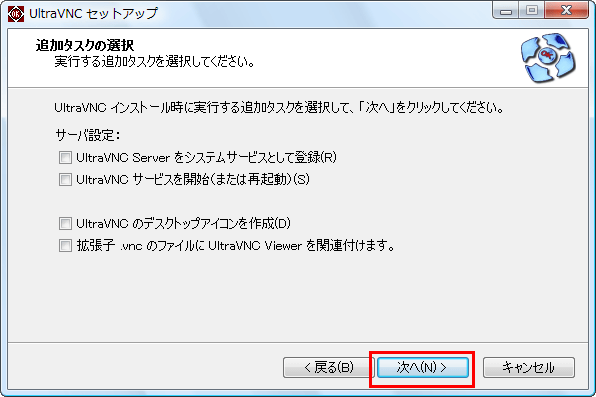
Click "Next" after checking
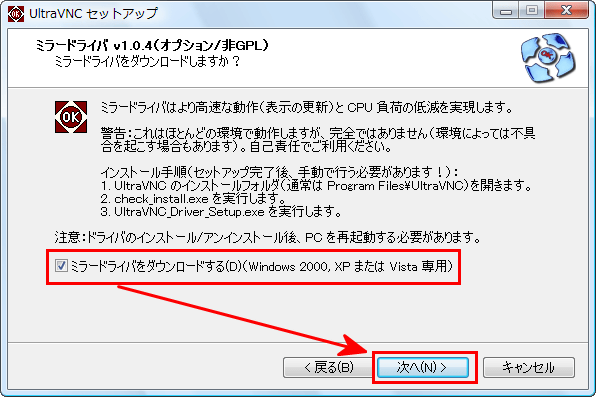
Click "Next". Personally it is pretty relaxing to associate with ".vnc". Other than that, it can be set later.
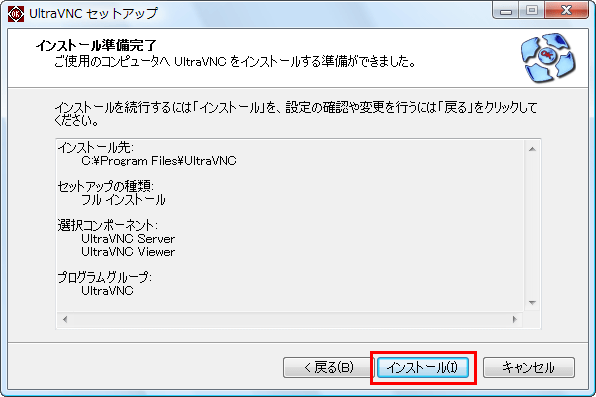
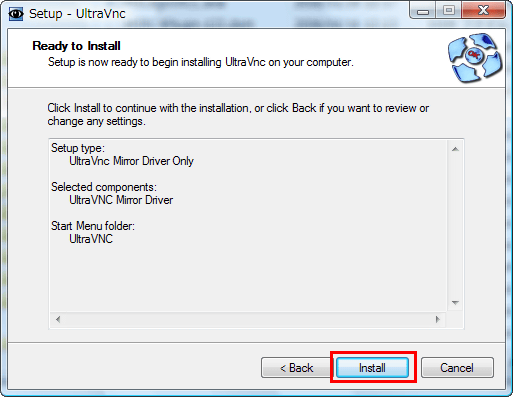
Click "Install"
Start downloading
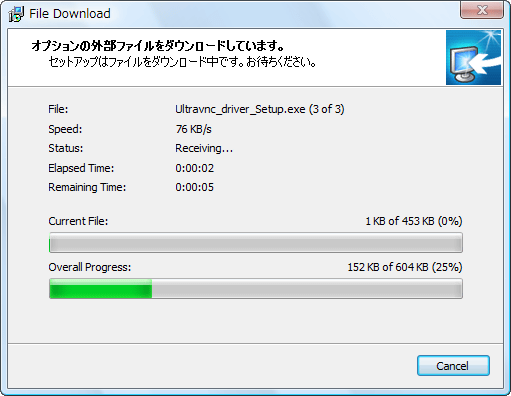
Installing

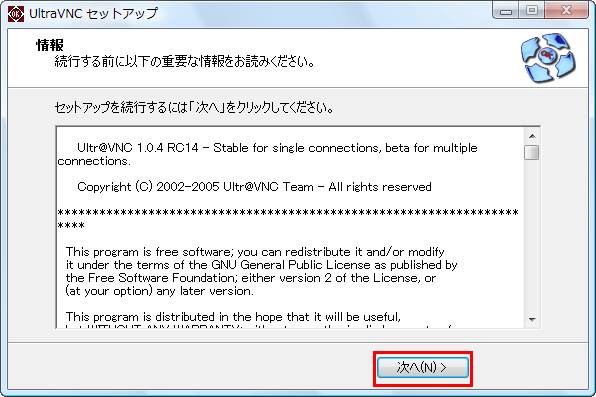
Click "Next"
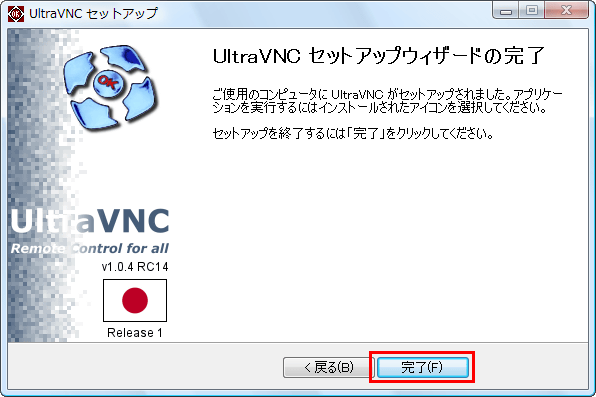
Click "Done"
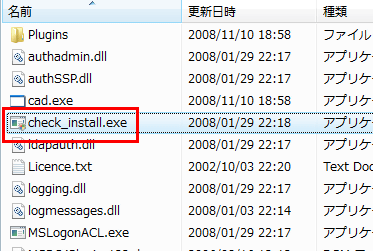
Open the folder where UltraVNC is installed (normally UltraVNC in Program Files) and run "check_install.exe" in it
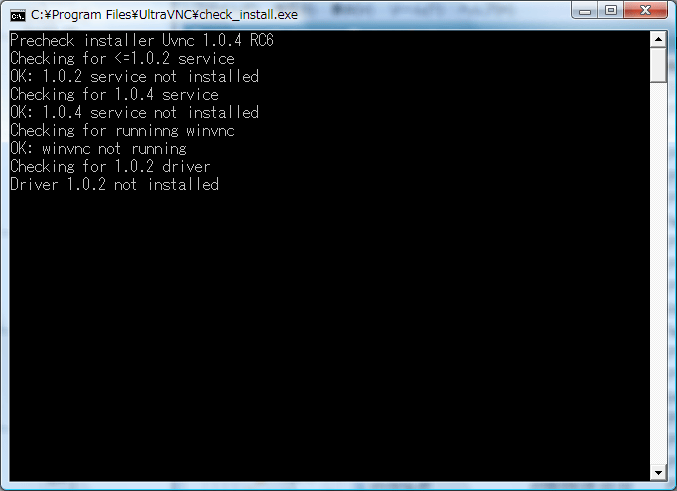
Then the check begins like this. If there is no problem the window will close as it is. If the server is running, resident, or running as a service, you will be prompted to stop it.
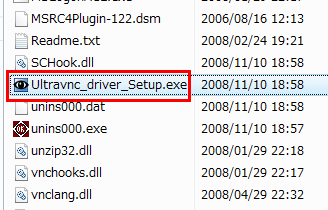
After checking, click "Ultravnc_driver_Setup.exe" to run
Click "Next"
Please check and click "Next"
Click "Next"
Click "Next"
Click "Install"
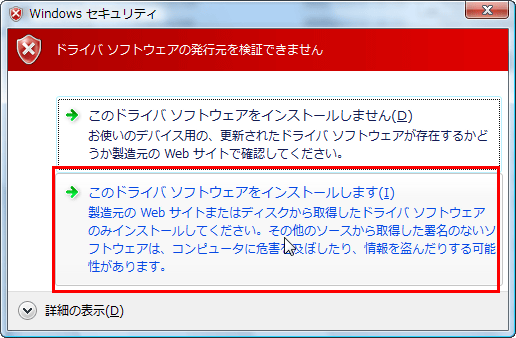
Click "Install this driver software"
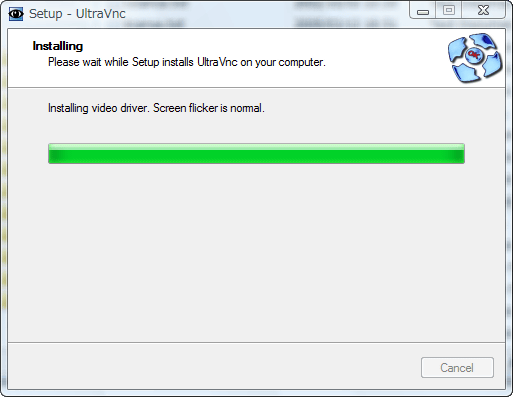
Installing
Click "Next"

Click "Finish"

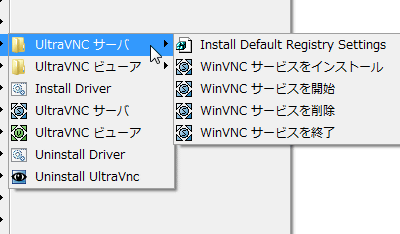
Since various shortcuts are registered in the start menu in this way, the controlled side launches the server and the controlling side launches the viewer. This time I will make Vista a server.
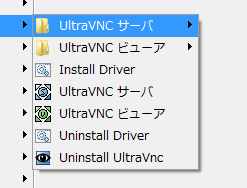
It is also possible to register and start the server as a service
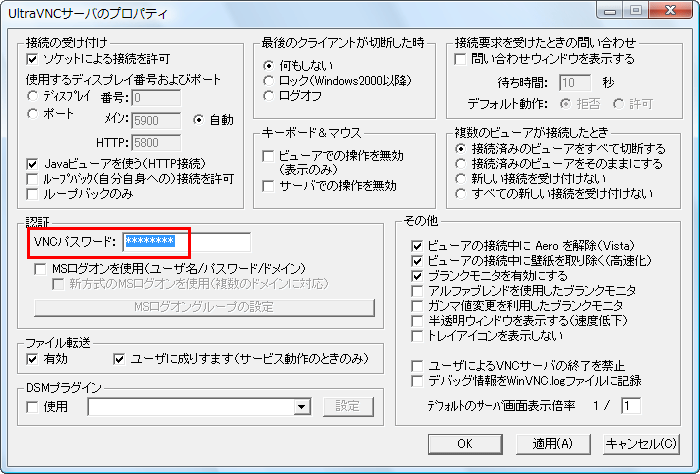
When starting the server, such a screen will be displayed first, so set the password from "VNC password" and click "OK".
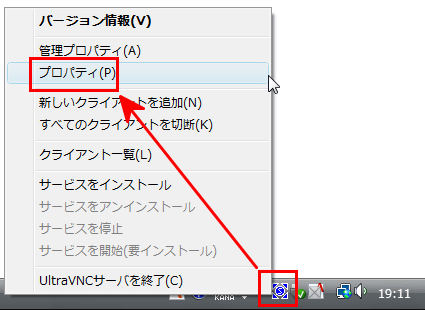
Then the icon is displayed in the task tray and it resides in this way. Make the settings for using the installed mirror driver effectively. Right-click the icon and click "Properties".
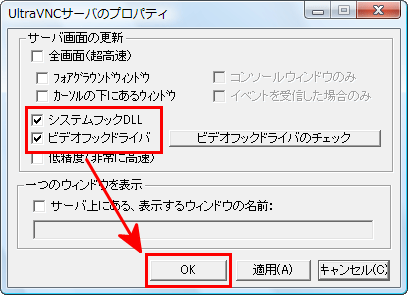
Check "System hook DLL" and "Video hook driver" and click "OK". Note that "Checking the video hook driver" can be confirmed by clicking it when the viewer is connected to the server, so it is meaningless to click on the server with no user connected to it, so be careful .
By the way, from the device manager you can see the mirror driver "mv video hook driver 2" for UltraVNC in this way. If it does not exist, driver installation has failed.

Next, make settings on the viewer side. This time it is assumed to be used on the LAN. Simply enter the IP address of the computer on which the server is running and click "Connect".
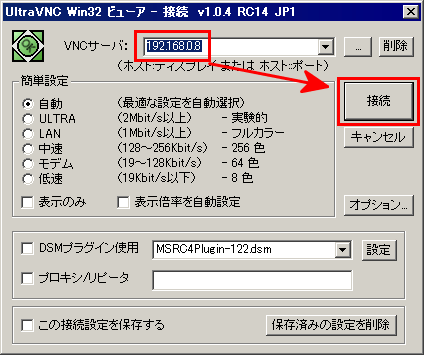
First such window will be displayed
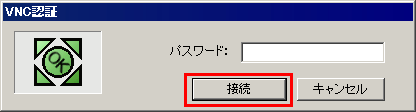
Since such a window will appear next, after entering the password, click "Connect"
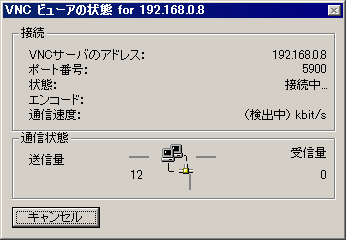
Then it will be

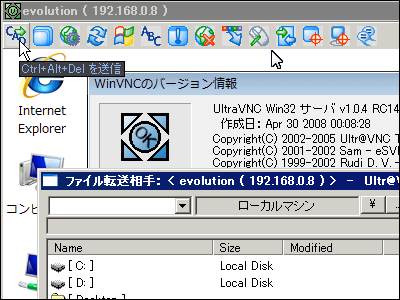
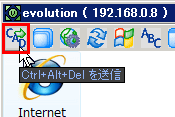
The buttons on the toolbar have various functions. This is the transmission of "Ctrl + Alt + Del".
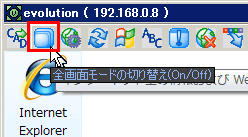
Switch to full screen mode
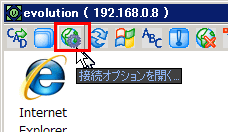
Open the connection option
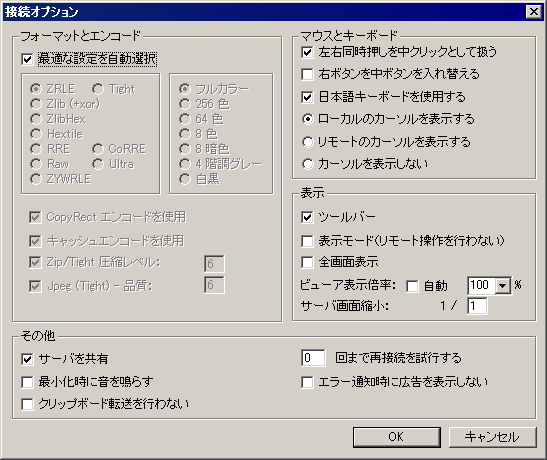
The connection option looks something like this
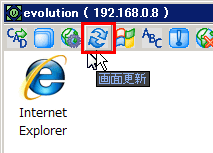
Click to update the entire screen.
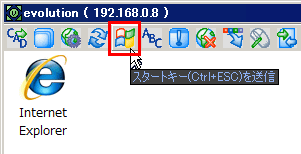
The same effect as clicking the start key
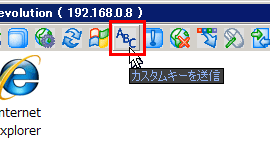
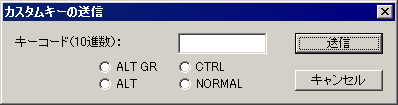
You can submit certain combinations of keys
Like this
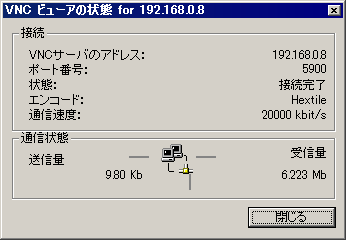
Display the status window
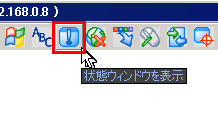
You can see the encoding format, communication speed, transmission amount and reception amount
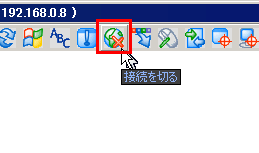
I will disconnect
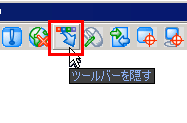
It hides the toolbar. Convenient when full screen is displayed.
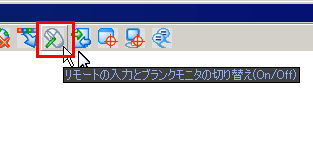
Switching with remote input
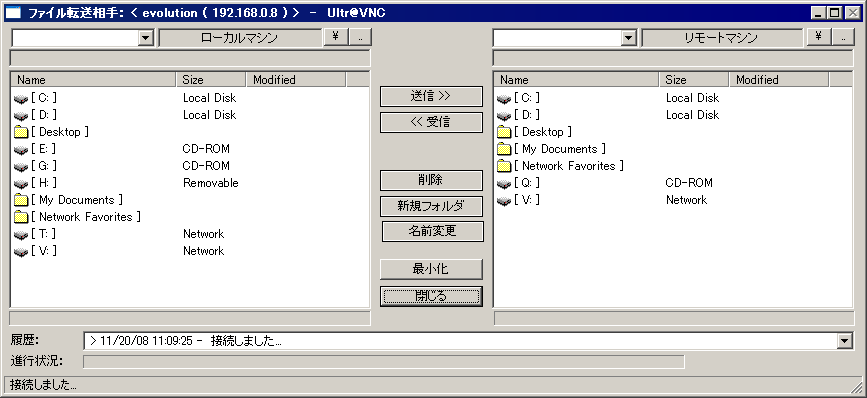
Click here to transfer files
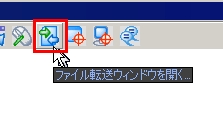
With the feeling like FTP software, you can exchange files on the viewer side and the server side. Quite convenient.
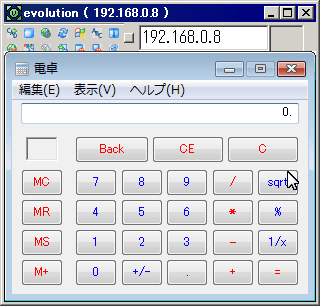
It is a mode to remotely control only the specific software window, not the entire screen.
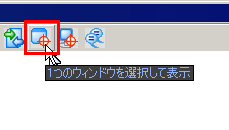
Clicking it changes to a mouse cursor that determines the target, so click on the window
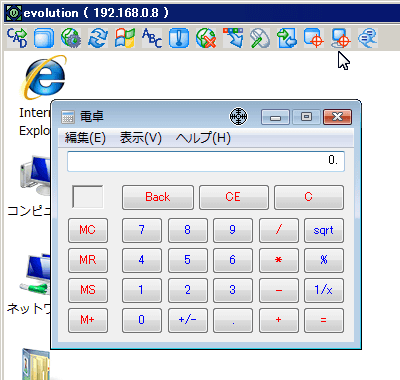
Then it becomes like this. The entire viewer side window is small.
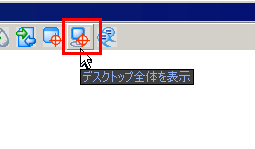
Click "Display the entire desktop" to return to the original size
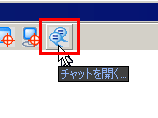
Click this "Open chat" to chat with people on the server side
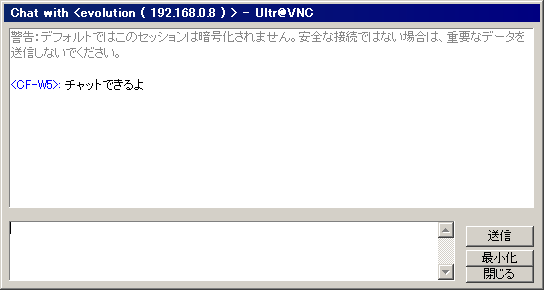
I can chat like this
Also, clicking on the icon in the upper left corner of the viewer will cause the menu to appear in this way. Convenient for checking shortcut keys. Also, in case of a person who operates more than one server, clicking "Save this connection setting in a file" will eliminate the need to enter the IP address every time.
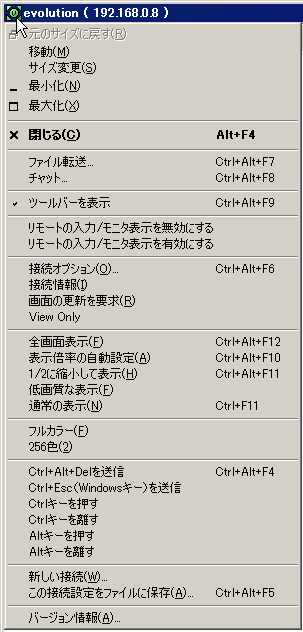
It is also possible to save passwords, so if you associate them with ". Vnc" files, you can connect with one click.

The latest version "1.0.5" at the time of writing this article can be downloaded from the official website below. I correspond properly to the Japanese keyboard properly.
UltraVNC: Remote Support Software, Remote Support Tool, Remote Desktop Control, Remote Access Software, PC Remote Control
Related Posts: