"Vyatta" which makes a personal computer a high-performance broadband router capable of withstanding business applications

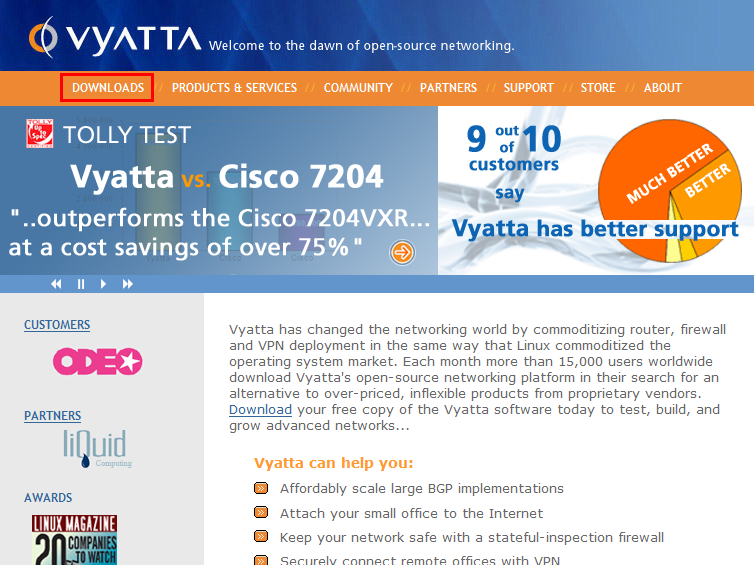
The enterprise software router "Vyatta" made from open source has been developed from the beginning for business purposes rather than for individuals,Cisco 7200More than price and performance etcI have 10 times the advantageAnd in Australia, it is proved to some extent also in the test by a third party agency, and we say that we can reduce the cost by 75%.
It certainly seems to have appropriate functions, such as routers, firewalls, VPN etc are possible. It also works in Xen and VMware virtual networks. Although it is open-source and free version of "Community Edition", it is stated that provision of pre-compiled binary and bug fixes etc will always be done every 6 months, we also have extensive support from paid like Redhat We provide it properly.
So, actually I tried to make PPPoE connected broadband router using this Vyatta. All you need is a PC with 2 NICs (network cards). It is surprisingly easy to enter commands by inputting commands in order, so it is recommended for those who want to have a high-performance broadband router that has PCs left over.
For details on how to install "Vyatta" and how to set it as a broadband router, please see below.
Official site is from the following.
Vyatta - Welcome to the Dawn of Open-Source Networking
http://www.vyatta.com/
1. Download the ISO file
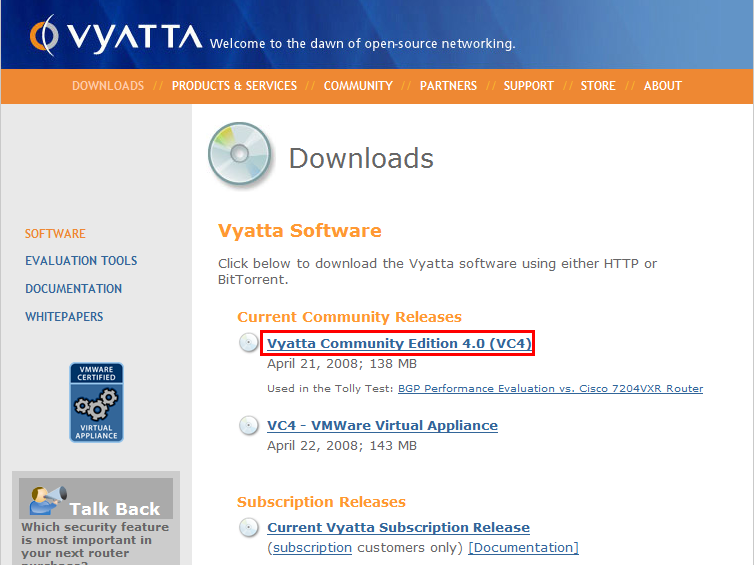
First of allOfficial websiteDownload "Vyatta" from.
Click the menu "DOWNLOADS" at the top left of the screen
Click on Vyatta Community Edition 4.0 (VC 4)
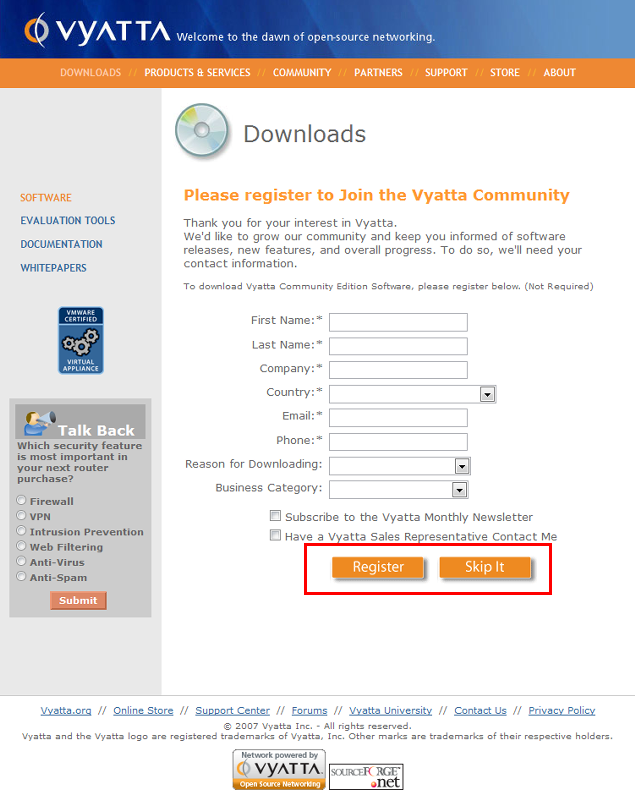
Registration screen. It is possible to skip.
Click on "via HTTP" to download with browser, "via BitTorrent" for BitTorrent to download.
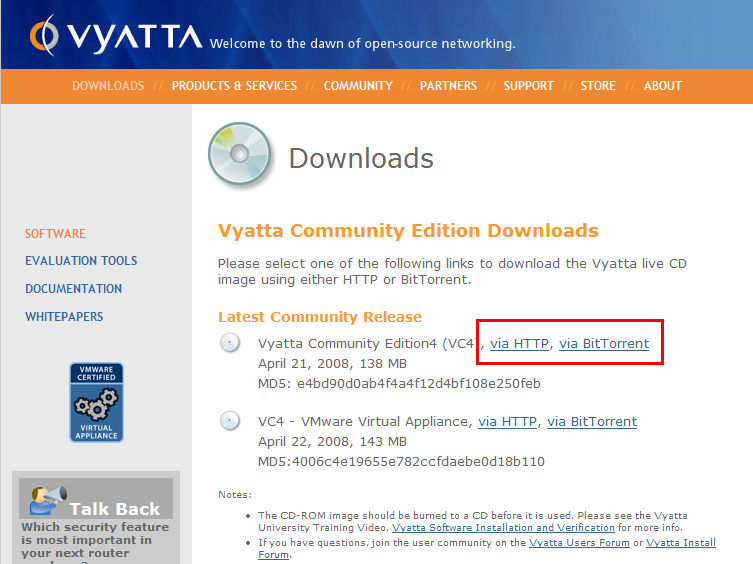
After that, if you burn the downloaded iso file to CD - R etc, preparation for installation is over.
2. Install on machine
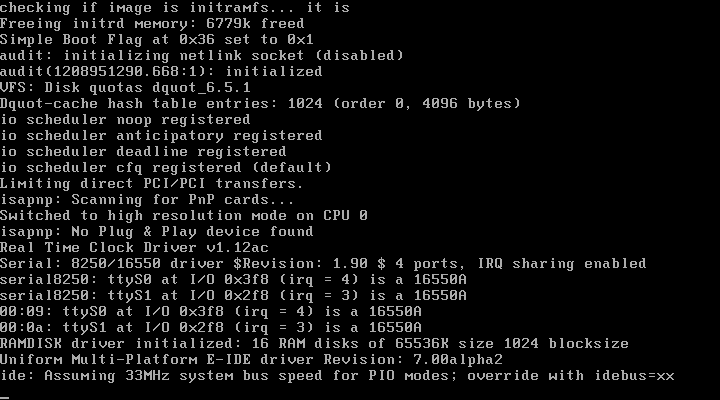
Boot into the machine where you install the CD you made earlier. When you read the CD, you can see this screen.
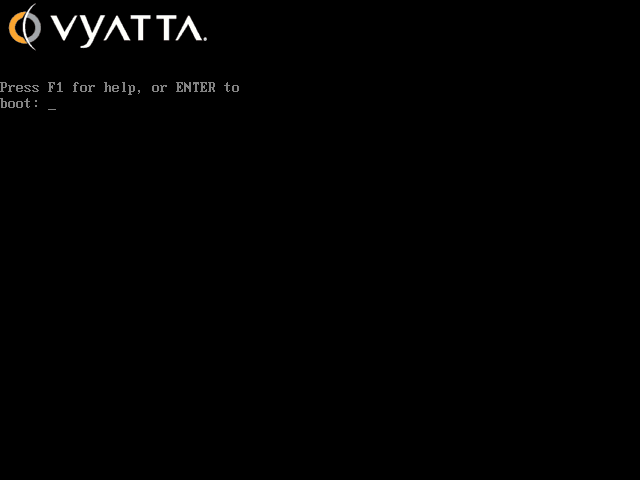
During startup
First of all login. The default user name and password are "vyatta"
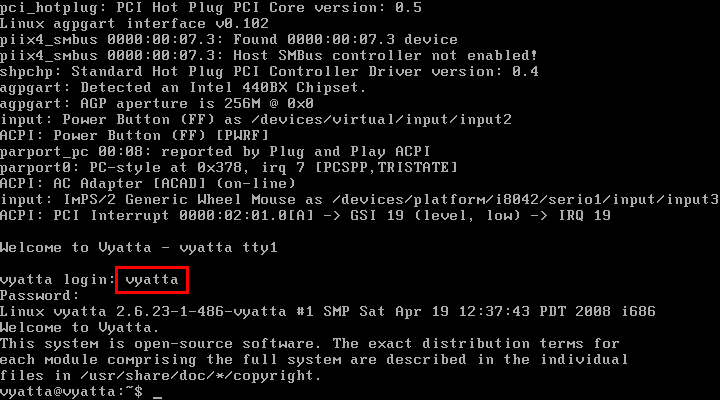
※ Note: Keyboard input in English
Installation starts on hard disk
Vyatta @ vyatta: ~ $ install-system
Press the Enter key as it is
Would you like to continue? (Yes / No) [Yes]:
Press the Enter key
Partition (Auto / Parted / Skip) [Auto]:
Press the Enter key
Install the image on? [Sda]
Type "Yes" and press the Enter key
This will destroy all data on / dev / sda. Continue? (Yes / No) [No]: Yes
Enter the necessary route partition capacity and press Enter key
How big of a root partition should I create? (450 MB - 1074 MB) [1074] MB: 512
Press the Enter key
Which one should I copy to sda? [/ Opt / vyatta / etc / config / config.boot]:
Press the Enter key
Which drive should GRUB modify the boot partition on? [Sda]:
When this letter is displayed, installation is completed successfully.
Setting up grub: OK
Done!
Vyatta @ vyatta: ~ $
Installation is over, you need to undo the CD and reboot the machine.
3. About various modes
Vyatta has a modeOperation ModeWhenConfiguration ModeThere are two types.
· Operation Mode
In the mode of setting up and referring to information in login mode
• Configuration Mode
Mode to change settings etc.
It is possible to switch from Operation Mode to Configuration Mode by entering "configure" command and it is possible to return from Configuration Mode to Operation Mode by entering "exit" command.
Four. Setting up SSH
First, shift from Operation Mode to Configuration Mode
Vyatta @ vyatta: ~ $ congifure
Set up SSH
Vyatta @ vyatta: ~ $ set service ssh
commit
Vyatta @ vyatta: ~ $ commit
To save
Vyatta @ vyatta: ~ $ save
※ The default login account is vyatta with ID and password is vyatta.
Five. Setting of NIC (network card)
Go to Configuration Mode
Vyatta @ vyatta: ~ $ congifure
Set IP address of eth0
Vyatta @ vyatta: ~ $ set interfaces ethernet eth 0 address 192.168.0.1 / 24
commit
Vyatta @ vyatta: ~ $ commit
To save
Vyatta @ vyatta: ~ $ save
Confirm setting
Vyatta @ vyatta: ~ $ show interfaces
6. Setting up PPPoE
Create PPPoE unit
Vyatta @ vyatta: ~ $ set interfaces ethernet eth1 pppoe 0
User ID setting
Vyatta @ vyatta: ~ $ set interfaces ethernet eth1 pppoe 0 user-id XXXXXXXXXXXXX
password setting
Vyatta @ vyatta: ~ $ set interfaces ethernet eth1 pppoe 0 password XXXXXXXX
Setting the default route
Vyatta @ vyatta: ~ $ set interfaces ethernet eth1 pppoe 0 default-route auto
Name server settings
Vyatta @ vyatta: ~ $ set interfaces ethernet eth1 pppoe 0 name-server auto
If you have static IP, set it here
Vyatta @ vyatta: ~ $ set interfaces ethernet eth1 pppoe 0 local-address XXX.XXX.XXX.XXX
Gateway setting: Set only when the connected IP is fixed
Vyatta @ vyatta: ~ $ set protocols static route 0.0.0.0 / 0 next-hop XXX.XXX.XXX.XXX
commit
Vyatta @ vyatta: ~ $ commit
To save
Vyatta @ vyatta: ~ $ save
7. Setting up NAT
· For OutBound (method to connect from inside to outside), it is as follows.
Create rule 1
Vyatta @ vyatta: ~ $ set service nat rule 1
Move to setting of rule 1
Vyatta @ vyatta: ~ $ edit service nat rule 1
Type to Masquerade
Vyatta @ vyatta: ~ $ set type masquerade
Using PPPoE to go outside
Vyatta @ vyatta: ~ $ set outbound-interface pppoe 0
· The settings for InBound (protocol from outside: TCP, port: 80 requests routed to 192.168.0.2) are as follows.
* If you do not publish the server, you do not need to set it.
Create rule 2
Vyatta @ vyatta: ~ $ set service nat rule 2
Move to setting of rule 2
Vyatta @ vyatta: ~ $ edit service nat rule 2
Type to destination
Vyatta @ vyatta: ~ $ set type destination
PPPoE to local network
Vyatta @ vyatta: ~ $ set inbound-interface pppoe 0
Acceptable protocol is TCP only. If there are other protocols you want to add, add them the same way.
Vyatta @ vyatta: ~ $ set protocol tcp
Accept HTTP port only. If there are other protocols you want to add, add them the same way.
Vyatta @ vyatta: ~ $ set destination port http
Outside requests routed to 192.168.0.131
Vyatta @ vyatta: ~ $ set inside-address address 192.168.0.2
Then input the following commands in order
Vyatta @ vyatta: ~ $ top
Vyatta @ vyatta: ~ $ commit
Vyatta @ vyatta: ~ $ save
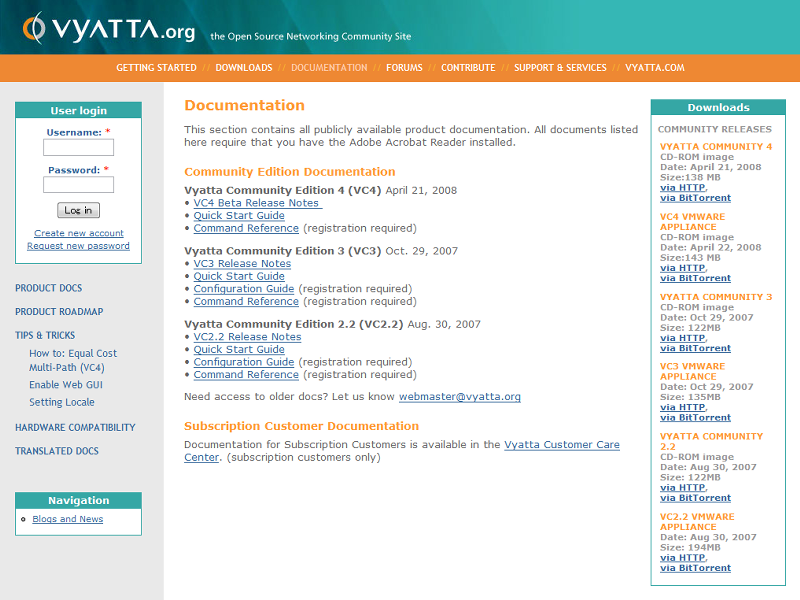
If necessary, you can also configure DHCP server, NTP server, FireWall, etc. Of course, it can also use other than the broWnband router. Details are written in documents that can be downloaded from the official website below.
Download document from here
Documentation | Vyatta.org
Related Posts: