I tried using a wireless microphone 'DJI Mic' that can be connected to various devices and is super easy to set Review
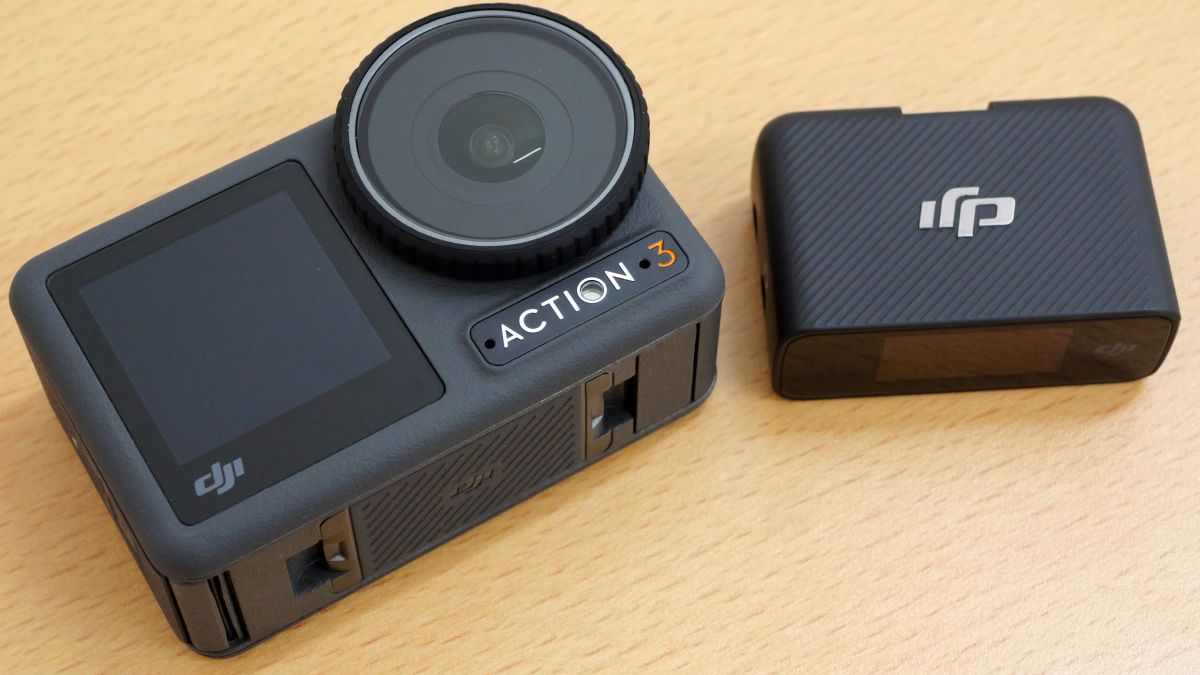
The wireless microphone ' DJI Mic ' developed by DJI supports various connection methods such as connection to the mount shoe of the camera and USB connection, and can wirelessly transmit audio from a distance of up to 250m. Since I had the opportunity to touch such a DJI Mic, I checked the appearance and thoroughly checked how to connect to recording devices such as DJI Osmo 3.
DJI Mic - More Real, More Clear - DJI
◆ Contents
◆ 1: I opened the DJI Mic
◆ 2: Appearance and initial settings of the receiver
◆ 3: How to connect the receiver to the recording device
◆ 4: Transmitter appearance & fixing method check
◆ 5: Sound quality check of built-in microphone & transmission verification over long distance
◆ 1: I opened the DJI Mic
The package of DJI Mic looks like this.
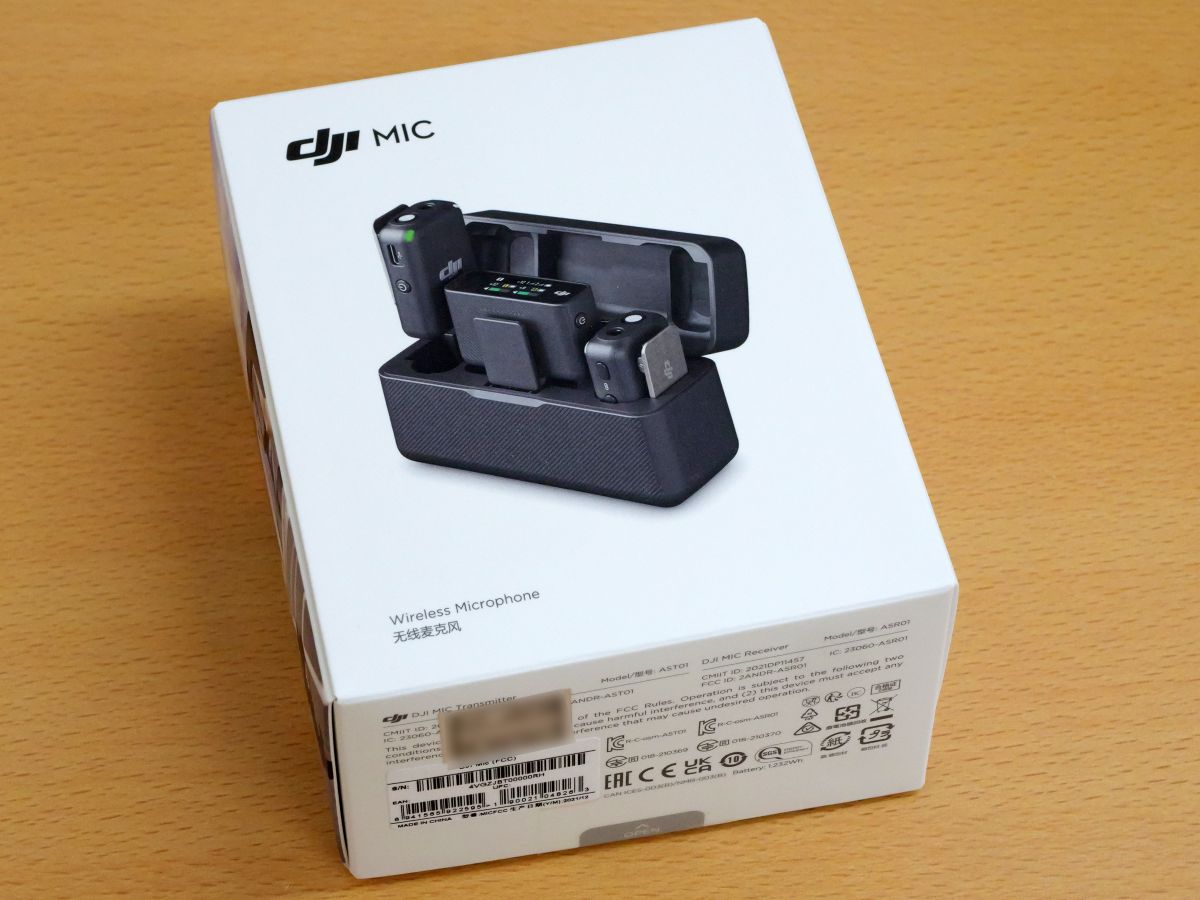
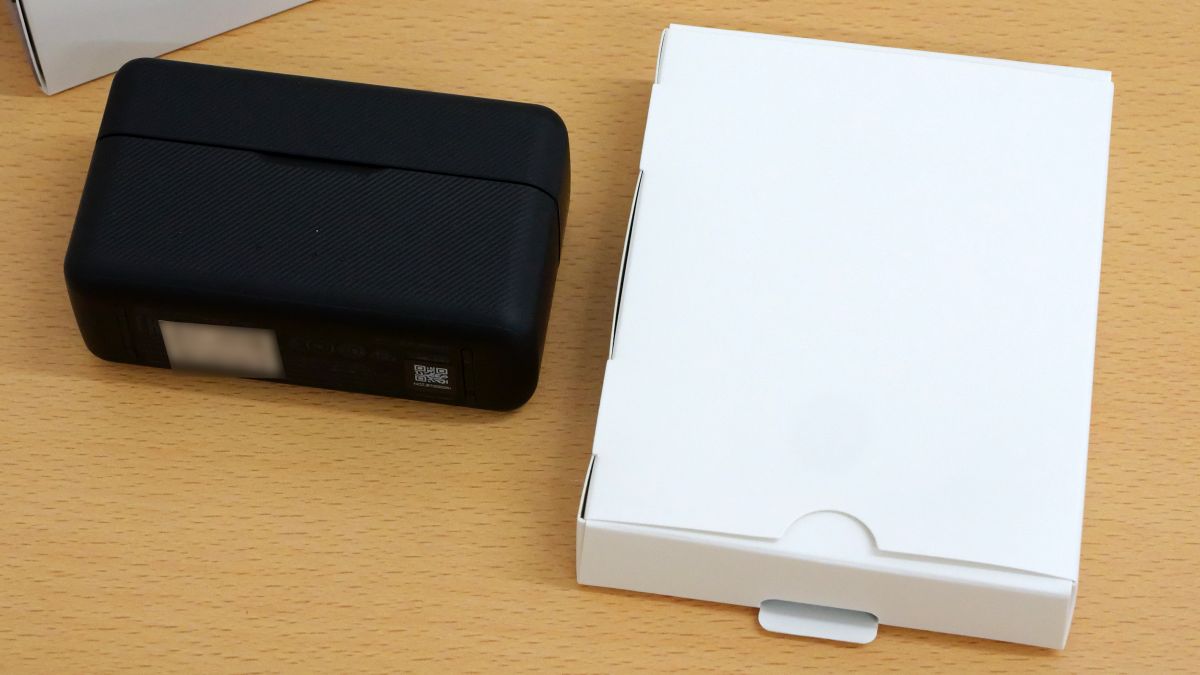
Inside the package was a charging case containing a transmitter and receiver and a white small box.
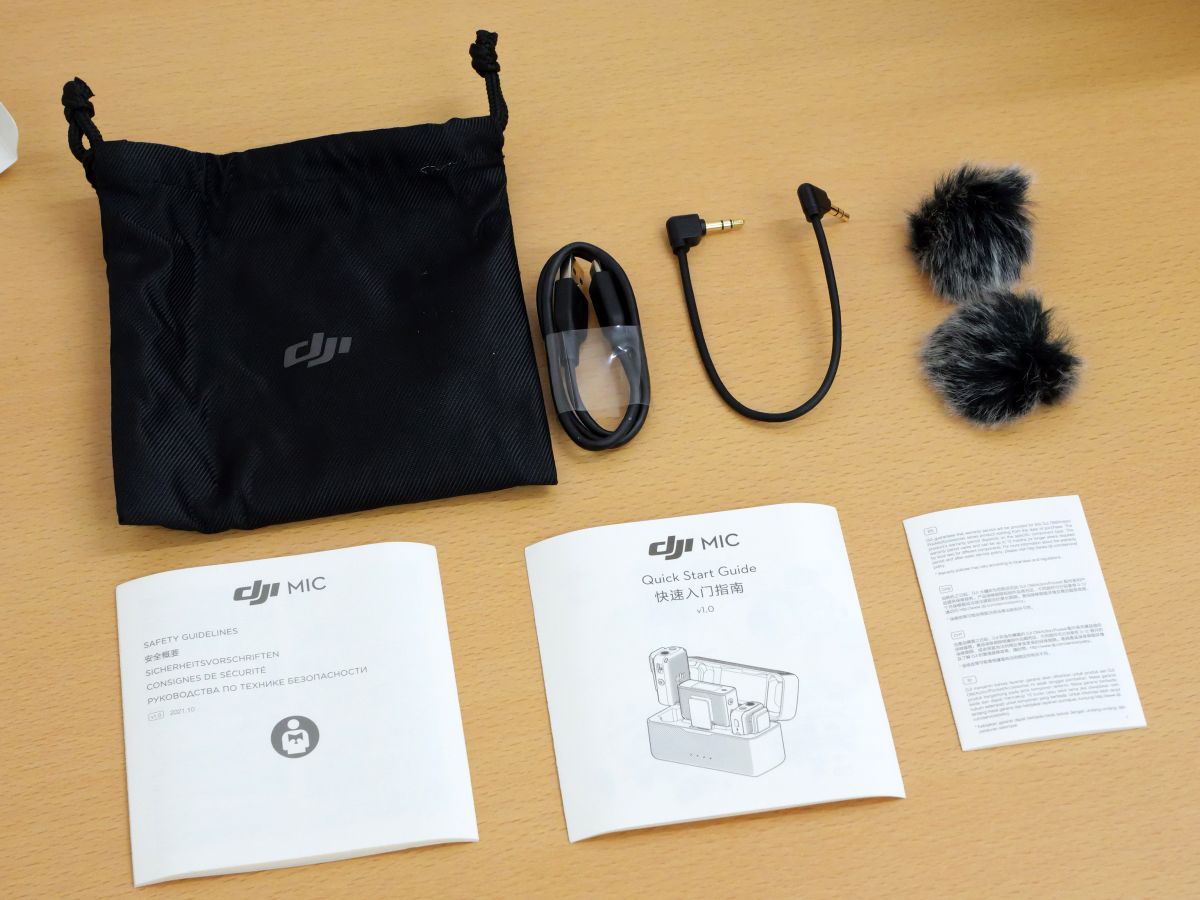
Inside the white small box was a carrying bag, USB Type-C cable, audio cable, windshield, and explanatory documents.
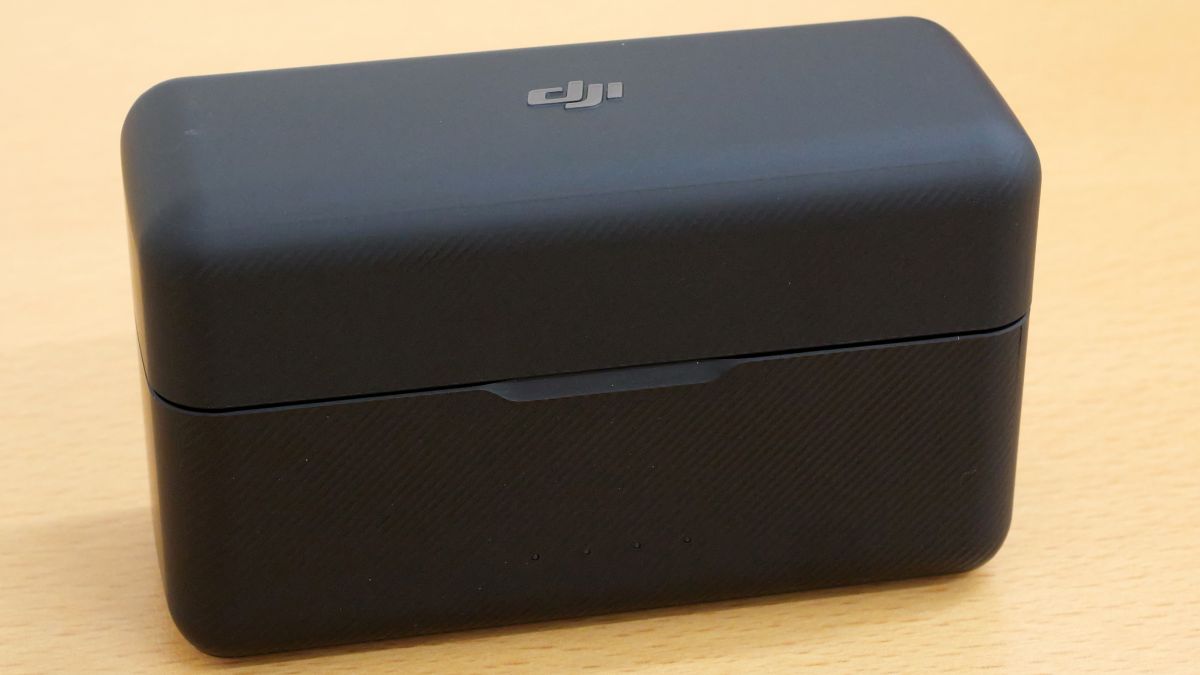
The appearance of the charging case looks like this.
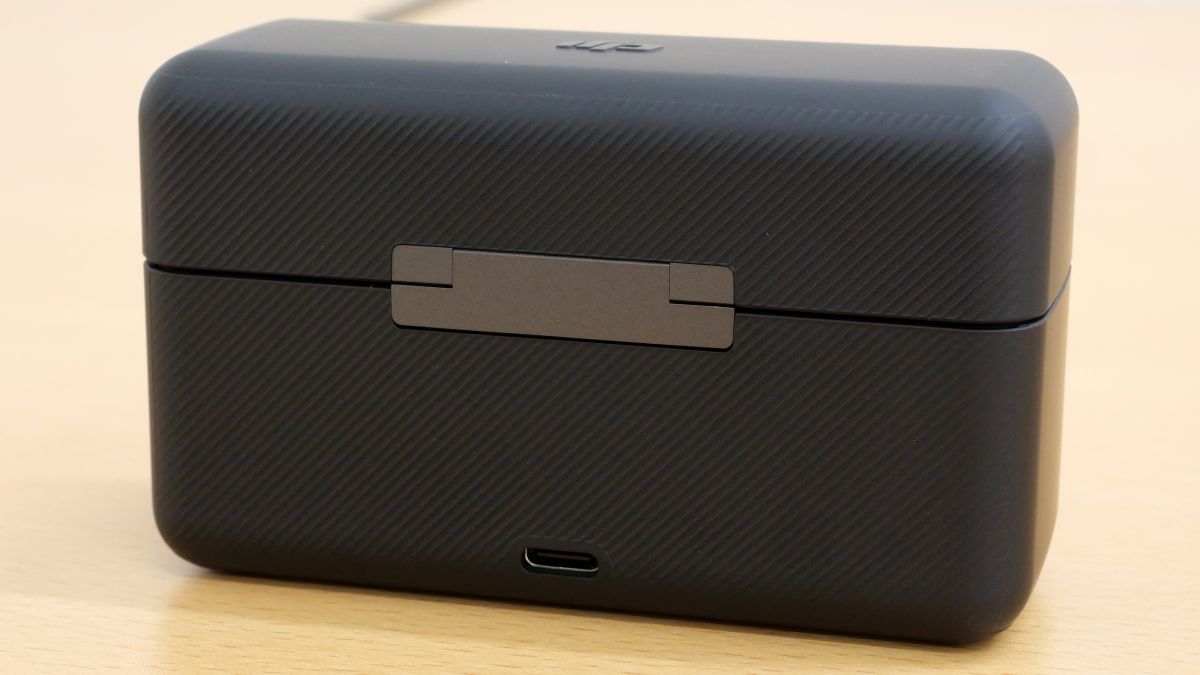
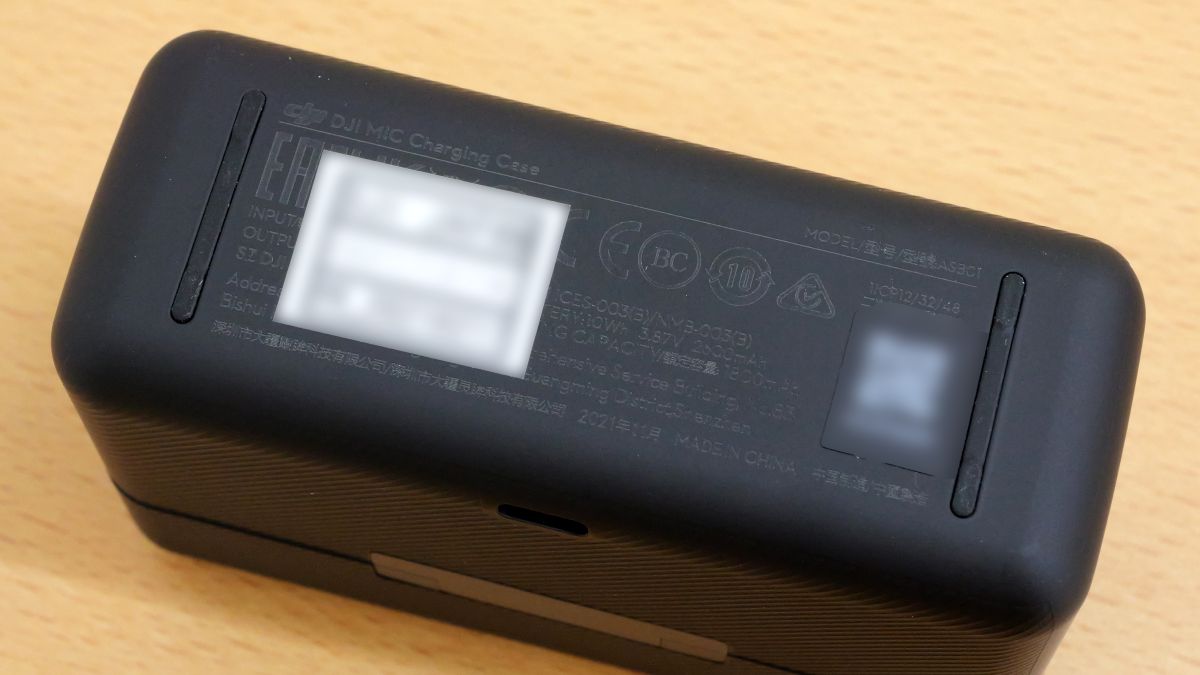
A USB Type-C port is mounted on the back.
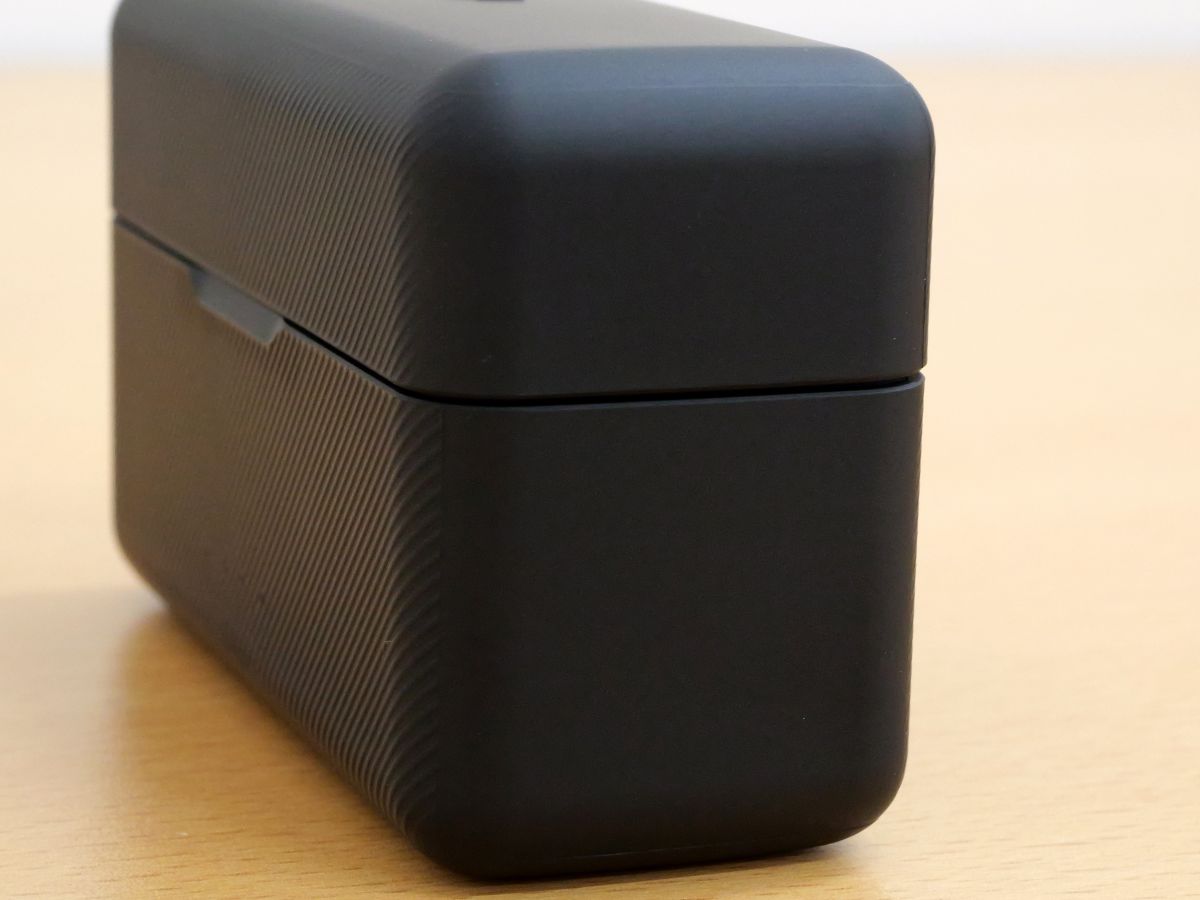
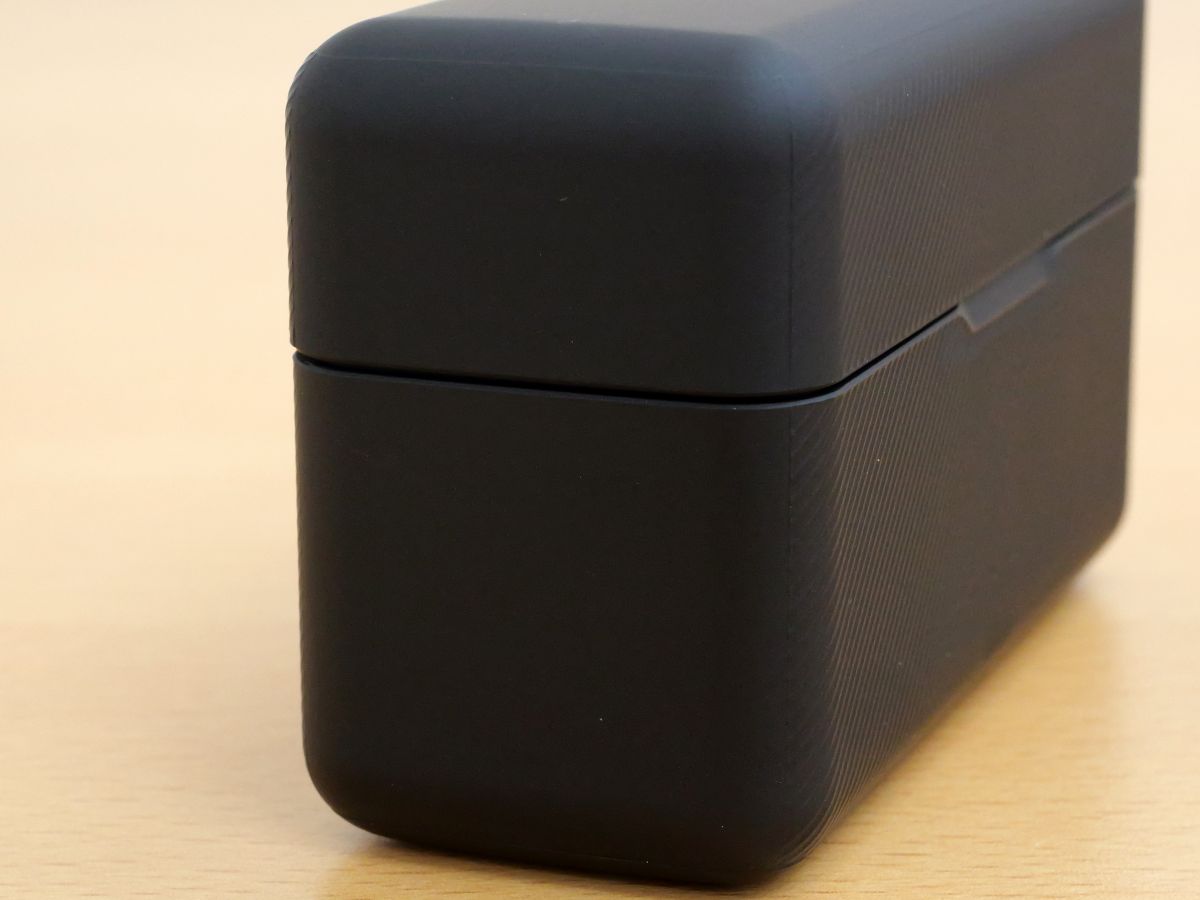
nothing on the sides.
The DJI logo is printed on the top.
Various certification marks were written on the bottom.
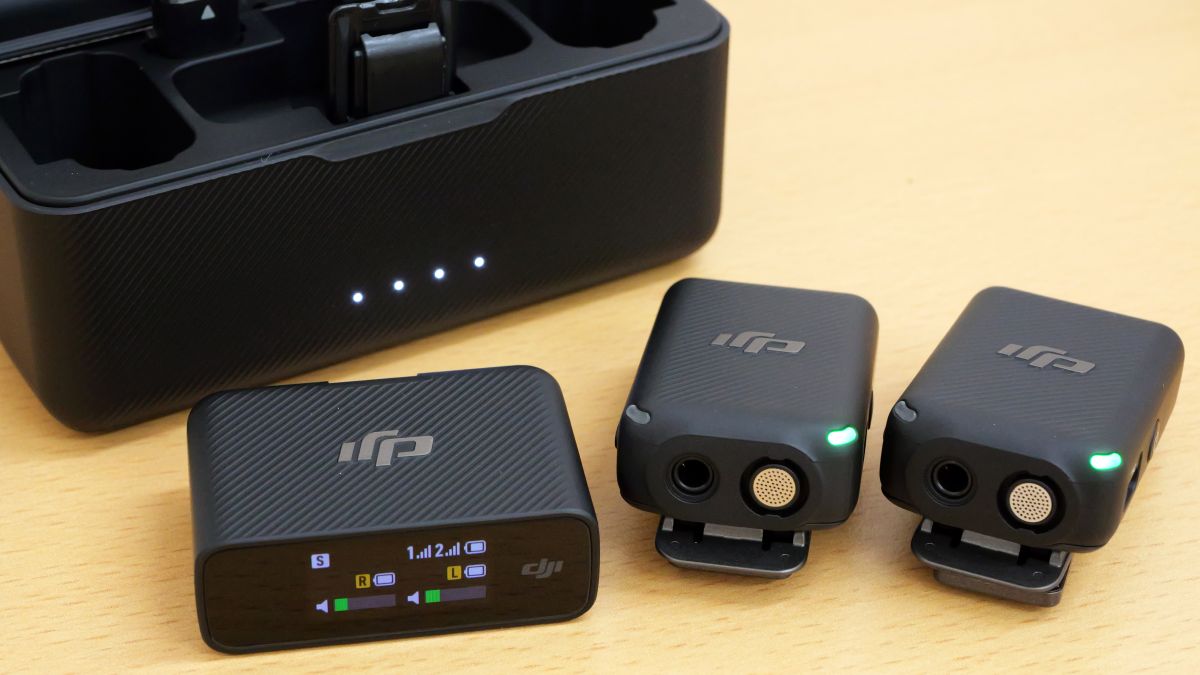
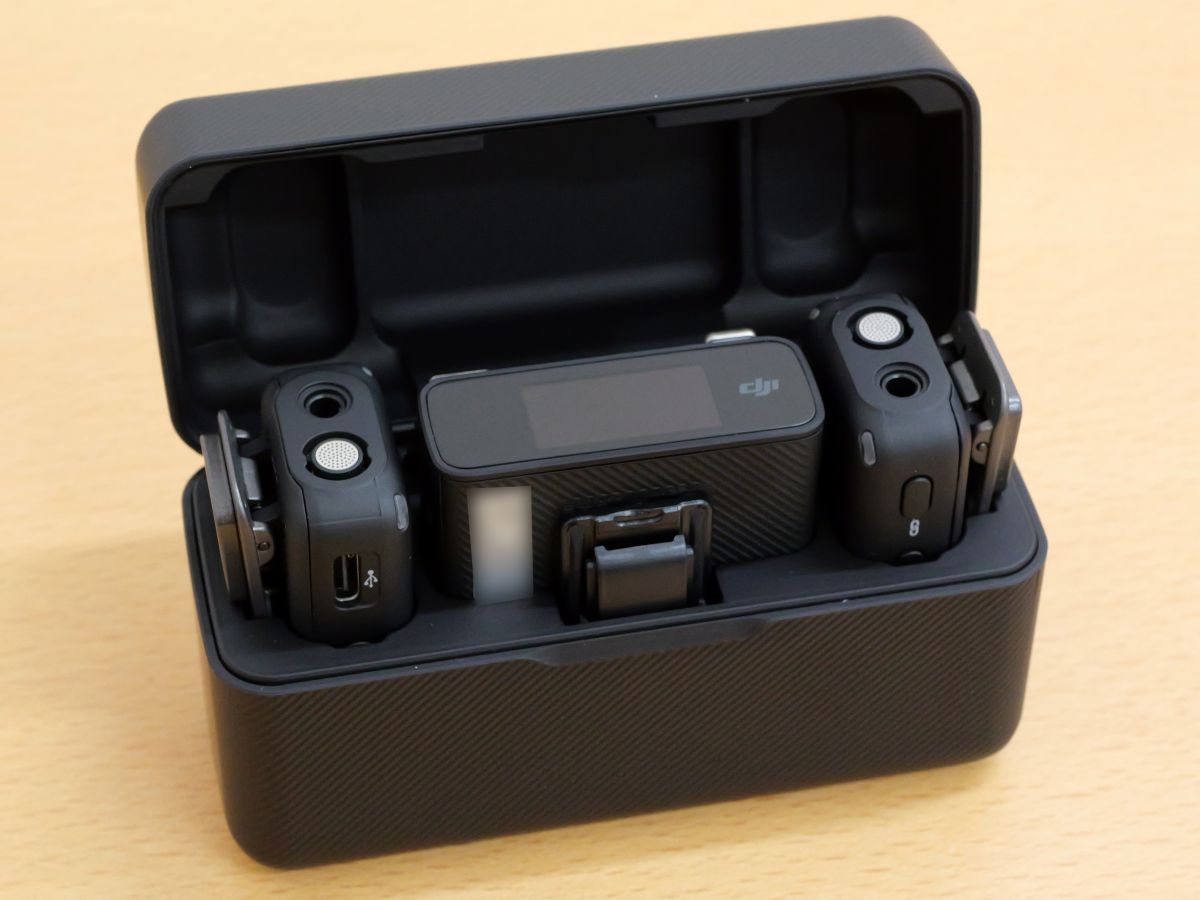
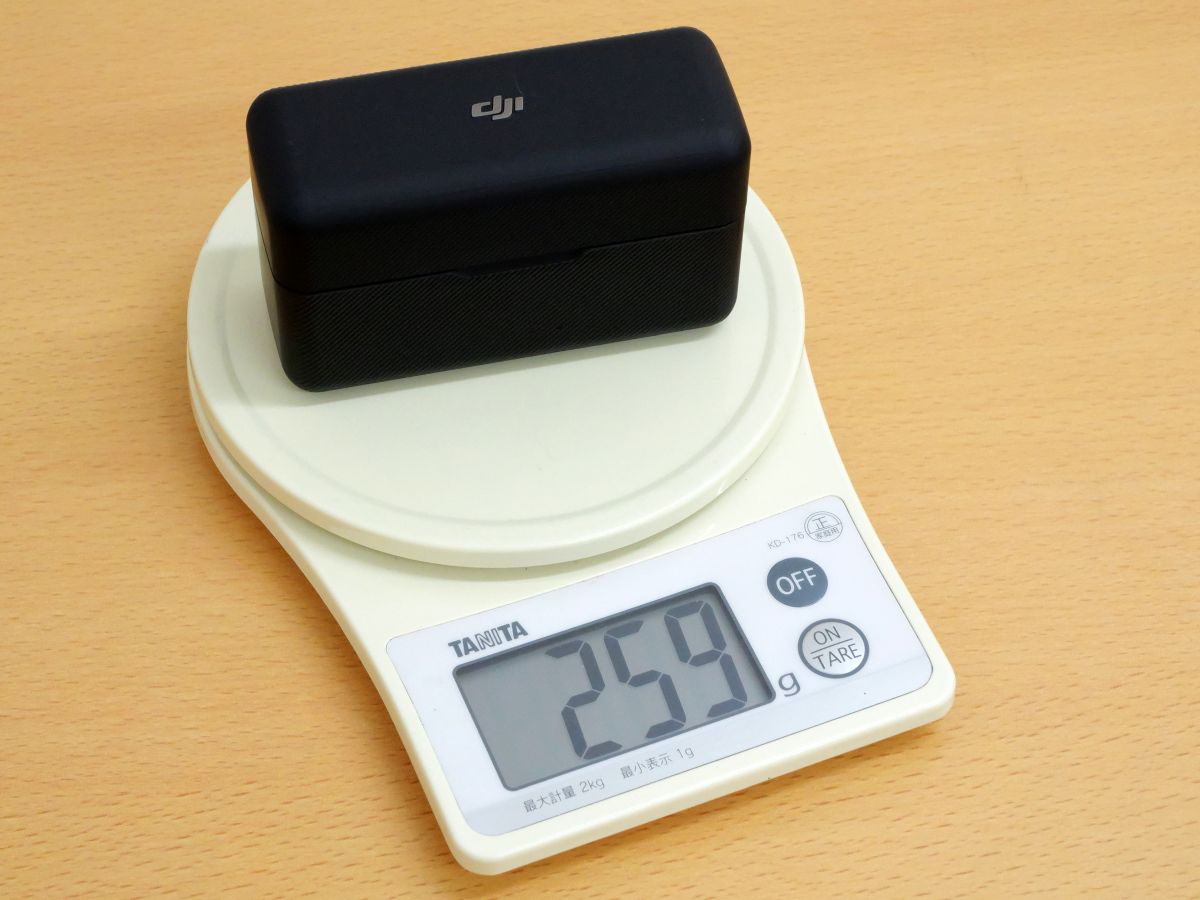
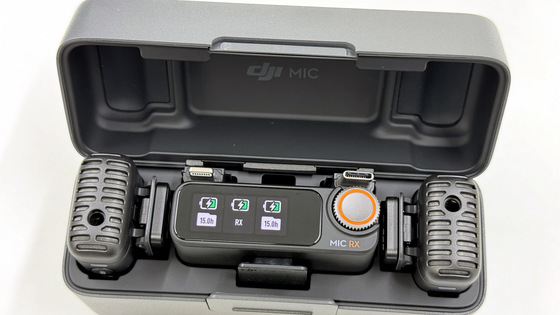
When you open the lid, the receiver and transmitter appear.
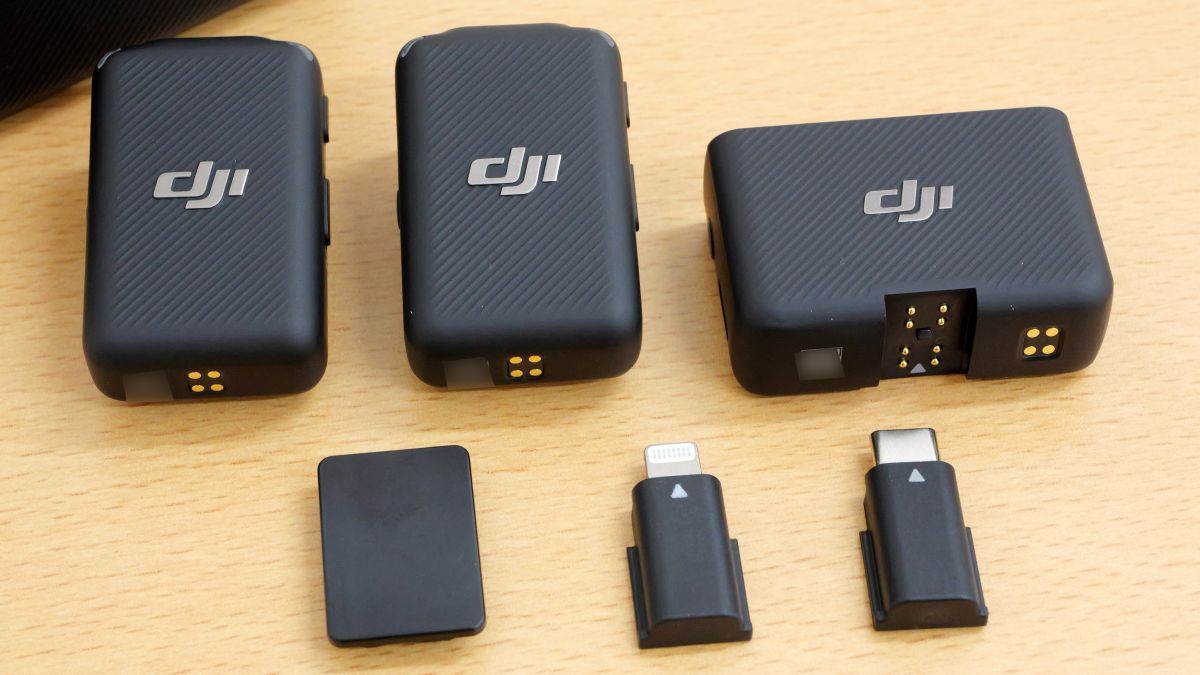
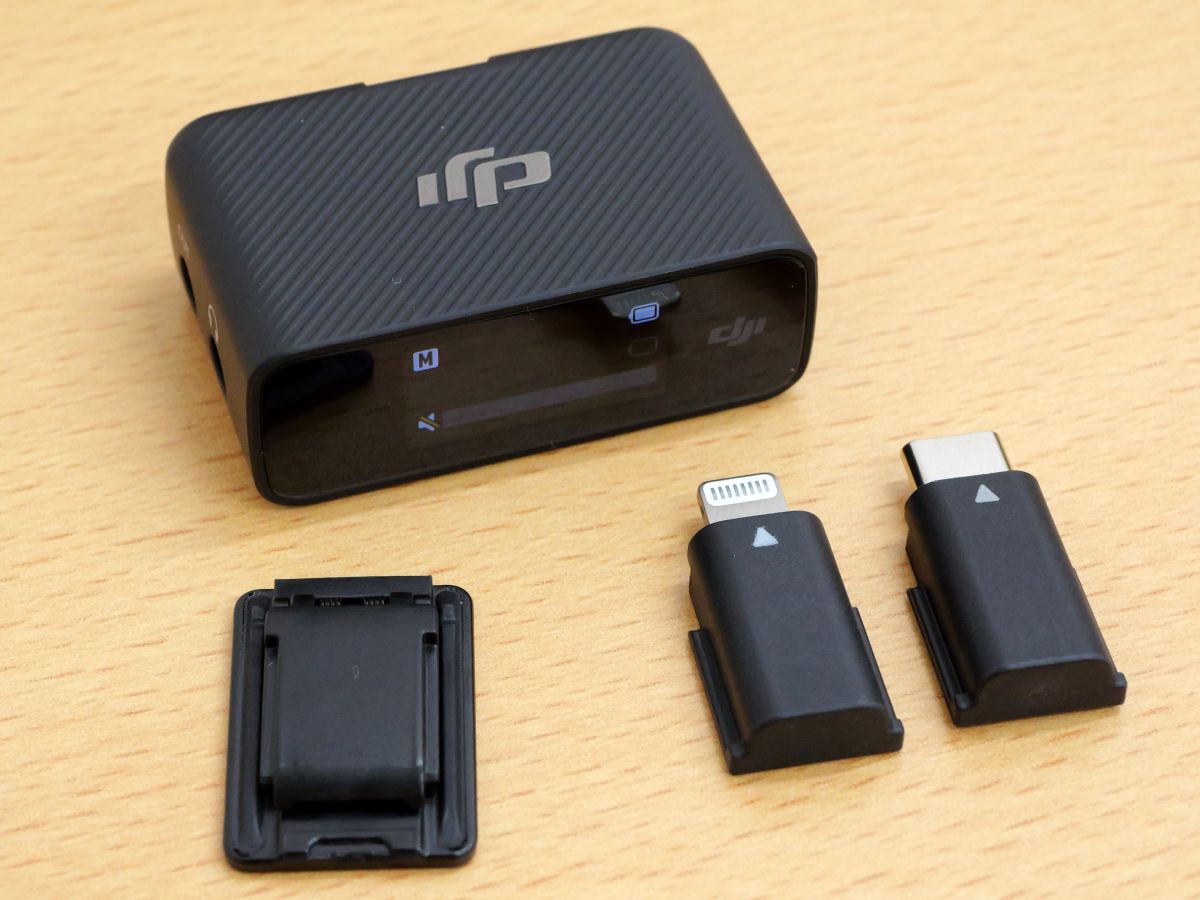
I took out all the contents of the charging case. From the top left, transmitter x 2, receiver, adapter for mount shoe, adapter for Lightning, adapter for USB Type-C.
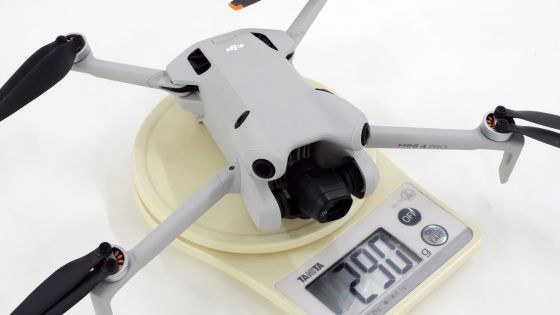
When the weight was measured without taking out the contents, it was 259 g.
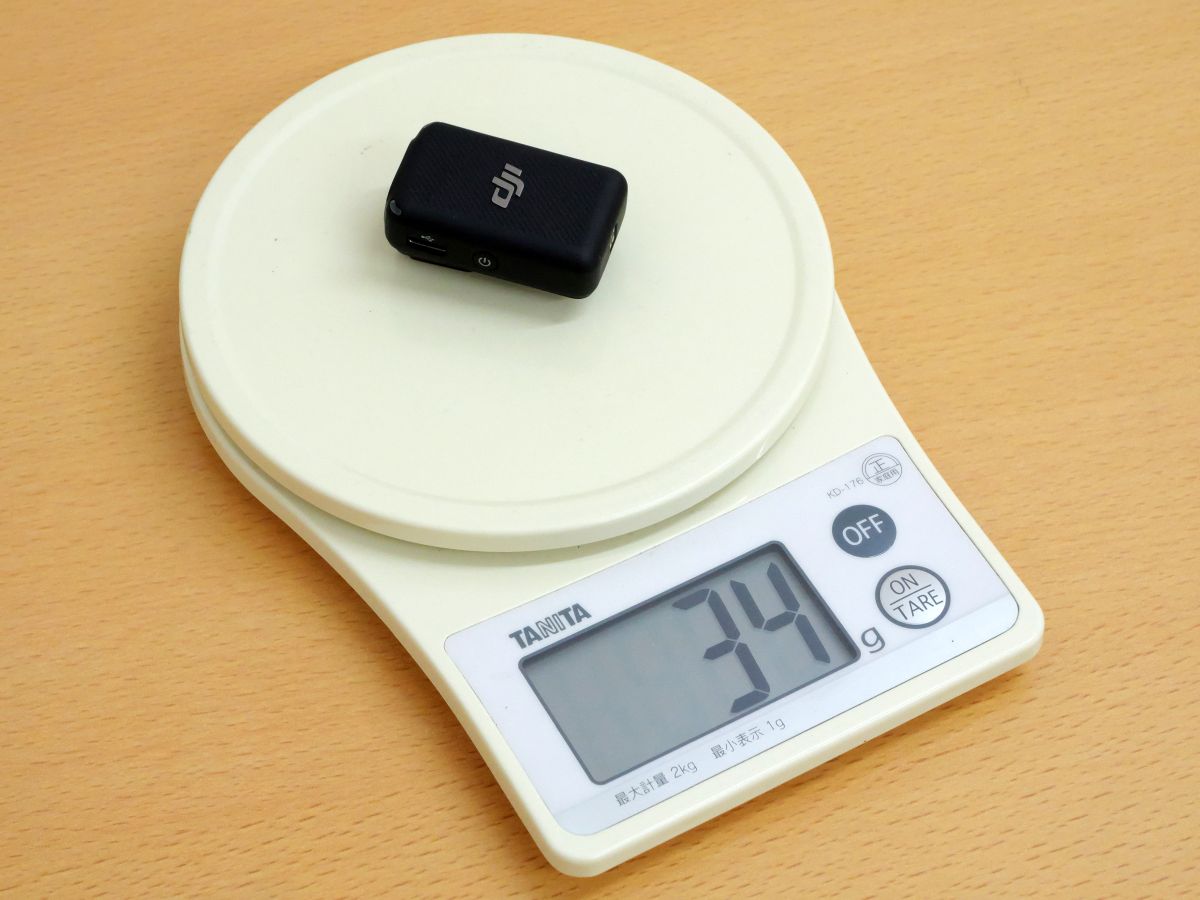
The weight of the transmitter is 34g.
◆ 2: Appearance and initial settings of the receiver
The front of the receiver has a touch-enabled display.
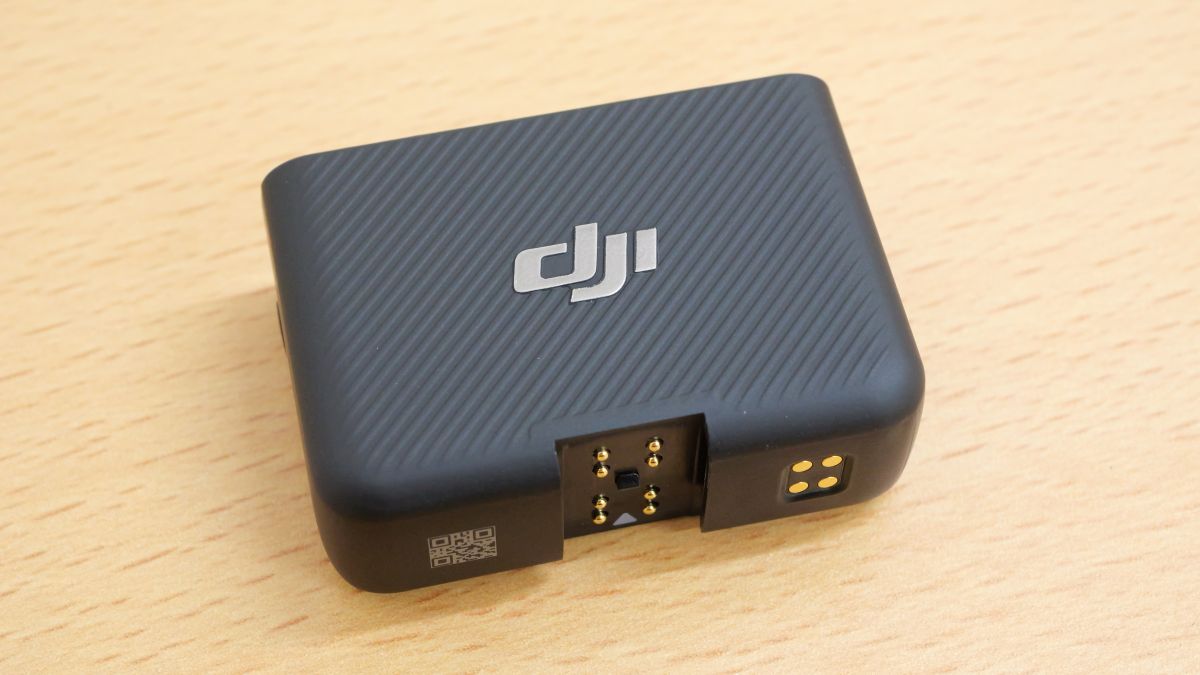
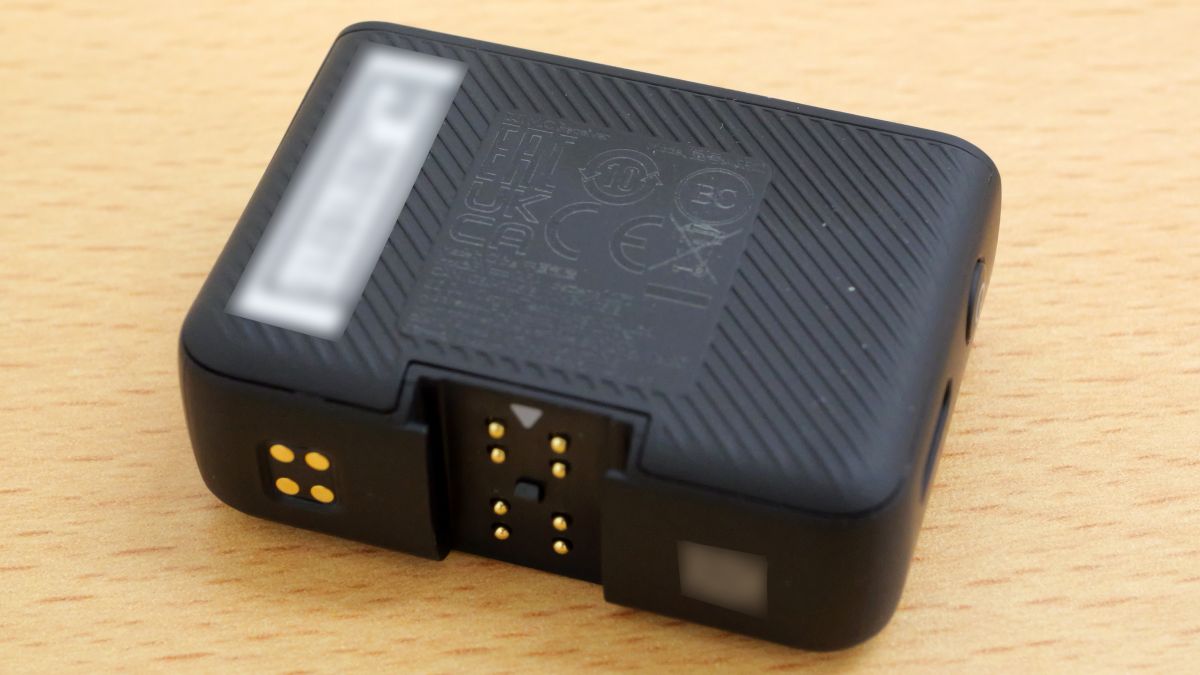
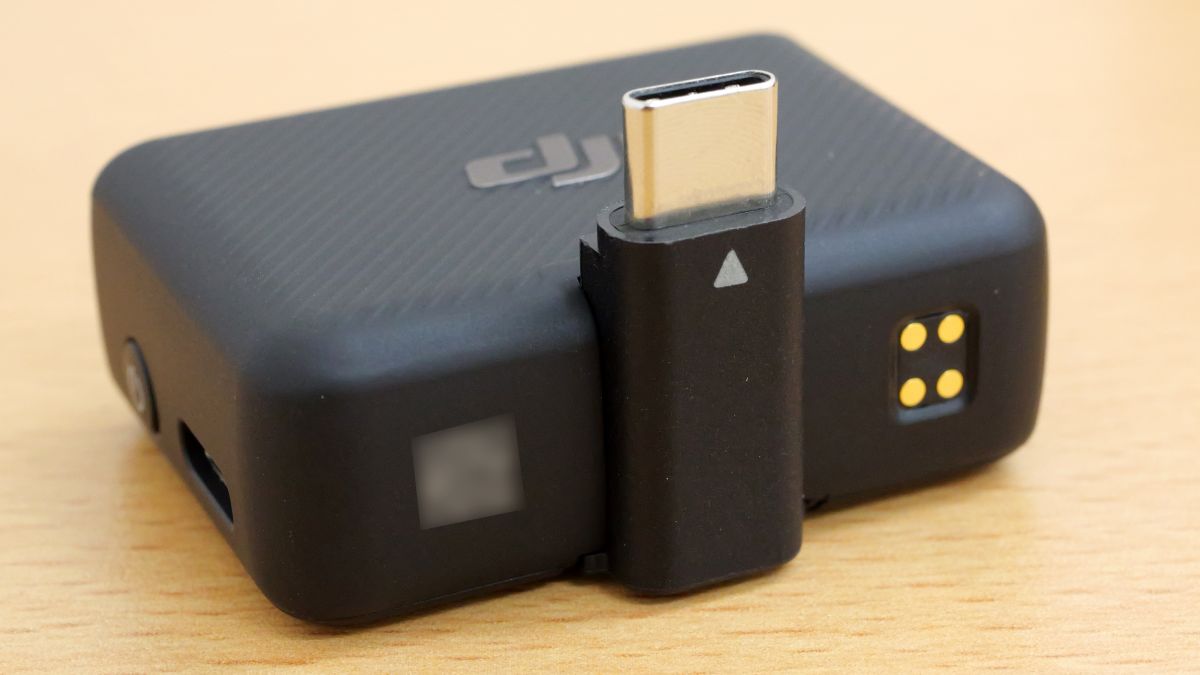
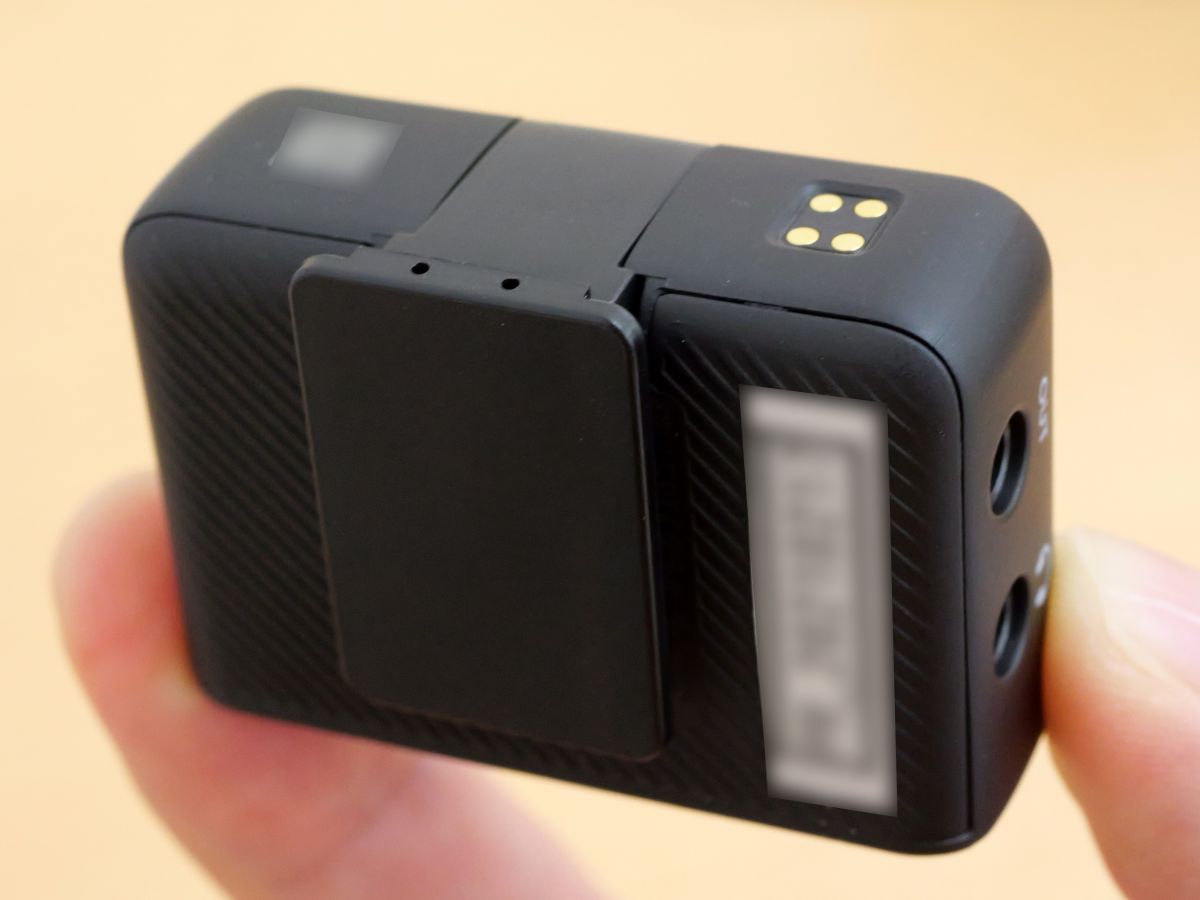
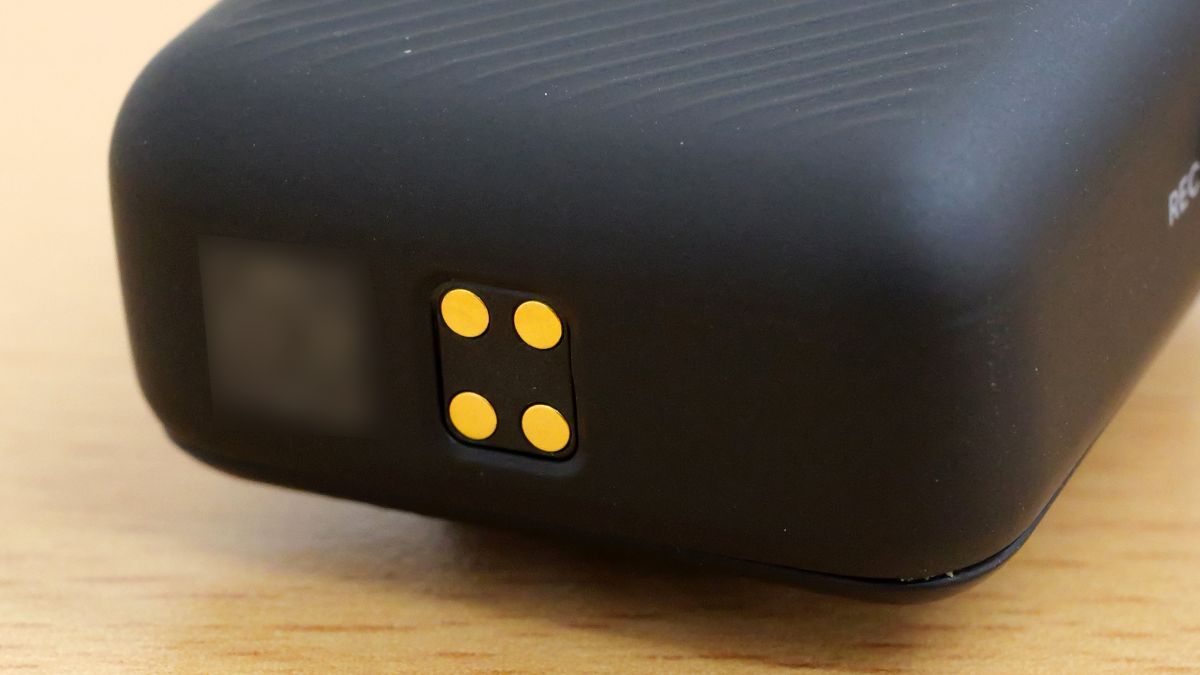
A charging terminal is mounted on the back.
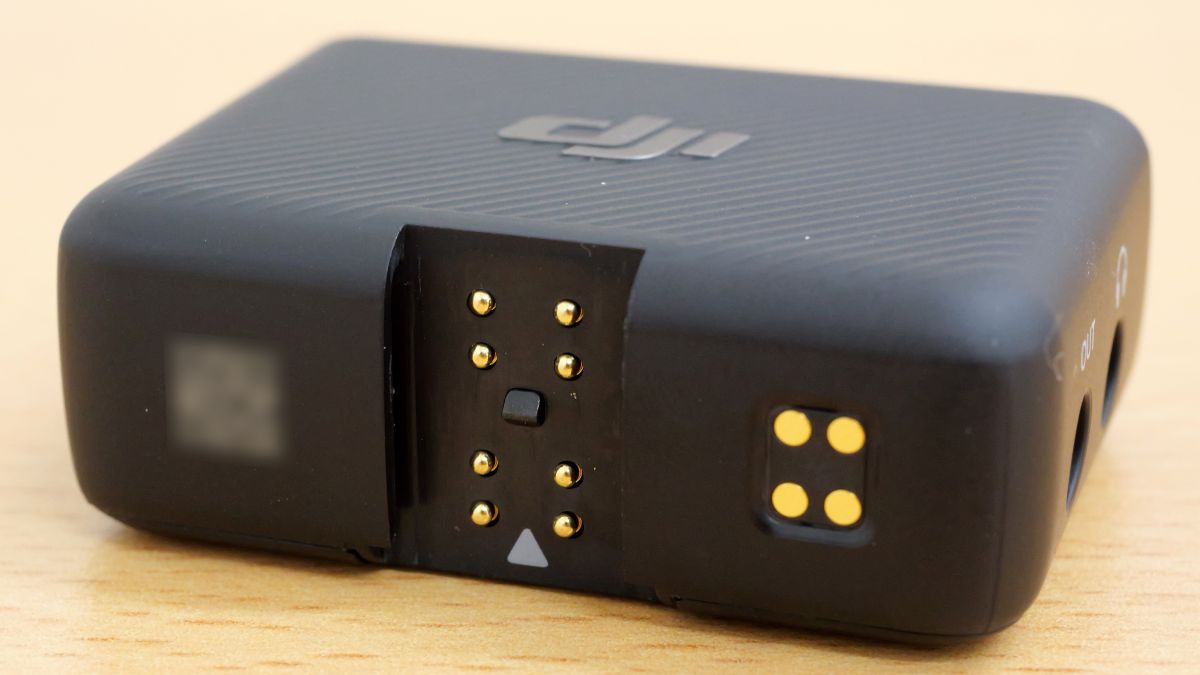
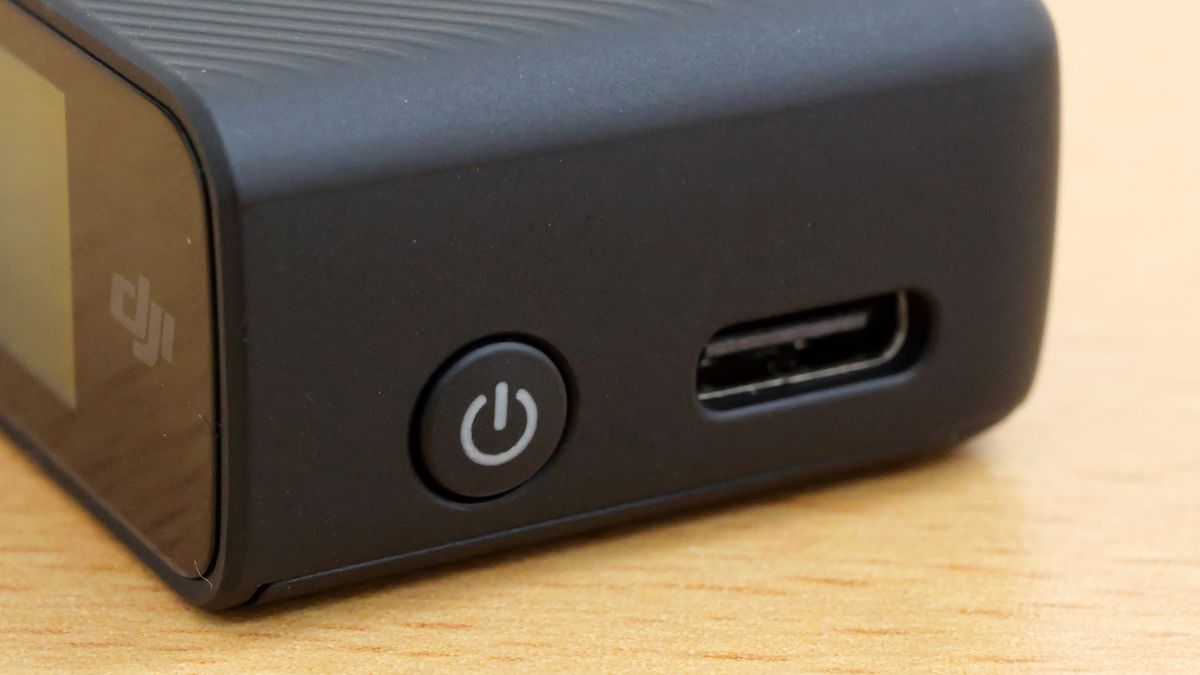
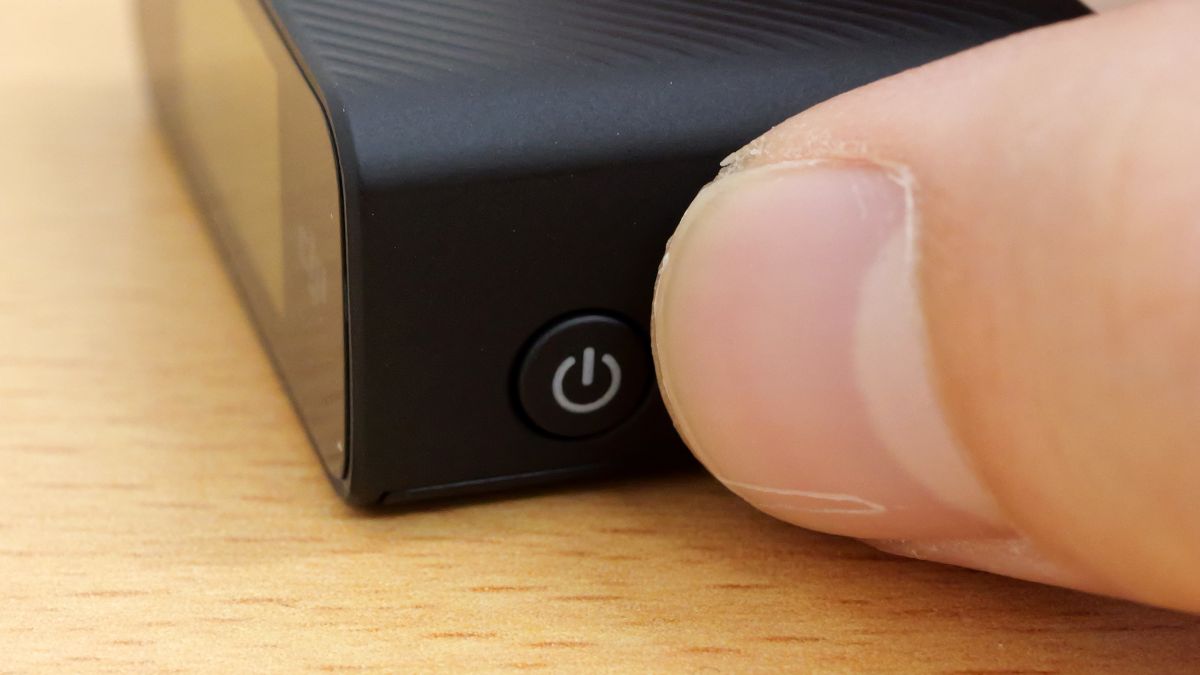
The side has a power button and a USB Type-C port.
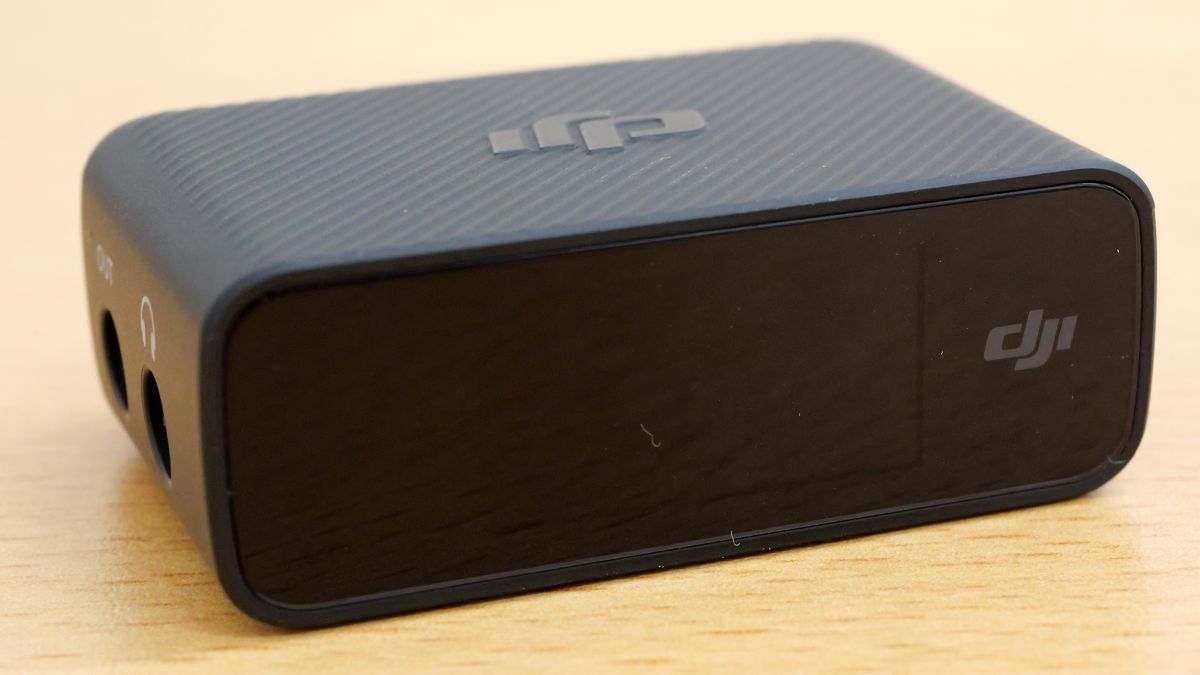
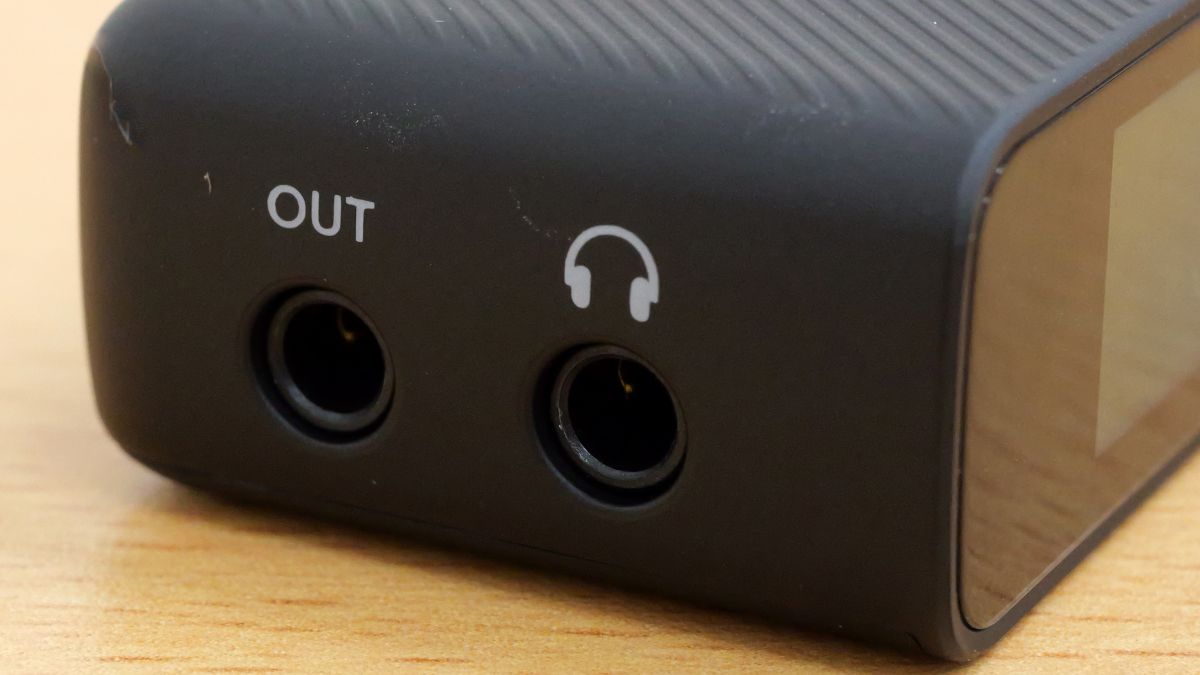
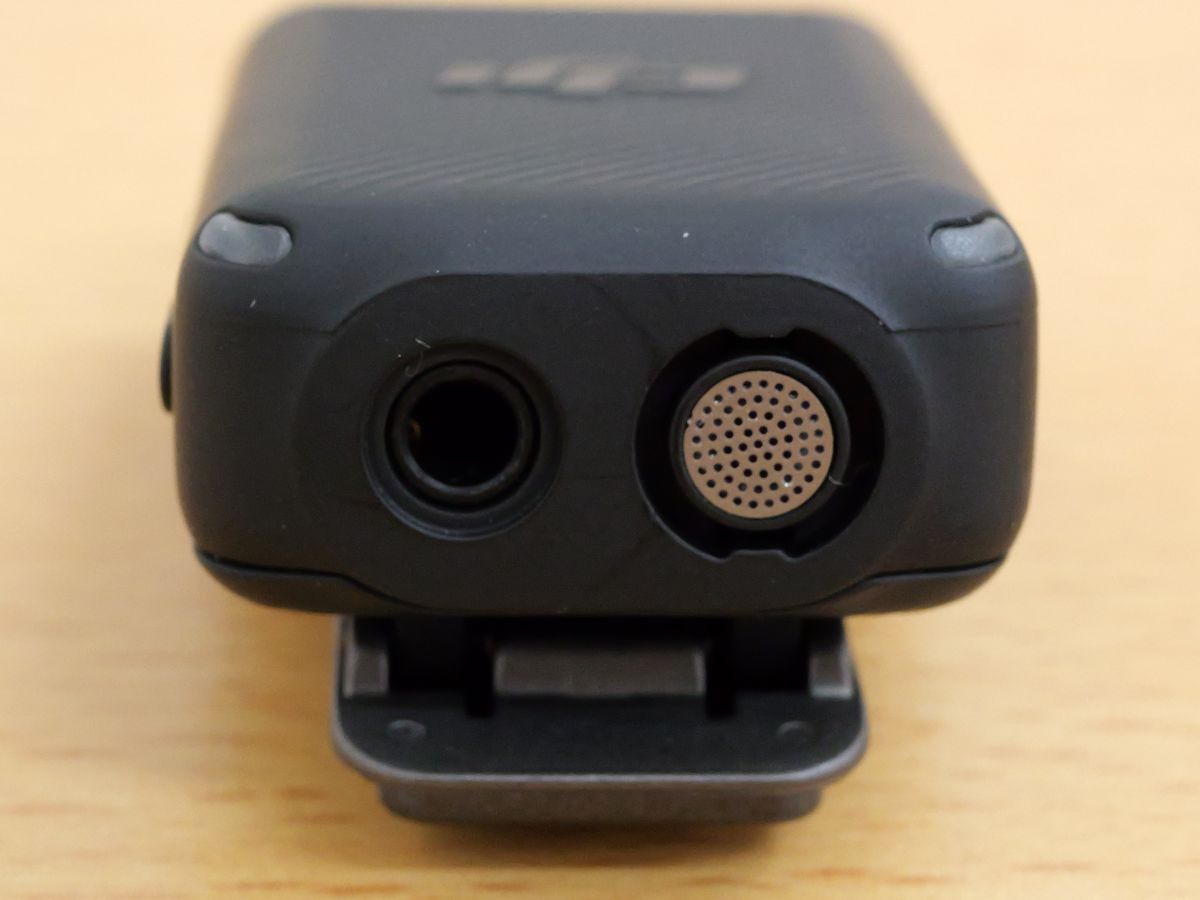
The other side has an output port to the camera and an output port for monitoring.
The DJI logo is printed on the top.
Various certification marks were printed on the back.
When using the DJI Mic for the first time, it is necessary to perform initial settings. First, turn on the power by pressing and holding the power button on the side.
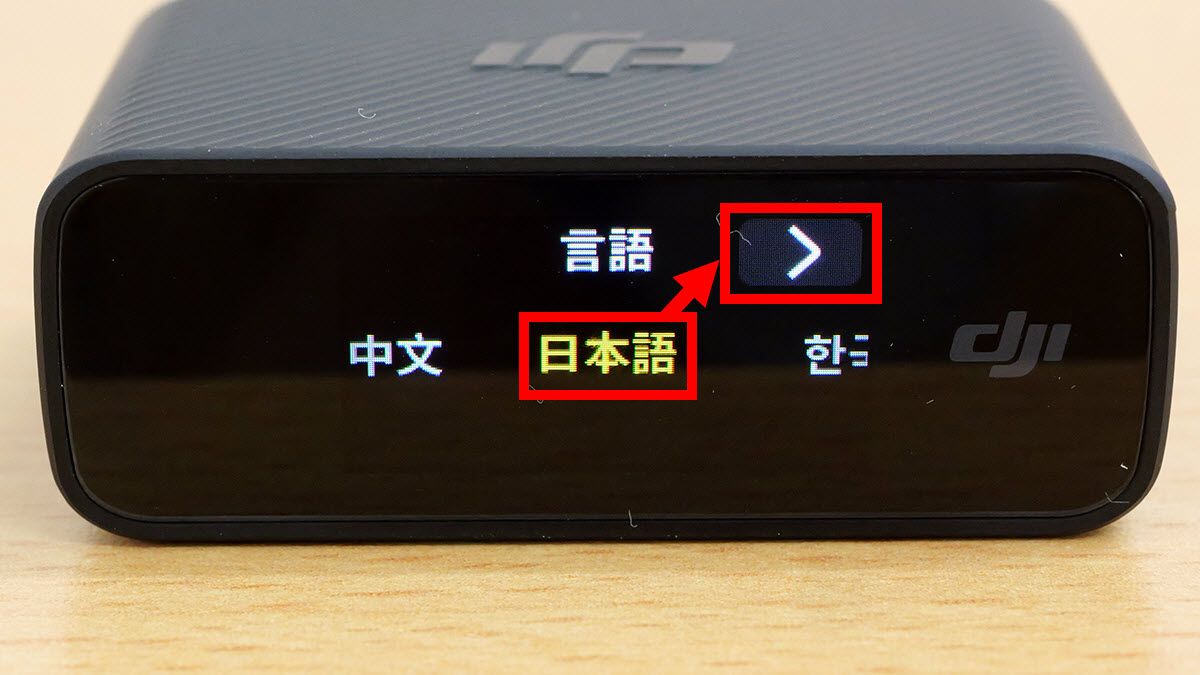
When the power is turned on, the language setting is displayed first, so select 'Japanese' and tap the upper right button.
Next, set the date and tap the upper right button.
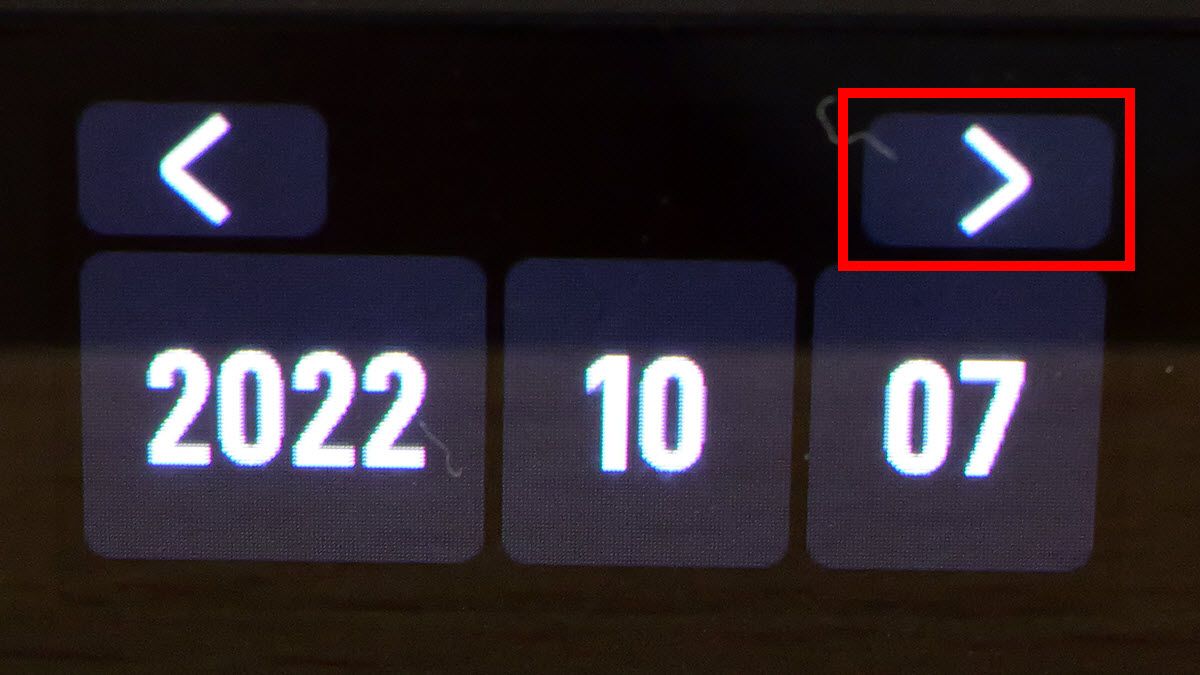
Finally, set the time and tap the upper right button to complete the initial setting.

◆ 3: How to connect the receiver to the recording device
The receiver can be connected to the recording device in 3 different ways.
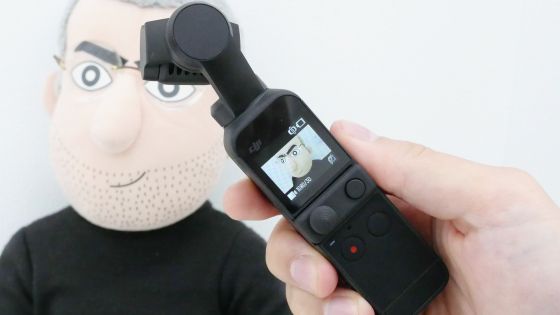
First, let's attach the receiver to the DJI Osmo 3.
First, remove the cover of the DJI Osmo 3's USB Type-C port.
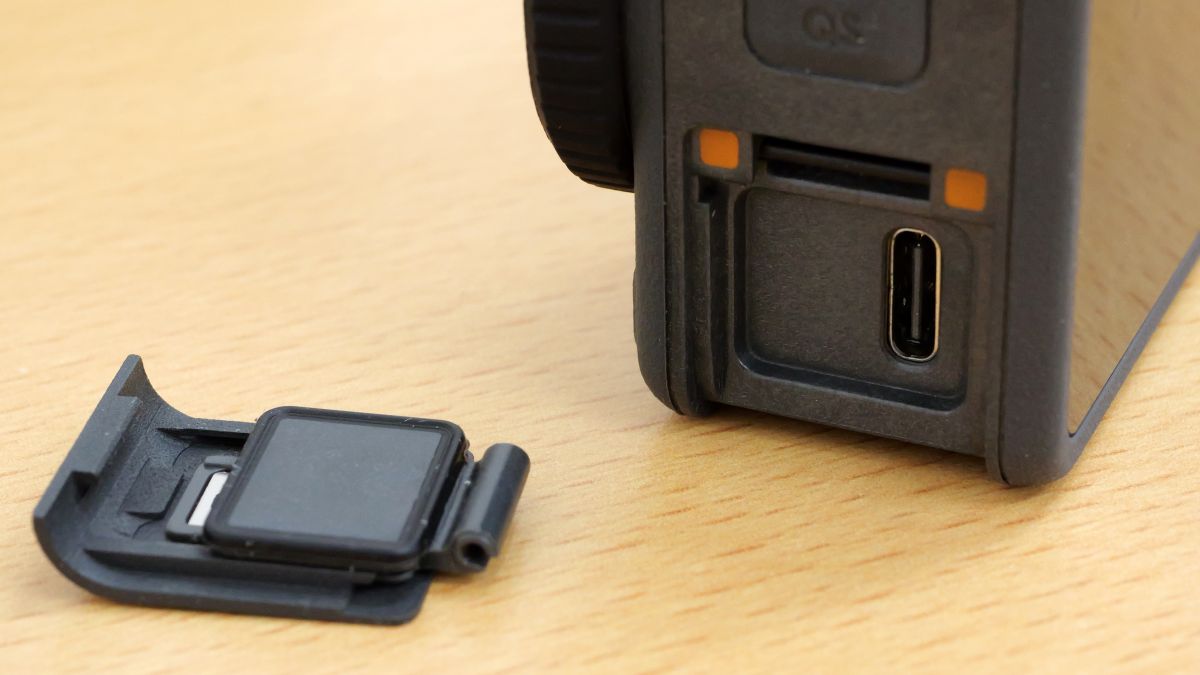
Next, attach the adapter for USB Type-C to the receiver.
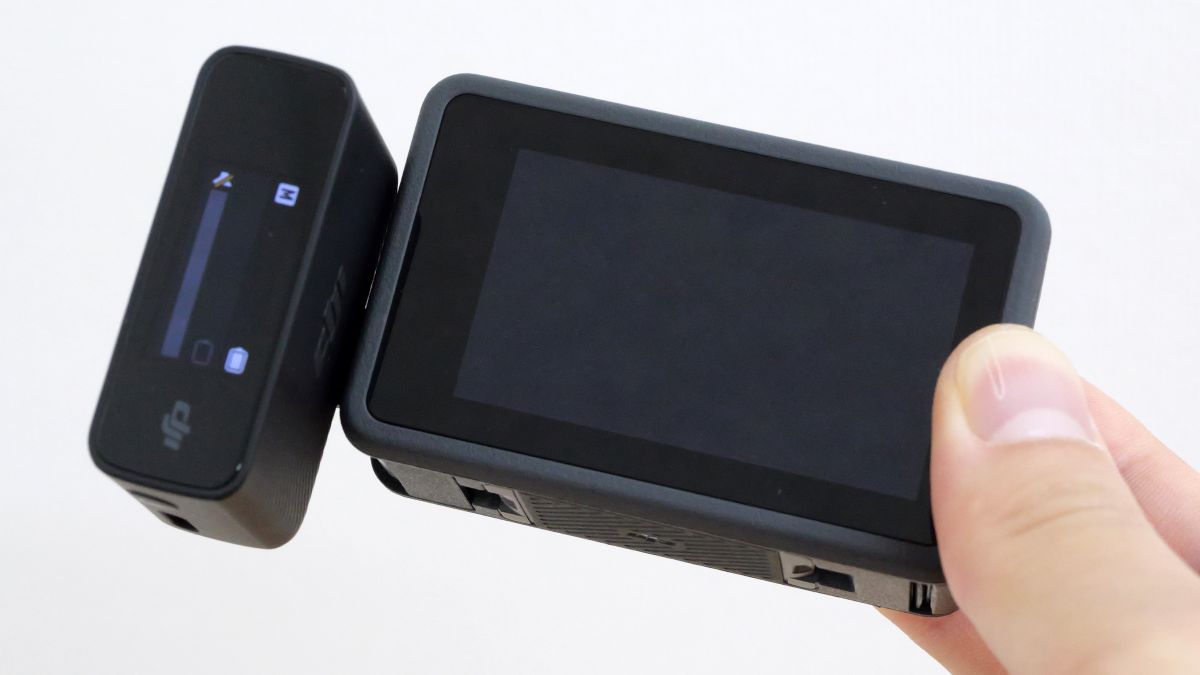
After that, just insert it into the DJI Osmo 3 port and you are connected.
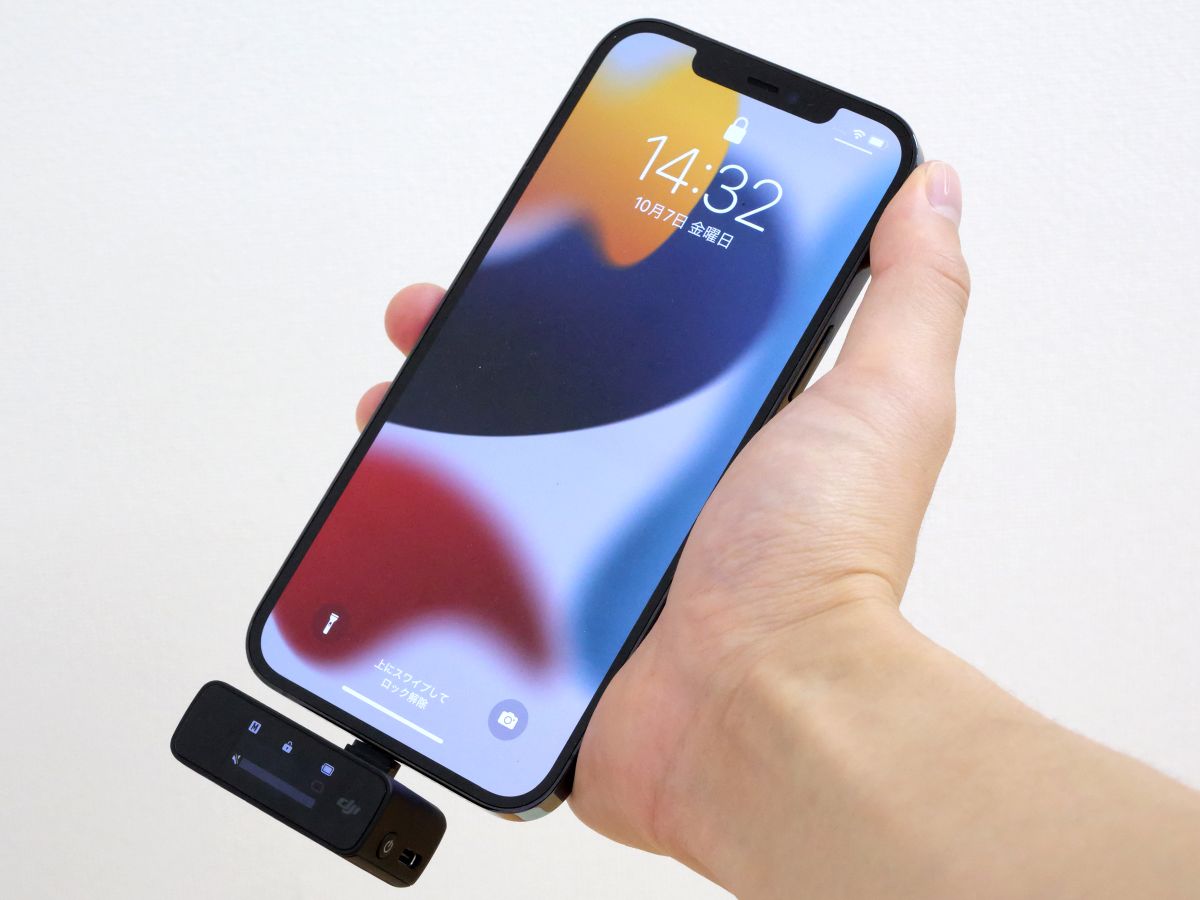
If you install an adapter for Lightning ......
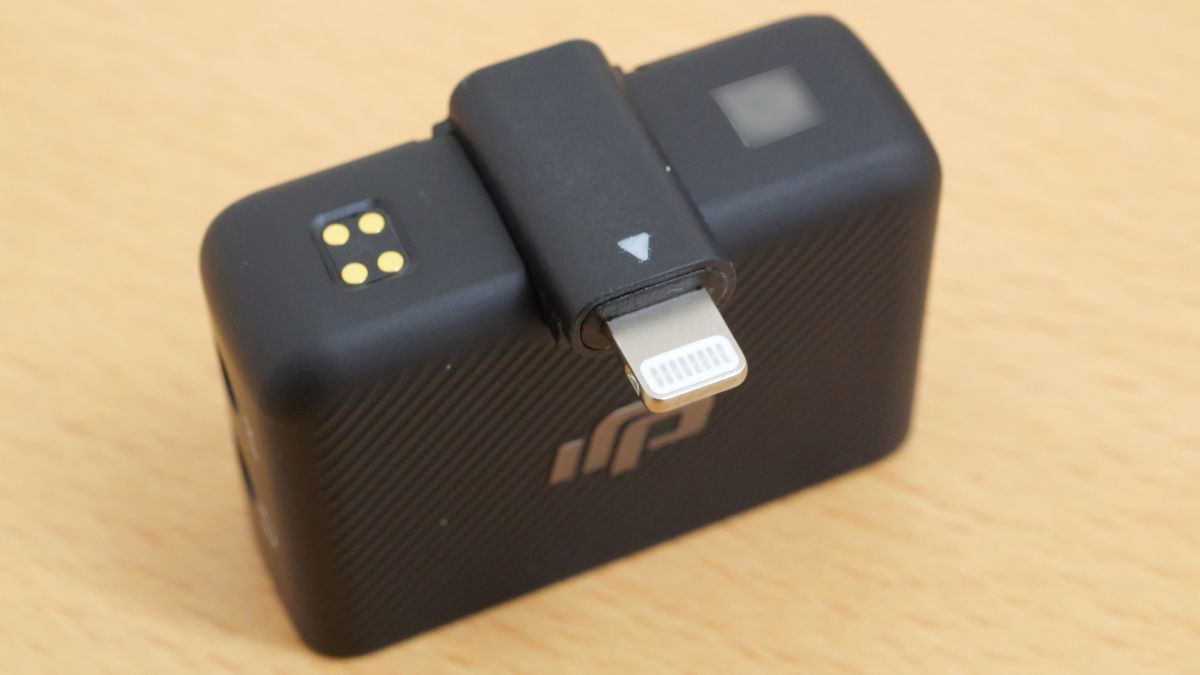
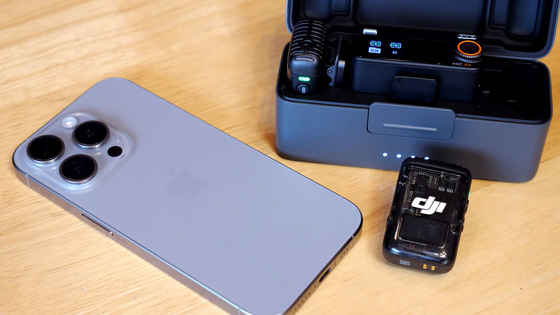
It can also be connected to an iPhone.
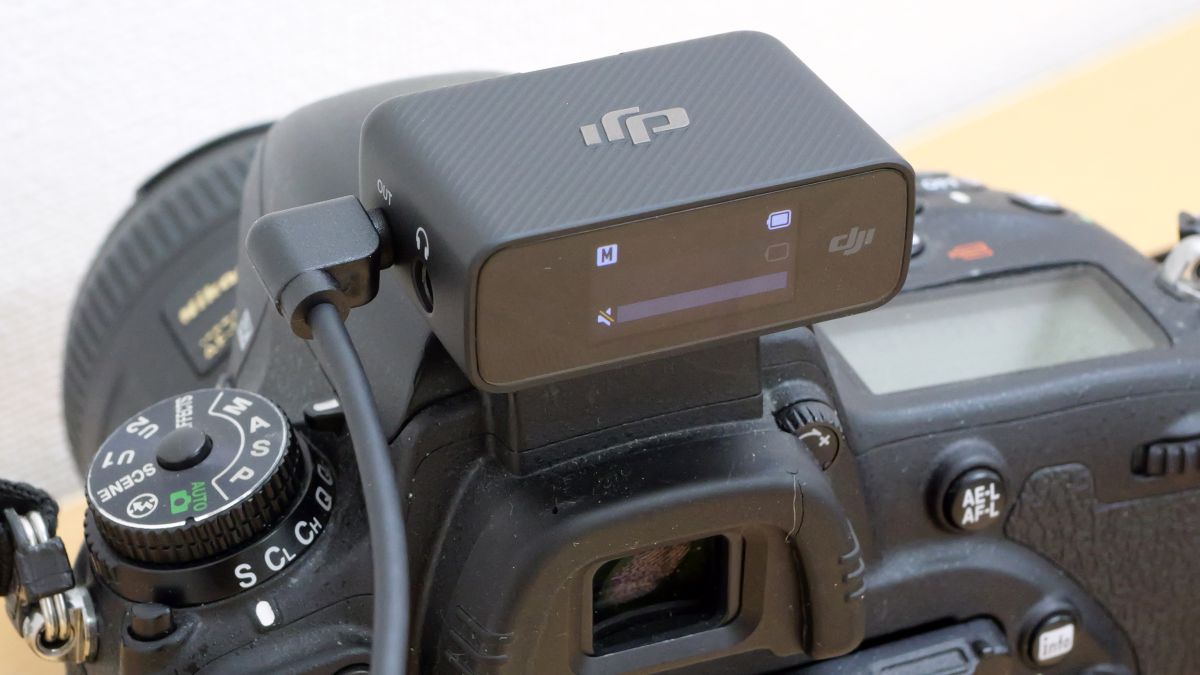
It can also be attached to the mount shoe installed in digital cameras.

To attach it to the mount shoe, prepare an adapter for the black mount shoe.
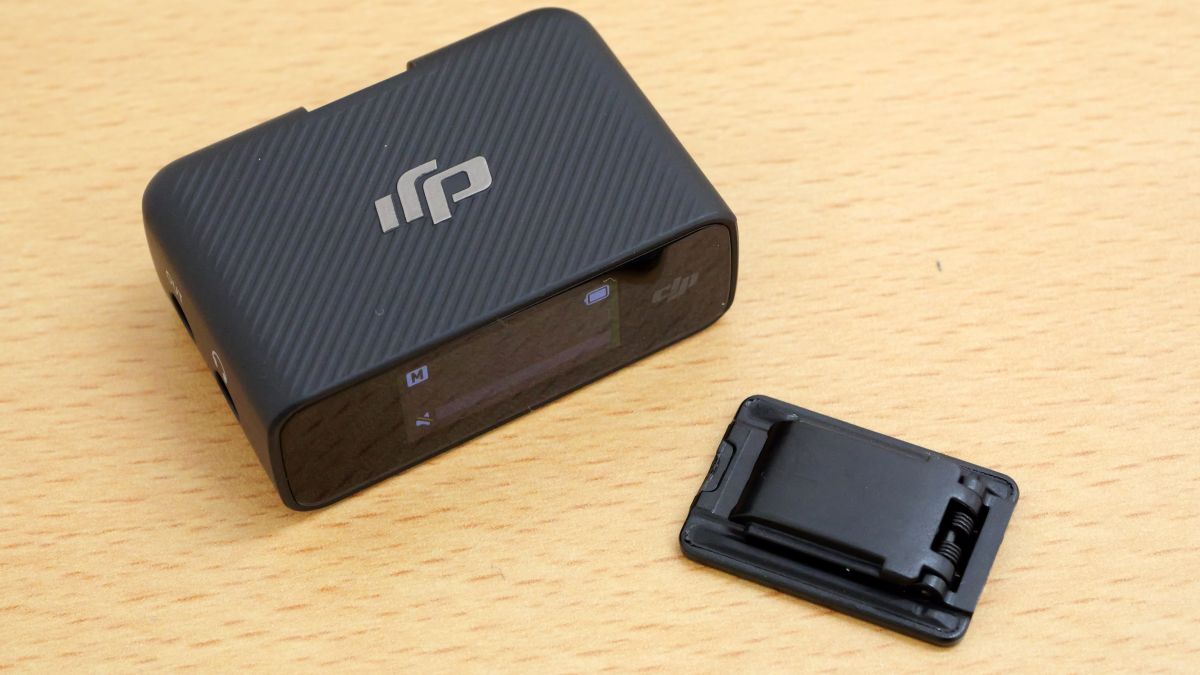
Open the adapter and ... ...
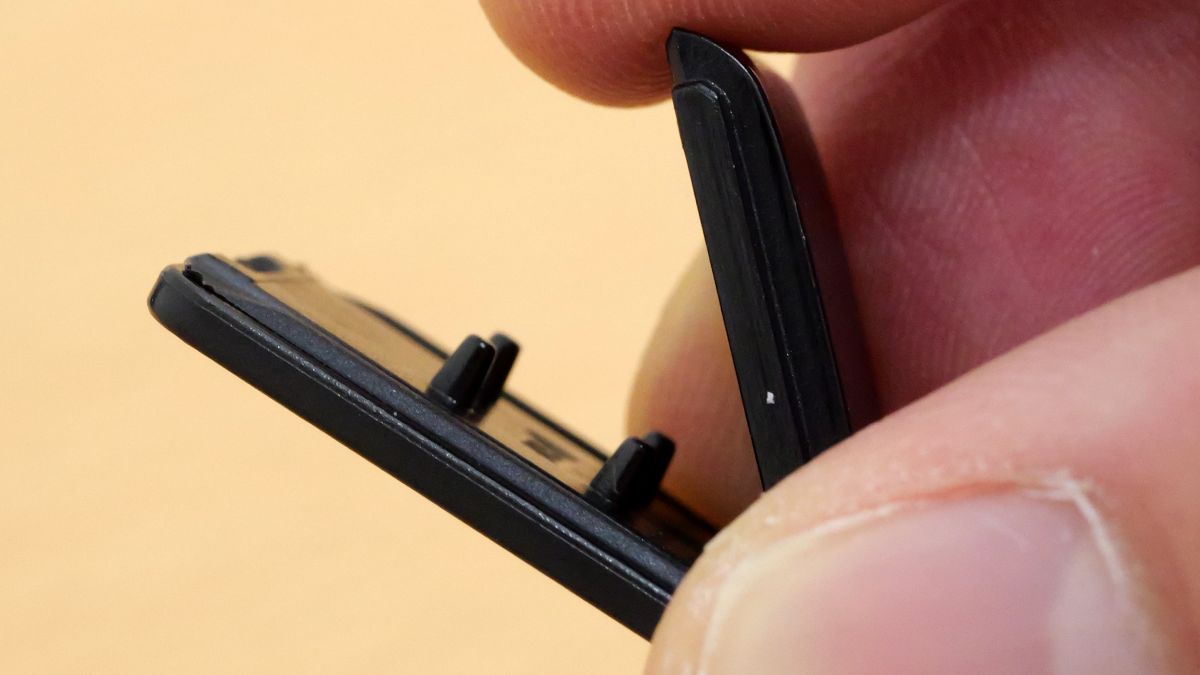
Attaches to the back of the receiver.
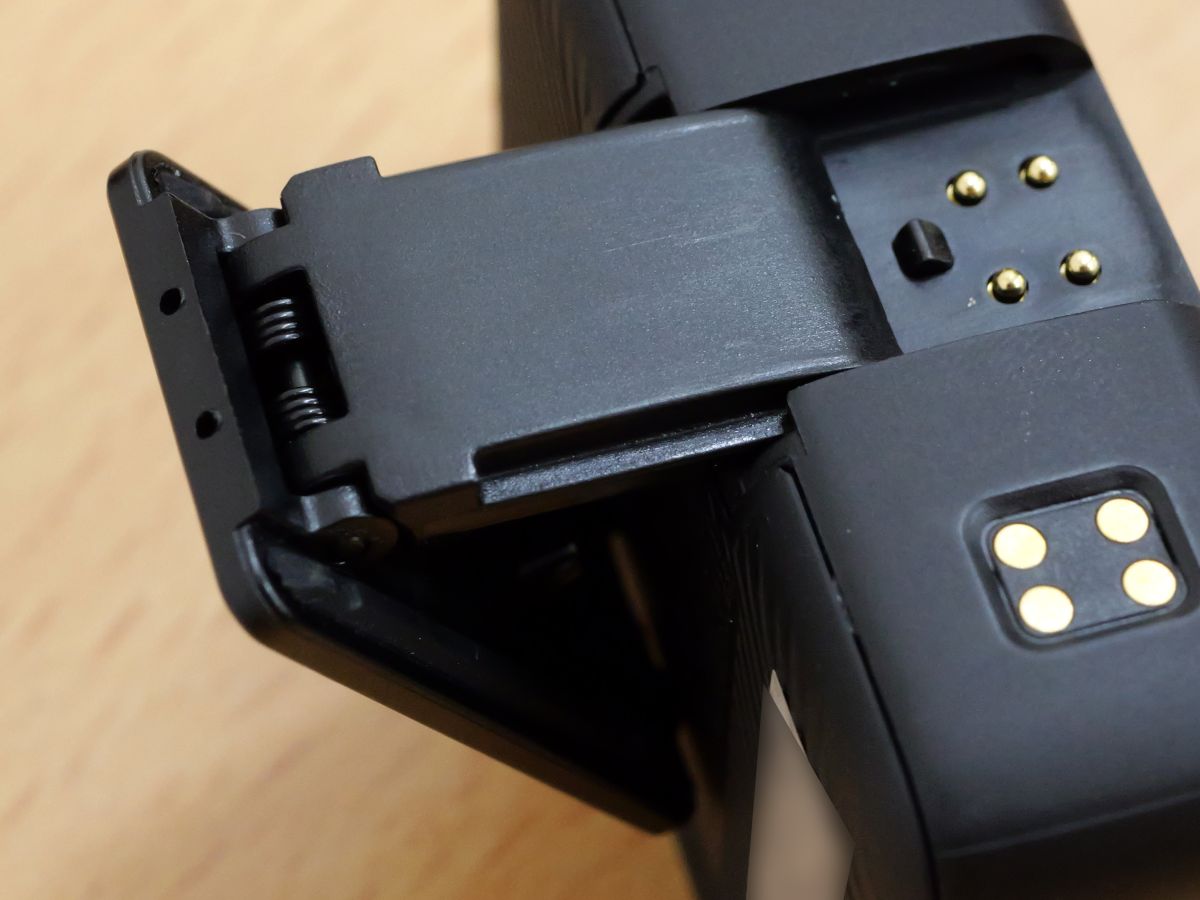
It is OK if it fits like this.
After that, all you have to do is connect it to the mount shoe. DJI Mic can be connected to a variety of devices, expanding the range of shooting.
◆ 4: Transmitter appearance & fixing method check
The transmitter has a microphone input terminal and a built-in microphone, so it can be used as a microphone or as a wireless transmitter for an optional microphone.
Charging terminal on the back.
The side has a record button and a link button.
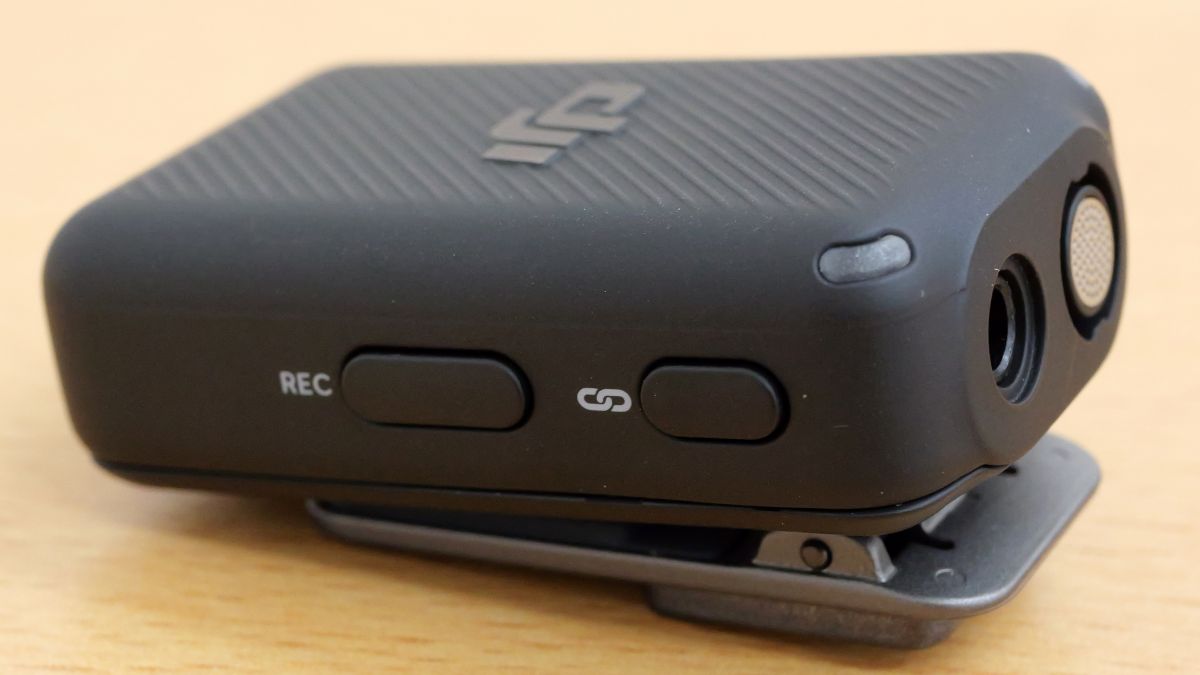
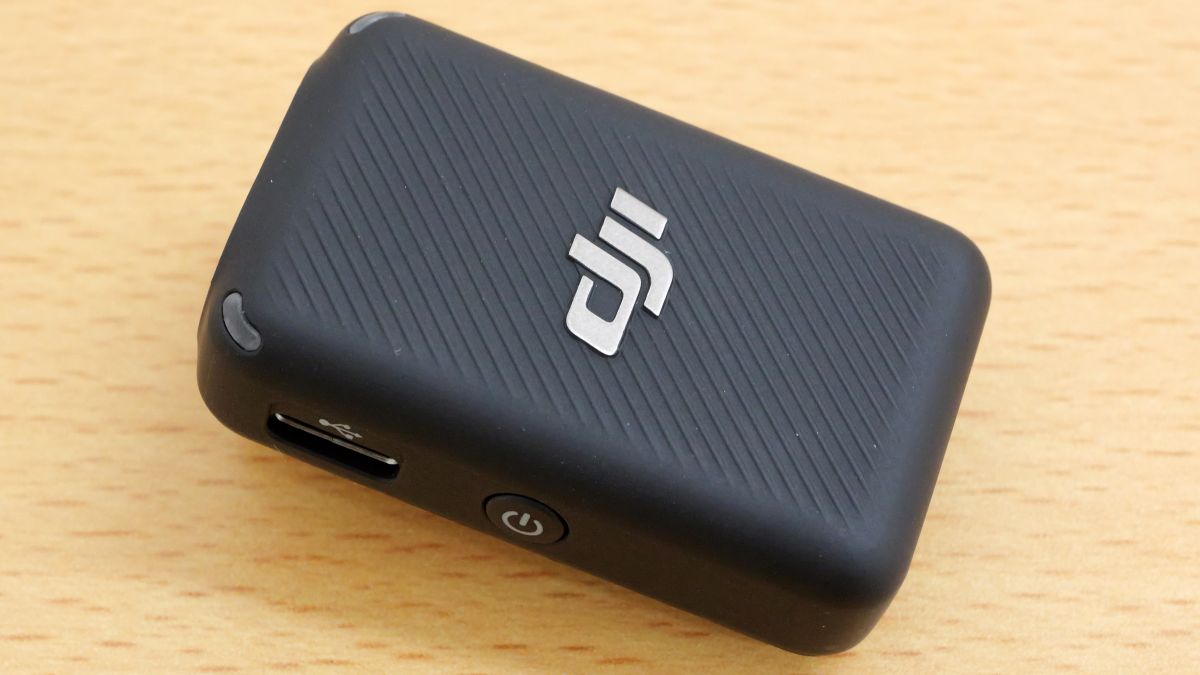
On the other side is a USB Type-C port and a power button.

The DJI logo is printed on the top.
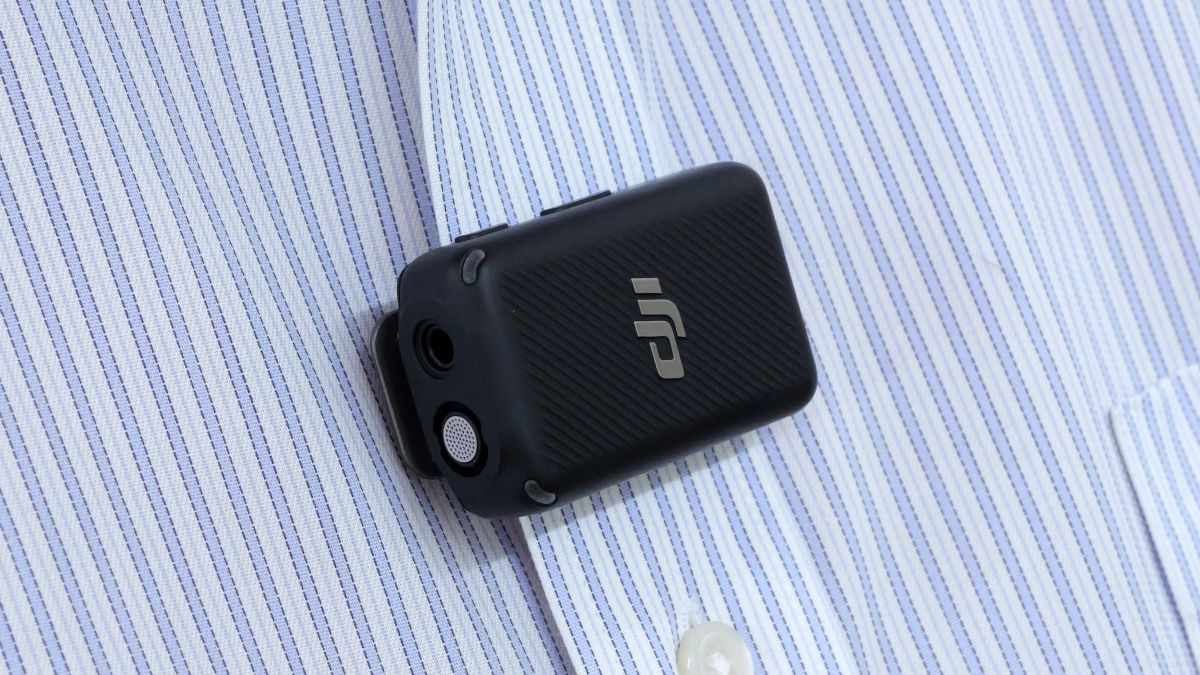
There is a clip on the back.
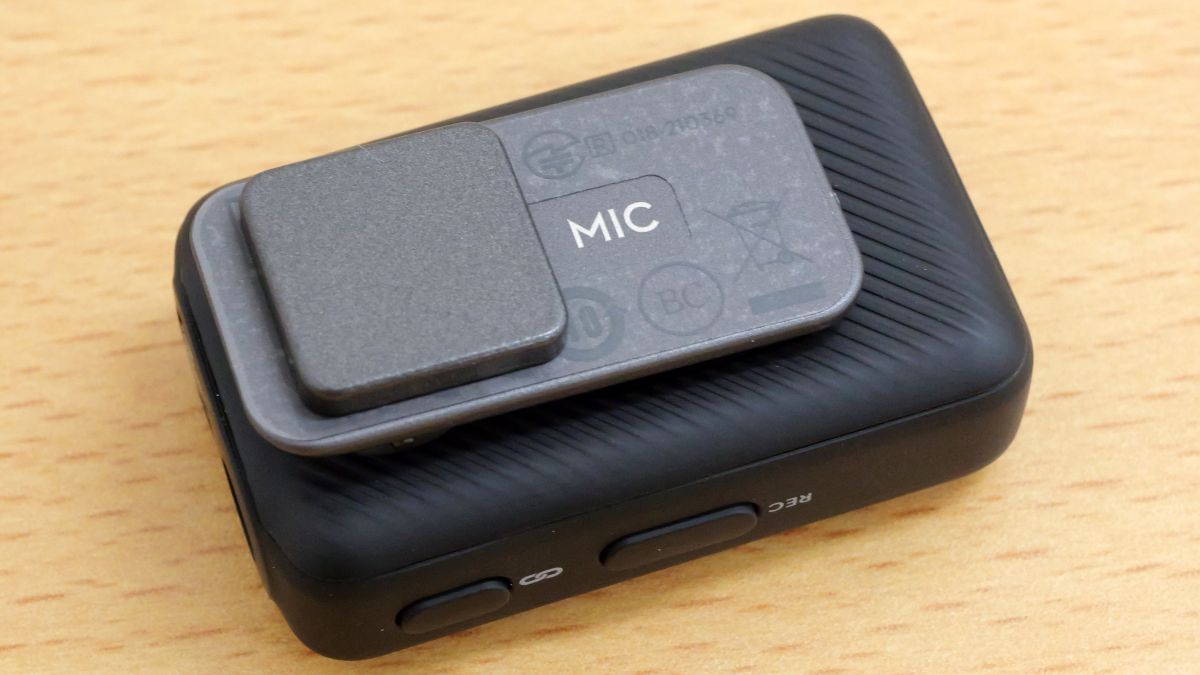
It looks like this when fixed to the shirt with a clip.
Also, a magnet is attached to the clip ... ...
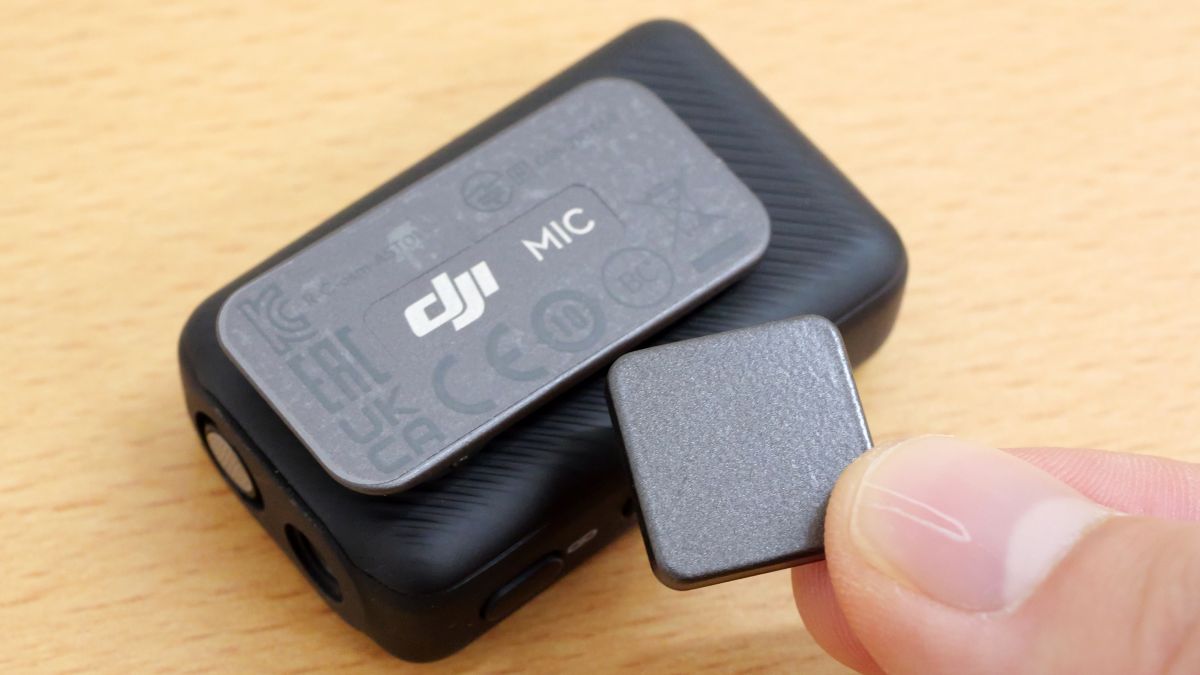
Even clothes that cannot be clipped can be fixed using magnetic force.

◆ 5: Sound quality check of built-in microphone & transmission verification over long distance
In the following movie, you can compare the sound quality of 'DJI Osmo 3's built-in microphone', 'DJI Mic's built-in microphone (monaural)', and 'DJI Mic's built-in microphone (stereo)' when connecting DJI Mic to DJI Osmo 3 .
I connected 'DJI Mic' to 'DJI Osmo 3' and compared the sound - YouTube
Below is the result of connecting DJI Mic to DJI Osmo 3 and transmitting audio while keeping a distance from DJI Osmo 3. As I moved away from the camera, the sound became rougher and cut off after about 30m. The official page of DJI Mic claims a maximum transmission distance of 250m, but it doesn't seem to be suitable for moving around in a wide range.
I tried to verify the transmission performance of DJI Mic - YouTube
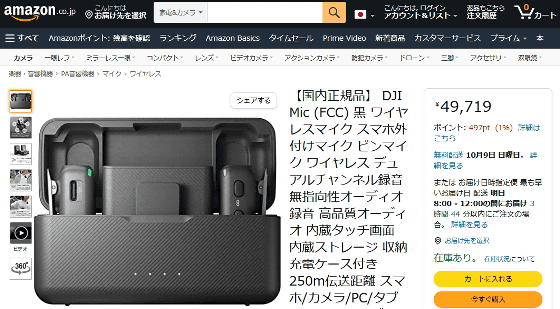
In addition, DJI Mic can be purchased at Amazon.co.jp for 49,719 yen at the time of article creation.
Amazon.co.jp: [Domestic Genuine Product] DJI Mic (FCC) Black Wireless Microphone, Smartphone External Microphone, Pin Microphone, Wireless Dual Channel Recording, Omnidirectional Audio Recording, High Quality Audio, Built-in Touch Screen, Built-in Storage, Storage Charging Case Included, 250m Transmission Distance, Smartphone/ Compatible with cameras/PCs/tablets/recorders, etc.: Musical instruments/audio equipment
Related Posts:
in Posted by log1o_hf