'UI.Vision' that automates Chrome / Firefox operations for free and allows you to upload files and operate your desktop
'Repeat of the same work' is an integral part of work, but when the same work is repeated many times, I think 'Isn't a machine born to entrust such simple work?' If you use the free Chrome / Firefox extension ' UI.Vision ', you can set up macros that can automate operations, and simple tasks will become easier, so I actually used it.
Open-Source RPA and Web Automation Tools for macOS, Linux and Windows
So, let's actually use UI.Vision. The Chrome version and Firefox version can be downloaded from the official extension store below.
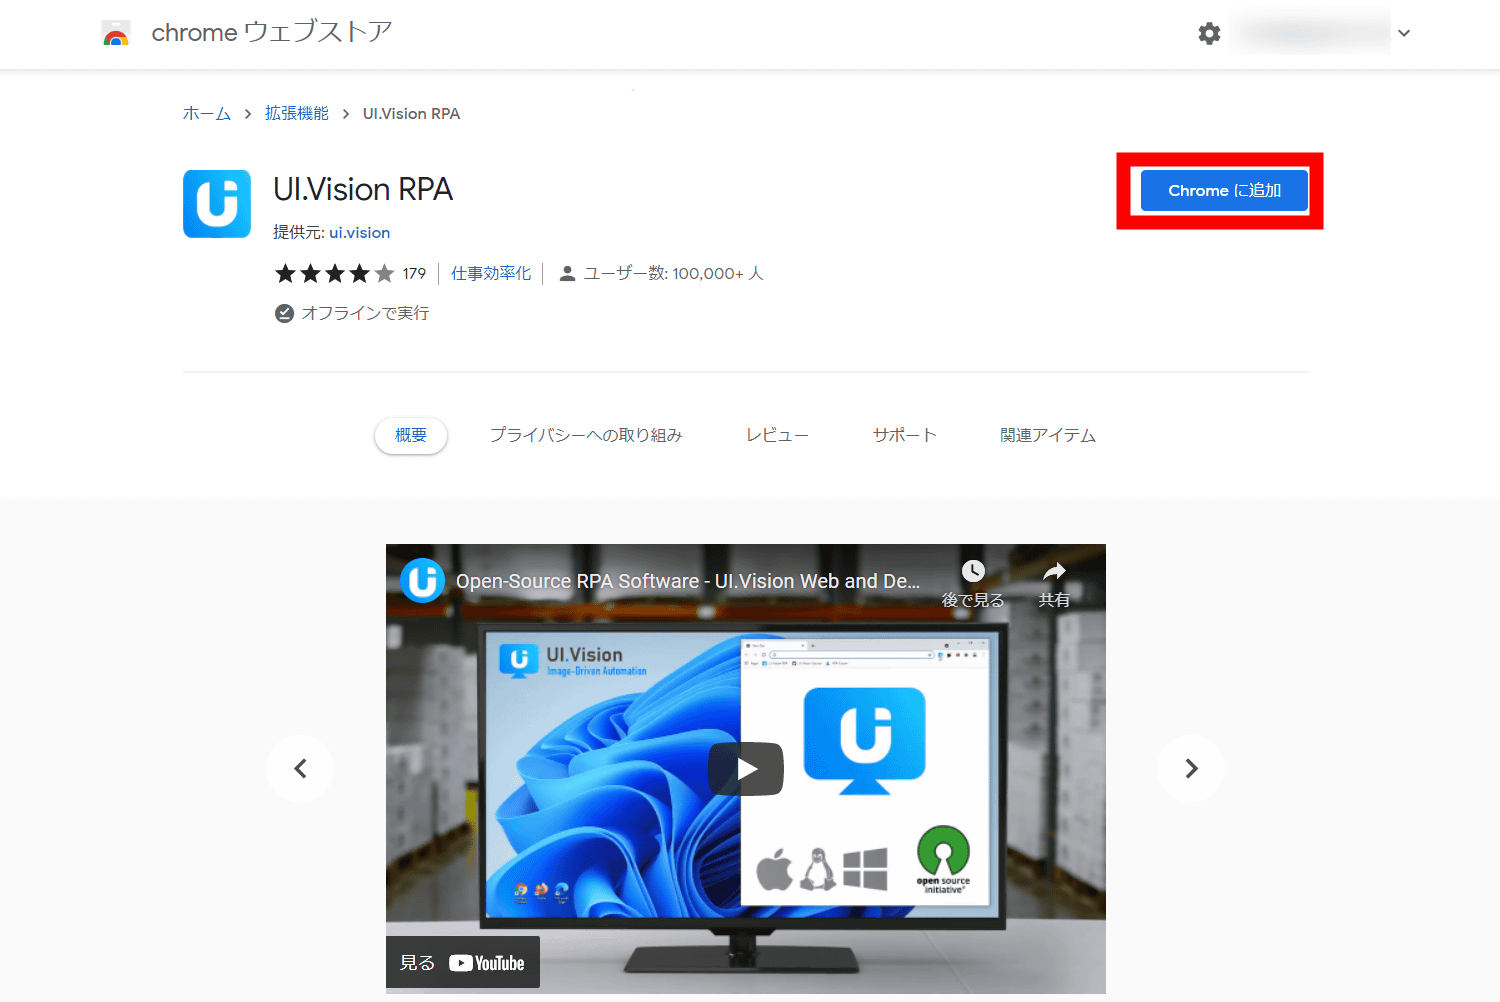
UI.Vision RPA-Chrome Web Store
https://chrome.google.com/webstore/detail/uivision-rpa/gcbalfbdmfieckjlnblleoemohcganoc
UI.Vision RPA – Get extensions for Firefox (ja)
https://addons.mozilla.org/ja/firefox/addon/rpa/
This time I will use the Chrome version. Click 'Add to Chrome' on the individual page of the Chrome Extension Store mentioned above.
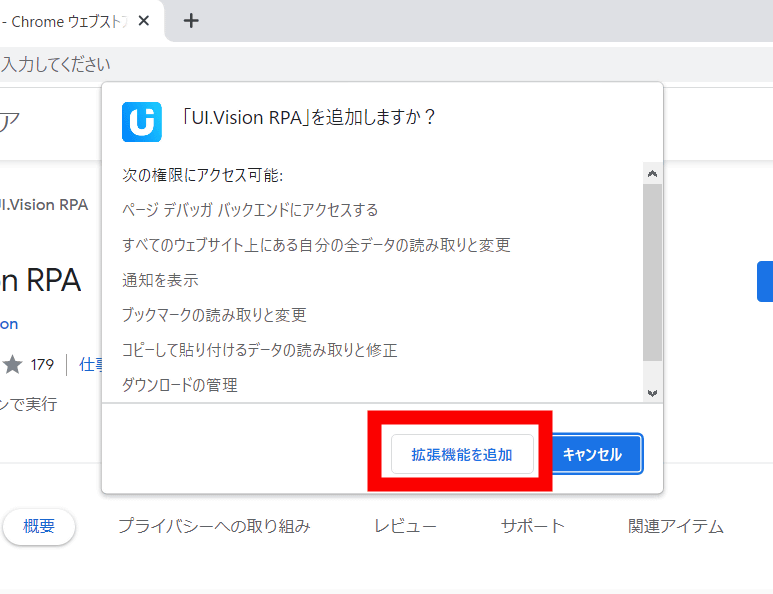
The following pop-up will appear. Click 'Add Extension' to complete the download and installation automatically.
After the installation is complete, the
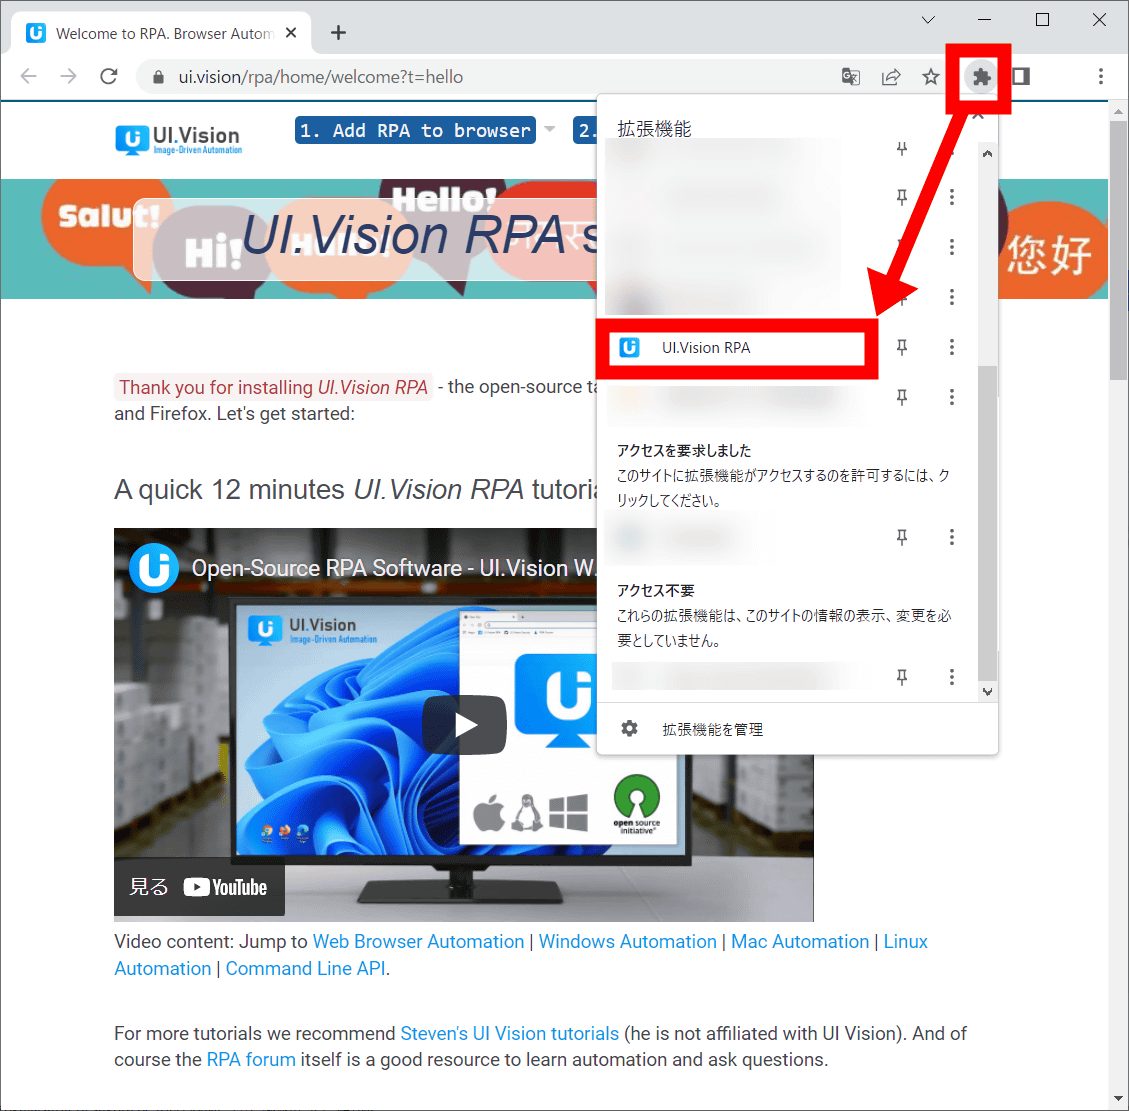
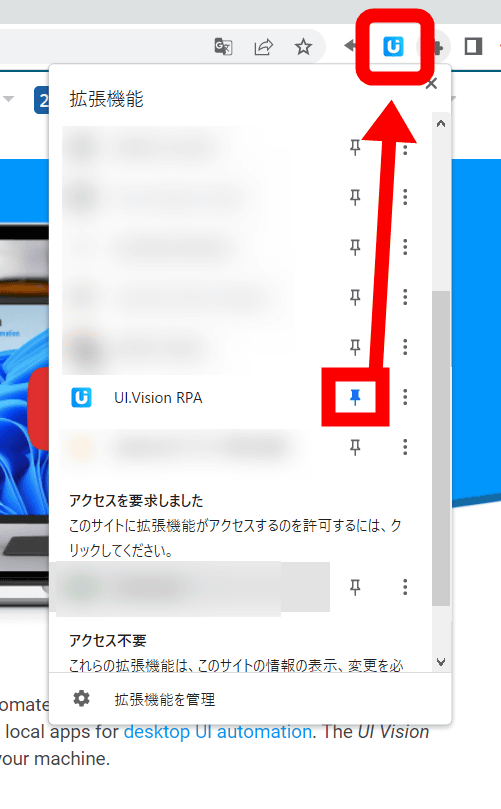
It takes one click to call UI.Vision after clicking the extension icon each time, so if you want to use it many times, clicking the pin icon is convenient because it can always be displayed on the toolbar.
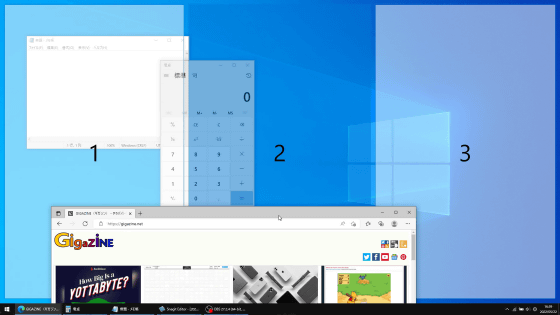
Click 'UI.Vision RPA' to start UI.Vision in a separate window as shown below.
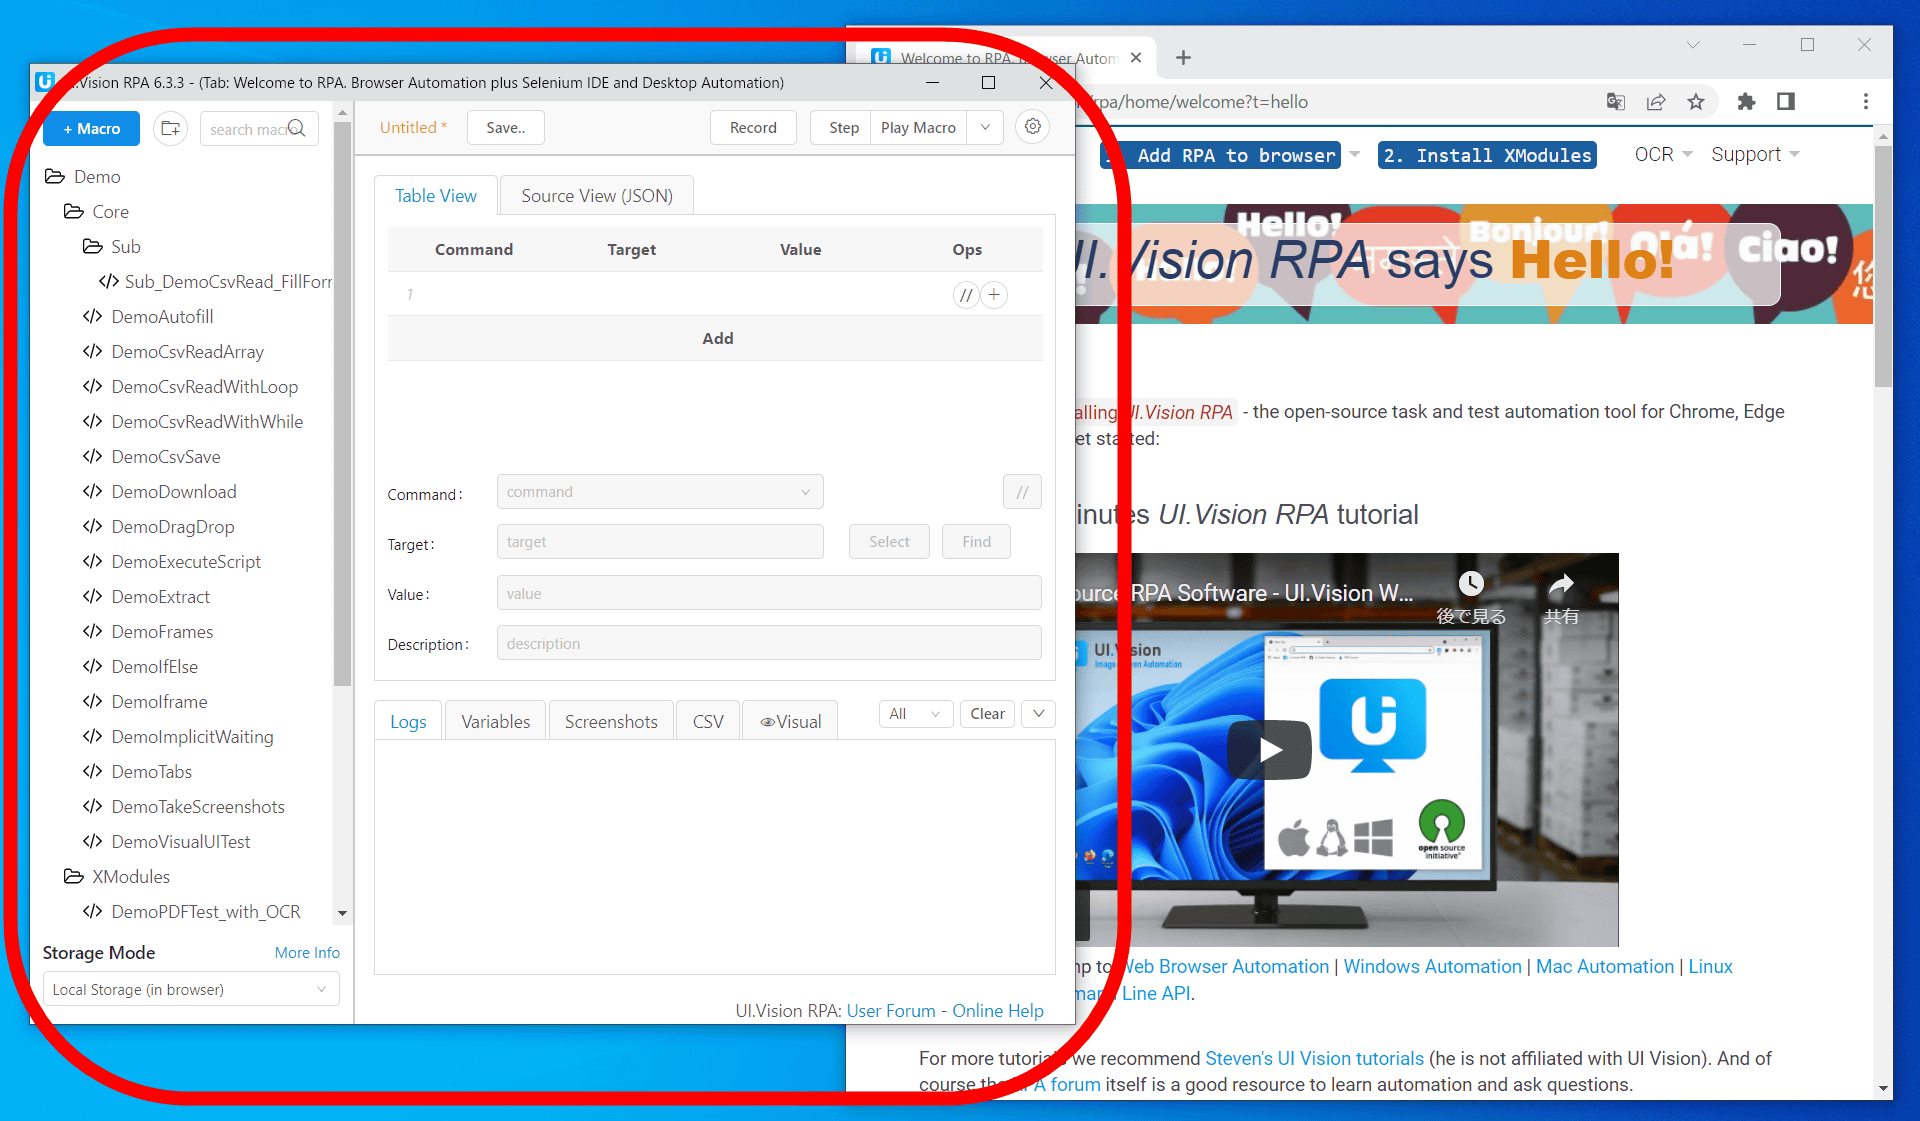
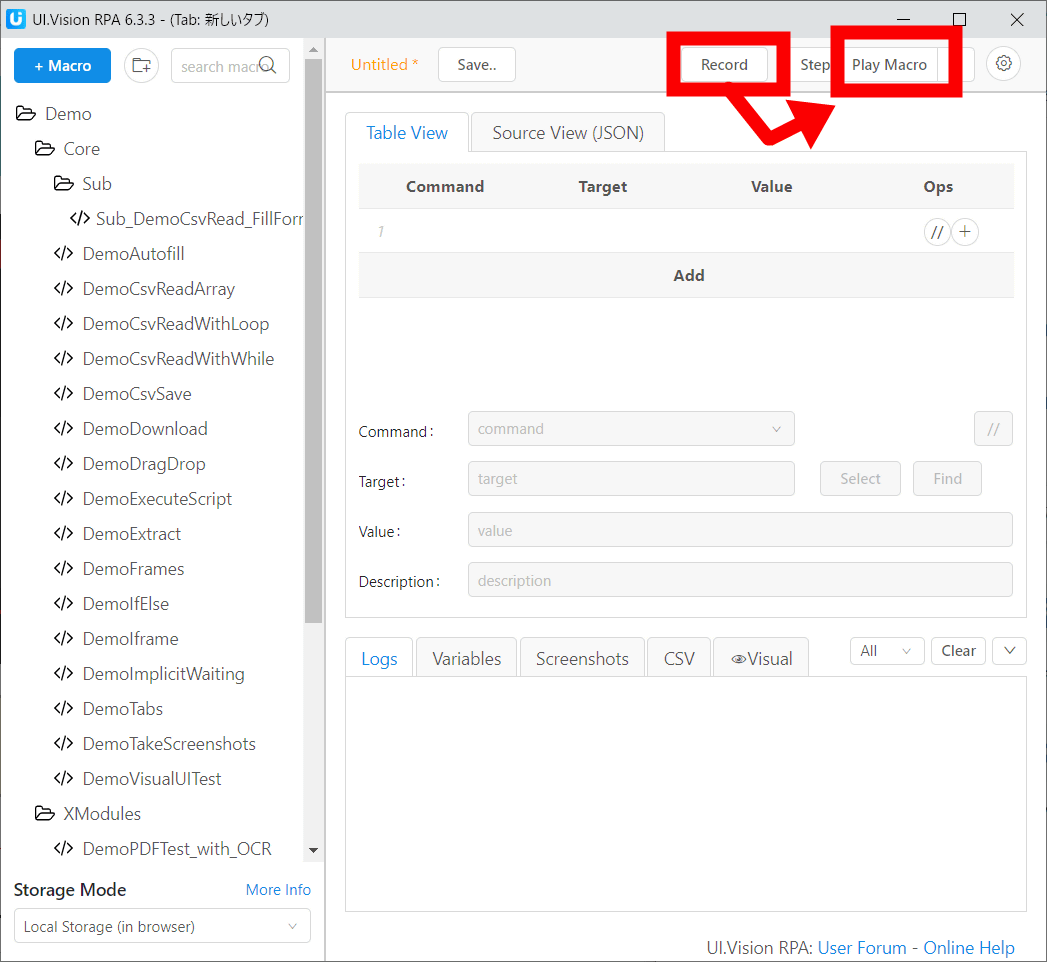
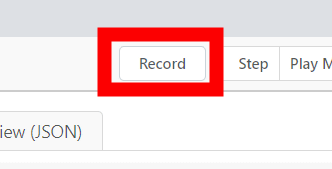
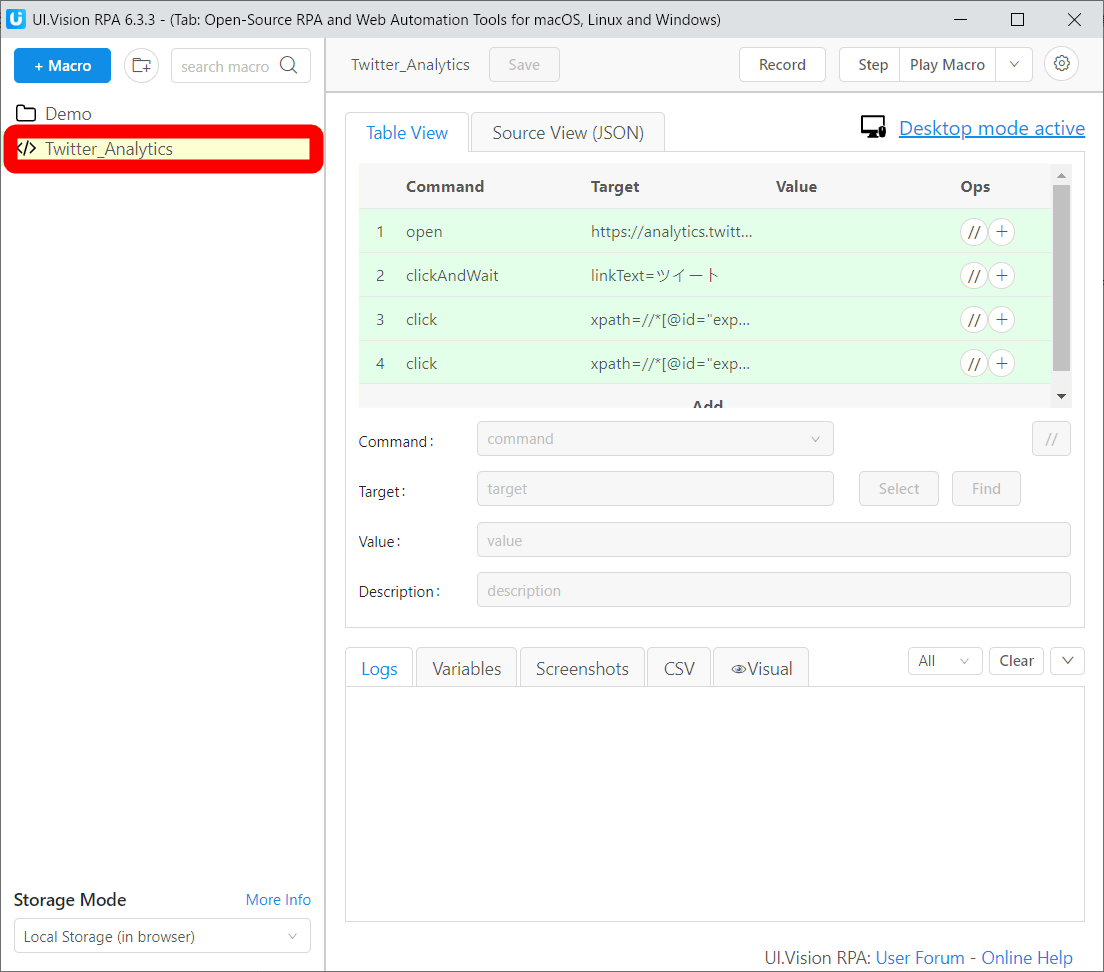
The UI.Vision window looks like this. It looks complicated, but roughly speaking, when you press 'Record' on the upper right, the action performed by the user is recorded, and when you click 'Play Macro', it is played.
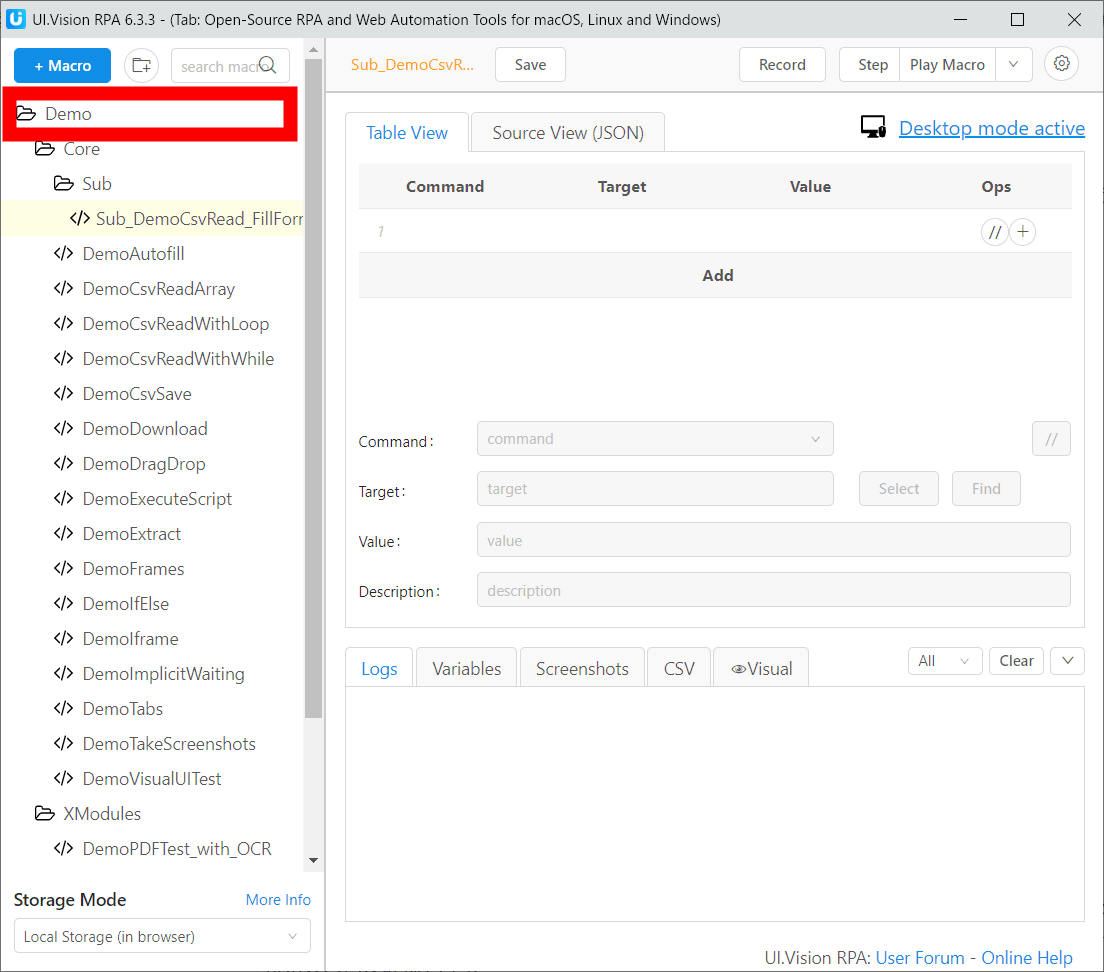
That's why I will actually use it. At the first startup, a folder called 'Demo' that saves many presets is open in the left column, and it is necessary to scroll every time a newly created macro is added at the bottom, which is a waste of time. Click this 'Demo' part to close the folder.
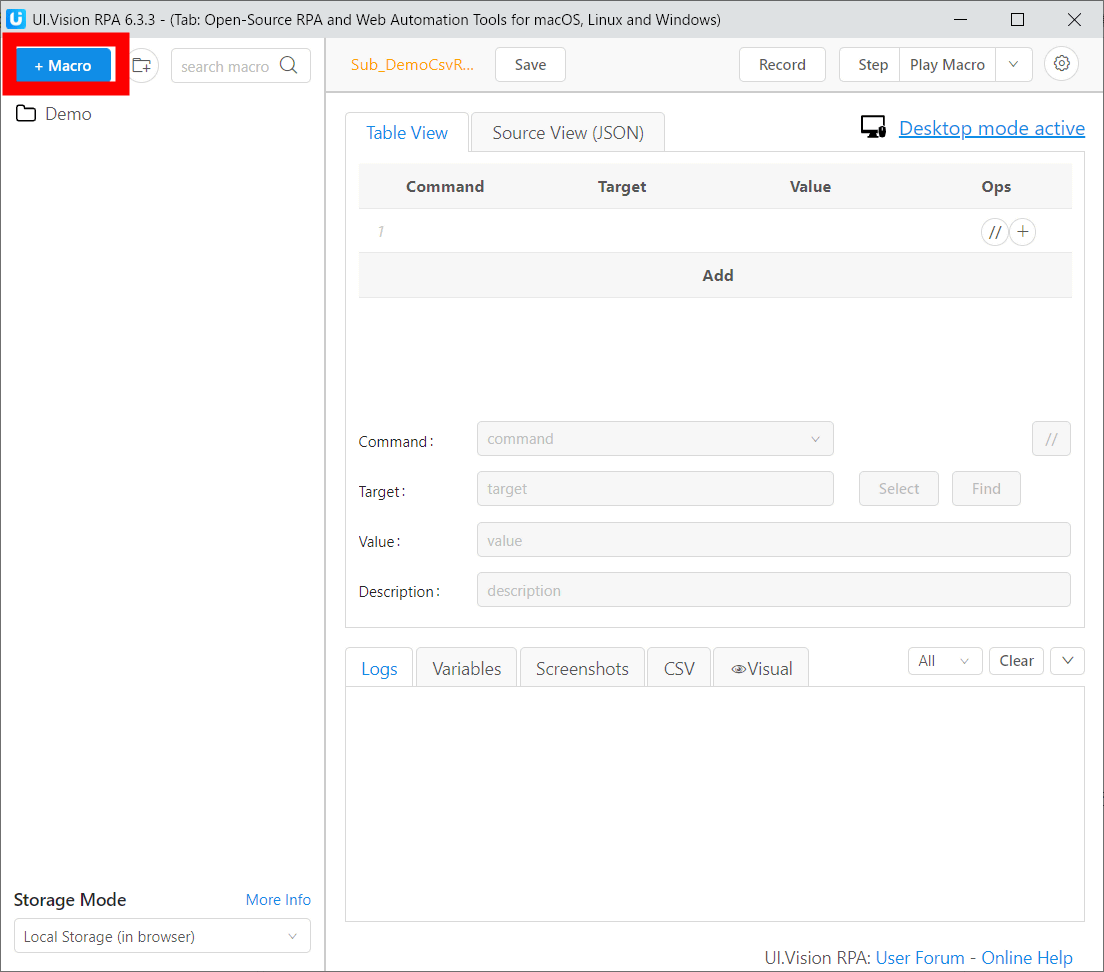
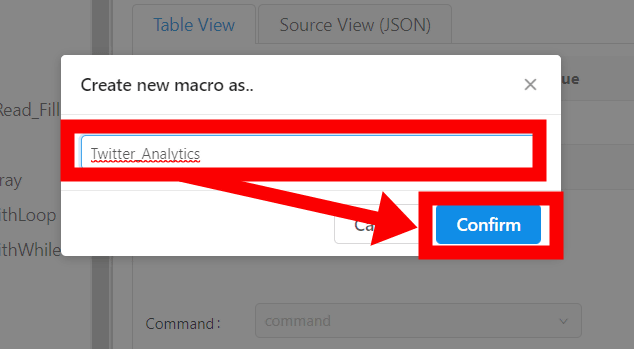
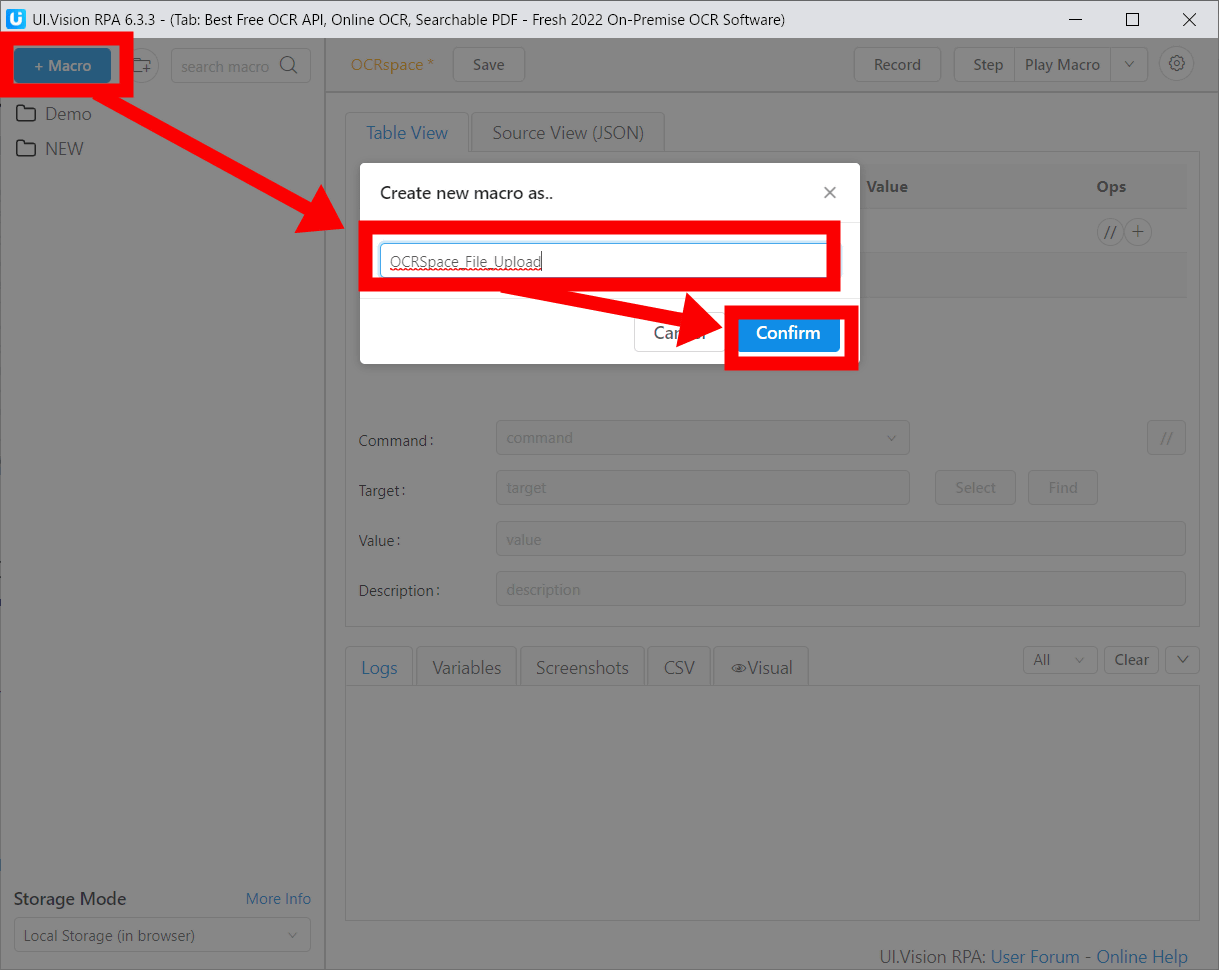
This time, as an experiment, I made some macros with UI.Vision, so let's start with the case of 'automatically export the CSV file of Twitter analytics'. Click '+ Macro' on the UI.Vision side to create a new macro.
Enter a name and click Confirm to save.
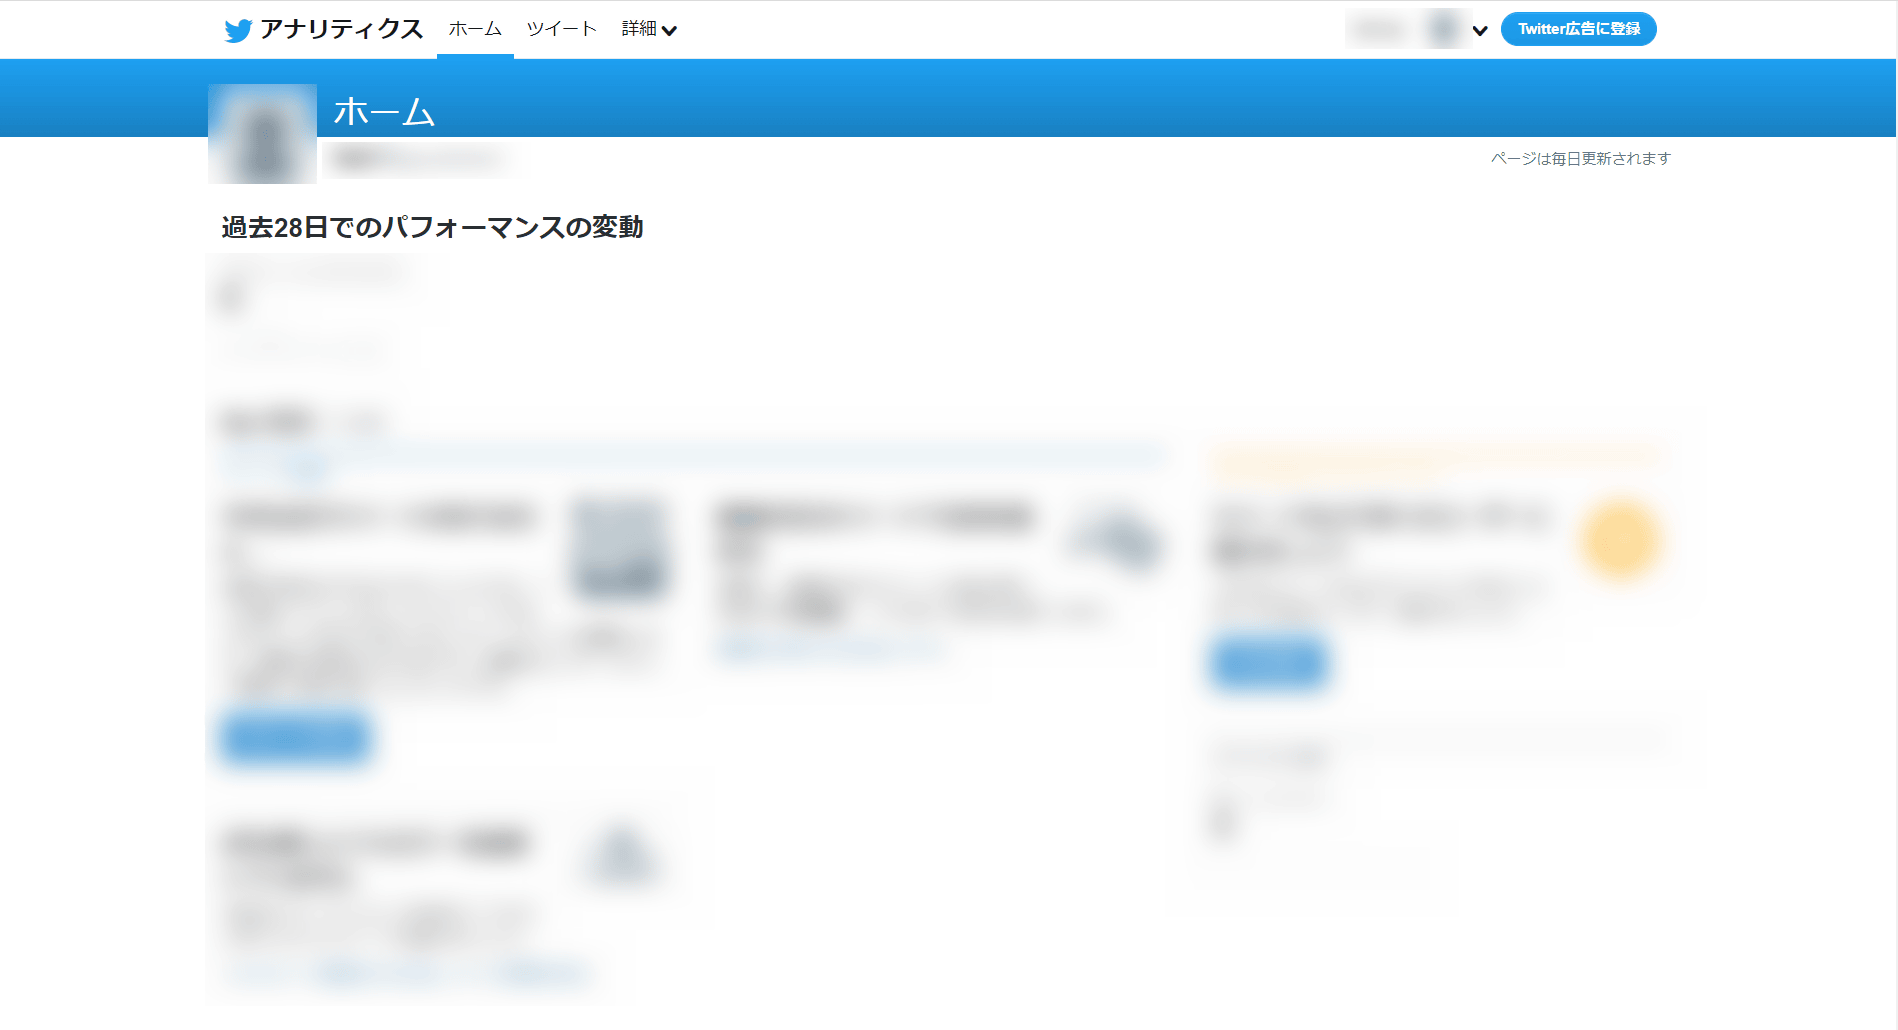
Next, I will write the contents of the created new macro. This macro says 'Download and save Twitter analytics data as a CSV file', so log in to Twitter and keep the
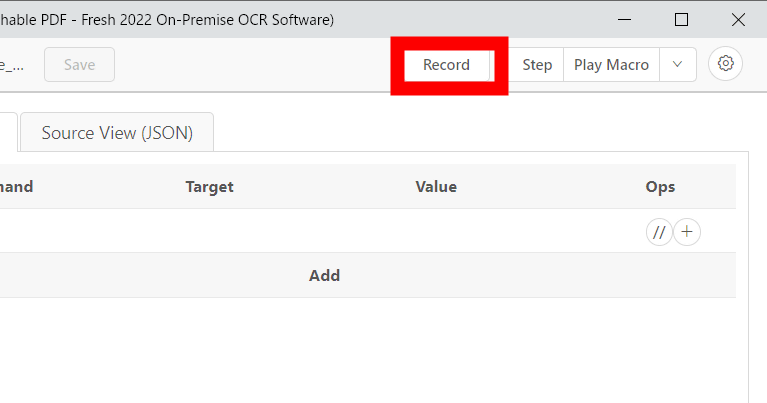
Click 'Record' in the UI.Vision window. UI.Vision is now in the state of 'recording the actions to be taken from the Twitter analytics page as a starting point'.
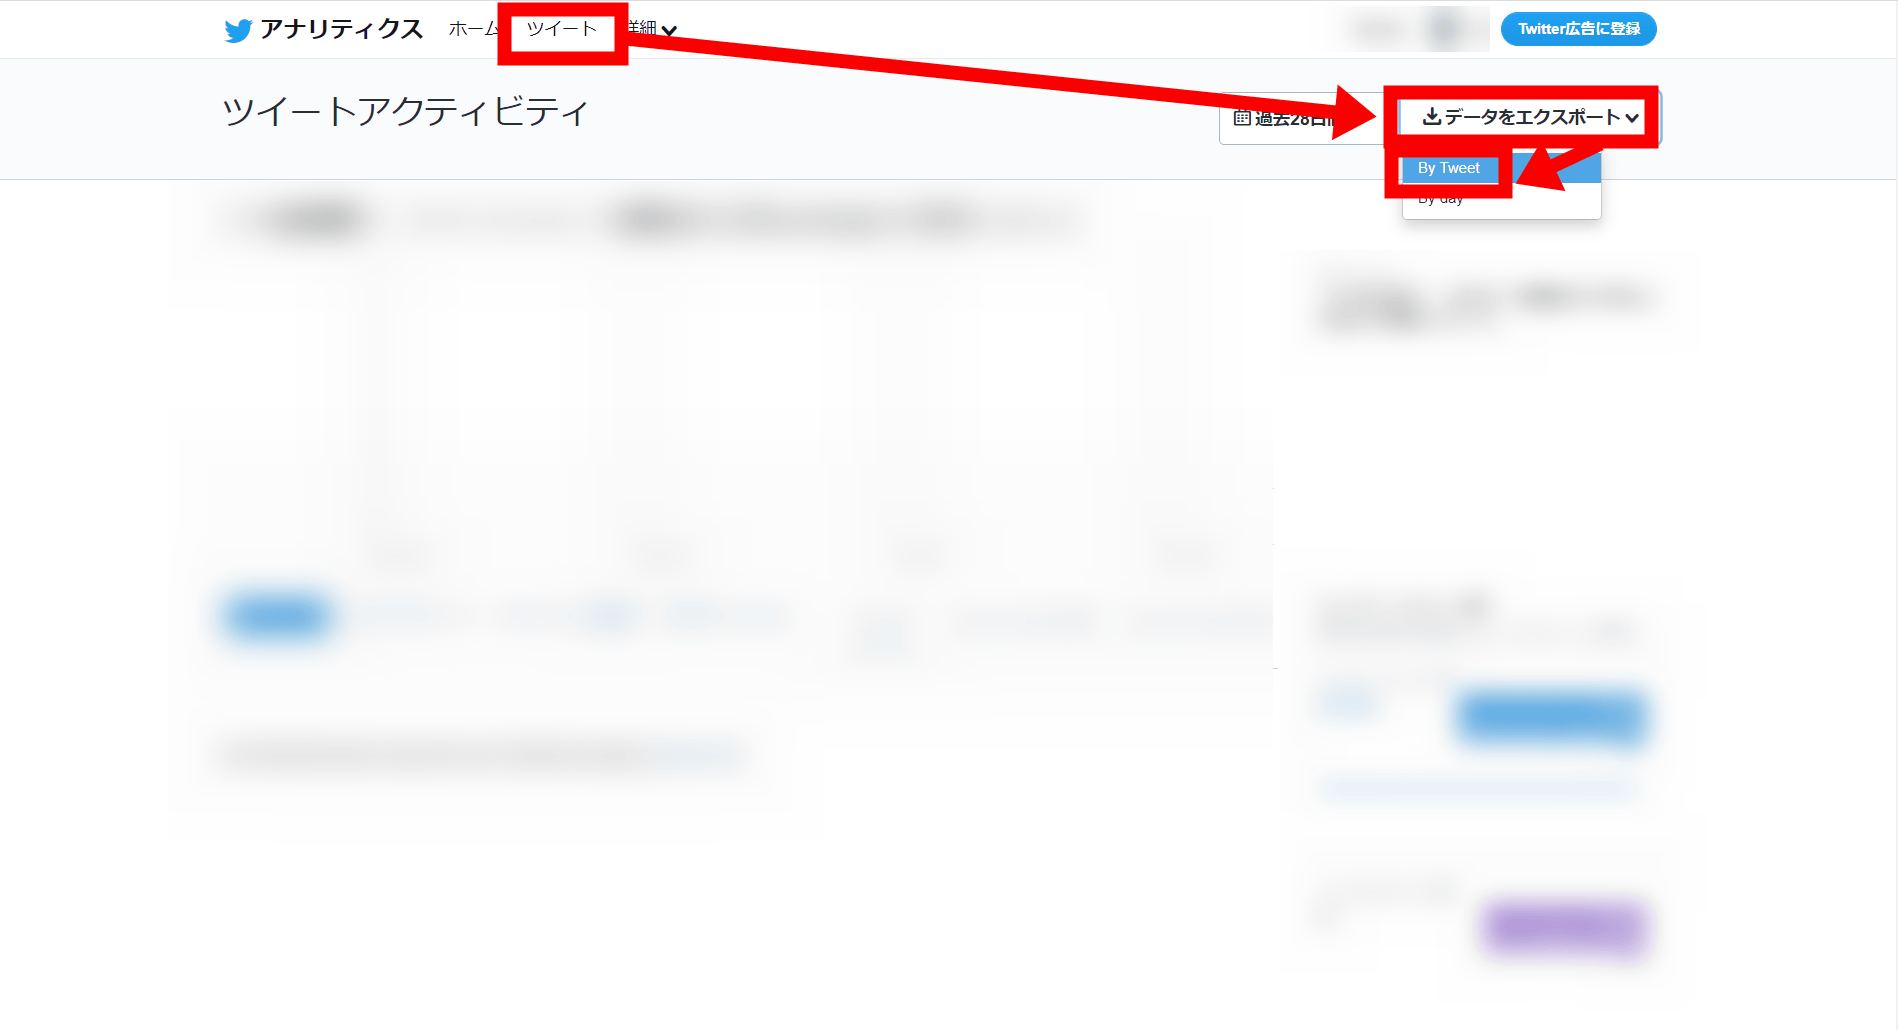
On the Twitter analytics side, click 'Tweet'-> 'Export data'-> 'By Tweet' to download the CSV file.
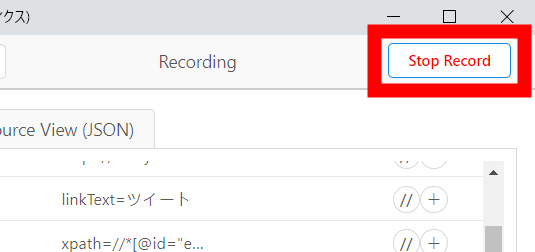
Now that UI.Vision has recorded a series of actions of 'downloading the CSV file of Twitter analytics', the recording is completed with 'Stop Record'.
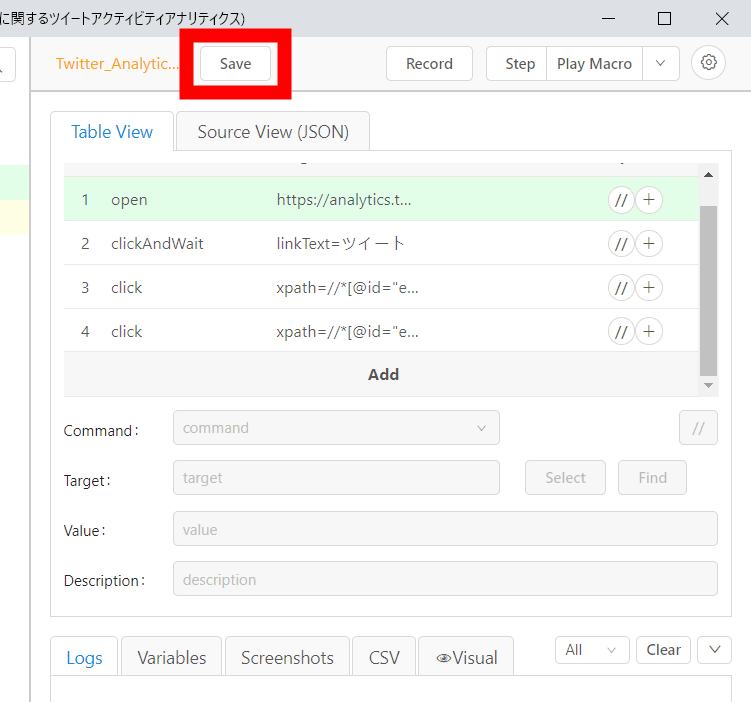
Click Save to save the macro you created.
Click 'Play Macro' to see if you can reproduce the series of recorded actions properly
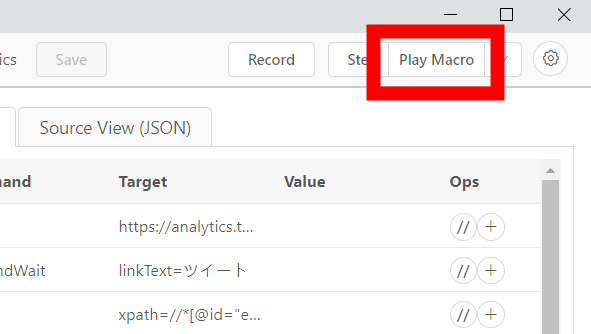
The Twitter Analytics page opens fully automatically, and you can visually check the scene where the CSV file is downloaded.

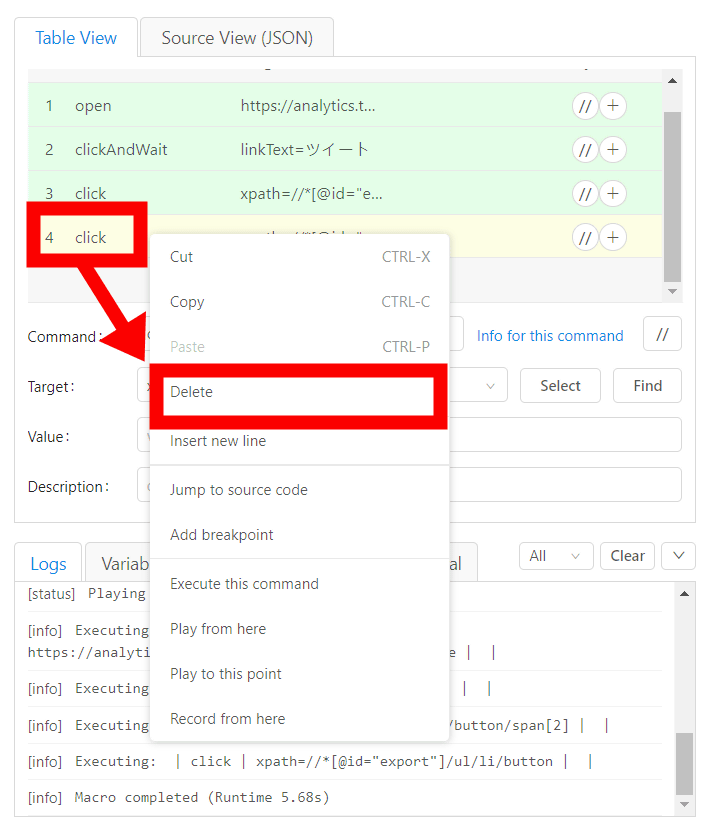
If you try to execute the macro and say 'Oh, unnecessary operations are mixed ...', the operations executed in 'Table View' are arranged in chronological order from the top, so right-click and select 'Delete'. You can select and delete it.
The saved macros are lined up in the tree on the left side of UI.Vision, so you can call them at any time from here.
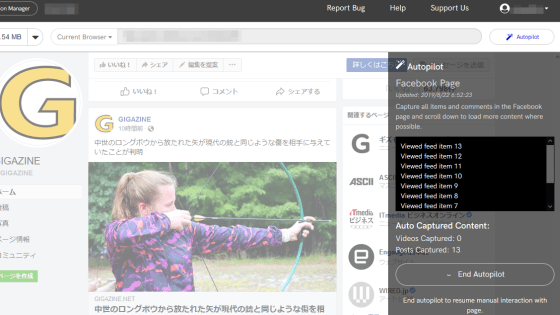
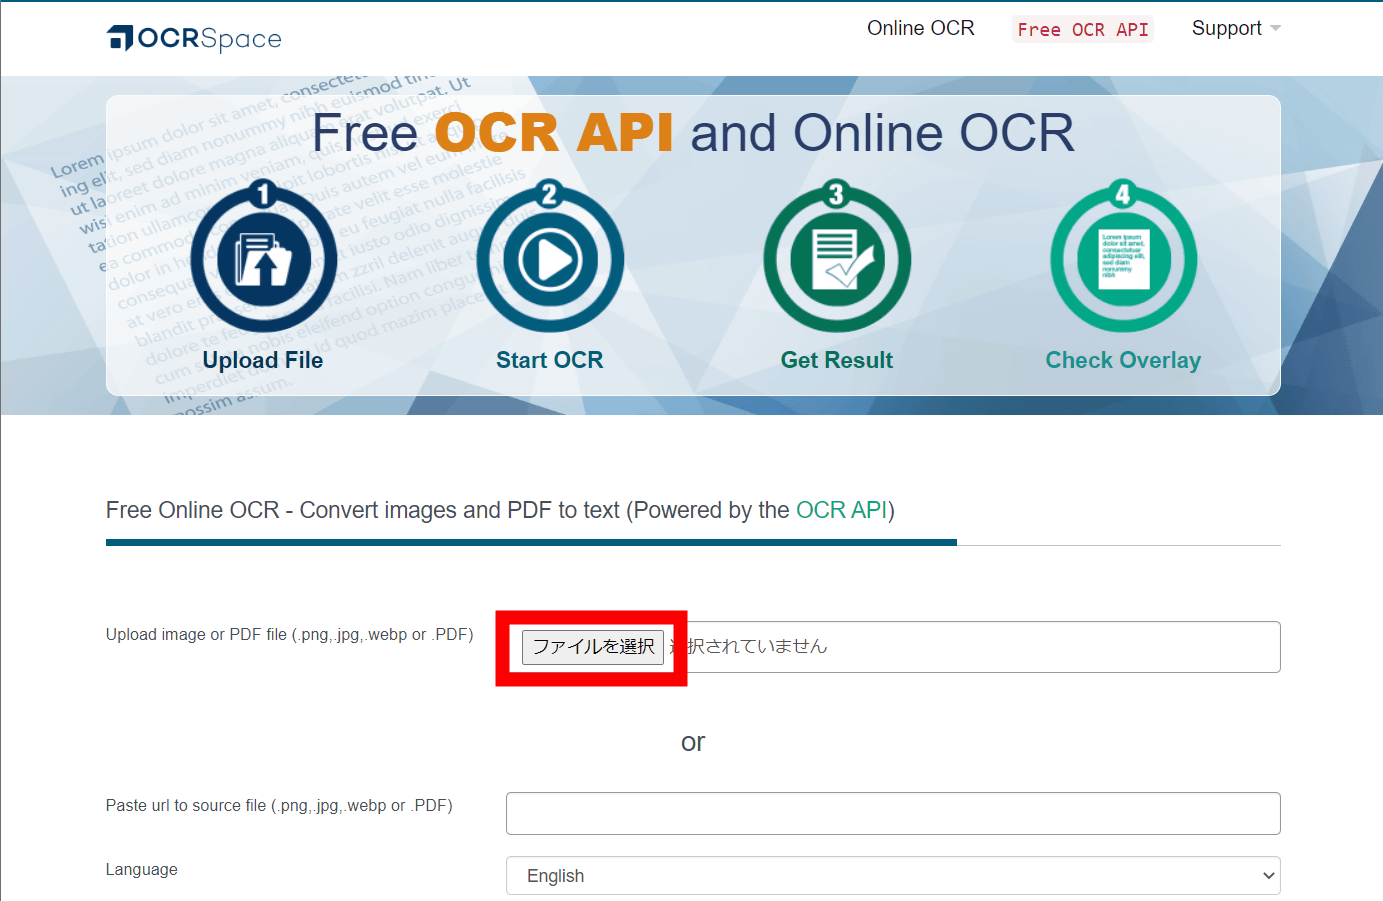
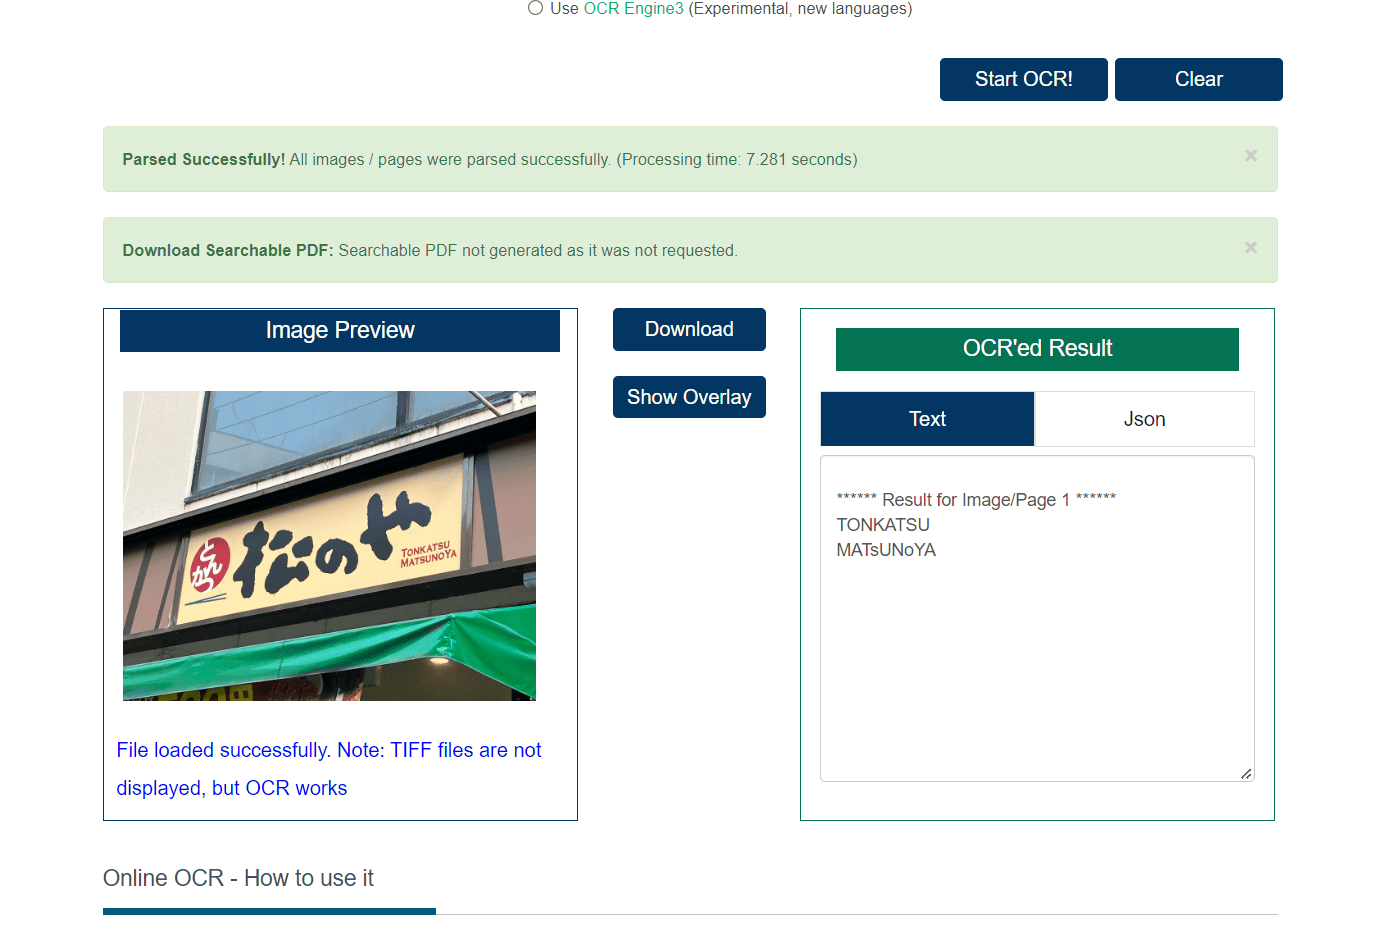
Next, let's create a macro that includes 'upload file'. This time, for the experiment, we will use 'OCR Space' operated by the developer of UI.Vision to upload PNG, JPEG, WEBP, and PDF files and execute OCR (
First, click 'Select File'.
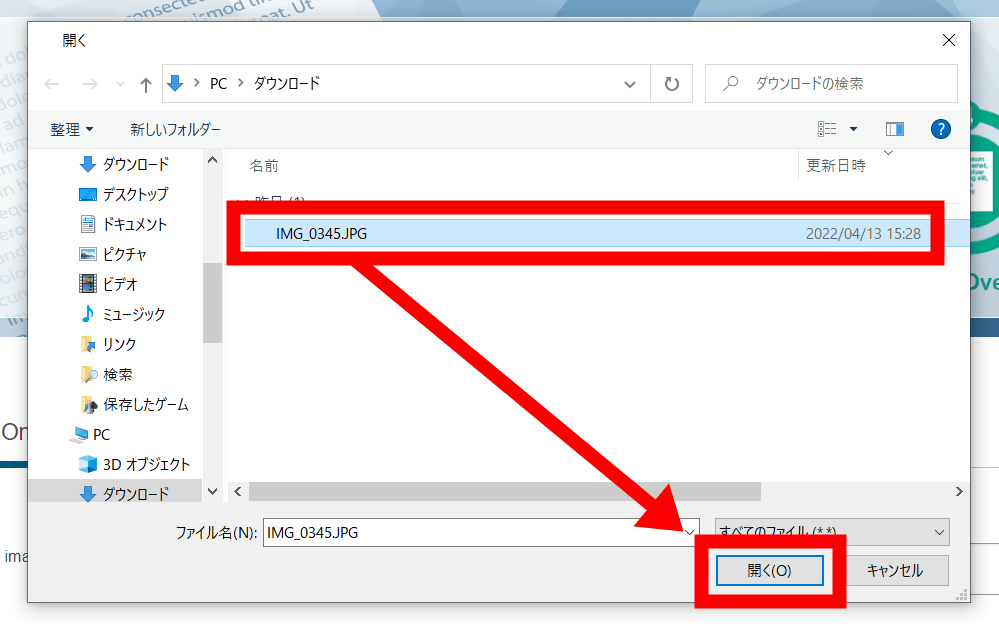
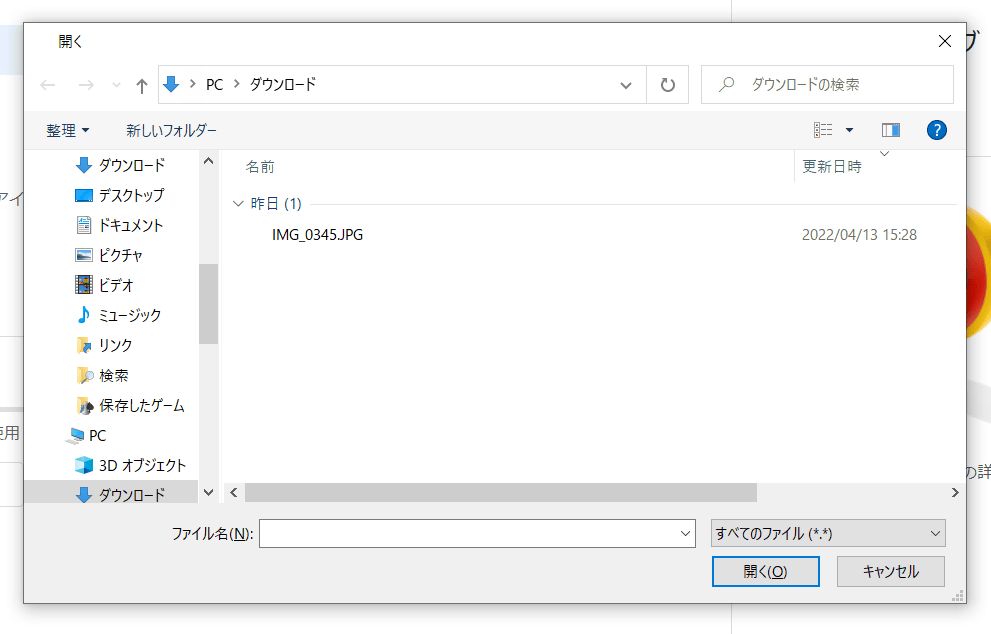
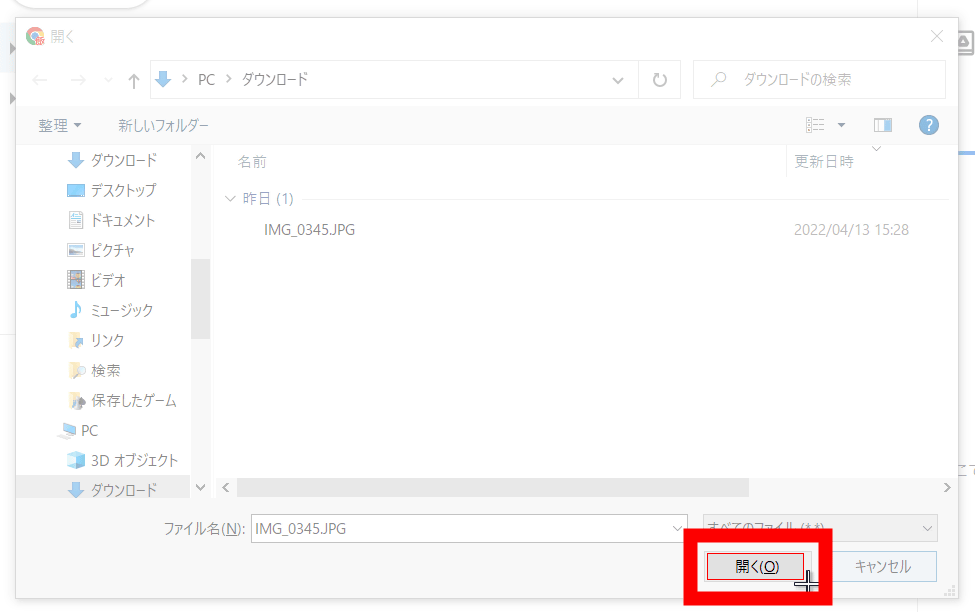
Select the target file and click 'Open'.
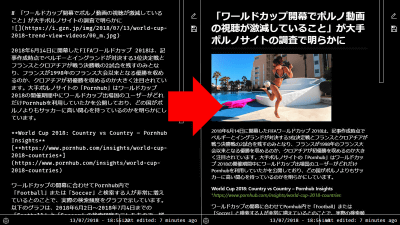
Click 'START OCR!' To execute OCR.

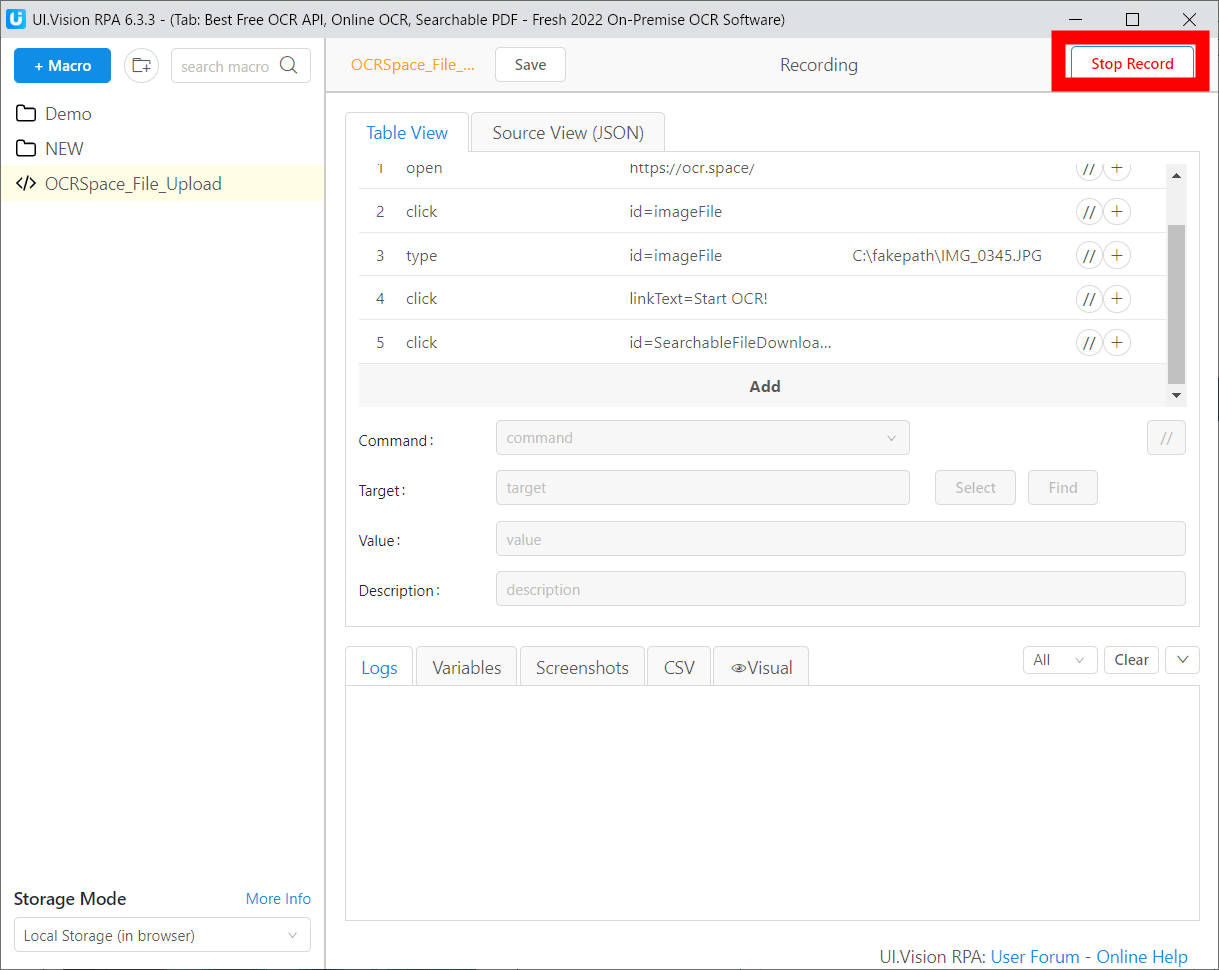
Now that UI.Vision has been made to remember the action of 'uploading a file to OCR Space and executing OCR', click 'Stop Record' at the top right of the UI.Vision window to end recording.
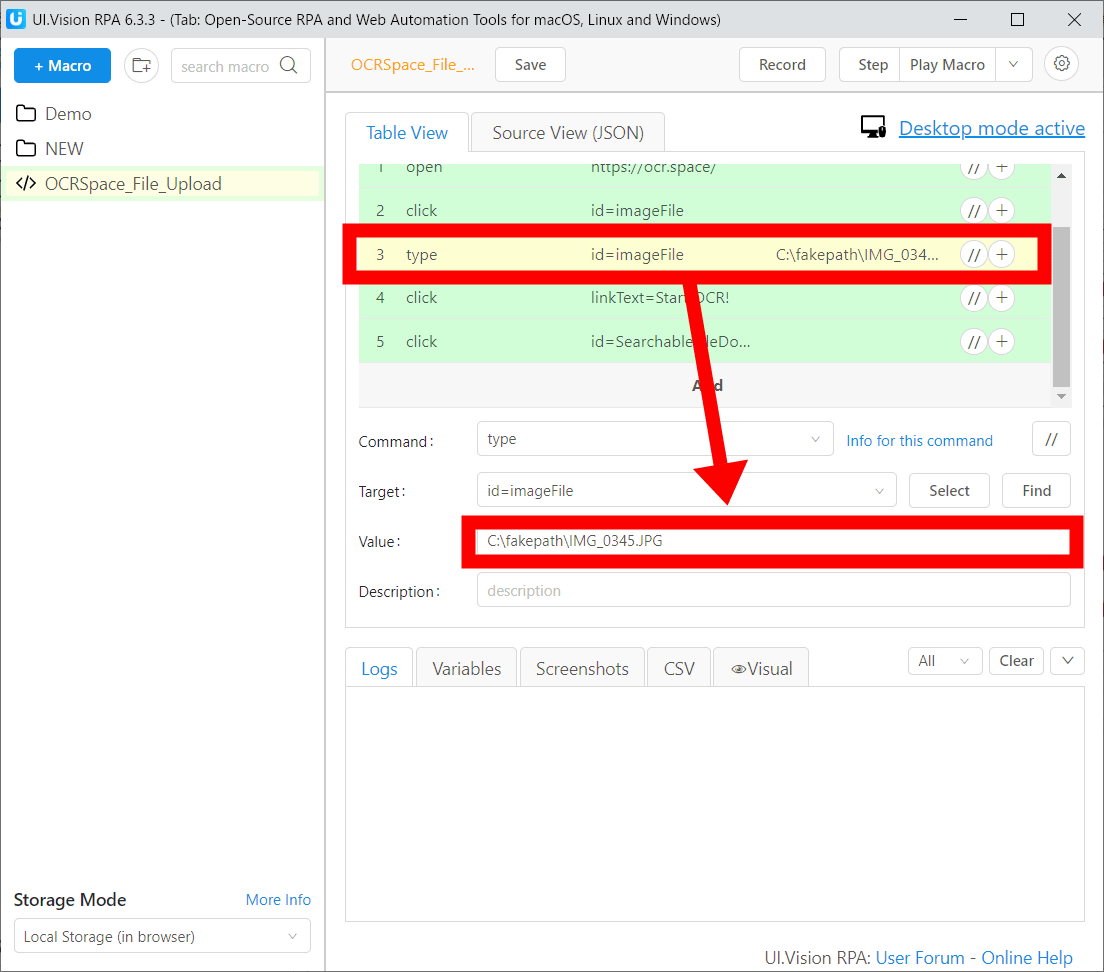
However, before testing whether the 'upload file' operation actually works, 'C: \ fakepath \', such as 'C: \ fakepath \ hogehoge.jpg', the path of the file to upload. You need to change the fact that the full path is listed. In the case of Chrome, the cause is that it does not return the full path due to security issues. To fix it, select the line where 'C: \ fakepath \' is recorded on the window side of UI.Vision, and change the value of 'Value' to the correct path by yourself.
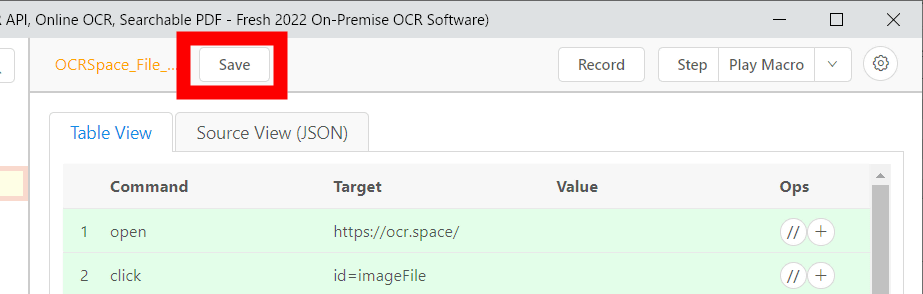
After making corrections, click 'Save' to save it securely.
Now when you execute 'Play Macro', the operation 'Upload the file to OCR Space and execute OCR' will be performed automatically.
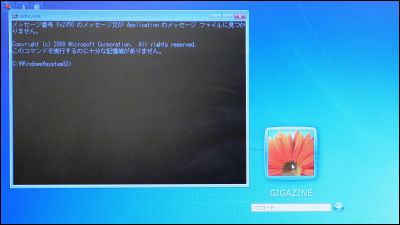
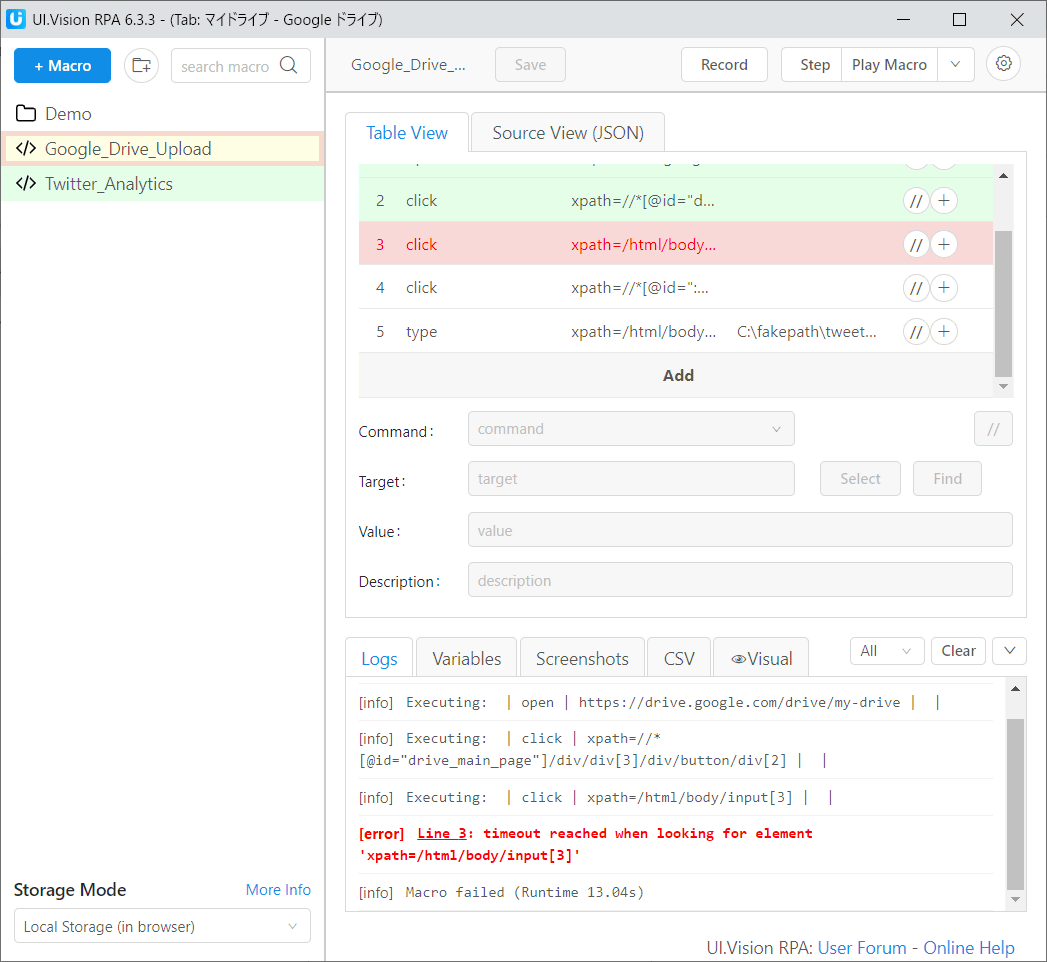
On the other hand, this time I will experiment with the method of automating with 'Google Drive' where automatic recording with macros tends to fail. Even if I open the page of Google Drive and upload the CSV file as a macro, I get an error when I execute it with UI.Vision. Strictly speaking, UI.Vision specifies each HTML element and records where to click, but if the element name changes each time you access it, or the element name is automatically specified. If not, recording will fail. Also, since it is limited to 'operations in the browser', the operation of the OS itself is not recorded like 'click here in the Windows dialog opened when saving' or 'use the shortcut key'. Hmm.
However, UI.Vision has an auxiliary tool called 'Real User Simulation X Module' that can completely record and reproduce including keyboard input and mouse operation on the OS side, so I will actually install and use it.
XType --Real User Keyboard Event Simulation, Sendkeys
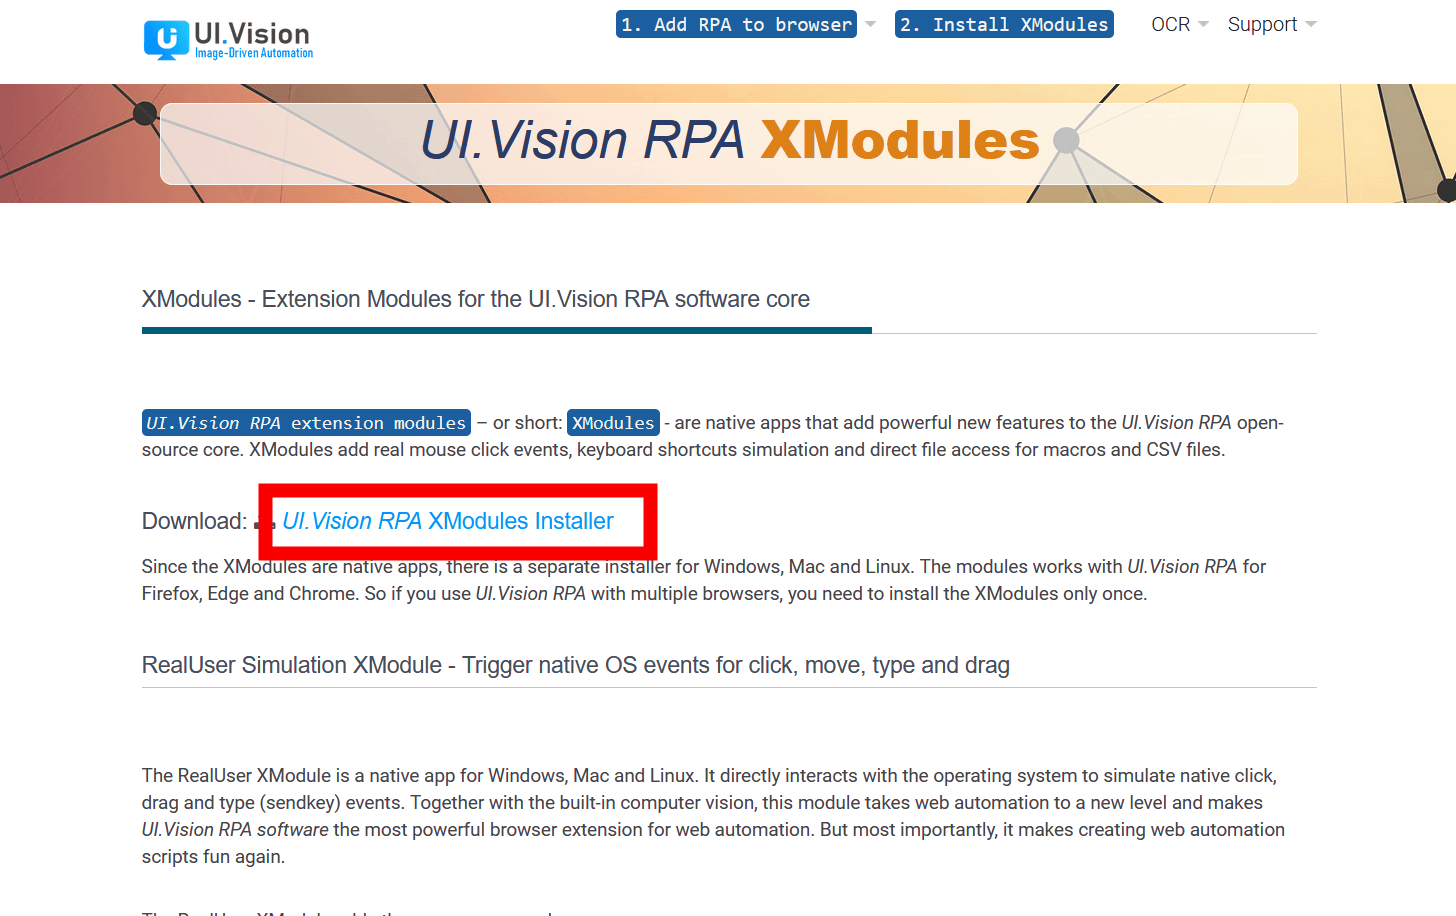
First, access the above page and click 'UI.Vision RPA X Modules Installer'.
This time I will use the Windows version, so click 'Download for Windows'.

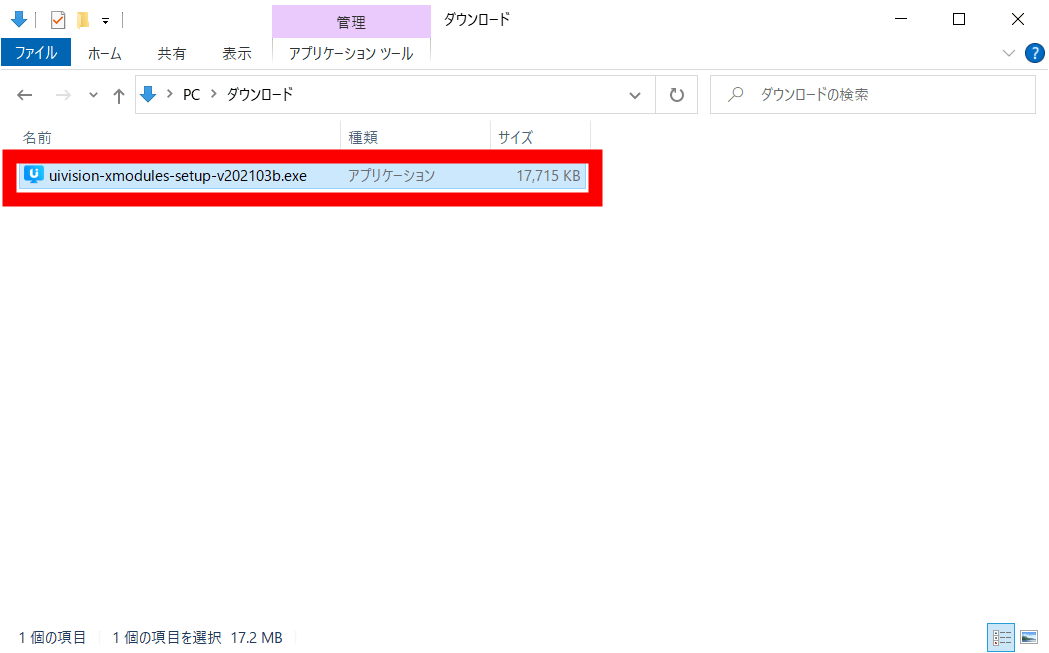
Launch the downloaded installer
Select 'I accept the agreement' and click 'Next'

Click 'Next'
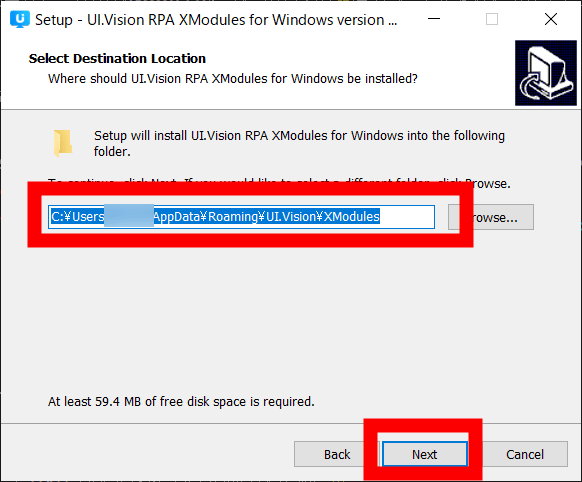
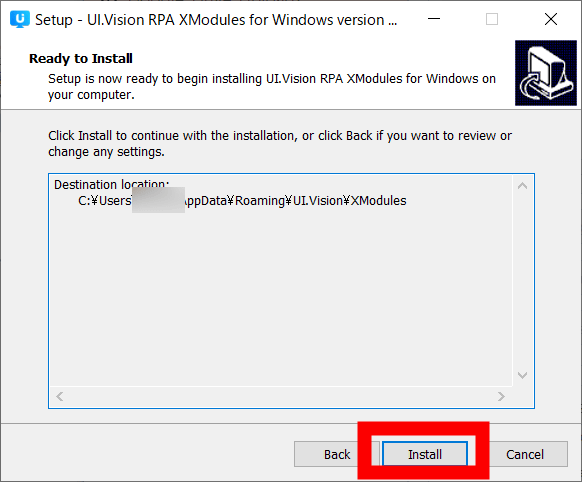
Click 'Install' to complete the installation automatically.
Now I can use the function 'Reproduce keyboard input and mouse operation on the OS side', but when I enter the mode to use this function, I can not record the type of operation recorded by 'Record', so Use 'Record' to record the range until the problem occurs in advance. First, create a new macro.
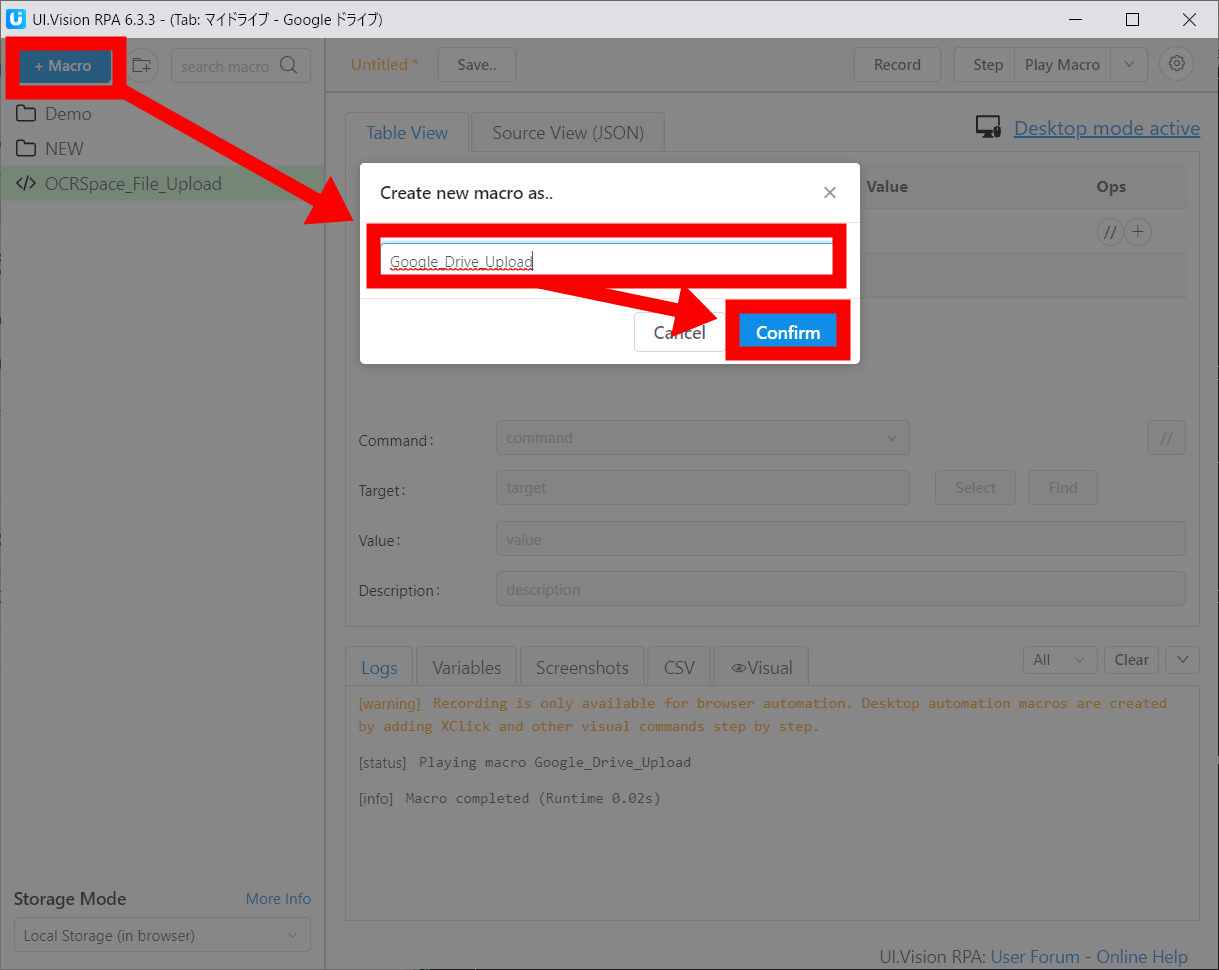
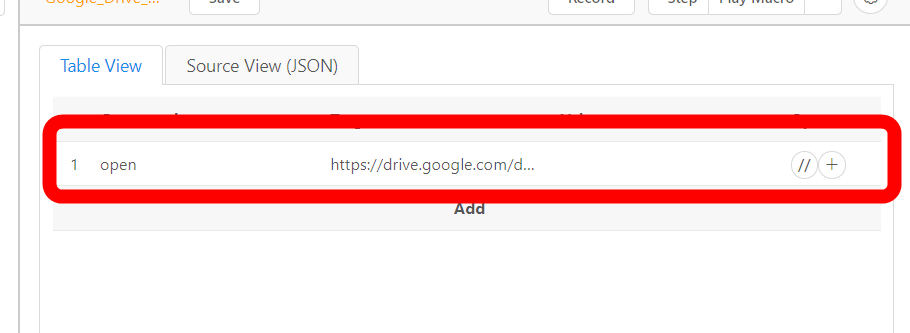
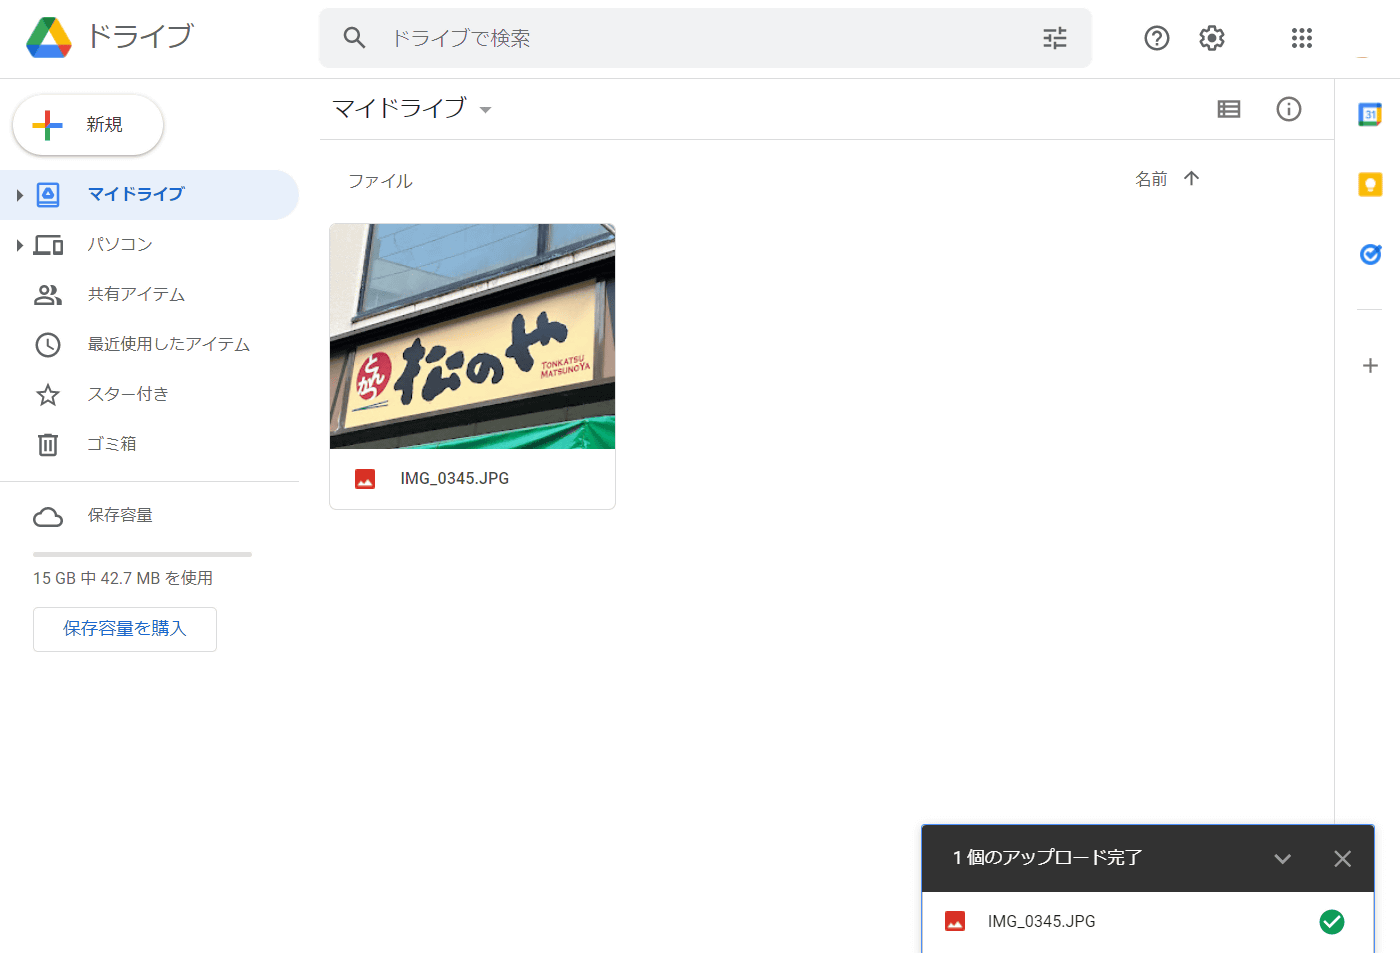
This time, you can do 'Open Google Drive' with 'Record', so open the Google Drive page, 'Record', and immediately stop with 'Stop Record'. Then, the operation 'Open the page of Google Drive' was recorded in UI.Vision.
Next, click the gear icon in the upper right of the UI.Vision window to put UI.Vision in a mode that reproduces keyboard input and mouse operations on the OS side.

Open the tab called 'Vision' and check 'Desktop Automation'. UI.Vision has now entered the mode that reproduces the keyboard input and mouse operation on the OS side from the mode that reproduces the operation of the browser.

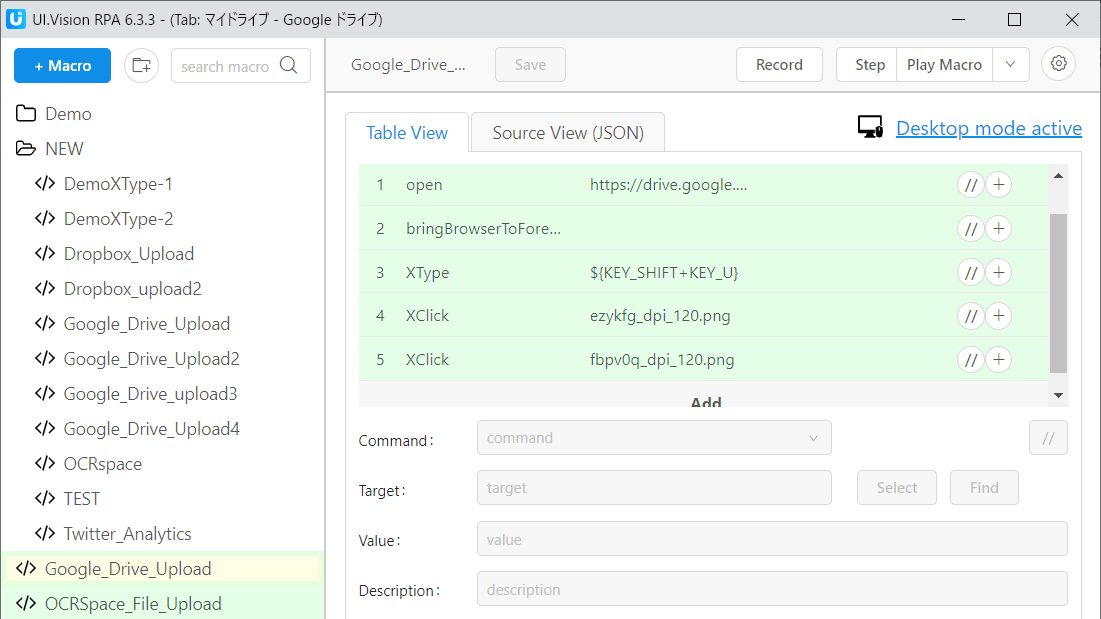
In this mode, you cannot record using 'Record', and you have to enter commands for each operation yourself. This time, the operation of 'uploading a file' is automated by the following procedure.
1) Bring the window that opened the Google Drive page to the front
2) Enter the keyboard shortcut 'SHIFT + U' to call the file selection dialog.
3) Click the file you want to upload
4) Click 'Open' to perform the upload
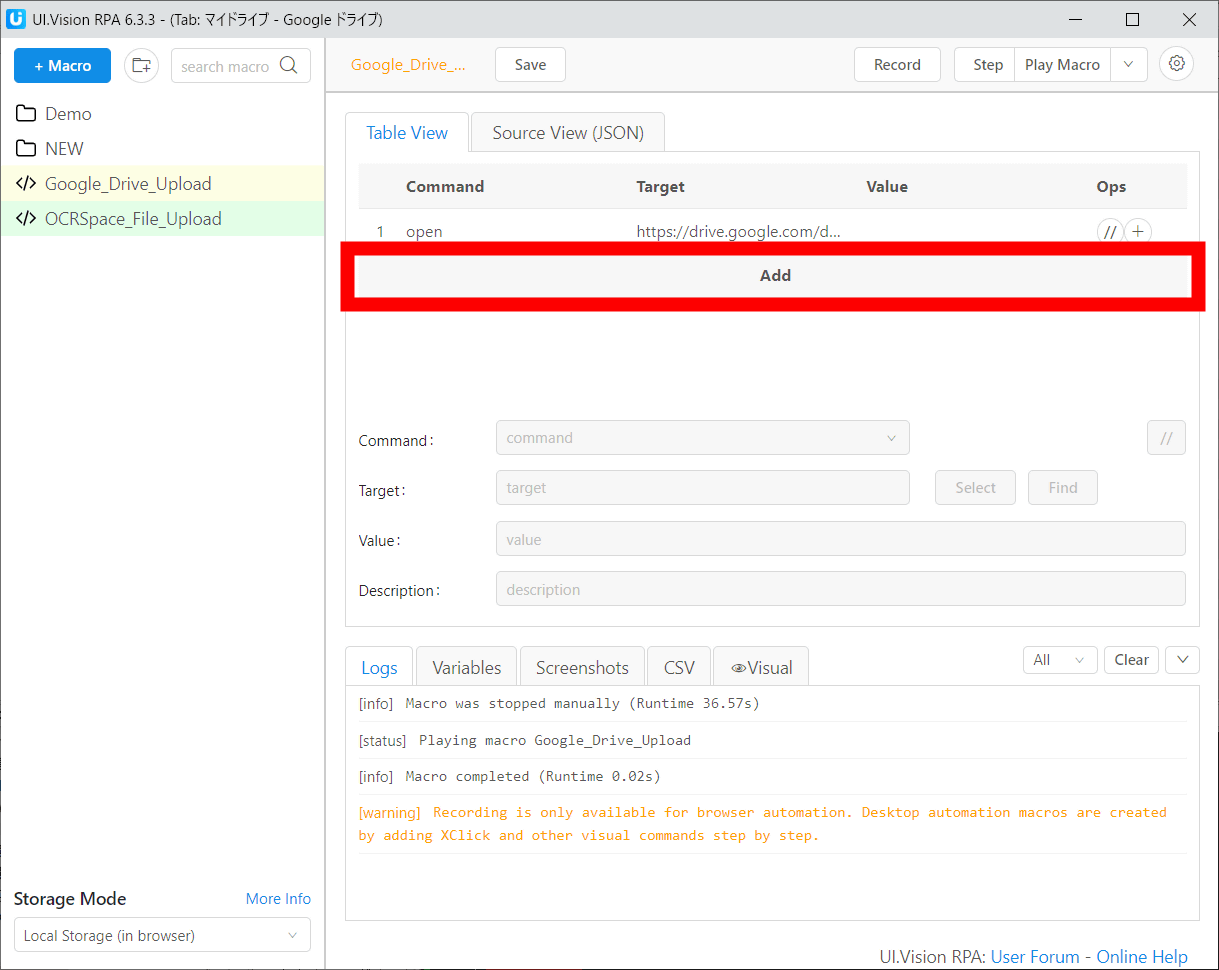
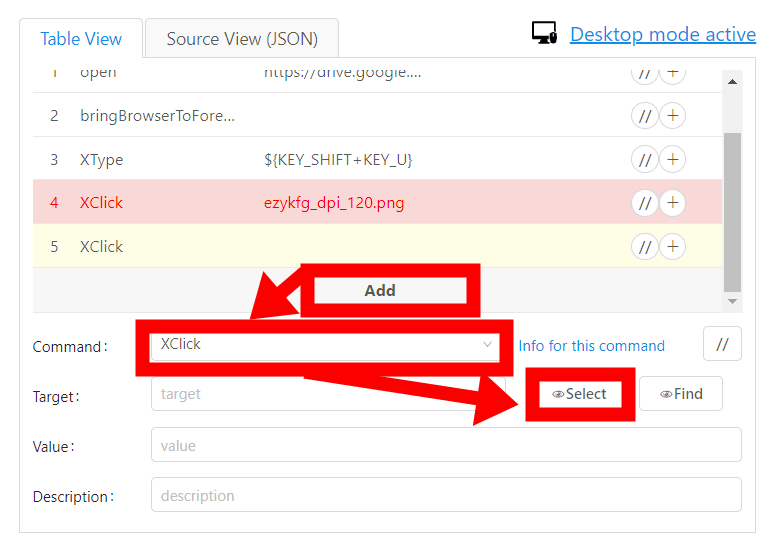
So, it's time to put it into practice. Click 'Add' to register a new command.
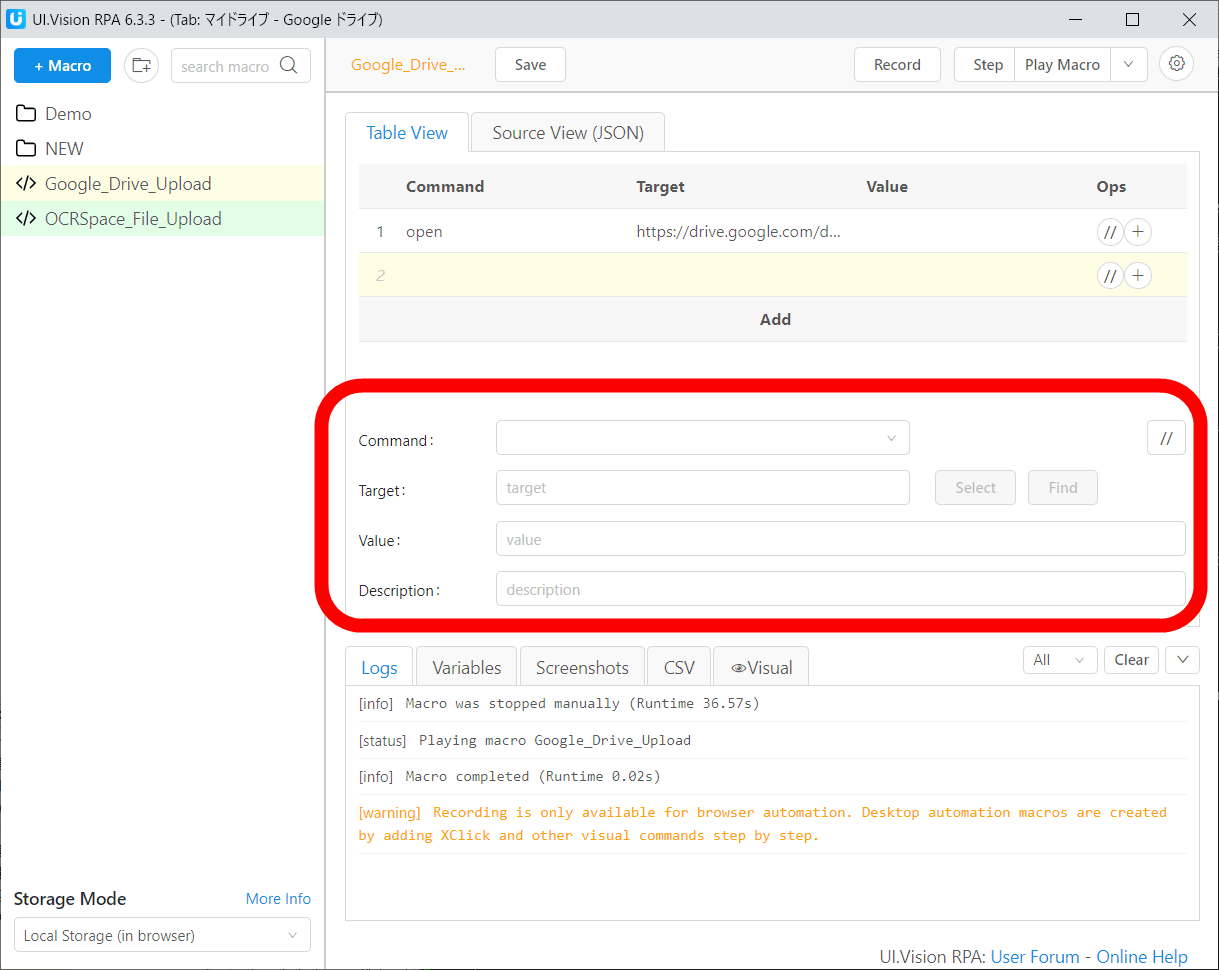
Enter the content of the new command in the following part.
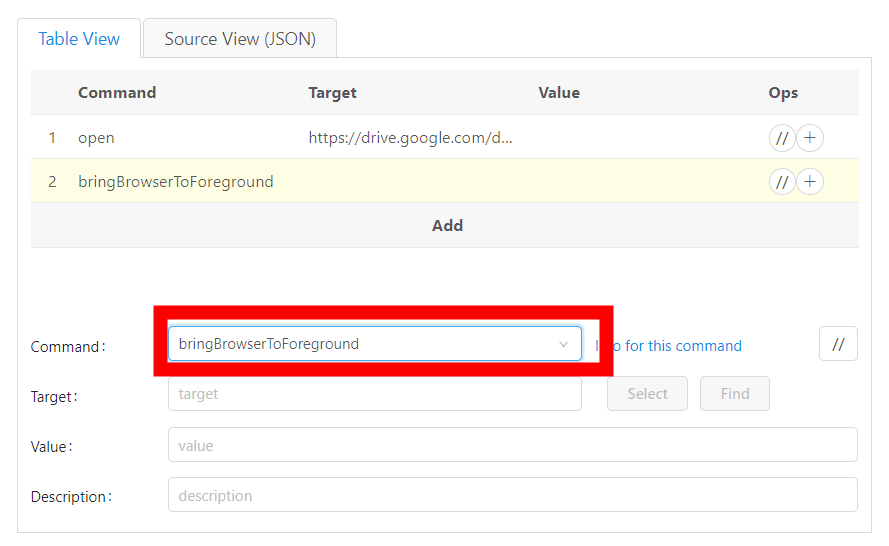
First, enter 'bringBrowserToForeground' in the 'Command' field to execute '1) Bring the window that opened the Google Drive page to the front'.
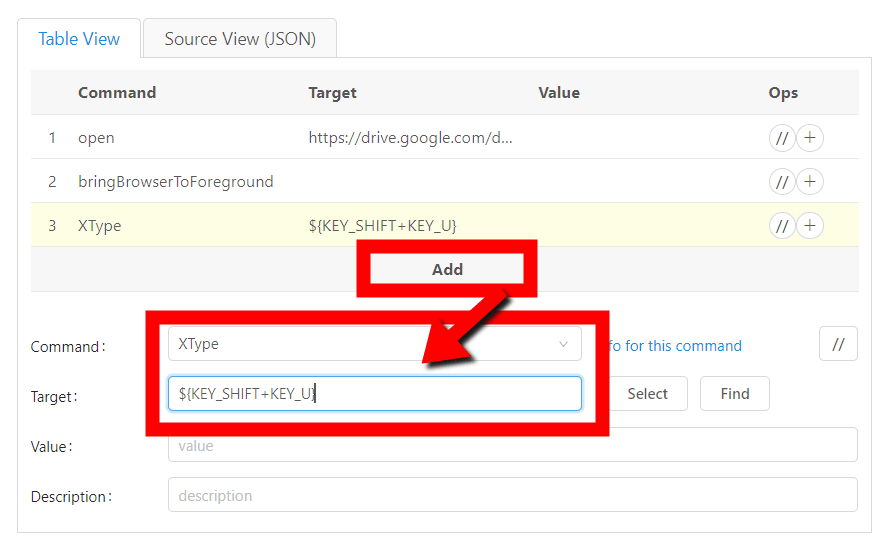
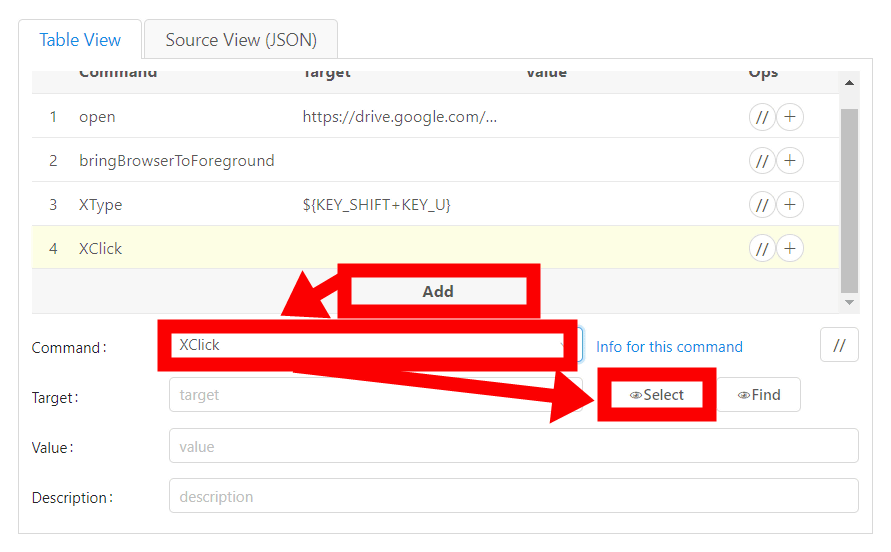
Next, use the commands 'XType' that reproduces the keyboard input on the OS side and 'XClick' that reproduces the mouse operation. Click 'Add' to create a new command, and execute '2) Enter the keyboard shortcut' SHIFT + U 'to call the file selection dialog' by pressing 'XType' for Command and 'SHIFT + U' for Target. Enter '$ {KEY_SHIFT + KEY_U}' to execute the operation.
Next, we will use 'XClick' to reproduce the mouse operation on the OS side, but first preparation is required. In the window on the Google Drive side, call the file selection dialog manually.
Return to the UI.Vision window again, enter 'XClick' in Command from 'Add', and click 'Select' on the right side of the blank in Target.
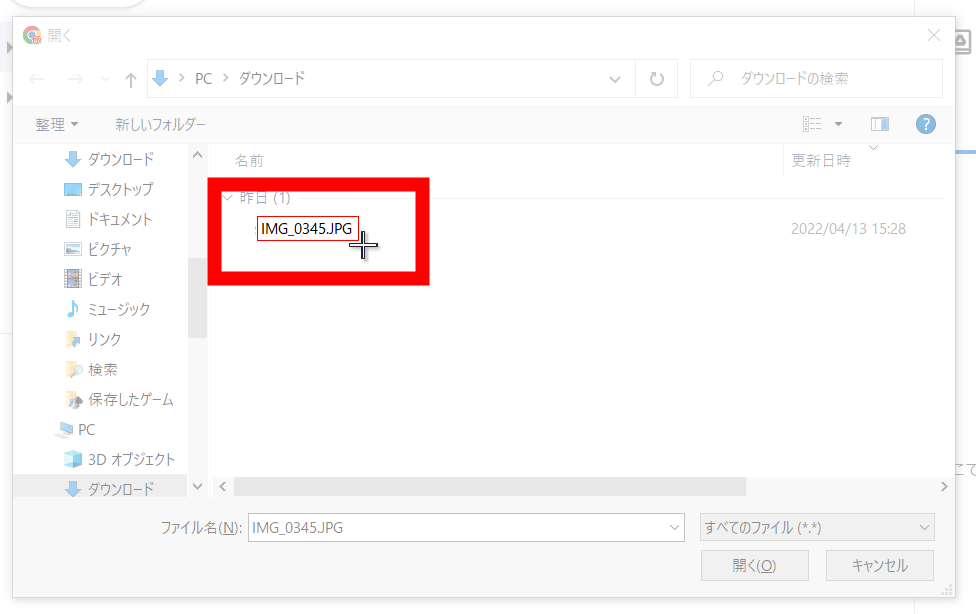
Then, you will enter the 'range specification mode' of XClick. This state is the mode to capture the selected range, and XClick performs the operation of 'clicking the part that matches the captured image' when executing the macro. This time I want to click the file to upload, so specify the range by dragging and dropping the corresponding part.
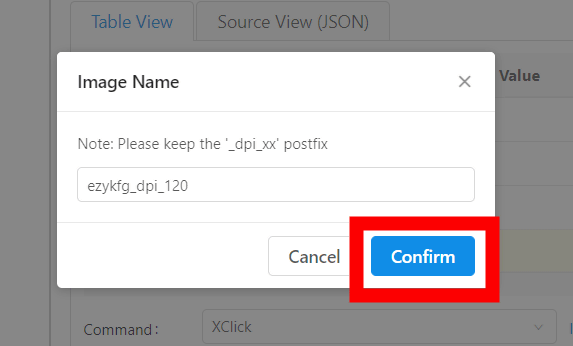
After selecting the range, the following pop-up will appear in the UI.Vision window, so select 'Confirm'. Now you can register the operation 'Click the file you want to upload in the file selection dialog'.
It also reminds you to click 'Open' in exactly the same way. Enter 'XClick' in Command from 'Add' and click 'Select'.
Since you will enter the range selection mode, specify the range of 'Open' by dragging and dropping. This completes.
I was able to confirm that it works well when the completed macro is operated with 'Play Macro'.
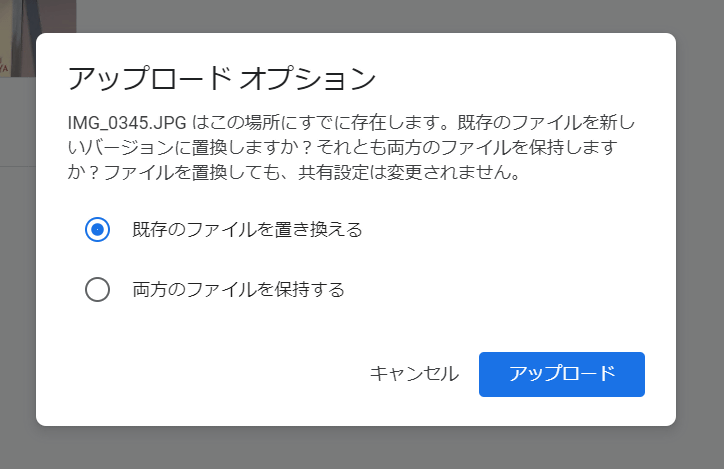
In addition, since this macro is an operation of uploading a specific file, if you run it multiple times, as shown below, 'Since a file with the same file name already exists, please select whether to replace the existing file or keep both files. Will appear. Please note that there are cases where macros 'behave differently when moved multiple times' like this. This case can be overcome by using XClick to select either option.
Related Posts: