A new type of small printer `` RICOH Handy Printer '' review that can be moved by hand and printed directly anywhere
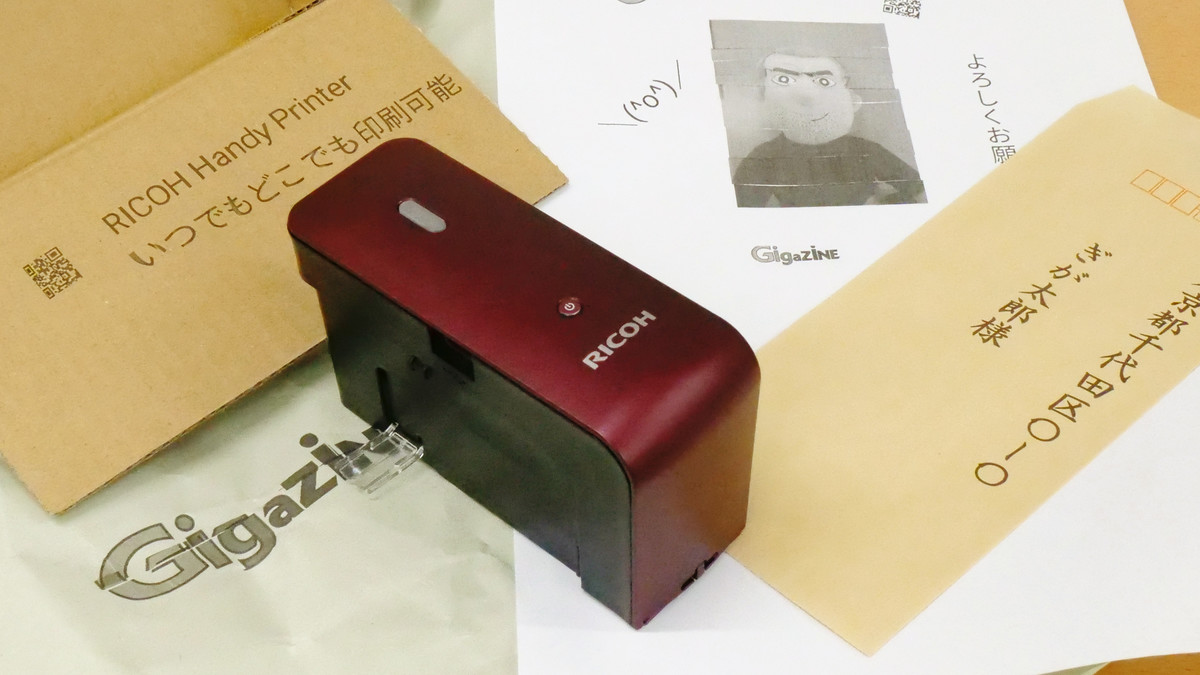
A new palm-sized printer, the RICOH Handy Printer, has arrived from Ricoh, a manufacturer of copiers and printers, on April 17, 2019. It is a revolutionary printer that can print on envelopes, corrugated board, cloth products, etc. which could not be printed without a special printer until now because it is moved directly by hand instead of a machine and printing. I got the real thing, so I tried using it to see what kind of printer it was.
RICOH Handy Printer / Handy Printer | Ricoh
You can see how revolutionary the RICOH Handy Printer is in one shot by watching the following movie.
Introduction video for RICOH Handy Printer-YouTube
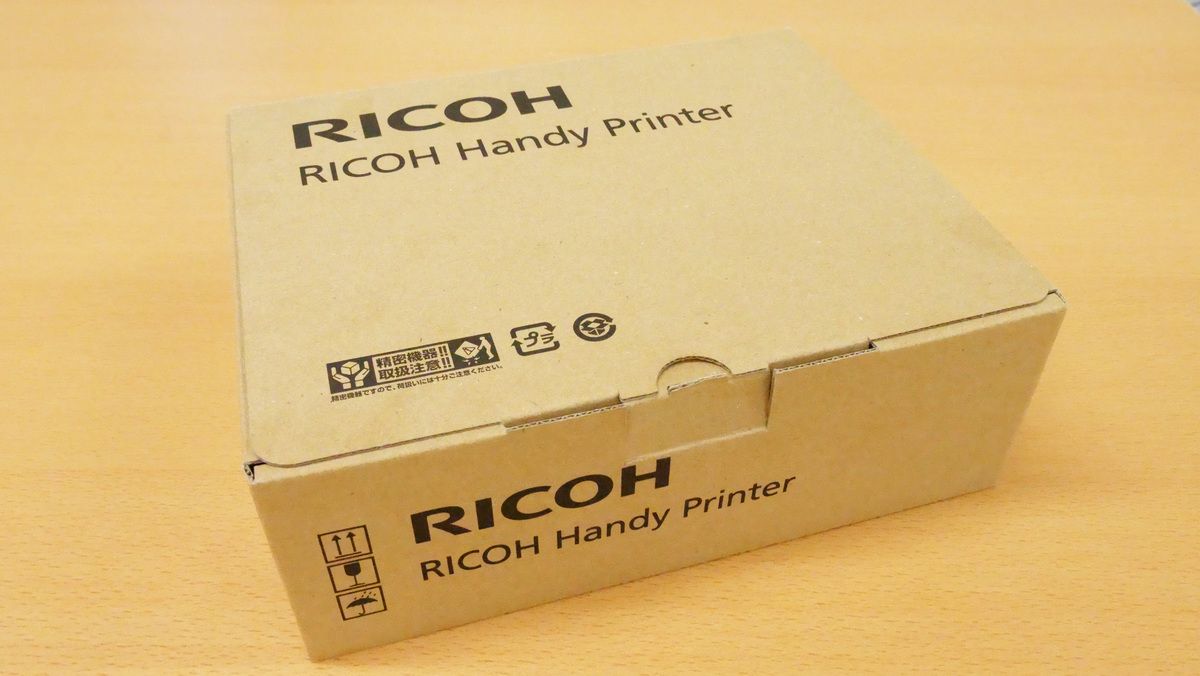
The outer box of the RICOH Handy Printer looks like this, and there is no product picture or description that is usually drawn on the package normally, it is very simple. Since the development of the RICOH Handy Printer began with a view to business use, the concept remains in the design of the outer box.
The contents are 'Easy setup' and 'Safety precautions', RICOH Handy Printer body and printer ink cartridge.
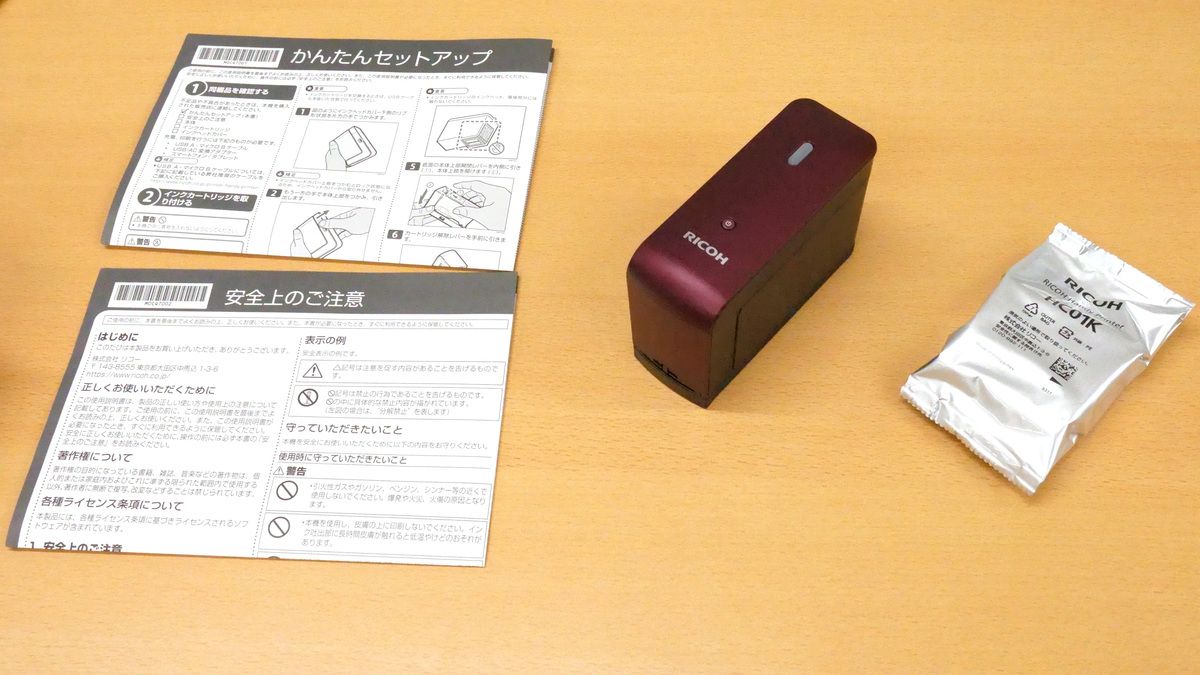
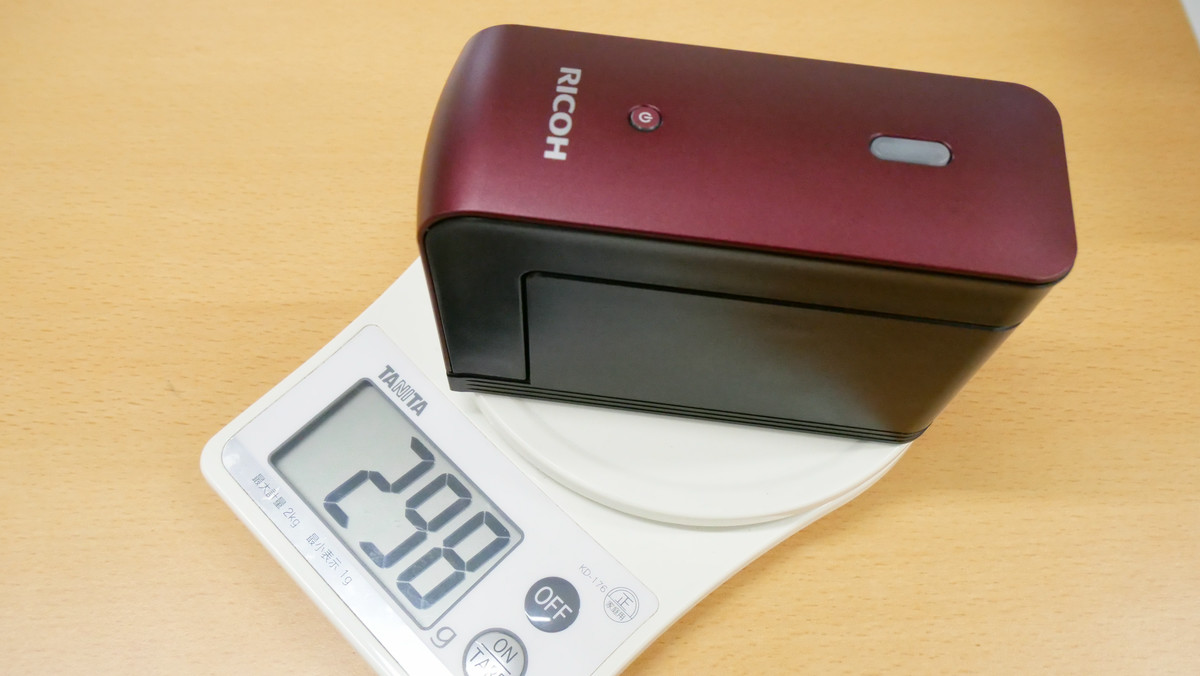
The RICOH Handy Printer is available in three colors, white, black, and red, and the one I got this time is red.

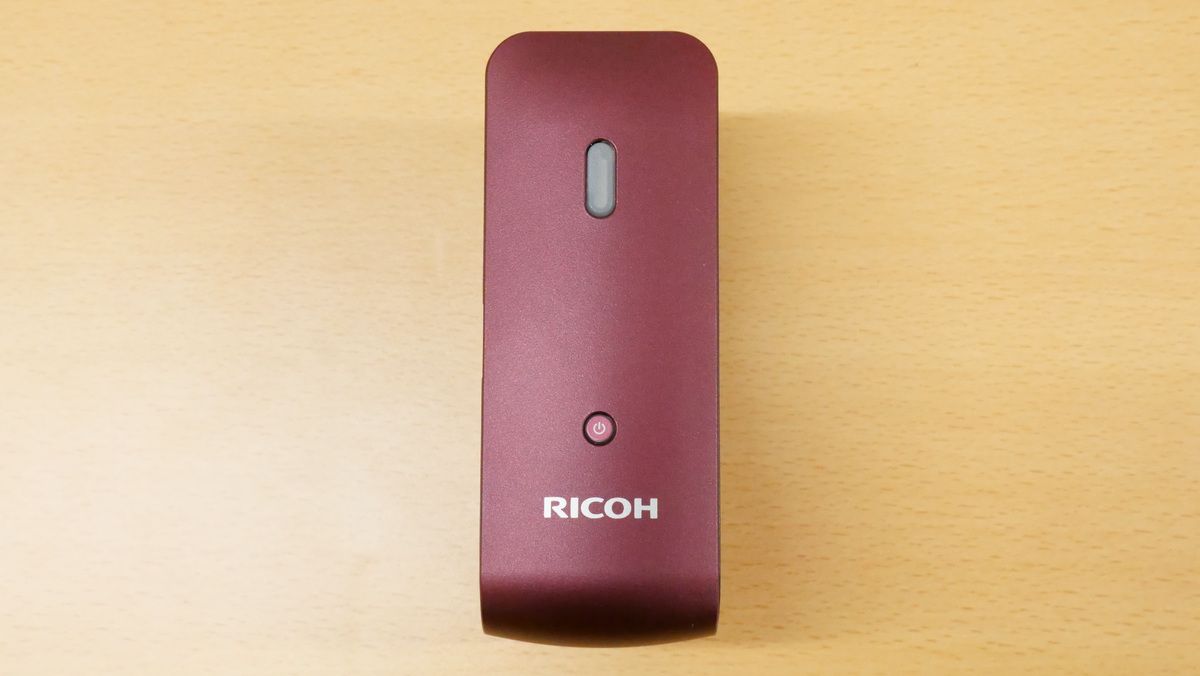
Print button and power button on the top.
There was a strap hole on the back.
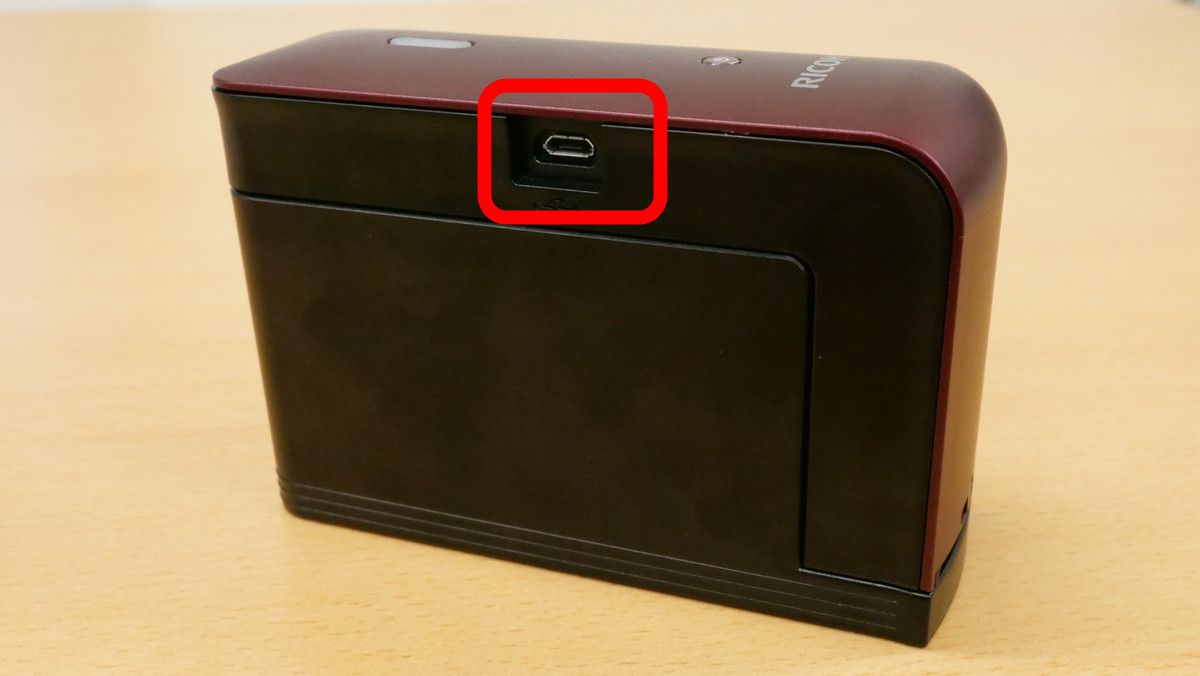
On the left side, there was a Micro-USB terminal. The RICOH Handy Printer has a built-in battery and can be charged with a Micro-USB cable. However, the charging cable is not included, so you must prepare it yourself.
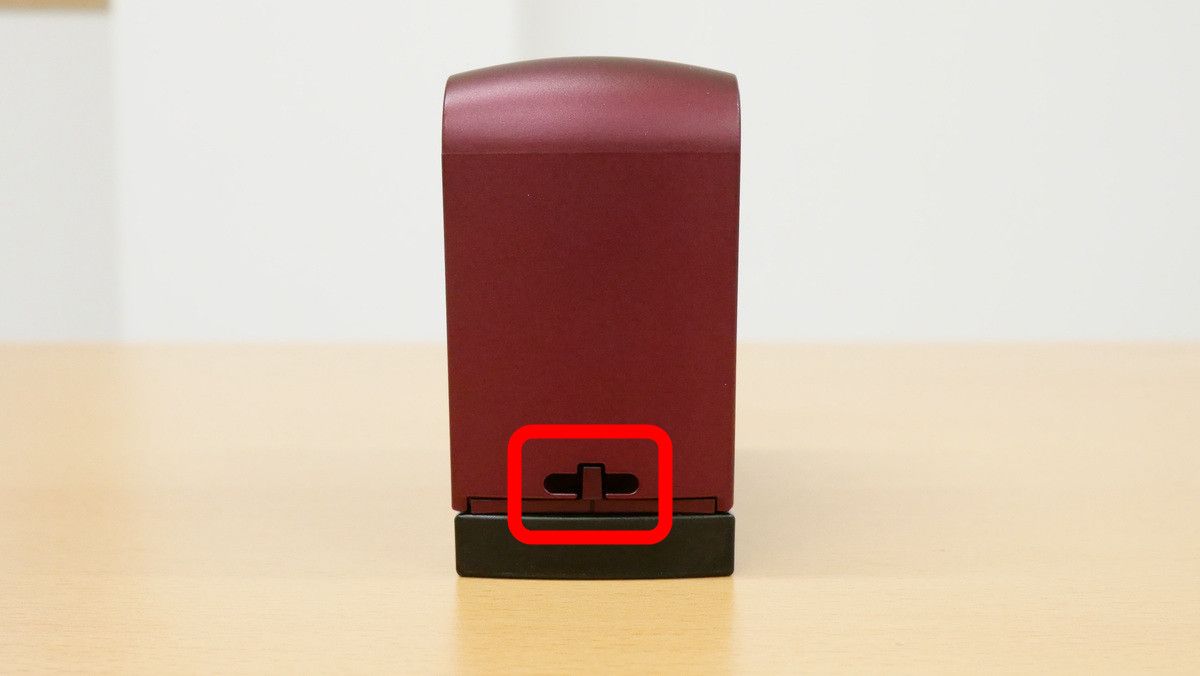
There was a slider / roller switching lever on the bottom.
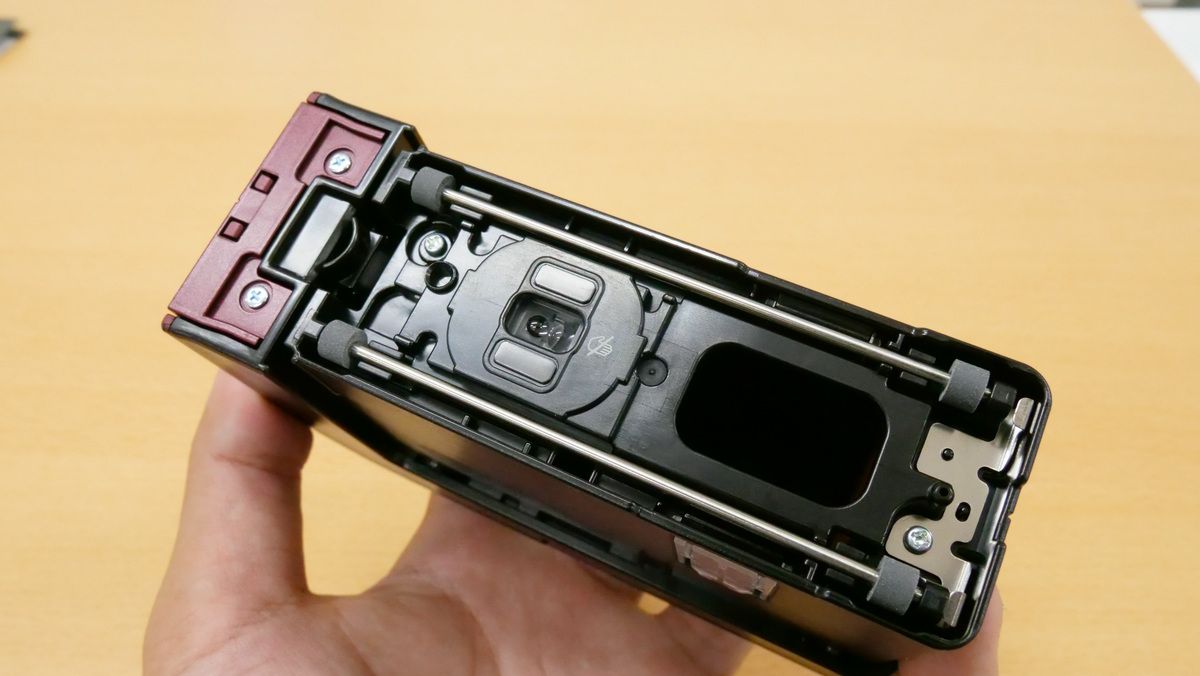
The bottom is a cover that can be removed as follows.
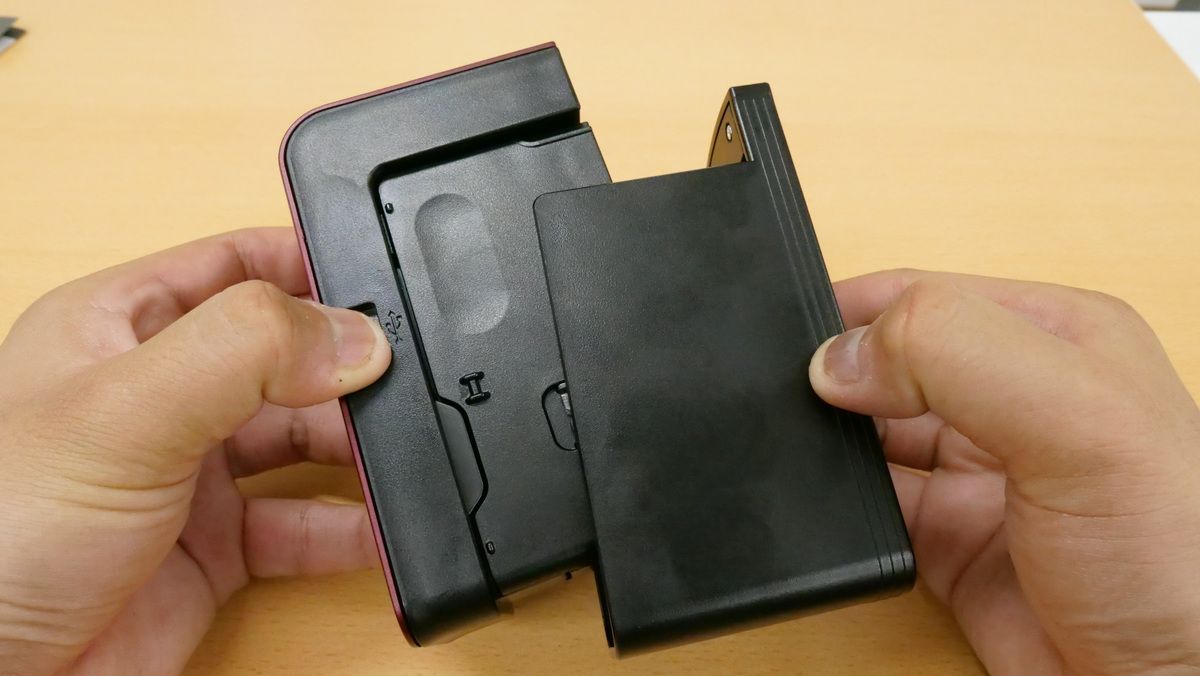
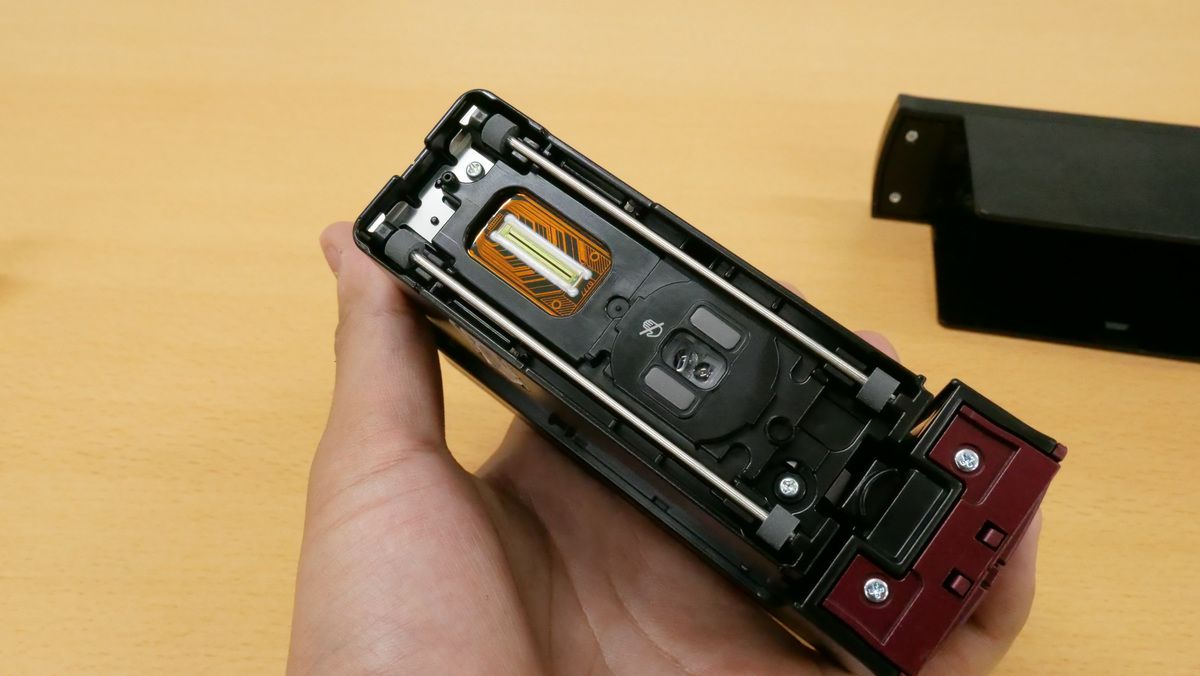
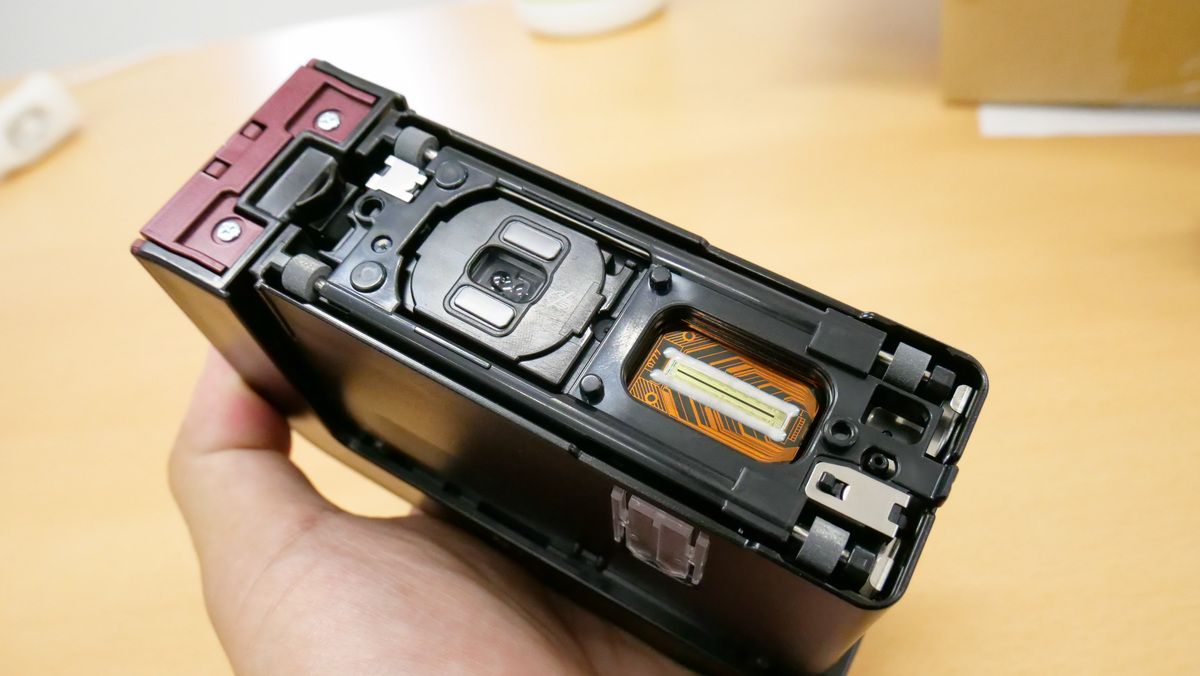
Looking at the bottom of the printer body, I found an optical sensor like an optical mouse. You can also see that the rollers are attached so that you can move the printer straight.
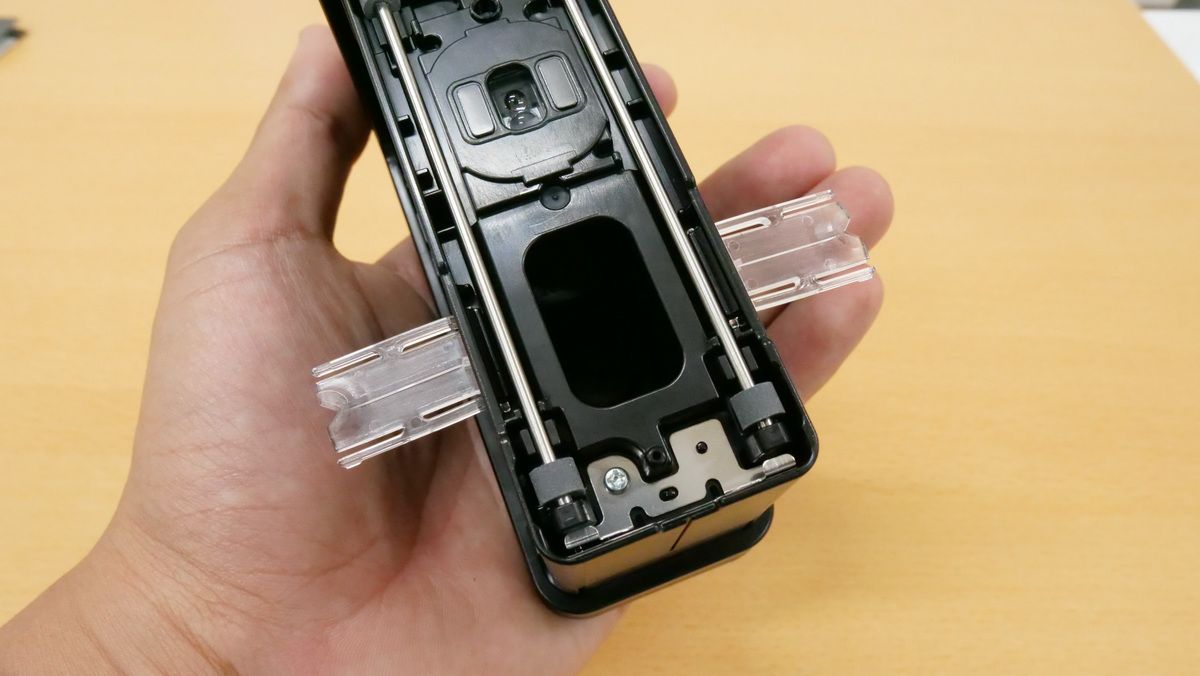
Folding printing guides are included on both sides. It is made of transparent plastic to serve as a guide for printing.
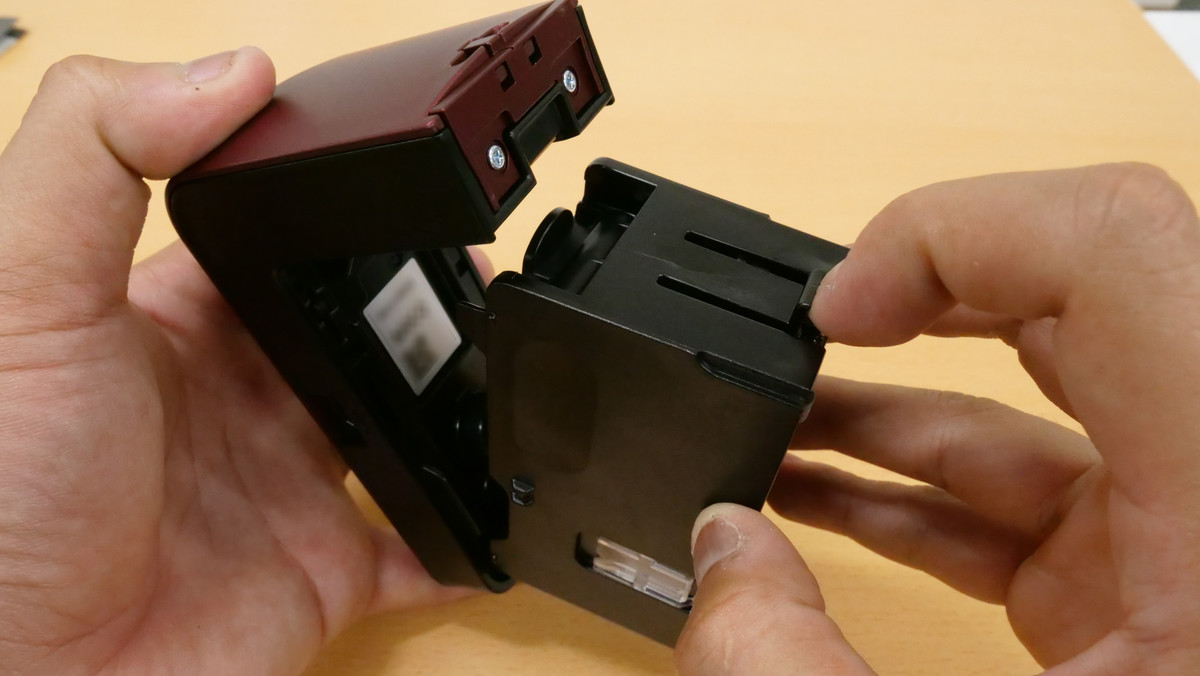
Open the ink cartridge while pressing the tab on the bottom of the back, and insert the ink cartridge.
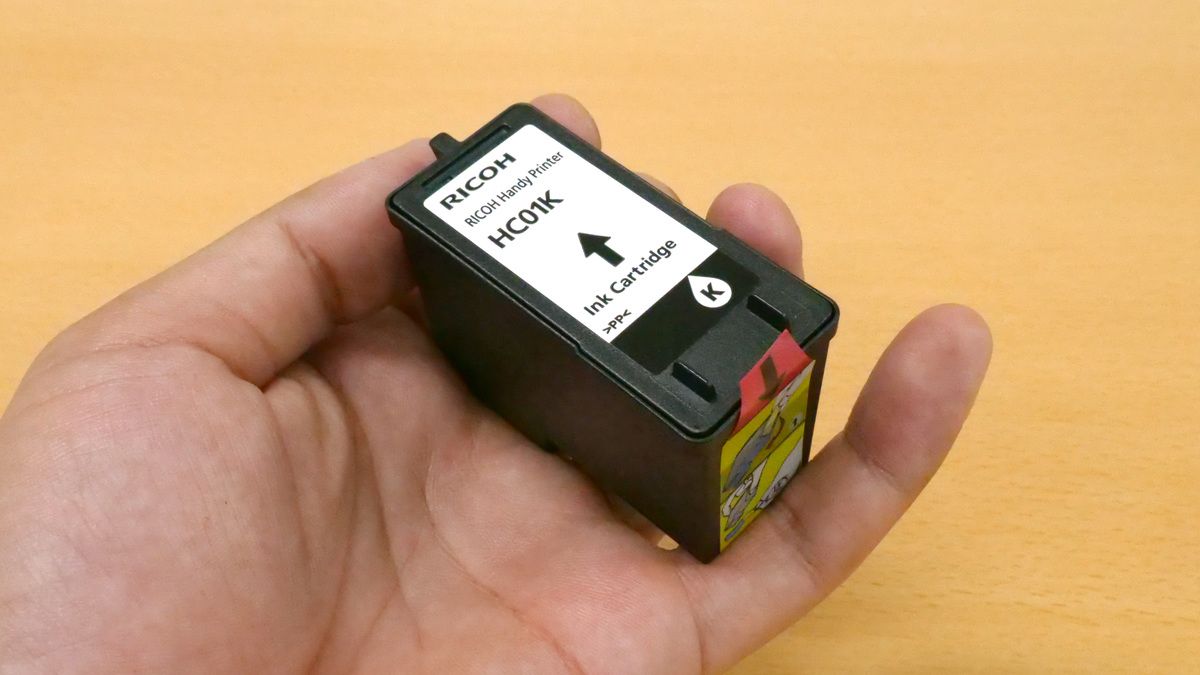
The cartridge for the RICOH Handy Printer looks like this.
Peel off the film ...
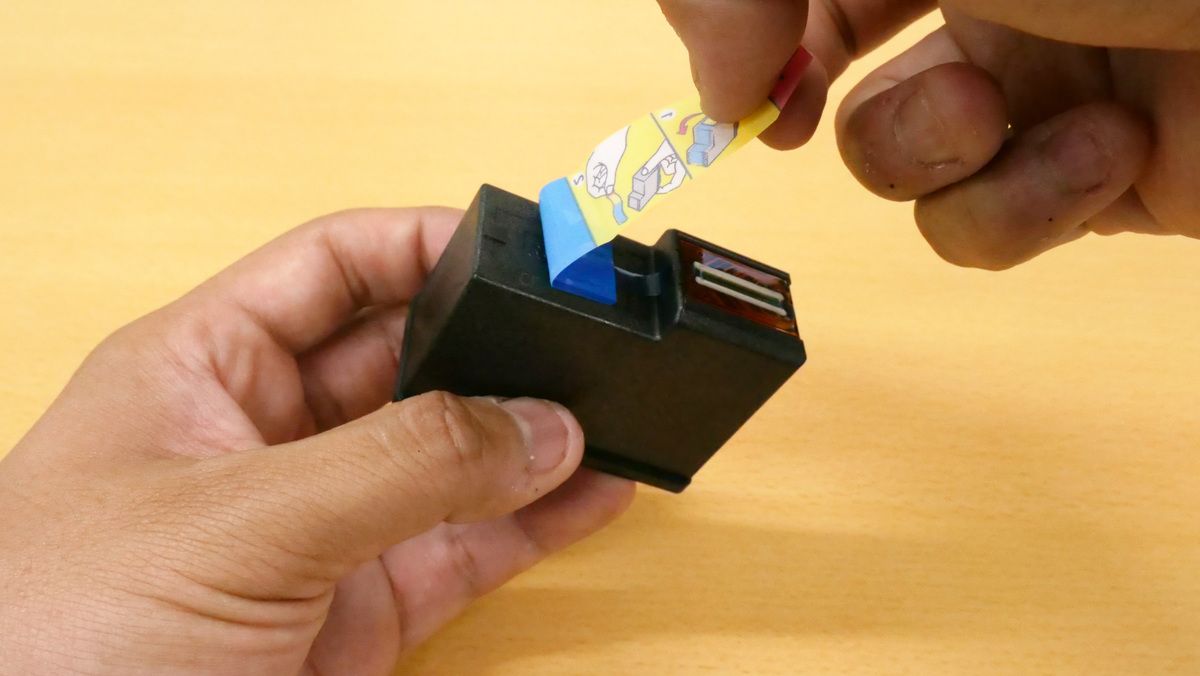
Insert into the body.
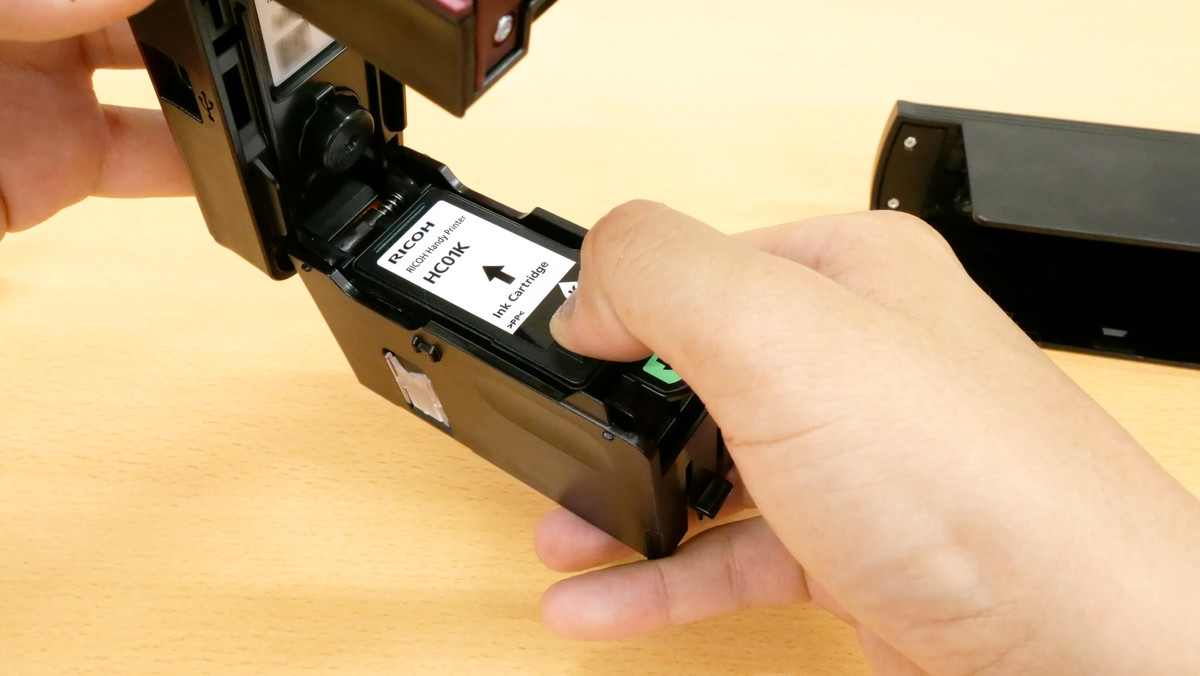
OK if you can see the print head of the cartridge through the hole on the bottom of the main unit.
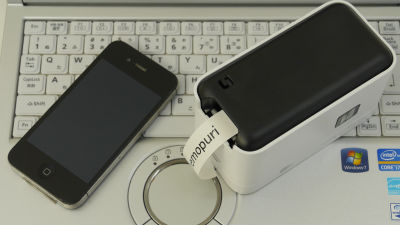
I measured the weight of the main body after inserting the ink cartridge, and it was 298g. It's heavy enough to carry with one hand, so it's easy to carry anywhere.
◆ App installation
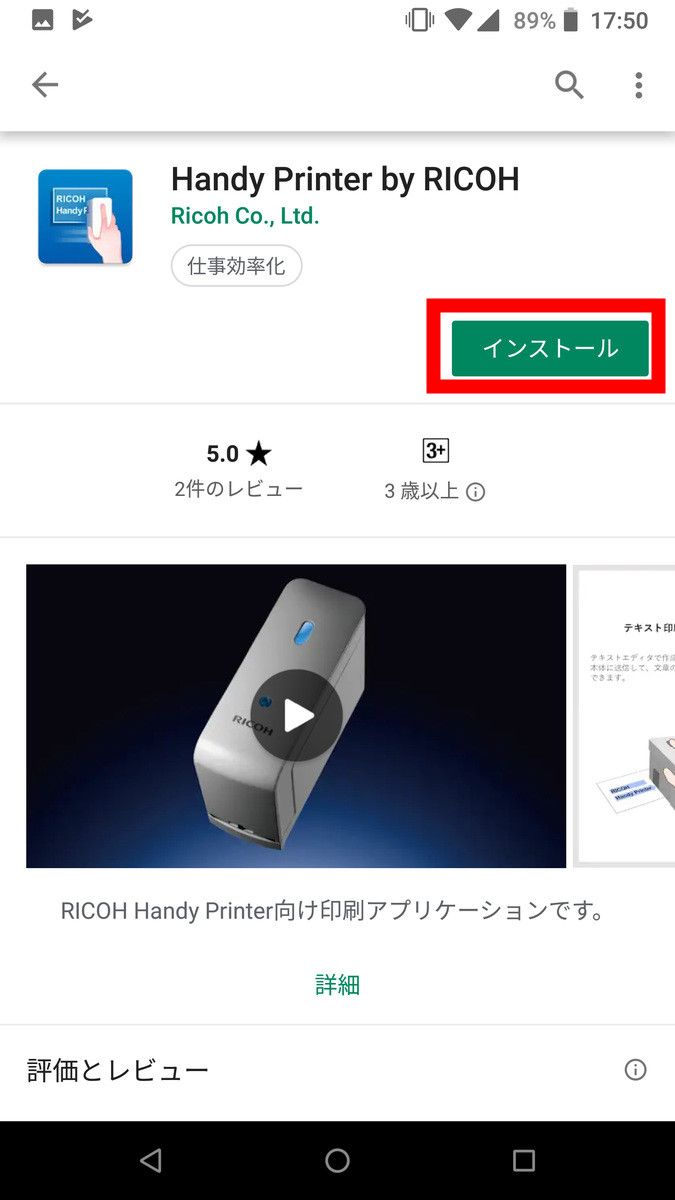
To print with the RICOH Handy Printer, 'Handy Printer by RICOH' must be installed. At the time of article creation, only the Android version has been released. The release of the Windows version is also planned at the end of May, and the release of the iOS version is expected around the summer of 2019.
Handy Printer by RICOH-Apps on Google Play
Tap 'Install' to install 'Handy Printer by RICOH'.
After installation, tap 'Open'.

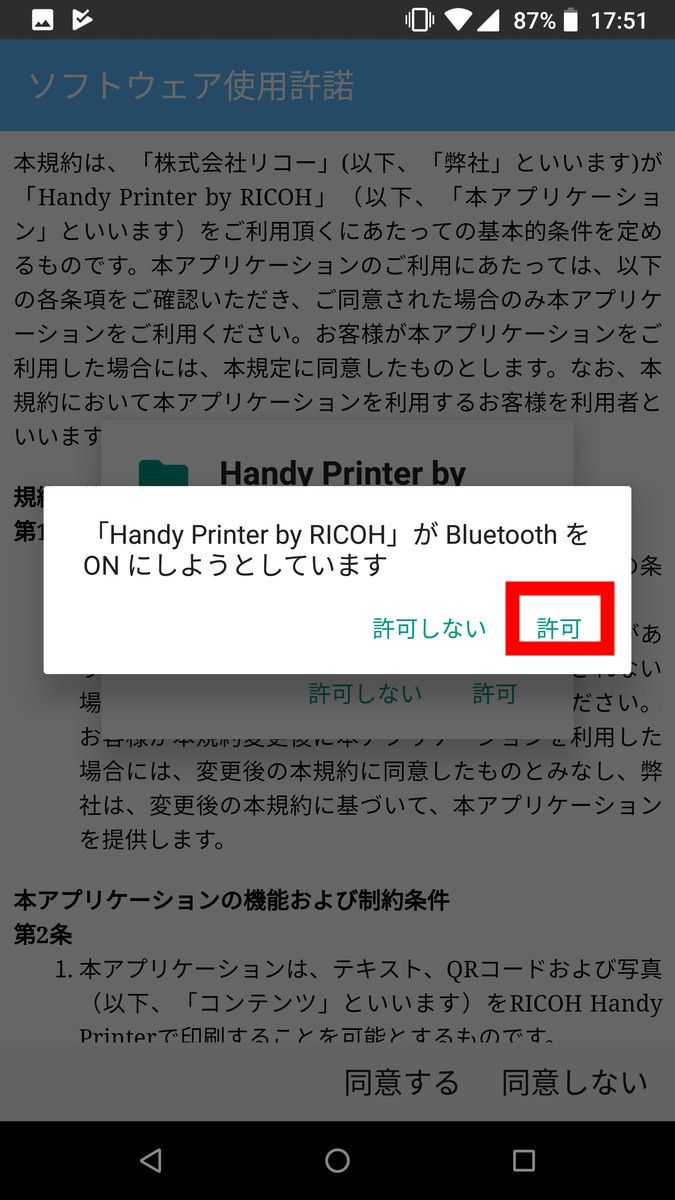
When you open the app, you will be asked if you want to turn on Bluetooth. Since RICOH Handy Printer is used by connecting to a smartphone or PC via Bluetooth, tap 'Allow'.
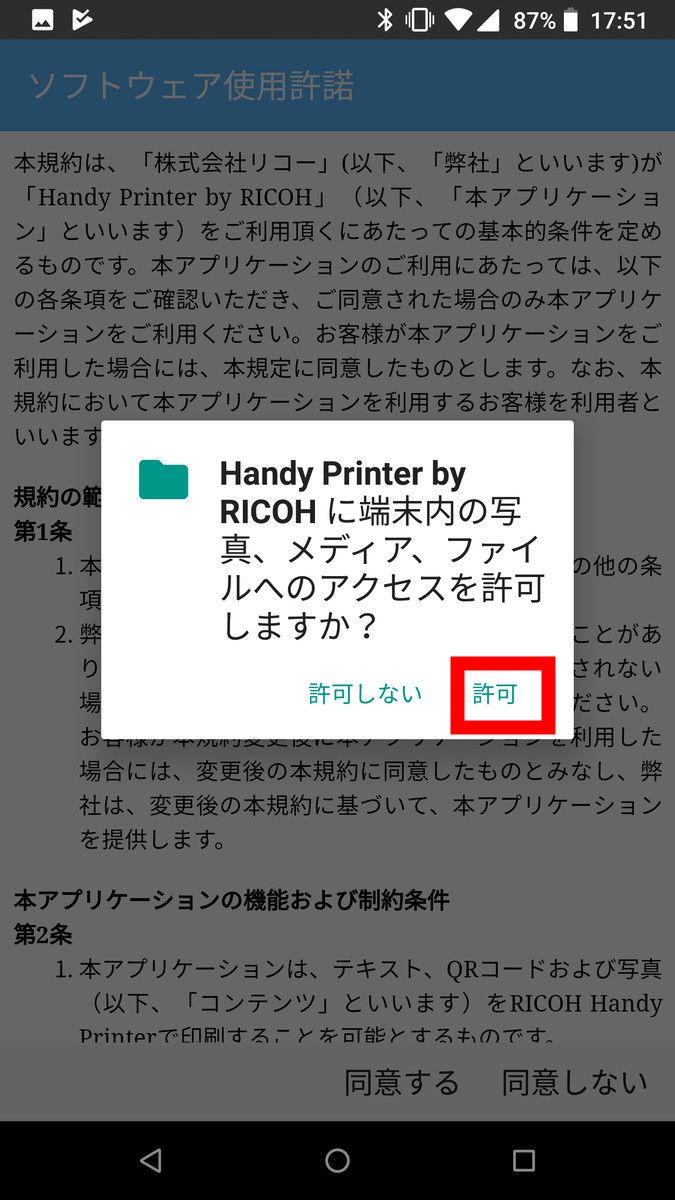
You will be asked to allow access to photos, media, and files on your device, so tap 'Allow'.
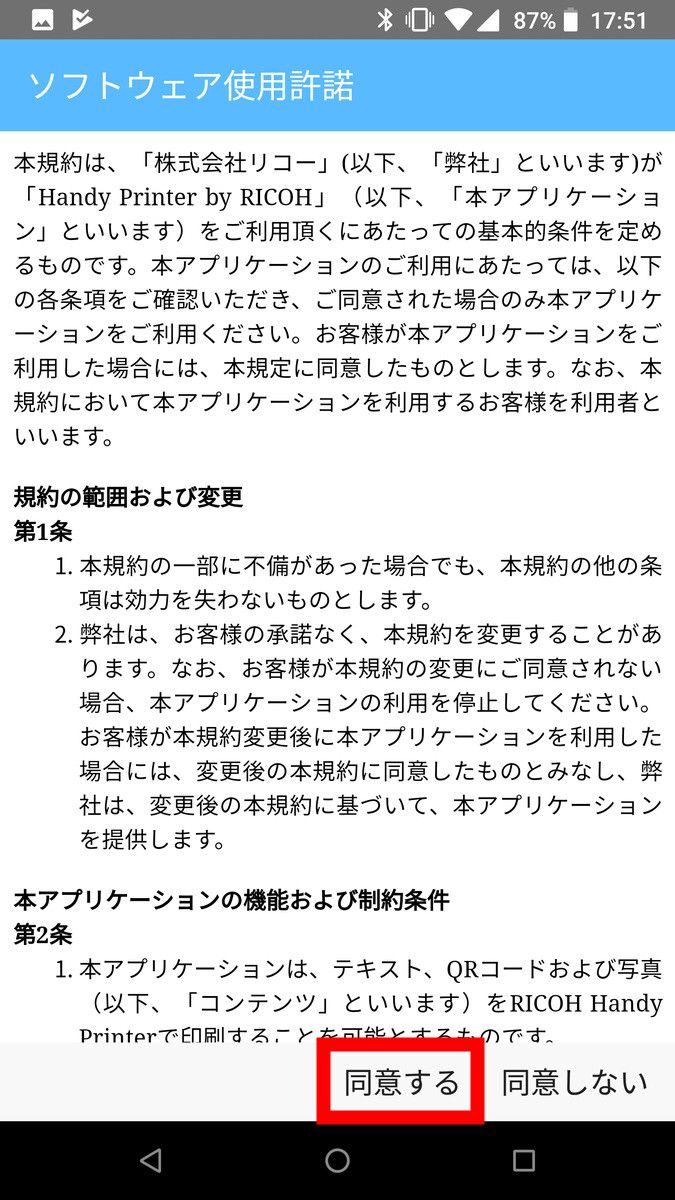
When you have read the software license, tap [Agree].
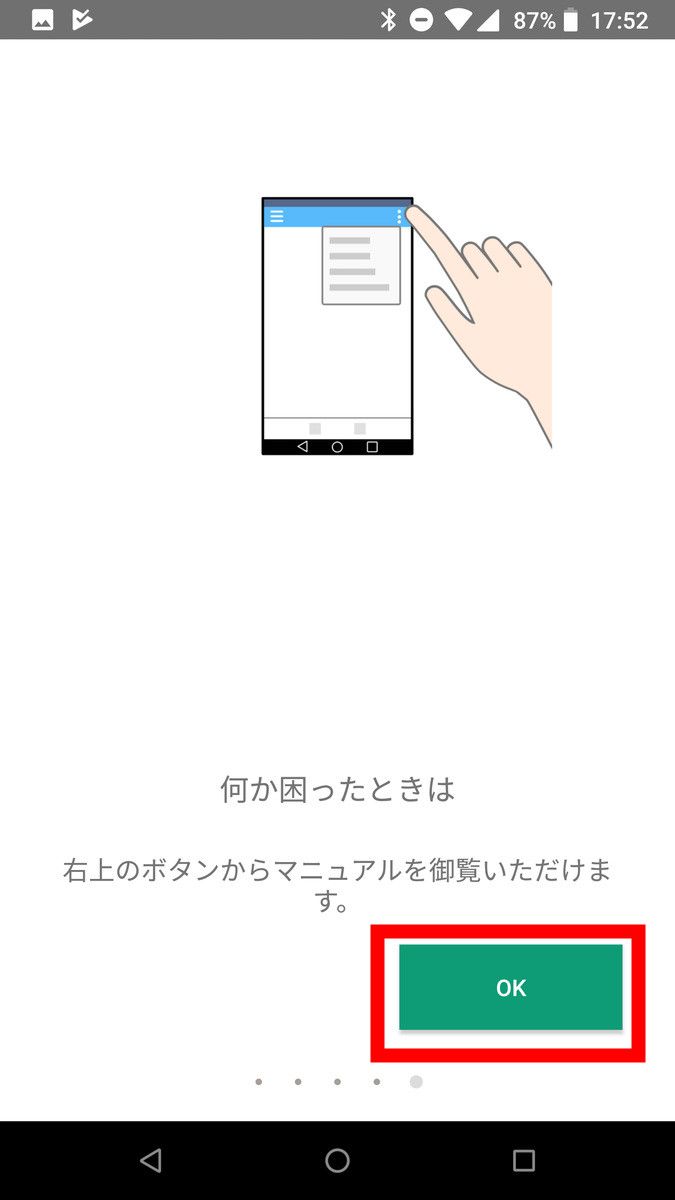
Since a simple operation explanation is displayed, swipe left until you see the screen below and read, then tap 'OK'.
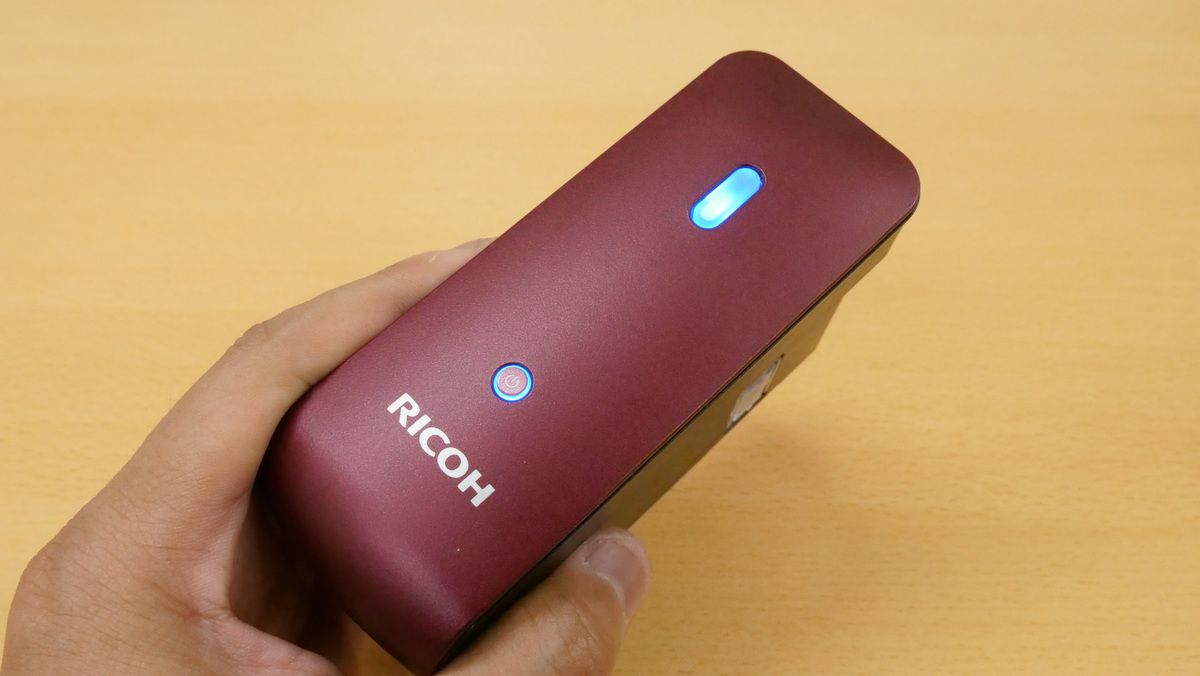
At this point, press and hold the power button on the top of the printer to start it. When started, the print and power buttons glowed blue.
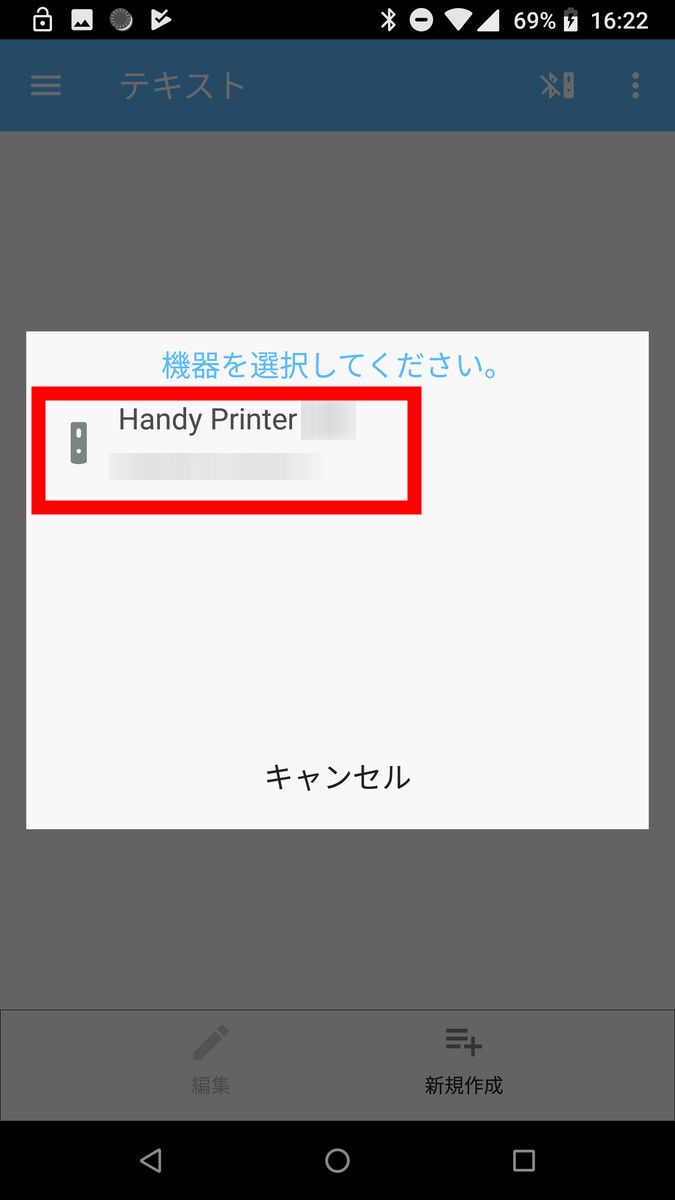
When the power is turned on, Bluetooth is read and the device selection screen is displayed, so select the Handy Printer from the displayed devices and tap it.
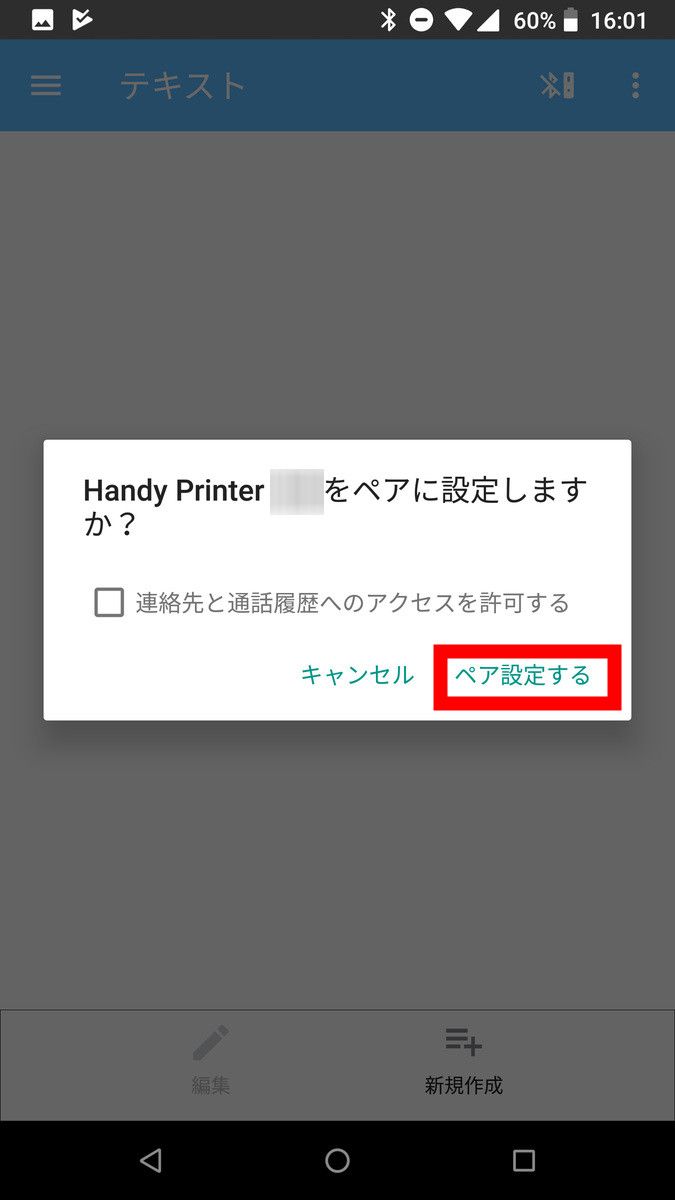
Tap 'Pair'. You are ready to go.
◆ Print horizontal text
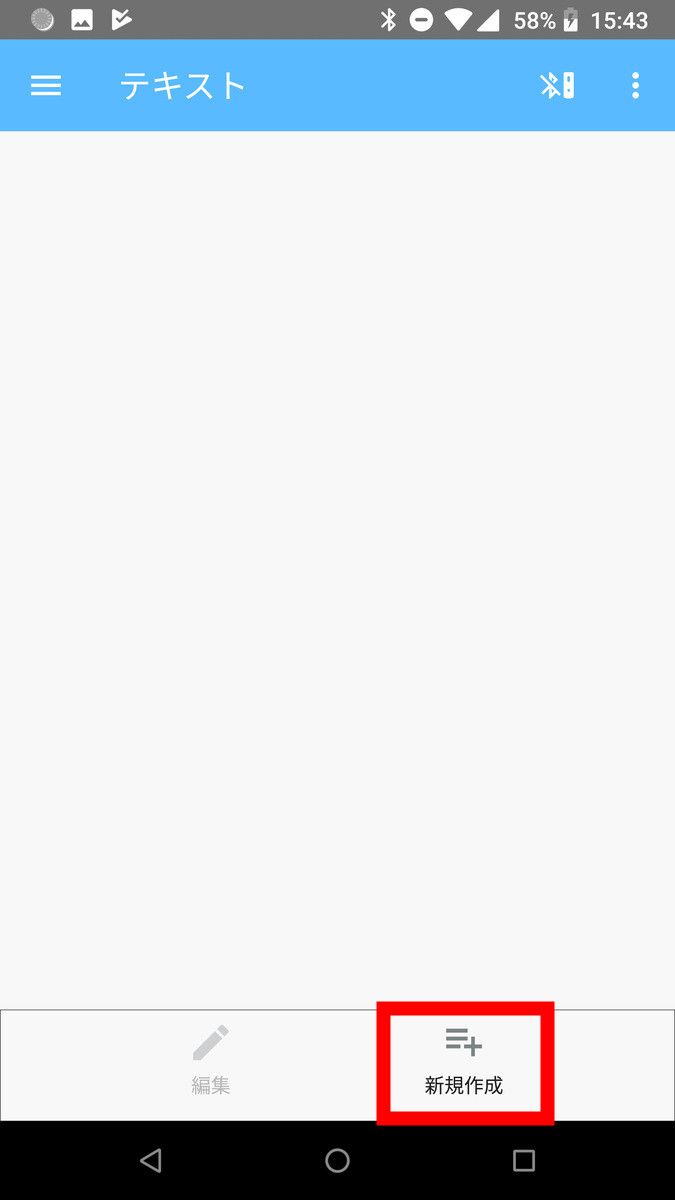
RICOH Handy Printer sends texts, QR codes and images from the app to print. First, to add the text to send to the application, tap 'New' in the lower right.
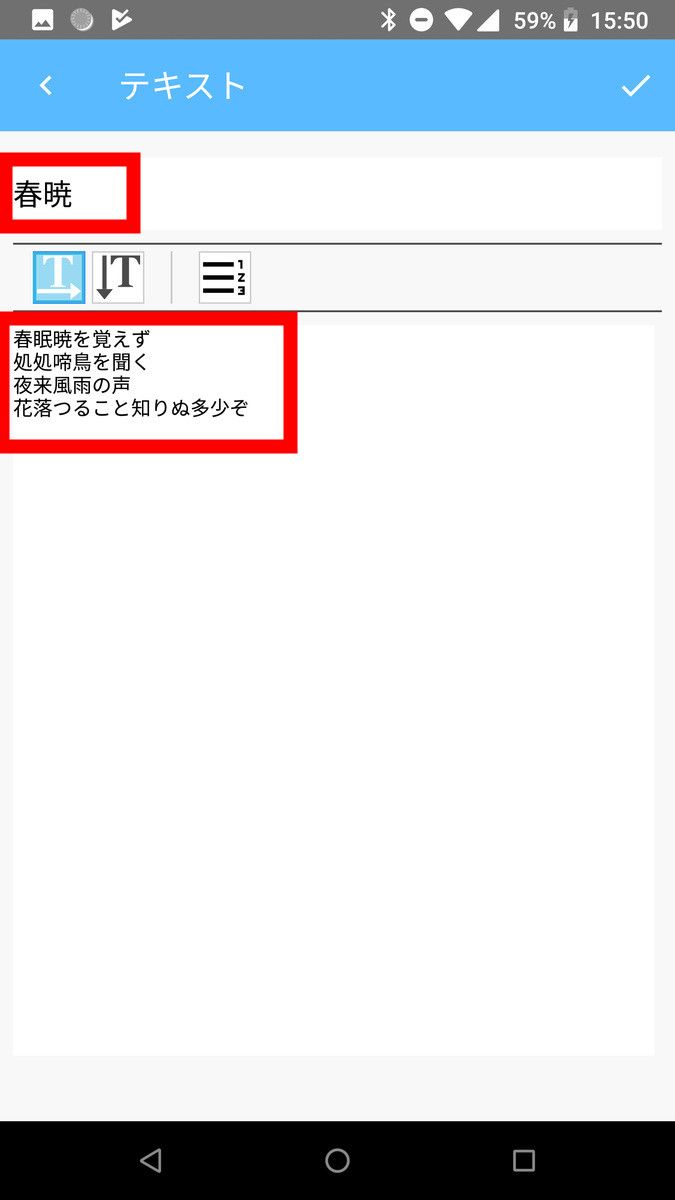
Enter the title of the project at the top and the text you want to print at the bottom.
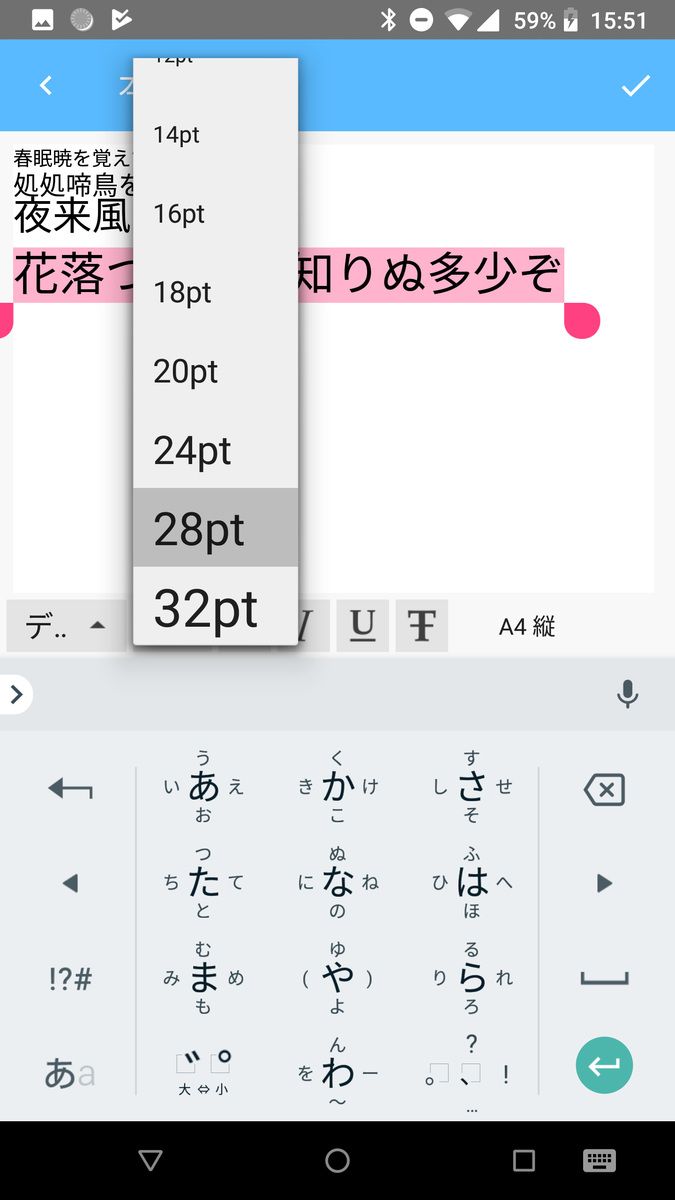
The text type, font size, bold, underline, and strikethrough can be edited. For example, in the screen below, the font size is being changed line by line. The font size can be changed in 11 steps from 6 points to 32 points.
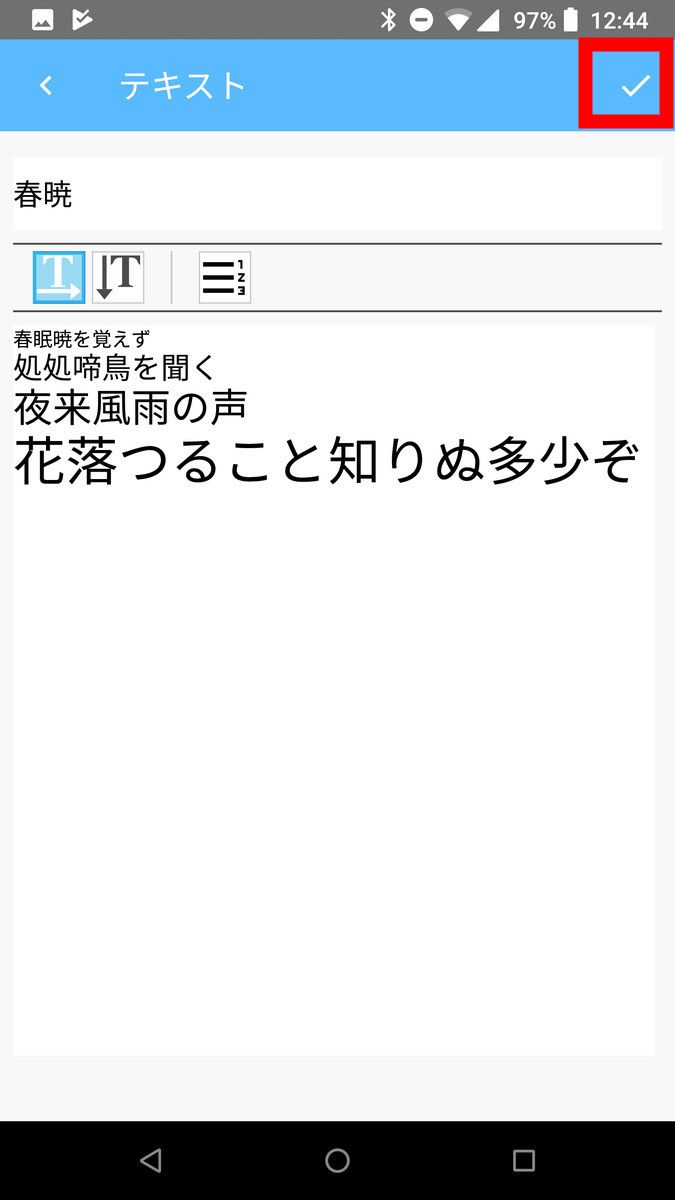
After editing, tap the check mark in the upper right.
Tap Print from the bottom menu bar.

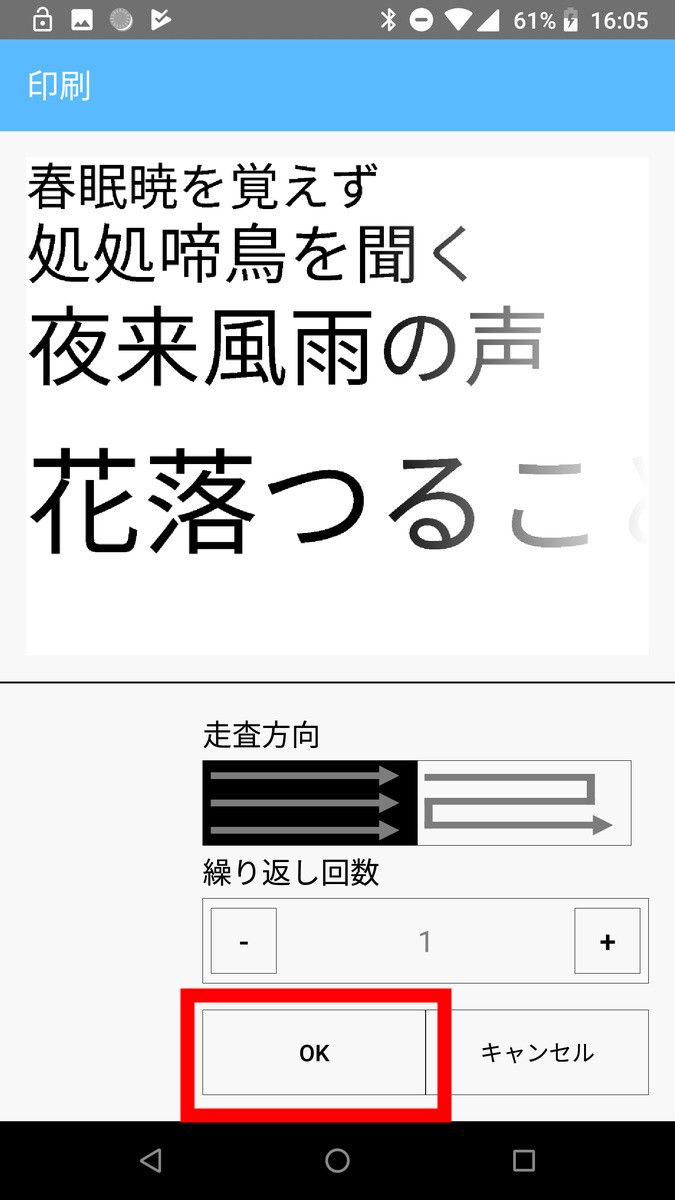
The print screen looks something like this. Under the print preview, you can change the operation direction and the repeat count. This time, just tap “OK”.
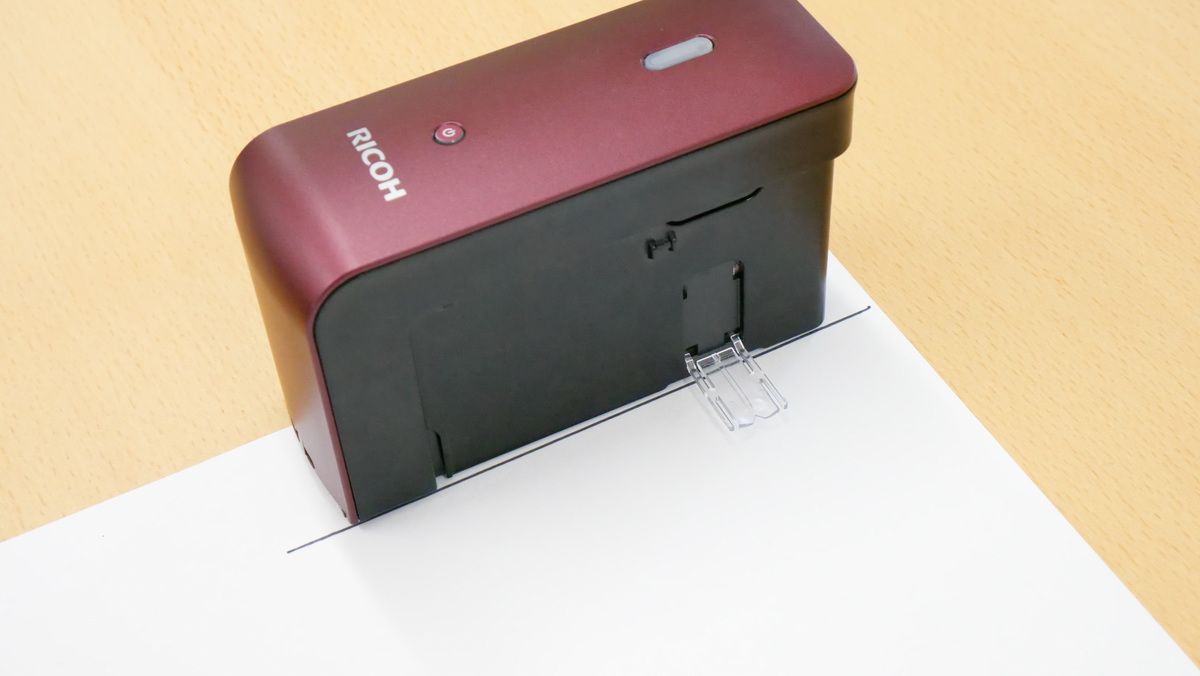
Unlike ordinary printers, where the machine automatically moves the printer head, the RICOH Handy Printer requires you to move it yourself. Therefore, it is necessary to know exactly where the printer will print. With the RICOH Handy Printer, the edge of the exterior is the point where printing starts. In the following screen, printing starts from the straight line part written on the paper.
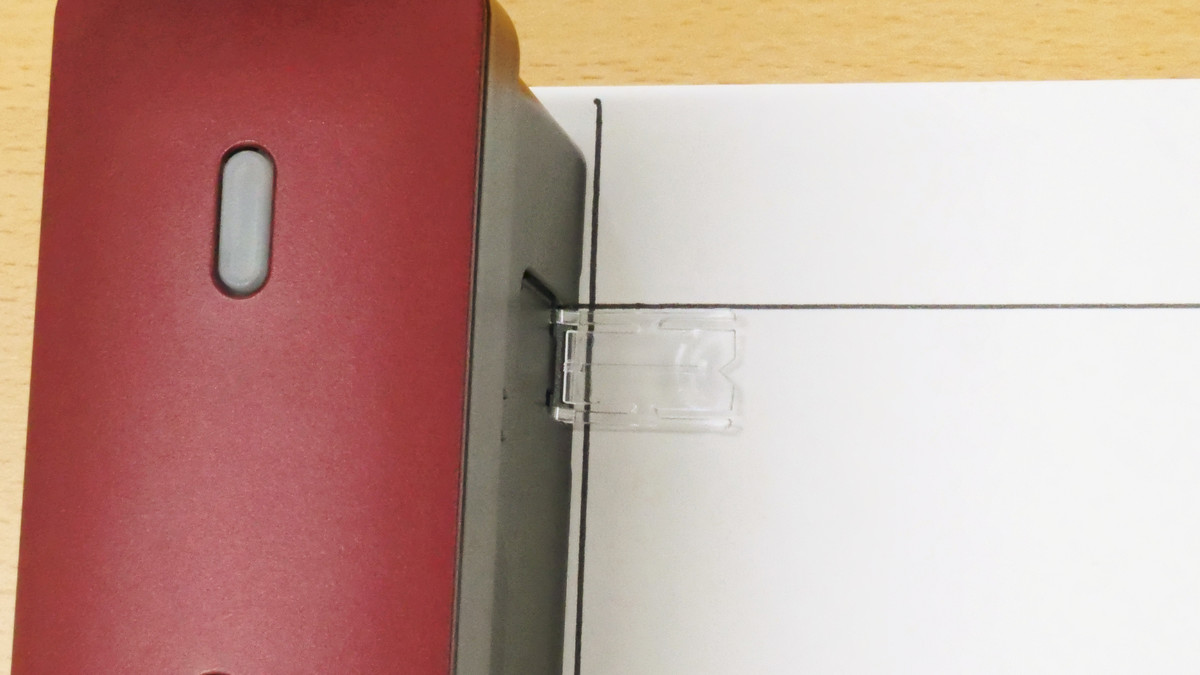
Also, since the printer head is installed in the place where the folding print guide is located, the coordinates of the place where you want to start printing are decided by looking at the exterior and the print guide.
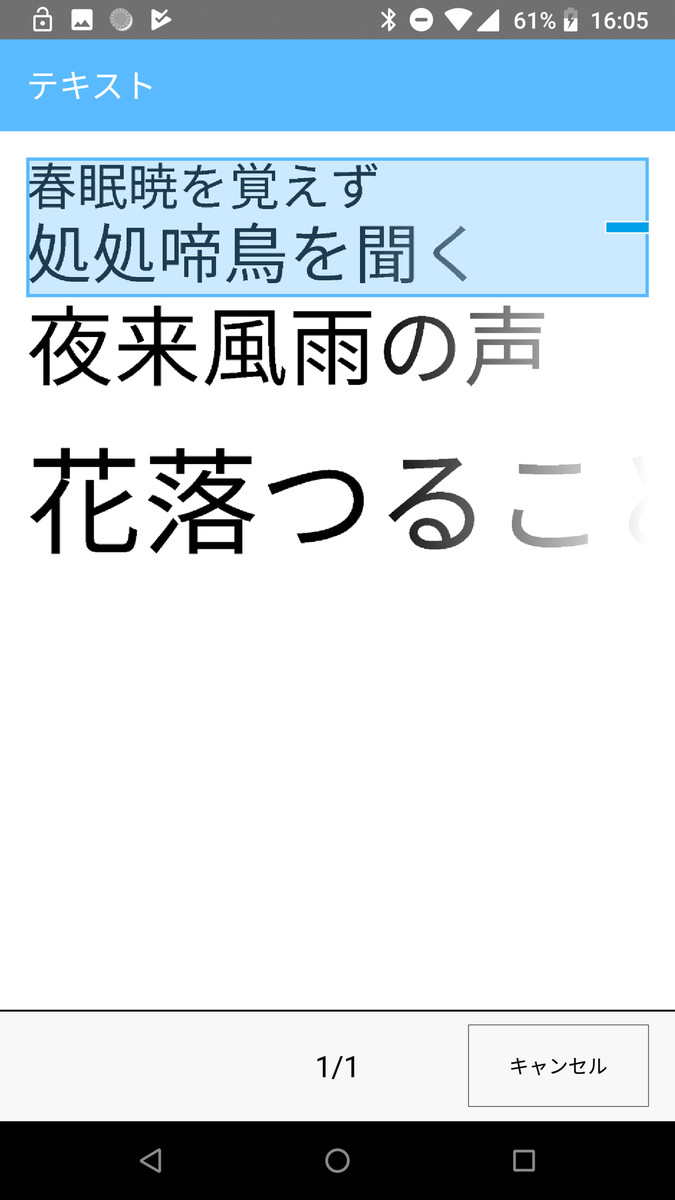
If the app looks like the screen below, place the printer in the location you want to print and press the print button to move it.
You can see what it looks like when actually printed in the following movie. Since you print by moving your hand without using a motor, there is no 'Vienna, Gaschat' drive noise that is peculiar to the printer, and it is extremely quiet. The experience that printing was completed simply by moving the printer without any catches was a shocking one that I have never seen before.
The width of the printer head is about 13.5 mm. It is also possible to print two lines at a time if the font size of the characters is small. After printing one line, when you release the printer from the paper, it automatically moves to the next line, so just set the printer at the place you want to print again, press the print button and slide to print the next line. .
◆ Print vertical text
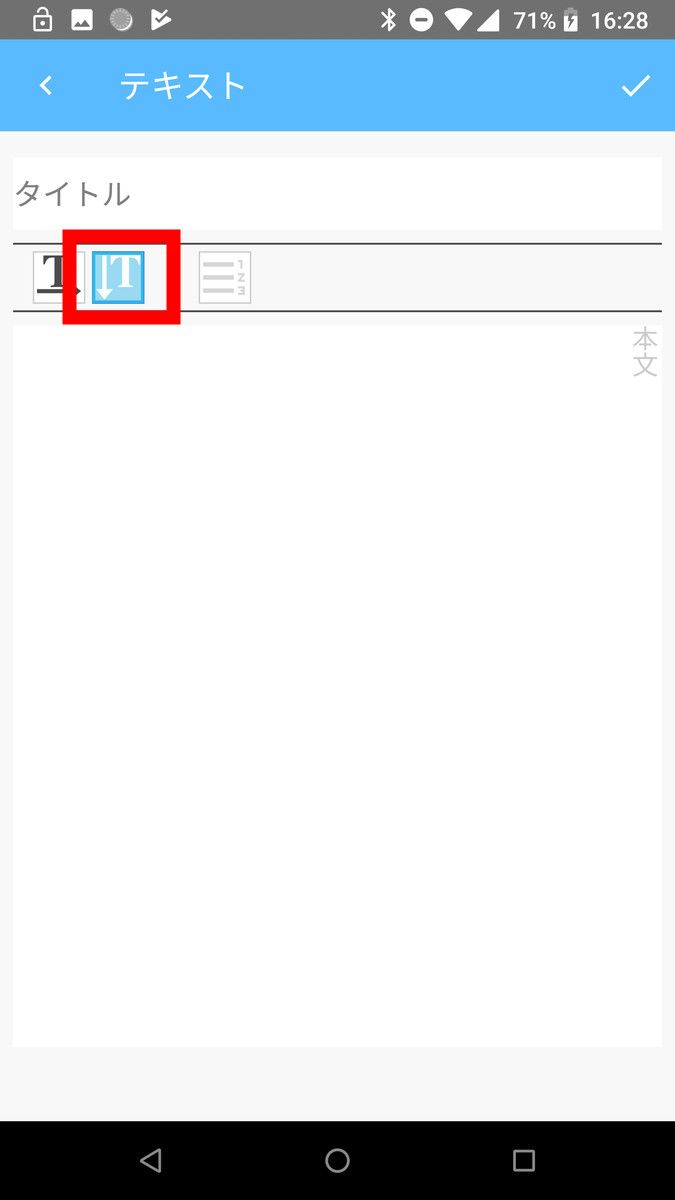
The text to be printed can be written vertically. On the new text creation screen, tap the second button from the center left.
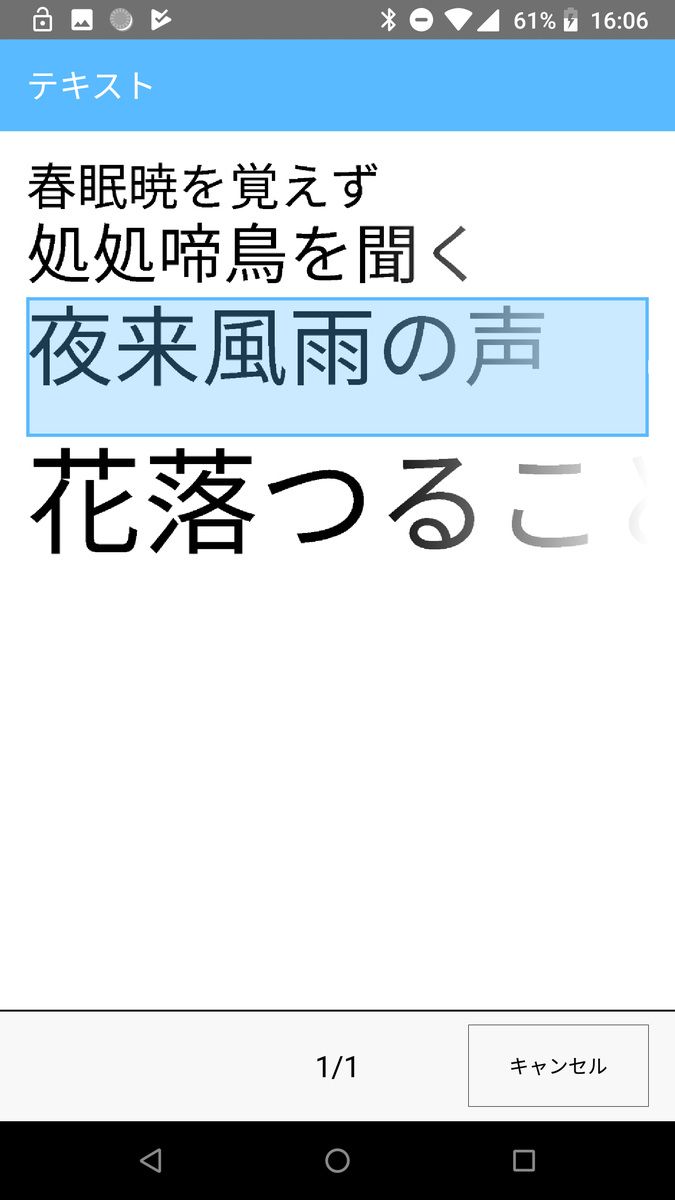
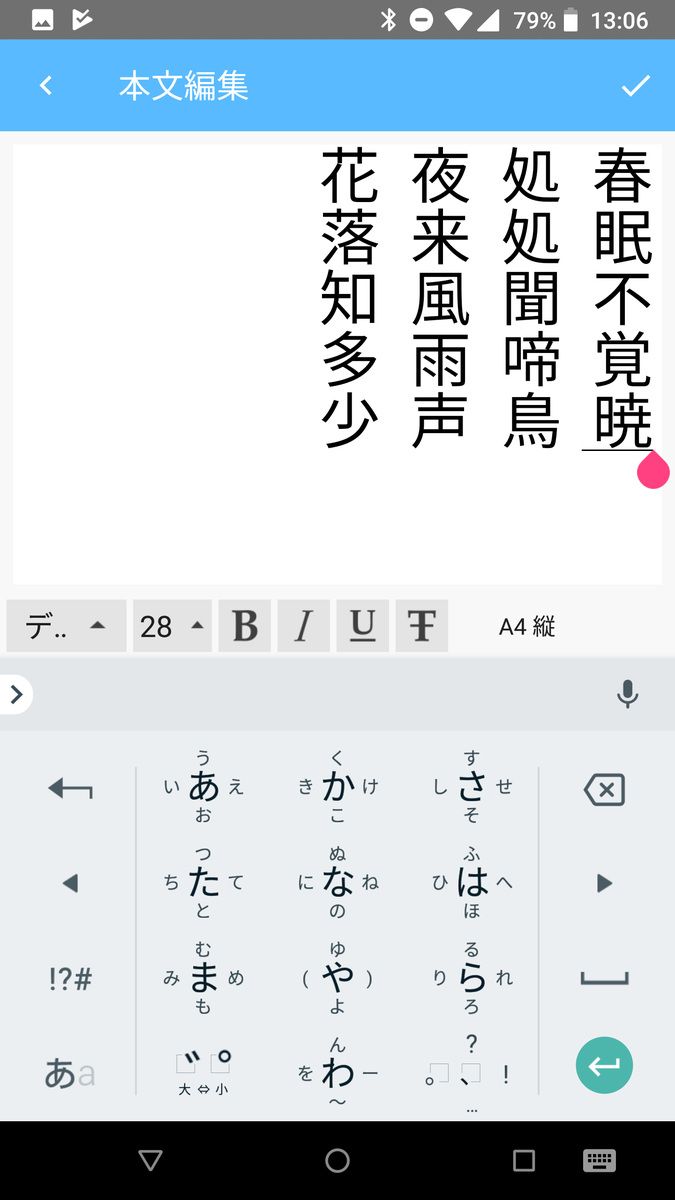
Then, you can enter the text vertically like the following.
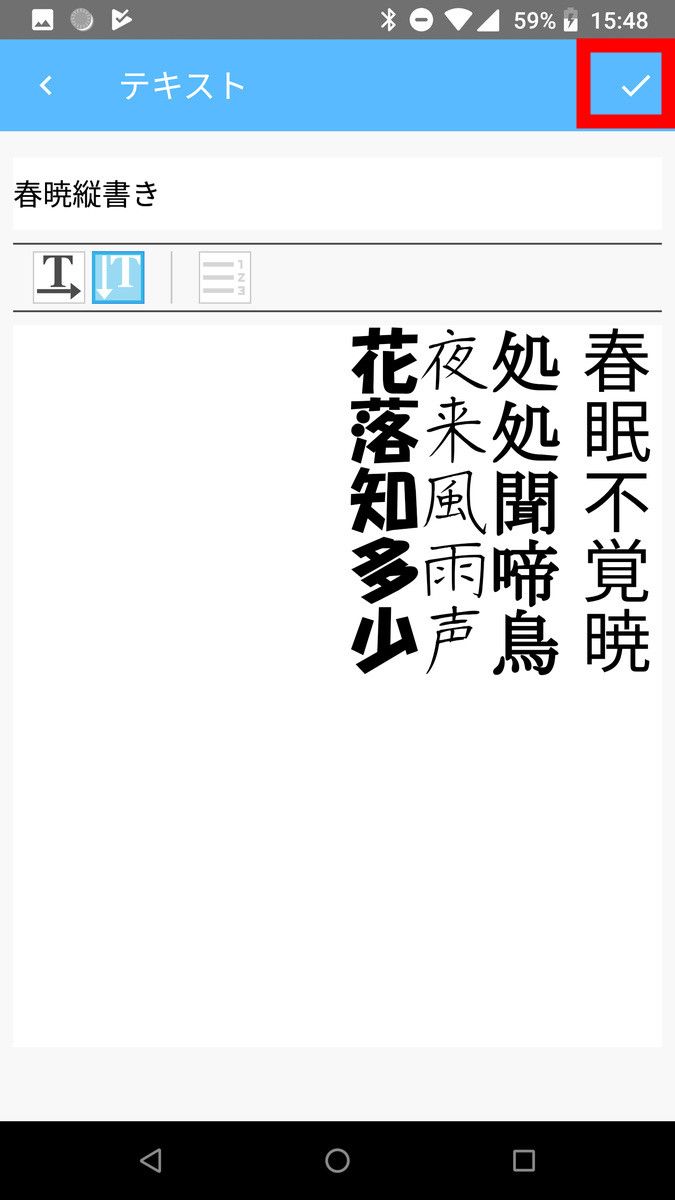
This time, I changed the font type for each line. The following eight types of fonts can be used in Android version applications. In addition, it is said that the fonts included in Windows can be used in the Windows version scheduled to be released.

From the right, the following sentences are 'default', 'HG Mincho L (bold)', 'HG Shirasu pen drawing type', and 'HG Soei Kaku pop type'.
You can see how the vertical text is actually printed from the following movie.
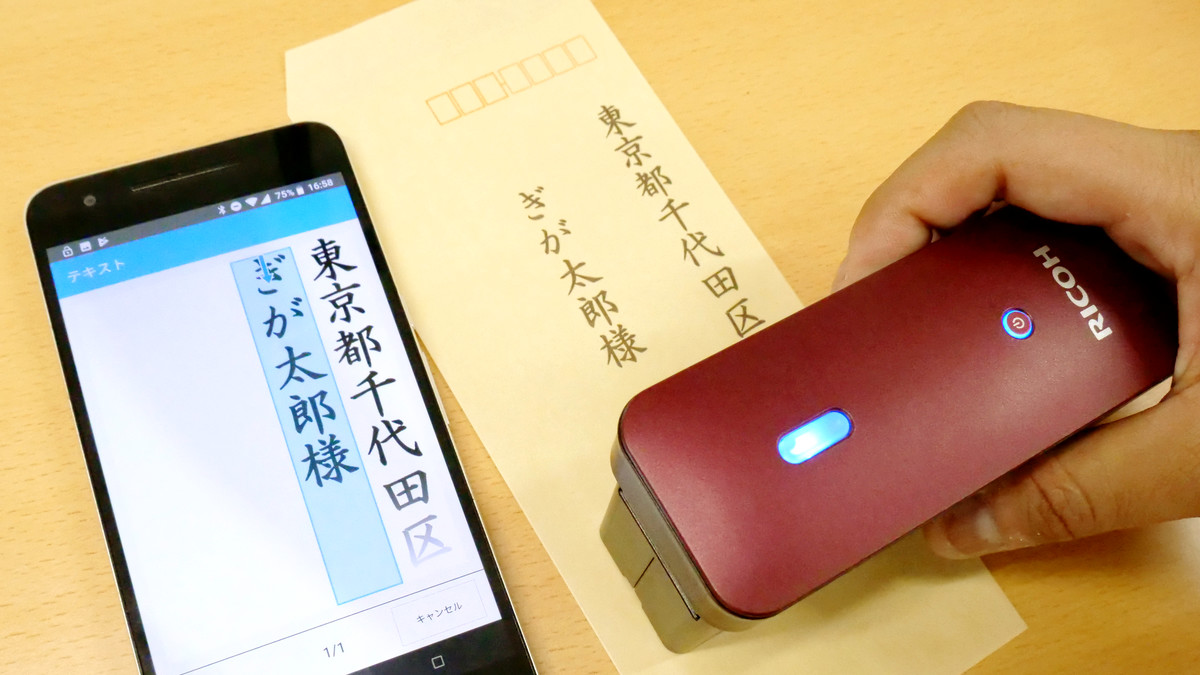
The point of this RICOH Handy Printer is that it is possible to print vertically on an envelope, which is difficult to print with a general household printer, as shown in the image below. Since the text created once is saved in the application, it can be used even in situations where 'you have to print another sheet!'.
◆ Print QR code
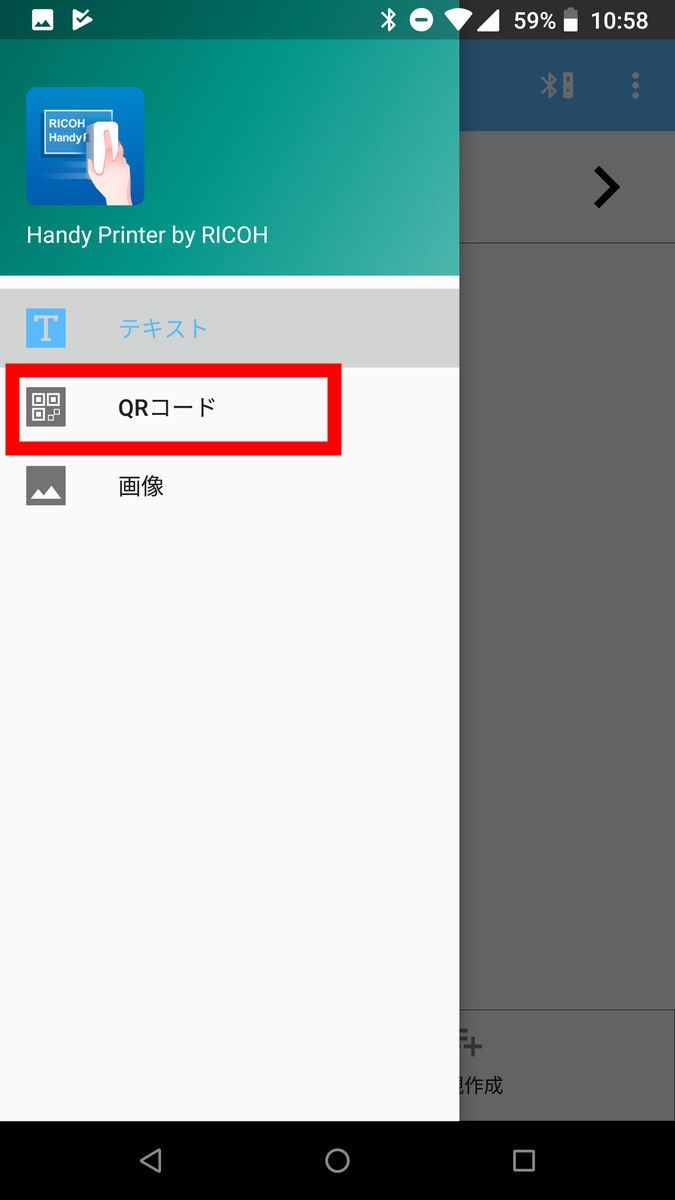
To print the QR code, select 'QR code' from the menu bar on the left.
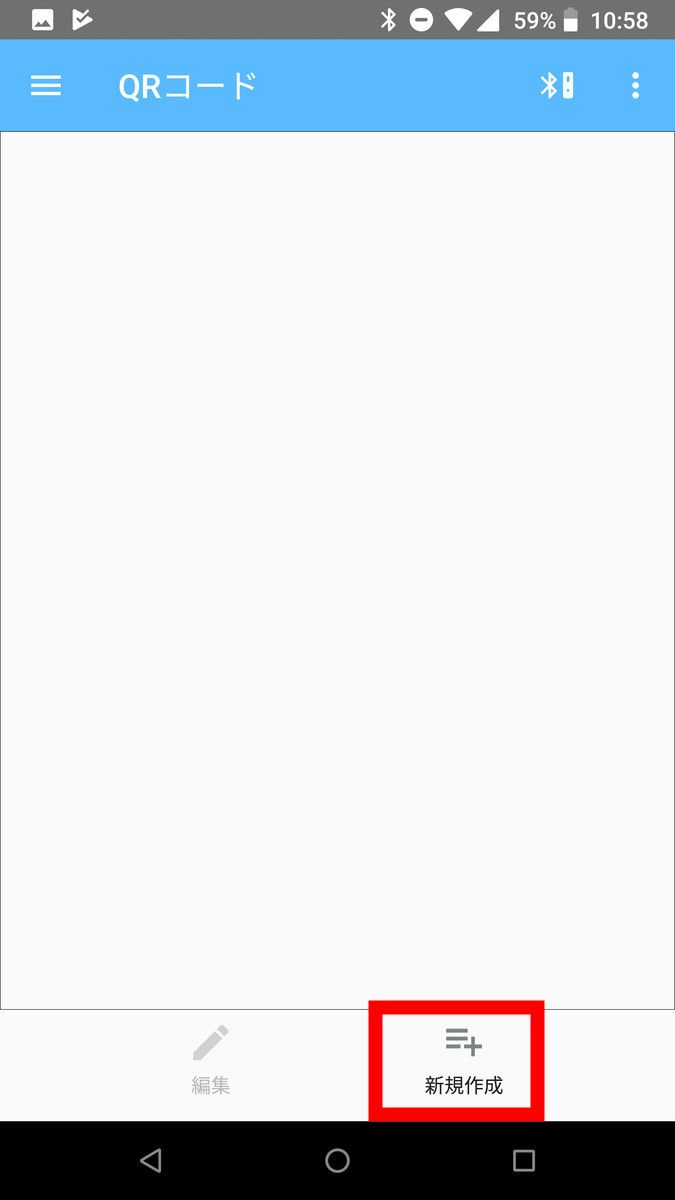
The method is almost the same as the text. Tap New.
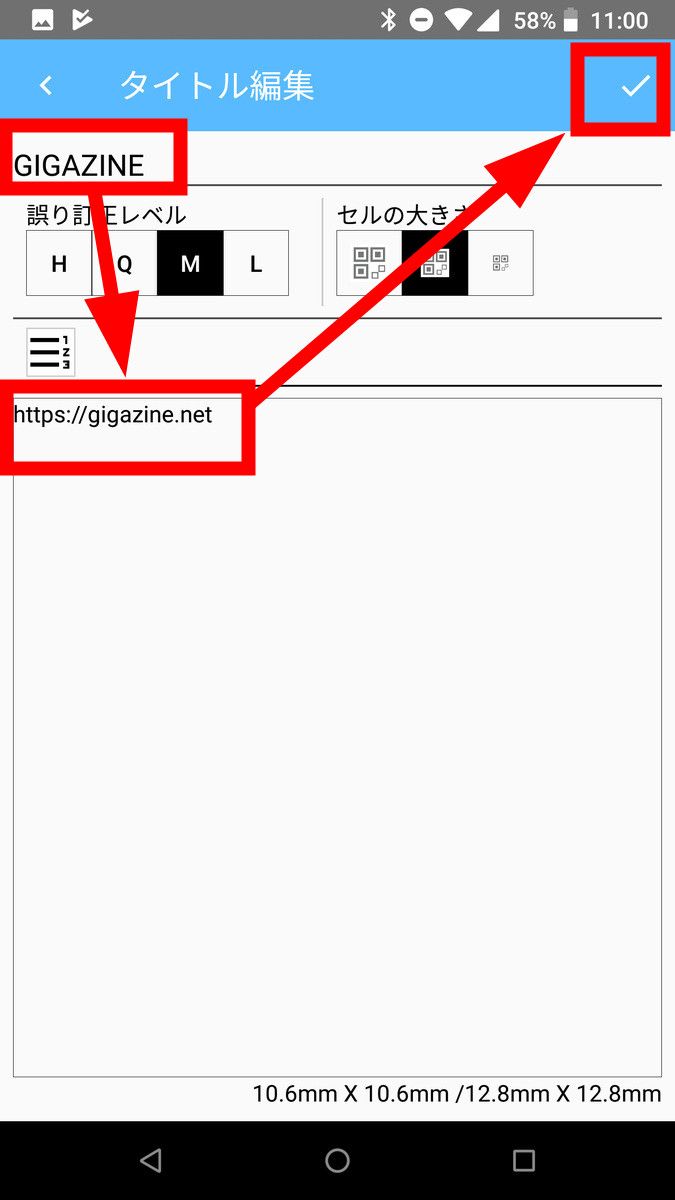
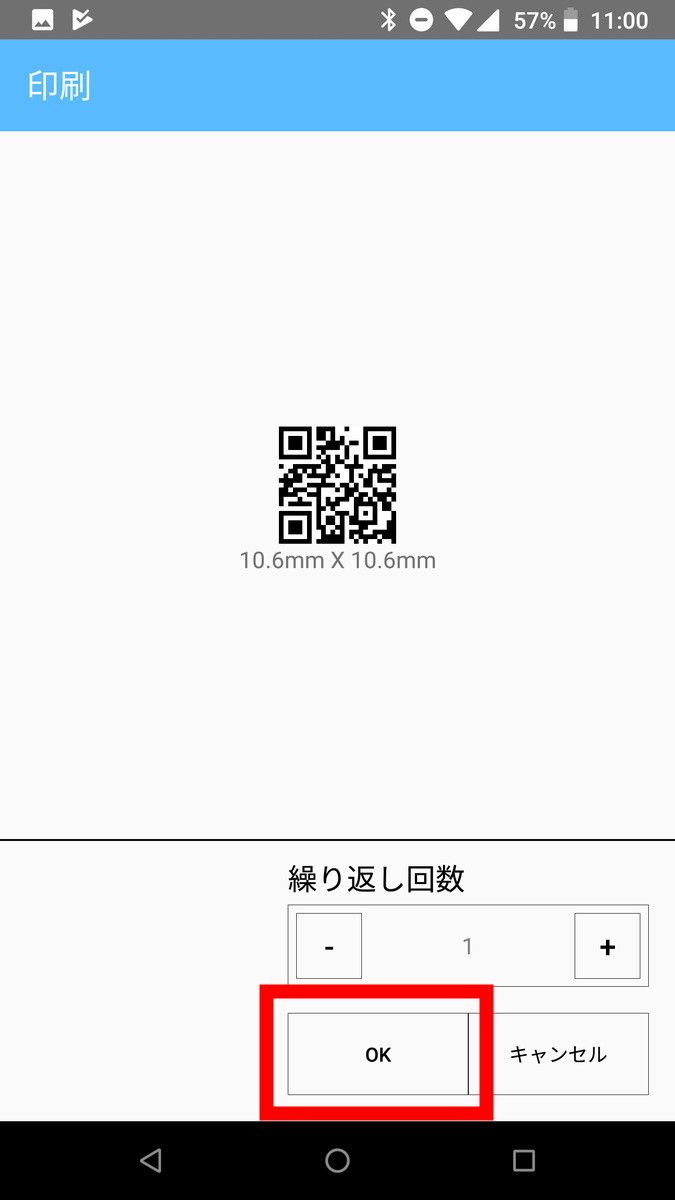
Enter the project title and the text content to be converted into a QR code, and tap the check mark in the upper right. The error correction level and size of the QR code can also be changed here.
Ready to print by tapping 'OK' on the print screen.
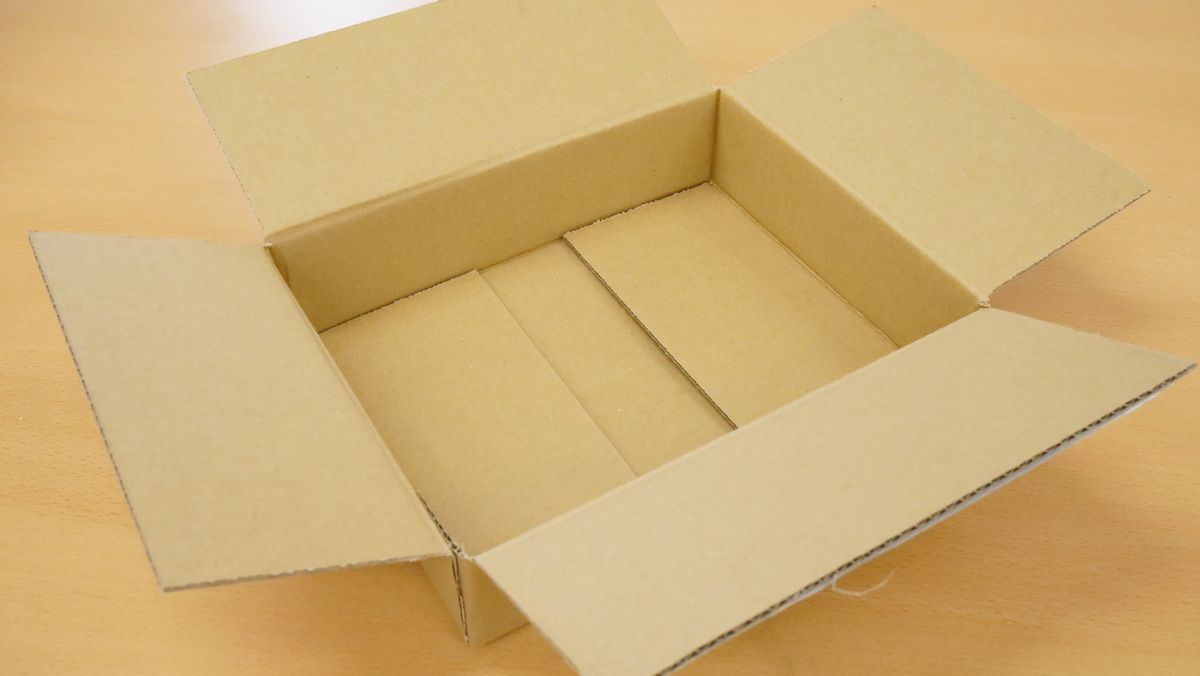
Next time, I prepared an ordinary cardboard box. Printing on a cardboard box is of course not possible with a normal printer, but with the RICOH Handy Printer, you can print anywhere you can see the ink.
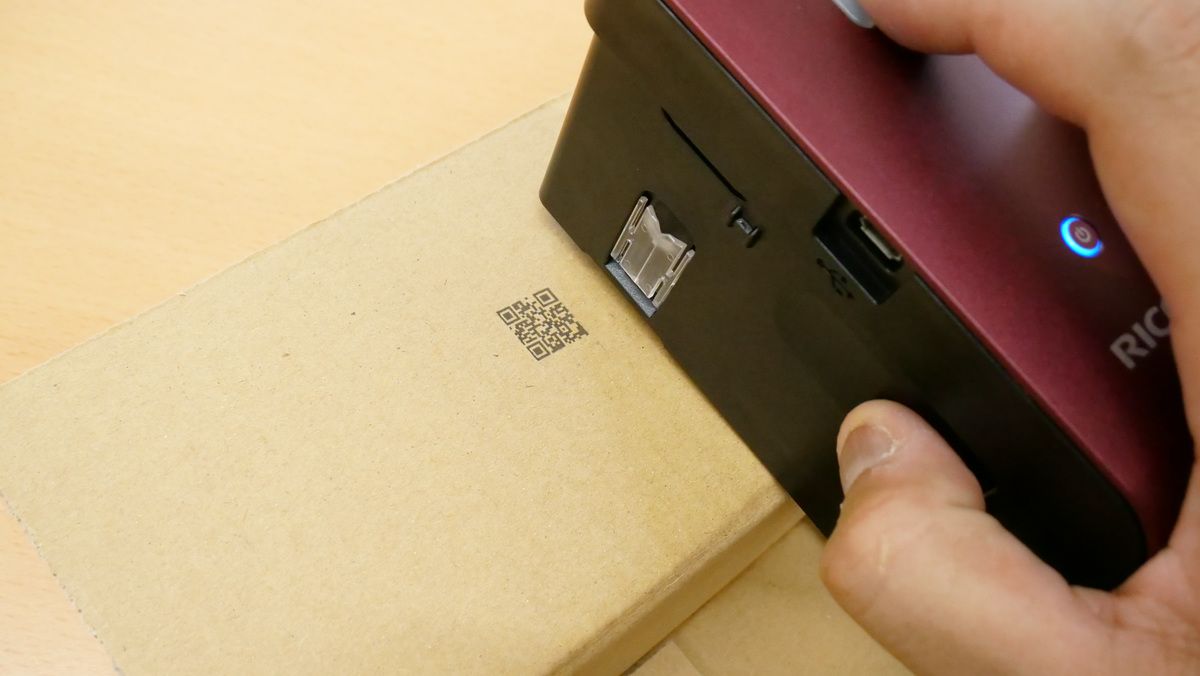
For the test, the place where the QR code is printed on the inside slightly bumpy part is as follows. The unevenness of the cardboard was a little difficult to slide, and the QR code after printing was also slightly distorted, but I was able to read it without problems. The ink is quick-drying, and printing is possible in places where the ink stains, such as paper and cloth. However, the bottom of the printer is flat, so some ingenuity is required when printing on uneven surfaces.
◆ Image printing
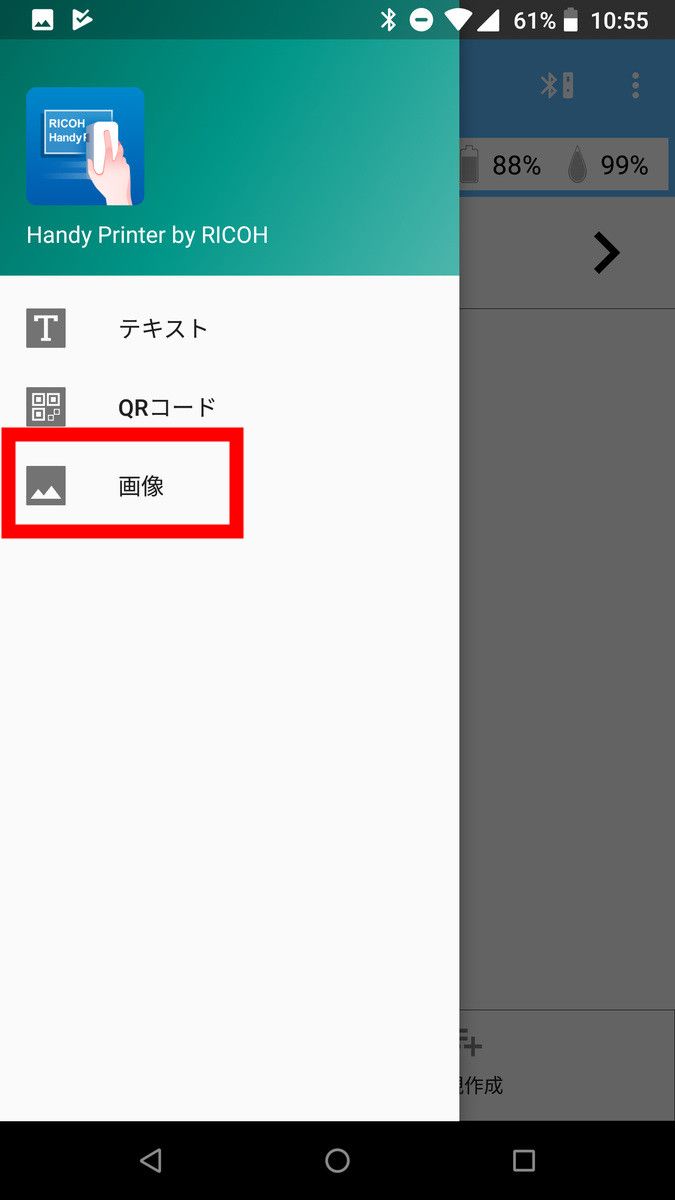
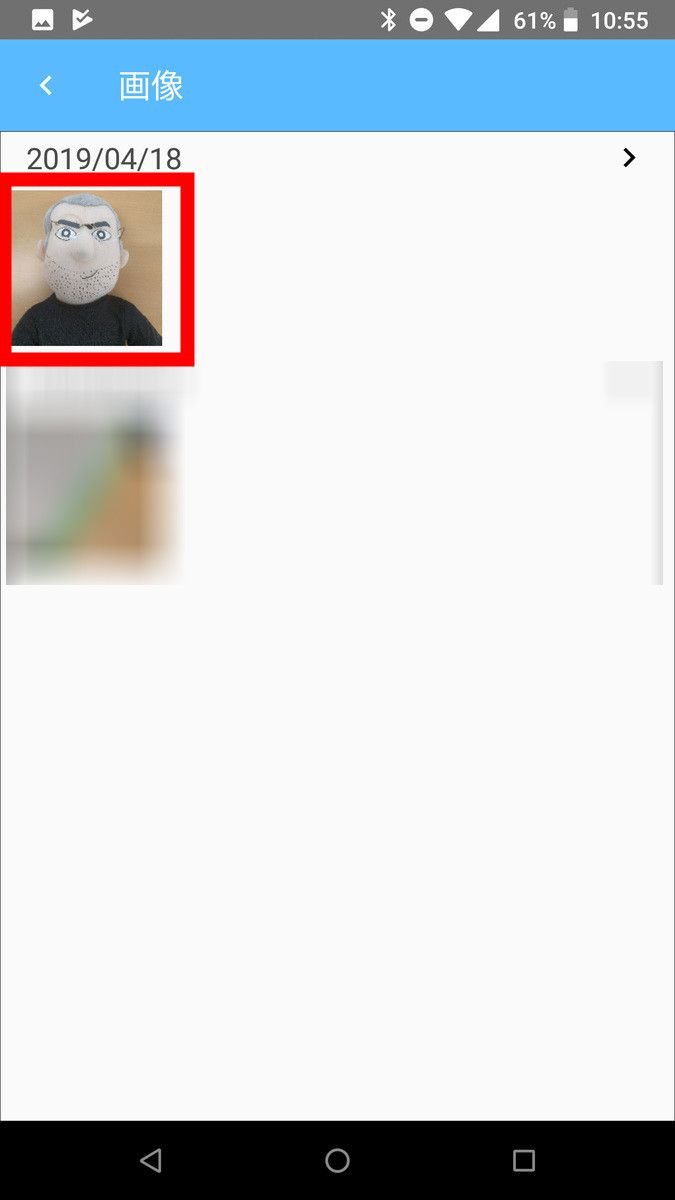
You can also print the image on your smartphone as it is. Tap 'Image' from the menu on the left.
Select the image you want to print. This time I will print a photo of
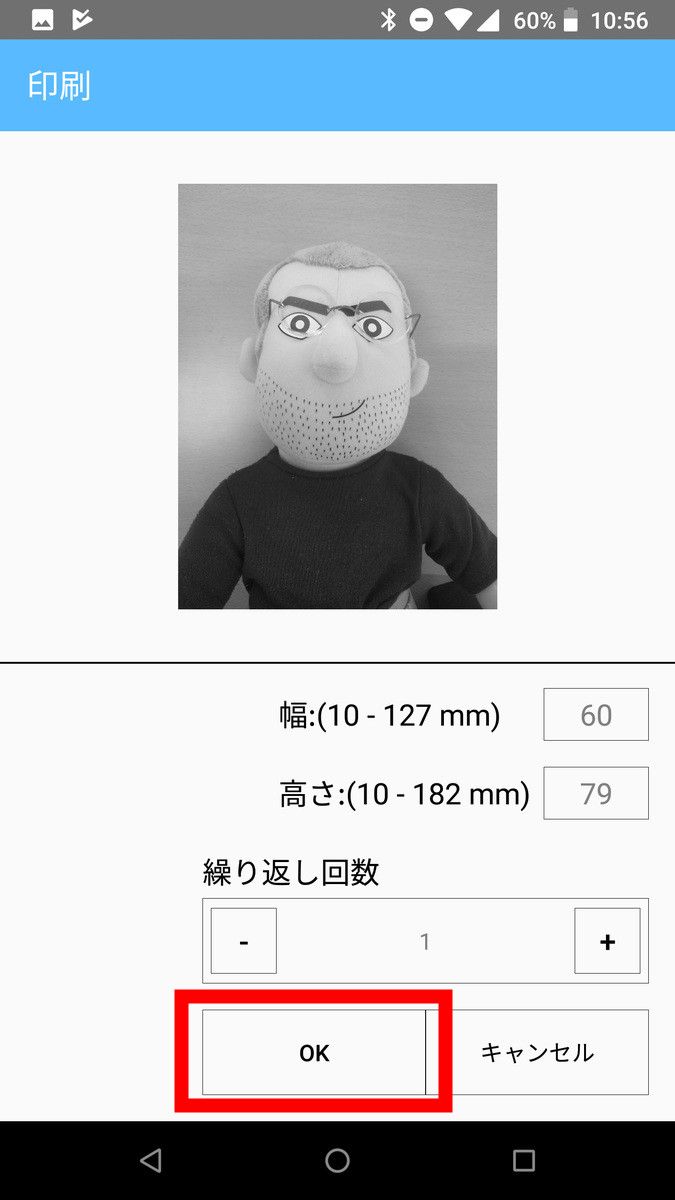
The following screen is where you selected the image. The RICOH Handy Printer can only print in black and white. The size of the image can be changed, but the shade of the image cannot be changed, so it is necessary to adjust the shade to your liking beforehand with image editing software. Tap 'OK' to proceed to printing.
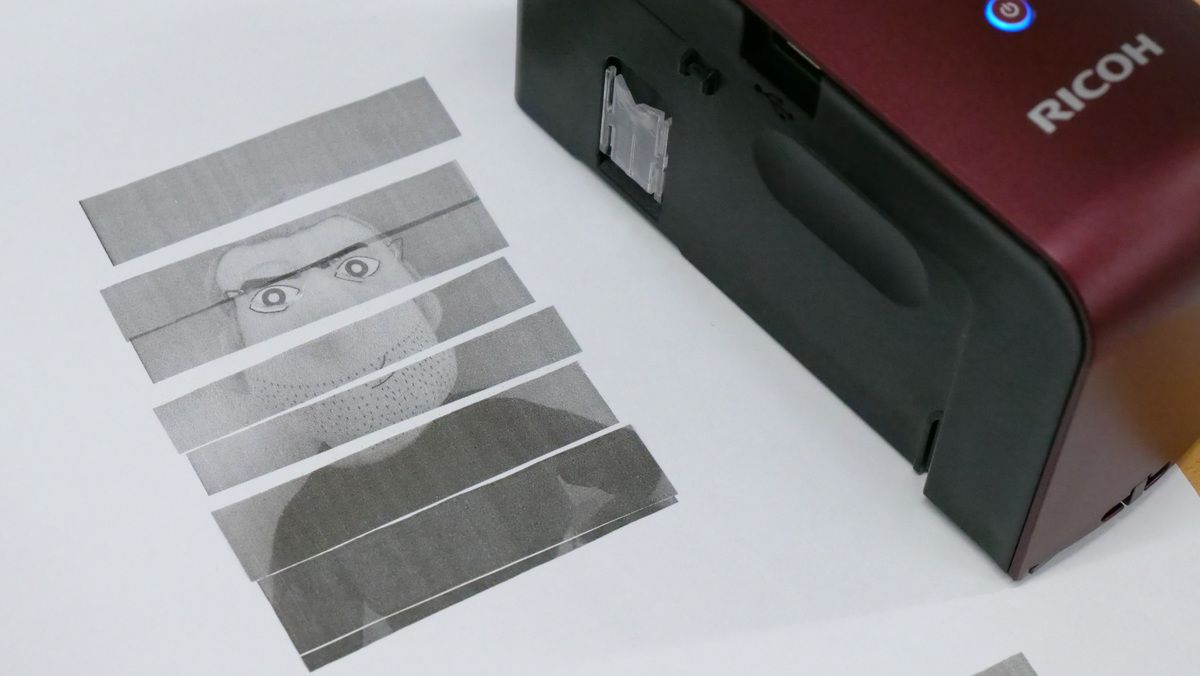
Images are drawn by stacking vertical rectangles for the printer head. Since the optical sensor keeps track of the printer's coordinates, if you slide it to the left or right from the start point 'without ever taking the printer off the paper', the drawn part will automatically pass through and draw. The mechanism is to print only the missing parts.
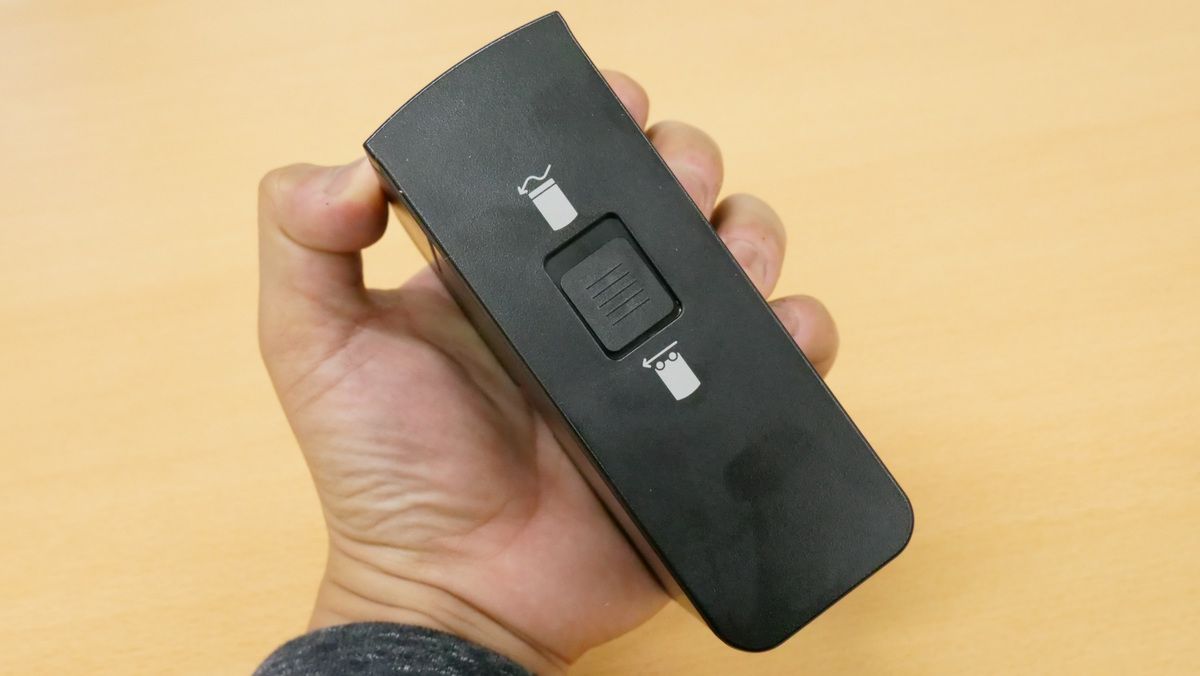
For that, the roller that forces a straight movement is a little obstructive. In such a case, cover the printer once and then push up the slider / roller switching lever on the bottom.
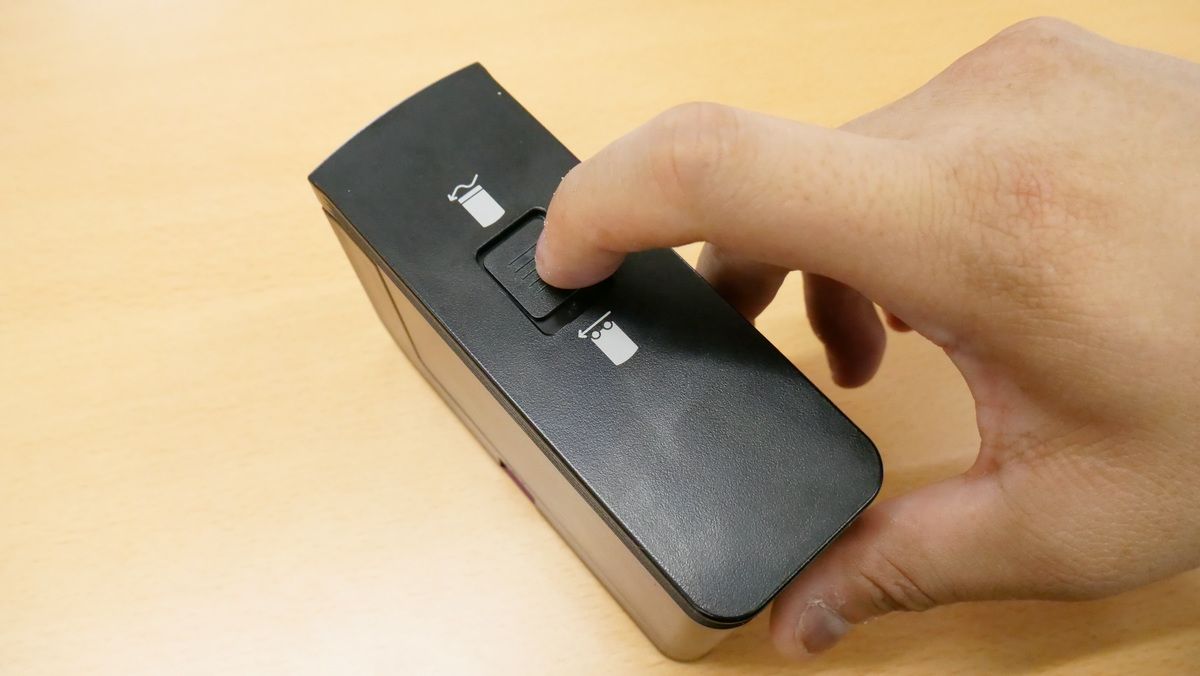
Then, the roller cover is attached to the roller to prevent movement, and you can freely slide the printer. Please note that you need to switch from the roller to the slider before printing the image.
You can see how the image is printed with the RICOH Handy Printer in a single shot by watching the movie below.
If you move the printer away from the paper during printing, the printer's coordinates will shift, and the image will be cut like the following. However, long and narrow images such as barcodes can be printed without problems, so it is likely to be very useful in situations such as product management in warehouses where you want to print a large number of barcodes on cardboard.
Until now, printers could only print on paper of a size and size compatible with the printer, and models at home could not print on envelopes and cardboard. However, with the RICOH Handy Printer, you can easily print anywhere. No complicated settings are required, just pass the text, QR code, and image to the printer via the app. Since it can be linked with a smartphone, it does not necessarily require a PC, which makes installation very easy. However, since only materials that ink can stain, such as paper and cloth, are still targeted at the moment, I would like to expect development of new inks and colors that can print on more materials.
Ricoh has released a software development kit (SDK) for the Android version of the RICOH Handy Printer free of charge. If you use the SDK, you can directly instruct the RICOH Handy Printer to print from your own system.
The RICOH Handy Printer will be available for purchase at consumer electronics stores nationwide from April 17, 2019. According to the product page of Kakaku.com, it was handled from 46,000 yen including tax at the time of article creation because it is an open price. Also, Amazon.co.jp handles black and red, and both are out of stock at the time of article creation.
Amazon.co.jp: 515916 [RICOH Handy Printer Red]: Computers and peripherals

Amazon.co.jp: 515915 [RICOH Handy Printer Black]: Computers and peripherals
Related Posts: