I tried to e-mail with "FLOW-e" which transforms mail into task card and can intuitive task sorting, schedule management and e-mail contact as one
There are various kinds of software and net service for the efficiency of work, but if it is in a state that the efficiency is lowered by using the groupware for information sharing and the software for schedule management and mail separately, it is totally overwhelmed . A web service that saves me time and effort twice like that "FLOW-e". You can organize mail itself as a task card, organize intuitively with drag & drop, manage schedule management and sharing, sending and receiving mail in one service At the time of article creation, when registering an account, About 1028 yen) Master account function can participate in a free trial where 14 days can experience, so I actually tried to experience how to judge mail as a task.
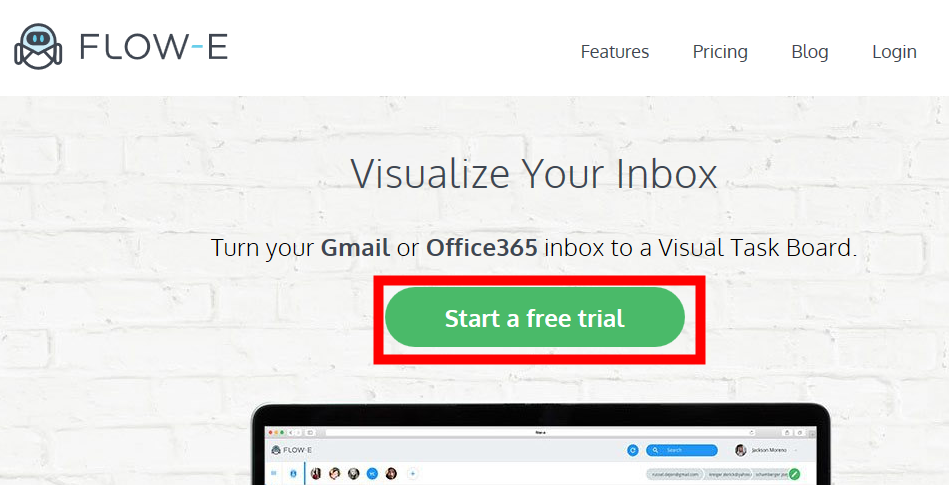
FLOW-e - Visualize Your Gmail or Office 365 Inbox
https://flow-e.com/
On the above FLOW-e official page, click "Start a free trial".
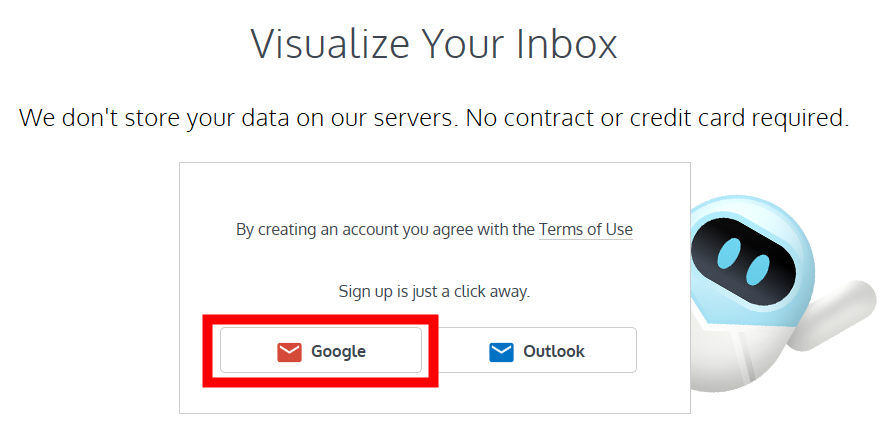
FLOW-e has Google version and Office 365 version, and to use the service, Google'sGoogle accountOr, Microsoft'sOffice 365Account is required. This time, since I use a Google account, click "Google".
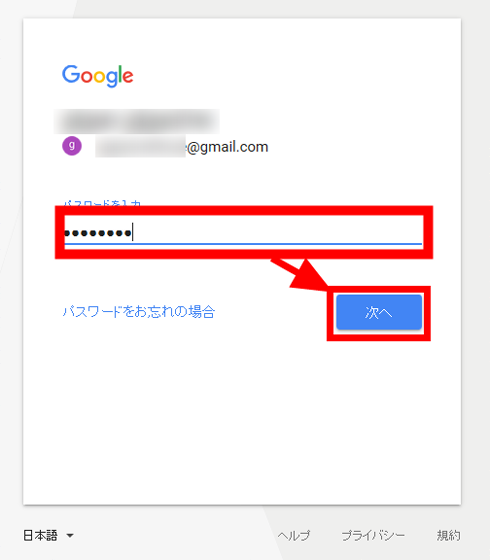
As you are prompted to sign in with your Google Account, enter your ID and password and click "Next".
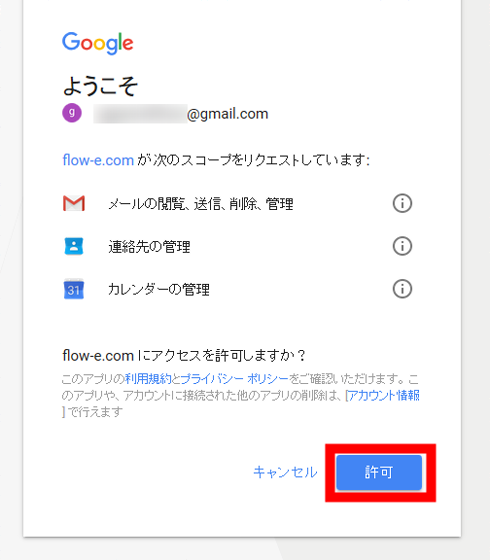
Gmail · Because you are asked for permission to access data to Google Calendar, click "Permit".
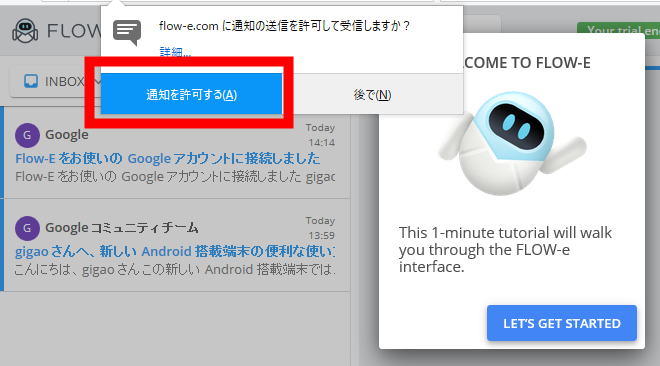
If you move to "workflow" of FLOW-e and request permission of notification, click "Allow notification".
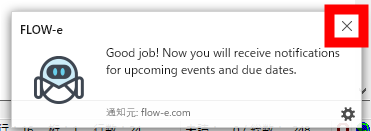
When notification of FLOW-e is displayed, click "×" to close the notification.
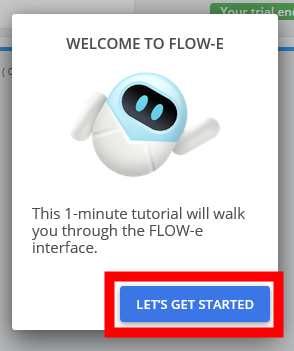
The start page of FLOW-e opens and a message "WELCOME TO FLOW-E" is displayed, so click "LET'S GET STARTED".
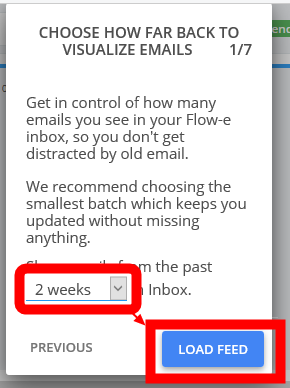
The tutorial will then be displayed. Since the first page (1/7) decides the period for automatically archiving the e-mail of the inbox when a certain period elapses, during the period from "1 week (2 weeks)" to "2 months (2 months)" Select an arbitrary period from. For this time, click "LOAD FEED" with the default "2 week (2 weeks)".
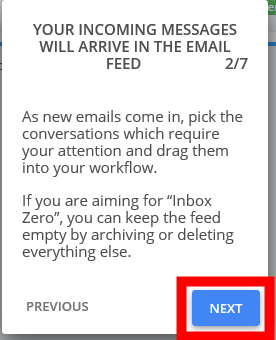
On the second page, "When a new mail arrives, you can manage with" workflow. "If you set the mail inbox to zero, you will empty" feed "." Click "NEXT" as the message appears.
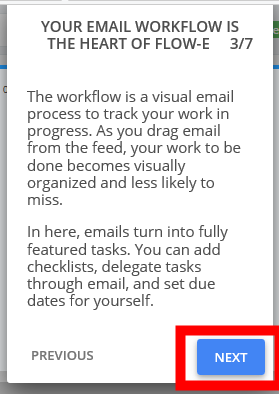
On the third page, "It is possible to manage the task by dragging & dropping" e-mail with "workflow", so click "NEXT".
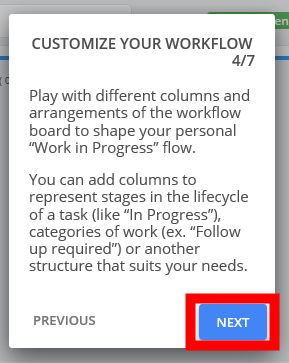
On the 4 th page, you can click on "NEXT" because "workflow" can manage the work progress by putting mail in the column.
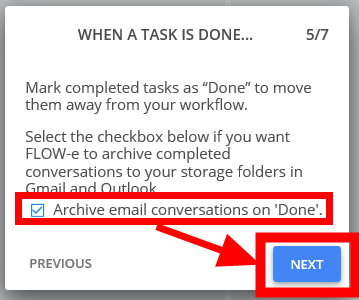
On page 5, you will be asked whether you want to set "Treatment completed with task when archiving mail" setting, please check and click "NEXT".
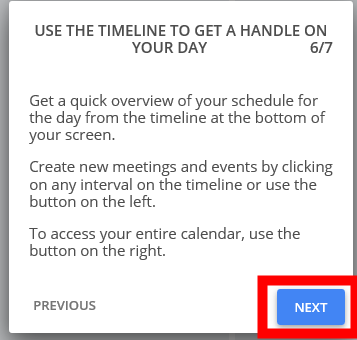
On page 6, "Please use" timeline "at the bottom of the screen, you can visually manage today's time" Click "NEXT" as a message appears.
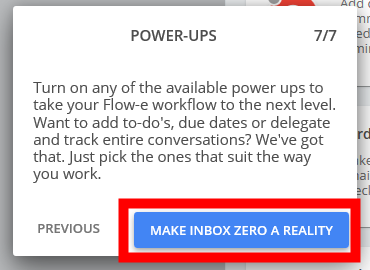
On page 7, "Flow-e workflow can be powered up with" POWER-UPS "Click" MAKE INBOX ZERO A REALITY ".
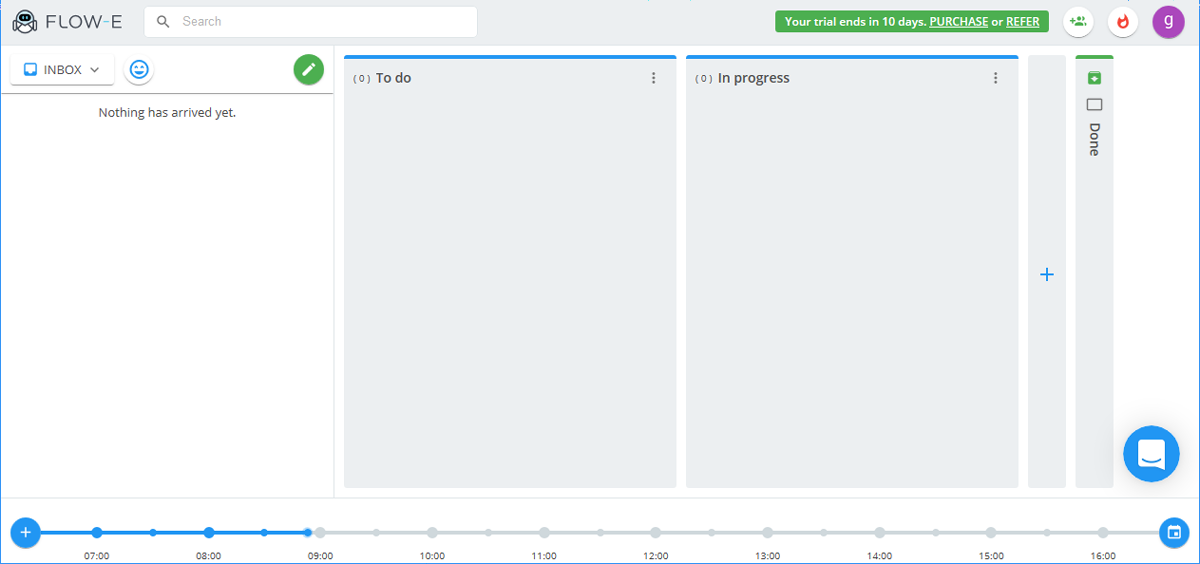
The tutorial is over and the operation screen of FLOW - e opens.
◆ Change settings
To change the setting decided in the tutorial, click your icon in the upper right of the screen and click "Settings" in the menu.

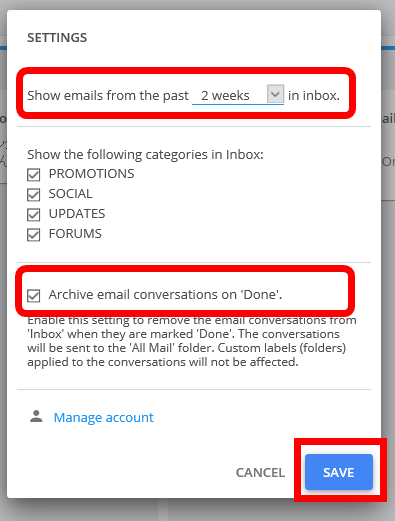
You can change the period set in the tutorial for automatic archiving of mail, and whether to treat the archived mail as "Done" (completed).
◆ Viewing mail
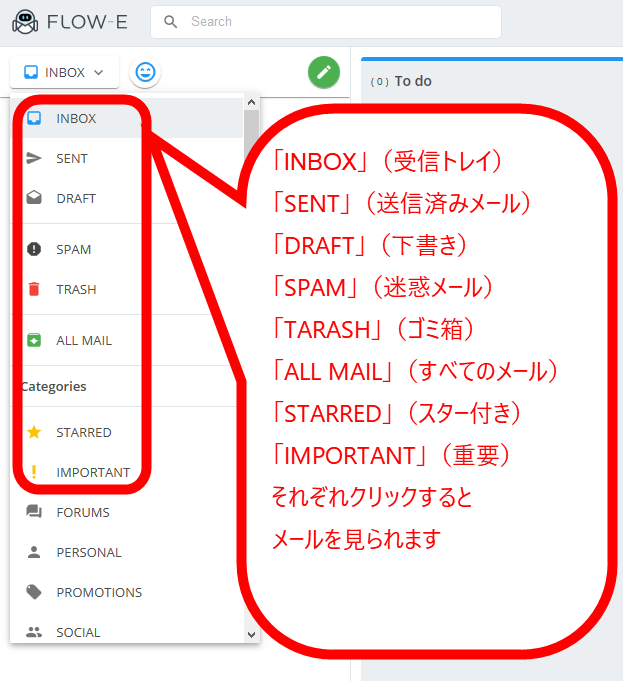
FLOW-e can manage mail of linked accounts. This time, since it is Gmail version, click "INBOX" at the left end upper part ... ...

A menu is displayed, and you can see the mail stored in each label of Gmail. "INBOX" is the inbox, "SENT" is mail sent, "DRAFT" is draft, "SPAM" is junk mail, "TRASH" is garbage can, "ALL MAIL" is all mail, "STARRED" "IMPORTAND" represents importance. Since the mail reception interval is several minutes, if you want to reflect it immediately, update the browser OK.
◆ Mail creation
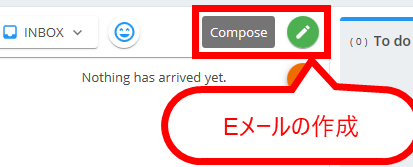
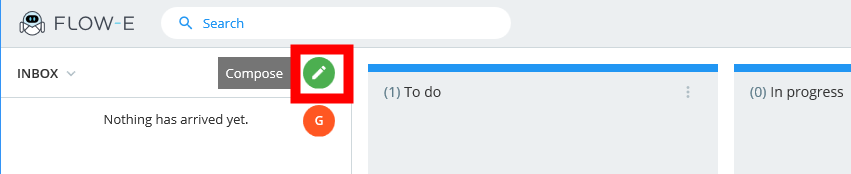
You can create a mail by clicking the pencil-shaped "Compose" icon on the right of "INBOX".
"Feed" on the left side is the default, "INBOX" is selected, so the mail in Gmail's inbox will be displayed.

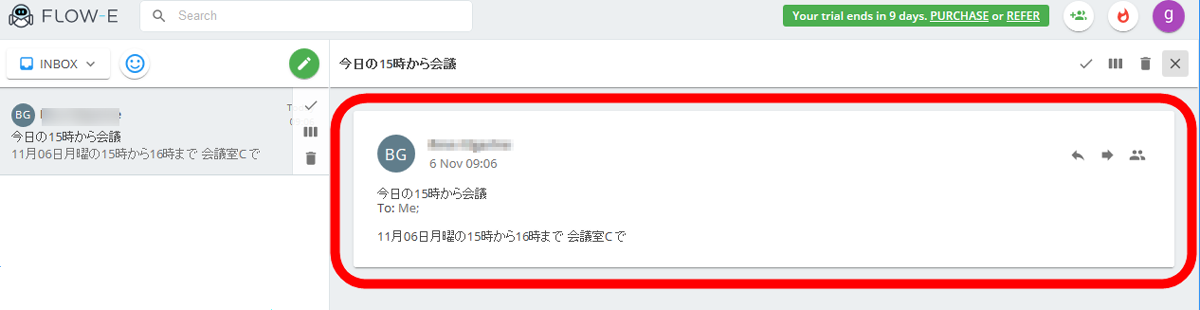
When you click the "feed" mail, the contents of the mail will be displayed in the center of the screen.
◆ Managing tasks by e-mail
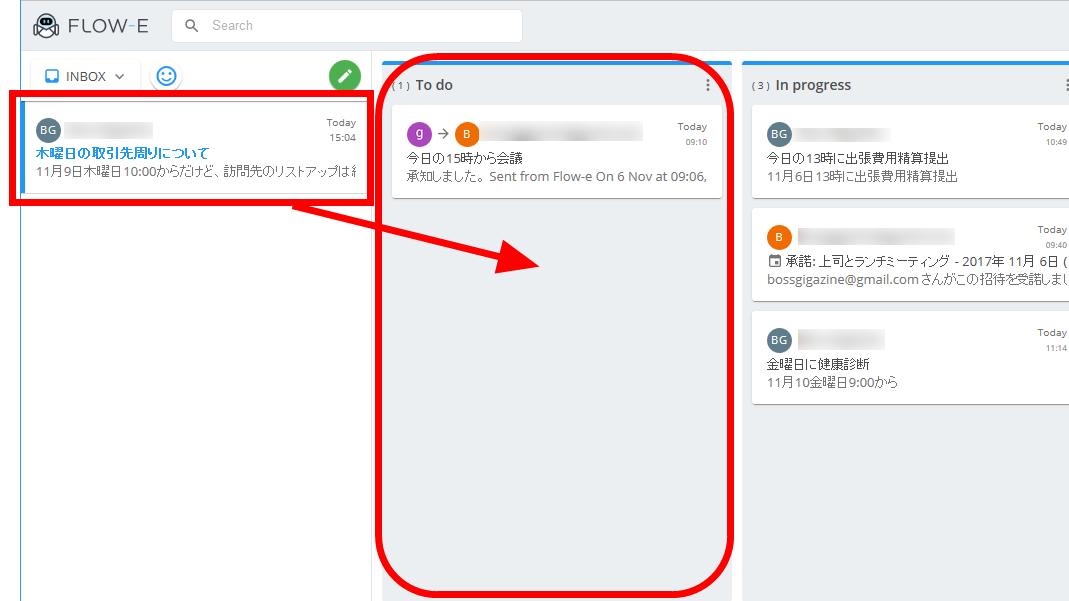
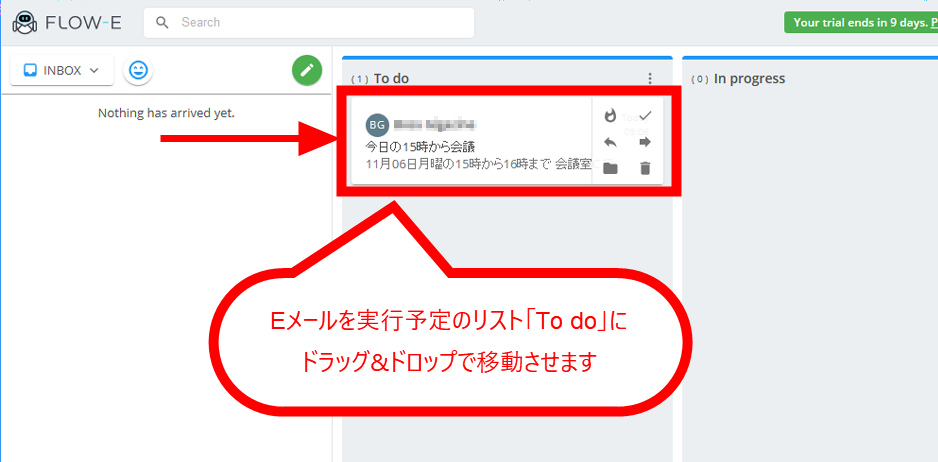
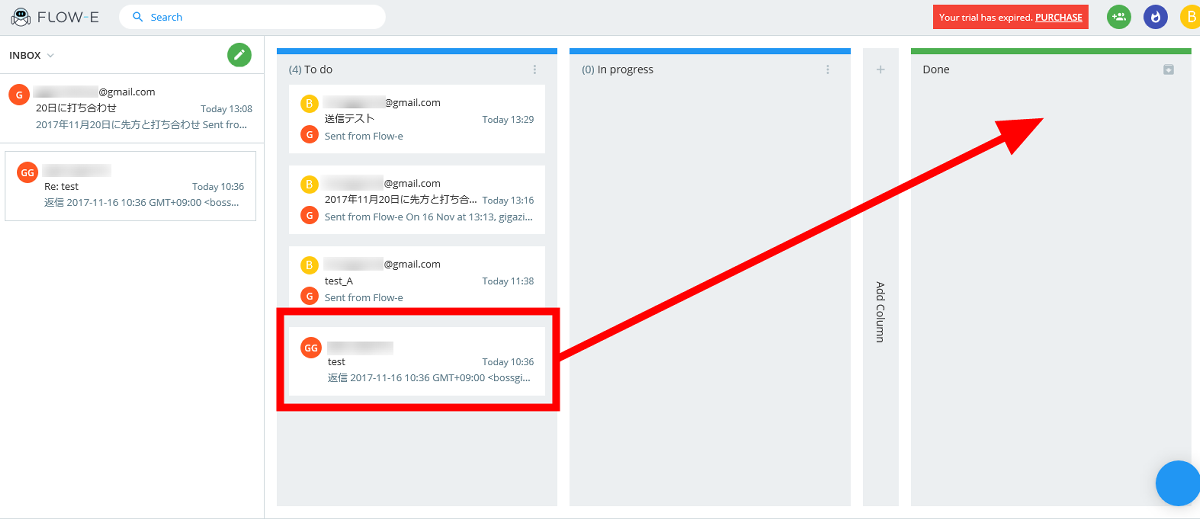
First, if the content of the mail is to be executed at a later date, drag & amp; drop it to the "To do" column. You can organize your mail so that you move cards like this. Please note that once moved from "INBOX" you can not return it.
◆ Add events to the schedule
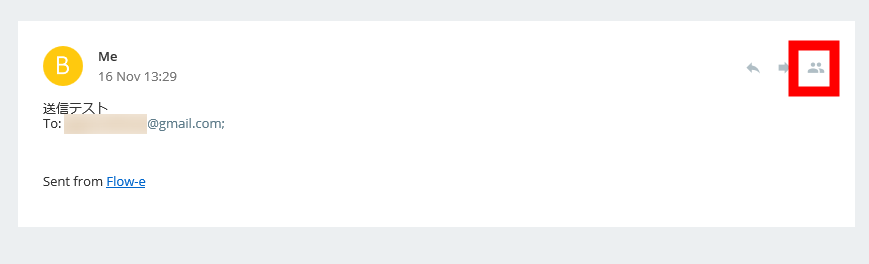
This time, since it is the Google version, schedule management uses Google calendar. Open the e-mail, click the icon "Schedule a meeting" in the upper right corner, shaped by people.

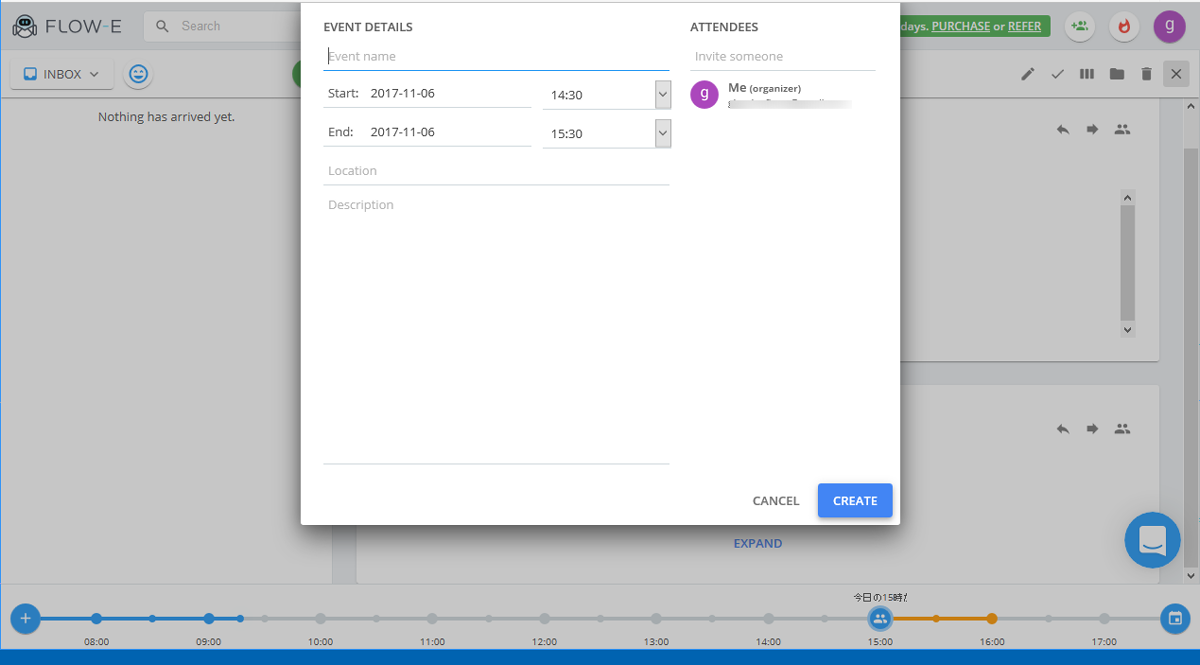
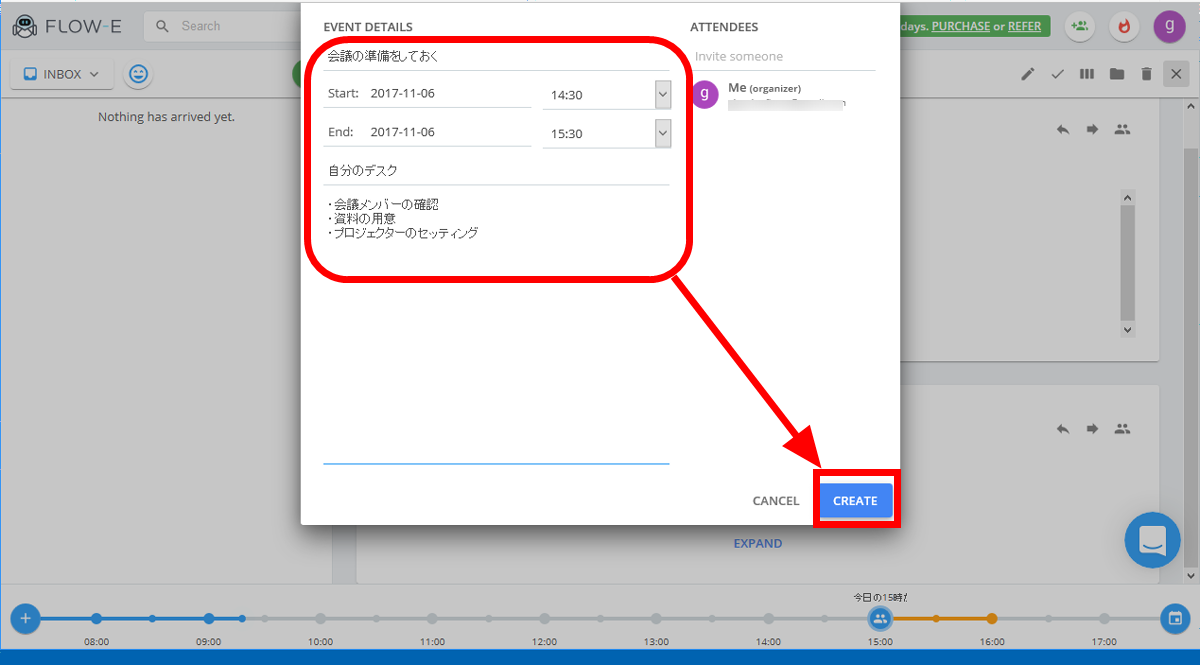
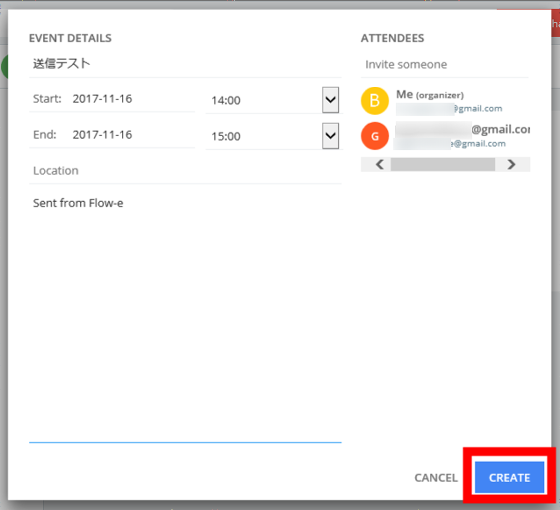
The "EVENT DETAILS" window opens to add events to the schedule.
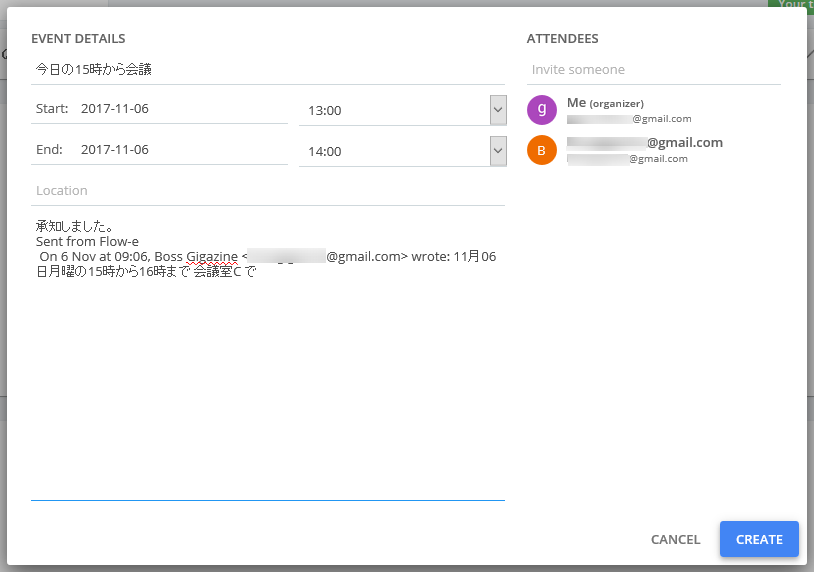
Enter the start time of the event as "Star", the end time as "End" and the location as "Location" in their respective places. The description content of the mail is already described in "Description", so enter it if you want to change it.
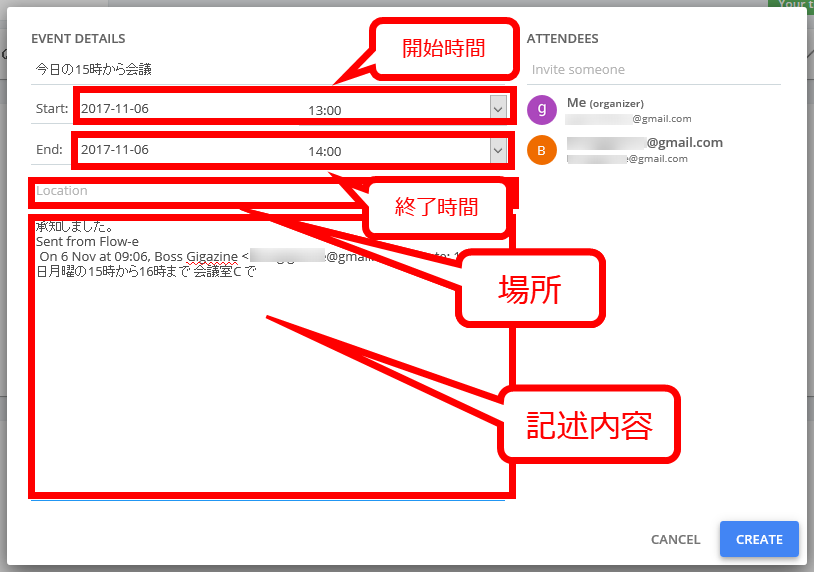
The start time and end time can only be set for 30 minutes, such as "~: 00" "~: 30".

To add attendees to the event, enter any participant name or email address in "ATTENDEES".

Click "CREATE" when setting of the event is completed.
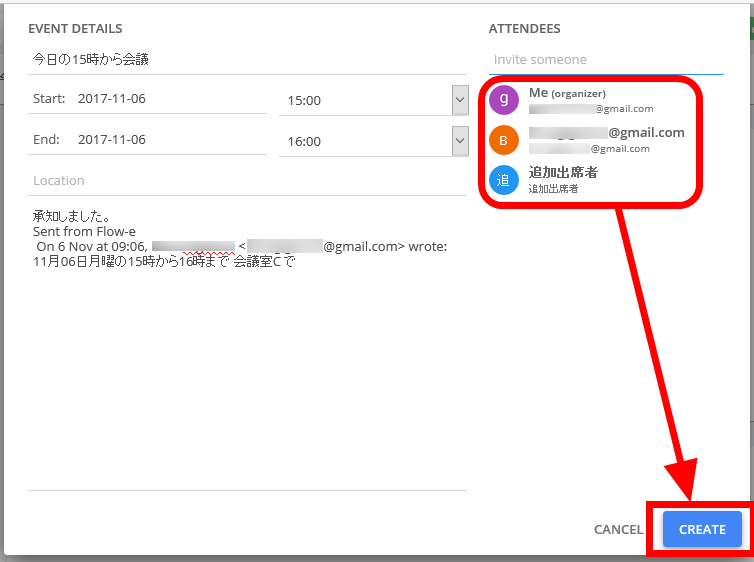
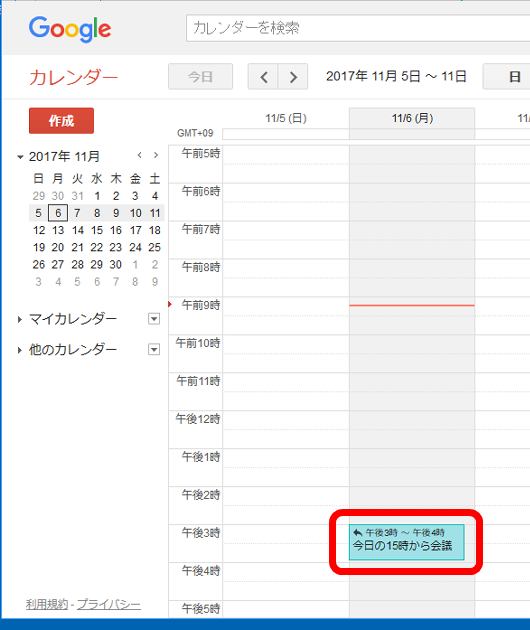
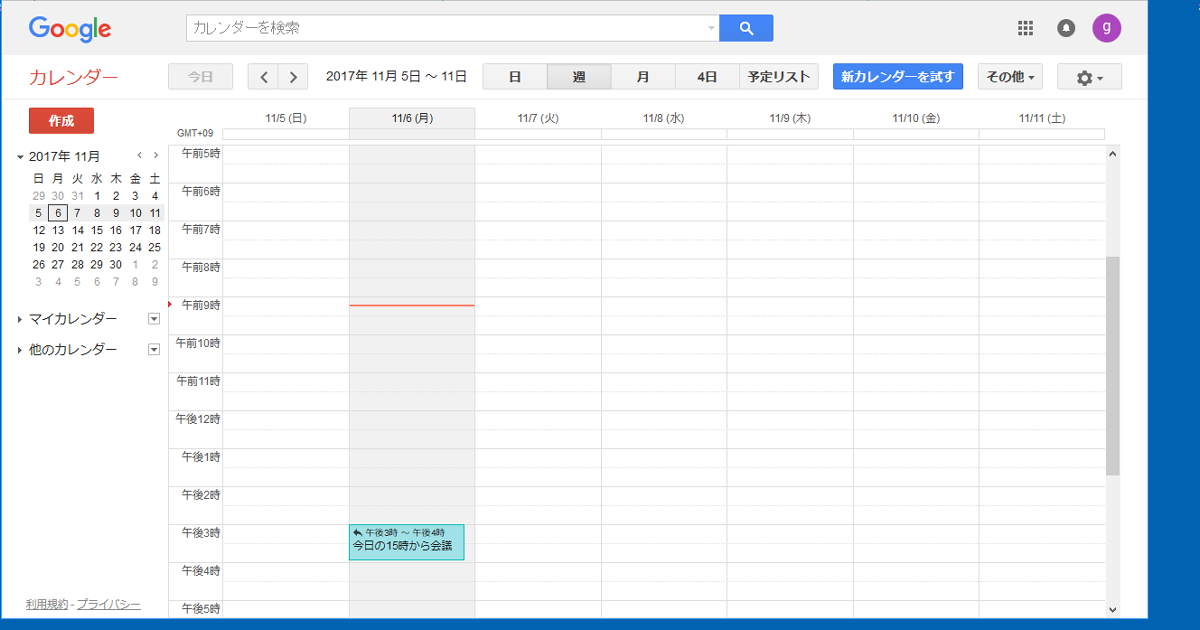
Event schedule was added to Google Calendar.
◆ Replying / Forwarding Mail
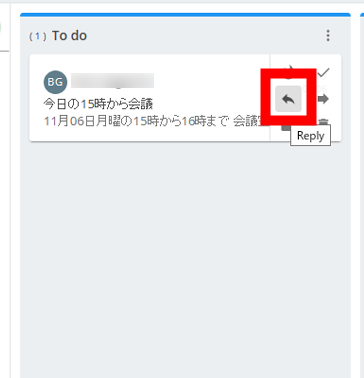
Click the "Reply" icon of the left-pointing arrow displayed on the left side of the middle row among the 6 icons displayed when you place the mouse cursor on mail.
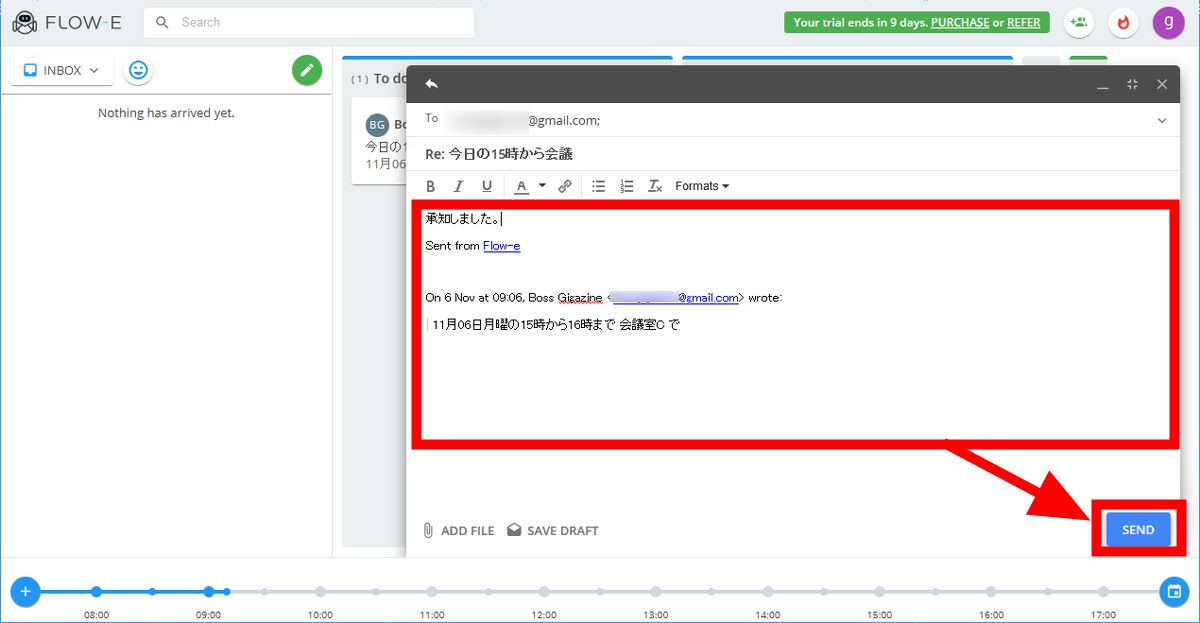
As the window for composing mail is displayed, when you enter the body text and click "SEND" ... ...
You can reply with Gmail's address.
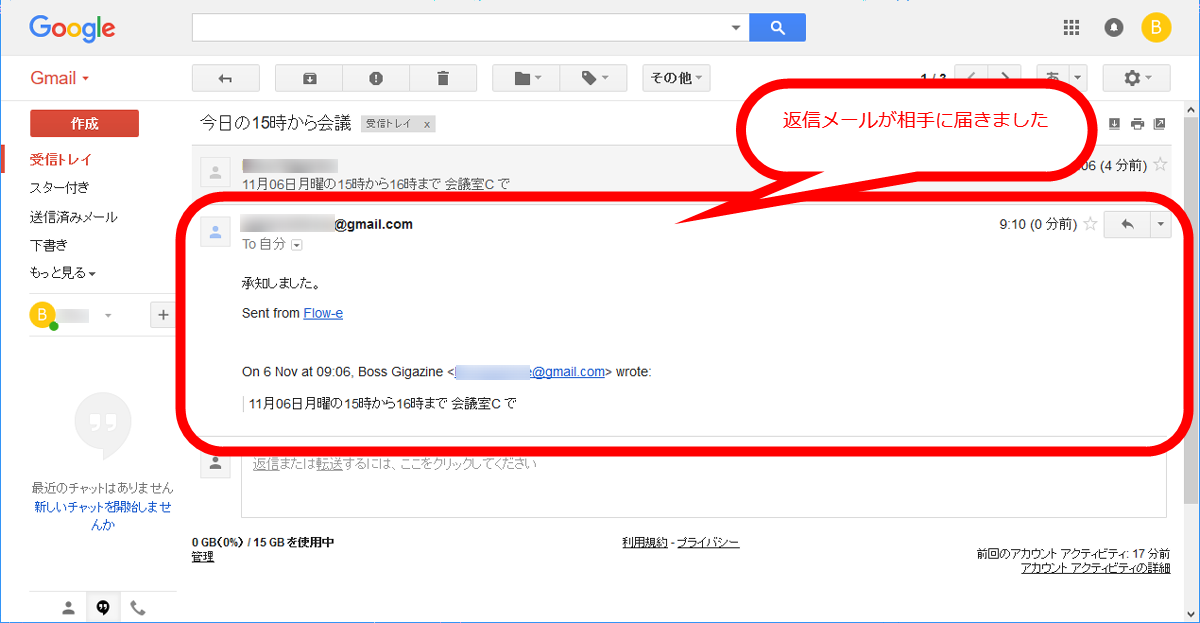
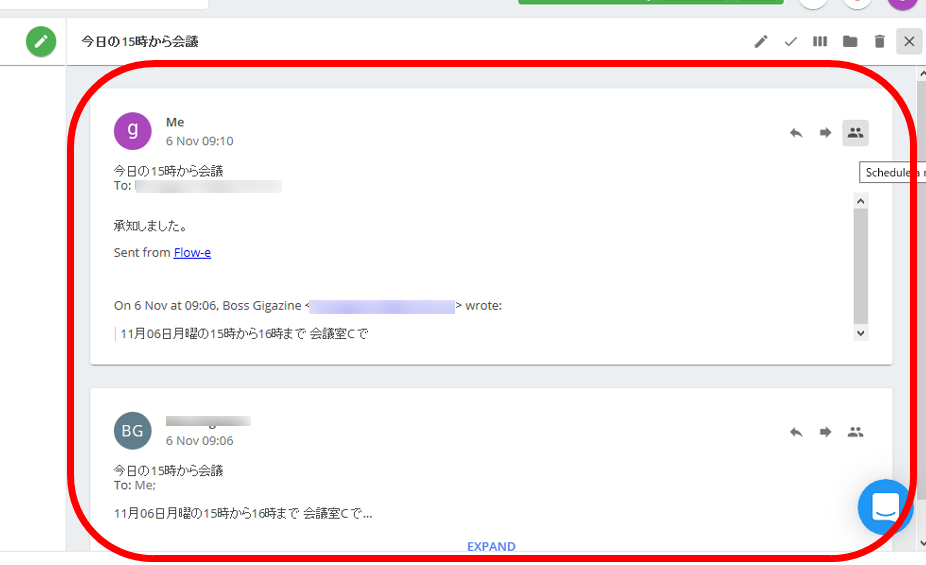
When the reply is completed, the display of the e-mail is updated, and the mail exchange is displayed with the arrow heading to the icon.

Received mails are displayed side by side like Gmail along with the reply mails.
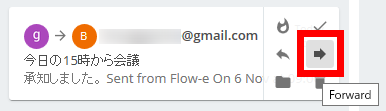
You can also forward mail by clicking the "Foward" icon in the right-pointing arrow.
◆ Finish the event
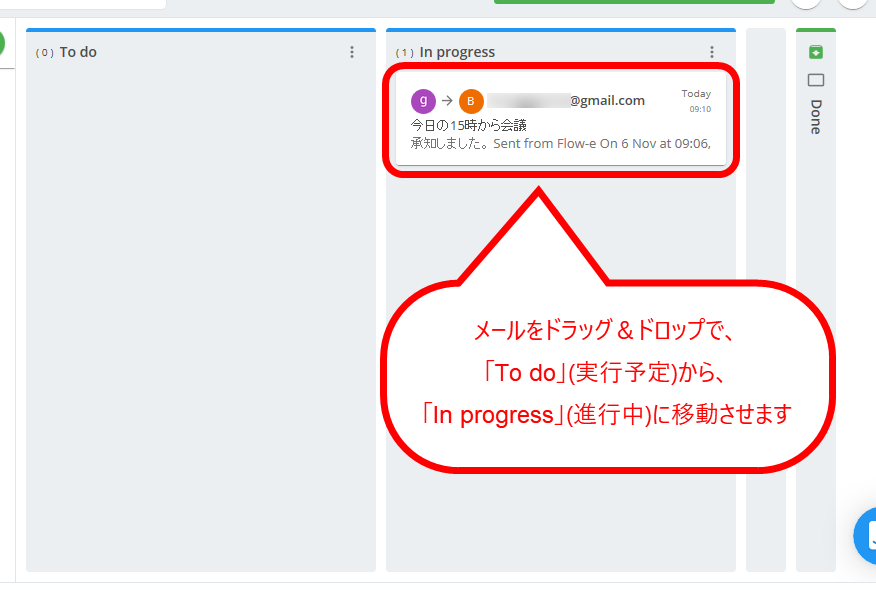
When the progress of the event progresses, drag & drop mail from "To do" (scheduled to execute) column ......
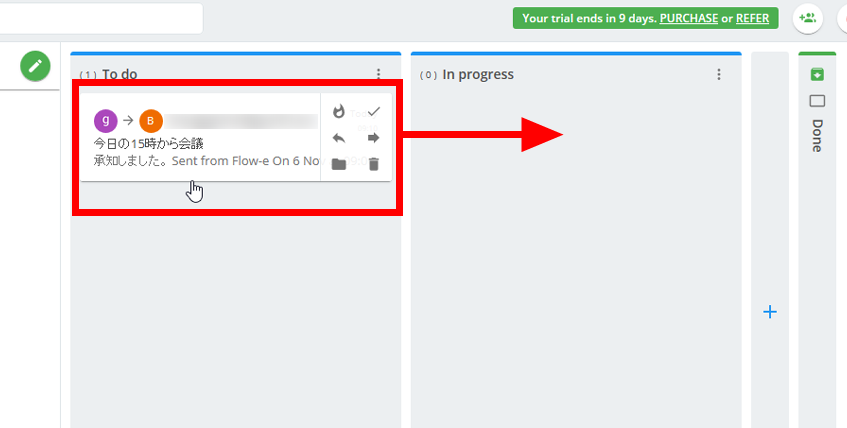
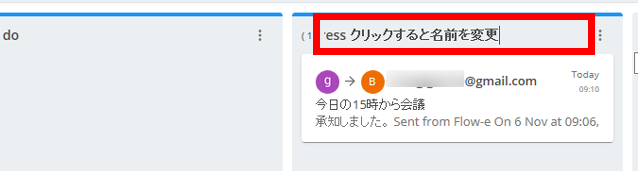
You can update the progress of the event by moving it to the "In progress" column.
You can click the name of the column and change it to any name.
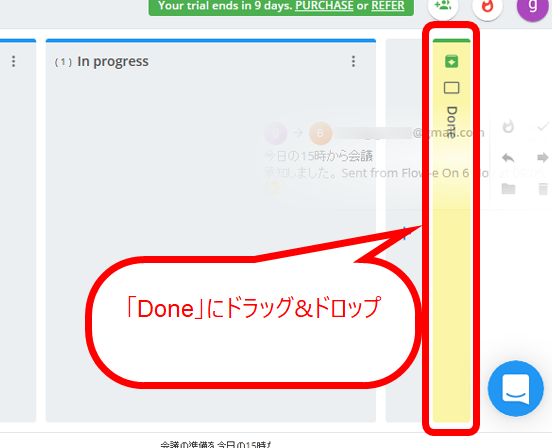
For completed events, click the "Mark done" icon in the form of a check mark ......
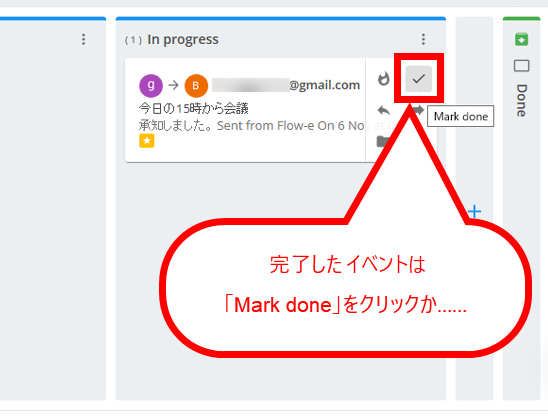
Move to the "Done (Completed)" column by drag & amp; drop, etc., the event will be handled as completed and the mail stored in Gmail will be archived accordingly.
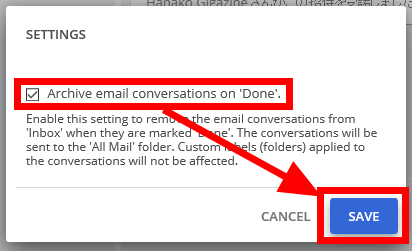
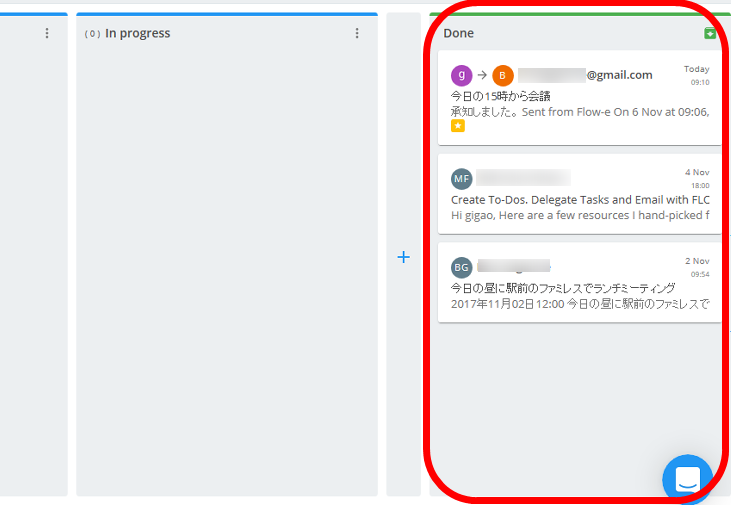
If you move the "Done" column,
To archive
If you would like to change what you want to set as, please check and put "SAVE".
If you click the "Expand" icon in the "Done" column ......
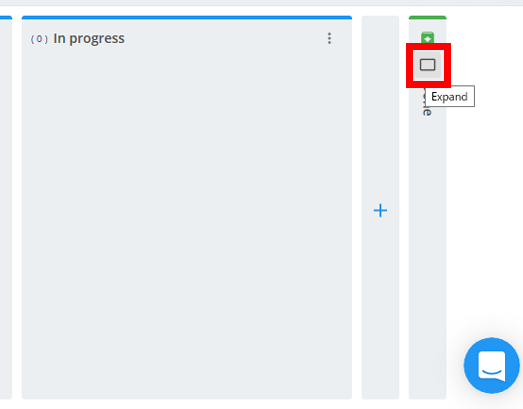
You can open and check the "Done" column and you can move mail back to another column such as "To do" or "In progress" by drag & amp; drop.
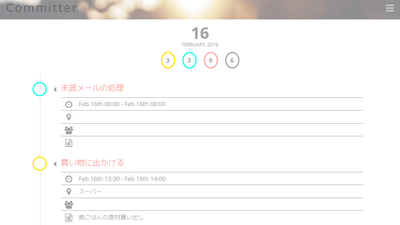
◆ timeline
A timeline (timeline) is displayed at the bottom of the screen and you can see at a glance the start time and end time of the event scheduled today.

timeline can intuitively add events of the day. Click the "+" icon at the left end or click on any time ......
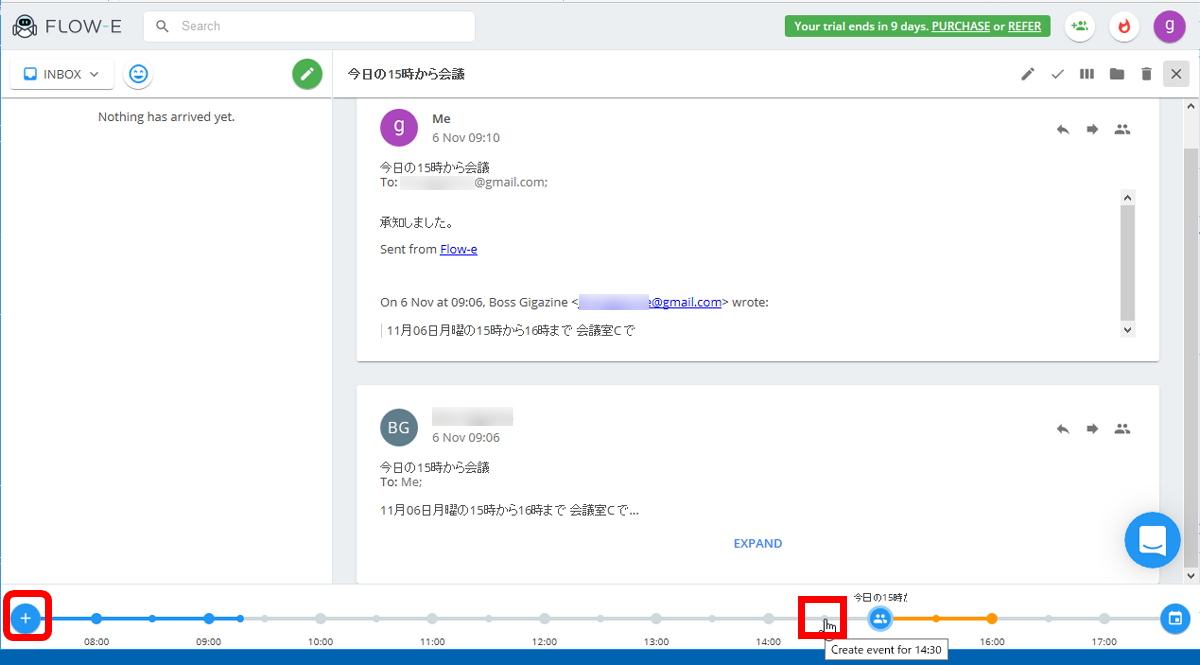
You can create an event in the "EVENT DETAILS" window. If you click on an arbitrary time, that time will be set.
The set event is immediately reflected in the timeline. For example, I will add an event at 14:30 on the same day (November 06, 2017).
The schedule of the event was reflected in the timeline.

Otherwise, clicking the "Open calender" icon on the right side of the timeline ... ...

Since the Google Calendar of this week is displayed on another tab of the browser, it is possible to confirm and create future schedule with one click.
◆ Power - Ups
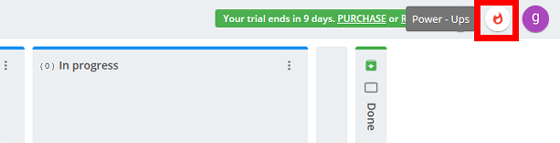
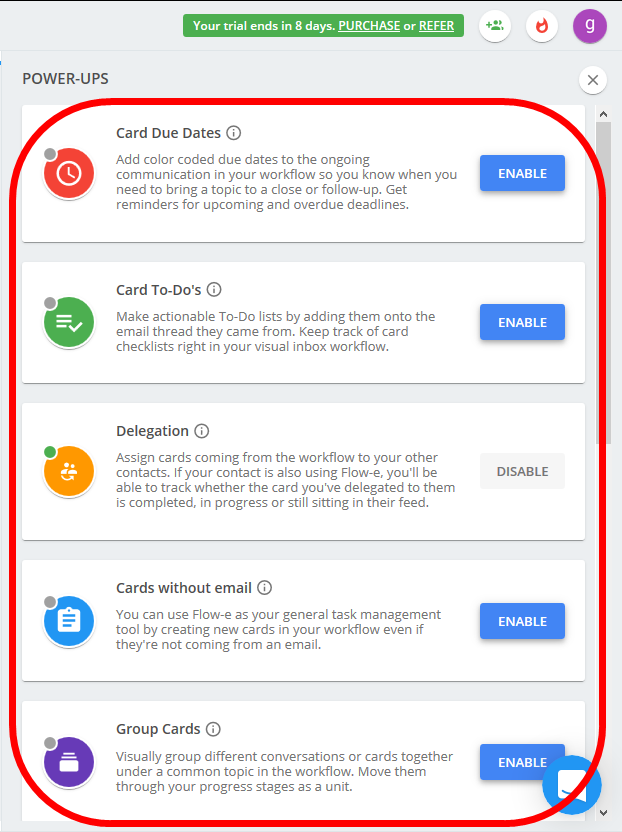
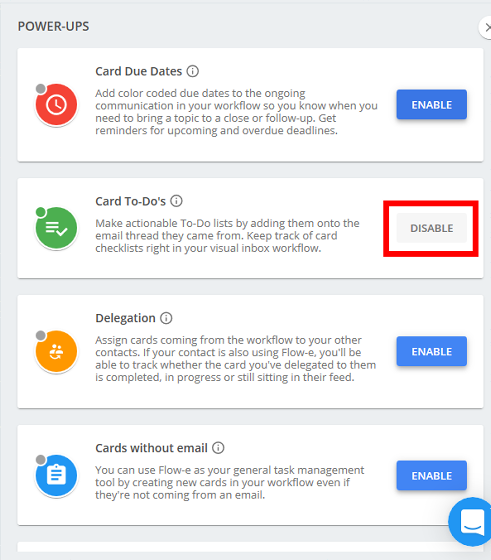
We add various functions to FLOW-e. "Card To-Do's" (add checklist) "Delegation" (Notify when another user deletes the card) "Card Due Date" displayed at the top of the screen for the paid version "Cards without email "(Create card without e-mail)" Group Cards "(Display cards group by group) and 5 types under development. This time, I'll take up just a part. To introduce, click the "Fire - like" Power - Ups "icon in the upper right part of the screen.
The function to be added to FLOW-e is displayed, and click "ENABLE" to add it.
· Card Due Dates
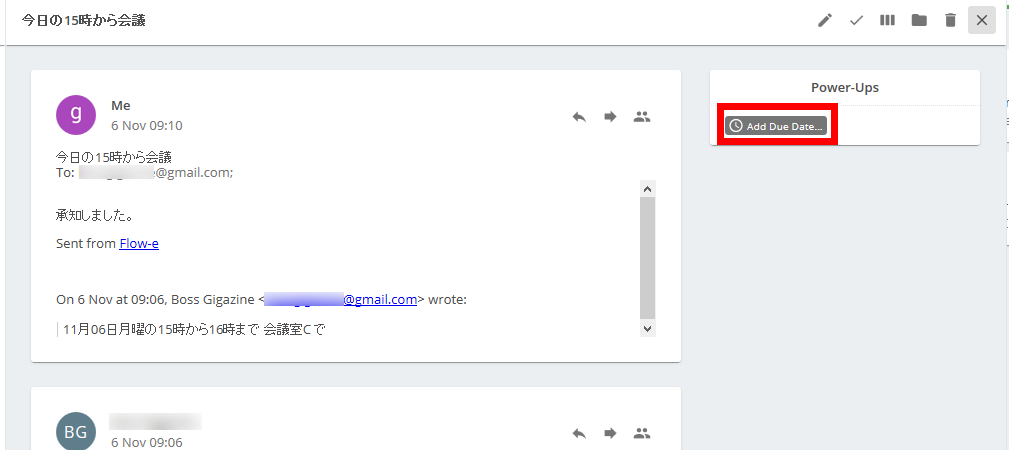
Adding the "Card Due Dates" feature adds a deadline to the mail.

Click "Add Due date" at the top right of the contents of the mail.
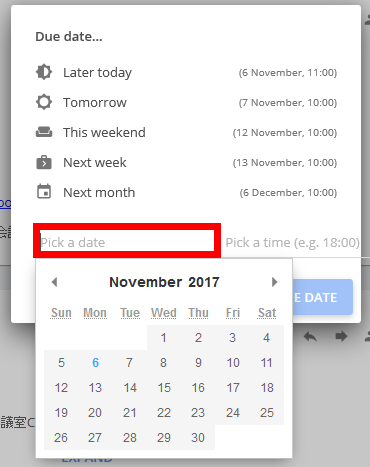
You can set the deadline from the top as 'Later today', 'Tomorrow', 'Next week', 'Next week', 'Next month', any date and time If you want to set a deadline for ... ...

In the lower input form, enter any date with "Year 4 Digit - Month 2 Digit - Day 2 Digit" or click on the date of the calendar to be displayed.
After setting, click "SET DUE DATE".
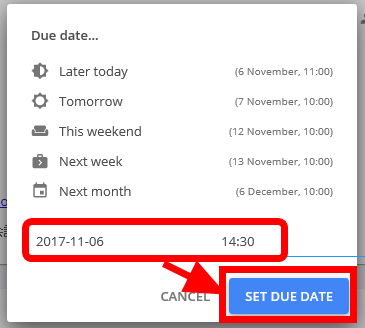
The deadline has been set. Before the deadline, you will be reminded to use the email function of Google Calendar.

· Card To-Do's
By adding "Card To-Do's" function, you can add a checklist to the mail.
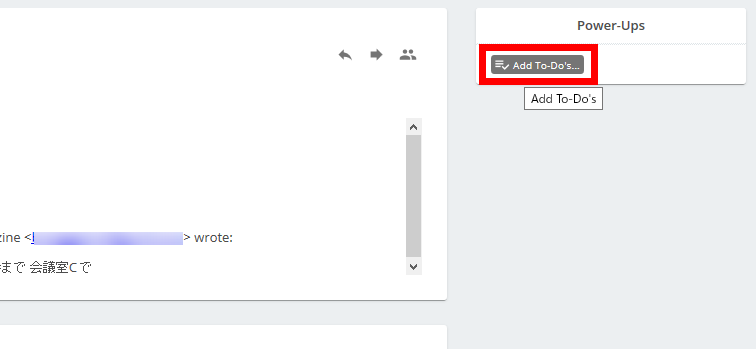
Click "Add To-Do's" added at the top right of the email.
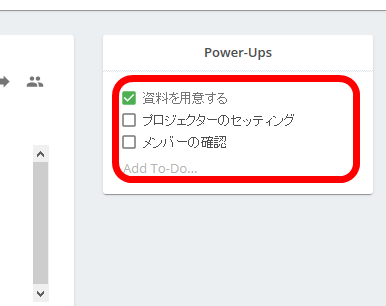
Enter any checklist items.
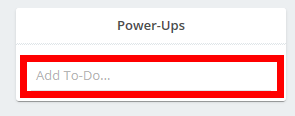
By pressing the Enter key you can create checklist items.
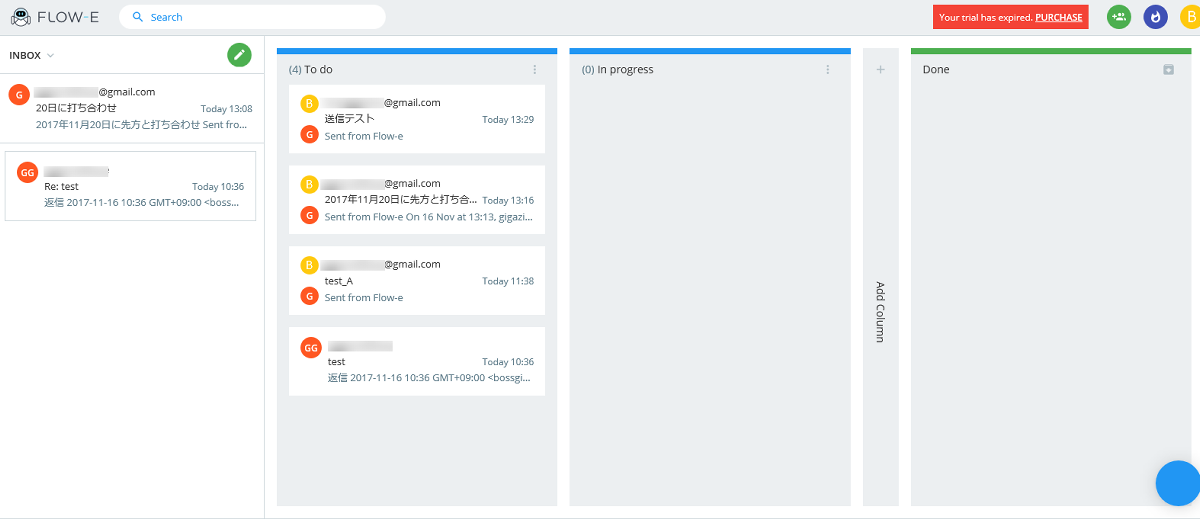
◆ Function restrictions after free trial ends
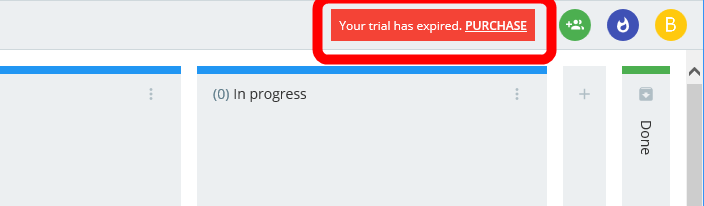
When the free trial is over, the schedule management function is greatly limited.
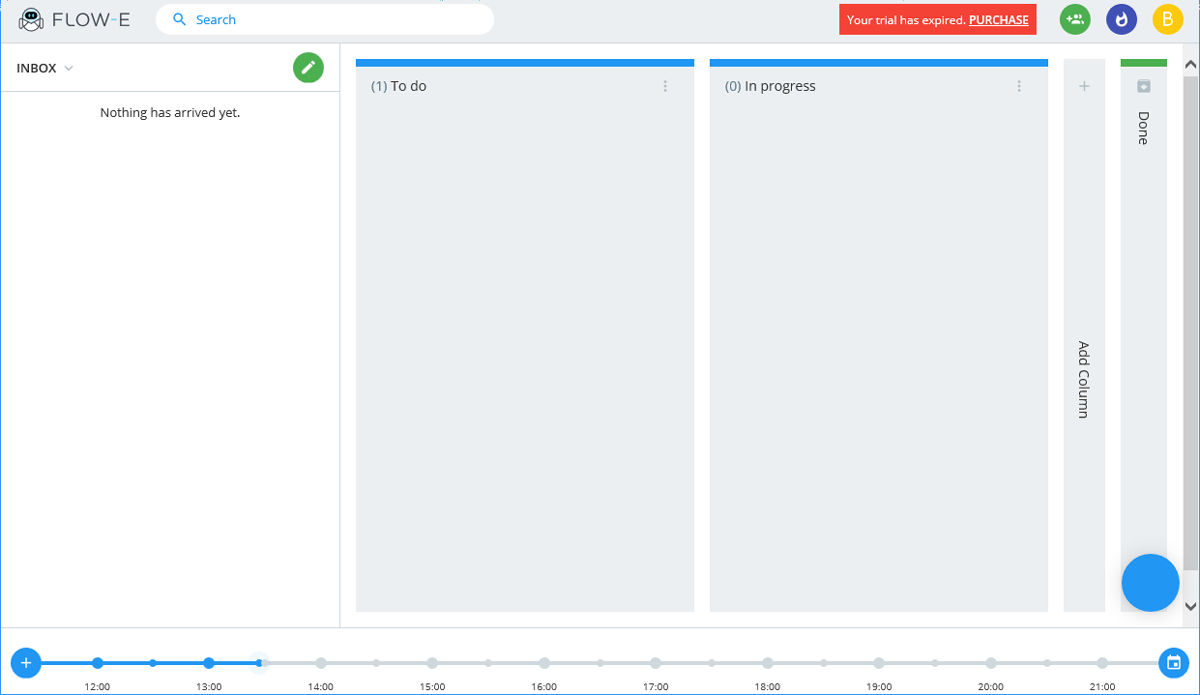
Next to the account icon, the red callout displays "Your trial has expired.PURCHASE" (your trial period has expired, purchase here).
I will try to send a mail. Click the pencil icon on 'feed'.
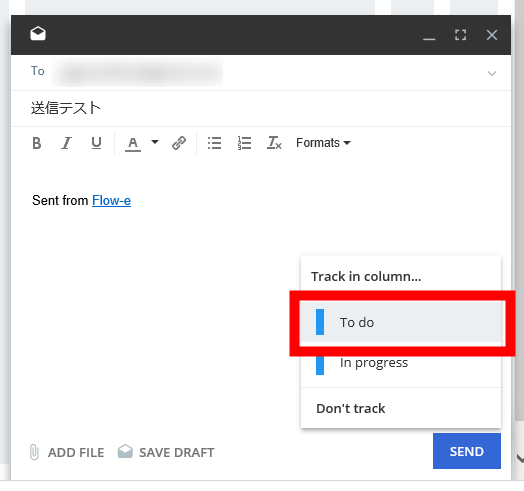
I will send a mail and add a column for "To do".
I was able to send it. I will try to create an event from the mail.
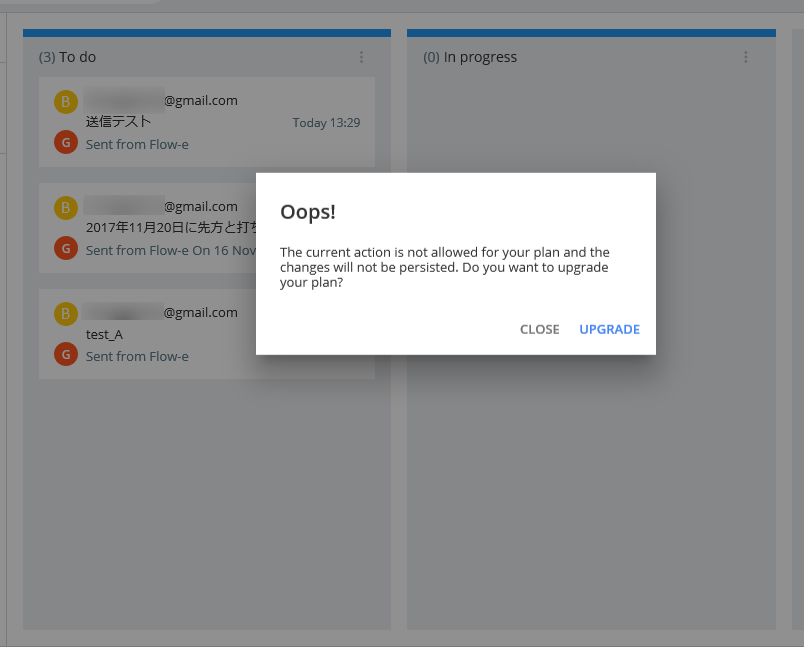
Click "CREATE".
Instead, a message was displayed. "Oops! The current action is not allowed in your plan, but, the change is not permitted Is it possible to change plan?) And an event could not be created.

Next, let's move the mail to the column of the archive.
The same message was displayed. Apparently, every time the action is restricted, it appears to be displayed.
Afterwards, every message moved, although attention was displayed, all messages could be moved to the columns of the archive.
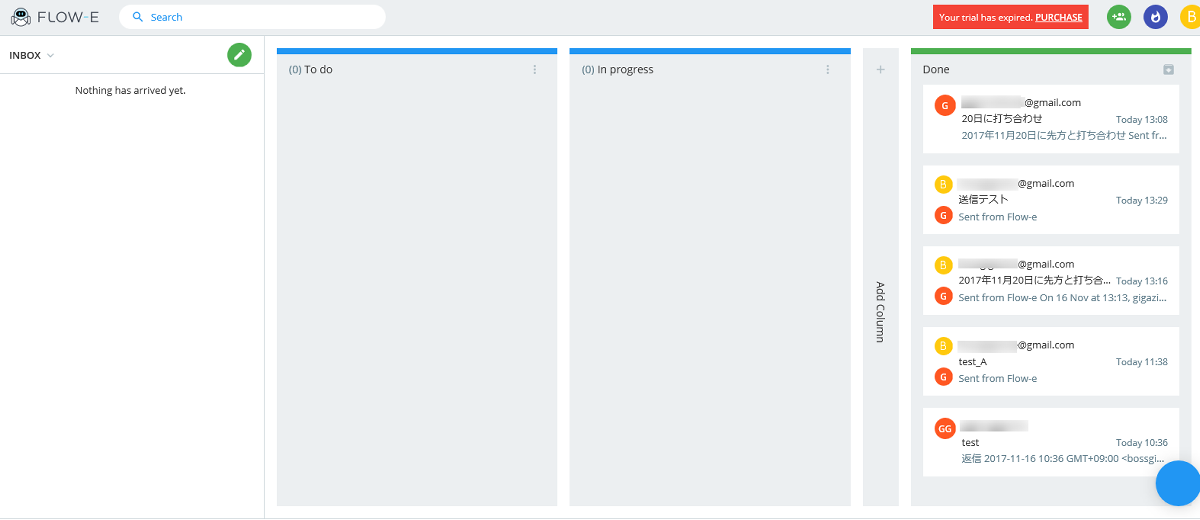
However, when updating the browser, all the archived mails returned to their original columns. Even if you continue to use FLOW-e free, it is difficult to manage enough tasks, and if you want to continue using it even after the free trial is over, it seems good to switch to Master account.
Related Posts:


in Review, Web Service, Web Application, Posted by darkhorse_log