"Slideship" that you can easily create a presentation slide in free markdown format

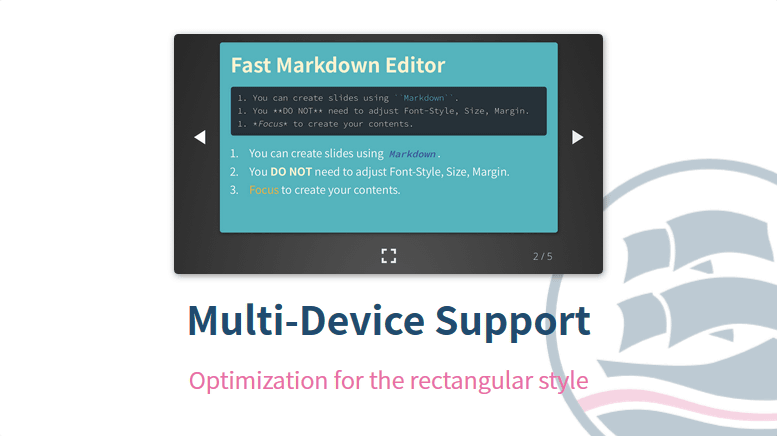
MarkdownFree slide creation · publishing service that can create slides in (markdown) format is "Slideship"is. Since the user can focus on the content of the slide without concern for the style, size, margin etc of the font, I tried using it at once.
Slideship.com
https://slideship.com/
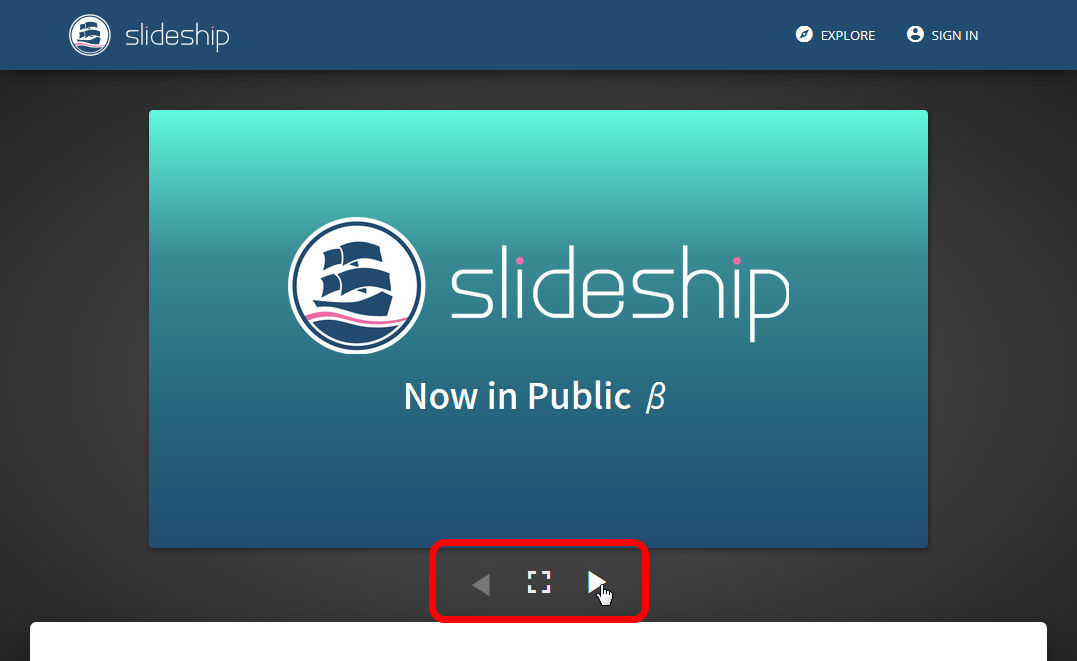
Service introduction slide is embedded in slideship's top page, you can check the slide by clicking the red frame part.
Slideship can also show programming code clean.
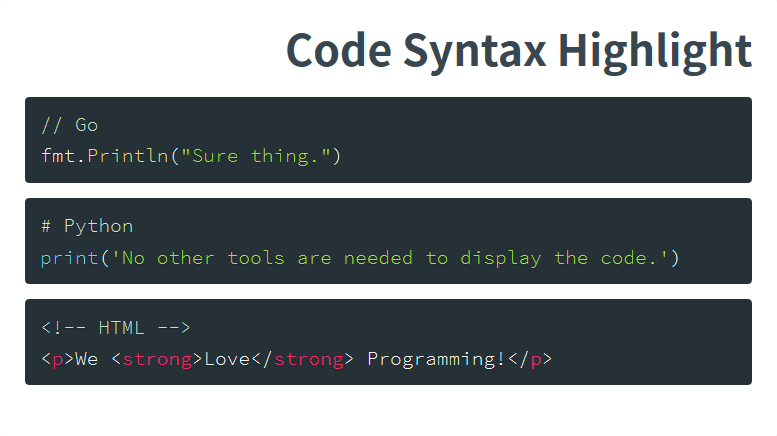
Of course, there are multiple styles available, so you can choose your favorite style.

Not only programming code but also mathematical expressions can be displayed neatly.
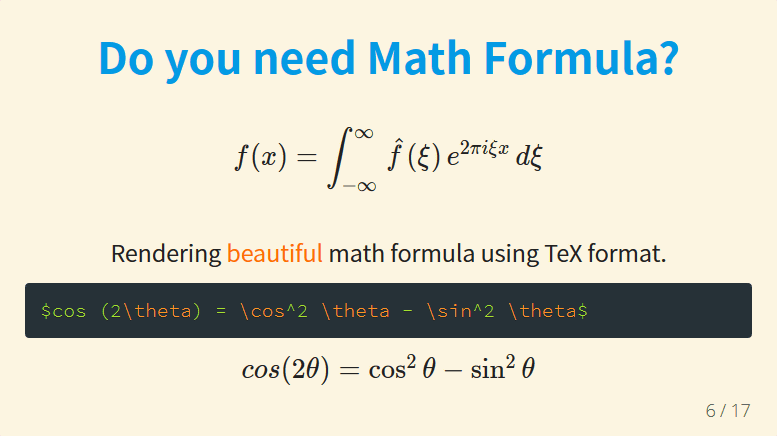
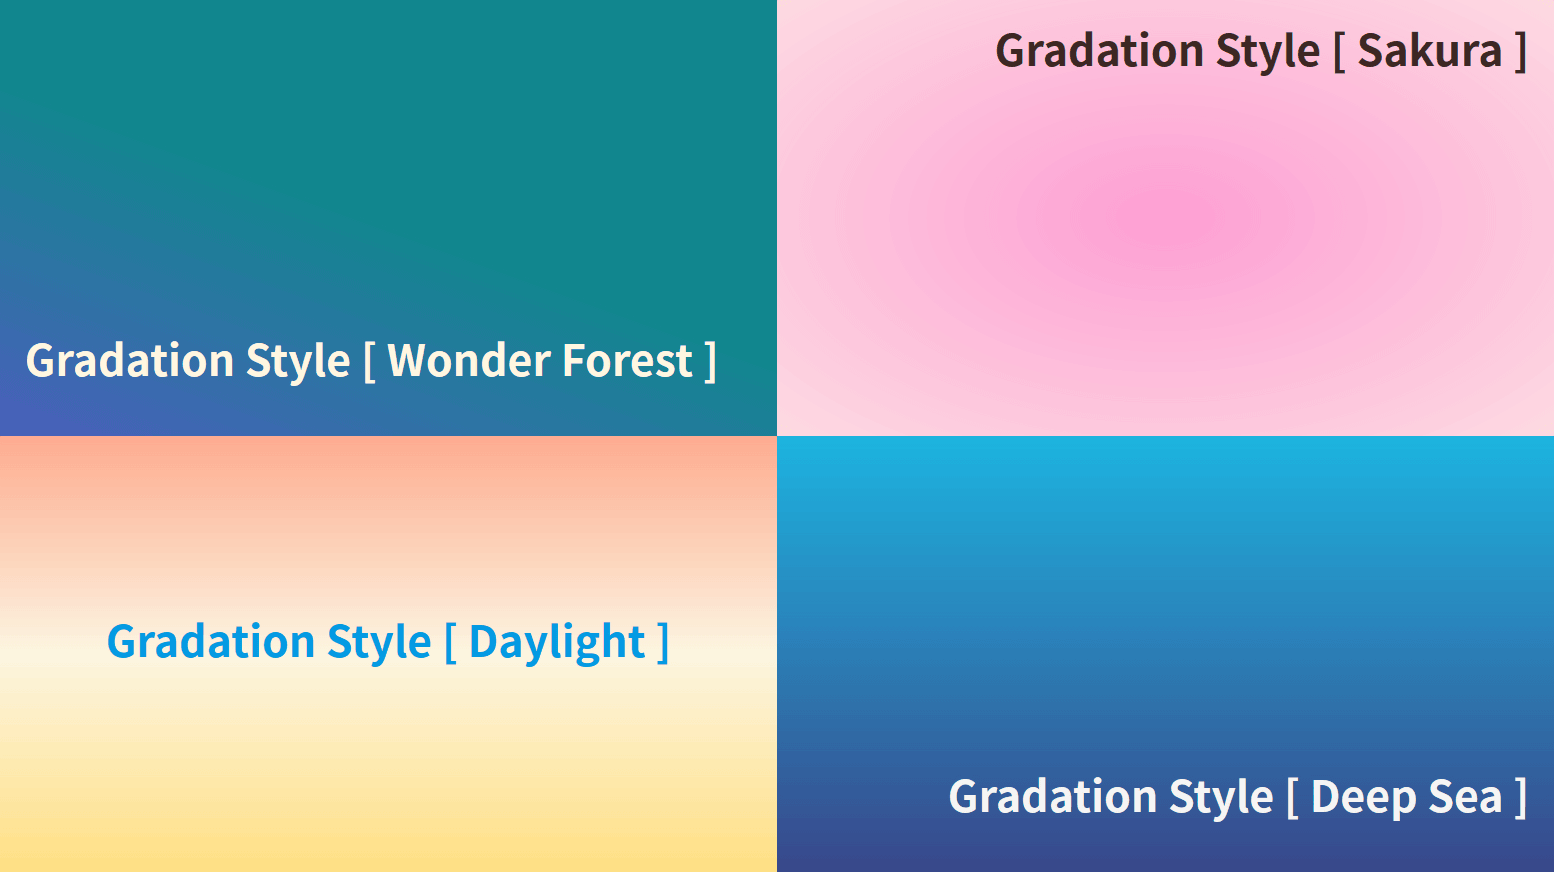
In addition, there are gradations on the slide background other than plain.
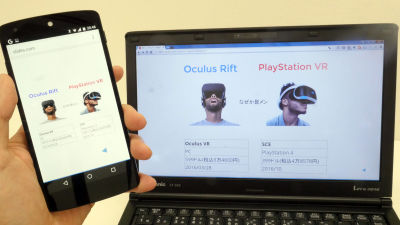
Since it is an application to use from the browser, it supports multi-device.
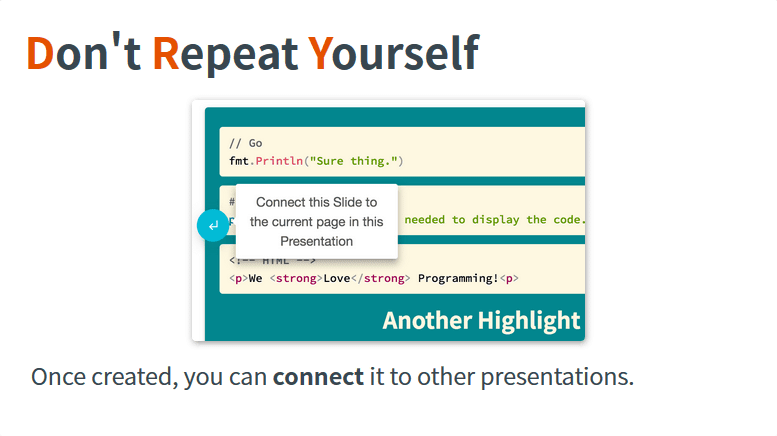
It is also possible to link from a slide to a slide created with another slideship.
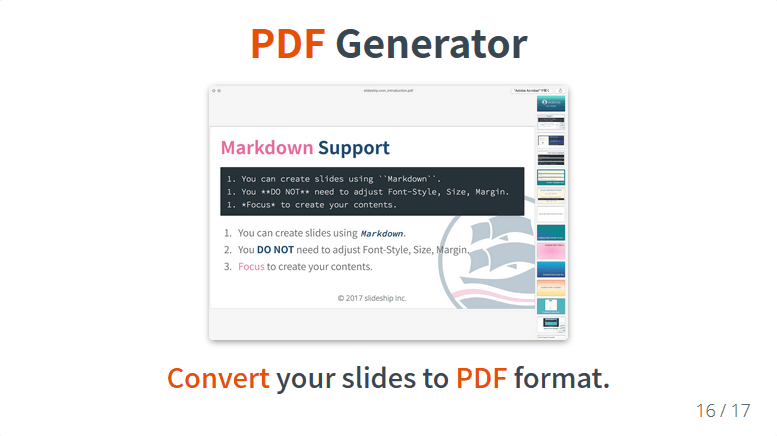
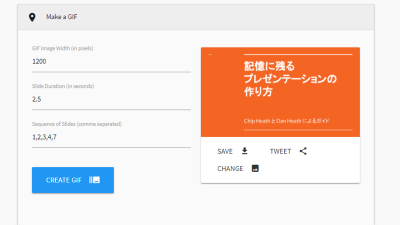
You can also download the created slides in PDF format.
◆ I actually used it
The rules of markdown notation used for slide creation are introduced in detail on the following page, so please check out those who say "I do not know markdown in the first place".
Markdown Notation · Japanese Markdown User Association
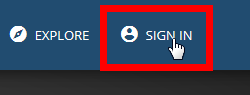
First, access slideship and click "SIGN IN" at the upper right of the screen
Since slideship can not be used unless it cooperates with GitHub's account, click "CONNECT WITH GITHUB"

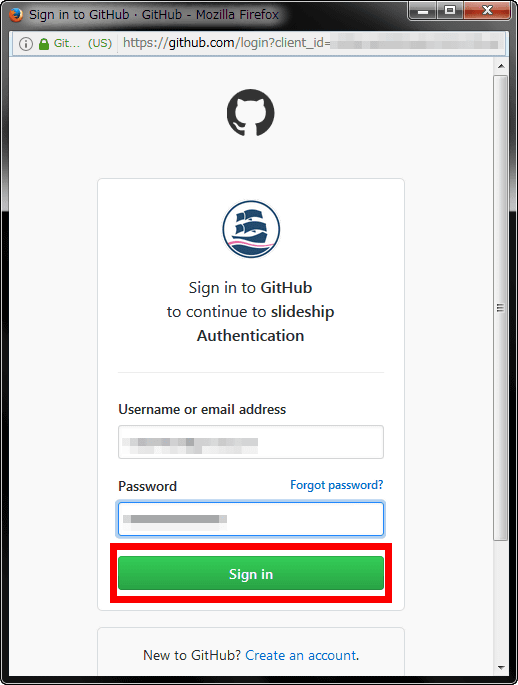
Enter account information of GitHub account and click "Sign in"
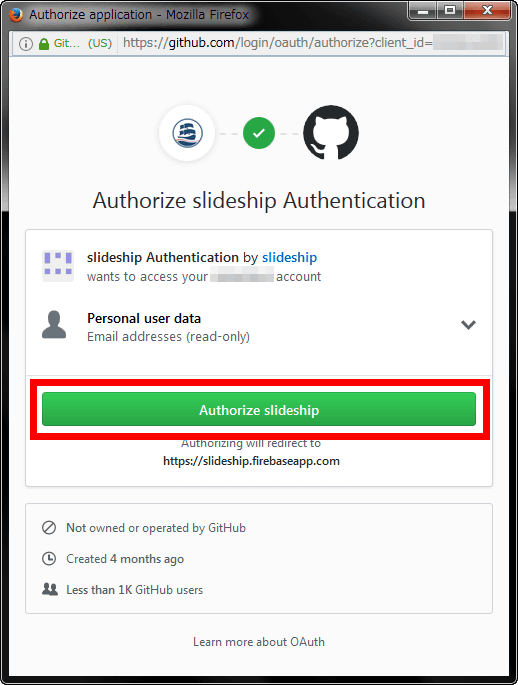
Click "Authorize slideship"
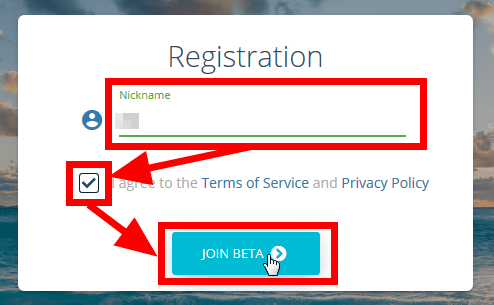
For first time use, enter your nickname, check it and click "JOIN BETA".
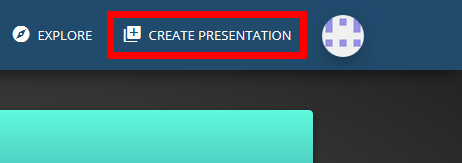
Then, we return to the top page of slideship, but the part written as "SIGN IN" has changed to "CREATE PRESENTATION". Click on this.
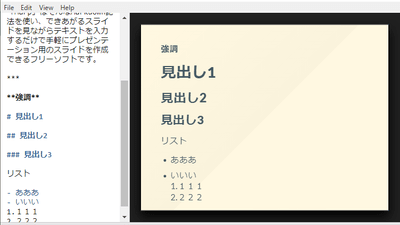
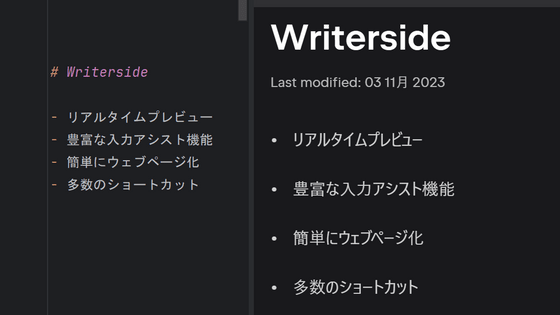
This is the slide creation page of slideship
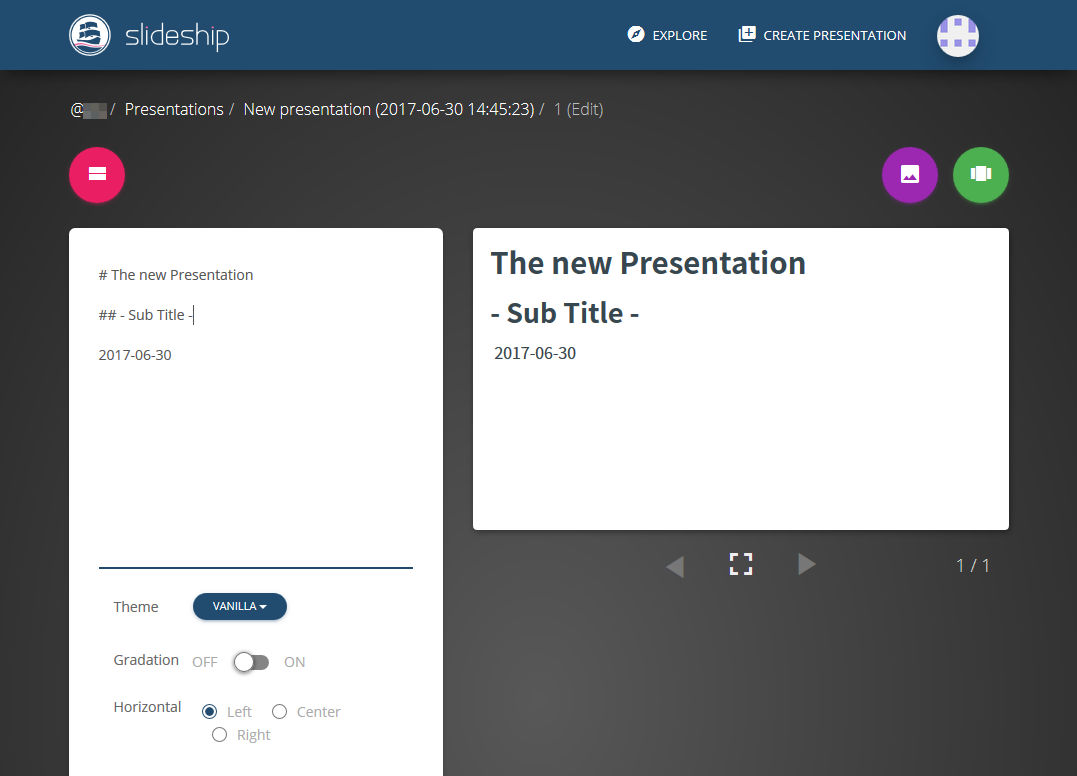
When text is entered in the markdown notation on the red frame part on the left side of the screen, it is reflected on the screen right.

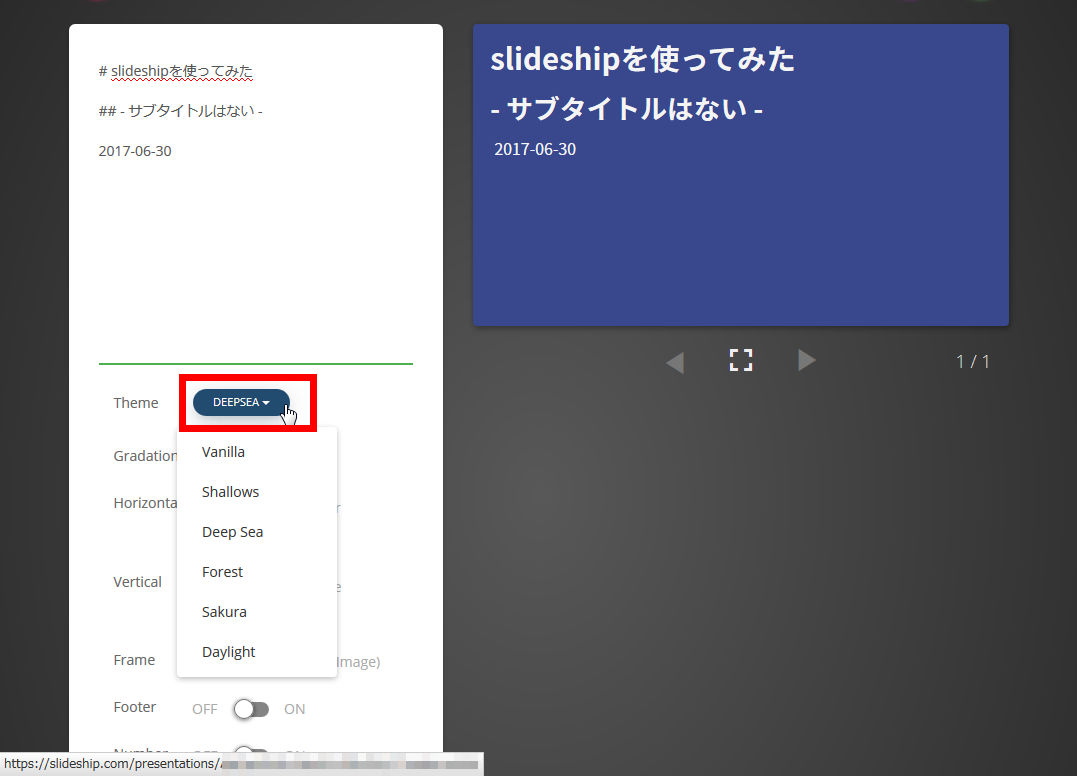
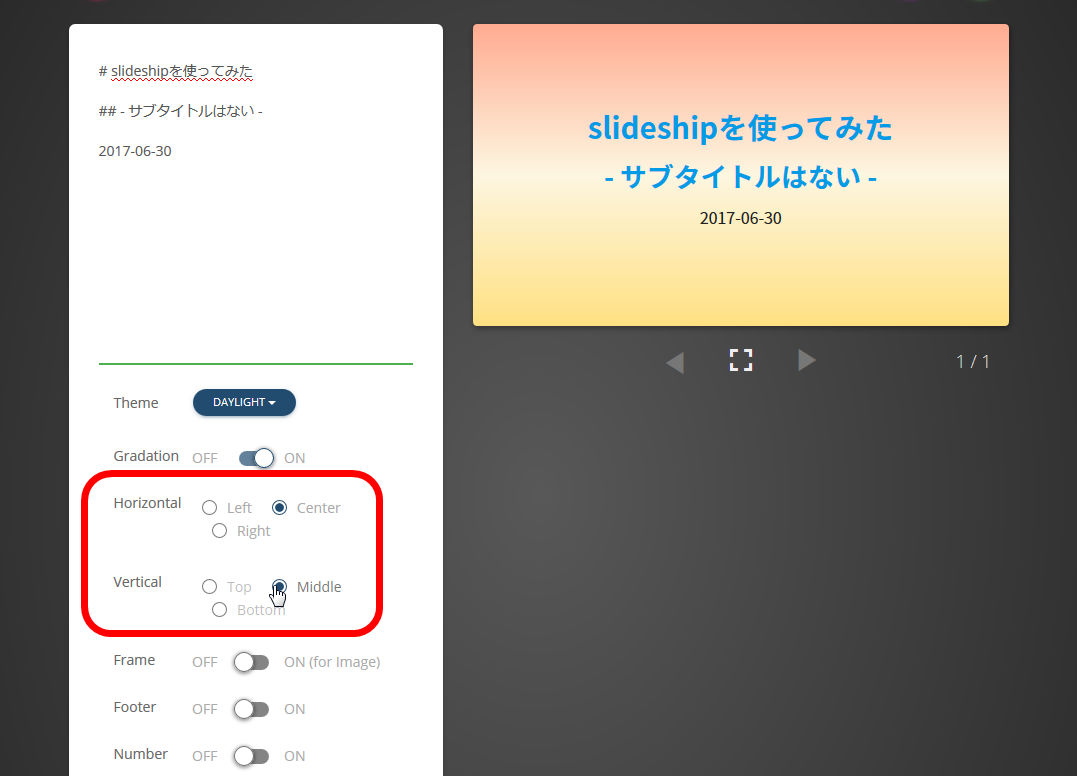
Below the text entry area are options to change the look of the slide. For example click "Theme" to change the slide background.
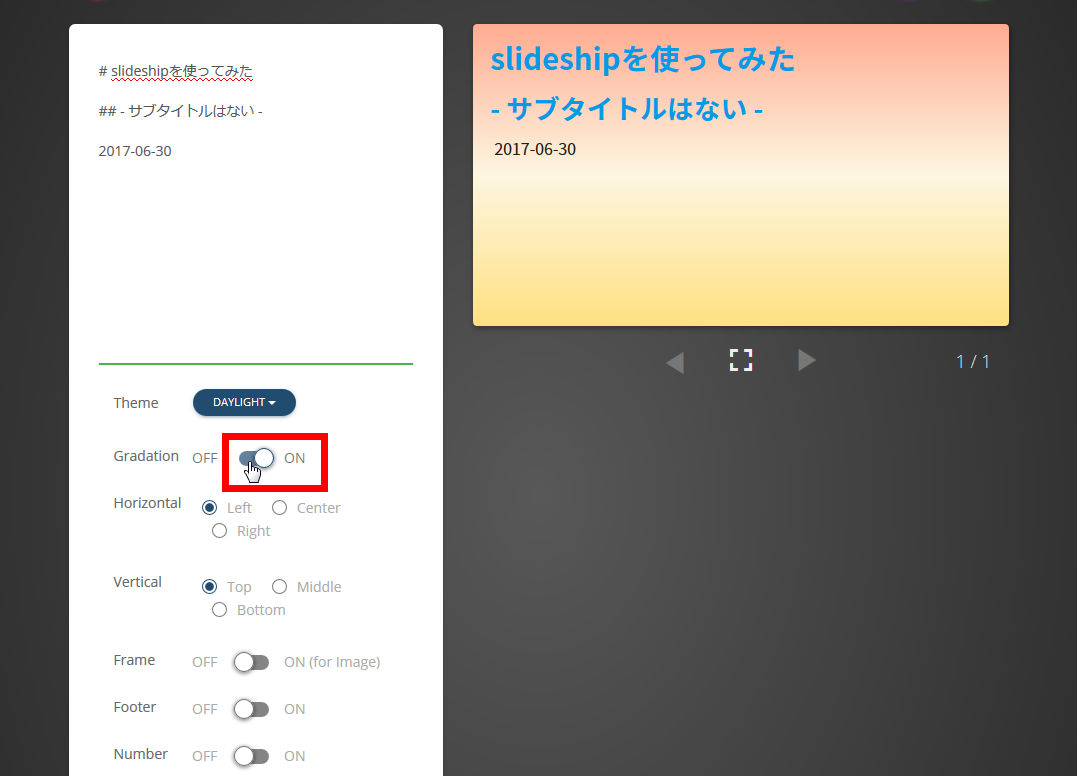
If you turn on "Gradation" underneath it, the background will be gradated.
In "Horizontal" and "Vertical" you can change the placement rules of letters by right-aligning the text, aligning it left, or centering it.
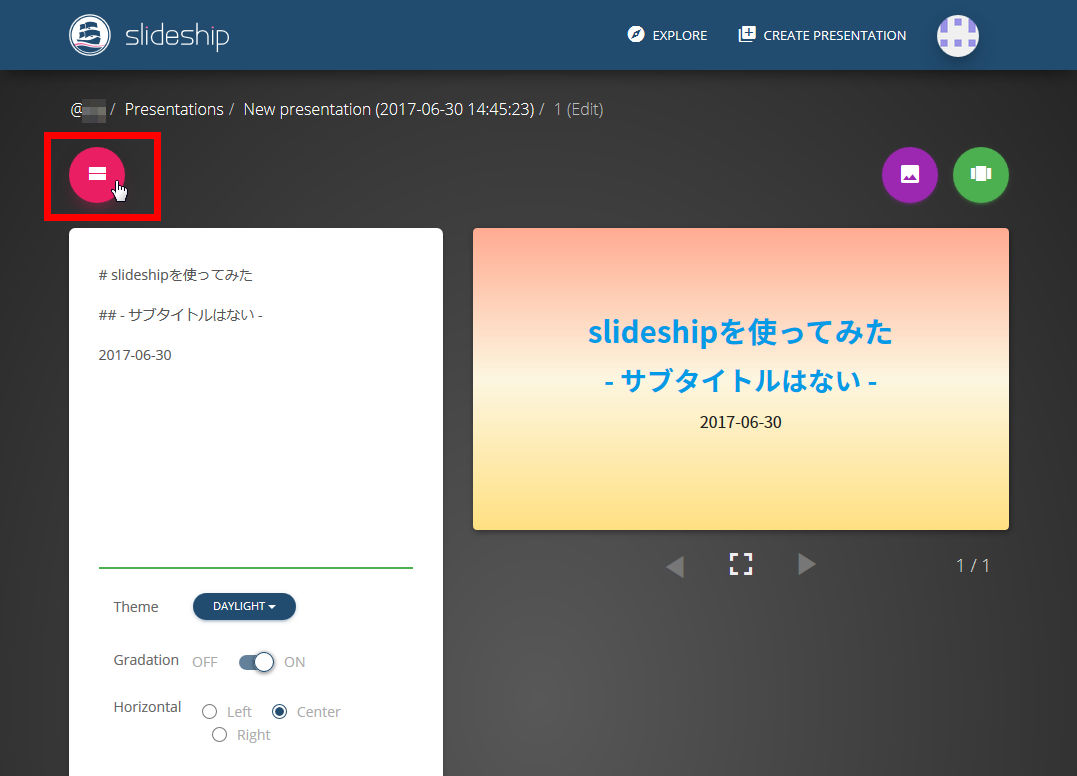
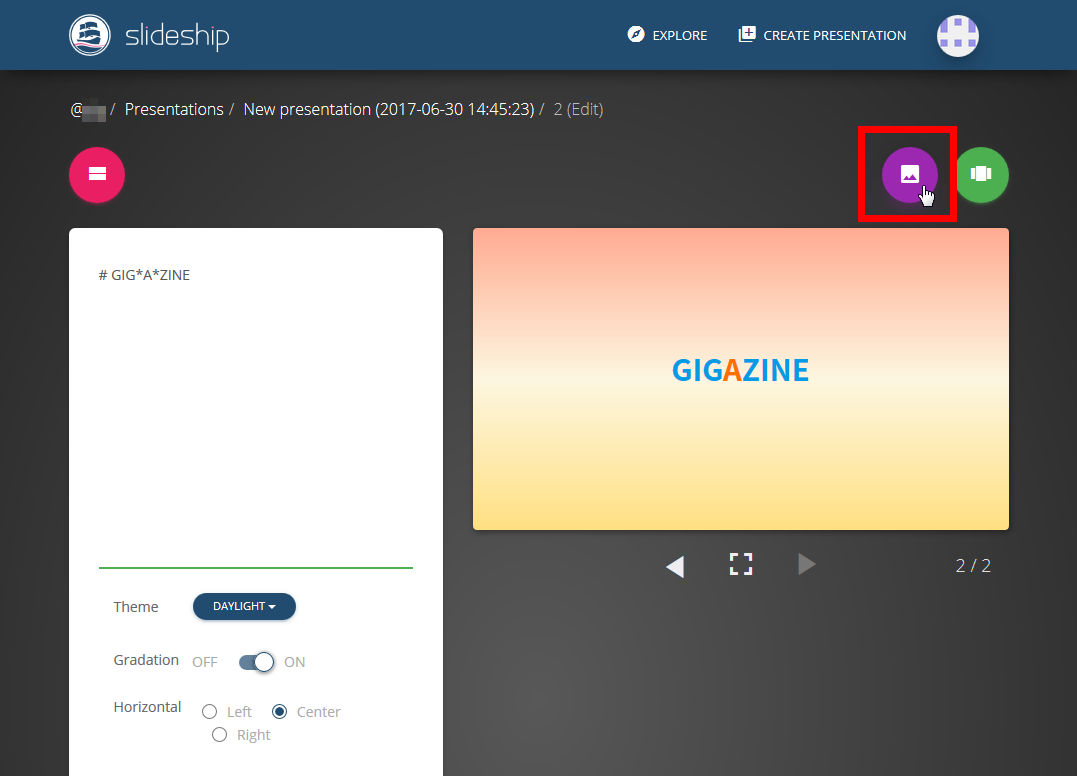
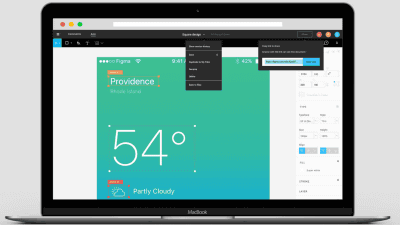
After properly changing the appearance of the slide, click the icon in the upper right of the screen.
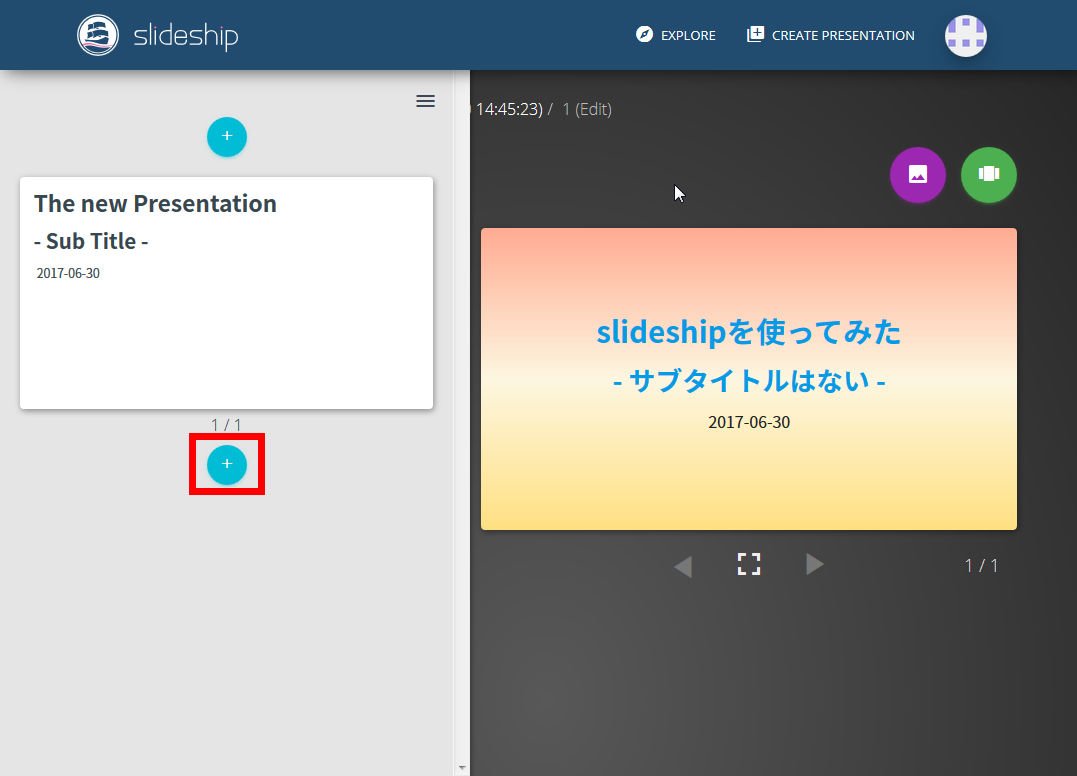
Click "+"
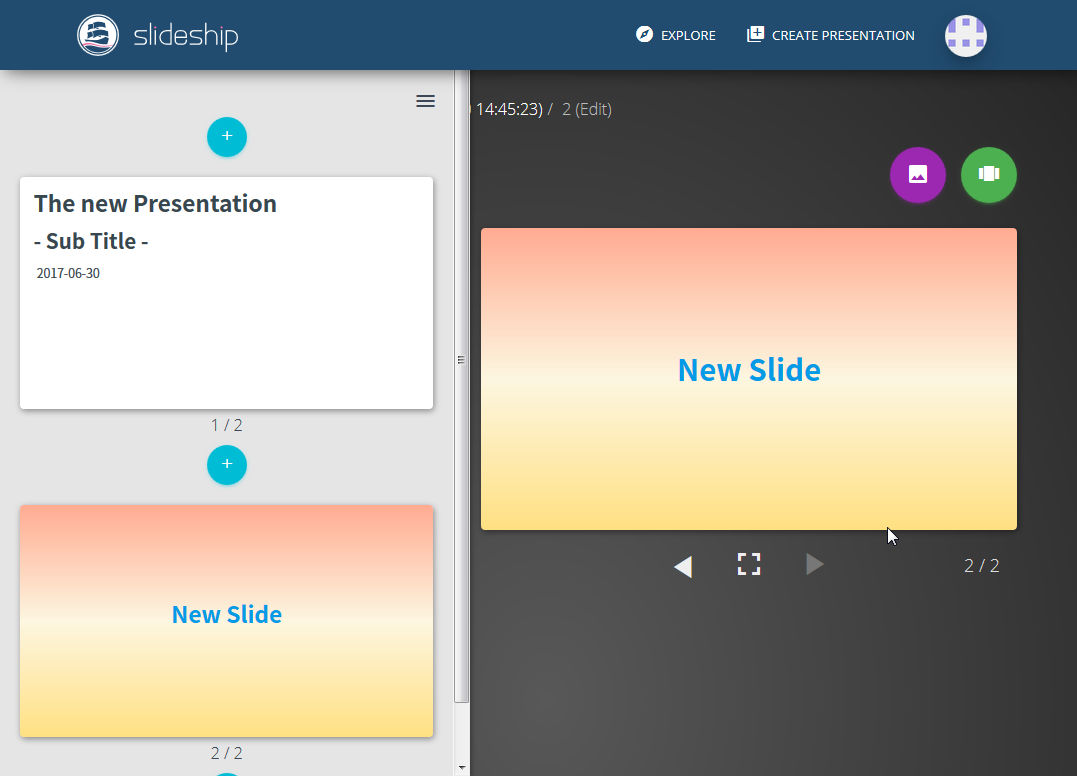
Then I was able to create a new slide.
To add an image to a slide Click the red frame icon
Click "+"

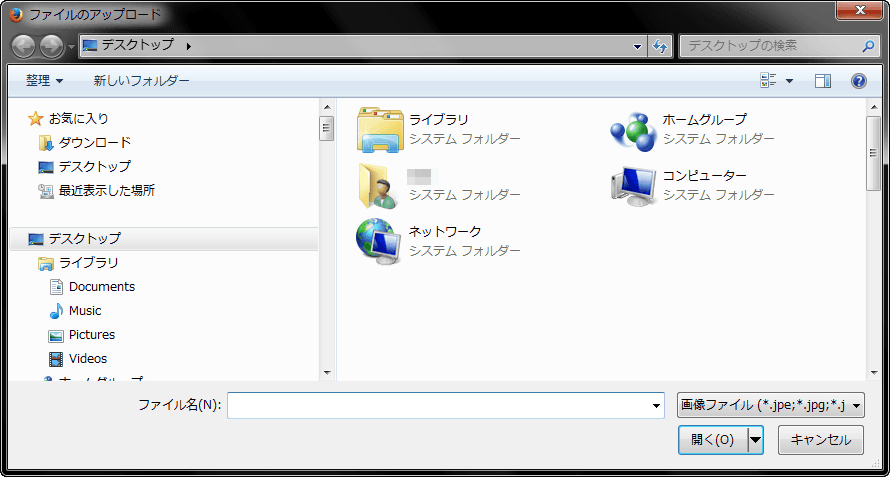
Then the Explorer will be displayed, so if you select the image you want to add it is ok.
When you select an image, click on the red frame part icon

Then you can add images like this.

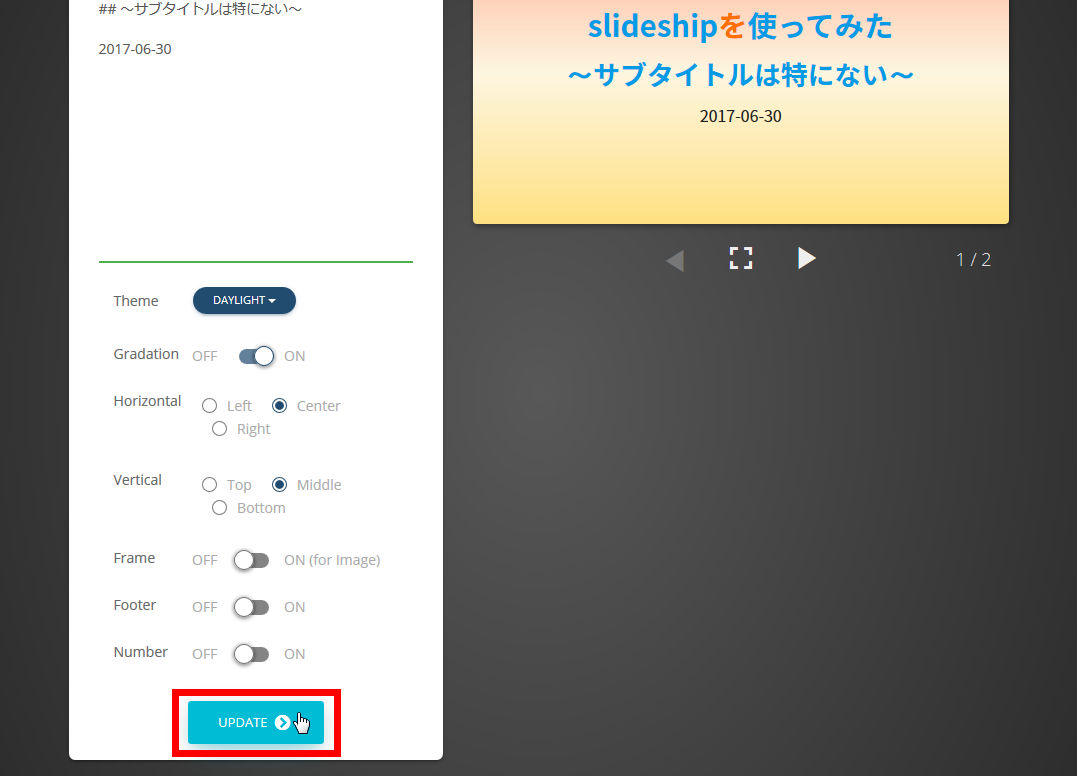
I tried to add more slides, but the first slide noticed that the change was not reflected.

Be sure to click "UPDATE" at the bottom of the page before creating a slide and creating the next slide.
That's why only two presentations are completed.

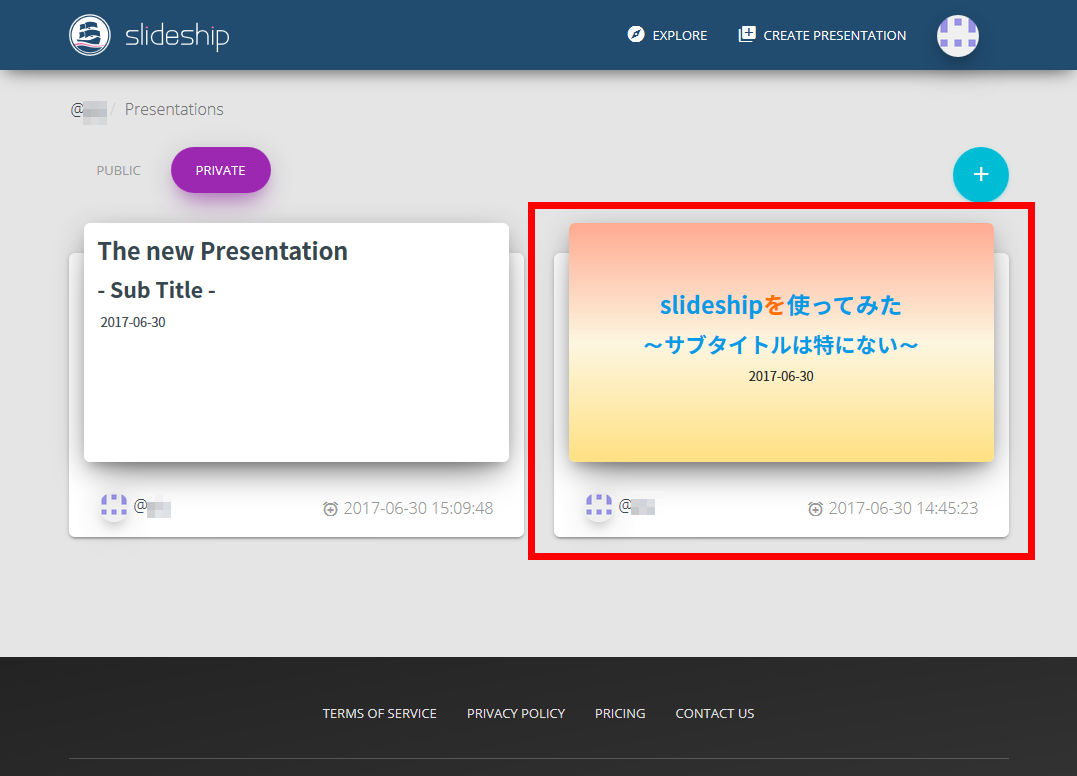
The completed presentation slide is clicked on "Presentations" in the icon in the upper right of the screen ... ...
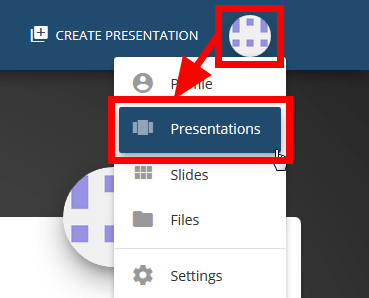
It is saved in the "PRIVATE" tab. Click on the presentation you created
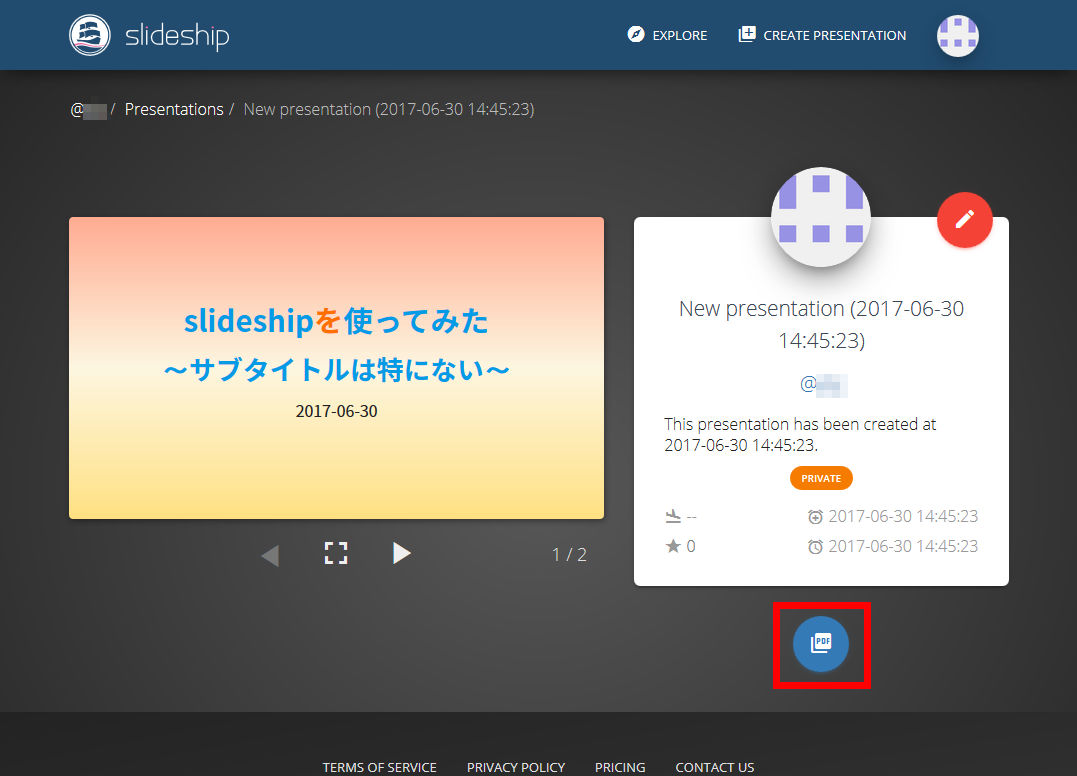
Click the red frame part icon
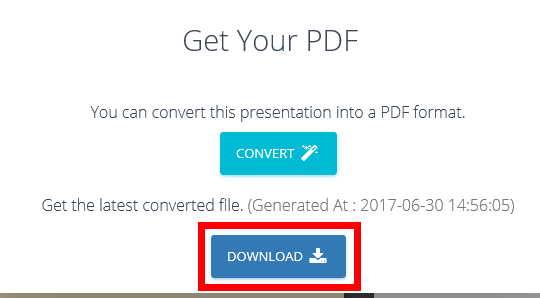
Click "CONVERT" and wait for about 10 minutes ...

The presentation slide you created will be available for download in PDF format.
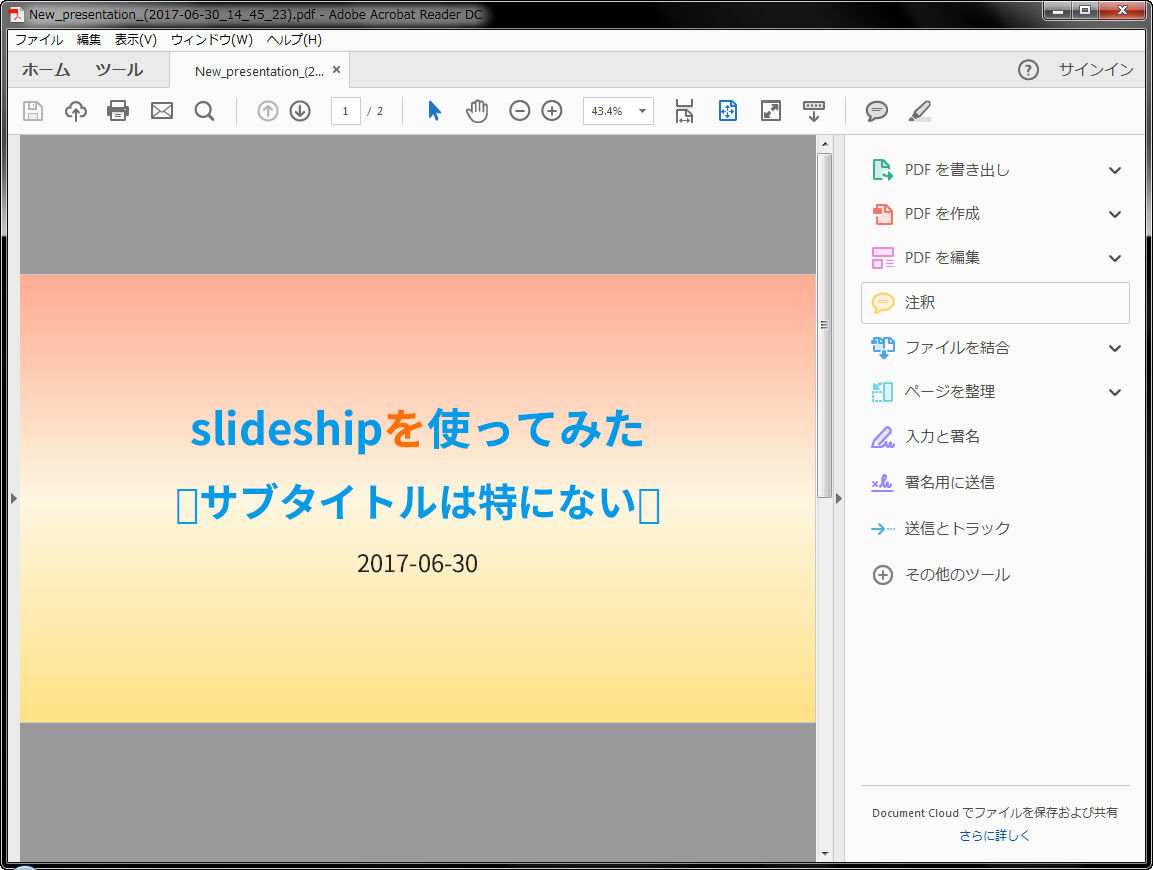
The completed slide can be opened with Acrobat Reader etc.
Related Posts:


in Review, Web Application, Posted by logu_ii