"App Screenshot Generator" that allows you to create screenshots of apps for free on the App Store and Google Play with a simple and flashy appearance
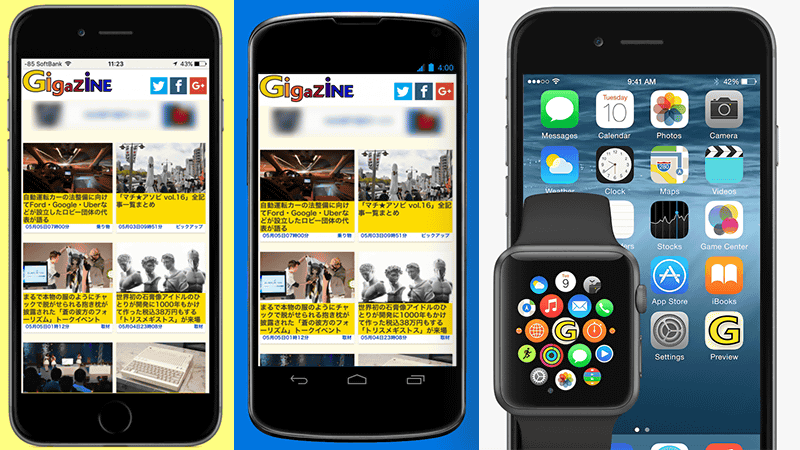
When developing an application, publishing it on the App Store, Google Play, announcing it on SNS, blog, etc. is indispensable, it is an image image fitting the actual screen into the terminal. Although it is troublesome work that unexpectedly takes it, it is possible to create a snap-in image simply by uploading a capture image, as well as a site that can change the background color and add explanationsApp Screenshot Generator"is.
App Screenshot Generator - Template Sizes on iOS / Android screenshot maker
http://www.appscreenshot.me/
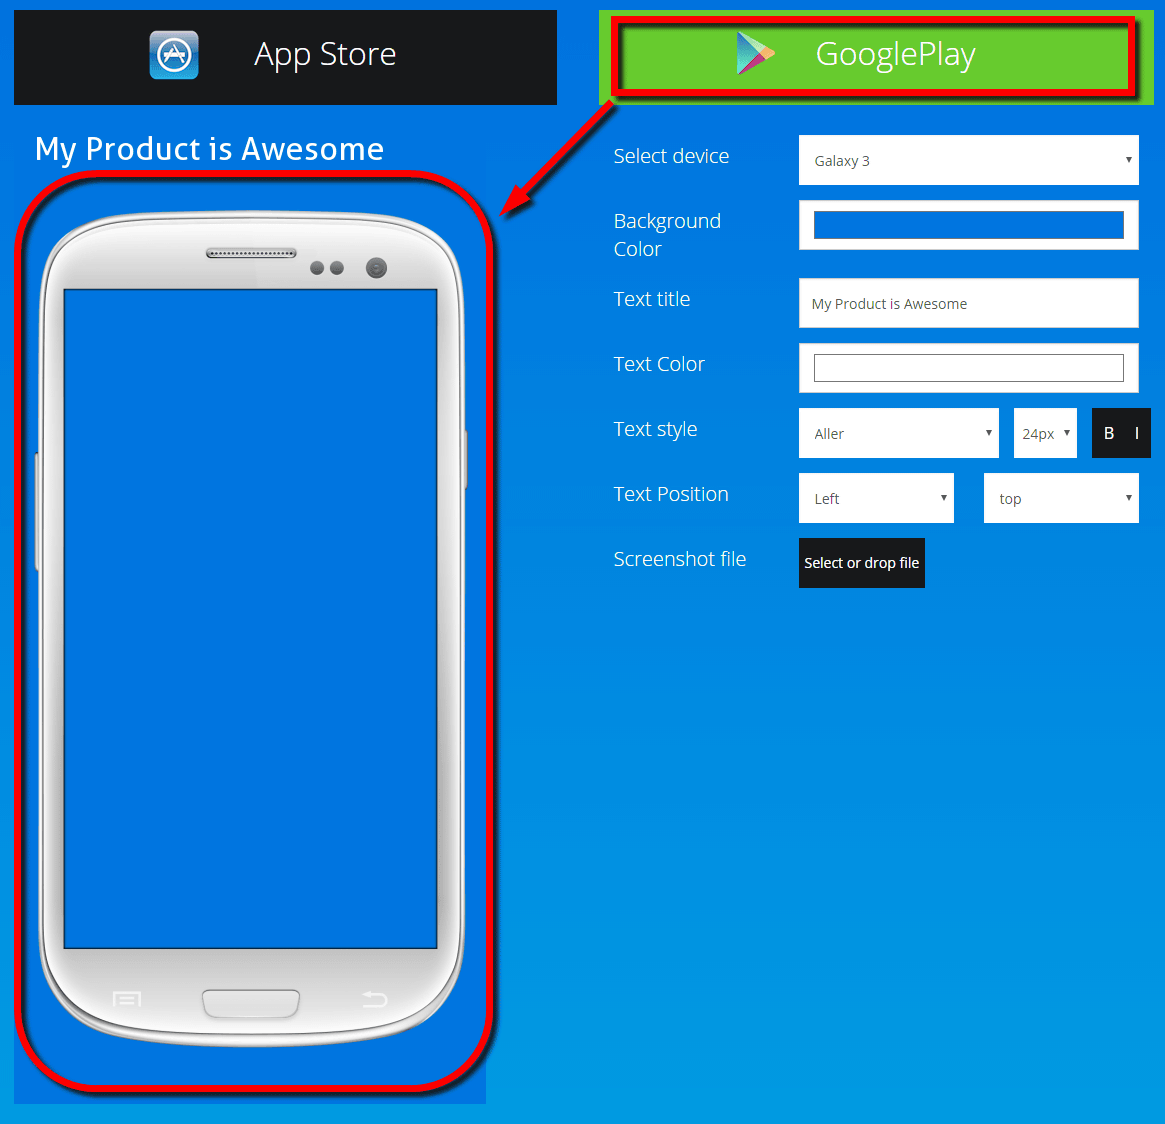
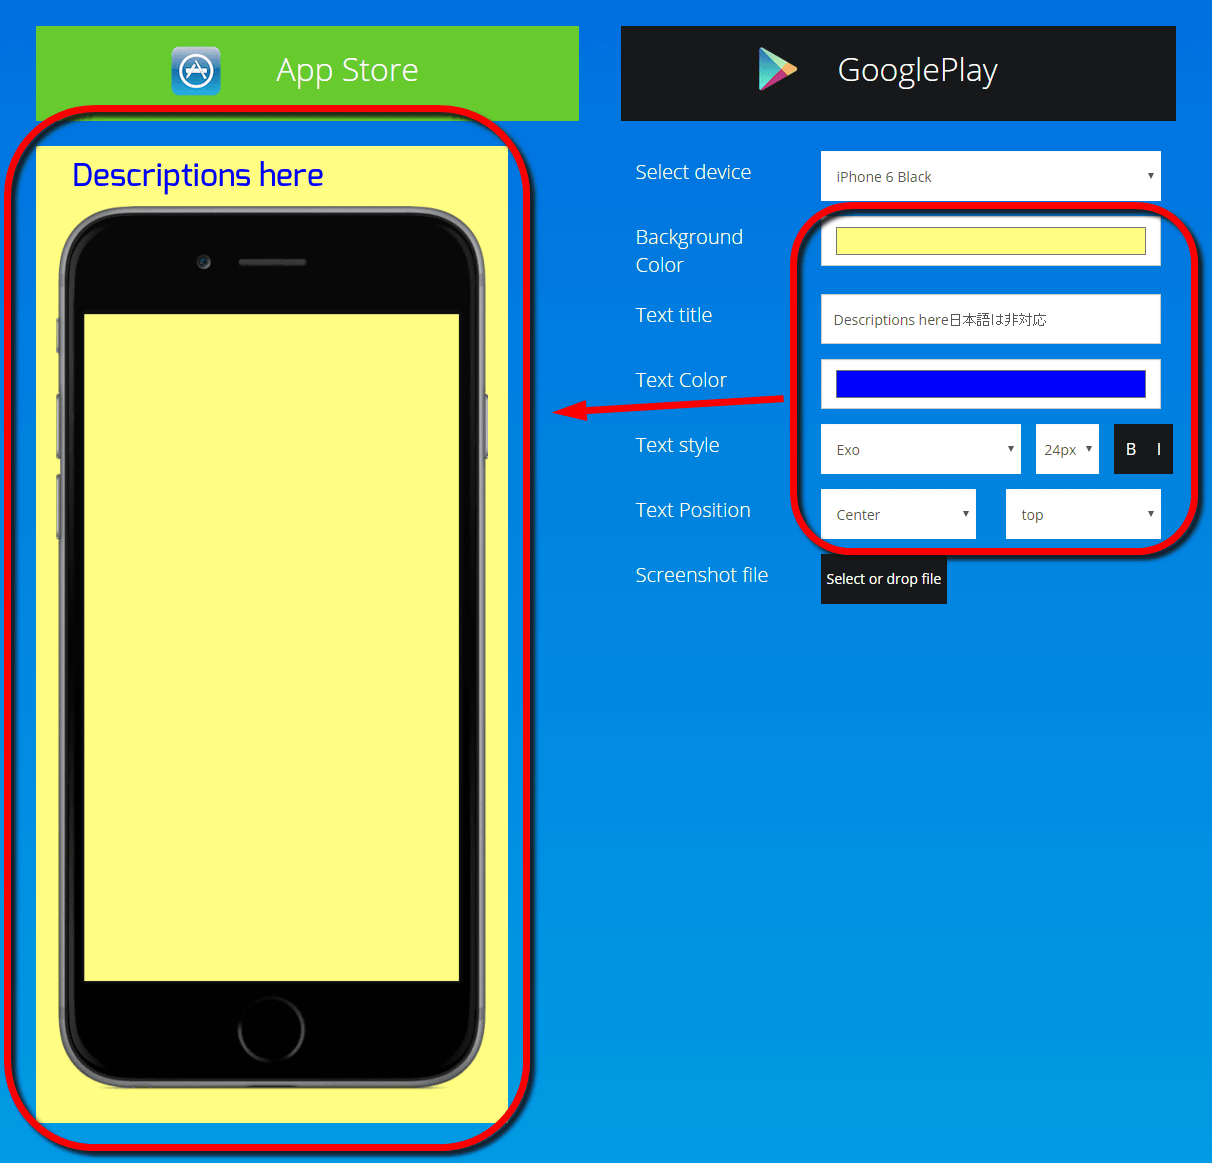
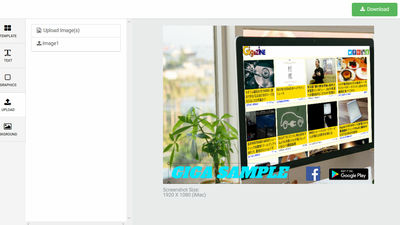
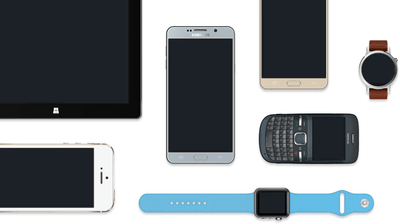
When you open the site, there is a part where the template of the terminal is displayed largely in the middle of the page, and you can set the type of terminal, the character string you want to display, screenshot image etc. here. The one that is selected by default is "iPhone 5 White".

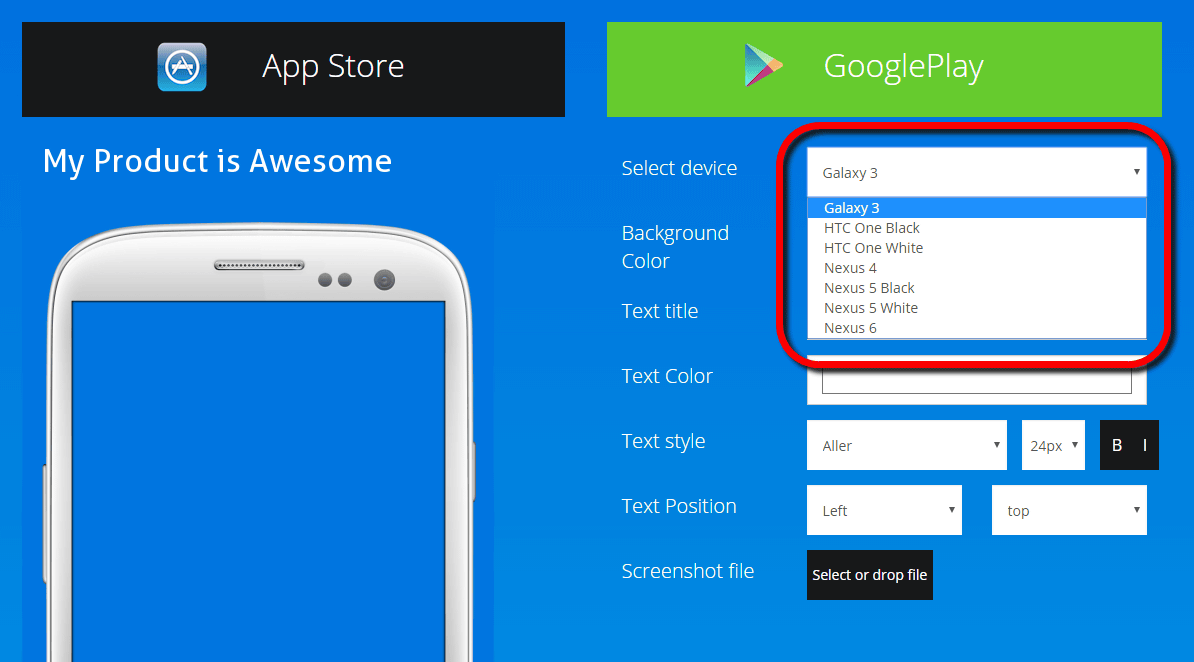
When you click "Google Play" at the top, the device changes to Android smartphone. By default, "Galaxy 3" is chosen.
There are seven terminals available for Android system, Galaxy 3, HTC One (Black / White), Nexus 4, Nexus 5 (Black / White), and Nexus 6.
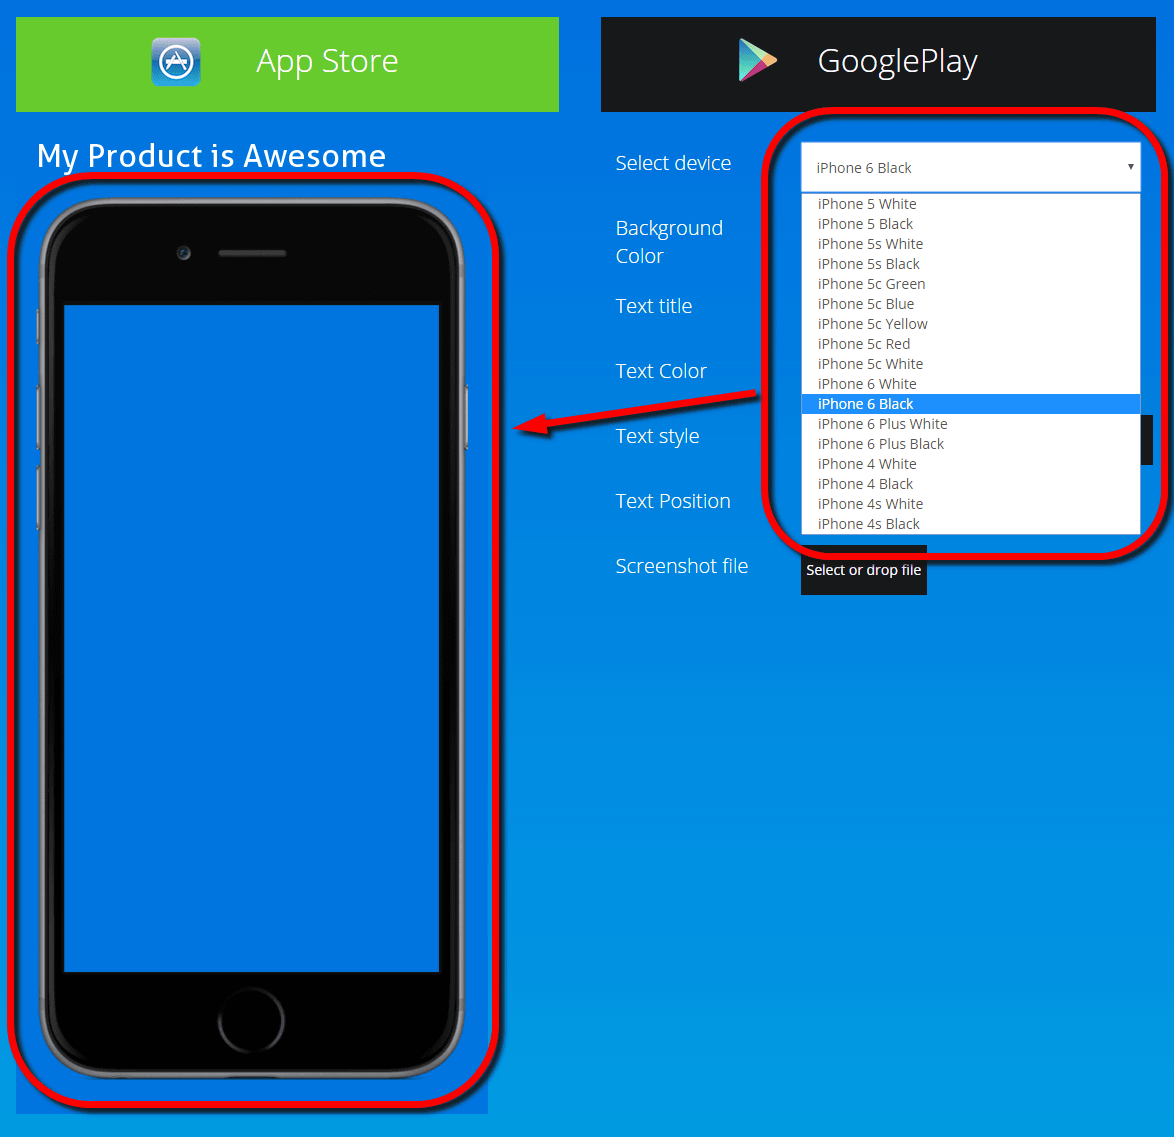
This time I will try using the iPhone template. You can choose from iPhone 5 (White / Black), iPhone 5s (White / Black), iPhone 5c (Green / Blue / Yellow / Red / White), iPhone 6 (White / Black), iPhone 6 Plus (White / Black) 17 types of iPhone 4 (White / Black), iPhone 4s (White / Black), this is rich in variations. However, it was not possible to choose the color of gold or pink series which is the color of recent years.
Items that can be set are background color, title string, string color and font, size, bold italics, and arrangement of character strings. As you can see from the screen, it seems a little disappointing that it does not correspond to Japanese characters. If you want to put Japanese in an image, put a blank space to draw the image in the state without the character string, then later use image editing software such as Photoshop to raise Japanese is good.
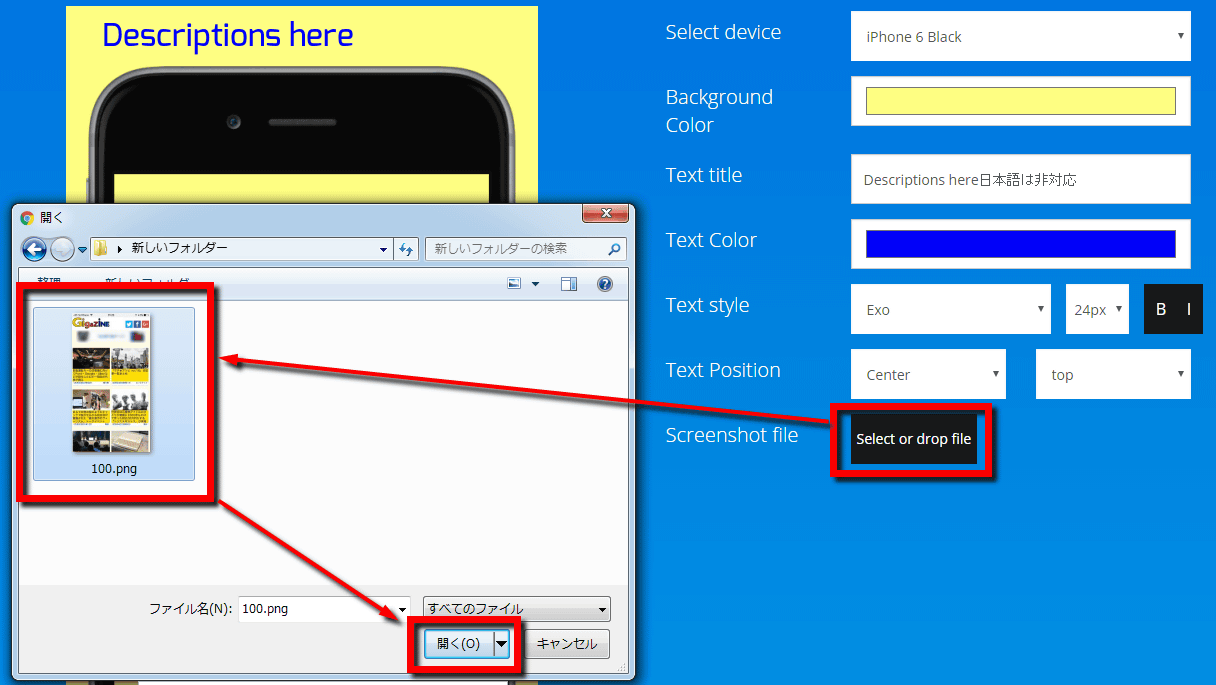
To load a captured image, click "Select or drop file" at the bottom right of the screen, select the image file, click "Open" and upload the image.
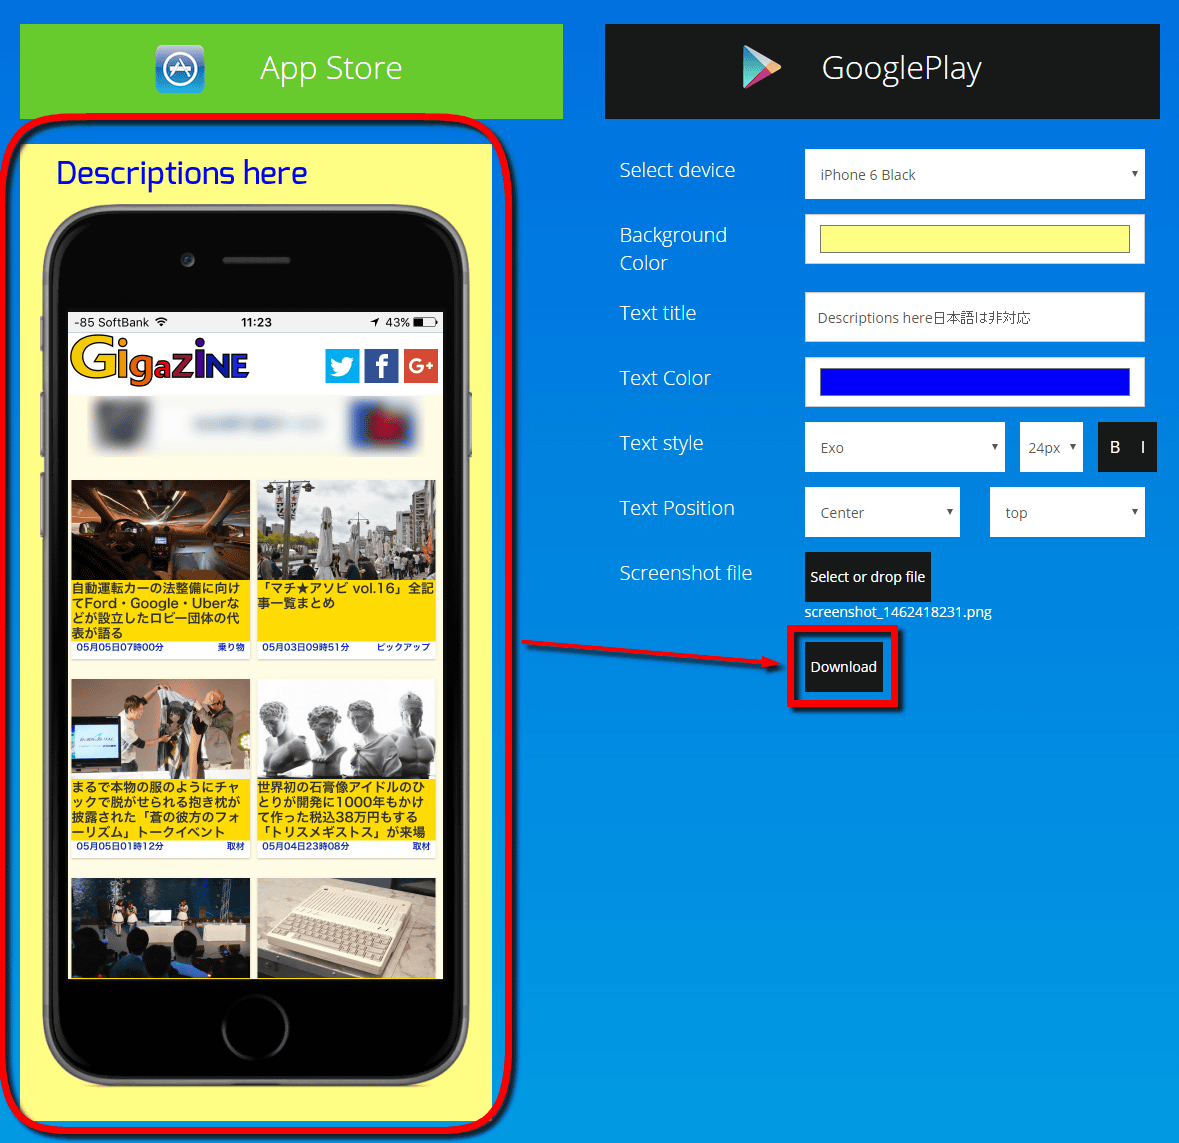
Then the image of the terminal fitted with the uploaded image in a few seconds was completed. And of course you can download image files. Click "Download" ... ....
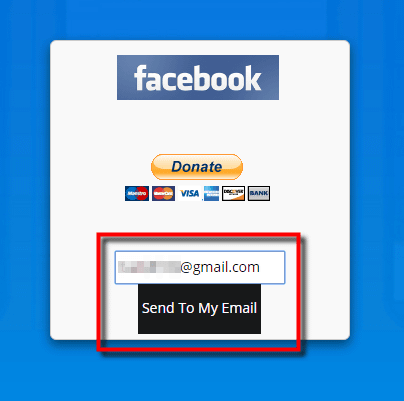
The screen to enter the e-mail address to send the image is displayed. Enter your email and click "Send To My Email".
A few seconds later, the mail will arrive at the specified address. However, the file is not delivered by mail attachment, but the link to download the file is described in the mail body. Click "click here to download your screenshot!" To start downloading the compressed file.

When you unpacked the compressed file that was downloaded, it contained four images and two folders. Although the contents of the image are all the same, there are four types of resolution: "640 × 960" "750 × 1334" "640 × 1136" "1242 × 2208".
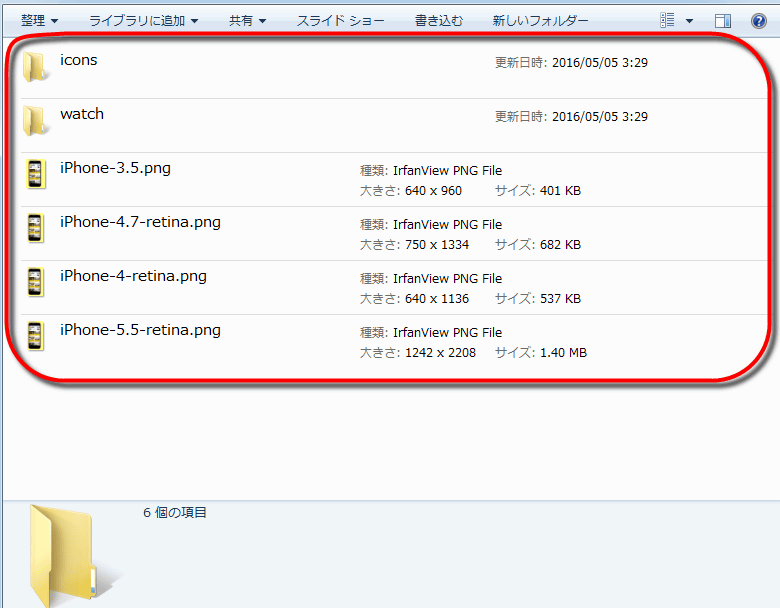
Of these, the actual "iPhone-4.7-retina.png" looks like this. Although it is a capture image of the website this time, it can also be used as a screen for fitting the screen of the developed application and uploading it to the App Store or Google Play.

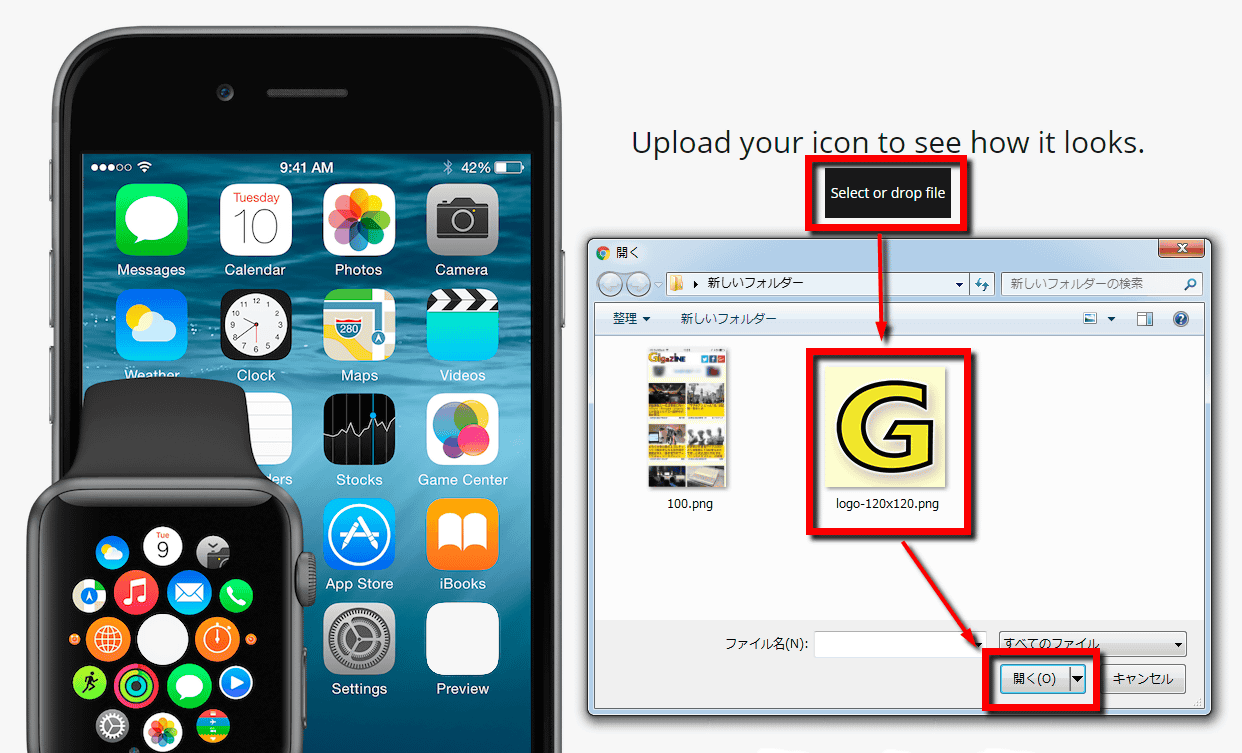
It is also possible to create an image in which the icon of the application is placed on the home screen of the terminal or smart watch. Click "Select or drop file" to select the image, click "Open" and upload the image ......
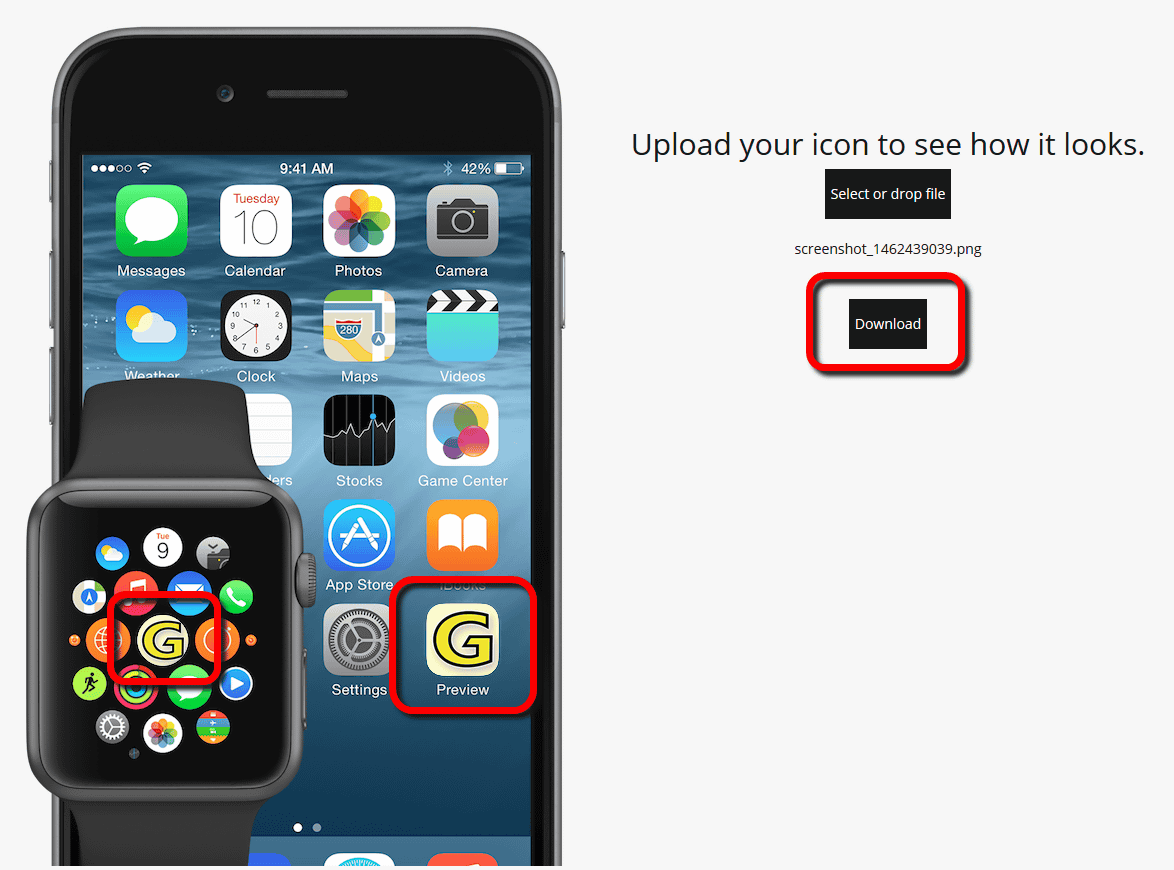
In this way, the homebrew icon got stuck in the screen. However, at the time of article creation it was not possible to change the icon name, and even if you downloaded the file by clicking "Download" it did not contain an inlay image, and it was in a situation like a problem.
Related Posts:

in Review, Mobile, Web Service, Design, Posted by darkhorse_log