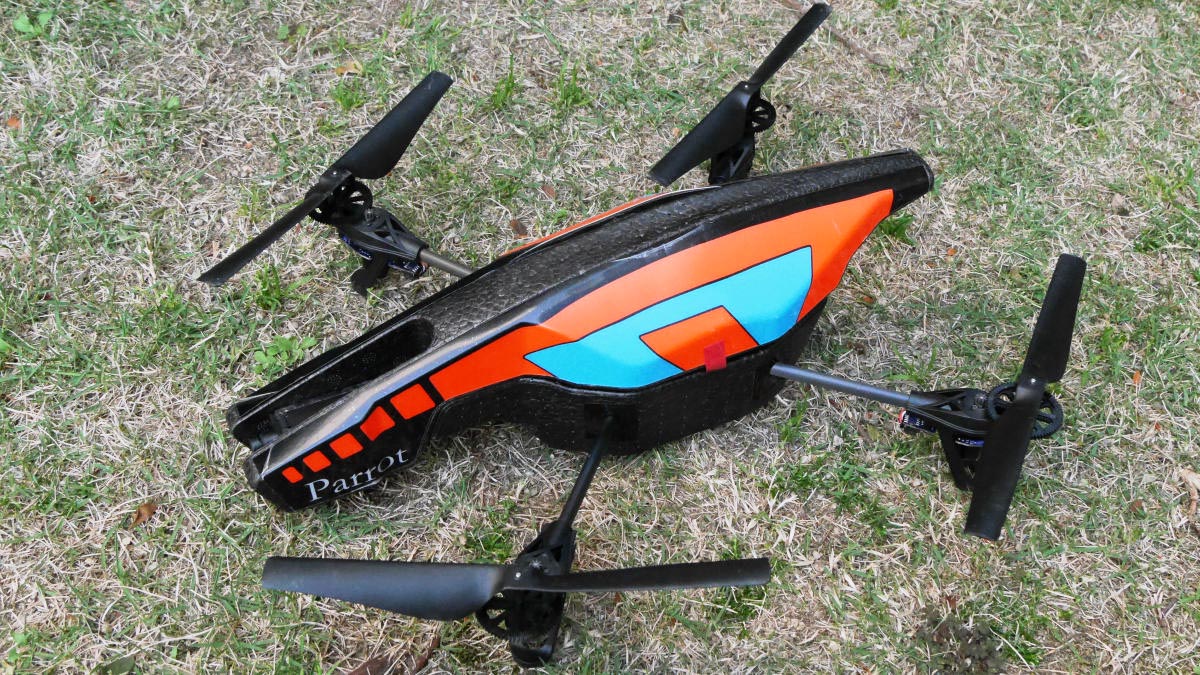
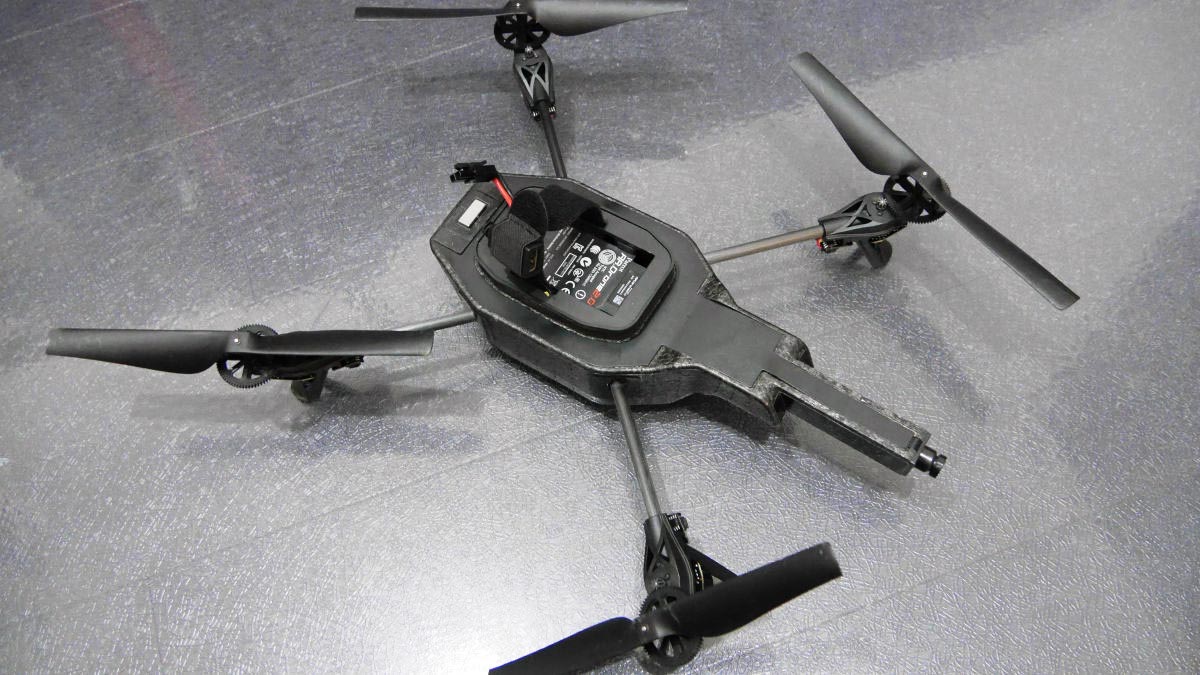
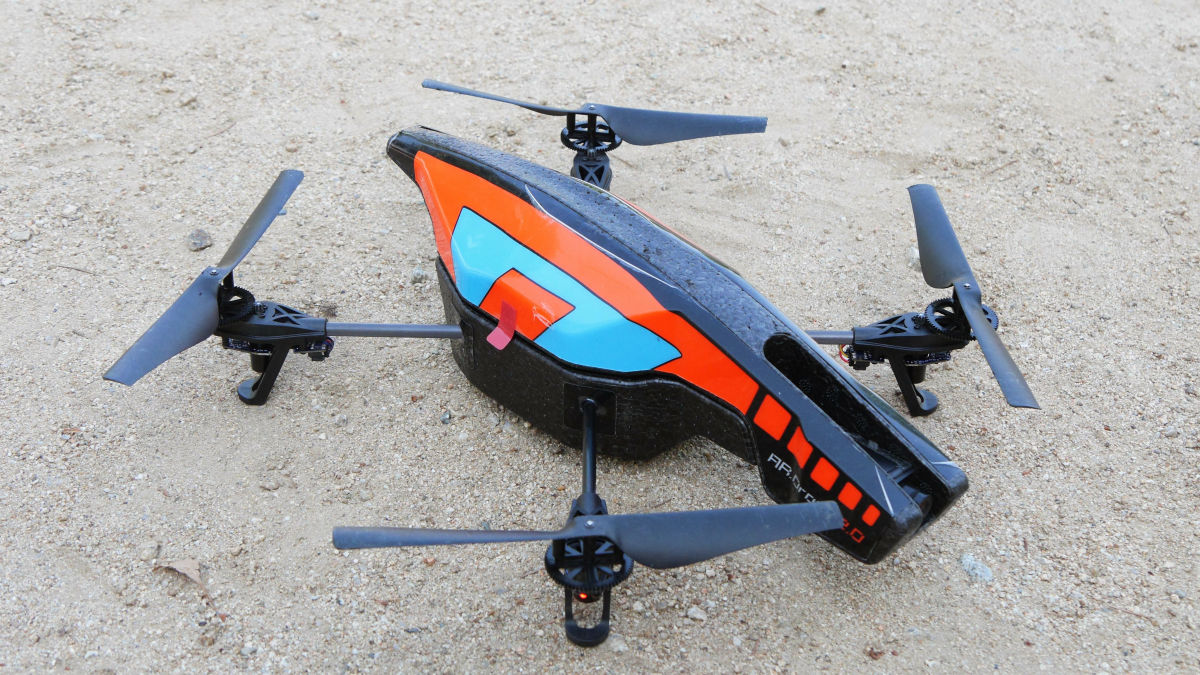
A smart handling quad copter "AR Drone 2.0" crashed and the rod broke, so I tried repairing it all
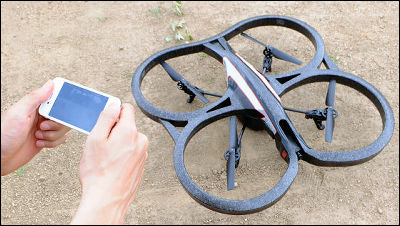
It is possible to maneuver with smartphones and shoot high definition moviesAR Drone"Is a long-selling item that should also be called the original grand hit Quad Cotter. AR Drone 2.0 of the editorial department of GIGAZINE is a strong man who has endured many crash accidents, but at last it suffered a flaw impossible to fly.
AR.Drone 2.0. Parrot's latest wi-fi quadricorter - AR.Drone.com - HD camera - Parrot
http://ardrone2.parrot.com/
AR Drone 2.0 just before becoming unflightable. That time finally came to the machine which passed through many crashes ... ....
The moment of the crash, the moment of the accident that broke the rod was from the following movie.
A moment when AR Drone 2.0 crashed by the wind and the central cross broke - YouTube
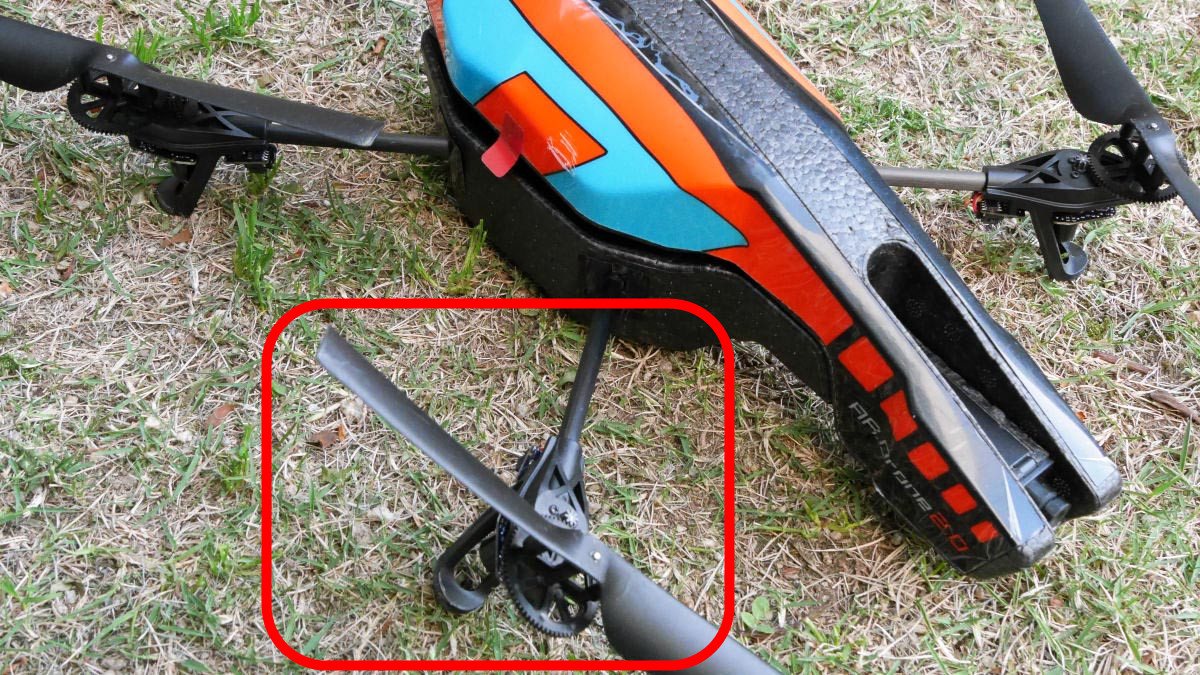
It was AR Drone, which was overwhelmed by the wind and became uncontrollable, but feeling like an emergency landing rather than a crash. Looking toward the landing site ...... It looks a little strange.
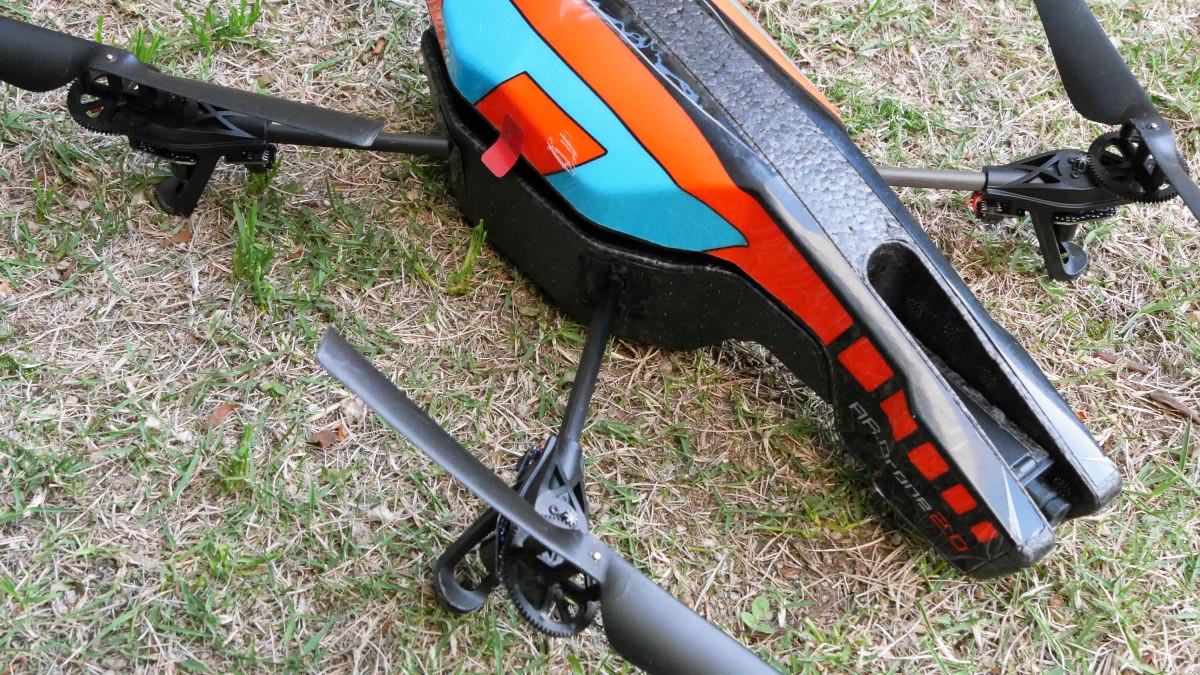
When raising, the rod in the front right of Brahn and sags. The plastic reinforcement seal is also broken.
Apparently the inside seems to have broken pockets. So I disassembled AR Drone 2.0 and tried replacing internal parts.
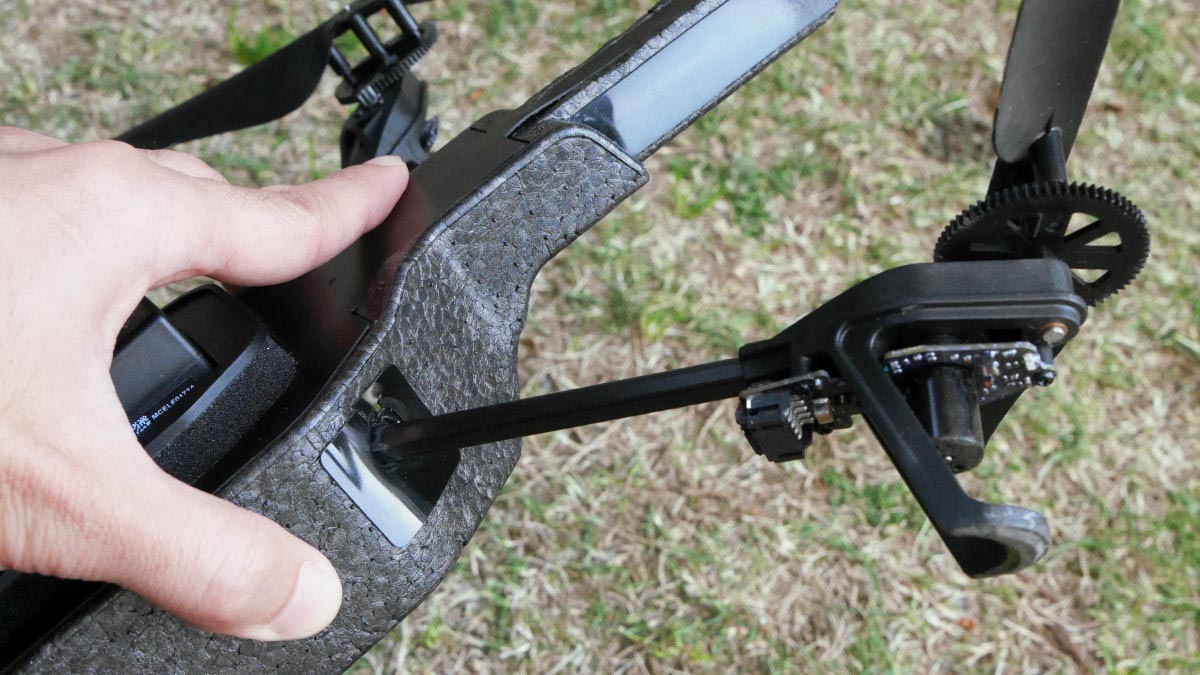
◆Remove the propeller motor
Before replacing the central cloth, it is recommended to first remove the propeller and motor in order to improve work efficiency and to prevent parts from being damaged. In addition, there is a dedicated maintenance tool for replacing the propeller and it is very convenient.
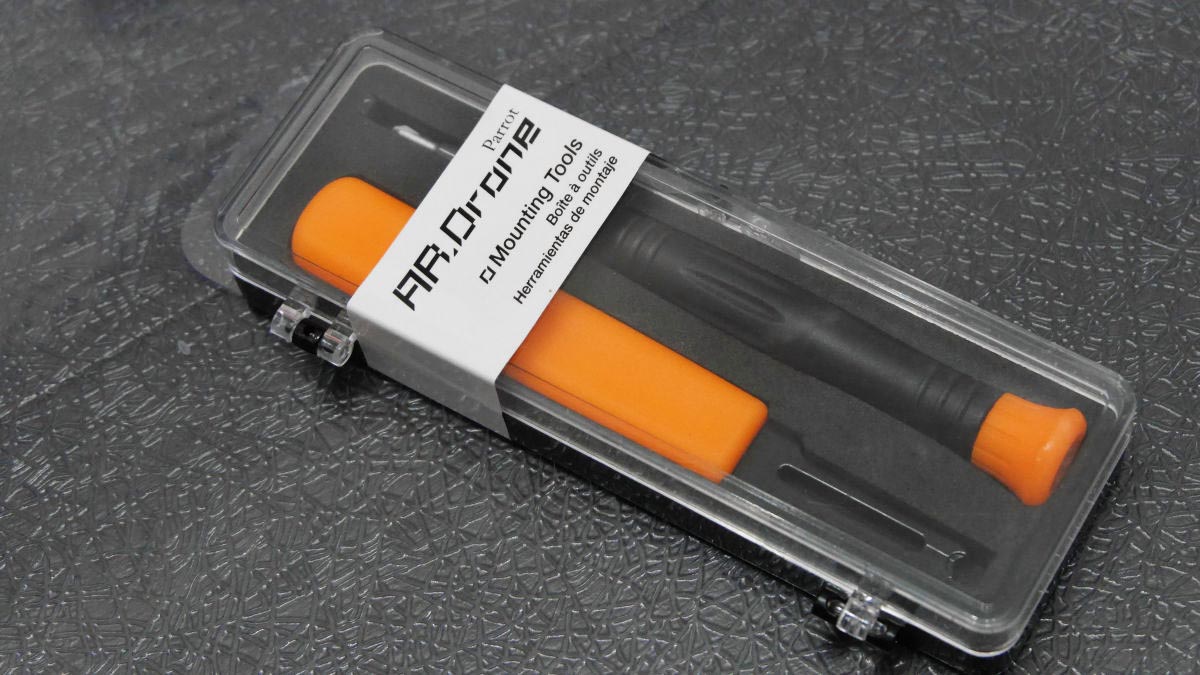
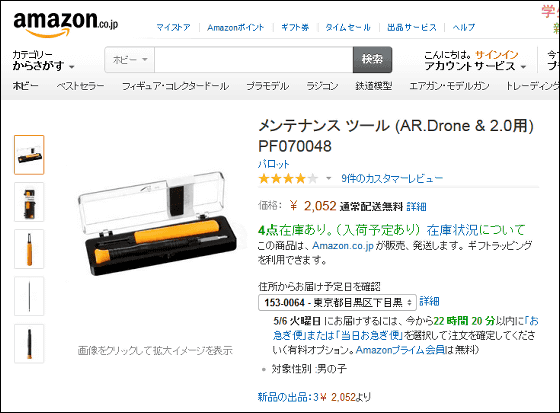
Amazon.co.jp: Maintenance tool (for AR.Drone & amp; 2.0) PF 070048: Hobby
http://www.amazon.co.jp/dp/B007HZLS5C
Let's first bare Drone and remove the battery.
The tip of the maintenance tool ......
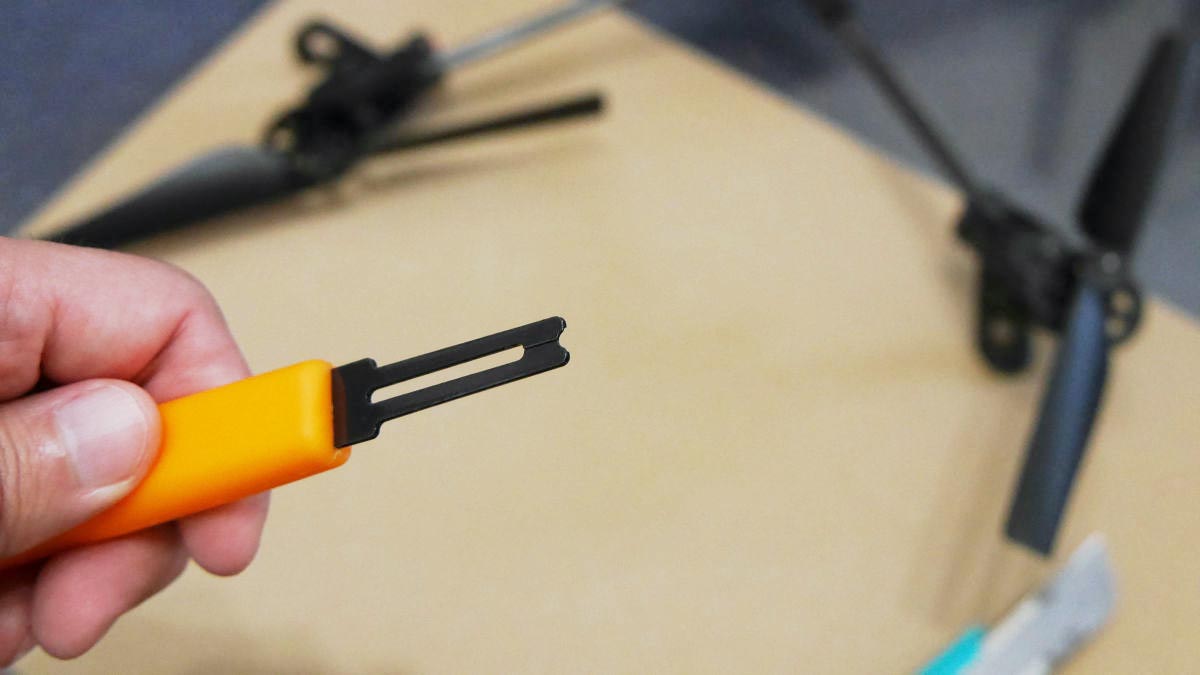
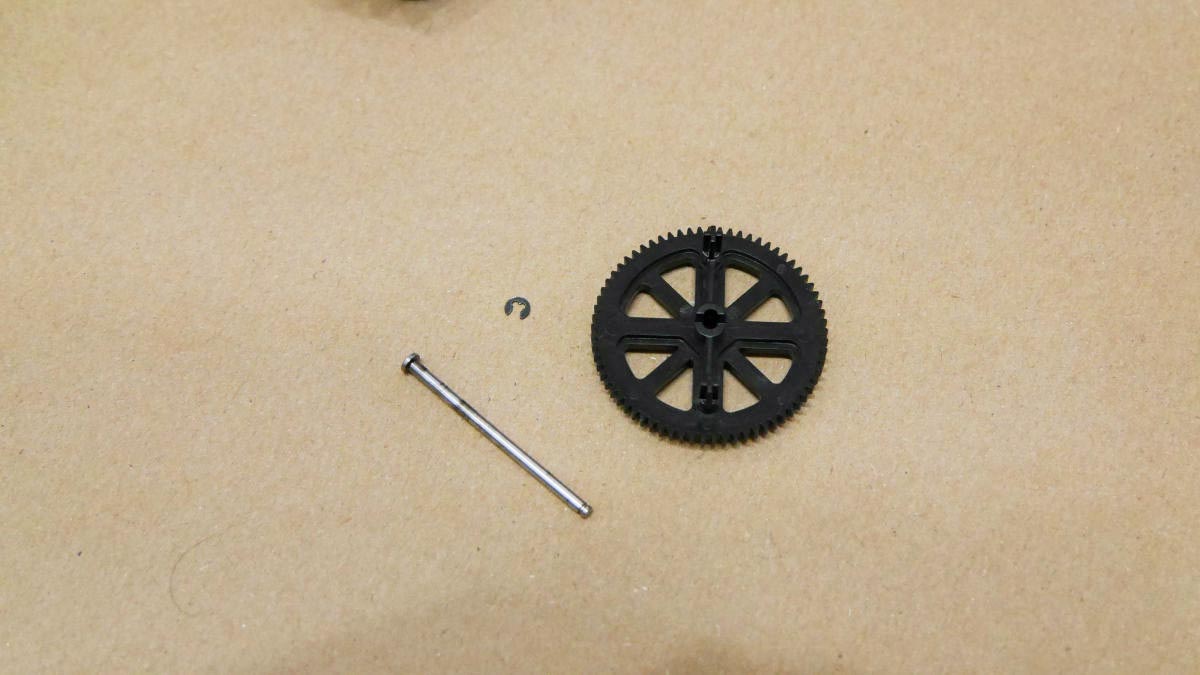
Push it against the E ring of the propeller and remove it.
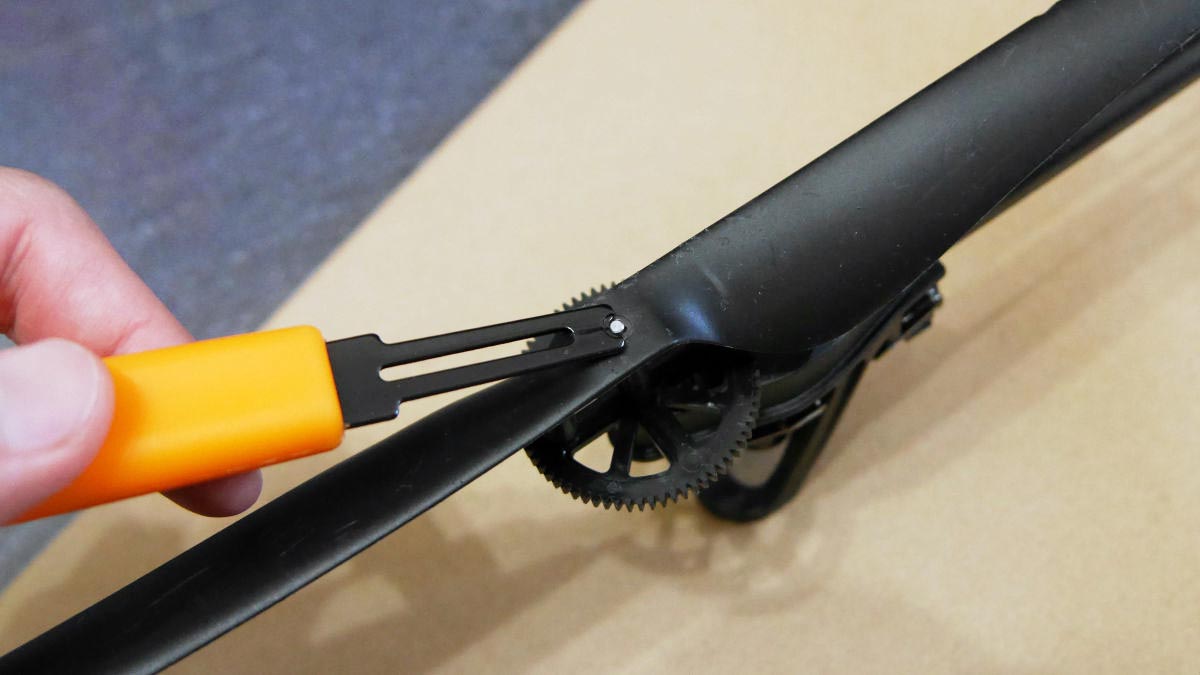

Pull out the propeller and remove it ... ....
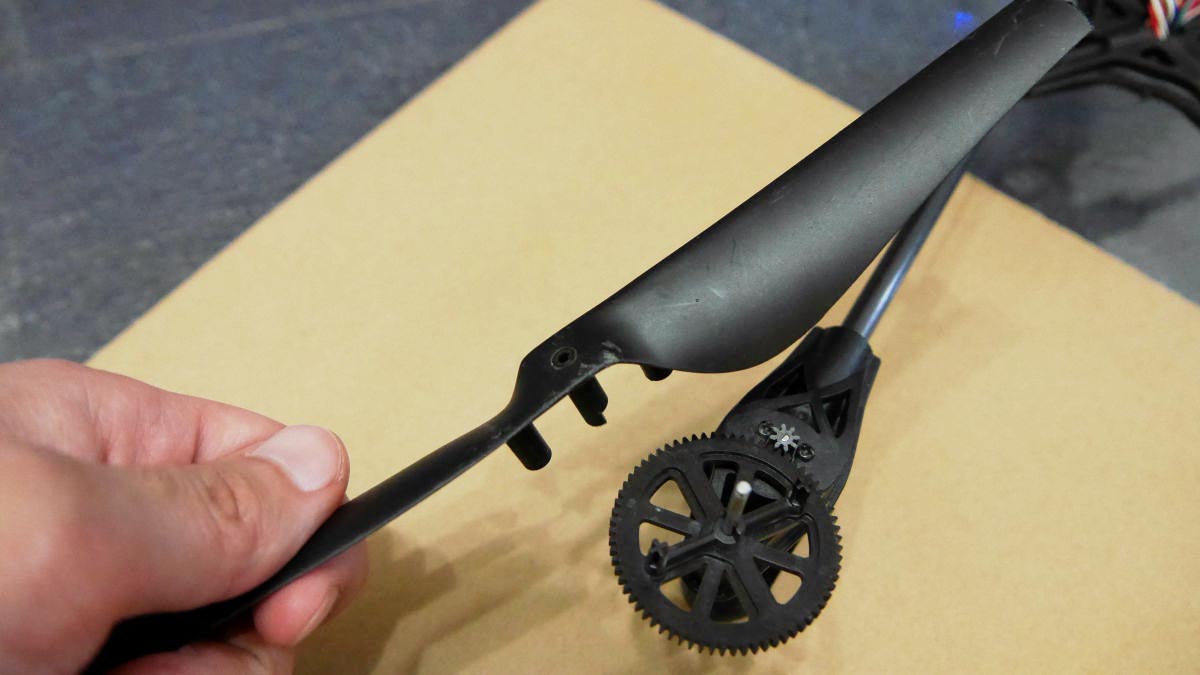
Pull out the silver pin downwards ......
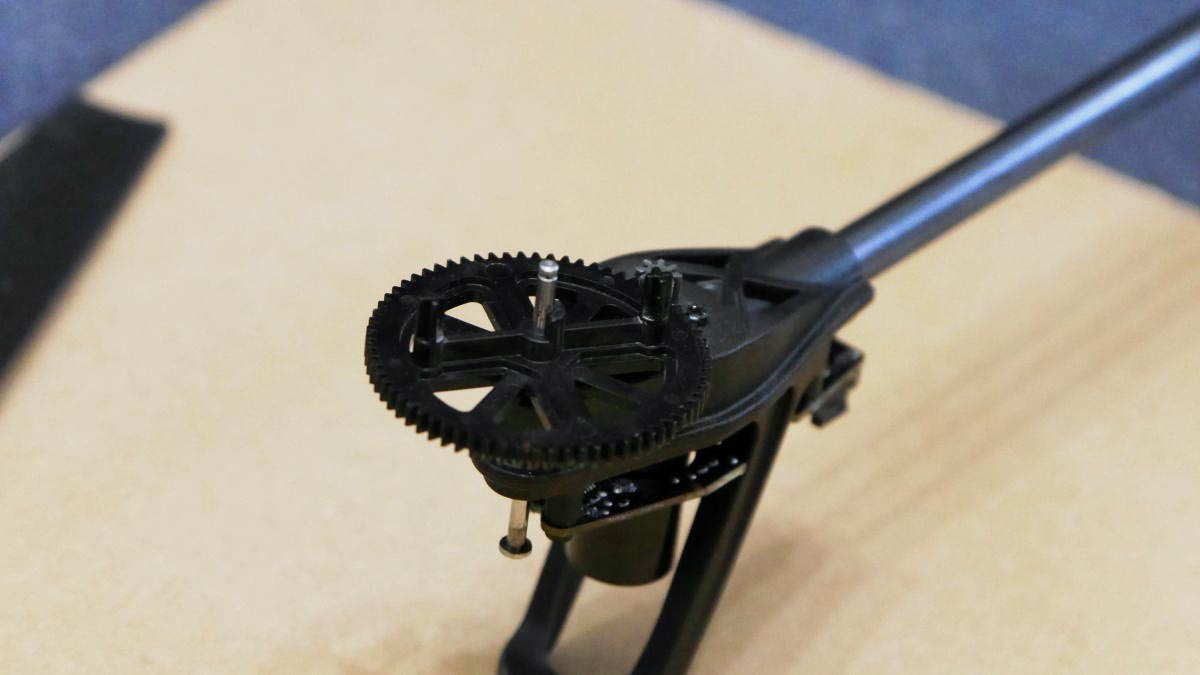
I also remove the gear.
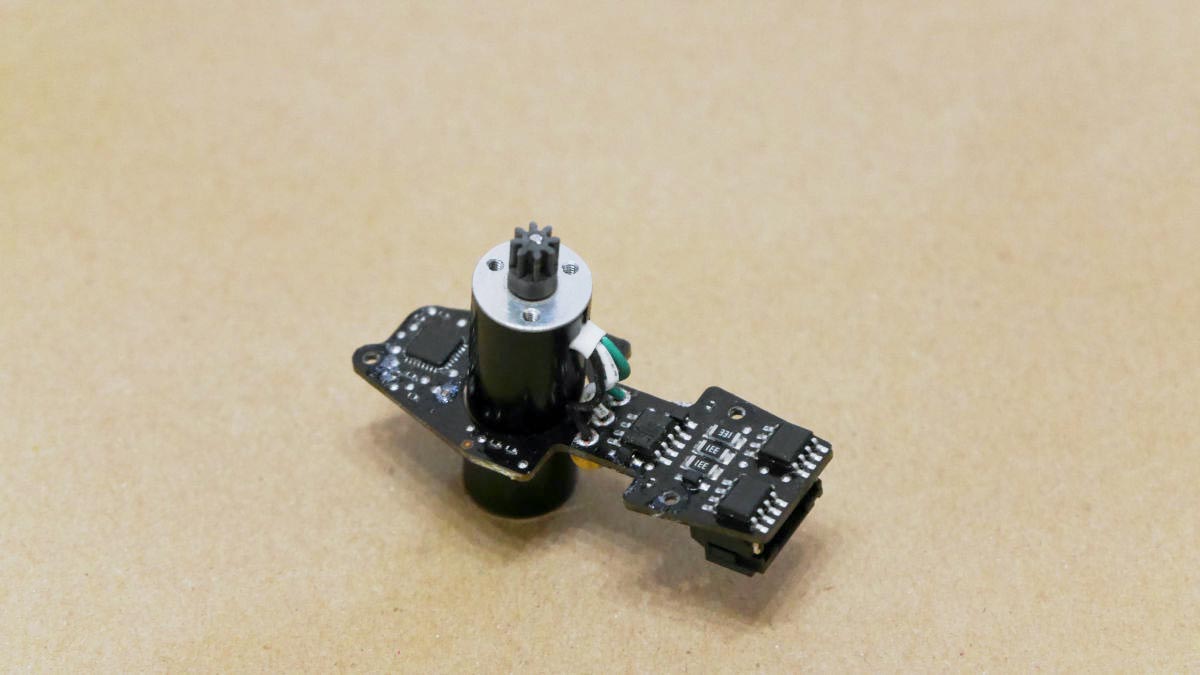
Next, remove the three screws fixing the motor ... ...

Pull out the red frame connector on the back side.

Finally by removing the three screws on the back side ......
The motor can be removed.
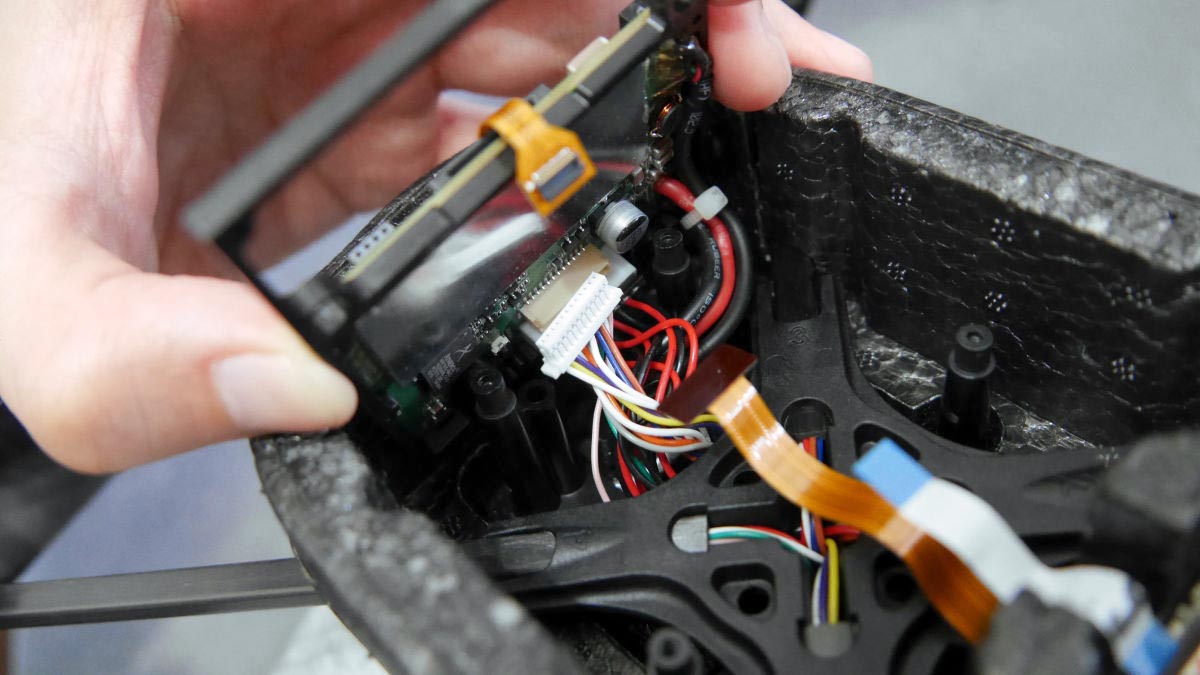
◆Remove the central cloth
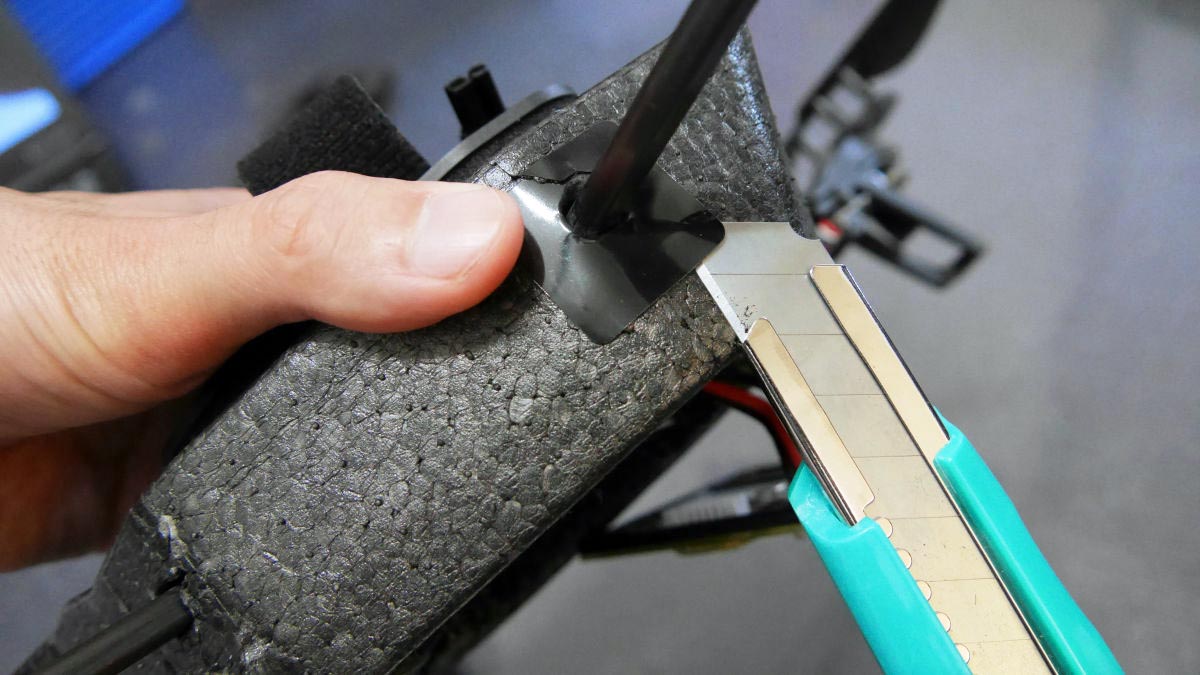
Peel off the plastic seal (plastic seal) on the bottom of the Drone by cutting with a cutter knife the adhesive tape.
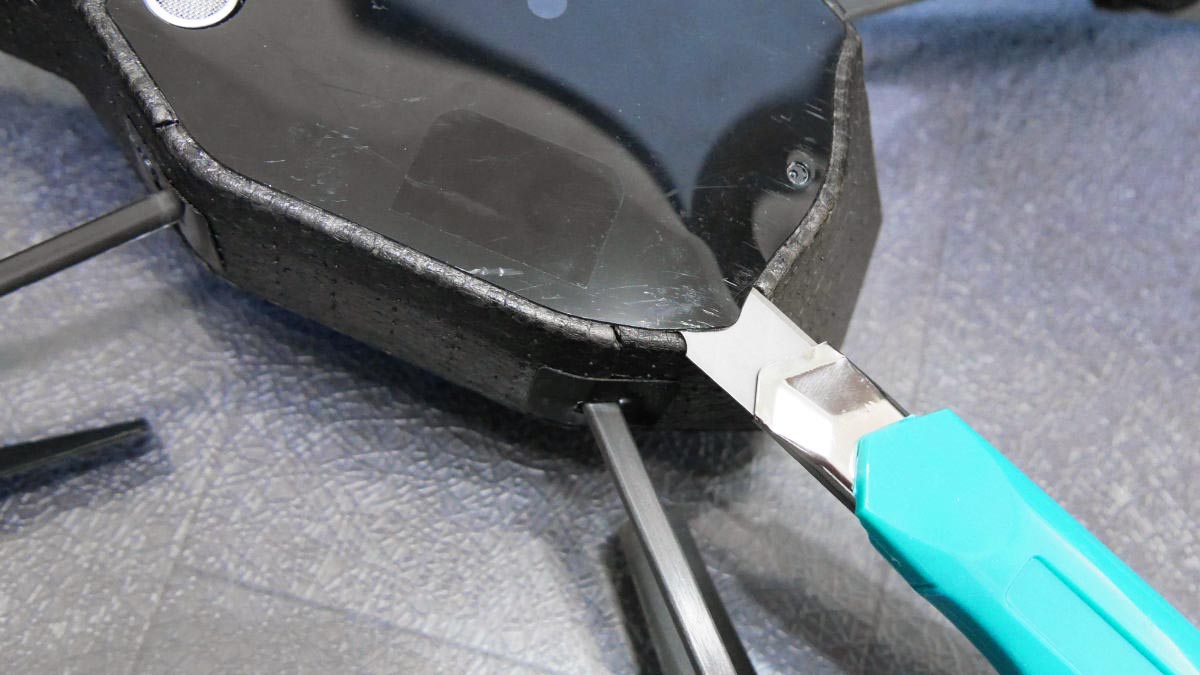
I peeled off. In addition, replacing this plastic seal is also okay if it cracks when peeling off.
Remove the red foam styrofoam cushion.

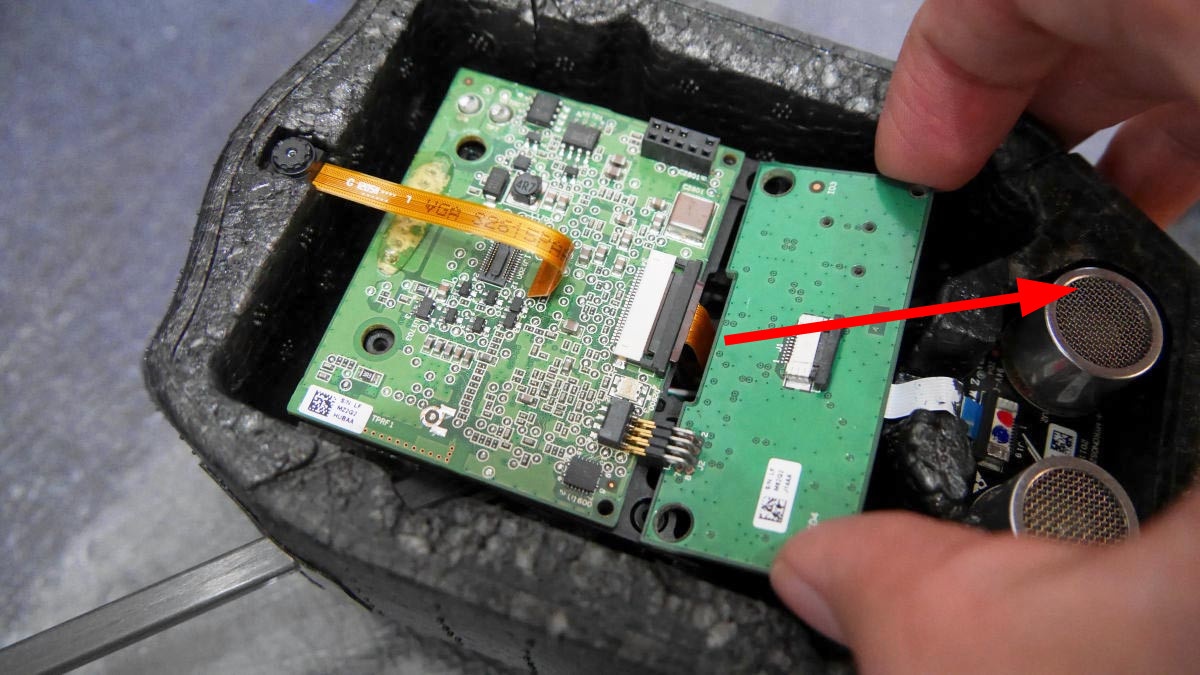
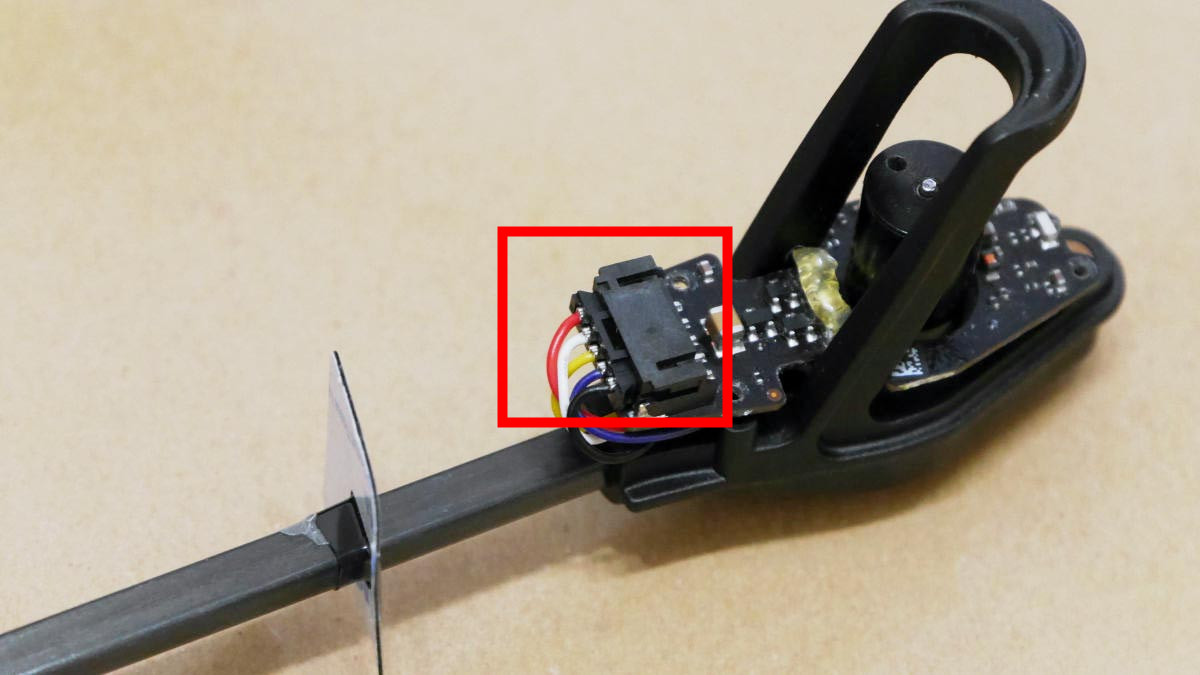
Next, disconnect the red frame connector cable.
Pull out the black connector ......
Pull out the cable.
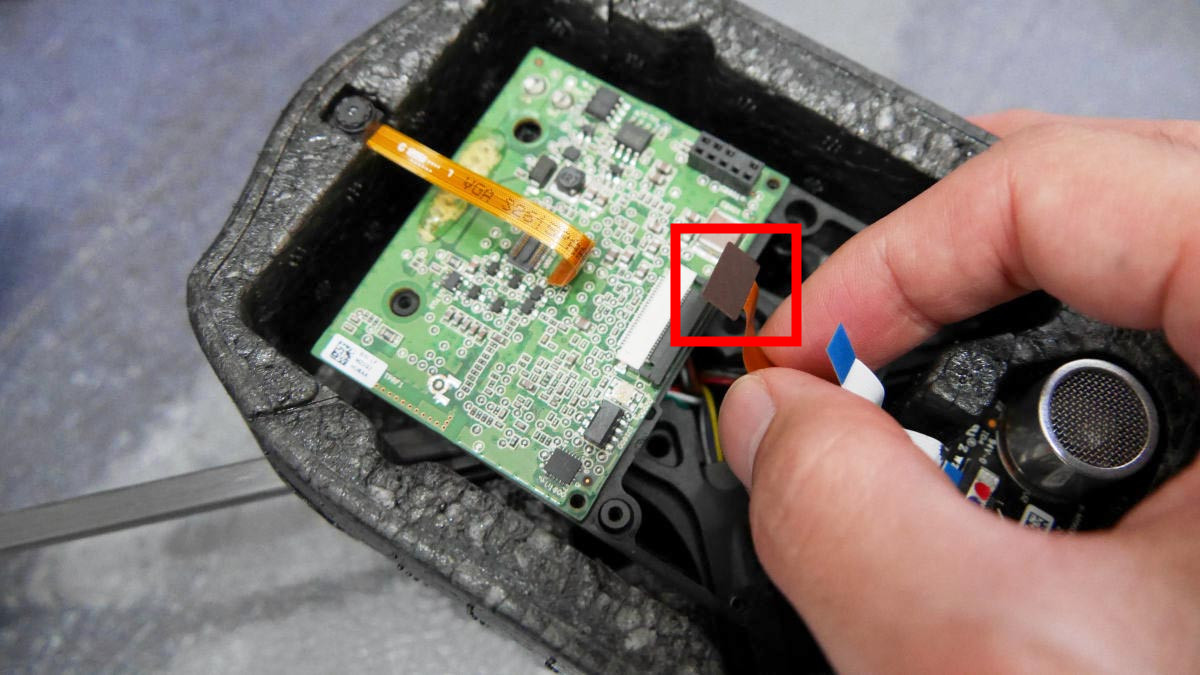
Pull the cable extending from the lower camera upward ......
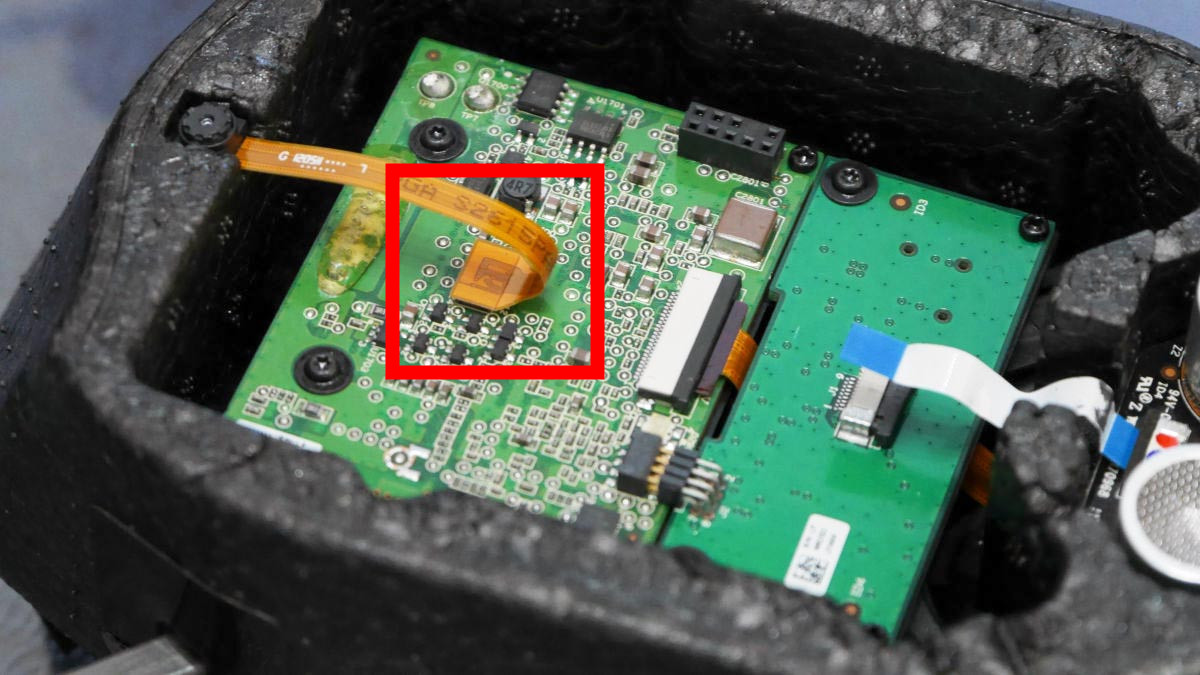
I will remove it. In addition to the central connector ...
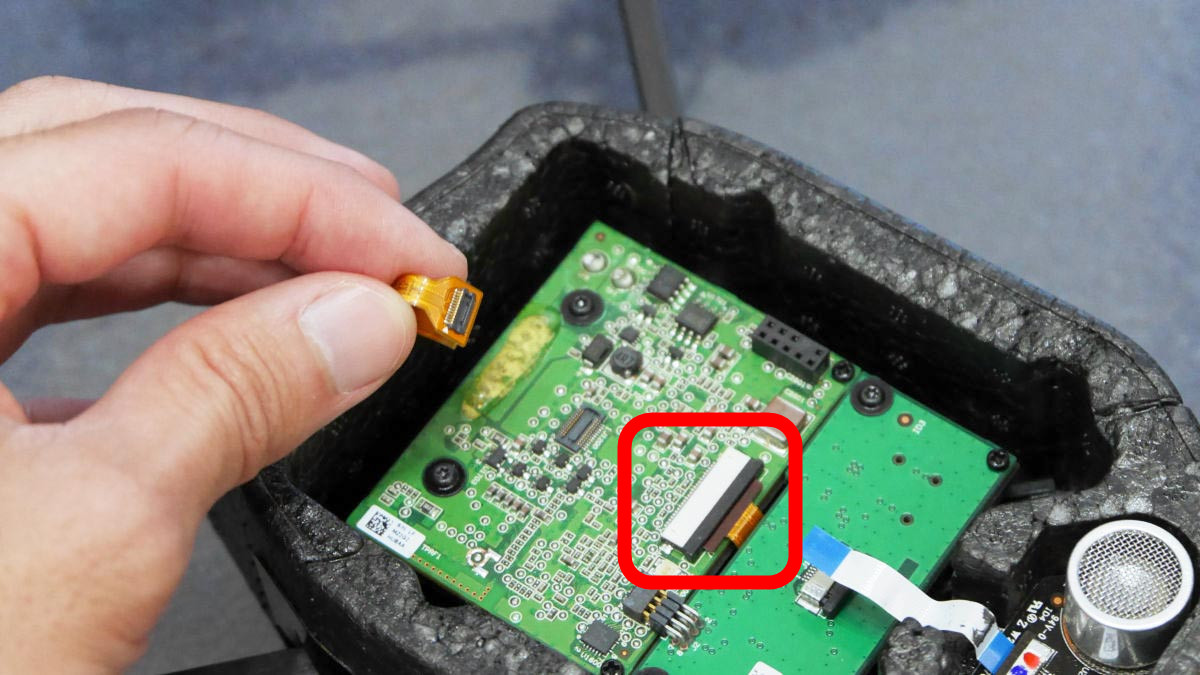
Pull out the black parts.
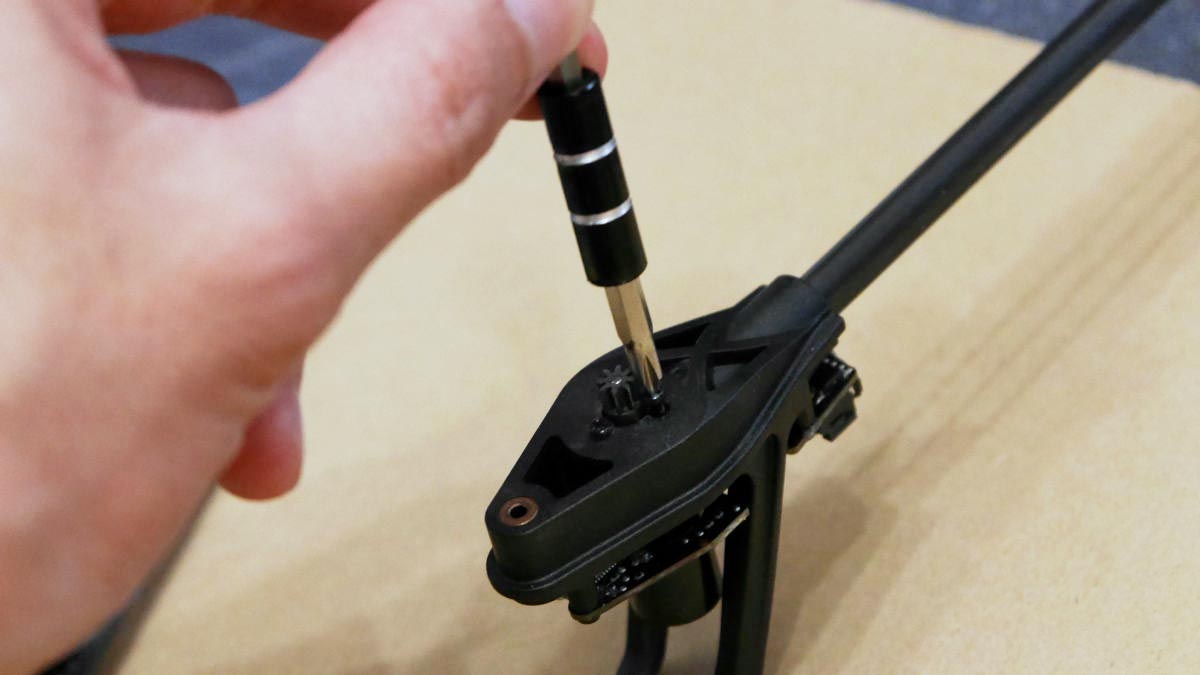
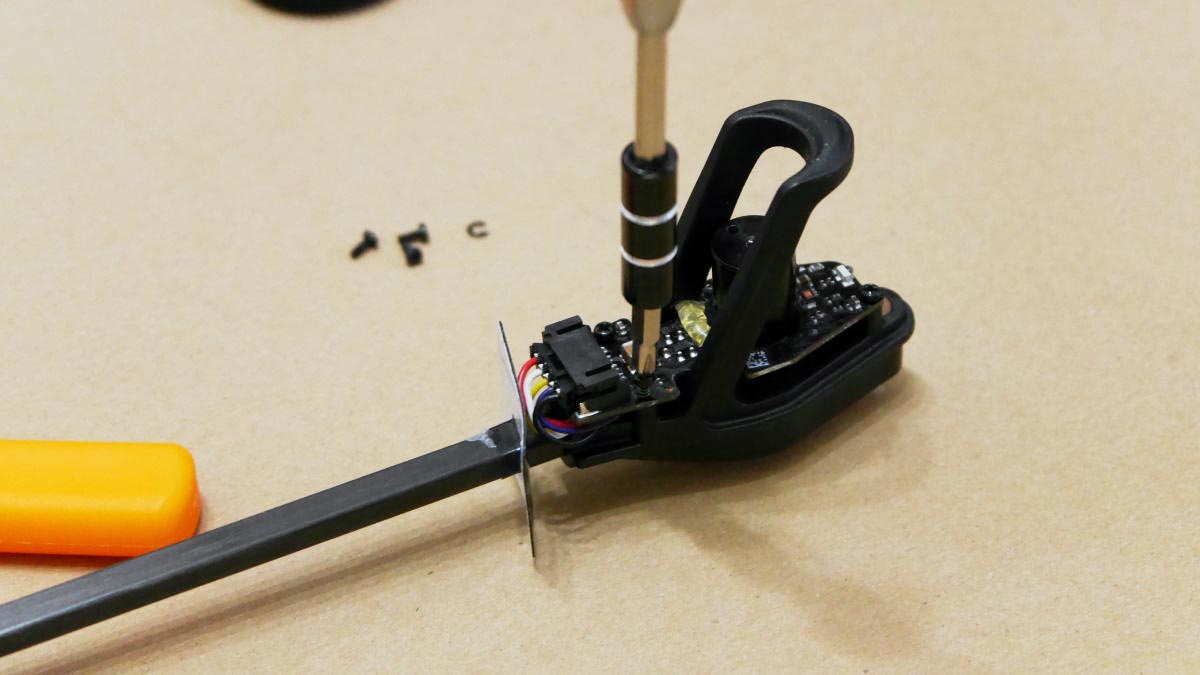
Next, to remove the motherboard, six red screws ......
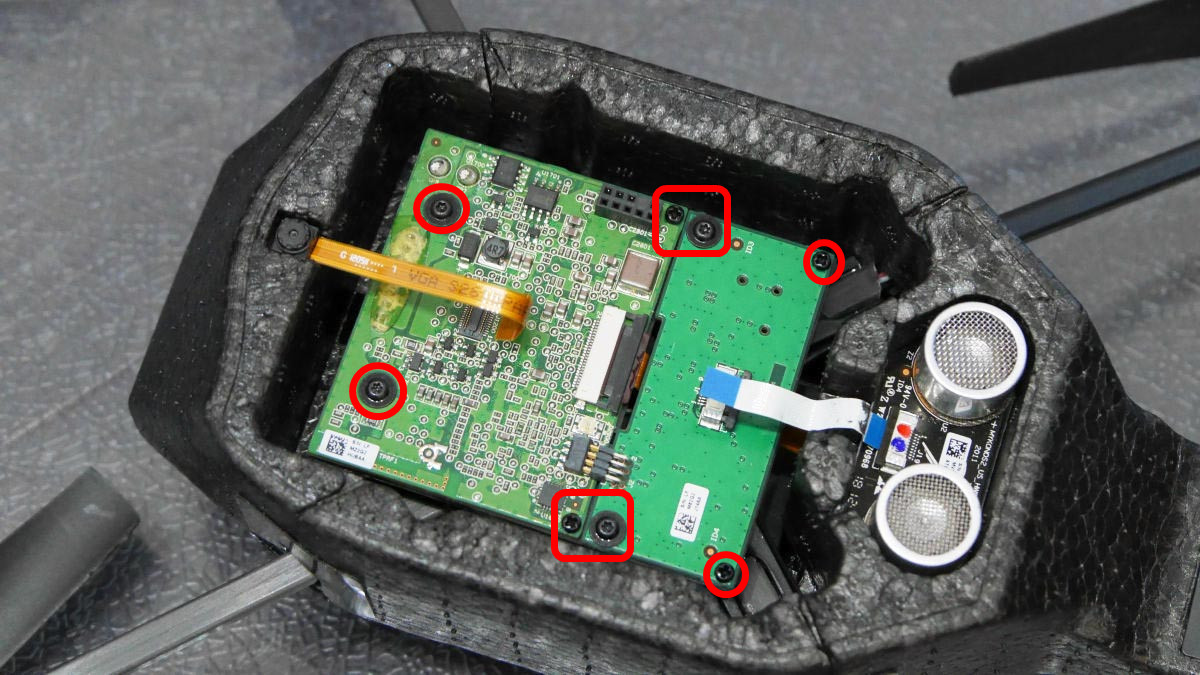
T6 size star driver and ......
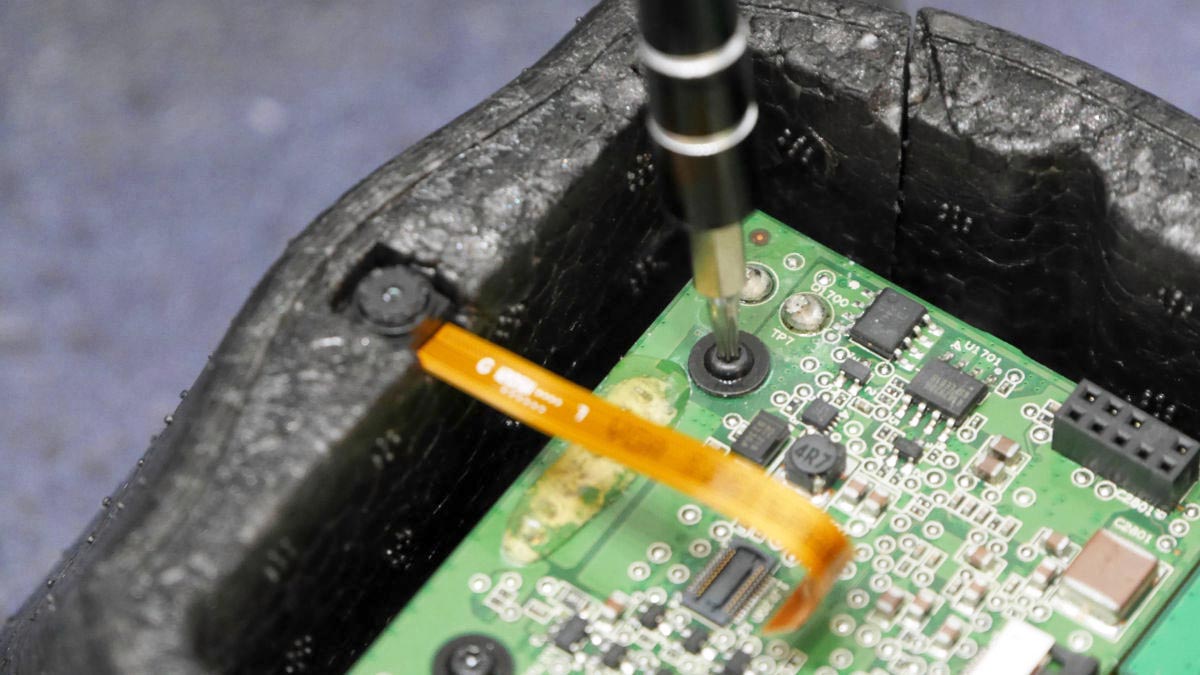
Remove it with the + driver of PH1 size. Be careful not to lose screws as they are very small.
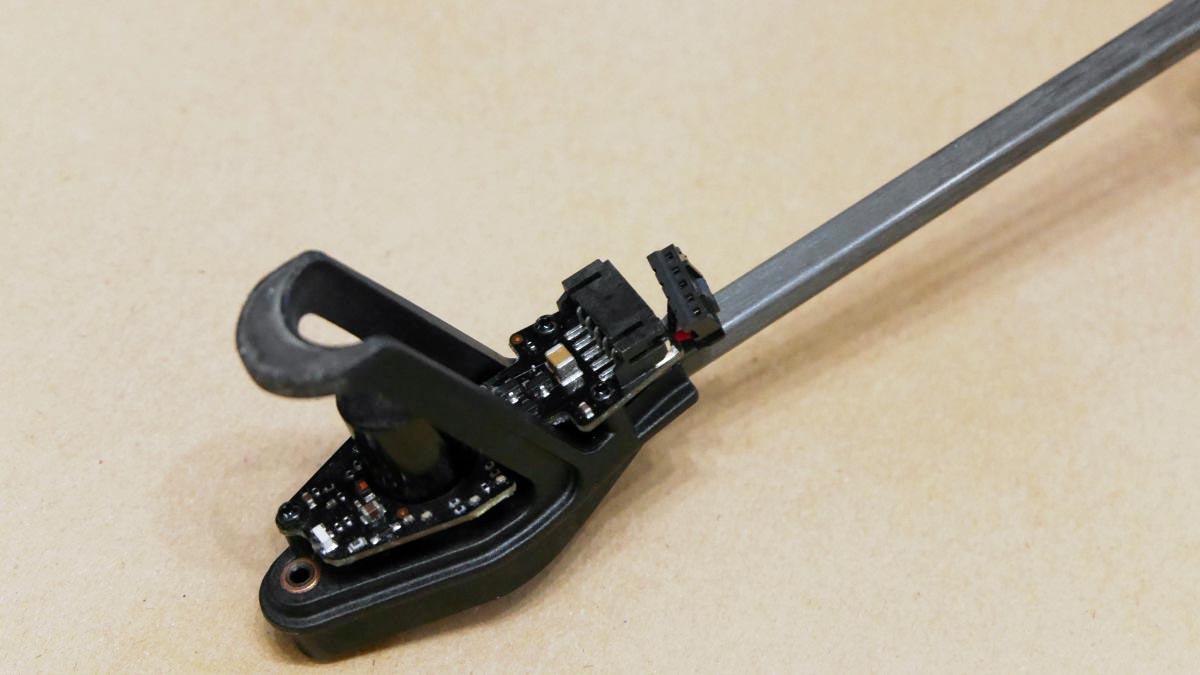
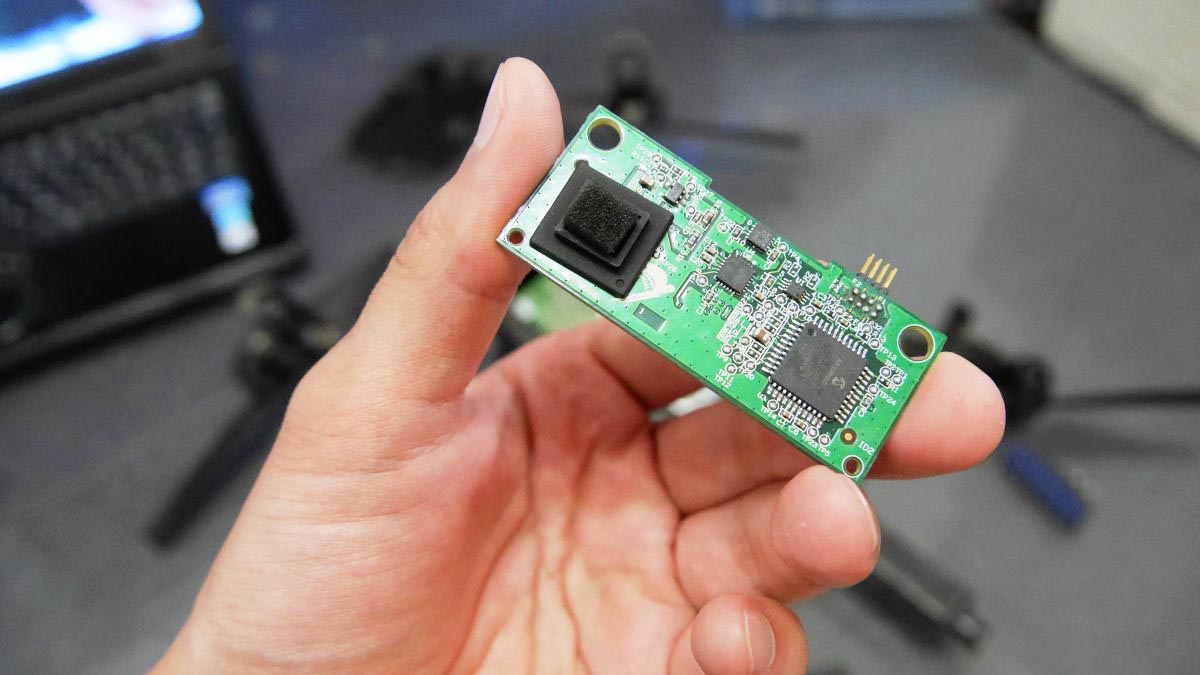
When you can remove the screw, remove the small board by pulling it up obliquely upward.
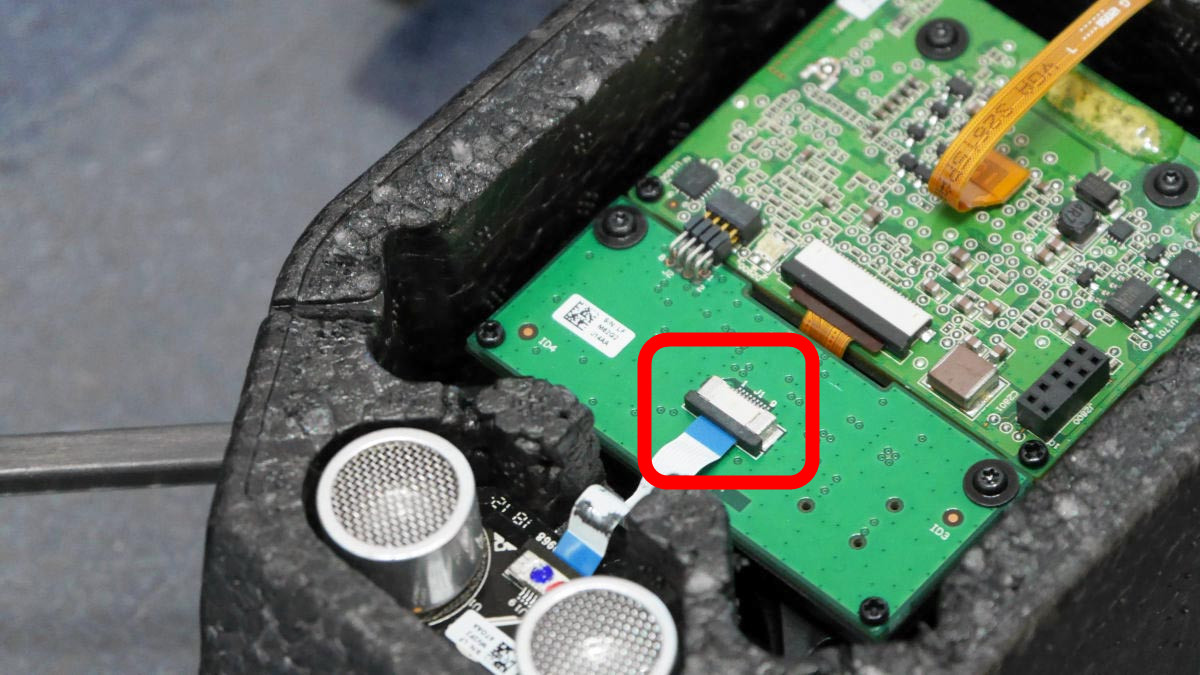
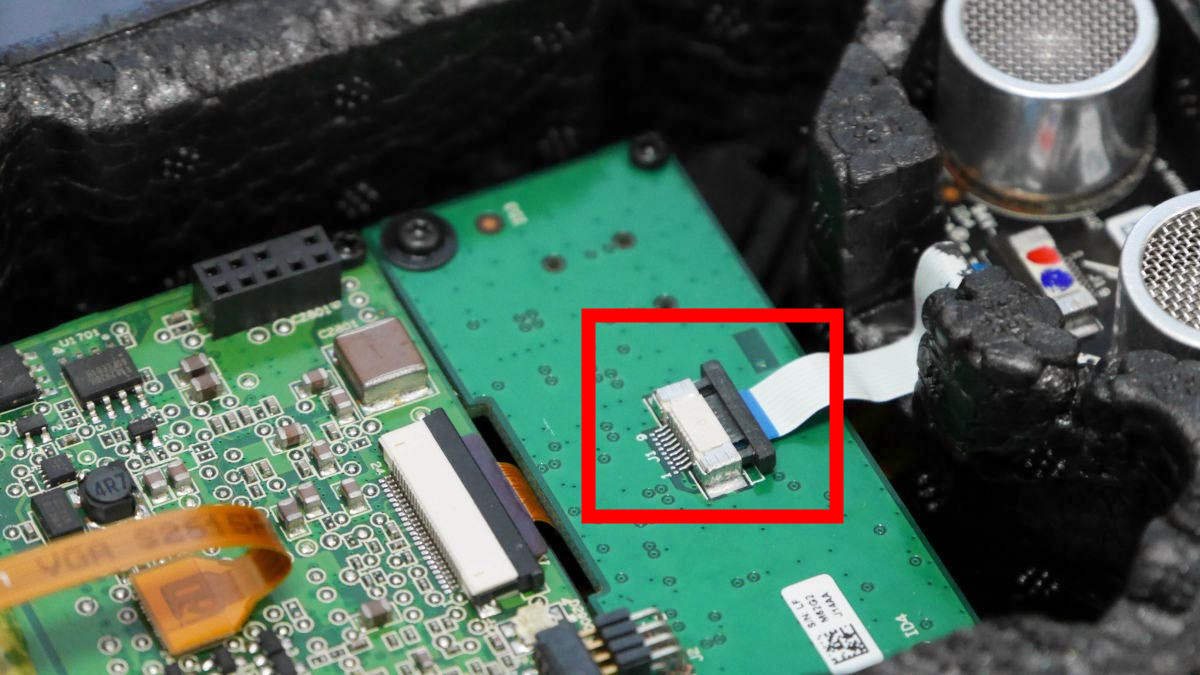
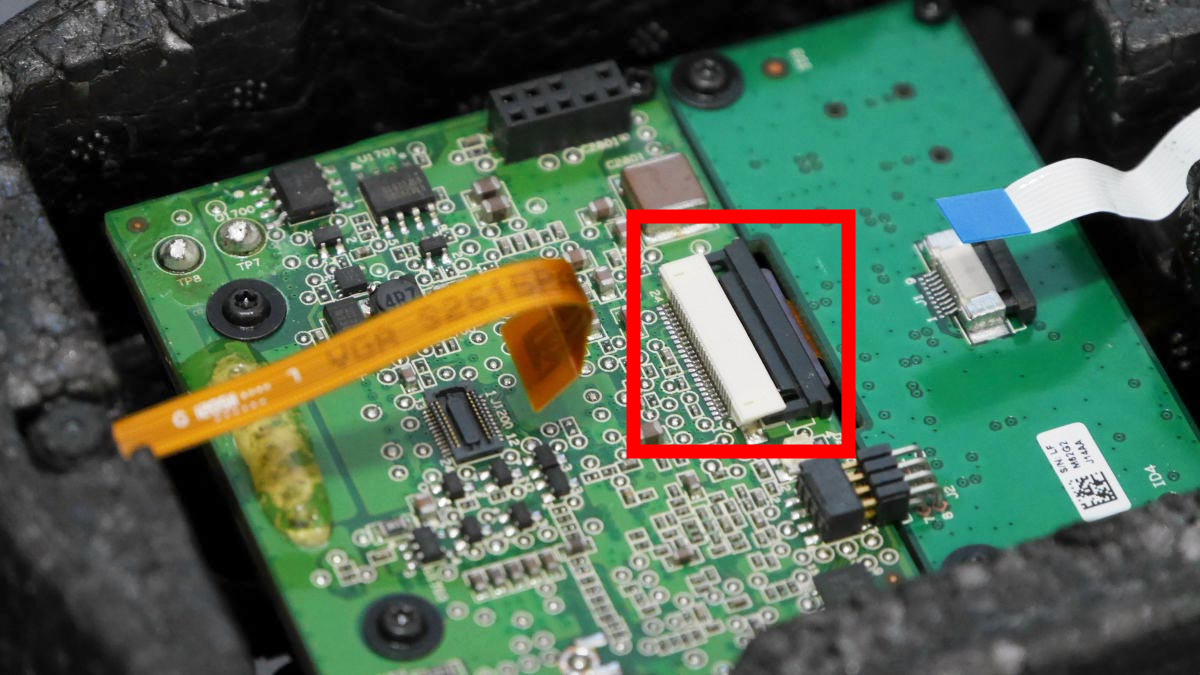
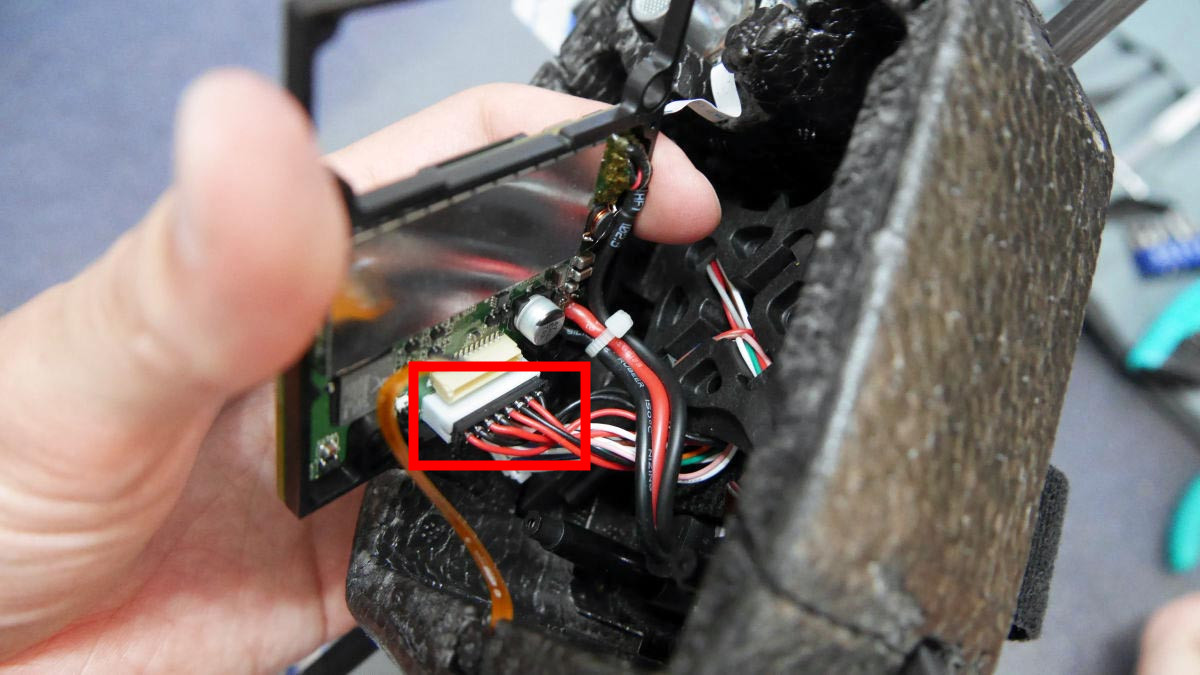
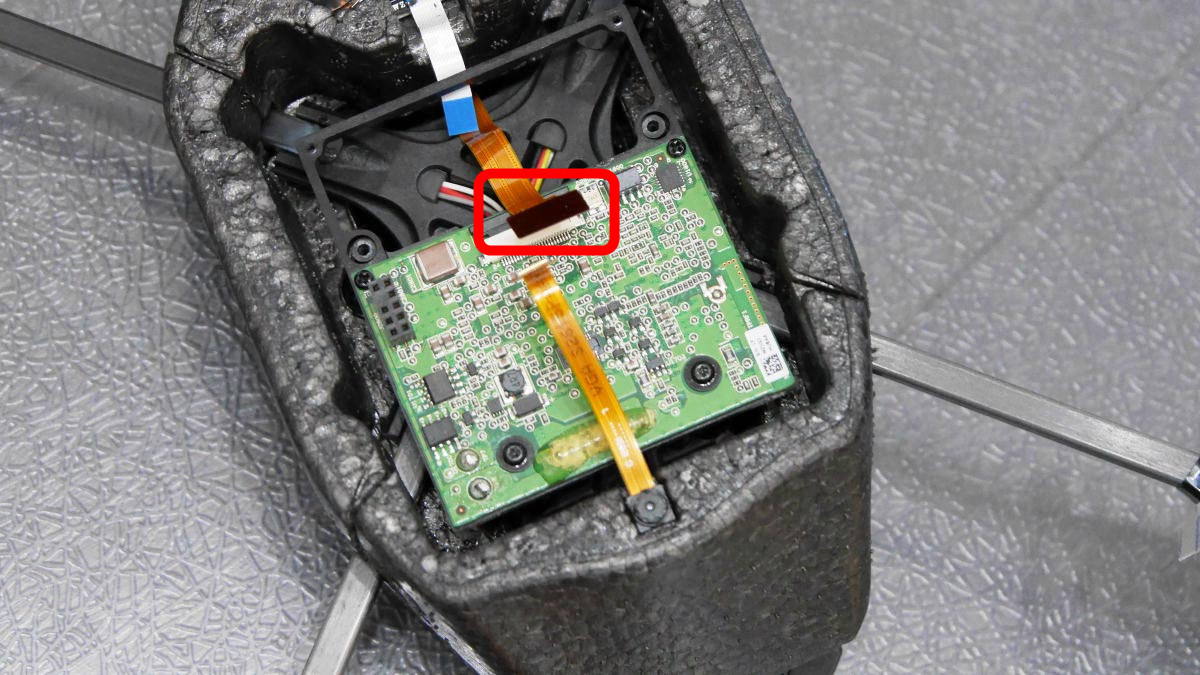
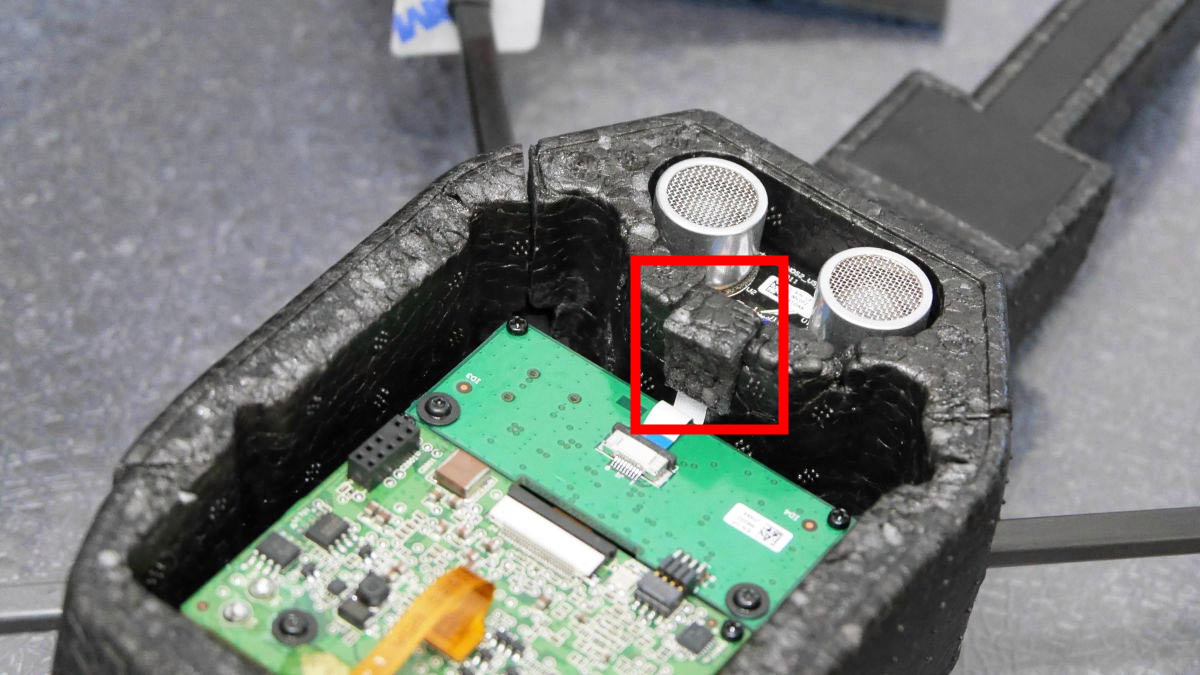
Unplug the cable from the central connector that you unlocked earlier.
Lift up the motherboard every black frame-shaped table so you can see the connector ......
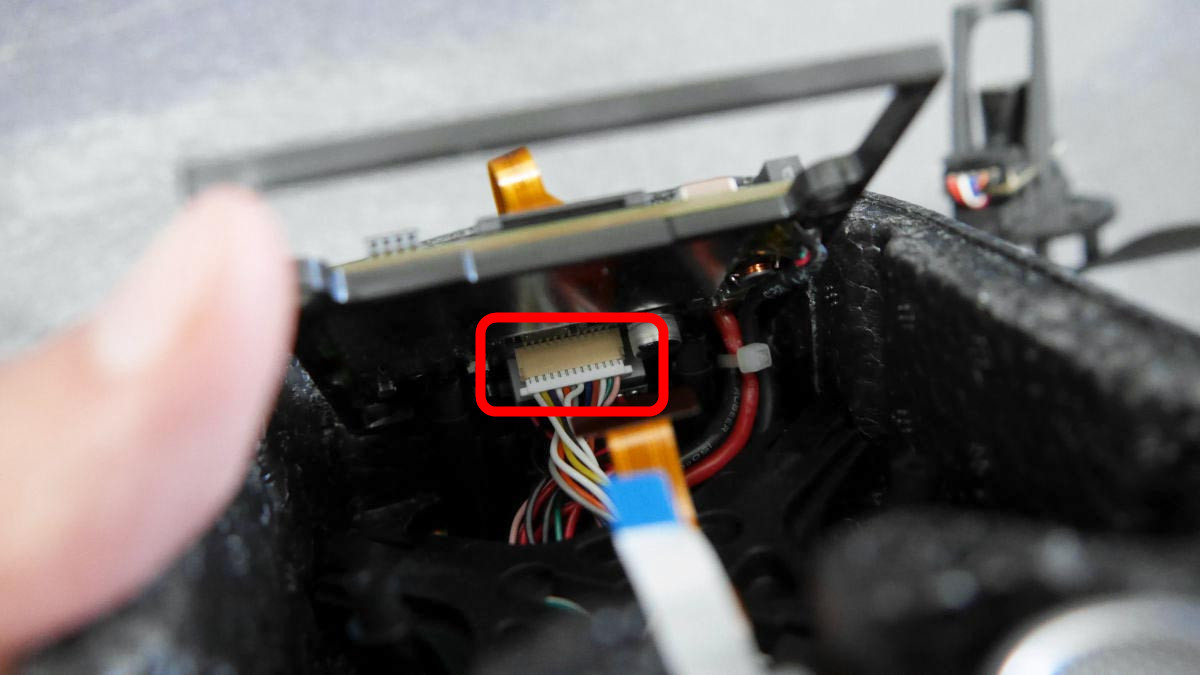
Carefully released.
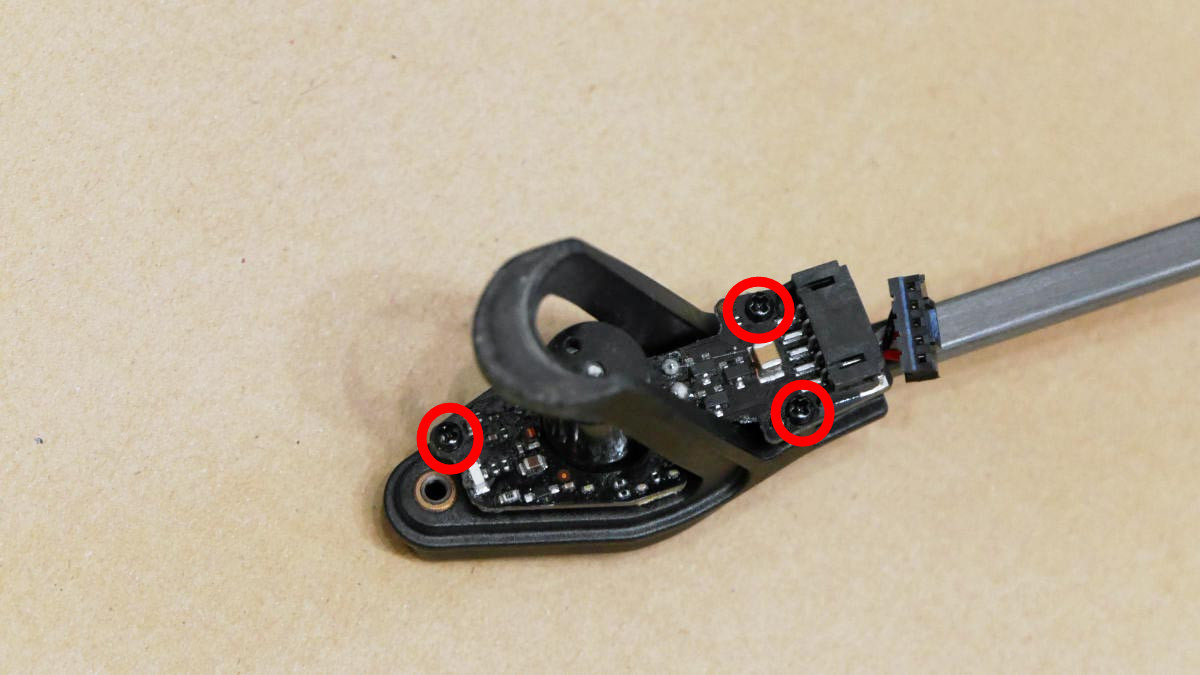
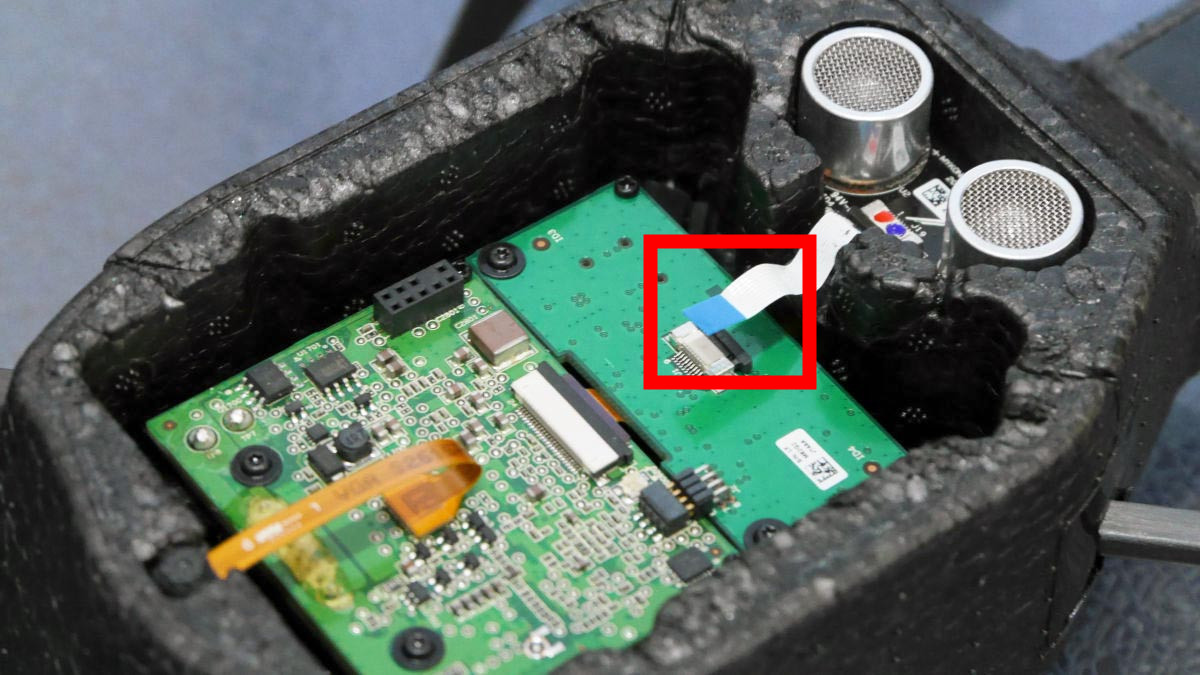
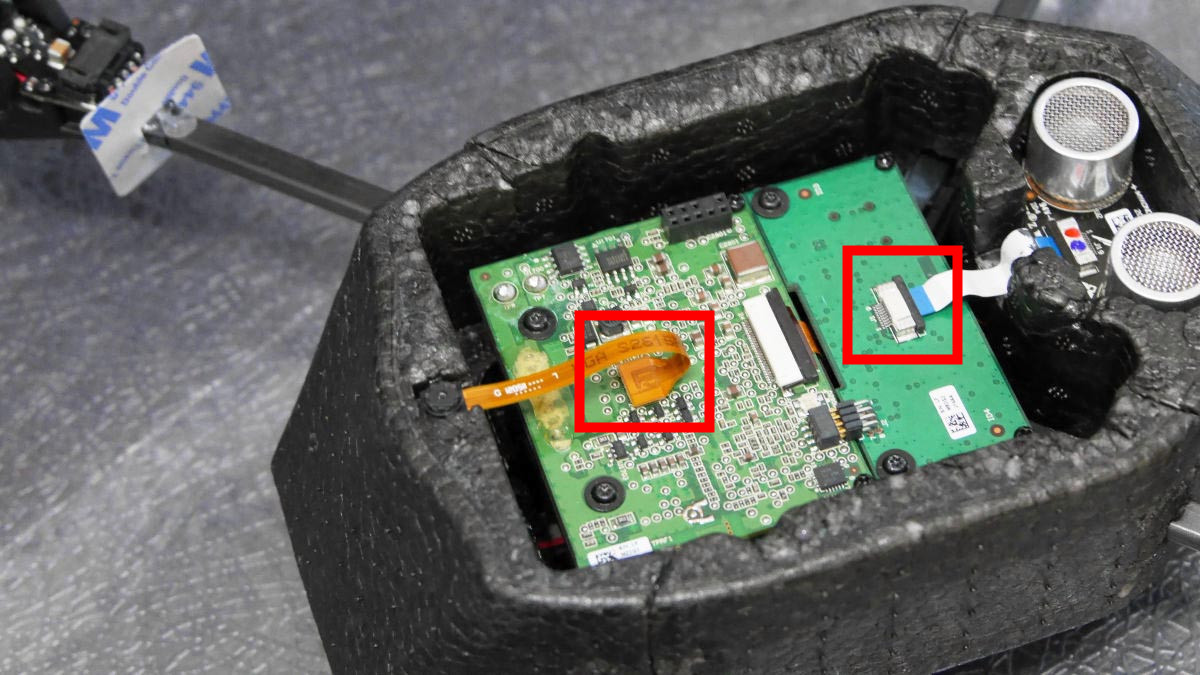
Even black connectors ......
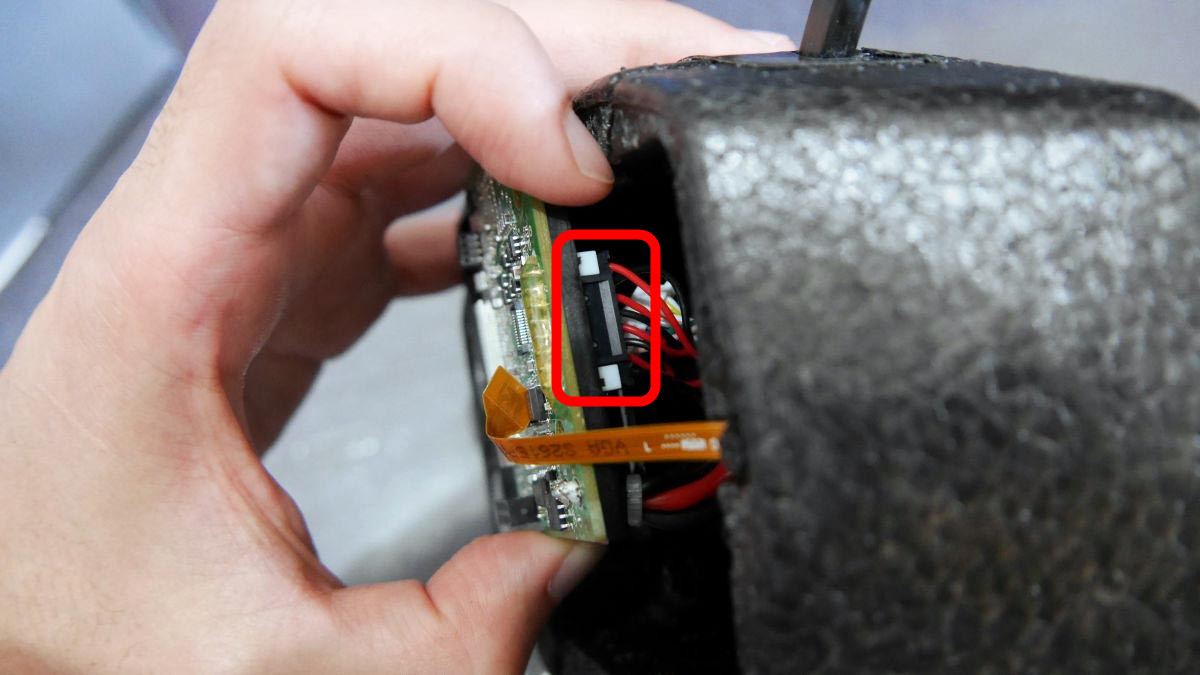
Cancel. Because it is very hard, it is better to use a radio pliers.
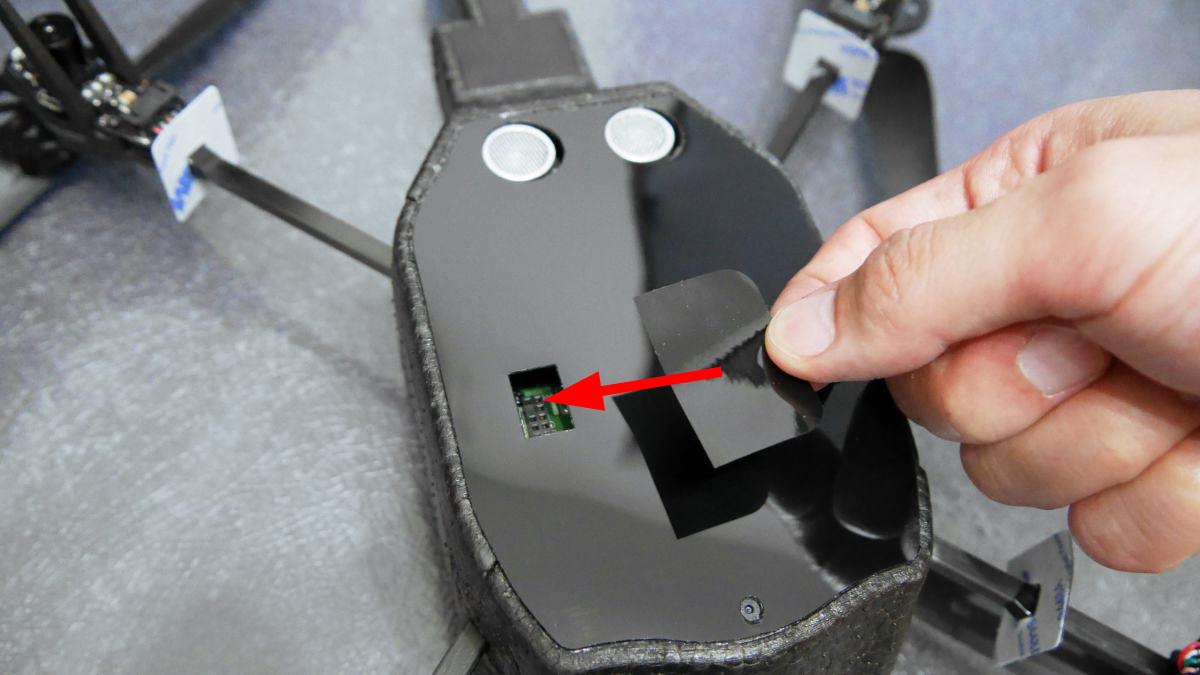
Drone surface power connector cable · When you push the USB cable into the hole ......
With this feeling you can pull the motherboard out of the enclosure.

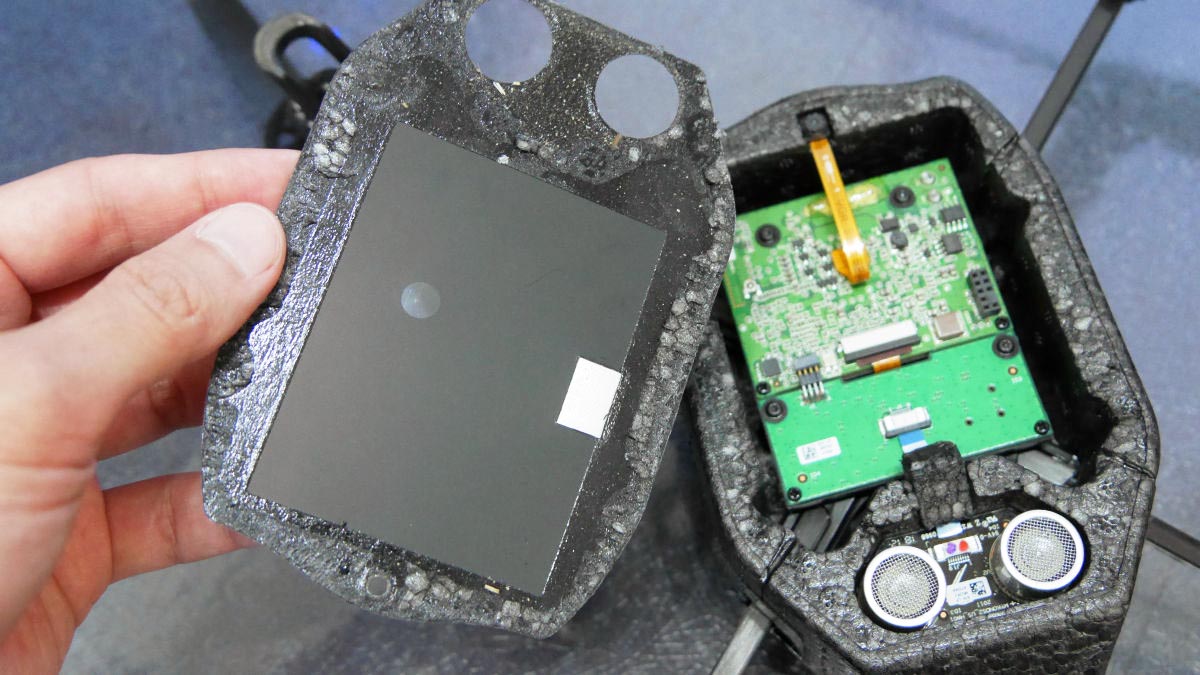
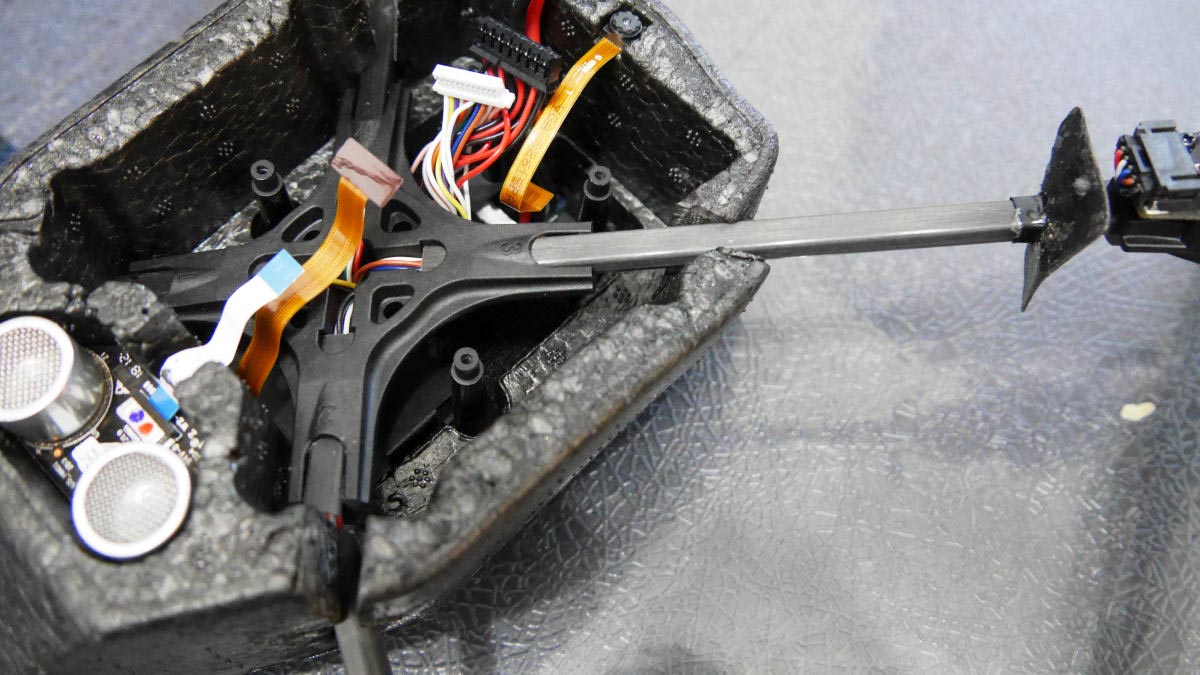
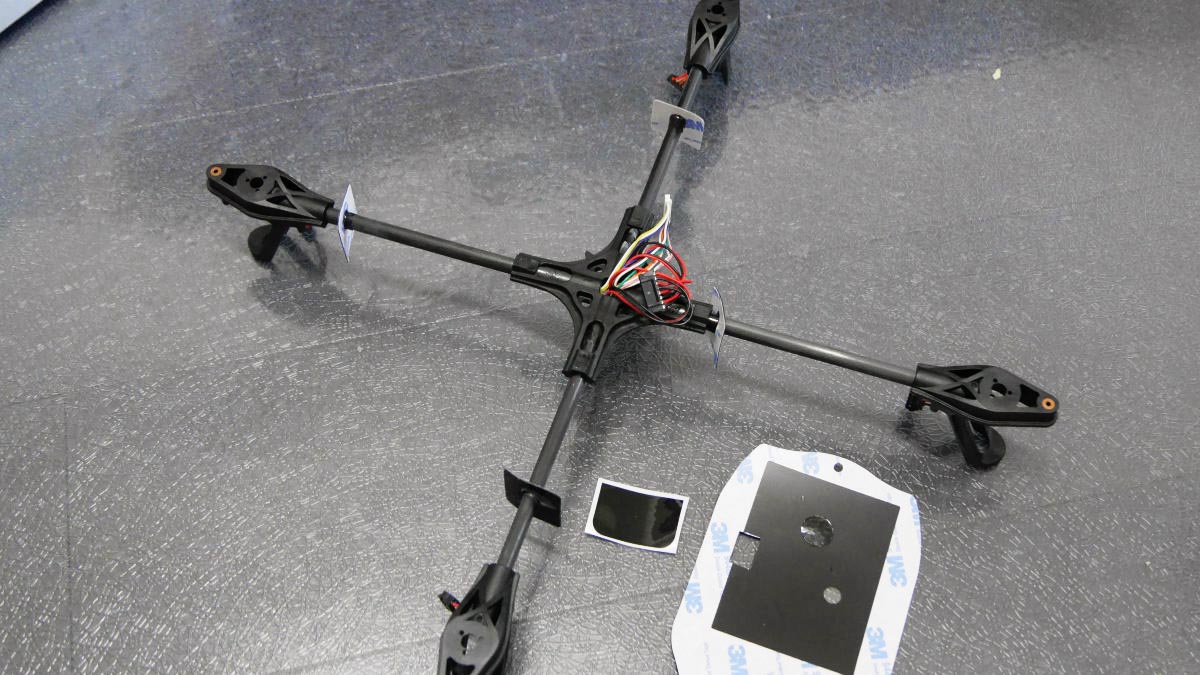
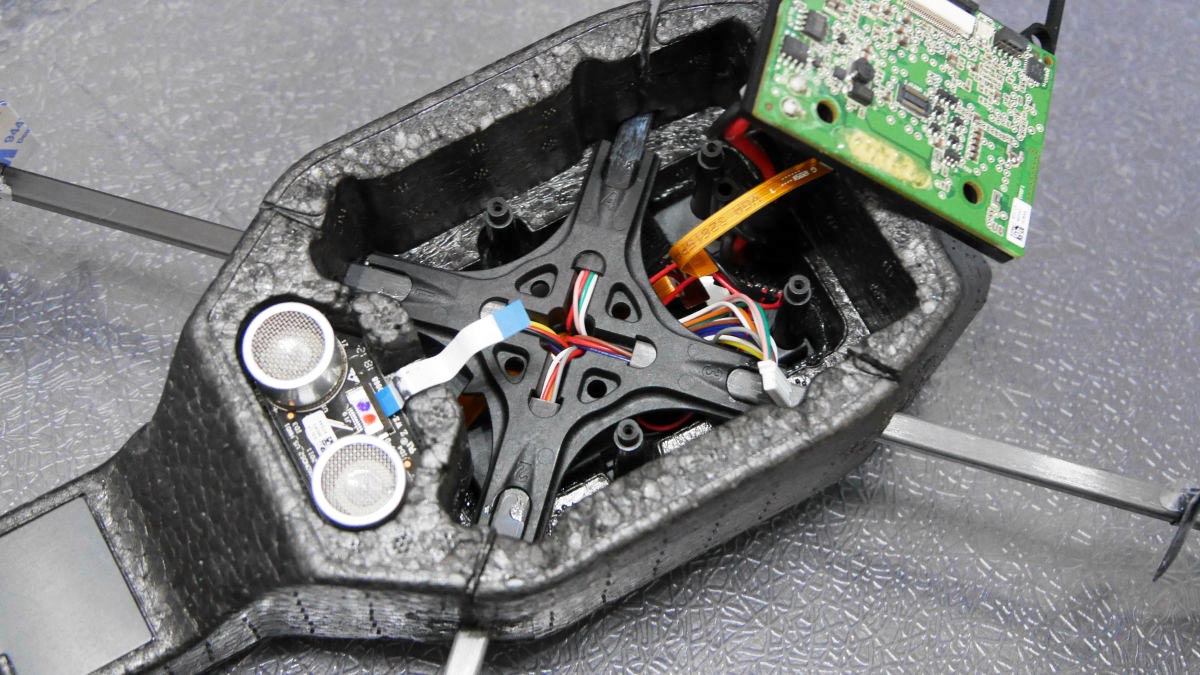
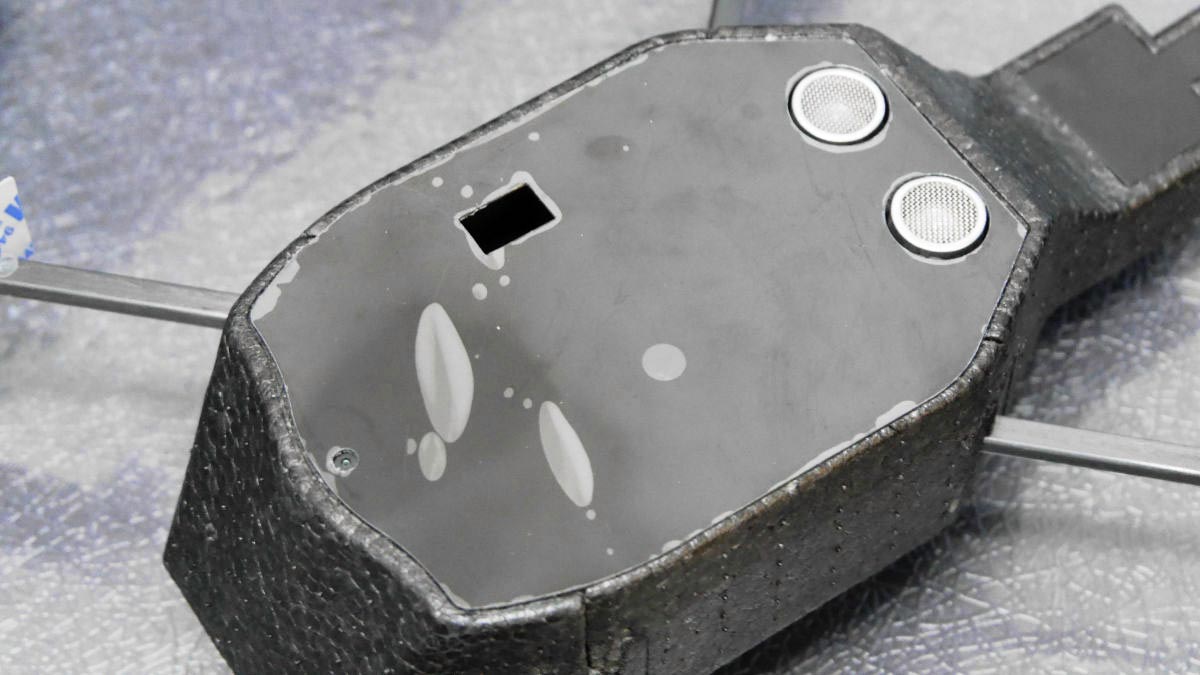
Next, if you remove all the plastic seal on the Drone housing side ......
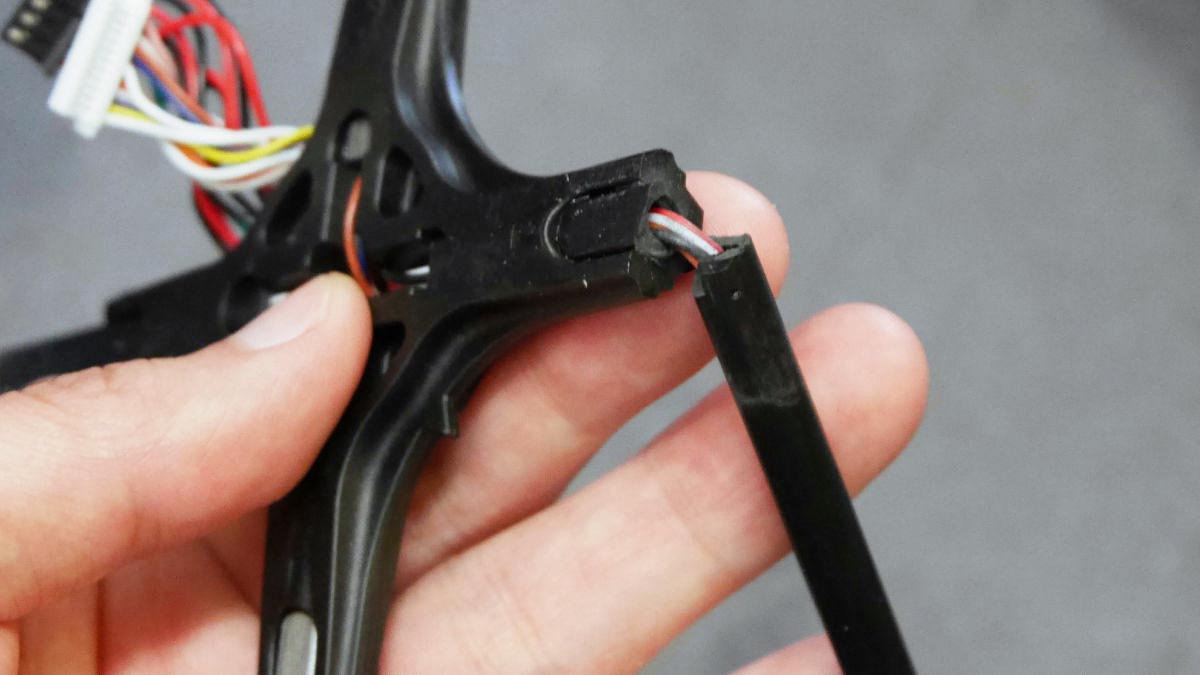
You can take out the central cross.
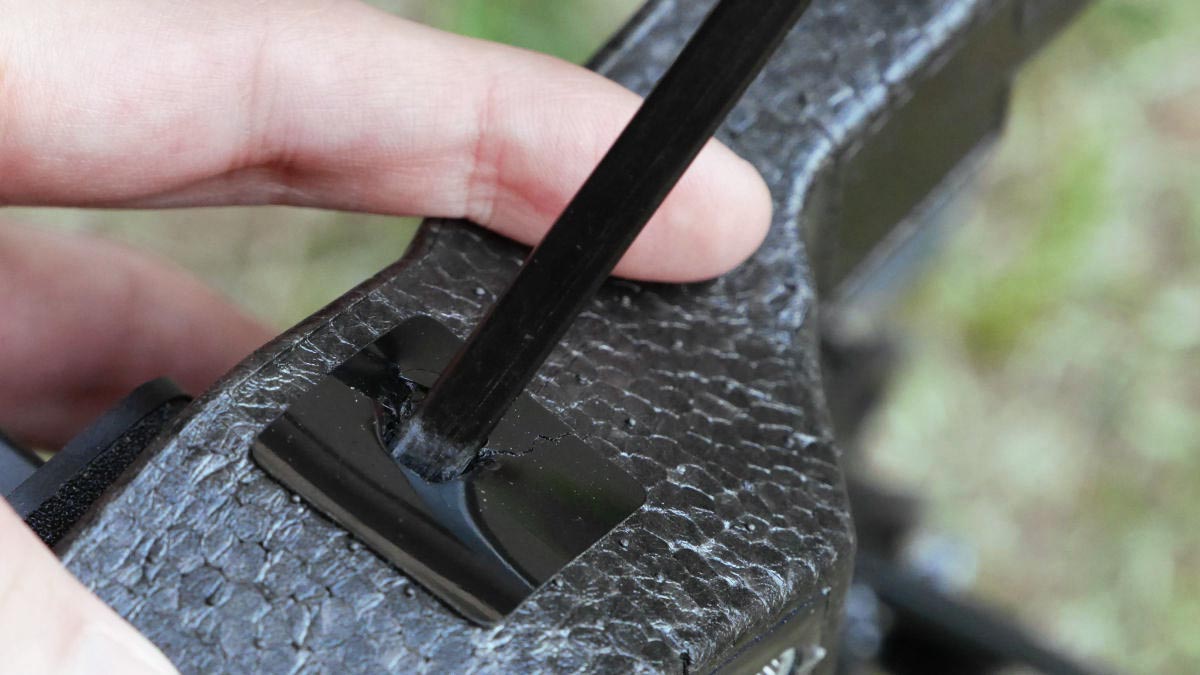
The carbon rod was completely broken like this.
◆Exchange for new parts
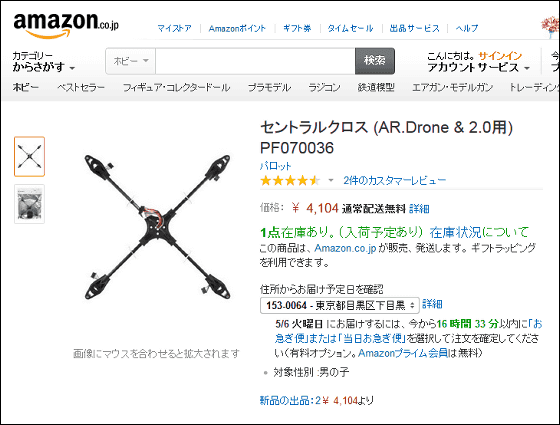
Take out the new Central Cross.
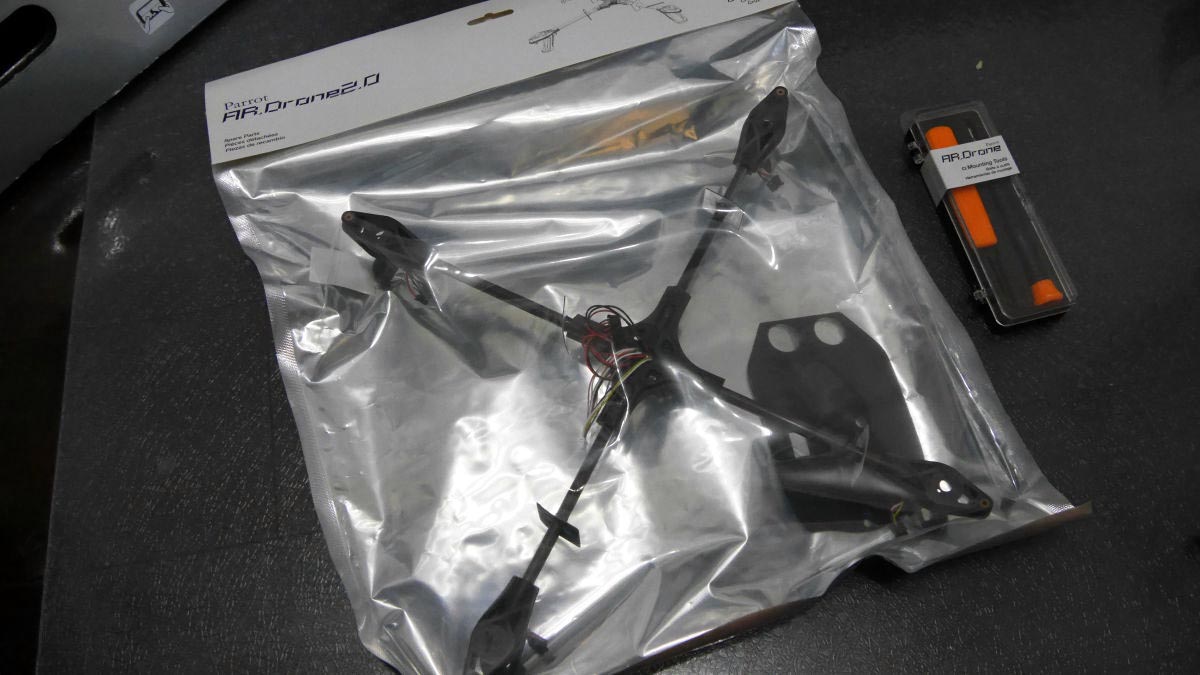
Amazon.co.jp: Central Cross (for AR.Drone & amp; 2.0) PF 070036: Hobby
http://www.amazon.co.jp/dp/B007HZLOMO
When opening the bag, there were two central crossover placules inside.
With the side where the numbers of 1 to 4 of the central cross were written facing upward ......
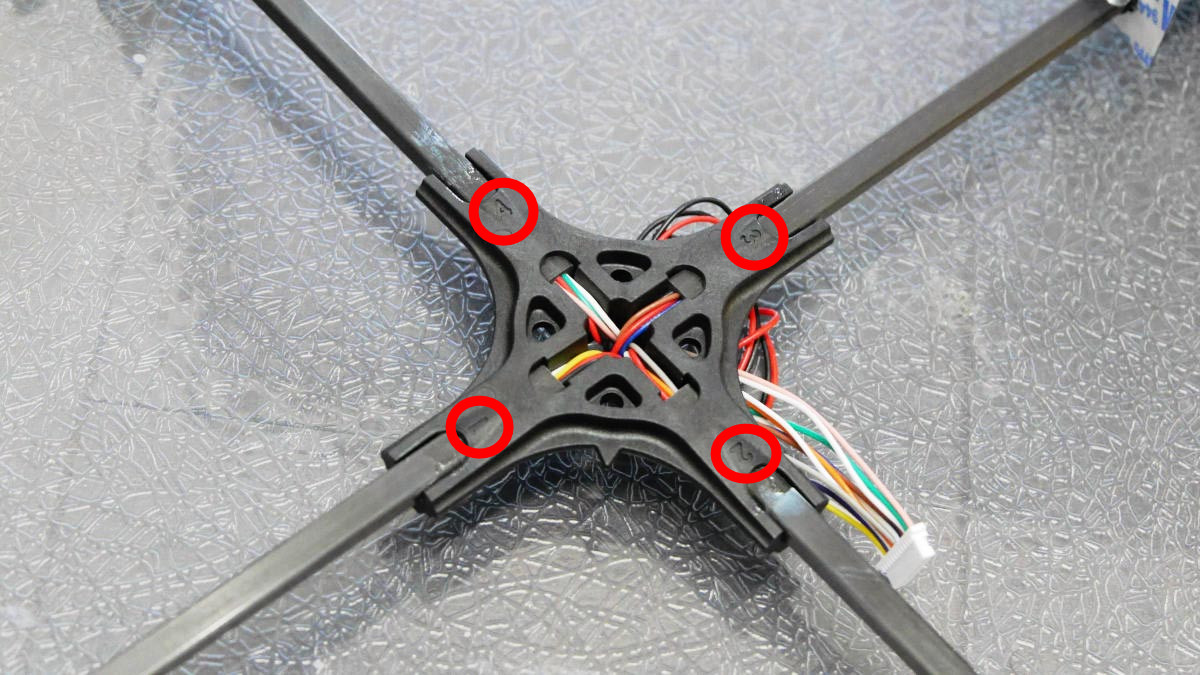
Projections between 1 and 2 ...
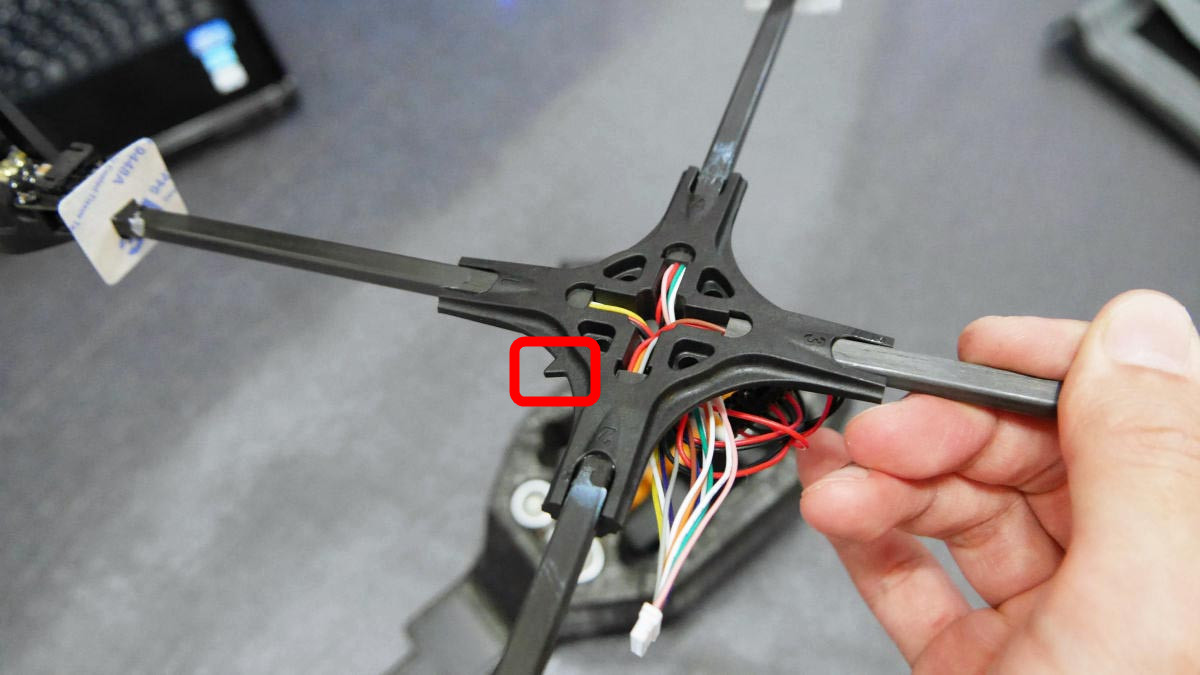
I will install it so that it will be in front of Drone.
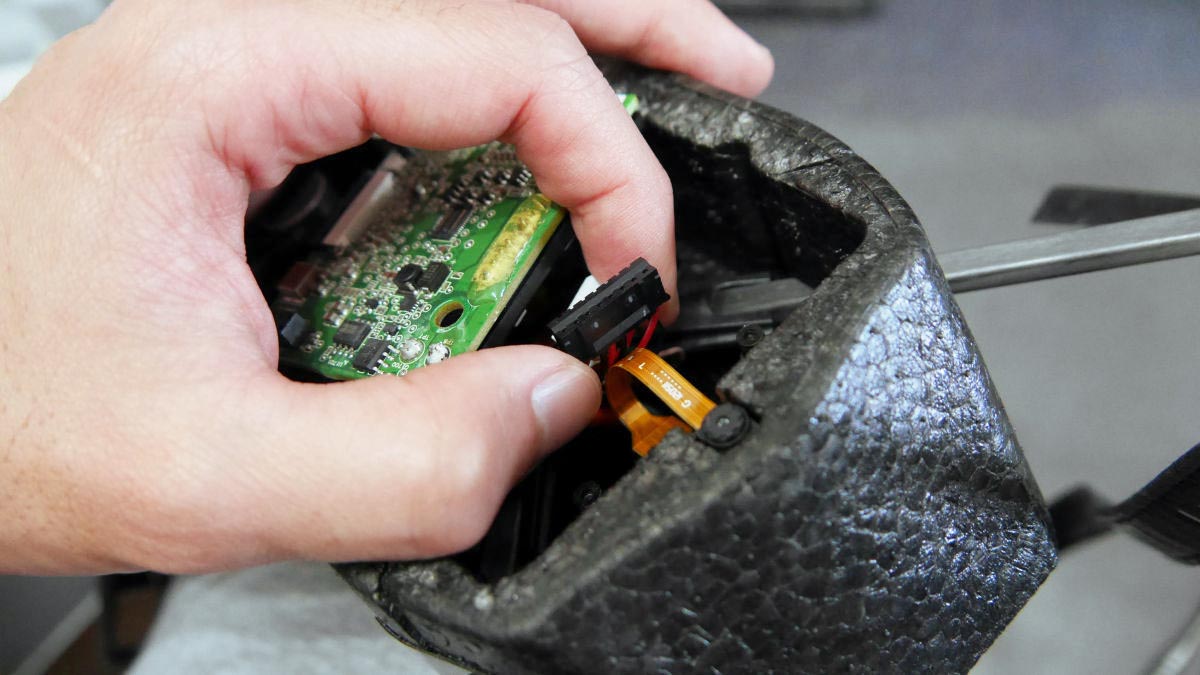
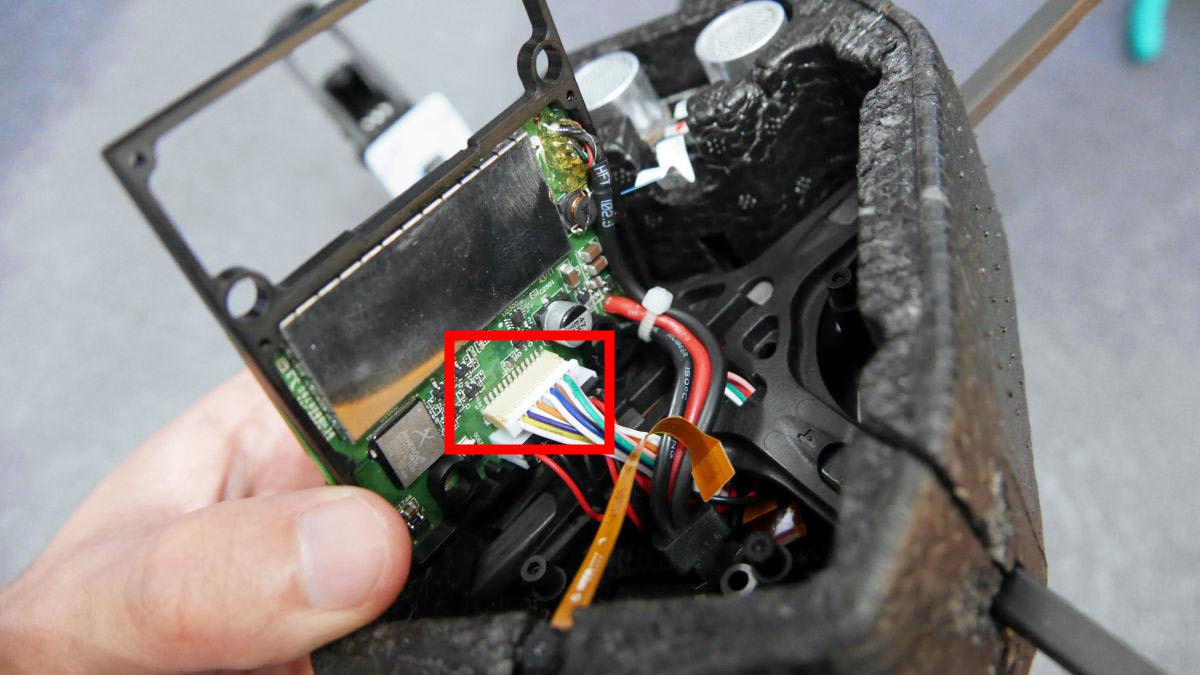
Black connector on the back of the motherboard ......
Connect a white connector.
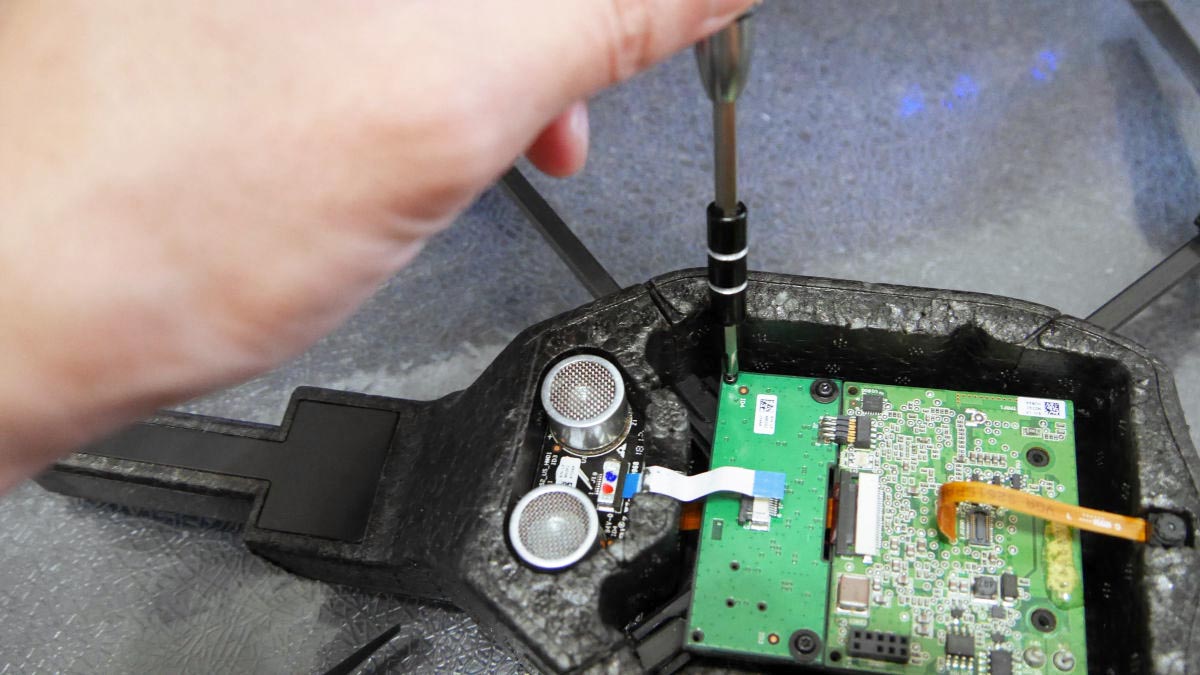
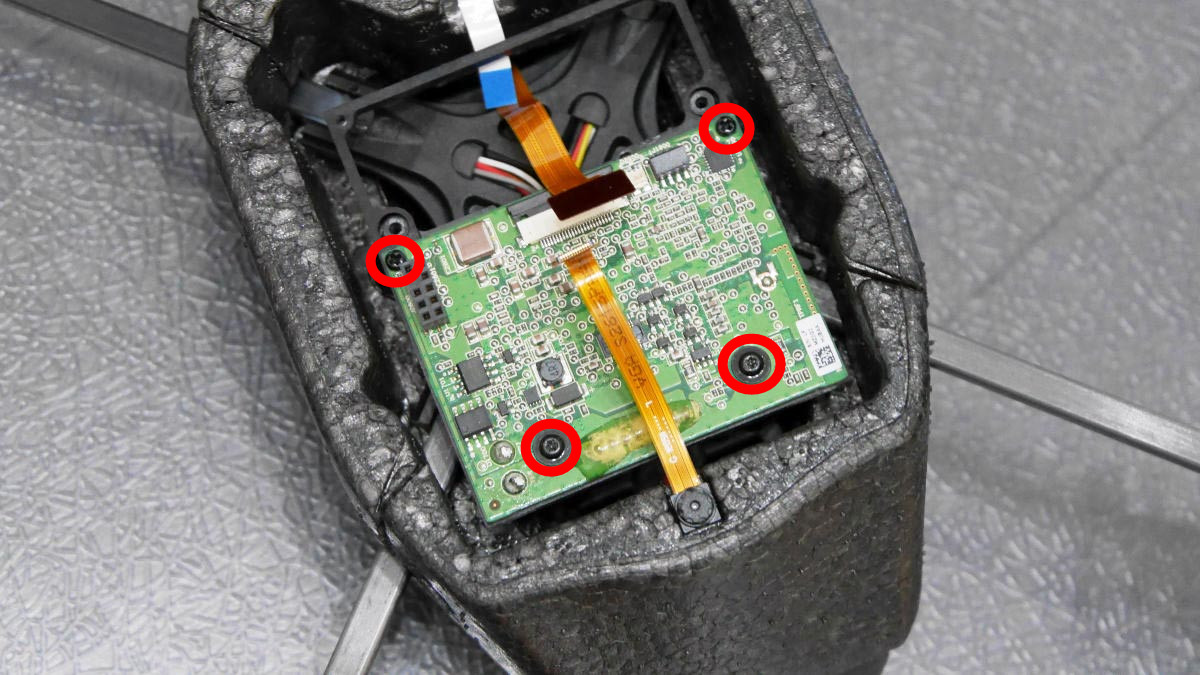
Fix the motherboard with four screws.
Cable in the central part ......
After putting it in the connector, close the black connector and connect the cable.

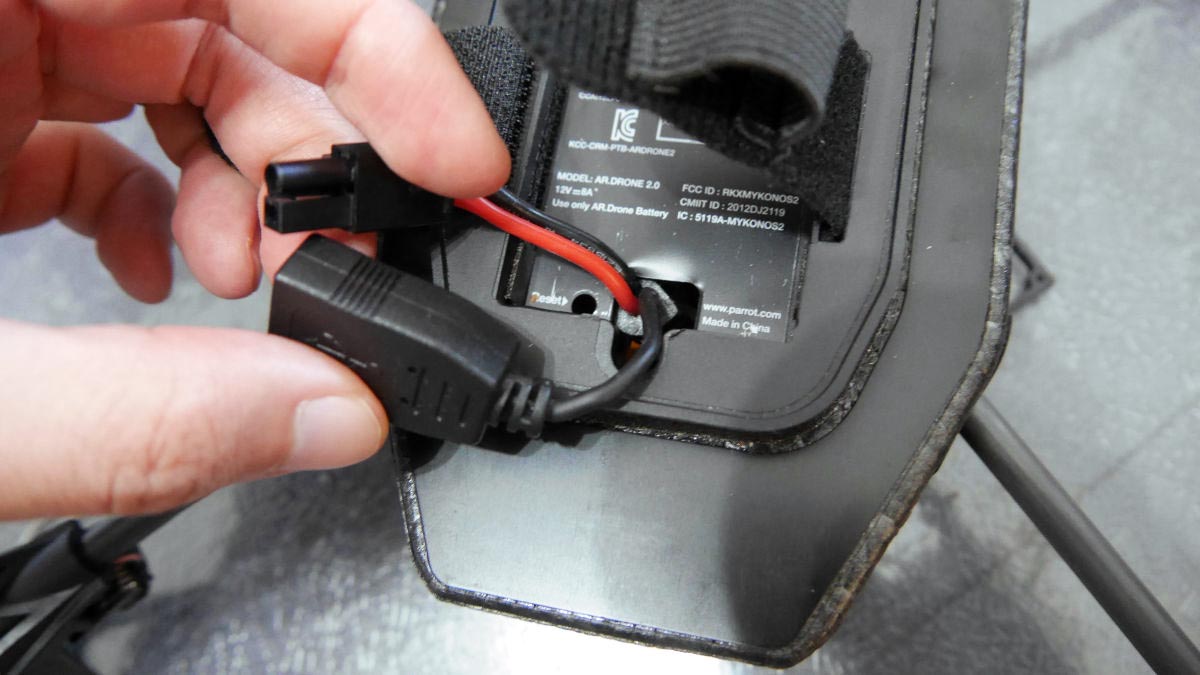
Likewise, connect the red frame part connector as before.
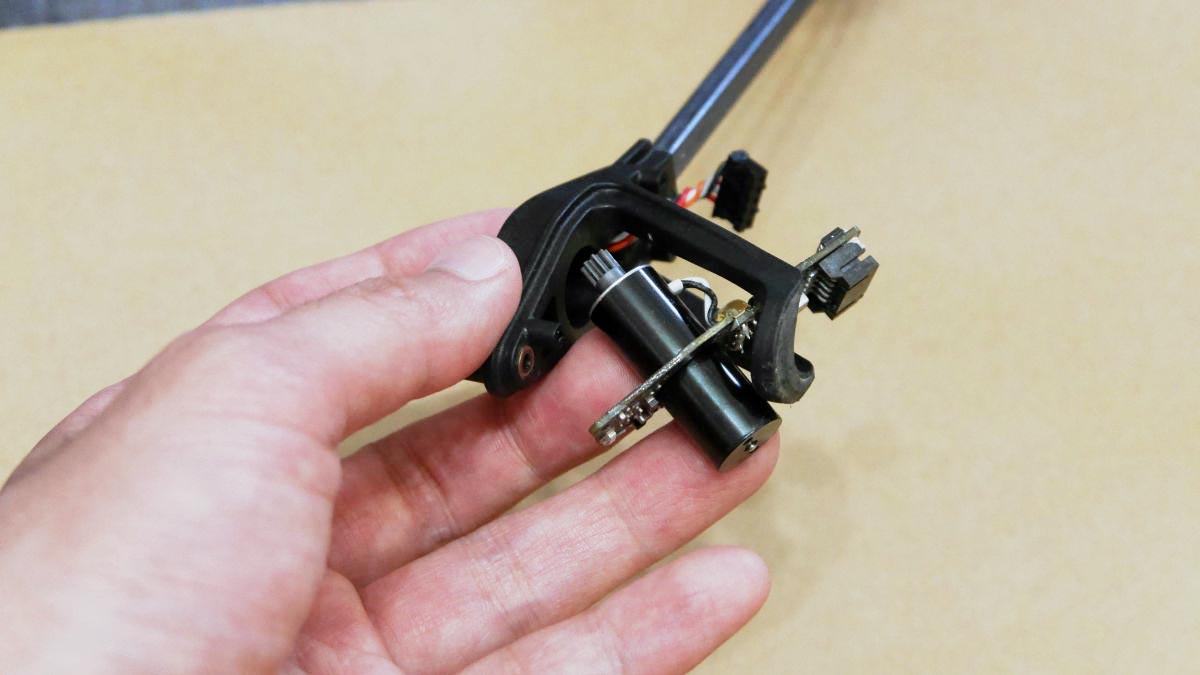
◆Mounting a motor / propeller
Attach the removed motor to the new central cross ... ...
Attach the connector cable on the back side.
Tighten the three screws on the back side ......
Three screws on the front side are also fixed.
Plug in ... ...
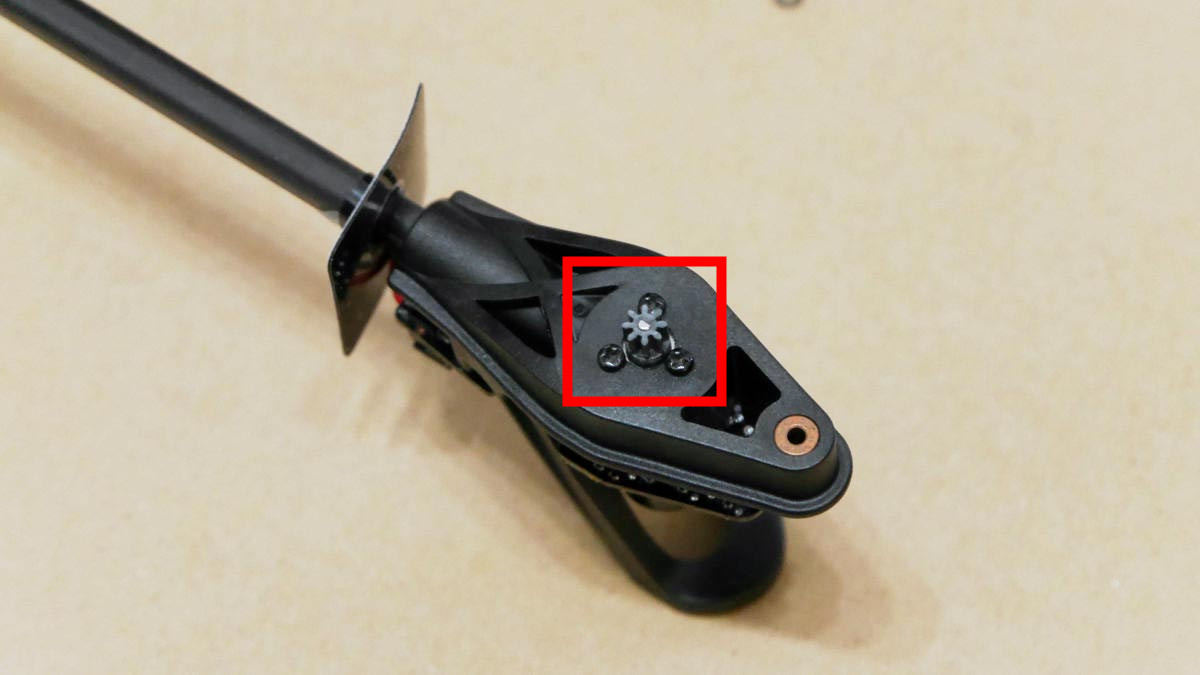
Attached gear.
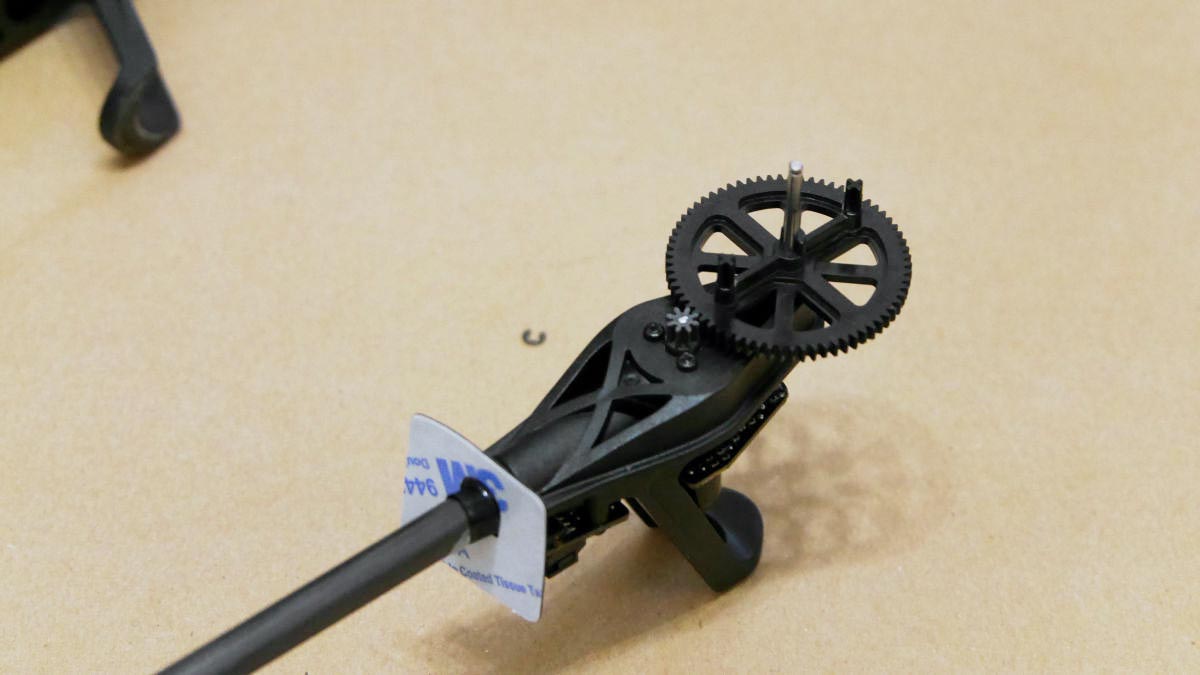
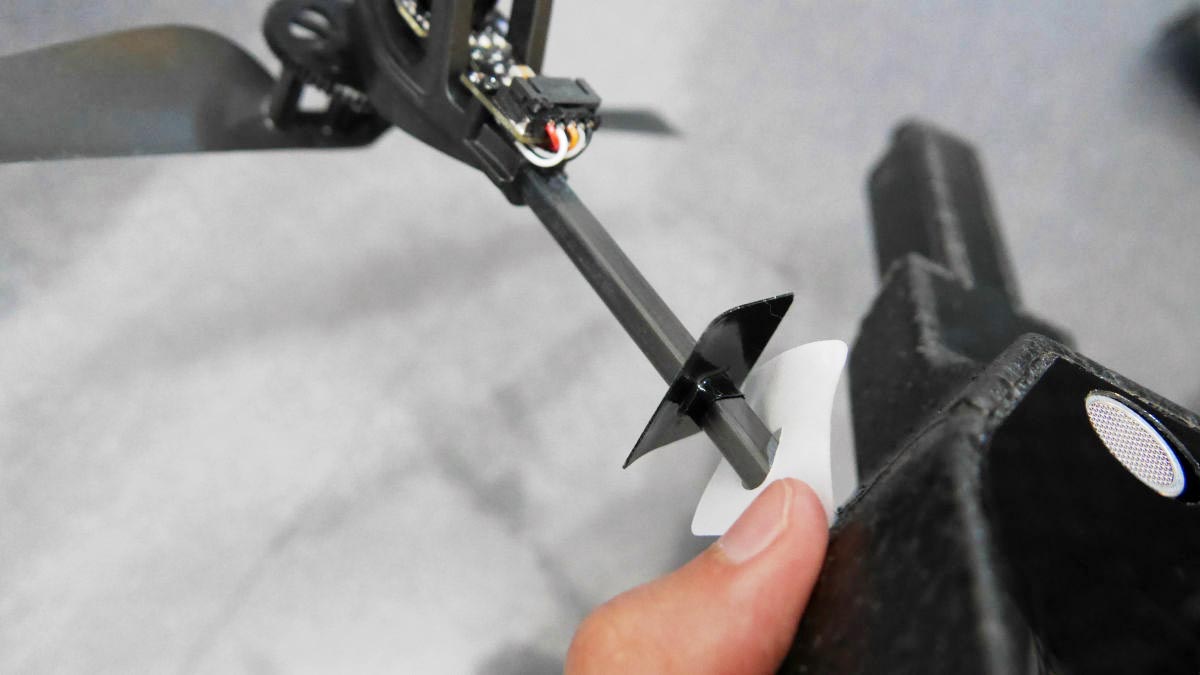
Since there is a notch in the propeller, fit it to fit this notch.
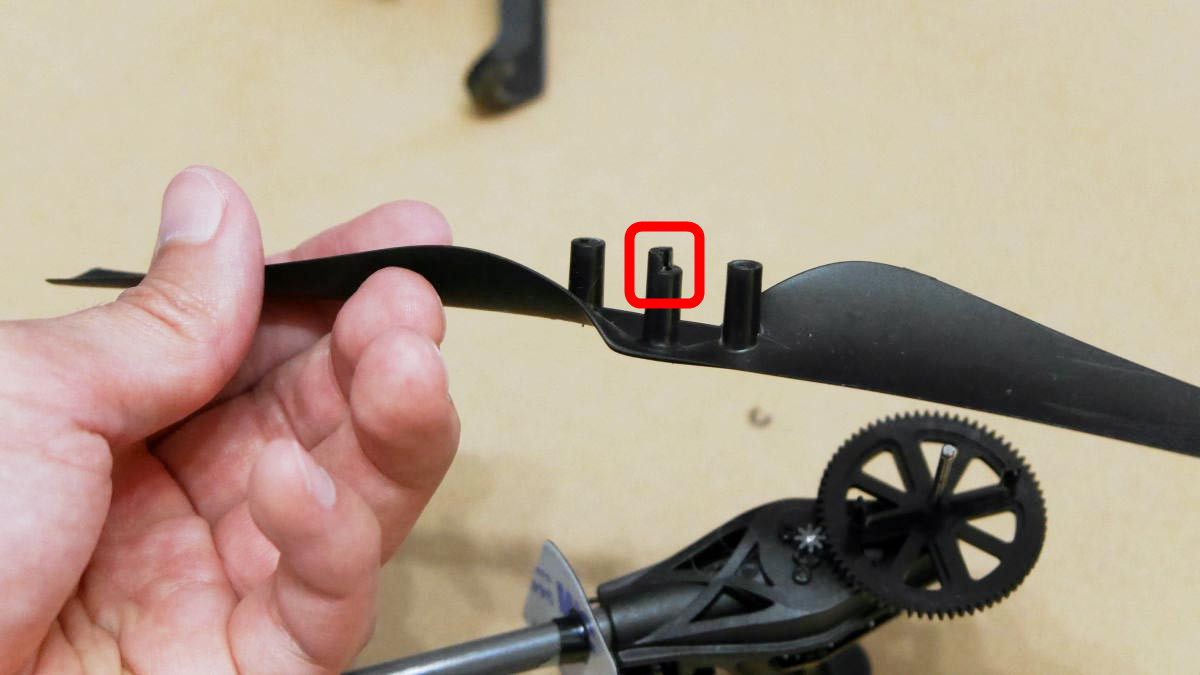
Finally put the E ring in ... ...
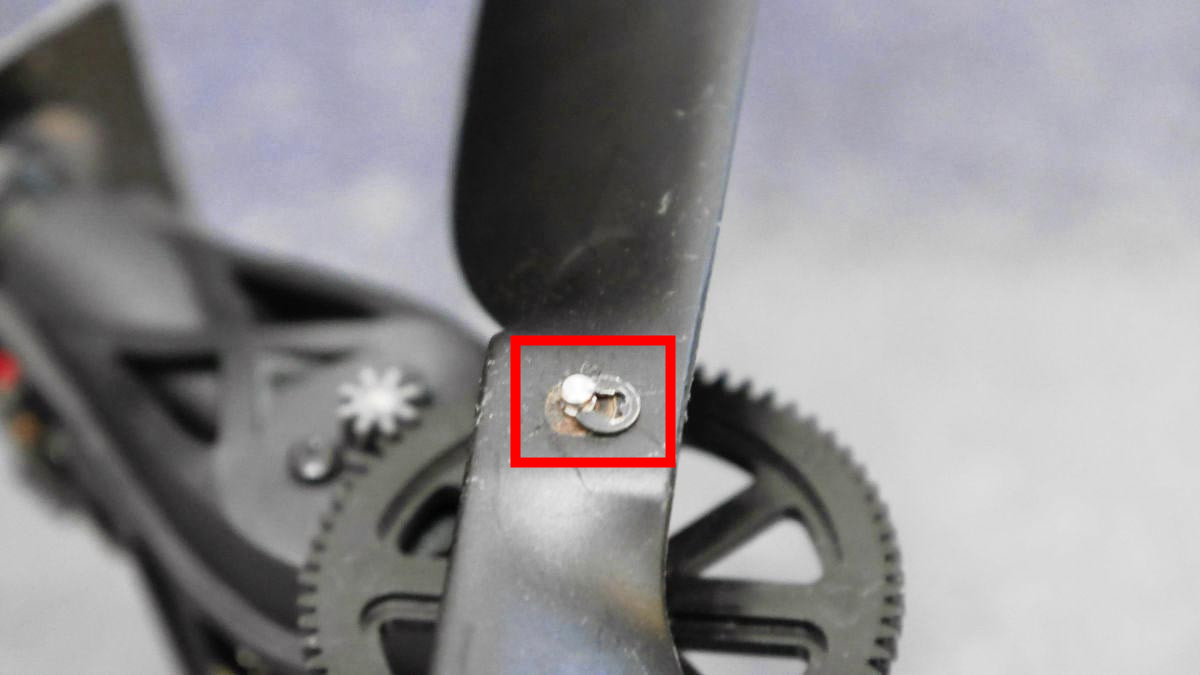
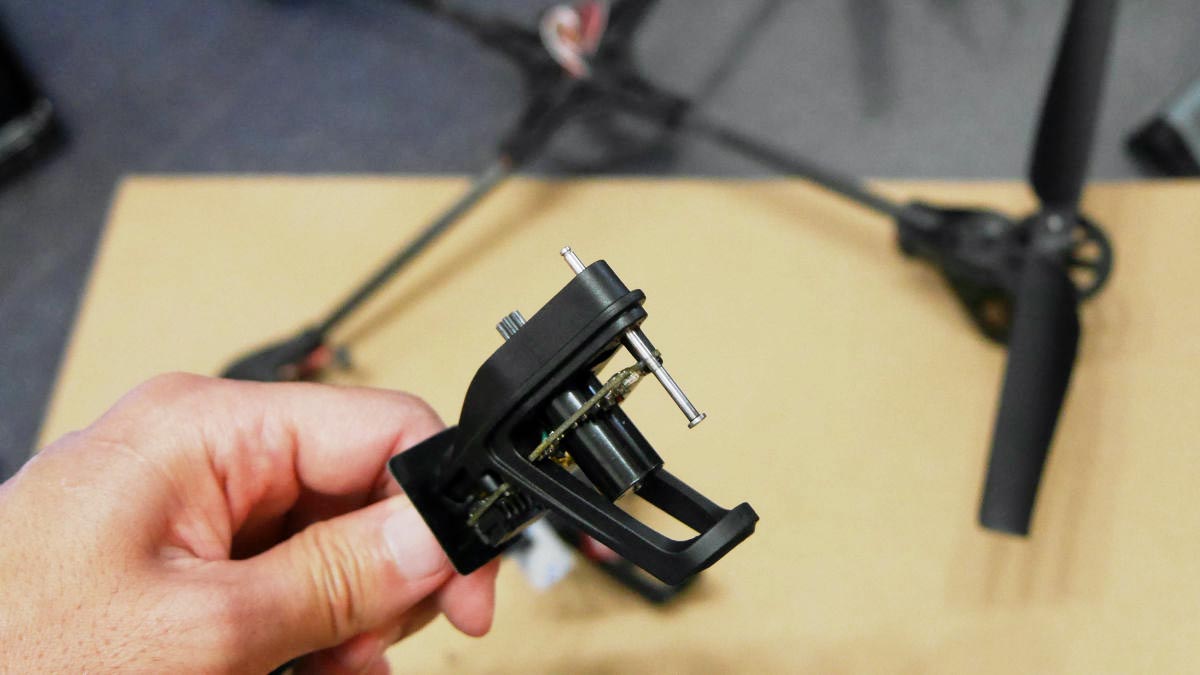
Almost completed. In addition, if you carry out the energization test at this stage, even if there is a mistake in the installation of the connector cables, the revision work is relatively easy.
Return foamed styrofoam cushion ......
Paste the attached Plastic seal (large) on the bottom of Drone.
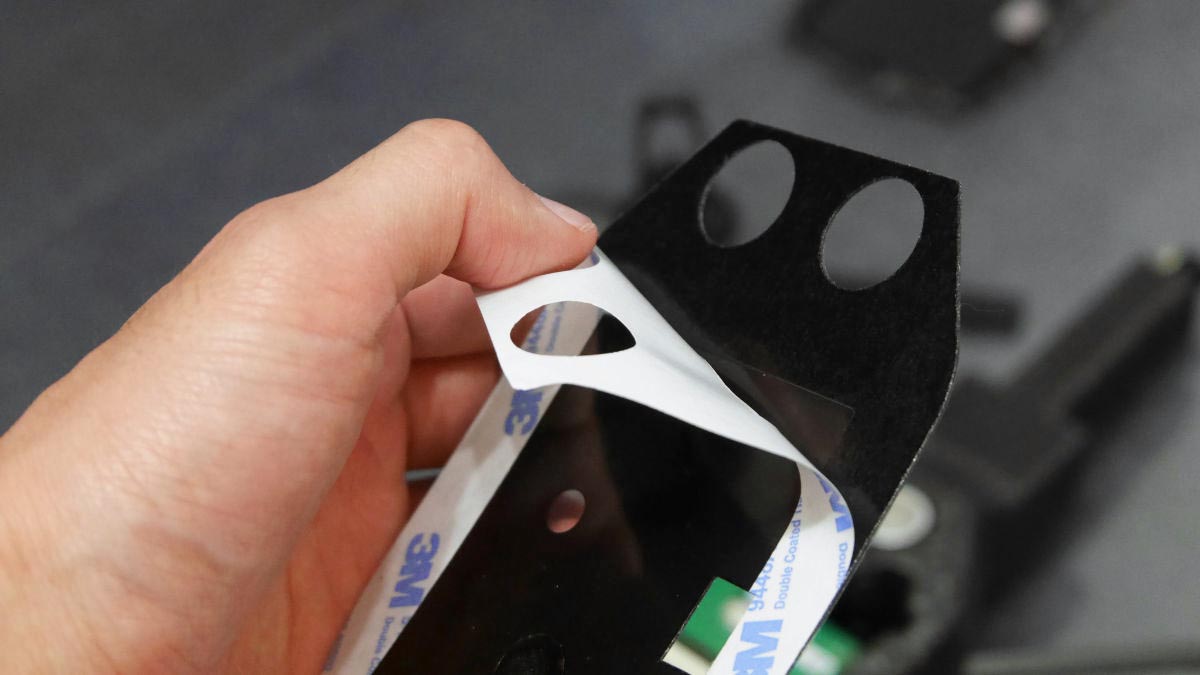
After peeling off the protective film ......
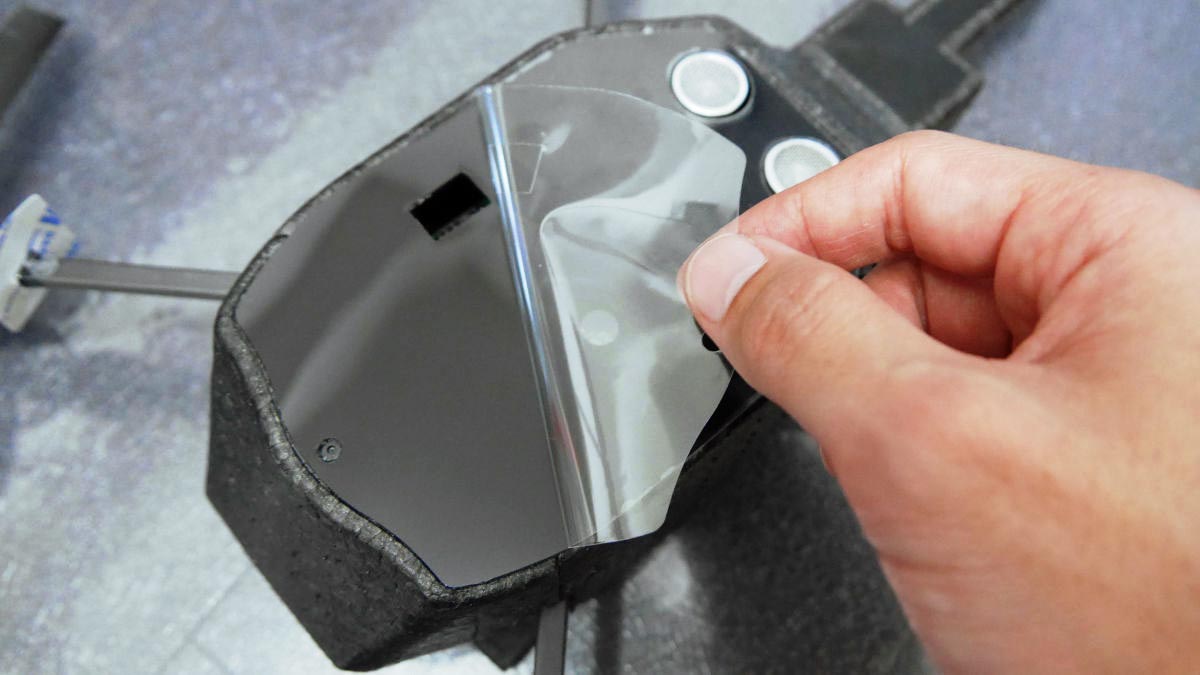
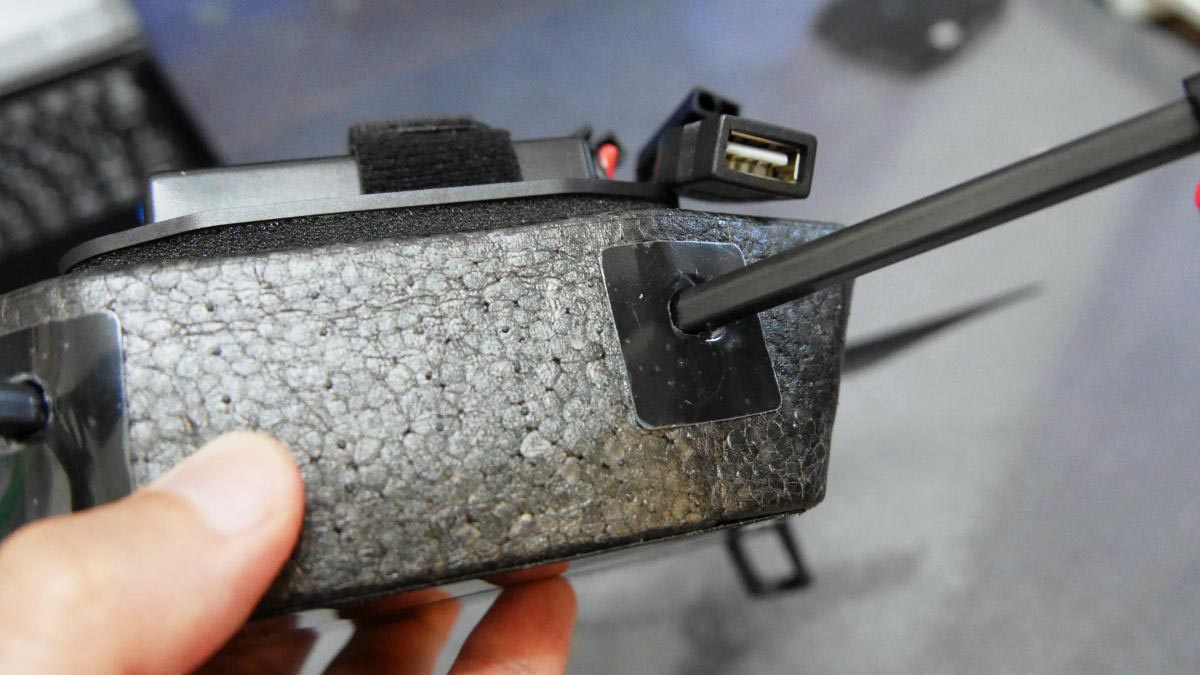
Close the hole of the seal with the included plastic seal (small).
Finally after installing the rod plastic seal ......
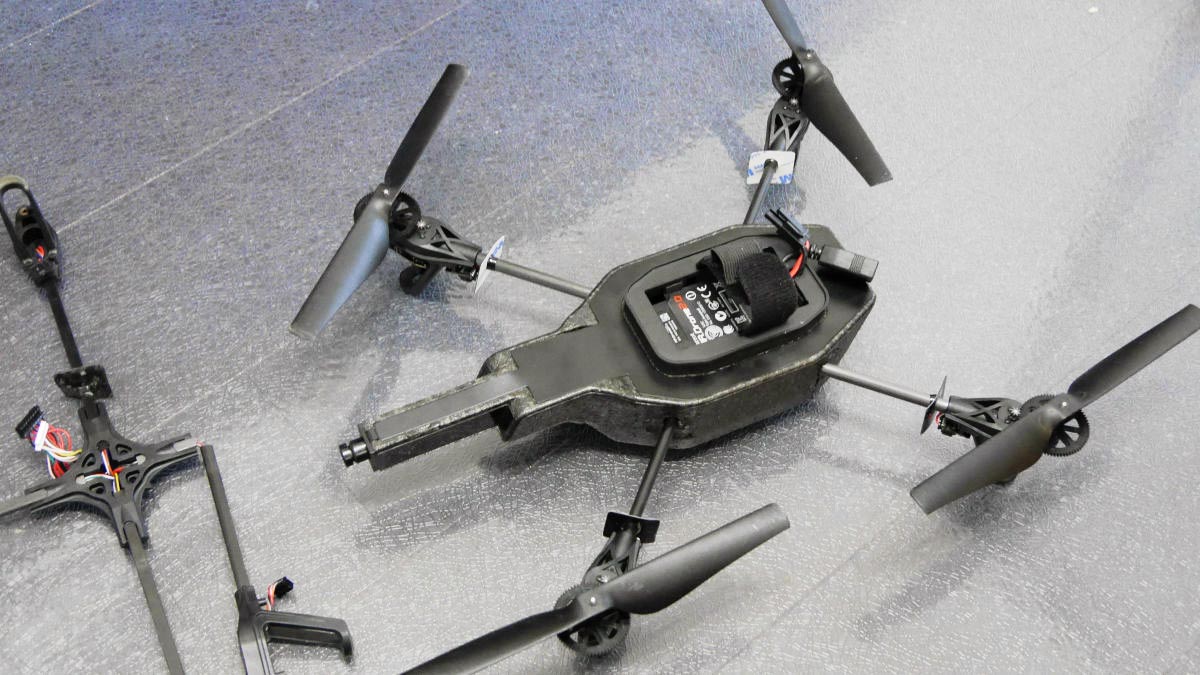
The replacement work of the central cross is completed!
AR Drone is also glad the user is able to purchase and repair, as it has abundant after parts as well as power performance. Damage due to crash is a place I would like to avoid if possible, but it is certain that you can better understand AR Drone by replacing broken parts. Furthermore, deepening affection by restoring broken Drone is said to be an important thing that can not be easily replaced by anything.
In addition, AR Drone has Sand Version with 2 batteriesAmazon.co.jpIt is limited quantities of 38,810 yen (normal delivery charge free).
Amazon.co.jp: AR.Drone 2.0 ELITE EDITION - Sand Version 【Quantity Limited Campaign: Two Batteries】: Hobby
http://www.amazon.co.jp/dp/B00IMQL1MA
Related Posts: