The secret tool of Apple Genius that can easily disassemble and repair iPhone
What is going on inside the iPhone? In that regardSome people independently decompose the iPhone, It seems to be difficult for amateurs to work by making full use of various tools and doing detailed work. However, to repair to AppleGeniusThere is an official movie for the movie, in which it shows how surprisingly easy to disassemble / repair using special tools developed by Apple.
Apple Created These Neat Tools To Make The iPhone More Repairable Than Ever | Cult of Mac
http://www.cultofmac.com/253917/apples-iphone-repair-guides/
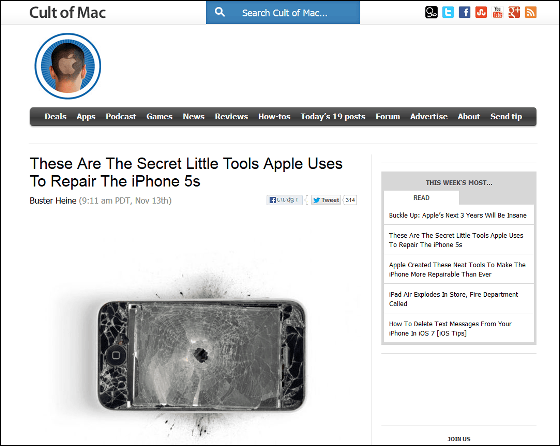
These Are The Secret Little Tools Apple Uses To Repair The iPhone 5s | Cult of Mac
http://www.cultofmac.com/252956/genius-bar-repair-gifcity/
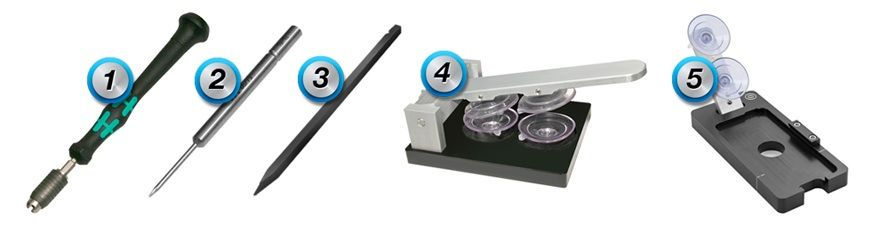
The following tools are used in Apple's official repair movie.Cult of MacAccording to the movie that the design of the iPhone 5c / 5s is emphasized how easy it is to repair. In the movie, it shows the six components accessing and exchanging parts, which are the speaker · receiver · vibration motor · camera module · battery · SIM ejector tool, the work was done using the following tools .
From the left, iPhone torque driver (iPhone Torque Driver), Security bit (security bit), Nylon probe tool (Nylon stylet), Universal Display Removal Fixture, Official iPhone 5c Repair Tray (iPhone 5c formula Repair tray).
IPhone may seem hard to disassemble for general users, but for Apple, the iPhone is one of the most repairable existing devices. If you follow the operation using the following tools you can disassemble the iPhone quickly, remove the target parts and repair it.
The movie is not released, but Cult of Mac has published a movie with a GIF animation. The state of actually repairing is as follows.
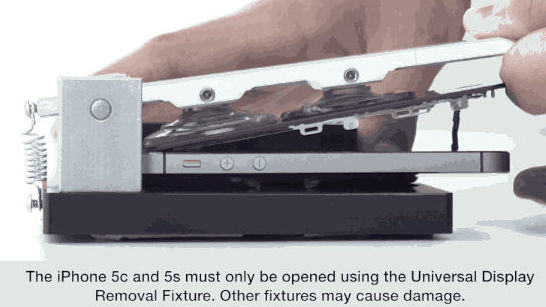
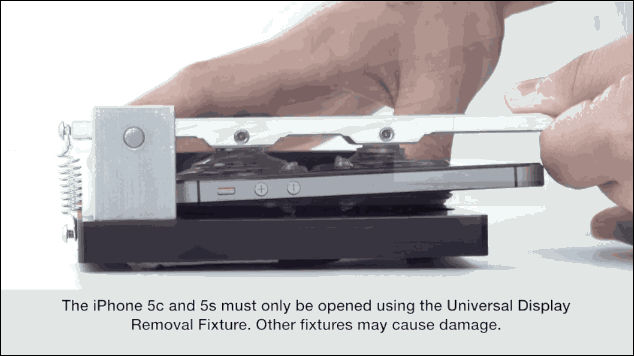
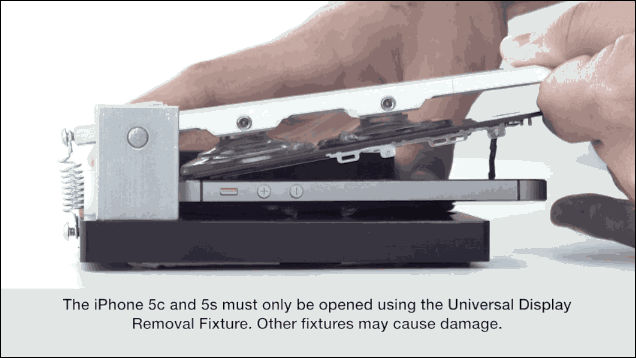
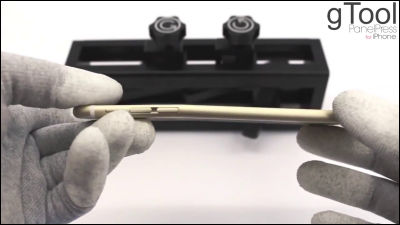
First of all, in order to remove the display without damaging iPhone 5c & 5s, use Universal Display Removal Fixture. Place the iPhone between the tools with a total of 4 suction cups, two on each side.

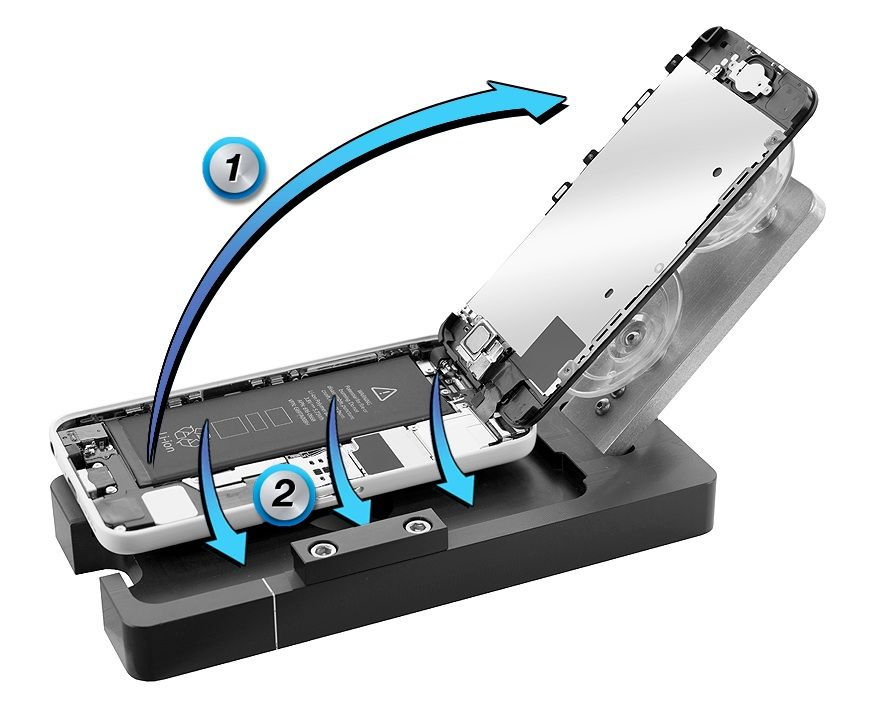
Lower the steering wheel and suck the sucker firmly on the top and bottom of the iPhone and then pull it upward ......
The display could be removed easily and easily.
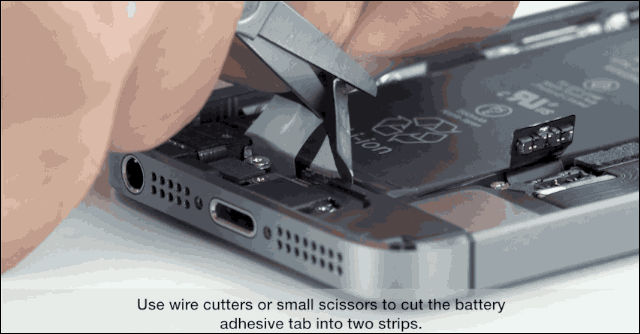
To remove the battery, cut the middle of the adhesive tape protruding from the bottom of the battery with scissors.
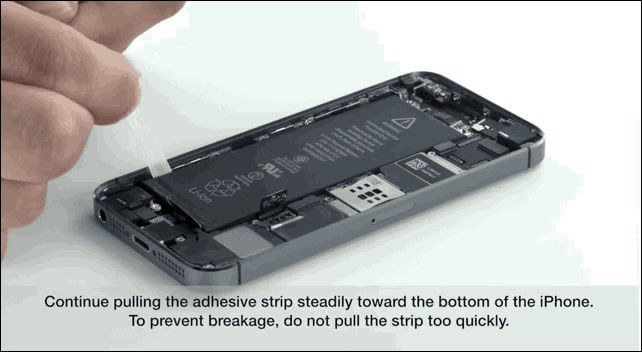
Pull the cut adhesive tape slowly from bottom to top of the iPhone one by one.
Removing the adhesive tape makes it easy to remove the battery simply by lifting with the fingertip. Please be aware that if you attempt to remove the battery before completely removing the adhesive tape, it may be damaged.
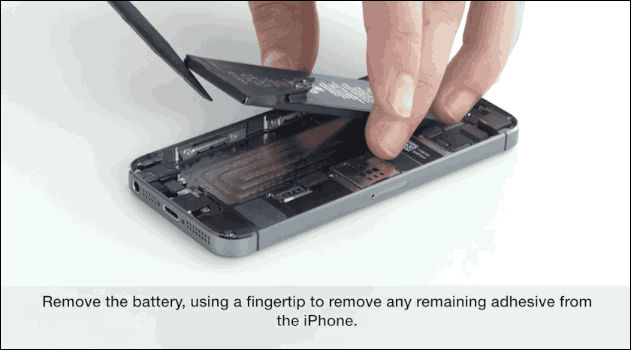
After detaching the adhesive tape, Genius will use a different tape for the place where the battery is installed.

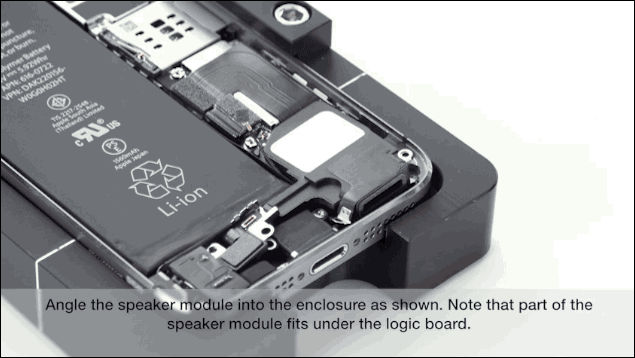
Removing the speaker is particularly easy, there is no need to use a screwdriver, and if you push it with your finger a bit ......
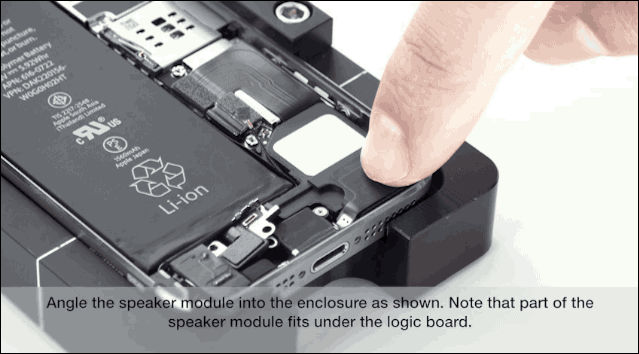
It jumps out easily.
When removing the SIM card does not work, you can easily fix it with tweezers.

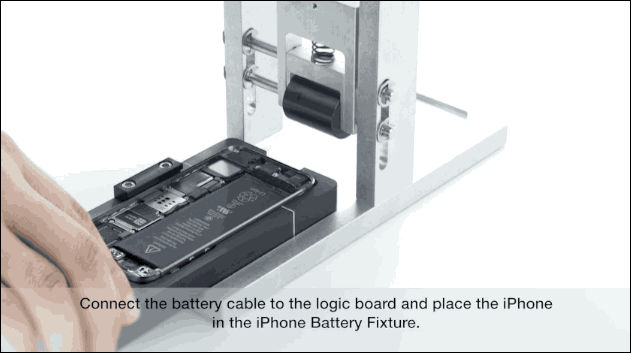
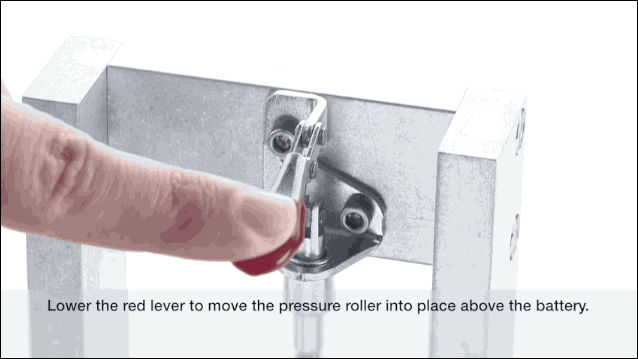
There is also a tool for firmly attaching a new adhesive tape and a battery. Set the iPhone in the dedicated tray under the tool.
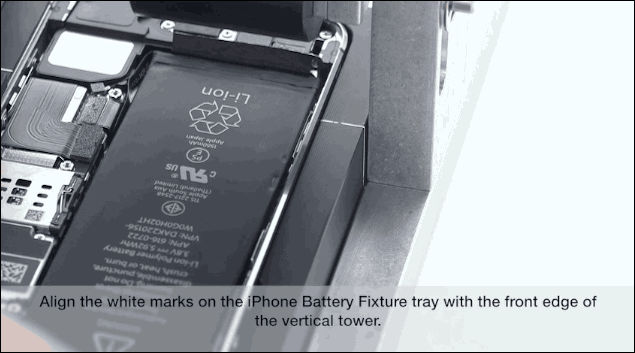
Set the white line on the tray to the specified position of the tool.
Lower the red lever and push the roller against the battery.
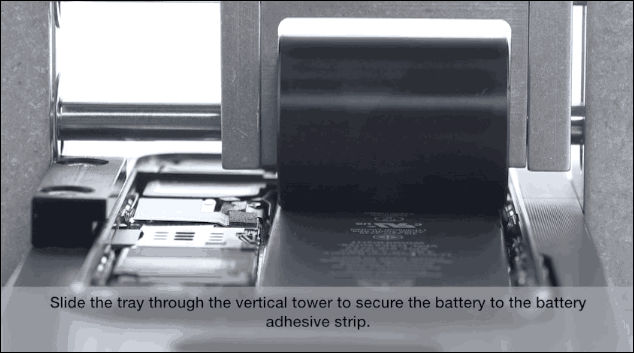
Slide the tray and firmly adhere the tape and the battery by rolling the rollers on the battery.
How do the tools actually move from the following website? That can be confirmed with GIF animation.
These Are The Secret Little Tools Apple Uses To Repair The iPhone 5s | Cult of Mac
http://www.cultofmac.com/252956/genius-bar-repair-gifcity/
Related Posts:


in Hardware, Posted by darkhorse_log