Free software "Free Photo Blemish Remover" that can quickly correct skin roughness of the face

Using Photoshop as if you are a different personTechnology to remodel people on the photoThere is software, software that can quickly fix a little rough skin etc. reflected in the photograph though it does not go up to the remodeling, is "Free Photo Blemish Remover"is.
Free Photo Blemish Remover - Photo-Toolbox.com
http://www.photo-toolbox.com/free/photo-blemish-remover.html

Click "Download" in the upper left of the page to start downloading the software.

When launching the software, the following screen appears. Click "Next" to proceed.

Please check "accept the agreement" and click "Next" because you are asked to agree to the license.

As you are asked where to place the software, press "Next" to proceed.

Click "Next" here as well.

Please select whether to put the icon on the desktop and click "Next".

Finally click "Install".

It is complete. Since the check box of "Activate software" is checked by default, clicking "Finish" will automatically start the software.

The screen after startup looks something like this. First, click "Open Image" in the middle of the screen to open the file you want to edit.

Select the file and click "Open".

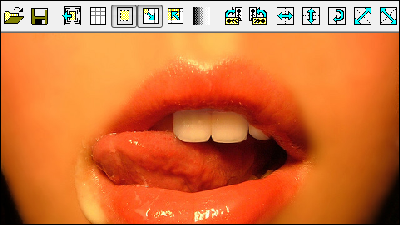
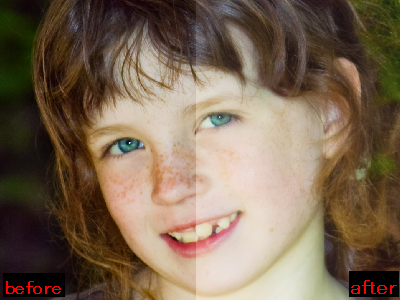
What we are going to process this timeThis photo.

BySean dreilinger
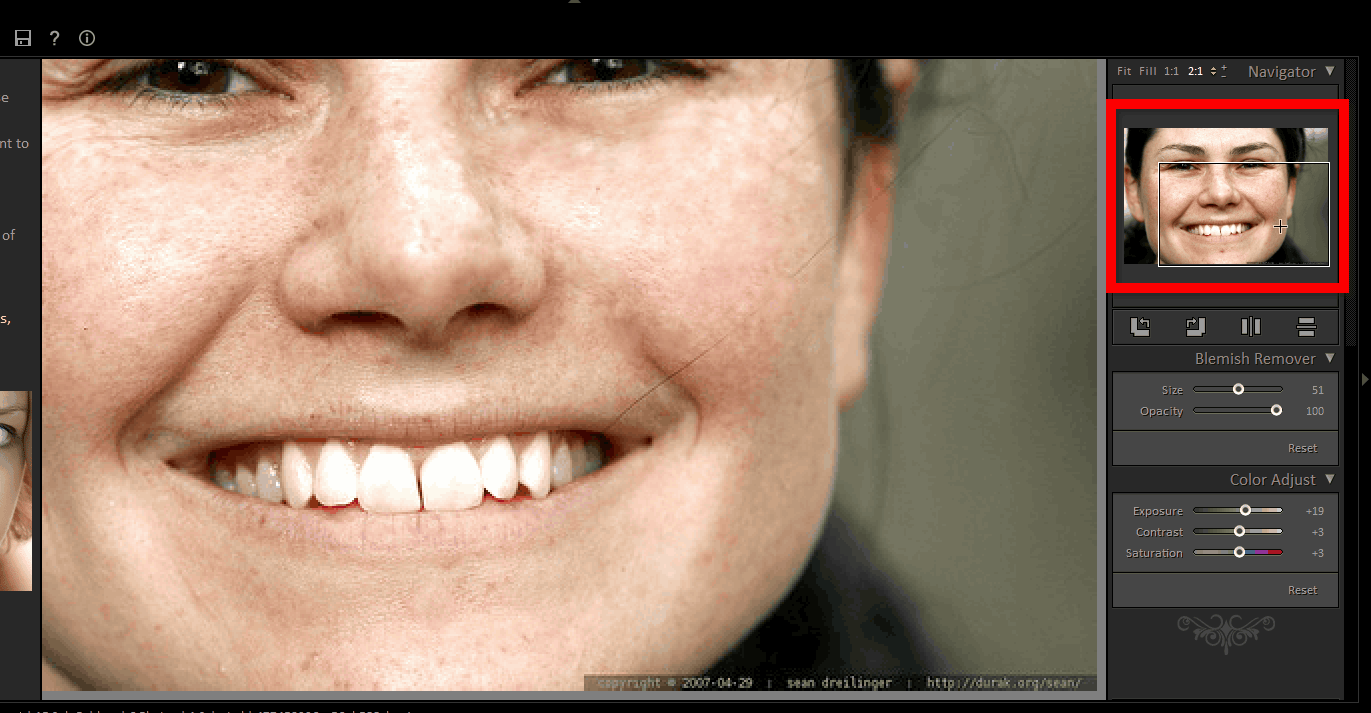
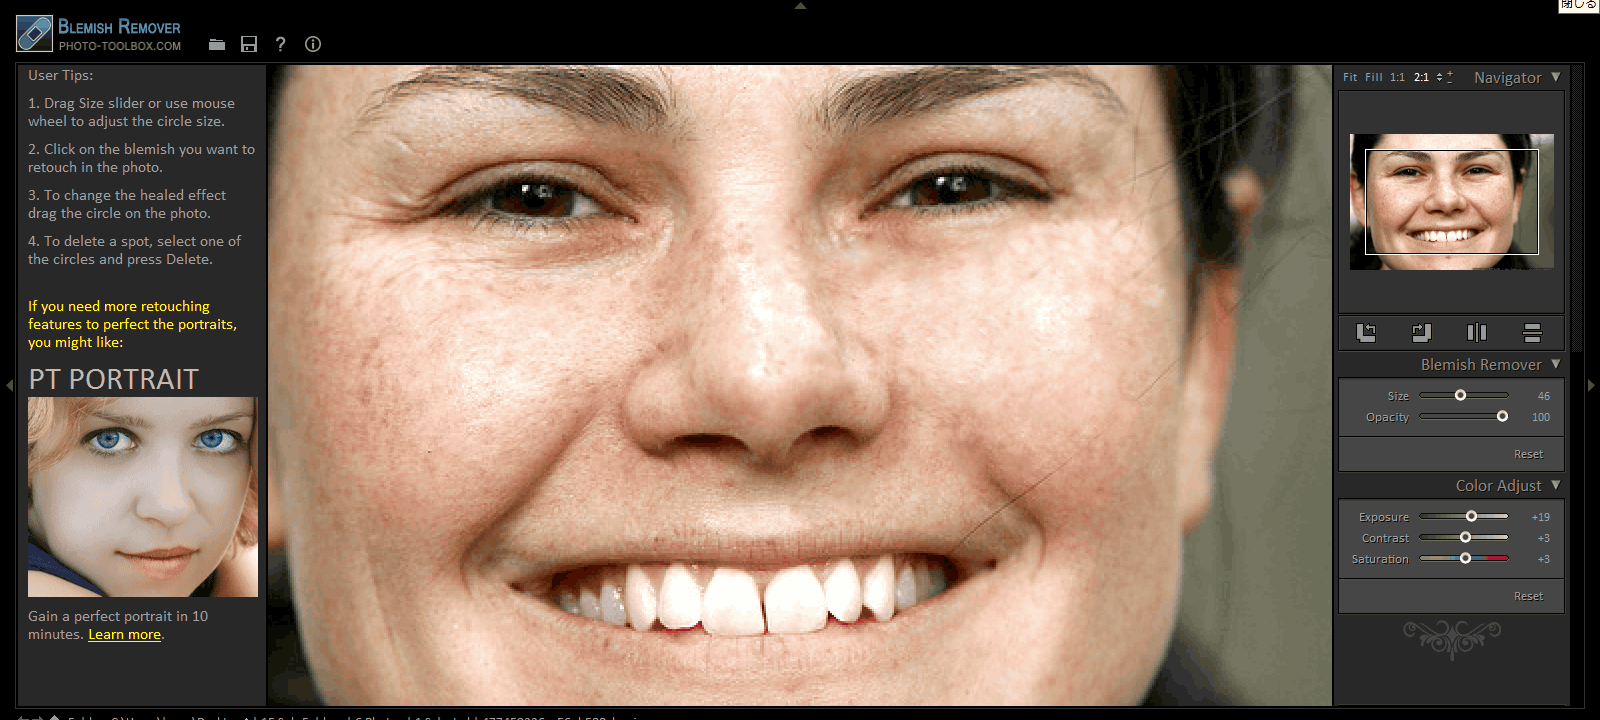
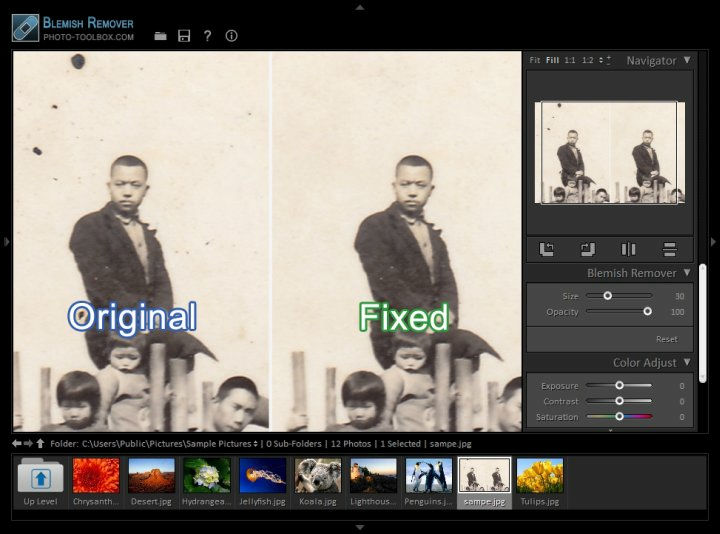
The editing screen looks something like this.
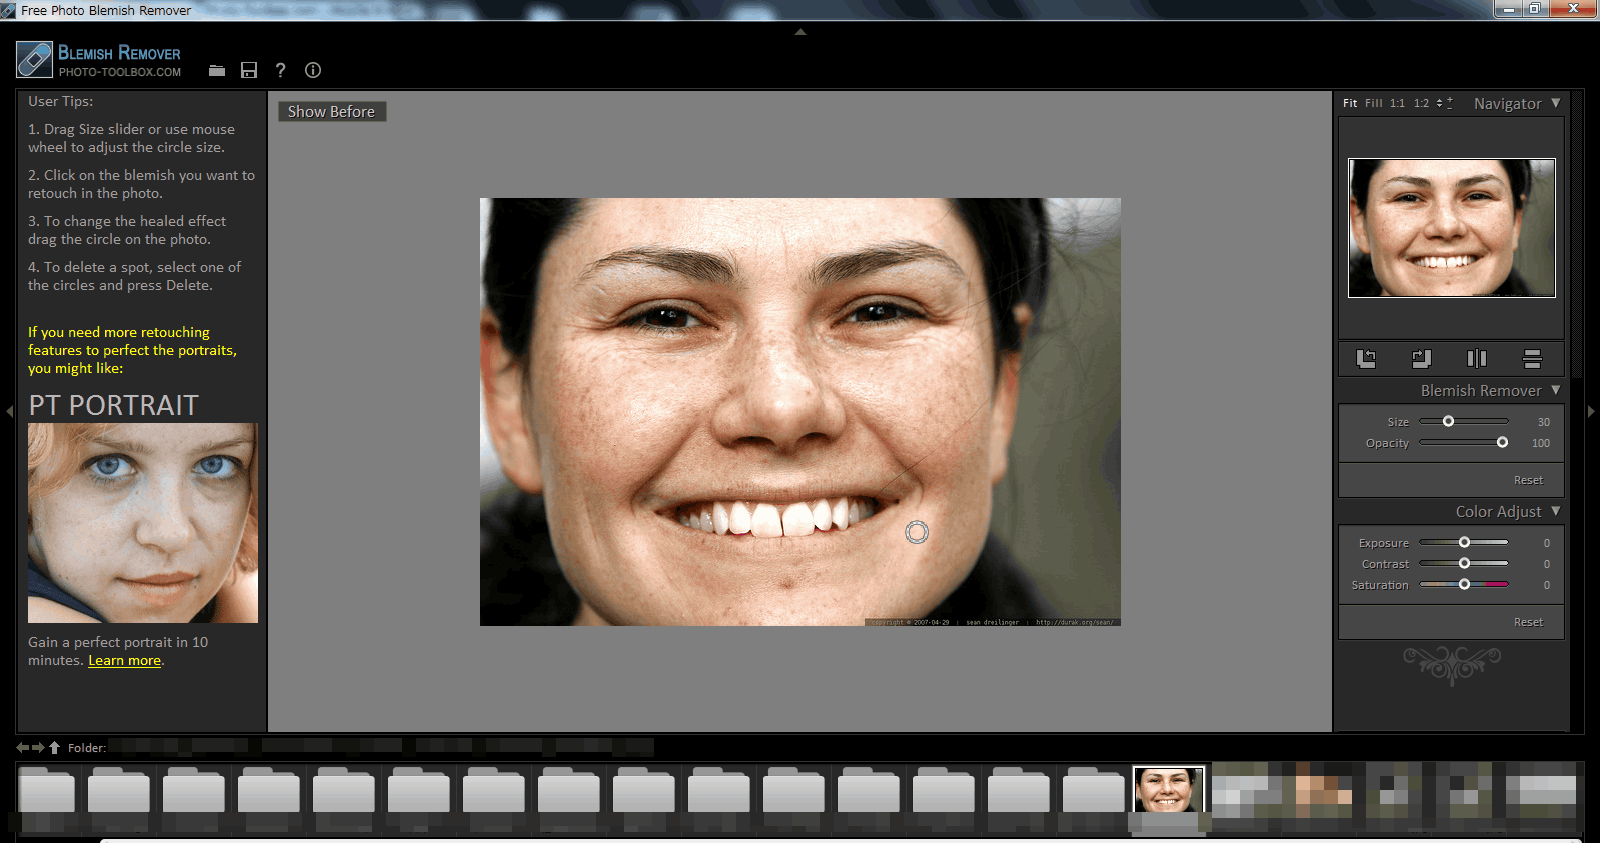
When placing the cursor on the photo, since the circle appears, you click and drag the photo with a circle and make corrections.
By moving the slider at the right end of the screen, it is possible to change the size and transparency of the circle that selects the correction part.
You can also adjust the exposure, contrast, saturation, etc. of the entire photo with a single slider.

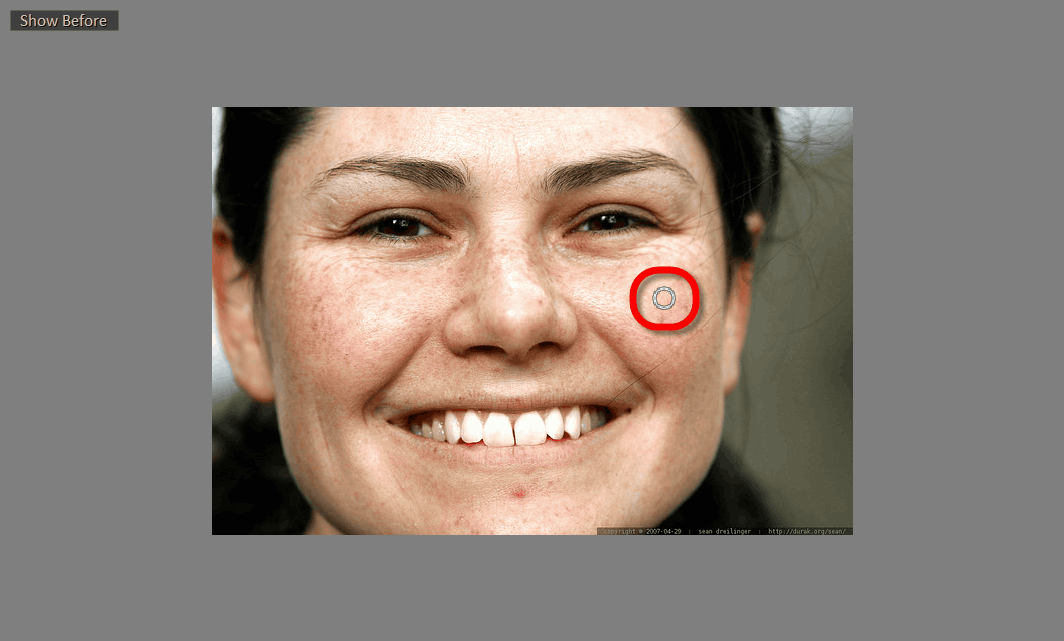
Take the cursor over the rough skin you want to modify, click first.

Next, when you move the circle by dragging, the appearance of the skin at the place where the moving circle is located is reflected in the place where you clicked first, so click on the convincing place and confirm it again. The acne of the chin which had turned red quickly disappeared.
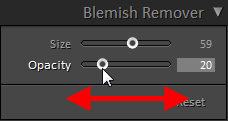
You can change the size and transparency by moving the slider on the right of the screen while selecting a circle.

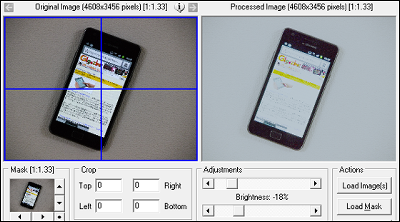
It is also possible to upload photos from the button on the upper right of the screen. When there is no cursor on the picture, the part selected / modified so far is not displayed ... ...

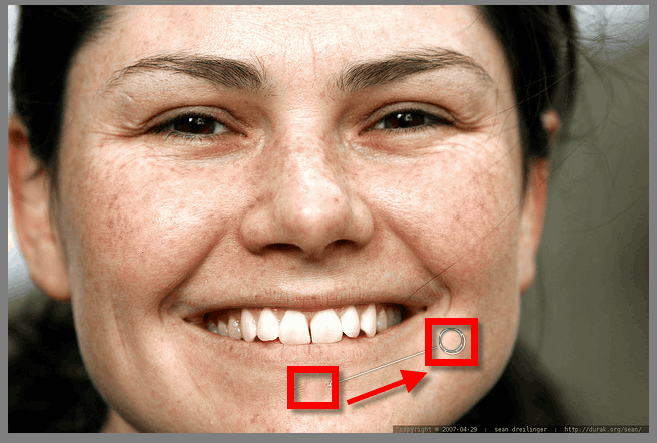
When you return the cursor to the top of the picture, all the points corrected so far will be displayed as circles. If you want to delete the fix you did, select the part you modified and press the Delete key.

You can adjust the place to upload by moving the frame of the picture displayed small in the upper right.
It is also possible to invert the picture vertically, horizontally, or rotate it.

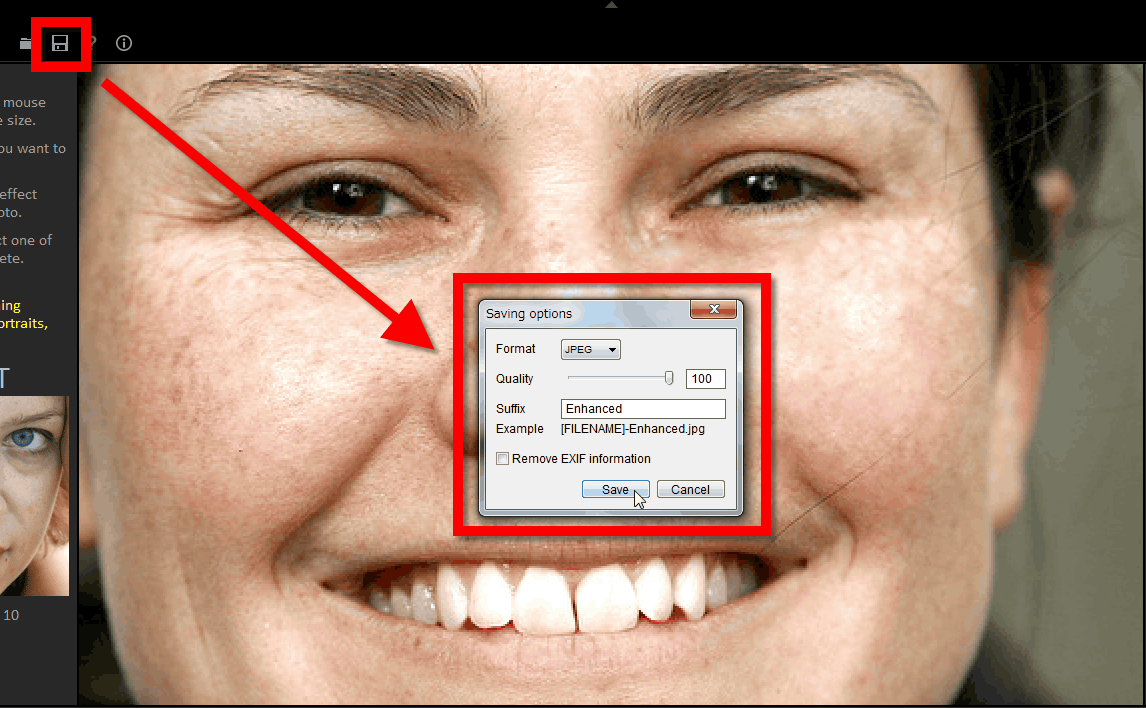
If you are satisfied with the correction of rough skin ......
Press the Save button in the upper left, specify the details from "Saving option" and click "Save". By default, the original file name was saved with the file name "Enhanced" added.
The picture which actually corrected rough skin is like this. I tried to fix not only skin roughness, but also wrinkles and so on.
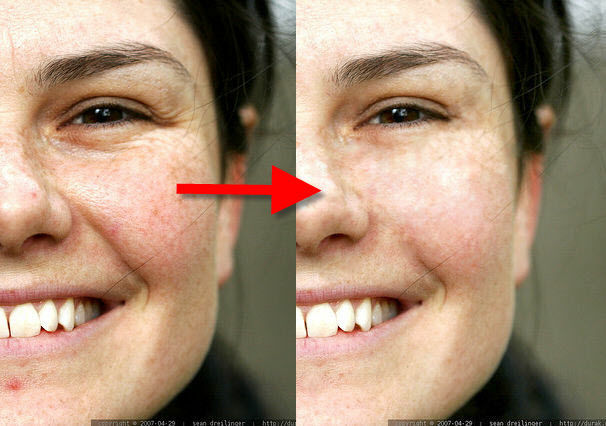
Furthermore, not only skin roughness, but also superfluous things in the photograph can be easily removed.
Because it is a form to modify the part surrounded by a circle, it may be a bit difficult if you need to make a major correction to the photo, but you can process it with a click and drag quickly to make it a nice feeling, so a little part You can use it without problems if it is rough skin correction etc.
Related Posts: